 Mission 16: Surrogate Slayer
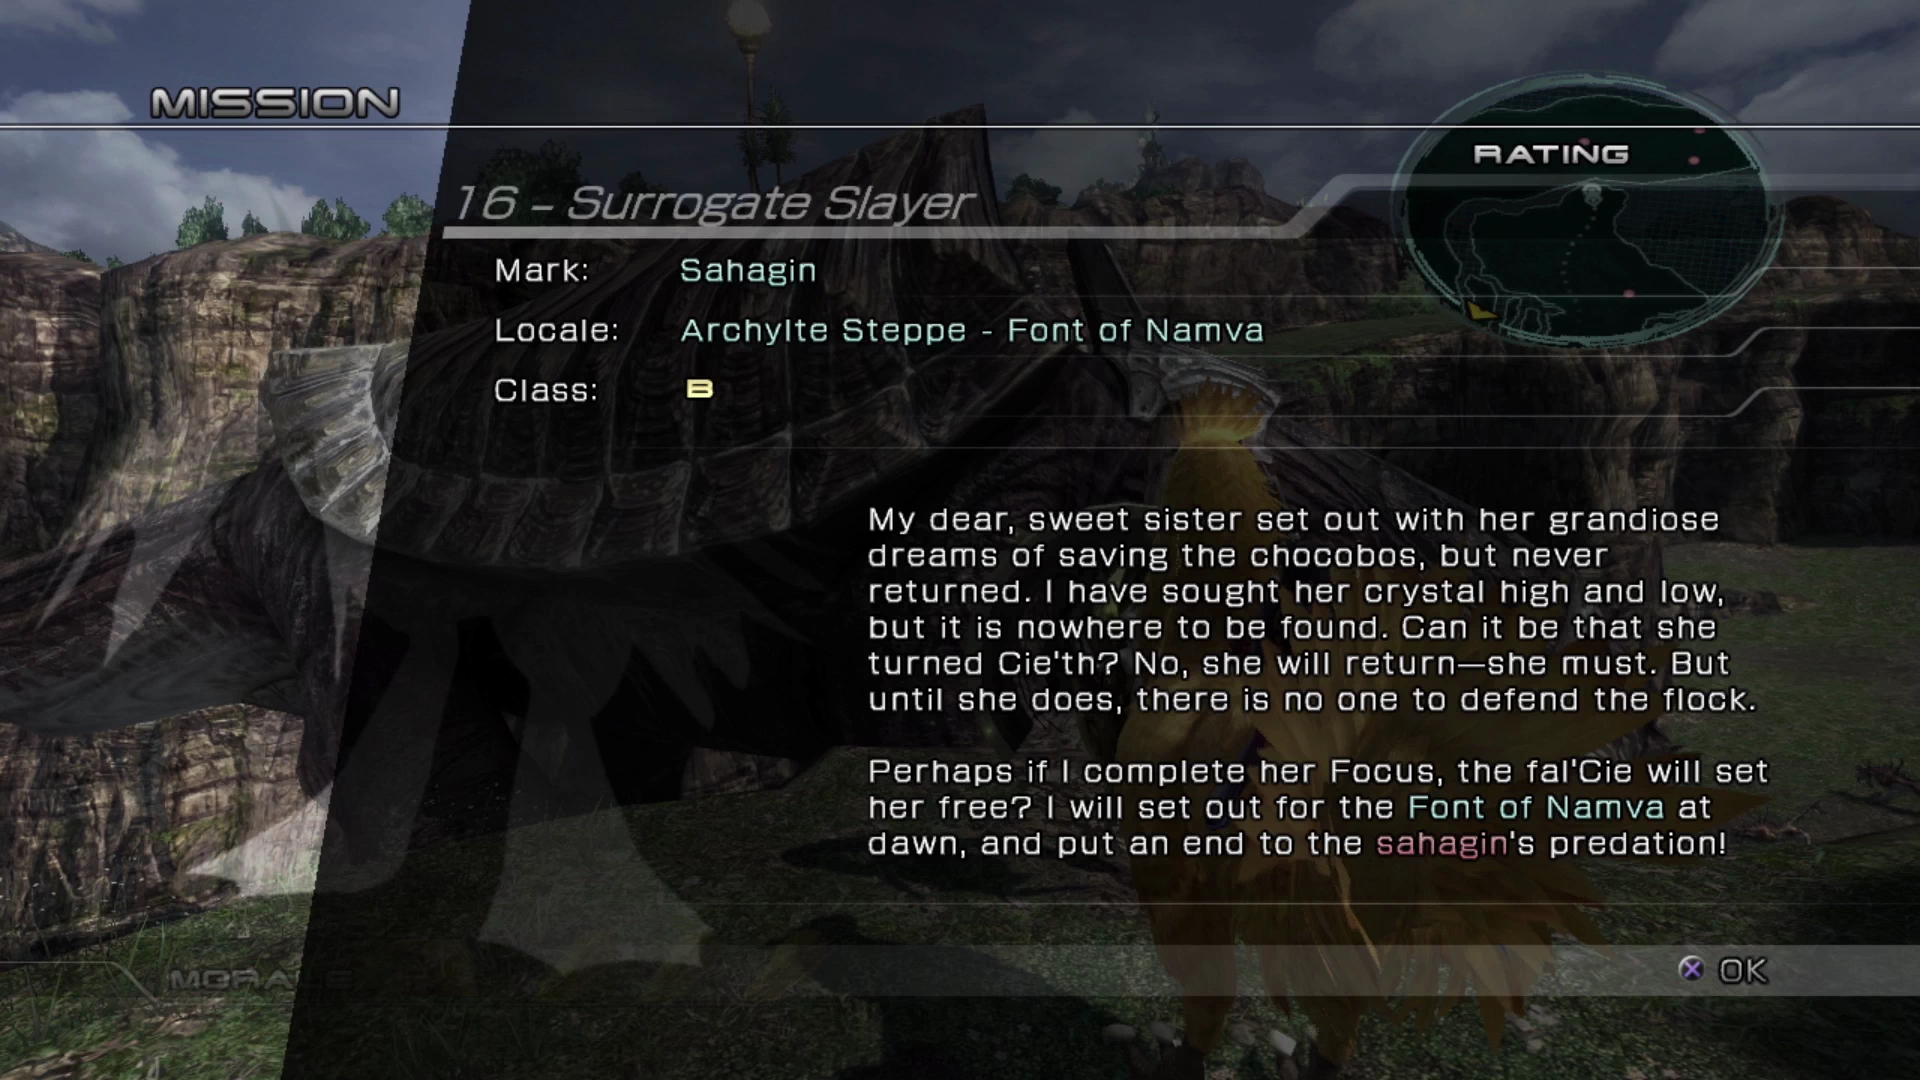
Sahagin (Class C)
This Mission requires the completion of Mission 14 and you will need to ride a Chocobo in order to reach the Mission Stone. The two marks are accompanied by four Ceratoraptors.
Prerequisites
- Complete
 Mission 12 - Geiseric, the Profane
 - (Unofficially) Requires the ability to ride a Chocobo
 Cie’th Stone Location
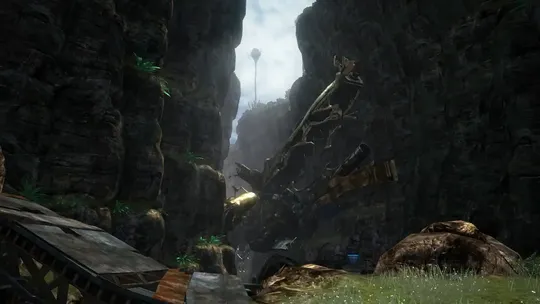
This Cie’th Stone can be fairly difficult to find as it requires using your Chocobo to jump across some cliffs. Head to the Northern Highplain and look for a gigantic Adamantortoise that’s standing in front of a Treasure Sphere (that you can’t open). There is an illuminated yellow circle on the left side showing you where your Chocobo can jump to the top of the plateau.
There is a Treasure Sphere on this platform that contains a ![]() Gold Nugget; you don’t have to dismount from your Chocobo to open it. Look for another illuminated yellow circle on this plateau which you can use to jump across to the other far away cliff.
Gold Nugget; you don’t have to dismount from your Chocobo to open it. Look for another illuminated yellow circle on this plateau which you can use to jump across to the other far away cliff.
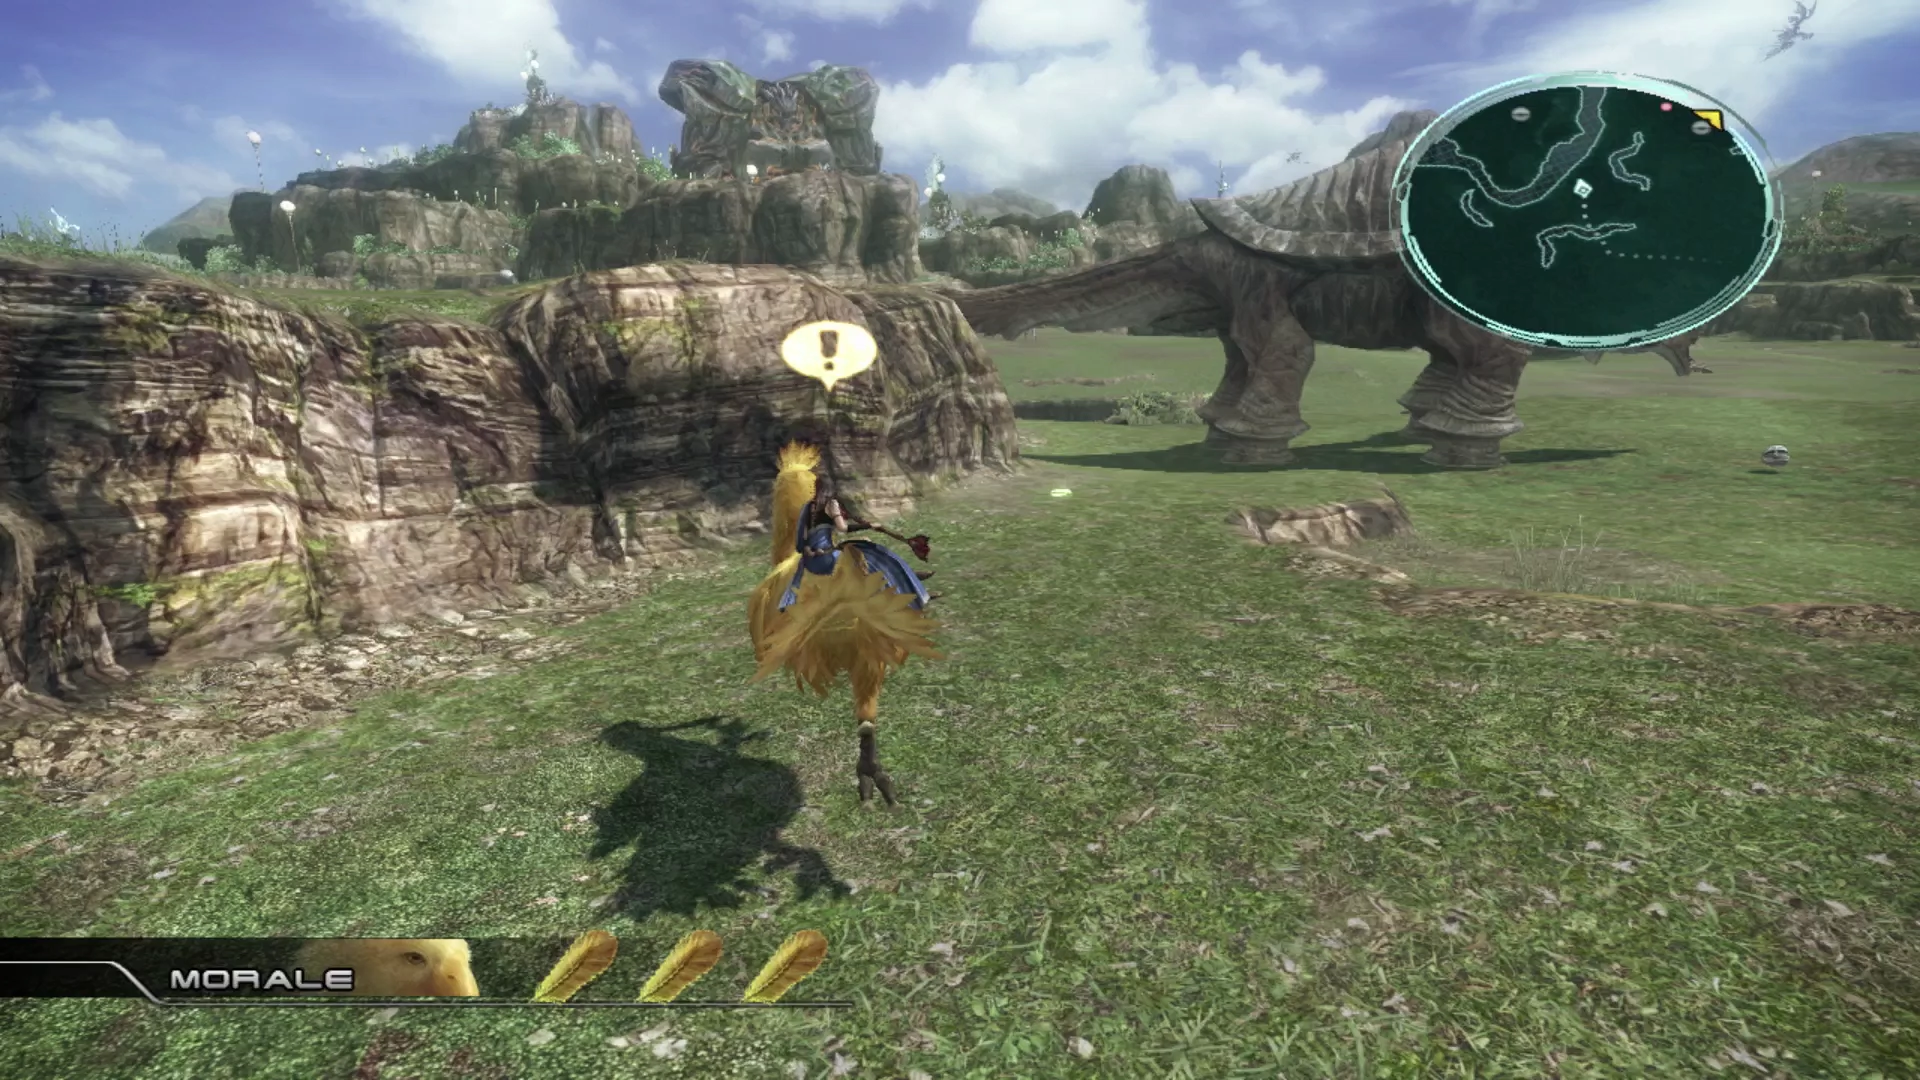
The Treasure Sphere just up ahead on the left contains a ![]() Clay Ring. A cutscene will trigger as you approach the Treasure Sphere just up ahead if this is your first time reaching this area.
Clay Ring. A cutscene will trigger as you approach the Treasure Sphere just up ahead if this is your first time reaching this area.
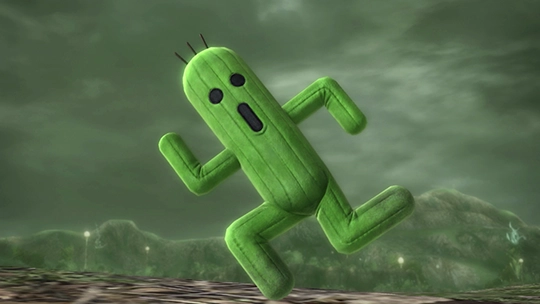
The cutscene involves a Cactuar and, now that you’ve seen your first one, the Cactuars will begin appearing throughout the Archylte Steppe. Check out the Chocobo side quest page for more information:
Open up the Treasure Sphere which contains a ![]() Cactuar Doll which is an item that can be sold for Gil. The Cie’th Stone is on the far side of the cliff.
Cactuar Doll which is an item that can be sold for Gil. The Cie’th Stone is on the far side of the cliff.
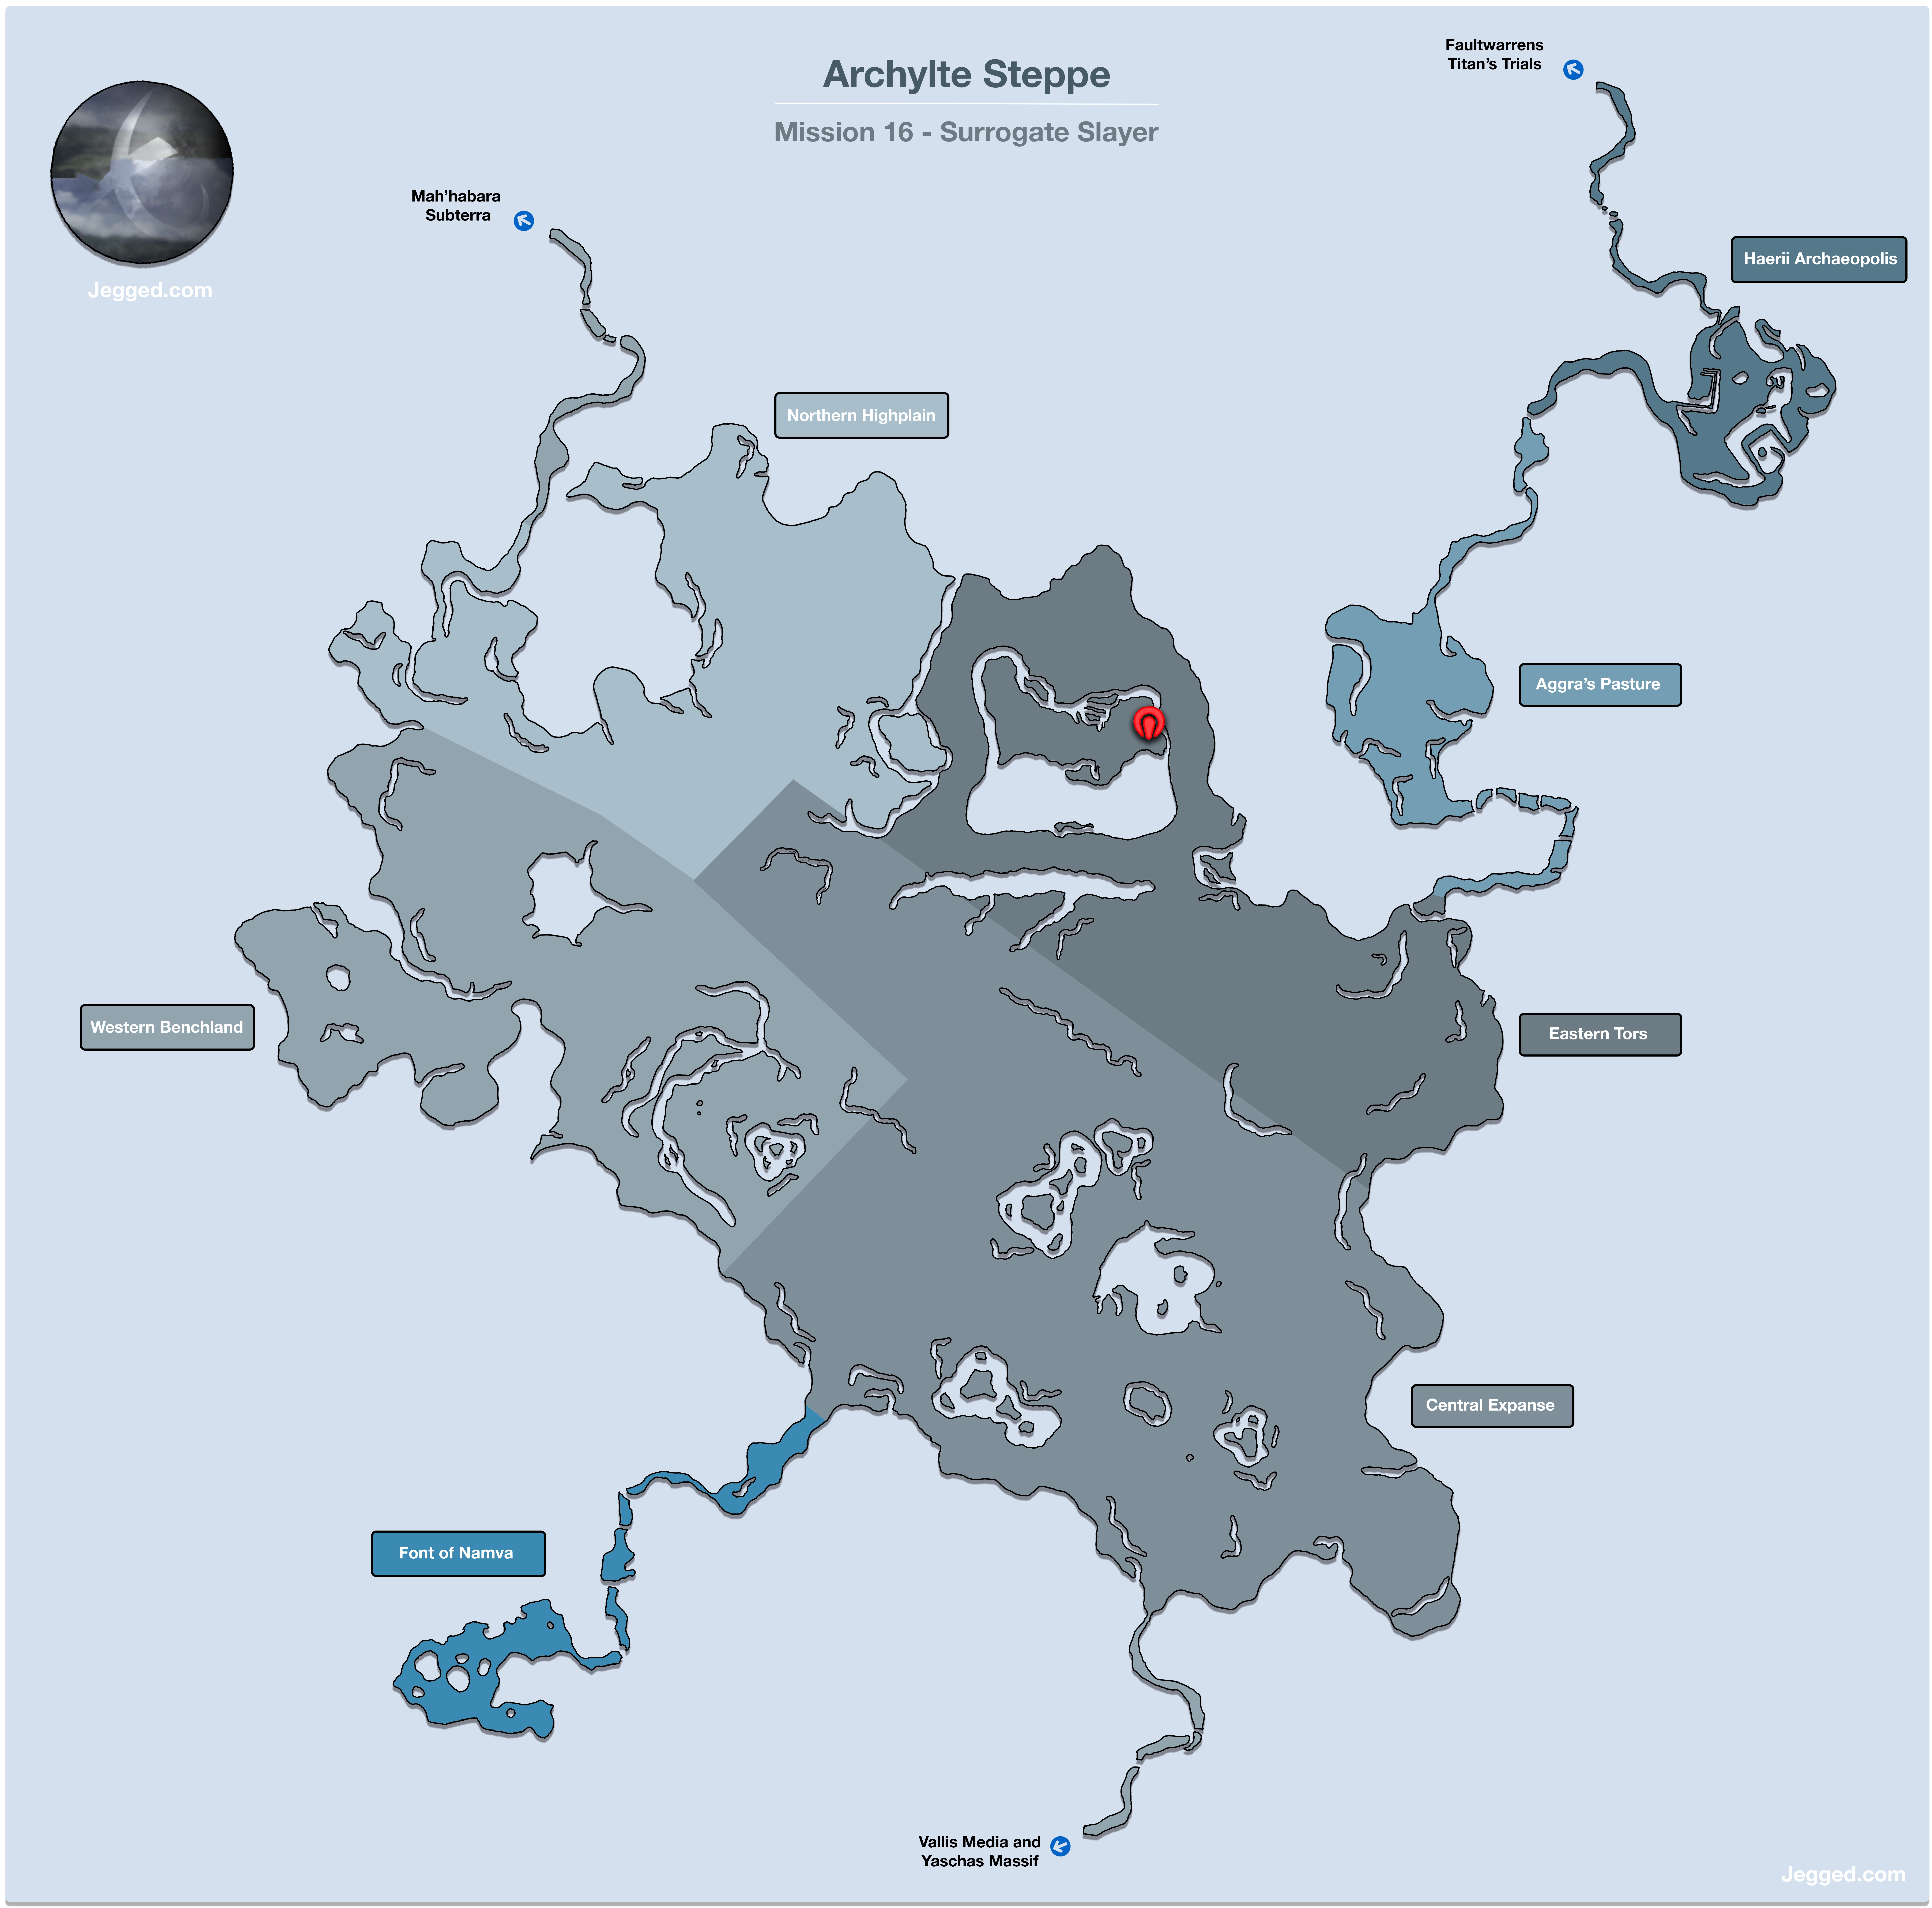
 Mark Location
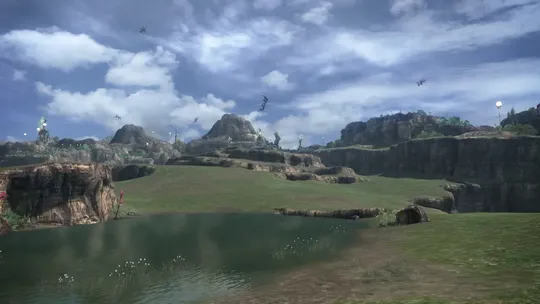
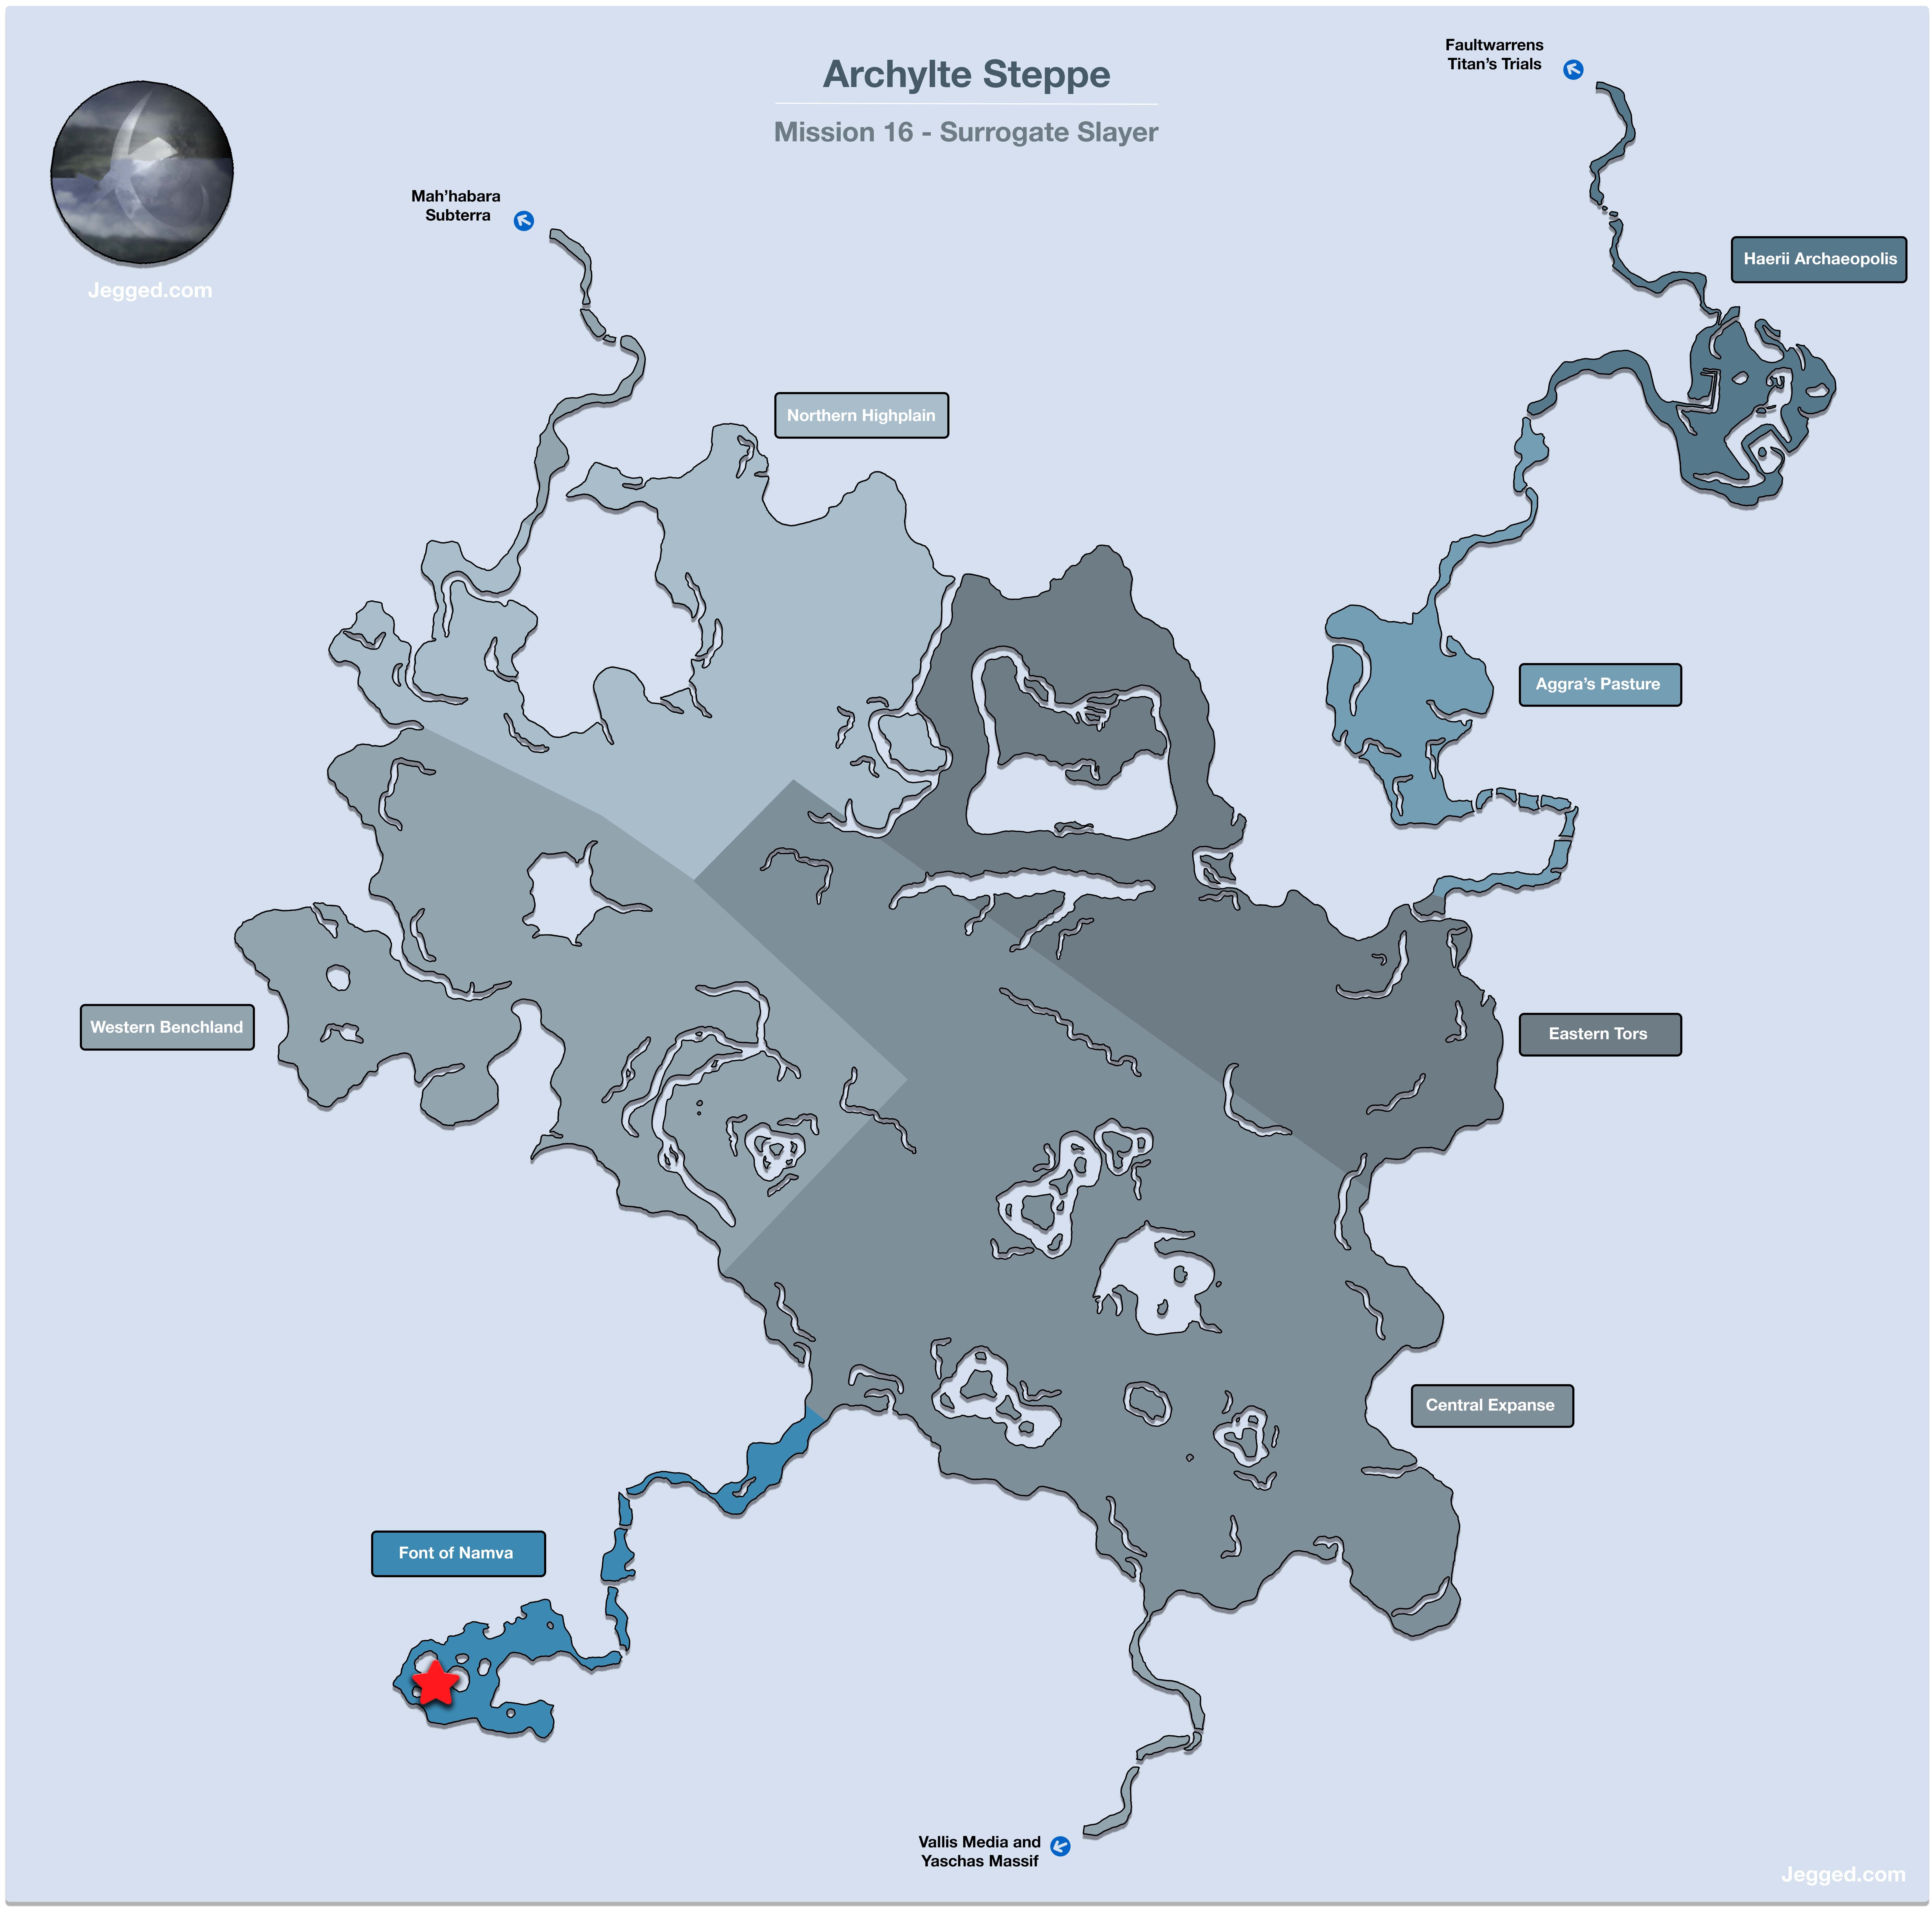
These marks are located in the same place as the previous Sahagin that you have faced in the Font of Namva area which is in the southwestern section of the Archylte Steppe.
Battle Tactics
Mark Battle
Class: C
HP: 64,800
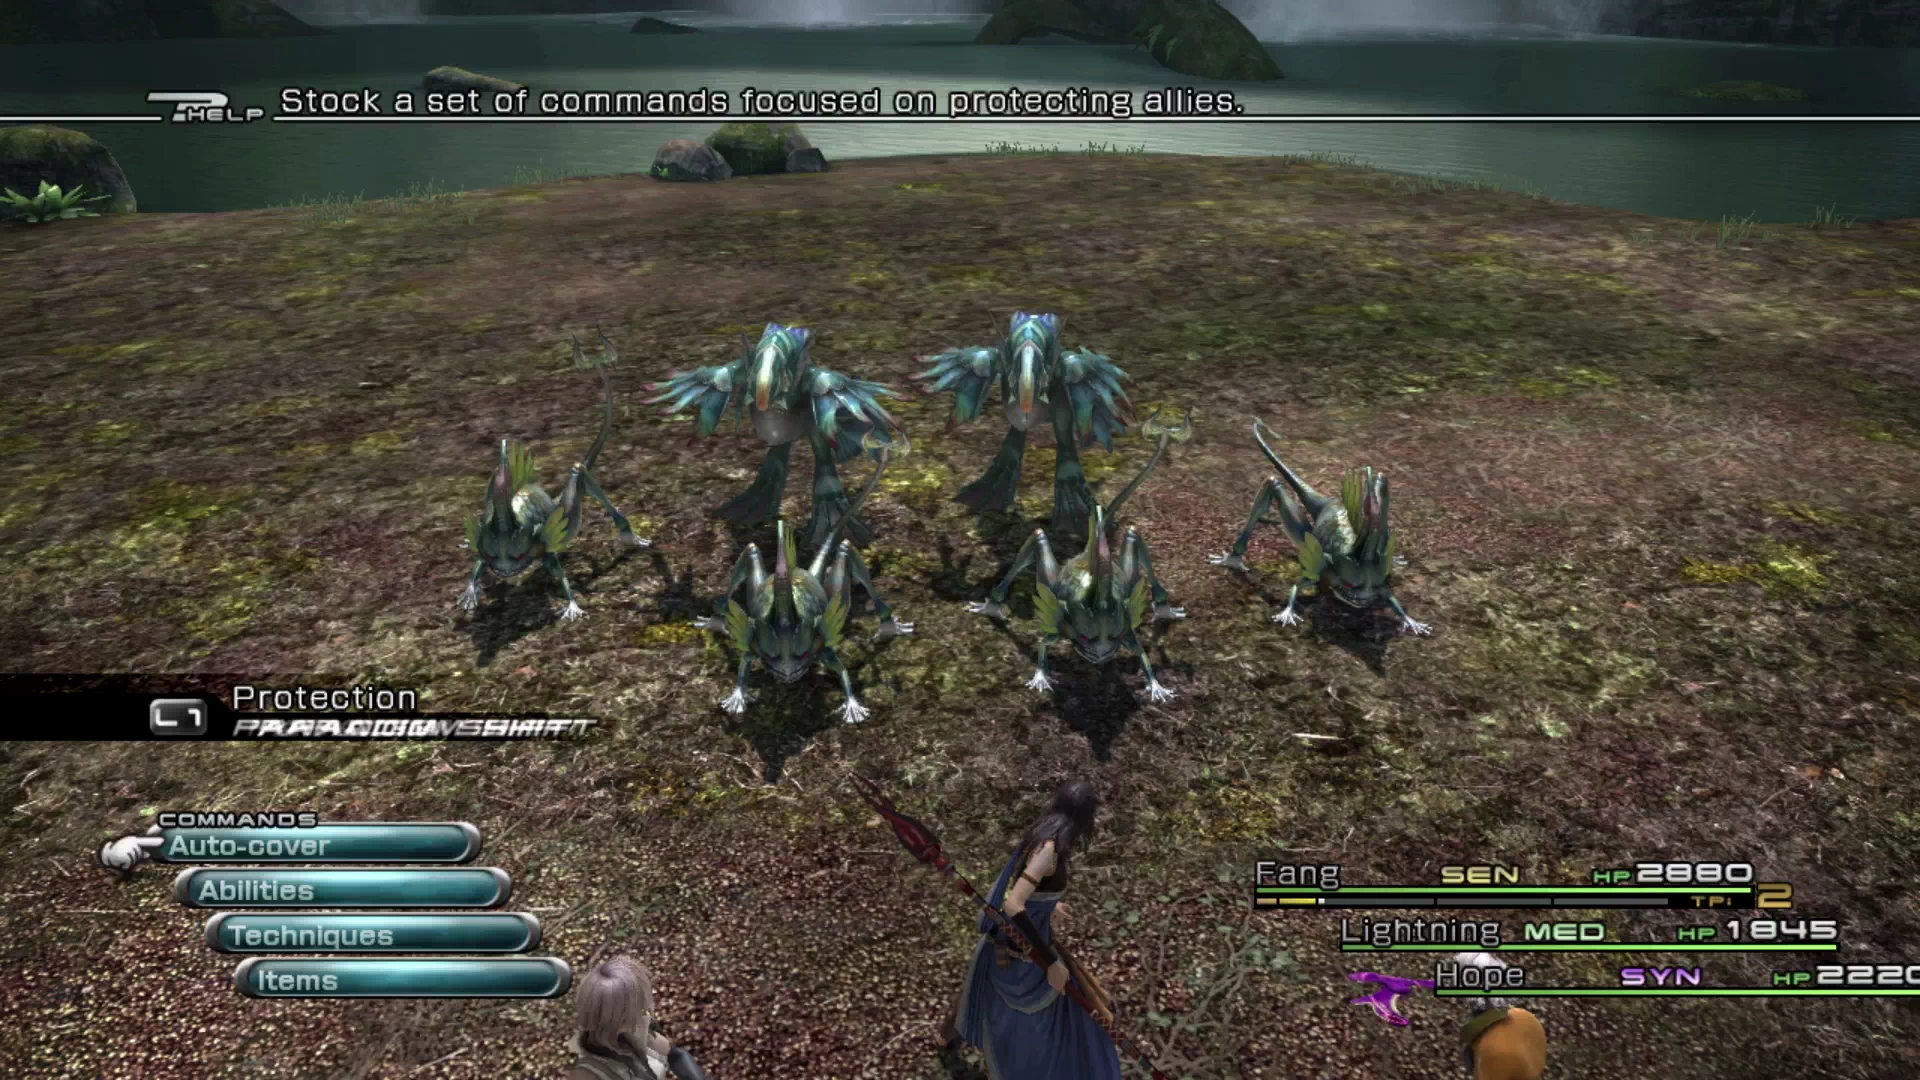
The mark listed for this Mission may give you the false impression that this battle will be the same as the last once but it’s actually significantly more challenging. If you’re attempting this fight during your travels through Chapter 11, you may want to consider setting up a new Paradigm called Protection. This would have Fang as a ![]() Sentinel, Lightning as a
Sentinel, Lightning as a ![]() Medic and Hope as a
Medic and Hope as a ![]() Synergist.
Synergist.
The really challenging aspect of this fight has to do with the amount of damage these six enemies can dole out to your party. The Protection Paradigm will provide some buffs (including ![]() Enthunder and
Enthunder and ![]() Protect) which will greatly increase both the damage and the defenses of your party.
Protect) which will greatly increase both the damage and the defenses of your party.
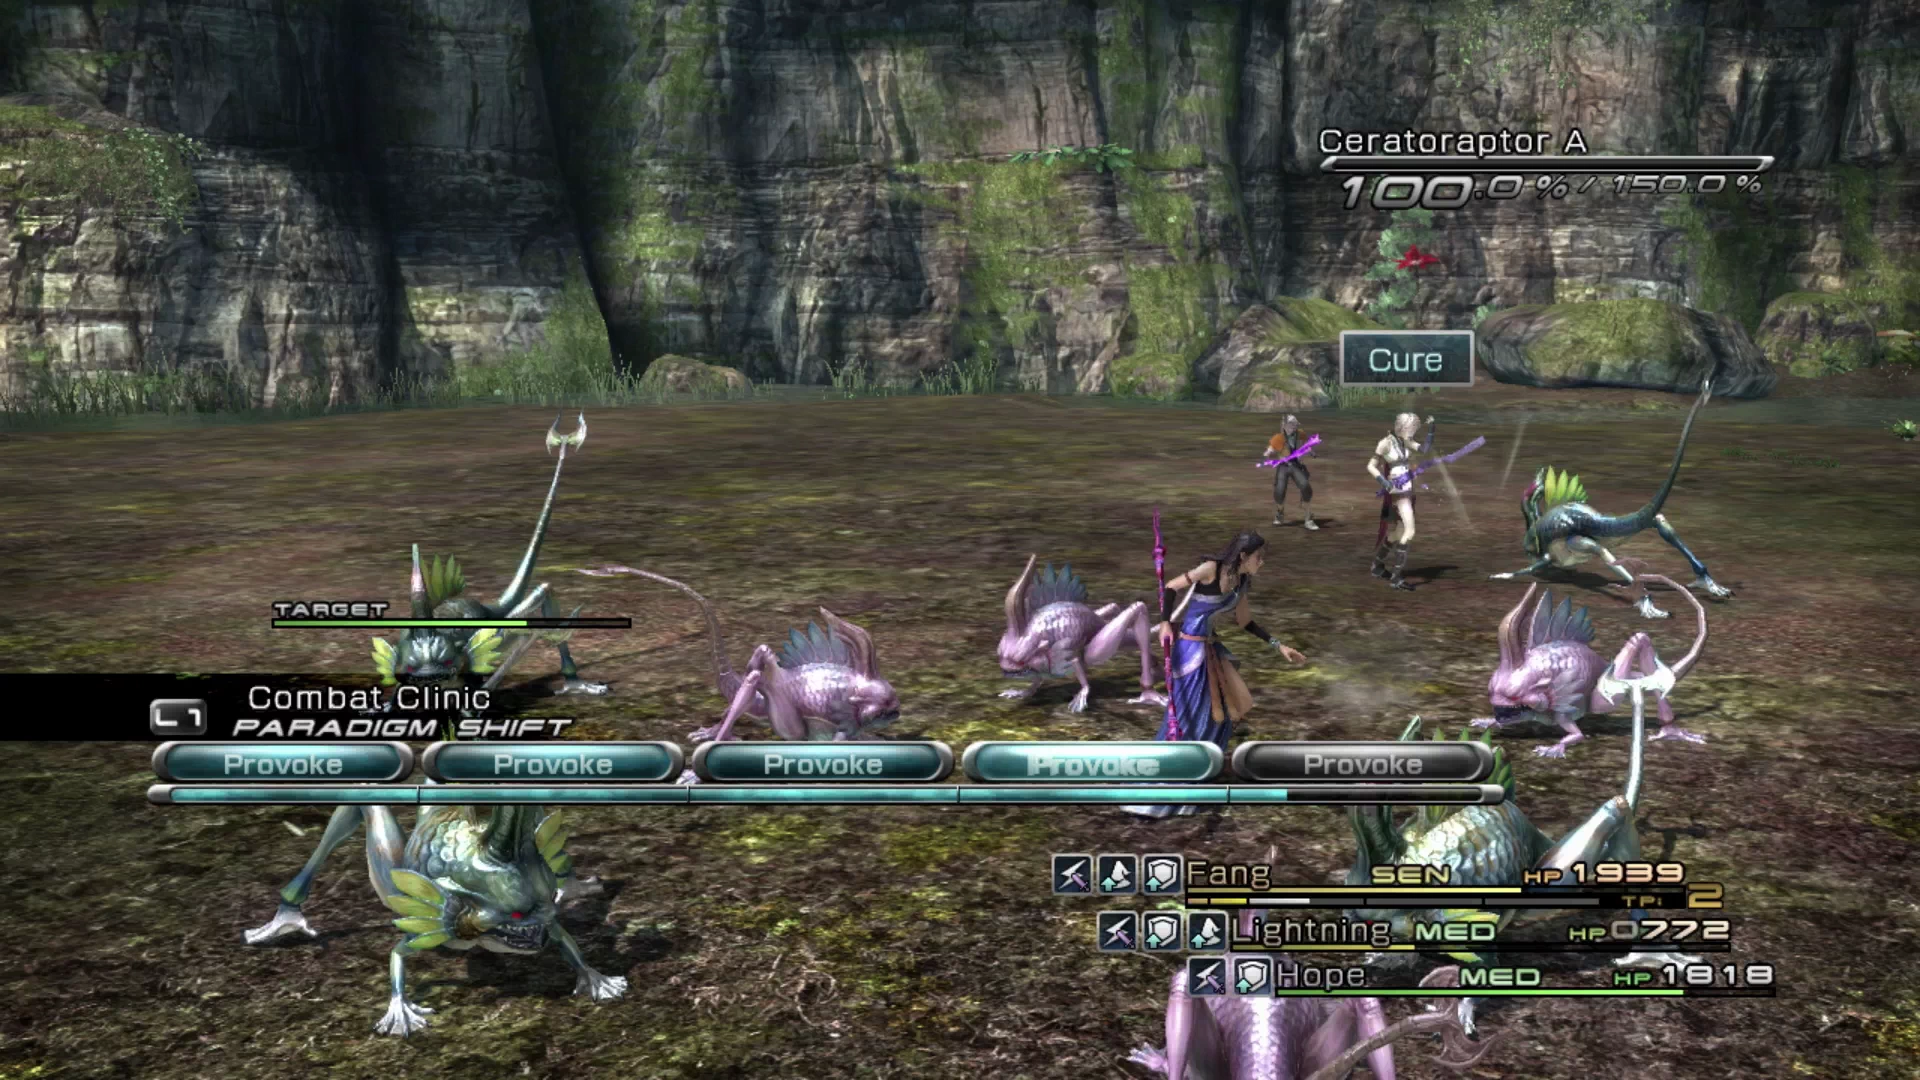
Don’t be afraid to swap to a more defensive Paradigm in order to slow the damage (e.g. Combat Clinic) or to use one of your Shrouds if you’re having trouble contending with these foes.
- First Attempt:
 Rhodochrosite
 - Repeat Attempts:
 Bomb Shell (x4)
Next Steps Following Completion
Using the navigation links below, you can also quickly jump back to the Chapter 11 strategy guide, straight to the next Mission, or back to the main Mission index menu:


