Optimized Party Setup Guide
This section of the strategy guide has been set up to provide new players with some guidance regarding how to optimize the setup of their Battle Team after reaching the Archylte Steppe.
The Archylte Steppe is the first section of the game where you really get the full opportunity to set up and customize your team. All of your characters, except Vanille, have access to their Eidolon. They all will also have the opportunity to add an ATB Gauge bar by activating the ATB Level crystal in one of their Crystariums.
So what are the key optimization considerations you should look at for your Battle team?

There are four main guidelines you should consider which are outlined below, but keep in mind that Final Fantasy XIII does not have to be fully optimized in order for you to enjoy a play through. You can successfully complete the game with any combination of characters and some truly creative Paradigms and equipment.
These recommendations are just intended to give you some guidance if you’re looking for some help setting up your team to tackle some of the more difficult challenges and side quests that are available in the game.
This setup guide will touch on these four areas:
- Character Selection
- Paradigm Setup
- Crystarium Progress
- Equipment Upgrades
Let’s get started…
Character Selection
Recommendations regarding which characters you should include in your party have been included throughout the walkthrough section of this strategy guide. There is also a detailed “Best Party” page in the Tips and Tricks section of the guide, but the recommended party members are:
- Fang
- Lightning
- Hope (and sometimes Vanille)
For a more detailed explanation of why these characters are the most popular choices, check out the “Best Party” guide below:
Tips and Tricks
A summary of the party member’s strengths and weaknesses that can be used to help you select the optimum party members for your battle team.
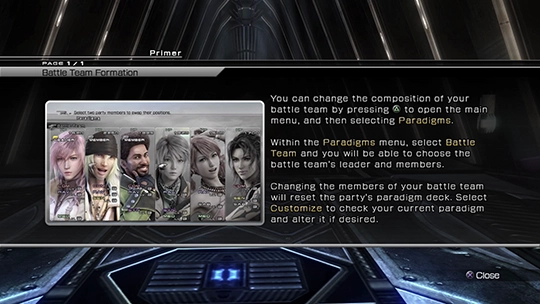
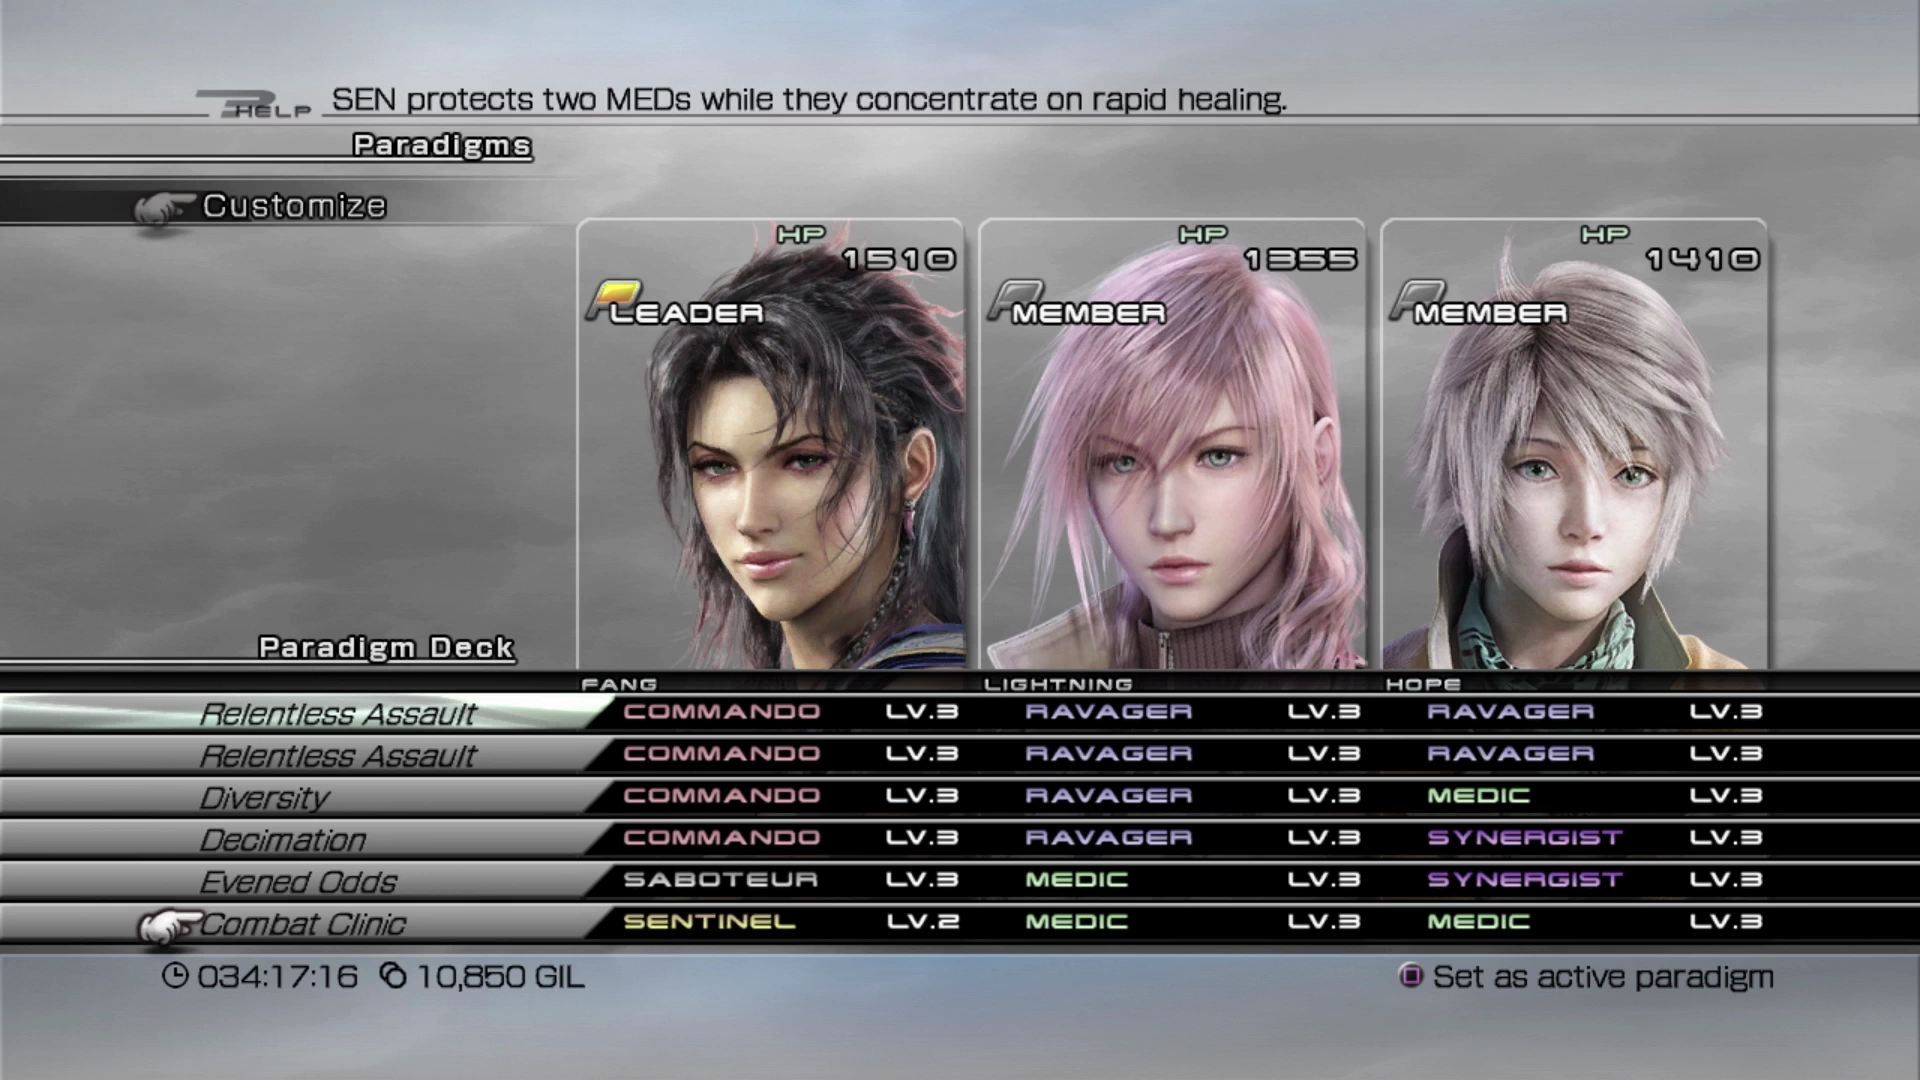
Paradigm Setup
There will be some fights that will encourage getting creative with some of the Paradigms, but for the most part, the following Paradigms will get you through some pretty tough battles:
| Primary | Optional Replacement | Comments | |
|---|---|---|---|
| 1 | Relentless Assault COM/RAV/RAV |
||
| 2 | Relentless Assault COM/RAV/RAV |
Tri-disaster: RAV/RAV/RAV |
Having two Relentless Assault Paradigms will allow you to bounce between the two in order to make optimal use of the ATB Refresh tactic. The option here is to replace COM/RAV/RAV with RAV/RAV/RAV and just switch back to Paradigm 1 if the Chain Gauge is at risk of dropping. On the one hand, RAV/RAV/RAV will pump up the Chain Gauge much quicker, but on the other hand, it may not be efficient to put a bunch of points into Fang’s |
| 3 | Diversity COM/RAV/MED |
Your standard healing Paradigm. | |
| 4 | Evened Odds SAB/MED/SYN |
This Paradigm allows you to both buff and debuff at the same time. There are other potential combinations that would work here but this allows you to focus on early stage preparation for more difficult fights without trying to scatter SAB and SYN roles into other Paradigms. | |
| 5 | Combat Clinic SEN/MED/MED |
Protection SEN/MED/SYN |
This is your extremely defensive Paradigm for when things are getting out of hand. This will happen less and less as you progress through the game and build up the power of your characters (at which point you should consider an optional replacement), but it is worth having this Paradigm on hand, especially for some of the more difficult Cie’th Stone Missions towards the start of Chapter 11. |
| 6 | (Open) | This is an open Paradigm as the other 5 recommendations will have you covered in most situations. The sixth and final Paradigm can be used to augment your team and use a strategy that’s more closely aligned with your play style. |
Again, as noted above, there are a myriad of different options and many other Paradigms will work, but the use of these Paradigms will help newer players acclimatize to some of the more difficult battles ahead.
Crystarium Progress
This information is covered in the walkthrough, but there are some specific goals and targets you should have in mind when completing your character’s Crystariums. Crystogen Points (CP) should always be spent strategically. So what should you target?
- ATB Crystals
Each character can unlock one “ATB Crystal” in one of the Paradigms. Typically, it will be found in their most effective role ( Commando for Fang and Lightning,
  Synergist for Hope,
  Medic for Vanille, etc.). Adding another ATB charge will greatly increase the effectiveness of your characters in all their roles, so you should prioritize unlocking ATB Crystals on the top tiers first and foremost.
 - 2) Accessory Crystals
Having the ability to equip another accessory can greatly increase the power and effectiveness of your party members and, again, this applies no matter what role they are in. - 3) Ability Crystals
Unlocking spells or abilities as you work your way around each Crystarium will greatly increase the utility and effectiveness of your characters in battle, especially when using “Auto” commands or when the computer/AI is playing your two non-leader characters. More spells and abilities opens up more possibilities so make sure to unlock these, starting with each character’s primary role but then filling out secondary roles as well. - 4) Role Levels
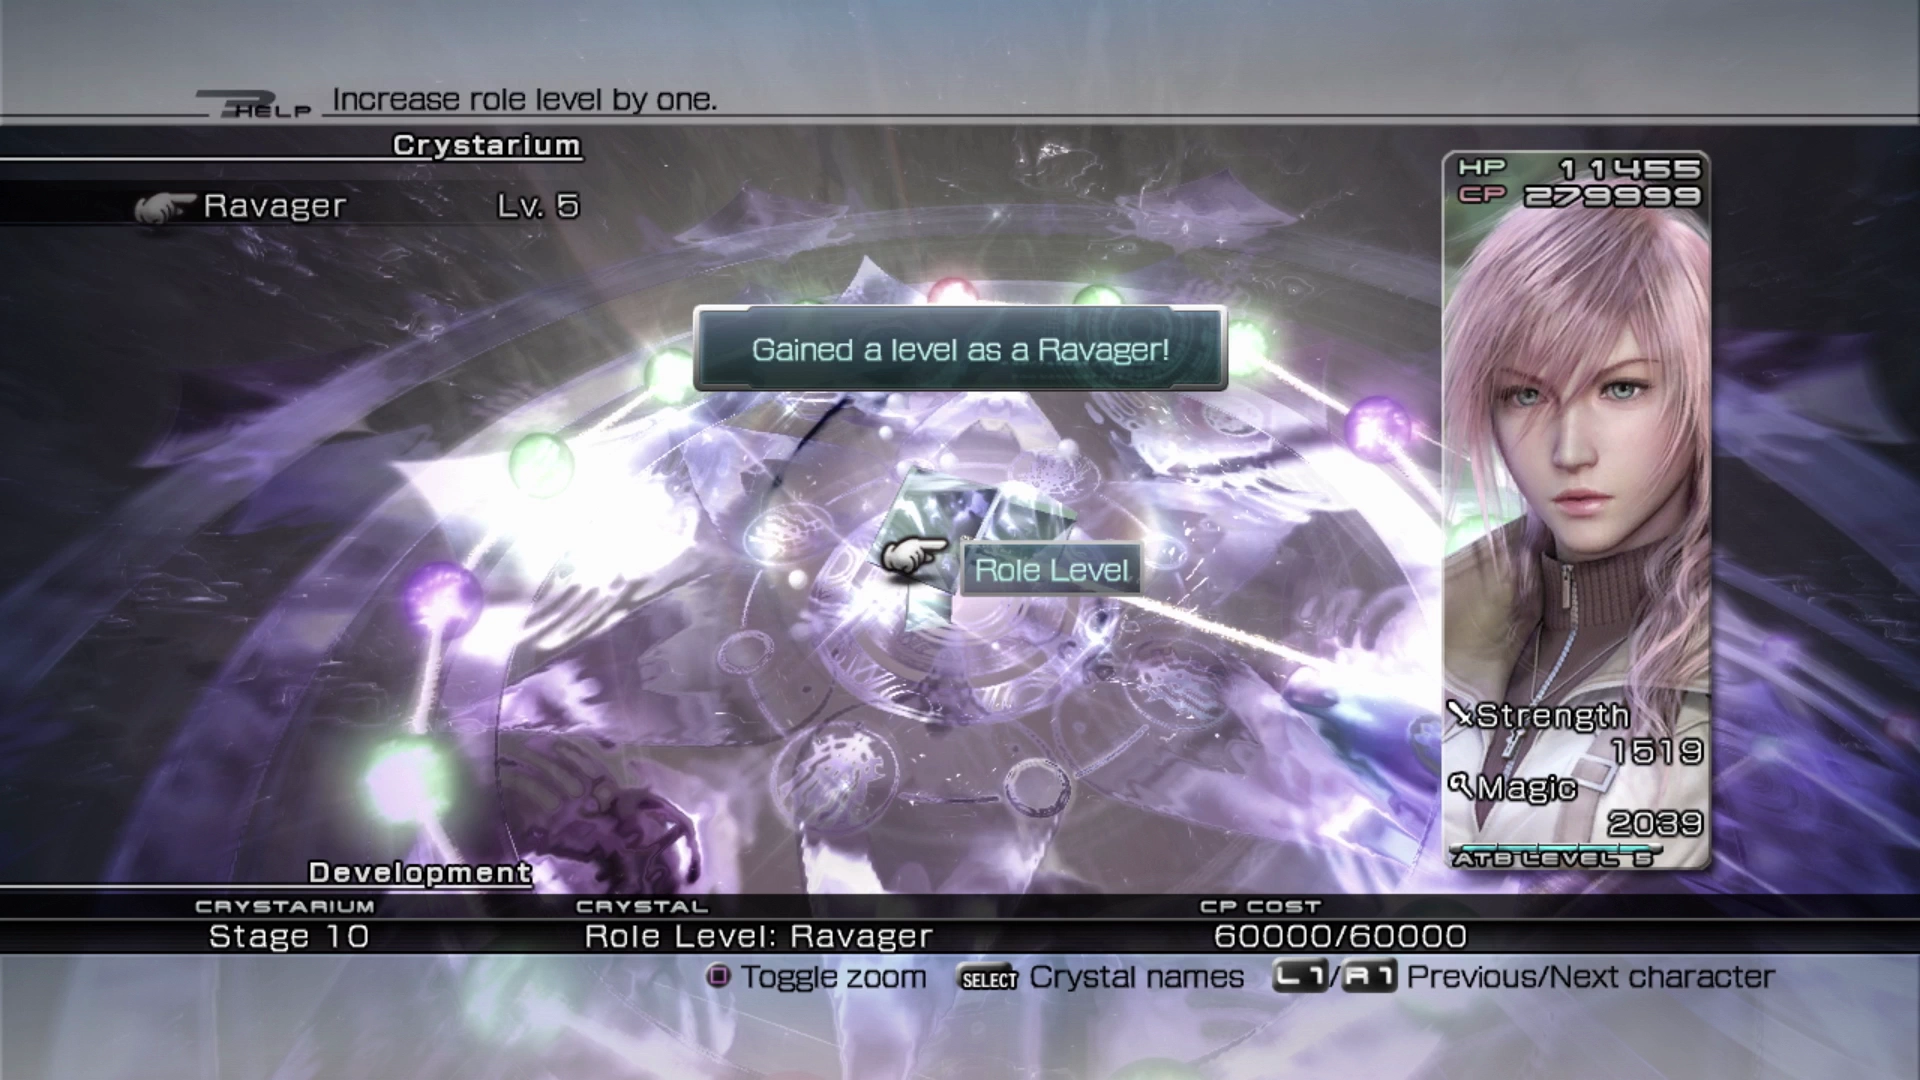
Finally, as mentioned earlier in the guide, increasing a Role Level increases the effectiveness of that character when they are in that role and the entire party. Check out the Role Tactics page in the Tips and Tricks section for more information.
After accomplishing these goals you can set out on just filling out each Crystarium and building on your character’s overall stats.
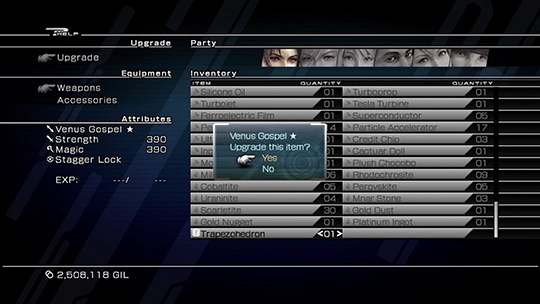
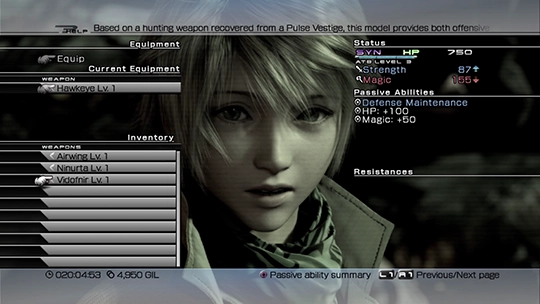
Equipment Upgrades
By the time you reach the Archylte Steppes in Chapter 11 you should consider upgrading some of your weapons, but note that the best time to look into this is after completing Cie’th Stone Mission #7, which will give you access to the ![]() R&D Depot. This shop has components and catalysts that will make the upgrade process much smoother.
R&D Depot. This shop has components and catalysts that will make the upgrade process much smoother.
Check out the “Upgrading Equipment” guide for more information on how to do this and then refer to the “Best Weapons” guide to help you identify which weapons to upgrade: