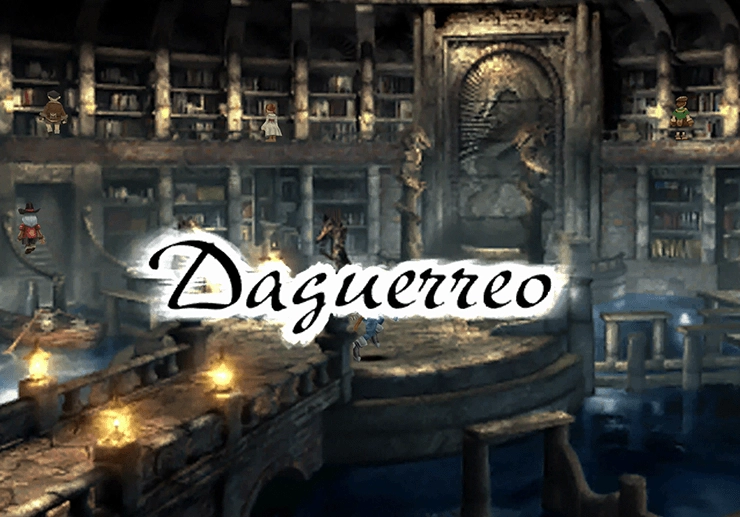
Daguerreo
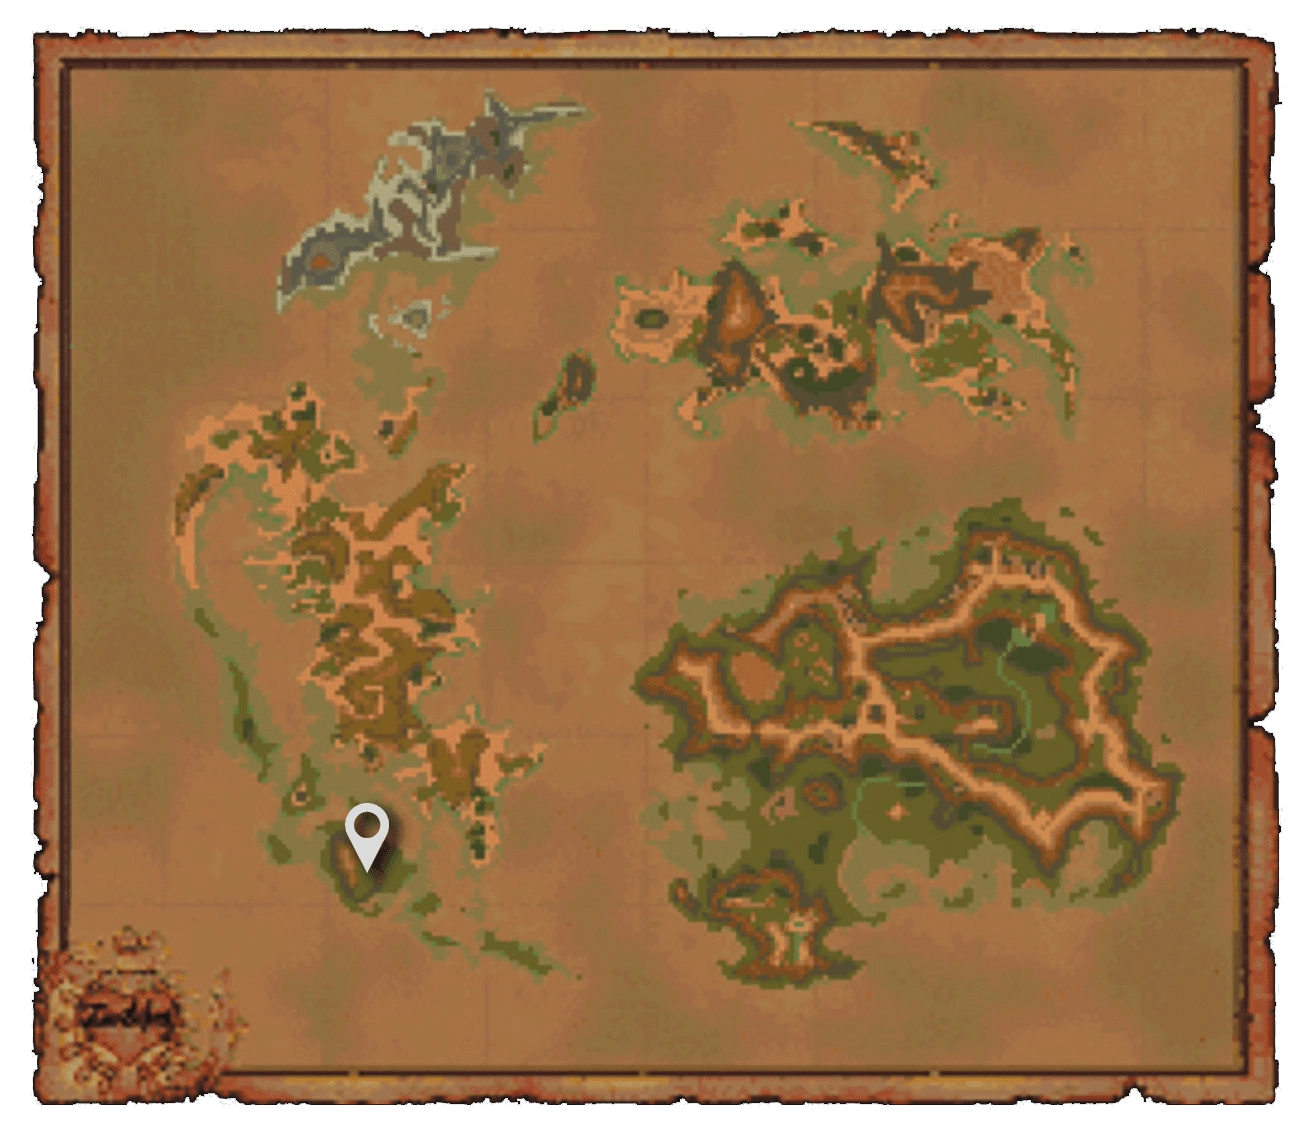
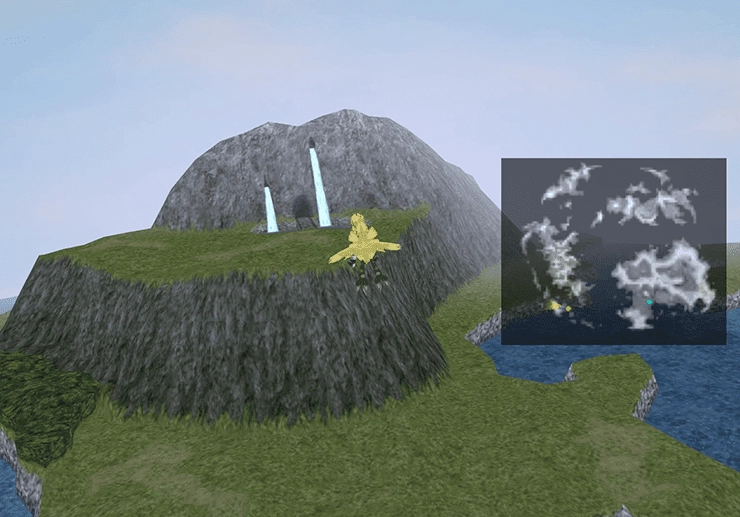
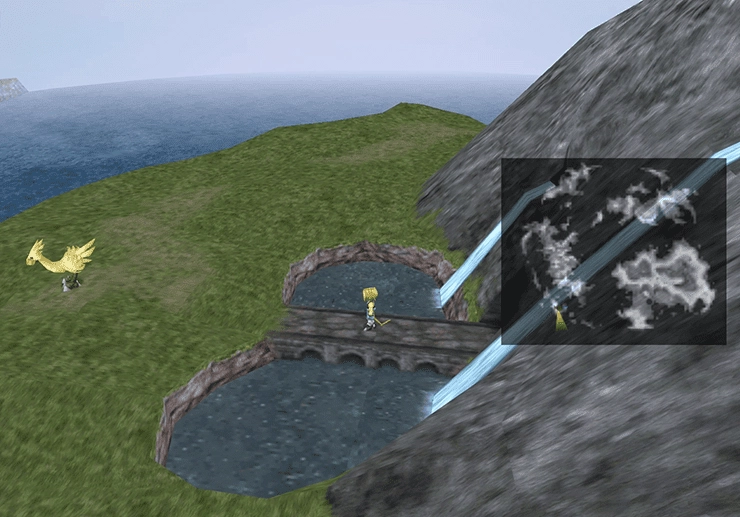
You can reach Daguerreo as soon as you have access to the Hilde Garde III on Disc 3 (or have obtained the Sky Ability for your Chocobo) and can fly to the location. Daguerreo is located on the largest island (called Sacrobless Island on the menu screen) in the southwestern corner of the map, just south of the Forgotten Continent. Use the map and the screenshot below to help you find it:
Exploring Daguerreo
To start, search the far right side of the screen along the watery pathway to find the Capricorn Stellazzio. Continue through the doorway on the right side to find the Four-armed Man who used to be located in Treno.
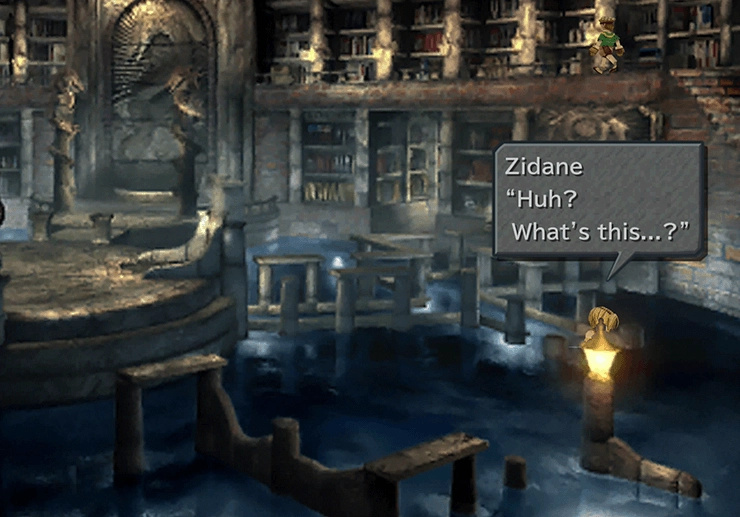
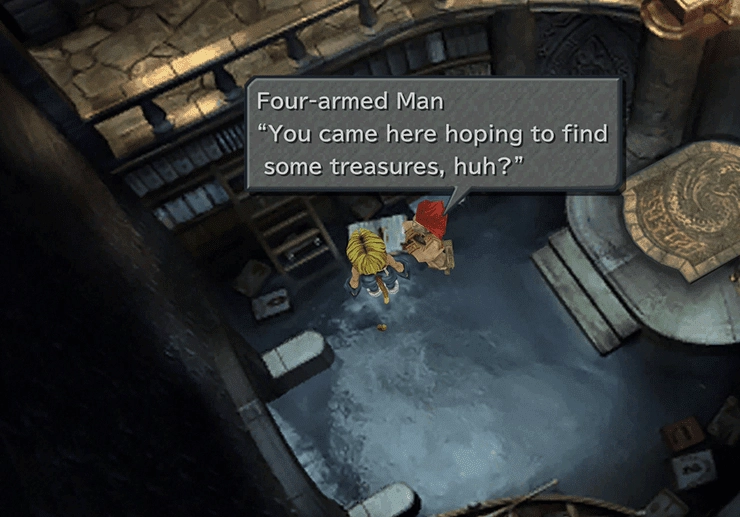
The Four-armed Man will tell you that he is a treasure hunter and will assign you a treasure hunter rank. If you have been following this guide and have picked up most of the hidden treasures you will receive the highest rank of “S.” The Four-armed Man will then run away.
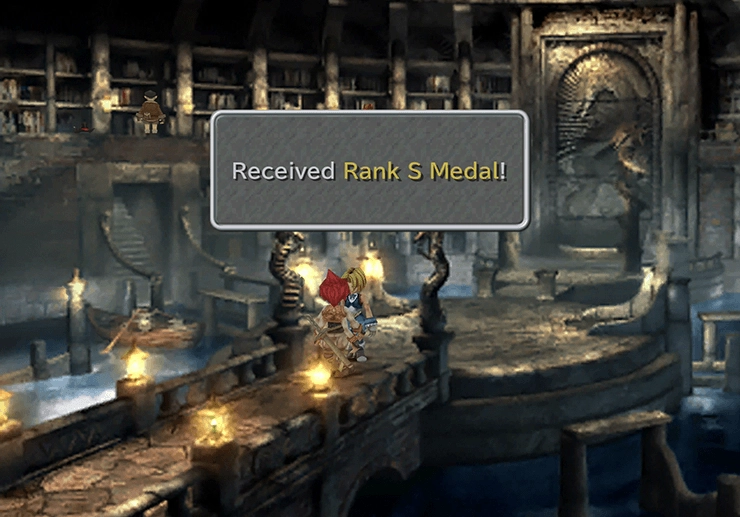
You can find him near the entrance. Speak to him again to receive the Rank S Medal Key Item.
Helpful Hint
The Treasure Hunter rank is determined by how many hidden chests you find, every field icon you locate, items gained during event sequences, and items purchased in the Treno Auction house. Following a guide like this one should help you achieve the highest Treasure Hunter rank.
You also receive points for finding all the Chocographs by completing the Chocobo Hot & Cold side quest. Check out the Treasure Hunter guide in the Side Quests section for more information.
Achievement/Trophy
Obtaining a rank of “S” Treasure Hunter is the prerequisite for obtaining the  Another Man’s Treasure Achievement/Trophy. The only way to obtain it is by finding as many of the hidden treasures throughout your travels as you can. Following this guide is a great way to do just that!
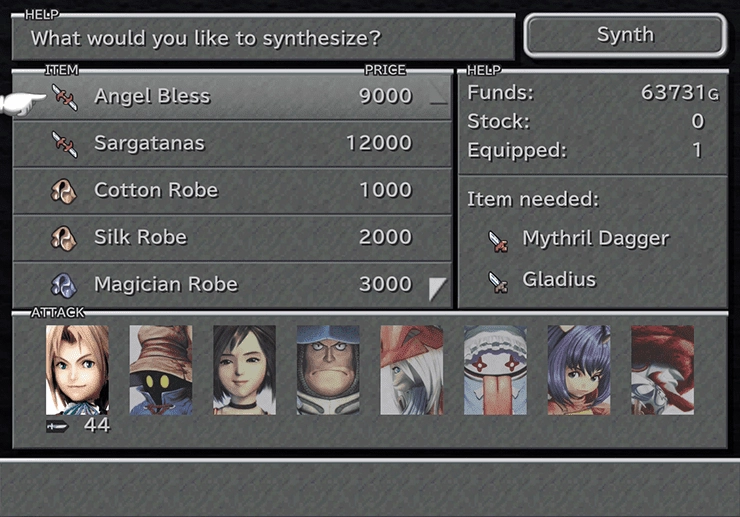
Ride the elevator up to the next level. There is a Moogle in the bottom right corner of the screen named Noggy that you can use to save your game if needed. The man behind the desk is the Synthesis Expert; speak to him to see the Synthesis Shop, which has a ton of great items available, including:
 Angel Bless
 Sargatanas
 Cotton Robe
 Silk Robe
 Magician Robe
 Glutton’s Robe
 White Robe
 Black Robe
 Cachusha
 Coral Ring
 Magician Shoes
 Barette
 Power Belt
 Madain’s Ring
 Fairy Earrings
 Extension
 Reflect Ring
 Anklet
 Feather Boots
 Black Belt
 Pearl Rouge
 Promist Ring
 Battle Boots
 Rebirth Ring
 Angel Earrings
 Garnet
 Amethyst
 Peridot
 Sapphire
 Opal
Opal Topaz
Topaz Thief Gloves
Make sure that you pick up a ![]() Sargatanas for Zidane,
Sargatanas for Zidane, ![]() Glutton’s Robe for Quina if Quina is in your party, and a pair of
Glutton’s Robe for Quina if Quina is in your party, and a pair of ![]() Battle Boots. The
Battle Boots. The ![]() Thief Gloves are quite expensive to make, and you likely won’t have the supplies, so don’t worry about picking that item up for now.
Thief Gloves are quite expensive to make, and you likely won’t have the supplies, so don’t worry about picking that item up for now.
Exit this room by going through the doorway on the left side of the screen on the upper balcony. There is a pile of books on the right side of the screen. Approach them and a field icon will appear. Press the button, and Zidane will read the titles of some of the books (enabling the next step).
Speak to the Young Man and the Sales Clerk, and they will tell you that they are arguing about “I Want to Be Your Canary.” Speak to them a few times and continue to either agree with the Sales Clerk or the Young Man.
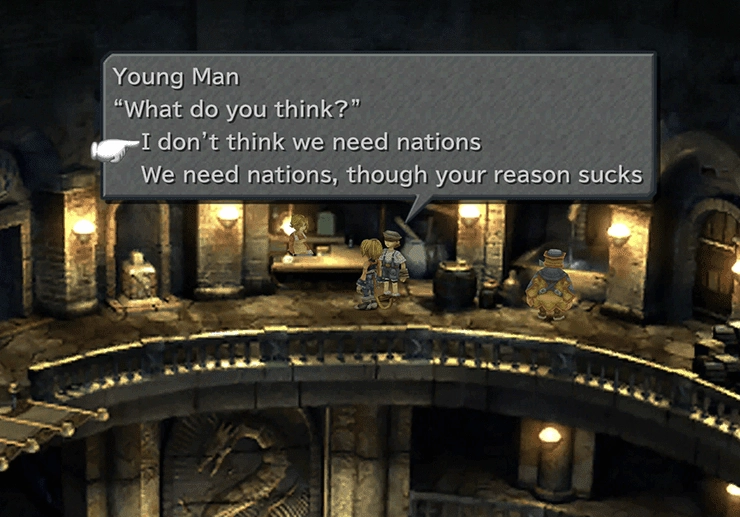
Agreeing with the Sales Clerk will get you the ![]() Meteor Card (which is a better item), while agreeing with the Young Man will get you a
Meteor Card (which is a better item), while agreeing with the Young Man will get you a ![]() Flare Card. The Item Shop has the standard consumable items that you have seen before.
Flare Card. The Item Shop has the standard consumable items that you have seen before.
There is a strange-looking pedestal to the left of the item shop. Press the button to activate the ![]() Aquamarine maker on the bottom level. It takes 4
Aquamarine maker on the bottom level. It takes 4 ![]() Ores to make 1 Aquamarine. You can speak to the Librarian, and he will offer to allow you to use the hammocks in the library to rest for 100 Gil.
Ores to make 1 Aquamarine. You can speak to the Librarian, and he will offer to allow you to use the hammocks in the library to rest for 100 Gil.
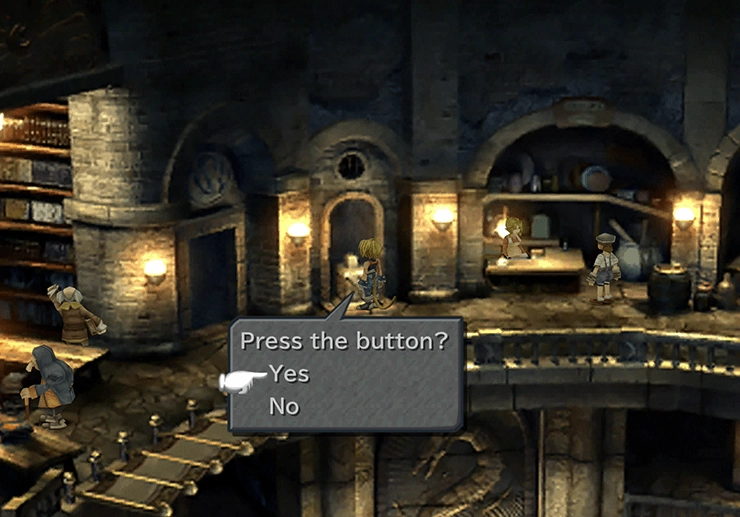
The man beside the Librarian will talk about a book he is looking for and will move out of your way once you speak to him (if you looked at the pile of books on the opposite side of the room). Walk down the pathway that opens up behind him and go down the ladder.
There is a man on this balcony who will offer to allow you to change the name of your character if you have a ![]() Namingway Card in your inventory. Continue to the left side of the pathway to find an
Namingway Card in your inventory. Continue to the left side of the pathway to find an ![]() Elixir.
Elixir.
The stairway on the right side of the screen also has a hidden ![]() Elixir. Return to the middle of the balcony and choose to return to the second level when you are done. Head back to the entrance from here.
Elixir. Return to the middle of the balcony and choose to return to the second level when you are done. Head back to the entrance from here.
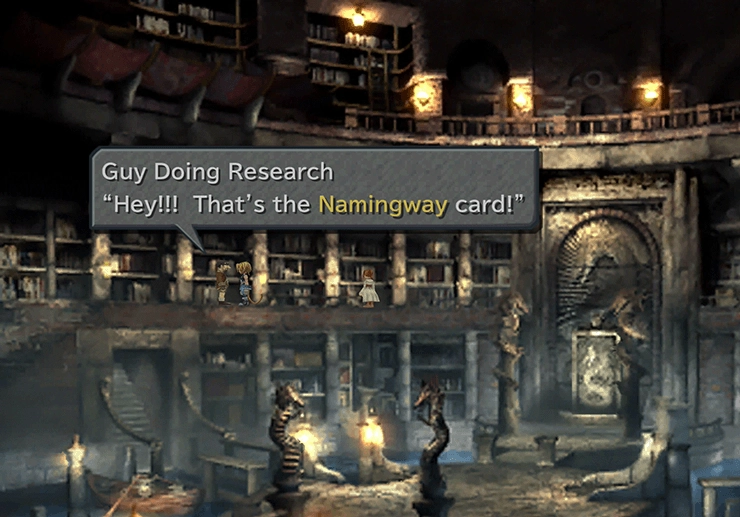
Take the pathway leading left into the room shown in the screenshot below. If you speak to the Weaponsmith on the top level, he will explain that the lift on this lower level needs to be fixed before he can open up shop.
Pull the Left Lever on the back wall twice and then examine the small hole in the wall behind the platform that lowers. Grab the rod to the right of the levers and have Zidane place it in the hole. Pull the Right Lever twice, and then jump onto the platform, and it will carry Zidane to the upper level.
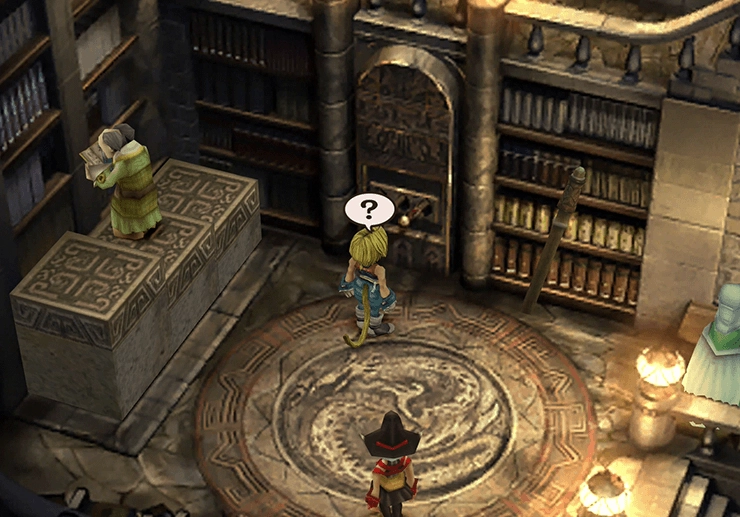
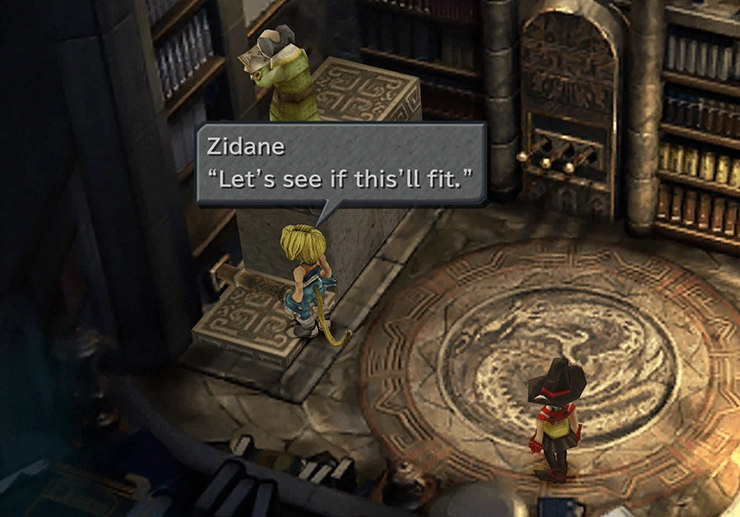
Speak to the Weaponsmith, and you can now access the shop. He sells:
 Mage Masher
 Mythril Dagger
 Gladius
 Zorlin Shape
 Rune Blade
 Obelisk
 Tiger Fangs
 Mythril Racket
 Asura’s Rod
 Hamelin
 Octagon Rod
 Rising Sun
 Bone Wrist
 Mythril Armlet
 Magic Armlet
 Chimera Armlet
 Egoist’s Armlet
 N-Kai Armlet
 Jade Armlet
 Venetia Shield
 Defense Gloves
 Lamia’s Tiara
 Twist Headband
 Golden Hairpin
 Coronet
 Diamond Helm
 Gaia Gear
 Demon’s Vest
 Demon’s Mail
 Diamond Armor
Note that visiting this shop on Disc 3 is your last opportunity to purchase the ![]() Rune Blade and the
Rune Blade and the ![]() Obelisk, which are both responsible for teaching them abilities that they cannot learn elsewhere. Make sure that you pick up one of each before you leave.
Obelisk, which are both responsible for teaching them abilities that they cannot learn elsewhere. Make sure that you pick up one of each before you leave.
Important Reminder
Don’t forget to place as much ![]() Ore as you would like in the
Ore as you would like in the ![]() Aquamarine maker on the main level before you leave. It takes 4
Aquamarine maker on the main level before you leave. It takes 4 ![]() Ores to make an Aquamarine. That is everything that you can do in Daguerreo, but the quest to obtain
Ores to make an Aquamarine. That is everything that you can do in Daguerreo, but the quest to obtain ![]() Excalibur begins here in Daguerreo once you have reached Disc 4. Check out the side quest to obtain Excalibur page for more details.
Excalibur begins here in Daguerreo once you have reached Disc 4. Check out the side quest to obtain Excalibur page for more details.

