Oeilvert

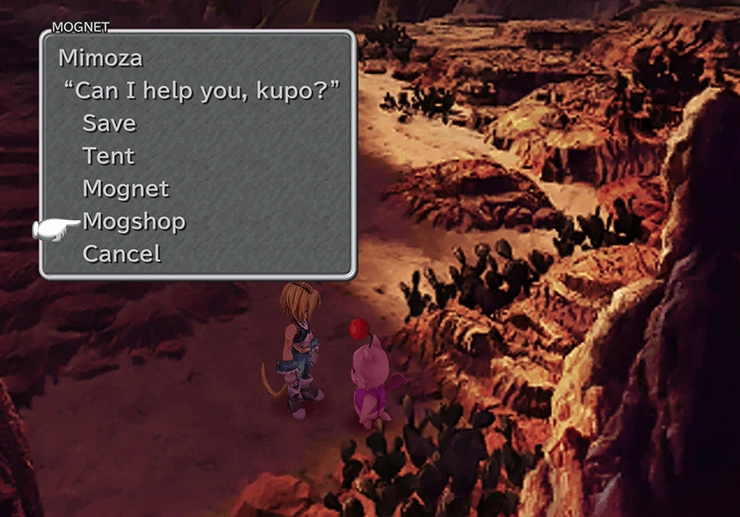
There is a Moogle named Mimoza standing at the entrance to Oeilvert. Select the Mognet option and choose to take a letter from Mimoza addressed to ![]() Mooel. You can use the Mogshop to purchase a ton of great new items, including:
Mooel. You can use the Mogshop to purchase a ton of great new items, including:
 Diamond Sword
 Trident
 Mythril Claws
 Magic Racket
 Healing Rod
 Fairy Flute
 Cypress Pile
 Silver Fork
 Pinwheel
 Chimera Armlet
 Egoist’s Armlet
 Thunder Gloves
 Diamond Gloves
 Mantra Band
 Dark Hat
 Green Beret
 Gold Helm
 Cross Helm
 Brigandine
 Judo Uniform
 Plate Mail
 Gold Armor
In addition to the standard set of consumable items. Make sure to purchase a large number of ![]() Green Berets and have some of your team members start learning the
Green Berets and have some of your team members start learning the ![]() Clear Headed ability, which can be used to prevent the Confuse status effect.
Clear Headed ability, which can be used to prevent the Confuse status effect.
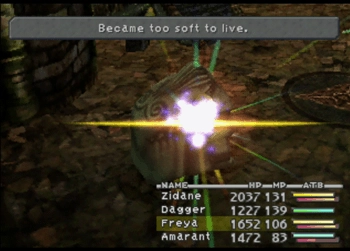
You can use a ![]() Soft on an enemy in this area (called an Epitaph) to instantly destroy them, so make sure that you have a stockpile of Softs as well (shown in the screenshot below). Save your game and then proceed forward.
Soft on an enemy in this area (called an Epitaph) to instantly destroy them, so make sure that you have a stockpile of Softs as well (shown in the screenshot below). Save your game and then proceed forward.
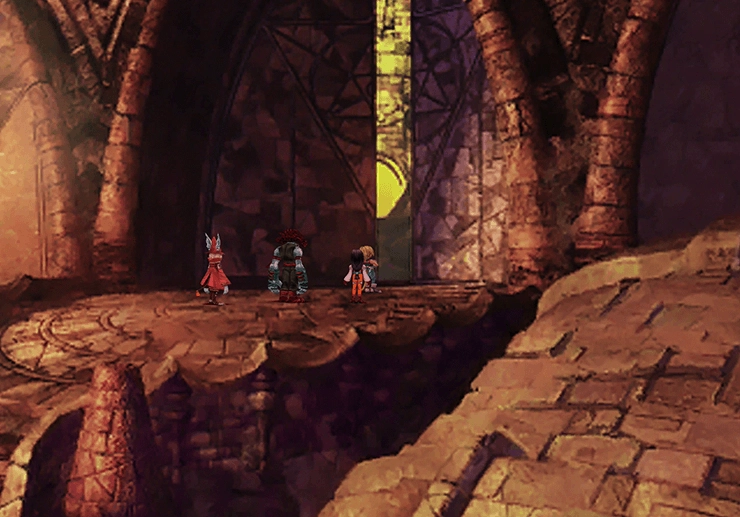
A short cutscene will initiate once Zidane reaches the entrance into Oeilvert. The large door will automatically open, allowing the team to enter.
Oeilvert
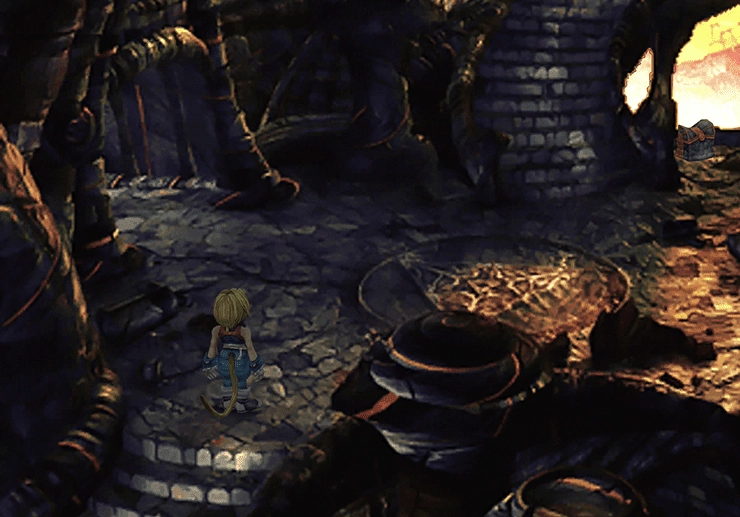
There is a treasure chest under the stairs at the back of the room that contains a ![]() Remedy, as well as another chest at the top of the stairs that contains a
Remedy, as well as another chest at the top of the stairs that contains a ![]() Rising Sun item.
Rising Sun item.
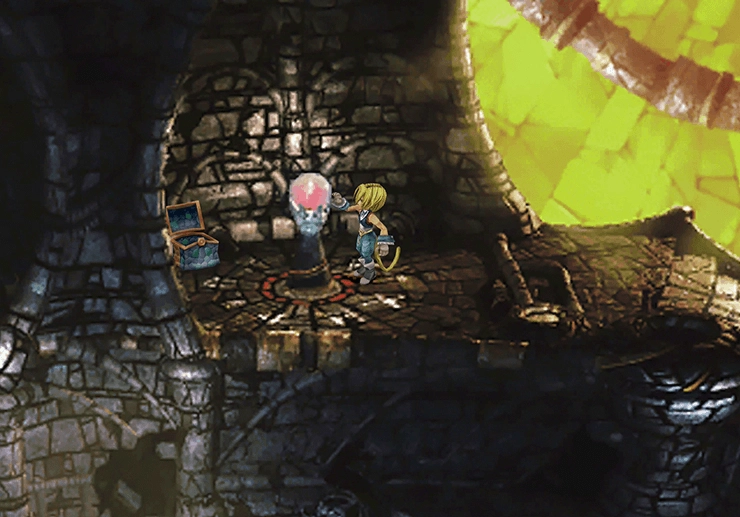
Directly west of this chest, at the top of the stairs, is a room with a blue orb on a pedestal. Touch the orb to activate it (switching its color from blue to red), and then grab the treasure chest behind it to obtain an ![]() Elixir. Return to the previous room and take the stairs on the right side.
Elixir. Return to the previous room and take the stairs on the right side.
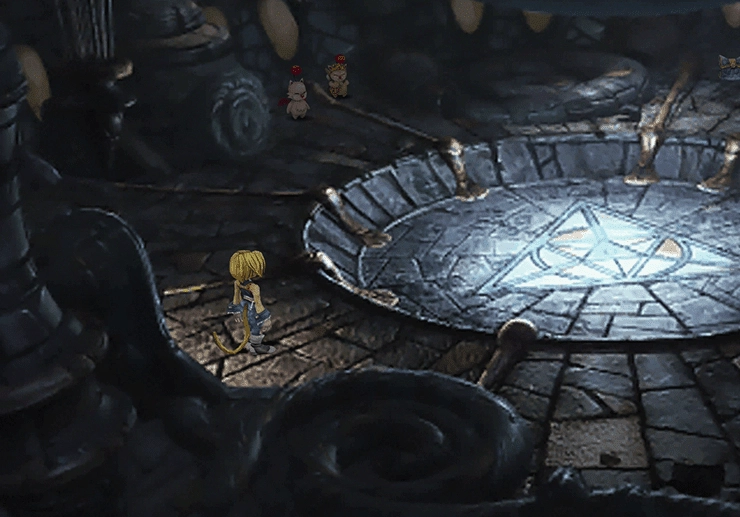
The first thing you will notice in this room is the Moogle at the back and ![]() Stiltzkin standing next to it. The Moogle is
Stiltzkin standing next to it. The Moogle is ![]() Mooel; give the letter from Mimoza to
Mooel; give the letter from Mimoza to ![]() Mooel using the Mognet option to pick up another Kupo Nut (check out the Kupo Nut guide in the Side Quests section for more information).
Mooel using the Mognet option to pick up another Kupo Nut (check out the Kupo Nut guide in the Side Quests section for more information).
Speak to Stiltzkin and give him 888 Gil to receive a ![]() Hi-Potion, an
Hi-Potion, an ![]() Emerald, and an
Emerald, and an ![]() Elixir. Lastly, there is a treasure chest on the opposite side of the room that contains some
Elixir. Lastly, there is a treasure chest on the opposite side of the room that contains some ![]() Gaia Gear armor.
Gaia Gear armor.
Achievement/Trophy
You must purchase all the available items from ![]() Stiltzkin each time he appears to obtain the
Stiltzkin each time he appears to obtain the  Driving the Hard Bargain Achievement/Trophy. This Achievement/Trophy is missable as you cannot return to some sections of the game to buy items that you have missed.
Return to the previous room (the entrance to Oeilvert) and take a left this time. There are two treasure chests that you can obtain in this room—one contains a ![]() Diamond Sword, and the other contains a
Diamond Sword, and the other contains a ![]() Shield Armor.
Shield Armor.
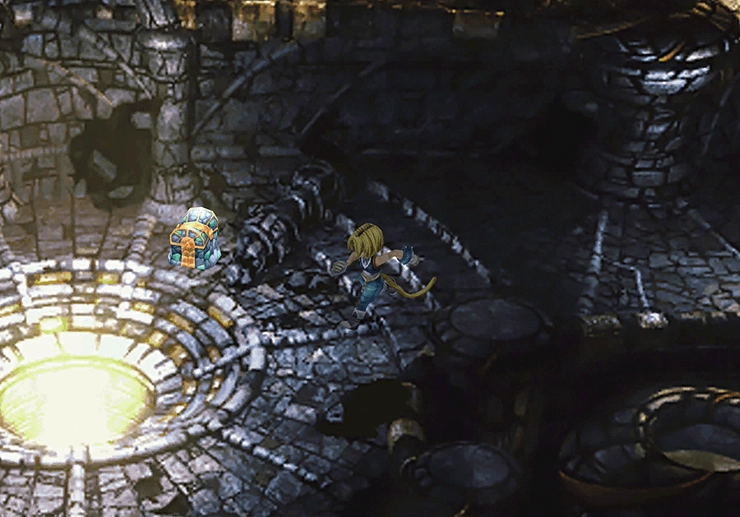
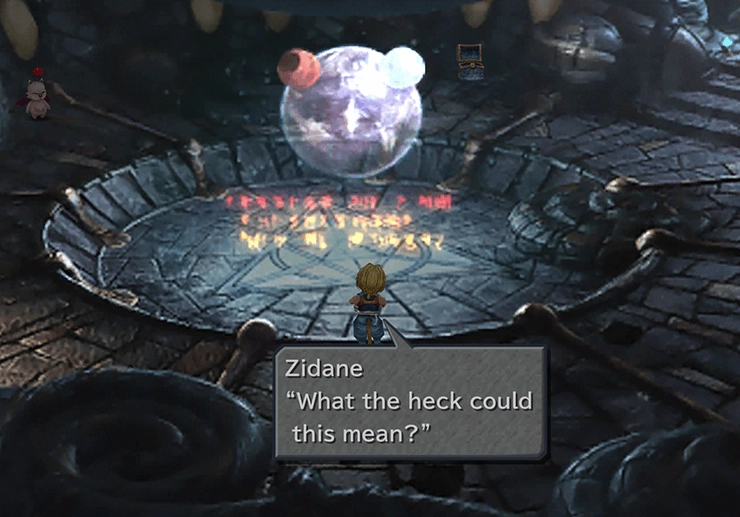
A short cutscene involving a hologram of a planet will play as you walk around the yellow light in the center of the room. Take the stairs at the bottom of the screen downward.
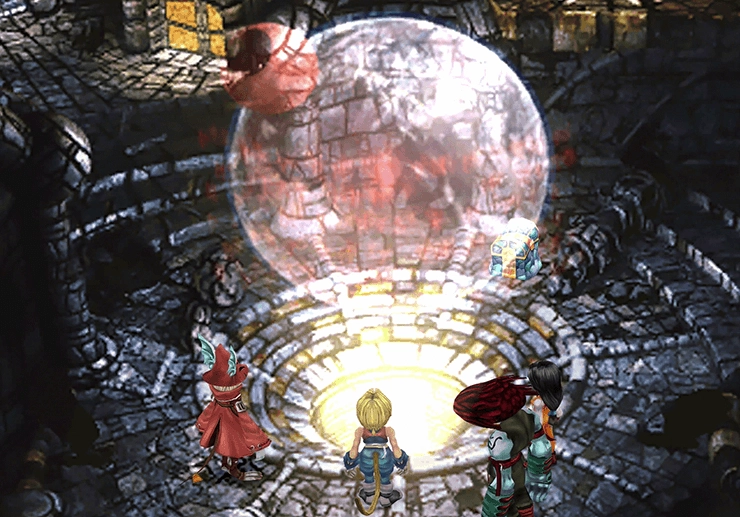
There are two treasure chests in this room as well. One contains a ![]() Power Vest, and the other contains
Power Vest, and the other contains ![]() Feather Boots. There are four yellow lights in this room that you have to touch in the correct order.
Feather Boots. There are four yellow lights in this room that you have to touch in the correct order.
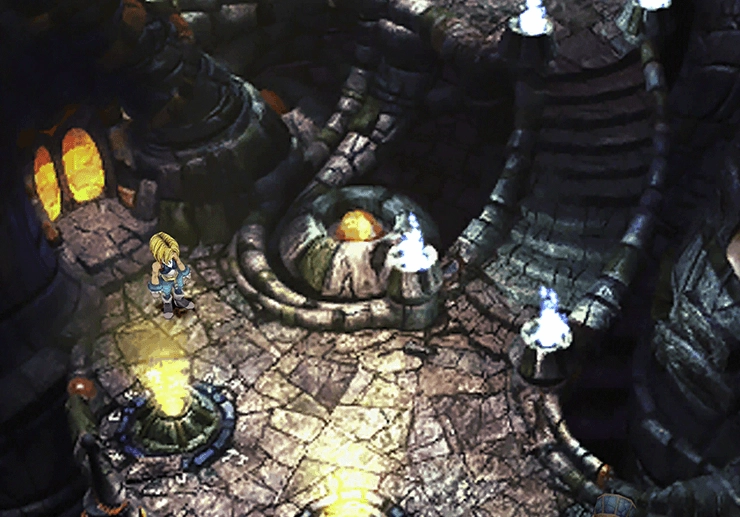
Start by touching the light on the left on the upper platform. Light up the one to the right of the first (close to the treasure chest that had the ![]() Feather Boots in it). Light up the two on the lower platform (the right one first and then the left one). Take the stairs at the top left up and out of the room.
Feather Boots in it). Light up the two on the lower platform (the right one first and then the left one). Take the stairs at the top left up and out of the room.
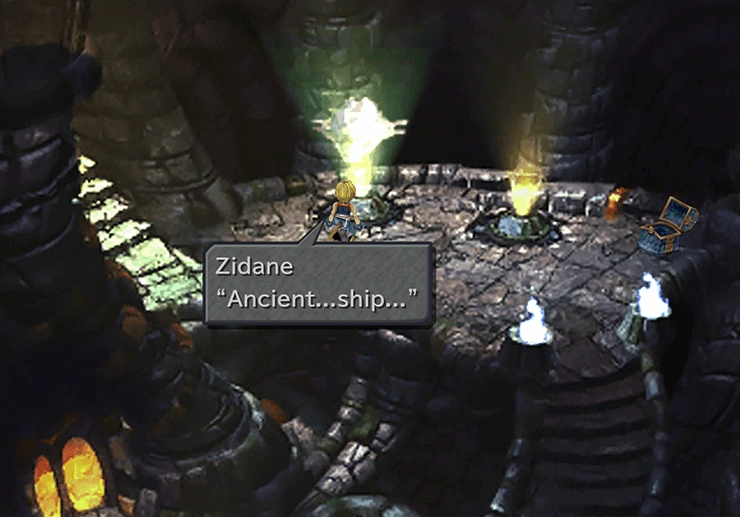
Follow the pathway along until you reach a large orb in the center of the room. Touch the large orb to make another hologram appear.
Continue down the pathway to the left after the hologram has stopped playing. Go through the locked doorway at the top left side of the screen for another cutscene.
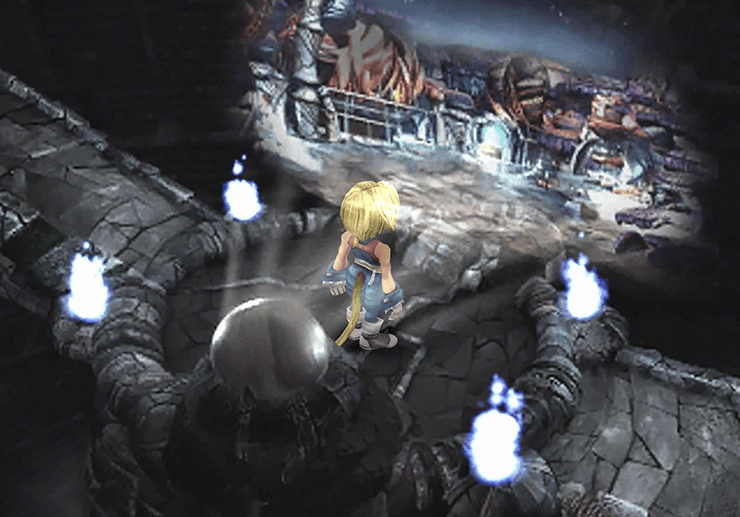
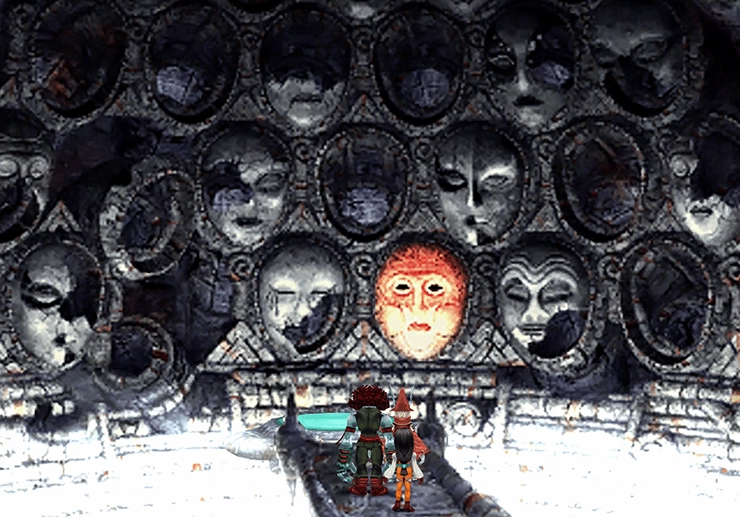
The cutscene takes place in a room with several faces on the far wall. The faces tell the story of a civilization’s rise and fall.
Return to the room where ![]() Mooel and
Mooel and ![]() Stiltzkin were standing, and Zidane will notice that the center of the room looks different from before. You should use a
Stiltzkin were standing, and Zidane will notice that the center of the room looks different from before. You should use a ![]() Tent and save your game by speaking with
Tent and save your game by speaking with ![]() Mooel in preparation for an upcoming boss battle.
Mooel in preparation for an upcoming boss battle.
Boss Preparation
Equip all of your characters with the ![]() Clear Headed ability to prevent the Confuse status effect. The
Clear Headed ability to prevent the Confuse status effect. The ![]() Green Beret hats have the Clear Headed ability, so you can equip each character with it as needed.
Green Beret hats have the Clear Headed ability, so you can equip each character with it as needed.
You can also equip characters with the ![]() Bird Killer ability but this is not required. Lastly, equip your characters with any equipment that you have which reduces Wind elemental damage. Some options include
Bird Killer ability but this is not required. Lastly, equip your characters with any equipment that you have which reduces Wind elemental damage. Some options include ![]() Lamia’s Tiara,
Lamia’s Tiara, ![]() Gauntlets, and
Gauntlets, and ![]() Shield Armor.
Shield Armor.

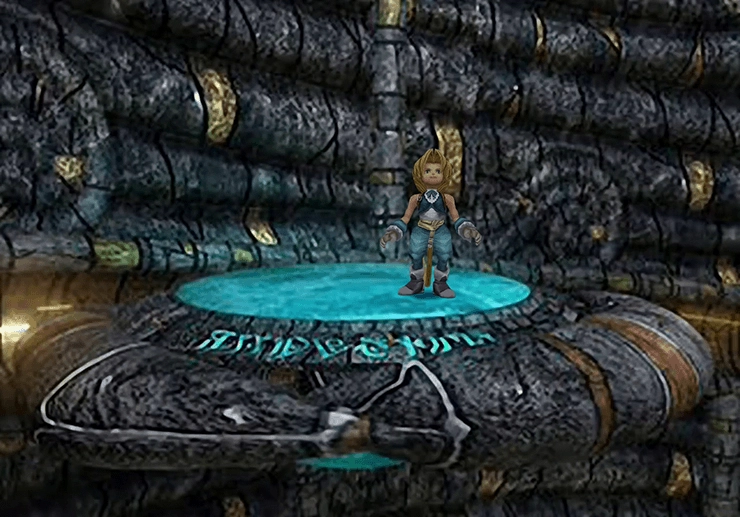
Take the exit on the far side of the room and ride the elevator down. Inspect the device on the wall to cause it to drop down and reveal the Gulug Stone. The boss battle begins as soon as you attempt to remove the stone.
Boss Battle

Level: 38
HP: 20,002
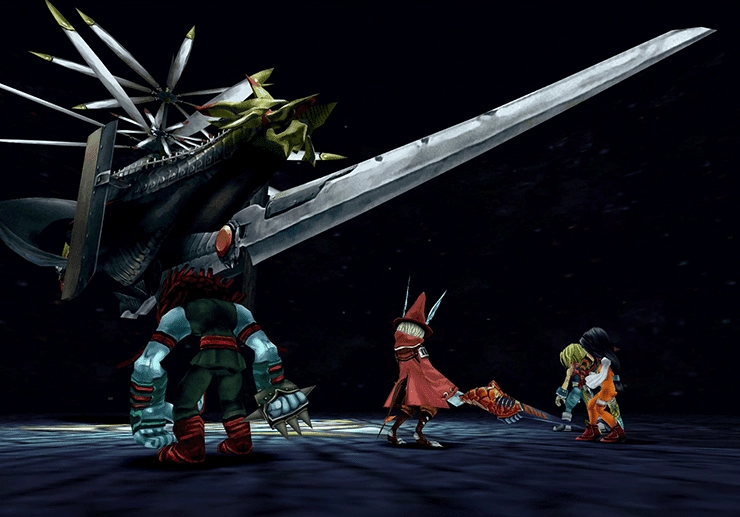
Ark has several attacks that it utilizes during the course of the fight. The most devastating of these attacks is an attack called “Photon,” which reduces one party member’s HP to 1. You won’t be able to use healing spells so have a character ready to use healing items on any character hit by the attack.
Ark will use an attack called “Whirlwind,” which does not do a lot of damage but will cause the character to float (the Float status effect). Any floating character will take more damage when hit by a wind-based attack. “Propeller” will cause any character who does not have the ![]() Clear Headed ability to be hit with the Confuse status effect which can devastate your party, so proper preparation for this fight is required.
Clear Headed ability to be hit with the Confuse status effect which can devastate your party, so proper preparation for this fight is required.
Just use regular attacks, Freya’s Jump ability, etc. until you bring Ark down, and buy a stockpile of ![]() Hi-Potions if you are having trouble keeping your party members alive.
Hi-Potions if you are having trouble keeping your party members alive.
The items that you can steal are not worth stealing, so don’t waste your time.
Steal:
 Elixir (common)
 Power Vest (uncommon)
 Holy Lance (rare)
Drops:
A video demonstration of this battle is included below for reference.
Video Guide
A video demonstration of how to successfully complete the fight against Ark.
Grab the Gulug Stone from the device after the battle, and the game will swap the focus of the story back to the other team back at the Desert Palace.
