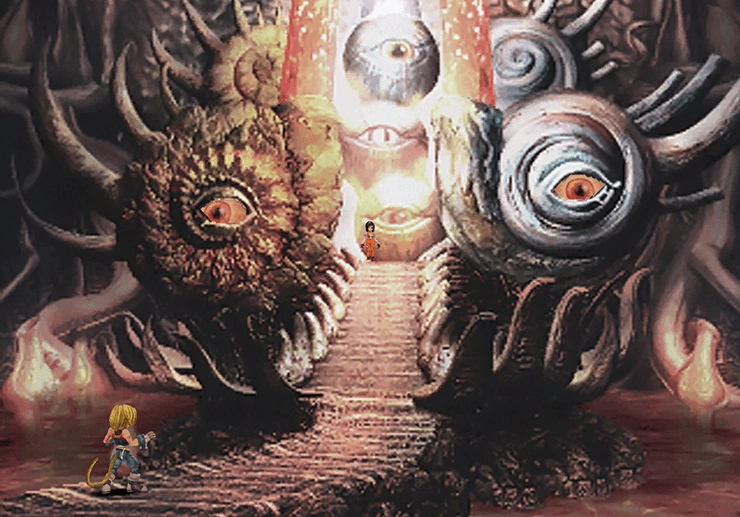
Pandemonium
Opening Battle
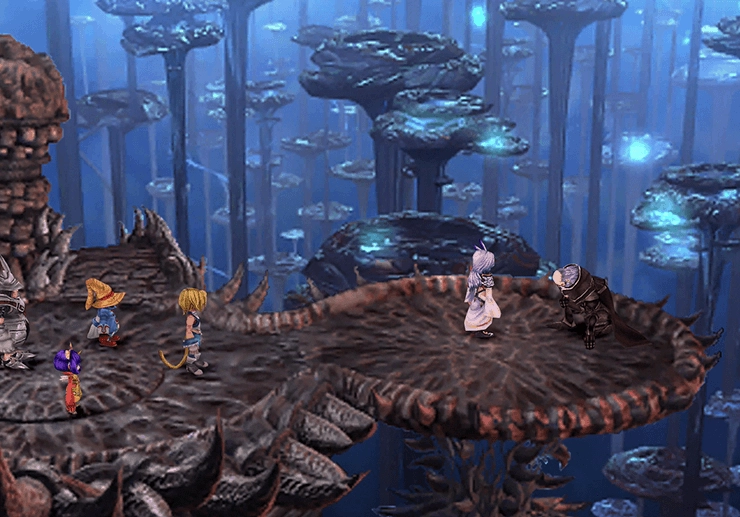
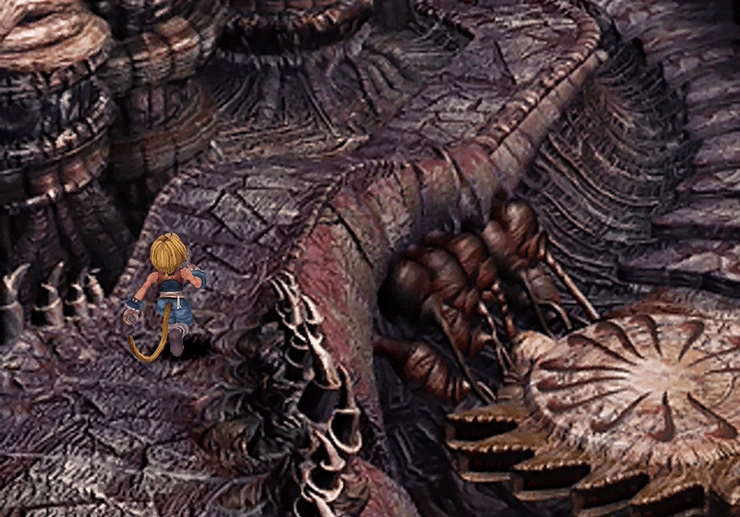
Continue down the pathway as Zidane after arriving through the gate. There are a few more cutscenes that take place as soon as you reach the next room involving Garland.
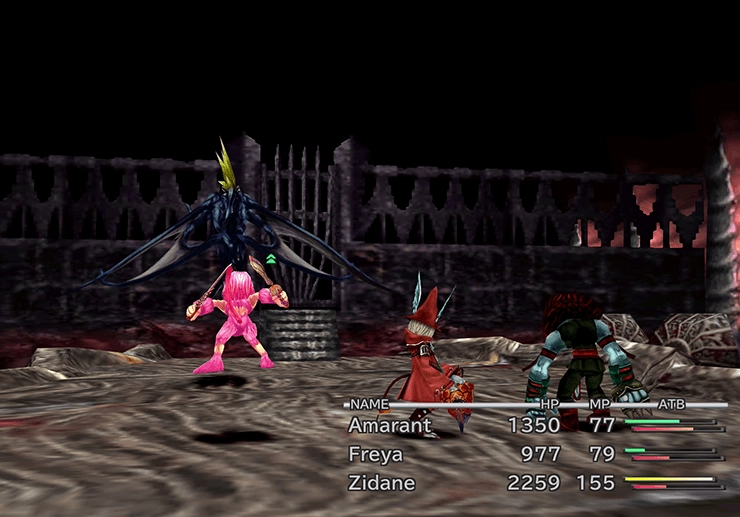
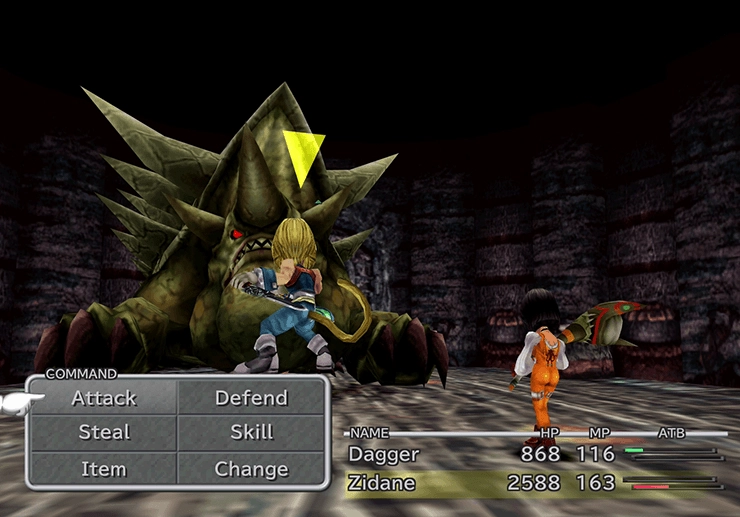
Zidane will automatically be thrown into battle against another Amdusias, which you most likely already fought, assuming you completed the first parts of the Knight’s House Monster Challenge side quest.
Boss Battle
Level: 42
HP: 20,926
Zidane will start this battle off by himself, but after a certain amount of time, Freya and Amarant will join him.
Amdusias does not hit too hard, so focus on keeping Zidane alive until Amarant and Freya join the battle and then use regular attacks to bring it down. The next fight begins immediately after this one.
Steal:
Drops:
Zidane immediately moves into the next room, and the next battle starts immediately.
Boss Battle
Level: 58
HP: 12,658
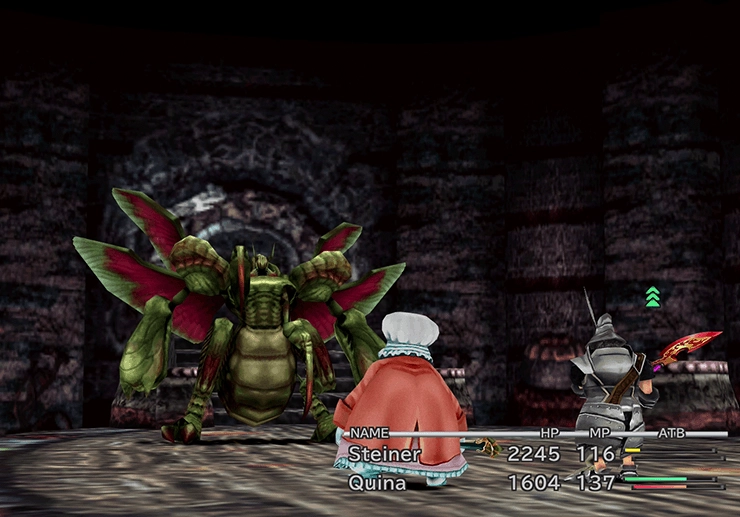
This battle is significantly easier than the last. It involves just Quina and Steiner, and Zidane joins in later. Make use of Quina’s Blue Magic abilities, such as “White Wind” and “Mighty Guard,” to keep Quina and Steiner’s HP up. There’s one more mini-boss battle after this one.
Steal:
 Garnet (common)
 Vaccine (uncommon)
 Phoenix Pinion (rare)
Drops:
Boss Battle
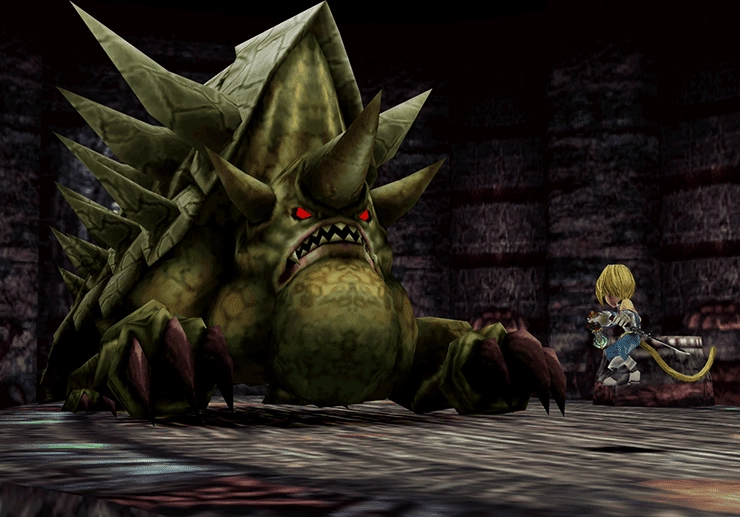
Level: 54
HP: 10,921
Again, the items here are not worth stealing, so ignore them. Shell Dragon is much more difficult than the previous bosses. It can use an attack called “Smash,” which will reduce a party member’s HP down to 1 HP.
Focus entirely on remaining defensive until Dagger shows up. Once Dagger arrives, have her cast ![]() Float on both herself and Zidane to prevent “Earth Shake” from doing any damage. Have her focus on healing both herself and Zidane while Zidane attacks Shell Dragon using physical attacks until it is defeated.
Float on both herself and Zidane to prevent “Earth Shake” from doing any damage. Have her focus on healing both herself and Zidane while Zidane attacks Shell Dragon using physical attacks until it is defeated.
Steal:
 Phoenix Down (common)
 Elixir (uncommon)
Drops:
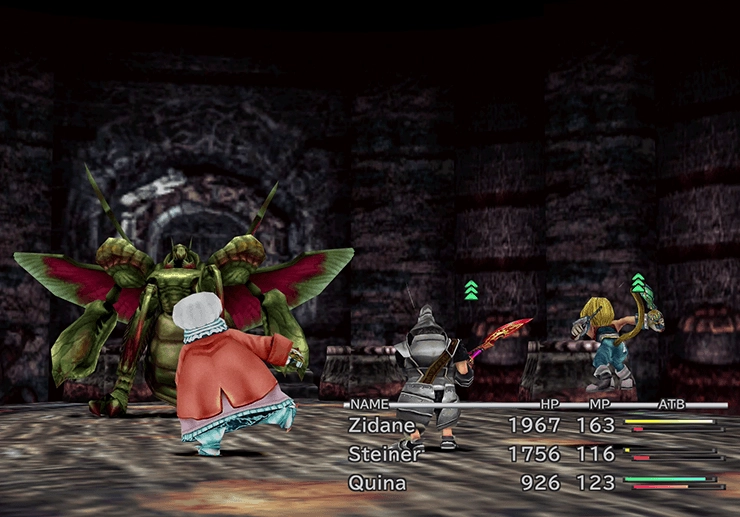
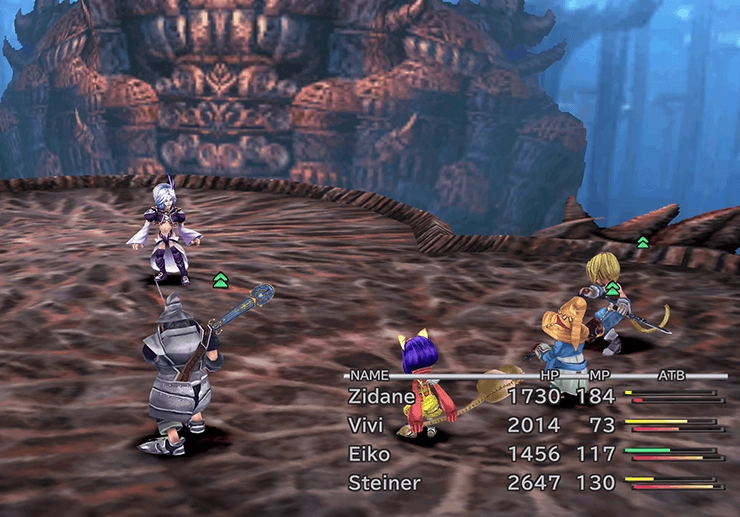
You now have a full party again, consisting of Zidane, Dagger, Steiner, and Quina. Go through the doorway and back into the previous rooms until you reach the rest of the party.
Moorock has appeared behind the party. You can speak to him to save your game, use a ![]() Tent, shop in the Mogshop (make sure you have a healthy stockpile of
Tent, shop in the Mogshop (make sure you have a healthy stockpile of ![]() Vaccines), or switch party members again.
Vaccines), or switch party members again.

Travel back to the throne room to pick up the ![]() Holy Miter by examining the throne.
Holy Miter by examining the throne.
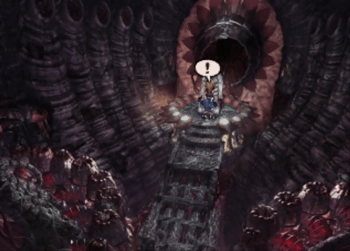
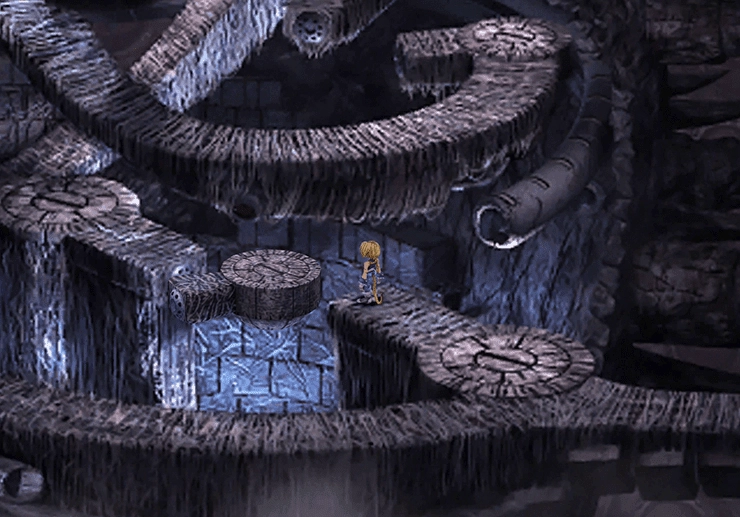
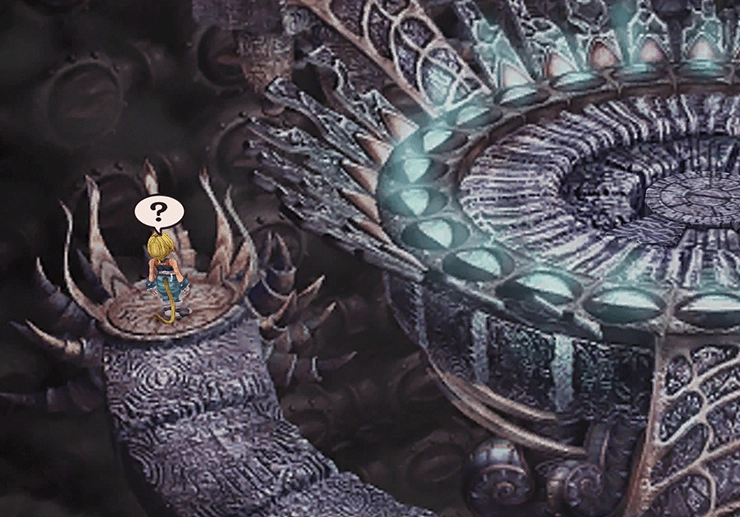
Exploring Pandemonium
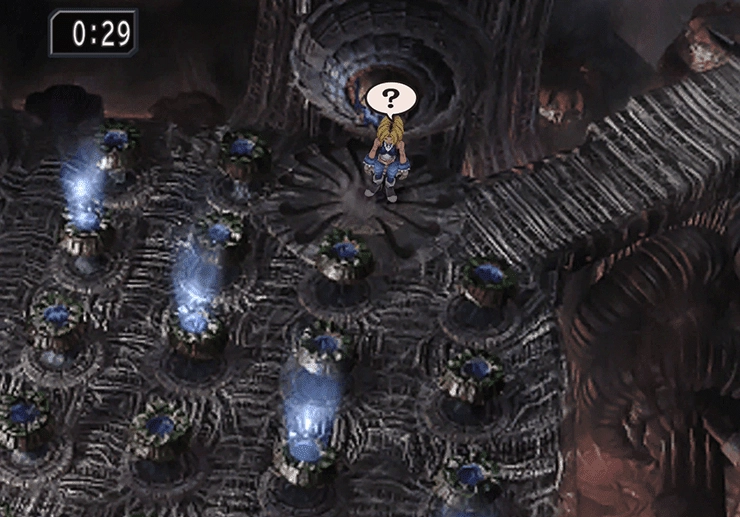
Continue westward until you reach a room with several blue orb-like objects scattered across the room in rows. Press the button right near the entrance, and each of the orbs will light up with a blue light.
Once you start moving around, only a select few orbs will stay lit up. If you are near one of the lit orbs, you will be thrown into battle, which will exhaust the remainder of the 30-second timer and cause you to fail the challenge.
The best way to complete this challenge is to run around the outside pathways so that you stay away from as many of the orbs as you can. You must exit the room and cross the bridge before the timer expires.
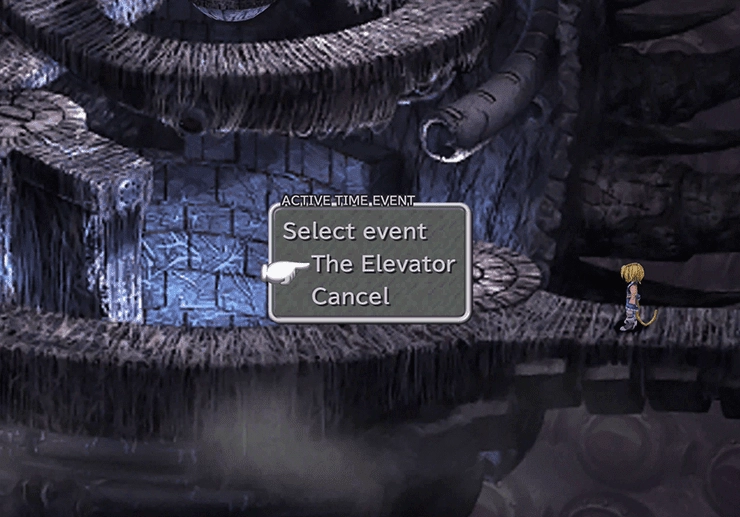
The next room has a strange-looking red orb surrounded by numerous orange spikes in the rock. This contraption is an elevator that you can operate by examining the orb. You have the option of selecting a “Standard Heading,” a number between 1 and 5, which indicates the number of floors to increase or decrease.

If you activate the elevator enough times, you can watch an Active Time Event called “Elevator,” which then enables you to just select a floor. Messing with this switch changes the directions and landing areas of the elevator in the next room.
Achievement/Trophy
This is the last and final Active Time Event required to obtain the  Movie Critic Achievement/Trophy. Unfortunately, if you do not receive it, you may have missed one of the ATEs. Refer to the complete listing on the Trophies page.
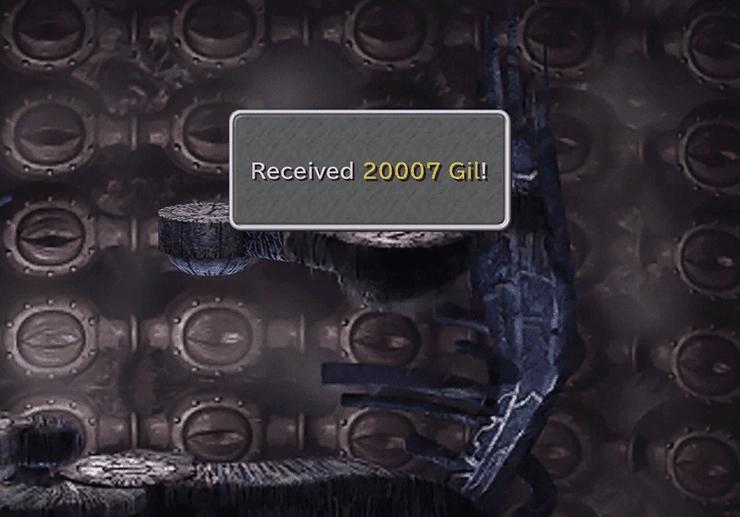
Set the “Standard Heading” to 3 and then go into the next room using the exit to the left. Travel to the upper platform, jump on the elevator, and use it to reach the treasure chest at the top to obtain 20,007 Gil. Return down the pathways to the elevator afterward.
Set the “Standard Heading” to 4 this time and then return to the room on the left. Approach the closest elevator drop-off spot on the bottom floor, located on the right side (as shown in the screenshot below), and ride it up one level. Follow the platform to the top floor, call the elevator, and then ride the elevator up one floor.
Stand on the teleportation platform on the right side of the screen and use it to teleport to the floor above. All the blue and red pads in this room are teleportation pads that take you to different spots in the Pandemonium maze.
Take the blue teleportation pad to the left side of where you spawn, follow the platform around to a treasure chest, and open it to obtain ![]() Carabini Mail. You can use this armor to teach the
Carabini Mail. You can use this armor to teach the ![]() Auto-Regen ability to your armor-wearing characters, including Freya and Steiner.
Auto-Regen ability to your armor-wearing characters, including Freya and Steiner.
Travel back to the blue teleportation pad and, this time, take the other blue teleportation pad on the right side of the platform. There is a treasure chest close by that contains an ![]() Elixir.
Elixir.
Use the red teleportation pad to return to the previous room (“Go Down One Floor”), and, this time, take the teleportation pad on the far left side of the room using the exit at the bottom of the screen.
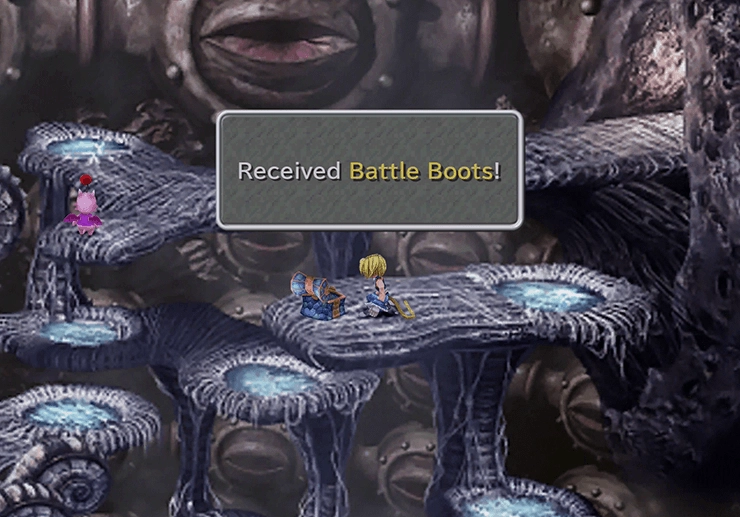
Follow the pathway right until you reach a fork in the road, and take the path leading south to the lower blue teleportation pad. Follow the pathway to the next teleportation pad, which is nearby, and then up to the treasure chest, which contains a pair of ![]() Battle Boots.
Battle Boots.
Go back to the fork in the road and take the blue teleportation pad at the end of the pathway leading north. The path leads up to the top of the maze, where you will find Mozme the Moogle standing.
Make sure to save your game and select the Mognet option to provide Mozme with the letter from Moorock. You will also receive another Kupo Nut if you delivered the previous one (check out the Kupo Nut guide in the Side Quests section for more information).
Boss Battle Preparation
There are a couple of boss battles coming up, so you should prepare your party. Set up your characters with equipment that has Wind and Lightning resistance. This equipment includes the ![]() Coronet,
Coronet, ![]() Gauntlets, and
Gauntlets, and ![]() Ribbon which work wonders as they all reduce Wind-based damage. Equip each of your characters with the
Ribbon which work wonders as they all reduce Wind-based damage. Equip each of your characters with the ![]() Locomotion ability as well to prevent the Stop status effect.
Locomotion ability as well to prevent the Stop status effect.
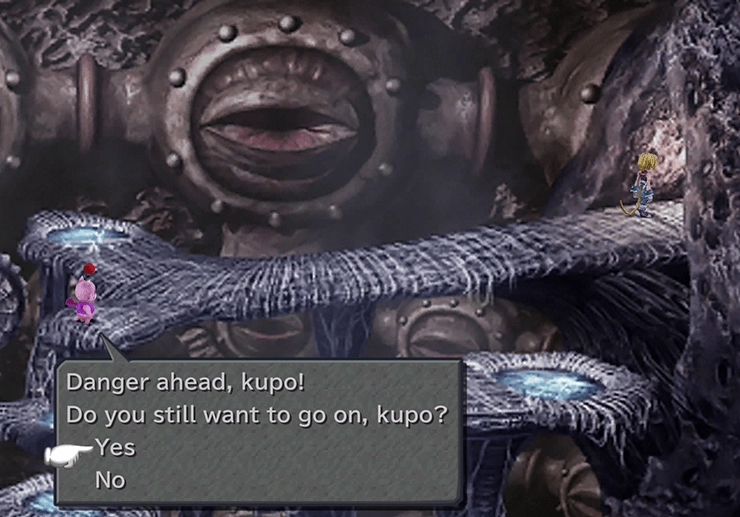
Proceed into the next room when you are ready (and only after saving your game and using a ![]() Tent). Mozme will warn you of danger ahead as you move into the next room.
Tent). Mozme will warn you of danger ahead as you move into the next room.
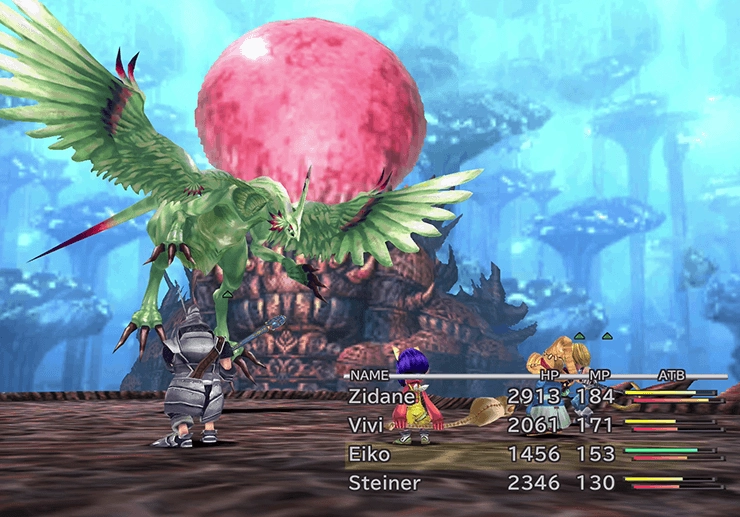
Boss Battle
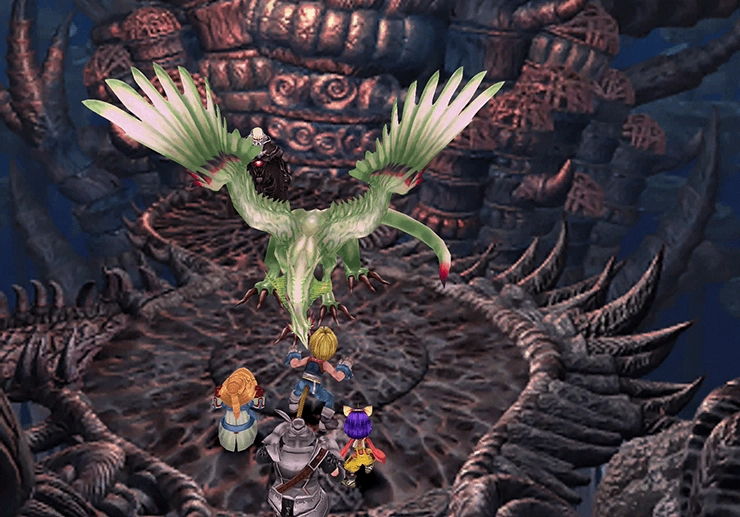
Level: 58
HP: 24,055
The Silver Dragon is the creature that Kuja previously rode into battle. Make sure you get Zidane started on attempting to steal the ![]() Dragon Mail and
Dragon Mail and ![]() Kaiser Knuckles before the battle has concluded.
Kaiser Knuckles before the battle has concluded.
Silver Dragon has several attacks to watch out for. It will perform two attacks, Aerial Slash and Twister, which are both Wind-elemental attacks, so if you managed to equip your party members with Wind-resistance armor and accessories, this battle will be much easier. It will also use Claw on a single target and Shockwave on multiple targets, both of which are physical attacks.
This boss is susceptible to ![]() Sleep,
Sleep, ![]() Slow,
Slow, ![]() Silence, and
Silence, and ![]() Blind, so cast each of those spells at will until they take (especially if you are attempting to have Zidane steal both items that Silver Dragon possesses).
Blind, so cast each of those spells at will until they take (especially if you are attempting to have Zidane steal both items that Silver Dragon possesses).
Steal:
- Elixir (common)
 Dragon Mail (uncommon)
 Kaiser Knuckles (rare)
Drops:
A video demonstration of this battle is included below for reference.
Video Guide

A video demonstration of how to successfully complete the fight against Silver Dragon.
The next battle begins immediately afterward.
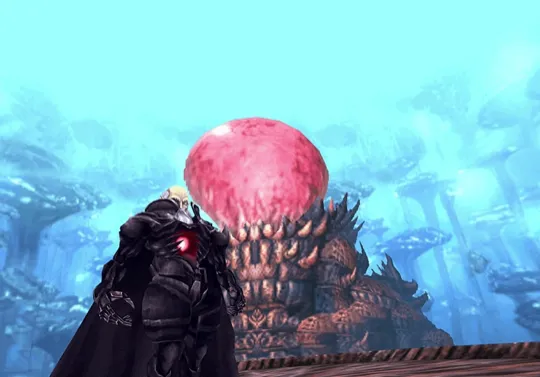
Boss Battle
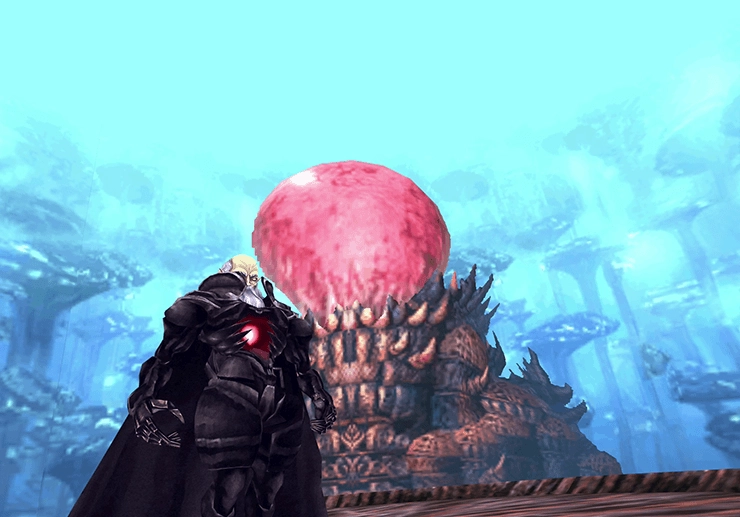
Level: 62
HP: 40,728
Garland is also susceptible to Silence and Darkness (Blind) status effects, so hit him with both of them while Zidane focuses on stealing all three items in Garland’s possession, as they are all very nice items. It will also prevent him from casting spells.
Garland will cast a spell called “Flare,” which does damage to a single party member, and will cast Stop from time to time (hopefully, you have the ![]() Locomotion Ability equipped to all of your characters to prevent it from taking effect).
Locomotion Ability equipped to all of your characters to prevent it from taking effect).
Steal:
 Battle Boots (common)
 Ninja Gear (uncommon)
- Dark Gear (rare)
Drops:
- (Nothing)
A video demonstration of this battle is included below for reference.
Video Guide
A video demonstration of how to successfully complete the fight against Garland.
The last and final battle in this sequence begins after another short cutscene.
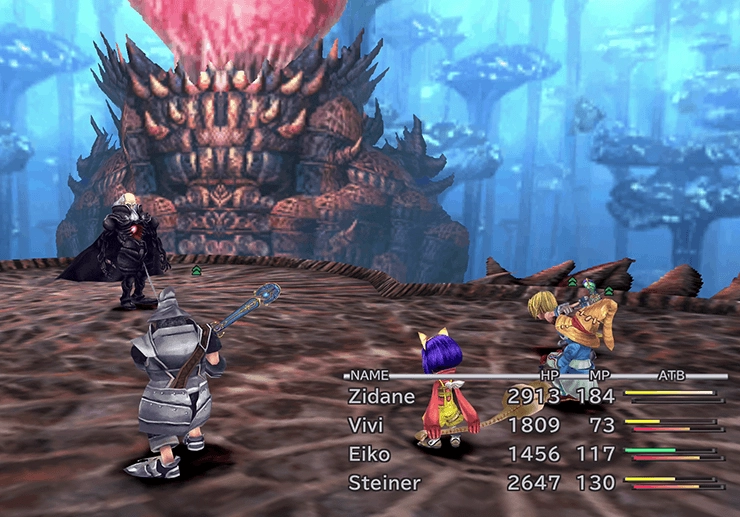
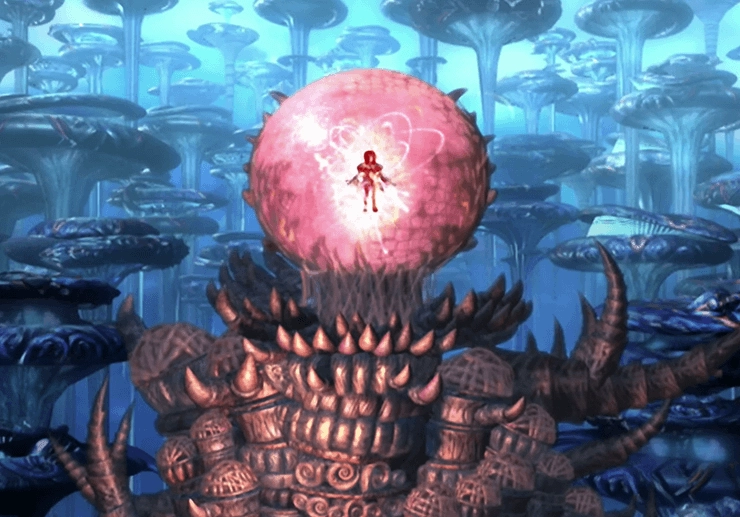
Boss Battle
Level: 64
HP: 42,382
Kuja’s main attacks are magic-based spells, specifically Thundaga and Demi. Your best defense against them is to have either Dagger or Eiko cast ![]() Shell on all of your party members. If you have a party member cast Reflect (or cast
Shell on all of your party members. If you have a party member cast Reflect (or cast ![]() Carbuncle, which automatically casts Reflect on all party members), Kuja will continuously use an attack called “Flare Star.” This attack can be devastating. So don’t use Reflect!
Carbuncle, which automatically casts Reflect on all party members), Kuja will continuously use an attack called “Flare Star.” This attack can be devastating. So don’t use Reflect!
Regular healing should be enough to defend against his regular attacks. Stealing the ![]() Light Robe can be incredibly difficult, but made slightly easier if Zidane has the
Light Robe can be incredibly difficult, but made slightly easier if Zidane has the ![]() Master Thief Ability equipped. The
Master Thief Ability equipped. The ![]() Light Robe is a great item, though, so it is certainly worth trying to obtain (though you may already have one if you found Chocograph #18).
Light Robe is a great item, though, so it is certainly worth trying to obtain (though you may already have one if you found Chocograph #18).
Steal:
 Ether (common)
 Carabini Mail (uncommon)
 Light Robe (very rare)
Drops:
- (Nothing)
A video demonstration of this battle is included below for reference.
Video Guide

A video demonstration of how to successfully complete the fight against Kuja.
There are a few cinematic and cutscenes that take place after the battle. Follow the pathway back to Bran Bal. It is entirely linear, so you can’t get lost.
Zidane and Dagger will eventually reach Bran Bal, where they will split up to gather all the genomes. The team will make their escape in the Invincible airship.