Crystal World
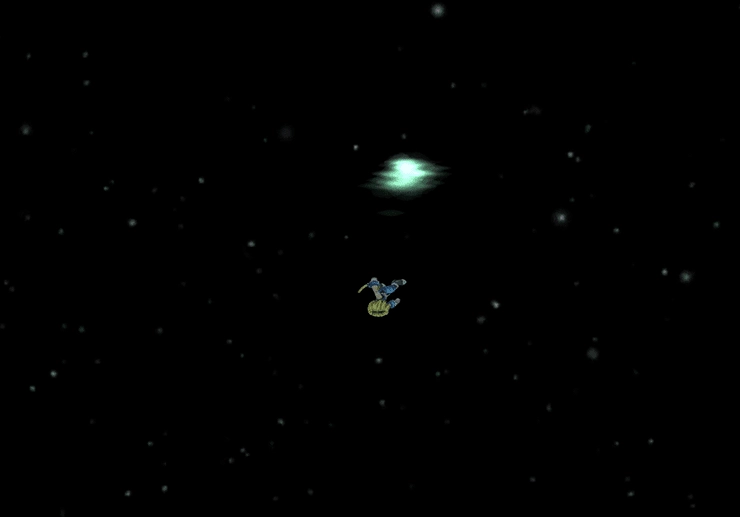
Zidane will find himself in the expanses of space. When you are back in control of him, move forward until he reaches the end, and a short cutscene involving more dialog with Garland will continue.
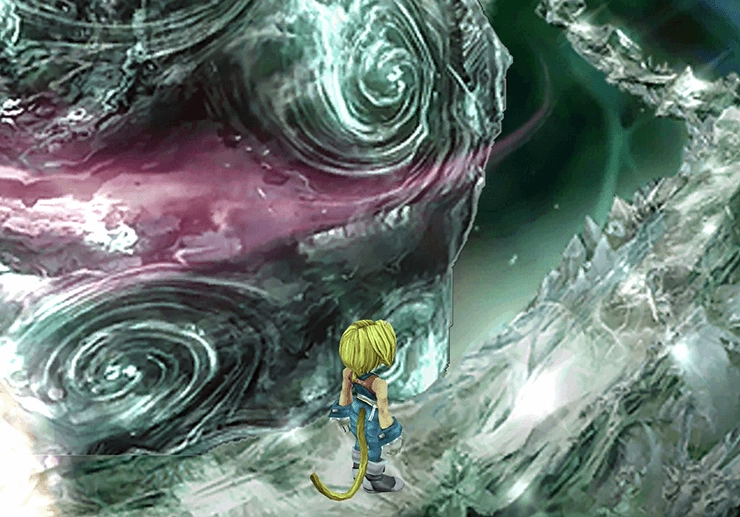
The creatures that you fight in this area look very similar to the bosses that you just fought. However, they have less HP and are vulnerable to several additional status effects. Make sure to make use of ![]() Silence and stick to spells to attack a Behemoth if you run into one (or just use Zidane’s
Silence and stick to spells to attack a Behemoth if you run into one (or just use Zidane’s ![]() Flee ability).
Flee ability).
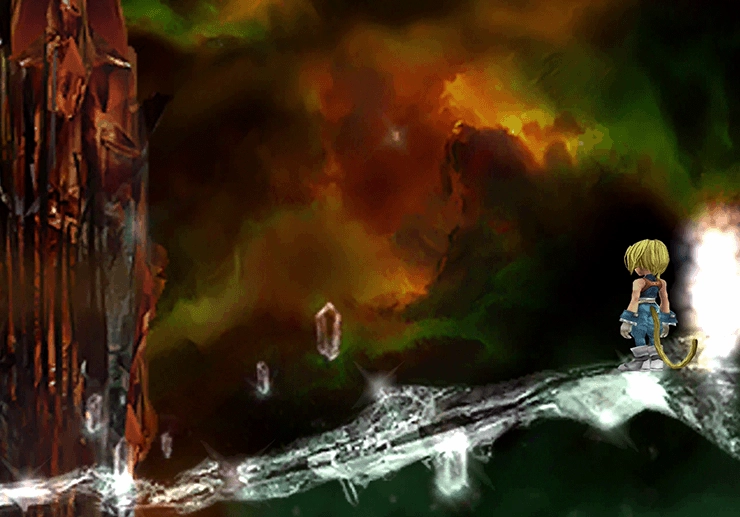
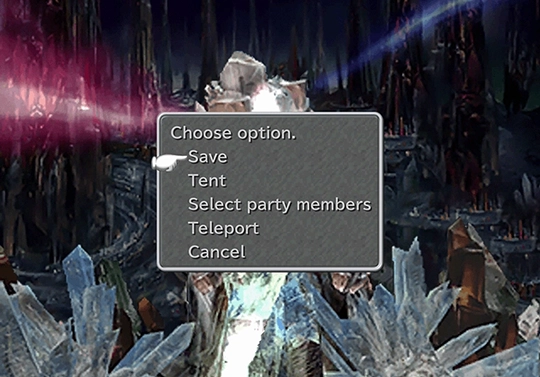
Follow the pathway along for a few screens until you reach another Save Point orb. Save your game, use a ![]() Tent, and now you have the option of ‘Teleporting’ back to earlier areas of Memoria.
Tent, and now you have the option of ‘Teleporting’ back to earlier areas of Memoria.
You cannot warp back to this point, though, and will have to travel back through Memoria and the Crystal World on foot.
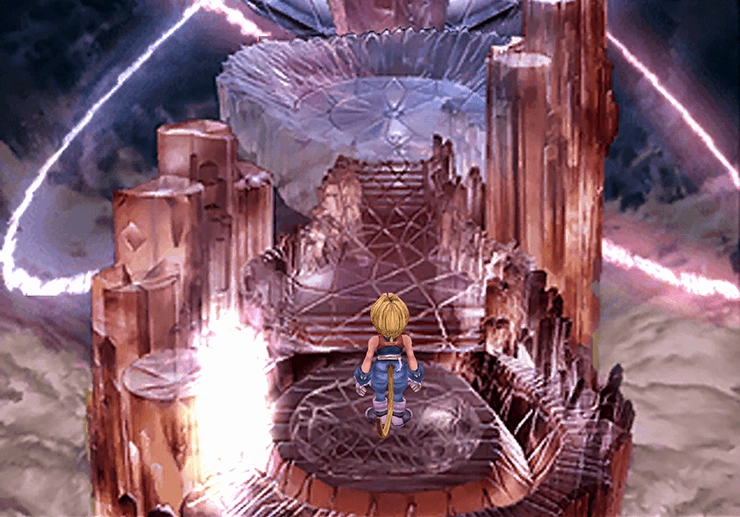
It’s time to prepare for one last boss fight. The boss uses some Wind-based elemental magic attacks, so equip ![]() Ribbon to each of your characters if possible to absorb those attacks. Make sure to have Zidane in the party so that you can steal every available item.
Ribbon to each of your characters if possible to absorb those attacks. Make sure to have Zidane in the party so that you can steal every available item.

Move forward into the next room when you are ready.
Boss Battle
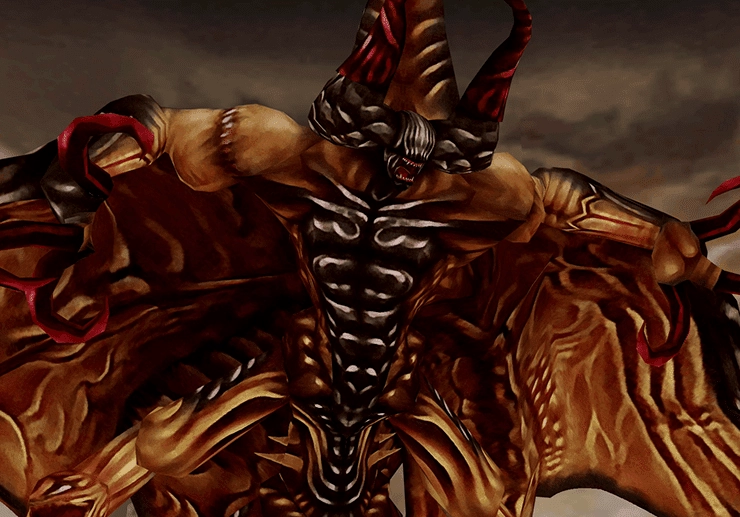
Level: 74
HP: 55,535
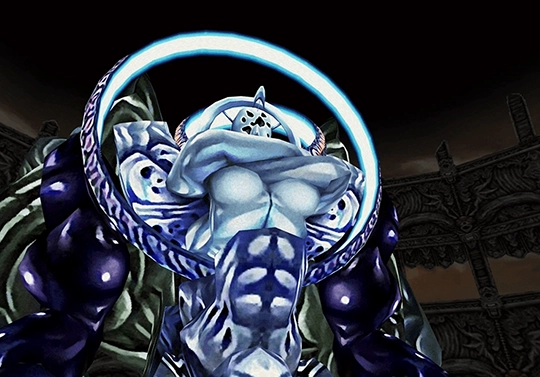
Deathguise’s attacks include:
- “Spin,” which causes physical damage to all party members
- “Demon’s Claw,” which causes physical damage to one party member
- “Death,” which will instantly KO a party member
- “Twister,” which deals Wind-elemental magic damage to all party members
- “Meteor,” which deals non-elemental magic damage to all party members
- “LV5 Death,” which will instantly KO any party member whose level is a multiple of 5
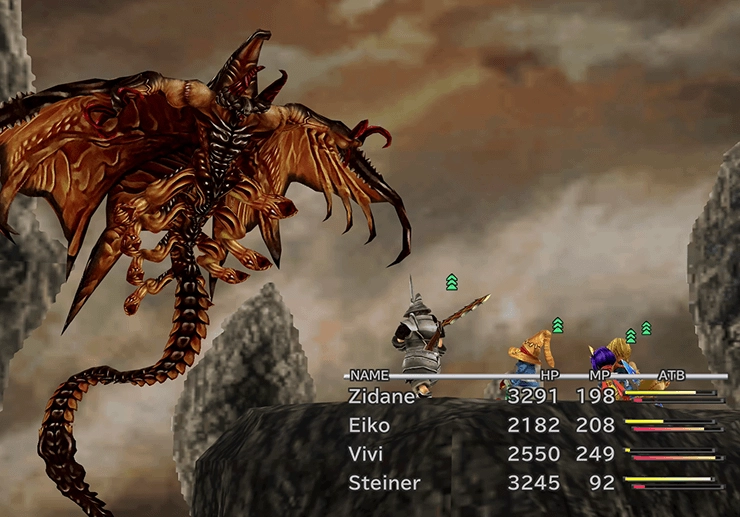
Deathguise has two forms: open and closed. It will always start the battle by casting Meteor, but from there, its attacks will change depending on whether it is open or closed. When its wings are open, it will use its physical attacks. It will focus on magical attacks when its wings are closed.
There isn’t much strategy to this fight—just keep your party member’s HP high in anticipation of Meteor casts, which can do a ton of damage.
Steal:
 Elixir (common)
 Black Belt (uncommon)
 Duel Claws (very rare)
Drops:
 Wing Edge (common)
 Phoenix Down (uncommon)
 Ether (rare)
 Elixir (very rare)
A video demonstration of this battle is included below for reference.
Video Guide

A video demonstration of how to successfully complete the fight against Deathguise.
You have now reached the end of the game and are at the final battle stage. Do not approach Kuja just yet! Go back and save your game at the Save Point while you have an opportunity.
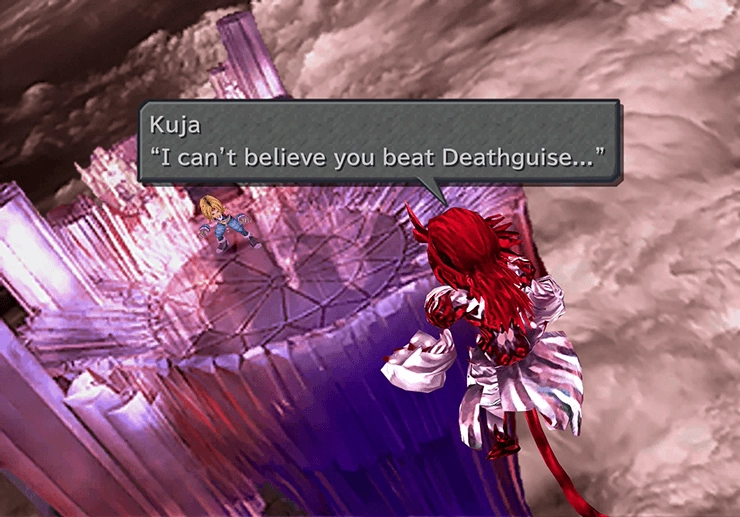
You can take this last chance to go back and make any final preparations that you’d like and complete any of the side quests that you may have missed. Check out the Final Preparations Walkthrough page for more information on some of the side quests that you can complete.
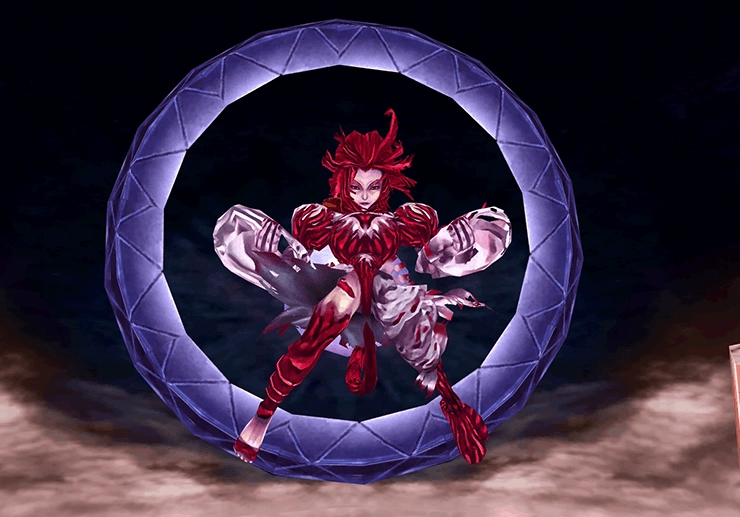
Note: You are already strong enough to defeat Kuja if you have made it this far. You do not need to complete any of the items on the “Final Preparations” page. The Final Preparations page contains endgame content for those who want to master the game. Kuja is not the most difficult battle in the game and is simply the last chapter of the Final Fantasy IX story.
Walkthrough Guide
Completing all the remaining side quests and endgame content within Final Fantasy IX.
Navigating to the page using the “Next” button below will take you to the Final Preparations page, but you can use the link below if you prefer to go directly to the battle against Kuja:
Walkthrough Guide
Completing all the remaining side quests and endgame content within Final Fantasy IX.

