
Laguna Dream Sequence
World Map - Timber / Yaulny Canyon
The SeeD team will depart from Timber via the train, and the train will make two stops: one at “East Academy” station and one at “Dollet Station.” As Quistis instructed, our next destination is close to the “East Academy” train station, but there are a few side quests that you can complete before you make your way to Galbadia Garden.
The side quests that you should complete are detailed on the previous page. Use the navigational arrows at the top and bottom of the page to go back one page, or use the following link to return to the Timber: Forest Owls Mission Walkthrough page.
Once you have completed the side quests, travel to the “East Academy” station and look towards the northwest. To reach Galbadia Garden, you will have to travel through the Yaulny Canyon (forest), shown in the screenshots below. As soon as you enter the forest, though, a cutscene will begin with another Laguna dream sequence.
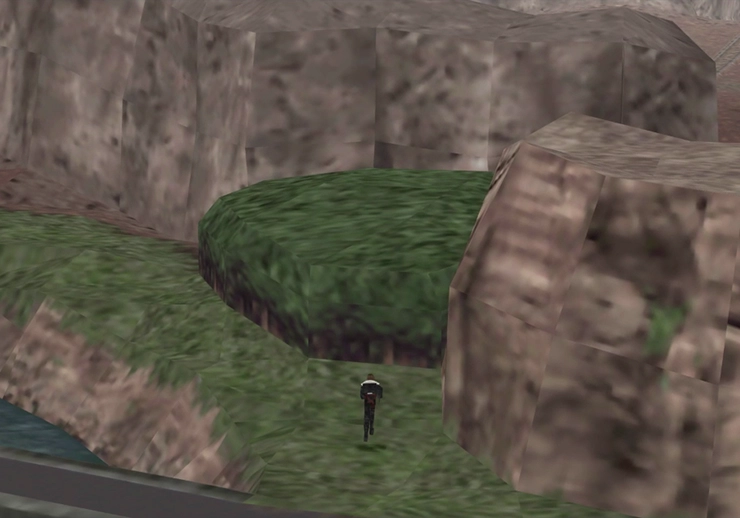
Yaulny Canyon
Your two other team members who are not in your party will join you as soon as you enter the forest. Squall, Selphie, and Quistis will all pass out while Rinoa and Zell look on helplessly. It’s time for another Laguna Dream Sequence scene.


Laguna Dream Sequence
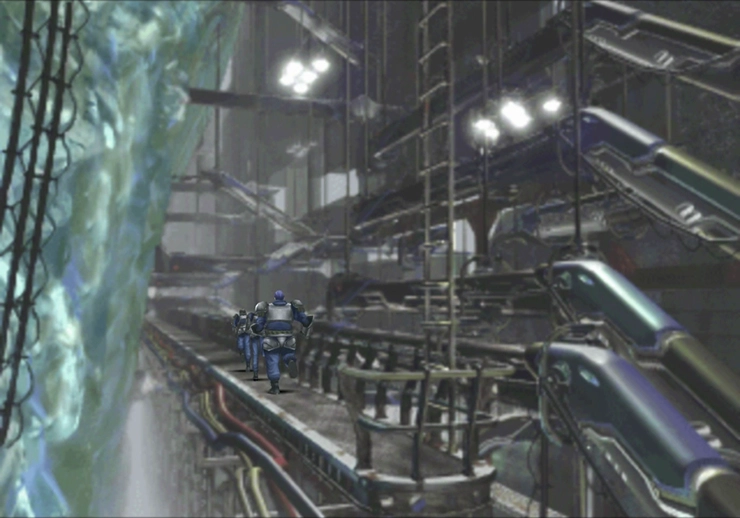
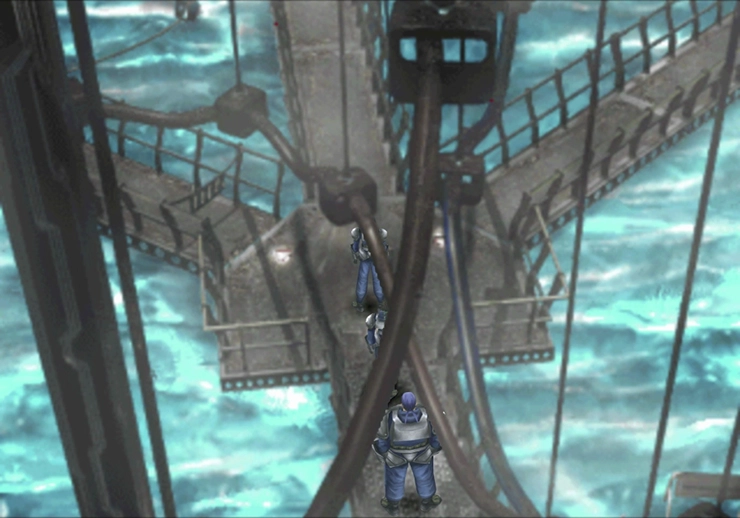
Centra - Excavation Site
You will have control of Laguna and his team, who are currently in a large, mechanical-looking area called the Centra Excavation Site.
Start by ensuring that Laguna, Kiros, and Ward are all correctly set up with Guardian Forces and magic junctions. Squall’s junctions will have passed to Laguna, Quistis’ will have moved over to Kiros, and Selphie’s will have passed to Ward. If either Quistis or Selphie does not have anything junctioned, you will need to complete a “Junction Exchange” to transfer everything over manually.

There are several tasks that you can complete during your visit to the Centra Excavation Site, which will play an important role when Squall and his team revisit the site later on in the game. This guide will point out each of these optional tasks that you can complete and will indicate what effect it has later on in the game.
Go down the pathway and use the Draw Point in front of the fork in the road. The Draw Point contains ![]() Sleep magic. Take the path to the right and use the ladder to climb down to the next level. Run to the end of the catwalk and take a left (there’s no other direction to go yet).
Sleep magic. Take the path to the right and use the ladder to climb down to the next level. Run to the end of the catwalk and take a left (there’s no other direction to go yet).
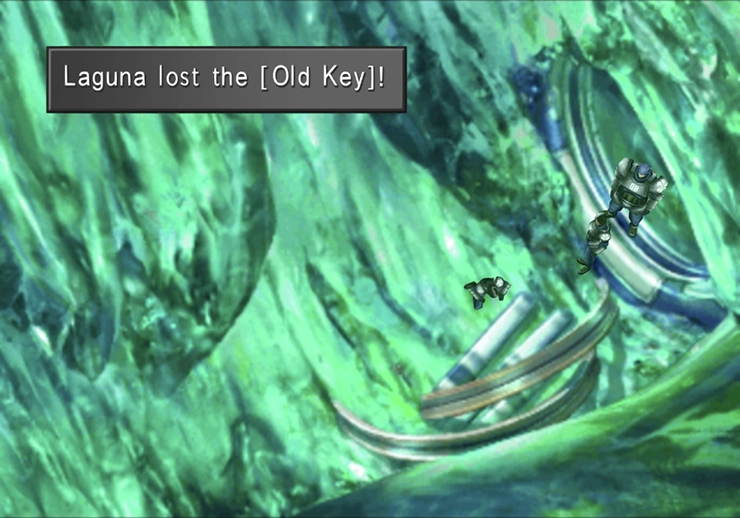
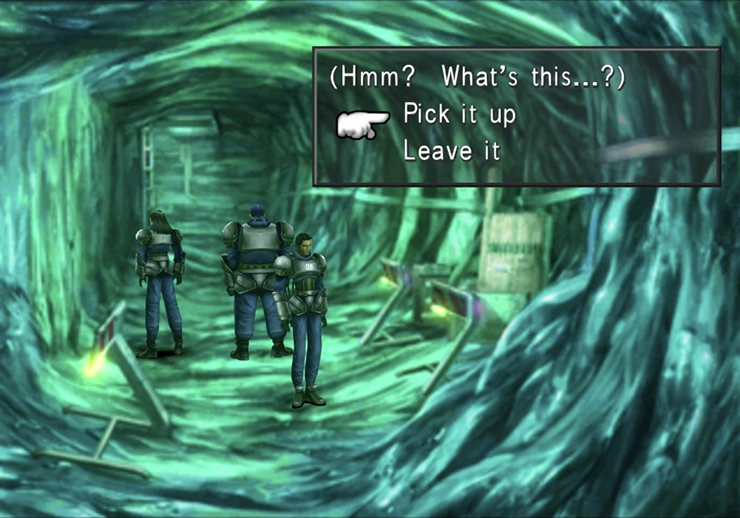
Examine the pile of metal tubes on the ground near the bottom right side of the screen, and Laguna will find an [Old Key] item. He will then notice that there is a hole in his pocket and will immediately lose the [Old Key] and won’t be able to find it again. Completing this action will reveal a ![]() LuvLuvG item later on in the game.
LuvLuvG item later on in the game.
Travel to the left into the next screen and then one more screen over until you find three hatches on the ground that Laguna can walk over. The only one that you can do anything with right now is the one in the middle, but you must activate each of these hatches for the rewards that you can obtain later in the game.

Press ![]()
![]()
![]() near the latch on the top side of the hatch and choose to “tamper with it” when you’re given that option. Now we have to get to the other side of the middle hatch so that we can activate the one on the left, and we’ll have to take the long way around.
near the latch on the top side of the hatch and choose to “tamper with it” when you’re given that option. Now we have to get to the other side of the middle hatch so that we can activate the one on the left, and we’ll have to take the long way around.
Exit this area by going right and heading back up to the first fork in the road (near the ![]() Sleep Draw Point).
Sleep Draw Point).

This time, take the pathway on the left. The path in the next screen will appear to split into three different directions; take the path in the center and climb the ladder down to the bottom level.
Search the pile of rubble on the left side of the screen near the construction barrier, and Laguna will find another [Old Key]. Just like with the last key, the clumsy doofus will lose this key as well! Completing this step will reveal an ![]() Ultima Draw Point later on in the game (which is very powerful magic!)
Ultima Draw Point later on in the game (which is very powerful magic!)
Head into the next screen, and you will find yourself back at the three hatches on the ground. Have Laguna tamper with the latch on the leftmost hatch. Completing this step (and one more step later on) will reveal a ![]() Phoenix Pinion item later on when you return as Squall. Now, travel back to the hatches again but approach from the right side (back up the ladder and down the other ladder).
Phoenix Pinion item later on when you return as Squall. Now, travel back to the hatches again but approach from the right side (back up the ladder and down the other ladder).

Have Laguna tamper with the third and final hatch. Completing this step (and one more later on) will reveal a ![]() Power Generator item, which is a very rare and powerful item.
Power Generator item, which is a very rare and powerful item.
Travel to the right two screens, to the area where Laguna found and dropped the first [Old Key], and then travel north into the next screen. Travel north again past the boulder on the ground, going one more screen upwards.
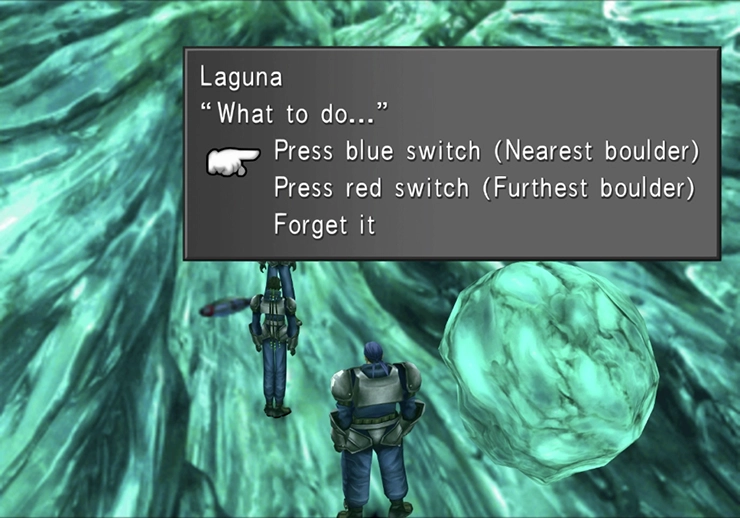
The next area has a large boulder on the right side and a switch with fuses scattered in the middle of the pathway. You will have the option to press the blue switch, the red switch, or do nothing.
Press the red switch first (“furthest boulder”), then the blue switch (“nearest boulder”). Each time you press a switch, a short cinematic will play, and the hatches that you tampered with on the left and right sides will open.
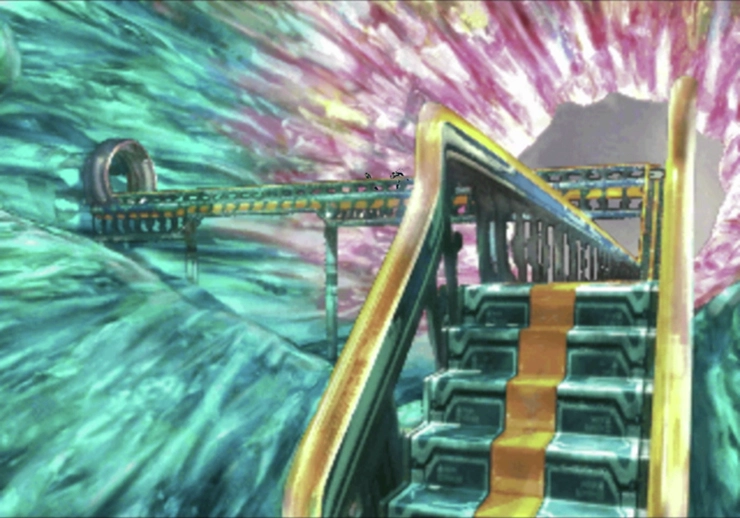
Finally, walk north up the stairs and into the next screen, and run across the platform until you reach the next area.
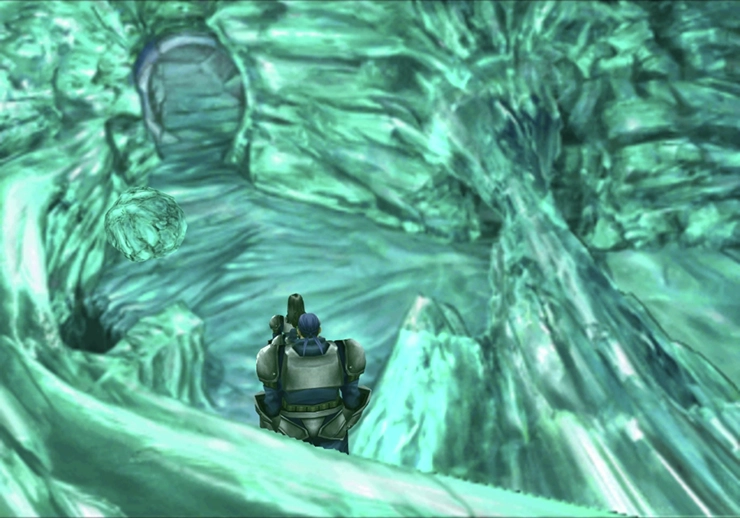
The next screen has a boulder on the left. Have Laguna touch it, and it will roll away, revealing a Draw Point that contains ![]() Cure magic. The next screen has a Save Point, which you can use to save your game. Head north one last time to conclude this dream sequence.
Cure magic. The next screen has a Save Point, which you can use to save your game. Head north one last time to conclude this dream sequence.
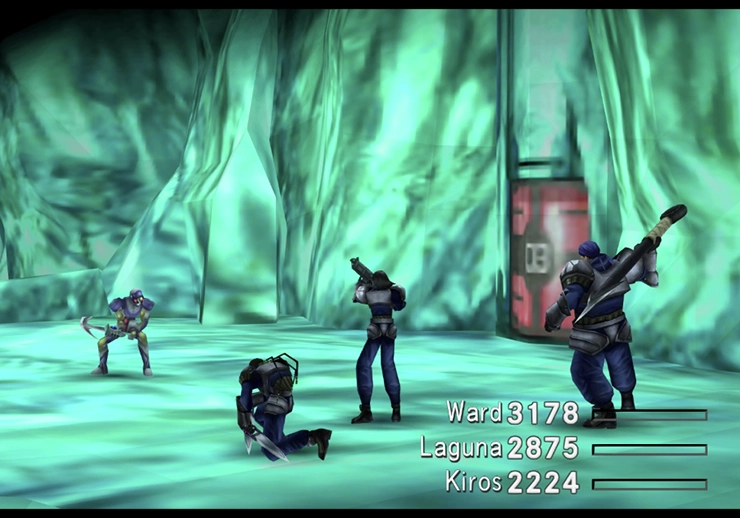
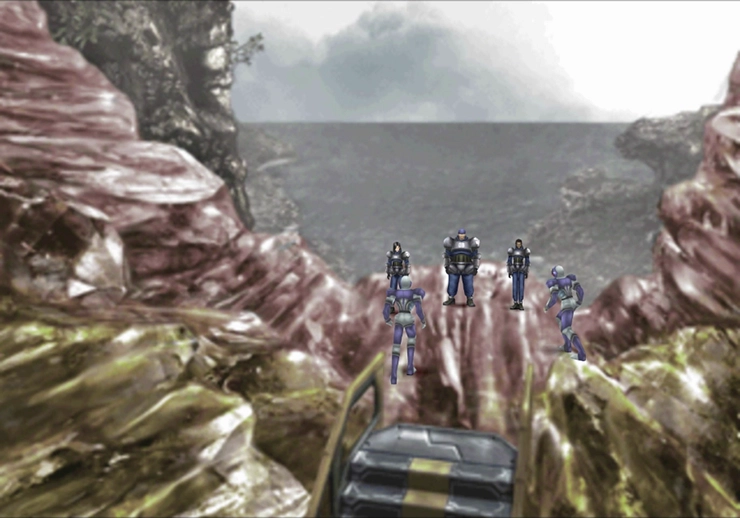
You will be thrown into battle against two final Esthar Soldiers. These are a little more powerful than the previous ones, and after you defeat the last one, it will use an attack on your party called “Soul Crush.” This attack will automatically drop Kiros and Ward down to 1 HP.
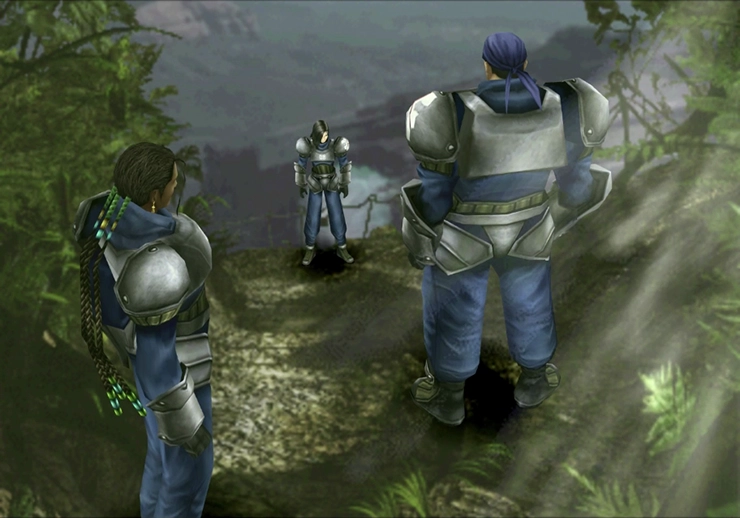
Laguna, Kiros, and Ward will make their final escape using ships outside the Excavation Site, and the game will return to Squall, Selphie, Quistis, Rinoa, and Zell back in the forest near Galbadia Garden.
Timber - Yaulny Canyon
This forested area is called the Yaulny Canyon. You can confirm whether you’re in the right area by pressing the ![]()
![]()
![]() button and viewing your location in the bottom-left portion of the menu screen.
button and viewing your location in the bottom-left portion of the menu screen.
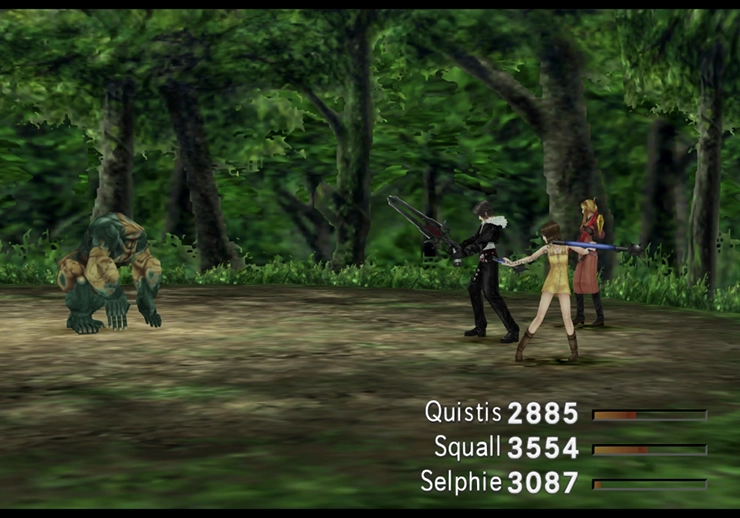
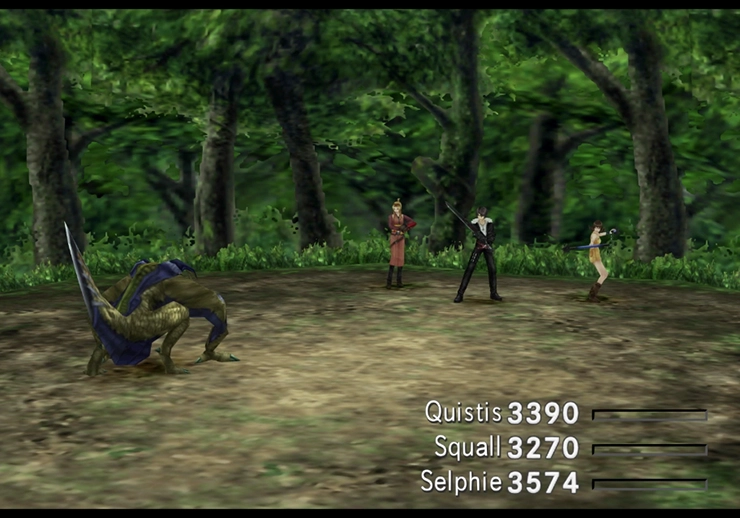
There are a ton of enemies in this area that are worth battling as they drop some highly coveted items that are important crafting materials for weapons that you will want to create later in the game. Specifically, they drop the following items:


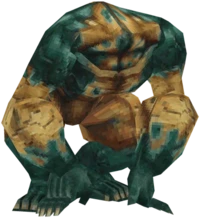
- Wendigo:
 Steel Pipes and
  Steel Orbs (only drops if you don’t steal from it)
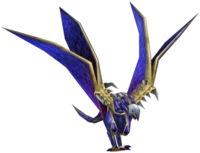
 - Anacondaurs: M-Stone Pieces, Venom Fangs, and Dragon Skins (only have a chance to drop if you don’t steal from it)
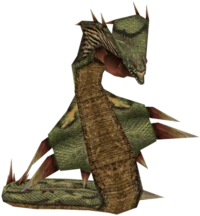
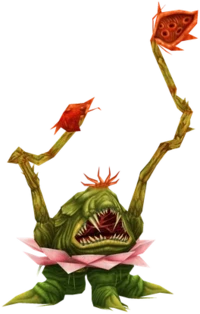
- Grendels: Dragon Fangs (only drops if you don’t steal from it) and Dragon Fins
As noted above, some of the items will only drop if you don’t steal from the enemy before you defeat it. You’ll need to remove the ![]() Mug command from your characters.
Mug command from your characters.
You should obtain several ![]() Dragon Fangs, as you need at least four to craft Lionheart, Squall’s ultimate weapon, and you can also refine them into
Dragon Fangs, as you need at least four to craft Lionheart, Squall’s ultimate weapon, and you can also refine them into ![]() Esuna magic if you need any.
Esuna magic if you need any. ![]() Dragon Skins are one of the ingredients to the following weapons: Gauntlet, Ehrgeiz, and Red Scorpion.
Dragon Skins are one of the ingredients to the following weapons: Gauntlet, Ehrgeiz, and Red Scorpion.
This area is a great place to earn some experience and level up your characters while picking up some great items. Grendels are relatively rare in this area, but you can make sure you encounter them 100% of the time if you hug the canyon wall closest to Galbadia Garden. If you’re in the forest and touch that wall, you will automatically fight a guaranteed Grendel!
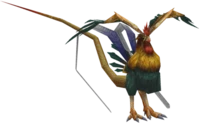
Finally, you can also find an enemy called a Thrustaevis in the areas around Galbadia Garden. Thrustaevis enemies drop ![]() Windmills, which are required to craft Rinoa’s most powerful weapon, the Shooting Star.
Windmills, which are required to craft Rinoa’s most powerful weapon, the Shooting Star.
Travel to Galbadia Garden once you’ve picked up all the items that you need.