Galbadia Missile Base
Dingo Desert
You will have control of Selphie and her team as you exit the Galbadia D-District Prison and will be in the middle of the Dingo Desert in Galbadian vehicle. This section of the game takes place after you have escaped the Galbadia D-District Prison.
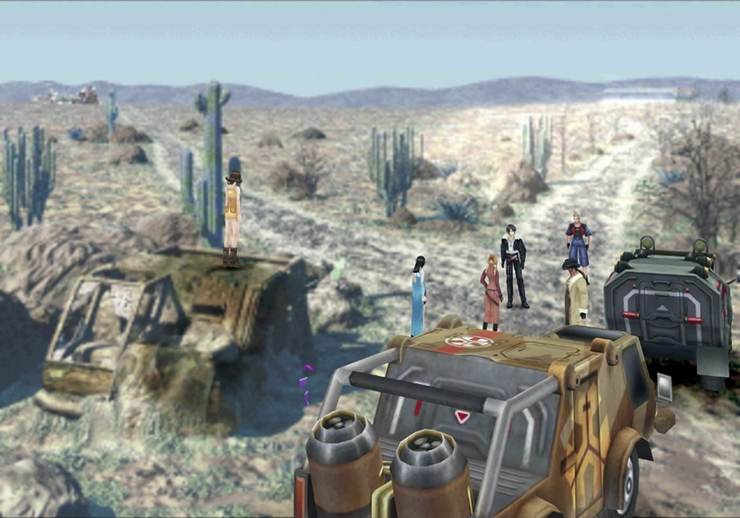
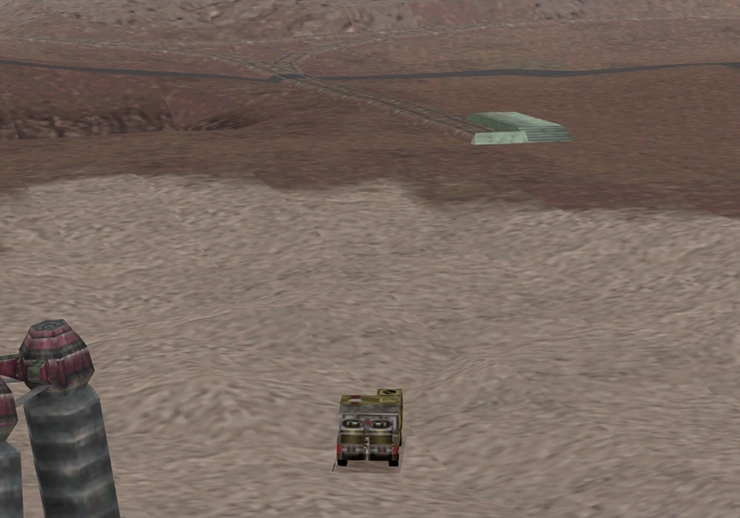
Note that the vehicle you are driving will eventually run out of gas. It’s nice that you won’t have to fight enemies while you’re using it to get around, but don’t think that you can go exploring the entire continent or you’ll run out of ![]() Fuel and quickly find yourself wandering through the fields, in the middle of nowhere, on foot.
Fuel and quickly find yourself wandering through the fields, in the middle of nowhere, on foot.
At this point in the game, you can obtain the ![]() Rinoa Card if you are willing to travel back to Deling City.
Rinoa Card if you are willing to travel back to Deling City.
Triple Triad Card Game
The ![]() Rinoa Card is a one-of-a-kind rare card. Travel back to Deling City and head to General Caraway’s Mansion. Talk to General Caraway, and he will explain to you that he has always wanted an
Rinoa Card is a one-of-a-kind rare card. Travel back to Deling City and head to General Caraway’s Mansion. Talk to General Caraway, and he will explain to you that he has always wanted an ![]() Ifrit Card.
Ifrit Card.
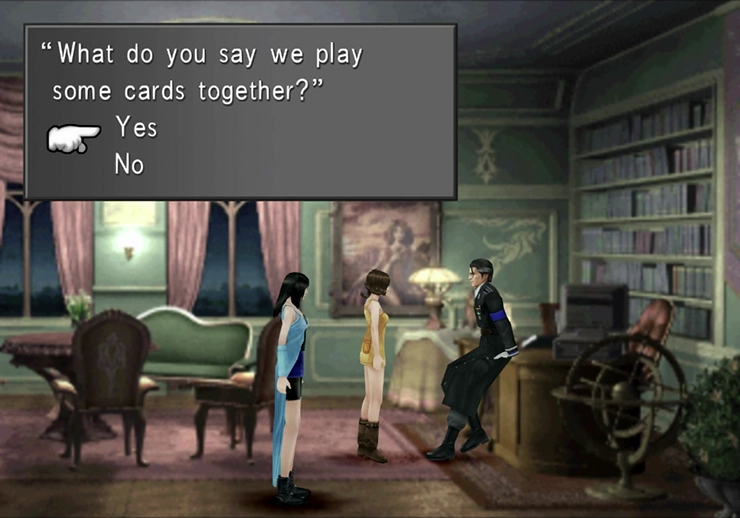
Play a game of Triple Triad against the General and intentionally lose the Ifrit Card to General Caraway. He will now start using the Rinoa Card in games, and you can win it from him once he does.
Note that you will have to wait to retrieve your Ifrit Card back. It becomes available once you reach Fishermans Horizon (FH) later on in the game where you can challenge Martine to a game of cards.
Helpful Hint
At this point, you can exploit a game mechanic to obtain an infinite amount of Gil. It’s difficult to refer to this as a cheat, considering that it is just a clever use of game mechanics, but it does go against the original intentions of the game designers, so use it at your discretion.
Have your new Guardian Force, Carbuncle, learn its ![]() Recov Med-RF ability or go level up in the surrounding area if it hasn’t learned this ability yet. Purchase as many
Recov Med-RF ability or go level up in the surrounding area if it hasn’t learned this ability yet. Purchase as many ![]() Tents as you can from a store and then use
Tents as you can from a store and then use ![]() Recov Med-RF to turn them into
Recov Med-RF to turn them into ![]() Mega-Potion. The Mega-Potions sell for more than the Tents were worth, allowing you to keep earning free Gil!
Mega-Potion. The Mega-Potions sell for more than the Tents were worth, allowing you to keep earning free Gil!
Check out the Cheats section for more information.
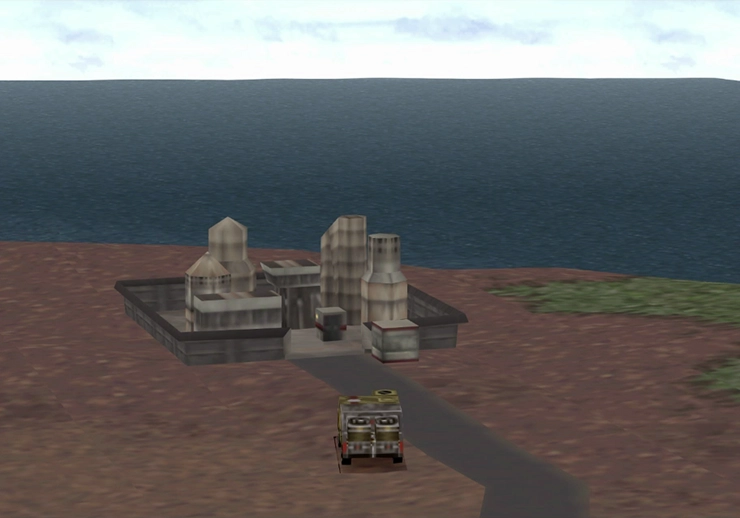
You can see the Galbadia Missile Base off in the distance from the Galbadia D-District Prison, but you may have to search for it if you went back to Deling City to obtain the Rinoa Card. Make sure to take the vehicle to the base even if it has run out of ![]() Fuel as you will need it to sneak your way through the front entrance.
Fuel as you will need it to sneak your way through the front entrance.
Galbadia Missile Base
Take some time to equip each of your three characters with Guardian Forces (GFs) and junction their magic spells appropriately. Walk to the left of the vehicle you drove into the base and head through the door into the building on the far side of the screen.
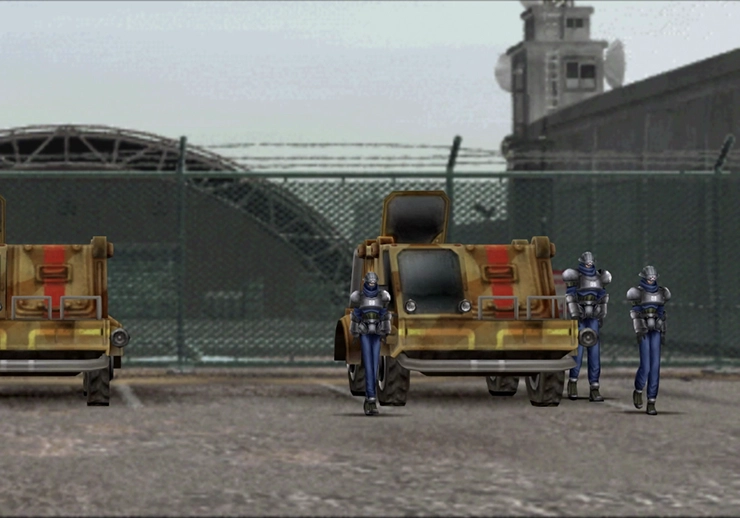
The Galbadia Missile Base rooms and areas do not have their own individual names listed when you open the menu screen, which can make navigating this area more challenging while using this guide. Pay close attention to landmarks and key items as you work your way through the base.
This first room contains a ![]() Save Point and two doors on the left. Use the
Save Point and two doors on the left. Use the ![]() Save Point to save your game, and, as mentioned previously, make sure that you have properly equipped your characters. You won’t have to engage in any battles for quite a while, but it’s better to get into the habit of equipping them as early as possible.
Save Point to save your game, and, as mentioned previously, make sure that you have properly equipped your characters. You won’t have to engage in any battles for quite a while, but it’s better to get into the habit of equipping them as early as possible.
Touch the computer console between the two doorways on the left side of the room. Selphie will point out that they don’t have an ID Card for accessing the doors, but Irvine (or one of your other party members) will speak up, letting her know that they found an ID Card in the vehicle. Go through the doorway on the left.
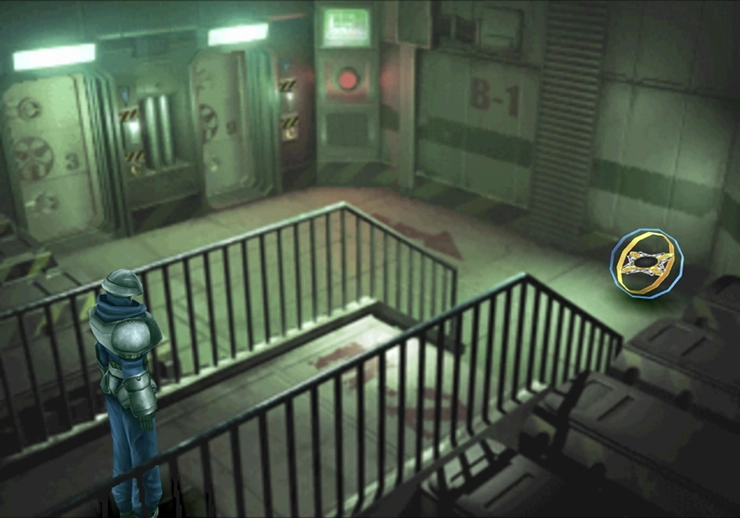
Continue along the catwalk towards the guard standing in front of the door. Selphie will have to decide how she and the team will pass in front of the guard. Choose the option to “(Walk by quietly).”
The guard will still call out to the team as they pass by, but rather than stopping the team, he will just make fun of them for walking single file through the base.
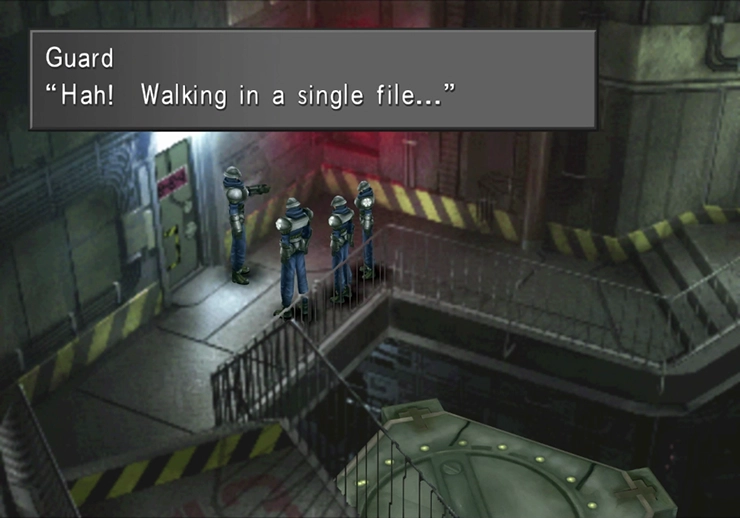
Proceed through this screen, past the guard, and then down the stairs to the next screen.
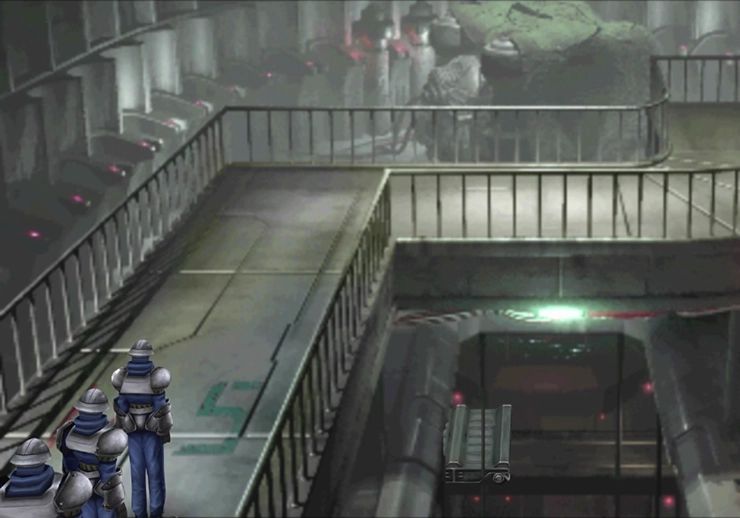
The next area has two guards and a ![]() Save Point. There is a yellow arrow on the ground near the Save Point that points underneath the staircase on the left side of the screen.
Save Point. There is a yellow arrow on the ground near the Save Point that points underneath the staircase on the left side of the screen.
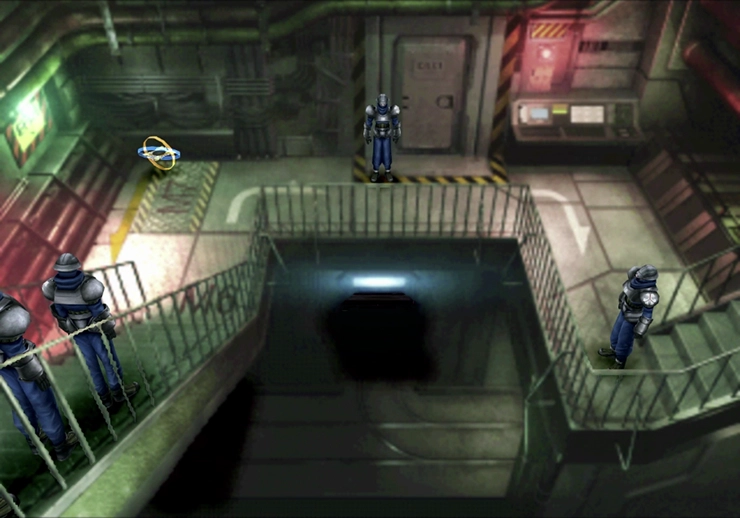
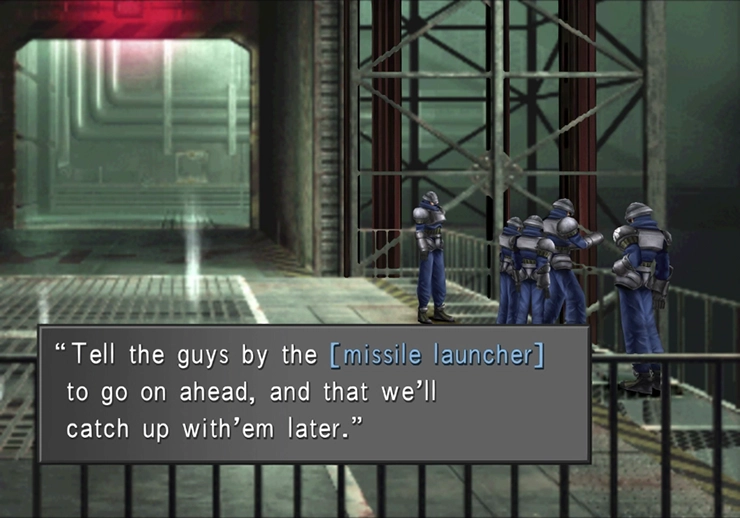
Follow the yellow arrow into the next area to find a Draw Point with ![]() Blind magic and two Maintenance Guards on the right side of the screen. Speak to the two guards, and they will ask you to deliver a message to the soldiers near the ‘[missile launcher].’
Blind magic and two Maintenance Guards on the right side of the screen. Speak to the two guards, and they will ask you to deliver a message to the soldiers near the ‘[missile launcher].’
Helpful Hint
Are you running out of space to store magic? Final Fantasy VIII limits you to 8 pages of magic (or 32 spells total!). You can free up some space by accessing the Magic menu, selecting the “Exchange” option, and pressing the button to discard spells.
Many of the lower-level spells, such as ![]() Fire,
Fire, ![]() Thunder, and
Thunder, and ![]() Blizzard, just end up taking space in your magic screen later on in the game, so feel free to discard them. Just make sure not to discard any important spells accidentally!
Blizzard, just end up taking space in your magic screen later on in the game, so feel free to discard them. Just make sure not to discard any important spells accidentally!
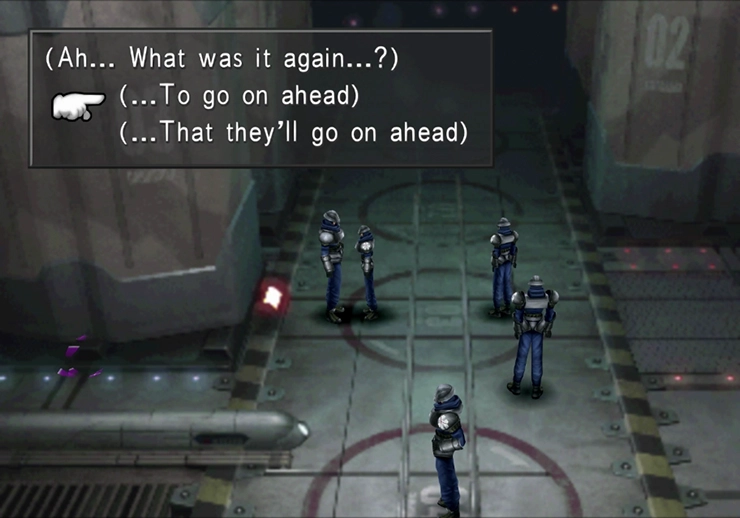
Go back into the room with the ![]() Save Point (and the arrow on the ground) and go past the guard and through the doorway on the north side of the screen. Speak to the guard near the back of the missile launchers and tell him “(… To go ahead).” Then, return to the Maintenance Soldiers. Note that selecting any option other than this one may potentially lower your SeeD ranking.
Save Point (and the arrow on the ground) and go past the guard and through the doorway on the north side of the screen. Speak to the guard near the back of the missile launchers and tell him “(… To go ahead).” Then, return to the Maintenance Soldiers. Note that selecting any option other than this one may potentially lower your SeeD ranking.
These irresponsible Maintenance Soldiers will once again brush aside their duties and tell Selphie and her crew to go and inspect the circuit room on their behalf.
Head back to the door near the guard who made fun of your team for walking in single file. There is a Draw Point in this room with some ![]() Thundara magic (which may come in handy for an upcoming boss fight).
Thundara magic (which may come in handy for an upcoming boss fight).
Examine the control panel and choose “(Ahh, just hit whatever!)” followed by “(Just press whatever!).” A bunch of lights will flash in the room before Selphie and her crew leave. They will run into some guards as they exit the room.
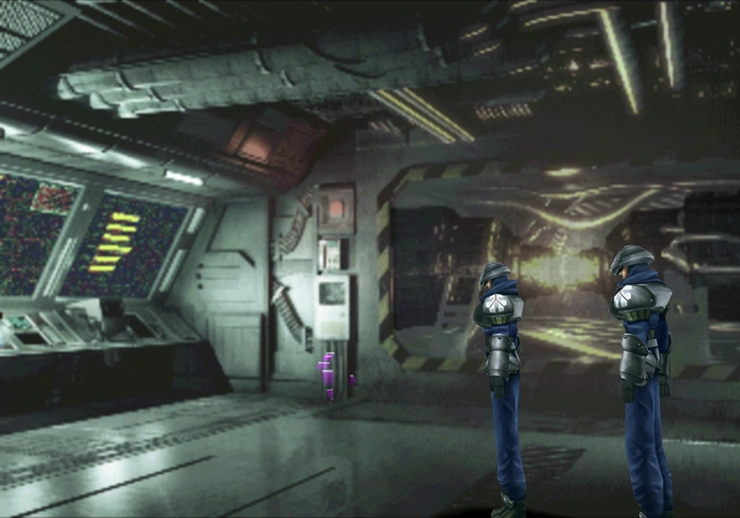
If you want to fight some guards you can choose “(What the heck! Let’s FIGHT!),” otherwise, choose the “(… Try to talk my way out)” option, but note that fighting the guards will lower your SeeD ranking.

Now, return to the missile launcher area and attempt to enter. A guard will confront you as you try to enter. Choose the “(Play it cool)” followed by the “(Help out)” option, and then follow the guard into the room. Grab the Draw Point on the left side of the screen; it contains ![]() Full-Life magic, which is very useful to have and powerful magic to junction.
Full-Life magic, which is very useful to have and powerful magic to junction.
Position Selphie in between the two guards that are attempting to push the missile silo manually. You will now have to press the button multiple times to get the silo into the correct position. Head out to the control panel as instructed by the guard after you’re done.
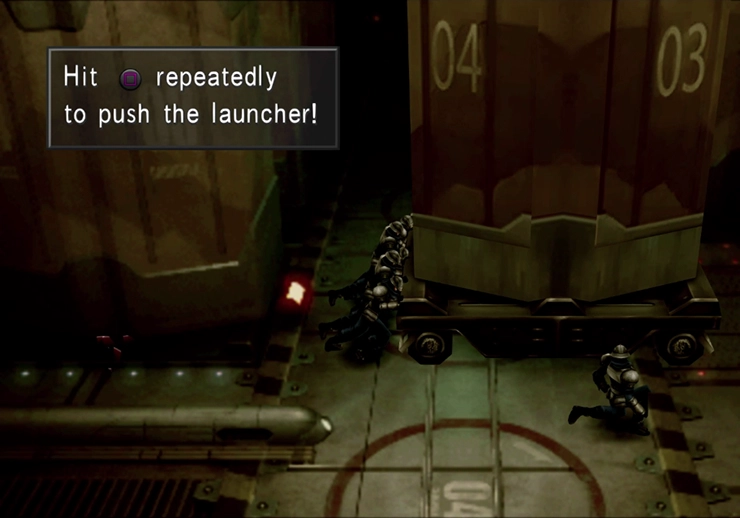
There is only one specific section of the missile targeting system that you have to mess with to move forward, but there is a neat little secret you can view on this panel as well. Access the “Equipment” option and then press and
at the same time while pressing
or
to see a dancing Galbadian Soldier!
Access the “Target” option and then the “Set Error Ratio” option. Use the button on the directional pad to move the error ratio from 0% to 75%, and then press
to exit this screen. Access the “Data Upload” option and choose “Yes” to upload the targeting information to the missiles. You can now exit the control system.
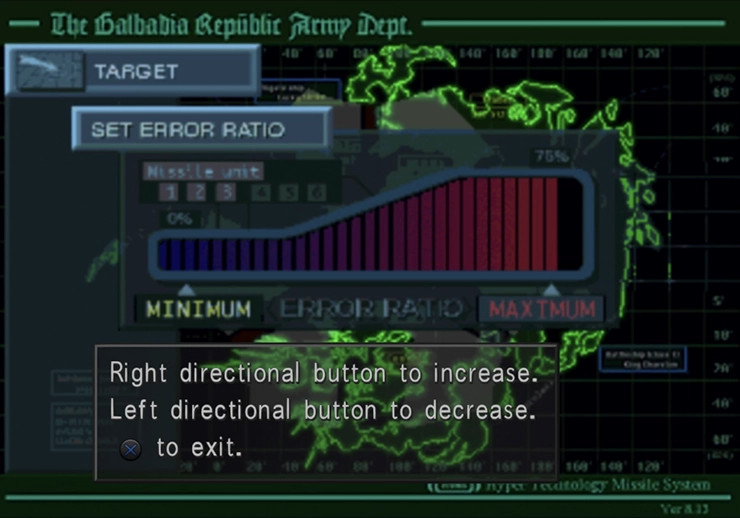
Consider saving your game one more time at the ![]() Save Point near the control system. Speak to the Relief Guard in the bottom-right corner of the screen, and he will let you pass to climb up the stairs.
Save Point near the control system. Speak to the Relief Guard in the bottom-right corner of the screen, and he will let you pass to climb up the stairs.
The guards in this area will recognize that you are the intruders that they have been searching for, and you will be thrown into a fight. These three guards are very easy to defeat.
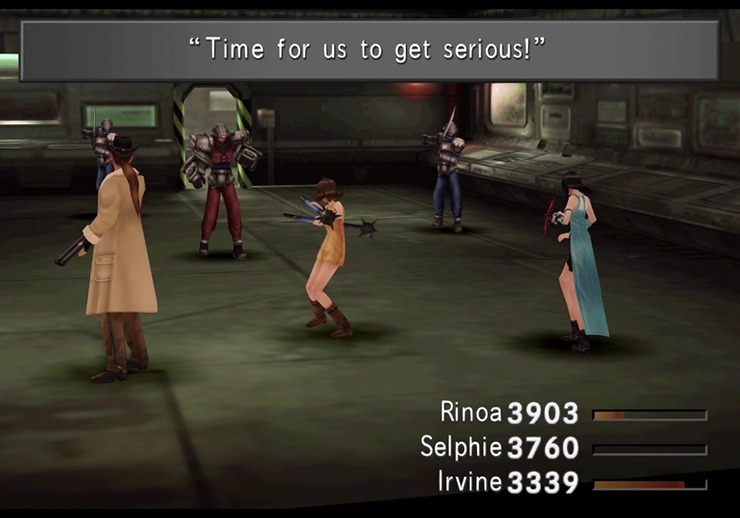
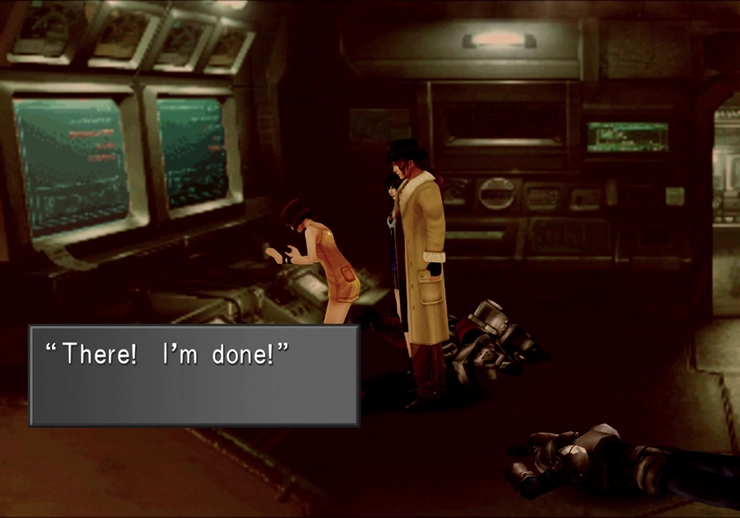
After the battle, have Selphie examine the computer on the left side of the screen until she says, “There! I’m done!” then have her examine the computer on the right side of the screen.
Next, have her examine the computer in the back left area of this room and then go through the door on the back wall. Have her mess with this last computer, and she will activate the self-destruct mechanism for the base.
You will have the option to select a time limit for the self-destruct sequence, ranging from 10 to 40 minutes. 10 minutes should be more than enough, so choose that option. Shorter time limits will increase the points you receive towards achieving a higher SeeD ranking.
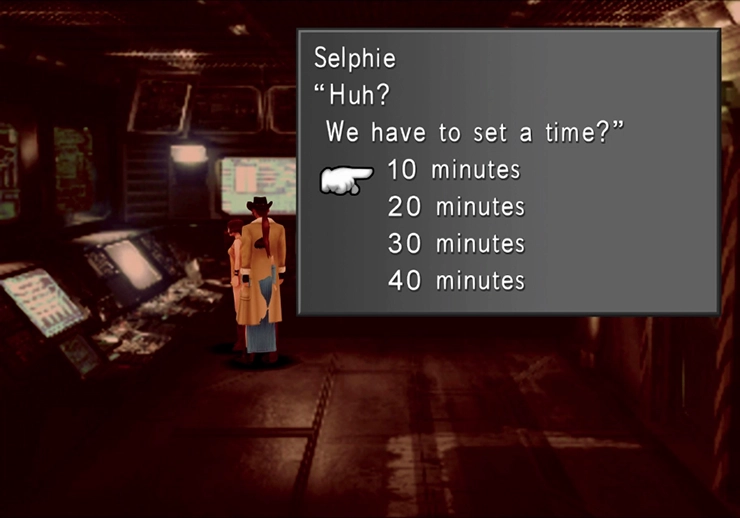
If you select either the 10-minute or 20-minute option, the door on the right side of the screen will be open and available (allowing you to take a shortcut to the front of the base). If you selected the 30 or 40-minute options, you will have to run back through the base. A short cinematic will play once you reach the entrance, and you will be thrown into the next boss battle.
Boss Battle
In Game Description: Named Iron Clad for its defense capability. The main cannon is more powerful than X-ATM092’s Ray-Bomb.
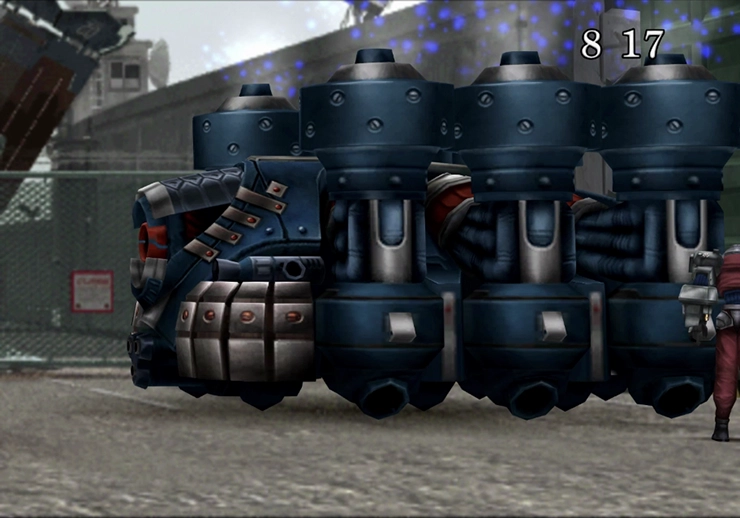
BGH251F2 is probably the hardest-hitting boss you’ve had to face so far. It can KO party members in a single blow, and with the self-destruct timer looming in the corner, it’s easy to make some quick mistakes during this fight that could cost you.
The easiest method for taking down BGH251F2 quickly and efficiently is to have your party members cast Blind on it so that its attacks have a high chance of missing. ![]() Blind has a fairly high chance of missing or being resisted, so be prepared to have to cast it a few times for it to take effect.
Blind has a fairly high chance of missing or being resisted, so be prepared to have to cast it a few times for it to take effect.
Lightning-based attacks, such as ![]() Thundara and
Thundara and ![]() Thundaga, are very effective against this boss. Casting Quezacotl against this boss is also quite effective. However, the casting animations can really eat away at the time you have before the self-destruct timer goes off, so be careful using any Guardian Force.
Thundaga, are very effective against this boss. Casting Quezacotl against this boss is also quite effective. However, the casting animations can really eat away at the time you have before the self-destruct timer goes off, so be careful using any Guardian Force.
You will have to fight the three soldiers that were operating BGH251F2 once you have taken away all of its 6,000 HP, but these soldiers are quite easy to defeat.
Note: This boss tends to be the first one that causes the most grief to first-time players. Consider studying the Magic Junction Guide and basic strategy sections if you are struggling with this boss. Not having high HP or strong attacks through proper junctioning can make this fight extremely challenging, especially if you haven’t spent much time leveling these characters that are a part of Team 1.
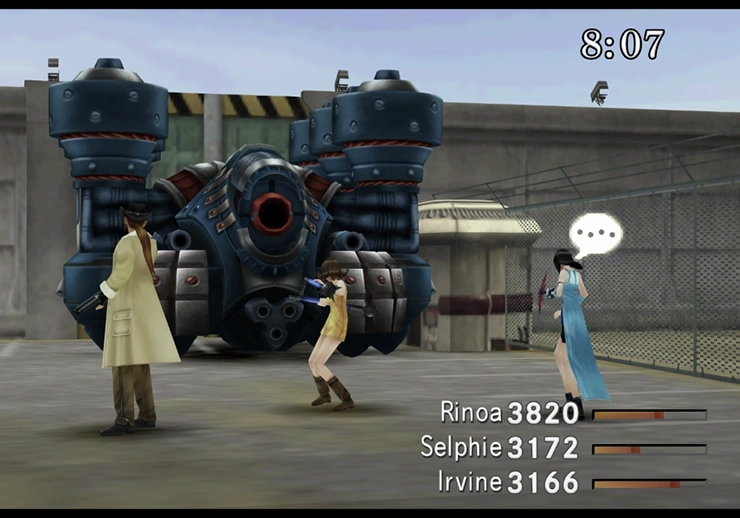
Run around in the parking lot area for a while until the dialog kicks back up again, with the team realizing that they are trapped inside the base. A cinematic will play at the end of the sequence, showing the Galbadia Missile Base blowing up before the story returns to Team 2 at Balamb Garden.

