
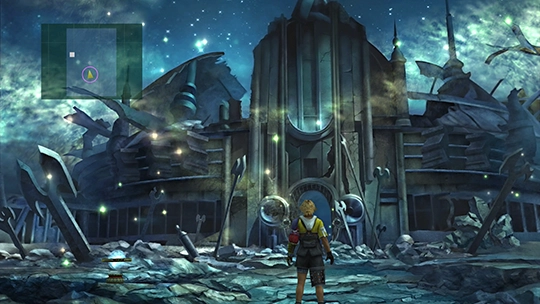
Zanarkand Cloister of Trials
You can complete the Zanarkand Cloister once the team reaches the inside of the Zanarkand Ruins.
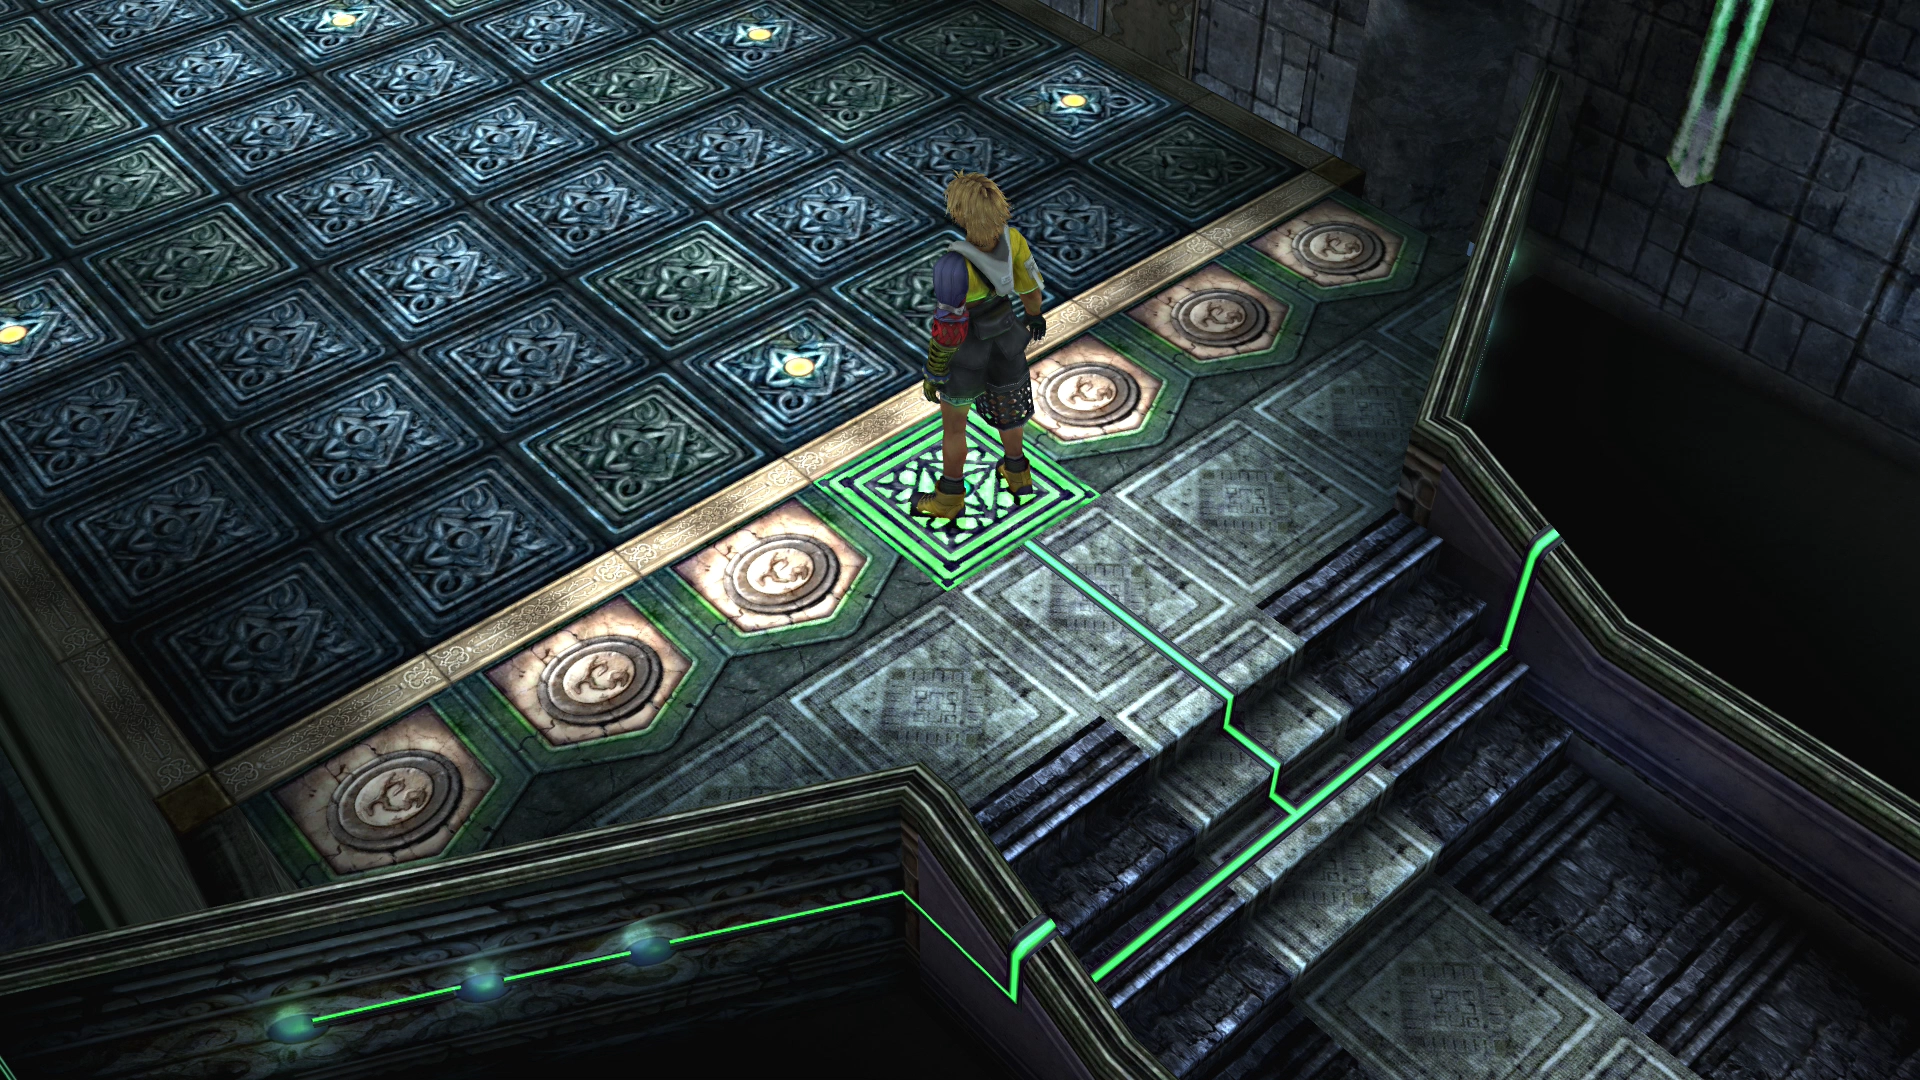
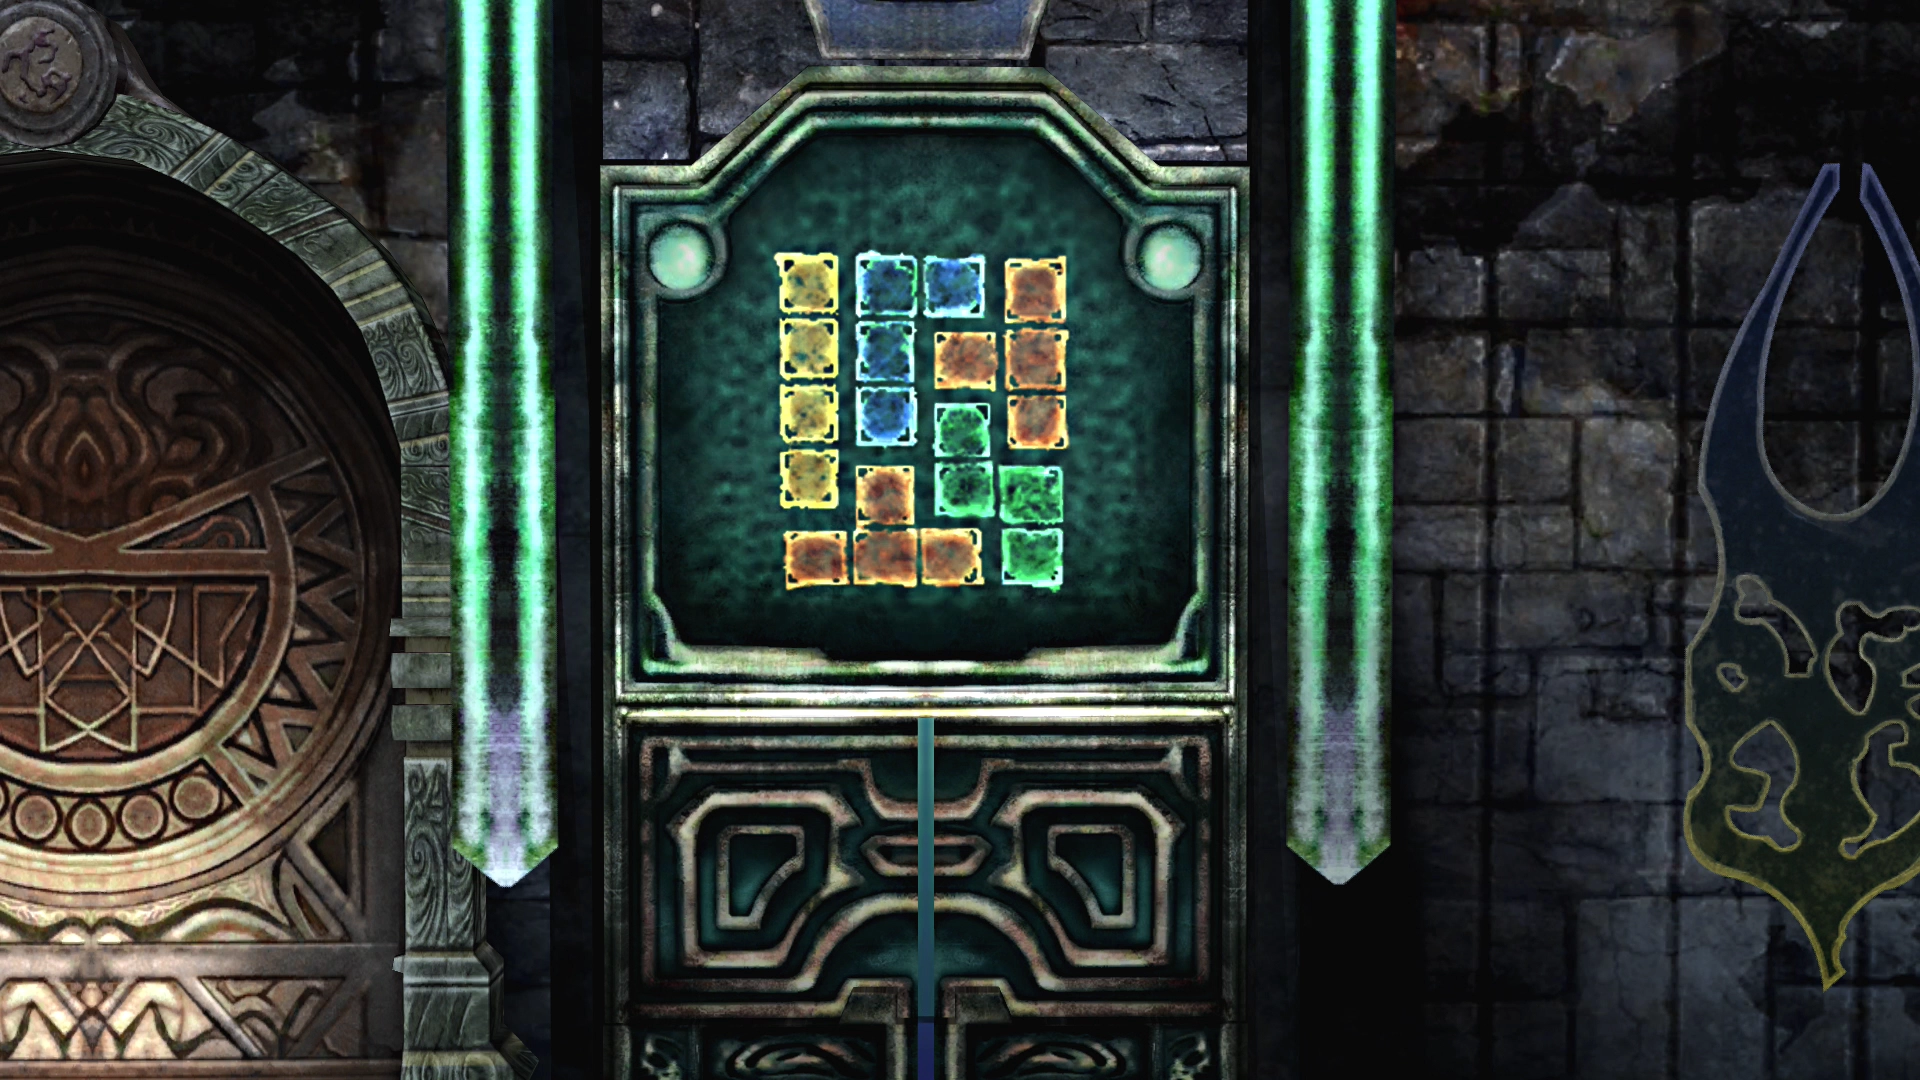
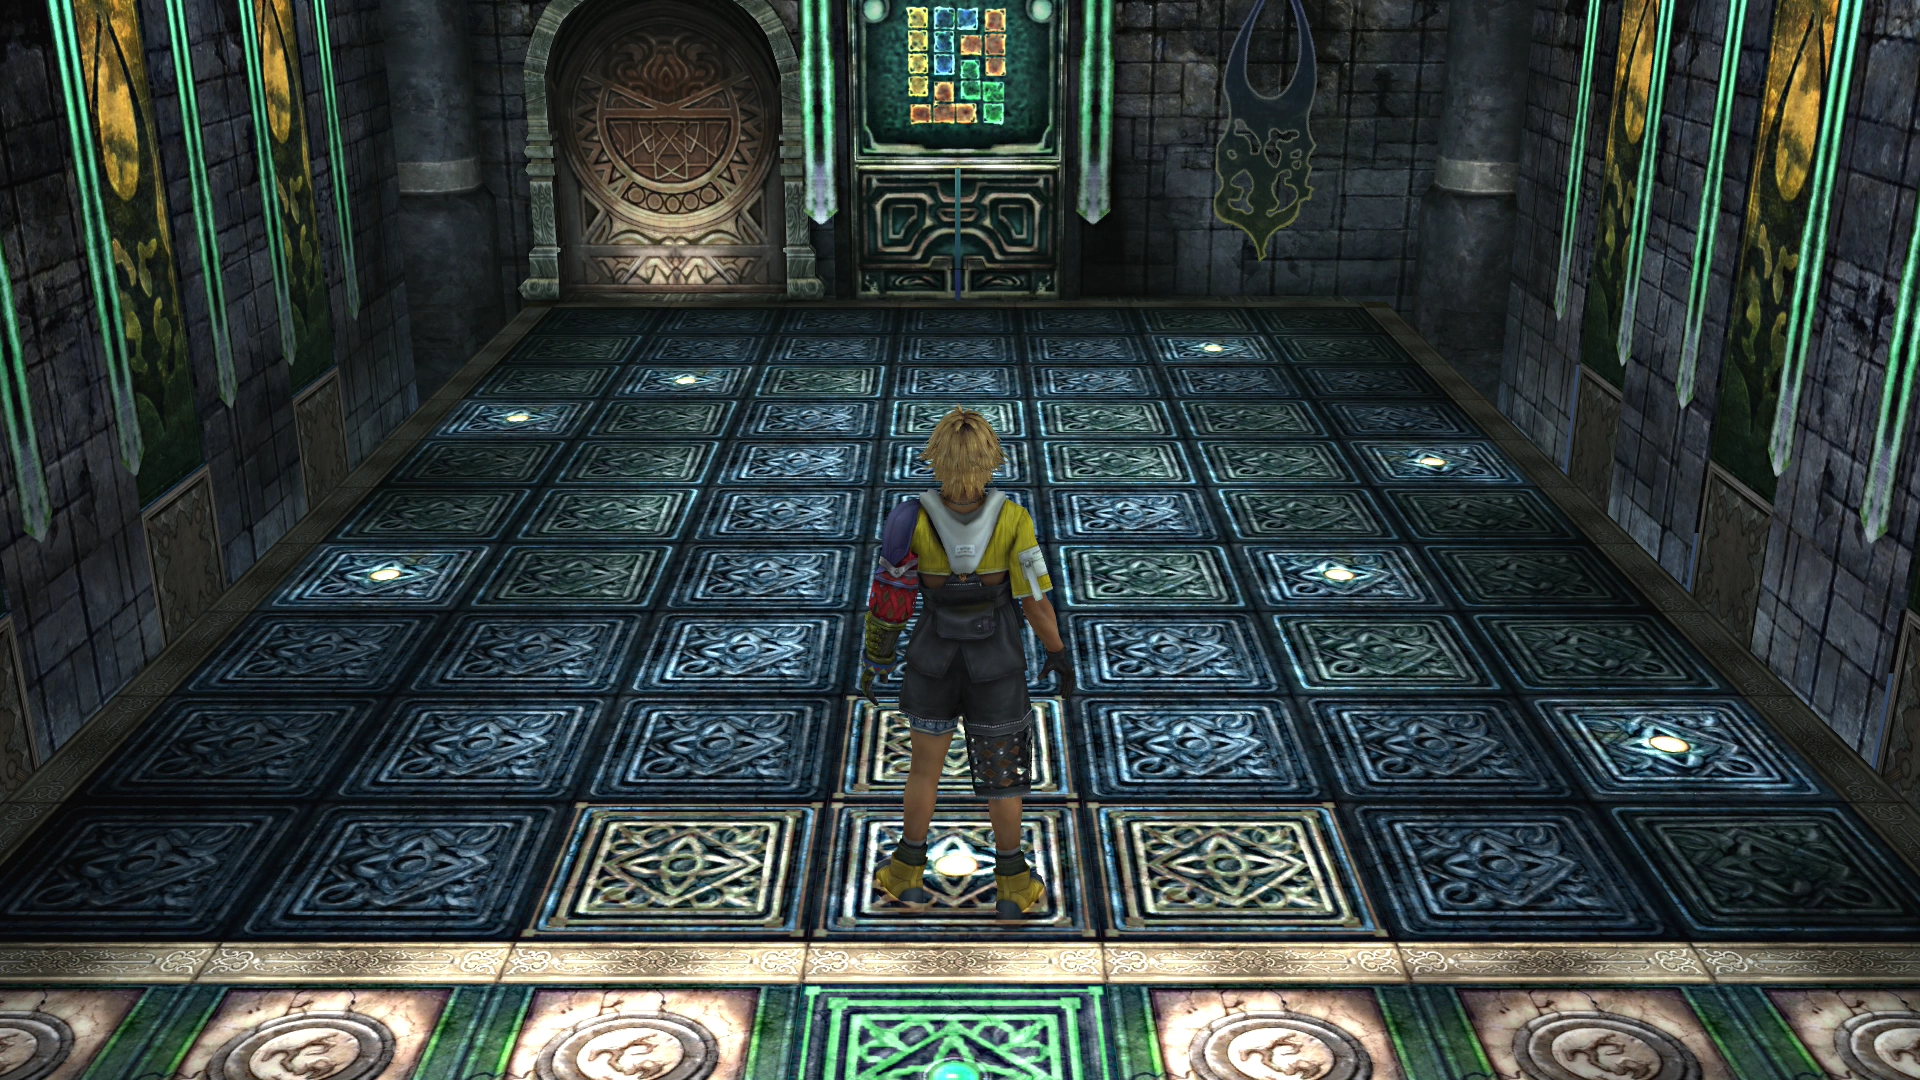
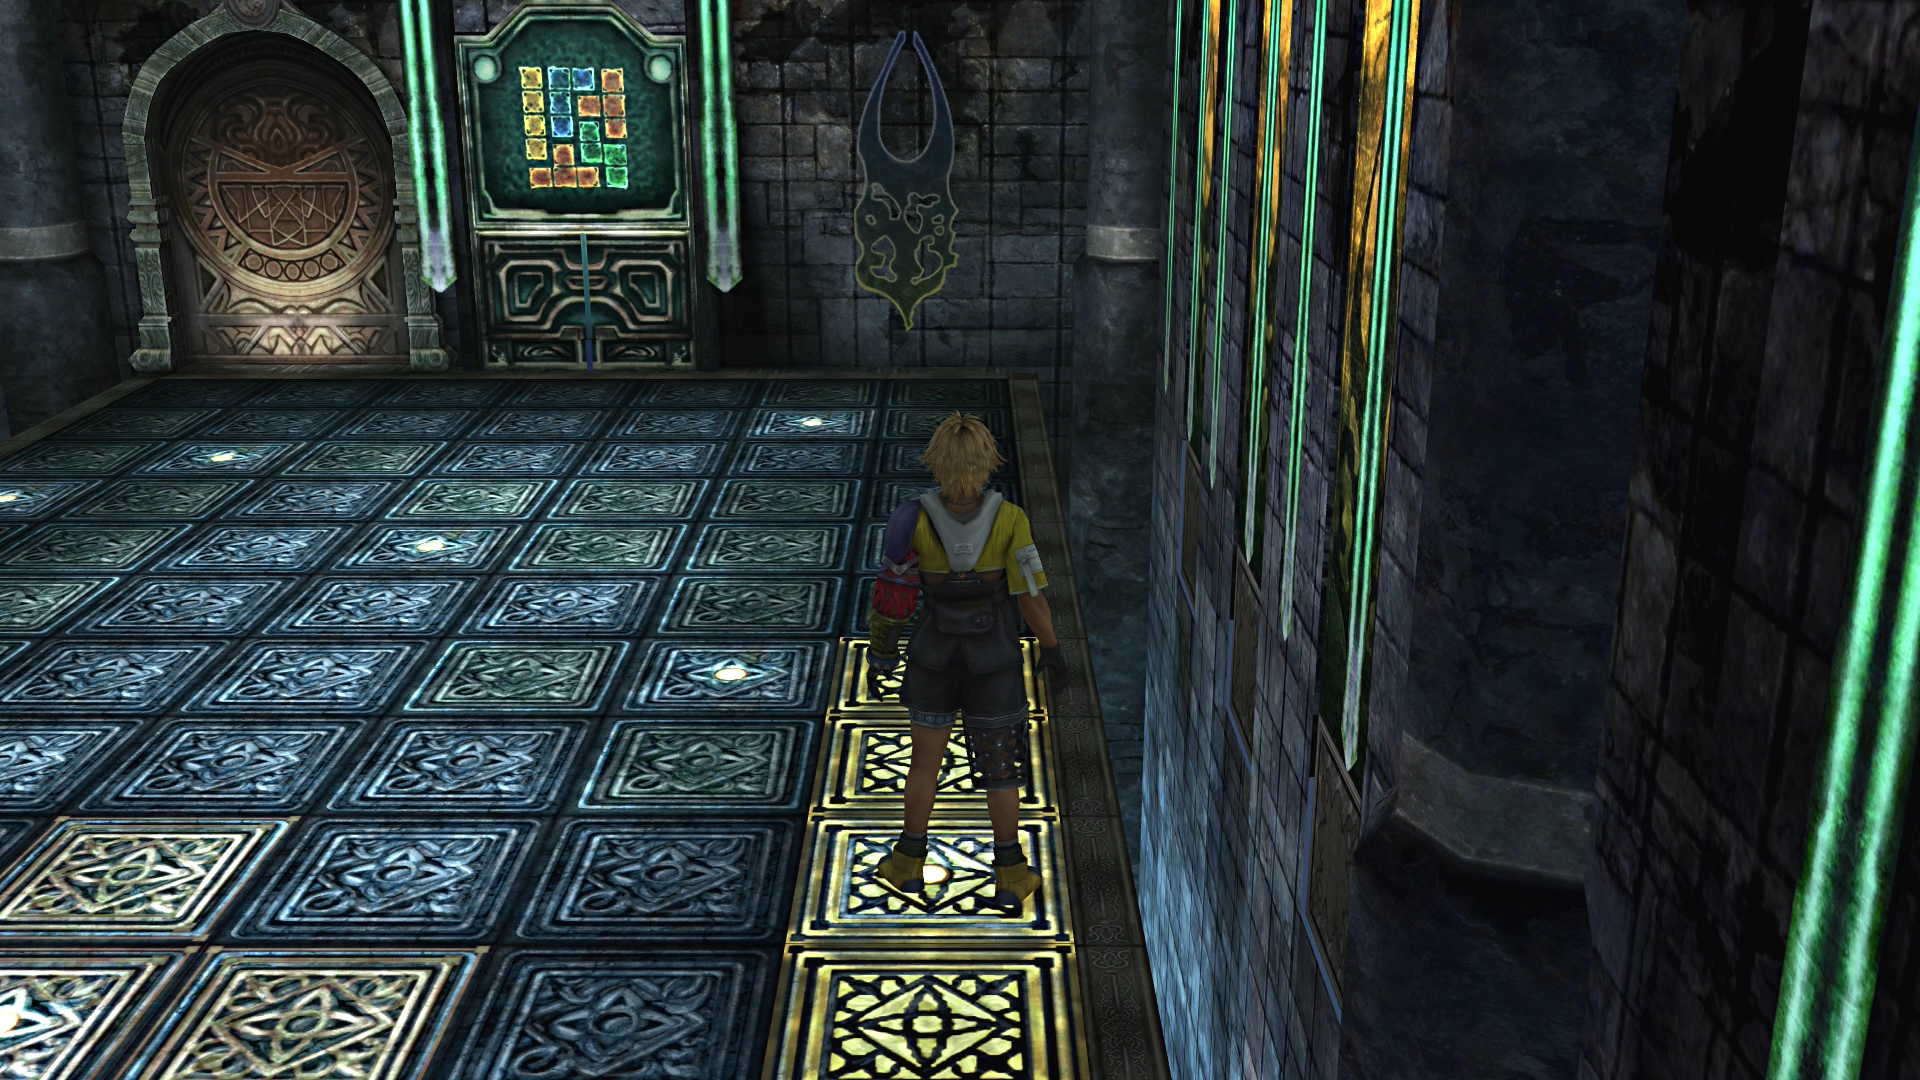
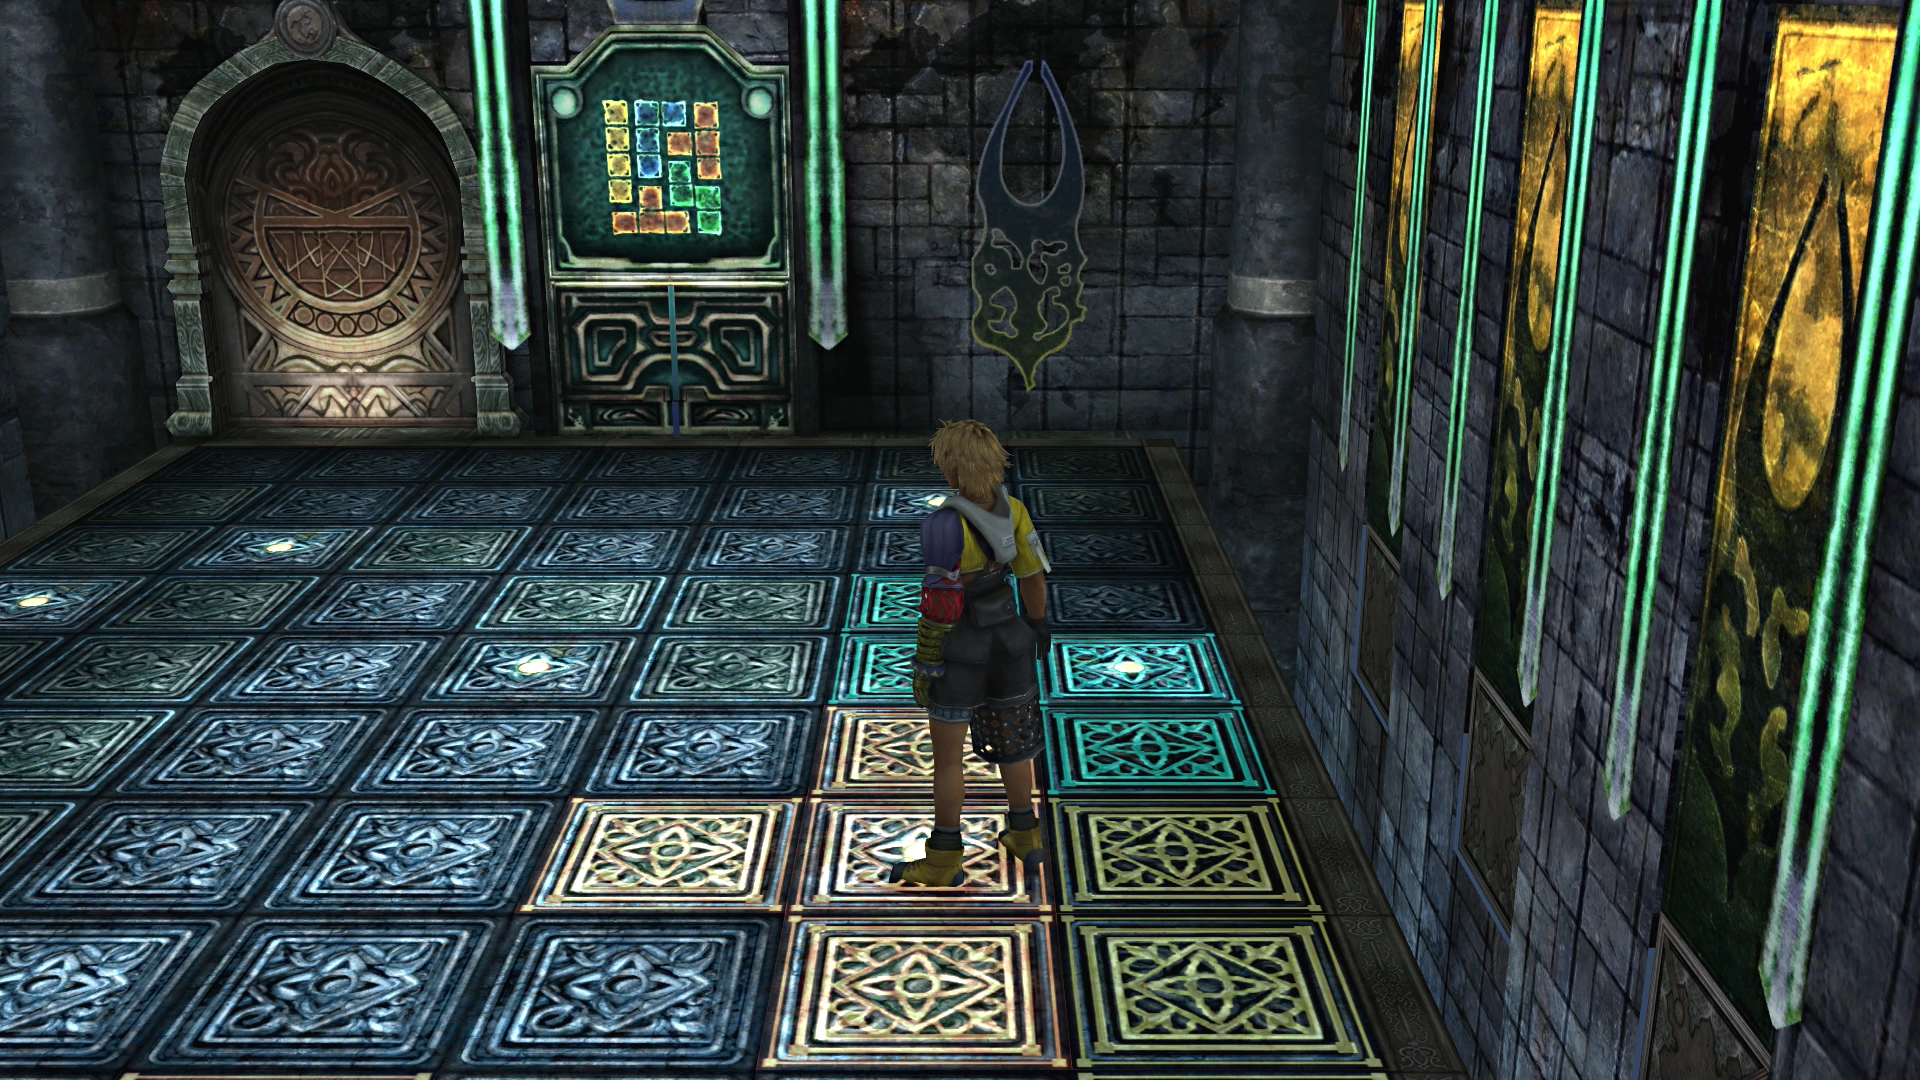
Move forward and stand on the switch right at the front of the room to begin the puzzle. A screen will appear at the front of the room, displaying a variety of shapes that resemble Tetris pieces. You need to light up those shapes to move forward.
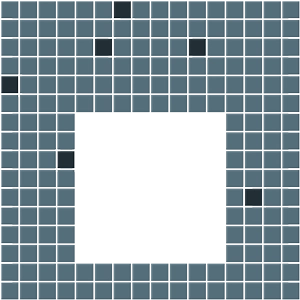
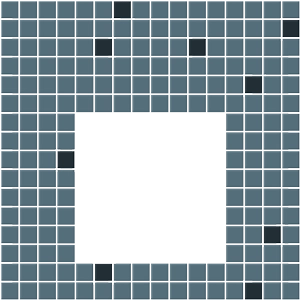
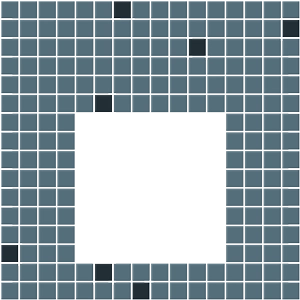
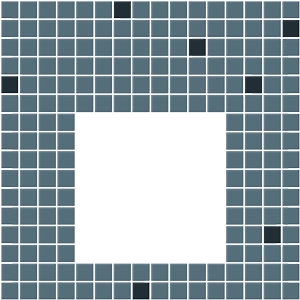
The first switch is directly ahead of Tidus:
The second switch is on the right-hand side of the room:
The third switch is directly north of the second one:
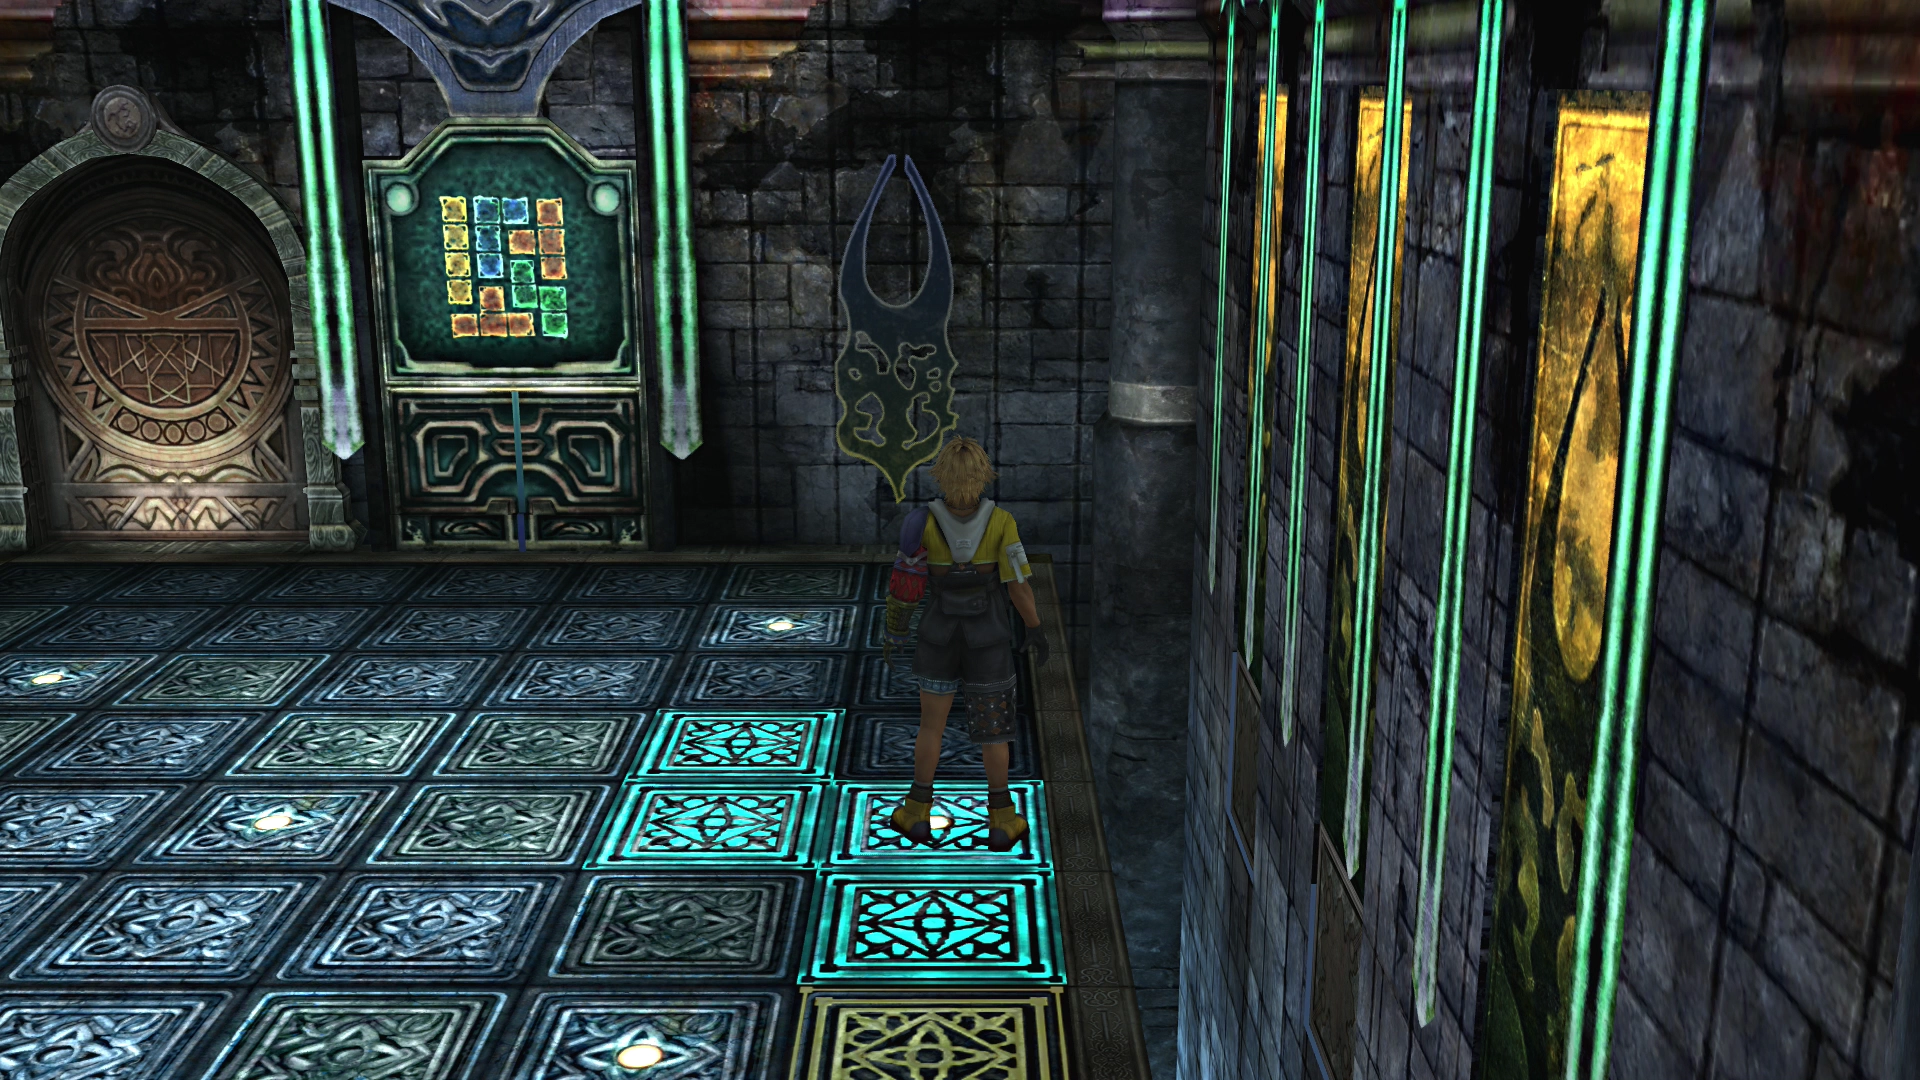
The fourth switch is southwest of the third switch (in between the second and third):
The fifth and final switch is the one furthest northwest:
The room will now transform, revealing several pedestals, and a new door will open. You now need to push each of the pedestals back into the wall and complete a corresponding puzzle in the next room (through the passageway at the back of this room).
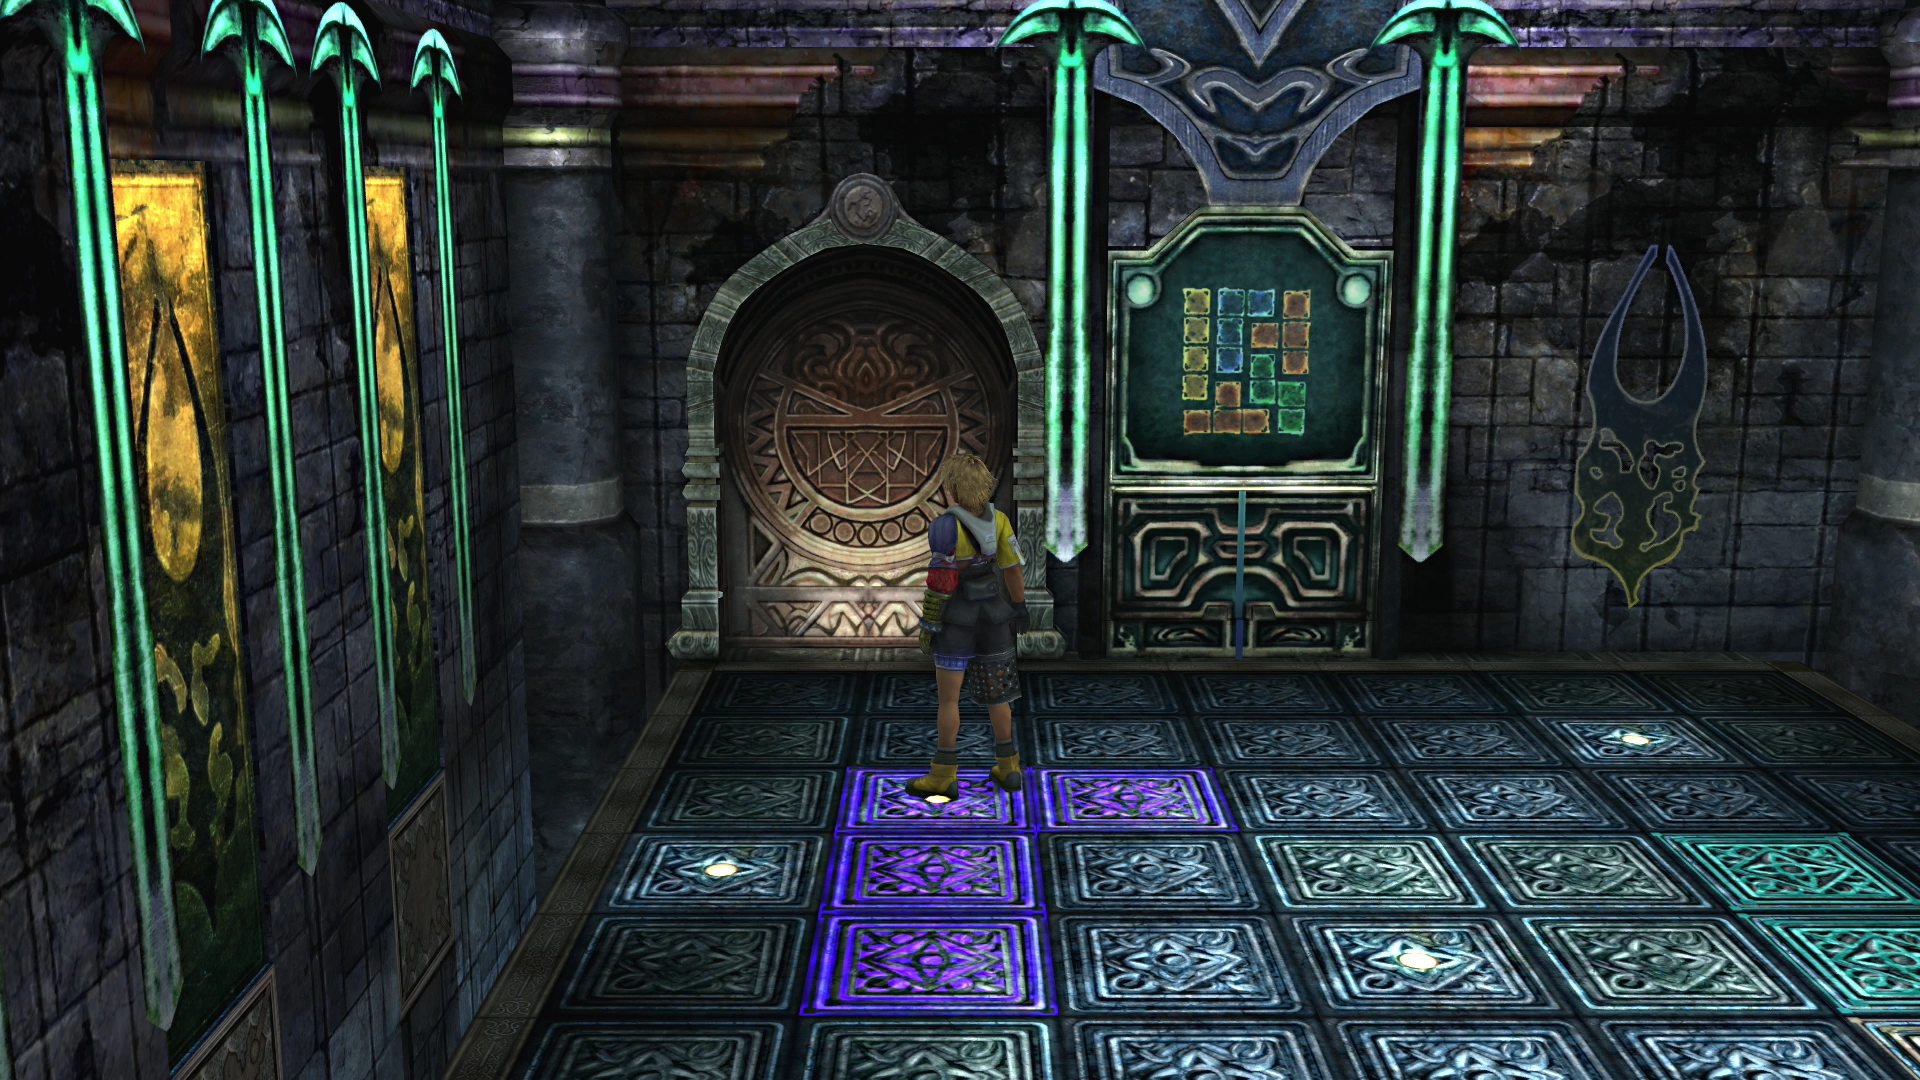
A total of six pedestals will reveal themselves, but there are only puzzles for the top left, top right, bottom left, and bottom right pedestals (4 puzzles to complete in total). The two middle pedestals do not move when you attempt to push them.
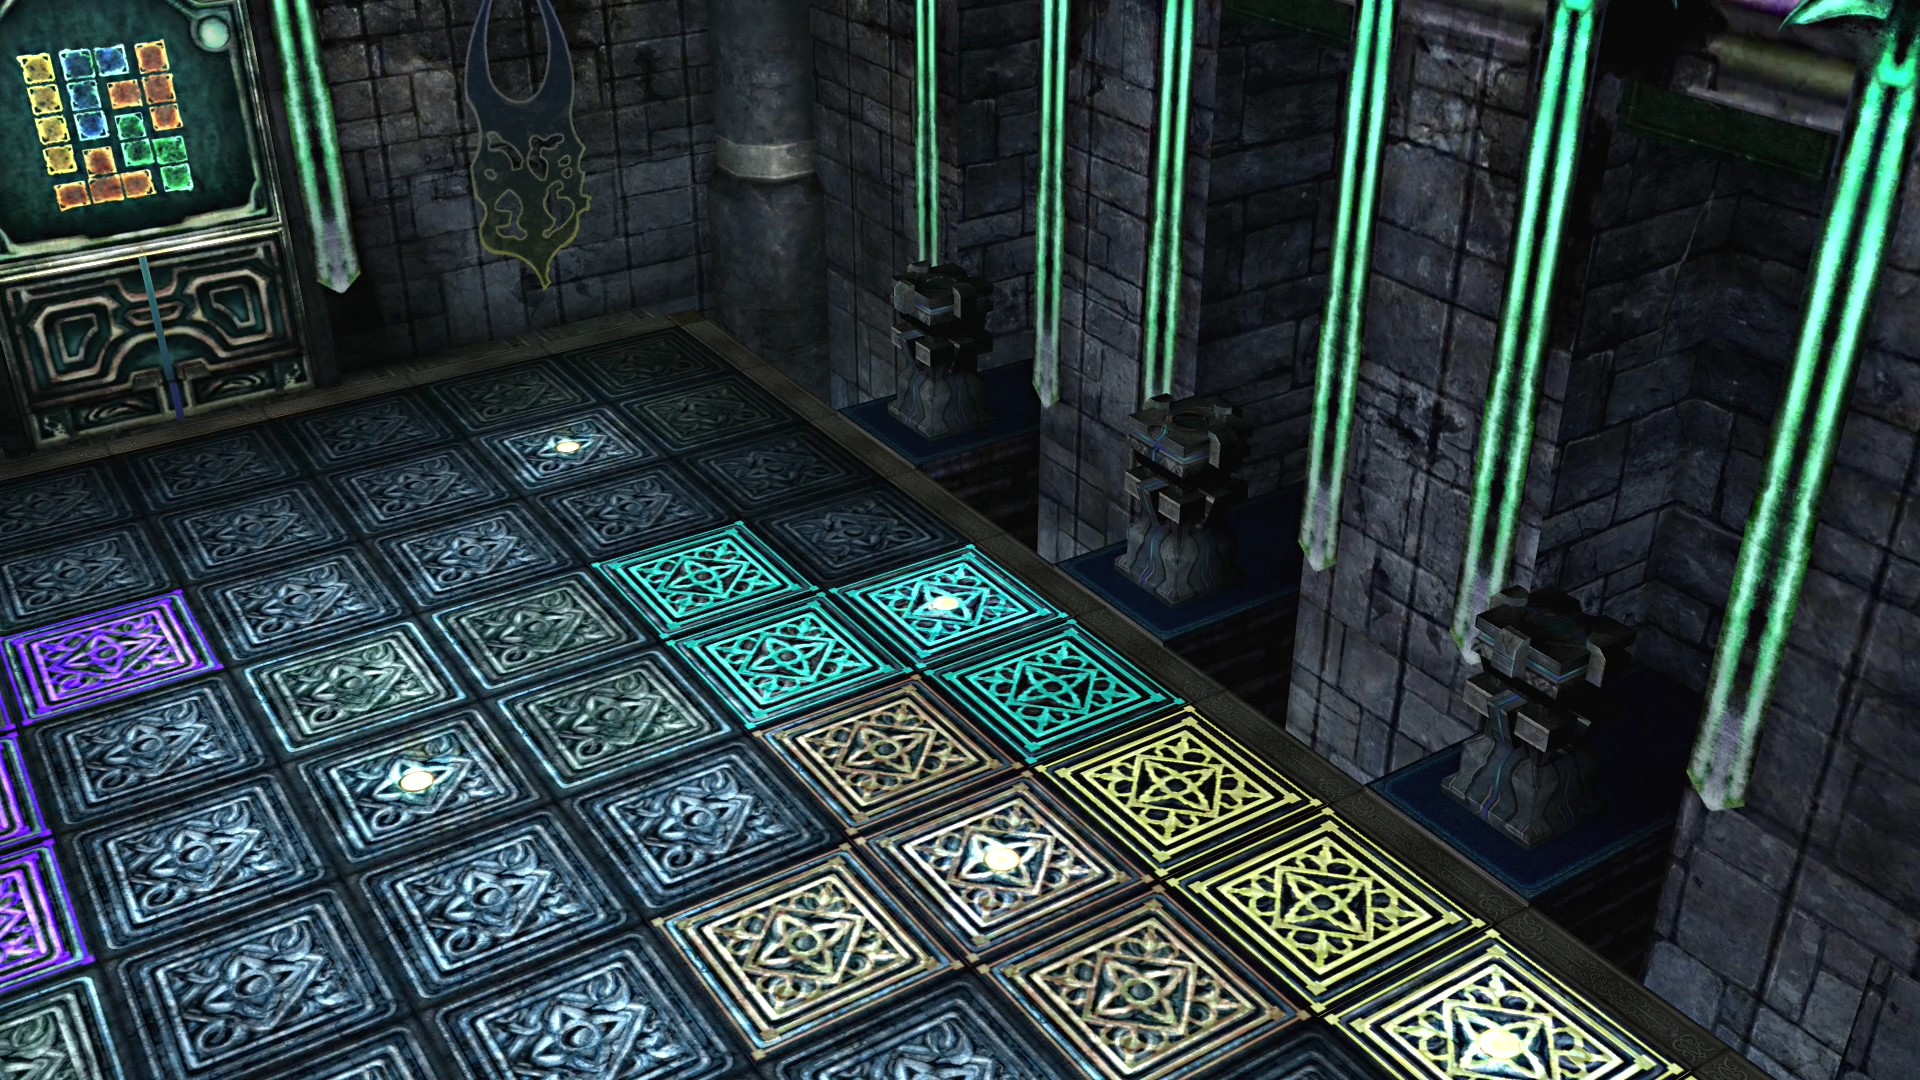
Push each of the pedestals back (by pressing ![]()
![]()
![]() ) and use the corresponding charts below to determine which switches to step on to match the shapes on the screen at the front of the second room.
) and use the corresponding charts below to determine which switches to step on to match the shapes on the screen at the front of the second room.
Top Left Pedestal:
Top Right Pedestal:
Bottom Left Pedestal:
Bottom Right Pedestal:
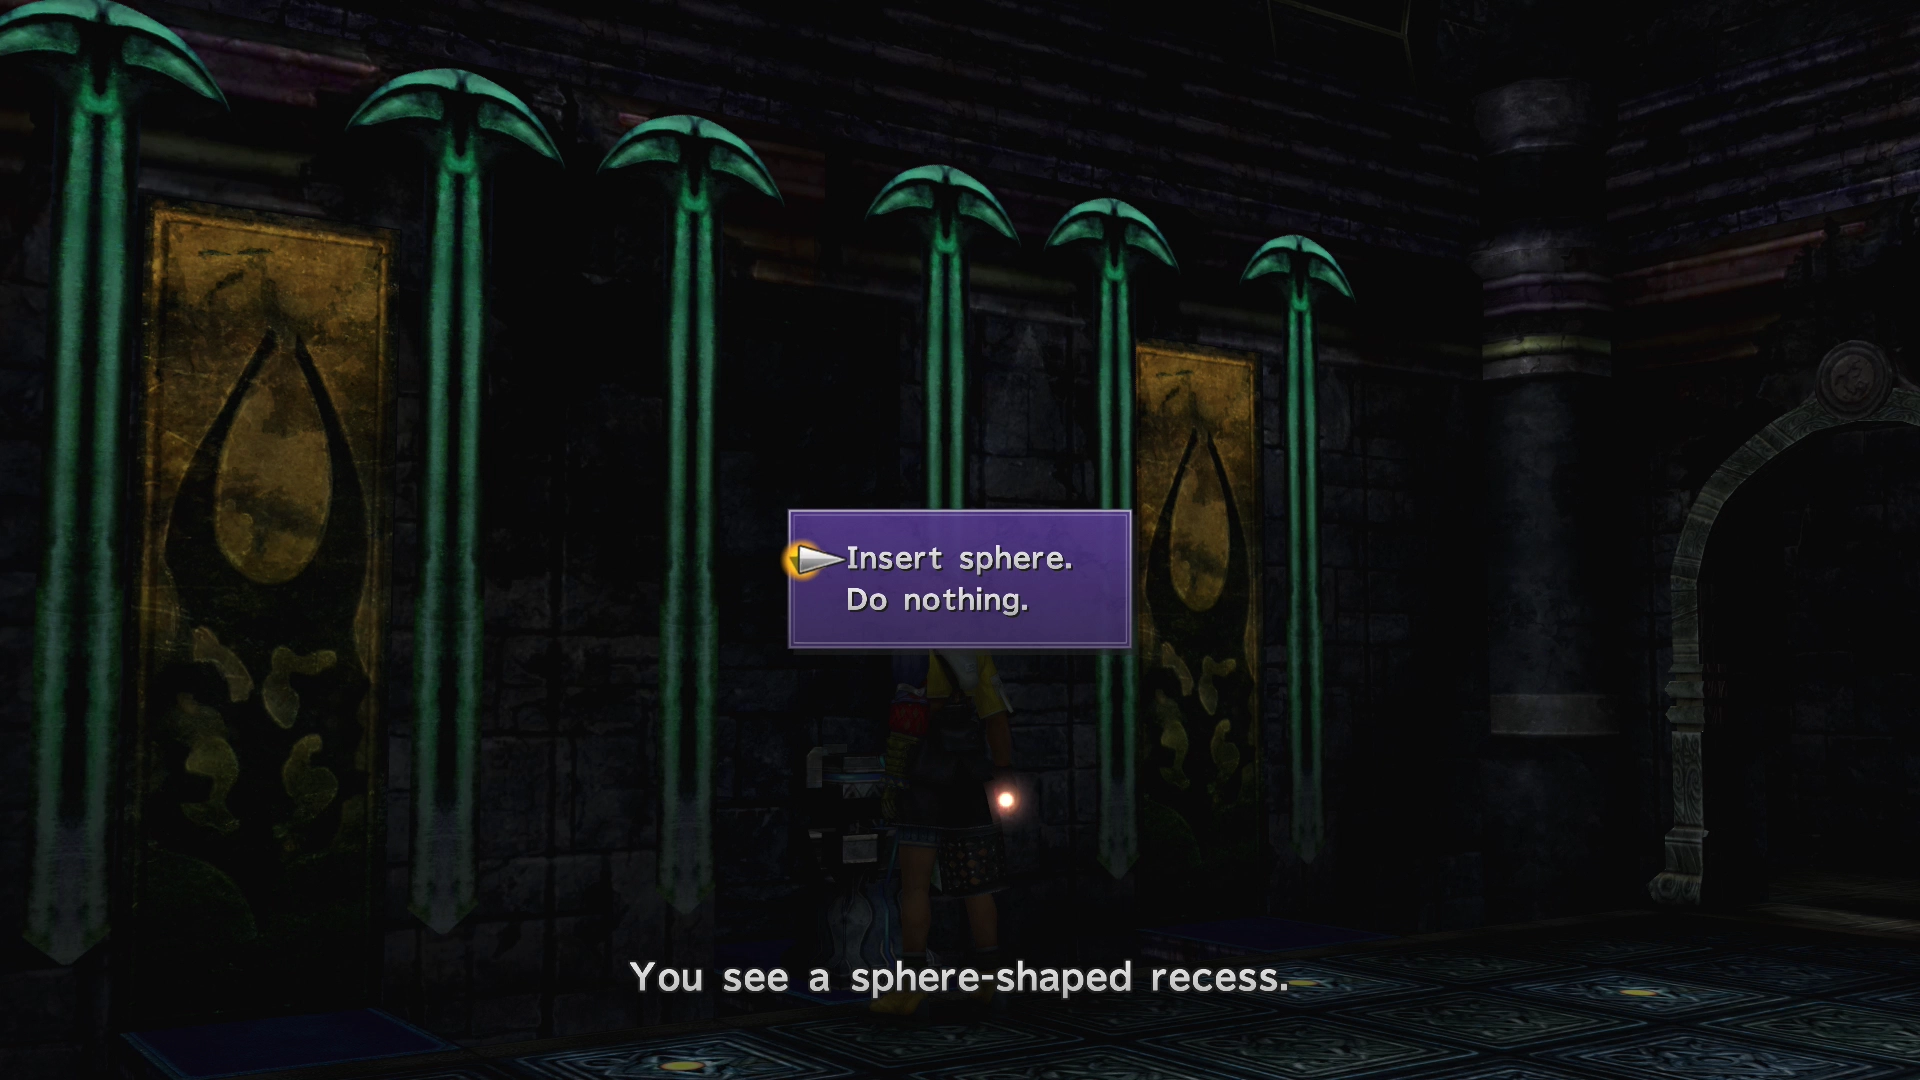
Grab the ![]() Kilika Sphere out of the recess in the wall near the screen once you have completed the four Tetris-style puzzles. Insert it into the middle pedestal on the left of the previous room (shown in the screenshot below).
Kilika Sphere out of the recess in the wall near the screen once you have completed the four Tetris-style puzzles. Insert it into the middle pedestal on the left of the previous room (shown in the screenshot below).
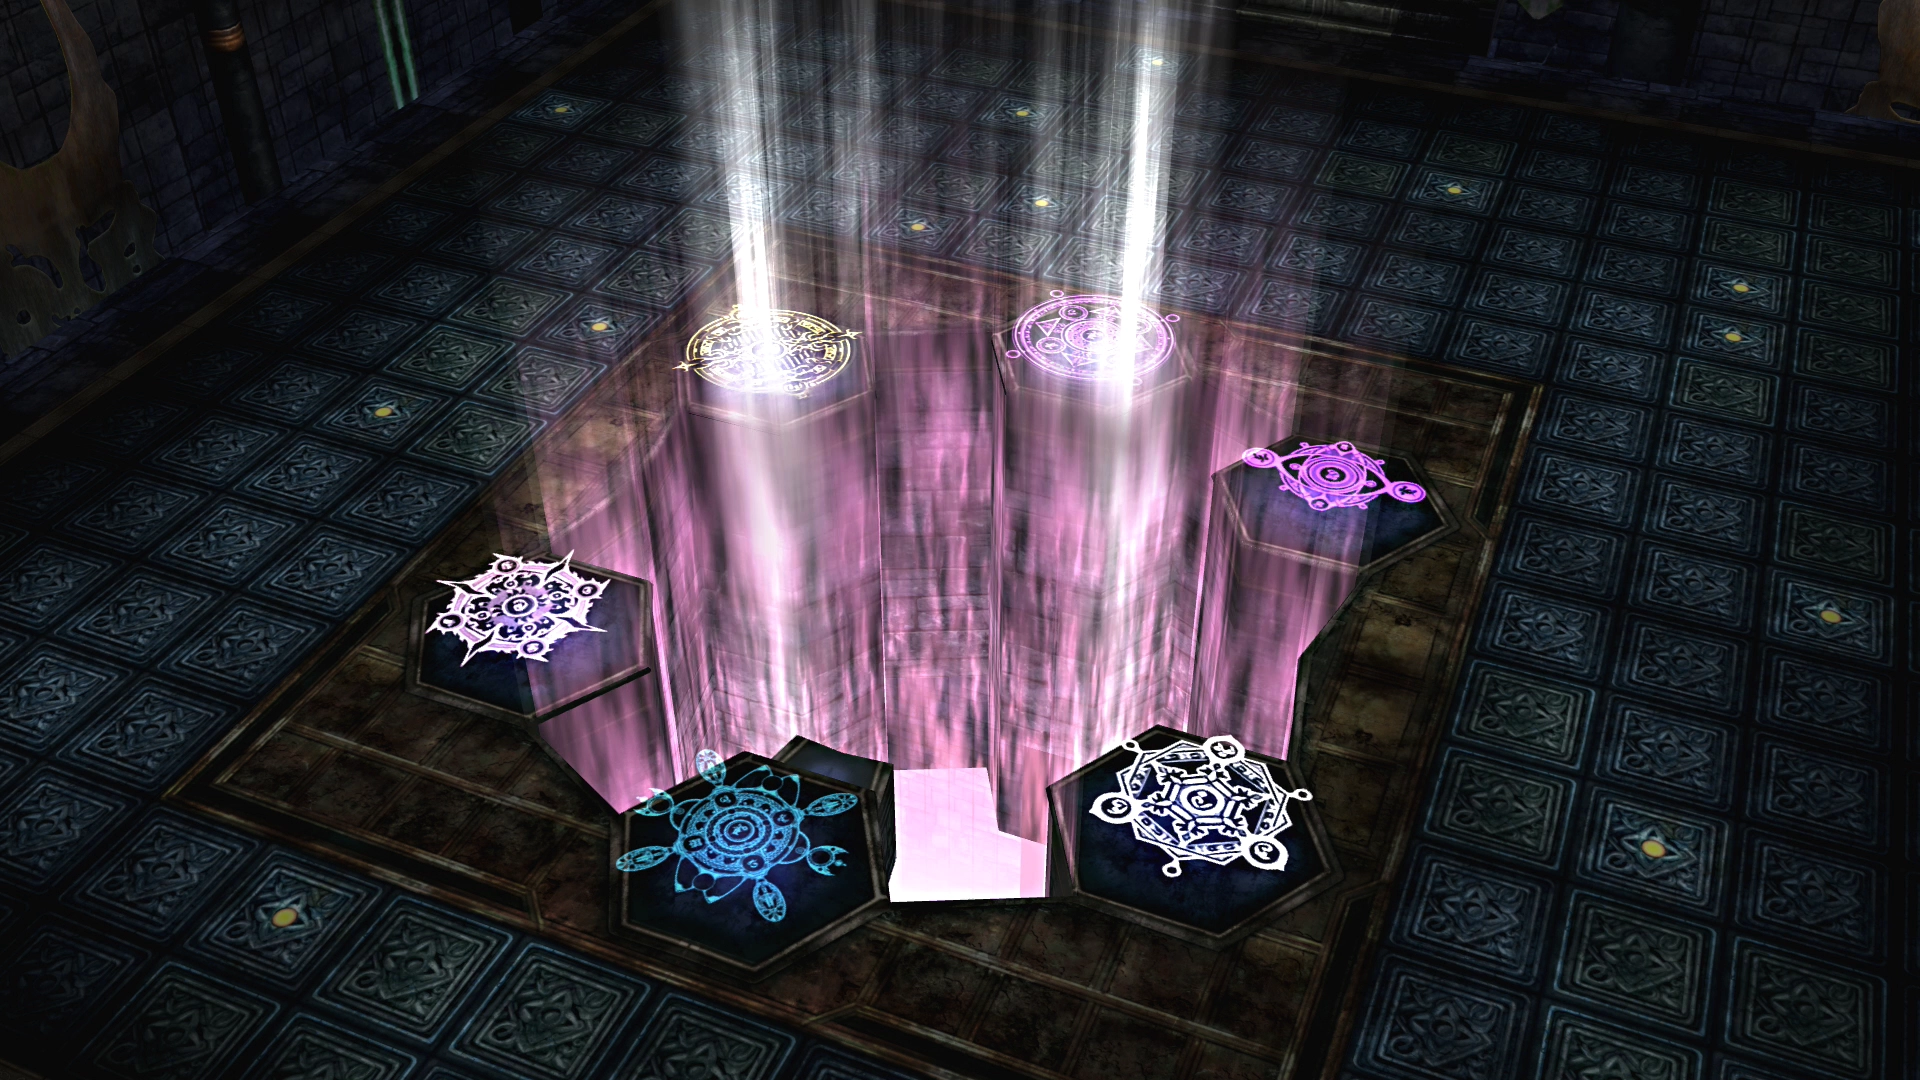
Take the ![]() Besaid Sphere, located on the opposite side of the screen from the
Besaid Sphere, located on the opposite side of the screen from the ![]() Kilika Sphere, and place it into the middle pedestal on the right side. This will cause all six of the symbols in the center of the room to light up.
Kilika Sphere, and place it into the middle pedestal on the right side. This will cause all six of the symbols in the center of the room to light up.
Save your game at the Save Sphere before heading into the next room, as there is a boss fight coming up. If you have any armor with the ![]() Berserk Ward or
Berserk Ward or ![]() Berserkproof ability, you should equip it before entering the next room.
Berserkproof ability, you should equip it before entering the next room.
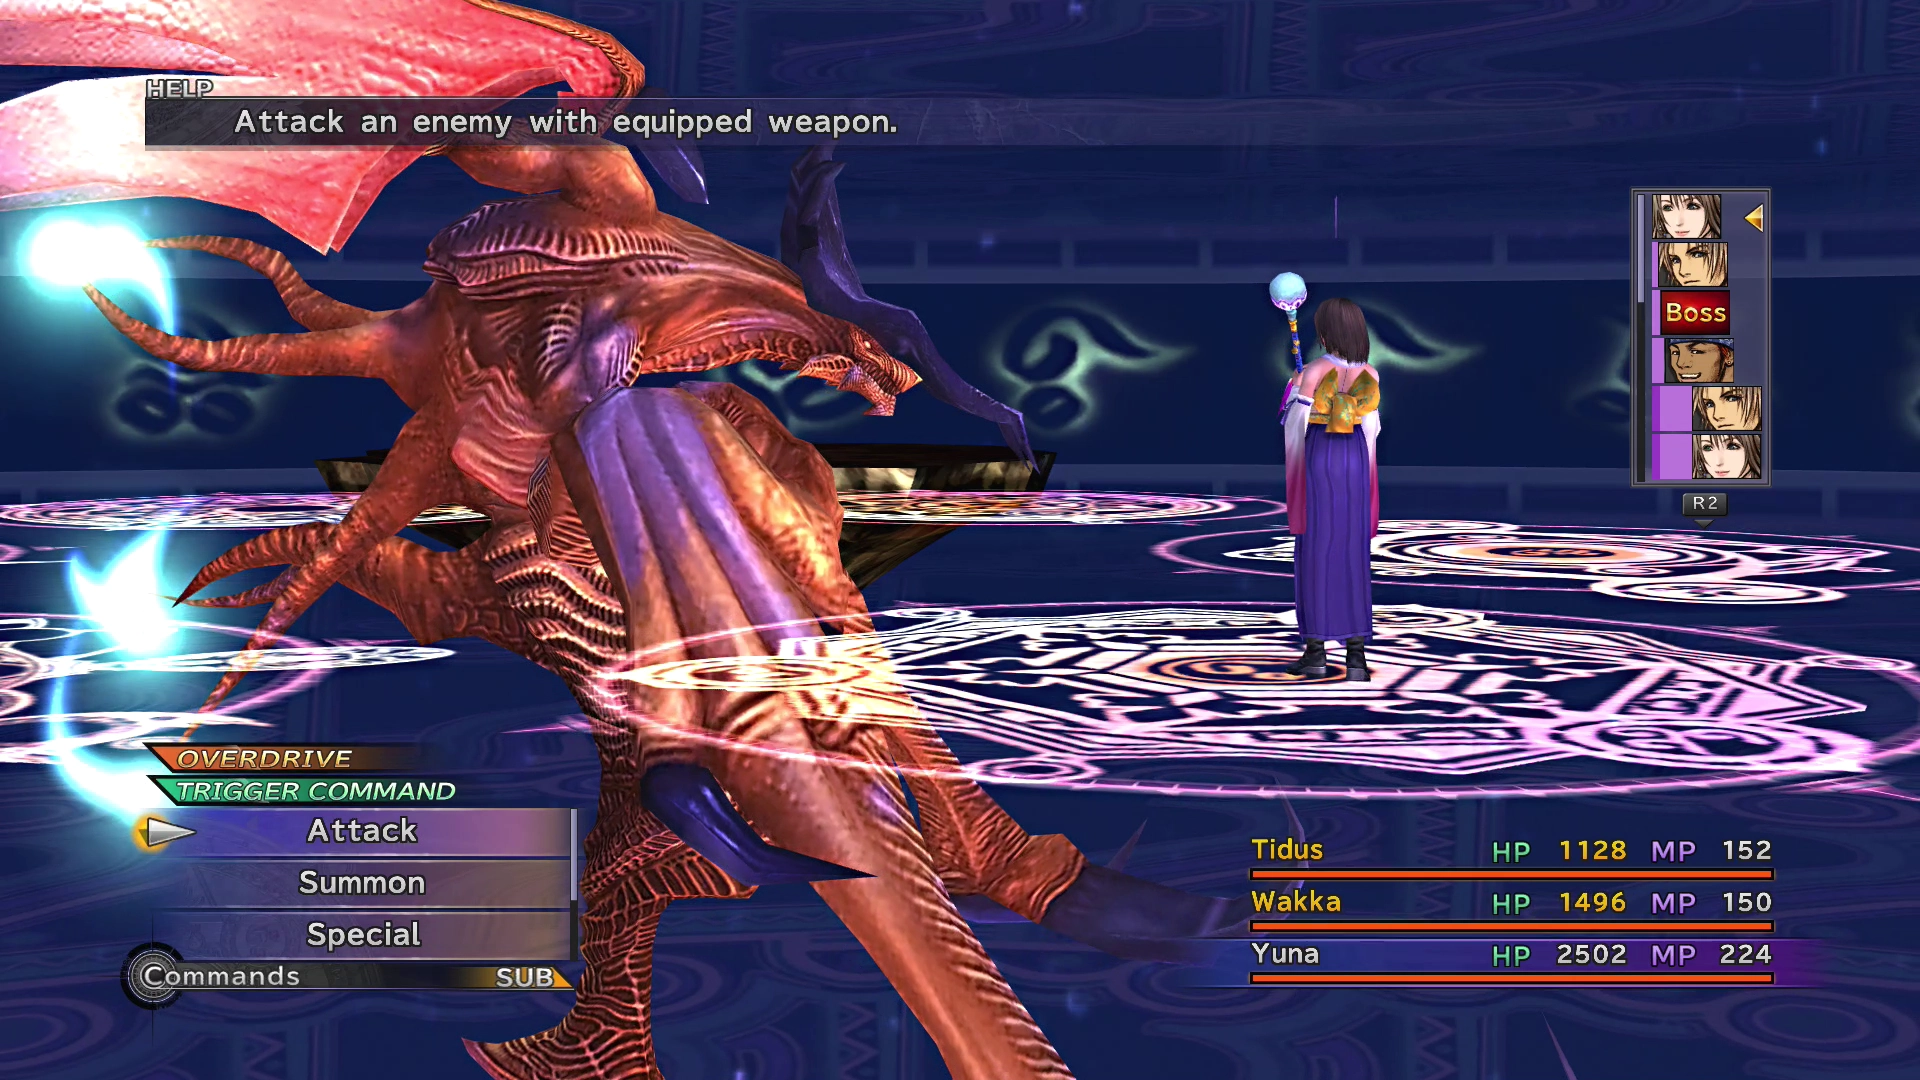
Boss Battle
HP: 52,000
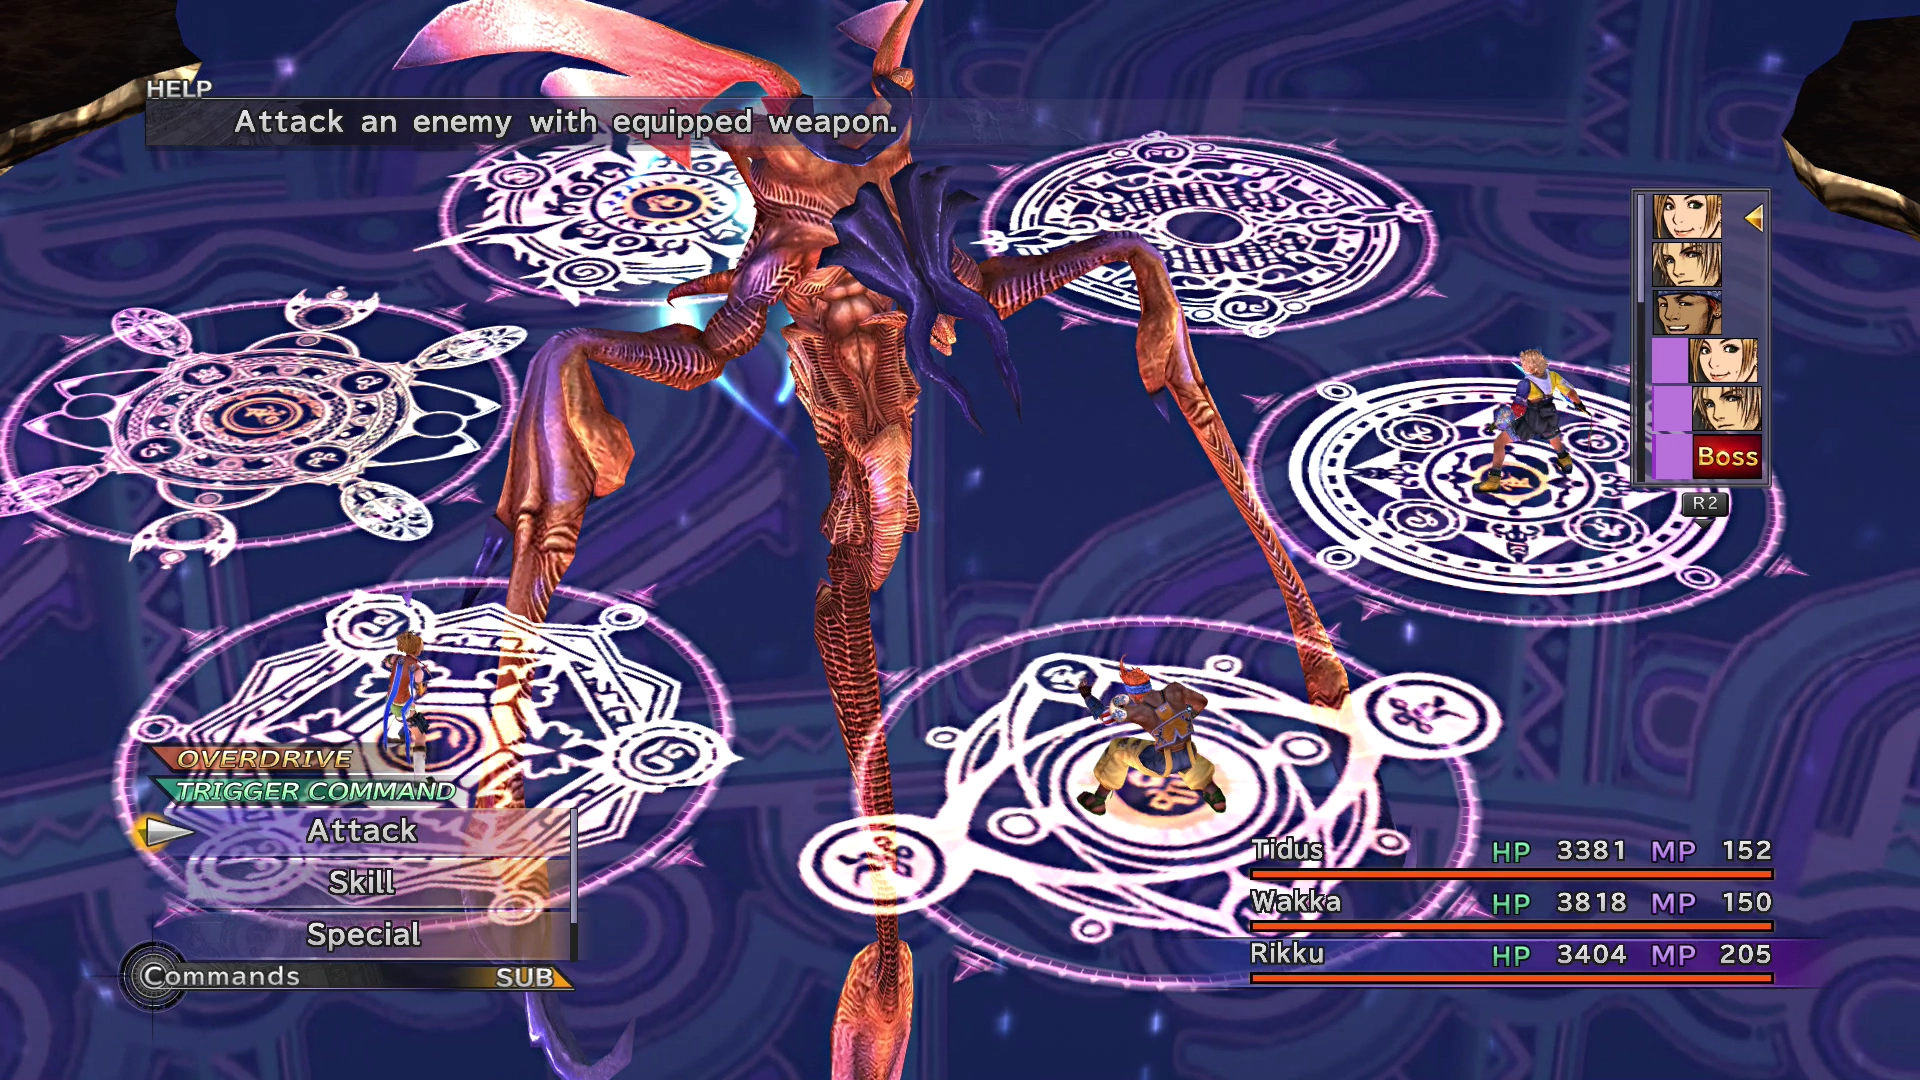
This fight may appear daunting, as it involves an added layer of dealing with team member positioning on the battlefield, but the mechanics of the battle are much more straightforward than they appear.
The battlefield consists of six glyph spaces where characters can stand. You can use the Trigger Commands to move your characters from one spot to another. Each time you attack Spectral Keeper, it will counterattack by swiping at the three spaces directly in front of it.
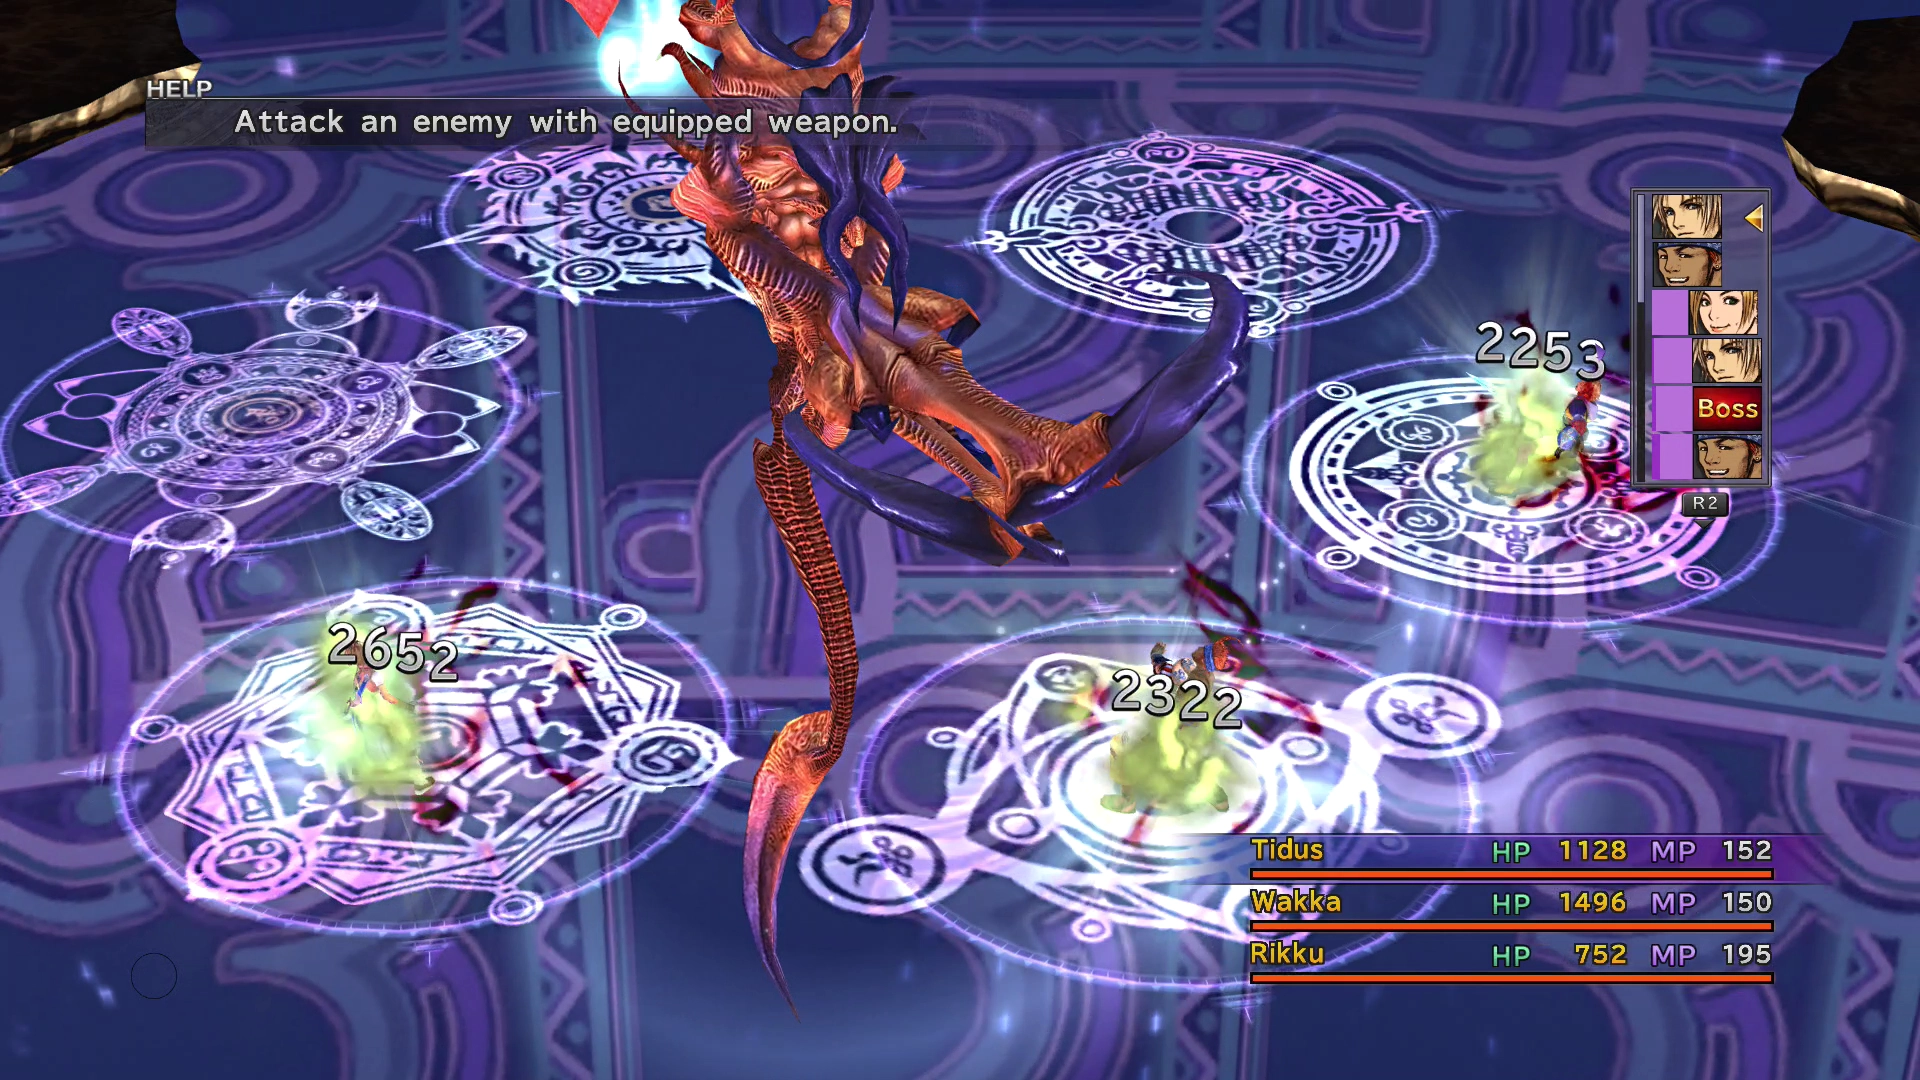
Spectral Keeper can also plant Glyph Mines on any of the spaces, which explode on Spectral Keeper’s next turn. Any character that is still standing on a Glyph’s space when the Glyph Mine explodes will be instantly KO’d.
You can see when a Glyph Mine is about to explode by watching the turn counter on the right side of the screen. The turn will be listed as “Boss” with a number above it. Make sure to move your character before then.
Finally, Spectral Keeper can attack with its tail, which will inflict the Berserk status effect. Berserk causes a character to automatically use the ‘Attack’ command every turn. It also raises that character’s Strength stat, causing their attacks to hit for more; however, you should remove this status effect as soon as possible, as you need to be able to move your characters around the battlefield to stay alive. You don’t want a Berserk afflicted character to attack Spectral Keeper while both of your other two characters are standing in front of it, for instance.
Make sure that your characters stay relatively separated throughout the fight so that a counterattack hits as few of them as possible.
Use ![]() Protect if you are having trouble staying alive through regular attacks, and use Tidus’ Provoke ability if you need to redirect Spectral Keeper’s attacks. Keep in mind that you are nearing the end of the game, so do not be afraid to use up your
Protect if you are having trouble staying alive through regular attacks, and use Tidus’ Provoke ability if you need to redirect Spectral Keeper’s attacks. Keep in mind that you are nearing the end of the game, so do not be afraid to use up your ![]() Mega-Potions,
Mega-Potions, ![]() Mega-Phoenix, and
Mega-Phoenix, and ![]() Elixirs during this fight if needed.
Elixirs during this fight if needed.
Steal:
 Ether (common)
- Turbo Ether (rare)
Drops:
This concludes the Zanarkand Cloister of Trials for now. You cannot complete the Destruction Sphere portion of this Cloister until later on in the game.
Walkthrough Guide
Return to the Zanarkand Ruins walkthrough page, which continues in the Chamber of the Fayth.
Destruction Sphere
You can only complete the Destruction Sphere portion of the Zanarkand Cloister of Trials by returning to the Zanarkand Ruins later on in the game after you have access to the “NavMap” on the Airship and can return to any location. Check out the Airship and Highbridge Walkthrough page for more details.
Use the teleportation platforms to quickly transport yourself from the Airship landing area into the Cloister of Trials. You can find one just south of the Save Sphere that you initially land next to.
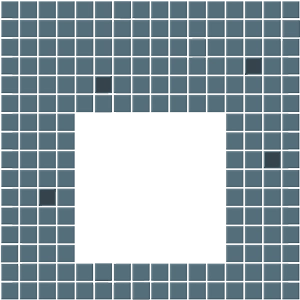
Step on all the switches that light up the seven white square patterns. Three of the switches are in the first room (just find them through trial and error), while you can find the other four in the second, larger room. Use the map below to help you find them:

Grab the ![]() Destruction Sphere out of the pedestal that appears behind that sliding doorway. Return to the larger room and place the
Destruction Sphere out of the pedestal that appears behind that sliding doorway. Return to the larger room and place the ![]() Destruction Sphere into the recess on the right side of the screen at the front of the room. The screen will shatter, revealing a treasure chest which contains a
Destruction Sphere into the recess on the right side of the screen at the front of the room. The screen will shatter, revealing a treasure chest which contains a ![]() Magistral Rod.
Magistral Rod.
The Zanarkand Cloister of Trials is now 100% complete. Use the link below to return to the Side Quest and Endgame walkthrough:
Walkthrough Guide

Detailed instructions for completing each of the side quests in a logical and sequential order.