Quickenings
Introduction
The Quickening system replaces the Limit Break system that was common in some of the predecessors to Final Fantasy XII. You can use Quickenings during battle as a quick means of dealing heavy amounts of damage to an enemy or a group of enemies. They are highly effective against bosses, hunt marks, and other high-HP enemies.
Unlocking Quickenings
You will not have access to any Quickenings when you start the game, but you can unlock them by activating Quickening Licenses on the License Board. You’ll find the Quickening Licenses in different spots on each of the License Boards for the 12 different Jobs – check out the License Board section for more information.
Each character can unlock a maximum of 3 Quickening Licenses, but you will notice that there are 4 Quickening Licenses on each of the License Boards. Once you unlock the third and final Quickening License, the fourth License, whichever one you did not activate, will disappear from the License Board, and you will no longer be able to activate that space.
You must make sure that you activate specific Quickening Licenses on each of the License Boards to make sure that you do not lose access to some of the other Licenses that may be important to that character. Scroll down to the Locked Licenses section below for more information about which Licenses are hiding behind a Quickening License for each job.
Mist Charges and Power
Once one of your characters gains access to a Quickening License and can use Quickening in battle, a new Mist Charges bar will appear under their HP and MP indicators in the bottom-right side of the screen. These bars indicate how many Mist charges each of your characters has left, and they will slowly recharge over time as your characters move around (similar to how MP recharges).
The first Quickening that your character unlocks will require 1 Mist Charge to use, the second requires 2 Mist Charges, and the third requires 3 Mist Charges. Quickenings that require all 3 Mist Charges are the strongest and will do the most damage when used, according to the following:
Quickening Level 1: 90
Quickening Level 2: 140
Quickening Level 3: 230
The damage is also based on the strength stat of the character using their Quickening.
Effectively Chaining Quickenings
How do you chain Quickenings, and what are the mechanics behind the timer that appears on the screen when you initiate a Quickening? Learning how to chain your Quickening attacks is critical to ensuring the Quickenings deal high damage to the intended target.
The Quickening cinematic will begin as soon as you select the “Mist” and then the “Quickening” option on the battlefield. The character you selected will start performing the Quickening you selected at the level you selected. While that character is completing their Quickening, a timer will appear in the bottom-right section of the screen, along with a list of your other party members, one of their Quickenings (or “Mist Charge”), and the button used to initiate the next attack.
The idea behind chaining your Quickening attacks is to press the button to initiate the subsequent Quickening as soon as it appears, and as quickly as possible. As you do this, you’ll use up Mist Charges completing the Quickening, but you may also see an option listed called “Mist Charge.” Pressing this button will not initiate another Quickening, but it will recharge that party member’s Mist Charges, allowing them to complete more Quickenings.
Your goal should be to select the “Mist Charge” option as soon as it appears to keep the Quickenings coming and build a larger and larger chain. If there are no buttons you can press, press the button to do a ‘reset’ and hope you are luckier the second go-around.
It will become apparent very quickly that the ability to chain Quickenings requires some luck. There are times when you will get unlucky and will not be able to build a high chain, either because you do not see the “Mist Charge” option appear or because the game doesn’t give you the option to select a Quickening.
Concurrences
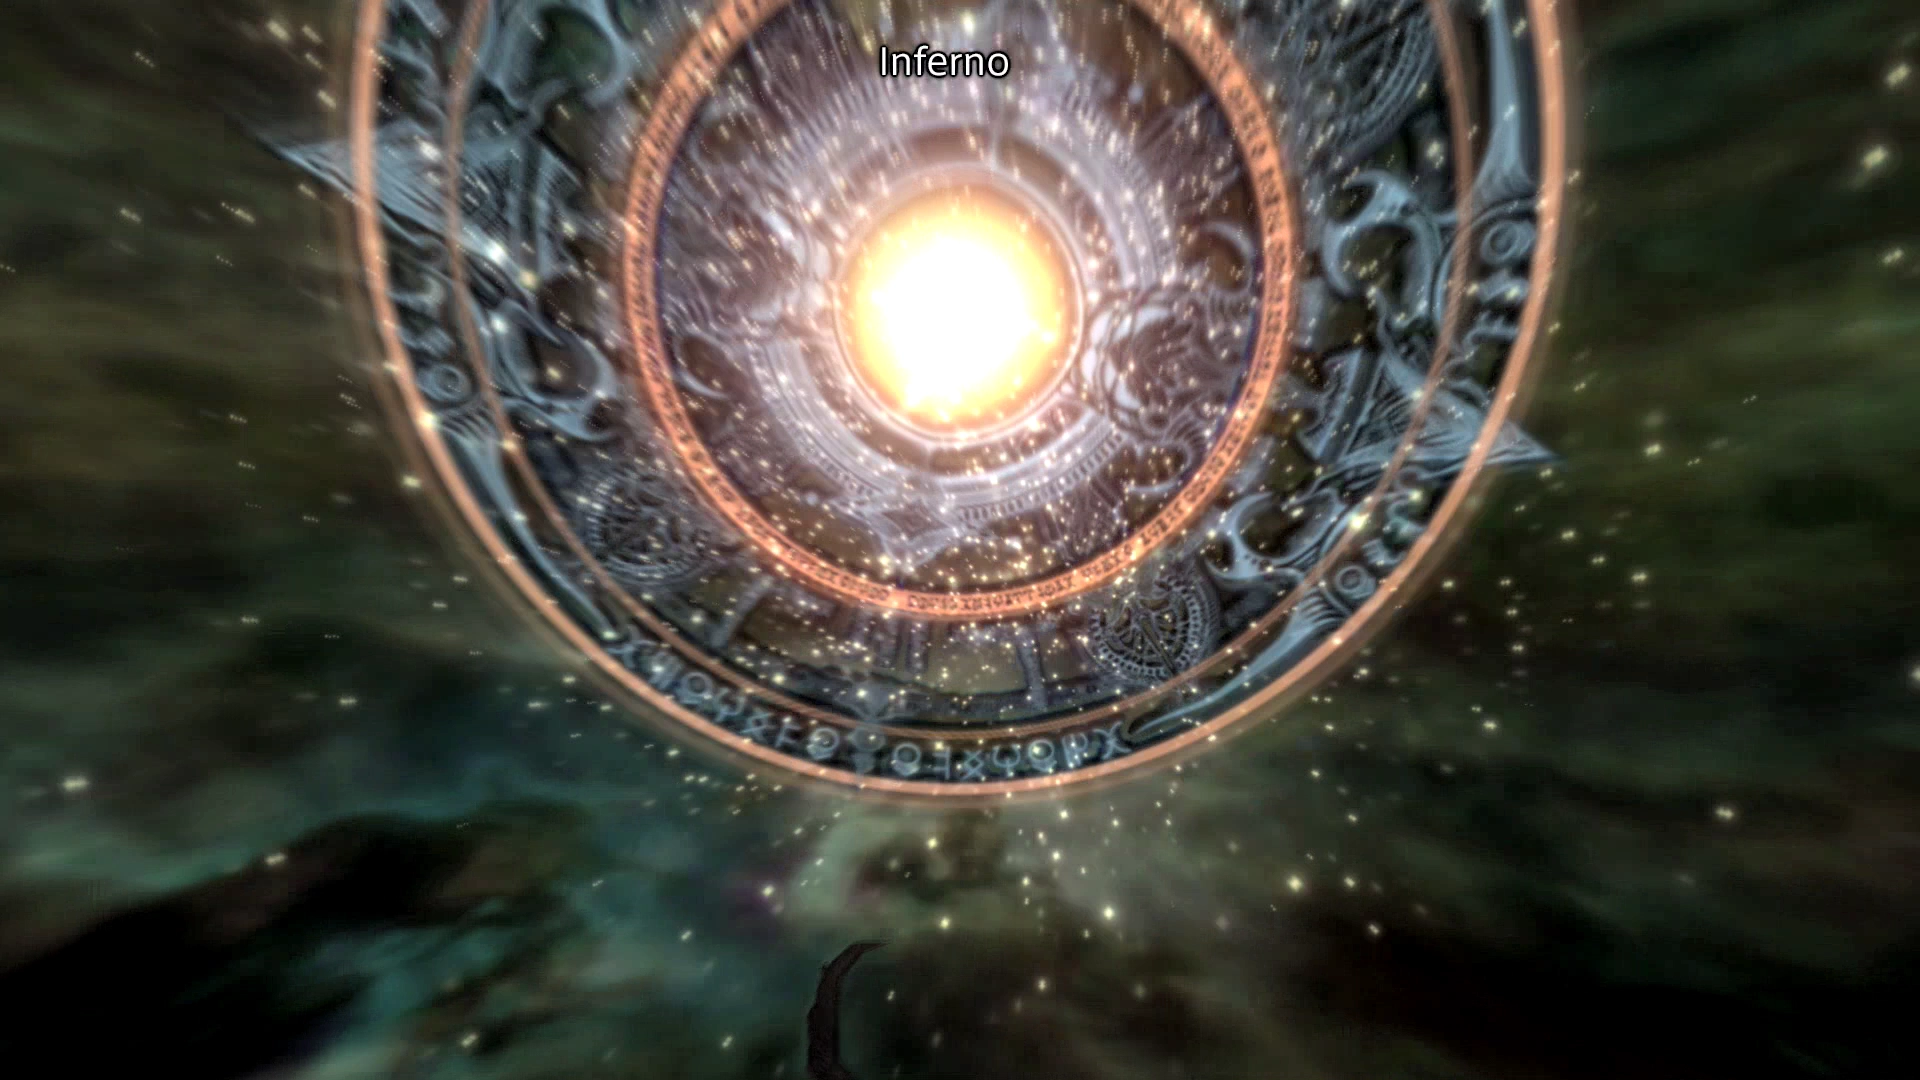
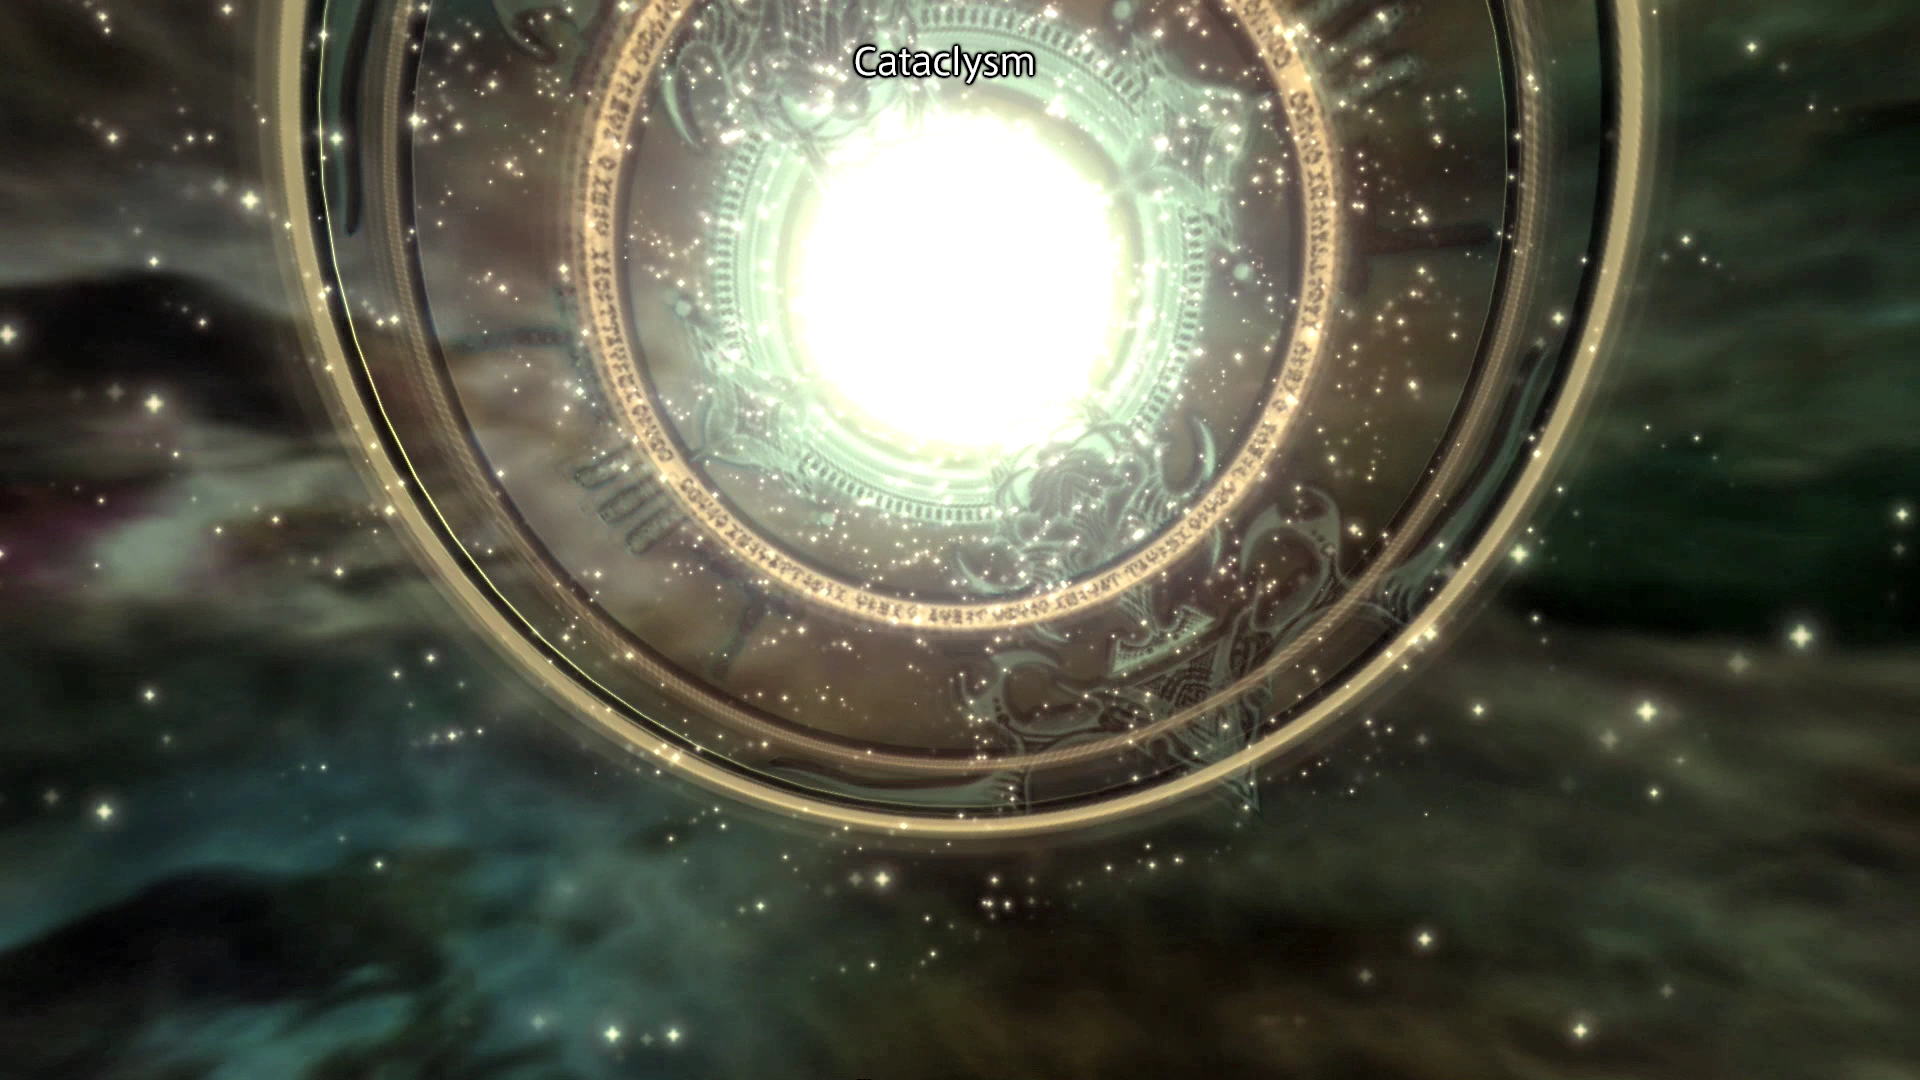
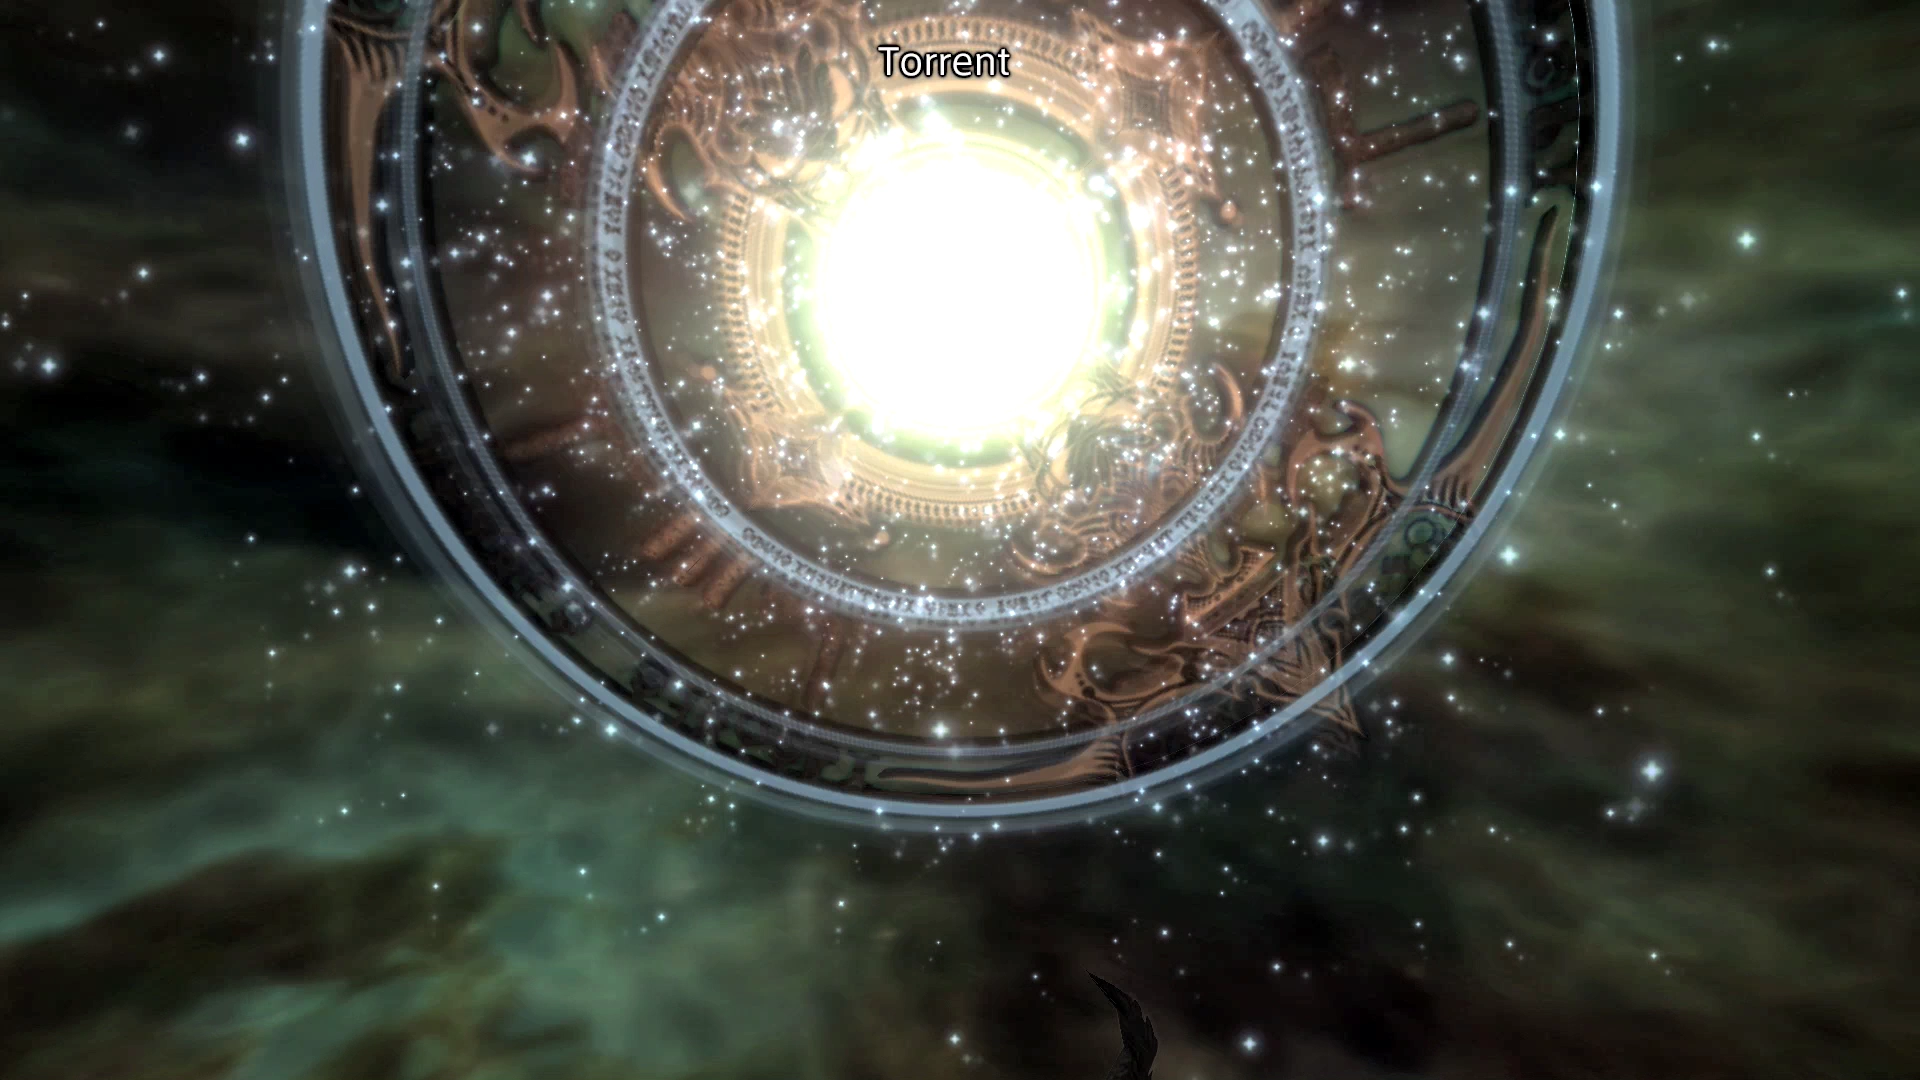
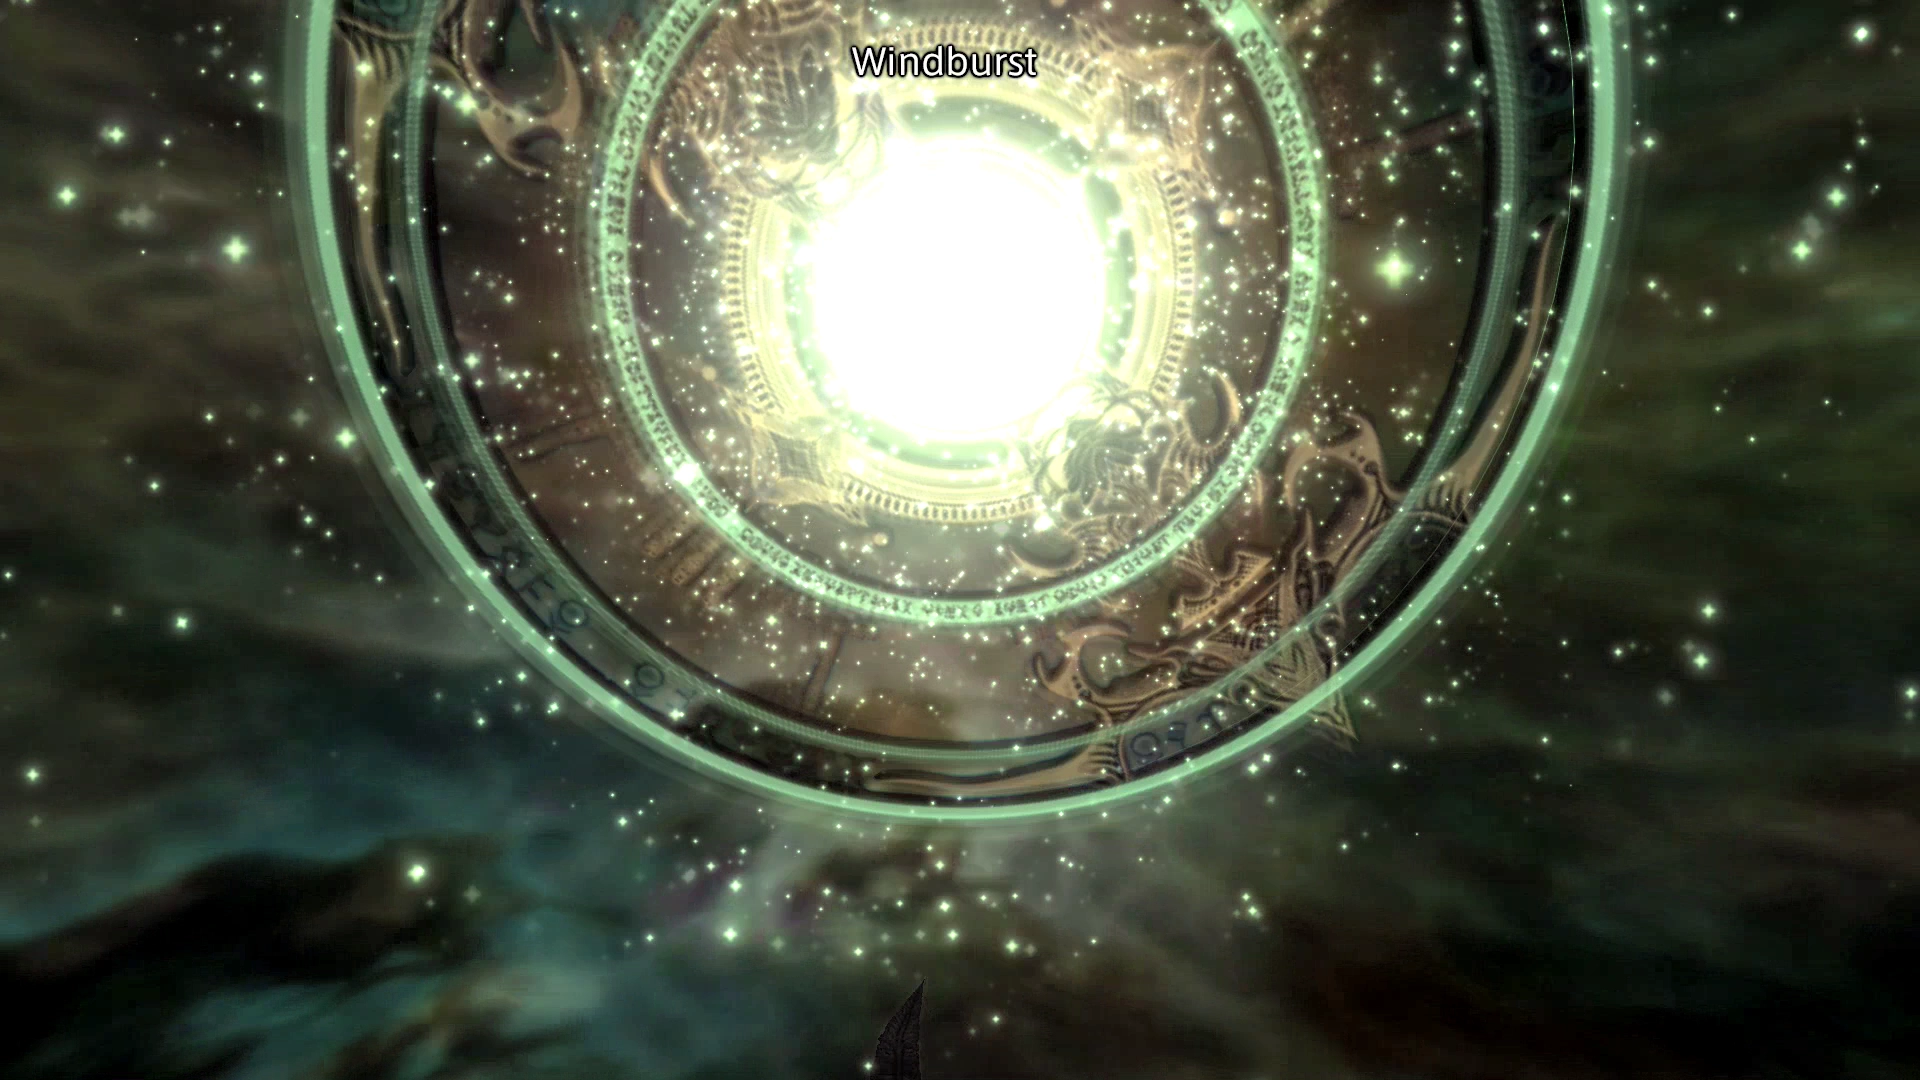
A special type of attack will occur at the end of your Quickening Chain when you meet certain conditions. To activate a Concurrence, your chain will need to have a specific number of Level 1 Quickenings, Level 2 Quickenings, or Level 3 Quickenings according to the following chart:
| Concurrence | Level 1 | Level 2 | Level 3 | Attack Strength |
|---|---|---|---|---|
| Inferno | 3 | - | - | 90 |
| Cataclysm | 6 | - | - | 110 |
| Torrent | 2 | 2 | - | 130 |
| Windburst | - | 4 | - | 155 |
| Ark Blast | 2 | 2 | 2 | 175 |
| Whiteout | - | - | 4 | 205 |
| Luminescence | 3 | 3 | 4 | 215 |
| Black Hole | 4 | 4 | 4 | 253 |
The higher-level Concurrences can be extremely difficult to get, and the fact of the matter is that you will have to get extremely lucky while completing your Quickening Chain to activate them.
Getting high-level Concurrences is a pain point for many players because an Achievement/Trophy requires completing every Concurrence. Some tips for achieving these requirements are included in the section below.
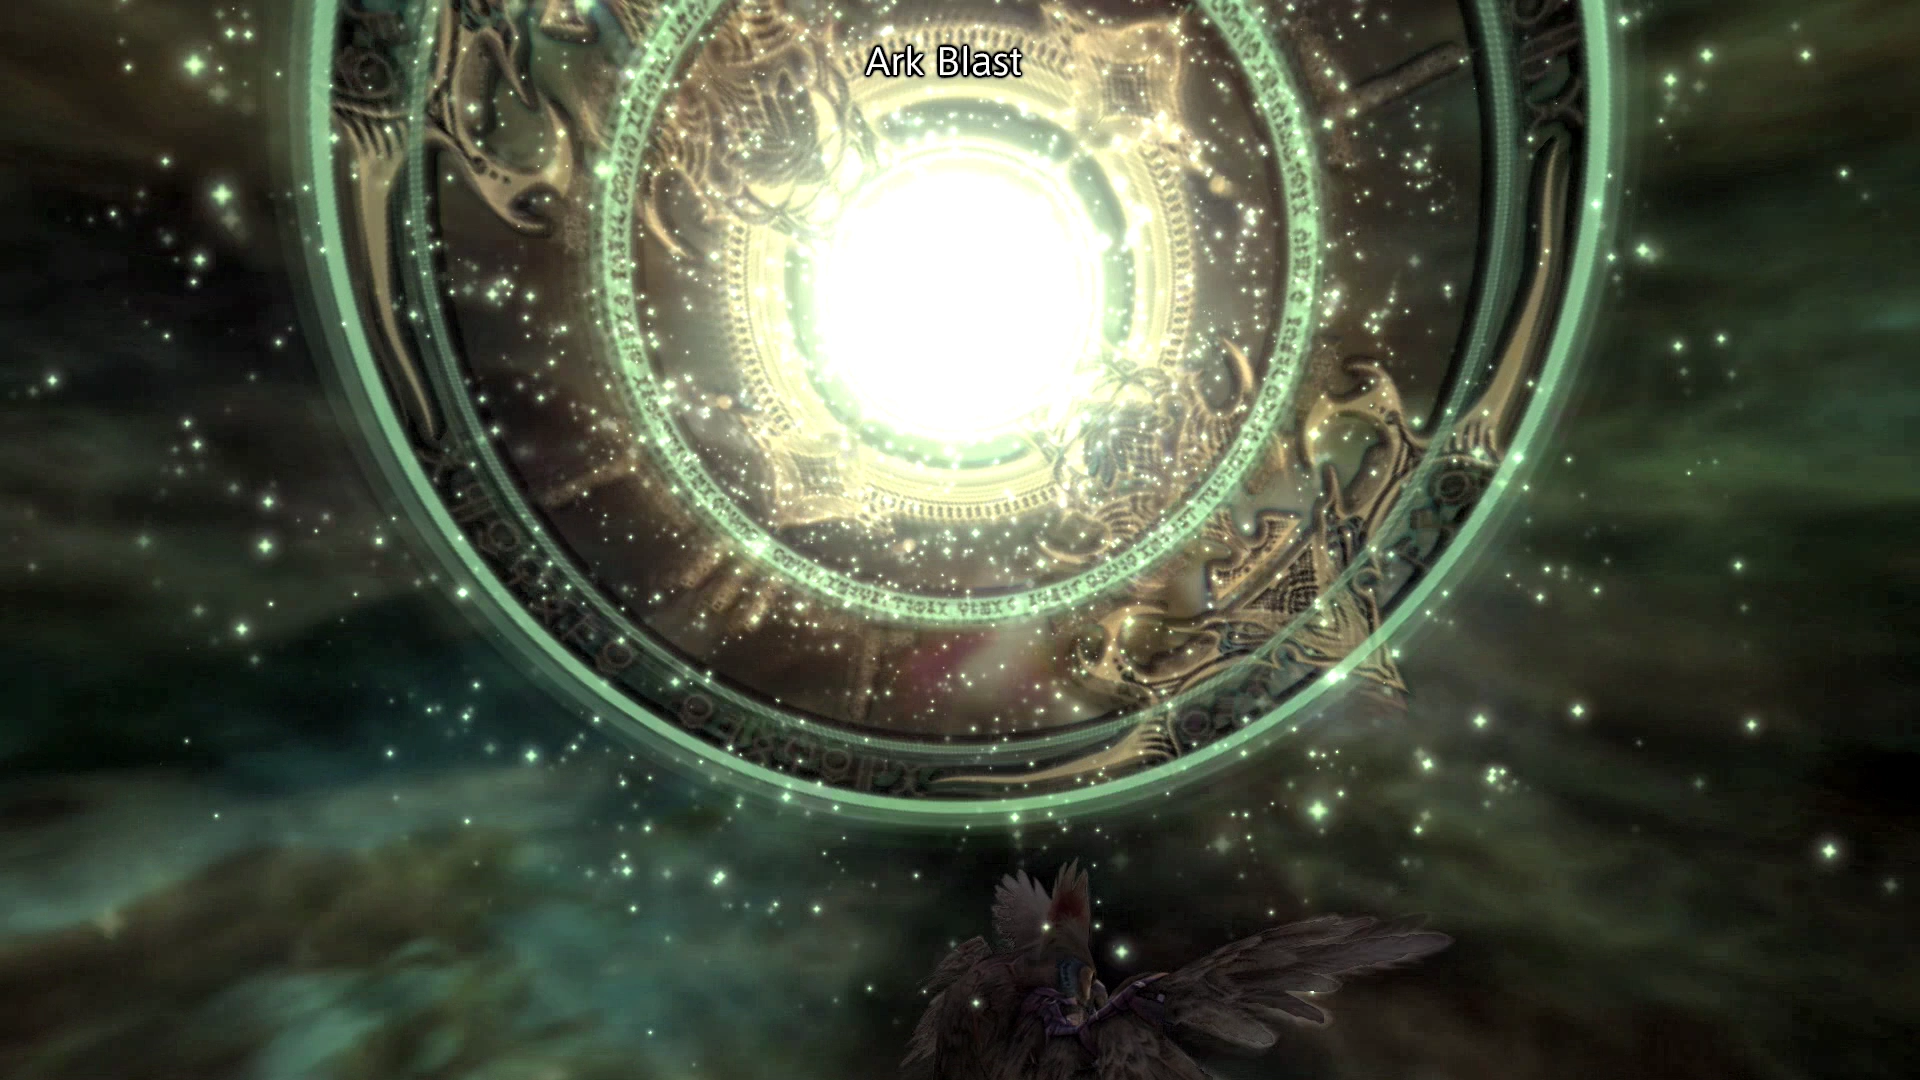
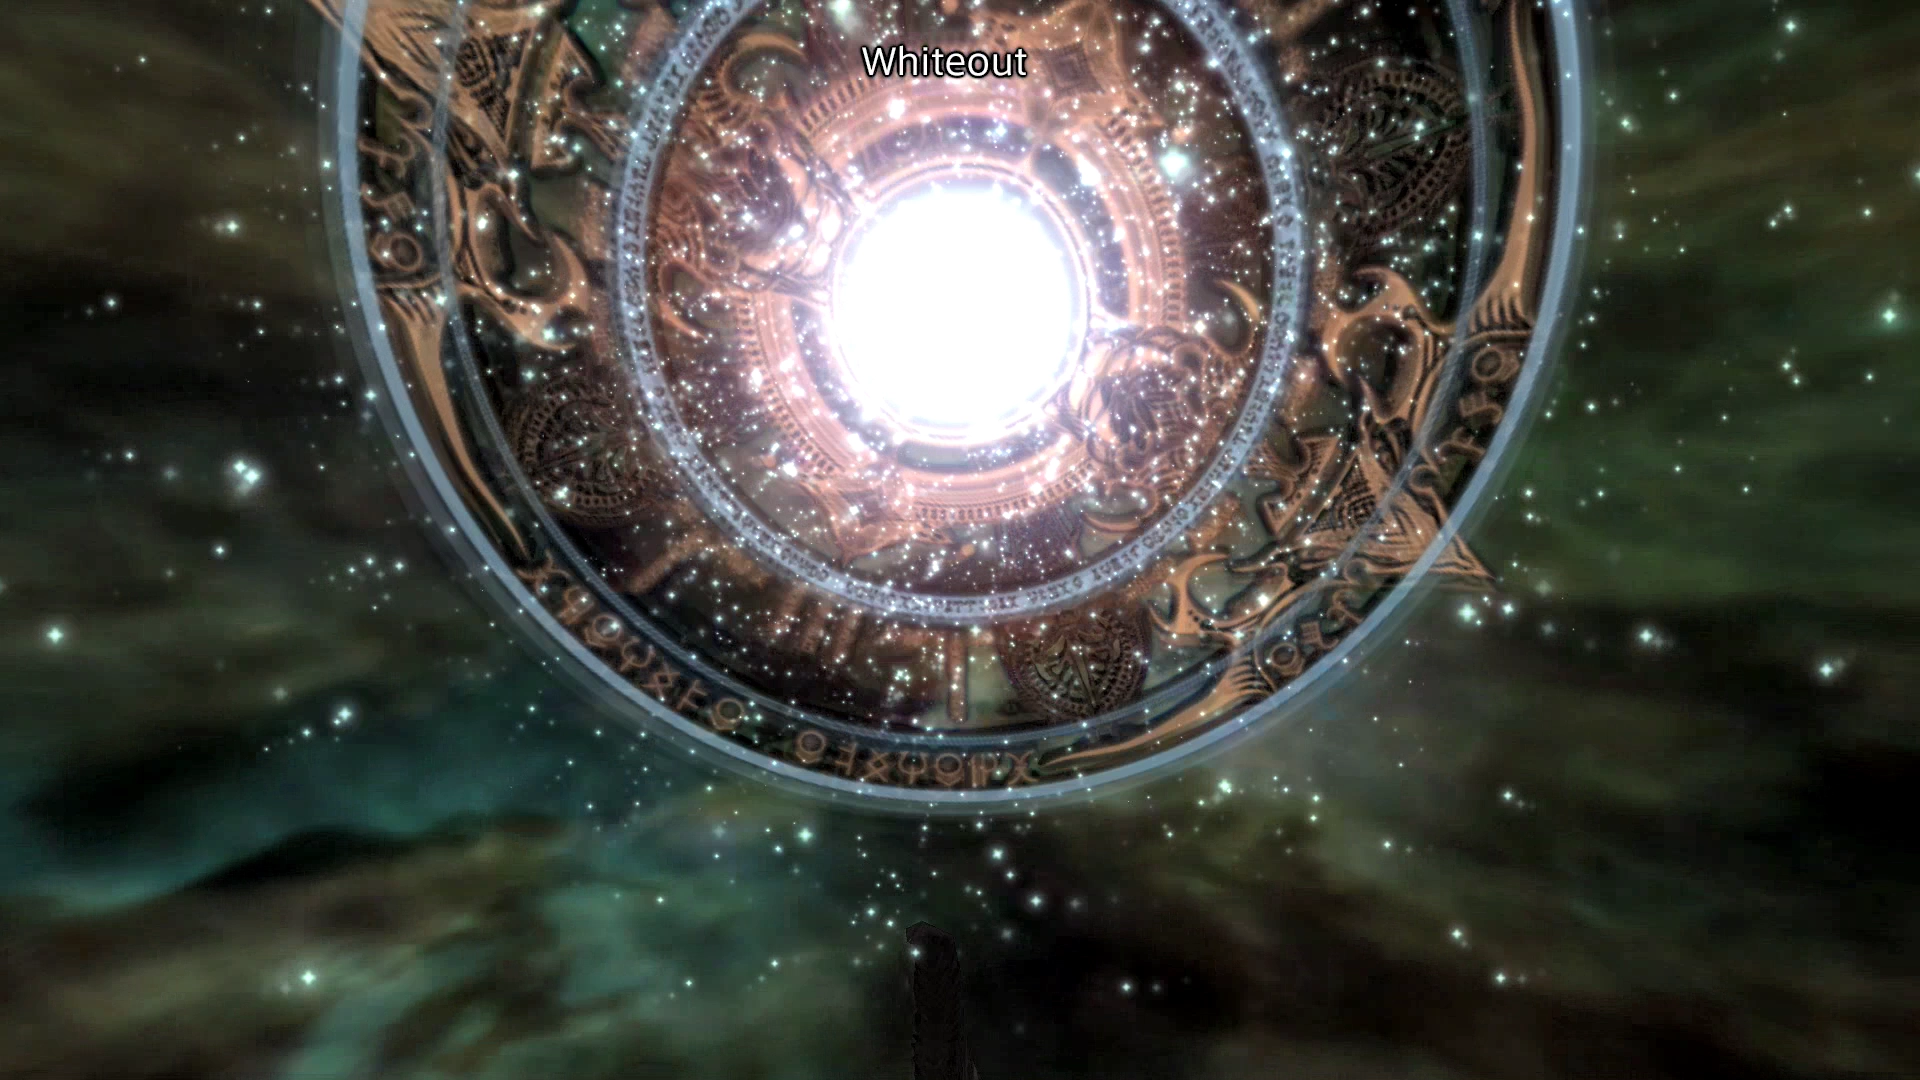
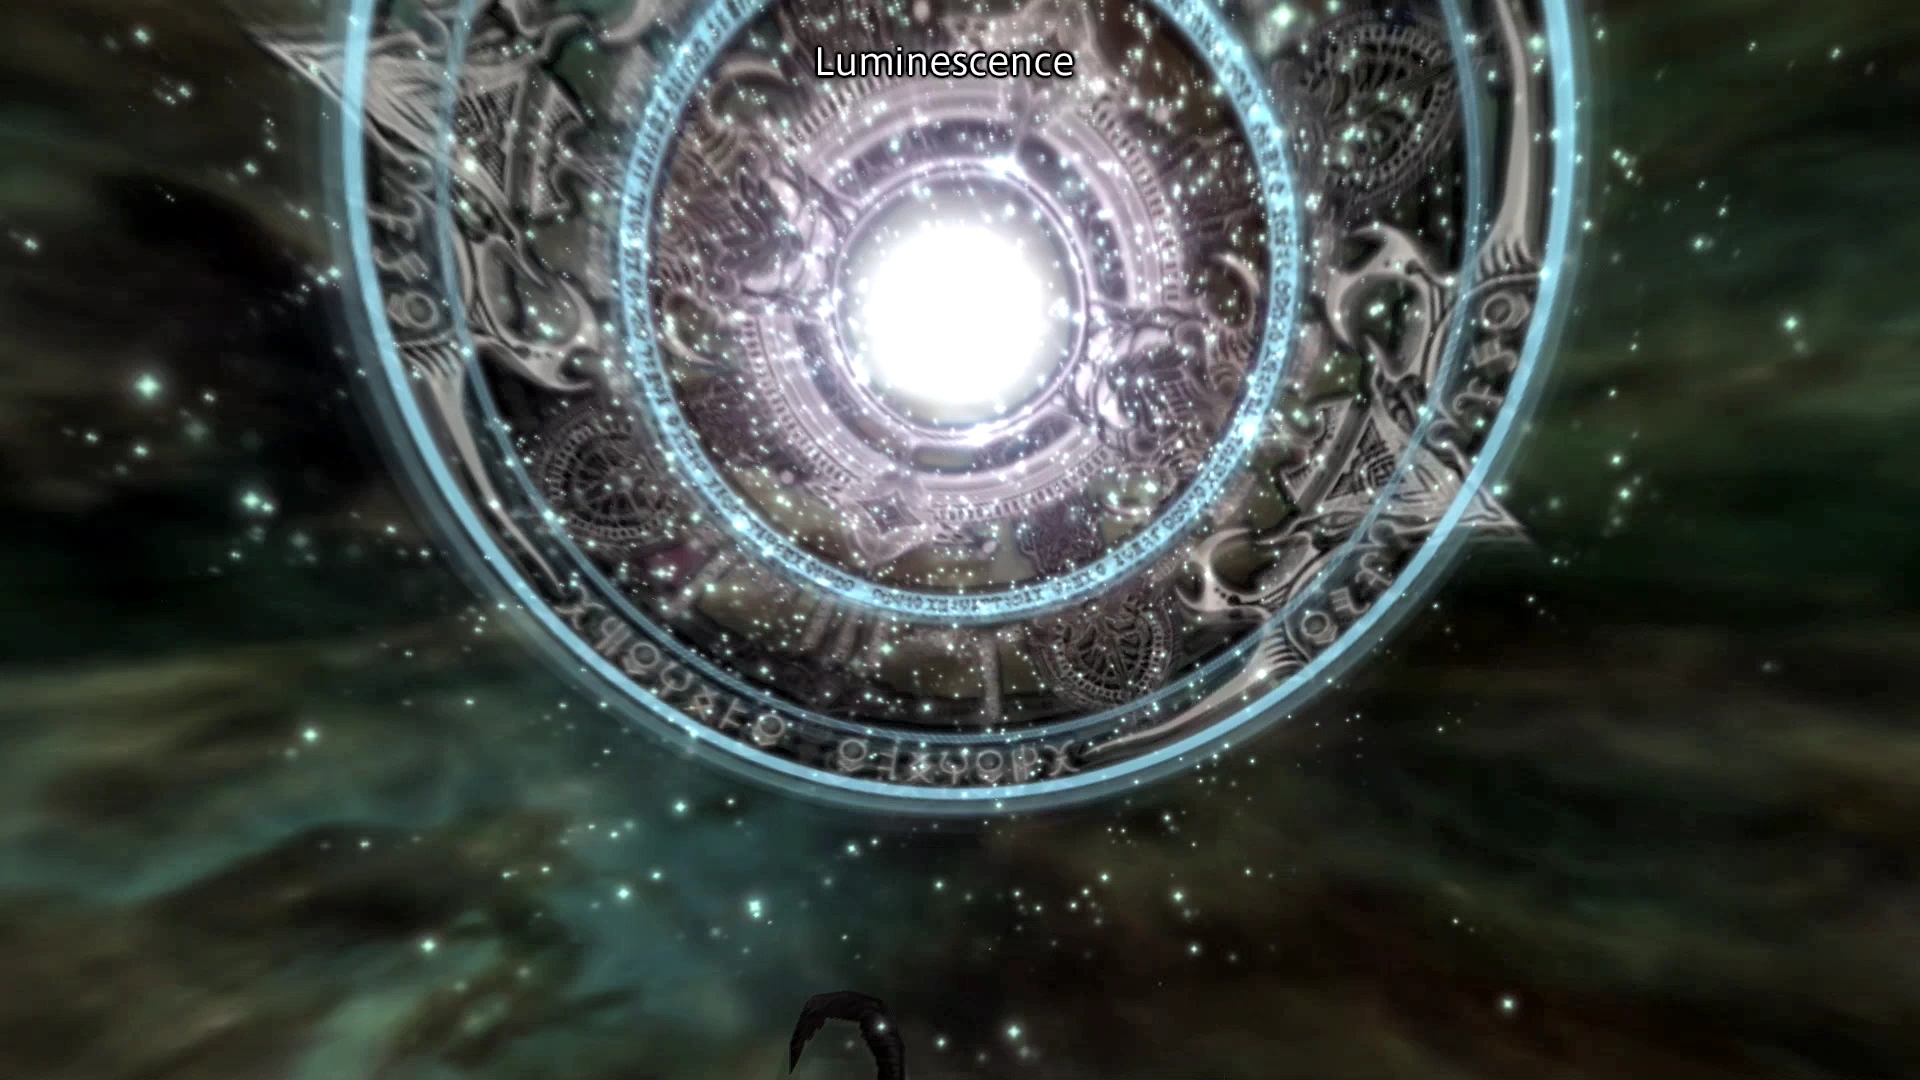
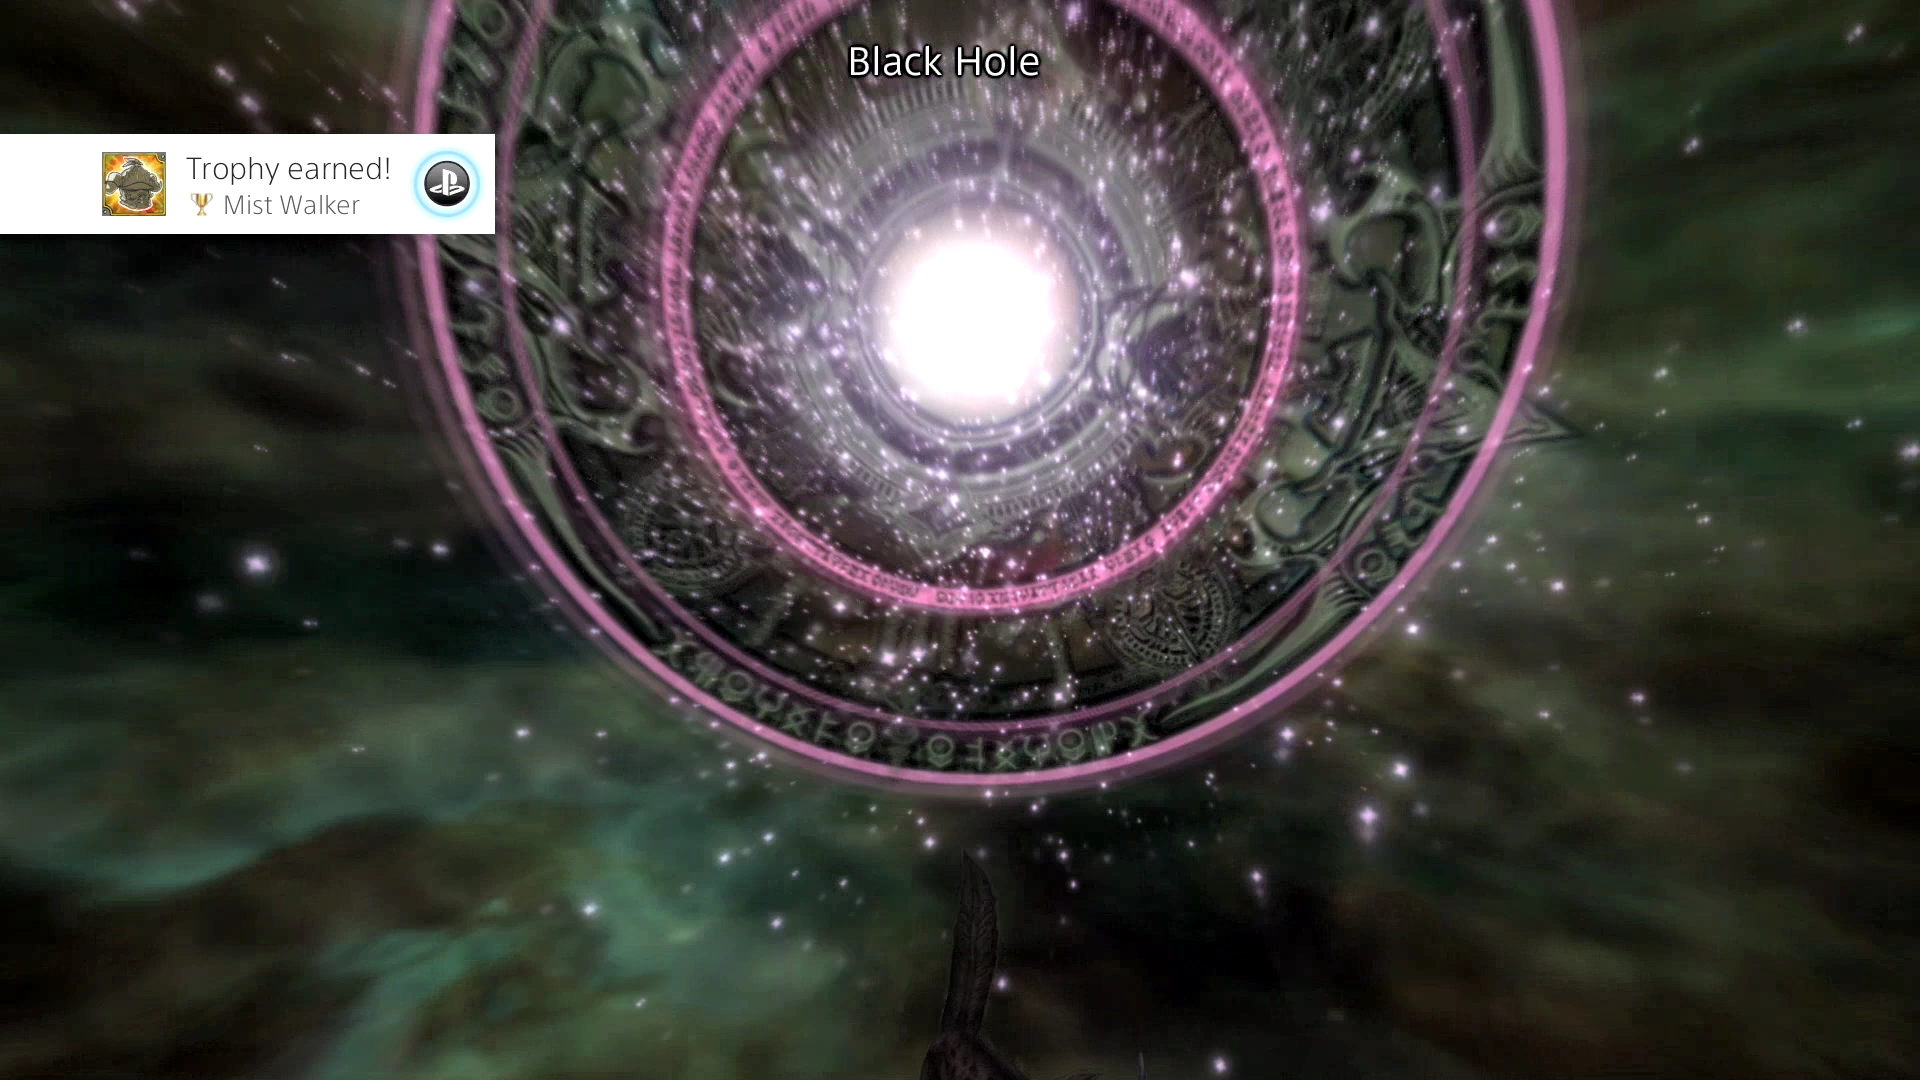
Mistwalker Achievement/Trophy
The difficulty in obtaining the Mistwalker Achievement/Trophy tends to be achieving the higher level Concurrences; mainly Black Hole, but Luminescence and Whiteout can be difficult as well. Here are some tips for achieving this requirement and obtaining the Mistwalker Achievement/Trophy:
- Start by finding a good location where you can make repeated attempts at Quickening Chains; the Nomad Village in the Giza Plains works well since it has a Save Crystal that you can use to recharge without having to leave the area.
- Initiate the Quickening Chain by starting with a Level 3 Quickening from one of your characters; this will immediately deplete their Mist Charges, but it will give you additional opportunities to hopefully see a “Mist Charge” come up.
- Mist Charges are everything; you will need to initiate a Mist Charge every time you see the option.
- If you select the “Mist Charge” option, immediately press the same button again, as that character will now have a full Mist Charge gauge and will be able to use whichever Quickening comes up.
From there, it is just a matter of getting lucky. It often takes several hours of attempts to obtain this Achievement/Trophy successfully. Below is a video demonstrating a successful Quickening Chain that resulted in the Black Hole Concurrence and achieving the Mistwalker Achievement/Trophy.
Achievement/Trophy
You’ll obtain the  Mist Walker Achievement/Trophy if you manage to use Quickenings to perform all the different Concurrences in the game as indicated above.
Locked Licenses
You should have a plan in mind for which Quickening you unlock on each License Board. The Quickenings each cost a different amount of License Points (either 50, 75, 100, or 125), but it does not matter which of the 3 out of 4 you select—your character will still have the same 3 Quickenings.
The strategy comes into play when you consider the interaction between the two Jobs you have selected for your characters. For example, the Bushi License Board has additional Licenses that you can unlock if you activate the 75 LP, 100 LP, and 125 LP Quickening Licenses. However, if you selected another job that would have benefited from unlocking the 50 LP Quickening License, you will have to choose which Licenses you will be comfortable not having access to.
A list of the Jobs, Quickenings, and the Licenses they unlock is included below:
| Job | Quickening (50 LP) |
Quickening (75 LP) |
Quickening (100 LP) |
Quickening (125 LP) |
|---|---|---|---|---|
| Archer | White Magick 4 | - | - | - |
| Black Mage | 70 HP | - | - | 390 HP |
| Bushi | - | 350 HP Battle Lore |
390 HP Battle Lore |
435 HP |
| Foebreaker | - | - | 390 HP | Battle Lore |
| Knight | - | - | - | 390 HP |
| Machinist | - | - | - | Magick Lore (x3) |
| Monk | - | White Magick 9 | - | Phoenix Lore |
| Red Battlemage | White Magick 2 | 230 HP | - | 435 HP |
| Shikari** | Ninja Swords 1 | Ninja Swords 2 | Ninja Swords 3 | & |
| Time Battlemage | - | 150 HP | - | - |
| Uhlan | - | - | Black Magick 5 Black Magick 6 |
- |
| White Mage | 150 HP | 190 HP | Battle Lore | - |
** With most of the License Boards, you can get away with many of the different selection options, but the Shikari job class requires some strategizing. Ninja Swords 1 provides access to several weapons, so you should select that one, and ![]() Yagyu Darkblade and
Yagyu Darkblade and ![]() Mesa are absolutely required for endgame content, so you should select that one, but what about Ninja Swords 2 and Ninja Swords 3? The choice is yours…
Mesa are absolutely required for endgame content, so you should select that one, but what about Ninja Swords 2 and Ninja Swords 3? The choice is yours…
The consensus is that the ![]() Koga Blade (Ninja Swords 2) is better than the
Koga Blade (Ninja Swords 2) is better than the ![]() Iga Blade (Ninja Swords 3), but just be aware that the Koga Blade is an Earth-elemental weapon, which means that during many of the battles, the sword will actually end up healing the target rather than inflicting damage. Regardless of that fact, it is recommended that you select the Ninja Swords 2 option and unlock the 50 LP, 75 LP, and 125 LP Quickening Licenses for the Shikari.
Iga Blade (Ninja Swords 3), but just be aware that the Koga Blade is an Earth-elemental weapon, which means that during many of the battles, the sword will actually end up healing the target rather than inflicting damage. Regardless of that fact, it is recommended that you select the Ninja Swords 2 option and unlock the 50 LP, 75 LP, and 125 LP Quickening Licenses for the Shikari.

