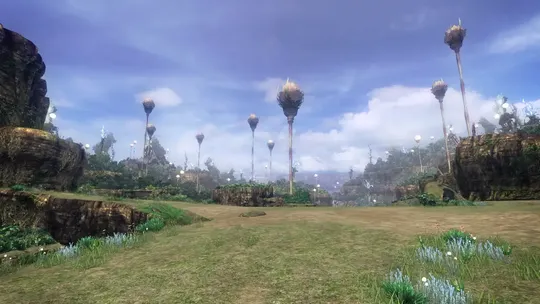
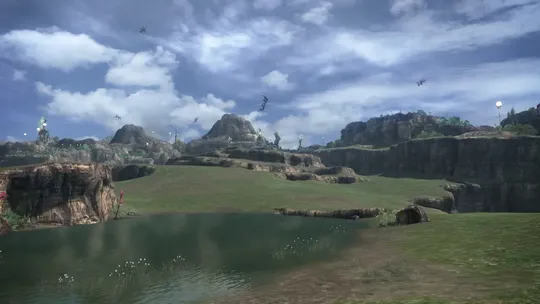
 Mission 04: A Hero’s Charge
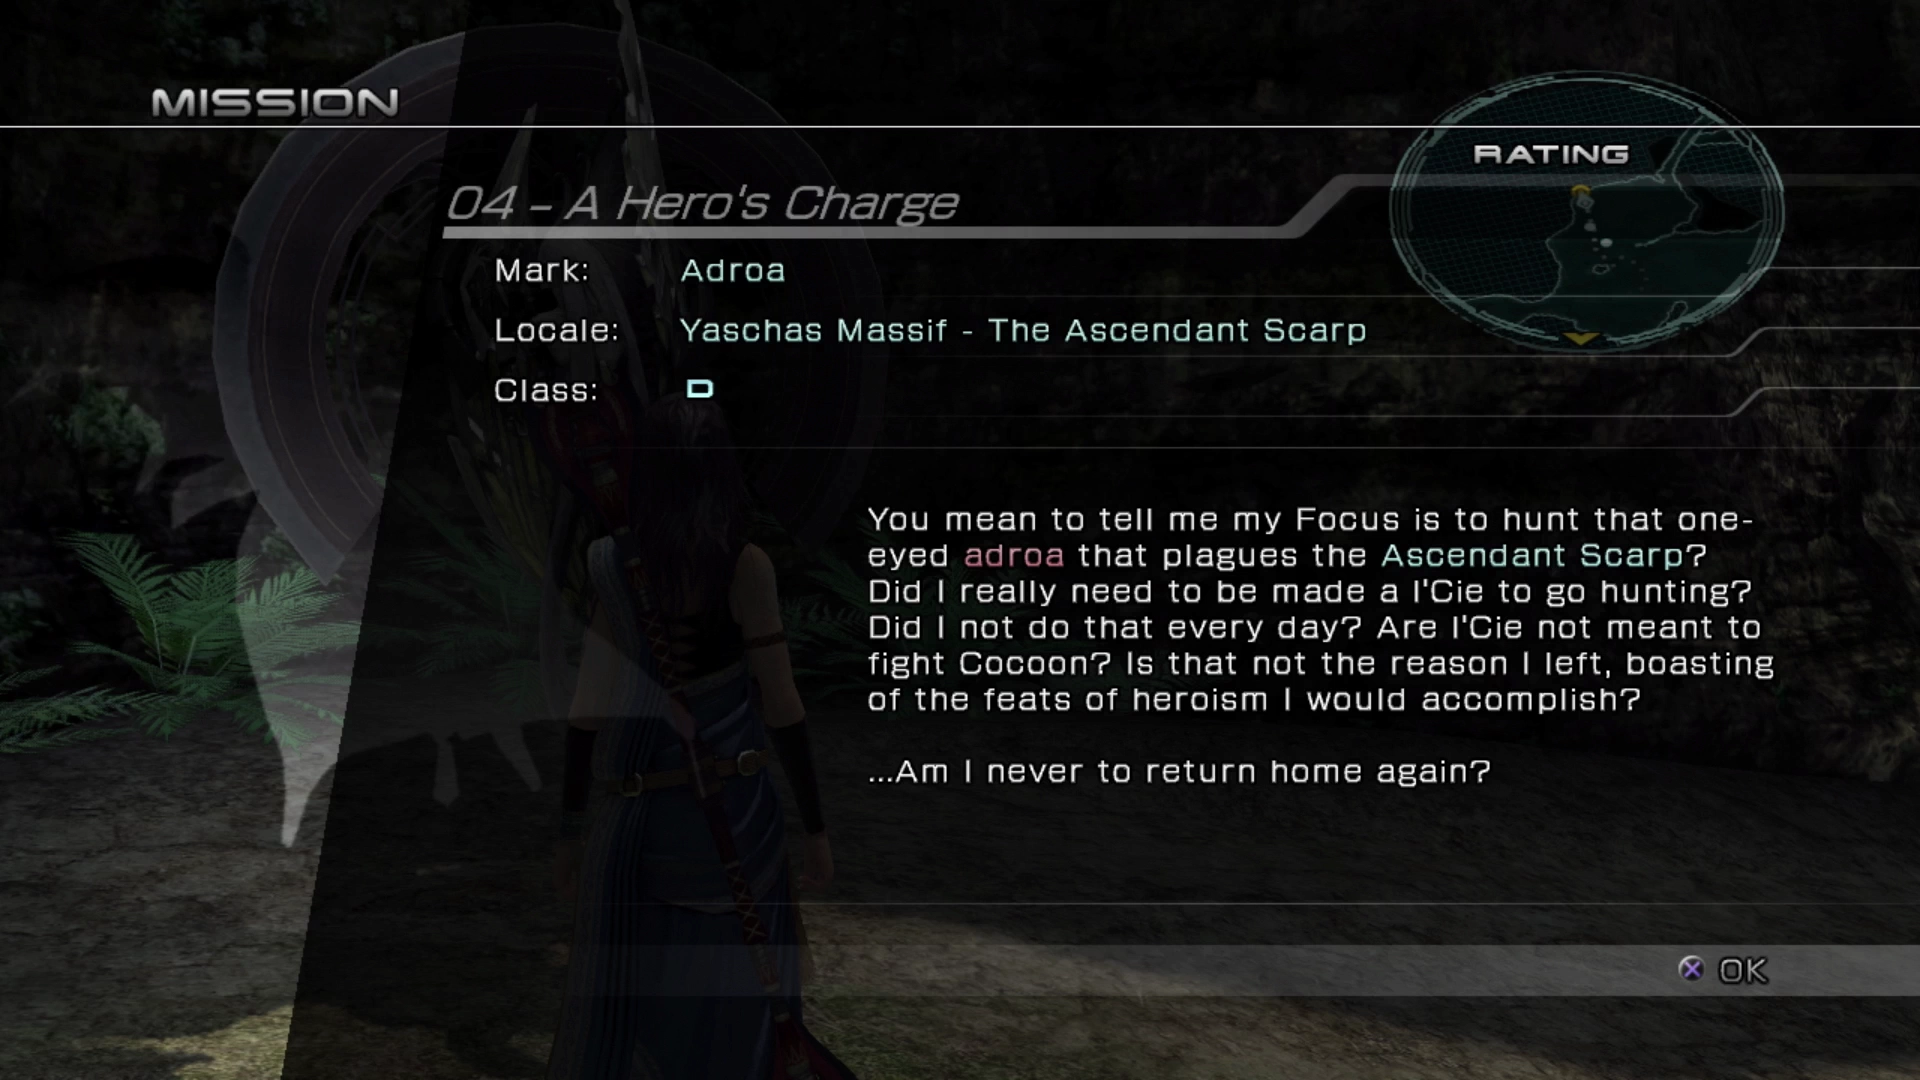
Adroa (Class D)
The group of enemies you will have to seek out for this Mission includes four Adroa and two Verdelet which may summon additional targets for you to defeat if you’re not quick enough.
Prerequisites
- Complete
 Mission 02 - Goodwill Hunting
 Cie’th Stone Location
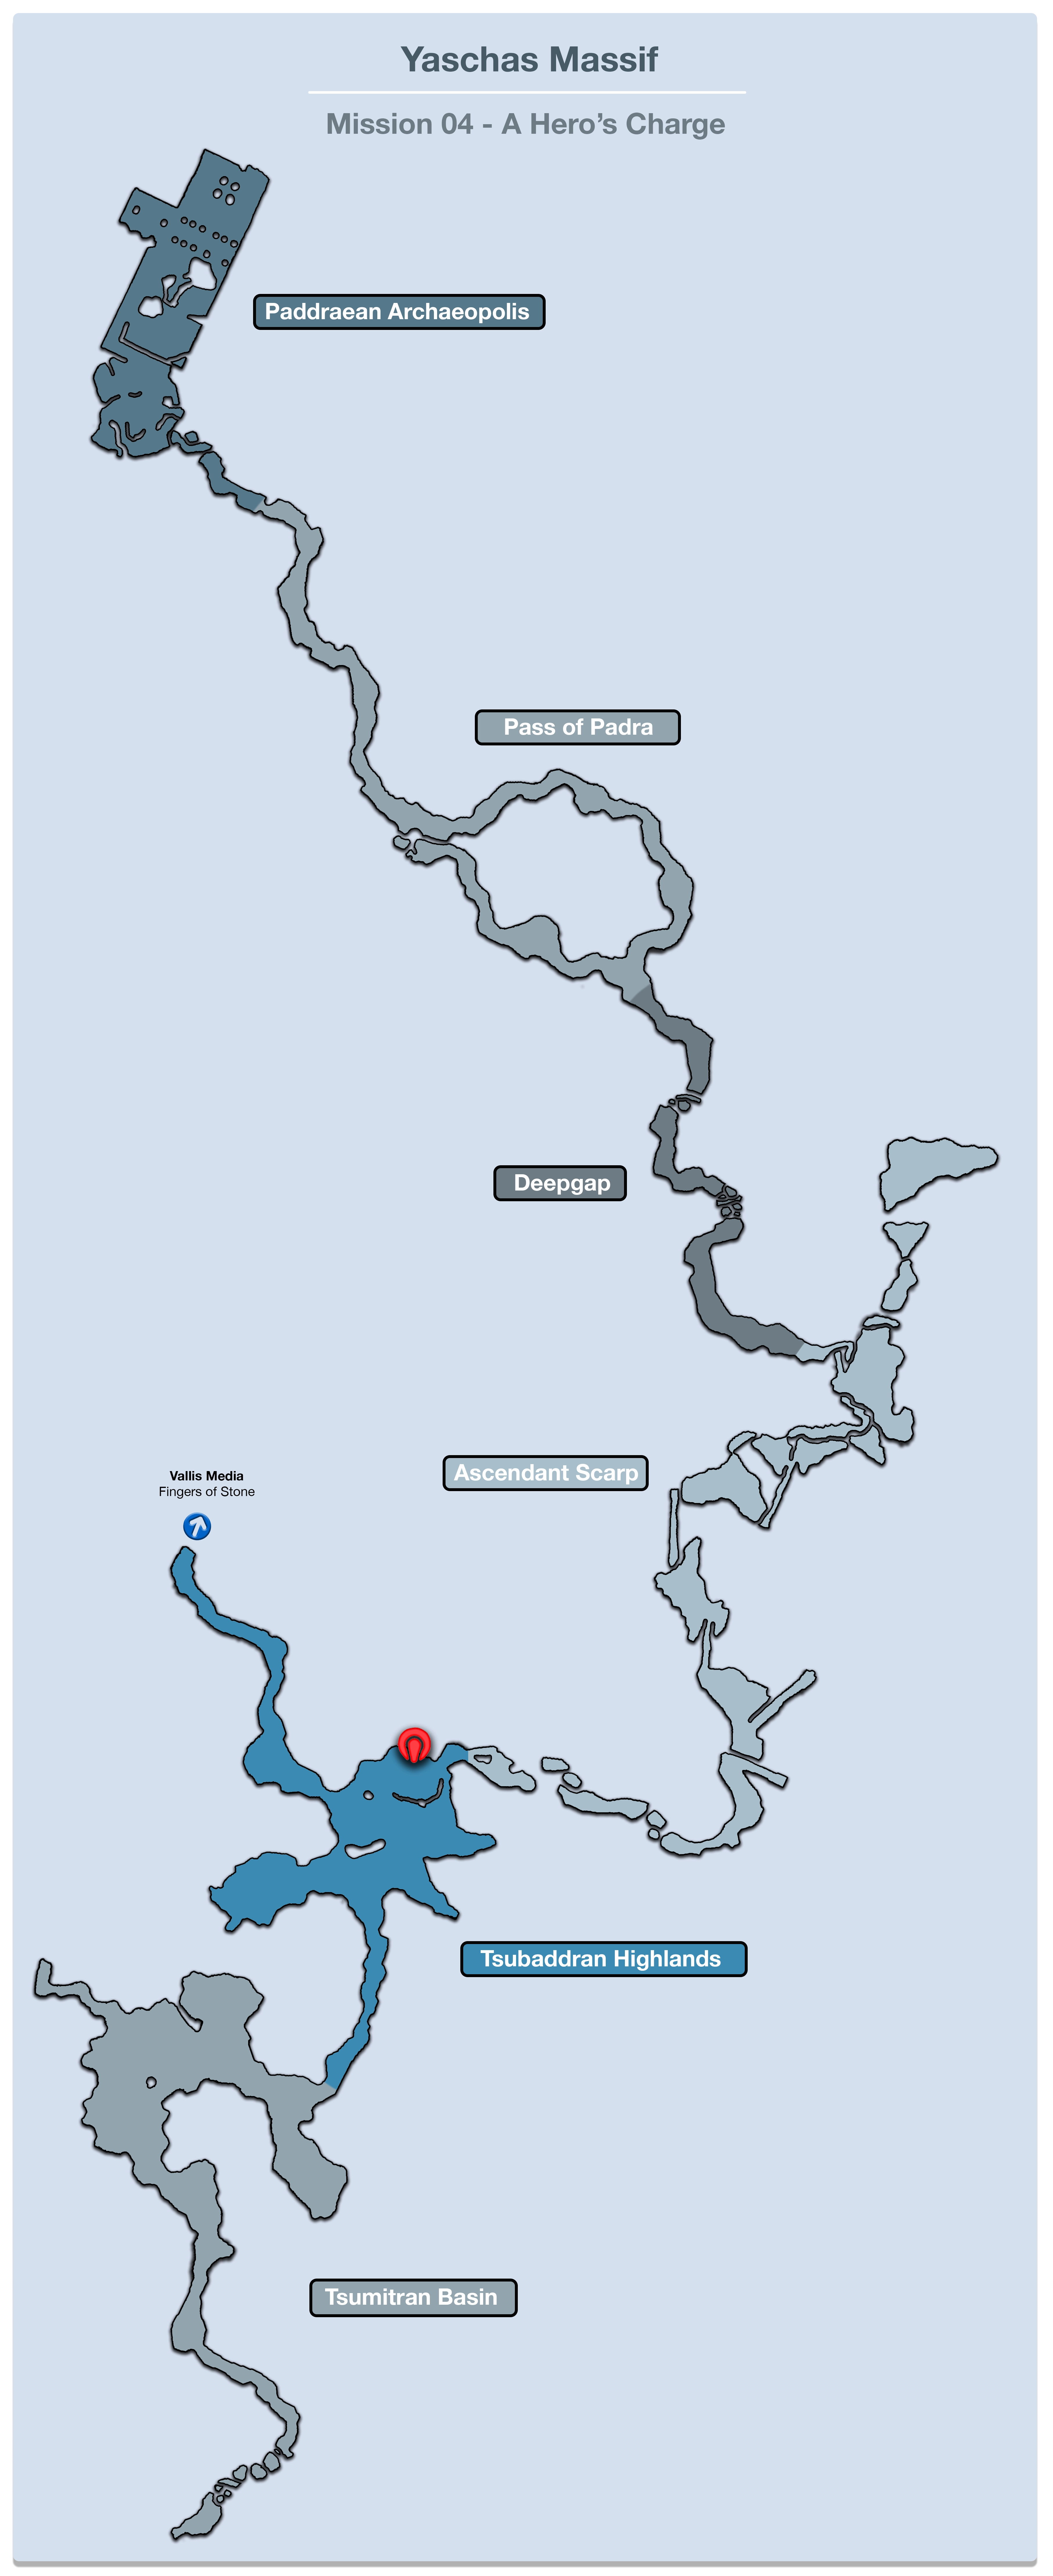
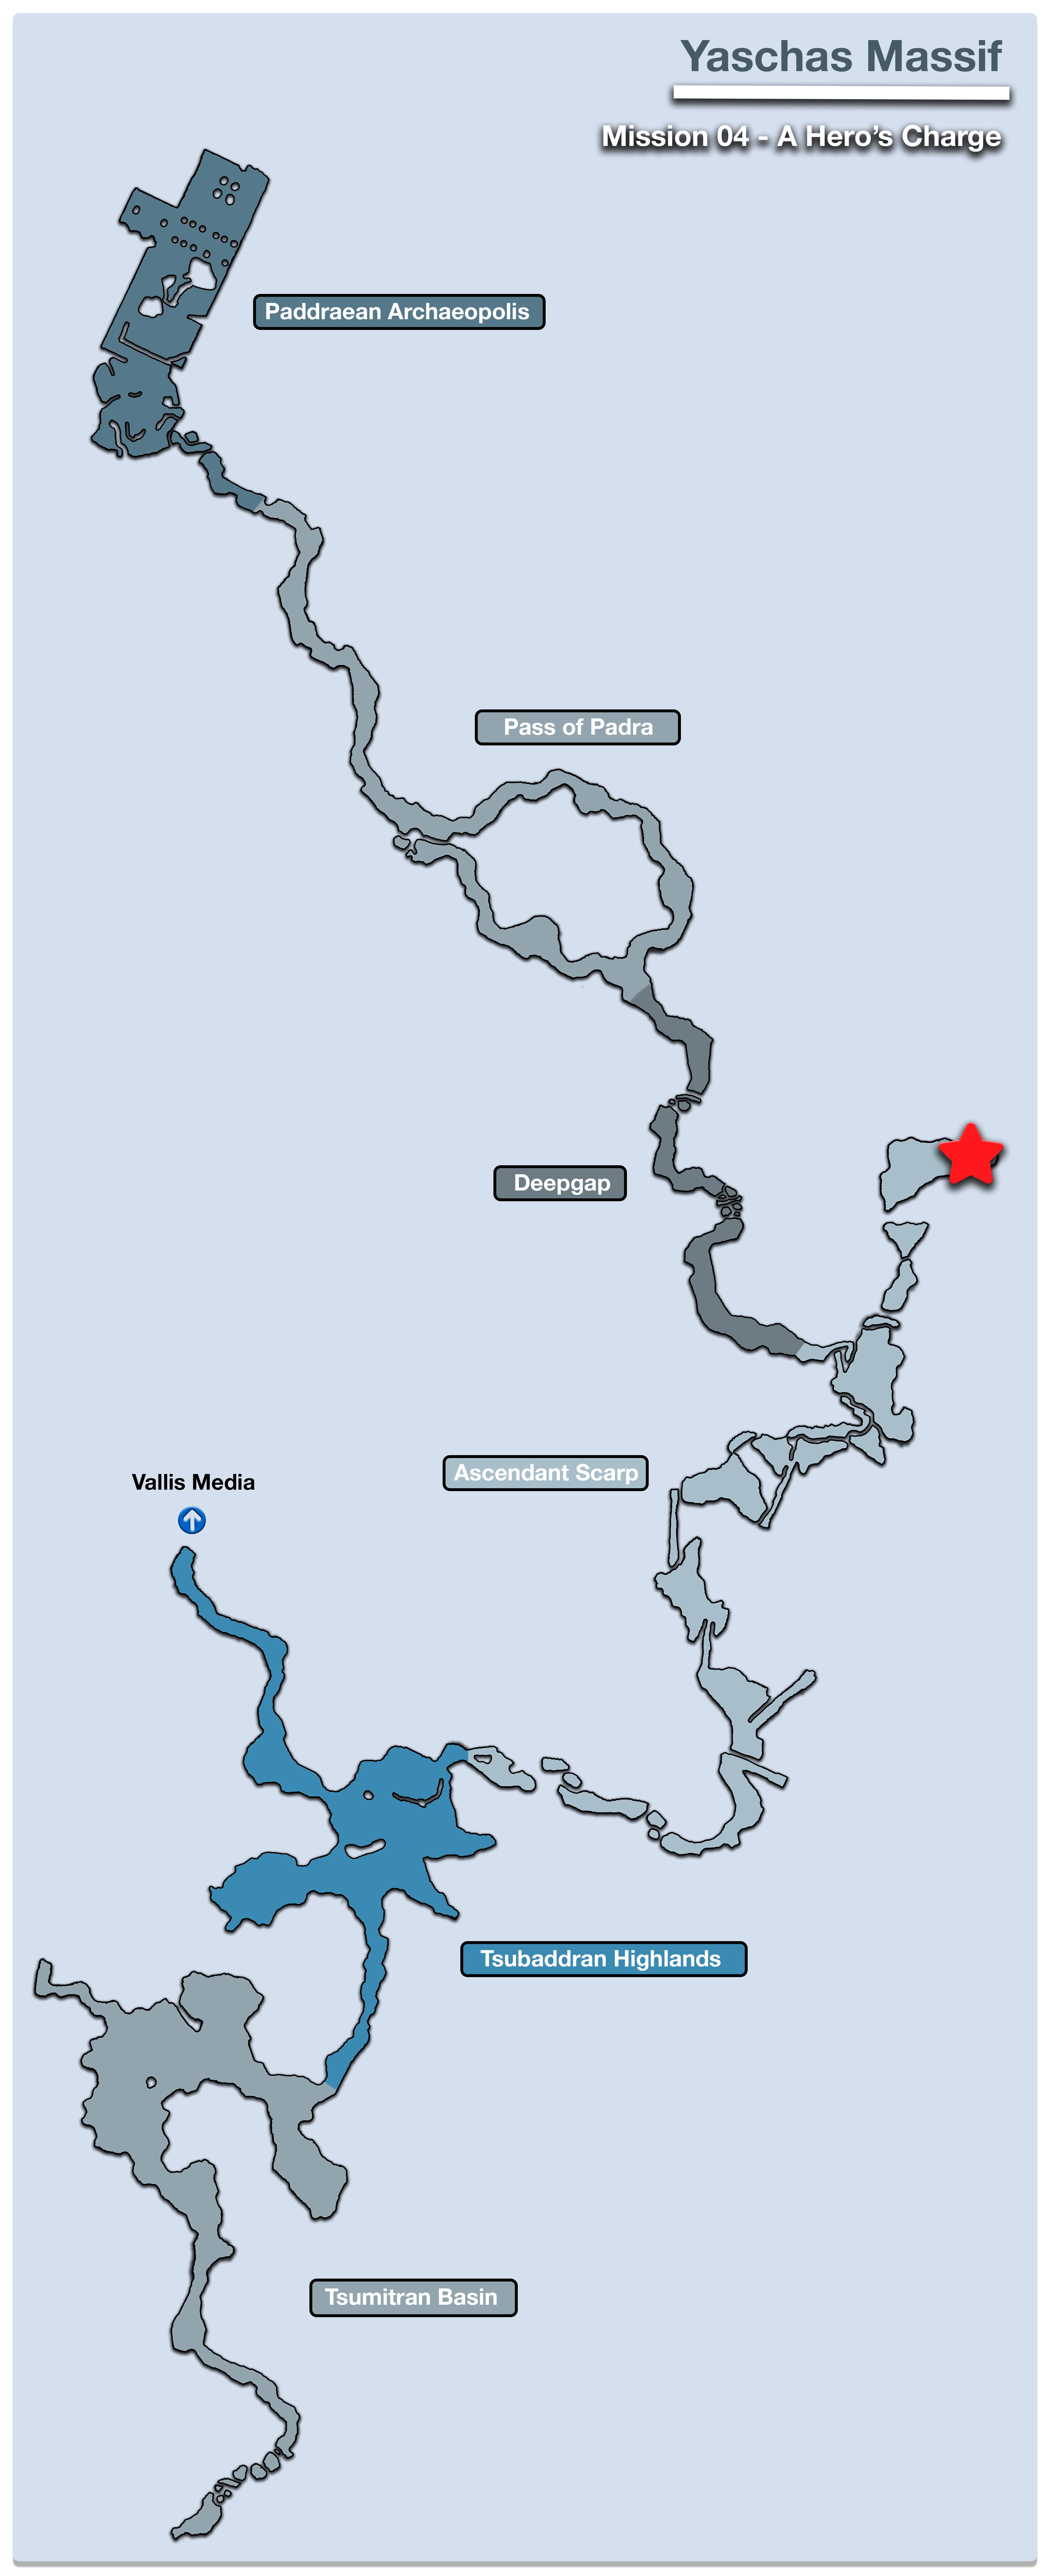
This fourth Cie’th Stone activates close to where the mark from the previous hunt, Ugallu, was defeated. It can be found in the Tsubaddran Highlands area of the Yaschas Massif.
 Mark Location
Pulling up the map to look for the pink star marking the location of this hunt will deceptively make it appear as though the mark is very close. The map is actually directing you where to go first, which is down a log pathway that leads from the Tsubaddran Highlands into the Ascendant Scarp. The screenshot below can be used to help guide you to this area:
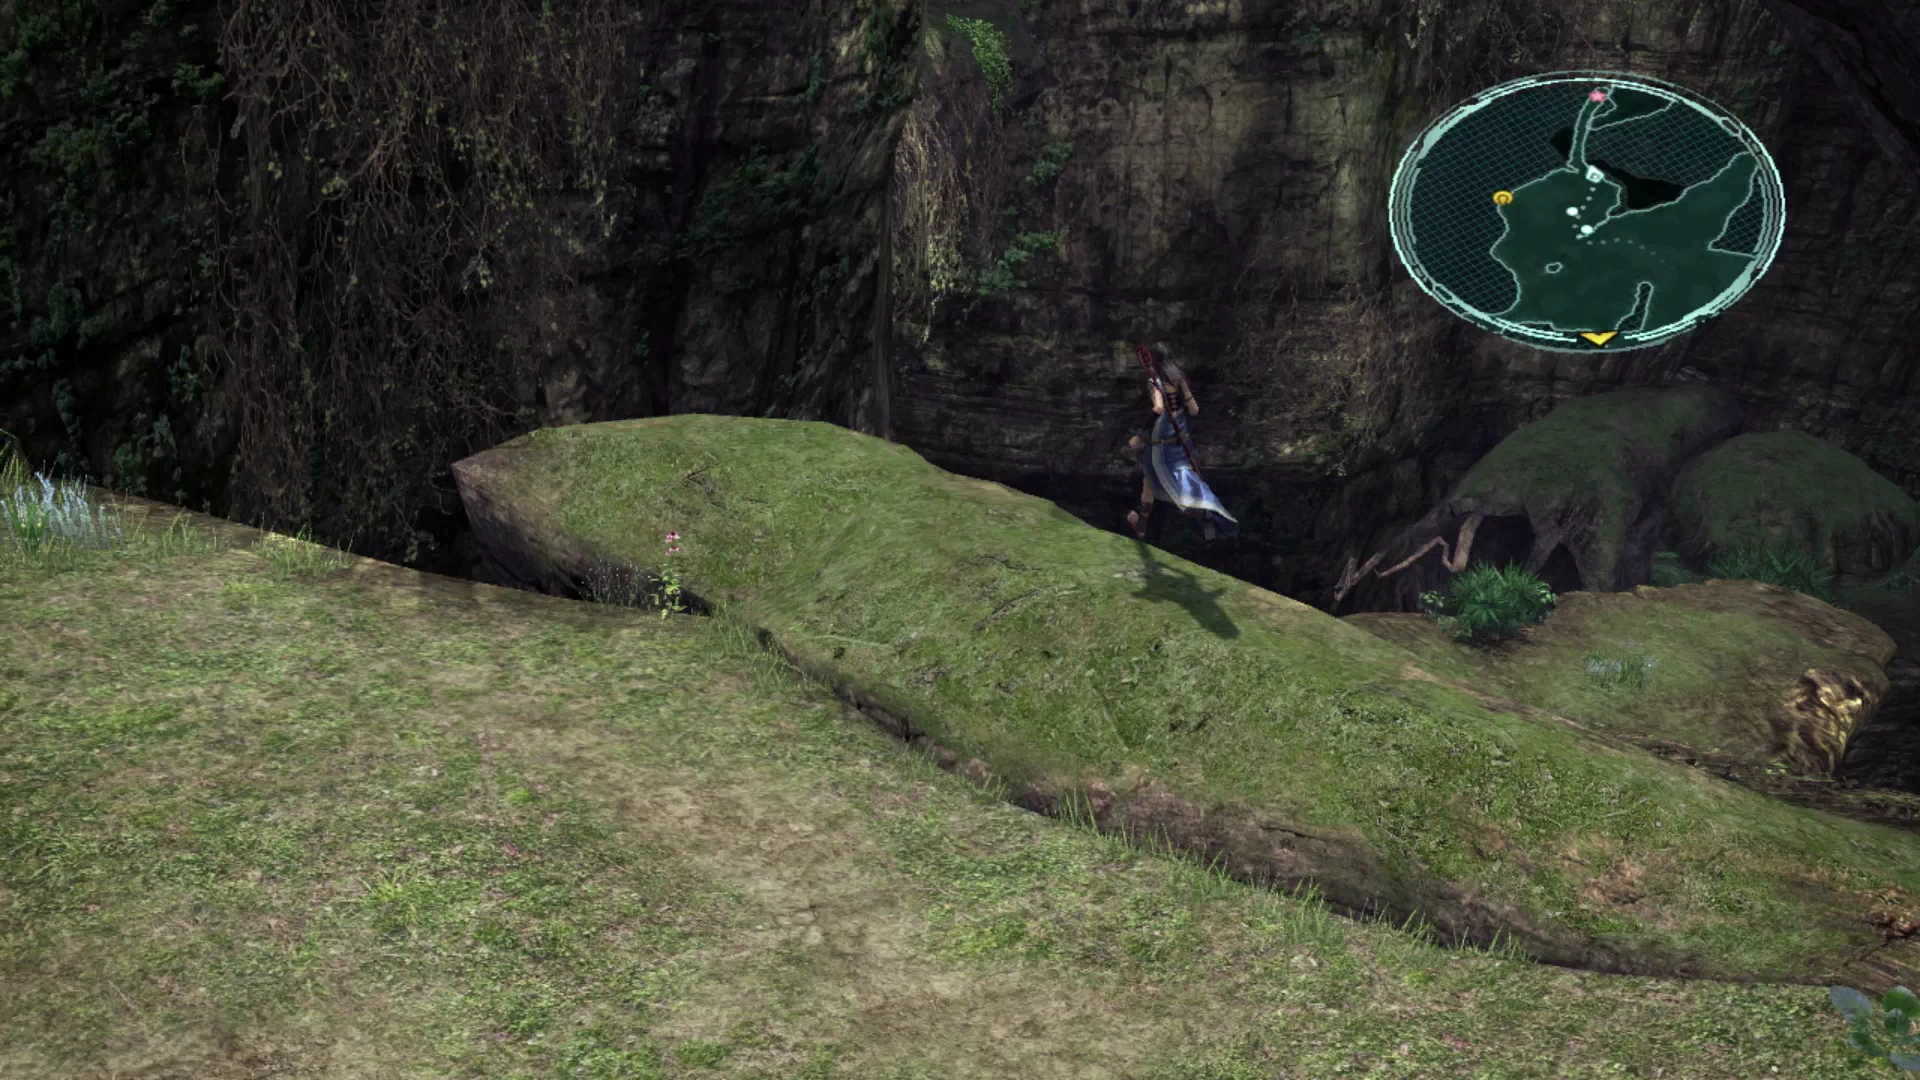
There is a group of Triffid just underneath the log that are blocking the way to a Treasure Sphere. Defeat them and open the Treasure Sphere for a free eight vials of ![]() Esoteric Oil.
Esoteric Oil.
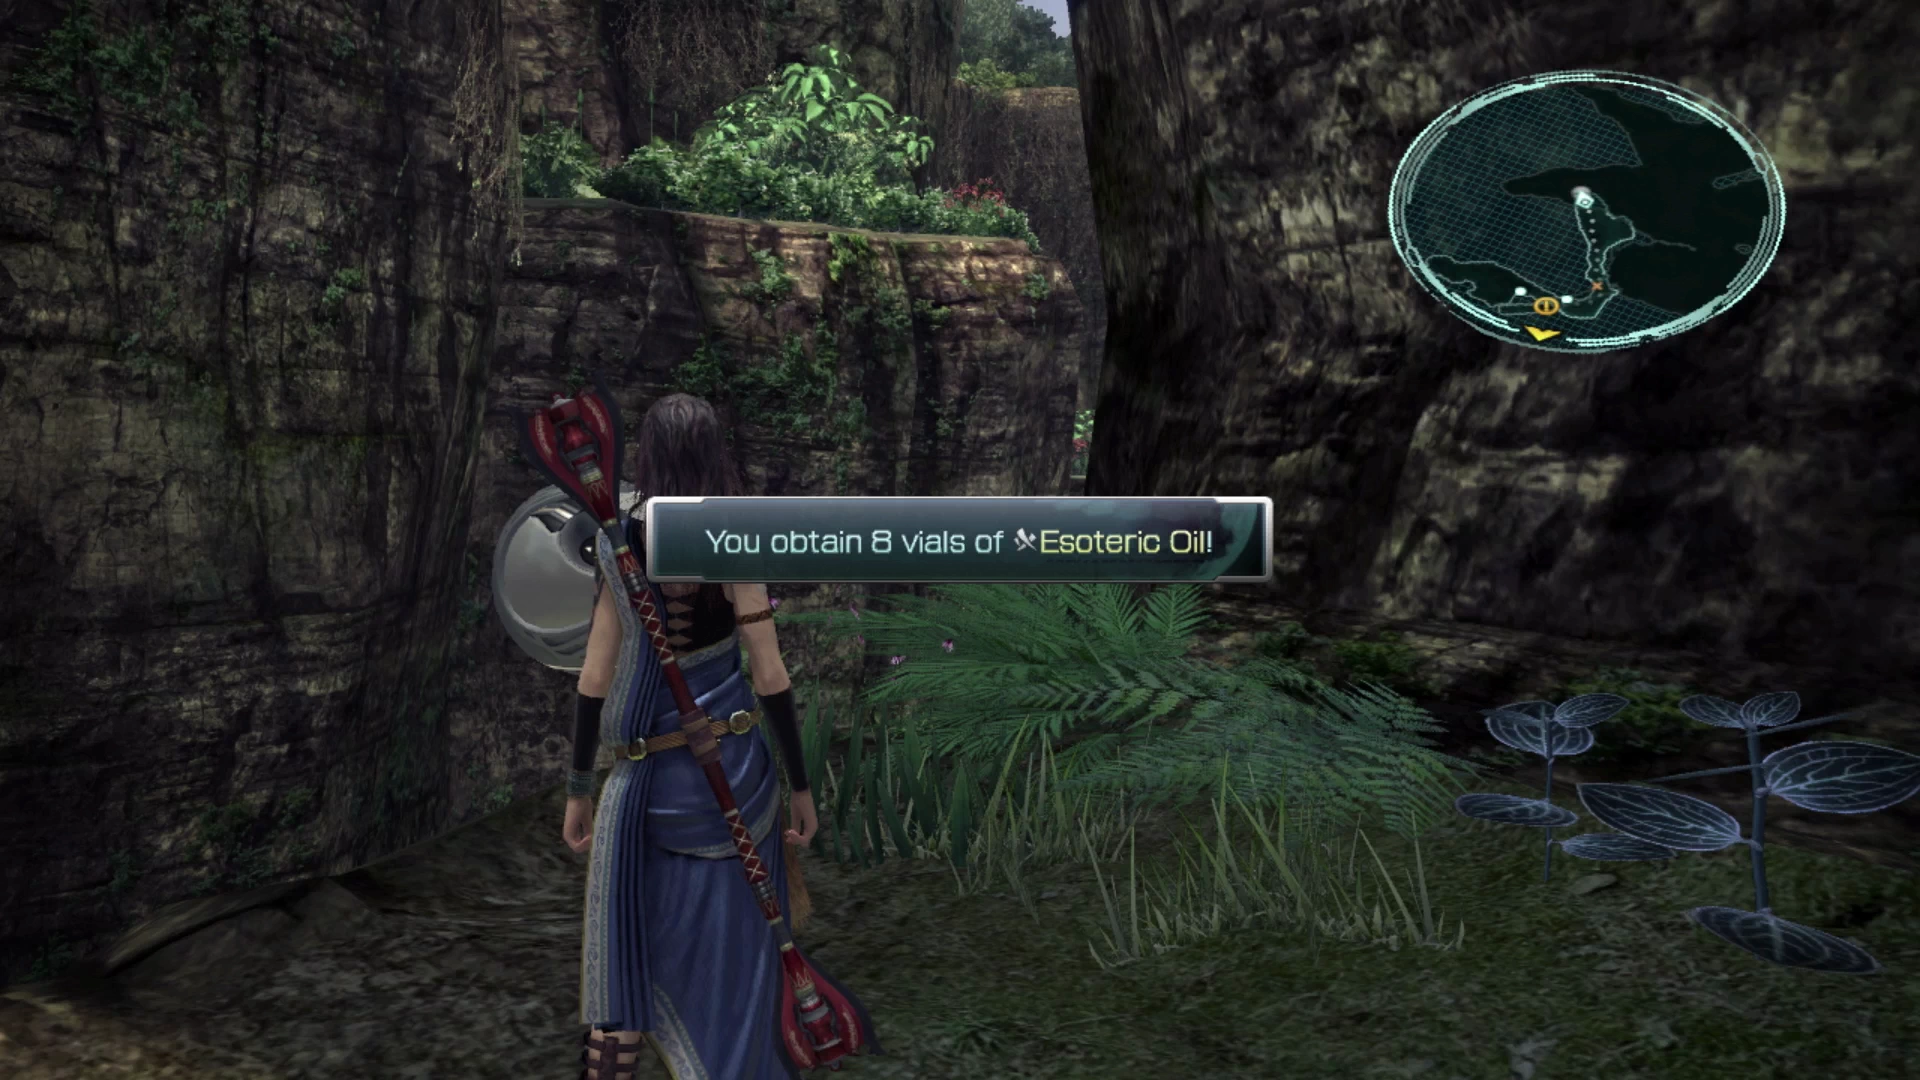
Follow the pathway as it snakes along the edge of the cliff and work your way down into the valley. You will eventually come across a ![]() Save Station. Just up ahead is a cliff jutting out with a Treasure Sphere on it.
Save Station. Just up ahead is a cliff jutting out with a Treasure Sphere on it.
You’ll have to defeat a Svarog here but they are not too difficult. Swap to defensive Paradigms as needed and quickly bring it down once it’s been Staggered. There is a chance that it will use an attack called “Feeding Stoop” which may potentially KO your characters, so be ready to use a tuft of ![]() Phoenix Down or use
Phoenix Down or use ![]() Raise if your characters have learned it. The Treasure Sphere contains a
Raise if your characters have learned it. The Treasure Sphere contains a ![]() Rune Bracelet.
Rune Bracelet.
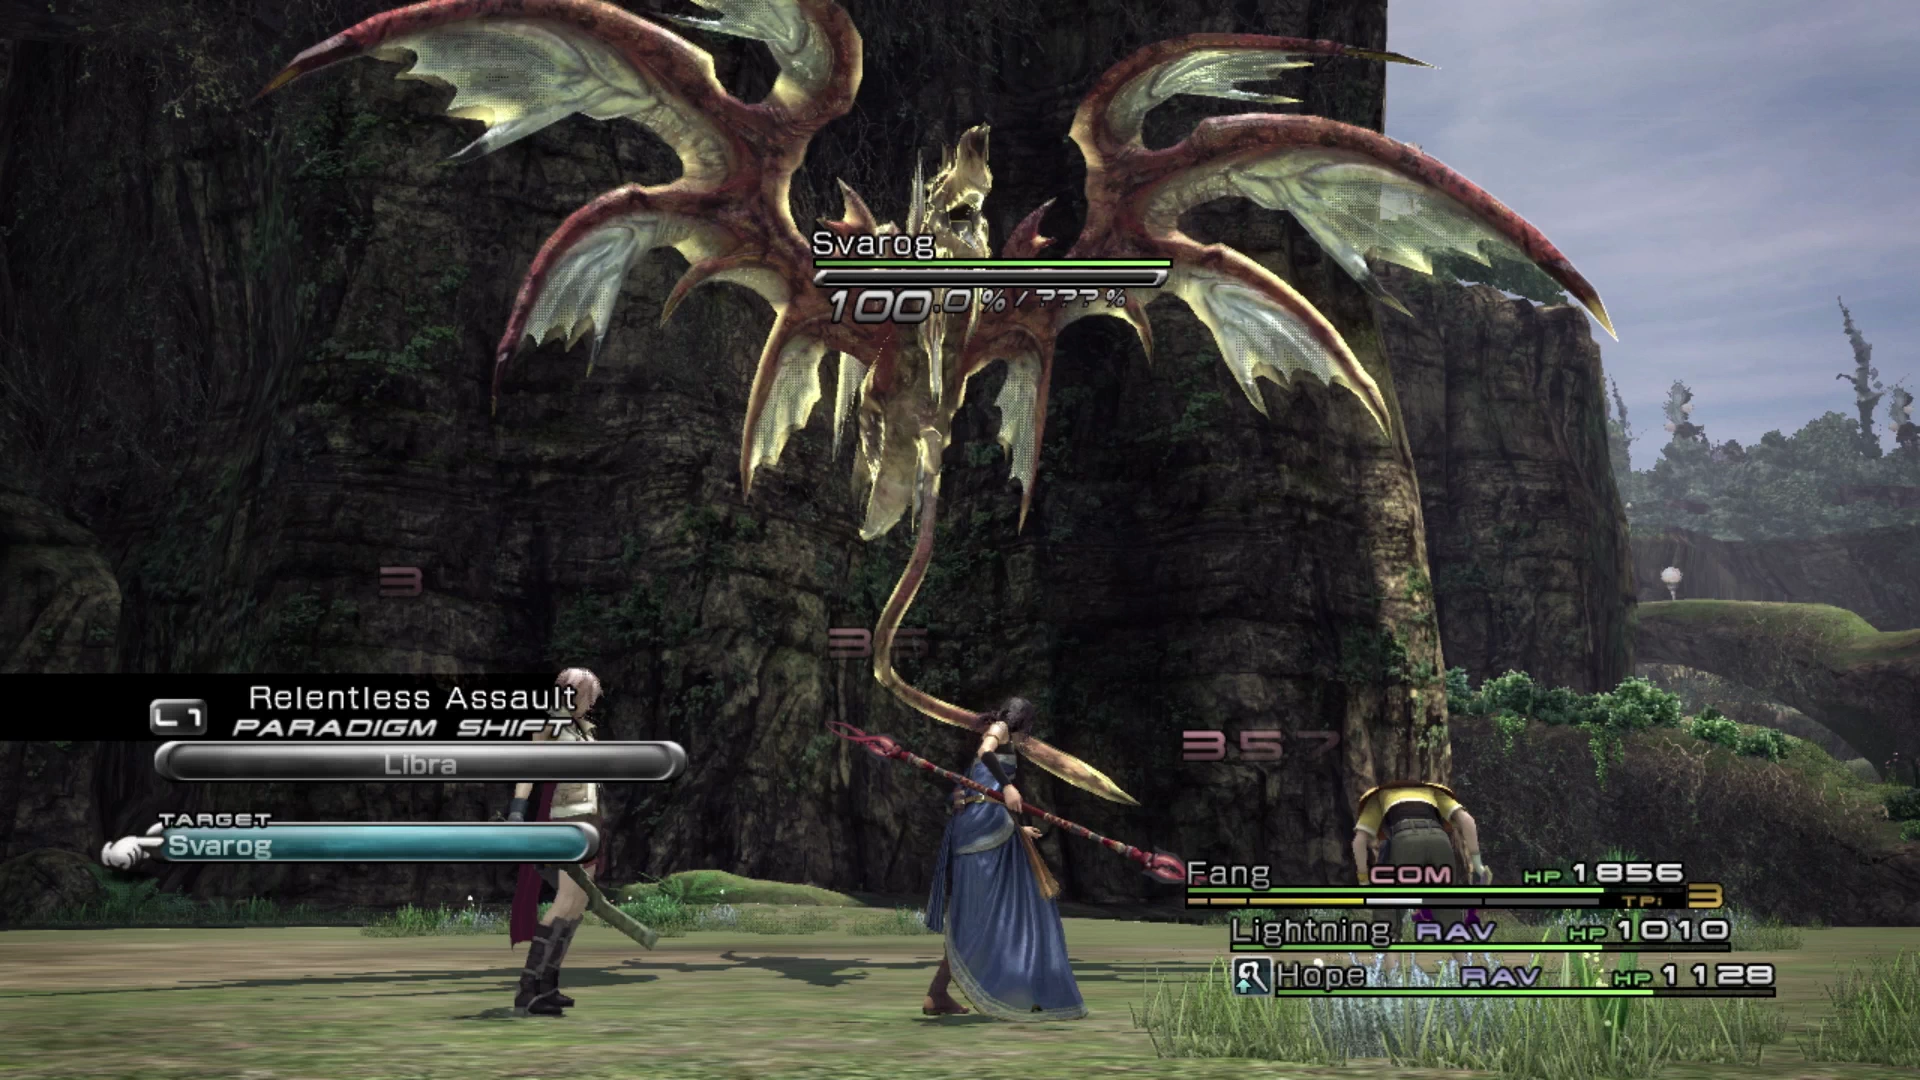
The ledge on the next level down will a Hybrid Flora with three accompanying Alraune which you are already familiar with. The Hybrid Flora is a new enemy; use ![]() Libra on it to reveal its weakness to Fire and then take it down after you’ve defeated the Alraune.
Libra on it to reveal its weakness to Fire and then take it down after you’ve defeated the Alraune.
Next there’s a group of Triffids with another Hybrid Flora in between you and the next ![]() Save Station. Save your game by taking the lower path, but then circle back around and take the upper pathway to open a Treasure Sphere that contains
Save Station. Save your game by taking the lower path, but then circle back around and take the upper pathway to open a Treasure Sphere that contains ![]() 1,827 Gil.
1,827 Gil.
The next group of enemies to defeat is a group of Munchkins that are all sitting in a circle facing one another. It’s hard to be quick enough, but if you are really quick you can run up and ambush them for a preemptive strike before they turn to face your party. They are not hard to defeat even if you aren’t able to get a preemptive strike.
The path splits just up ahead and you’ll need to climb the cliff on the right side. There is a ![]() Save Station here and you will have to pass the Cie’th Stone for Mission 05 which you can ignore for now.
Save Station here and you will have to pass the Cie’th Stone for Mission 05 which you can ignore for now.
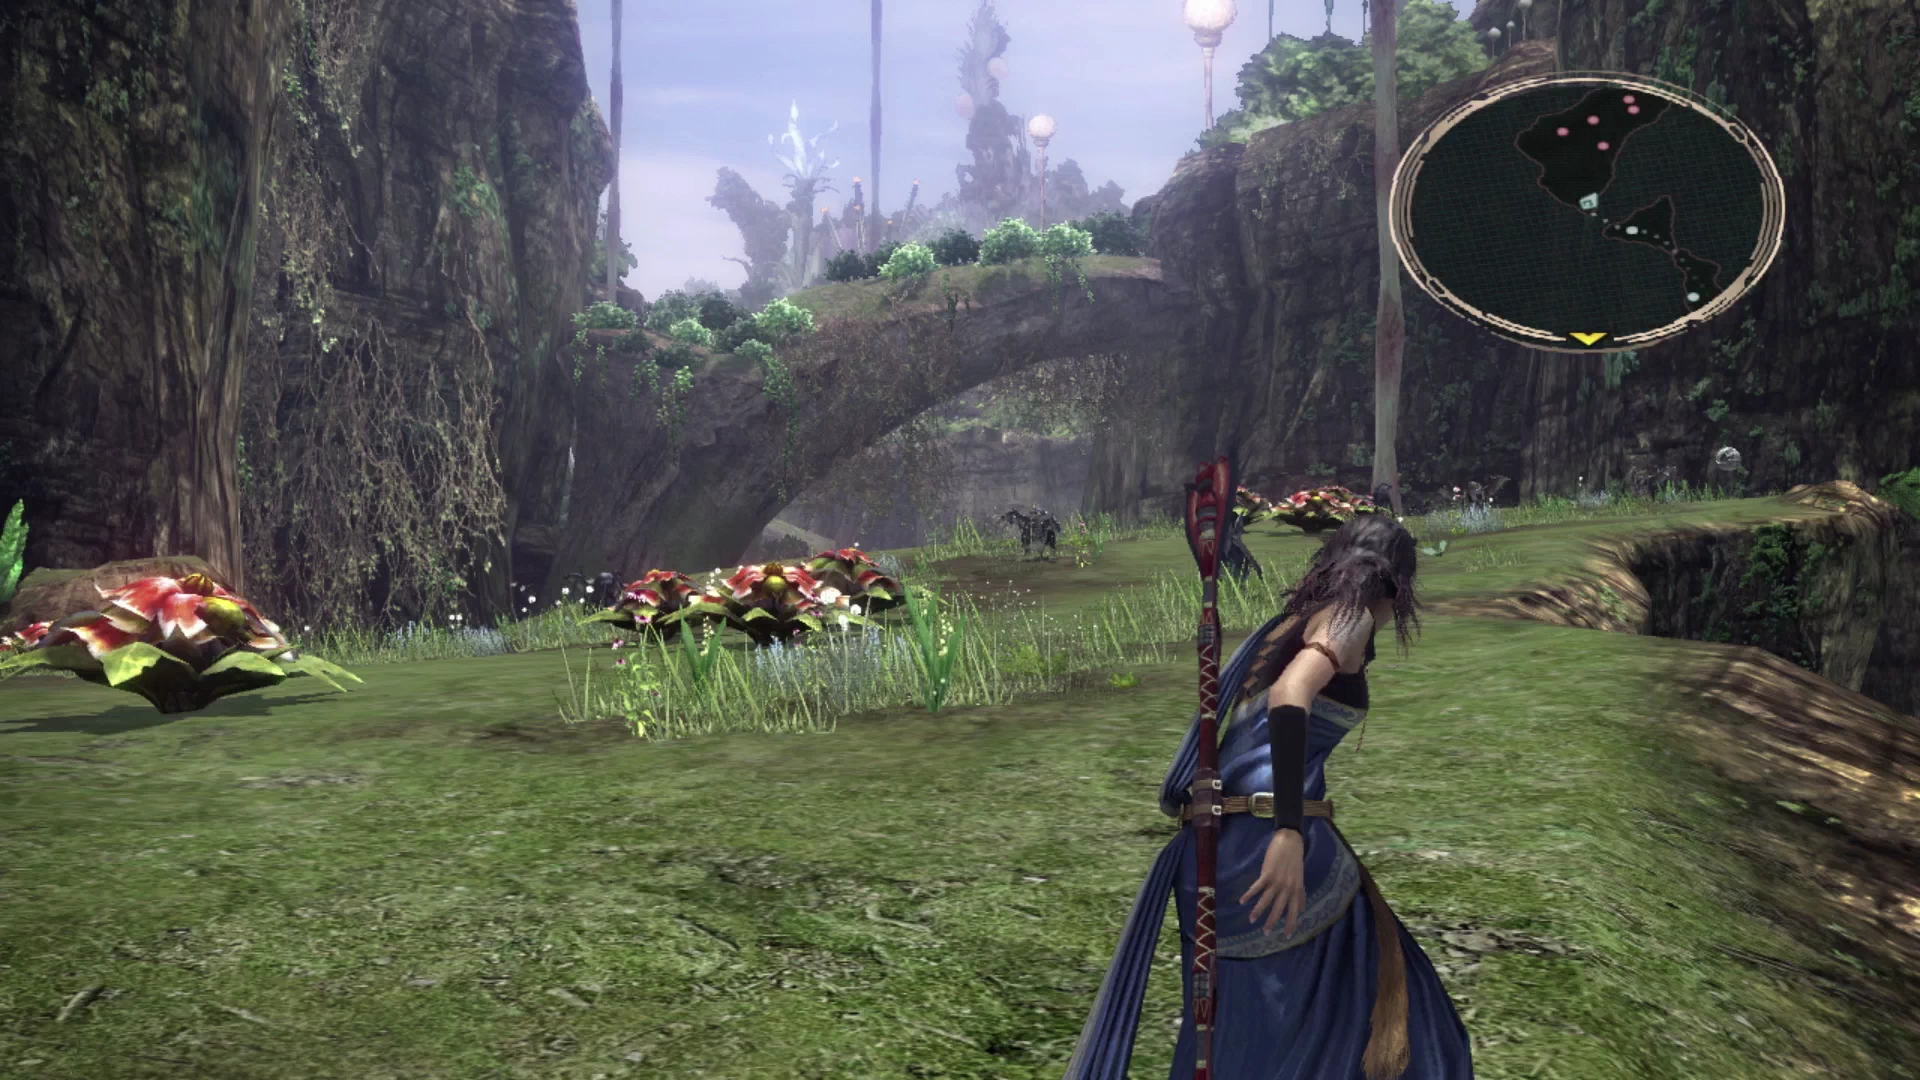
You should see the pink star indicating that the mark(s) is fairly close on the mini-map. These enemies are fairly easy to get a preemptive strike on when they turn and face away from you if you’re quick enough.
Battle Tactics
Mark Battle
Class: D
HP: 21,600 (x4)
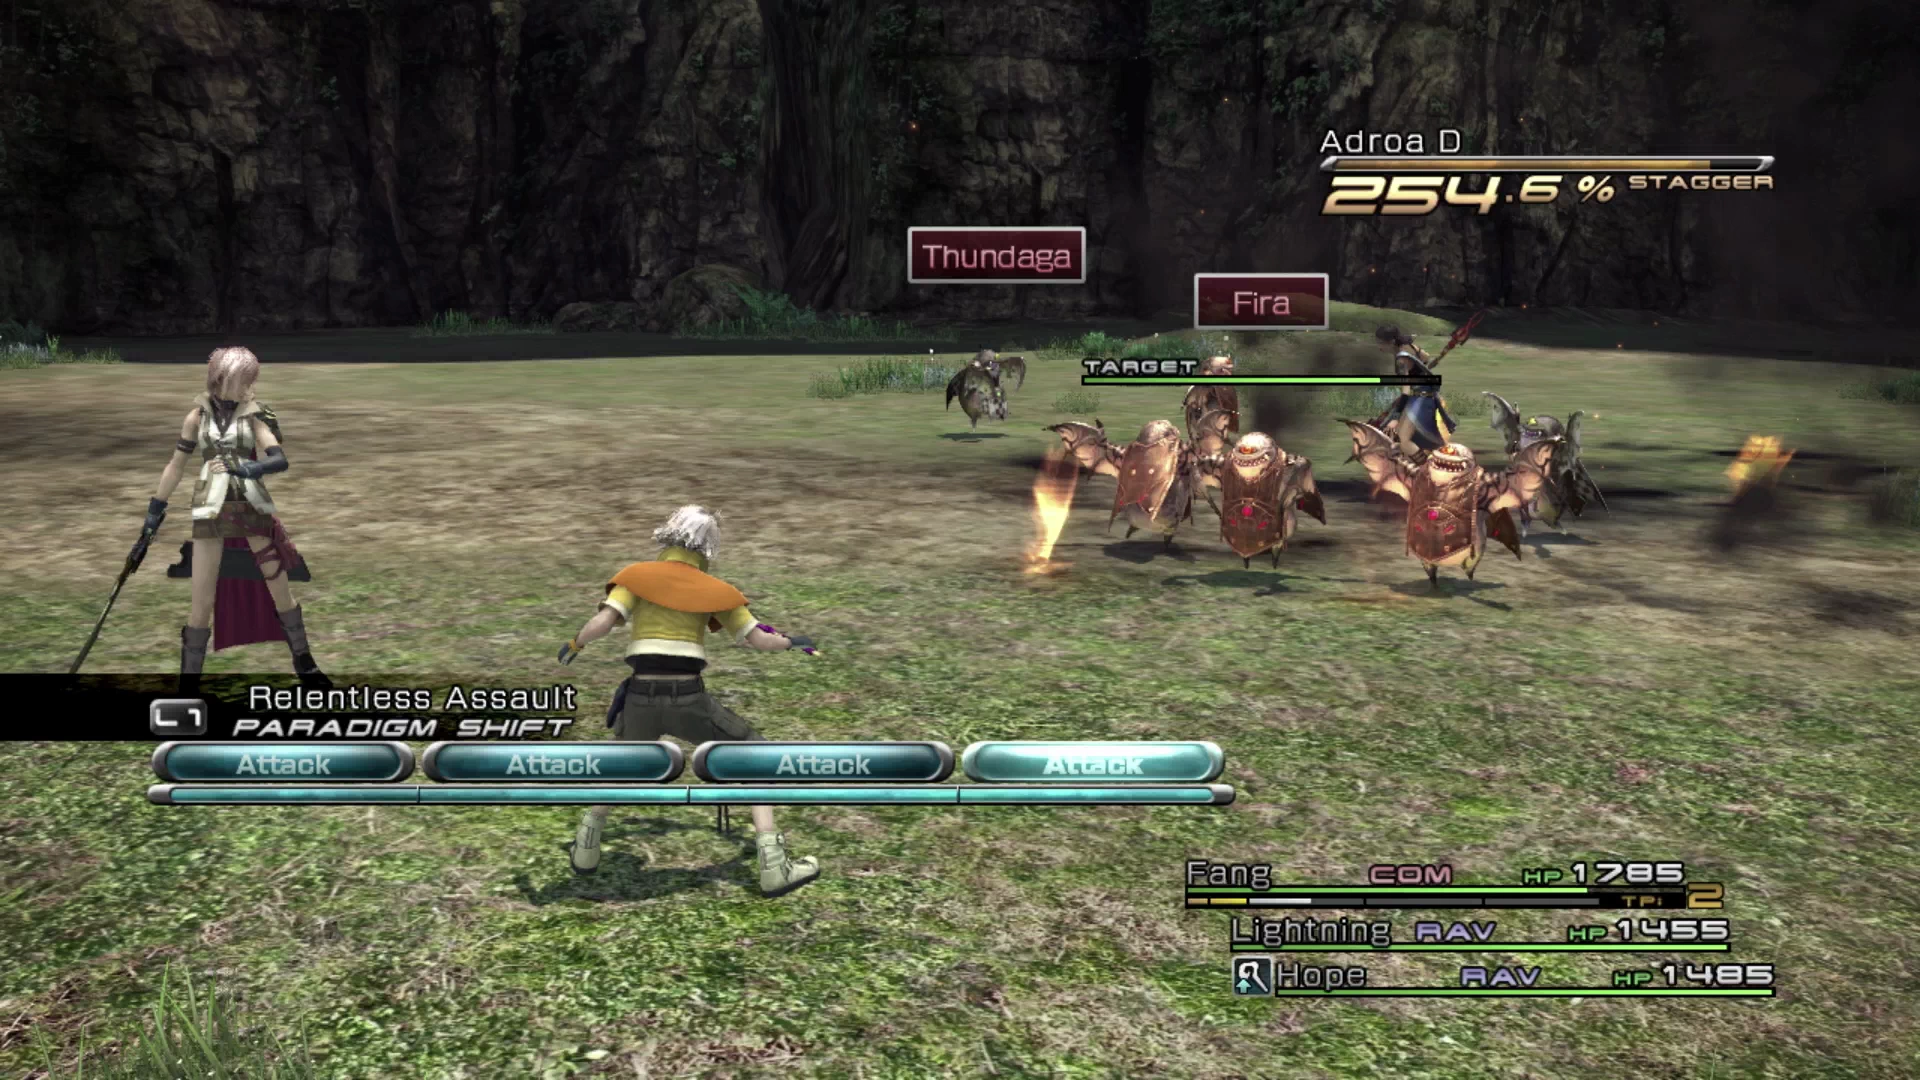
The goal here is to defeat the three Adroa enemies before they have an opportunity to use their “Summon” ability which will add an extra Ugallu enemy to the fight (i.e. the same enemy that you faced as your mark in the previous hunt). This will greatly increase the difficulty of the fight, and the length it takes to defeat all the enemy combatants, but if an Ugallu is spawned just take it slow and work your way through each of the enemies.
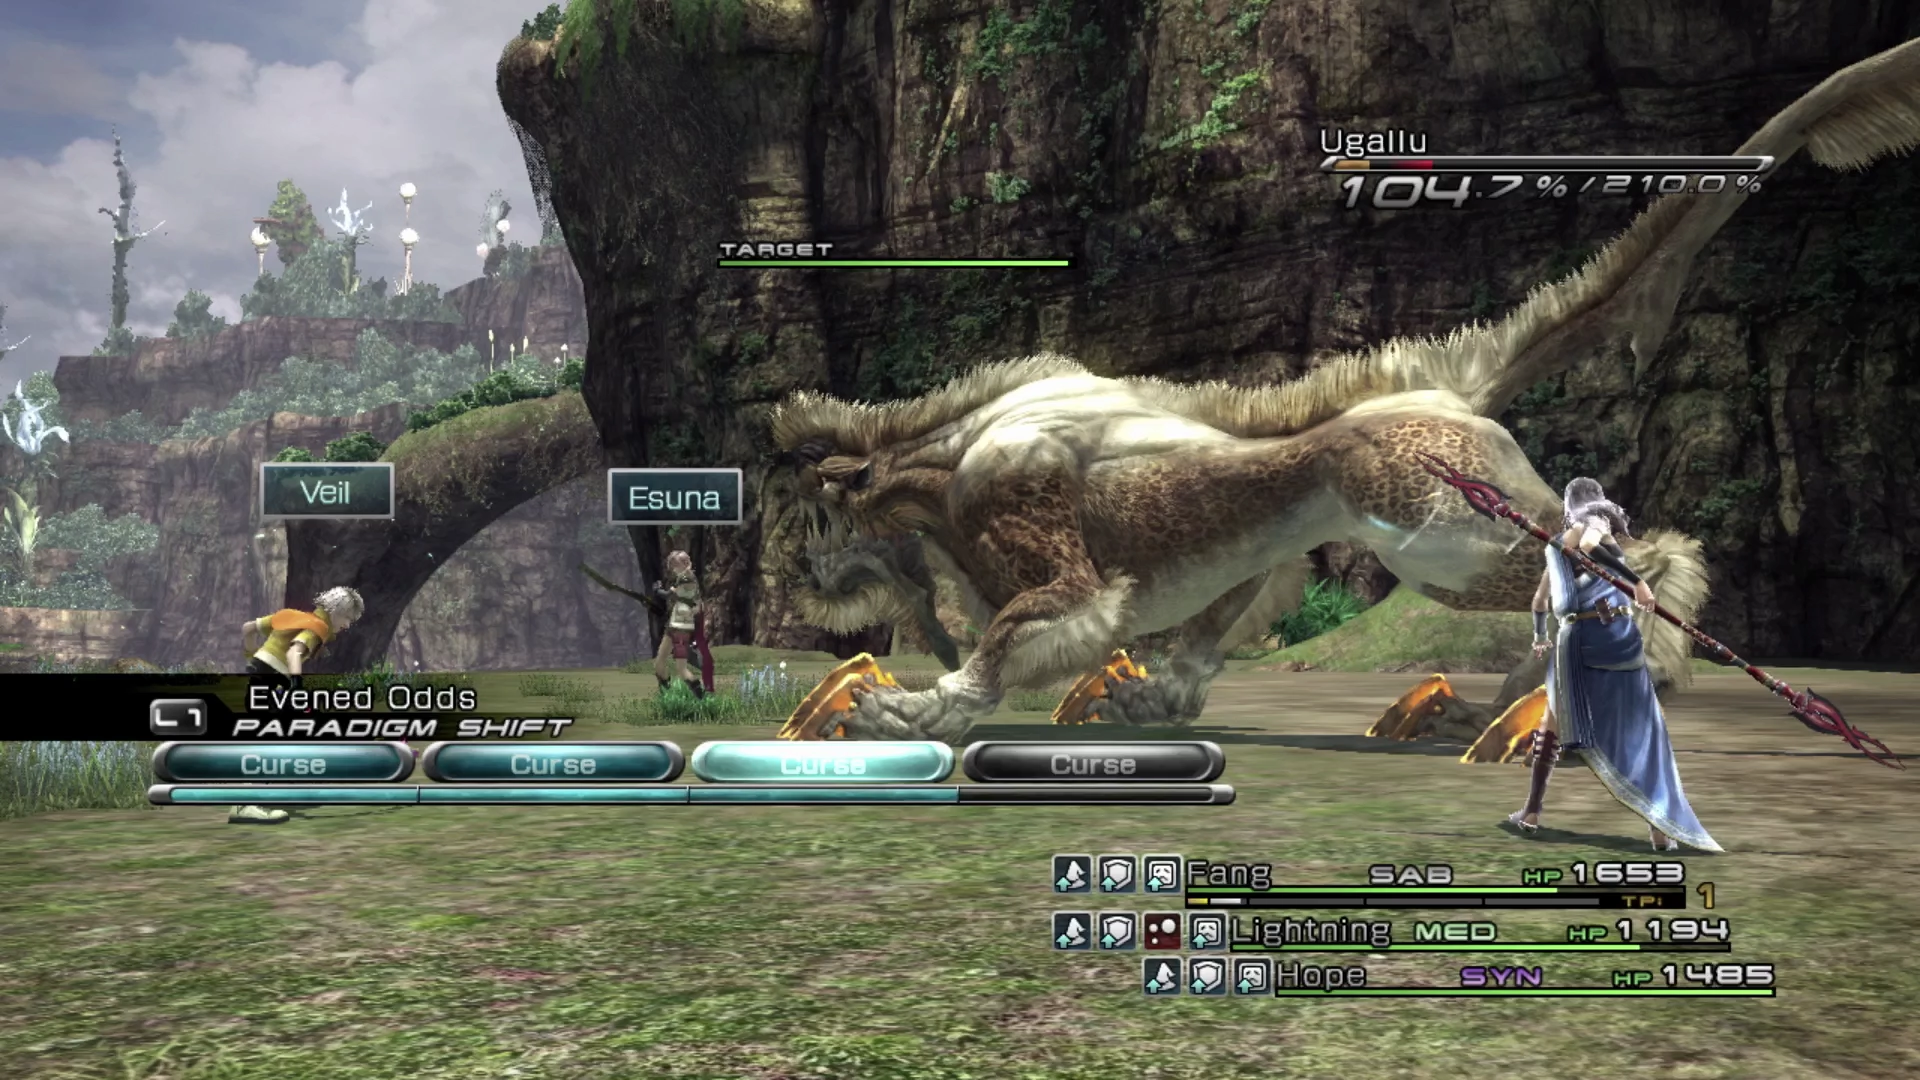
As mentioned in the Mission Overview page, even if you get a low 5-star ranking, you can return to these fights and reattempt them later.
- First Attempt:
 Pearl Necklace
 - Repeat Attempts:
 Bomb Shells (x3)
Next Steps Following Completion
Note that there is a Treasure Sphere just behind the marks that contains two ![]() Millerites.
Millerites.

You would have passed the Cie’th Stone for Mission 05 on your way to this mark. It’s very close by. You can use the navigation links below to quickly jump back to the Chapter 11 strategy guide, straight to the next Mission, or back to the main Mission index menu:


