Chapter 11: The Yaschas Massif


This section of the guide continues the optional content that you can complete once your team reaches the Archylte Steppe area in Chapter 11. All this content can be skipped if your preference is to just move the story forward.
Check out the information at the top of the Chapter 11 - The Archylte Steppe page for more details on this optional content. Navigate straight to Chapter 11 - Mah’habara Subterra if your preference is to skip it.
Note that the last section of the previous walkthrough page provided a brief overview of how to get to the Yaschas Massif. Navigate back to the Archylte Steppe Walkthrough page if you need help getting to this new area and note that you should have already completed Missions 01 and 02.
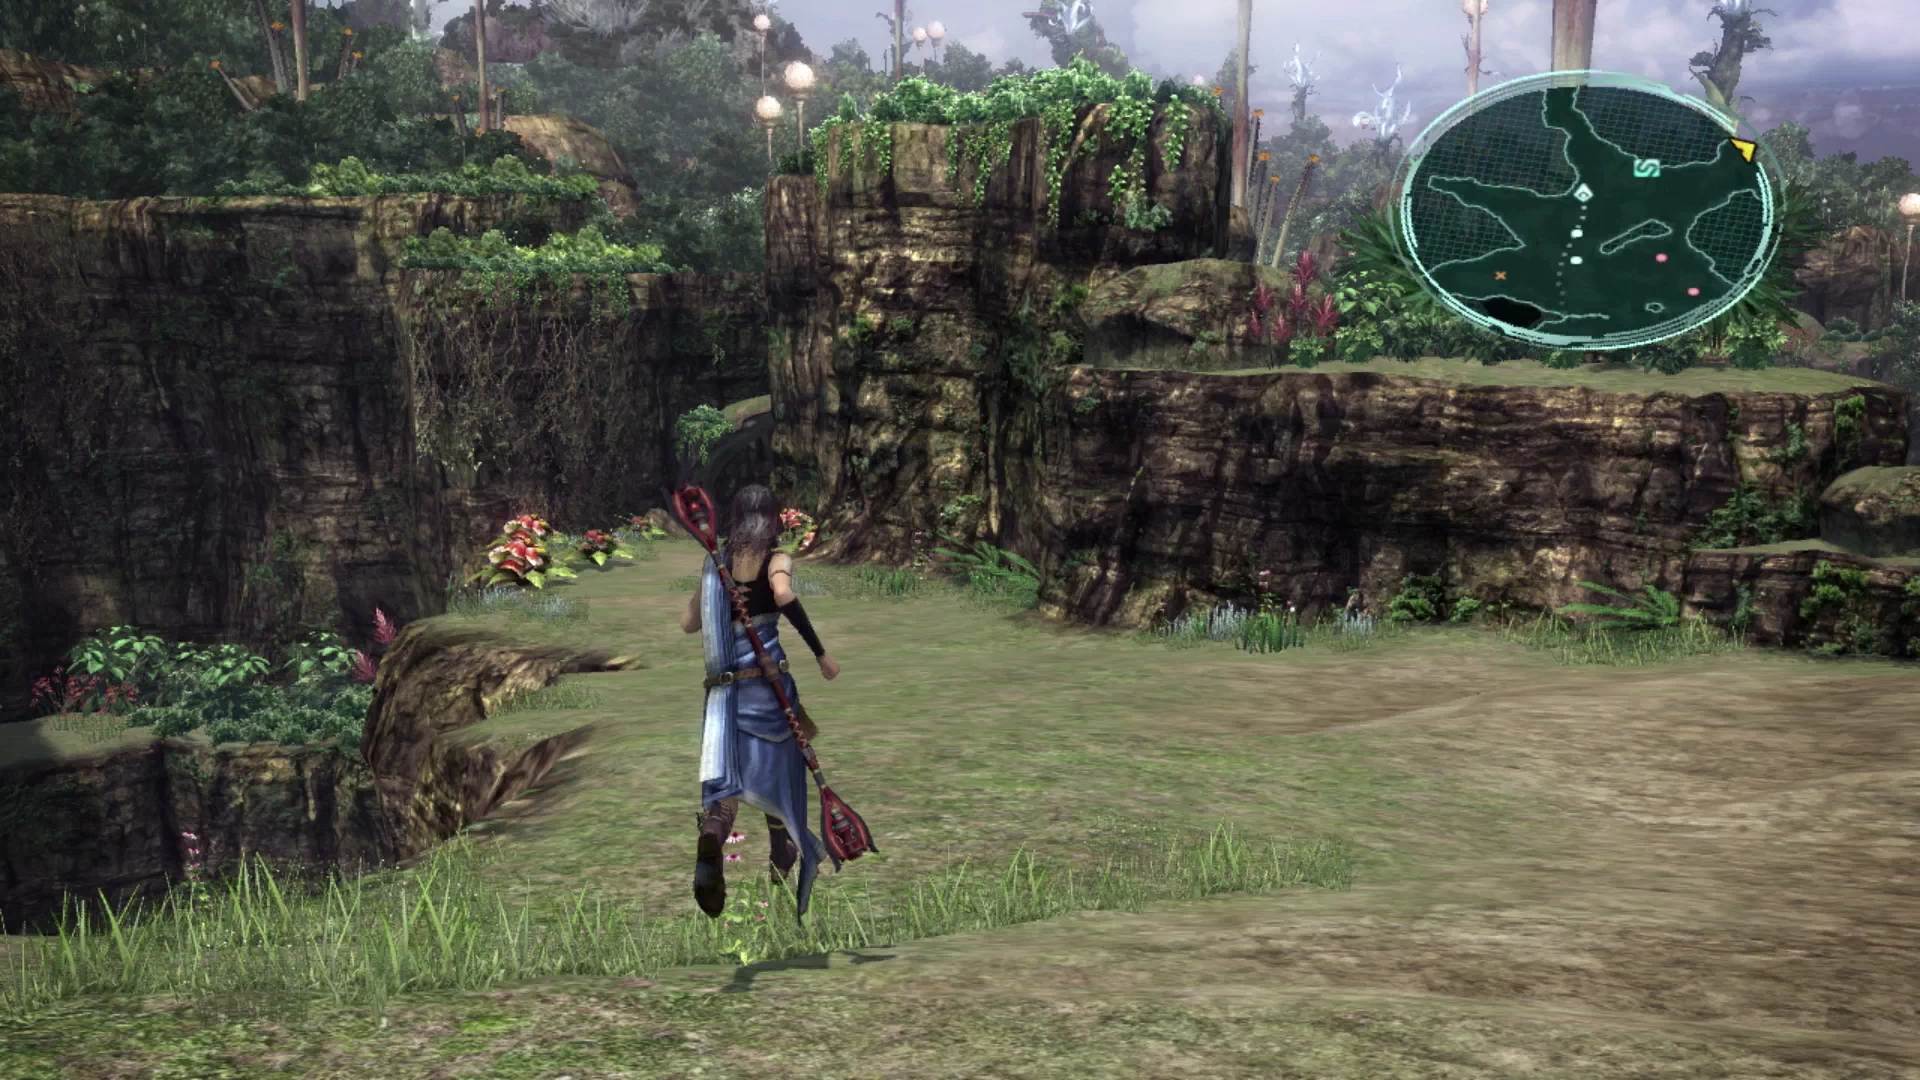
The Tsubaddran Highlands
This is a large area that you will have to traverse through, going a few different directions, in order to complete a number of Missions. Use the map above to help you navigate (the large red arrow marks your current entrance point).
Such happy-go-lucky music for this area! Just up ahead, on the left side of the path, is a ![]() Save Station that you can use to save your game.
Save Station that you can use to save your game.
There is a group of four Leyak enemies which are similar to the other “Spook” type enemies that you have faced up to this point. You eventually reach a wide-open area where you can find the mark for Mission 03 - Massif Contamination. Check out the link below for more details:
Cie’th Stone Missions
Ugallu located in the Tsubaddran Highlands of the Yaschas Massif.
After defeating Ugallu, search the opposite side of this large open area to find a Treasure Sphere that contains nine ![]() Diabolic Tails.
Diabolic Tails.
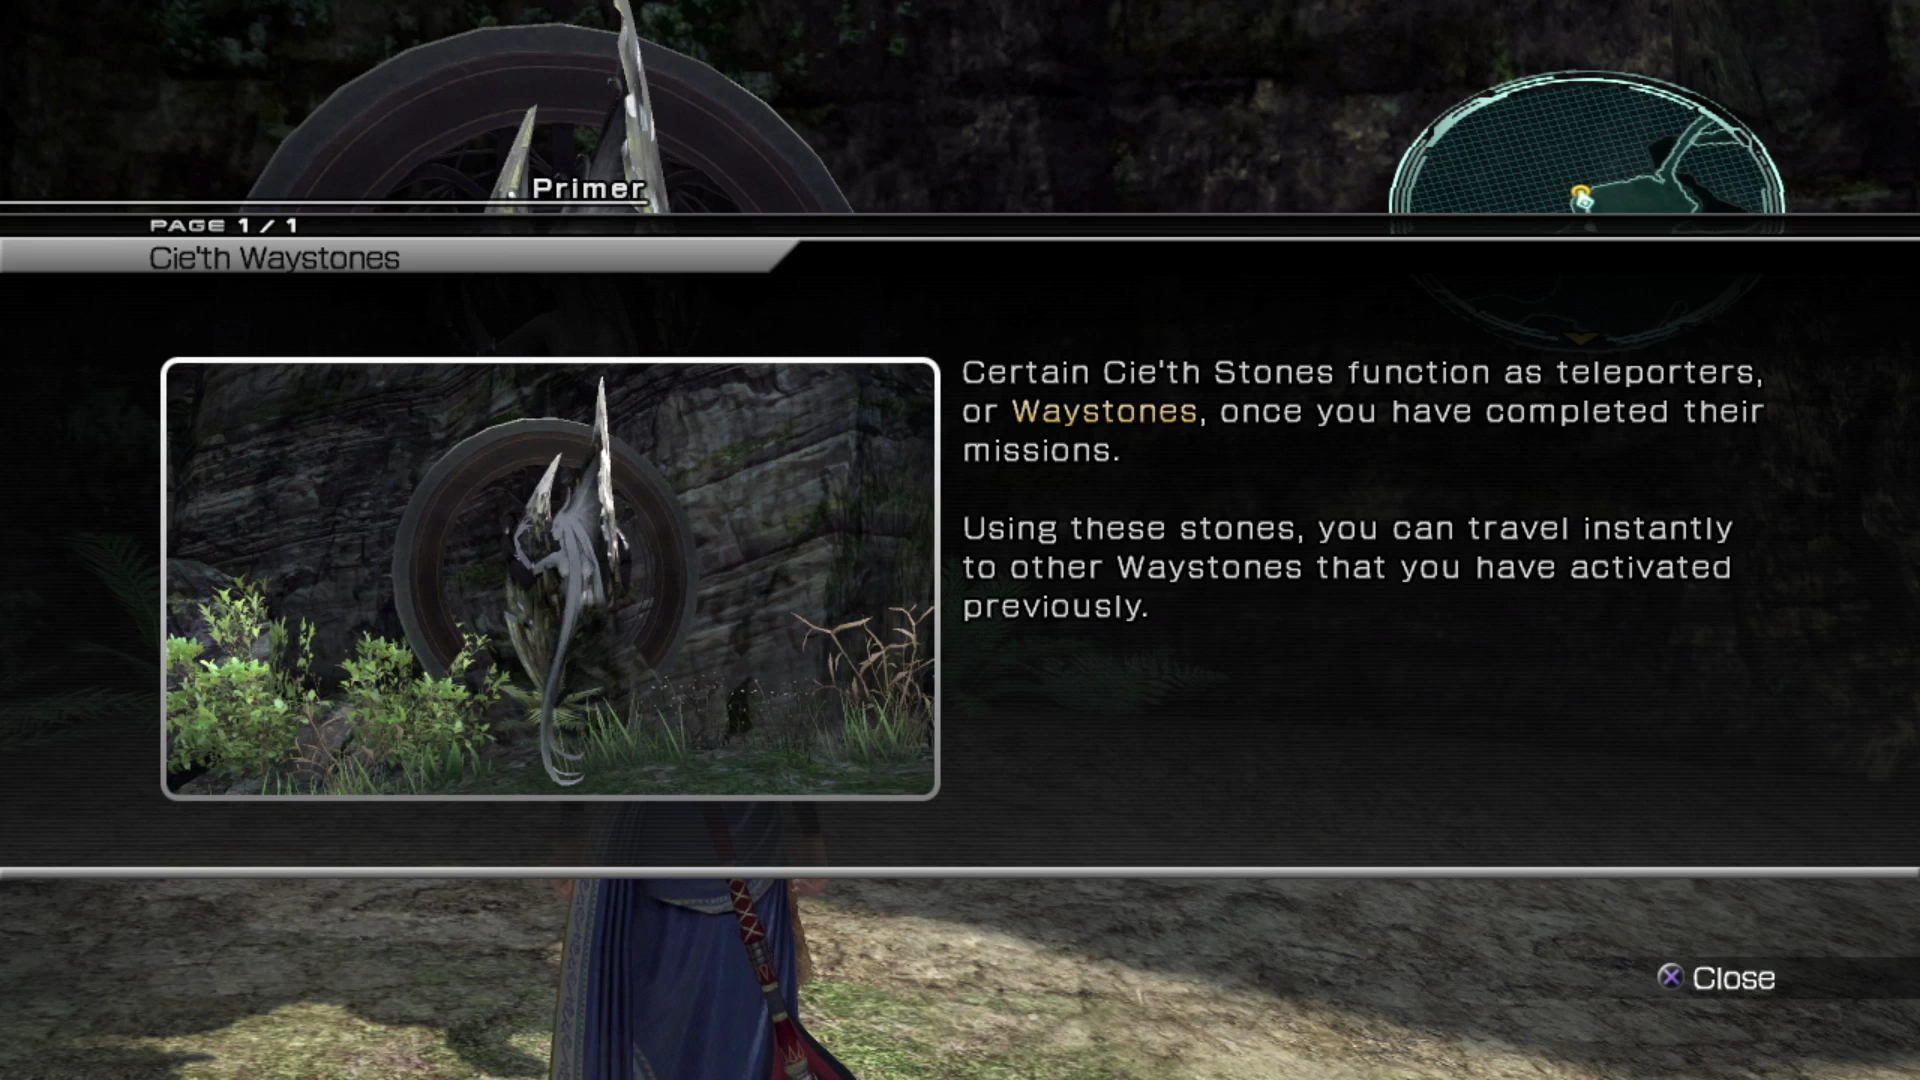
The next Cie’th Stone is close by. This is the first Cie’th ![]() Waystone which you will have encountered. Completing its Mission, as described in the game when you touch it, will allow you to teleport to other
Waystone which you will have encountered. Completing its Mission, as described in the game when you touch it, will allow you to teleport to other ![]() Waystones.
Waystones.
These handy teleportation devices will greatly speed up your travel through the Archylte Steppes and its surrounding areas. You will never have to travel the length of Vallis Media to get here again!
Head over to the next Mission page for Mission 04. Mission 05 can be initiated using the nearby Cie’th Stone after that:
Cie’th Stone Missions
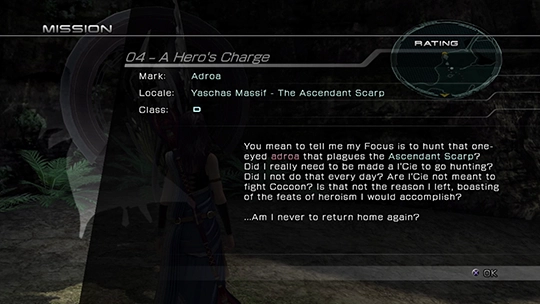
Adroa located in the Ascendant Scarp of the Yaschas Massif.
Cie’th Stone Missions
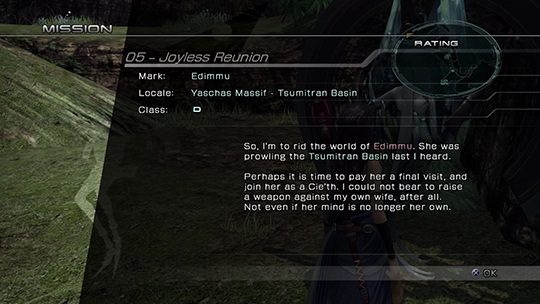
Edimmu located in the Tsumitran Basin of the Yaschas Massif.
Achievement/Trophy
You will automatically receive the  Kelger’s Cup Achievement/Trophy after you have completed Mission 01 through 05.
There is a long way to travel to reach the Cie’th Stone for Mission 06, but before we head there, it’s good to make sure that you’ve picked up all the Treasure Spheres so far as this will give you another opportunity to grab them on your way past. You should have picked up the following treasure:
- The Tsumitran Basin
- The Tsubaddran Highlands
 Diabolic Tails (x9)
- Esoteric Oil (x8)
- The Ascendant Scarp
 Rune Bracelet
 1,827 Gil
 Millerite (x2)
Your next destination is the Paddraean Archaeopolis. If you have just completed ![]() Mission 05 - Joyless Reunion and defeated Edimmu you would now be in Tsumitran Basin. To reach the Cie’th Stone for
Mission 05 - Joyless Reunion and defeated Edimmu you would now be in Tsumitran Basin. To reach the Cie’th Stone for ![]() Mission 06 - No Place Like Home you will have to travel all the way to the top section of the map.
Mission 06 - No Place Like Home you will have to travel all the way to the top section of the map.

Start off by traveling south into the next section of the map which is the Tsubaddran Highlands. This is the area where the ![]() Waystone is located, and you’ll find a
Waystone is located, and you’ll find a ![]() Save Station just up ahead.
Save Station just up ahead.
The Tsubaddran Highlands
There are three scenes in this area which can be missed if you don’t travel to the specific areas on the map where they occur during this chapter.
The first scene is just a little ways away from the ![]() Save Station near the empty Treasure Sphere which previously contained the nine
Save Station near the empty Treasure Sphere which previously contained the nine ![]() Diabolic Tails. The map marker on the mini-map will lead you right to the correct spot. When you get close enough there will be a short scene involving Hope and Vanille.
Diabolic Tails. The map marker on the mini-map will lead you right to the correct spot. When you get close enough there will be a short scene involving Hope and Vanille.
Missable Content
This scene serves no purpose in the game but there is no way to come back and view it after you have proceeded through the rest of Chapter 11.
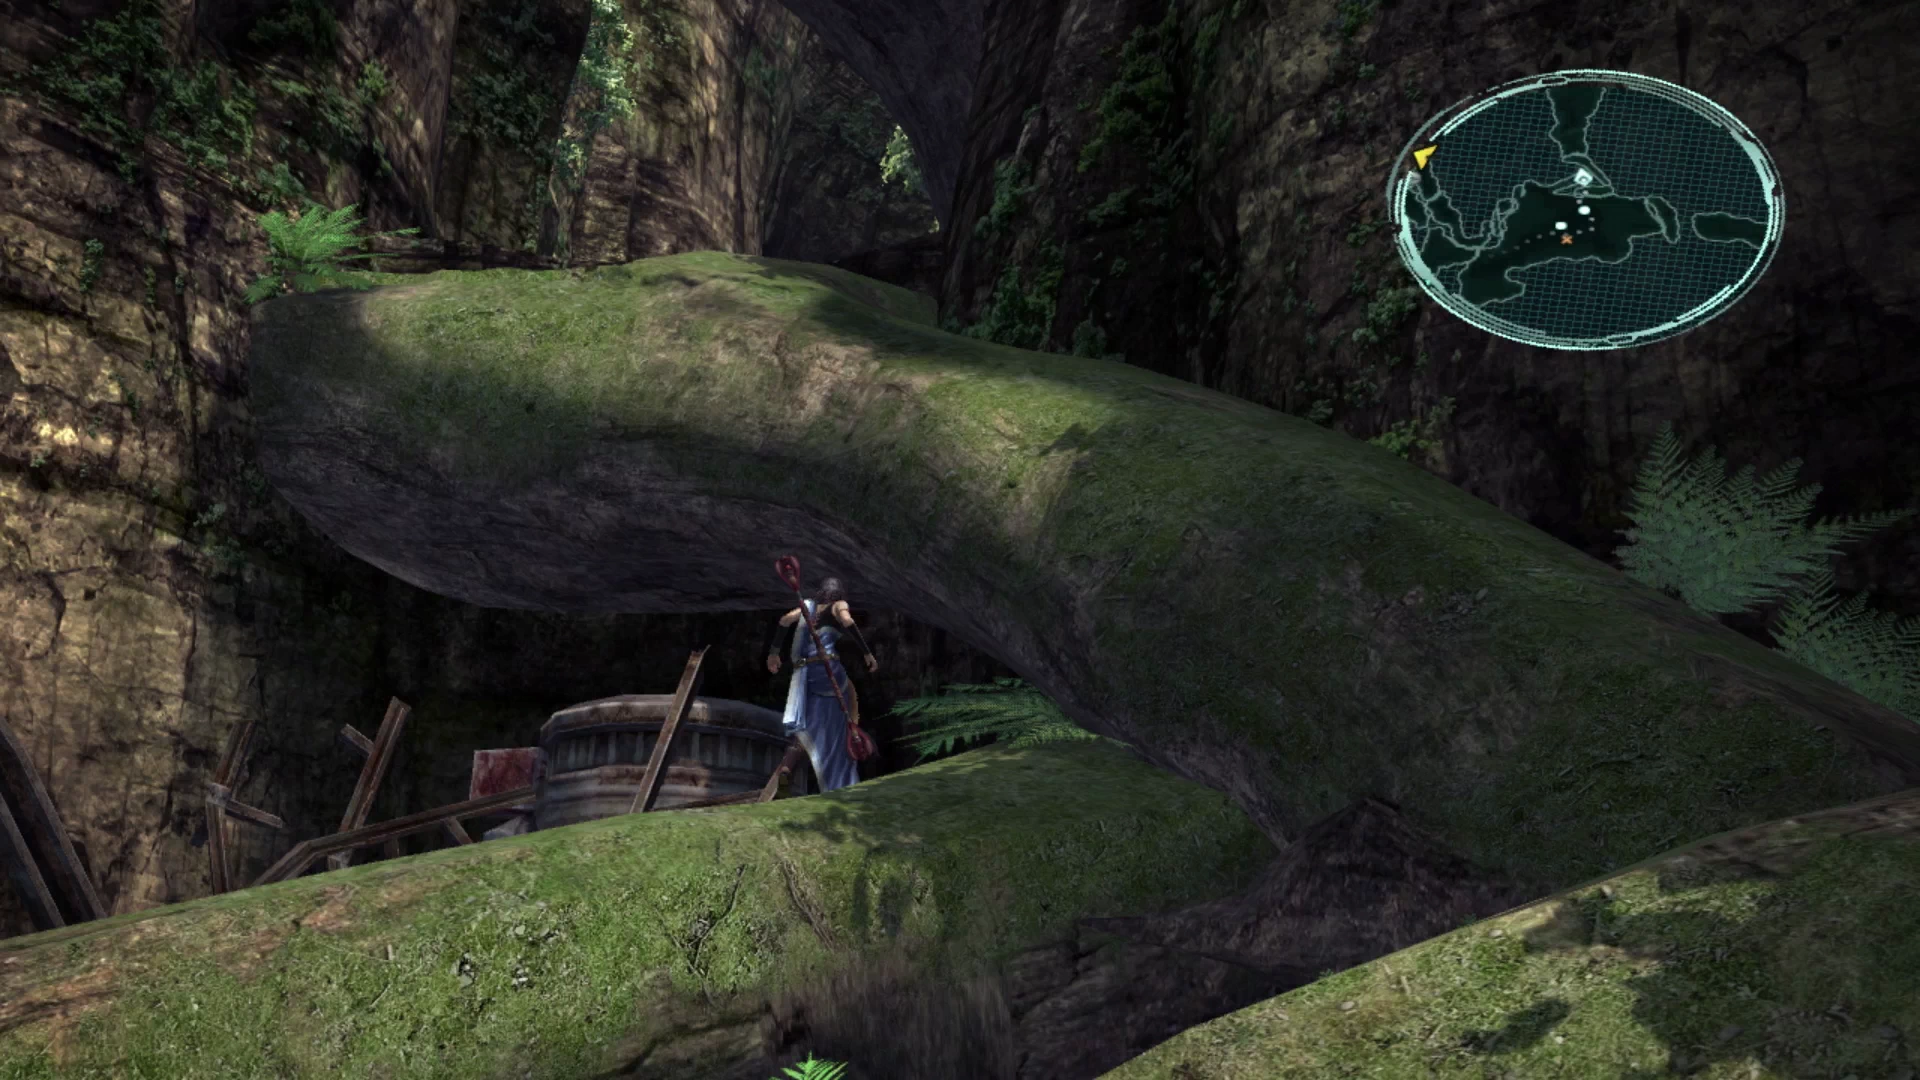
The map marker will automatically update to where the next scene occurs which is in the Paddraean Archaeopolis. Head down the tree stump again towards the top of the map.
The Ascendant Scarp
Head all the way back to the Cie’th Stone for Mission 05 near where you defeated the group of Adroa for Mission 04. This time, when you reach the area where the path splits going left and right, take the pathway on the left which will lead you into…
The Deepgap
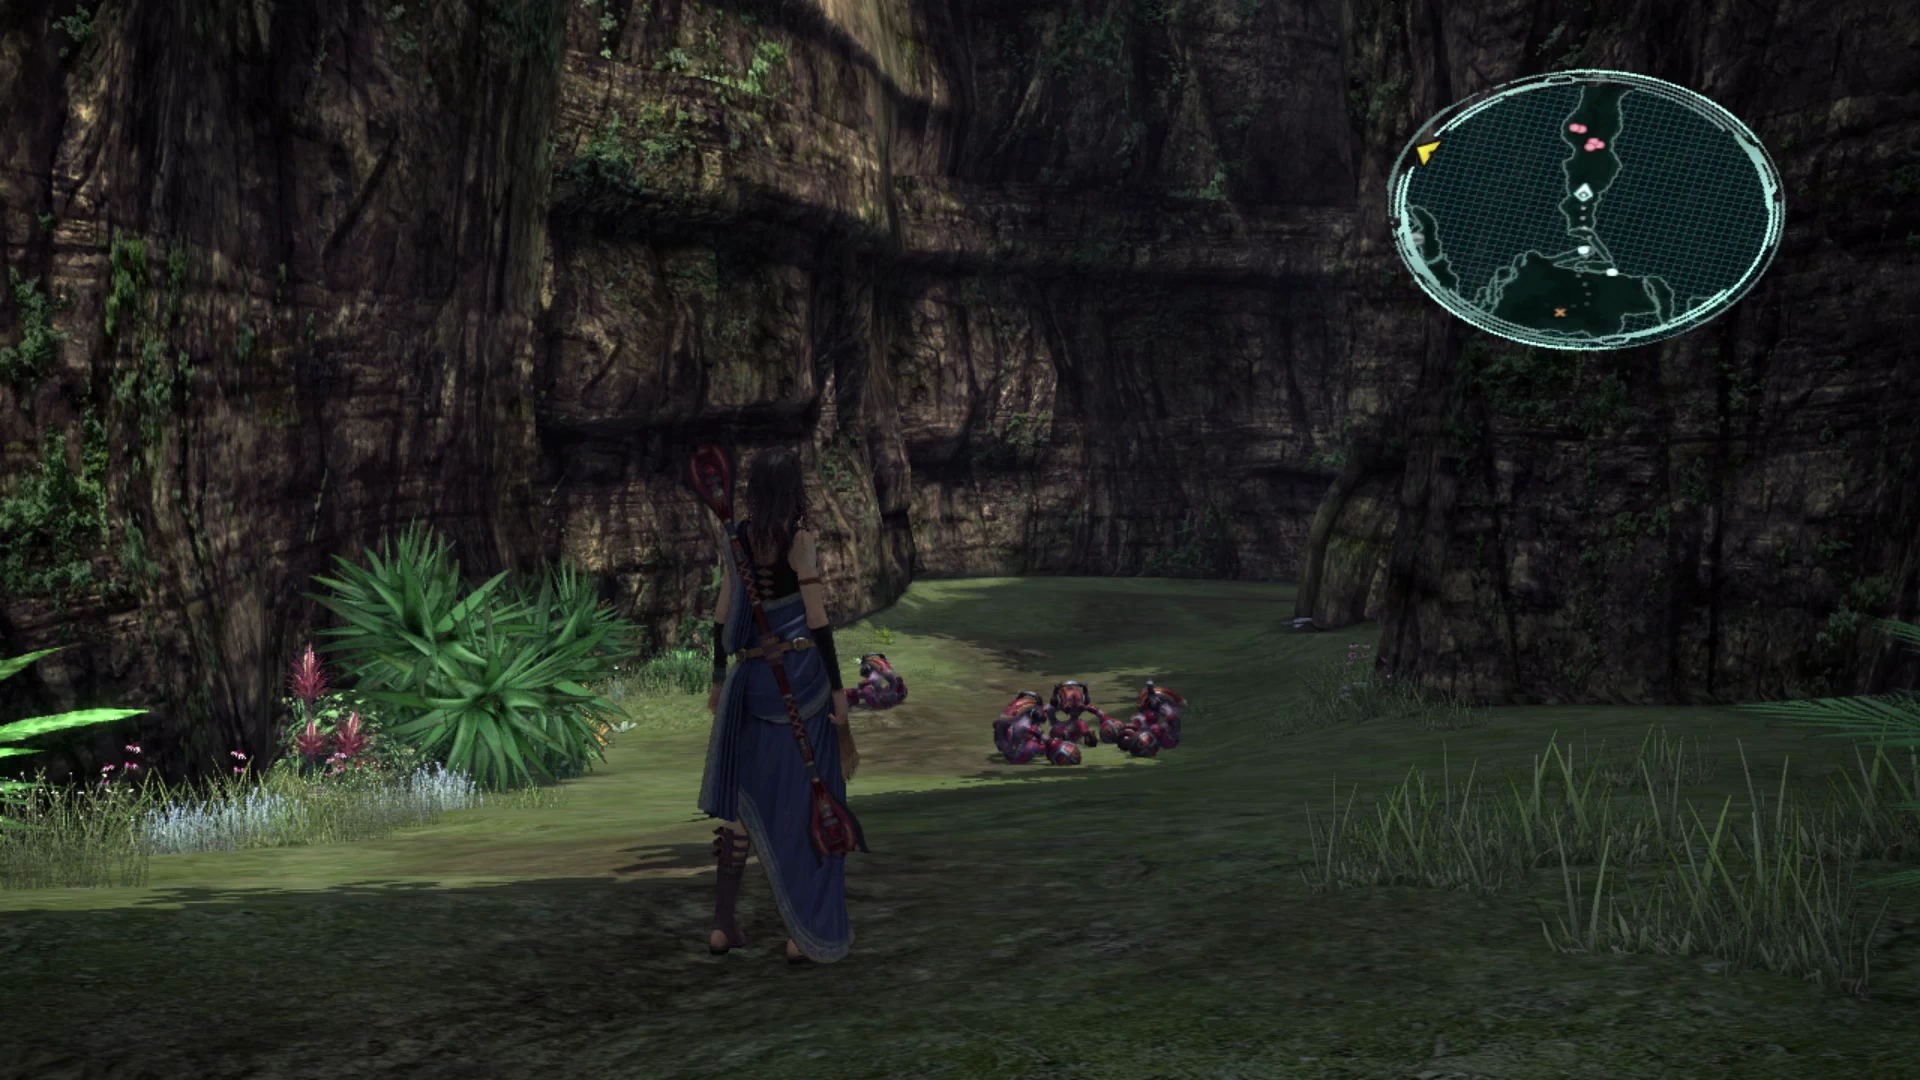
Jump up the cliff and you will have to face a large group of five Munchkins. They are not difficult to defeat but they can deal out a heavy amount of damage if they all focus their punches on a single target, so be prepared to switch to a more defensive Paradigm.
Next up you will have to face two Hybrid Flora which are enemies that you are already used to defeating. Use the ![]() Save Station to save your game and then move forward to fight the group of Alraune with a Hybrid Flora.
Save Station to save your game and then move forward to fight the group of Alraune with a Hybrid Flora.
The Pass of Paddra
The path splits to the left and to the right. Take the right pathway which leads to a Treasure Sphere which contains a ![]() Mythril Bangle after you defeat two groups of enemies along the way.
Mythril Bangle after you defeat two groups of enemies along the way.
Further south from there, you will find another group of Munchkins to defeat and then it’s on to your last destination.
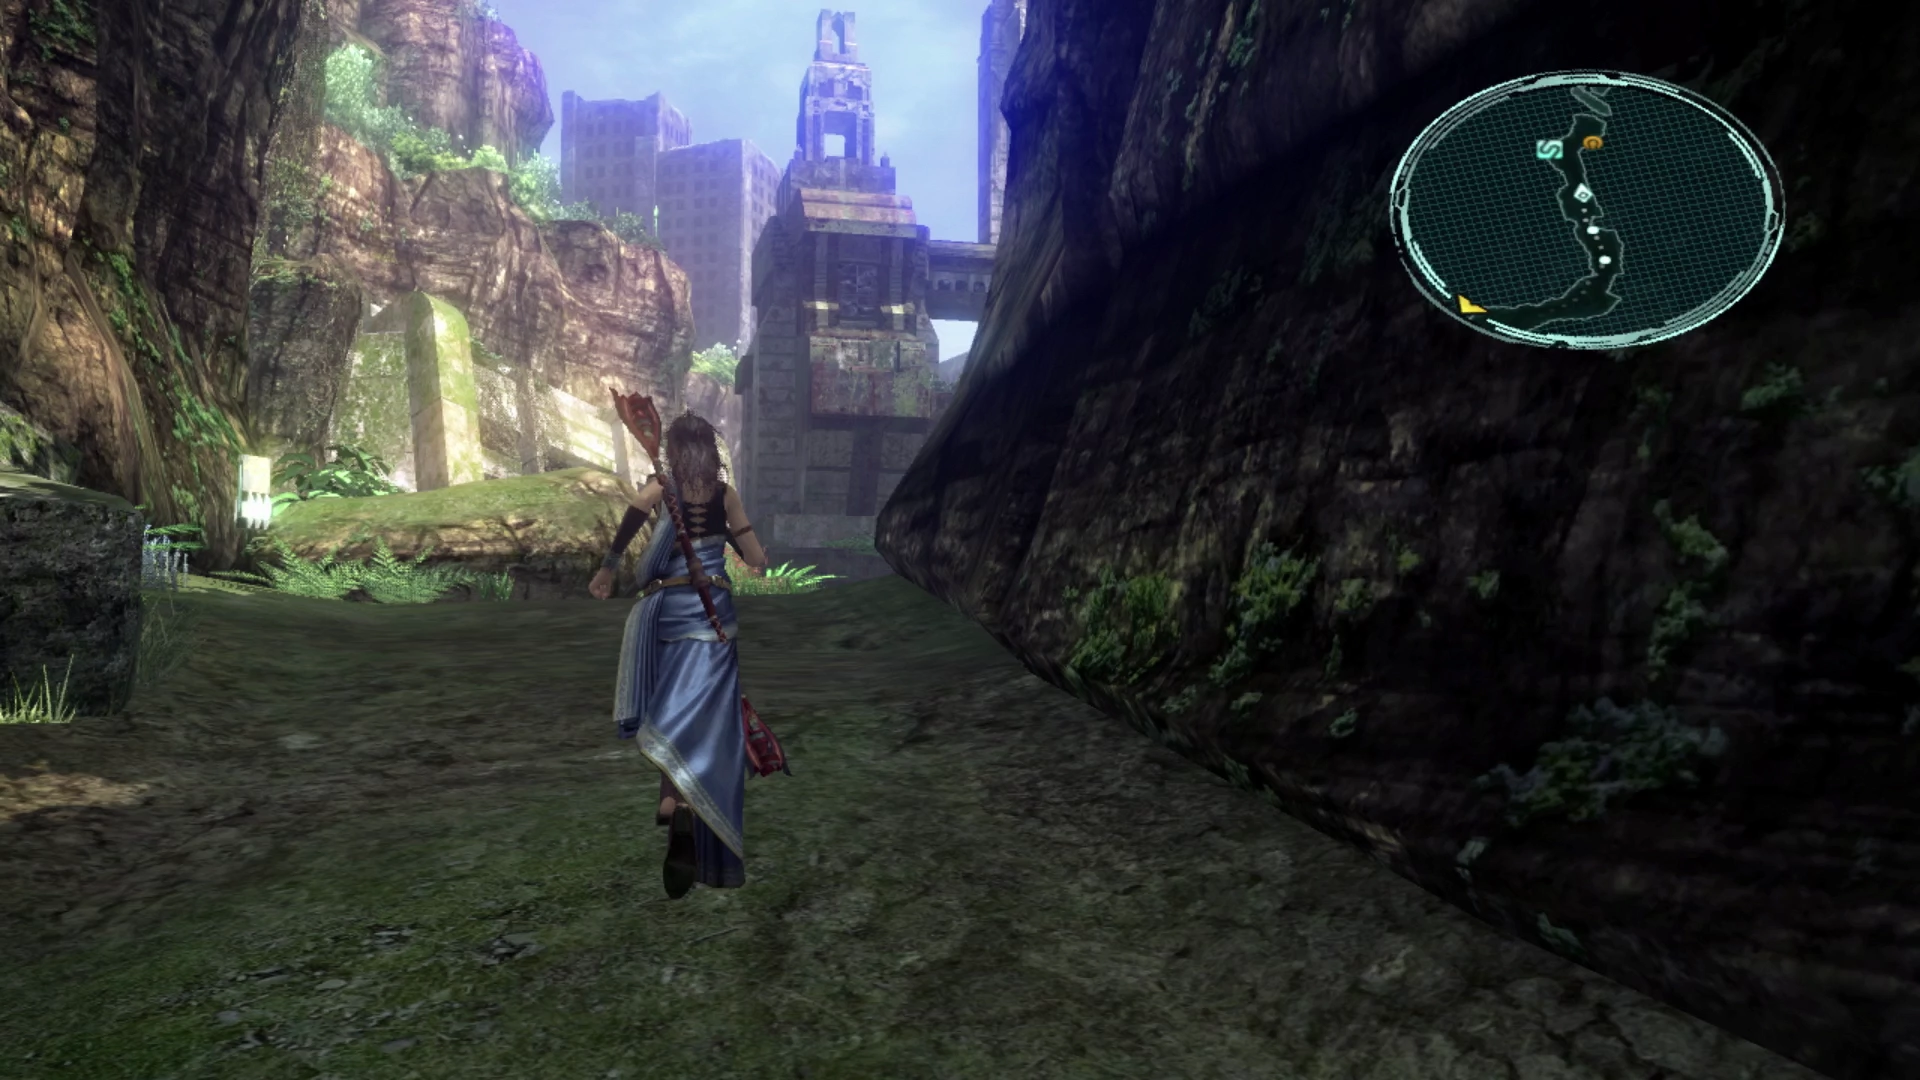
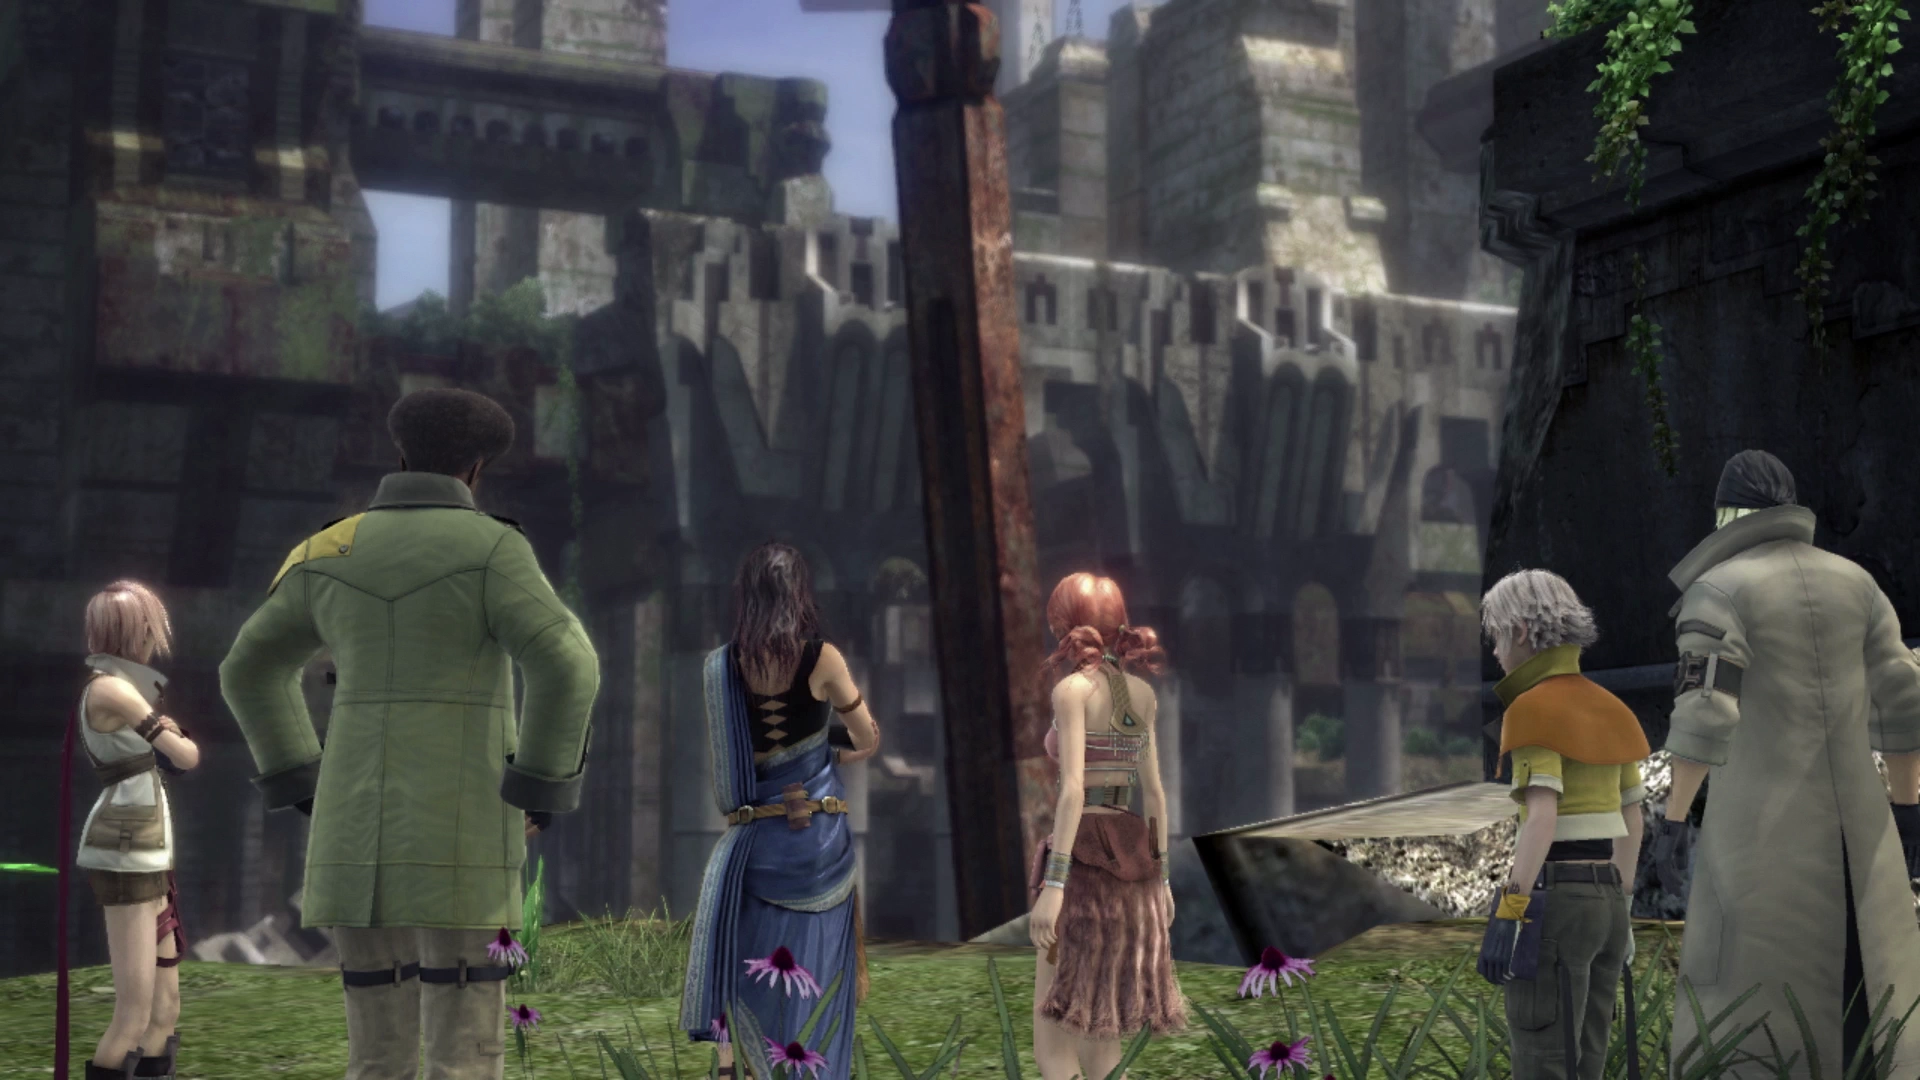
The Paddraean Archaeopolis
There is a ![]() Save Station nearby and a cutscene will automatically trigger as the team enters this area.
Save Station nearby and a cutscene will automatically trigger as the team enters this area.
Missable Content
This scene also serves no purpose in the game but there is no way to come back and view it after you have proceeded through the rest of Chapter 11.
Activate the nearby Cie’th Stone to pick up your next Mission:
Cie’th Stone Missions
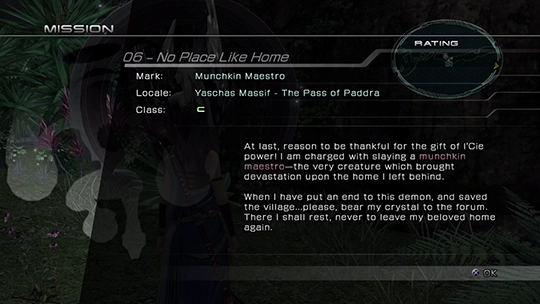
Munchkin Maestro located in the Pass of Paddra of the Yaschas Massif.
Travel through the Paddraean Archaeopolis to find the next Cie’th Stone for Mission 07 towards the back of the ruins. Along the way, you will have to defeat some Nelapsi and Taxim enemies.
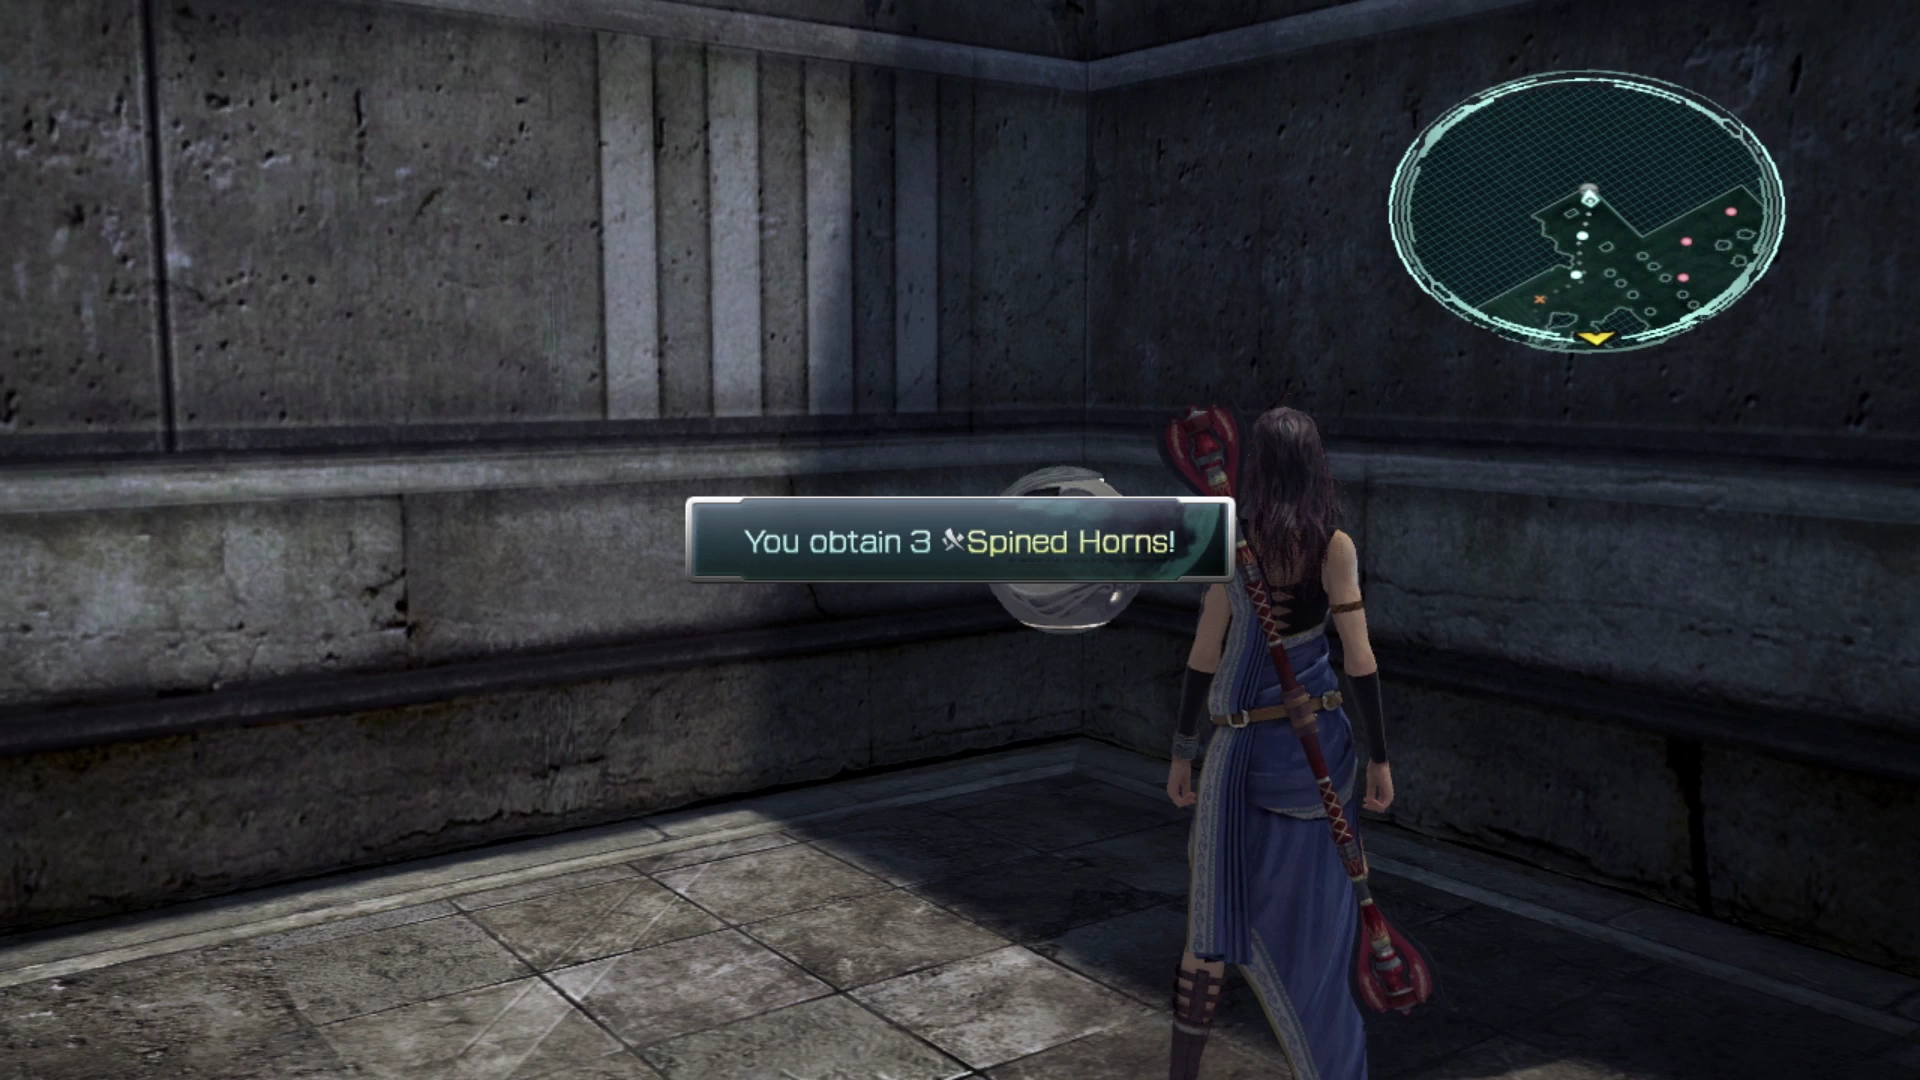
There are also three Treasure Spheres in the ruins (some of which will require you to defeat nearby enemies). The first contains a ![]() Rhodochrosite, the second contains three
Rhodochrosite, the second contains three ![]() Spined Horns and the third contains a
Spined Horns and the third contains a ![]() Whistlewind Scarf. This accessory automatically charges one ATB Gauge for the character who equips it at the start of the battle; it’s not that strong of an item.
Whistlewind Scarf. This accessory automatically charges one ATB Gauge for the character who equips it at the start of the battle; it’s not that strong of an item.
The Cie’th Stone for Mission 07 is nearby…
Cie’th Stone Missions
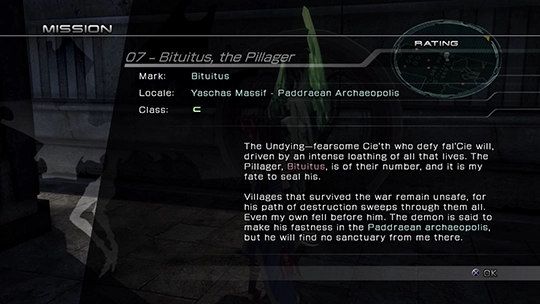
Bituitus located in the Paddraean Archaeopolis of the Yaschas Massif.
The reward for completing Mission 07 is the ![]() R&D Depot key item which will allow you to access the R&D Depot in the shop. Having access to this shop means that you can begin providing some of the most powerful upgrades to your weapons.
R&D Depot key item which will allow you to access the R&D Depot in the shop. Having access to this shop means that you can begin providing some of the most powerful upgrades to your weapons.
Up until this point it has been entirely optional and largely unnecessary to upgrade your weapons, but you are now going to start approaching some of the more challenging content in the game, so this is a good time to start familiarizing yourself with how to go about upgrading your equipment and then, of course, deciding which equipment to upgrade. Use the two sections below to help you:
Tips and Tricks
A full guide on how to upgrade your weapons and accessories using components you obtain in the game.
Tips and Tricks
A guide on which weapons perform best for each character in each of their roles.
The next Mission is quite a ways away and the fastest way to get there would be to teleport using the nearby ![]() Waystone at Paddraean Archaeopolis. Instead, though, there is one more missable cutscene that you can watch but only by walking a significant distance back through the Yaschas Massif.
Waystone at Paddraean Archaeopolis. Instead, though, there is one more missable cutscene that you can watch but only by walking a significant distance back through the Yaschas Massif.
Travel all the way back to the open area of the Ascendant Scarp where you fought the group of Adroa enemies as shown in the map below:
The Ascendant Scarp
The cutscene between Hope and Snow will initiate as soon as you enter this area. For the completionists playing through the game, this cutscene is extra important because it adds a ![]() Datalog entry for a new fal’Cie.
Datalog entry for a new fal’Cie.
Missable Content
This scene drives the story forward but also adds a Datalog entry for the fal’Cie involved in the cutscene. Make sure not to skip over this one if you’re attempting to fully complete every aspect of the game!
The next destination is the Cie’th Stone for Mission 08 which is located back in Vallis Media. Travel back to the Tsubaddran Highlands on foot and then head back down into the Fingers of Stone area of Vallis Media: