
Chapter 11: Mah’habara Subterra


The walkthrough for Chapter 11 is broken up into several individual parts including Vallis Media, the Archylte Steppe, Mah’habara Subterra, Sulyya Springs, Taejin’s Tower and Oerba. Use the links to jump directly to the section you are in if you have ventured too far forward or are too far back.
This section of Chapter 11 is where two diverging game completion paths converge. Whether you decide to complete all the Missions available up to this point or not, the story continues once you enter Mah’habara Subterra with your team.
Warning
This page and some of the upcoming pages will mention higher numbered Cie’th Stones (i.e. ![]() Mission 18 for example), but you will not be able to complete these Missions unless you have completed the prerequisite requirements. Namely, this means that you need to have completed many of the already available Cie’th Stones in the Archylte Steppe.
Mission 18 for example), but you will not be able to complete these Missions unless you have completed the prerequisite requirements. Namely, this means that you need to have completed many of the already available Cie’th Stones in the Archylte Steppe.
You can still venture back out and complete the optional content if you need to. Otherwise, you will have to ignore some of these notes if your plan is to skip through it and proceed with the story.
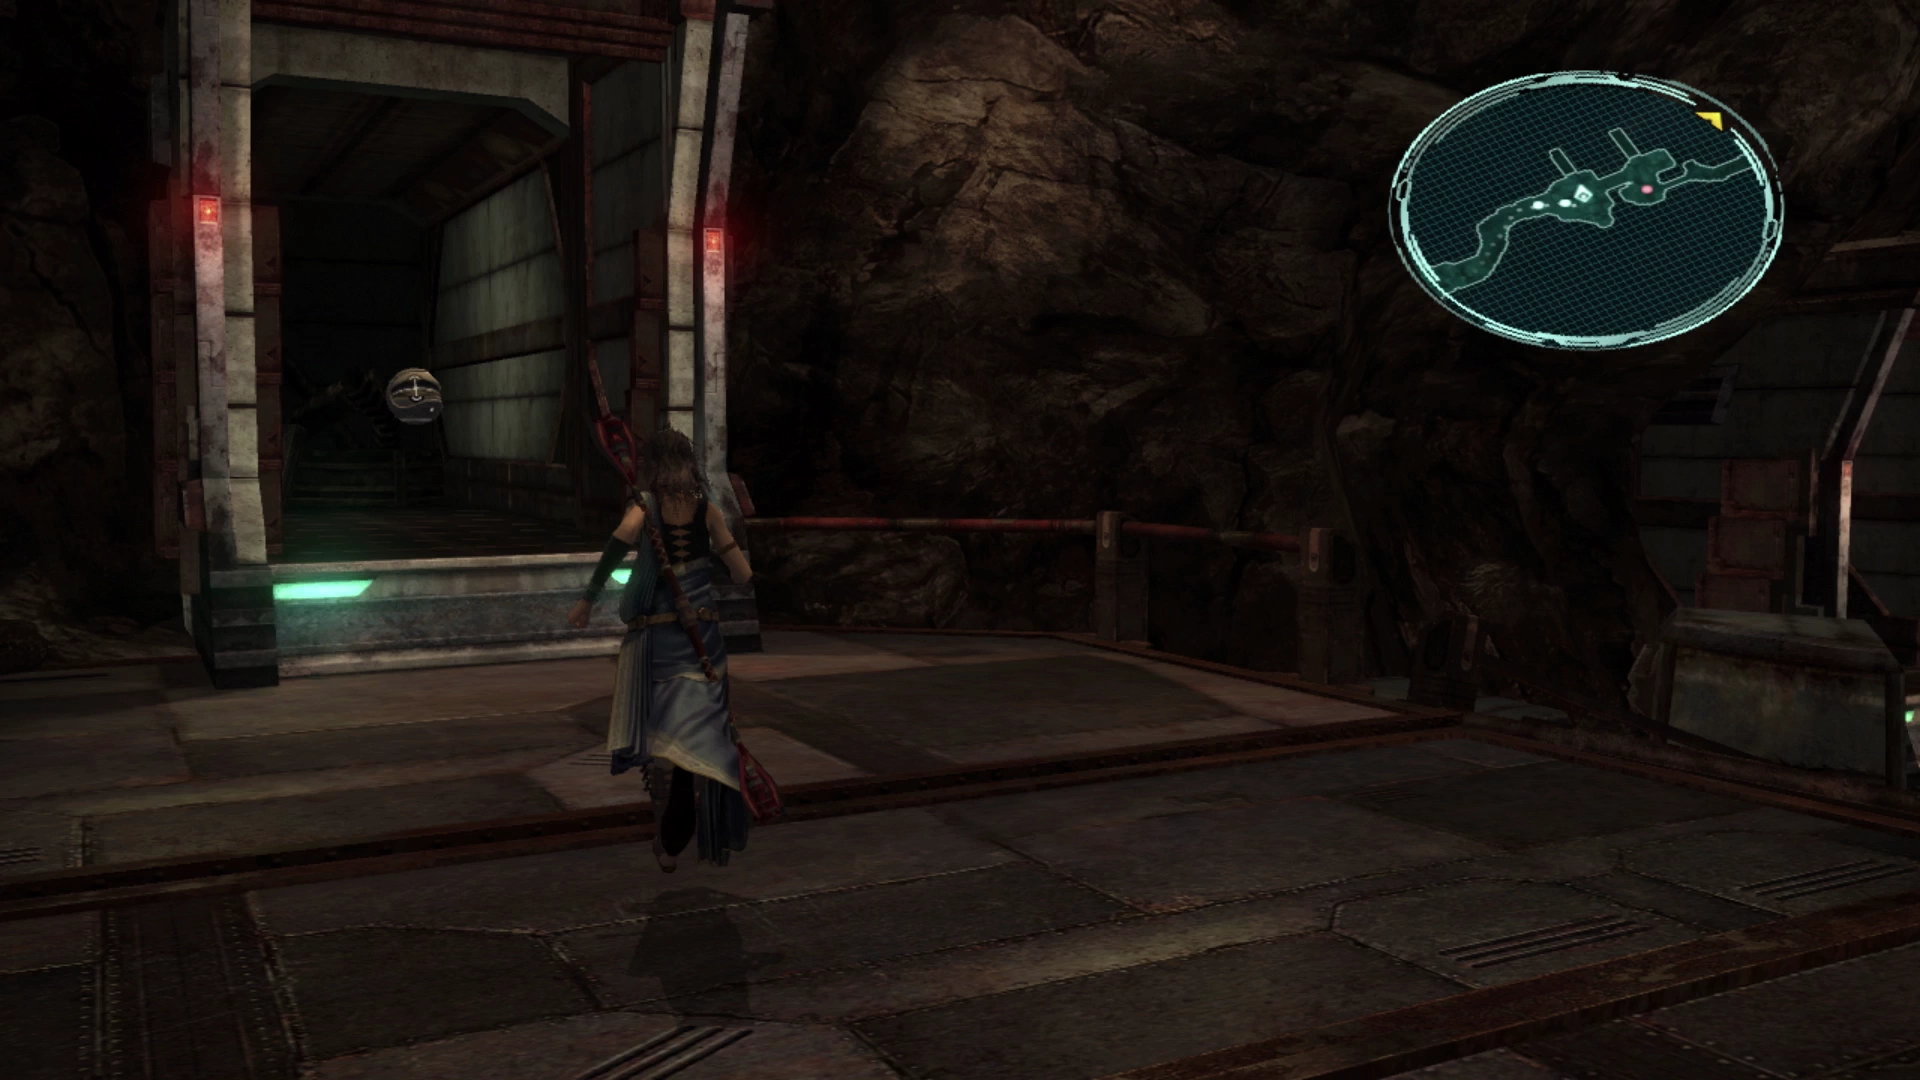
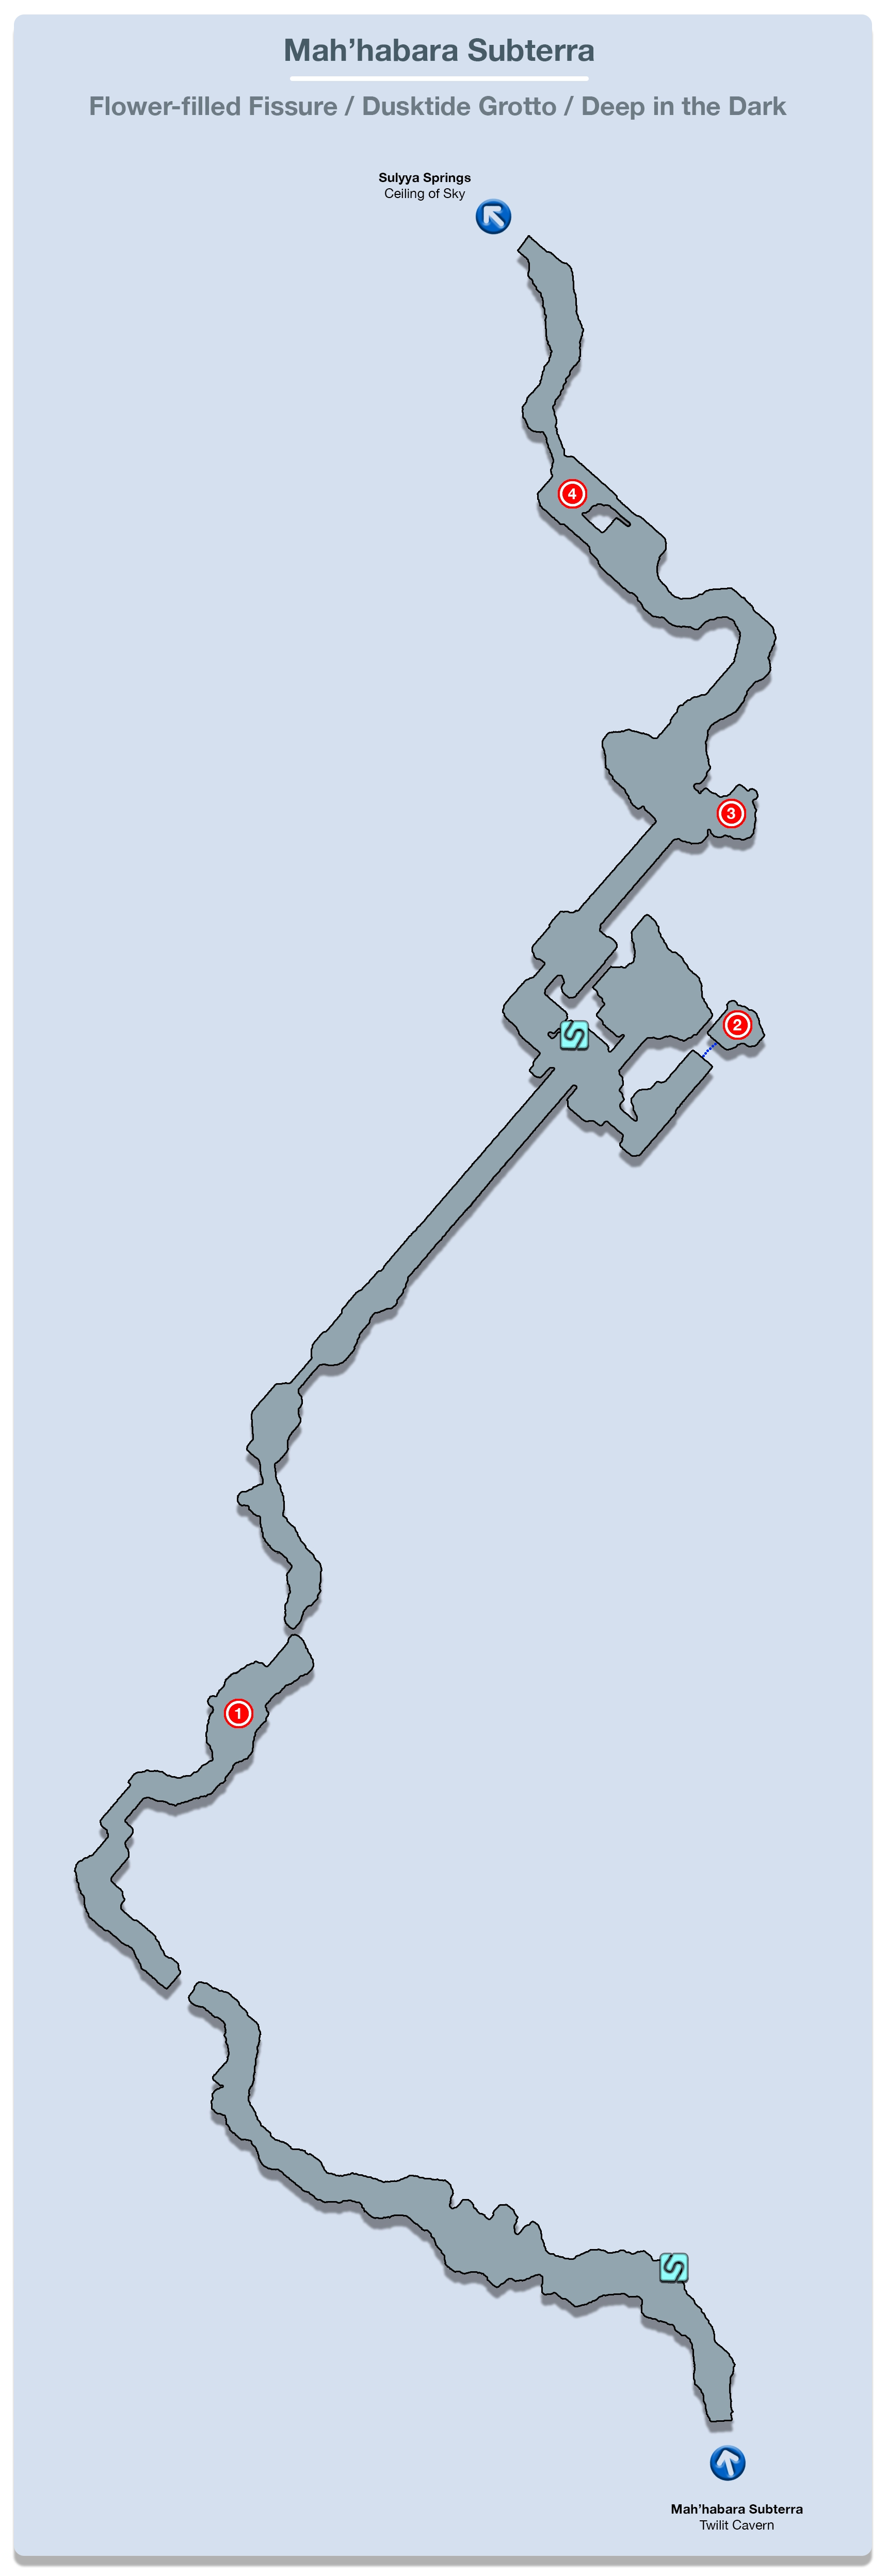
Mah’habara Subterra can be found in the northernmost area of the Archylte Steppes, through the Northern Antrepass. Use the map below if you need help locating it:
Maw of the Abyss
There is another ![]() Save Station up ahead you could use to save your game if you chose not to use the previous one. Continue along the path until you reach the first group of Hoplite enemies. They are extremely easy to defeat so don’t worry too much about trying to get a preemptive strike.
Save Station up ahead you could use to save your game if you chose not to use the previous one. Continue along the path until you reach the first group of Hoplite enemies. They are extremely easy to defeat so don’t worry too much about trying to get a preemptive strike.
Helpful Hint
Whether you’re using Vanille in your party or not, it’s a good idea to reserve and spend some of the Crystogen Points she’s earning on her ![]() Medic Crystarium. This will help her to be better prepared for an upcoming battle.
Medic Crystarium. This will help her to be better prepared for an upcoming battle.
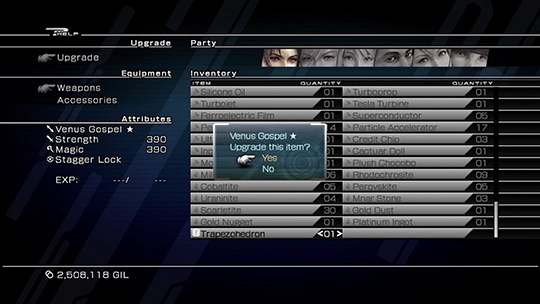
There is a Treasure Sphere on the left side of the map that contains a ![]() Hauteclaire weapon for Lightning. This is a fairly strong weapon for her once it has been upgraded but it currently has
Hauteclaire weapon for Lightning. This is a fairly strong weapon for her once it has been upgraded but it currently has ![]() Stagger Lock ability which will make it impossible for her to Stagger an enemy. Assuming she is in her
Stagger Lock ability which will make it impossible for her to Stagger an enemy. Assuming she is in her ![]() Ravager role, which she should be, this weapon will be of limited value to her right now.
Ravager role, which she should be, this weapon will be of limited value to her right now.
As a reminder though, it’s during these later chapters that most players will begin to consider upgrading their equipment. Check out the “Upgrading Equipment” page for more tips and tricks on how to do this:
Tips and Tricks
A full guide on how to upgrade your weapons and accessories using components you obtain in the game.
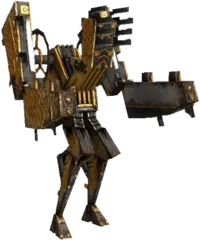
Further up ahead is another group of two Hoplites followed by a group of four. Head around the corner and you will reach an area where the path splits to the left and to the right. The pathway to the left leads to a Treasure Sphere that contains a ![]() Platinum Bangle. It’s an impressive prize, but the Juggernaut enemy that guards it is incredibly difficult (if not impossible) to defeat at this point in the game.
Platinum Bangle. It’s an impressive prize, but the Juggernaut enemy that guards it is incredibly difficult (if not impossible) to defeat at this point in the game.
There is still some value in heading down the pathway to the left to clear out some of the enemies in this area for extra Crystogen Points (CP) but don’t venture too far in before turning around to come back.
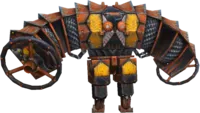
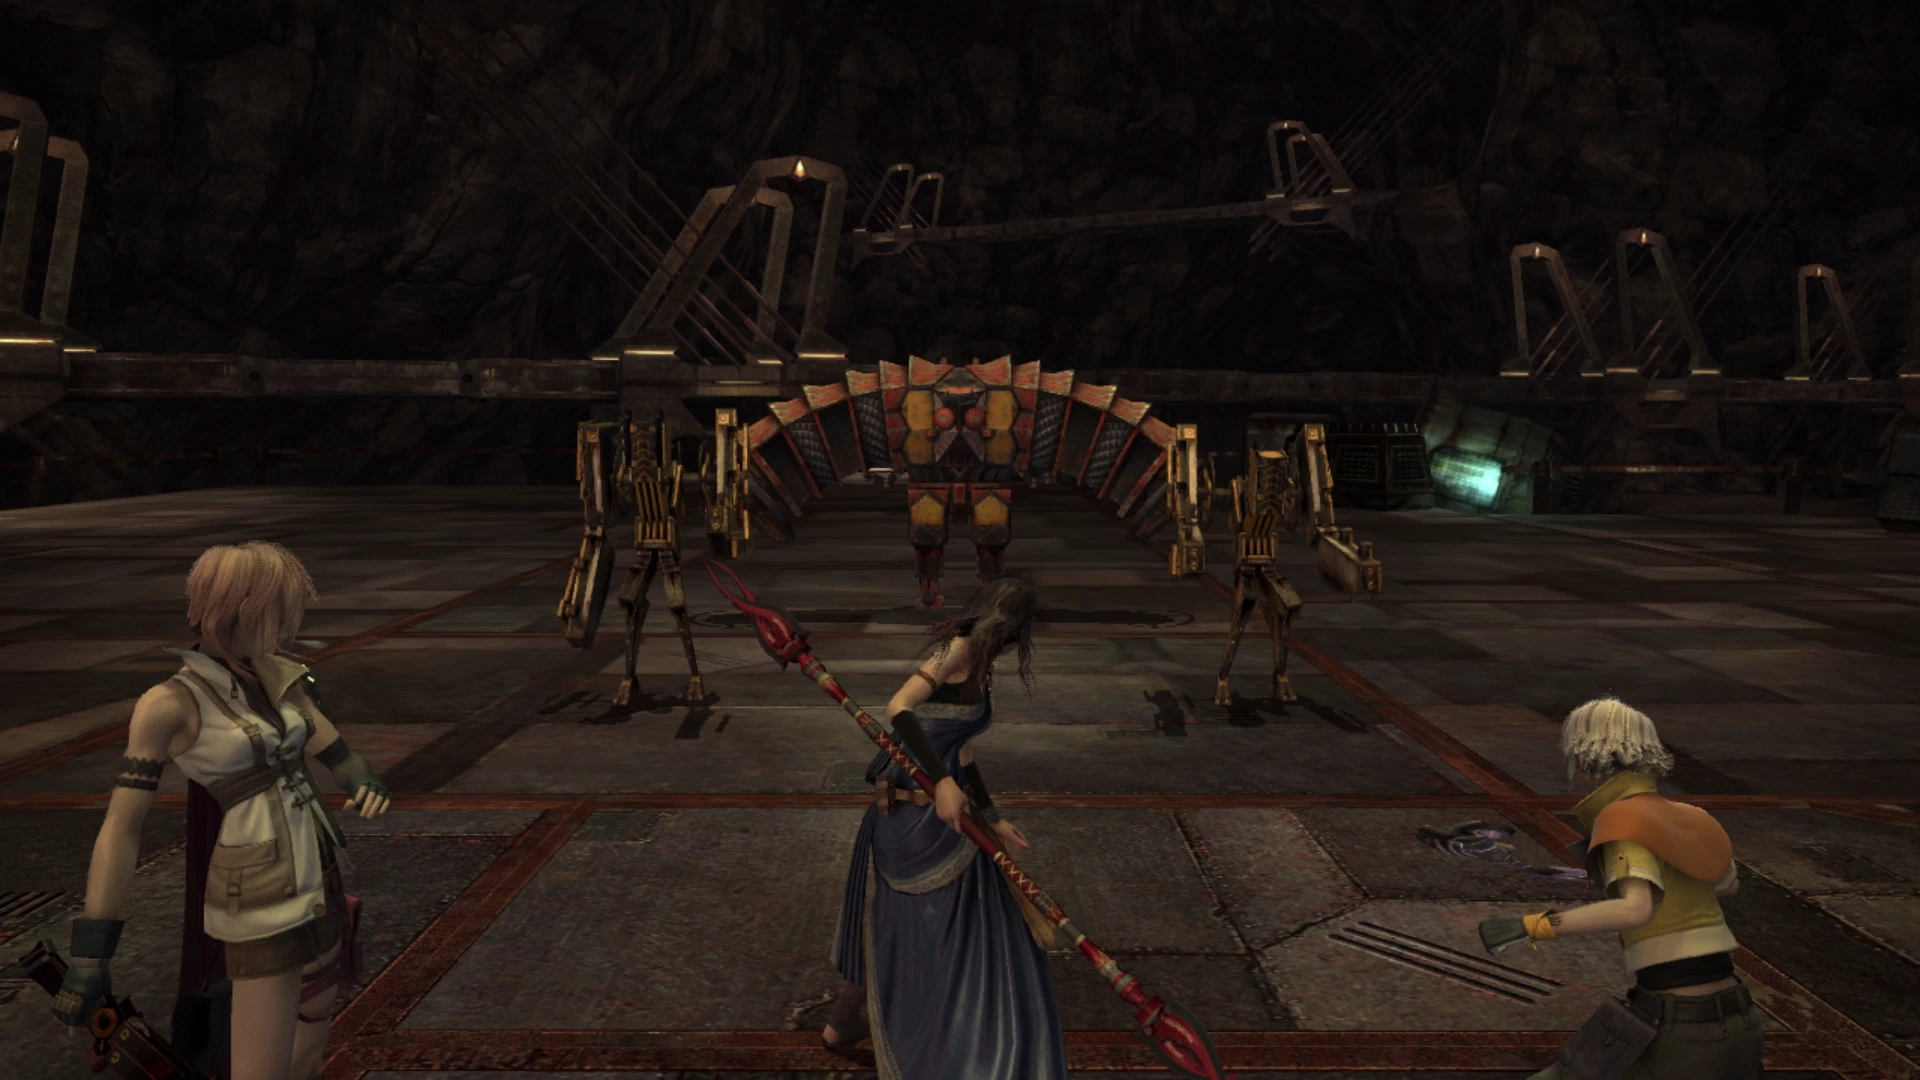
Taking the pathway to the right leads to a Boxed Phalanx joined by two Hoplite enemies. Not only can the Boxed Phalanx buff the nearby Hoplites, but it can also summon more Hoplite enemies to join the battle using its “Deployment” ability. Take down the Boxed Phalanx first and as quickly as possible.
The Earthworks

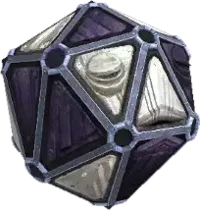
A short cutscene will take place wherein Fang and Vanille will talk about a Gran Pulse fal’Cie. Use the nearby ![]() Save Station and then head down the stairs to defeat the group of three Cryohedron enemies. Just like the other bomb-type enemies before it, apply the same strategy of defeating them quickly before they use “Self-Destruct.”
Save Station and then head down the stairs to defeat the group of three Cryohedron enemies. Just like the other bomb-type enemies before it, apply the same strategy of defeating them quickly before they use “Self-Destruct.”
Just beyond that is a group of two Pulsework Centurion enemies that are easy to preemptive strike. Don’t forget to use ![]() Libra on each of the new enemies that you come across. These enemies can’t be launched but they take very heavy damage once they’ve been Staggered.
Libra on each of the new enemies that you come across. These enemies can’t be launched but they take very heavy damage once they’ve been Staggered.
In the next area, there are two Treasure Spheres in the hallways on the left side. The first Treasure Sphere contains four ![]() Electrodes while the second contains four
Electrodes while the second contains four ![]() Chobham Armor.
Chobham Armor.
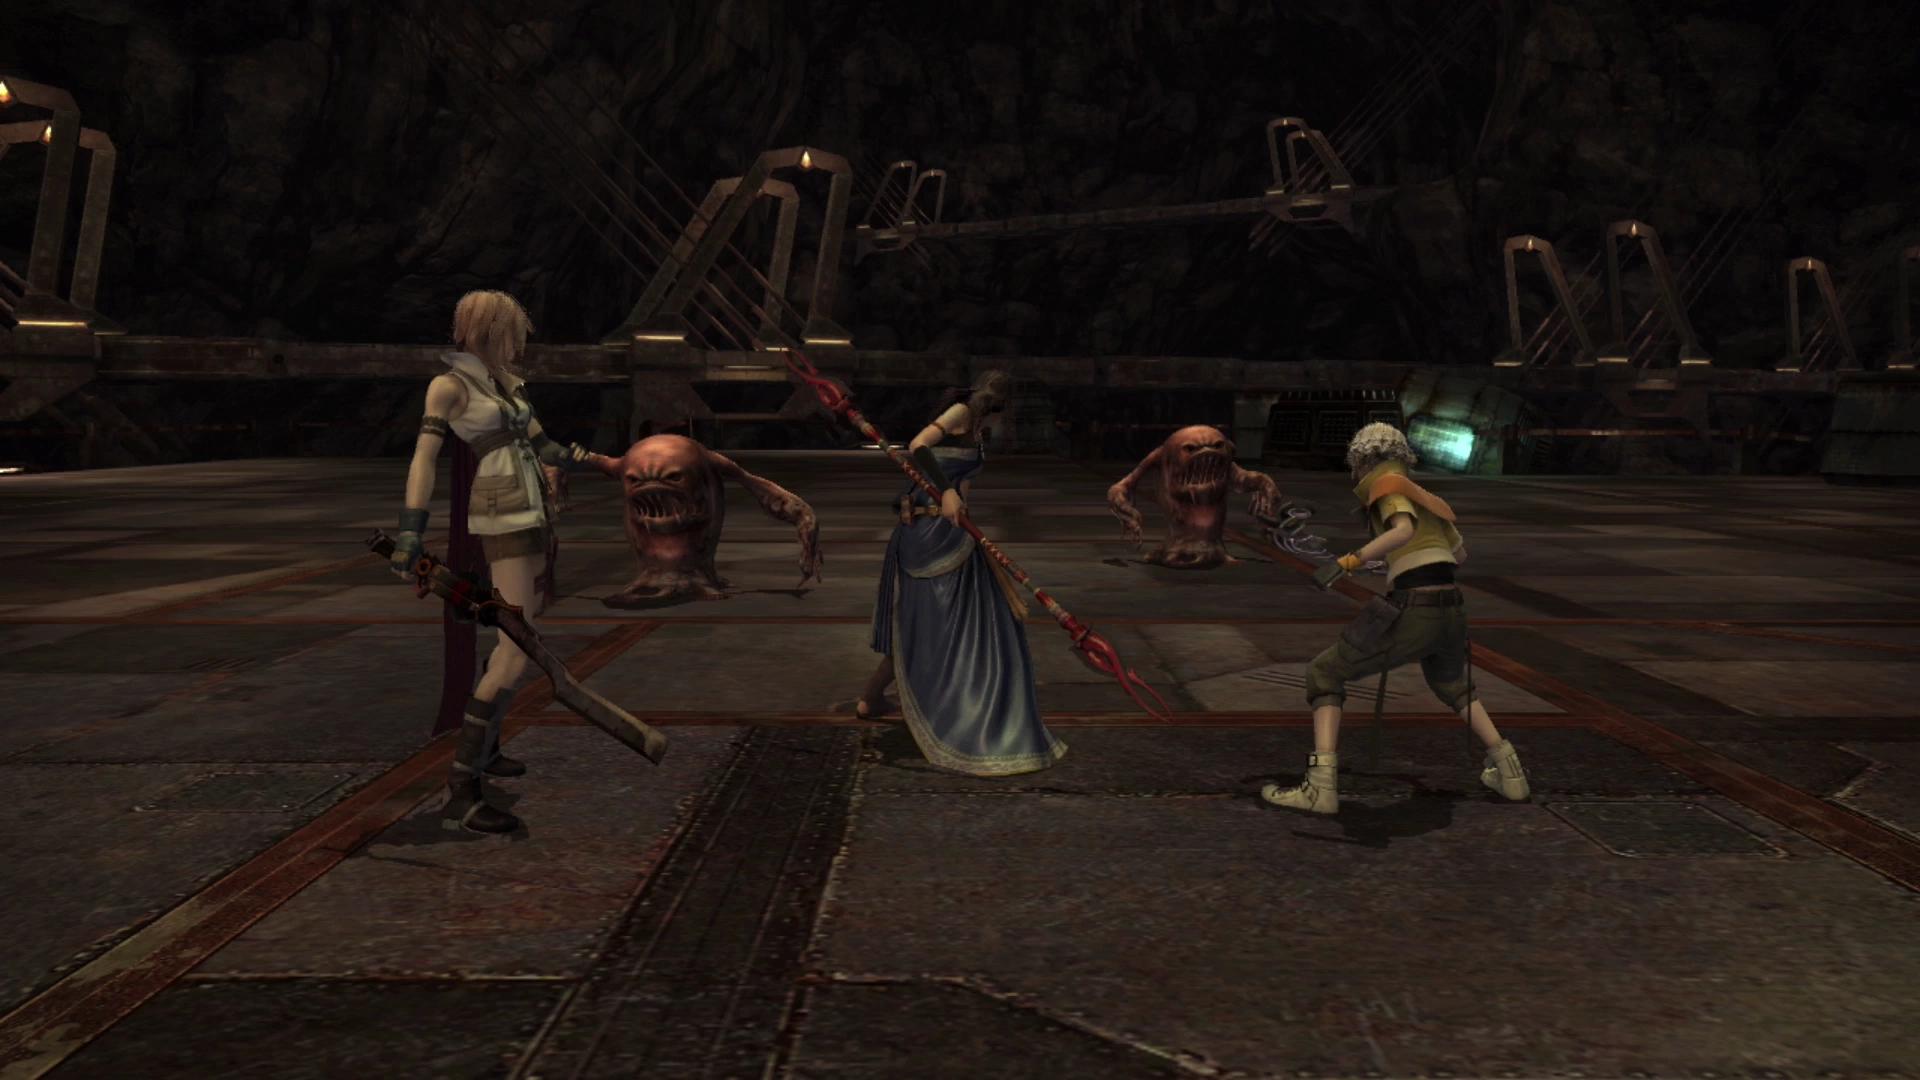
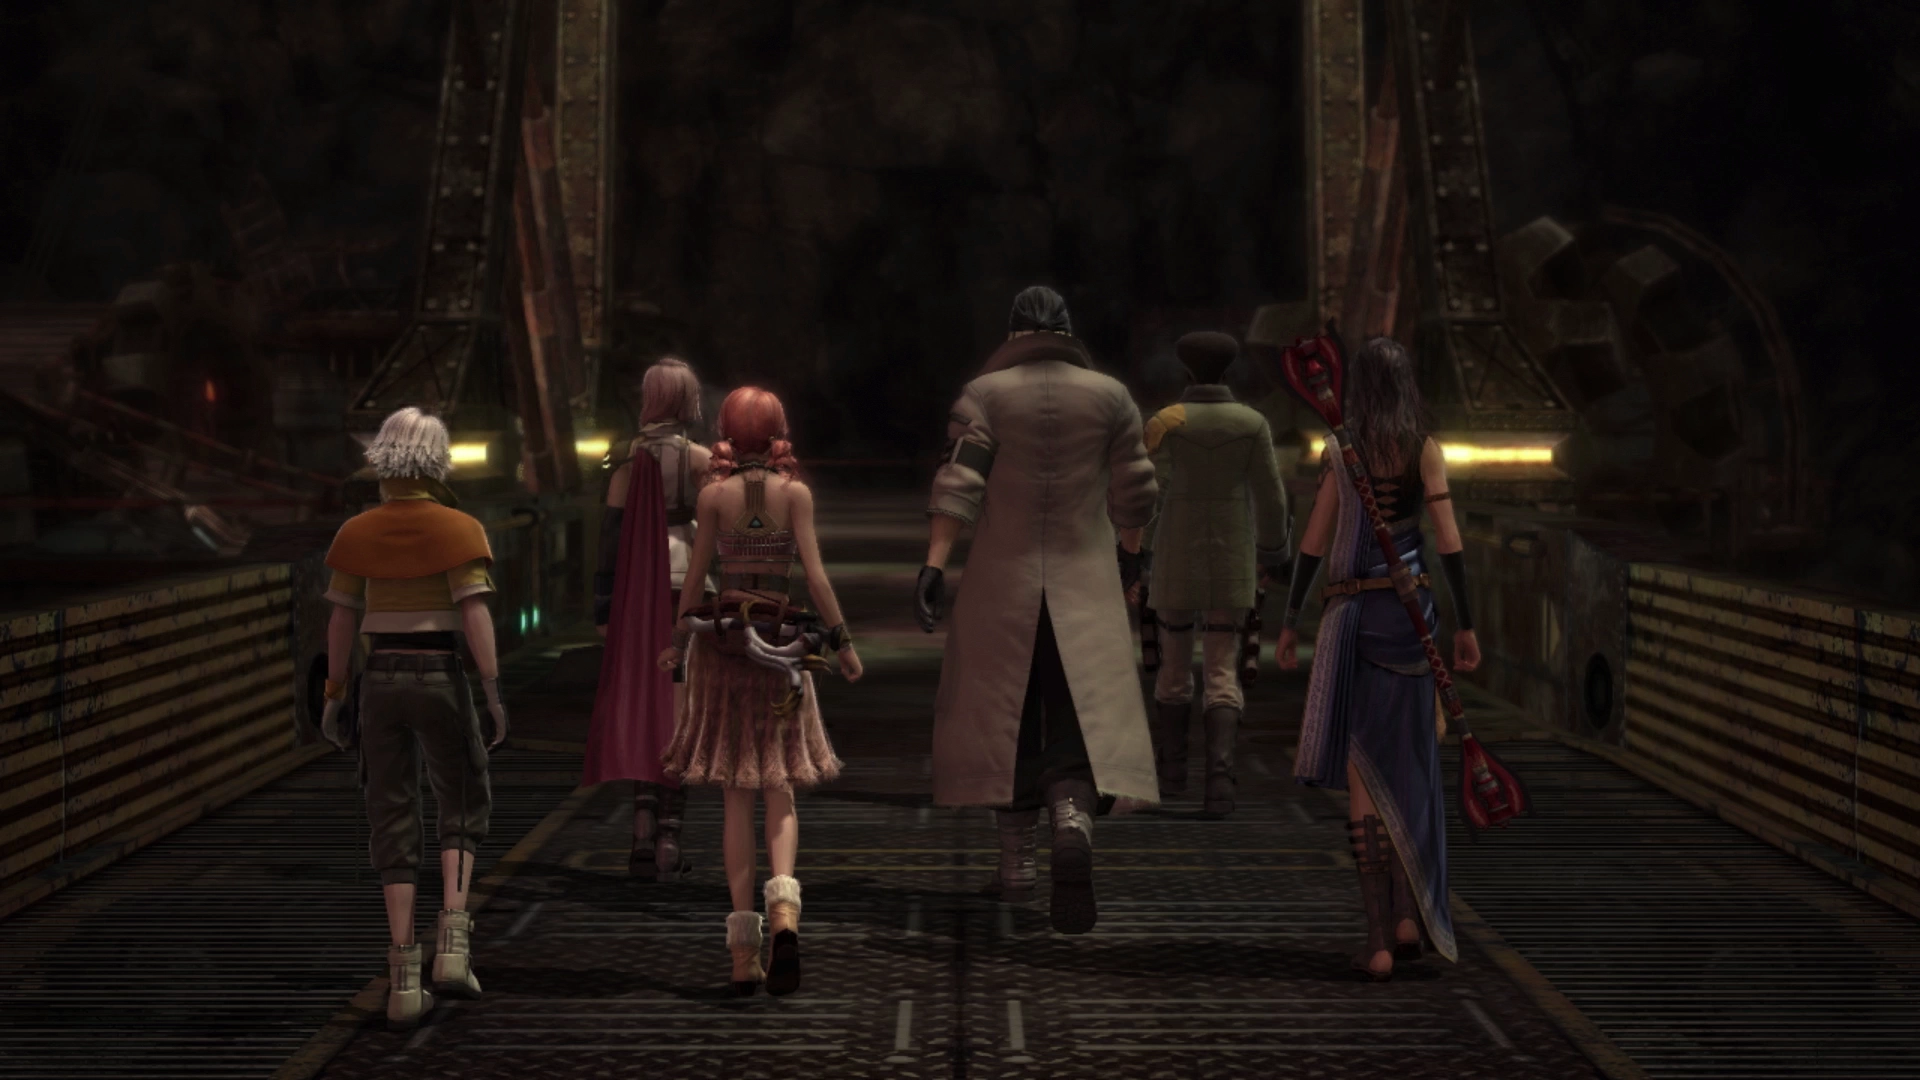
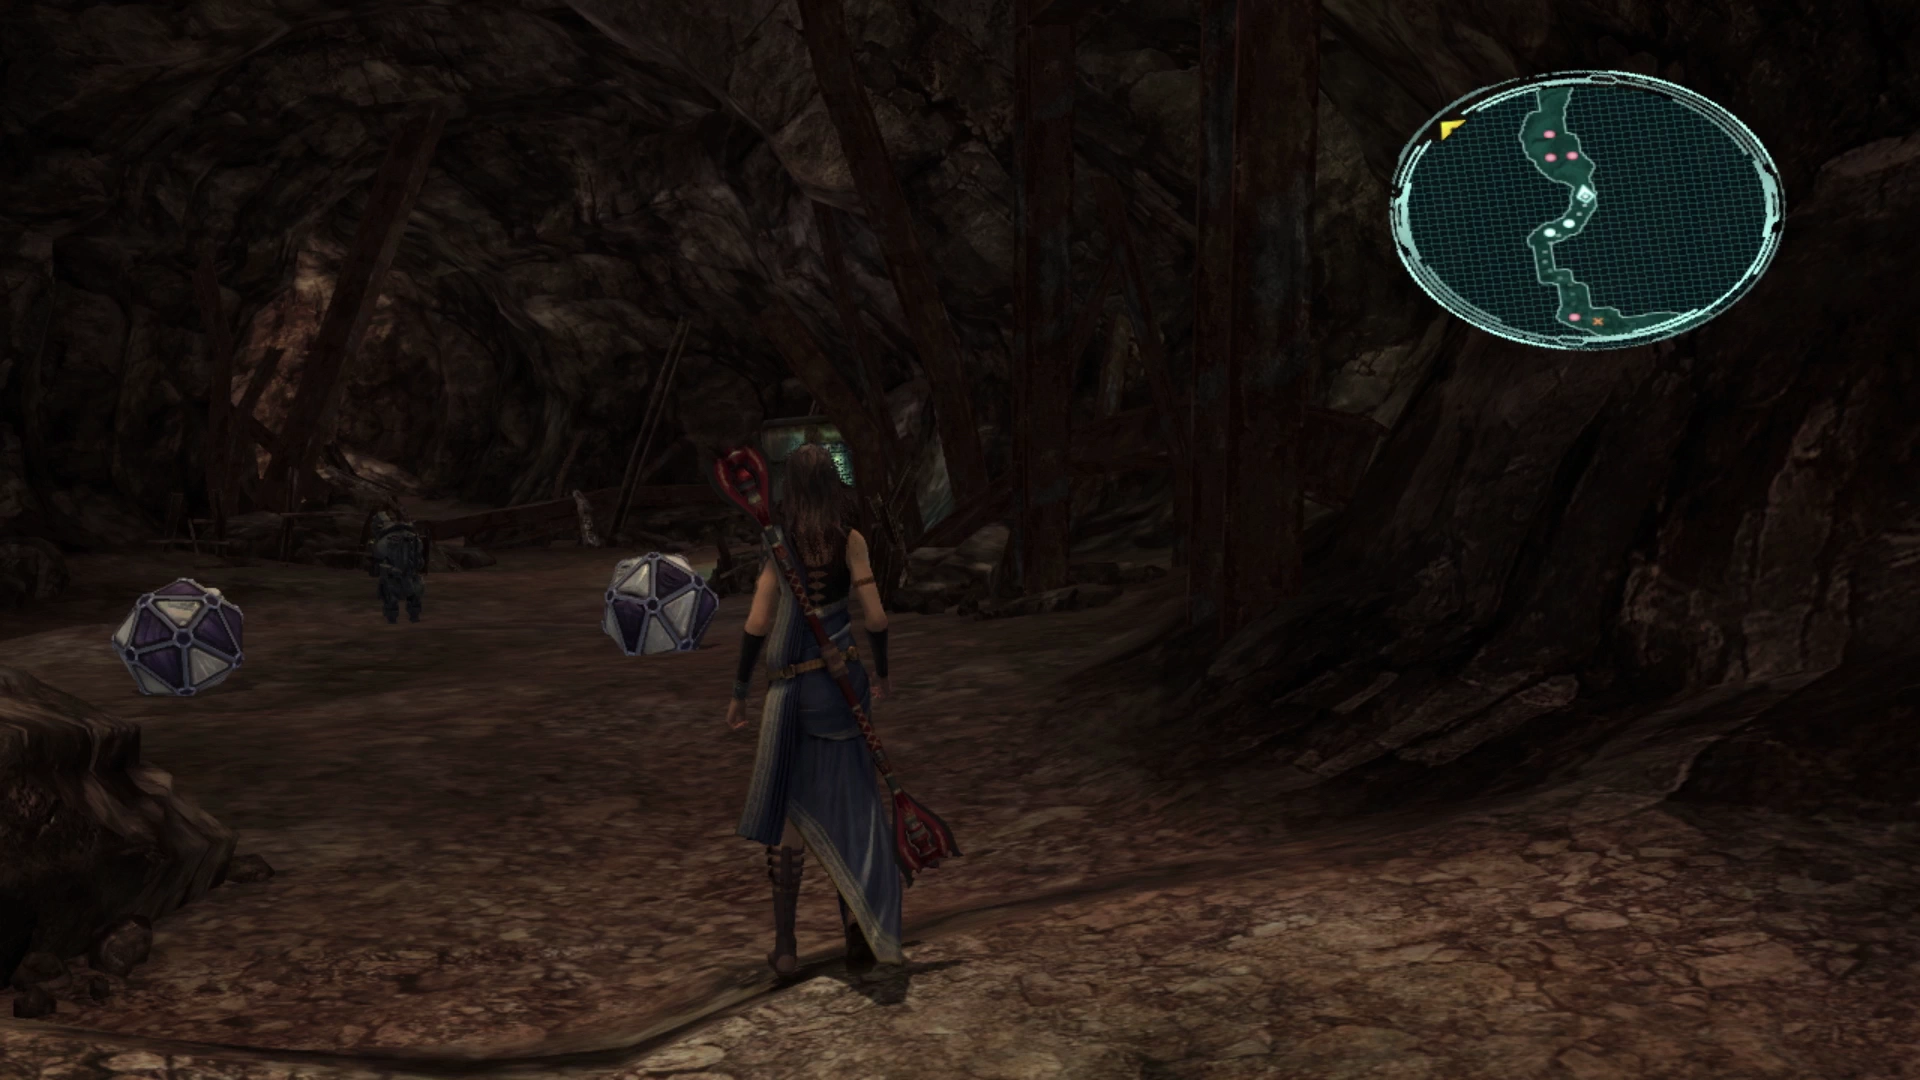
Continue down the path until you reach two new enemies called Rust Pudding. These flans are just like the previous ones you’ve faced other than the fact that they don’t merge when their health gets low. A cutscene will initiate as you approach the bridge and reach the next area.
Twilit Cavern
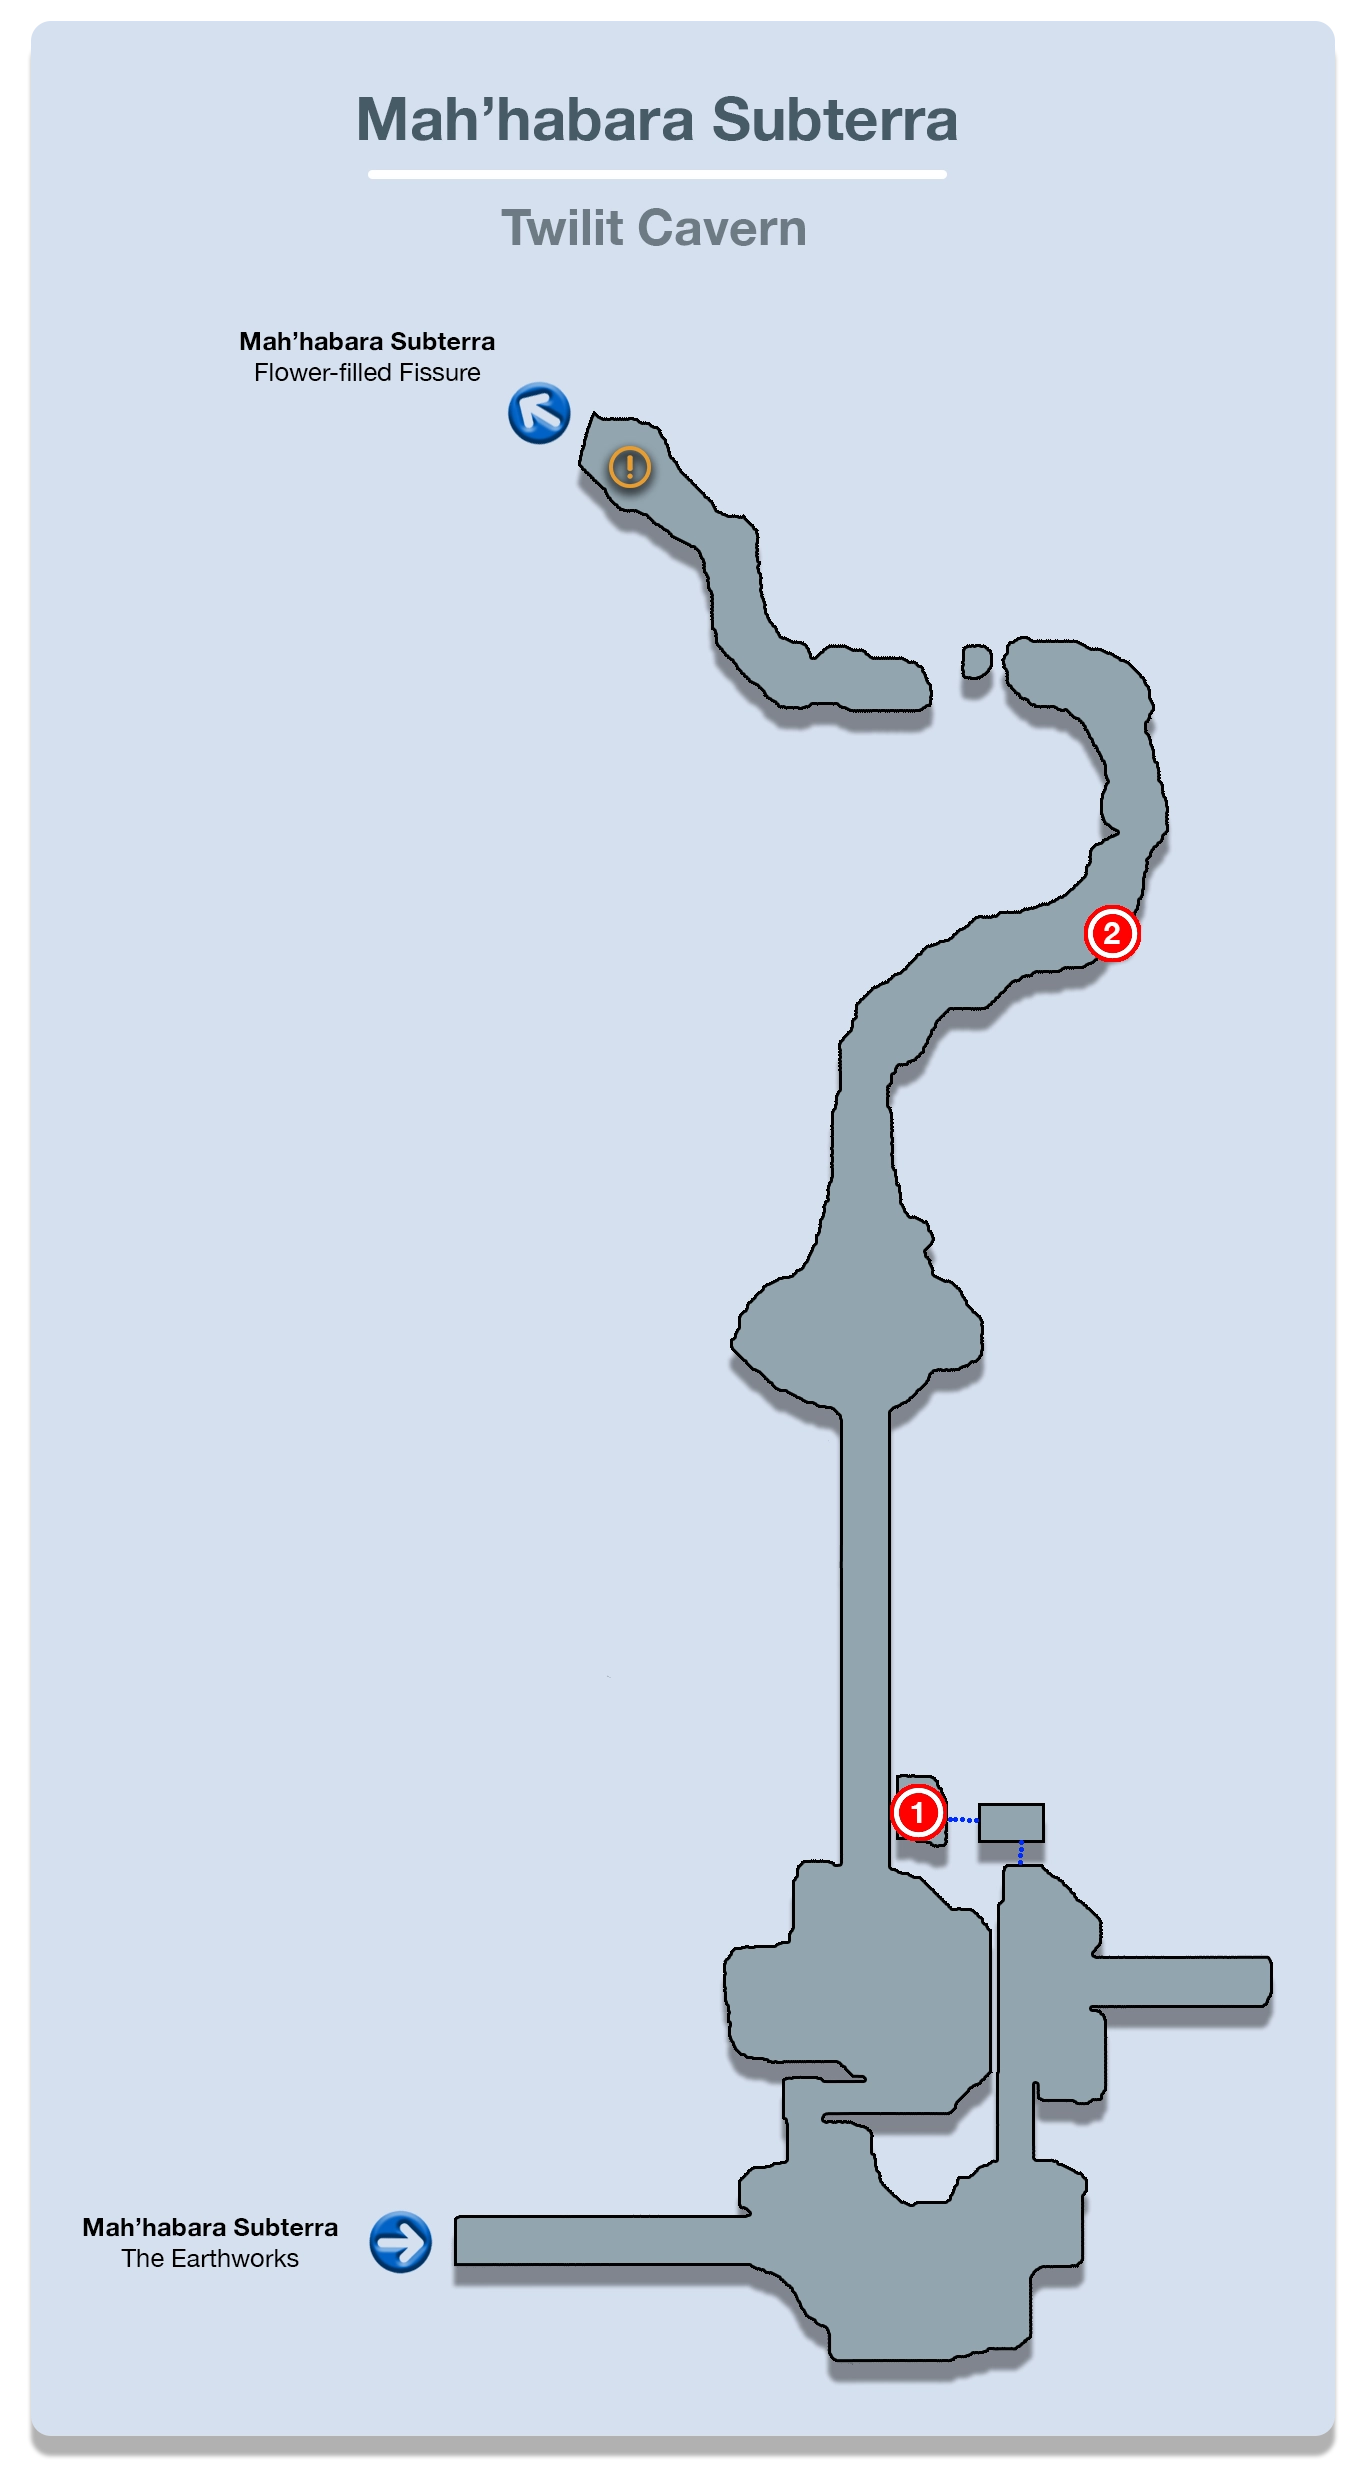
On the other side of the bridge is a group of two Hoplites with a Pulsework Centurion. Behind it is the Cie’th Stone for Mission 18. You can only complete this Mission if you have completed ![]() Mission 12 - Geiseric, the Profane. This Stone can be ignored otherwise.
Mission 12 - Geiseric, the Profane. This Stone can be ignored otherwise.
Before you start up the Mission though, travel down the steps leading down and to the right and jump on the far platform where you can see the spinning fal’Cie going past. There is a Treasure Sphere on the platform around the corner that contains four ![]() Tesla Turbine.
Tesla Turbine.
Now head back up and start the Mission if it’s available…
Cie’th Stone Missions
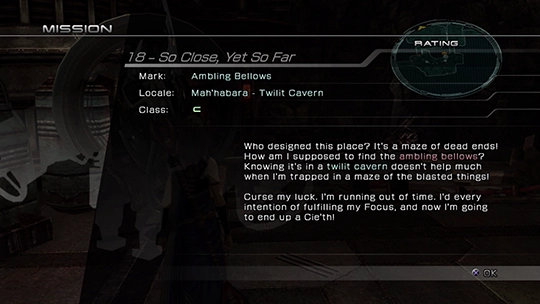
Ambling Bellows located in the Twilit Cavern area of the Mah’habara Subterra.
The mark for the Mission will appear on the bridge, but even if you can’t access the Mission, your next destination is across the bridge anyway. Just up ahead from there is a singular Rust Pudding to defeat and finally, around the corner, is a Treasure Sphere that contains two ![]() Saint’s Amulets.
Saint’s Amulets.
Keep following the trail along until you reach the ![]() Save Station and save your game. It’s time for the next boss battle.
Save Station and save your game. It’s time for the next boss battle.
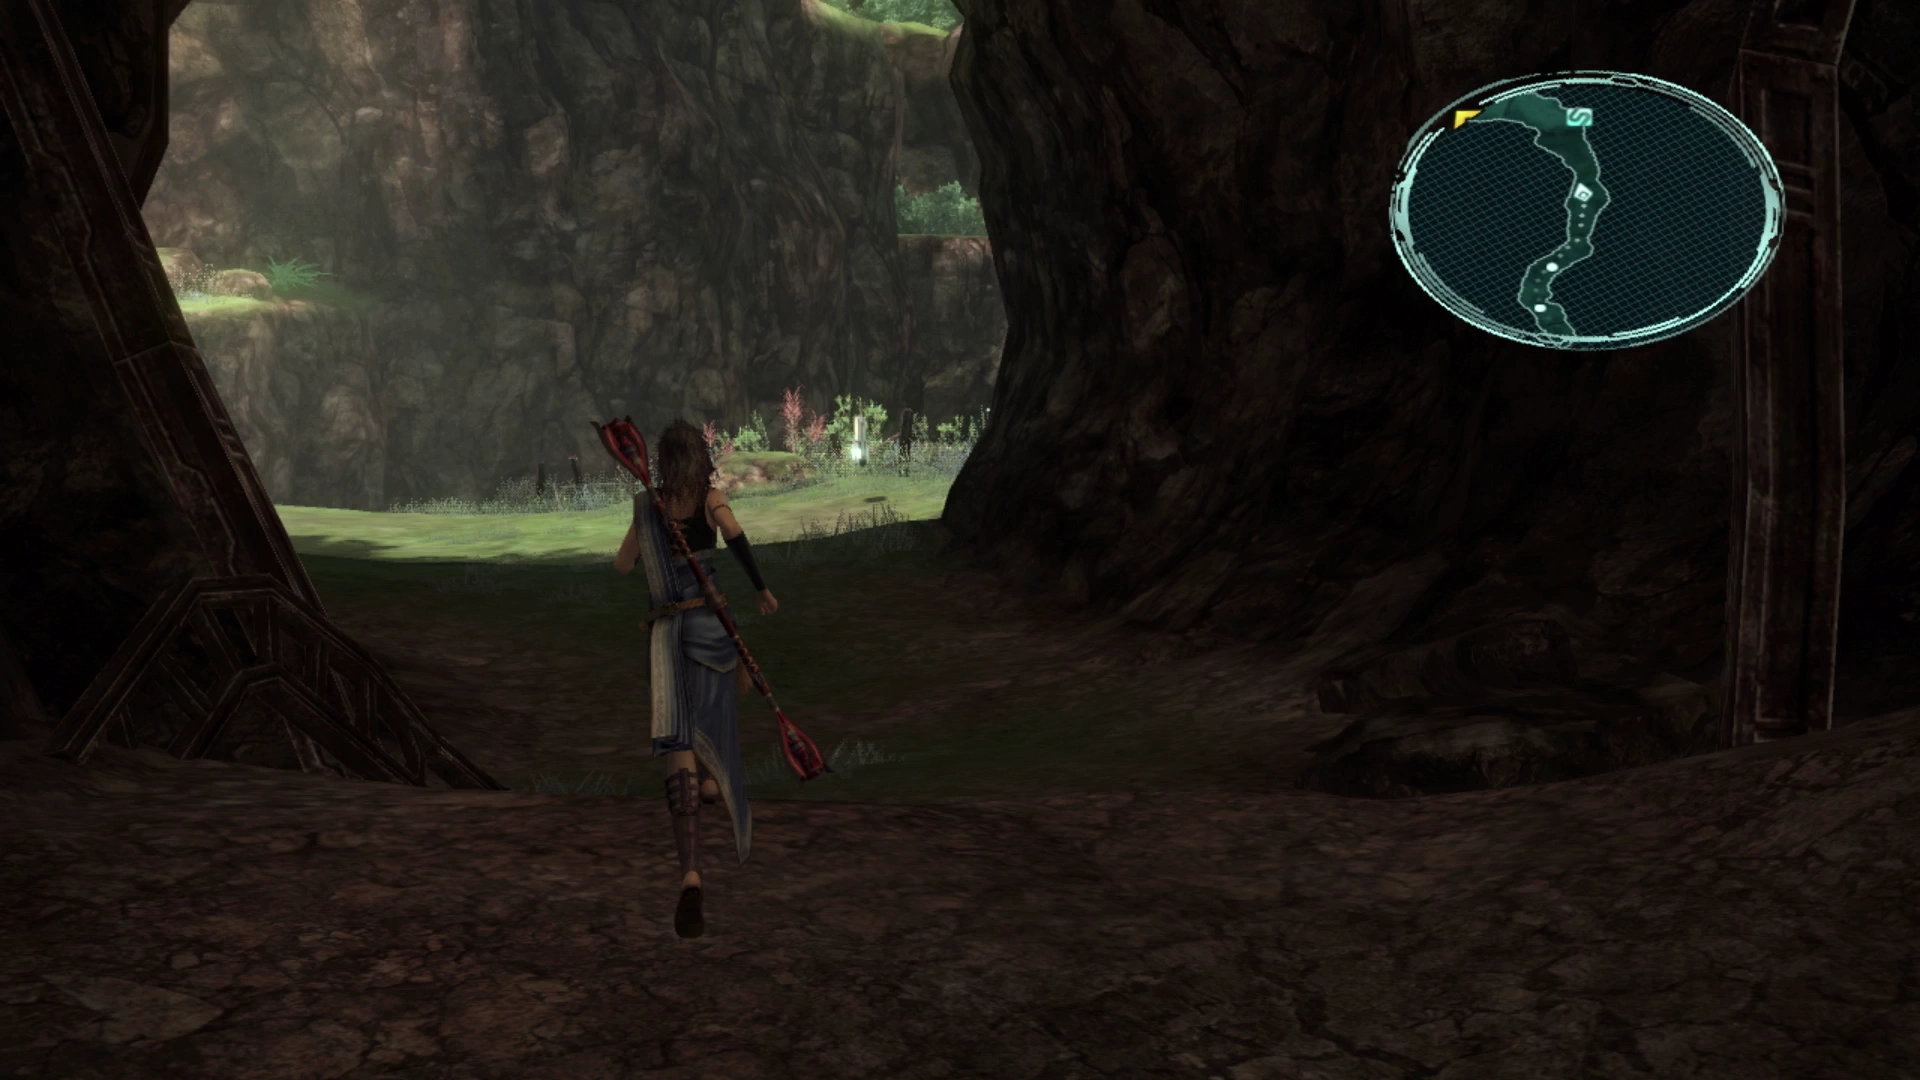
Flower Filled Fissure
A short cutscene will take place between Vanille and Fang as they enter the Flower Filled Fissure. This next battle will involve only them so make sure you have the proper accessories equipped. This is mostly aimed towards Vanille, whom you may not have been using in your primary party.
It can also be helpful to store up Crystogen Points (CP) on her ![]() Medic role to help her heal up during the next fight more effectively. Proceed forward when you’re ready.
Medic role to help her heal up during the next fight more effectively. Proceed forward when you’re ready.
Eidolon Battle
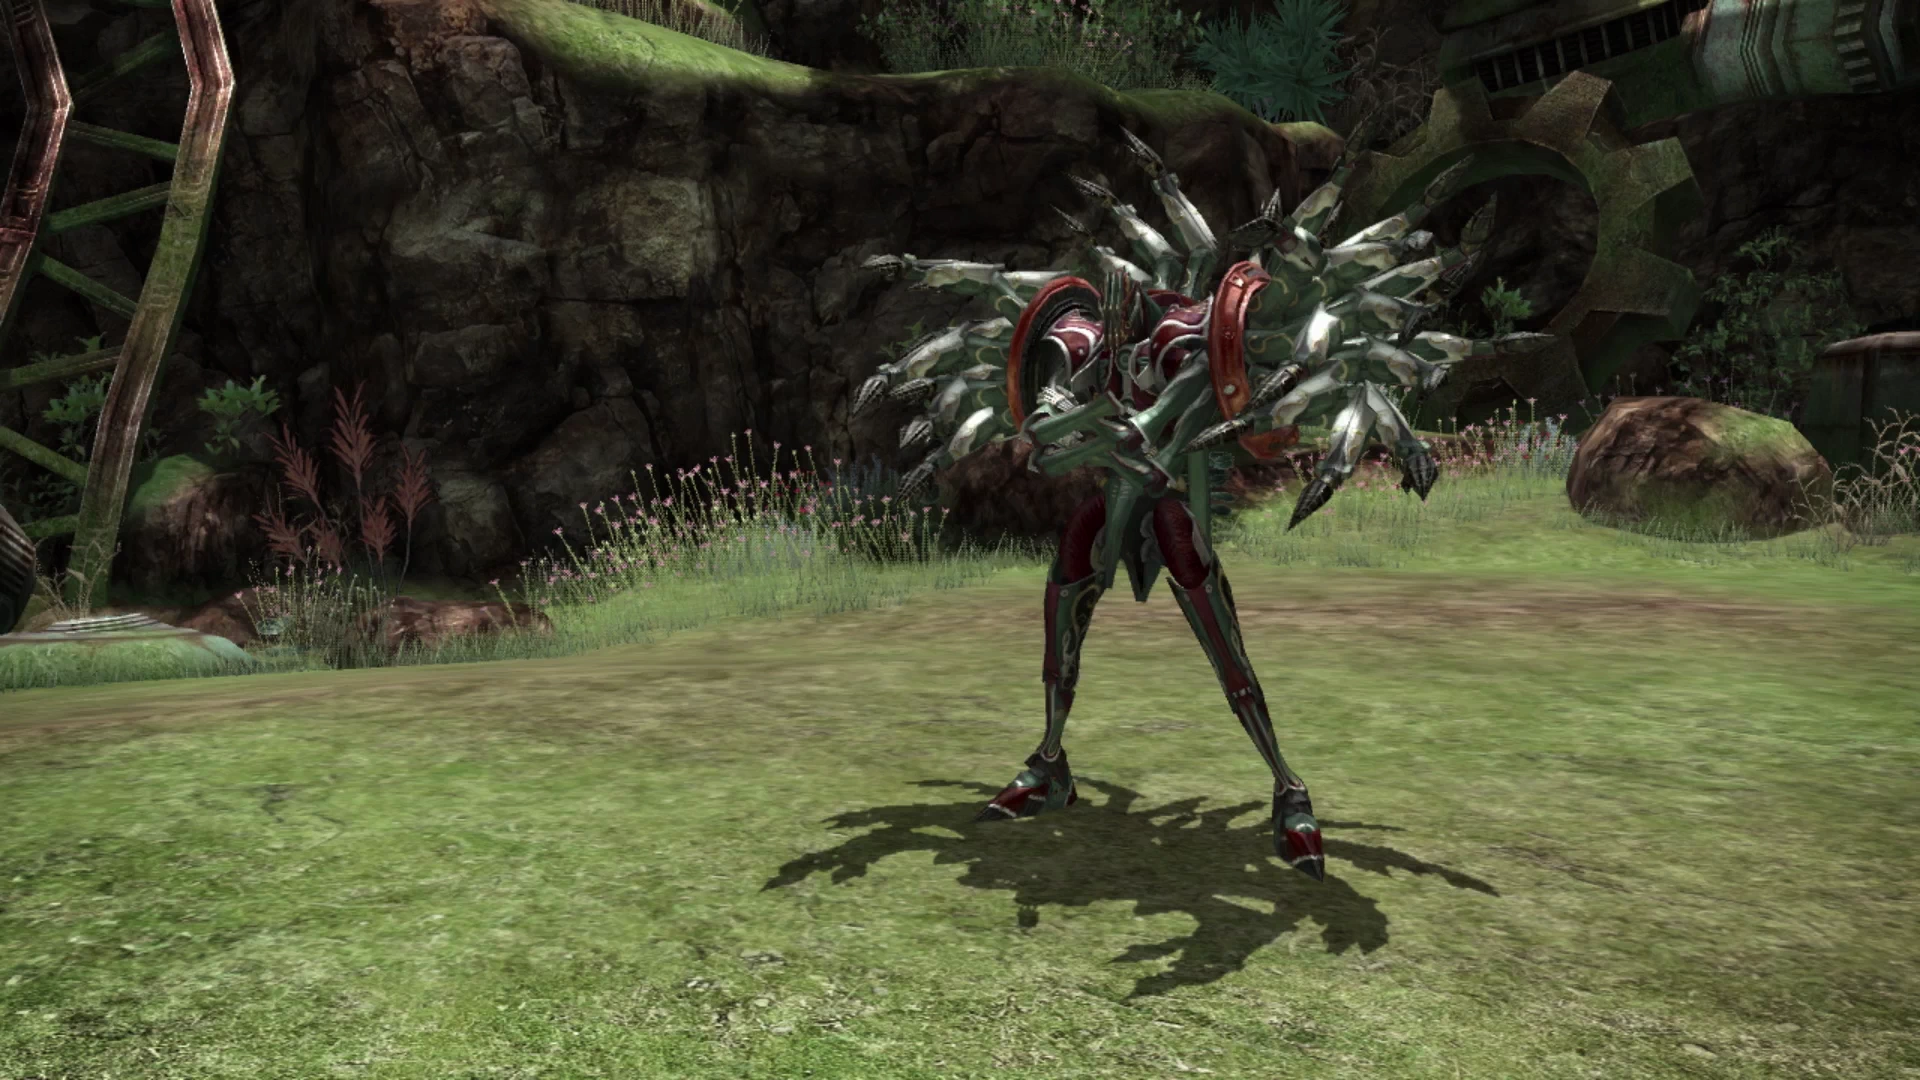
This is your sixth and final Eidolon battle following Hope’s battle against Alexander, and you should be used to them by now. At this point, Vanille is the only character left without an Eidolon. It’s time for that to change!
![]() Doom will immediately be cast on Vanille at the beginning of the battle, and she will be joined only by Fang for this fight. Like the other Eidolons, Hecatoncheir has three yield conditions. He…
Doom will immediately be cast on Vanille at the beginning of the battle, and she will be joined only by Fang for this fight. Like the other Eidolons, Hecatoncheir has three yield conditions. He…
- Yields to those who amass chain bonuses.
- Yields to those who heal the wounded.
- Yields to those who weaken and debilitate their enemies.
Vanille and Fang are going to be set up with a few Paradigms that you’re not used to using. If you’re struggling with the default ones provided for you for this battle, you can hit the “Retry” option and set up whichever Paradigms you wish, but you shouldn’t need to. This battle is entirely winnable using the default Paradigms provided.
Start by using ![]() Libra on Hecatoncheir while it casts Doom and then switch to the Divide & Conquer Paradigm. The goal is to have Vanille switched into her
Libra on Hecatoncheir while it casts Doom and then switch to the Divide & Conquer Paradigm. The goal is to have Vanille switched into her ![]() Saboteur role and get as many of her debuffs active as she can, as early in the fight as possible, before the damage gets too heavy.
Saboteur role and get as many of her debuffs active as she can, as early in the fight as possible, before the damage gets too heavy.

Hecatoncheir will switch between his charging move called “Looming Wrath” and throwing a wide range of attacks in succession at you including Pummel, Hurricane Kick and Aerial Attack. You can spot “Looming Wrath” easily as Hecatoncheir slowly stalks toward his target while charging (it lasts around 20 seconds), and he will counter physical attacks while it is active, so use that window to shift into your defensive Paradigm and heal up rather than attacking into the counters.
Switch to the Stumbling Block Paradigm when you’re preparing for the attacks, which will allow Fang to use ![]() Provoke on the boss and get ready to get hit. Vanille will continue applying debuffs as a
Provoke on the boss and get ready to get hit. Vanille will continue applying debuffs as a ![]() Saboteur, which still helps to push up the Gestalt Gauge, and then switch over to the Lifeguard Paradigm once Hecatoncheir begins attacking.
Saboteur, which still helps to push up the Gestalt Gauge, and then switch over to the Lifeguard Paradigm once Hecatoncheir begins attacking.
Assuming Vanille has spent at least some of her CP in the ![]() Medic Crystarium, she should be able to push out enough healing to keep both her and Fang’s HP high, especially with Fang in her
Medic Crystarium, she should be able to push out enough healing to keep both her and Fang’s HP high, especially with Fang in her ![]() Sentinel role. Switch to Slash & Burn if you can squeeze it in as this will also charge the Gestalt Gauge and then smash that
Sentinel role. Switch to Slash & Burn if you can squeeze it in as this will also charge the Gestalt Gauge and then smash that ![]()
![]()
![]() button once the Gauge gets high enough.
button once the Gauge gets high enough.
Another cutscene takes place after the battle against Hecatoncheir. Fang and Vanille will reconcile their very minor differences before you set off on your way again.
Consider saving your game at the ![]() Save Station again and then readjust your accessories if you provided Vanille with anything powerful that your other characters could use. Make your way along the pathway.
Save Station again and then readjust your accessories if you provided Vanille with anything powerful that your other characters could use. Make your way along the pathway.
Dusktide Grotto
Jump across the ridge and approach the enemies up ahead. This first fight will be against two Rust Puddings and a Pulsework Centurion. All three of them will focus their efforts on your party members once the battle begins but they are easy to take out.
The next group of enemies includes two Cryohedrons with a Pulsework Centurion. These Cryohedrons enemies function the same way that all the previous bomb-type enemies did—take them out before they use their “Self-Destruct” attack which will likely KO one or more of your party members.
The Treasure Sphere near this group of enemies contains an ![]() Ice Charm which is an accessory that gives the character that equips it a random chance to absorb ice-based magic. There is not much use for this item so don’t equip it to any of your characters right now.
Ice Charm which is an accessory that gives the character that equips it a random chance to absorb ice-based magic. There is not much use for this item so don’t equip it to any of your characters right now.
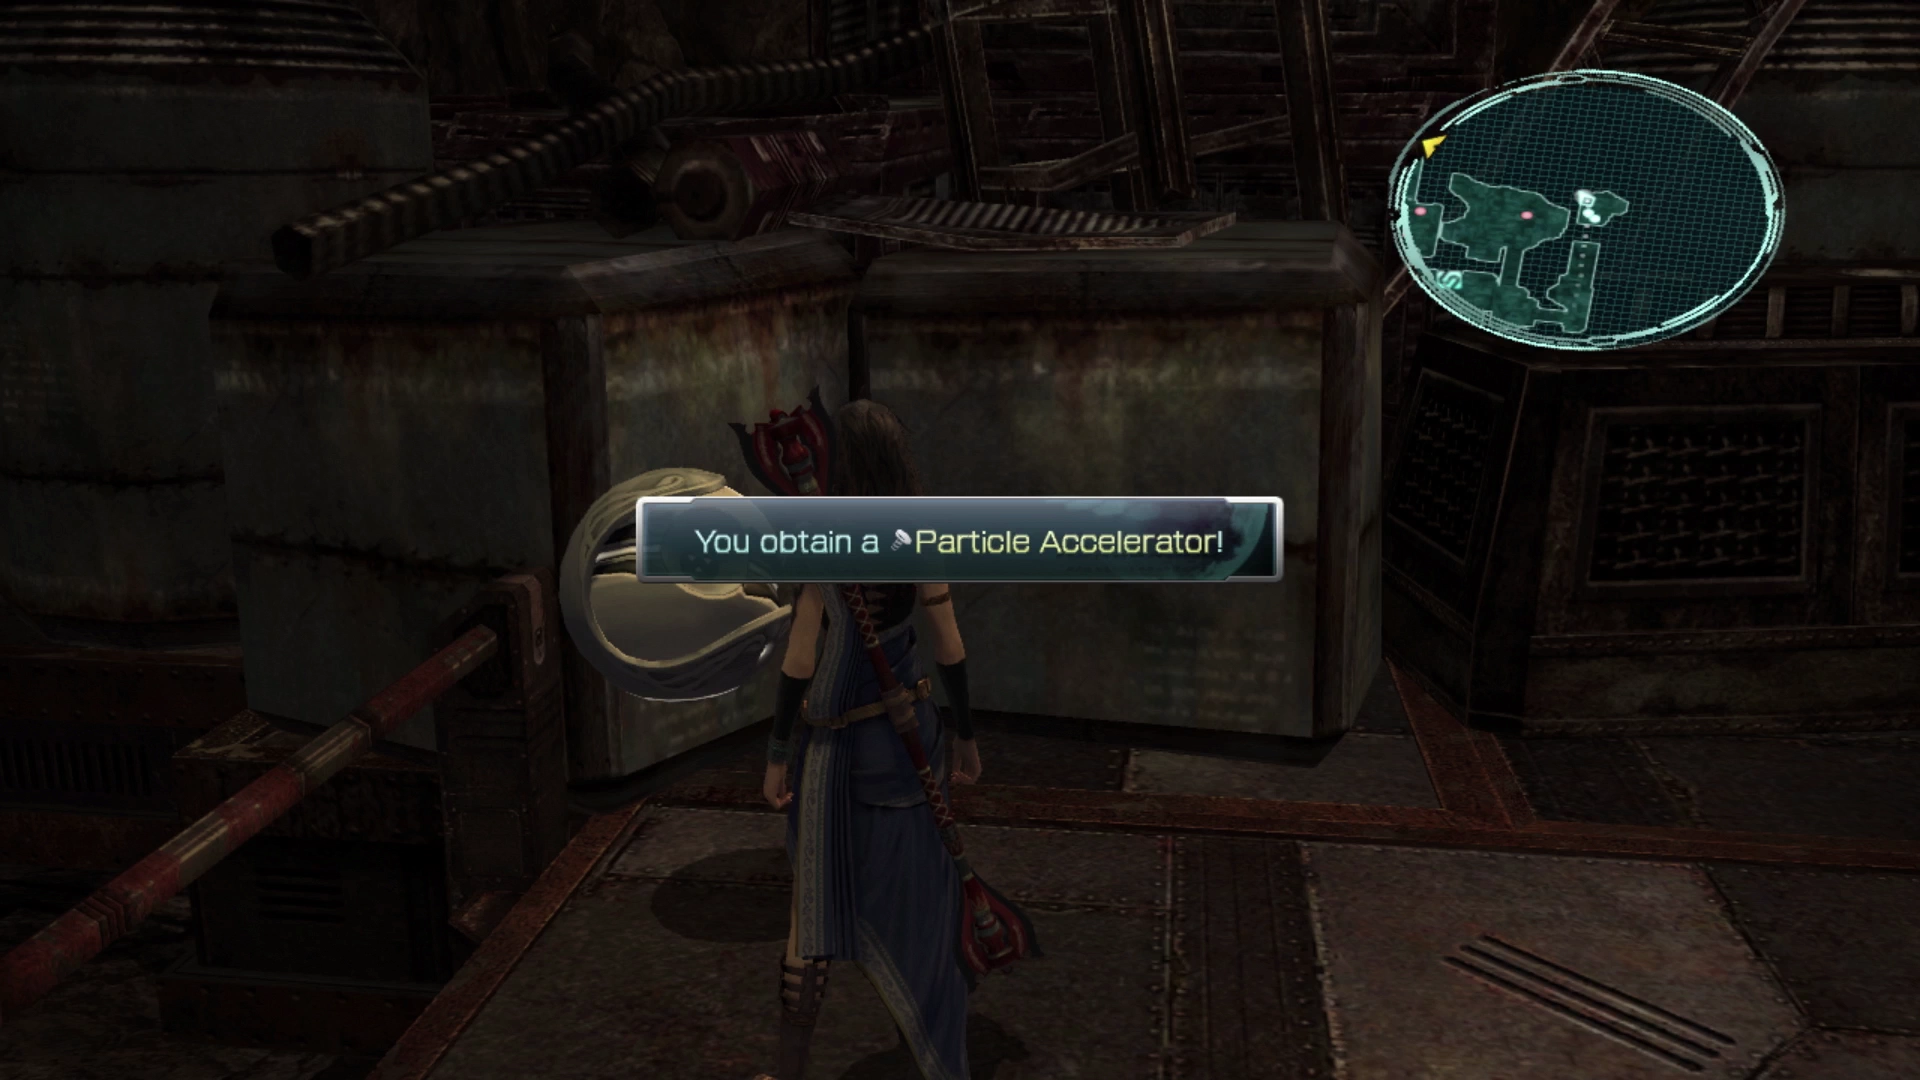
Continue through the tunnel and you will reach another group of two Rust Puddings. After that is a ![]() Save Station where you can save your game. There is a pathway leading off to the right side of the Save Station where you can find a Treasure Sphere that contains a
Save Station where you can save your game. There is a pathway leading off to the right side of the Save Station where you can find a Treasure Sphere that contains a ![]() Particle Accelerator.
Particle Accelerator.
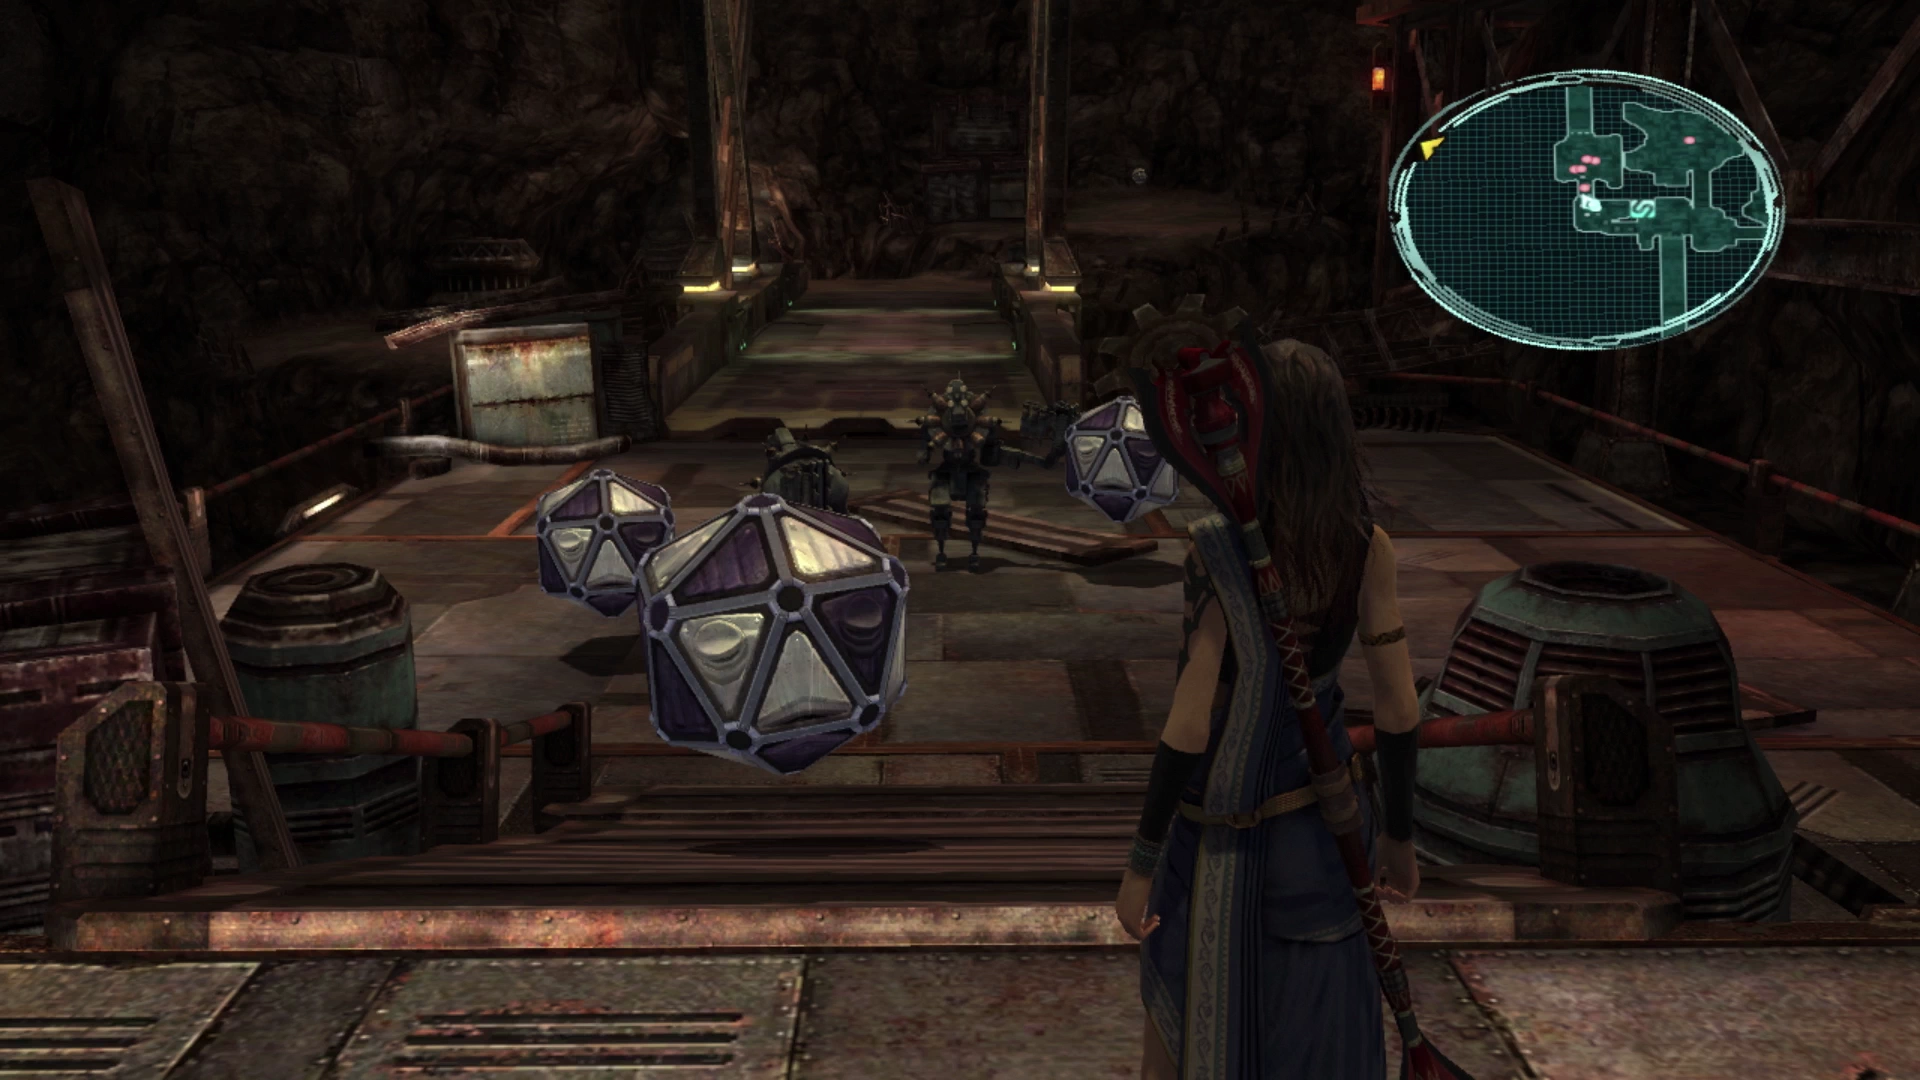
At the top of the stairs in this area is a large Juggernaut enemy. It’s possible to get a preemptive strike on it, but even with this advantage, the Juggernaut is extremely difficult to defeat even if you have been completing the side quests and Missions up to this point. It’s difficult even if you have power-leveled your characters, and there are no special rewards for defeating it, so don’t waste much time trying to defeat it.
Down at the bottom of the stairs on the left side of the platform are a group of three Cryohedrons and two Pulsework Centurions. Remember to focus your attacks on the Cryohedrons first and then switch over to the Pulsework Centurions.
Just up ahead is a platform on the right that you can jump up (even without the illuminated blue circle) that leads to a Treasure Sphere . The sphere contains three ![]() Crystal Oscillators.
Crystal Oscillators.
Follow the trail back down and you will come across another group of three Cryohedrons (which are easy to walk past but you might as well defeat them to earn some quick CP).
Follow the trail until you reach a group of three Rust Puddings battling a Cryohedron. There is a Treasure Sphere on the opposite side of it that contains three ![]() Perfect Conductors. Just up through the tunnel ahead is a group of two Hoplites in the next area.
Perfect Conductors. Just up through the tunnel ahead is a group of two Hoplites in the next area.
Deep in the Dark
The group just up ahead includes two Hoplites and a Boxed Phalanx. They are easy to get a ![]() preemptive strike on because of the predictability of the Hoplite’s patrol patterns. Remember to defeat the Boxed Phalanx first as it can potentially buff the Hoplites and summon more of them to join the battle.
preemptive strike on because of the predictability of the Hoplite’s patrol patterns. Remember to defeat the Boxed Phalanx first as it can potentially buff the Hoplites and summon more of them to join the battle.
Keep moving into the next open area, where the map marker is located, for a cutscene involving the fal’Cie Atomos and Hope’s Juggernauts. There’s nothing to do in this area so move towards the map marker again and press ![]()
![]()
![]() to board Atomos. This will take you to the next portion of Chapter 11.
to board Atomos. This will take you to the next portion of Chapter 11.
