
Chapter 11: Sulyya Springs
The walkthrough for Chapter 11 is broken up into several individual parts including Vallis Media, the Archylte Steppe, Mah’habara Subterra, Sulyya Springs, Taejin’s Tower and Oerba. Use the links to jump directly to the section you are in if you have ventured too far forward or are too far back.
Helpful Hint
There are no missable items in these sections of Chapter 11 because each of these areas can be revisited. You will need to revisit them if you plan to complete all the optional endgame content in Final Fantasy XIII, but don’t worry if you accidentally leave a Treasure Sphere behind in this area.
Ceiling of Sky

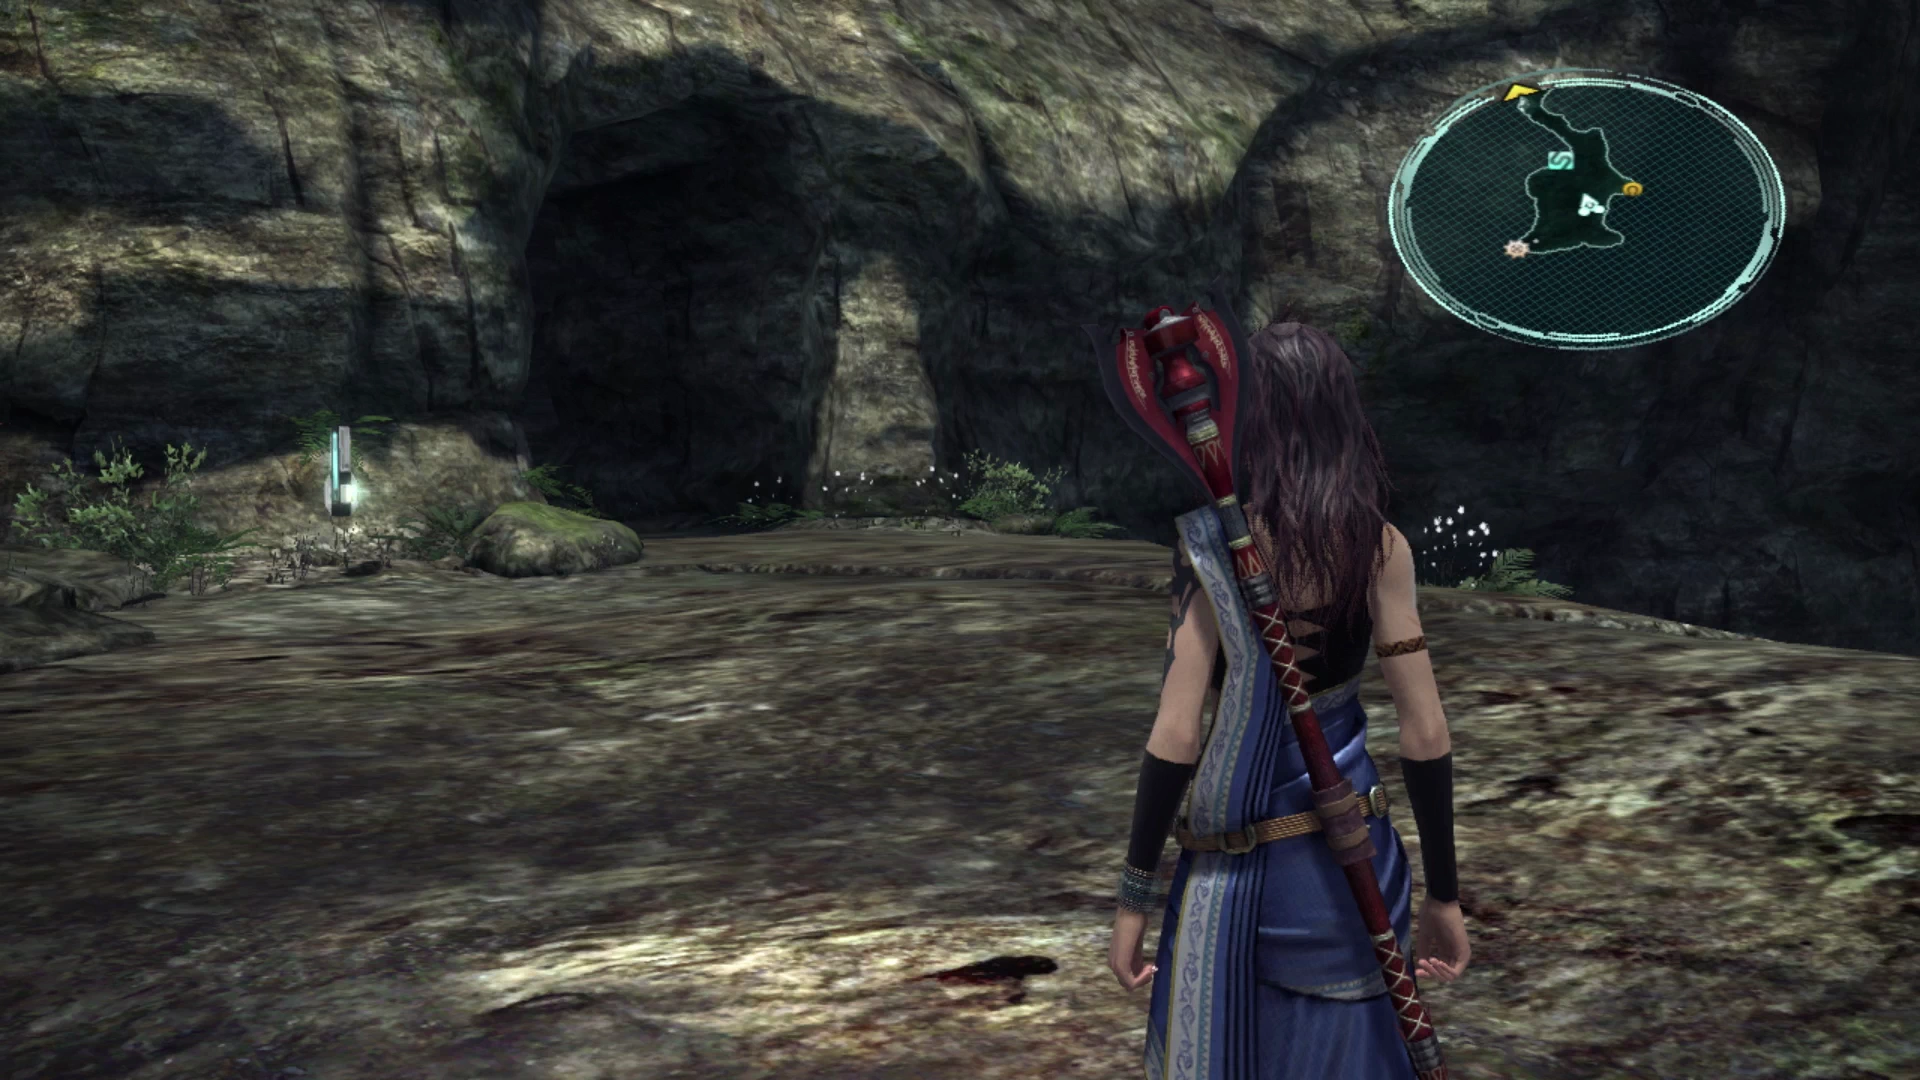
The team will be dropped off by Atomos in the Ceiling of Sky area. There is a ![]() Save Station nearby as well as a Cie’th Stone for Mission 19. You will need to have completed
Save Station nearby as well as a Cie’th Stone for Mission 19. You will need to have completed ![]() Mission 18 - So Close, Yet So Far in the previous section of the Mah’habara Subterra for the stone to be active.
Mission 18 - So Close, Yet So Far in the previous section of the Mah’habara Subterra for the stone to be active.
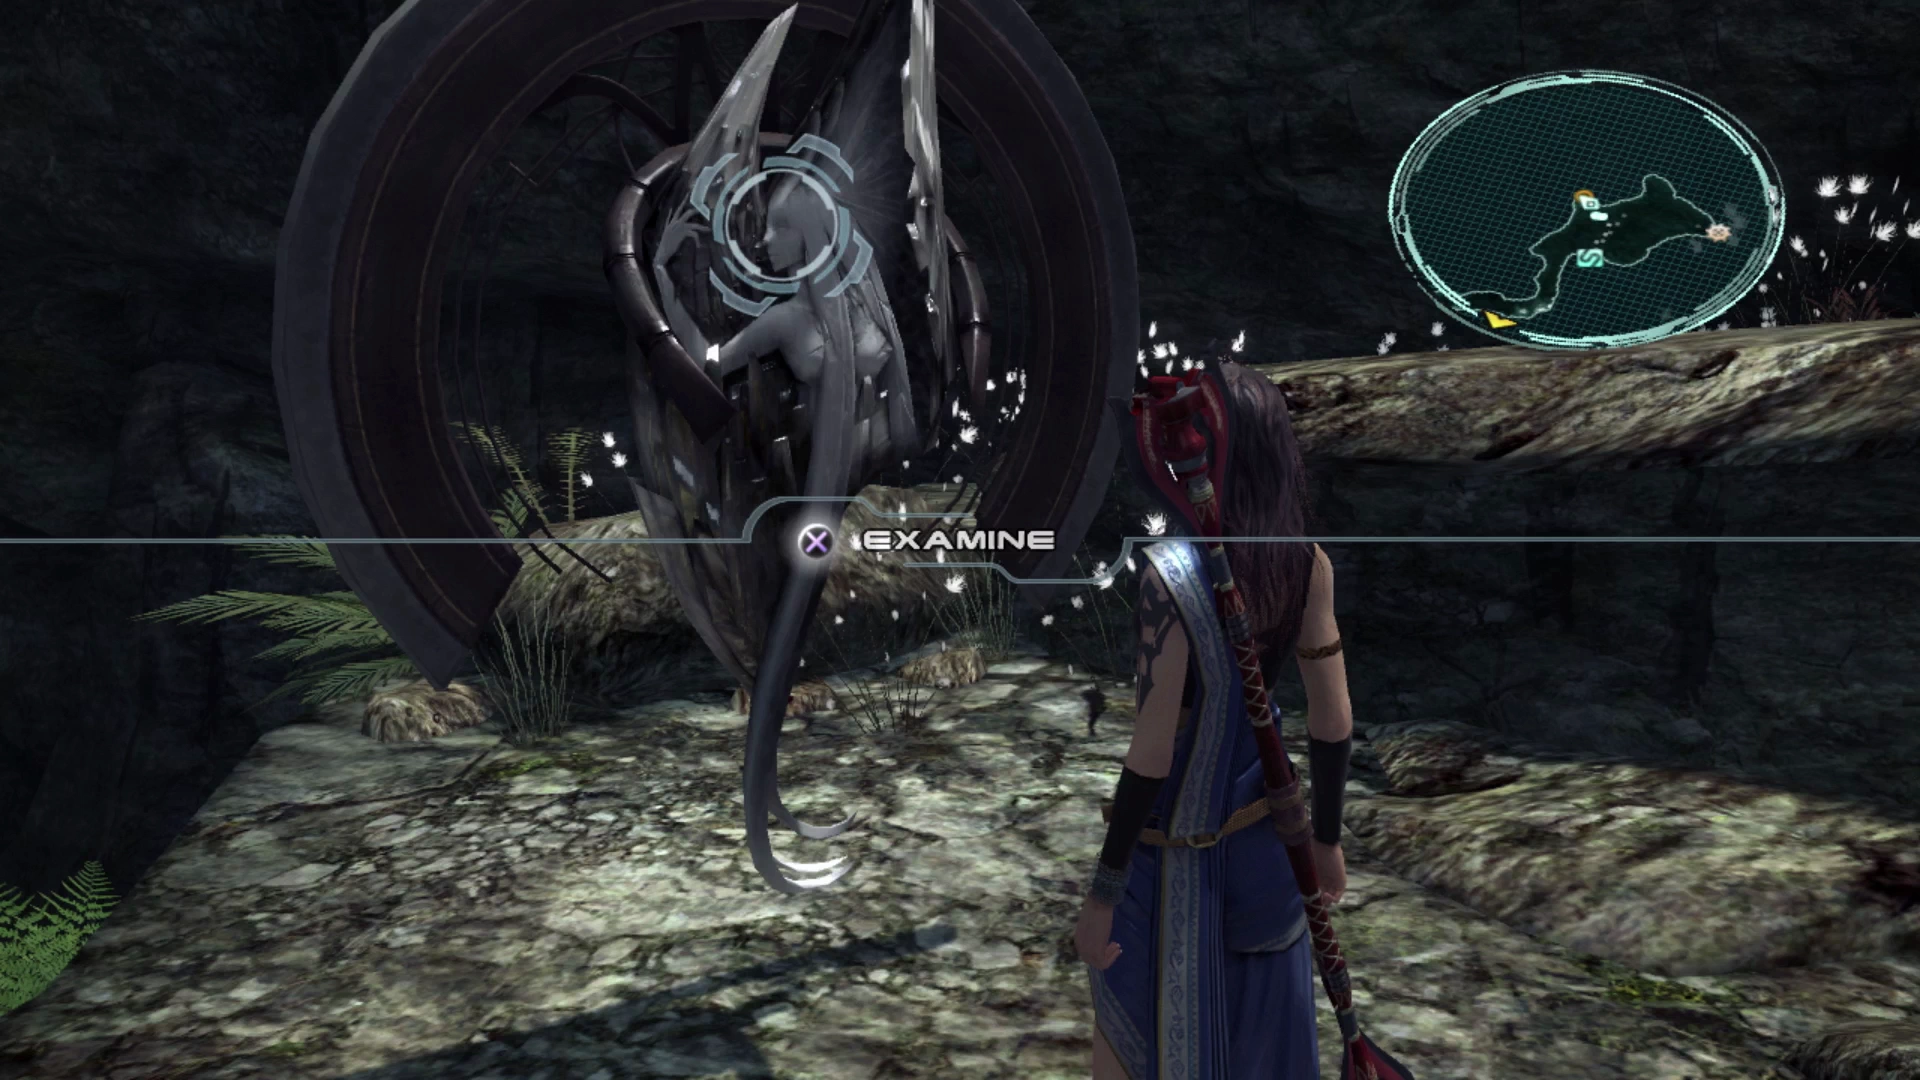
A link is included to the Mission page but once you have accepted the Mission you will automatically come across the mark, so you don’t need to navigate away from this page. Here is the Mission page though for reference:
Cie’th Stone Missions
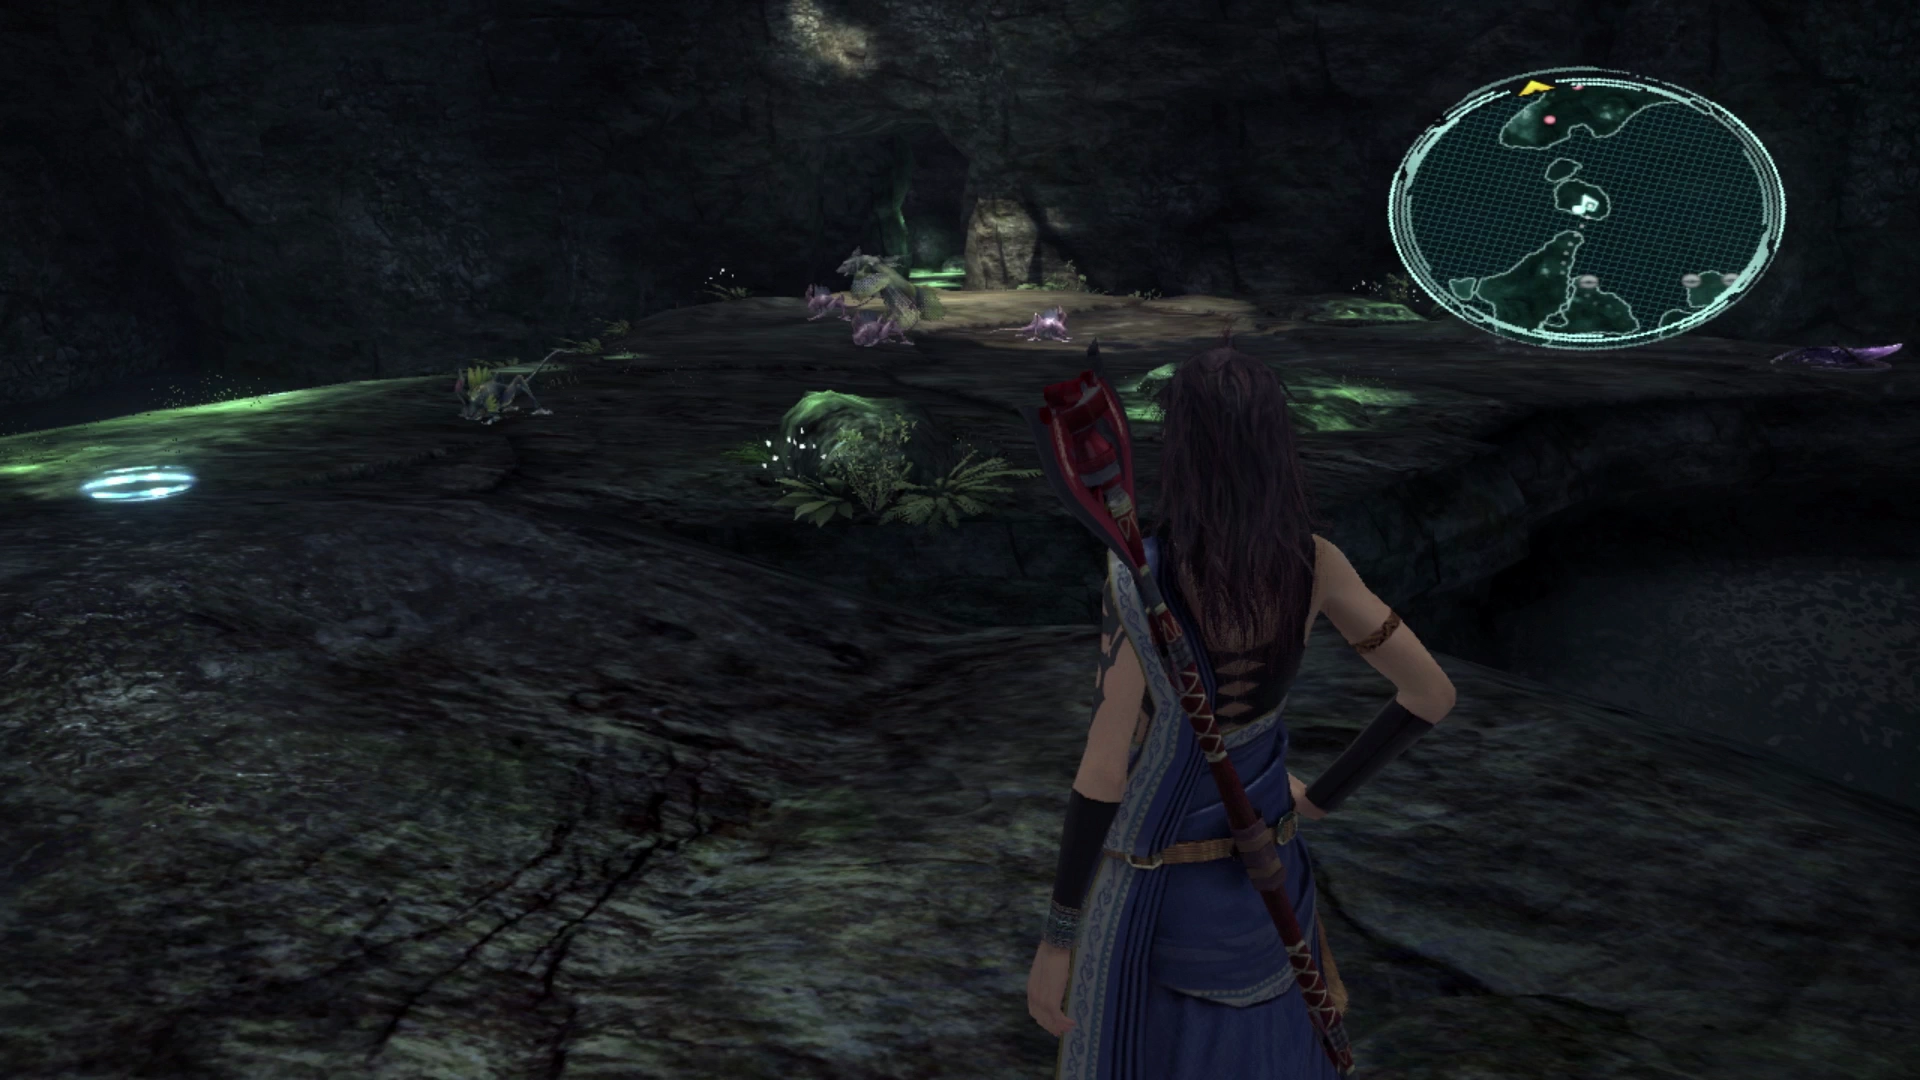
Uridimmu located in the Subterranean Lake of the Sulyya Springs.
Proceed through the tunnel and into the lake in the cave.
Helpful Hint
Getting overwhelmed with too many negative status effects on your party members? Or has the enemy buffed itself with several helpful buffs that you want to get off quickly?
All characters can learn the ![]() Dispelga technique in one of their Crystariums. It can be a very helpful technique to use at times, but it’s important that you know how it works.
Dispelga technique in one of their Crystariums. It can be a very helpful technique to use at times, but it’s important that you know how it works.
Namely, it costs one Technique Point (TP) to use, it must be cast manually by you on the character that you’re controlling (by selecting the “Techniques” option in the menu), and it removes ALL status effects. This includes both positive and negative status effects on you and on the enemy.
To reiterate, this will remove positive status effects that the enemy casts on itself as well as negative status effects it casts on you, but it will also remove buffs that your ![]() Synergist has cast on your own party members. It will also remove debuffs your
Synergist has cast on your own party members. It will also remove debuffs your ![]() Saboteur has used on the enemy. This means that there are very specific circumstances where it will prove helpful, so use it carefully.
Saboteur has used on the enemy. This means that there are very specific circumstances where it will prove helpful, so use it carefully.
Subterranean Lake
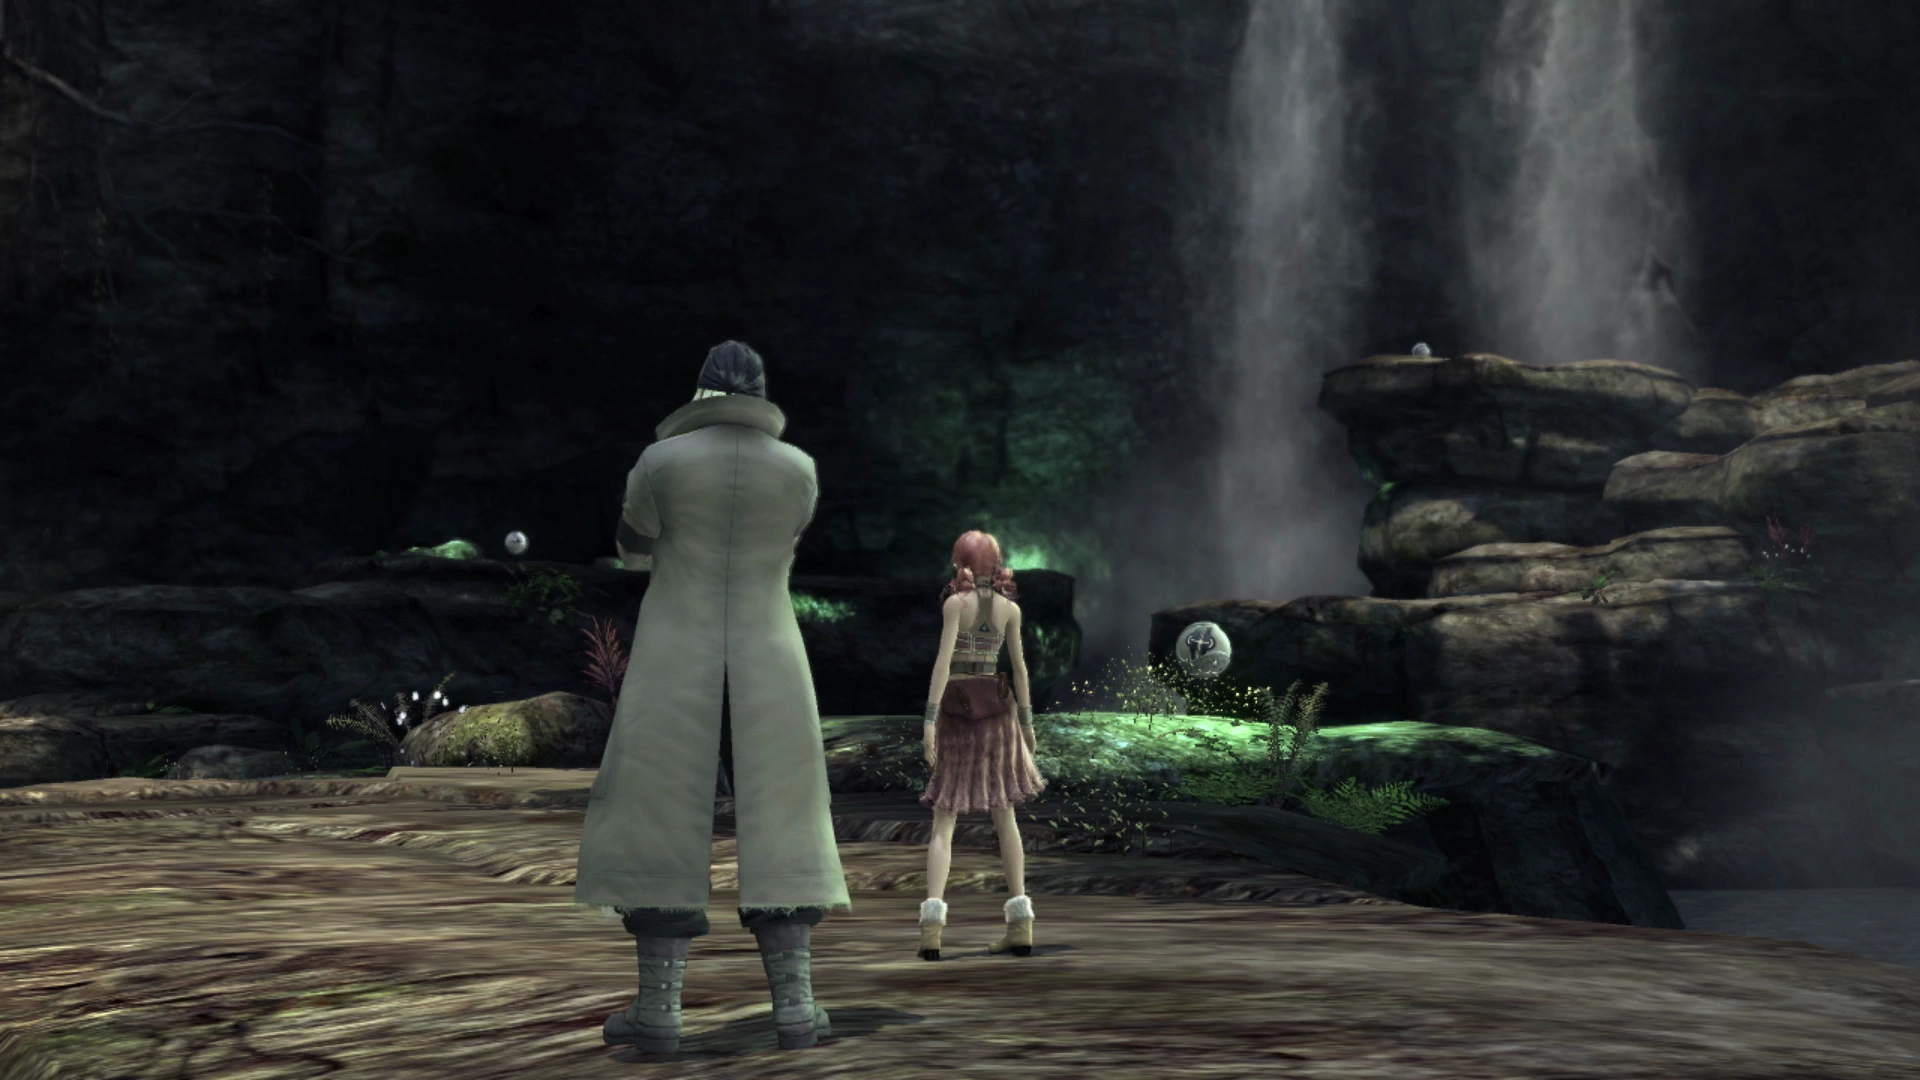
Jump up to the higher-level cliff to kick off a cutscene involving Snow and Vanille about Serah. Open the Treasure Sphere on the back right side of the rock you’re on after this cutscene to pick up 13 vials of ![]() Strange Fluid.
Strange Fluid.
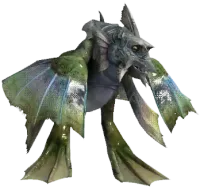
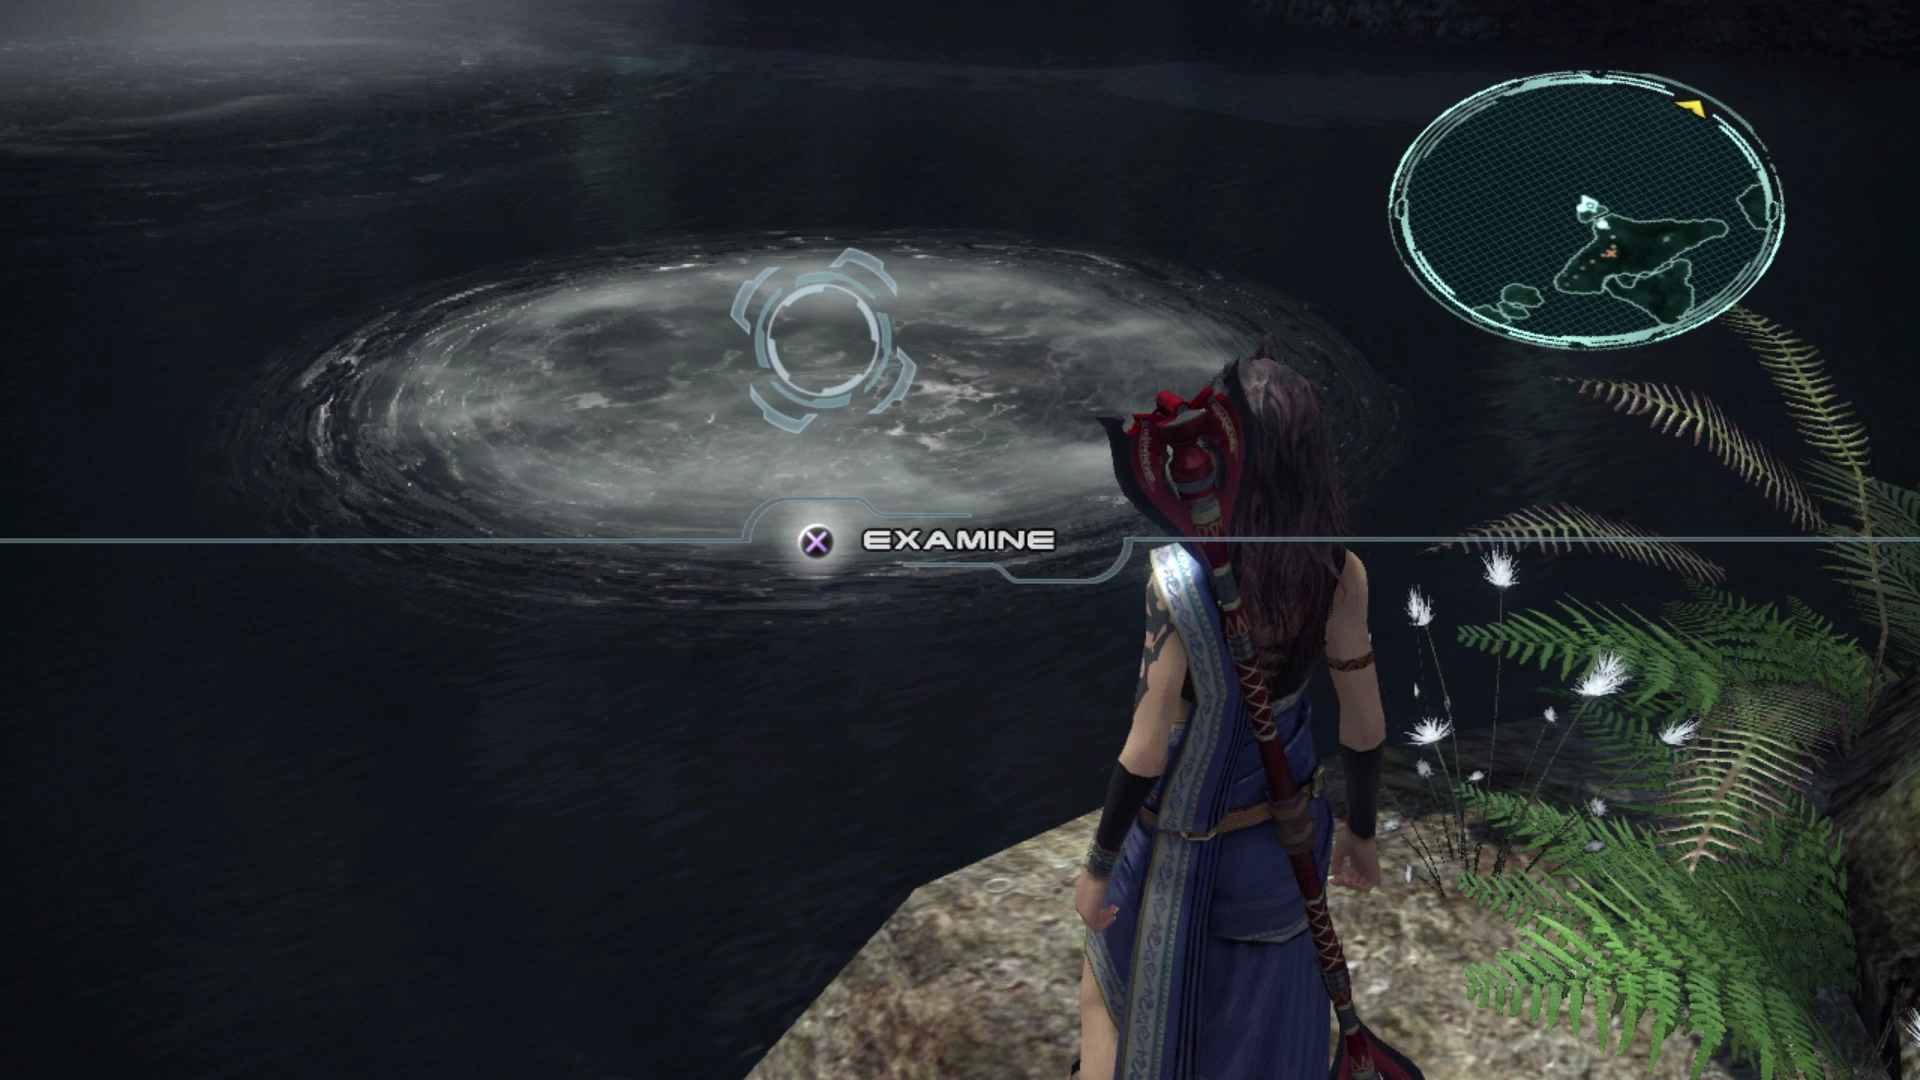
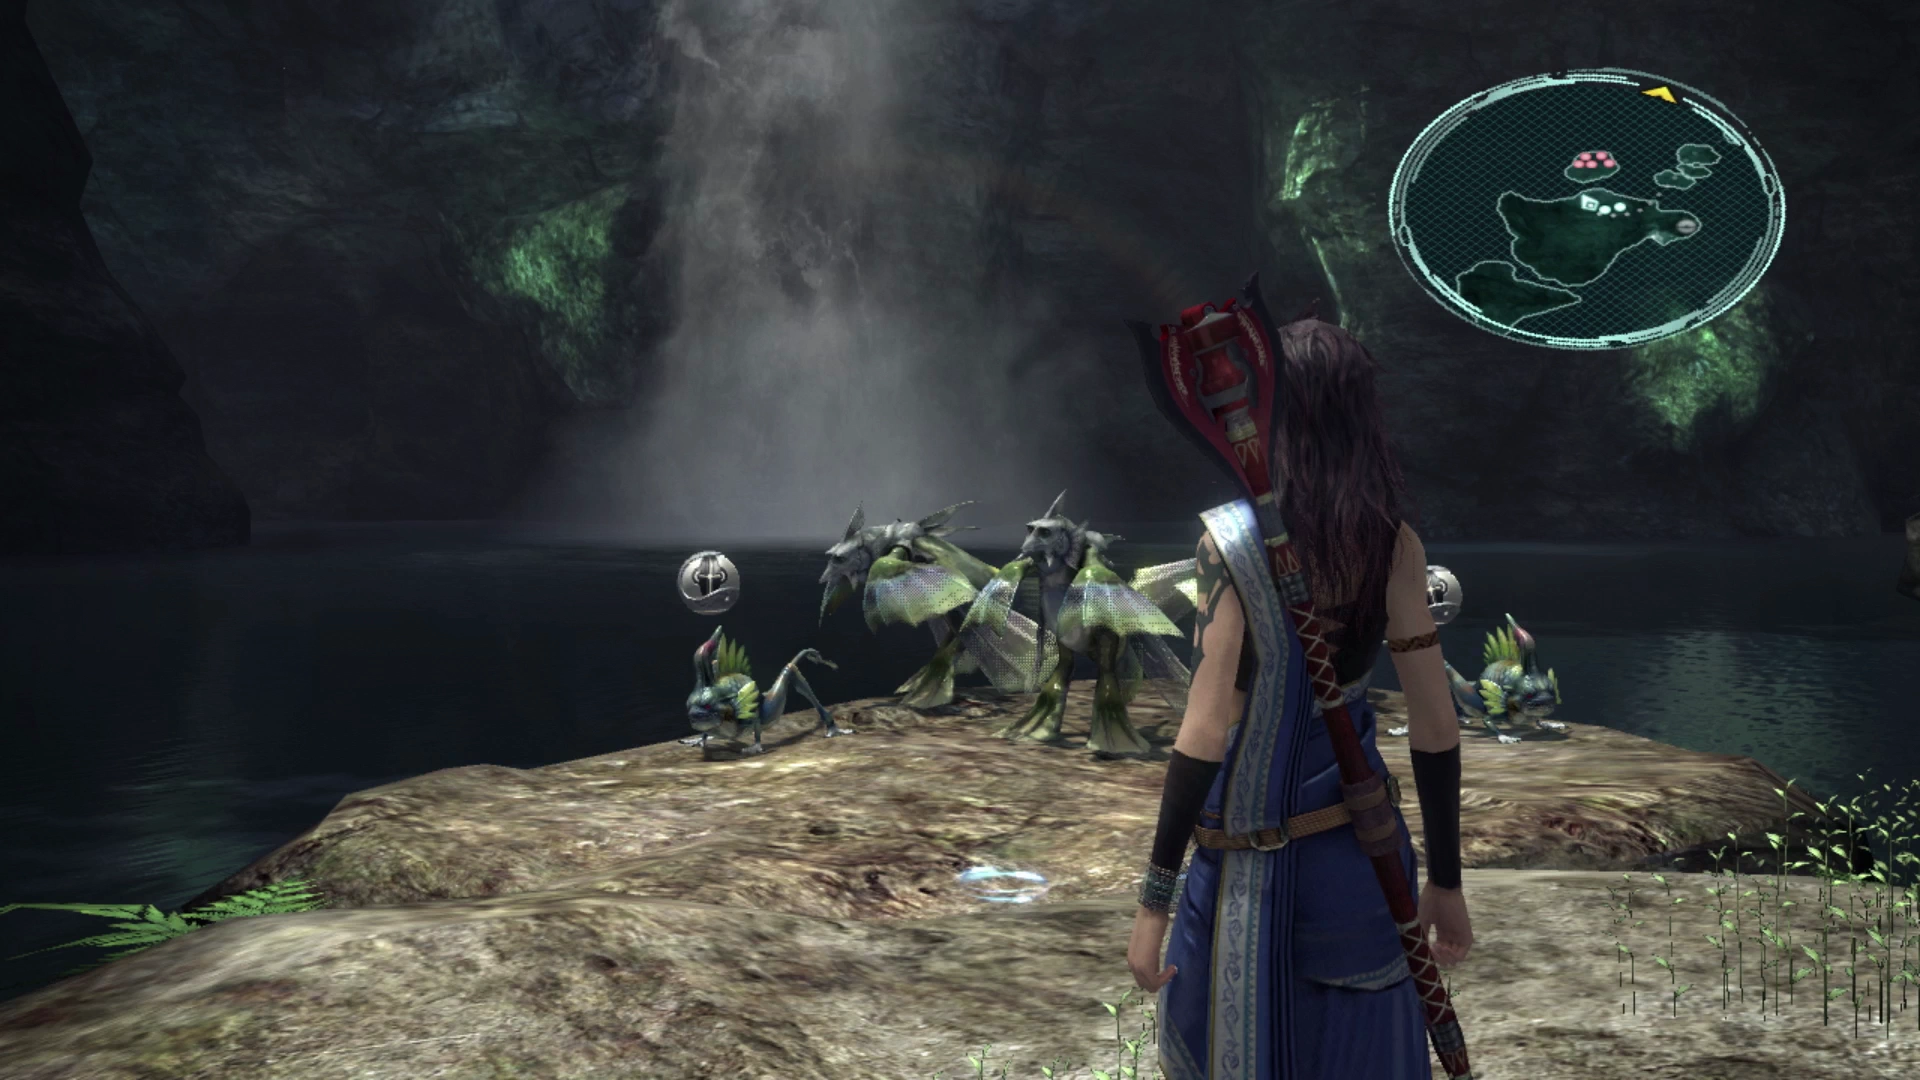
Hop across the rocks and engage the group of five Ceratosaurs. It’s possible to get a preemptive strike on them but they are quite easy to defeat either way. Stay on the current platform and walk over to the left. You’ll be able to examine the pools below using the ![]()
![]()
![]() button which will trigger another cutscene. A few new platforms will have appeared in the Subterranean Lake that you can reach.
button which will trigger another cutscene. A few new platforms will have appeared in the Subterranean Lake that you can reach.
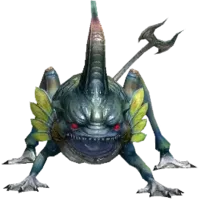
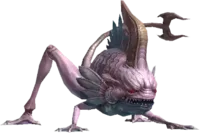
Travel back to the previous platform and you will see a large group of enemies guarding two Treasure Spheres. Make sure your party is prepared before you jump over. The fight against two Ceratoraptors and three Orobons can quickly become overwhelming due to the number of enemies you’re fighting. Focus on the Orobons first: their water attacks can inflict Daze and Slow, and with three of them in this group your party can be status-locked in no time while the Ceratoraptors pile on damage.
Open the two Treasure Spheres after the fight. One of them contains a ![]() Uraninite and the other one contains a
Uraninite and the other one contains a ![]() Riptide Ring. The Uraninite can be used as a catalyst to upgrade weapons and accessories later when you’re back at a
Riptide Ring. The Uraninite can be used as a catalyst to upgrade weapons and accessories later when you’re back at a ![]() Save Station.
Save Station.
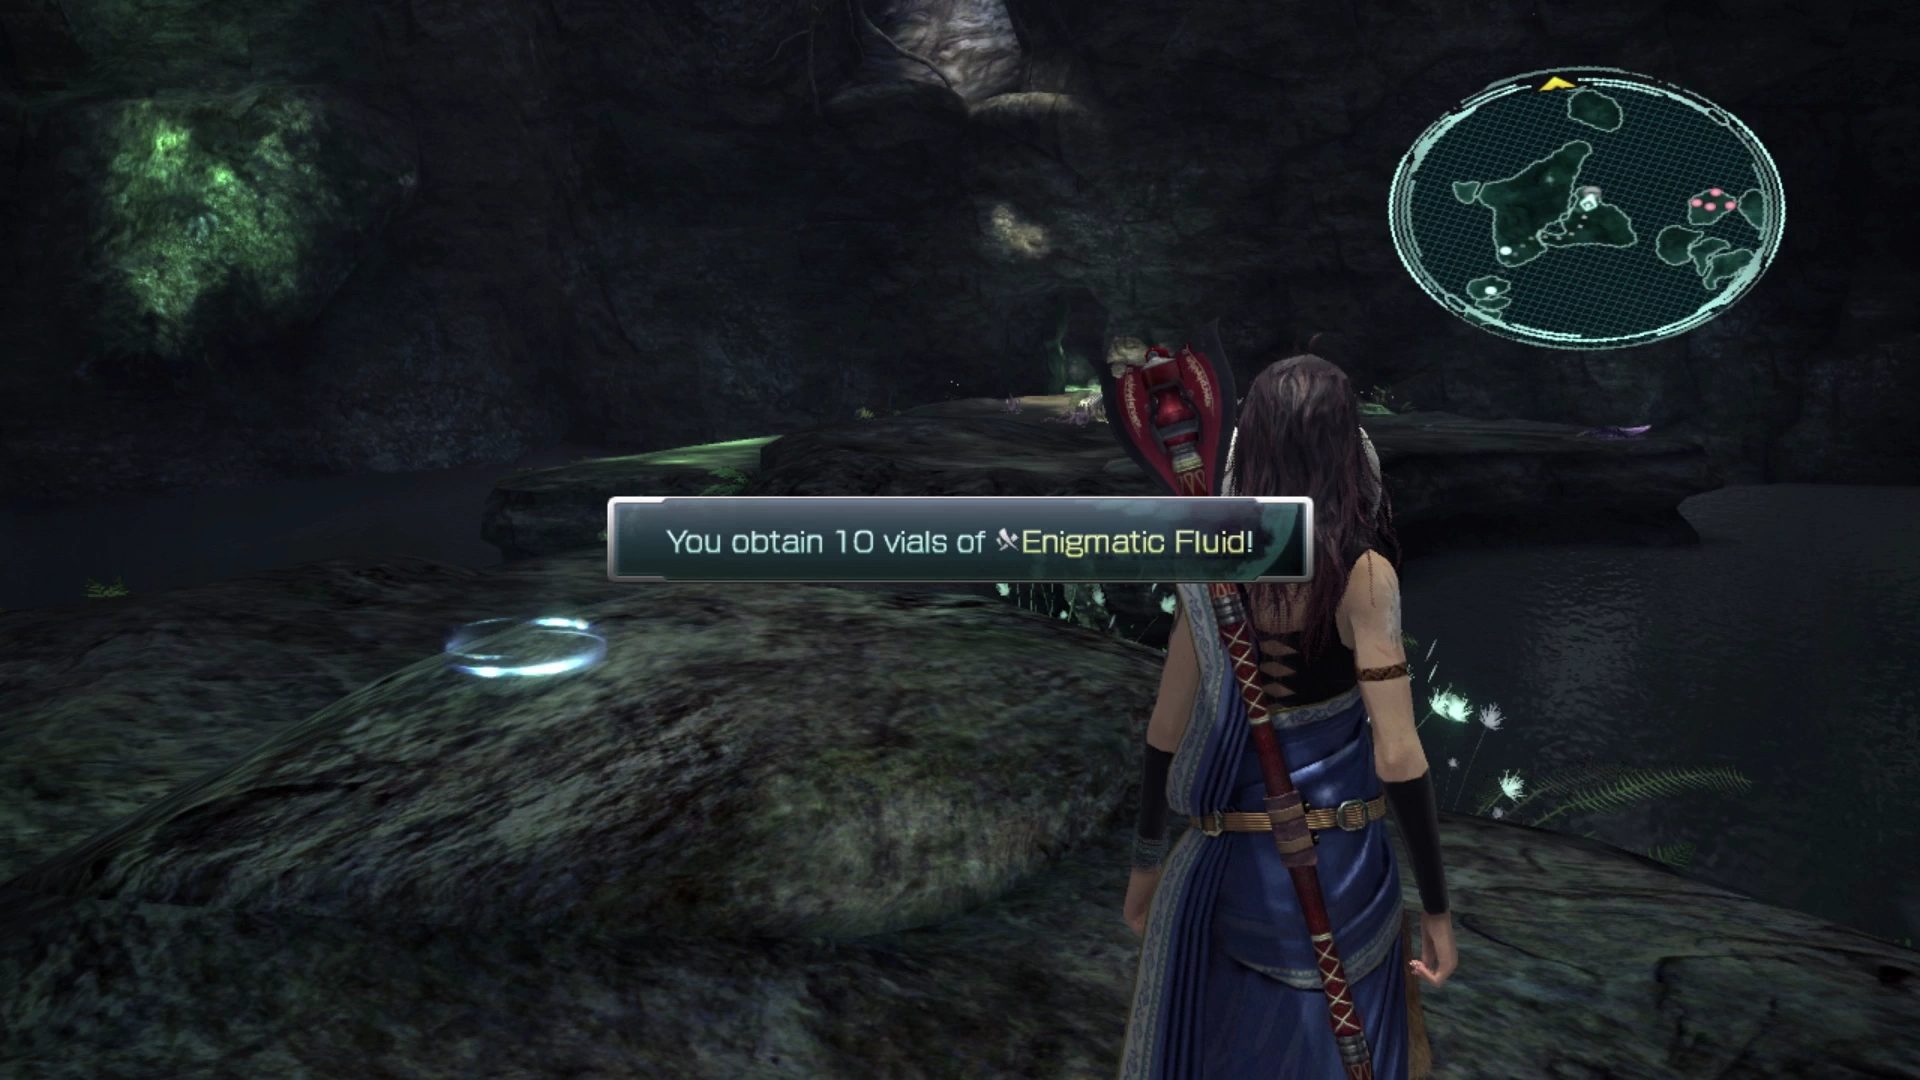
Head back over to the platform you were on previously and look for a Treasure Sphere that contains 10 vials of ![]() Enigmatic Fluid. Looking over to your right you will see some cliffs and islands, as well as a large group of enemies guarding more Treasure Spheres.
Enigmatic Fluid. Looking over to your right you will see some cliffs and islands, as well as a large group of enemies guarding more Treasure Spheres.
These islands and cliffs are technically skippable, but it’s worth picking up the items in this area, defeating the enemies for some Crystogen Points (CP), and the marks for Mission 19 are at the top of the cliff.
Jump down and attack the group of two Orobons and two Ceratoraptors. Focus on the Ceratoraptors first this time: with only two Orobons in this group, the raptors’ fast multi-hit combos are the bigger threat. Be ready to move into a defensive Paradigm. These enemies tend to look easy but if they focus their attacks on one of your party members the damage can quickly become overwhelming. The two Treasure Spheres that you can grab after the fight contain a ![]() Mnar Stone and a
Mnar Stone and a ![]() Water Charm.
Water Charm.
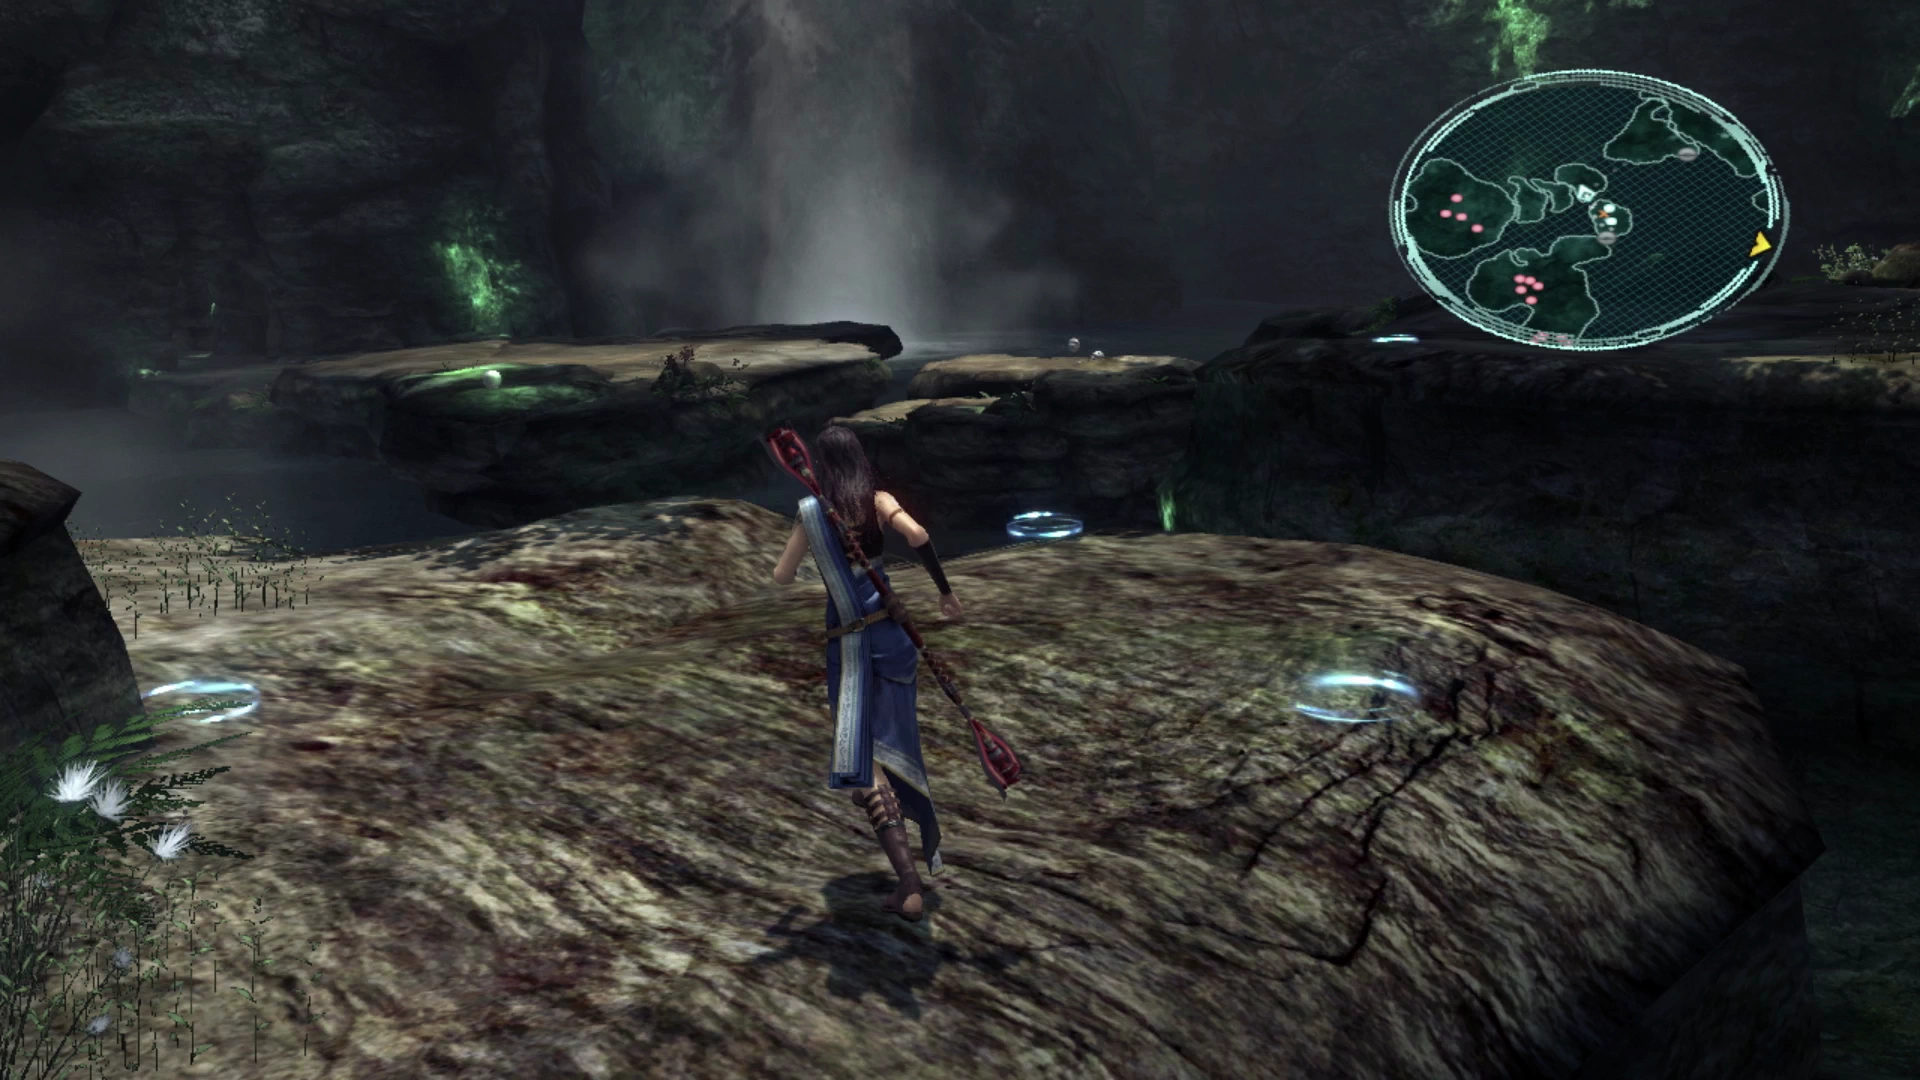
Use the illuminated blue circles to keep climbing the cliff until you reach the next pack of Orobons and Ceratosaurs. There’s a Treasure Sphere behind them that contains an ![]() Aquabane Brooch. Jump across the gap in the cliffs and engage the next group of Ceratosaurs that have one Ceratoraptor with them (and focus on the Ceratoraptor first).
Aquabane Brooch. Jump across the gap in the cliffs and engage the next group of Ceratosaurs that have one Ceratoraptor with them (and focus on the Ceratoraptor first).
Look to the left to find a Treasure Sphere that contains six ![]() Moistened Scales. The mark for
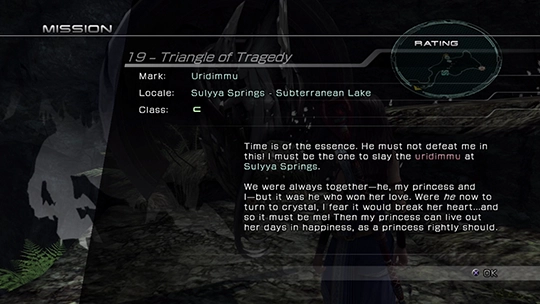
Moistened Scales. The mark for ![]() Mission 19 - Triangle of Tragedy is in the other corner of this area (which will be three Orobons if you don’t have the Mission active).
Mission 19 - Triangle of Tragedy is in the other corner of this area (which will be three Orobons if you don’t have the Mission active).
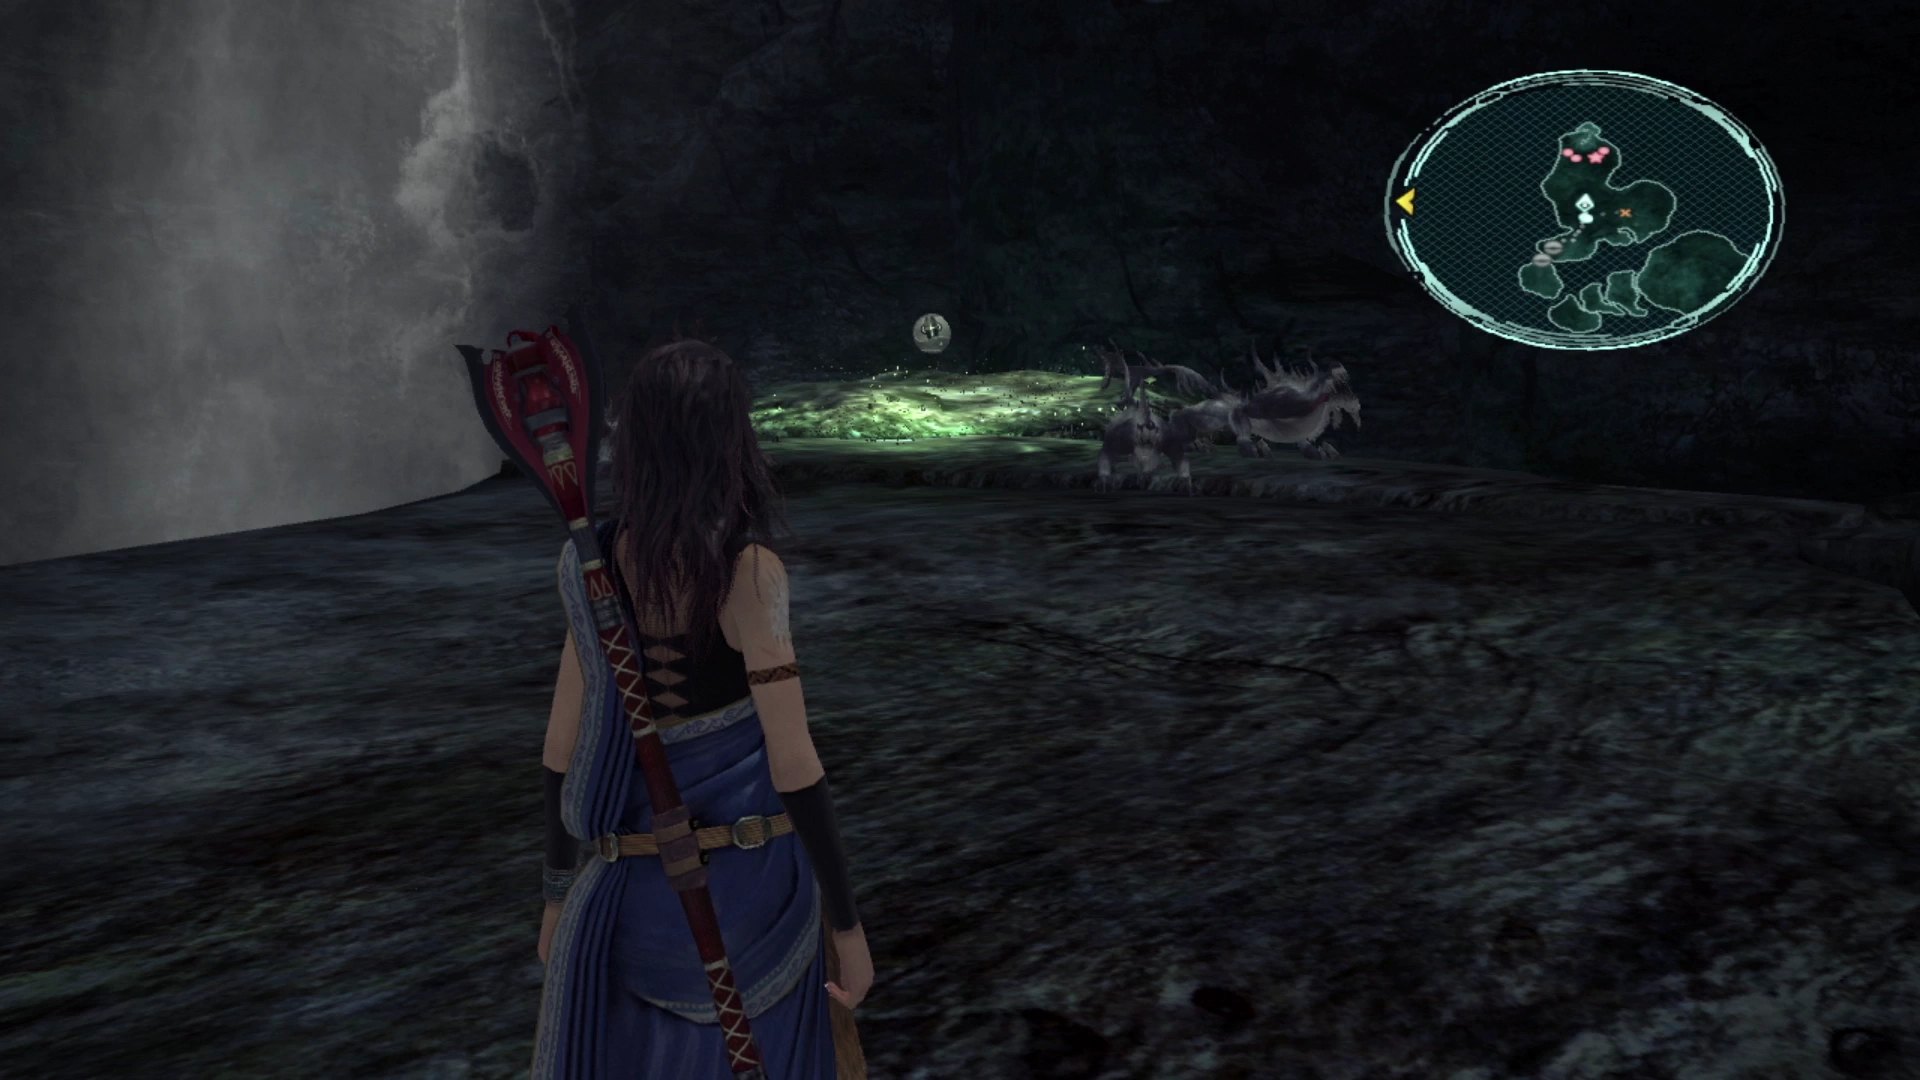
The group of four Uridimmu is not difficult to defeat as you have faced many of them already. Open the Treasure Sphere behind them to obtain five ![]() Seapetal Scales.
Seapetal Scales.
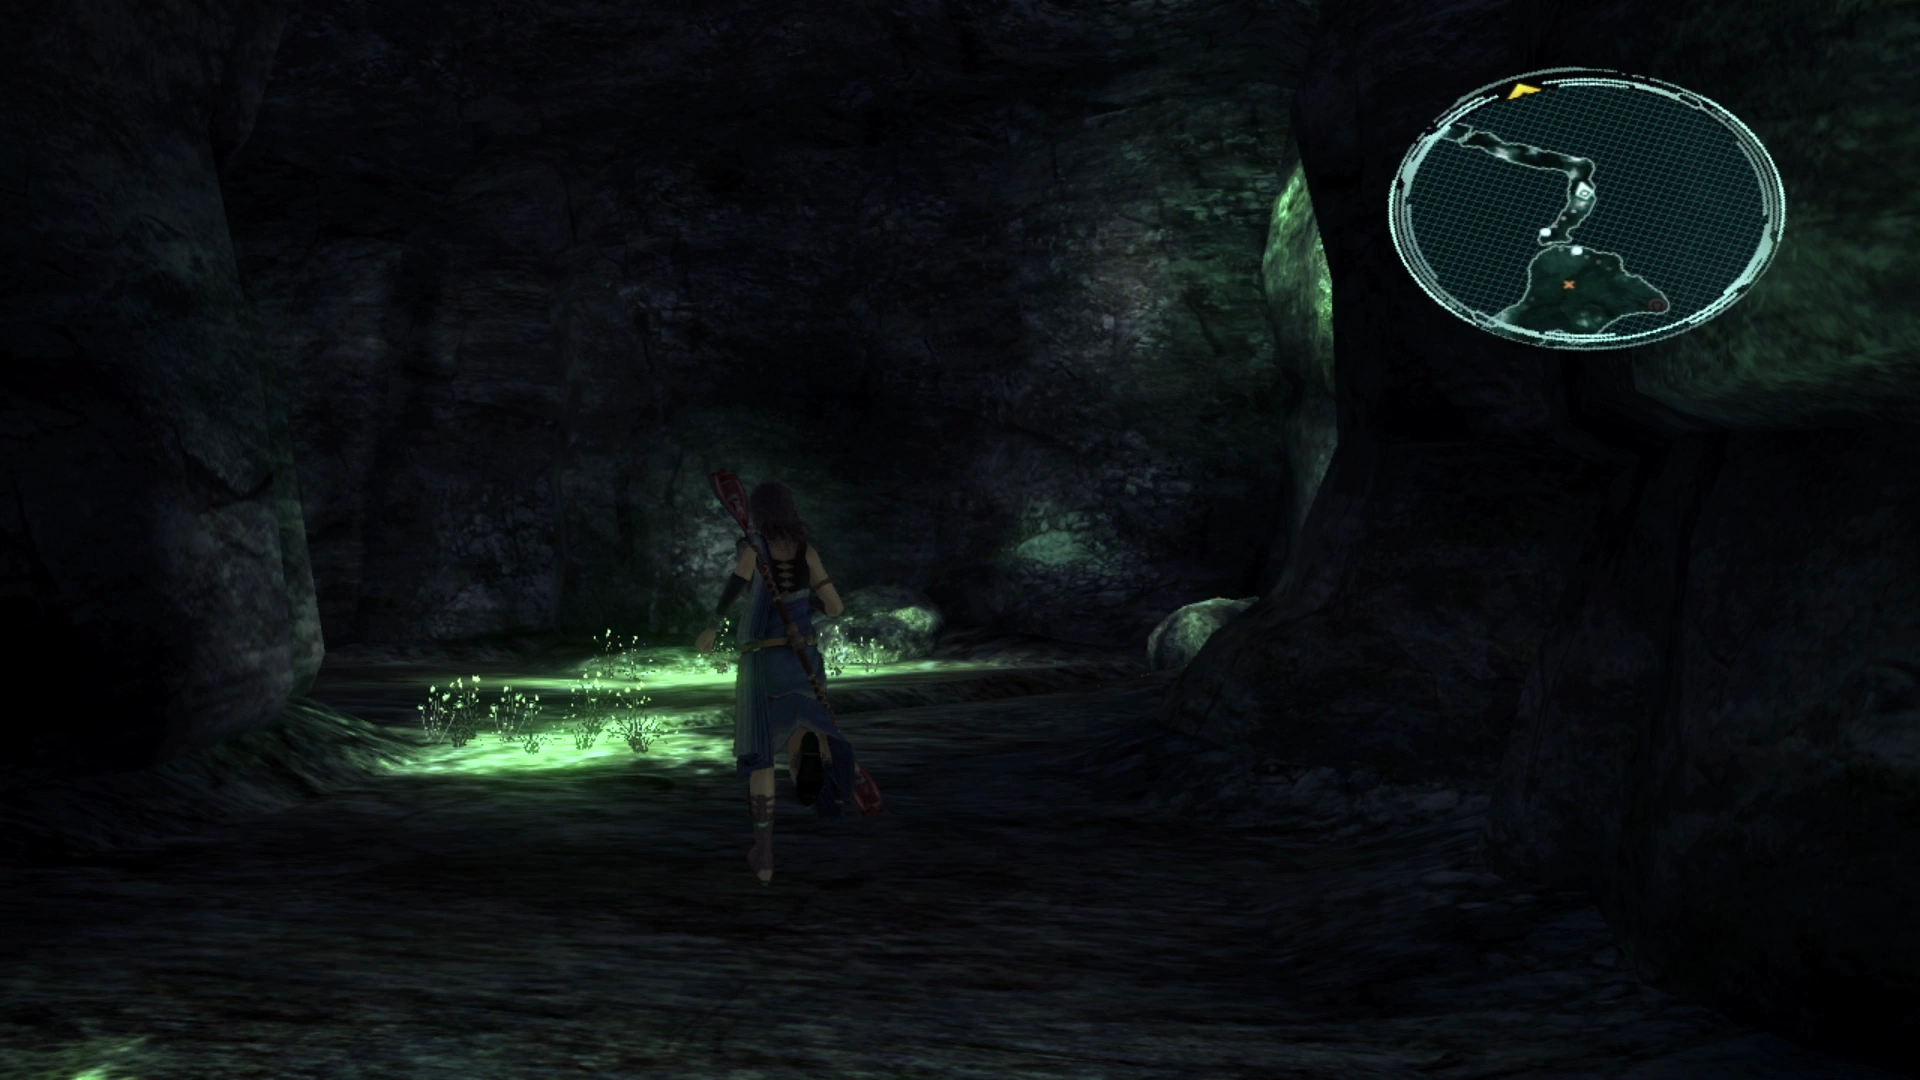
Hop all the way back down the face of the cliff and follow the rock islands to the northern end of the Subterranean Lake to find the next group of aquatic enemies. The first Ceratoraptor is all by itself, for some reason, but after that, you will have to fight a group of three Ceratosaurs and an Orobon. Jump over the cliff and you’re done with the Subterranean Lake.
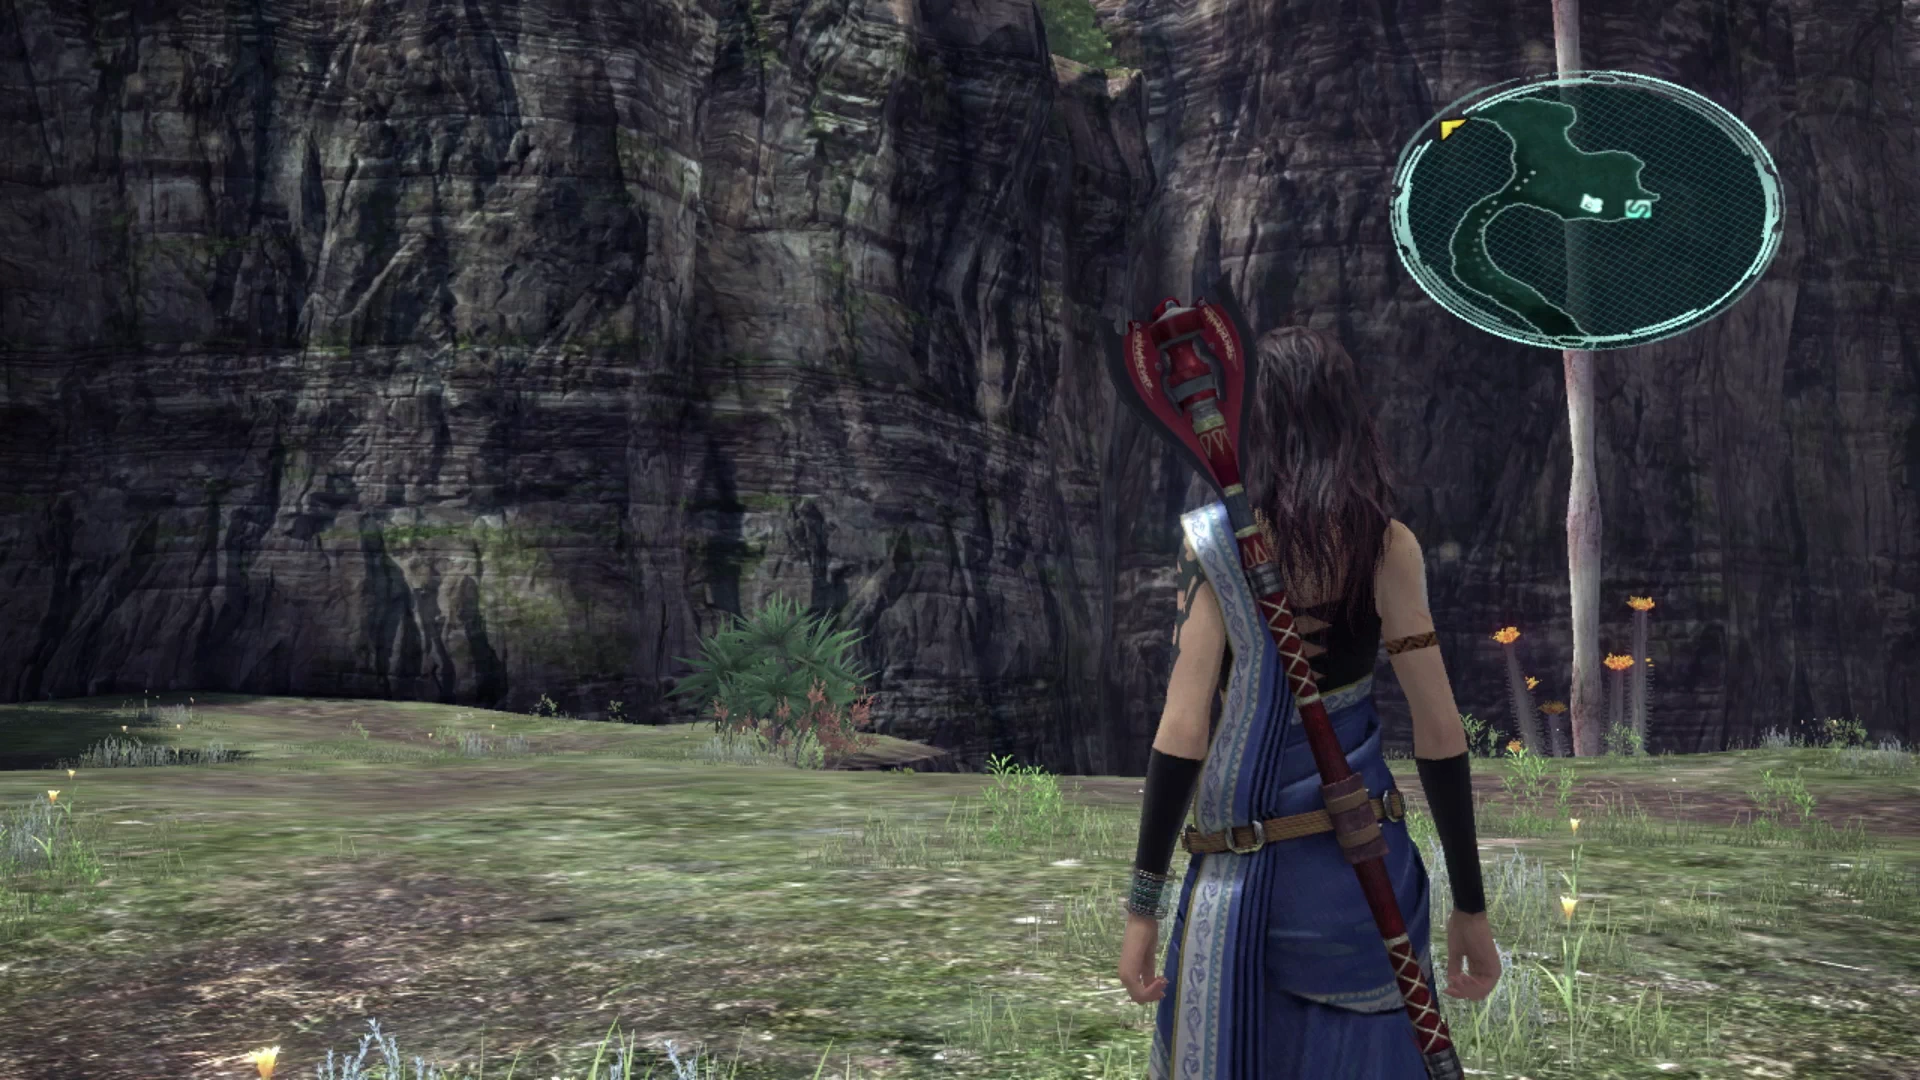
Ceiling of Sky

Follow the pathway along until you reach a Treasure Sphere that contains seven ![]() Abyssal Scales. Keep walking until you reach the next map marker.
Abyssal Scales. Keep walking until you reach the next map marker.
Helpful Hint
Enemies in these upcoming areas are going to become more and more difficult to deal with. You may want to consider using Decimation as your default starting Paradigm for some fights as this will allow your ![]() Synergist (likely Hope) to apply some very helpful buffs to your party members early in the battle.
Synergist (likely Hope) to apply some very helpful buffs to your party members early in the battle.
The Skyreach
A cutscene will start when you first enter the area. Use the ![]() Save Station to save your game and then proceed up ahead where you will find another Treasure Sphere that contains a
Save Station to save your game and then proceed up ahead where you will find another Treasure Sphere that contains a ![]() Cie’th Tear.
Cie’th Tear.
Keep following the trail into the next zones just outside of Taejin’s Tower.