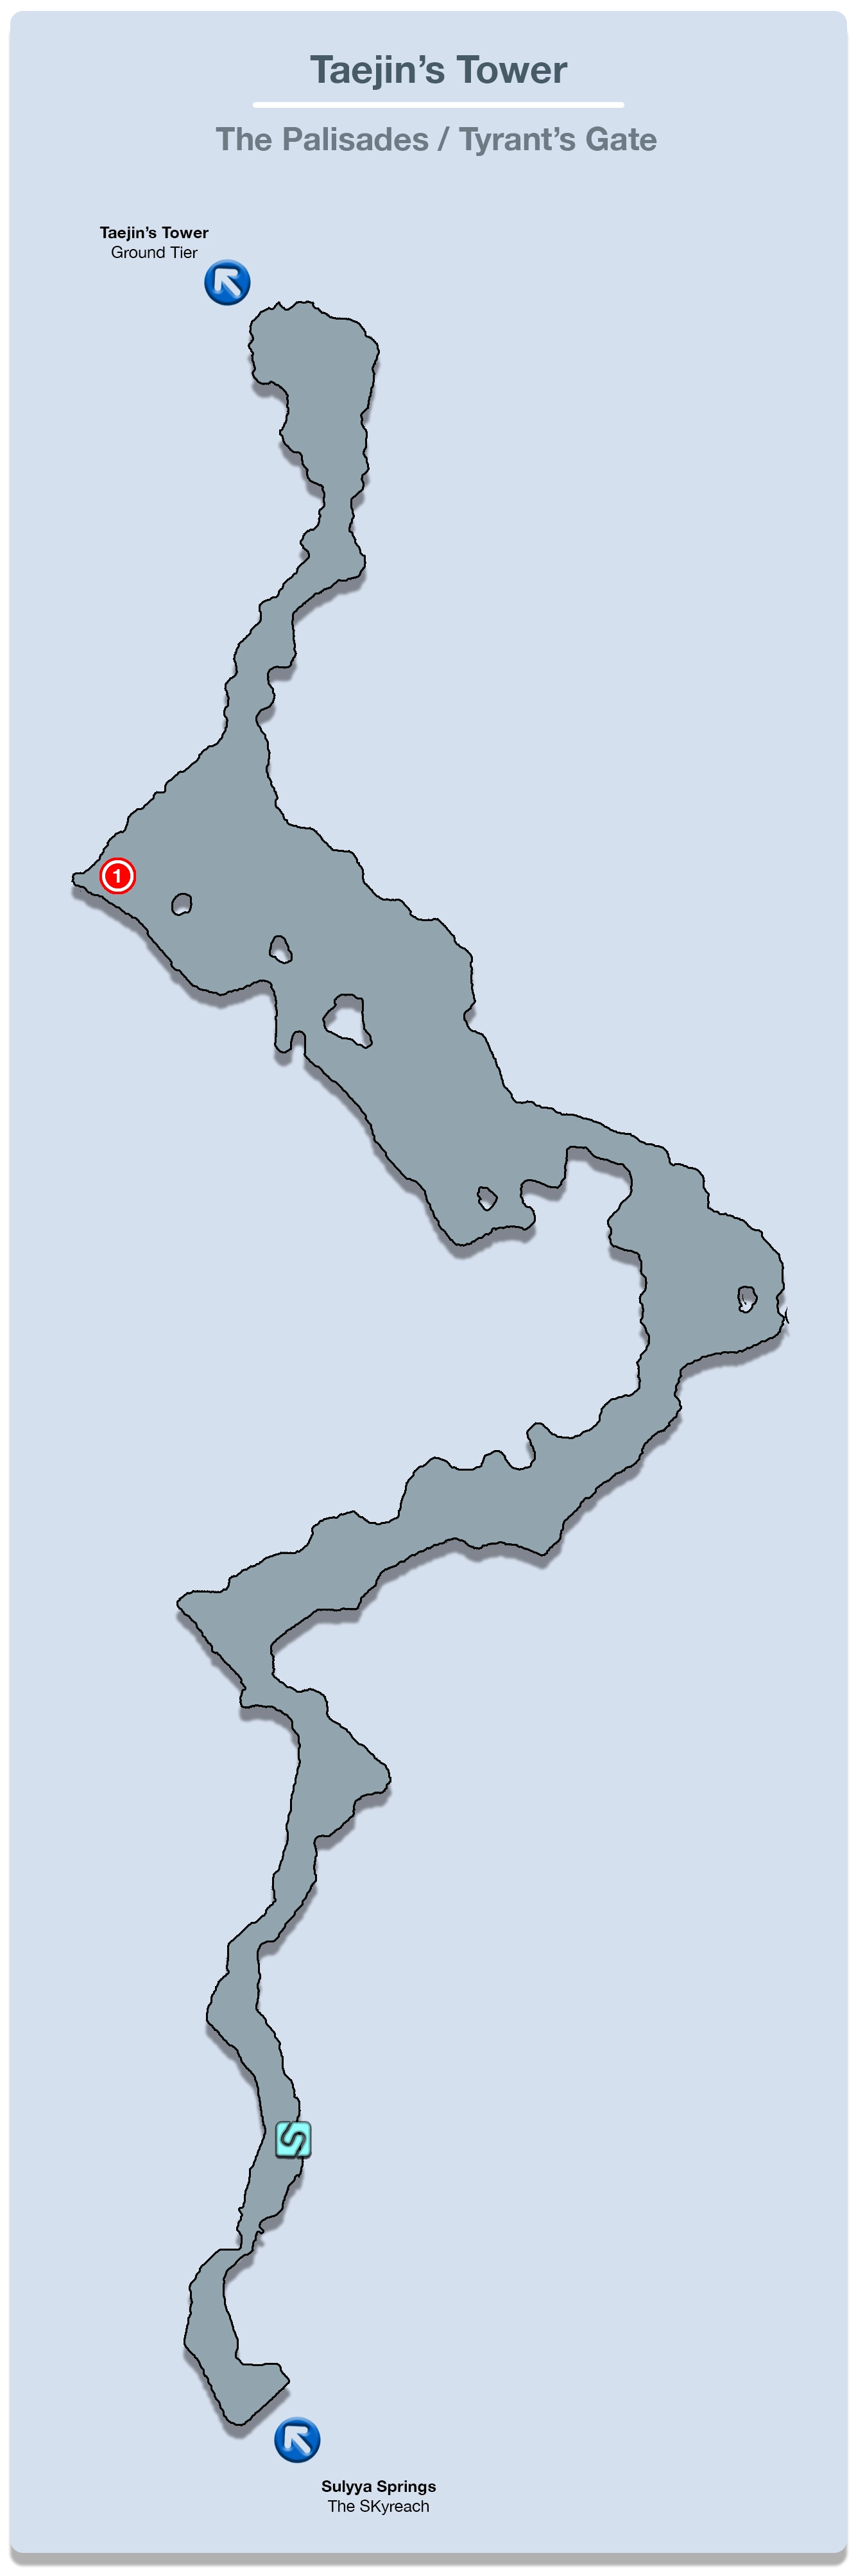
Chapter 11: Taejin’s Tower
The walkthrough for Chapter 11 is broken up into several individual parts including Vallis Media, the Archylte Steppe, Mah’habara Subterra, Sulyya Springs, Taejin’s Tower and Oerba. Use the links to jump directly to the section you are in if you have ventured too far forward or are too far back.
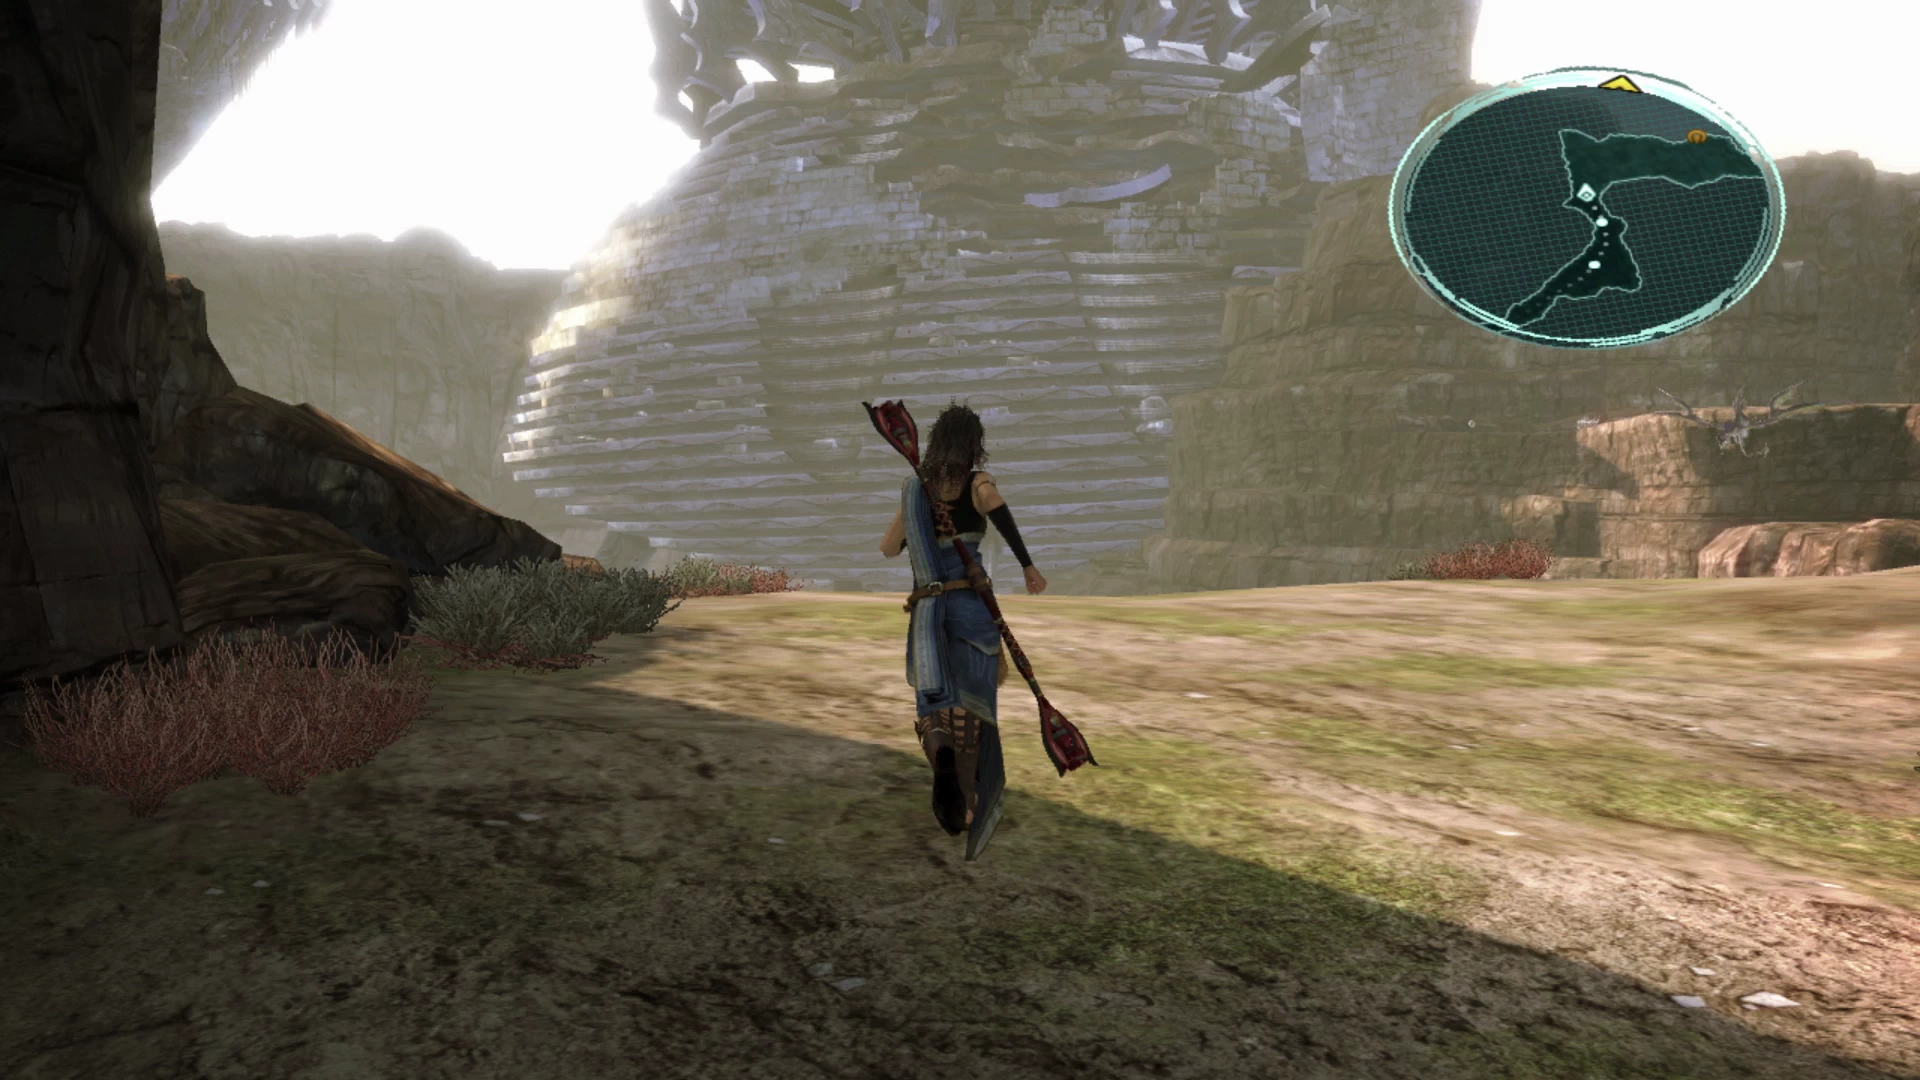
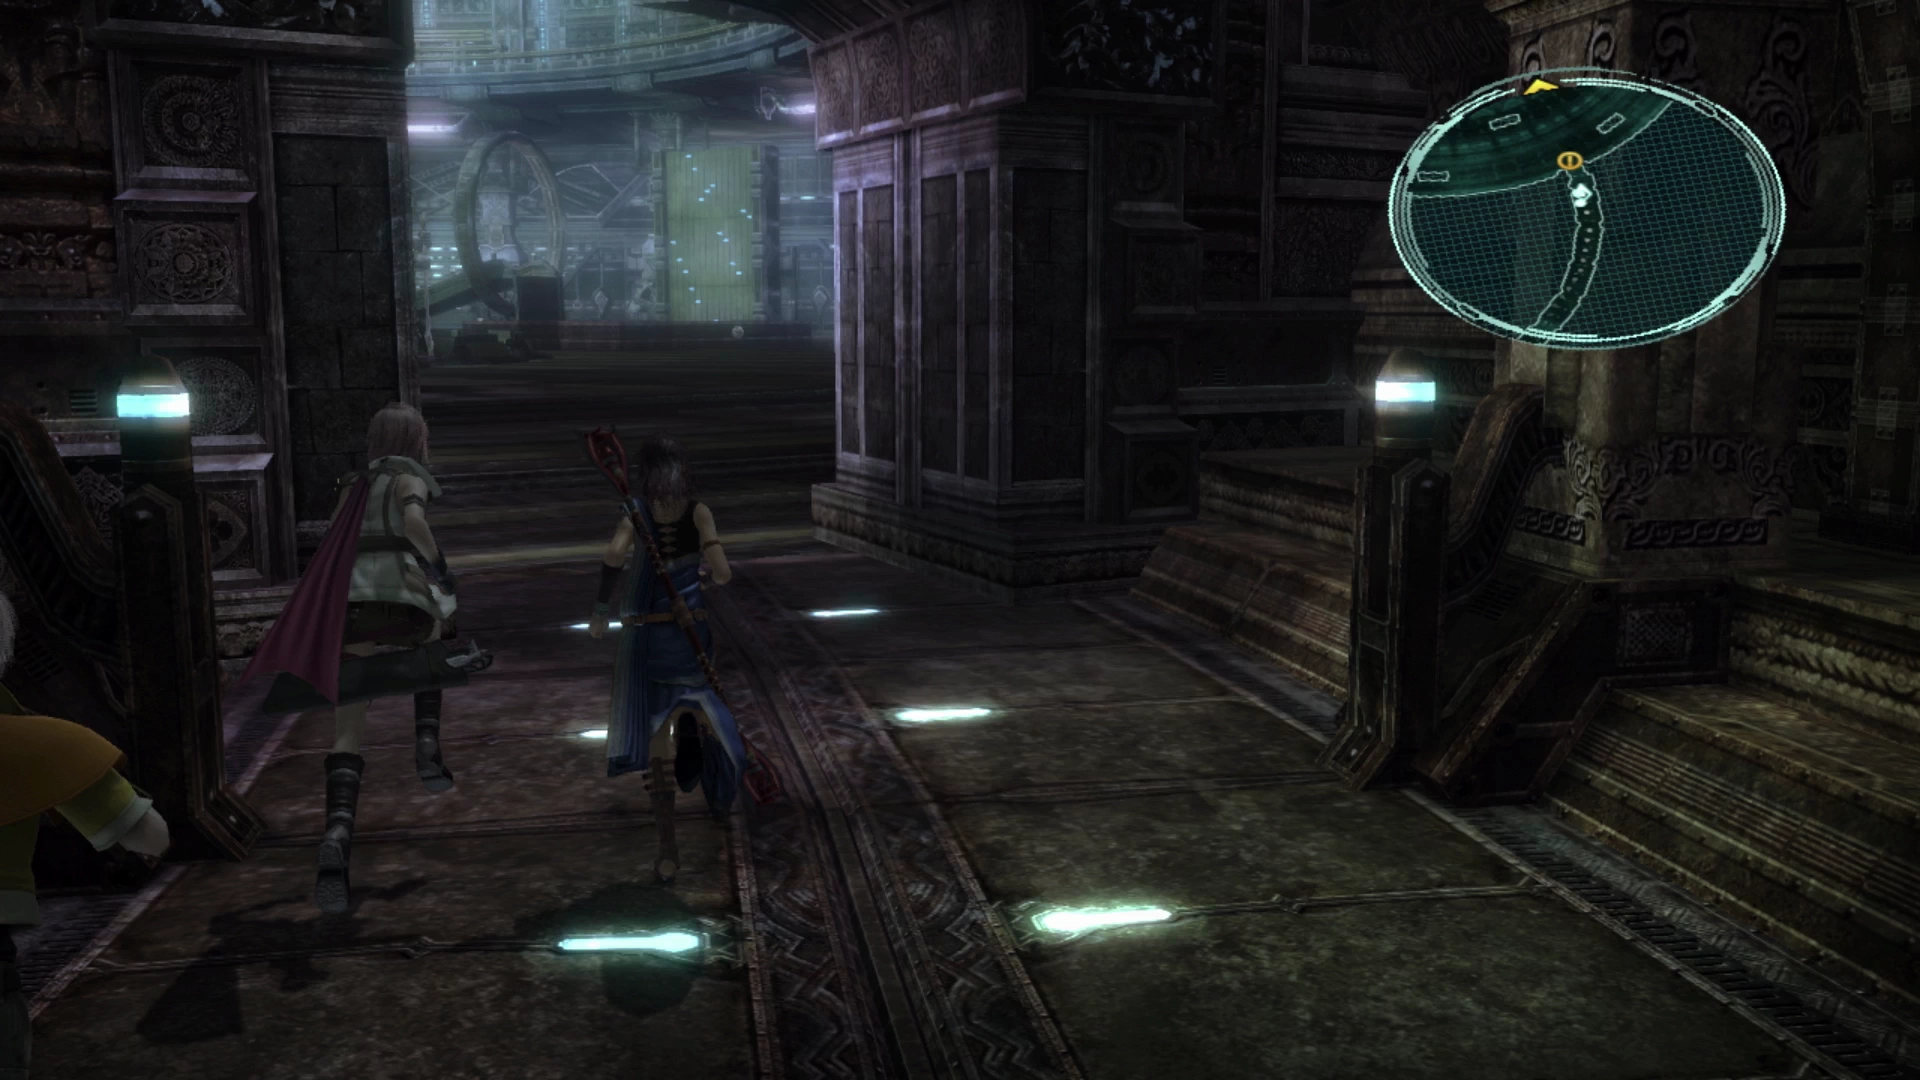
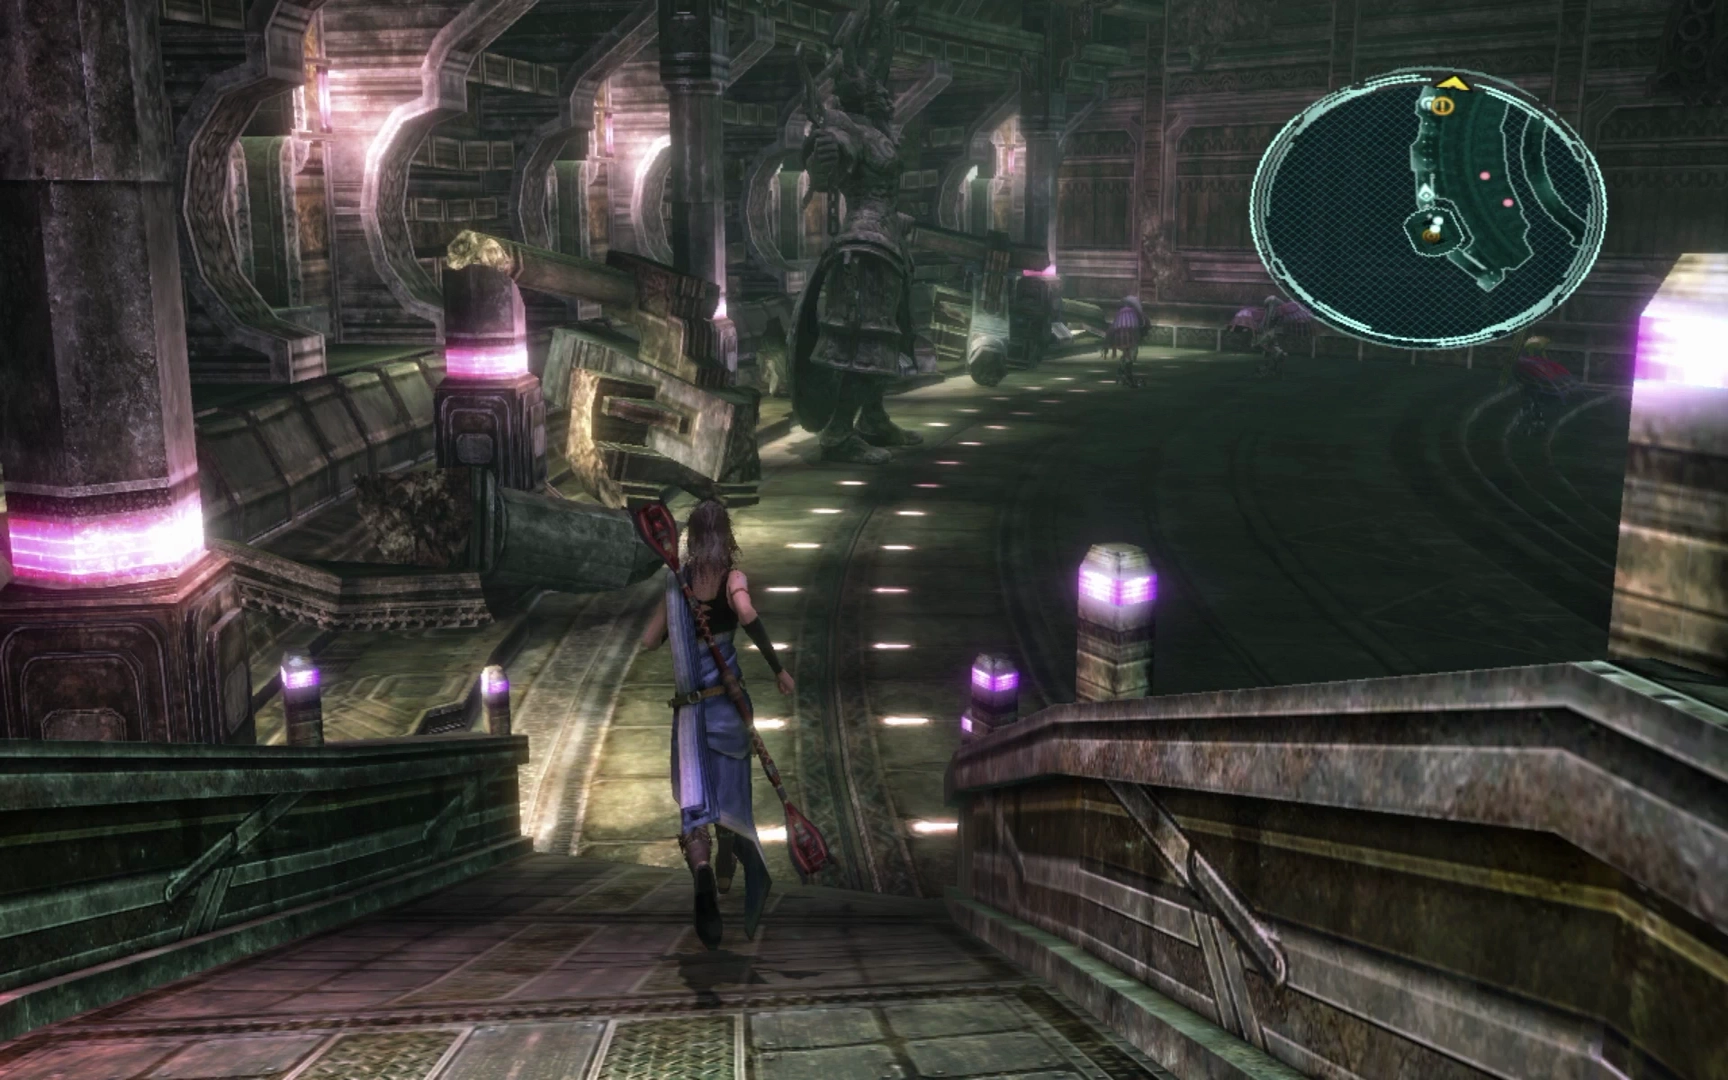
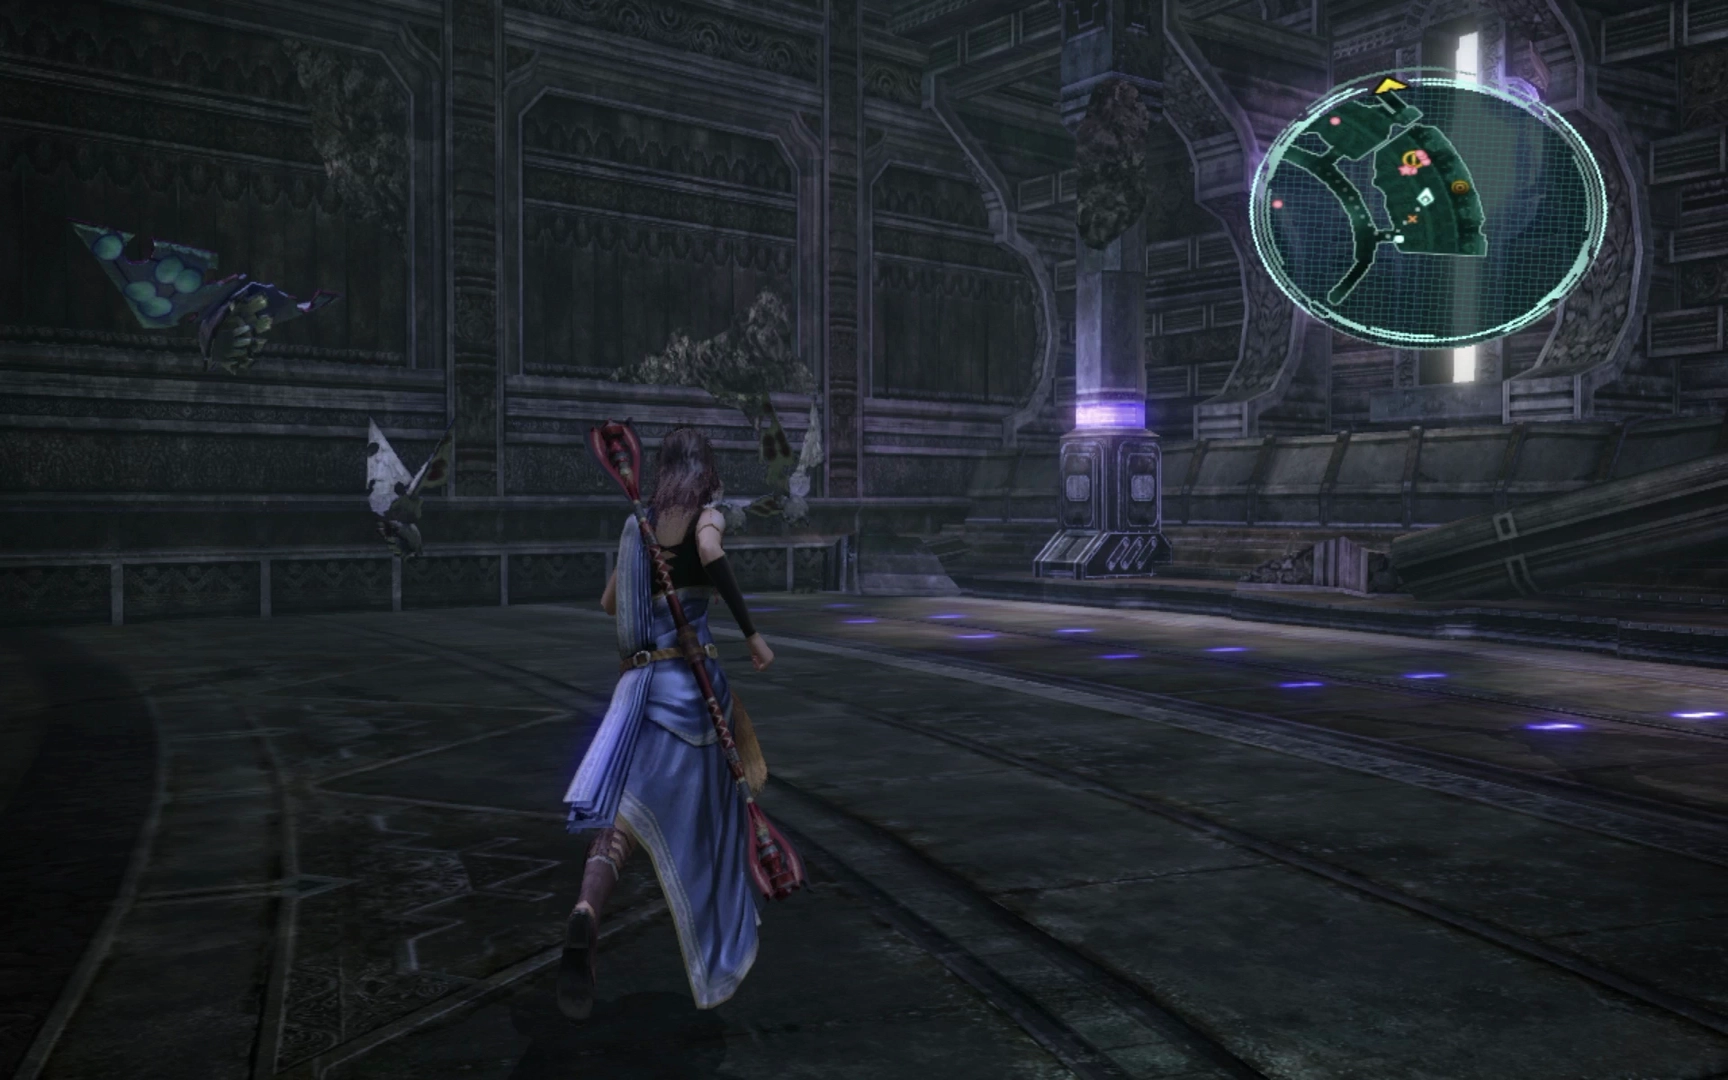
This area actually begins with a few zones that are outside the actual “Taejin’s Tower” proper, but these zones are considered part of the Tower when you pull open the mini-map.
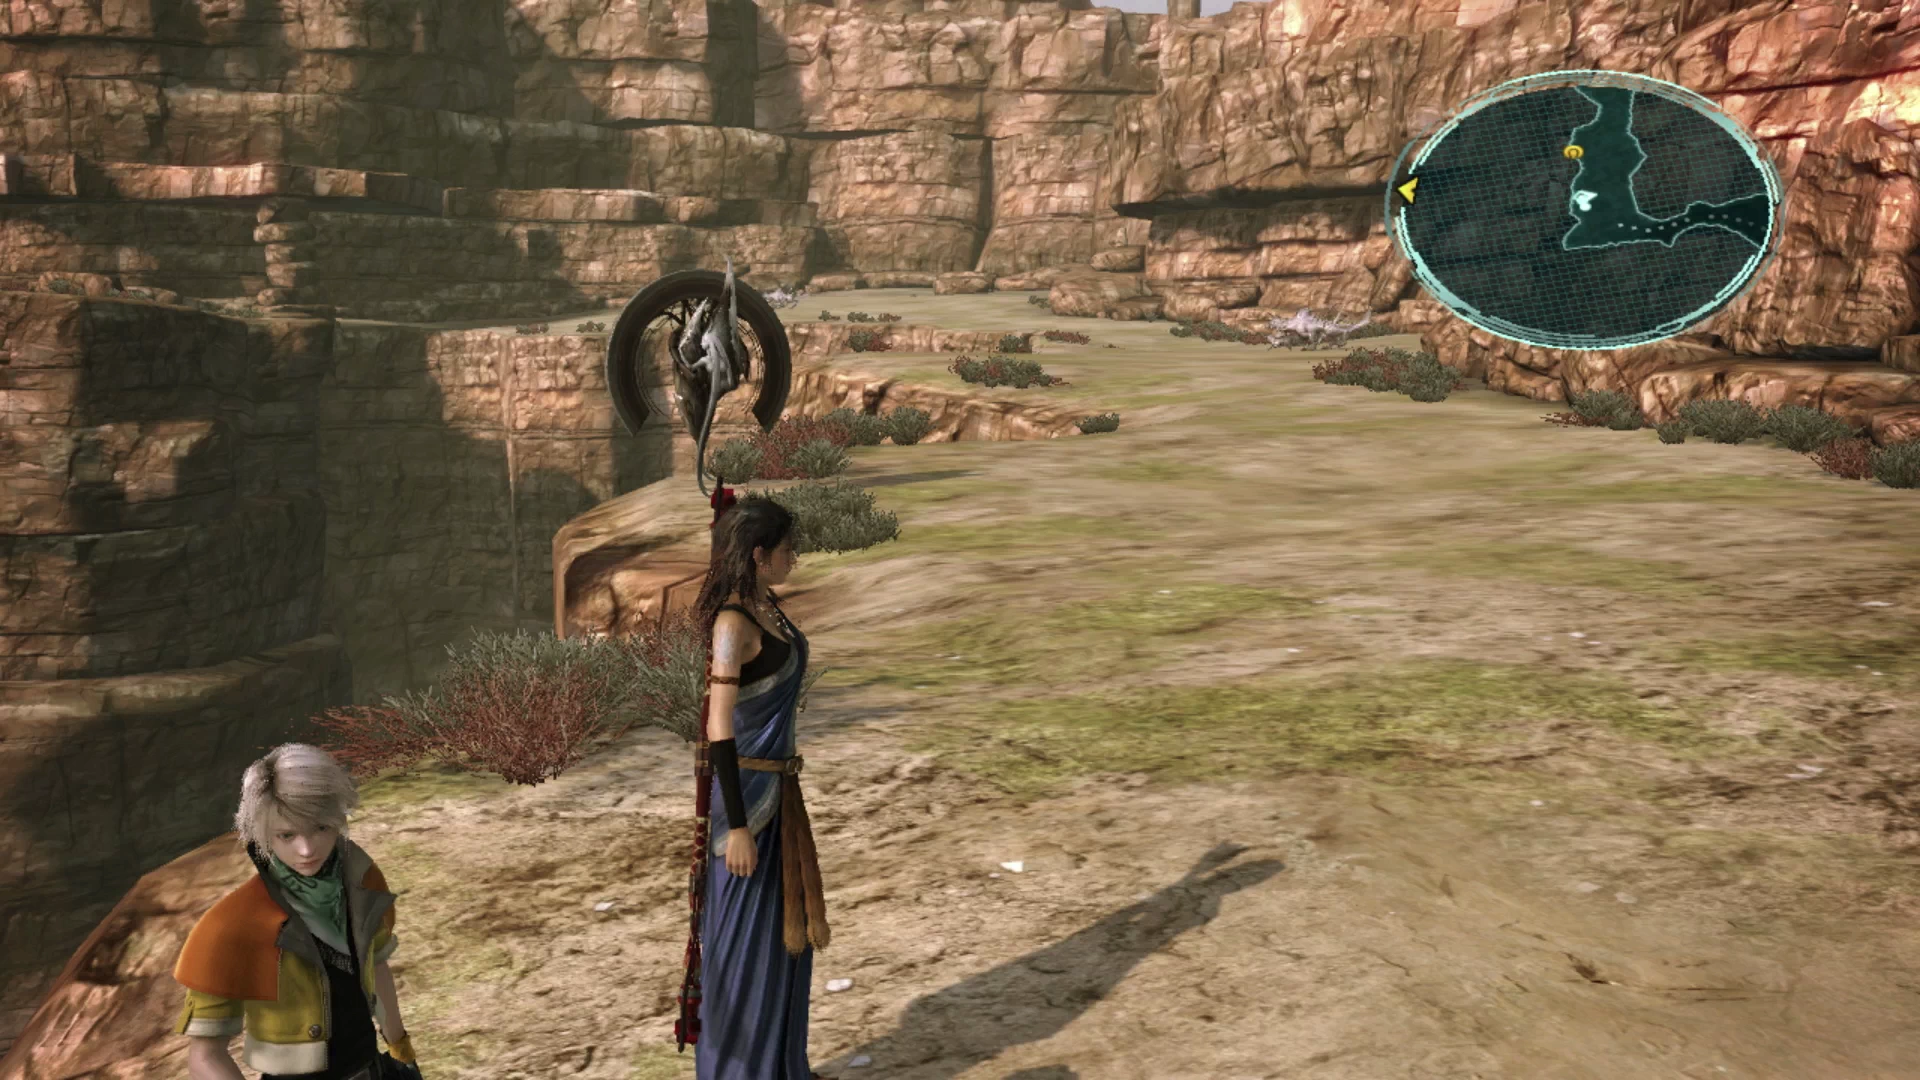
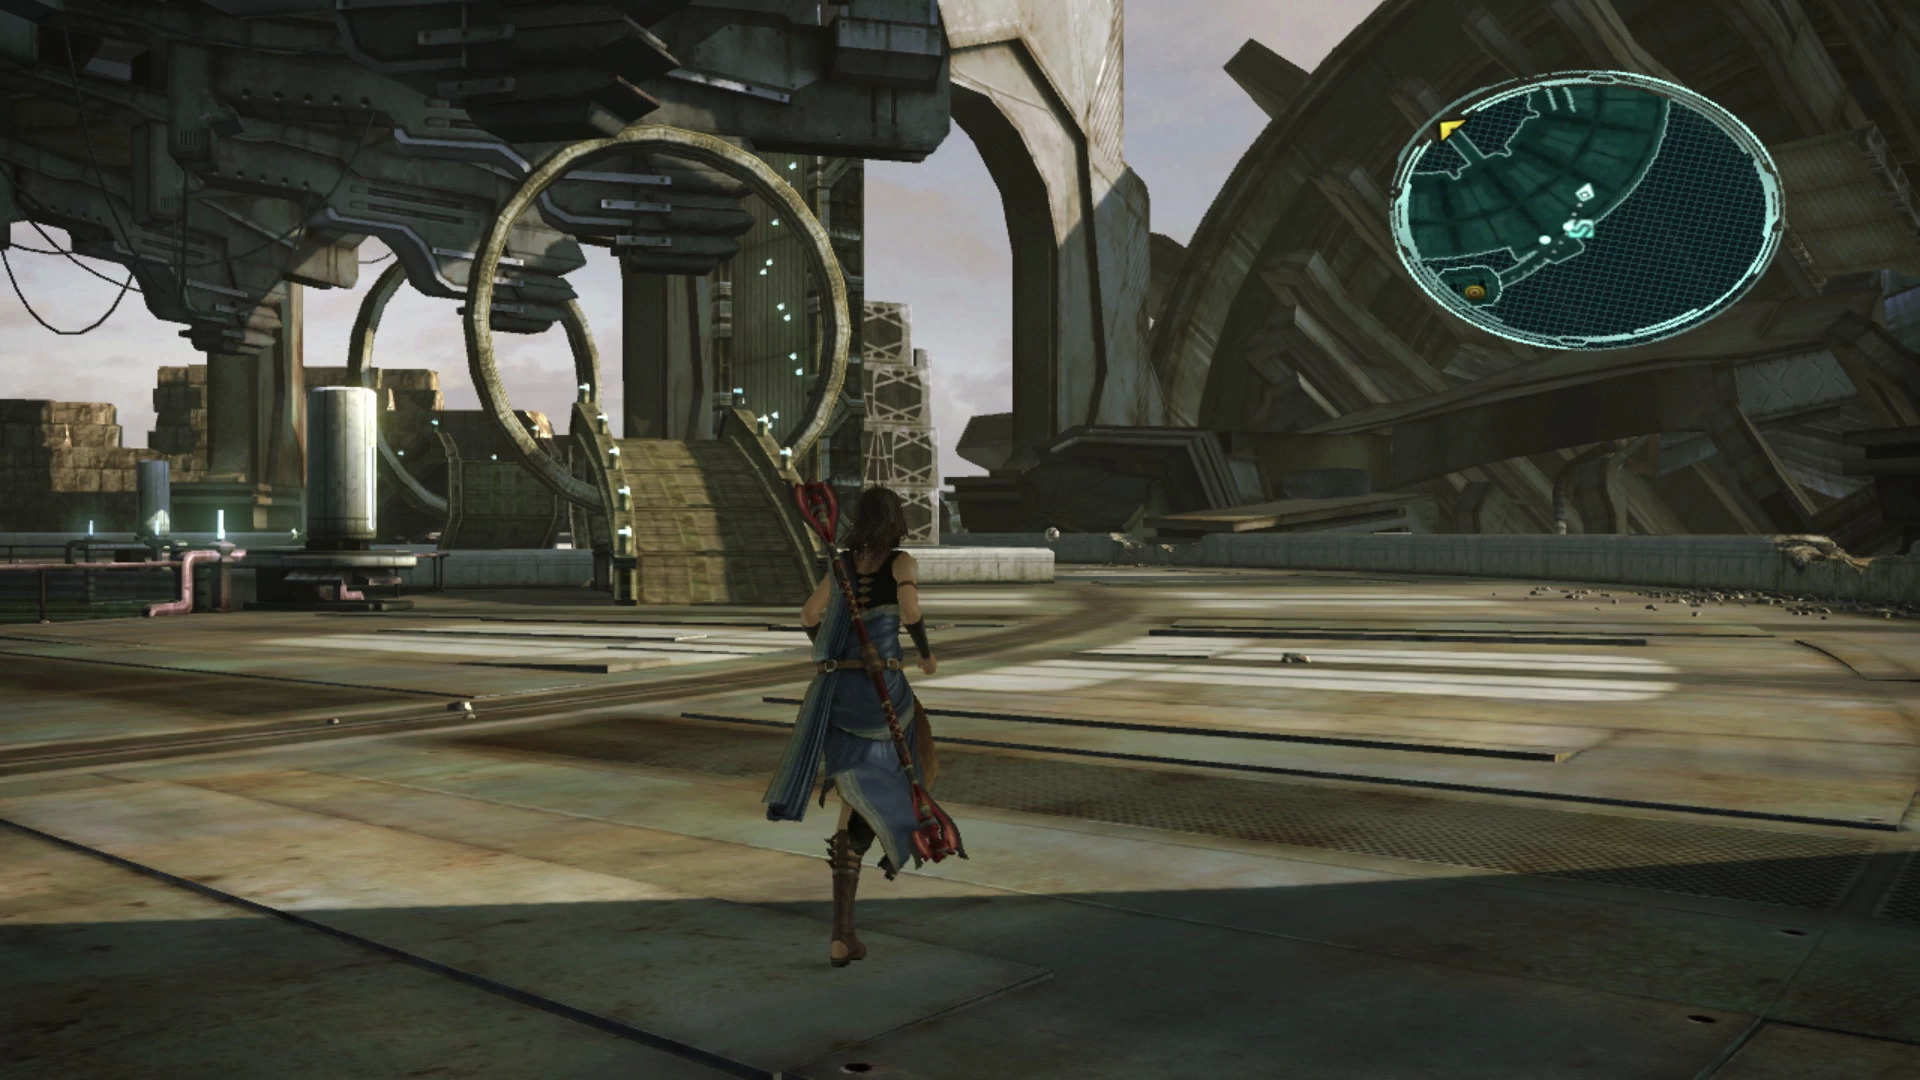
The Palisades

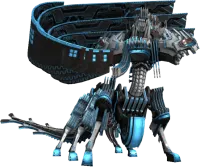
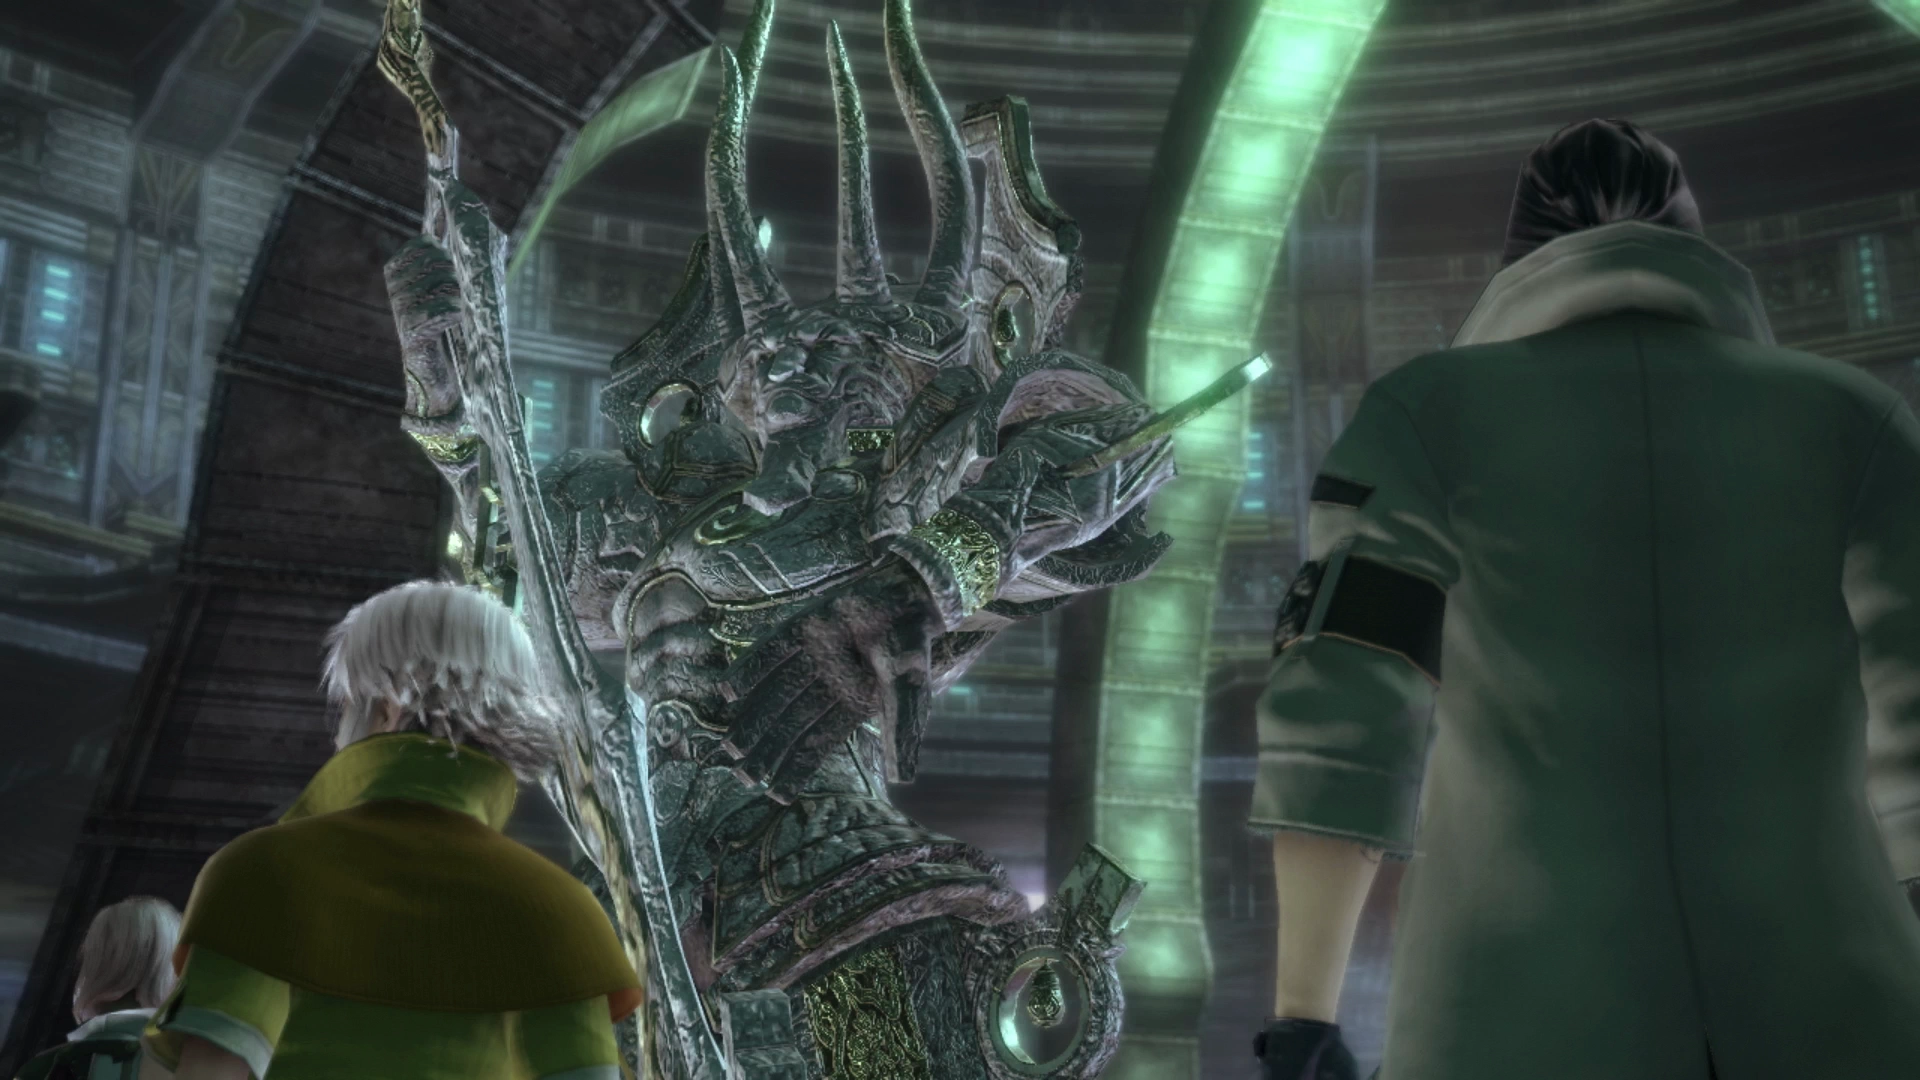
There is a ![]() Save Station as soon as you enter this area. Run past it and follow the trail along until you reach the large open area and a cutscene will begin. A large fal’Cie will make an appearance and it plays an important role in the upcoming areas of the game.
Save Station as soon as you enter this area. Run past it and follow the trail along until you reach the large open area and a cutscene will begin. A large fal’Cie will make an appearance and it plays an important role in the upcoming areas of the game.
Just up ahead is the Cie’th Stone for ![]() Mission 20 - Words Unspoken. You will need to have completed
Mission 20 - Words Unspoken. You will need to have completed ![]() Mission 18 - So Close, Yet So Far for this Mission to be active. The mark for this stone is the Goblin Chieftain and it can be found along the pathway just up ahead.
Mission 18 - So Close, Yet So Far for this Mission to be active. The mark for this stone is the Goblin Chieftain and it can be found along the pathway just up ahead.
Helpful Hint
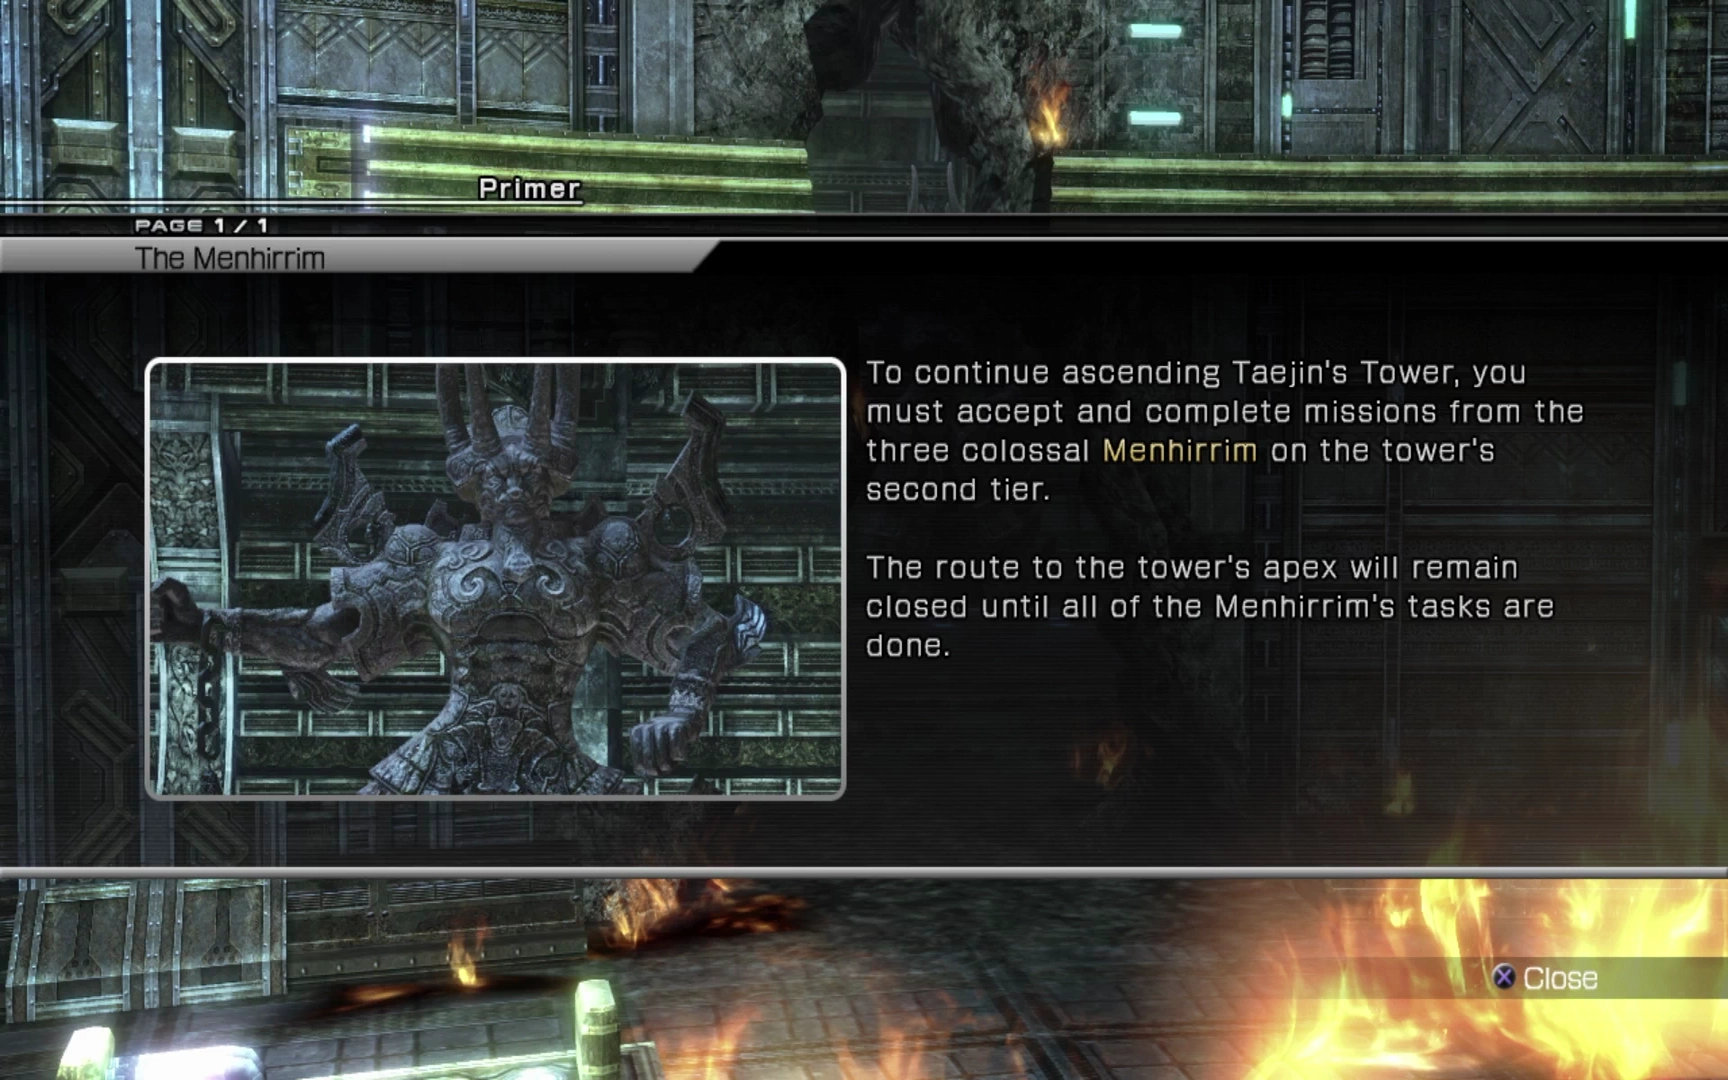
Many of the upcoming Missions are offered by the Menhirrim (instead of Cie’th Stones) and they have marks that are either found automatically as you continue moving through the zone or, for some of the Missions, are mandatory to complete to progress the story.
To make the guide easier to navigate, the instructions for completing each of these Missions are included right on this page, but you can always navigate to the individual Missions using the hyperlinks or refer to the Mission section for more information.
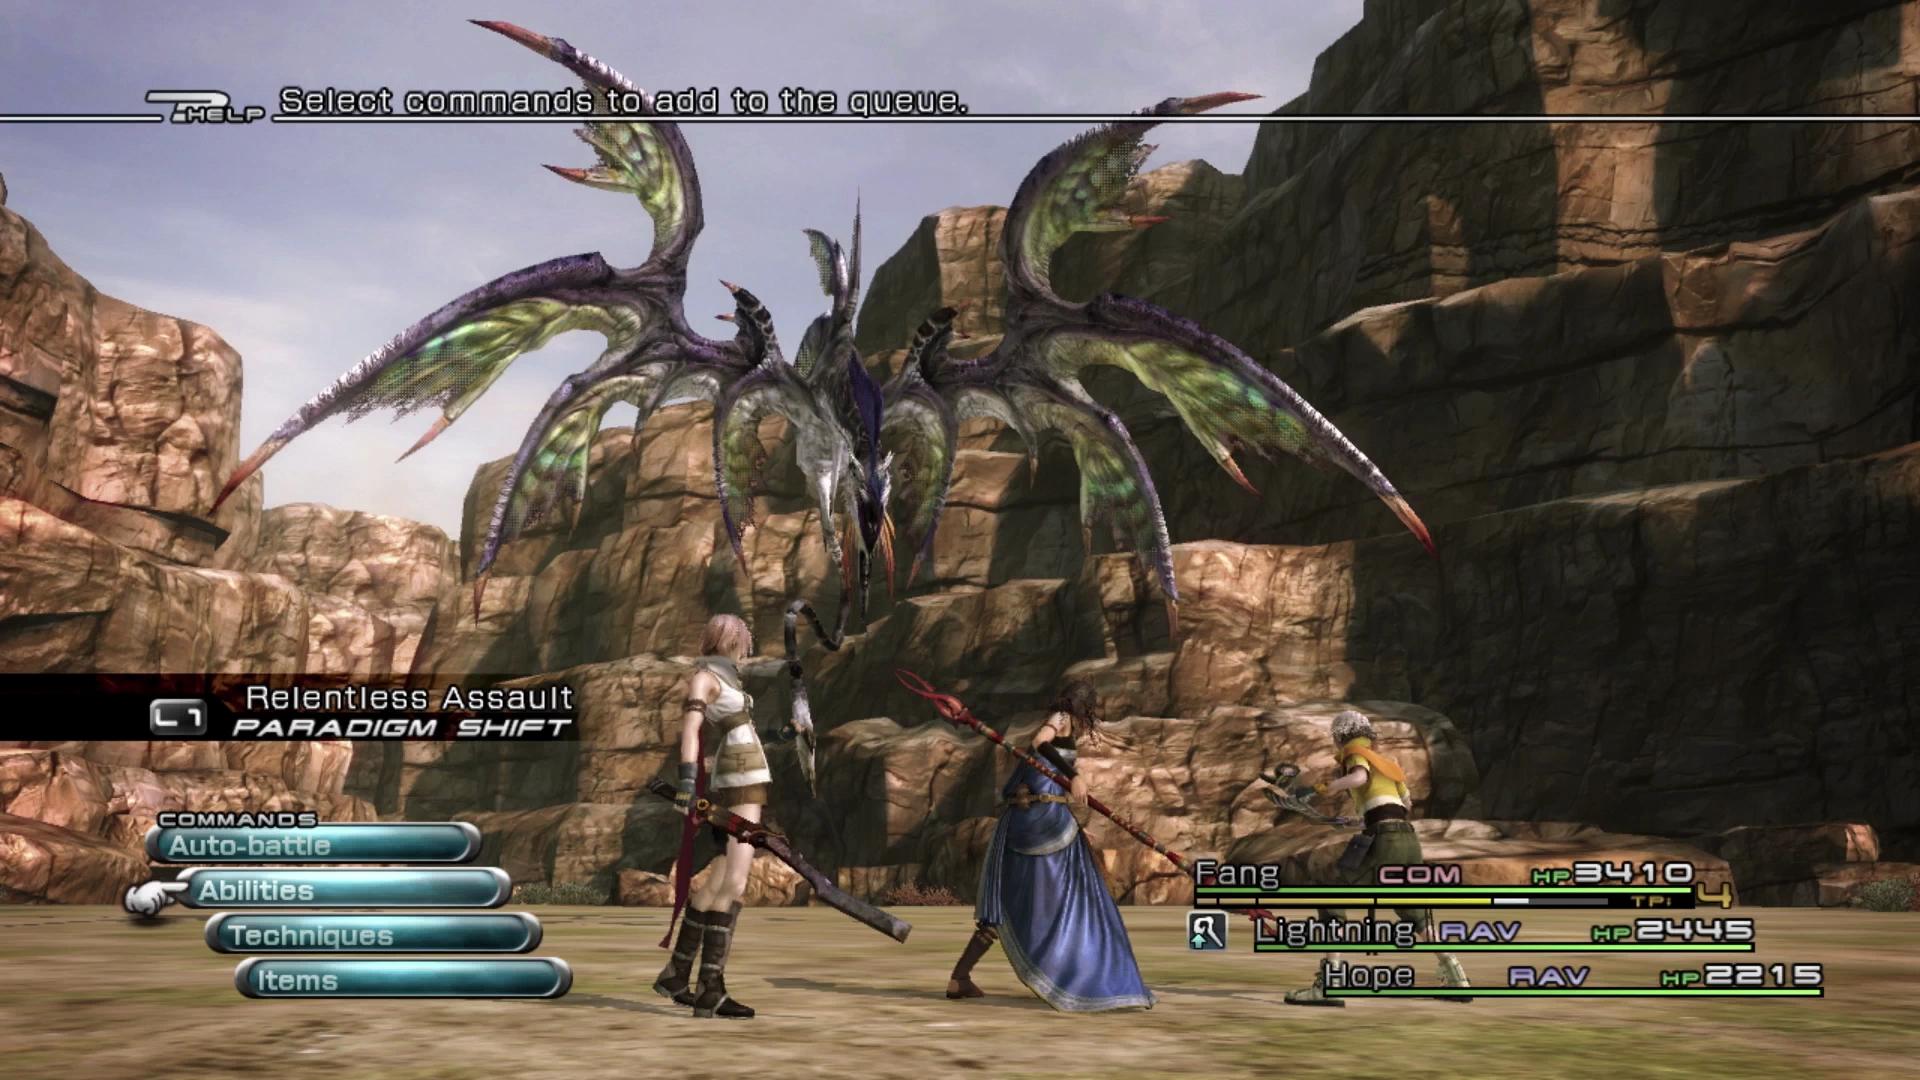
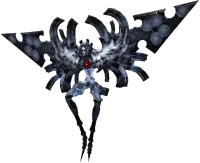
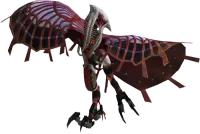
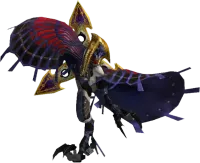
Just up ahead is a single Mánagarmr enemy to defeat. These creatures can inflict negative status effects like ![]() Imperil with their “Accursed Breath” attack but are otherwise relatively easy to defeat. Further down the pathway is another one that you will need to defeat.
Imperil with their “Accursed Breath” attack but are otherwise relatively easy to defeat. Further down the pathway is another one that you will need to defeat.
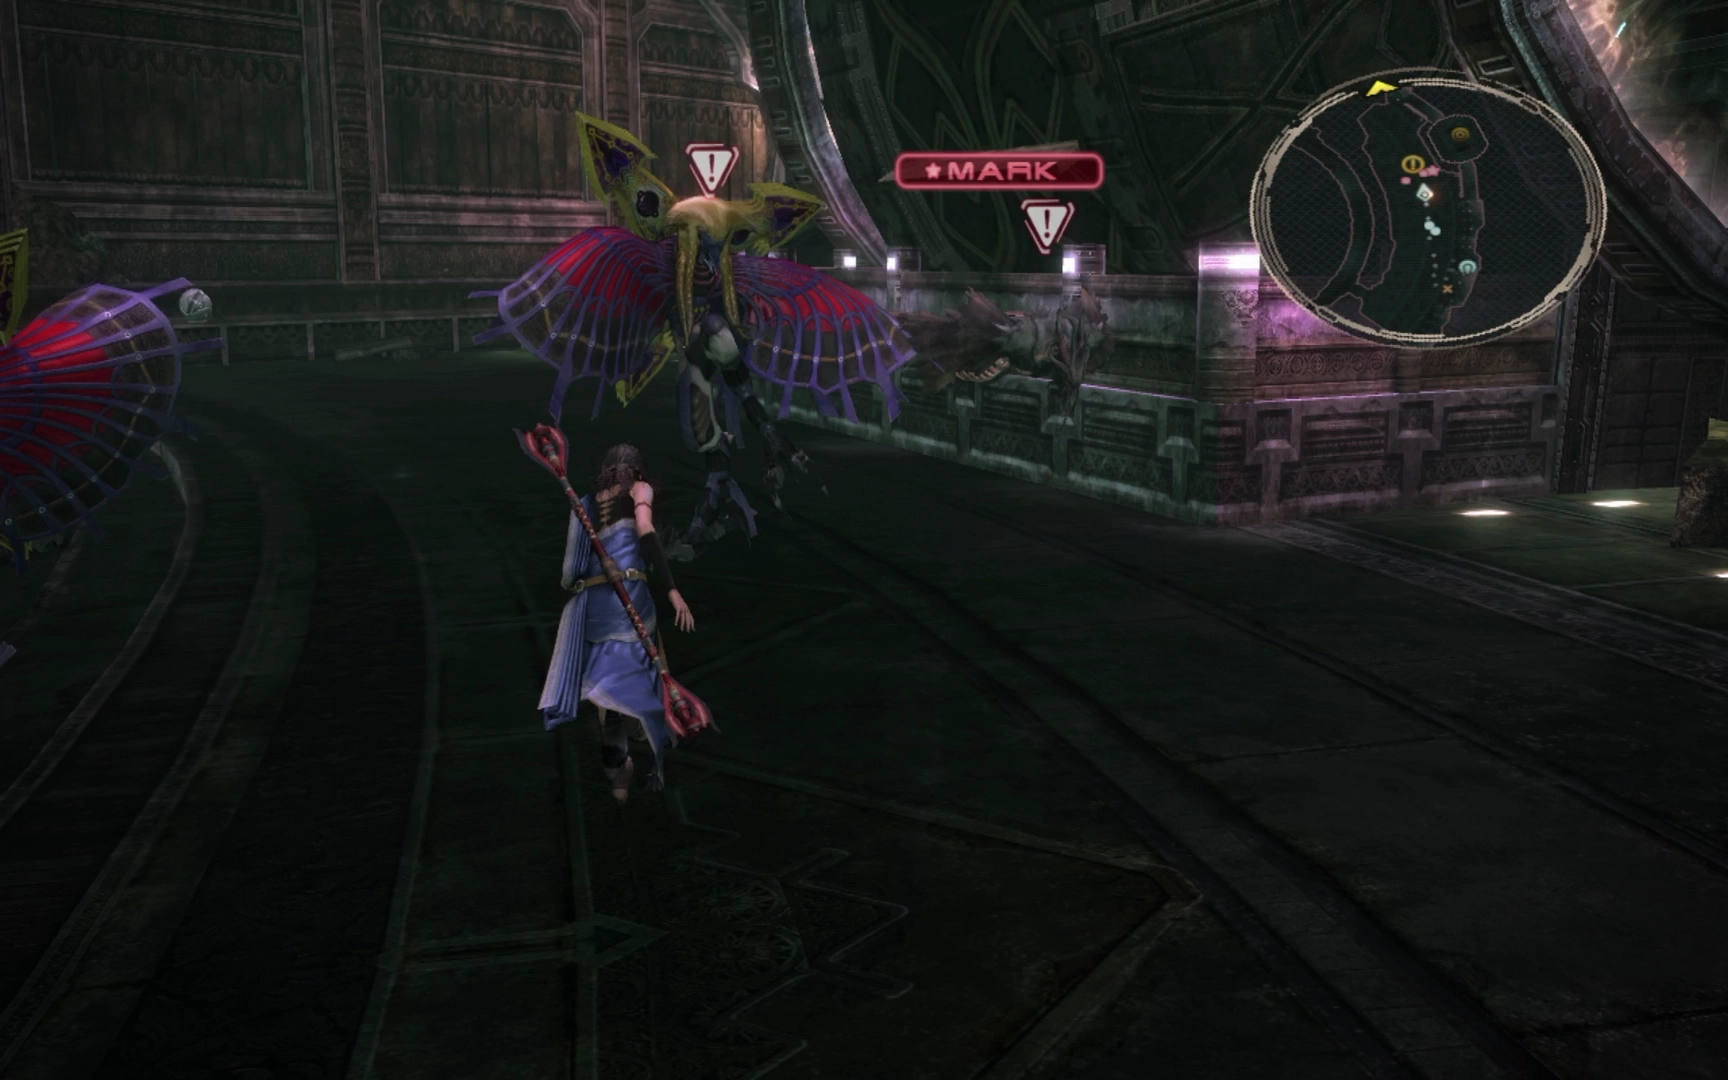
Keep following the Palisades pathway along the cliff until you’re ambushed by the next nearby flying enemy, an “Amphisbaena.” Just like the Mánagarmr from before, your party members may be hit by negative status effects.
You can switch Hope over to his ![]() Medic role and, assuming he’s not distracted healing other characters to keep them alive, he will start casting
Medic role and, assuming he’s not distracted healing other characters to keep them alive, he will start casting ![]() Esuna to clear away negative status effects. Remember that you can also use
Esuna to clear away negative status effects. Remember that you can also use ![]() Dispelga in these situations if things get out of hand.
Dispelga in these situations if things get out of hand.
The mark for ![]() Mission 20 - Words Unspoken, the Goblin Chieftain, is just up ahead on the left side of the cliffs unless you can’t activate the stone, in which case the enemies you will face include another Amphisbaena paired with a Mánagarmr.
Mission 20 - Words Unspoken, the Goblin Chieftain, is just up ahead on the left side of the cliffs unless you can’t activate the stone, in which case the enemies you will face include another Amphisbaena paired with a Mánagarmr.
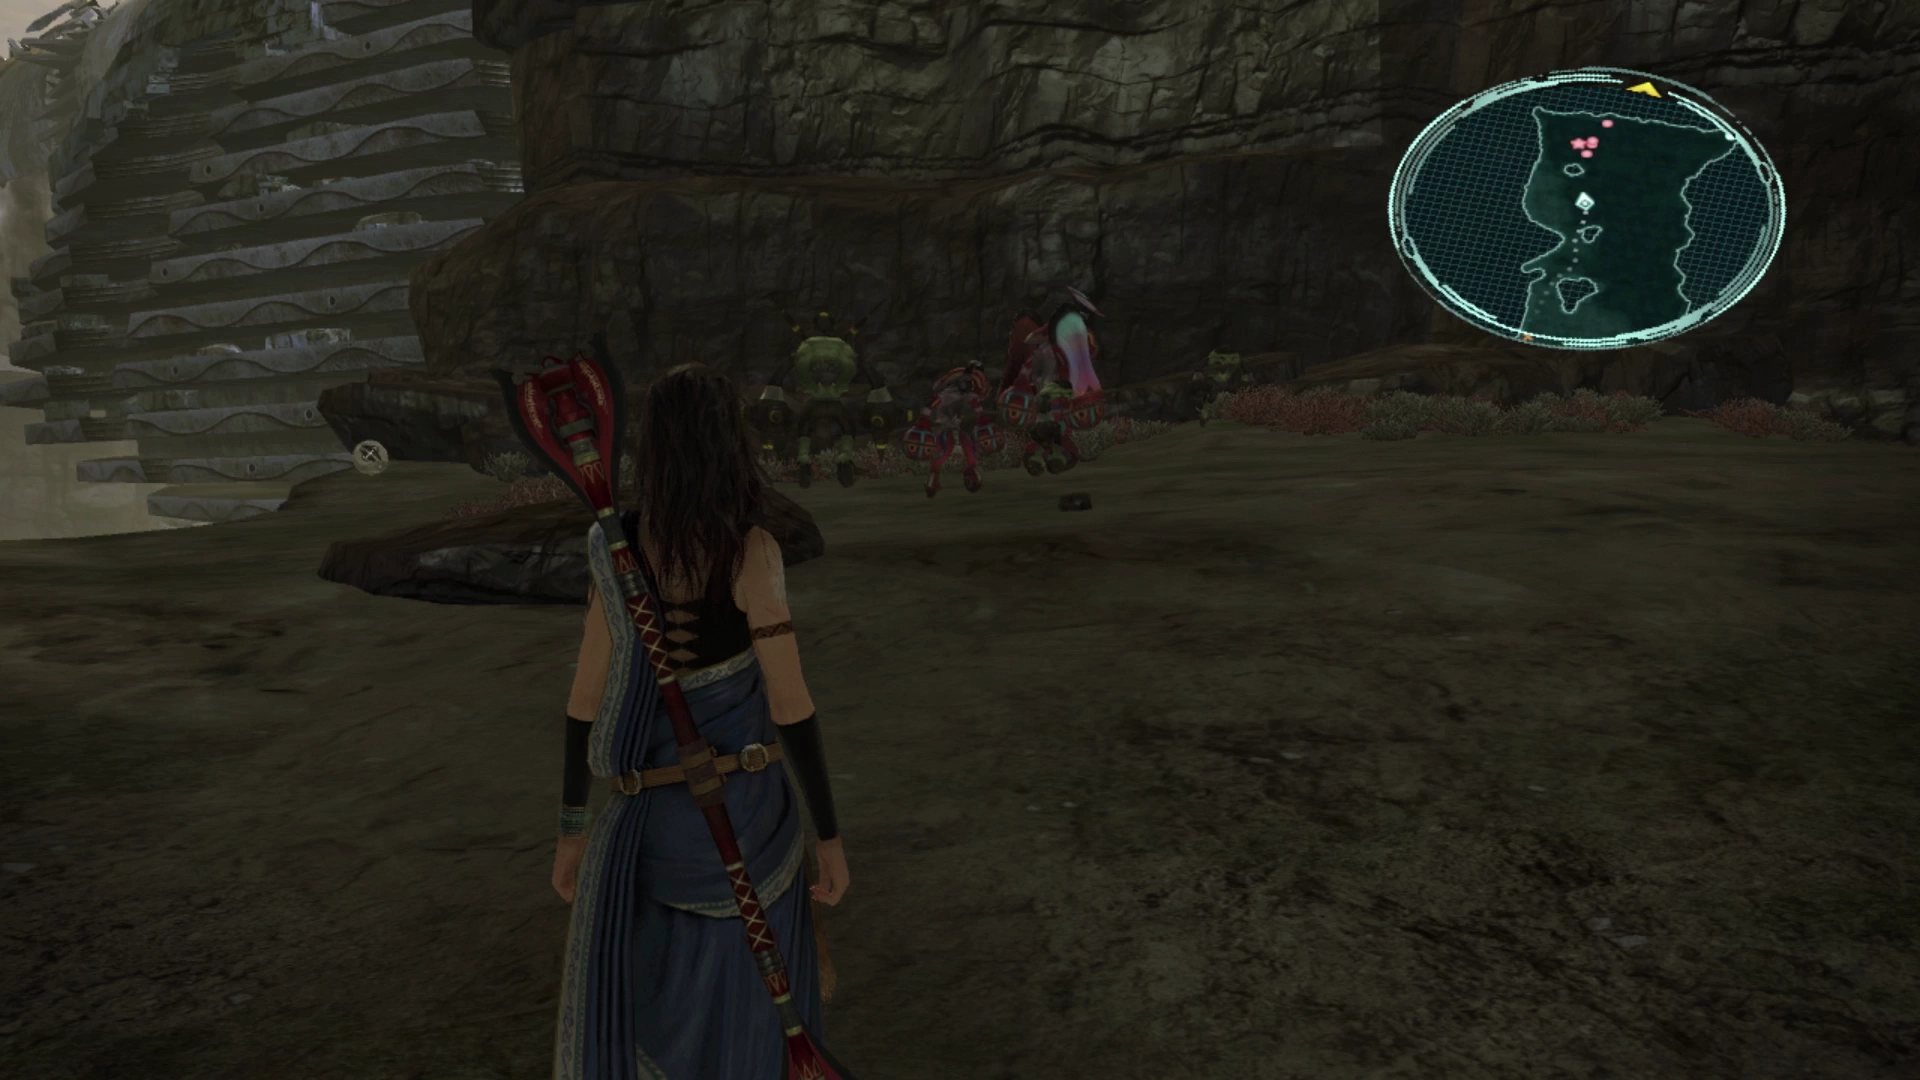
The marks include a Chieftain Goblin with two Goblins and a Munchkin Maestro with a Munchkin. Focus on defeating the three smaller enemies (Goblins and Munchkins) first. The five enemies can push out a high amount of damage which you can mitigate by buffing your party at the start of the fight with a ![]() Synergist.
Synergist.
Open the Treasure Sphere behind the group after the fight to obtain twenty ![]() Sinister Fangs and then continue into the next area just in front of the Tower.
Sinister Fangs and then continue into the next area just in front of the Tower.
The Tyrant’s Gate
There are two Mánagarmr just out front of the gate to defeat before you can head into the tower proper.
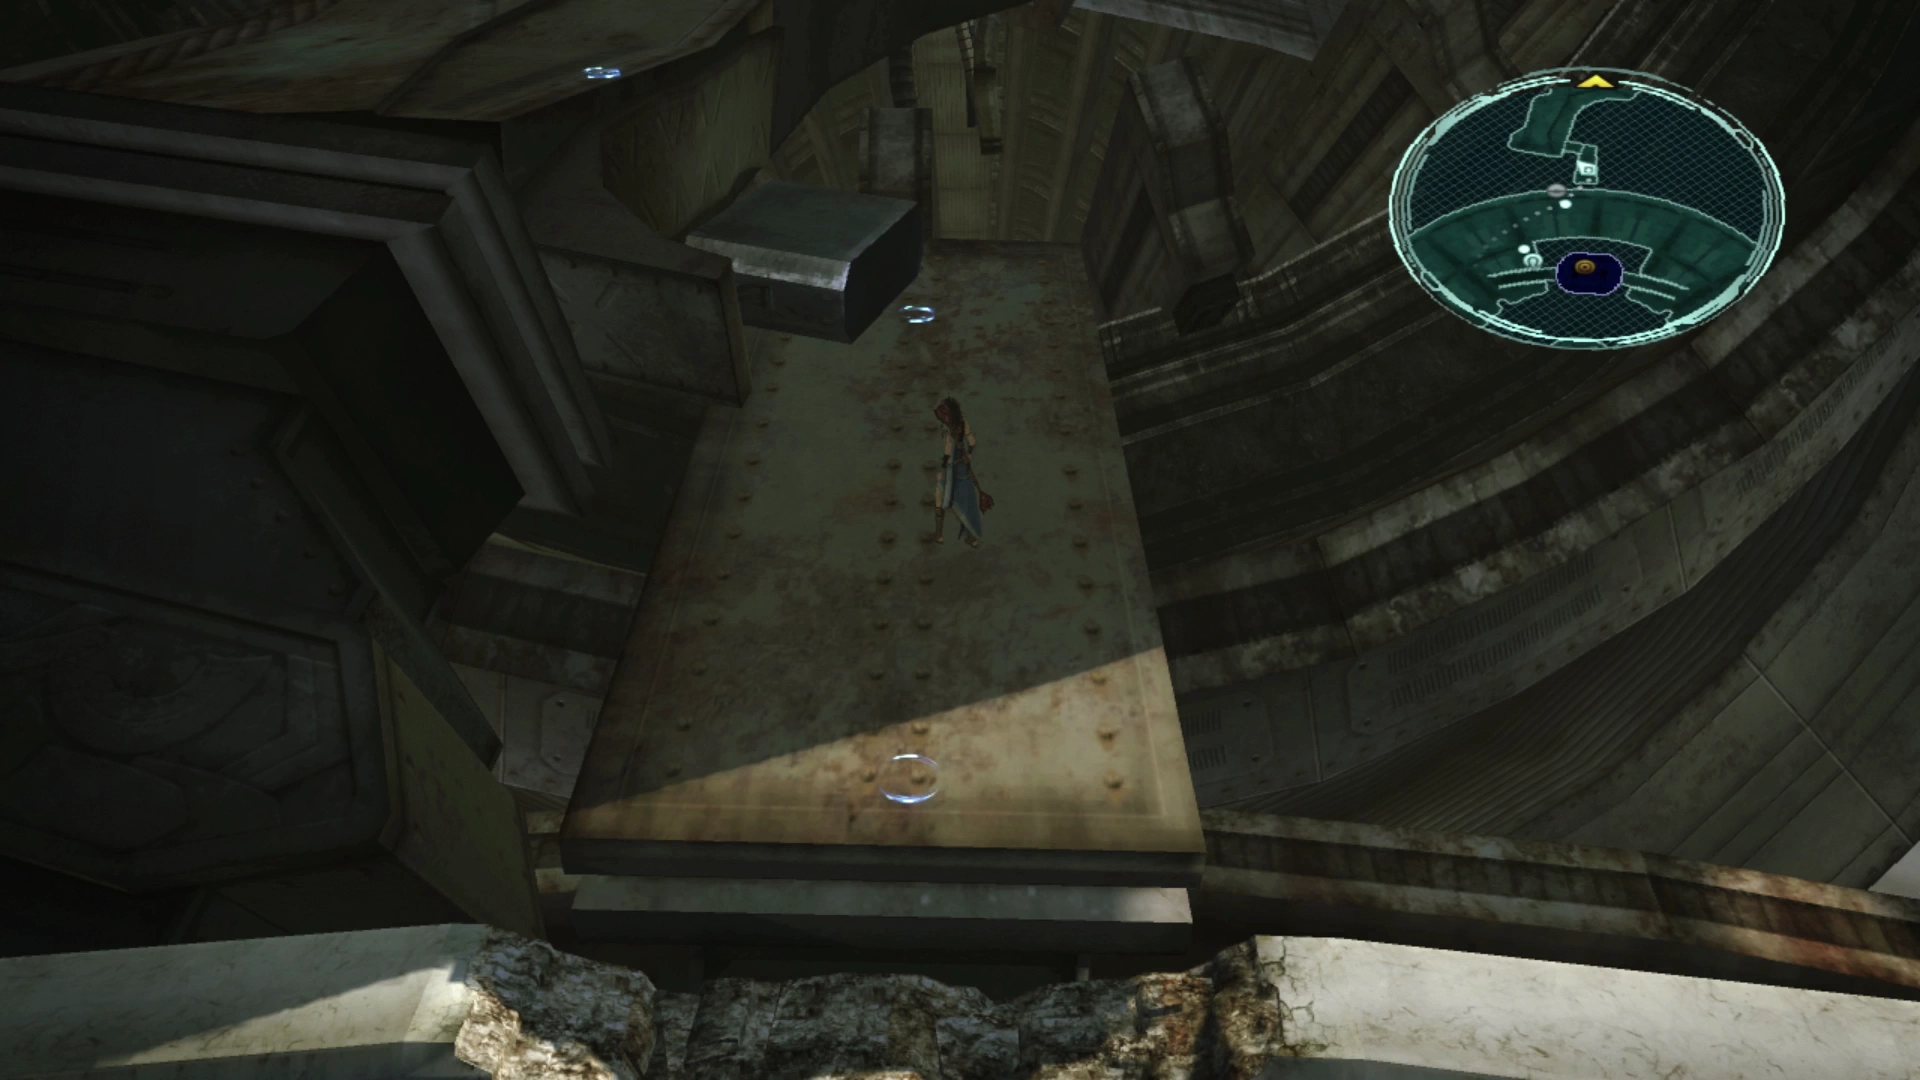
Ground Tier
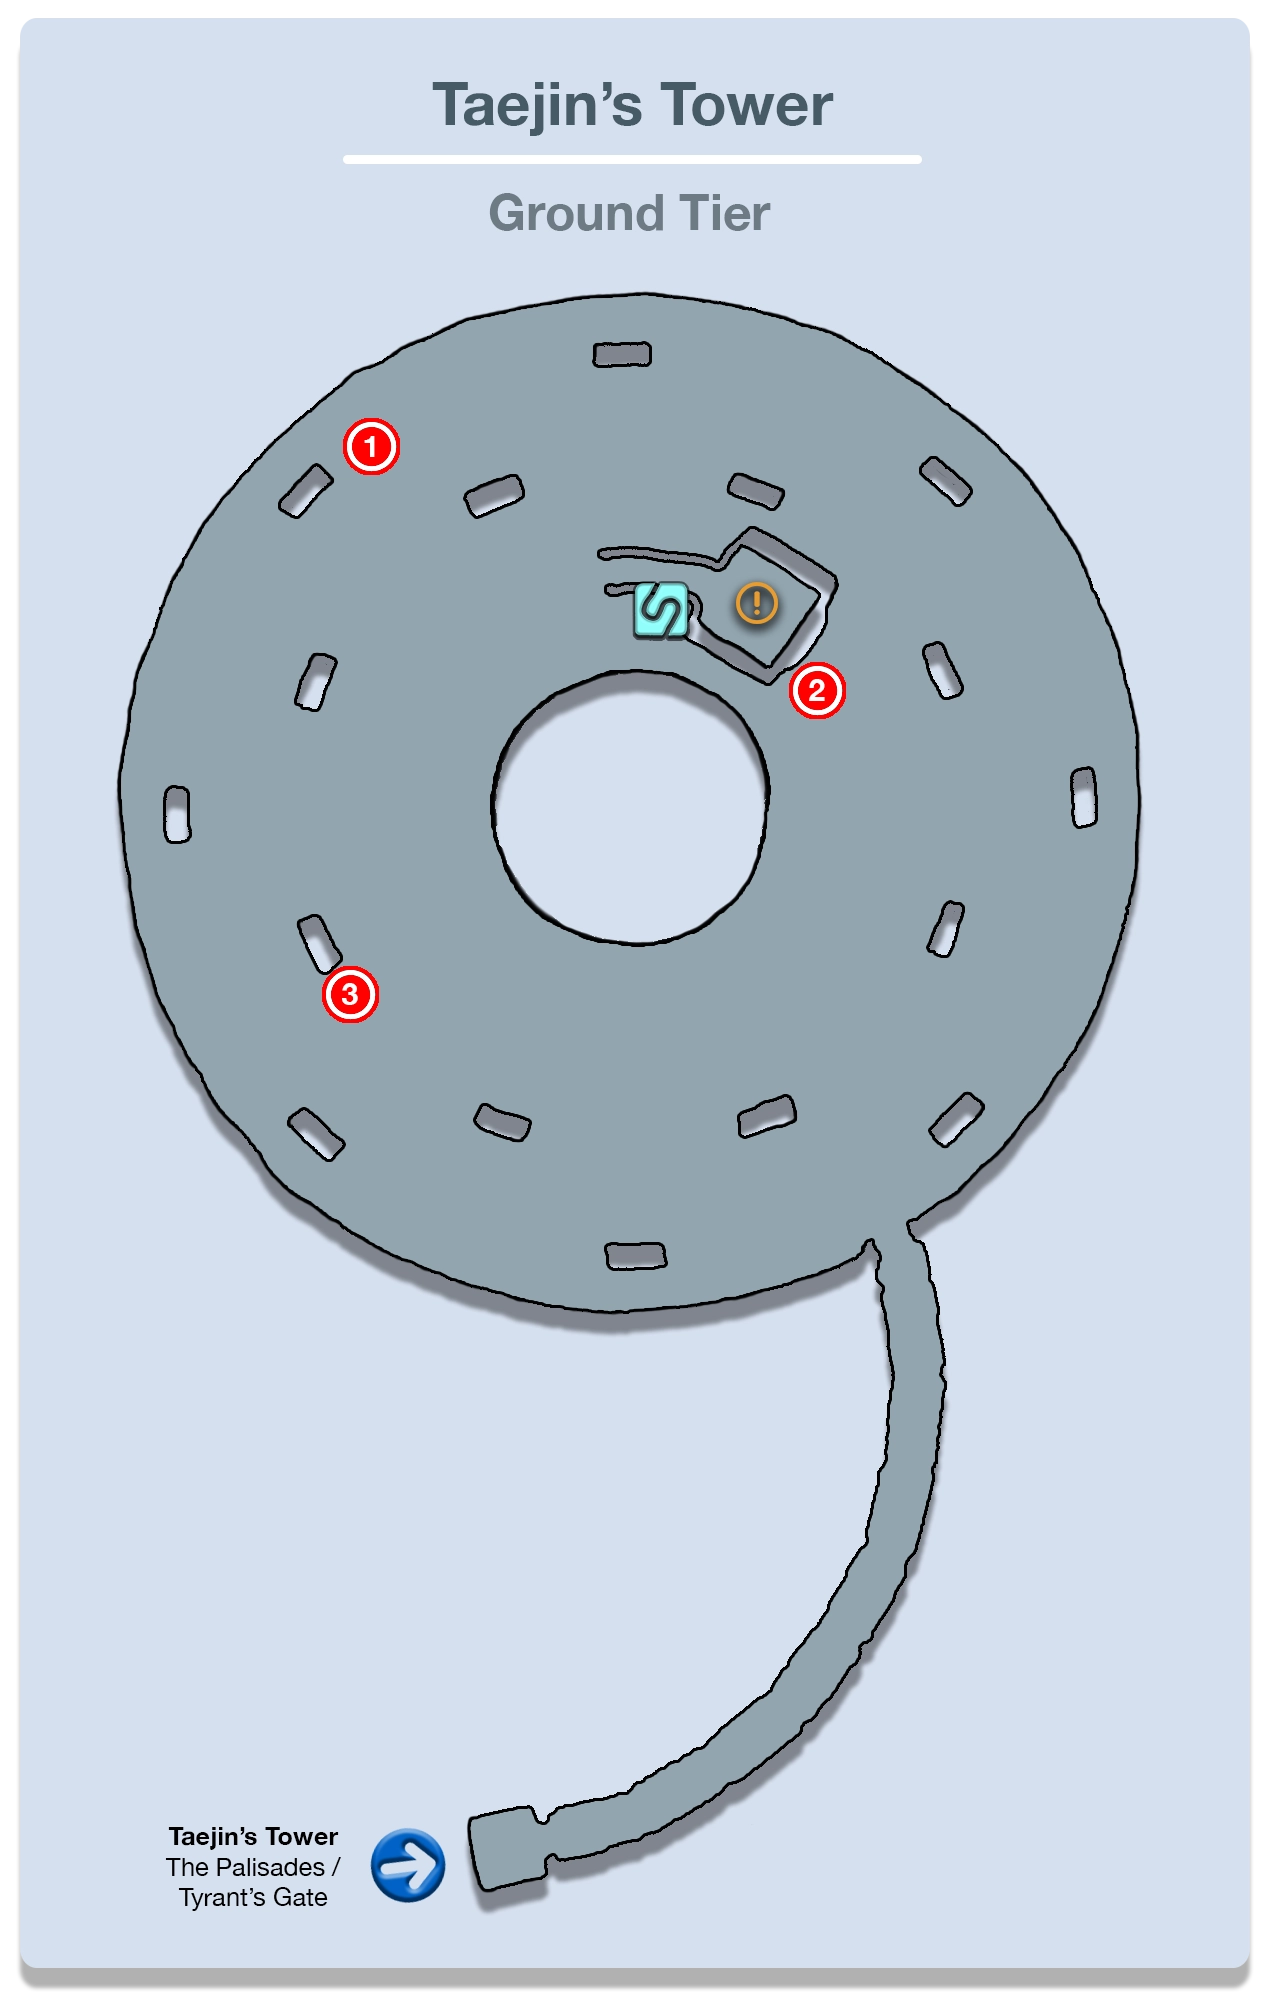
This first level of the tower constitutes the “Ground Tier,” and your goal is to reach the top of the tower by solving a collection of relatively easy puzzles and completing some hunts and tasks.
A cutscene will begin as soon as you enter the large room on the bottom floor. The team will walk towards the center of the room while discussing the large statues in the center of the room. These statues are called Menhirrim, and you’ll need to ignore their advice to leave.
When you regain control of your team on the bottom floor, search for the three Treasure Spheres in this area. One contains ![]() 4,721 Gil, the second contains a
4,721 Gil, the second contains a ![]() Sparkbane Brooch and the third contains twelve
Sparkbane Brooch and the third contains twelve ![]() Chipped Fangs. You may have to fight more Mánagarmr in this area, but you should be used to fighting these already.
Chipped Fangs. You may have to fight more Mánagarmr in this area, but you should be used to fighting these already.
The elevator to the next level is marked with a map marker making it easy to find. Use the ![]() Save Station in front of it to save your game and then climb the ramp into the elevator. There is a switch inside that you can activate with the
Save Station in front of it to save your game and then climb the ramp into the elevator. There is a switch inside that you can activate with the ![]()
![]()
![]() button to ride the elevator to the “Second Tier.”
button to ride the elevator to the “Second Tier.”
Second Tier
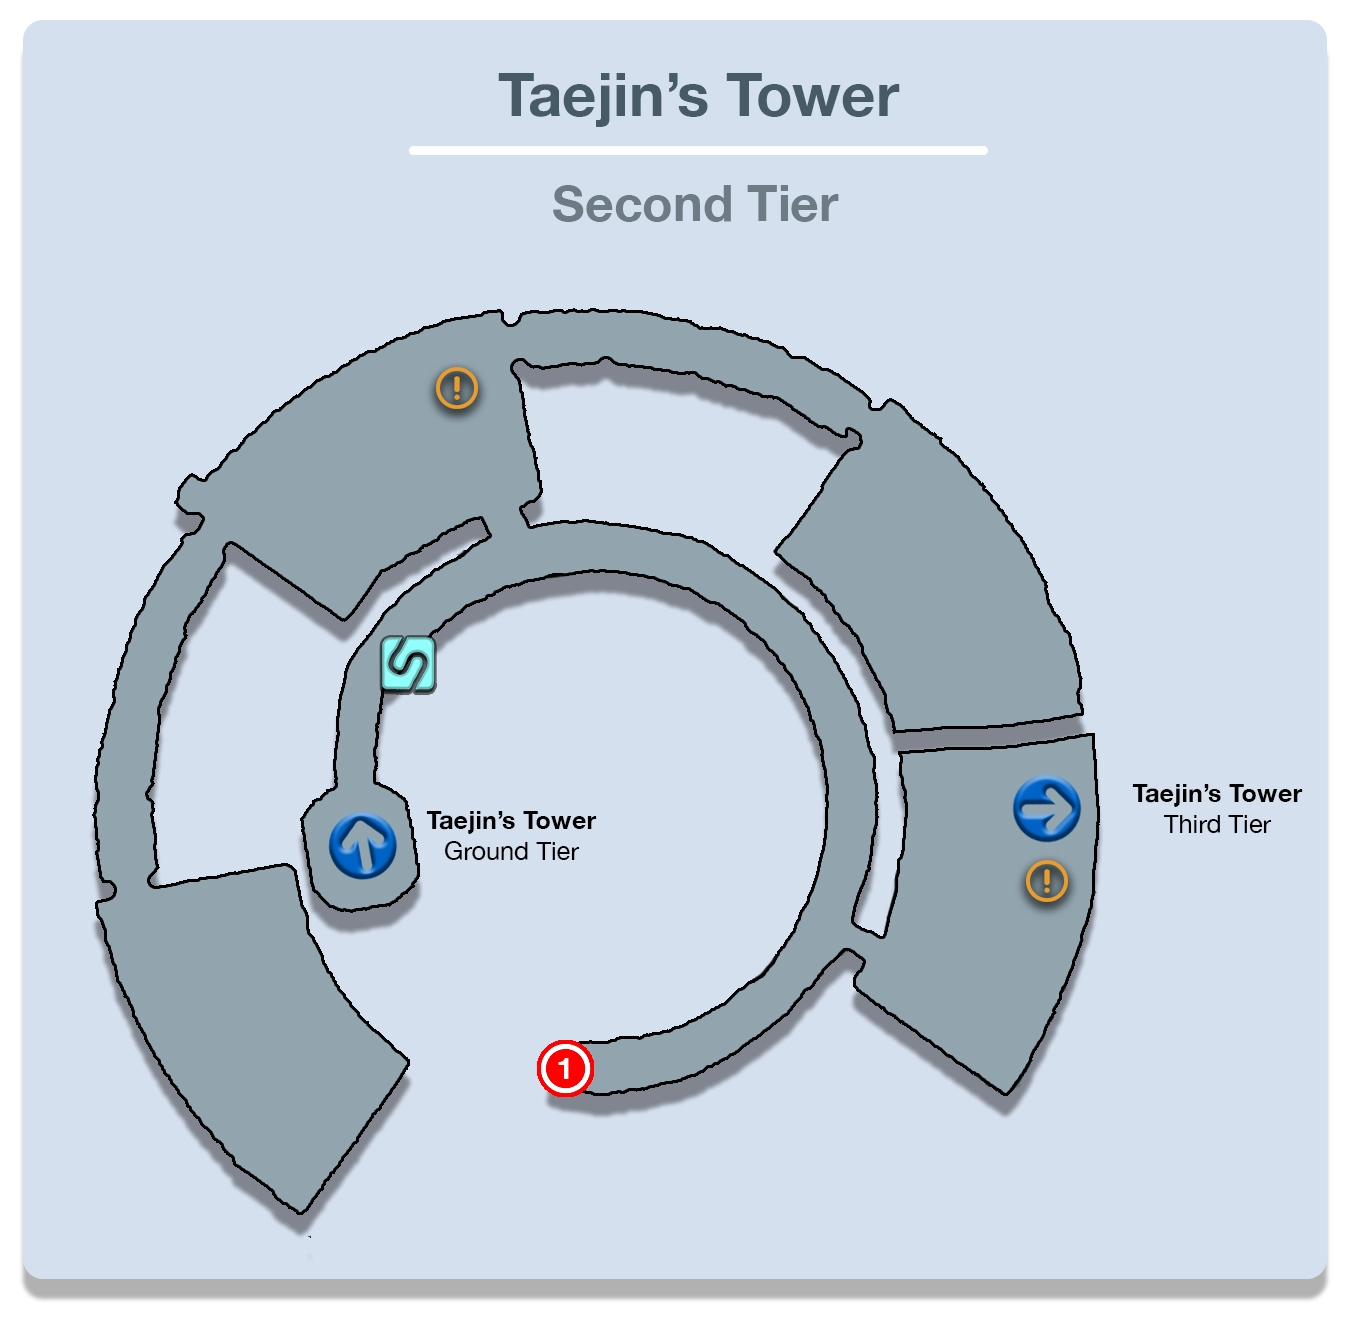
There is another ![]() Save Station just outside the elevator. Proceed past it for another cutscene involving the fal’Cie, Dahaka, and a brief explanation of the Menhirrim’s Missions.
Save Station just outside the elevator. Proceed past it for another cutscene involving the fal’Cie, Dahaka, and a brief explanation of the Menhirrim’s Missions.
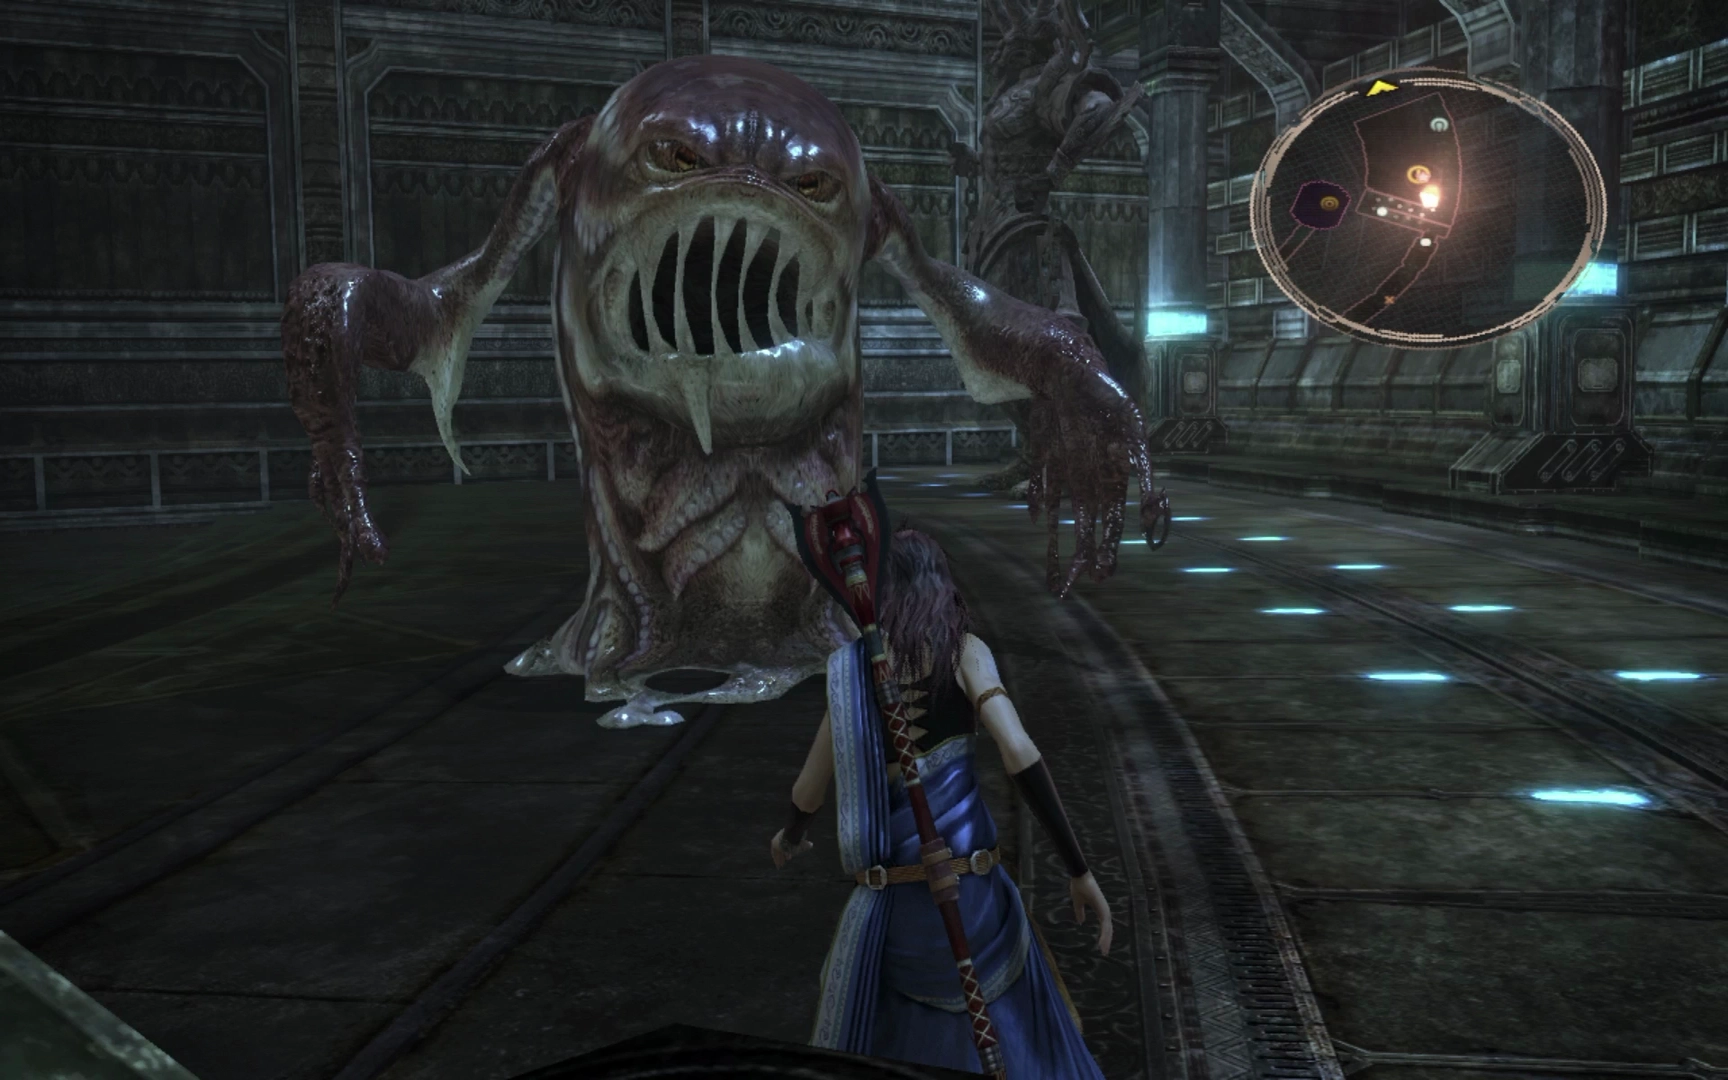
Enter the hole in the wall that Dahaka created with its tail and examine the nearby Menhirrim (where the map marker is located). This Menhirrim will offer you your first task in Taejin’s Tower. This task is ![]() Mission 21 - A Tremulous Terror. The mark is Gelatitan, and it is fairly close by.
Mission 21 - A Tremulous Terror. The mark is Gelatitan, and it is fairly close by.
Mission 21 - A Tremulous Terror
Just like for Cie’th Stone Missions, the Missions offered up by the Menhirrim in Taejin’s Tower will have the mark identified by a pink star on the mini-map. In addition to the pink star, the destination marker will also identify each hunt target to you, as these Missions are mandatory to progress the game’s story.
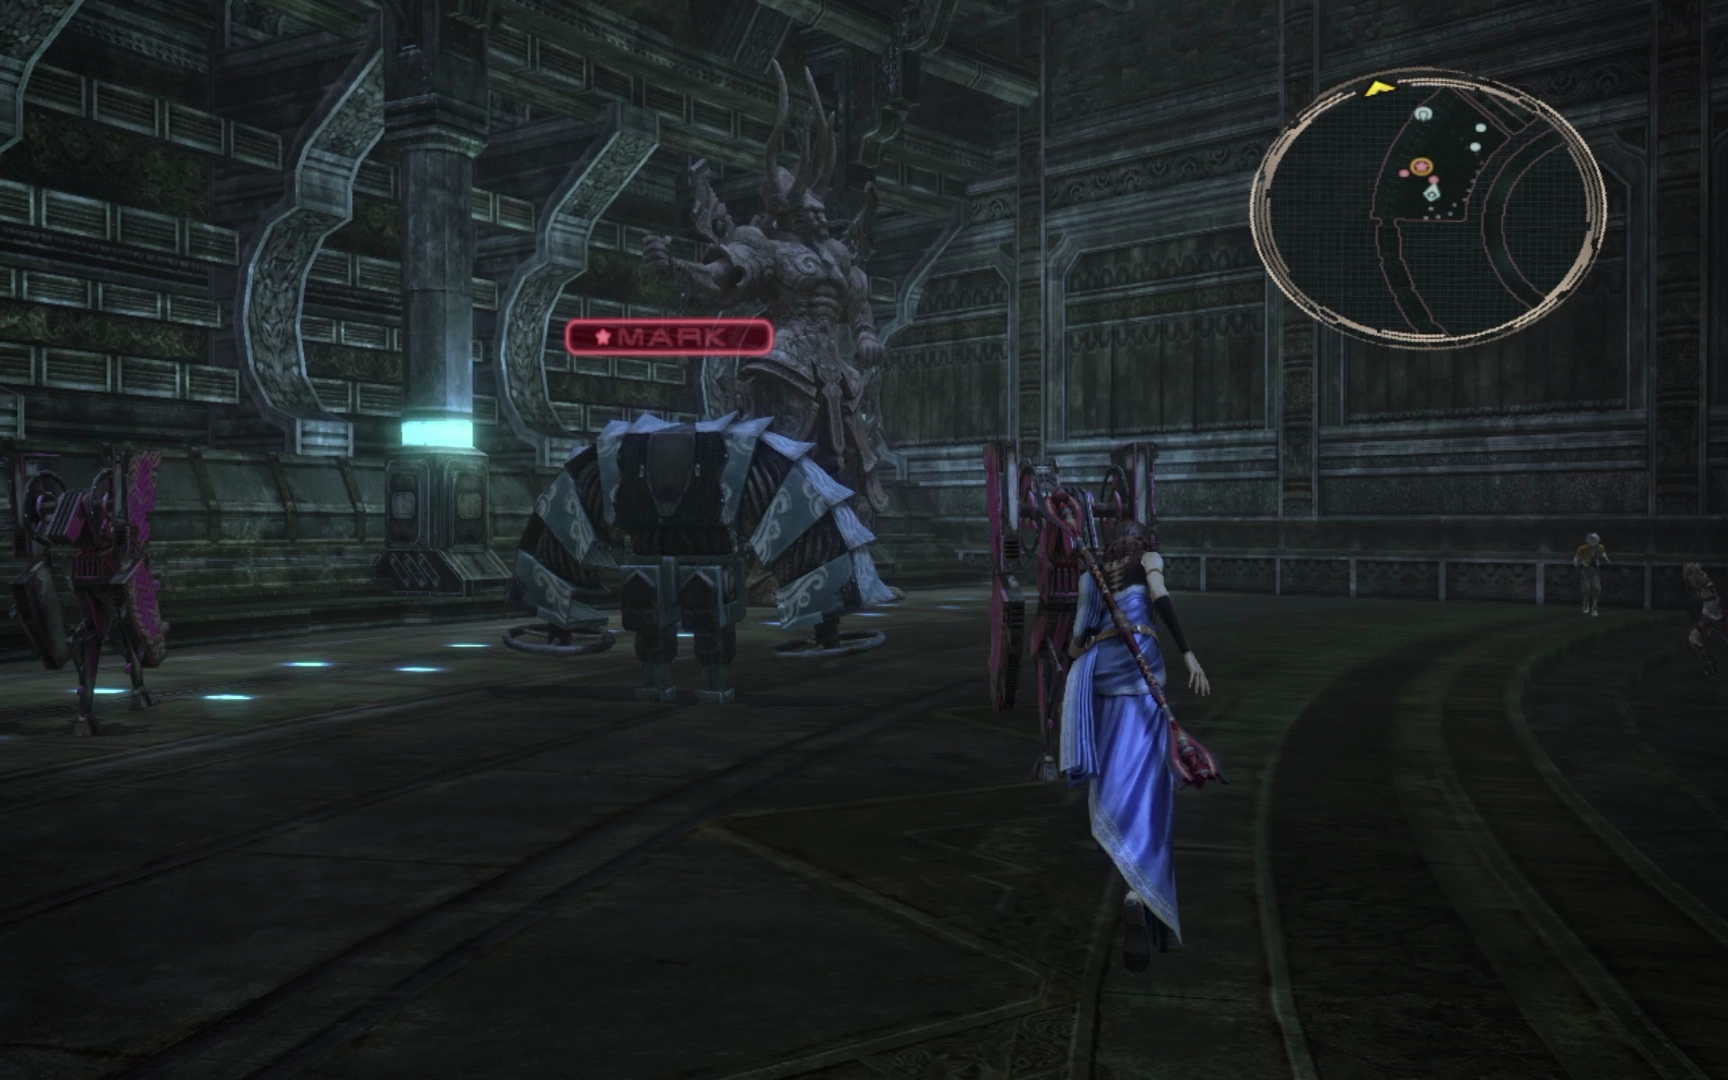
Defeat the nearby group of Pulsework Gladiators and then proceed up the nearby ramp into the next room. You will have to fight another Mánagarmr in the hallway leading to the next room. Gelatitan, the mark for Mission 21, is located at the bottom of the ramp.
This mark is easy to defeat as it’s no more difficult than any of the larger flan-type enemies you’ve faced in your earlier travels. It helps to start off in a slightly more defensive-minded Paradigm, such as Evened Odds or Decimation. Use ![]() Libra early in the fight to have your characters focus on using lightning-based magic which will inflict heavier damage. This concludes Mission 21.
Libra early in the fight to have your characters focus on using lightning-based magic which will inflict heavier damage. This concludes Mission 21.
Walk over to the nearby Menhirrim after Gelatitan is defeated to begin the next Mission, ![]() Mission 22 - Infernal Machine.
Mission 22 - Infernal Machine.
Mission 22 - Infernal Machine
The mark for this Mission, which is another Ambling Bellows, can be found by traveling back to the Menhirrim that gave you the last Mission and going through the hallway off to the right side of it (check the map for directions).
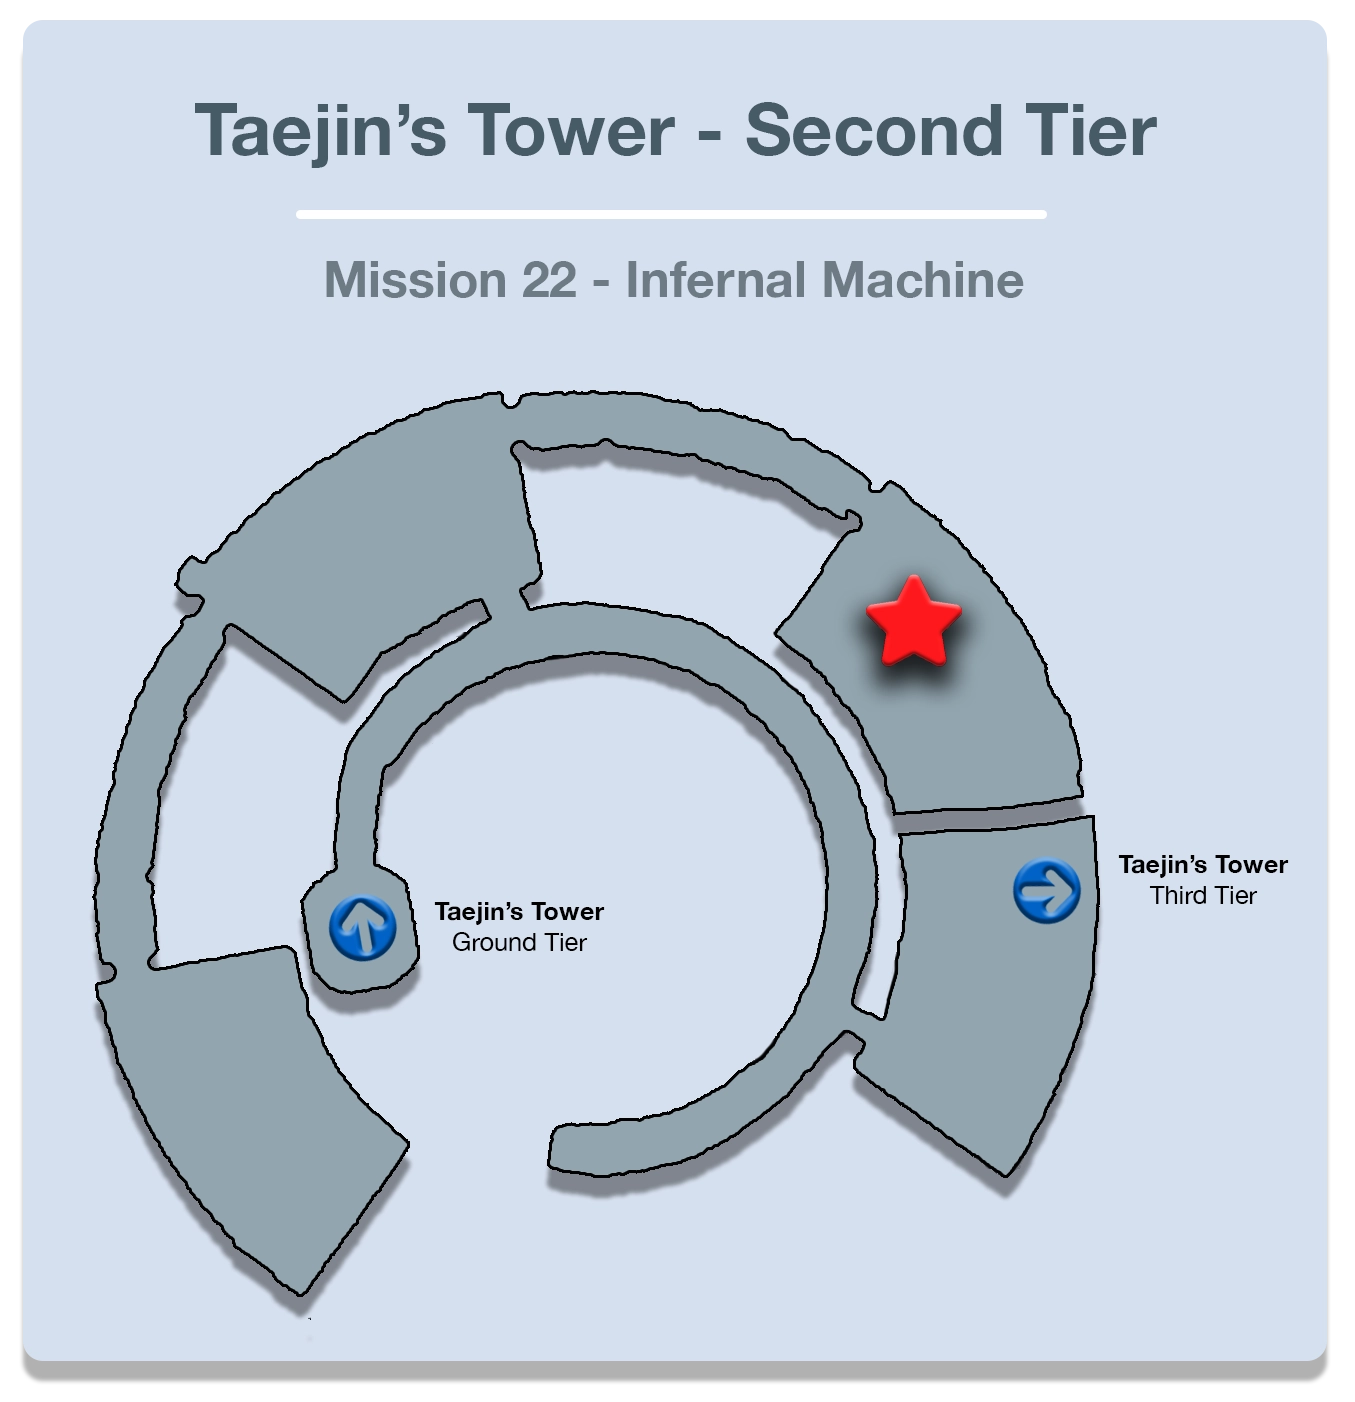
The Ambling Bellows mark is accompanied by two Cryptos enemies, which are technically new, but look and function exactly like the Hoplites you’ve seen before. This group is easy to ambush with a preemptive strike so try to attack them while they are looking away. Attack and defeat the Ambling Bellows first to prevent it from buffing the Cryptos or summoning more of them.
The Menhirrim with your next Mission, ![]() Mission 23 - Natural Defenses, is nearby.
Mission 23 - Natural Defenses, is nearby.
Mission 23 - Natural Defenses
This next mark is back in the original room with the first Menhirrim that offered you Mission 21. Head back through the hallway nearby to find the Gurangatch lying in wait.
The Gurangatch will be alerted to your presence very easily, making it difficult to get a preemptive strike, but otherwise, this creature is exactly like all the other Armadillons that you have faced up to this point. Work on building the Chain Gauge to Stagger it at which point its carapace will disappear and your attacks will deal significantly more damage.
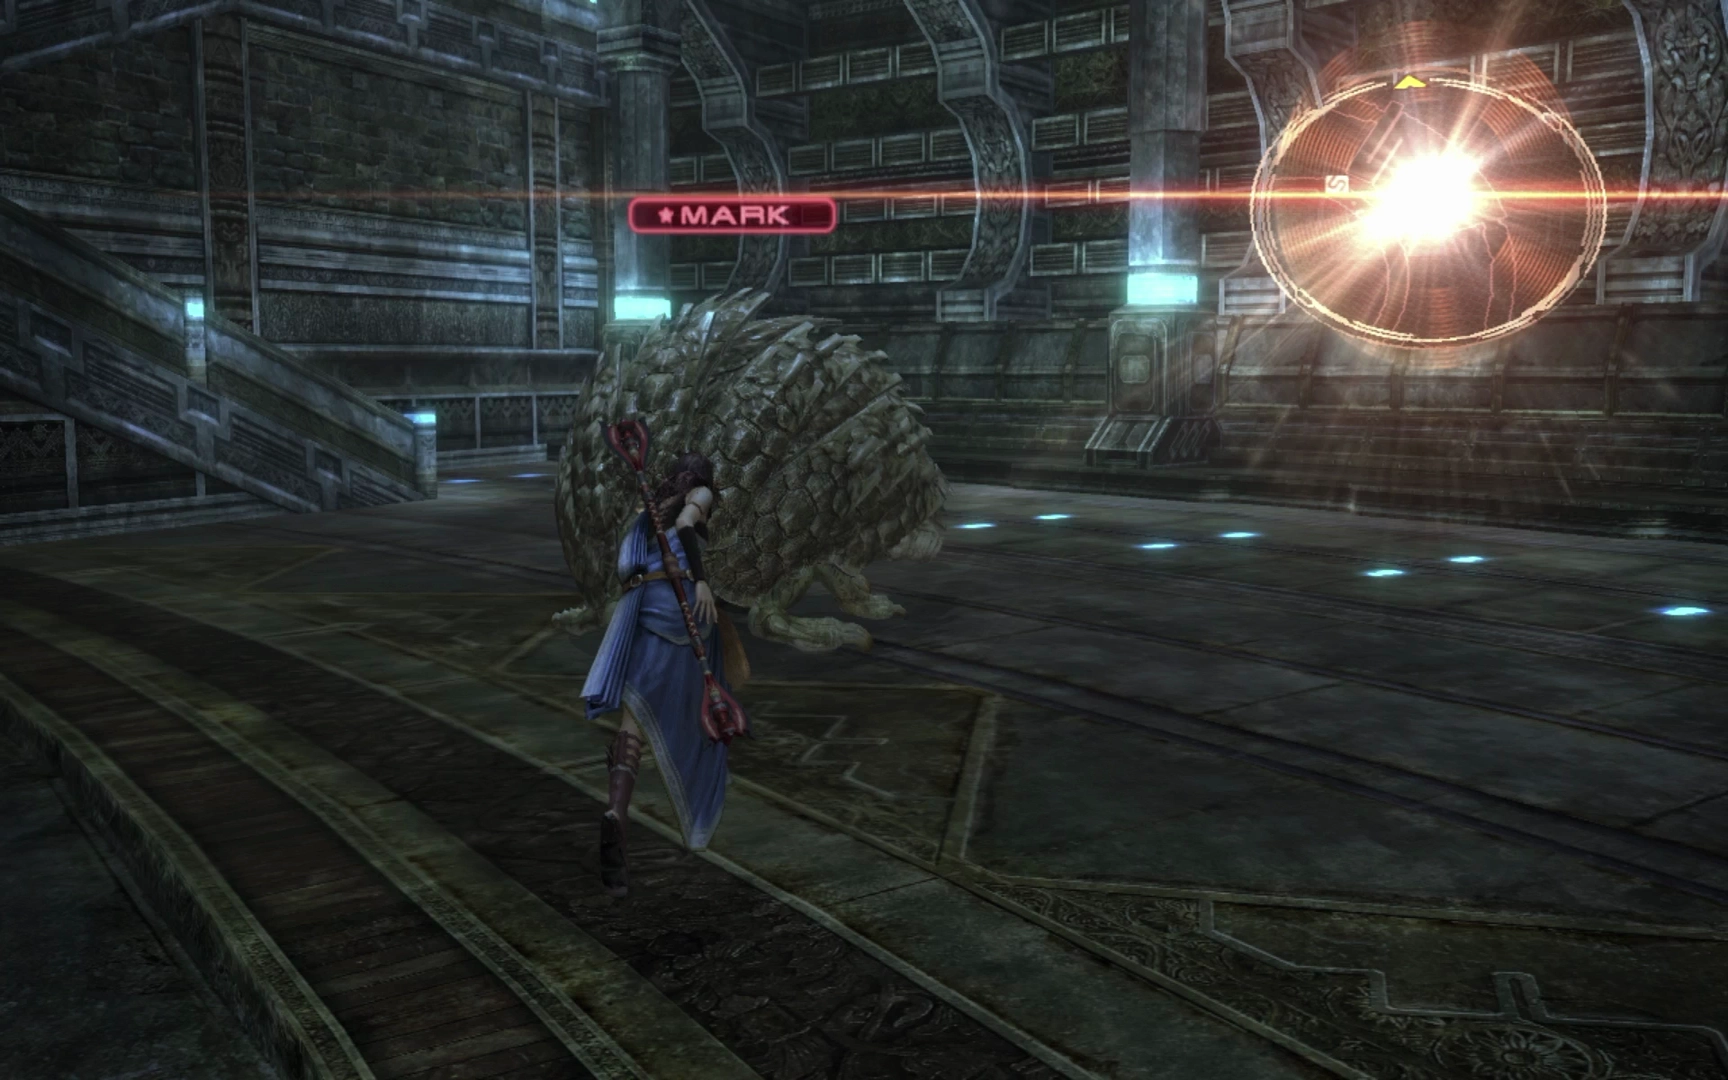
The reward for defeating this mark is a ![]() Warrior’s Wristband which is a powerful item that you may want to consider having Fang equip. Venture back out to the large open area for another cutscene involving Dahaka. The three Menhirrim will step in and intercede before removing the fire on the nearby walkway.
Warrior’s Wristband which is a powerful item that you may want to consider having Fang equip. Venture back out to the large open area for another cutscene involving Dahaka. The three Menhirrim will step in and intercede before removing the fire on the nearby walkway.
Follow the pathway past the doorway on the left to find a Treasure Sphere that contains five ![]() Spark Plugs. Go back through the doorway to find a group of five Pulsework Gladiators blocking the path. These enemies are easy to ambush with a preemptive strike as well.
Spark Plugs. Go back through the doorway to find a group of five Pulsework Gladiators blocking the path. These enemies are easy to ambush with a preemptive strike as well.
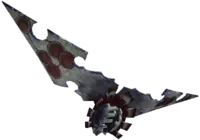
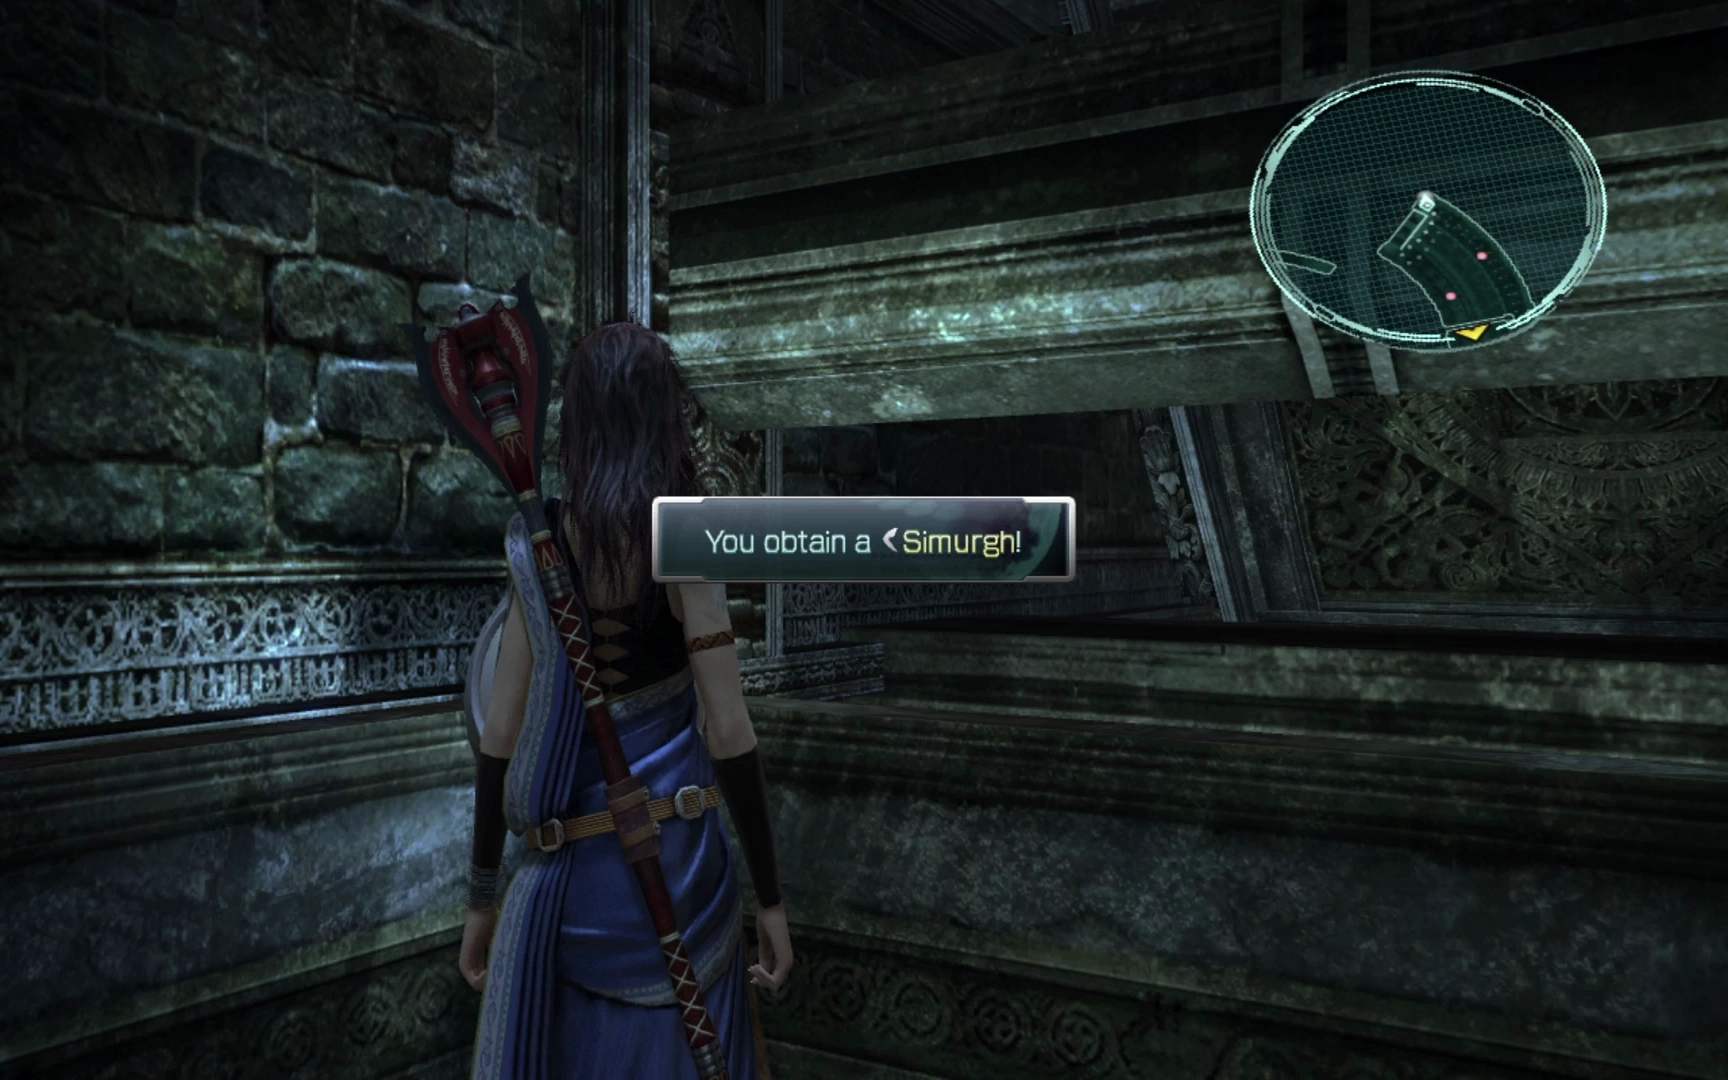
Proceed up the nearby ramp to find a Treasure Sphere that contains a ![]() Simurgh. This weapon for Hope is designed to give him more strength, which is the exact opposite stat for the roles that he should normally be fulfilling, so it’s advised that you not use this weapon.
Simurgh. This weapon for Hope is designed to give him more strength, which is the exact opposite stat for the roles that he should normally be fulfilling, so it’s advised that you not use this weapon.
Proceed up the ramp which will lead you one level up.
Third Tier
Engage the two nearby Mánagarmr and then go through the doorway into the next room which has two Pulsework Gladiators. Move forward to examine the Menhirrim in this room using the ![]()
![]()
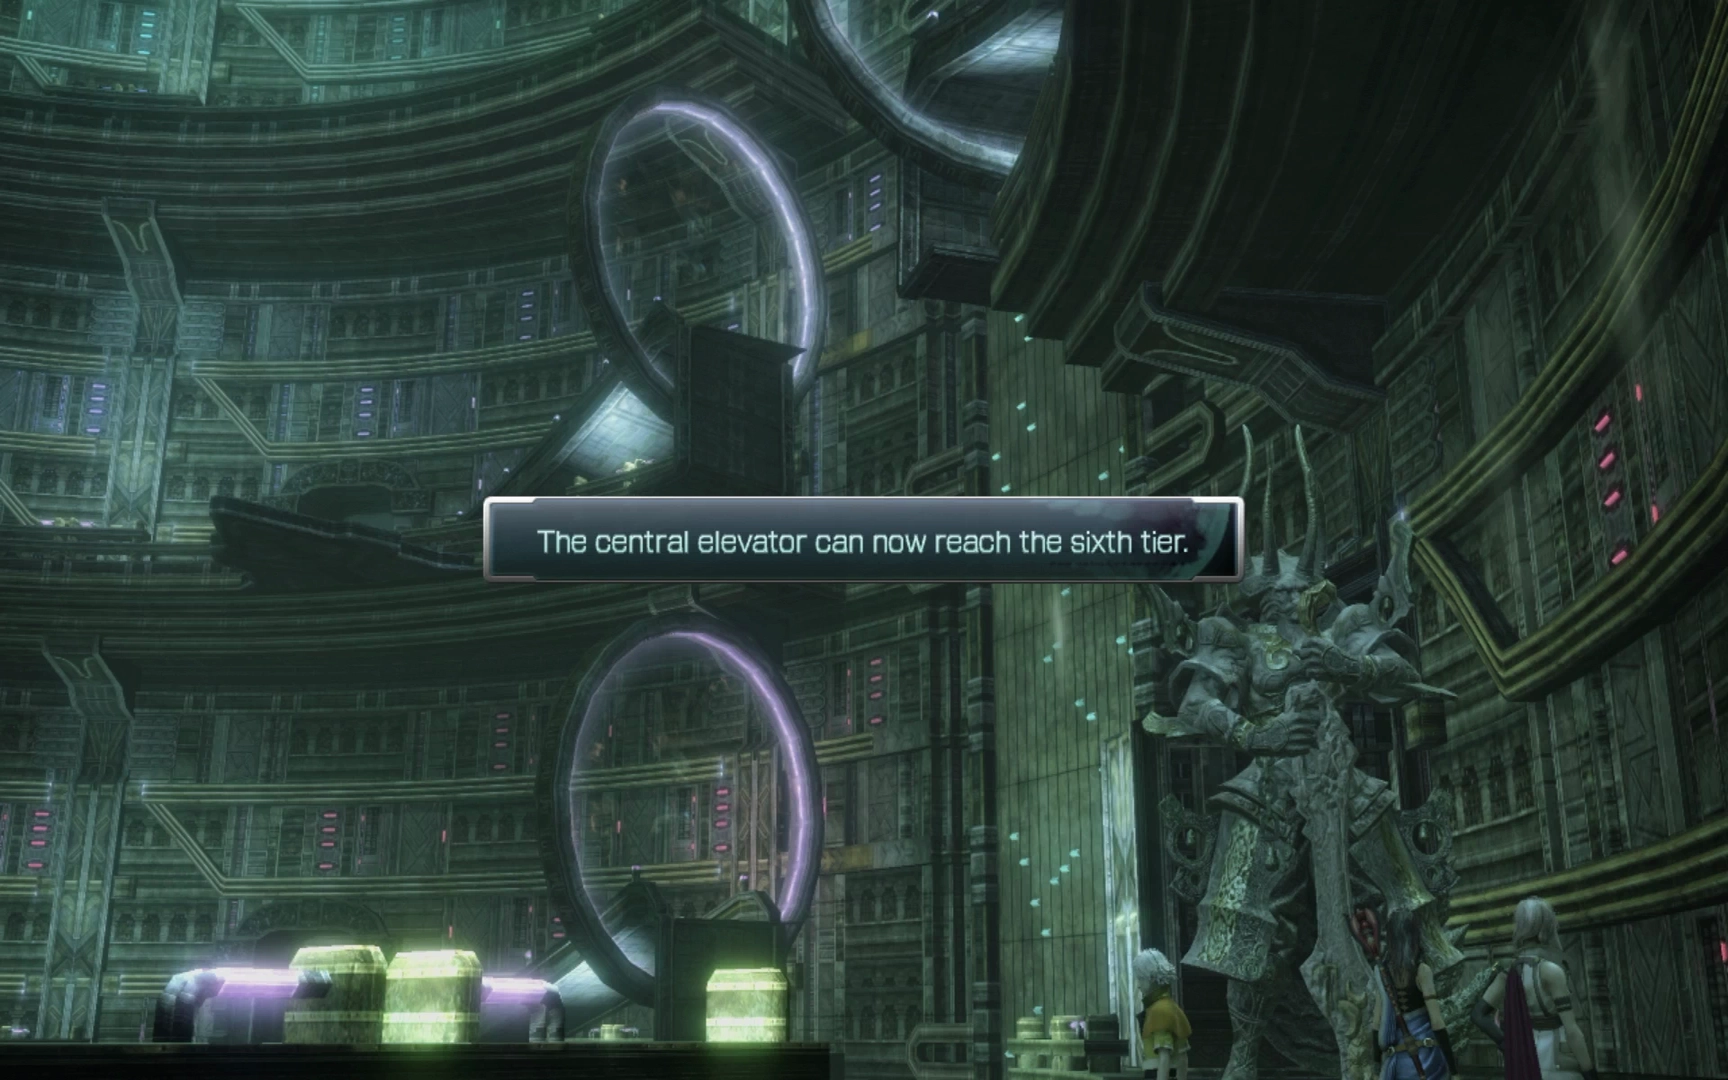
![]() button. This Menhirrim doesn’t have a Mission for you but examining it will rearrange the tiers and give the elevator access to more floors of the tower.
button. This Menhirrim doesn’t have a Mission for you but examining it will rearrange the tiers and give the elevator access to more floors of the tower.
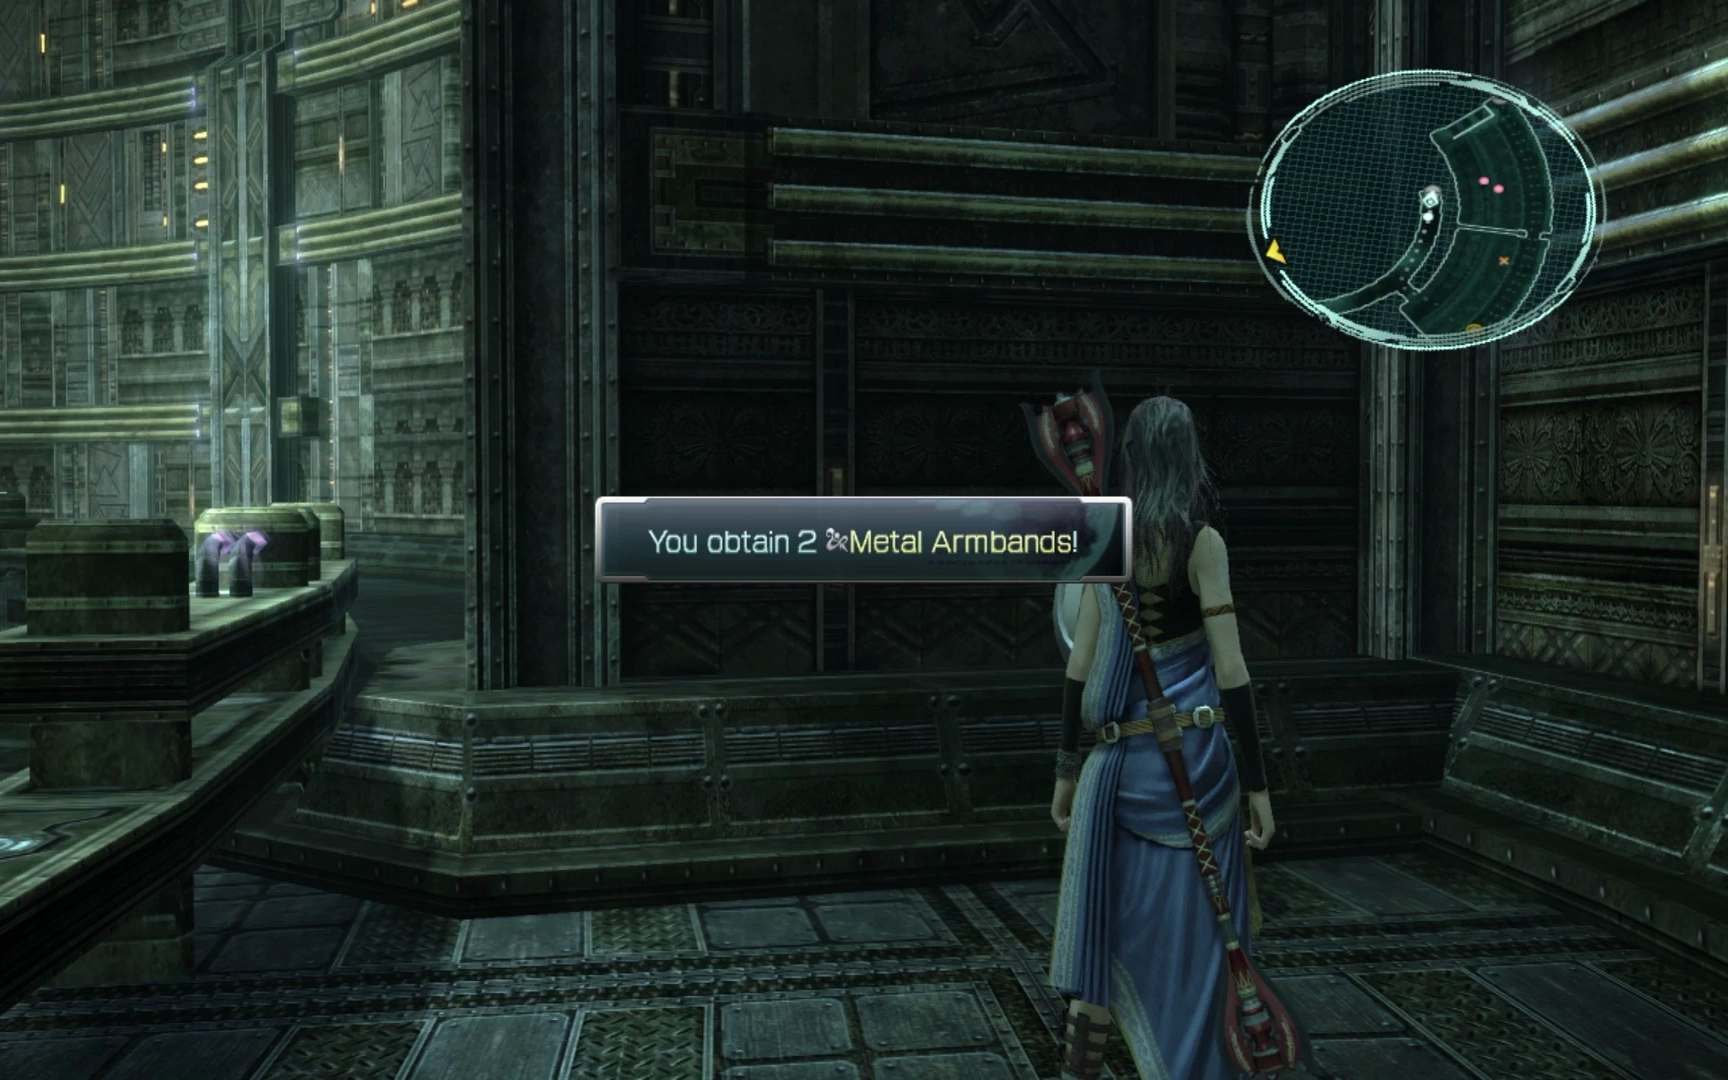
Exit out to the main tower and take a right to find a Treasure Sphere at the end of the path that contains two ![]() Metal Armband.
Metal Armband.
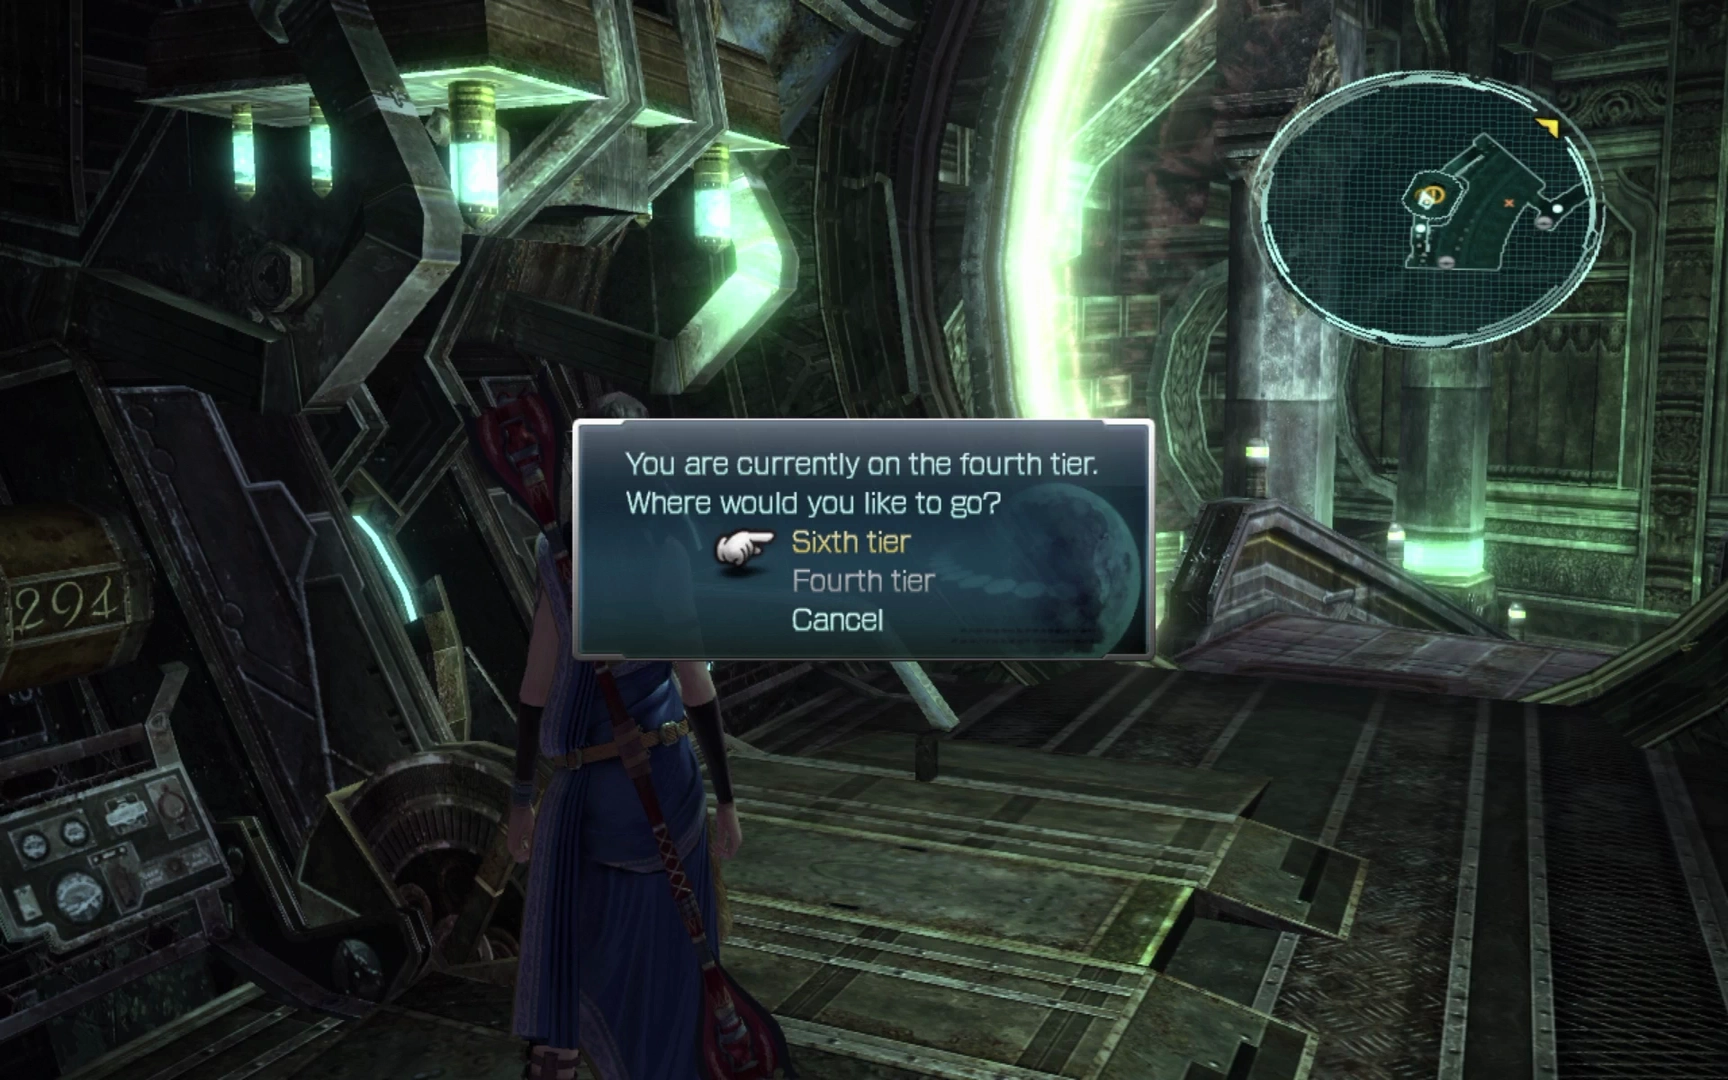
After that, travel down the opposite side of the path and touch the glowing yellow gateway to summon the elevator. Examine the control panel and choose to go to the “Fourth Tier.”
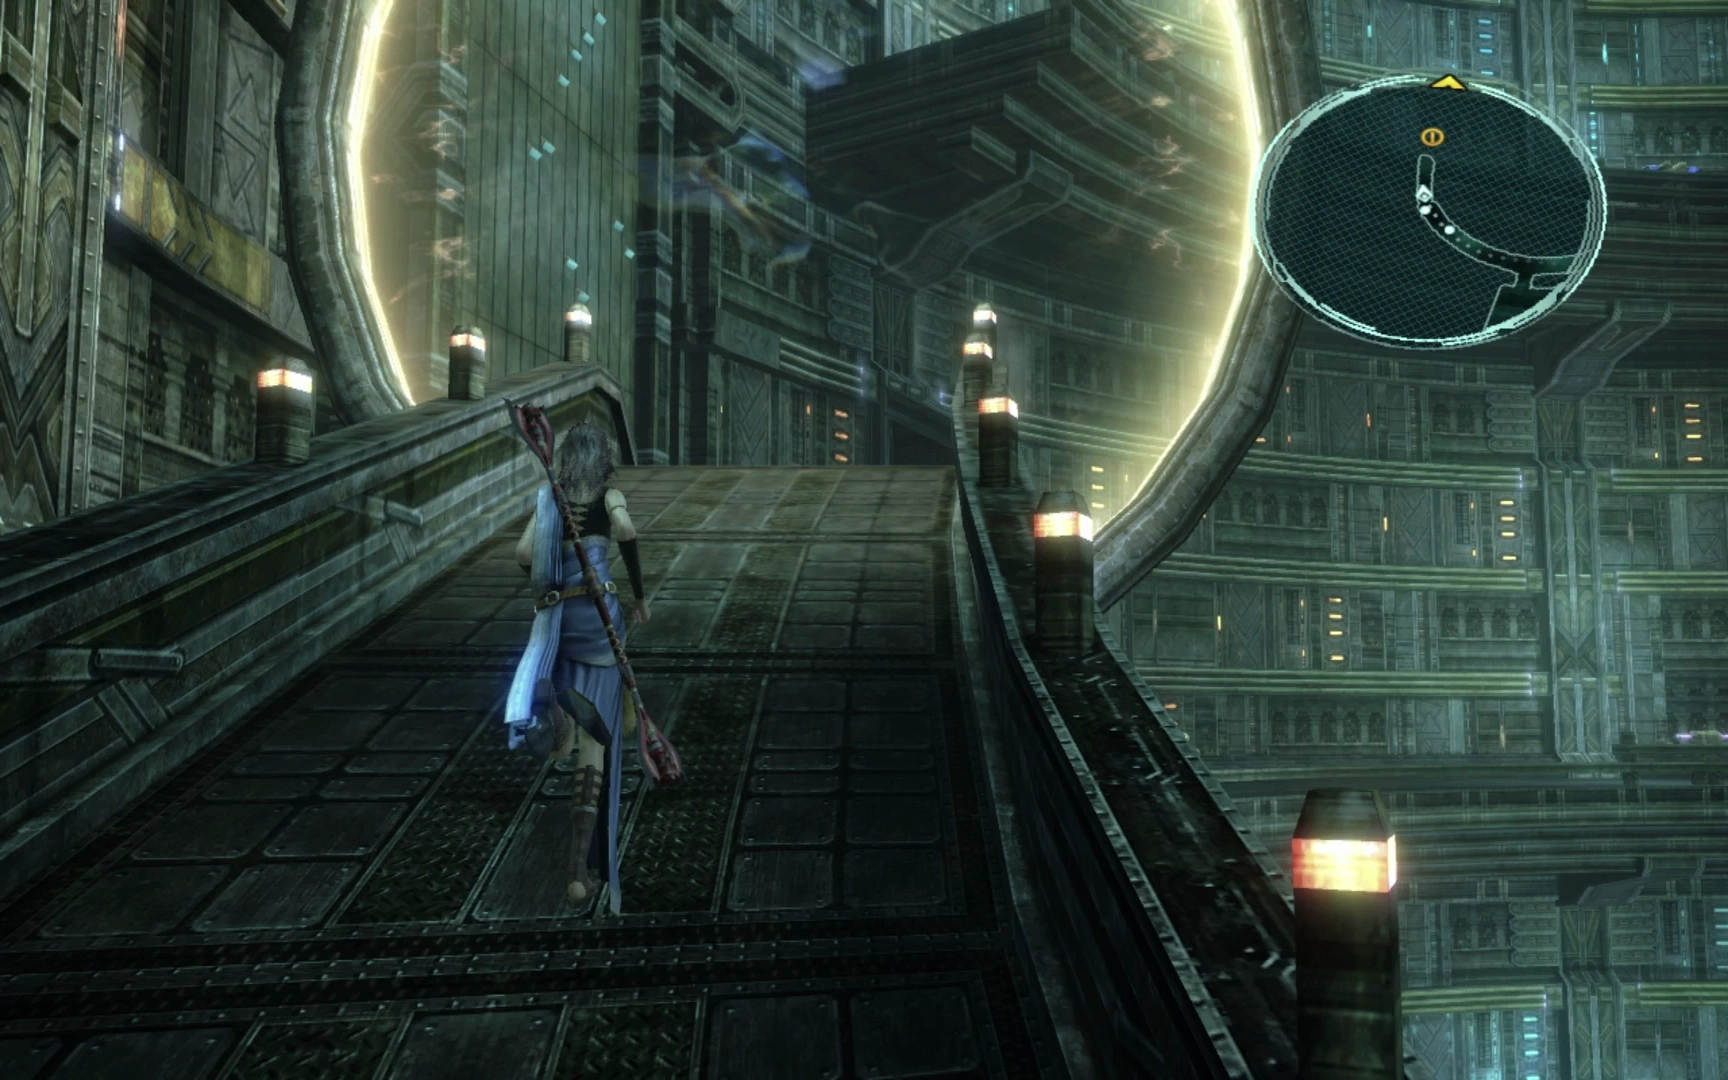
Fourth Tier
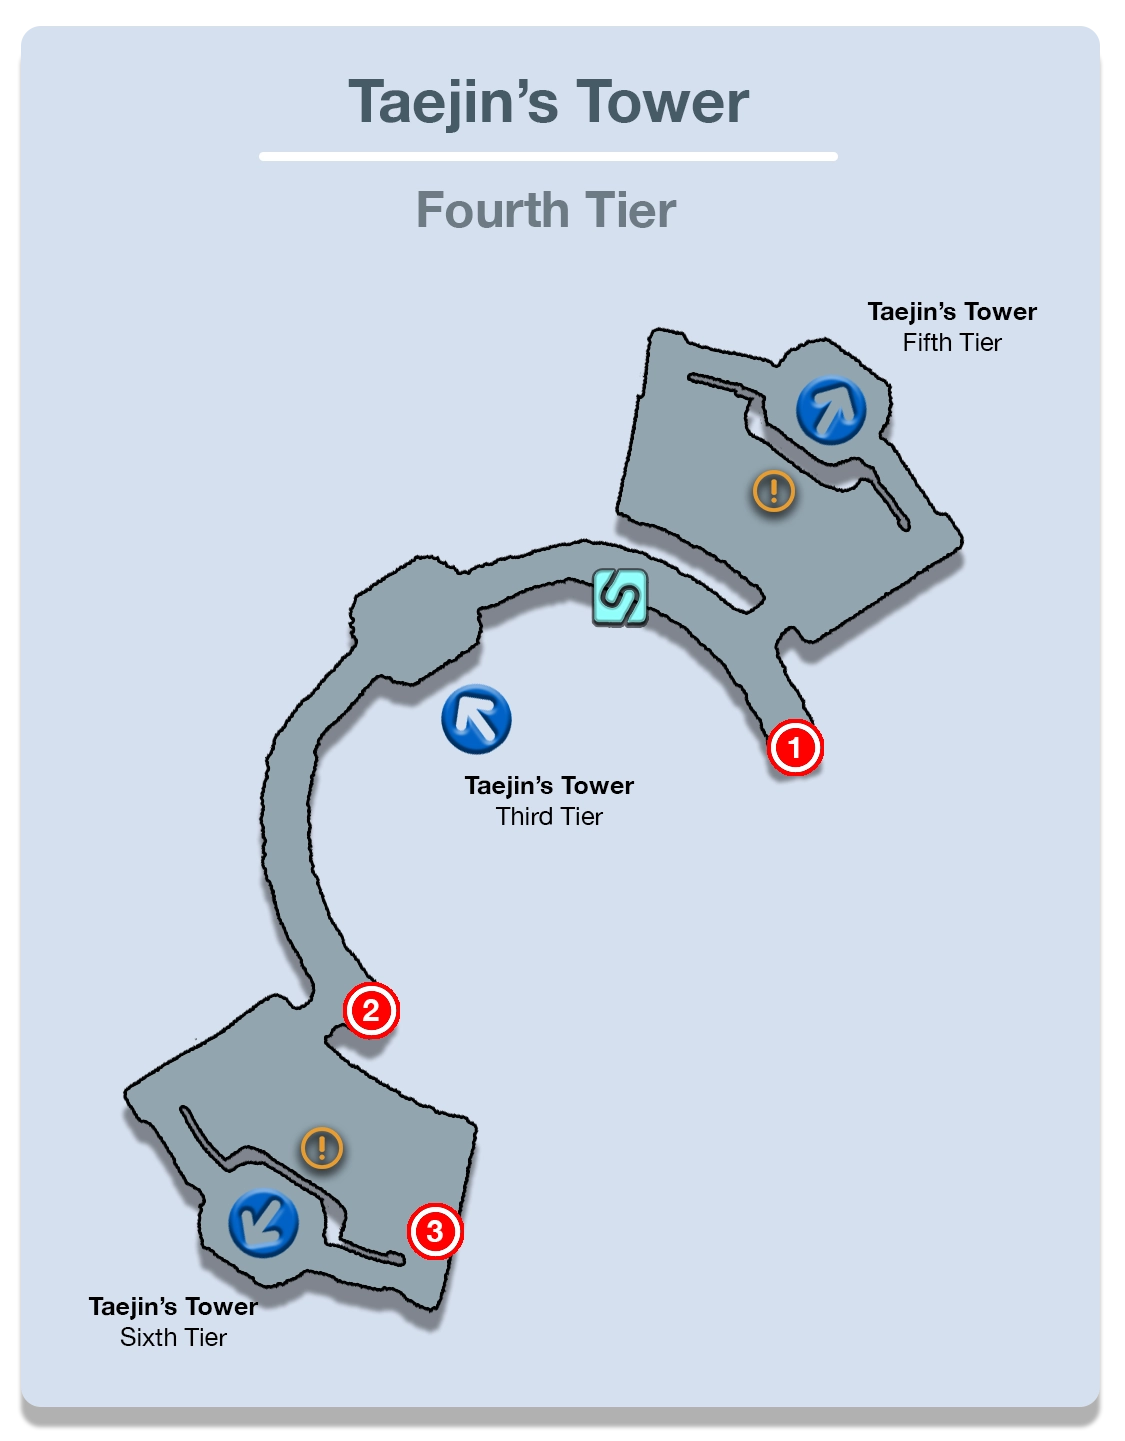
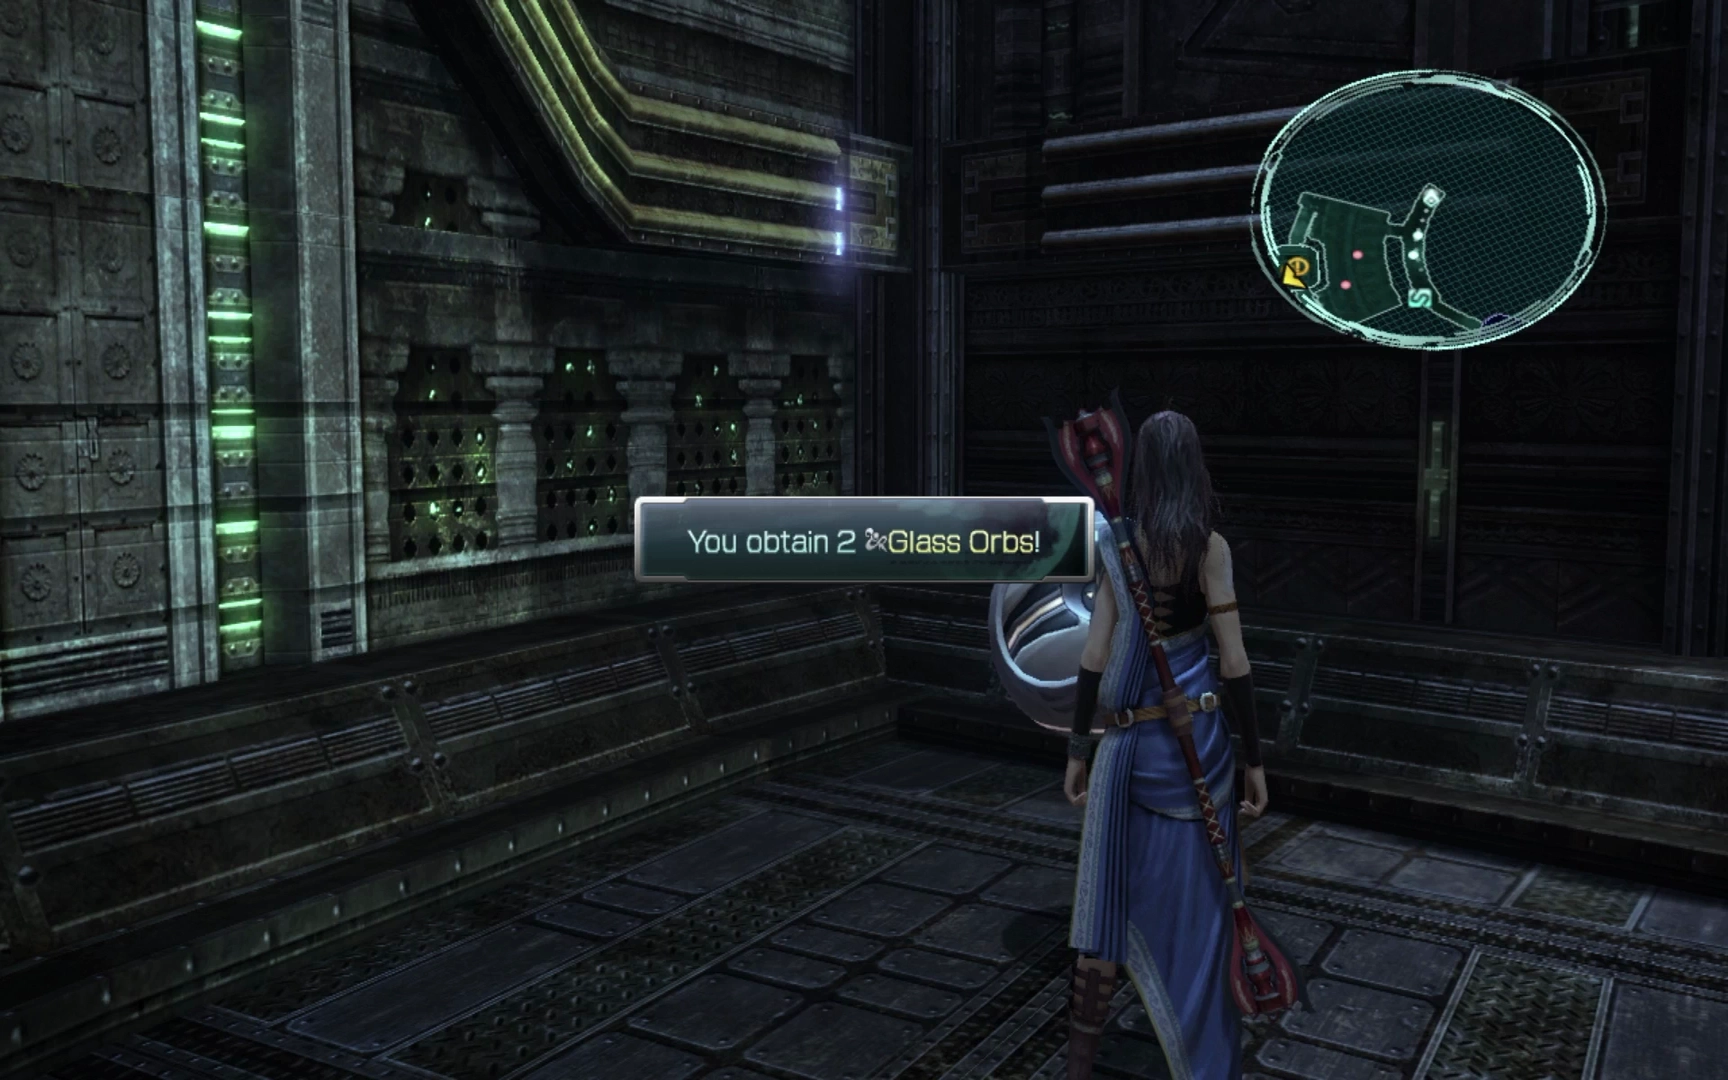
There are two directions that you can go when you step off the elevator here, to the left or to the right. Start by heading to the right, directly towards the ![]() Save Station. Follow the hallway just past the door to find a Treasure Sphere that contains two
Save Station. Follow the hallway just past the door to find a Treasure Sphere that contains two ![]() Glass Orbs.
Glass Orbs.
Enter the nearby room and engage the two Yaksha enemies guarding the elevator. These enemies are like the other daemon-type enemies you have faced and are easy to defeat. Enter the elevator and activate it with the ![]()
![]()
![]() button. Your only option is to go to the Fifth Tier so let’s head there now.
button. Your only option is to go to the Fifth Tier so let’s head there now.
Fifth Tier
There is a Treasure Sphere out of the back side of this elevator that contains nine ![]() Ancient Bones. After grabbing it, head over to the next Menhirrim which will offer up the next Mission (
Ancient Bones. After grabbing it, head over to the next Menhirrim which will offer up the next Mission (![]() Mission 24 - A Potent Sting).
Mission 24 - A Potent Sting).
Mission 24 - A Potent Sting
The mark for this Mission spawns over by the elevator, right near where the Menhirrim is located, in the same room. The mark is the Mushussu, but it is accompanied by two Yakshini enemies.
Focus on taking down the two Yakshini first as they can inflict negative status effects on your party members. Afterwards, use ![]() Libra on it, and then focus your efforts on the Mushussu.
Libra on it, and then focus your efforts on the Mushussu.
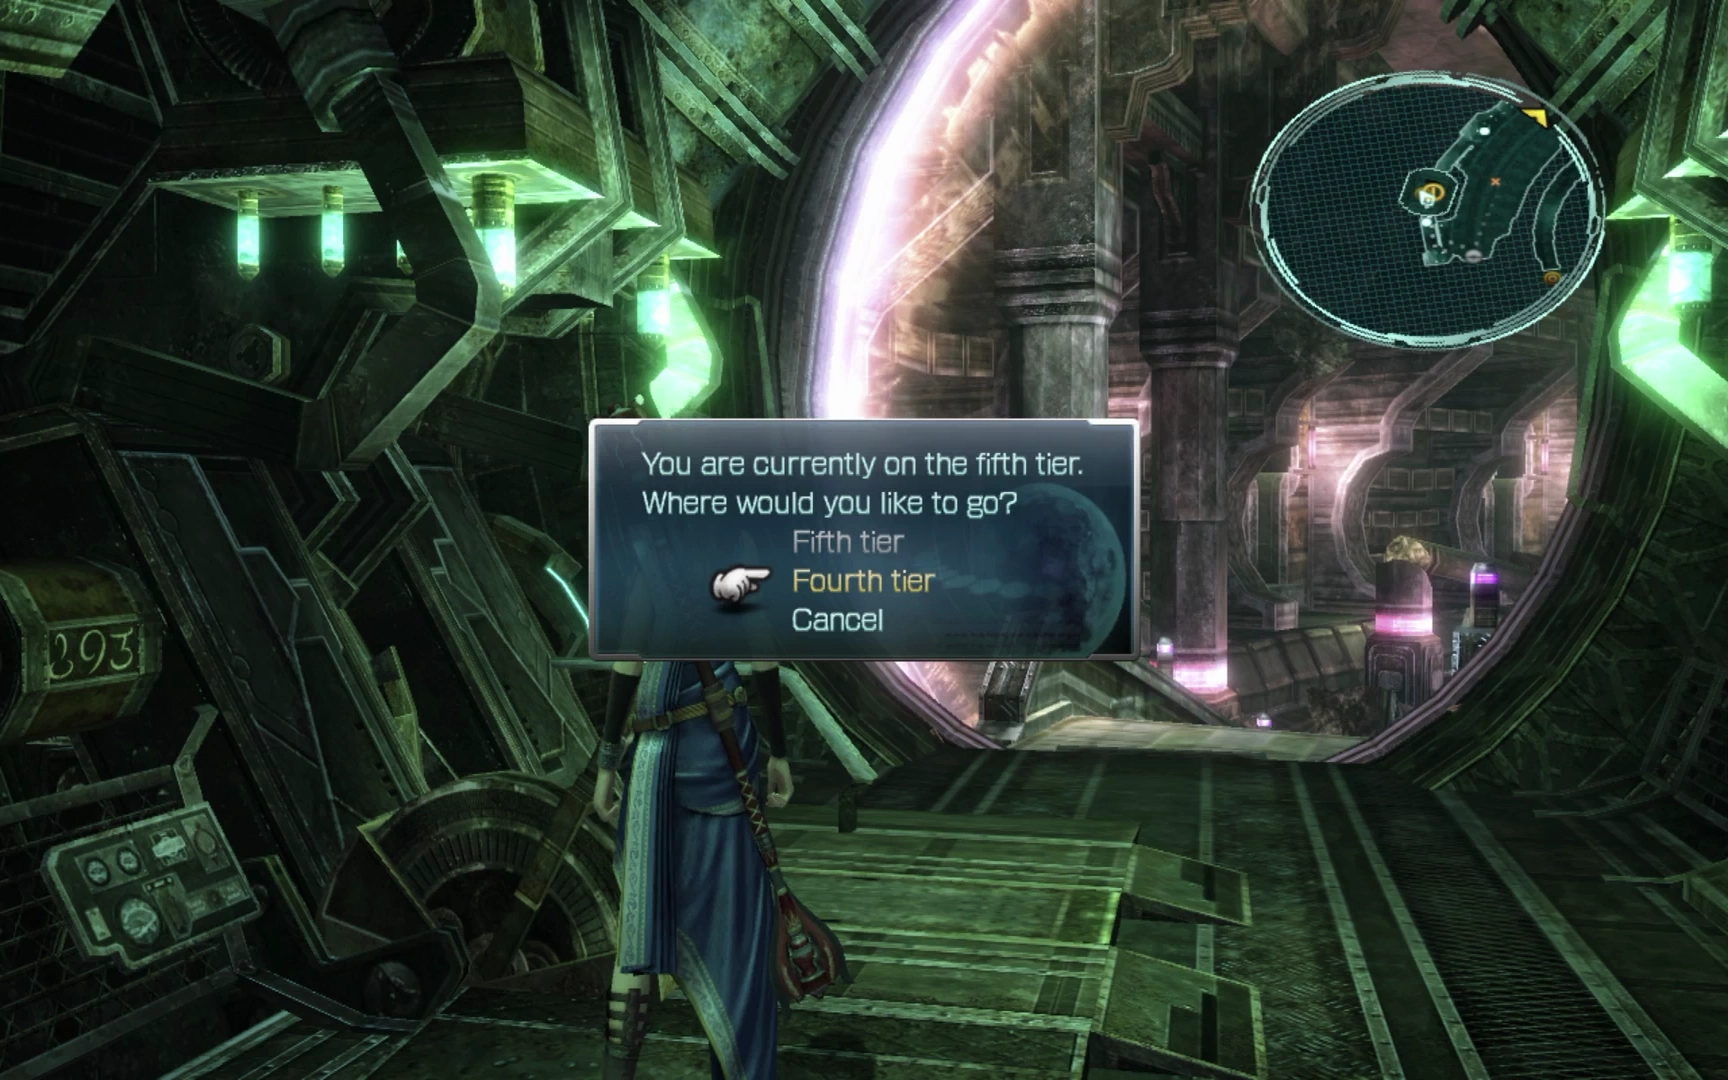
The destination marker will reappear on the screen after Mission 24 has been completed, indicating that you should go back into the elevator. Use the elevator to return to the previous tier.
Fourth Tier
Head back out of this room and run back out towards the ![]() Save Station and the main tower elevator. Walk across it to the other side to find a Treasure Sphere that contains a
Save Station and the main tower elevator. Walk across it to the other side to find a Treasure Sphere that contains a ![]() Gale Ring.
Gale Ring.
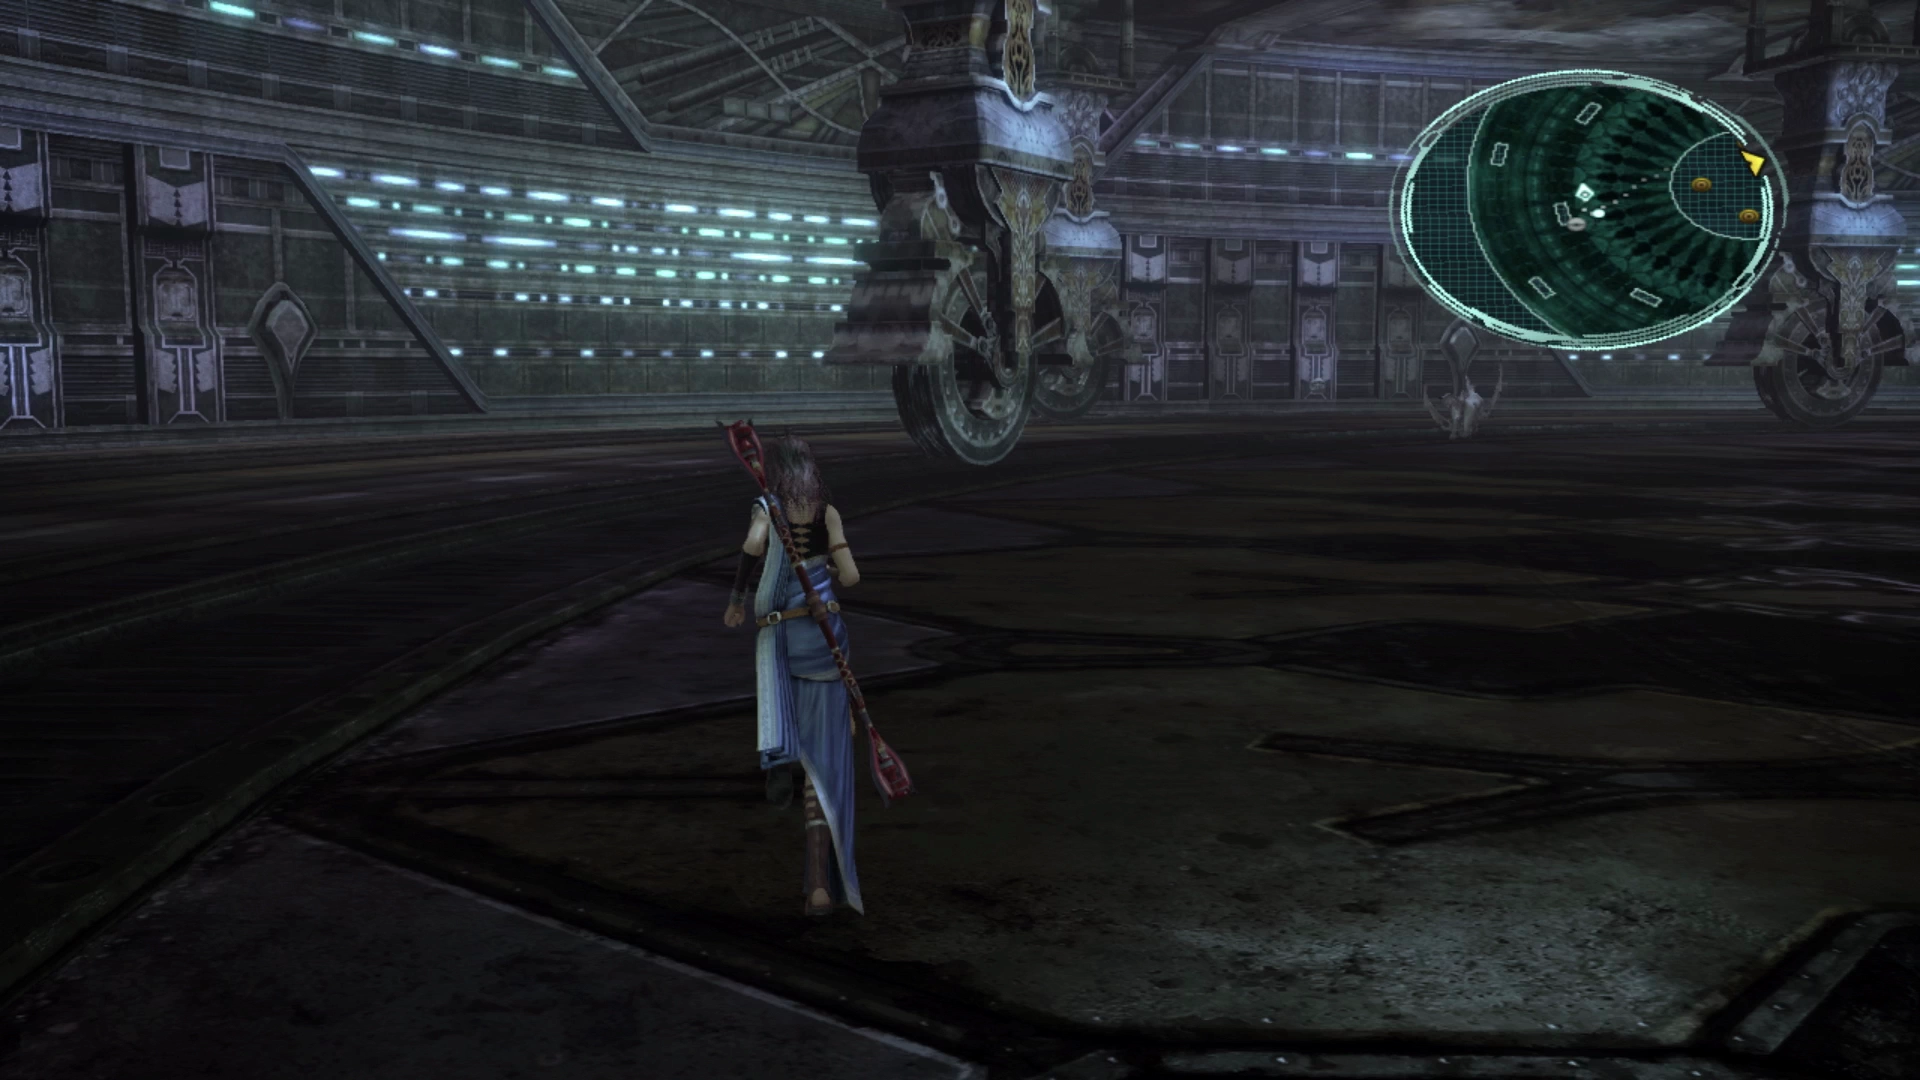
Enter the nearby room to face your first two Varcolaci enemies. These enemies are very easy to defeat and should go down quickly. There is another nearby Treasure Sphere that contains two ![]() Rainbow Anklet.
Rainbow Anklet.
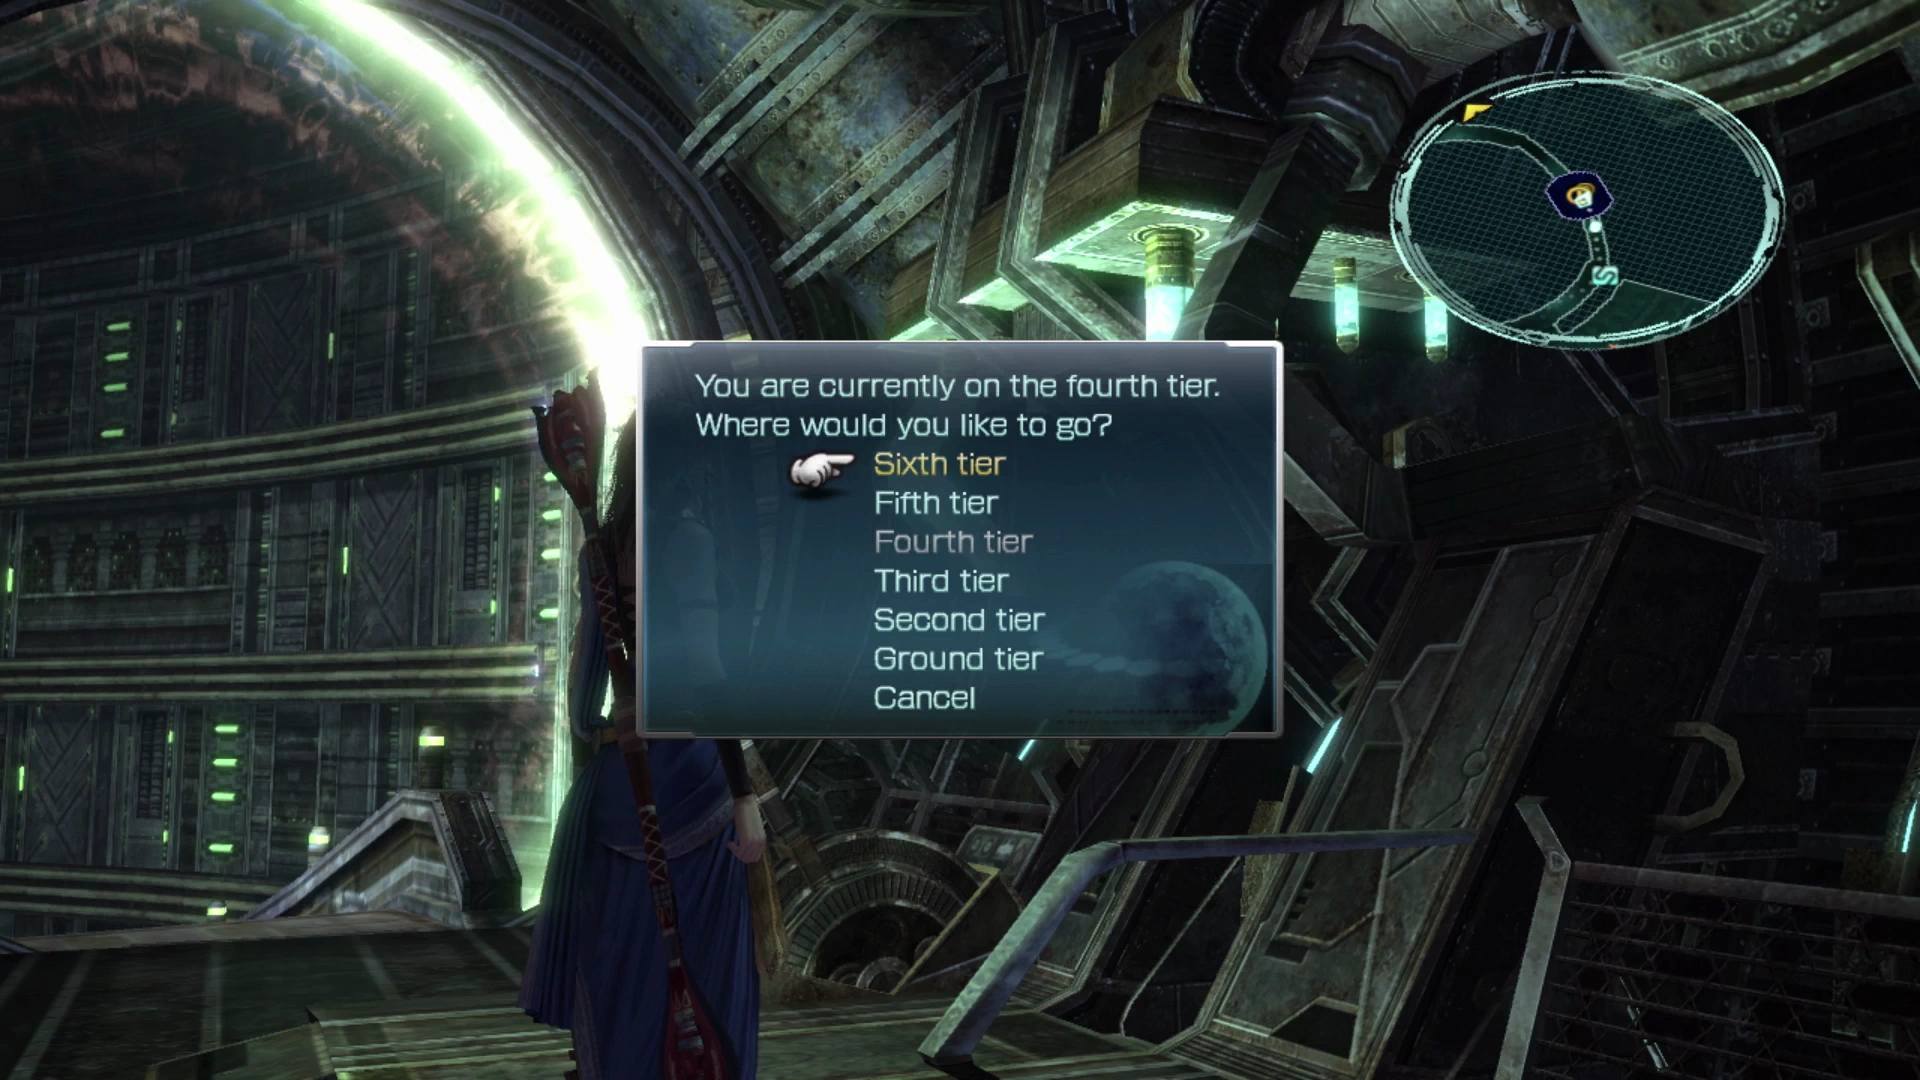
Jump into the elevator and use it to travel from the Fourth Tier up to the Sixth Tier.
Sixth Tier
Exit the elevator and you will find a new enemy in the middle of this room that looks like other Shambling Cie’th enemies that you have faced. It’s pretty easy to defeat and doesn’t require any complex strategy.
After defeating it, turn your attention towards the other side of the room where you will find a ![]() Save Station and the next Menhirrim. Examine the Menhirrim to initiate
Save Station and the next Menhirrim. Examine the Menhirrim to initiate ![]() Mission 25 - Spectral Haunt.
Mission 25 - Spectral Haunt.

Mission 25 - Spectral Haunt
Pulling open the mini-map reveals that the mark for this Mission is just in the next room over but there is no connecting path just yet. The destination marker shows you where you need to go.
Exit this room out into the hallway and head left. There are no Treasure Spheres in this area. When you reach the next room, you will be ambushed by a new group of enemies that look like bats; they are called Chonchons. While they can deal out a fair bit of damage if they focus their attacks, they generally go down very easily.
Stand in the illuminated red circle in this room to activate the Menhirrim. This process will cause the structure of Taejin’s Tower to switch around allowing the main tower elevator to access more rooms. More importantly, it allows you to reach the mark for Mission 25.
Exit the room and travel to the right, taking the second door on your right, and head towards the ramp. Before you travel down it, open the nearby Treasure Sphere to obtain the ![]() Unsetting Sun weapon for Snow.
Unsetting Sun weapon for Snow.

This weapon is one of Snow’s better weapons, but it tends to be just a little bit worse than some of his alternatives. Its stats favor strength, but it has slightly less than ![]() Power Circle, so you may want to avoid equipping this weapon to him if you’re using him in your party.
Power Circle, so you may want to avoid equipping this weapon to him if you’re using him in your party.
There is also another Treasure Sphere in the other corner of this room that contains four ![]() Tears of Woe. Travel down the ramp, back to the tier below, and the mark, Vetala, can be found floating around at the bottom.
Tears of Woe. Travel down the ramp, back to the tier below, and the mark, Vetala, can be found floating around at the bottom.
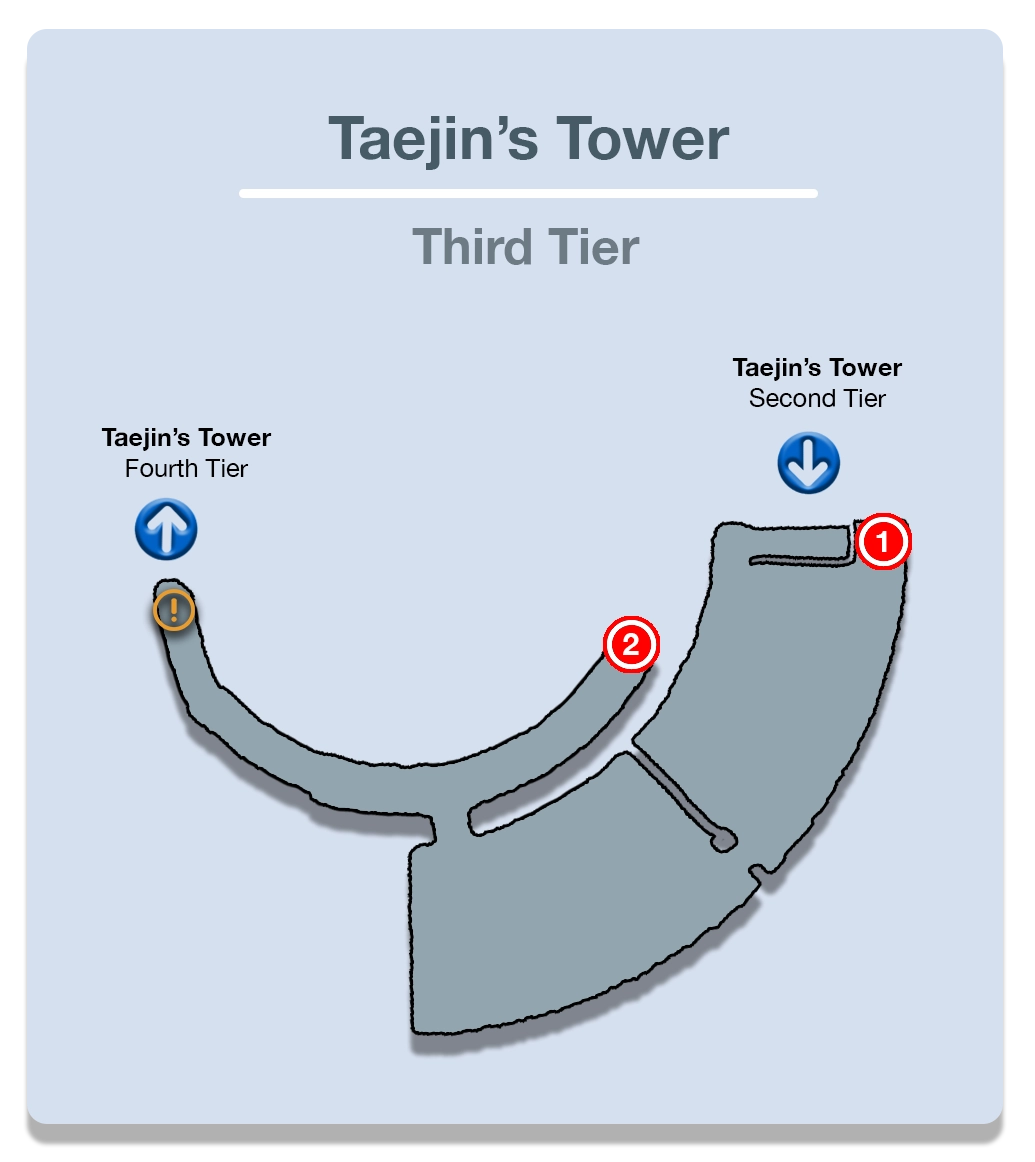
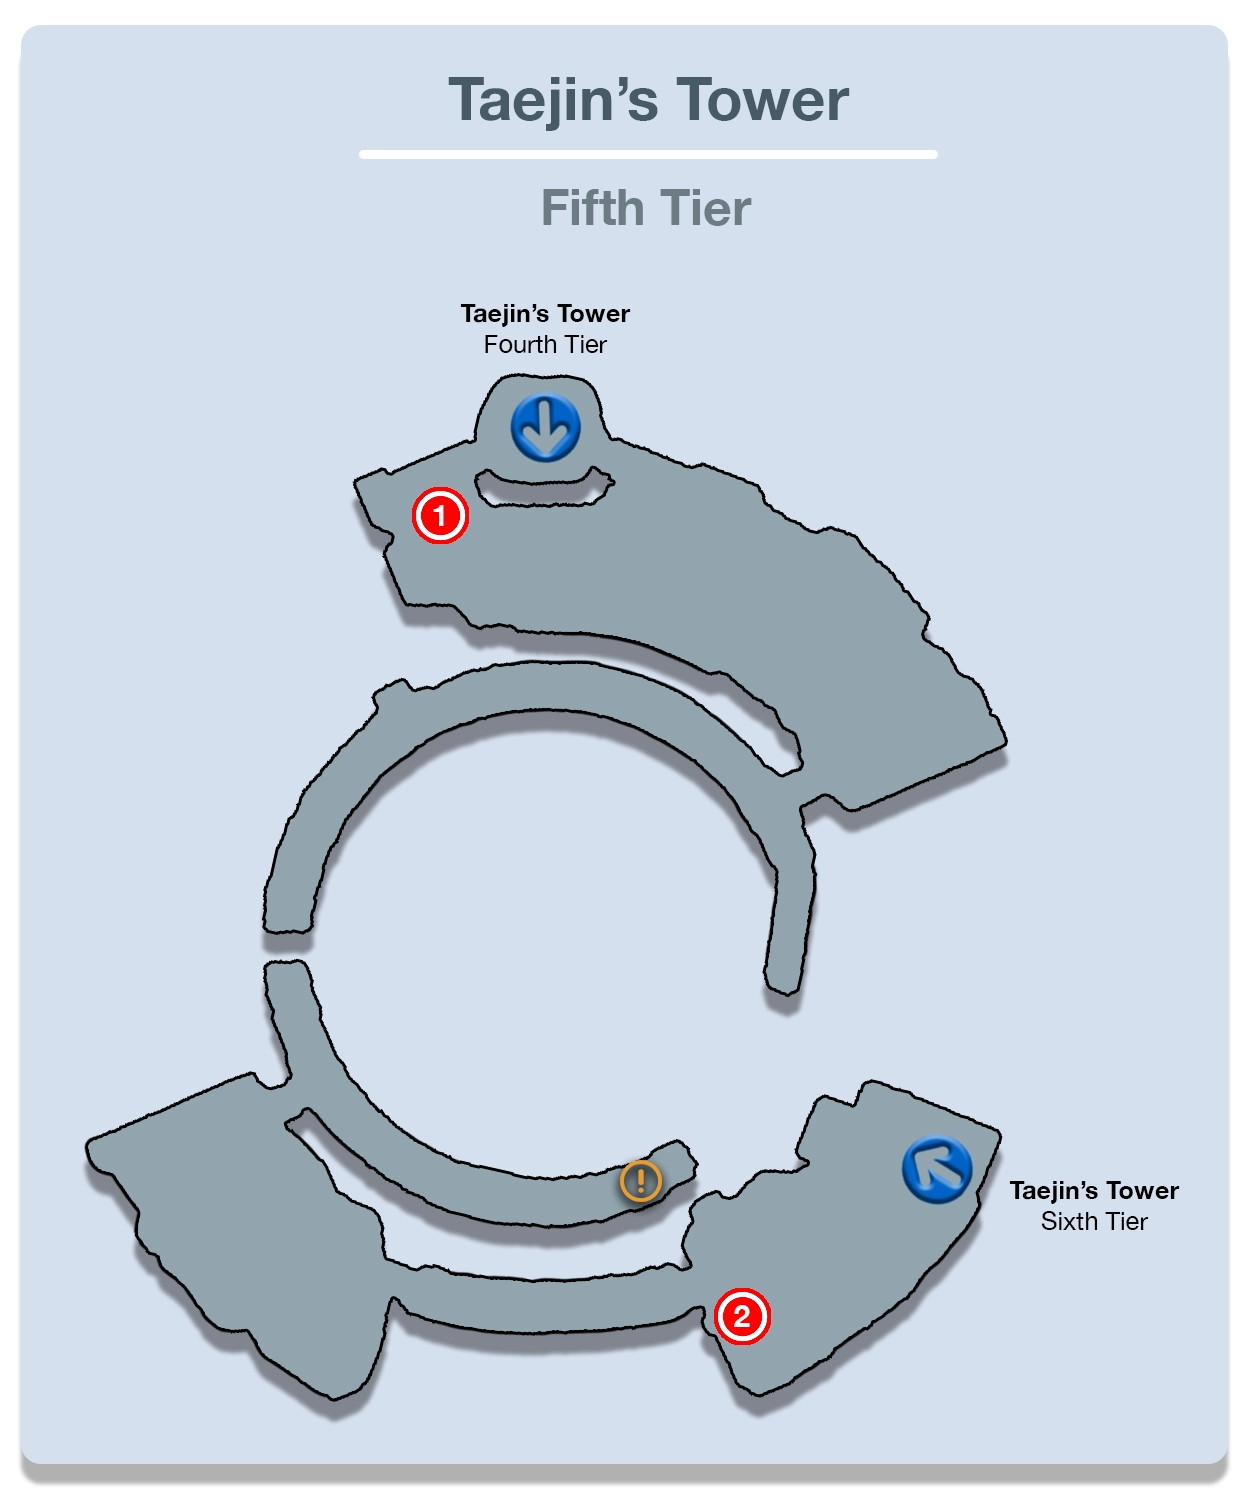
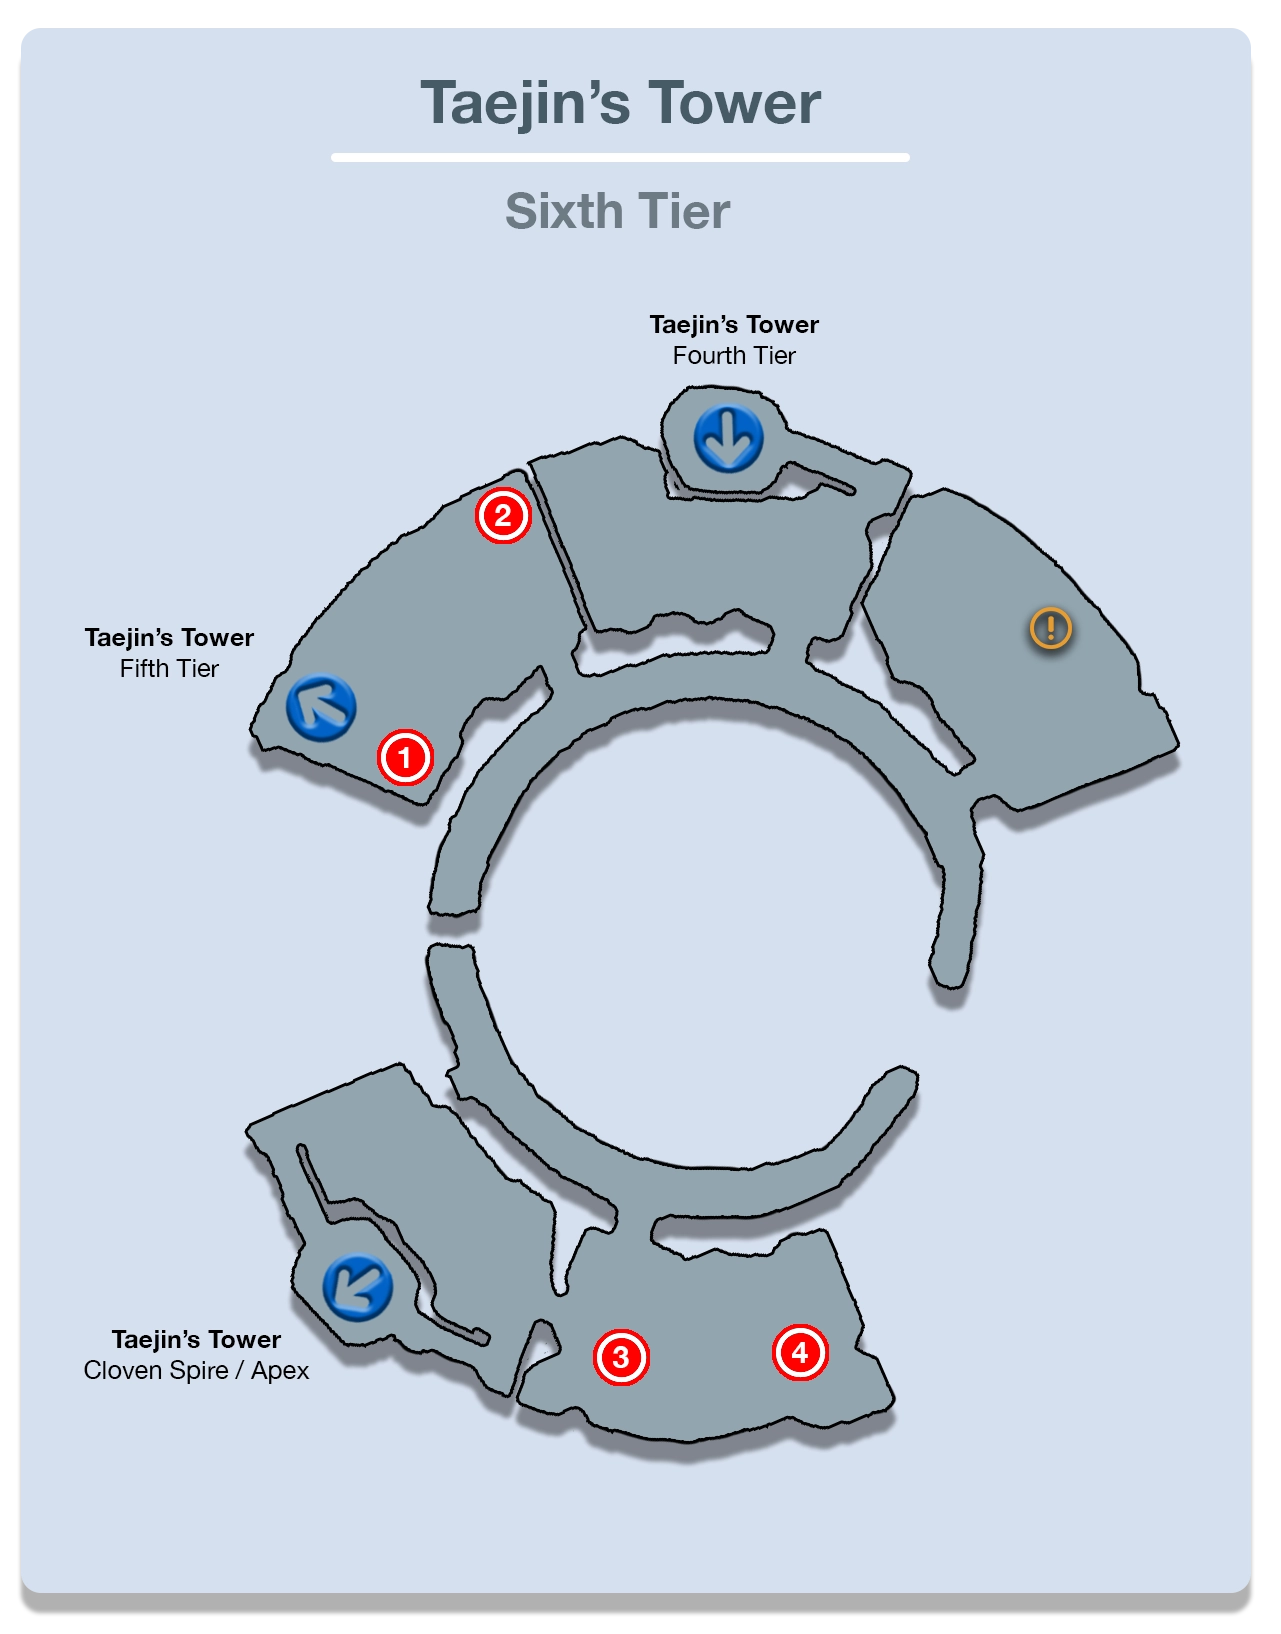
Fifth Tier
Coming from the sixth tier, use the map below to help you navigate:
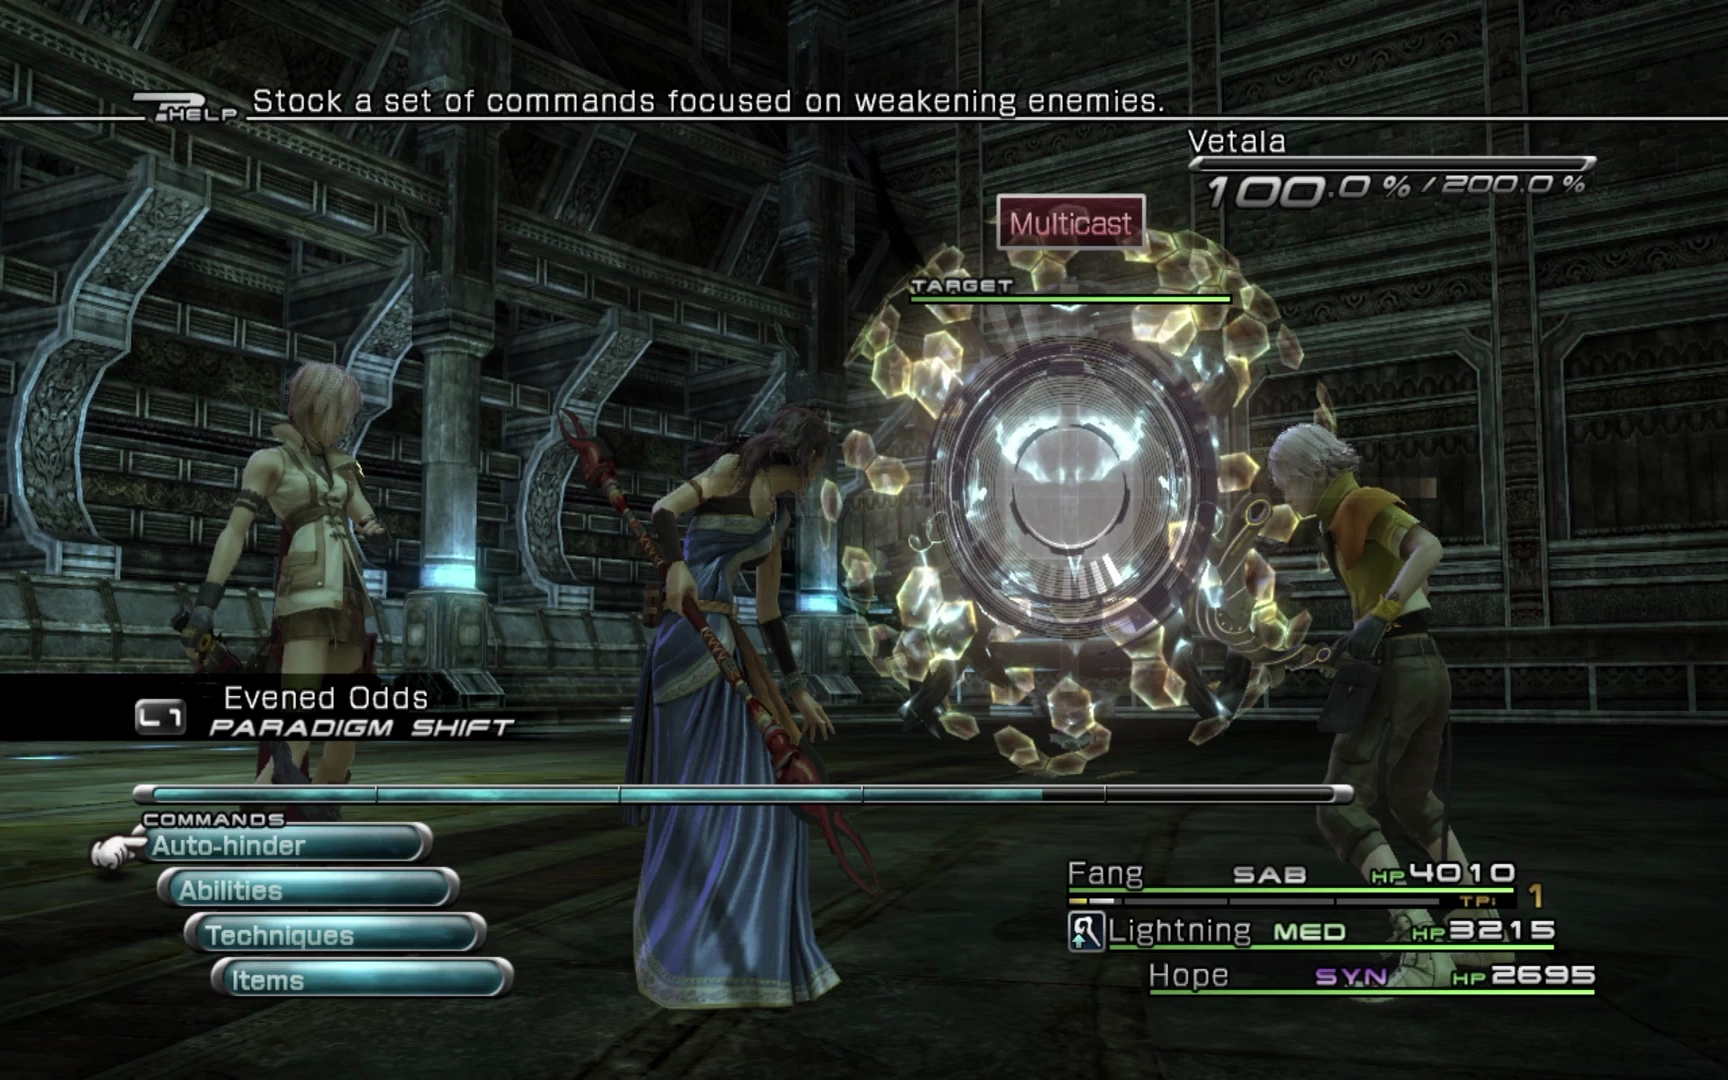
This mark is a new enemy for you, but you will be facing quite a number of them as you progress through the next section of the game.
There is a good chance you will need to Stagger Vetala twice during this fight so have your party start off in a more defensive Paradigm (either Evened Odds or Decimation) so that you can load up on beneficial status buffs. Attacks made against Vetala will do very little damage due to its protective shield, but this will disappear once it’s been Staggered.
Eventually, towards the end of its Stagger window, it will recast “Inertial Barrier,” which will prevent damage against it again, and you will have to attempt to Stagger it one more time. ![]() Dispelga can’t be used to remove the barrier and, even worse, it will remove all your party’s helpful buffs.
Dispelga can’t be used to remove the barrier and, even worse, it will remove all your party’s helpful buffs.
Open the nearby Treasure Sphere which contains a ![]() Librascope and travel through the hallway into the next room. The next Menhirrim can be found in this room, but you will also notice a large Tyrant enemy standing in the corner. Fighting this enemy is entirely optional.
Librascope and travel through the hallway into the next room. The next Menhirrim can be found in this room, but you will also notice a large Tyrant enemy standing in the corner. Fighting this enemy is entirely optional.
Just like the Berserkers you’ve faced previously in Chapter 10: The Fifth Ark, the strategy for defeating a Tyrant is the same. Ideally, you do not want it to summon a Centurion Blade as this will make the fight significantly more difficult. The Tyrant can be lured away from the spot where it’s standing and, when it turns around to return to its original spot, get a preemptive strike by ambushing it from behind. This will make the (optional) fight much easier.
Examine the nearby Menhirrim to accept ![]() Mission 26 - So Shrill, the Cry.
Mission 26 - So Shrill, the Cry.
Mission 26 - So Shrill, the Cry
Exit the room and turn right to make your way toward the next Menhirrim statue. As you get close another cutscene involving Dahaka will begin where it will step in and block your path to the Menhirrim.

Now go back to where you fought the Vetala for ![]() Mission 25 - Spectral Haunt and this time you will find a large group of five Pulsework Gladiators. These enemies are easy to get a preemptive strike on and, if you’re successful, a few Area of Effect (AoE) attacks and magic will bring them down very quickly.
Mission 25 - Spectral Haunt and this time you will find a large group of five Pulsework Gladiators. These enemies are easy to get a preemptive strike on and, if you’re successful, a few Area of Effect (AoE) attacks and magic will bring them down very quickly.
Travel up the ramp and back into the room above.
Sixth Tier
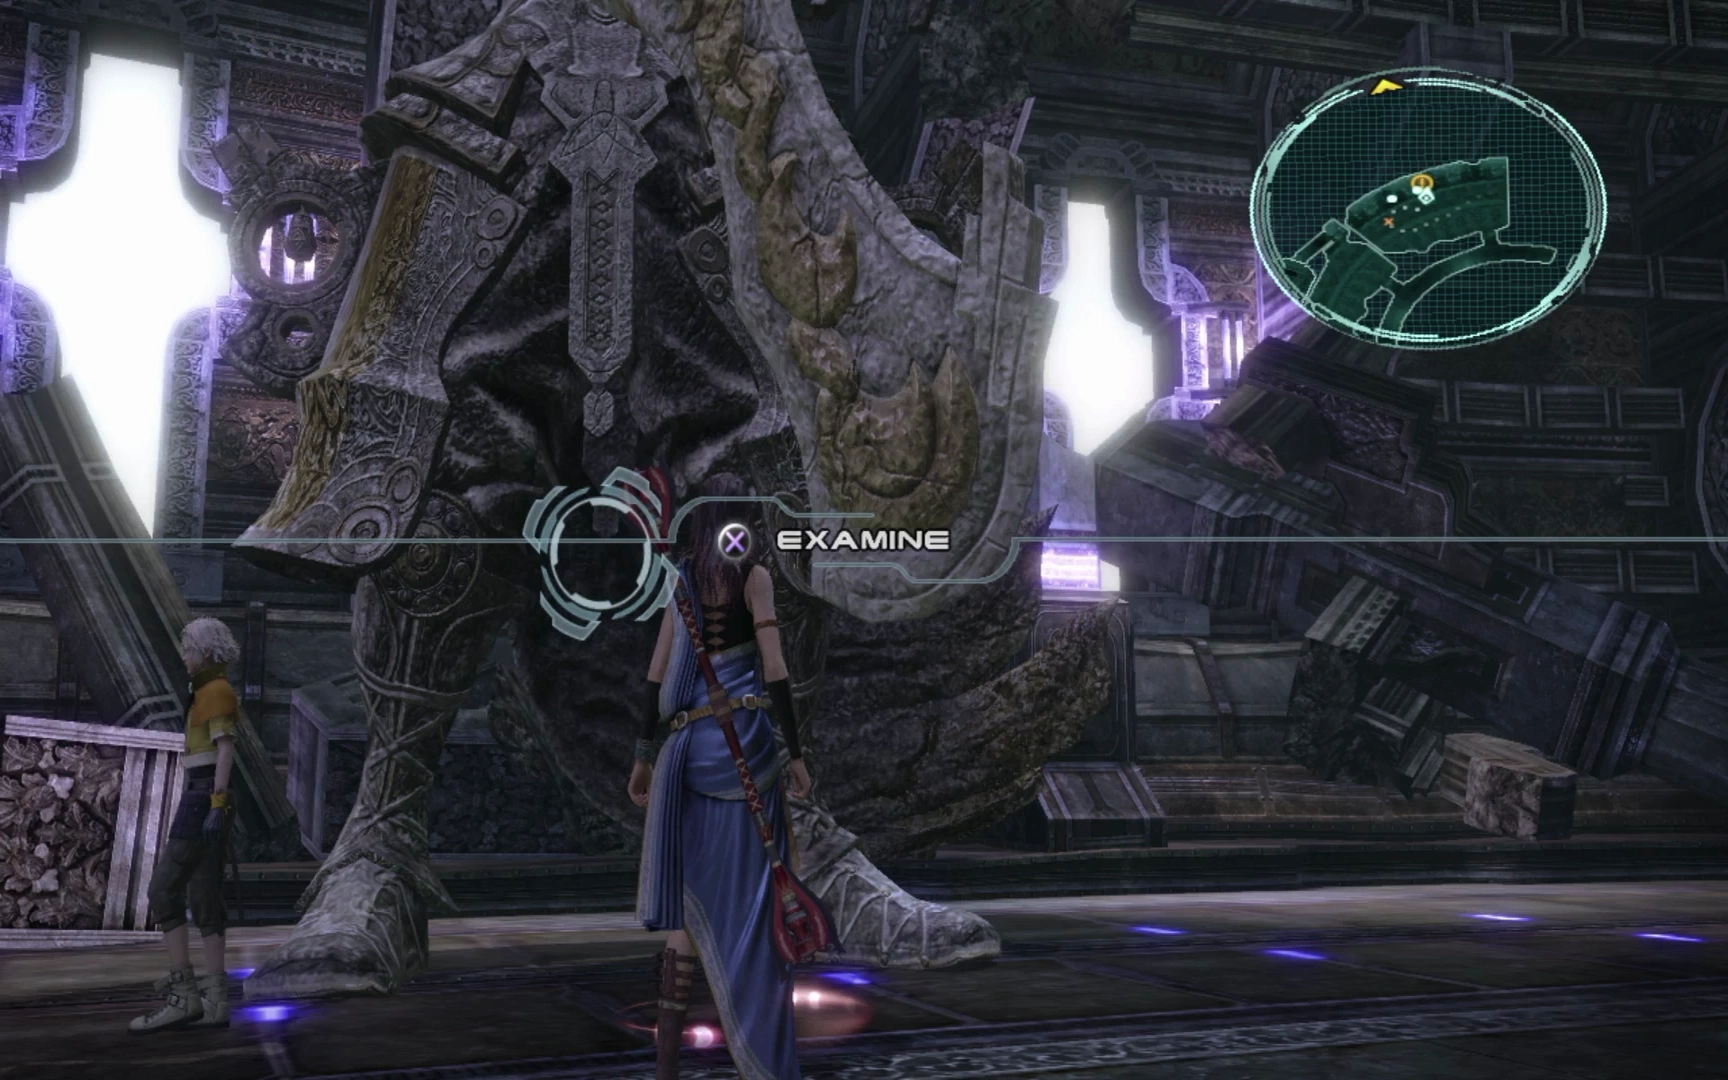
Leave this room and head back out into the large tower area. You will be able to see the location of the mark on your mini-map. Follow the path along to the far room and the mark, Penanggalan, can be found inside.
Penanggalan has four other Chonchons grouped up with it, but even with such a large group, this fight is straightforward. Start off in a more defensive Paradigm like “Deception” but then quickly move into full attack mode with Relentless Assault. Start by defeating each of the smaller Chonchons, which are easier to defeat, before moving on to Penanggalan itself.
Exit the room after ![]() Mission 26 - So Shrill, the Cry and head all the way back down the ramp toward where you fought the Vetala / Pulsework Gladiator group.
Mission 26 - So Shrill, the Cry and head all the way back down the ramp toward where you fought the Vetala / Pulsework Gladiator group.
Fifth Tier
Make your way all the way back to the Menhirrim statue that Dahaka blocked you from accessing as now the pathway is clear.
This time, as you approach the statue, a new cutscene will initiate where the Menhirrim will jump in to attack and disable Dahaka. Walk towards the end of the walkway and examine the Menhirrim with the ![]()
![]()
![]() button. Taejin’s Tower will be arranged one more time but at this point, the elevator will be able to traverse to all the tower’s floors. It’s time to take it to the top!
button. Taejin’s Tower will be arranged one more time but at this point, the elevator will be able to traverse to all the tower’s floors. It’s time to take it to the top!
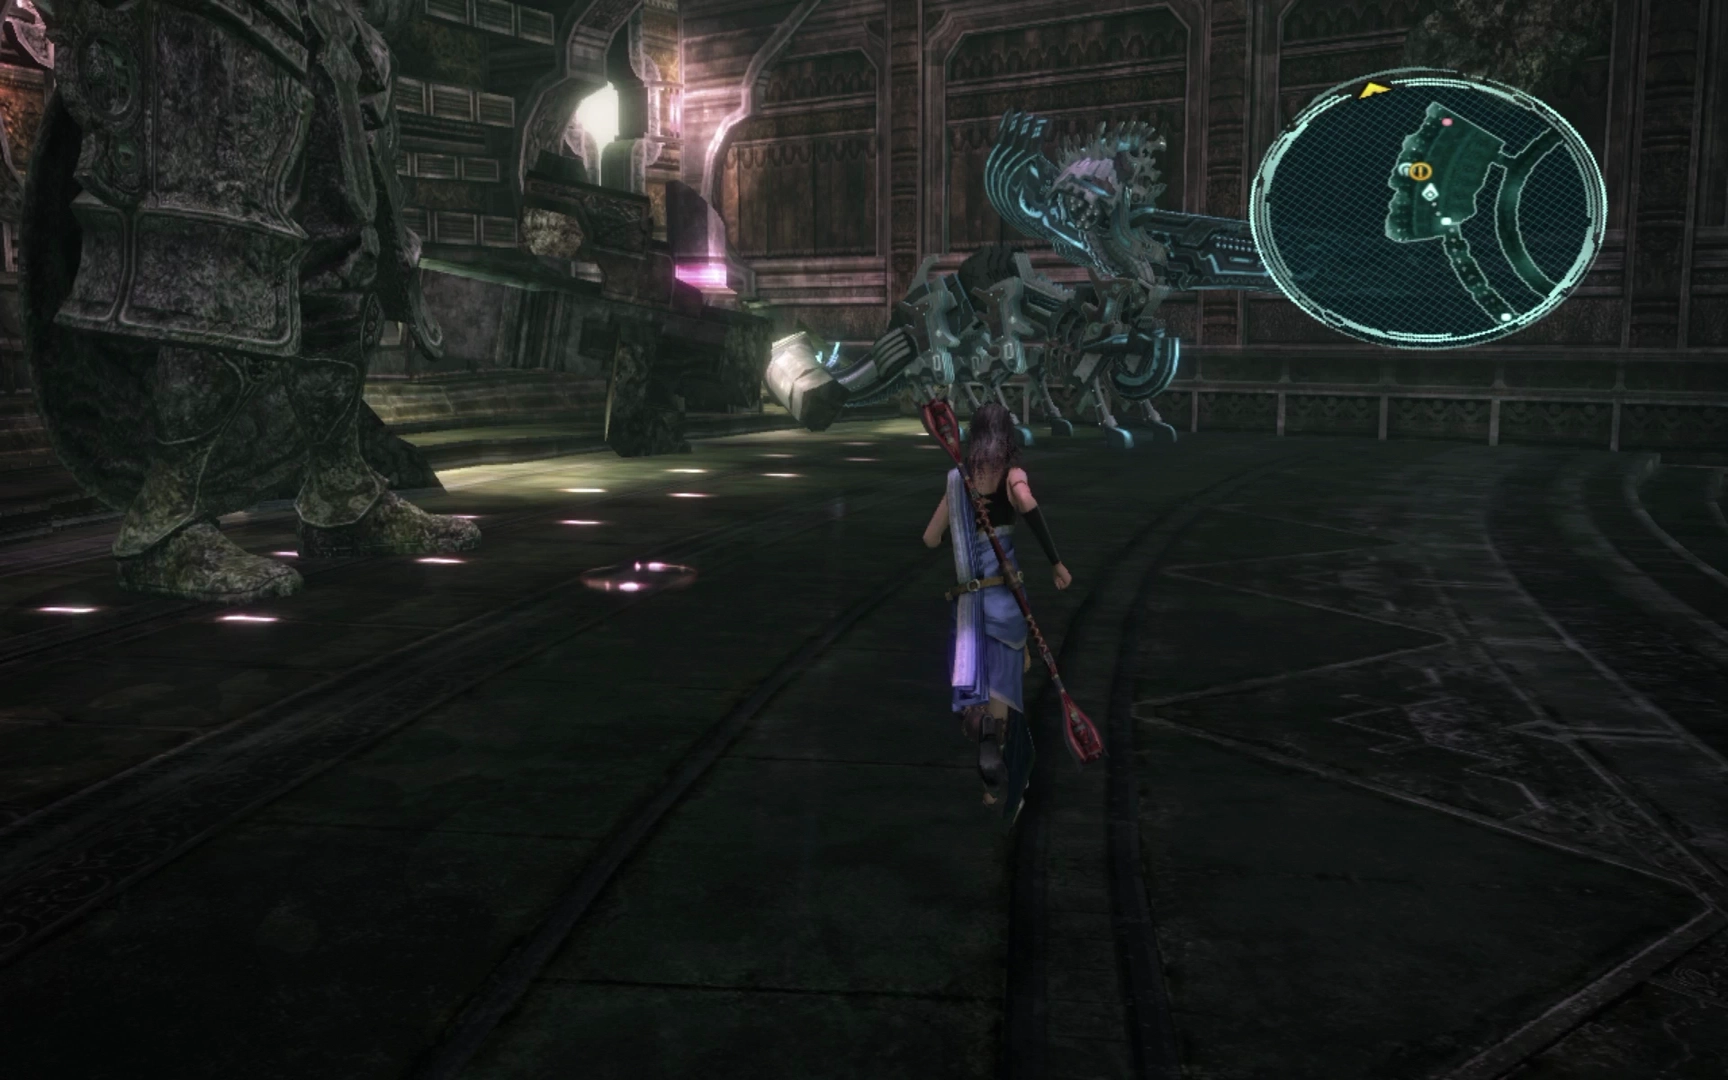
To reach the elevator, you will have to travel through some newly opened rooms. Head into the nearby room and engage the group of two Yakshas and one Yakshini inside. Just like the Skata’ne and Stikini from before, you should focus your attacks on the Yakshini (the one with the large orange weapon) first.
The second group of enemies in this room includes two Yakshini on their own. Grab the Treasure Sphere nearby if you missed it earlier; it contains nine ![]() Ancient Bones. Walk up towards the nearby elevator and use it to return to the Fourth Tier.
Ancient Bones. Walk up towards the nearby elevator and use it to return to the Fourth Tier.
Fourth Tier
There are two Yakshas in the room when the elevator arrives that are easy enough to defeat. Exit the room and head toward the ![]() Save Station to save your game. When you’re ready, use the elevator to proceed up to the Sixth Tier again.
Save Station to save your game. When you’re ready, use the elevator to proceed up to the Sixth Tier again.
Sixth Tier
There are two directions you can go when the elevator opens, but just follow Hope out as he runs forward towards the lone Vampire. Defeat the Vampire and then head into the nearby room to face off against another group of Chonchons with a Vampire.
Grab the Treasure Sphere near the door which contains eight ![]() Tears of Remorse and the Treasure Sphere in the back corner which contains a
Tears of Remorse and the Treasure Sphere in the back corner which contains a ![]() Clay Ring.
Clay Ring.
Enter the adjacent room and you will find a group of three Vampires in the center. They are technically off to the side though, and you can run straight to the elevator if you prefer, but it’s recommended that you engage in the fight if only for the Crystogen Point (CP) that you will gain. This will be a lengthy fight though, so start off by buffing your party members and be prepared to switch to defensive Paradigms when the incoming damage gets to be too heavy.
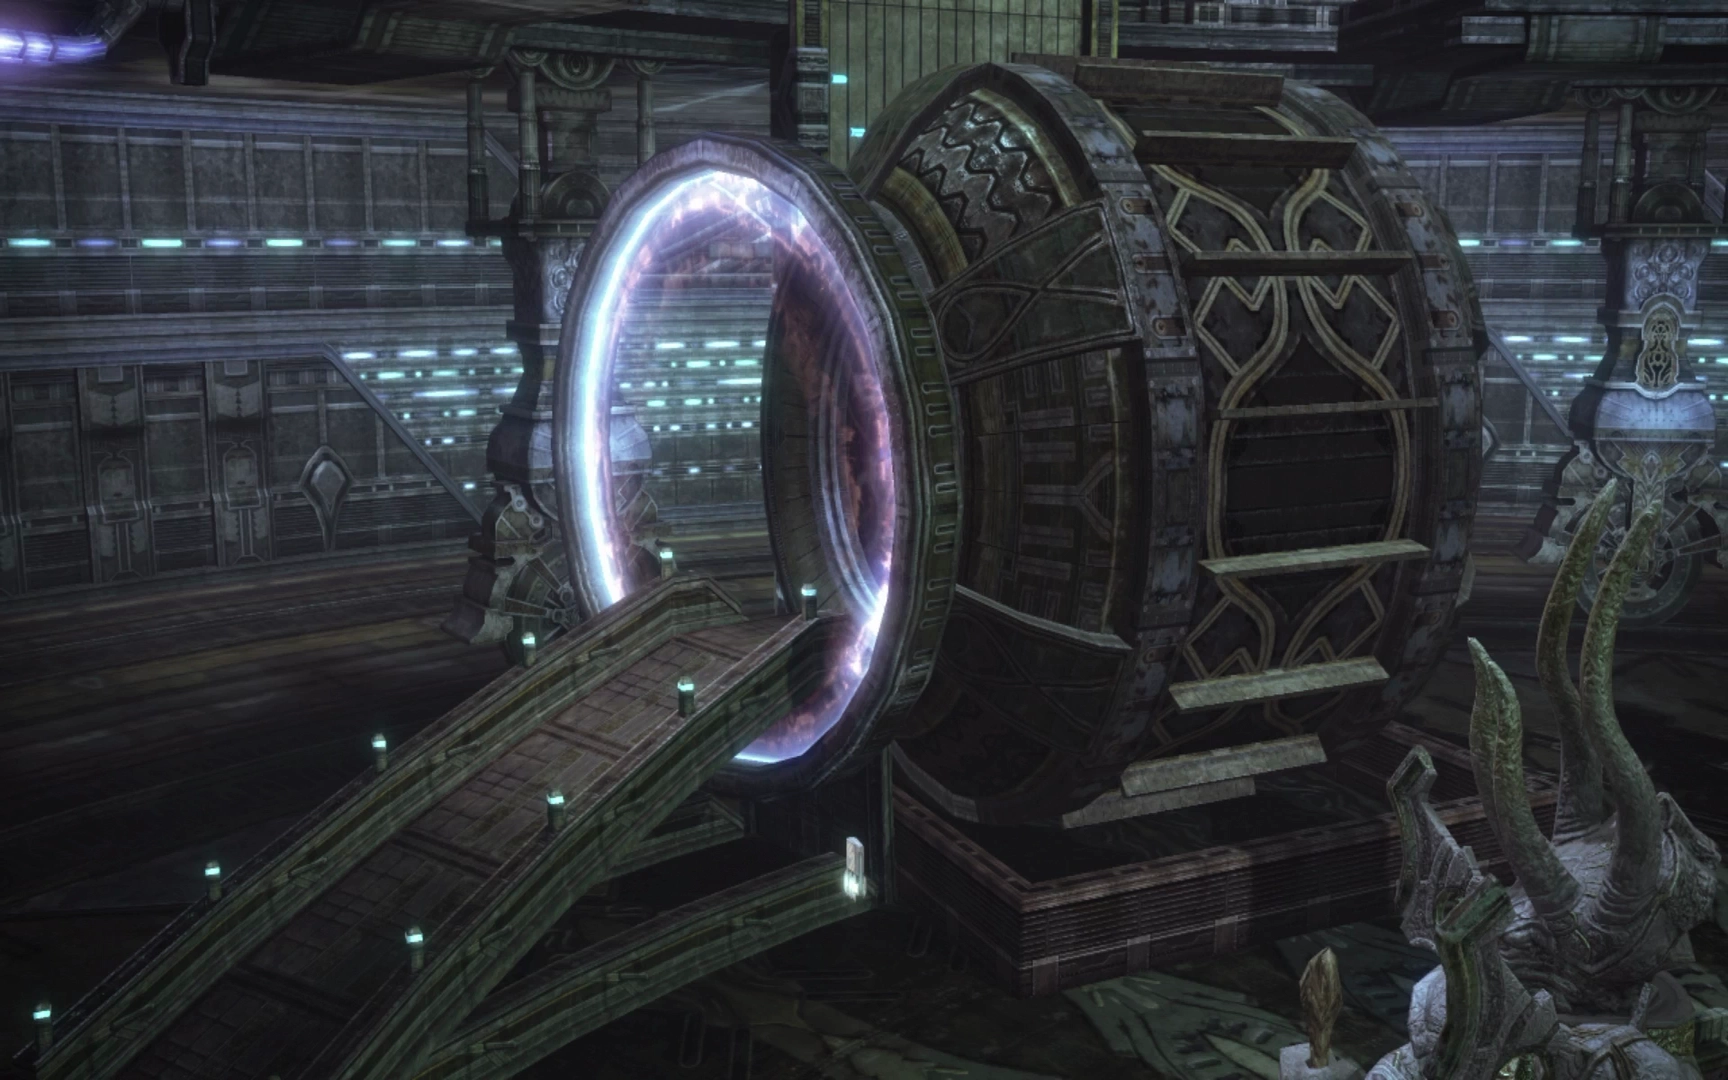
Jump into the elevator, activate it, and choose to go to the “Apex.”
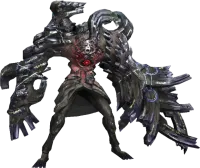
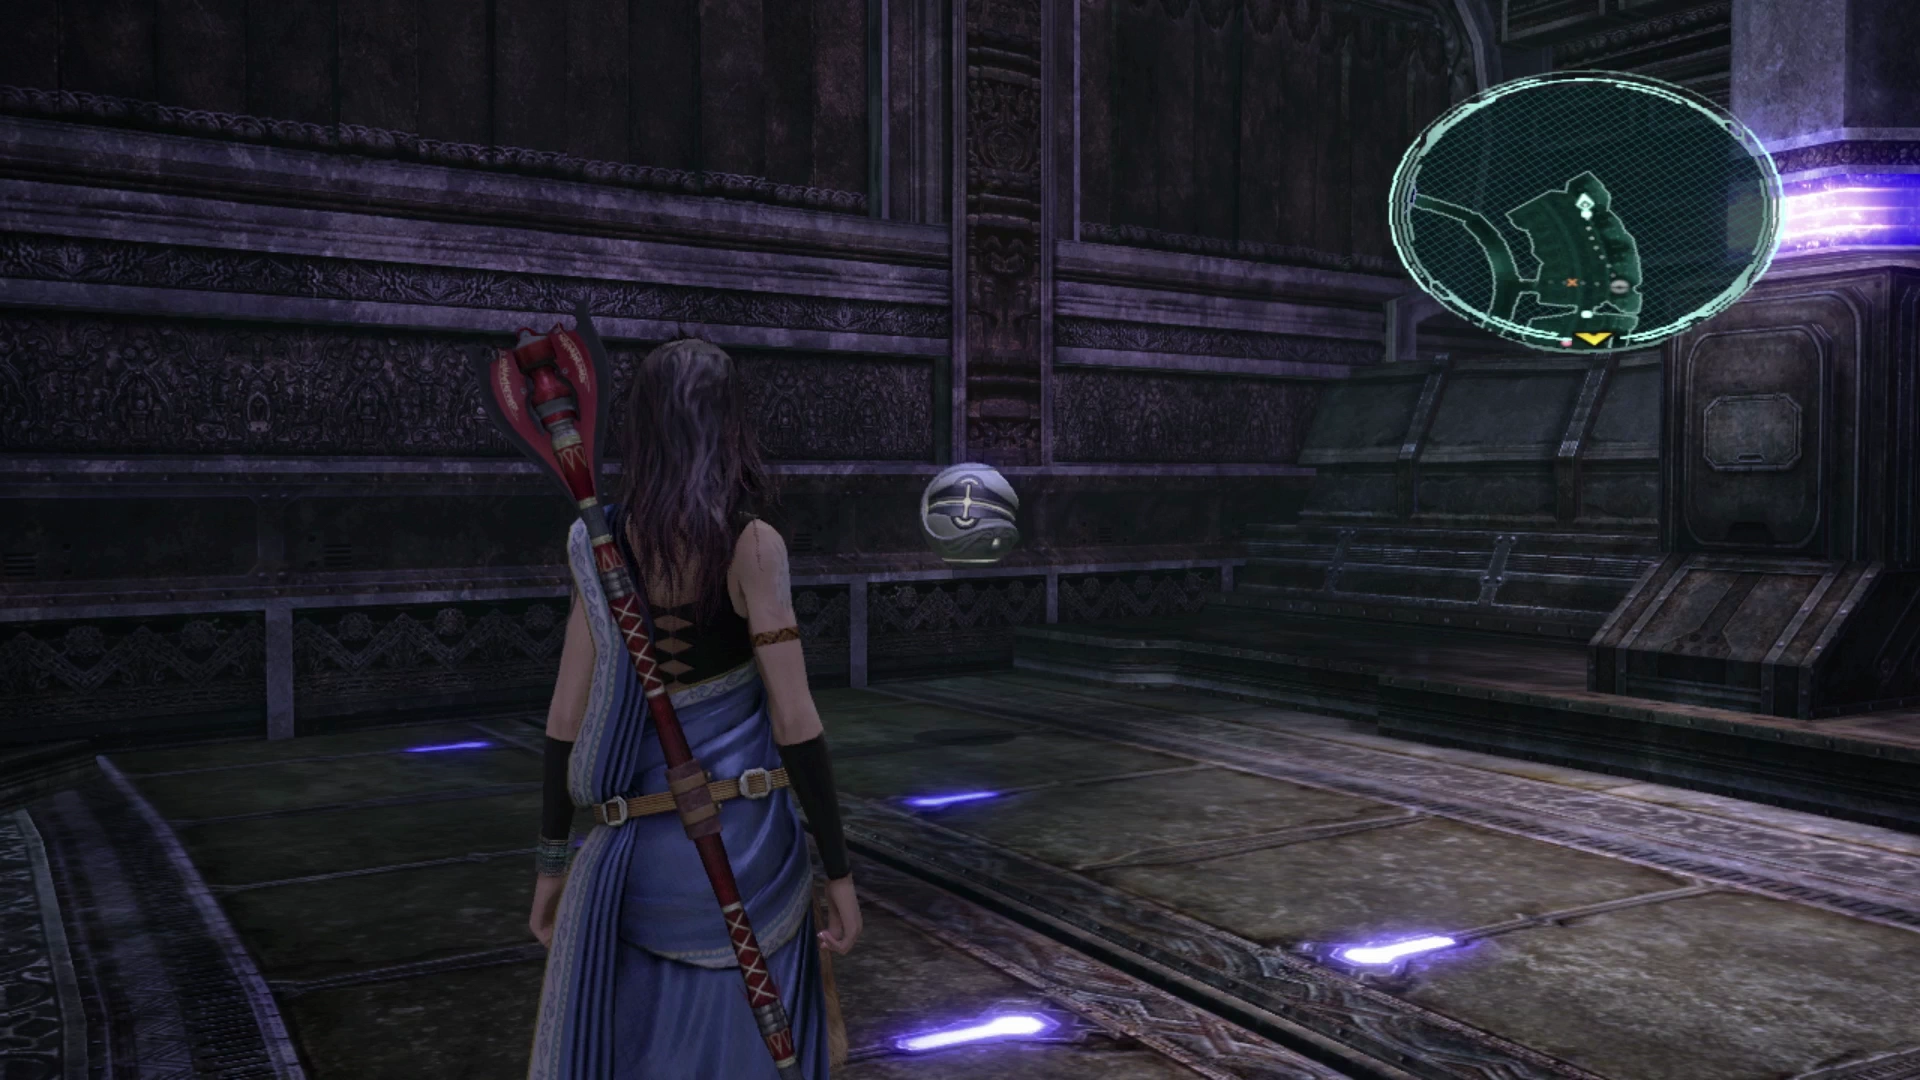
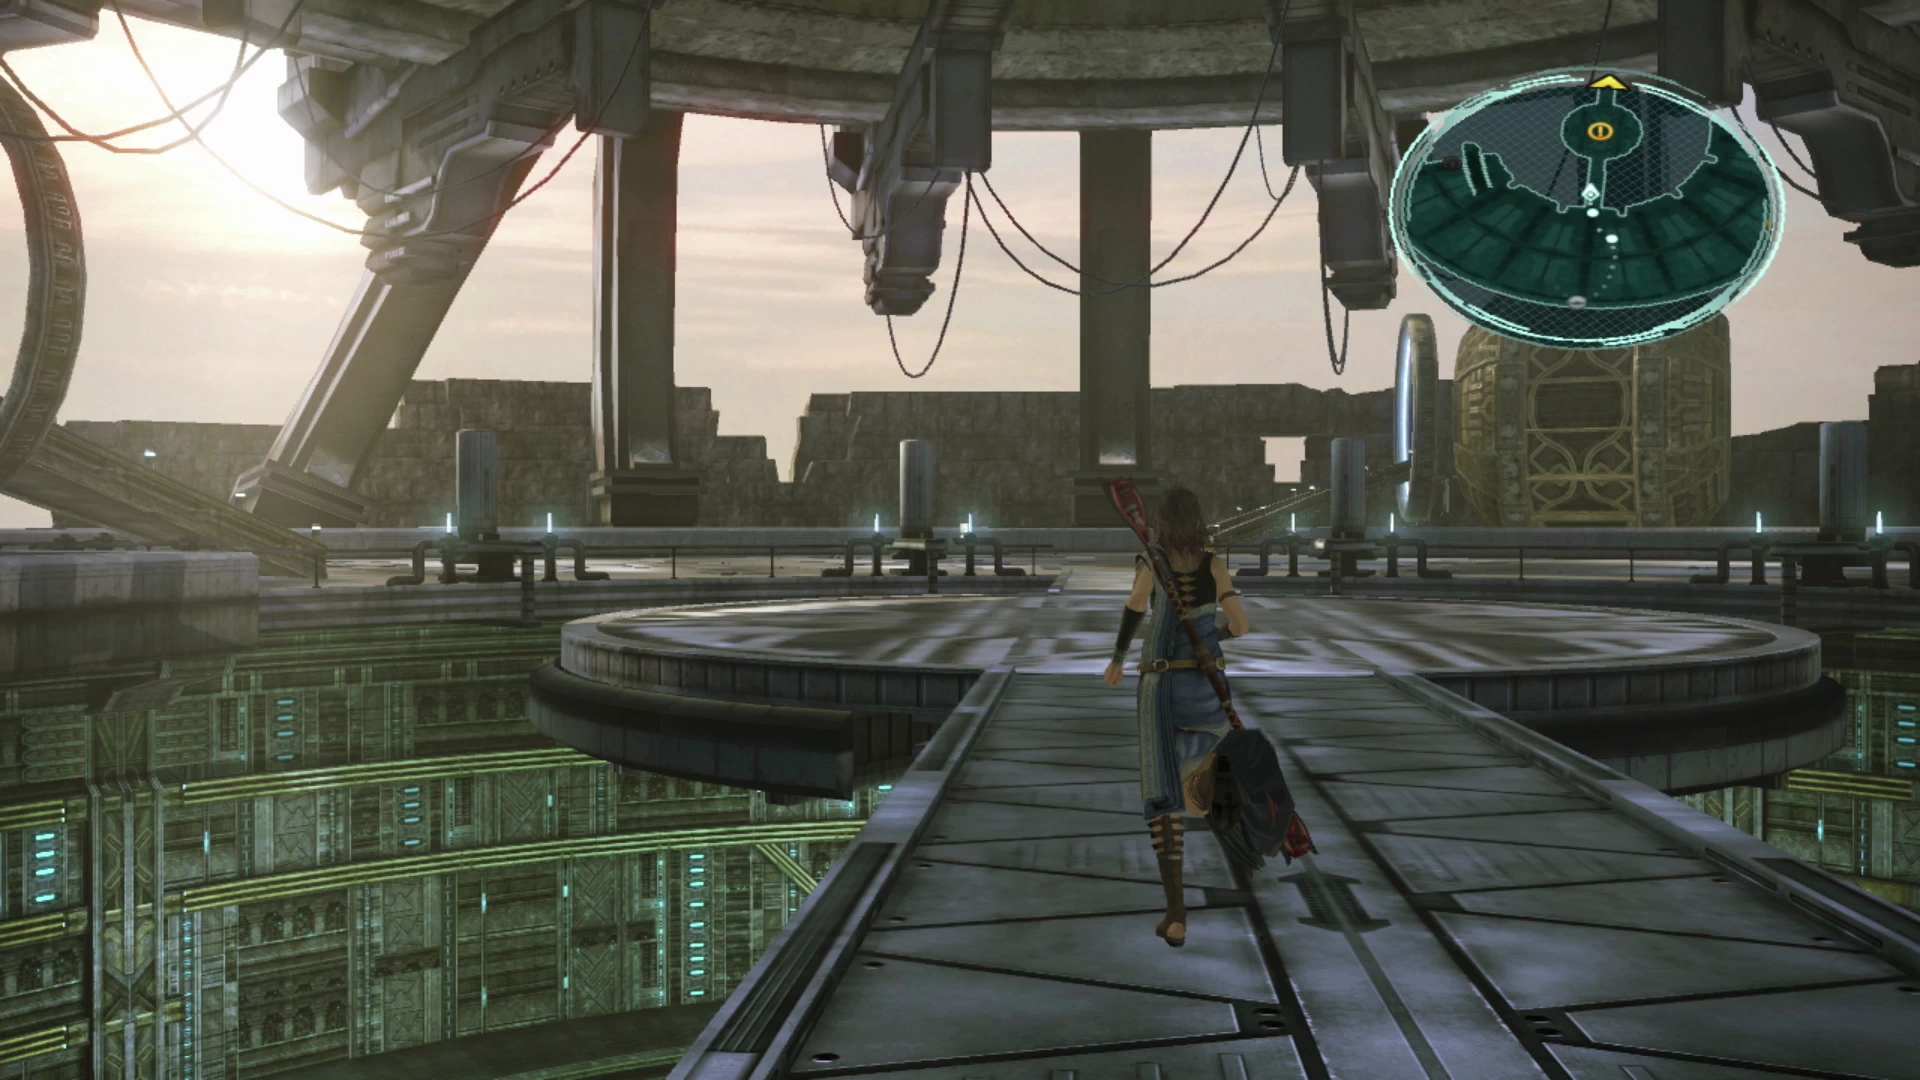
The Cloven Spire (“Apex”)
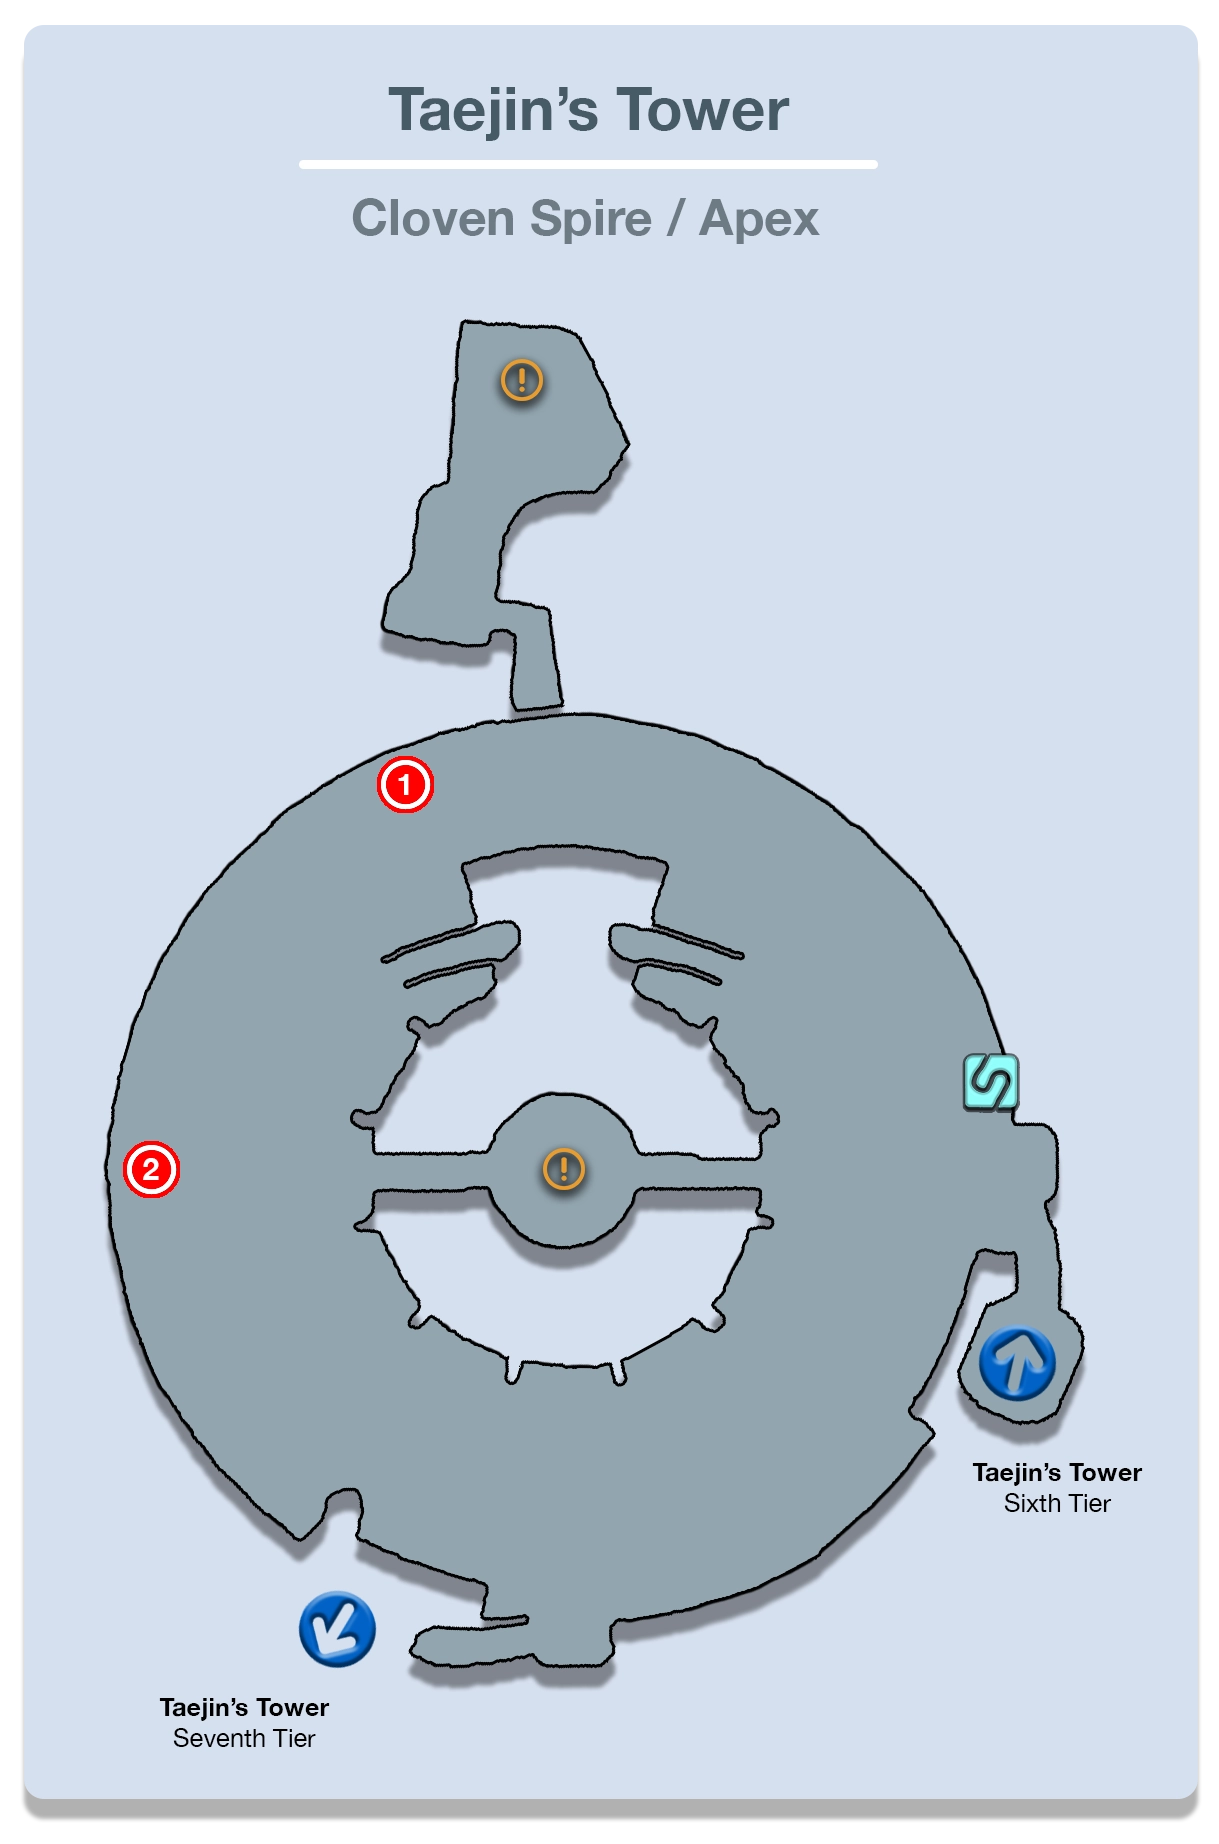
There is a ![]() Save Station nearby that you can use to save your game. After that, you can wander around the map of the Cloven Spire to pick up the two Treasure Spheres in the area. One of them contains a vial of
Save Station nearby that you can use to save your game. After that, you can wander around the map of the Cloven Spire to pick up the two Treasure Spheres in the area. One of them contains a vial of ![]() Ethersol and the other contains two
Ethersol and the other contains two ![]() Frostbane Brooches.
Frostbane Brooches.
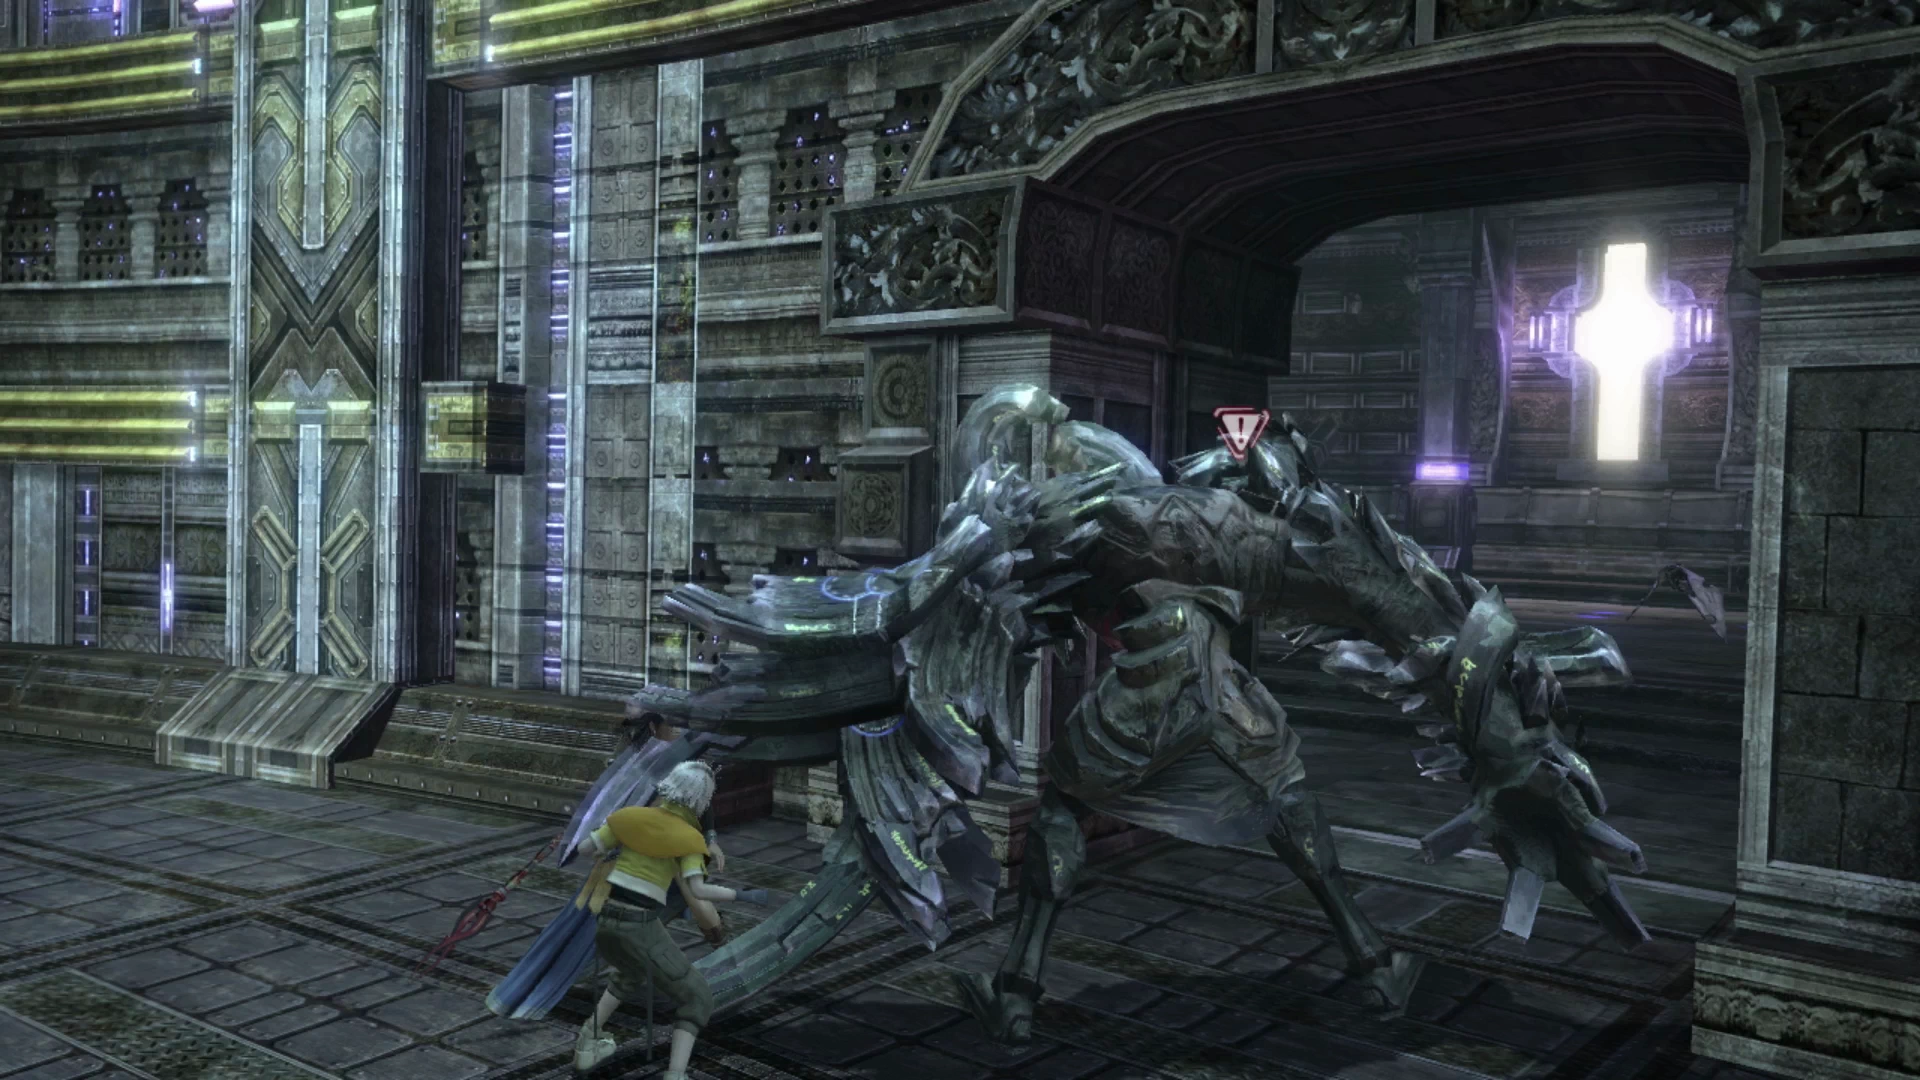
The next task is to fight the boss in the middle of the room. There is not much that you need to prepare for, but if you’re finding this fight challenging you can always cycle back down to the previous tiers of Taejin’s Tower to battle enemies and earn some additional Crystogen Points (CP).
Set your default Paradigm to Evened Odds and make sure you have a Decimation Paradigm setup as well and then head into the middle of the Apex.
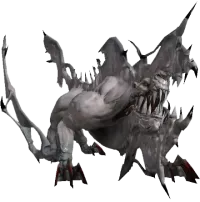
Boss Battle
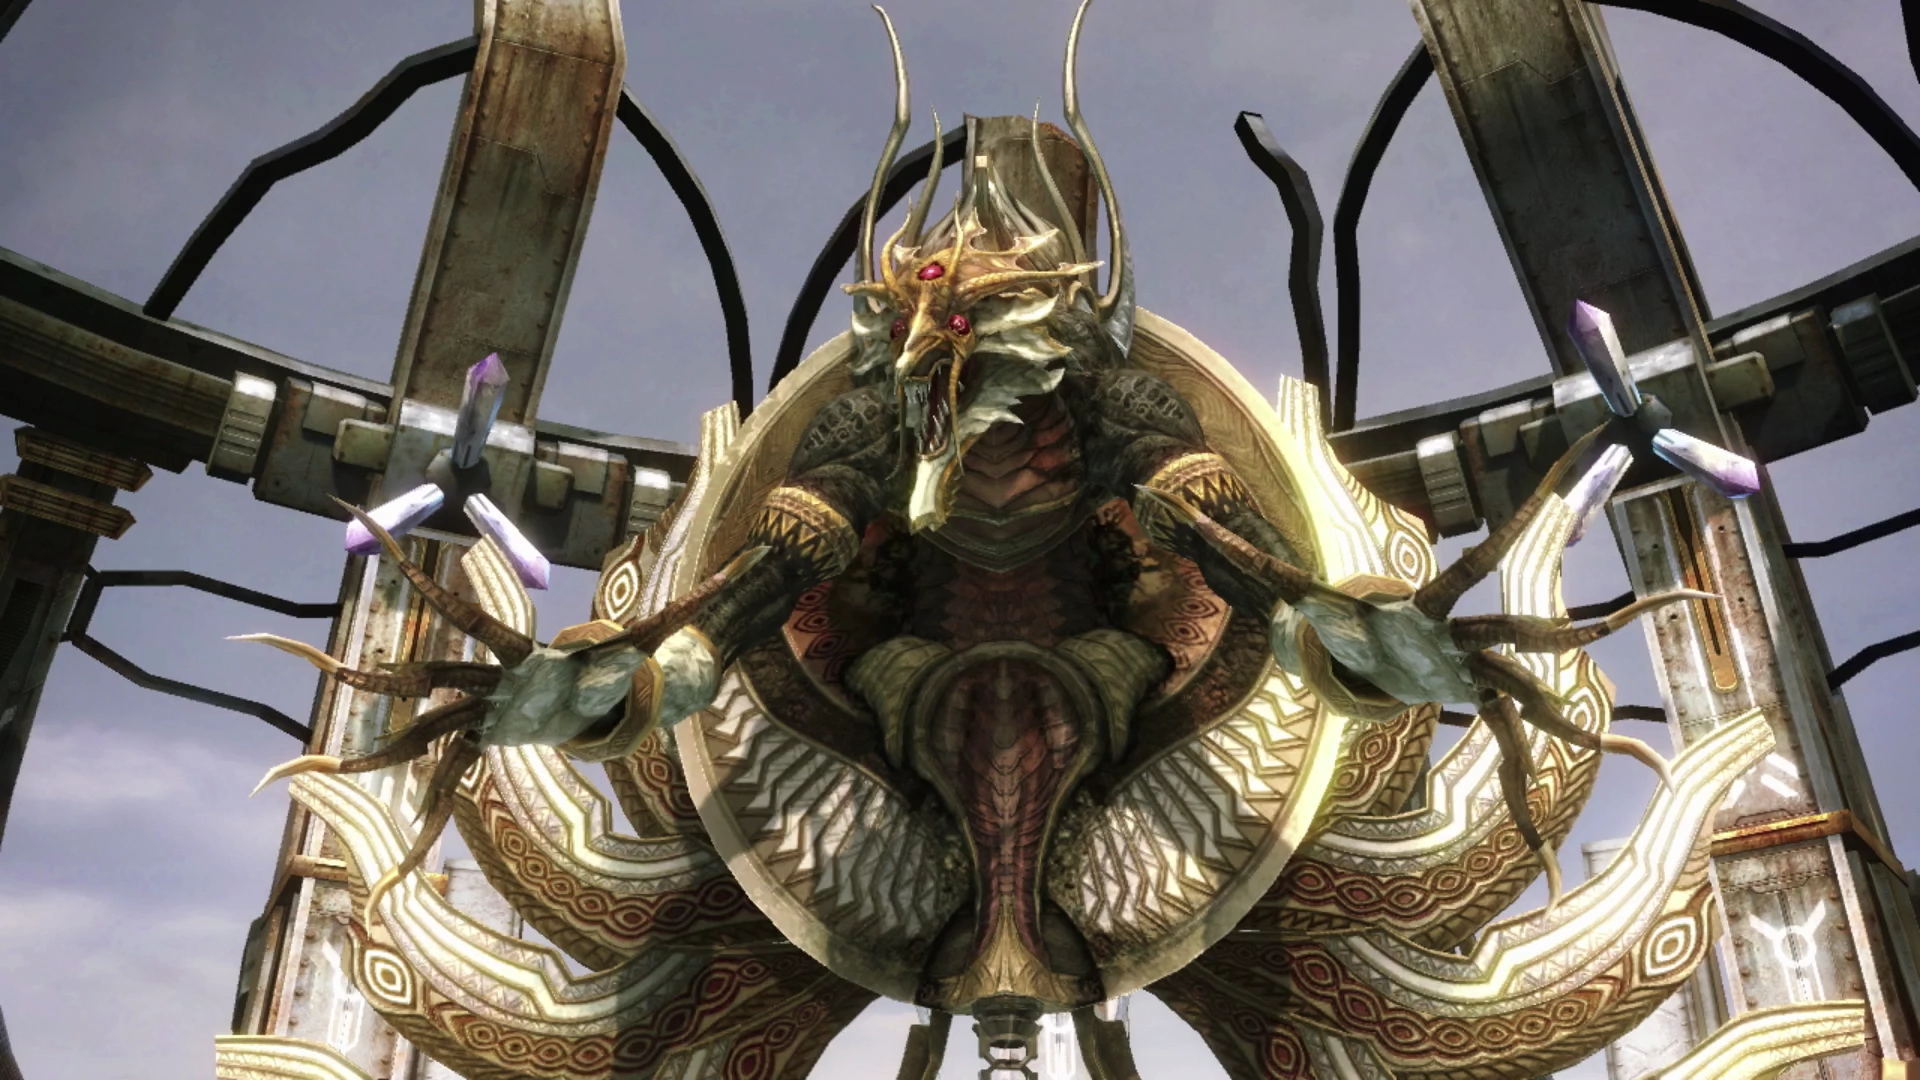
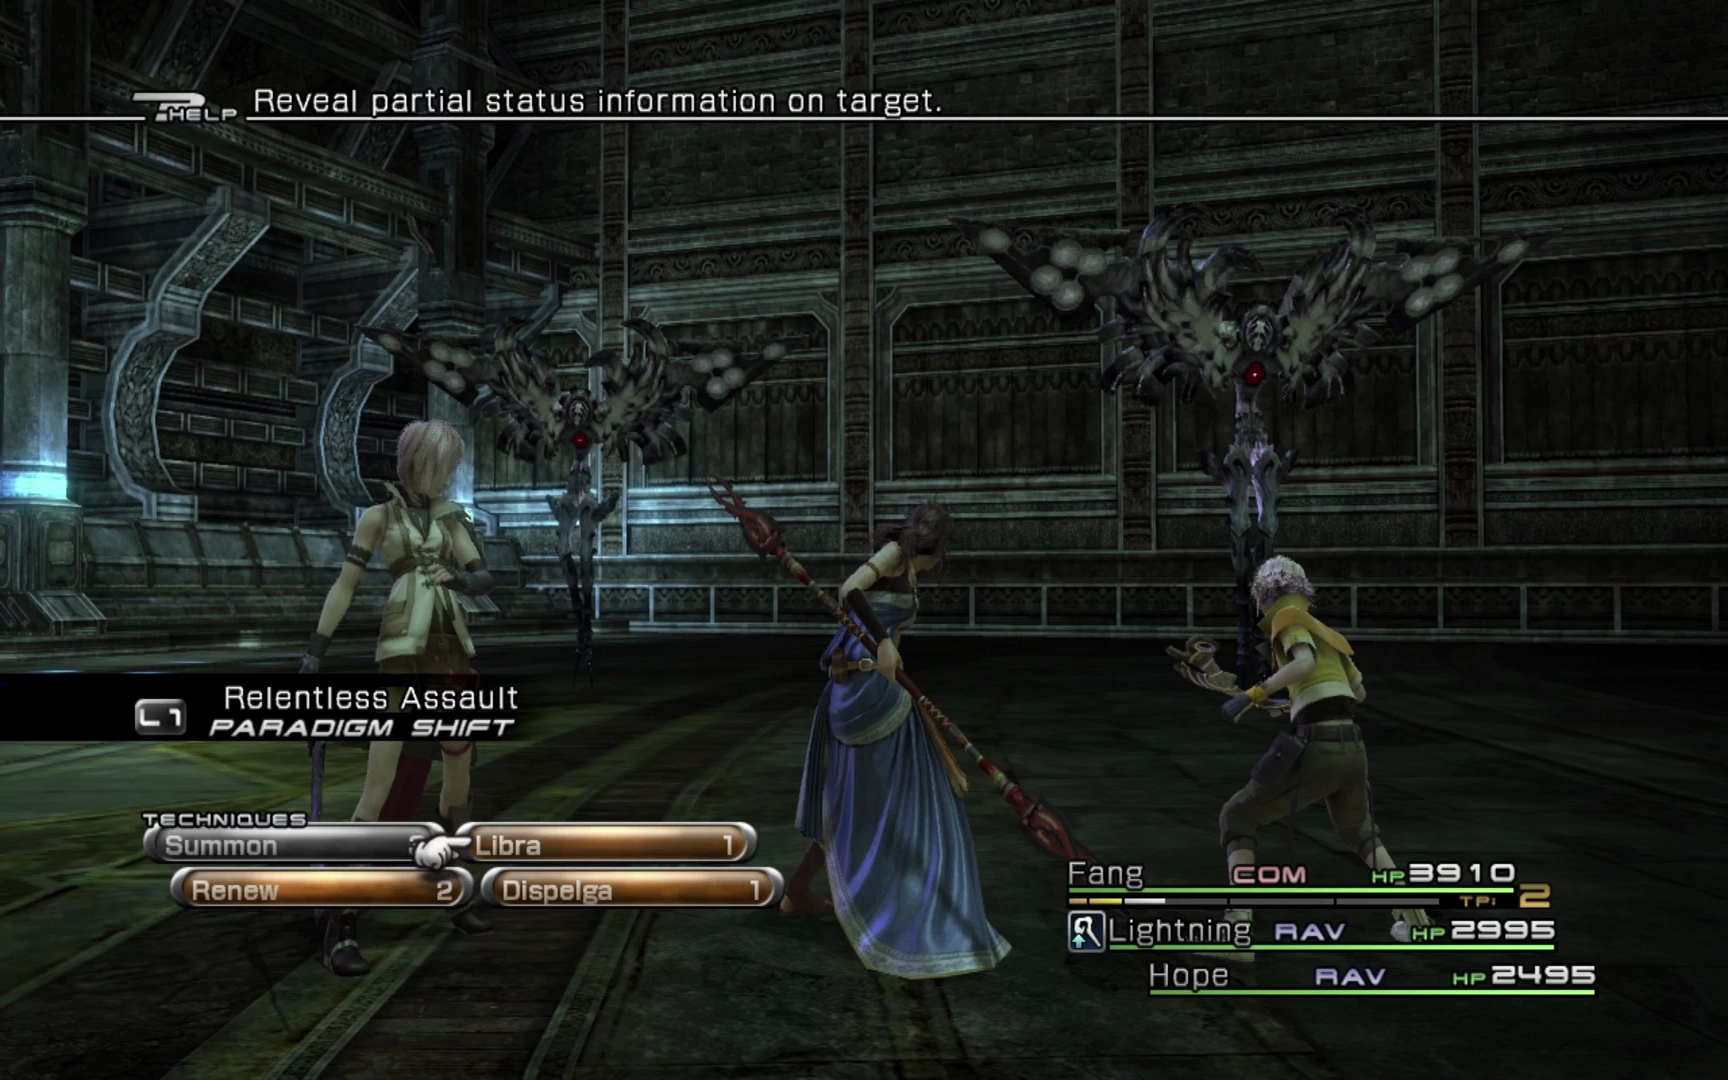
As with all bosses, make sure you start off by using ![]() Libra early in the fight. Some things revealed by using Libra include:
Libra early in the fight. Some things revealed by using Libra include:
- Dahaka can inflict
 Imperil on your team members, which increases the amount of damage Dahaka’s magic attacks will do. Have a
  Medic remove this ability with
  Esuna.
 - It can also cast
 Faith on itself which will increase the potency of its magic-based attacks.
 - Lastly, it is susceptible to Imperil. This means that, ideally, you would want to have a
 Saboteur activate Imperil on it fairly early in the fight.
Dahaka’s attacks include:
- Bone-chilling Breaker: inflicts ice and water-based magic damage.
- Diluvial Plague: inflicts a wide spread of debuffs on your party (Debrave, Defaith, Deprotect, Deshell, Poison, Slow and Curse) and removes negative status effects from Dahaka.
- Foul Utterance: damages a single party member and removes three positive status effects.
- Fulminous Firestorm: inflicts fire and lightning-based magic and can cause the Imperil status effect.
In addition to the above, Dahaka can also cast ![]() Firaga,
Firaga, ![]() Blizzaga,
Blizzaga, ![]() Thundaga and
Thundaga and ![]() Waterga magic which will hit all of your party members.
Waterga magic which will hit all of your party members.
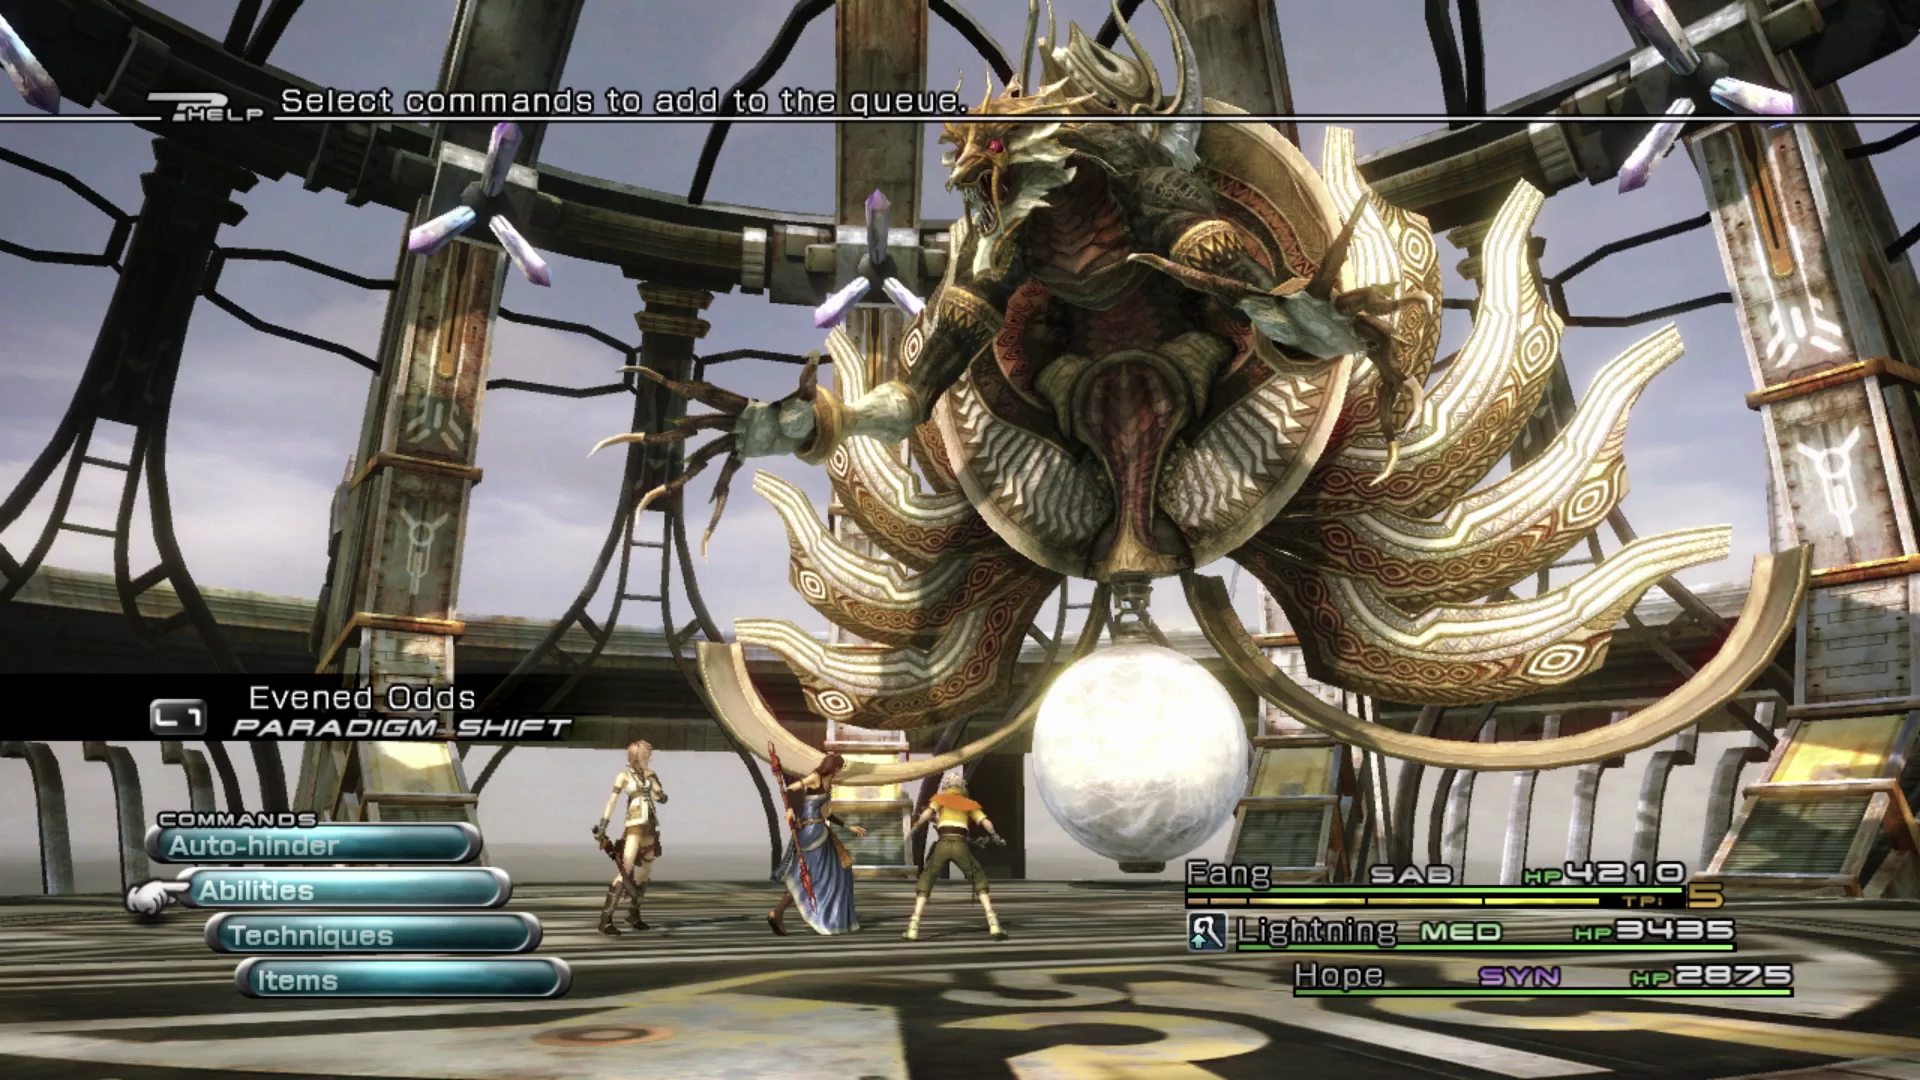
Stay in Evened Odds long enough for your ![]() Saboteur to get some negative status effects cast on Dahaka.
Saboteur to get some negative status effects cast on Dahaka. ![]() Deshell,
Deshell, ![]() Deprotect and
Deprotect and ![]() Imperil are all helpful. Swap over to Decimation, if your party members don’t need to be healed up, to make sure that your party members are fully buffed up.
Imperil are all helpful. Swap over to Decimation, if your party members don’t need to be healed up, to make sure that your party members are fully buffed up.
As you can see from Dahaka’s attack list, you’re going to be in a bit of a battle to keep positive status effects on yourself and negative status effects active on the target. Be sure to switch back to Evened Odds or Decimation from time to time to recast these buffs/debuffs.
Dahaka will stop attacking while it is Staggered, but it has a lot of HP and will likely need to be Staggered more than once. If you’re having trouble surviving its more powerful attacks, consider switching to Combat Clinic to recover your party quickly.
You can also consider using ![]() Dispelga if Dahaka casts
Dispelga if Dahaka casts ![]() Faith or
Faith or ![]() Haste on itself as this will greatly increase its damage, just be aware that you will have to reapply your party’s own status effects after it has been cast.
Haste on itself as this will greatly increase its damage, just be aware that you will have to reapply your party’s own status effects after it has been cast.
Remember that if you’re having trouble with this fight you may want to consider going back down to the lower tiers of Taejin’s Tower to grind CP and level your party.
The reward that you receive at the end of the fight, ![]() Tetradic Tiara, is quite powerful and you may want to consider equipping it to one of your party members. The next thing to do is to travel up to the final level of Taejin’s Tower and complete the next Mission if it’s available to you.
Tetradic Tiara, is quite powerful and you may want to consider equipping it to one of your party members. The next thing to do is to travel up to the final level of Taejin’s Tower and complete the next Mission if it’s available to you.
Helpful Hint
It’s at this point of the game that you are likely to begin fully completing some of your character’s Crystariums for their primary and secondary roles. Especially now that you have defeated Dahaka which has awarded each of them 33,000 Crystogen Points. Spending (CP) will always benefit your characters, as any stats they unlock will improve their power and utility in battle.
As you continue to work your way through the last portion of Chapter 11 (Taejin’s Tower) you may want to avoid overspending CP in their less useful Crystariums as Stage 9 of each Crystarium will become available at the conclusion of this chapter.
Again, don’t stop yourself from spending CP entirely, but if you start finding yourself having to spend CP in Crystariums that a character is very unlikely to use (Fang as a ![]() Medic, Hope as a
Medic, Hope as a ![]() Commando, etc.) you may want to consider conserving them instead.
Commando, etc.) you may want to consider conserving them instead.
There are now groups of monsters up on the Cloven Spire so be careful as you run around. The destination marker on the mini-map will always indicate where to go next, but to reach the top level of the tower, you’ll need to find the last Menhirrim which is on the opposite side of the Apex.
If you have been keeping up on your optional Missions, the next Cie’th Stone for Mission 27 is located just behind where the party starts after the battle against Dahaka. In order to complete this Mission, you will need to access the last area of Taejin’s Tower called the Seventh Tier, but you should complete these steps to reach the Seventh Tier even if you don’t plan on completing the optional Mission 27.
Travel to the opposite side of the Apex and examine the Menhirrim using the ![]()
![]()
![]() button in the illuminated red circle . Use the elevator that appears to ride down to the Seventh Tier.
button in the illuminated red circle . Use the elevator that appears to ride down to the Seventh Tier.

Seventh Tier
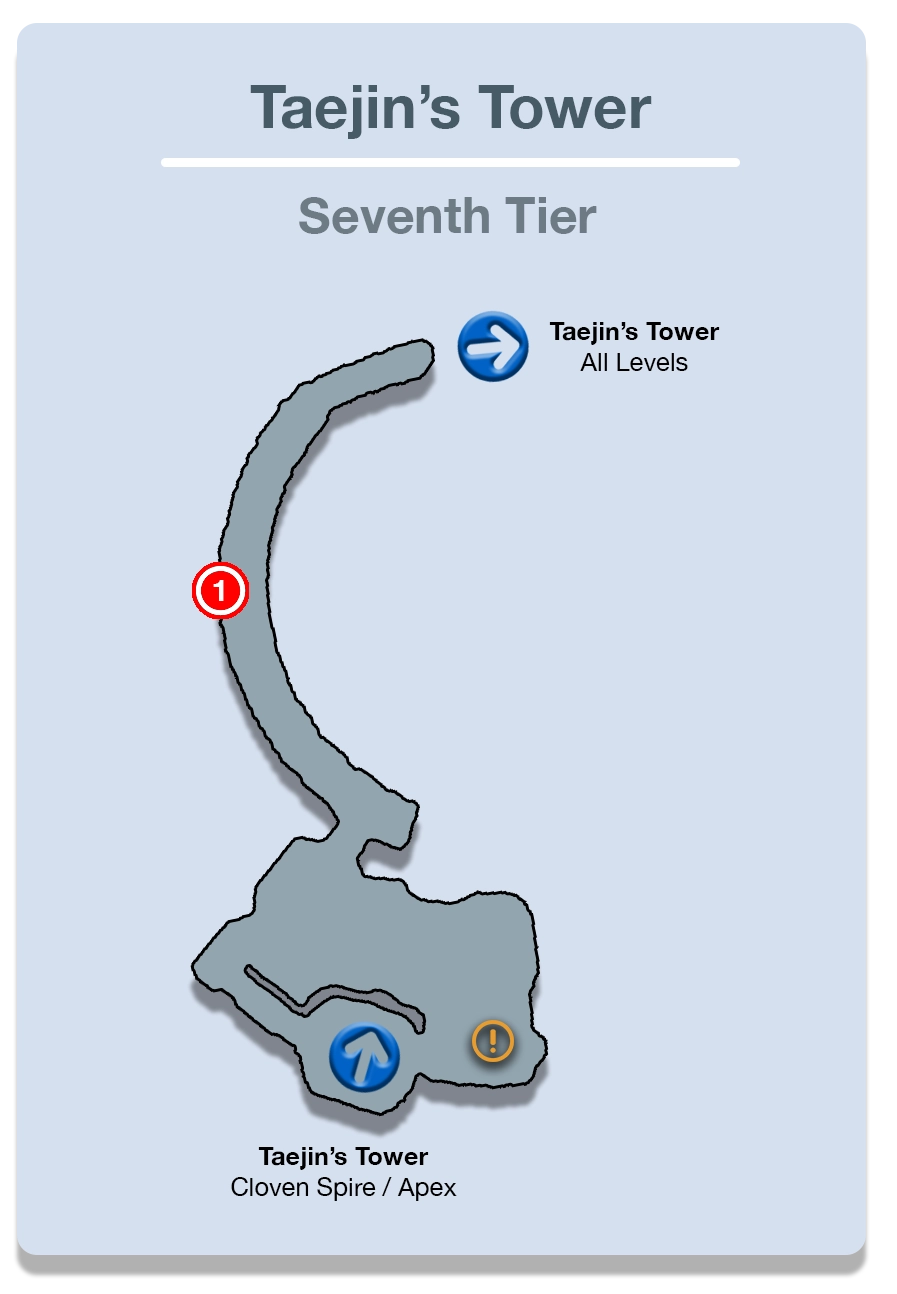
Defeat the group of Yaksha and Yakshini in the room when you arrive. Run over to the next Menhirrim statue and examine it as well to rearrange Taejin’s Tower one more time. This will allow the main tower elevator to be able to reach all the tiers of the tower.

Travel across the path leading out of the room and towards the elevator to reach a Treasure Sphere that contains a ![]() Collector Catalog item. You can now take the elevator back up to the Apex. If you picked up Mission 27, use the link below for help completing that Mission, but as a reminder, this Mission is optional:
Collector Catalog item. You can now take the elevator back up to the Apex. If you picked up Mission 27, use the link below for help completing that Mission, but as a reminder, this Mission is optional:
Cie’th Stone Missions
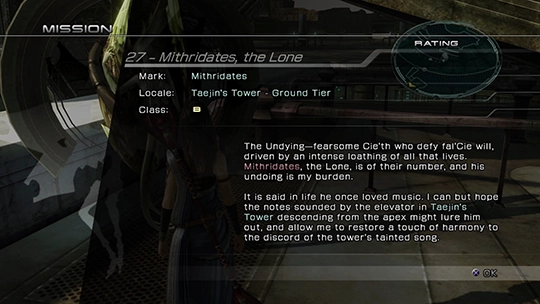
Mithridates located on the Ground Tier of Taejin’s Tower.
With the Mission complete (or skipped), head towards the destination marker on The Cloven Spire / Apex and use the illuminated blue circles to jump towards the large platform. There is another elevator that you can choose to board at the top that will take you to the next area of the game.