
Chapter 11: Oerba
The walkthrough for Chapter 11 is broken up into several individual parts including Vallis Media, the Archylte Steppe, Mah’habara Subterra, Sulyya Springs, Taejin’s Tower and Oerba. Use the links to jump directly to the section you are in if you have ventured too far forward or are too far back.
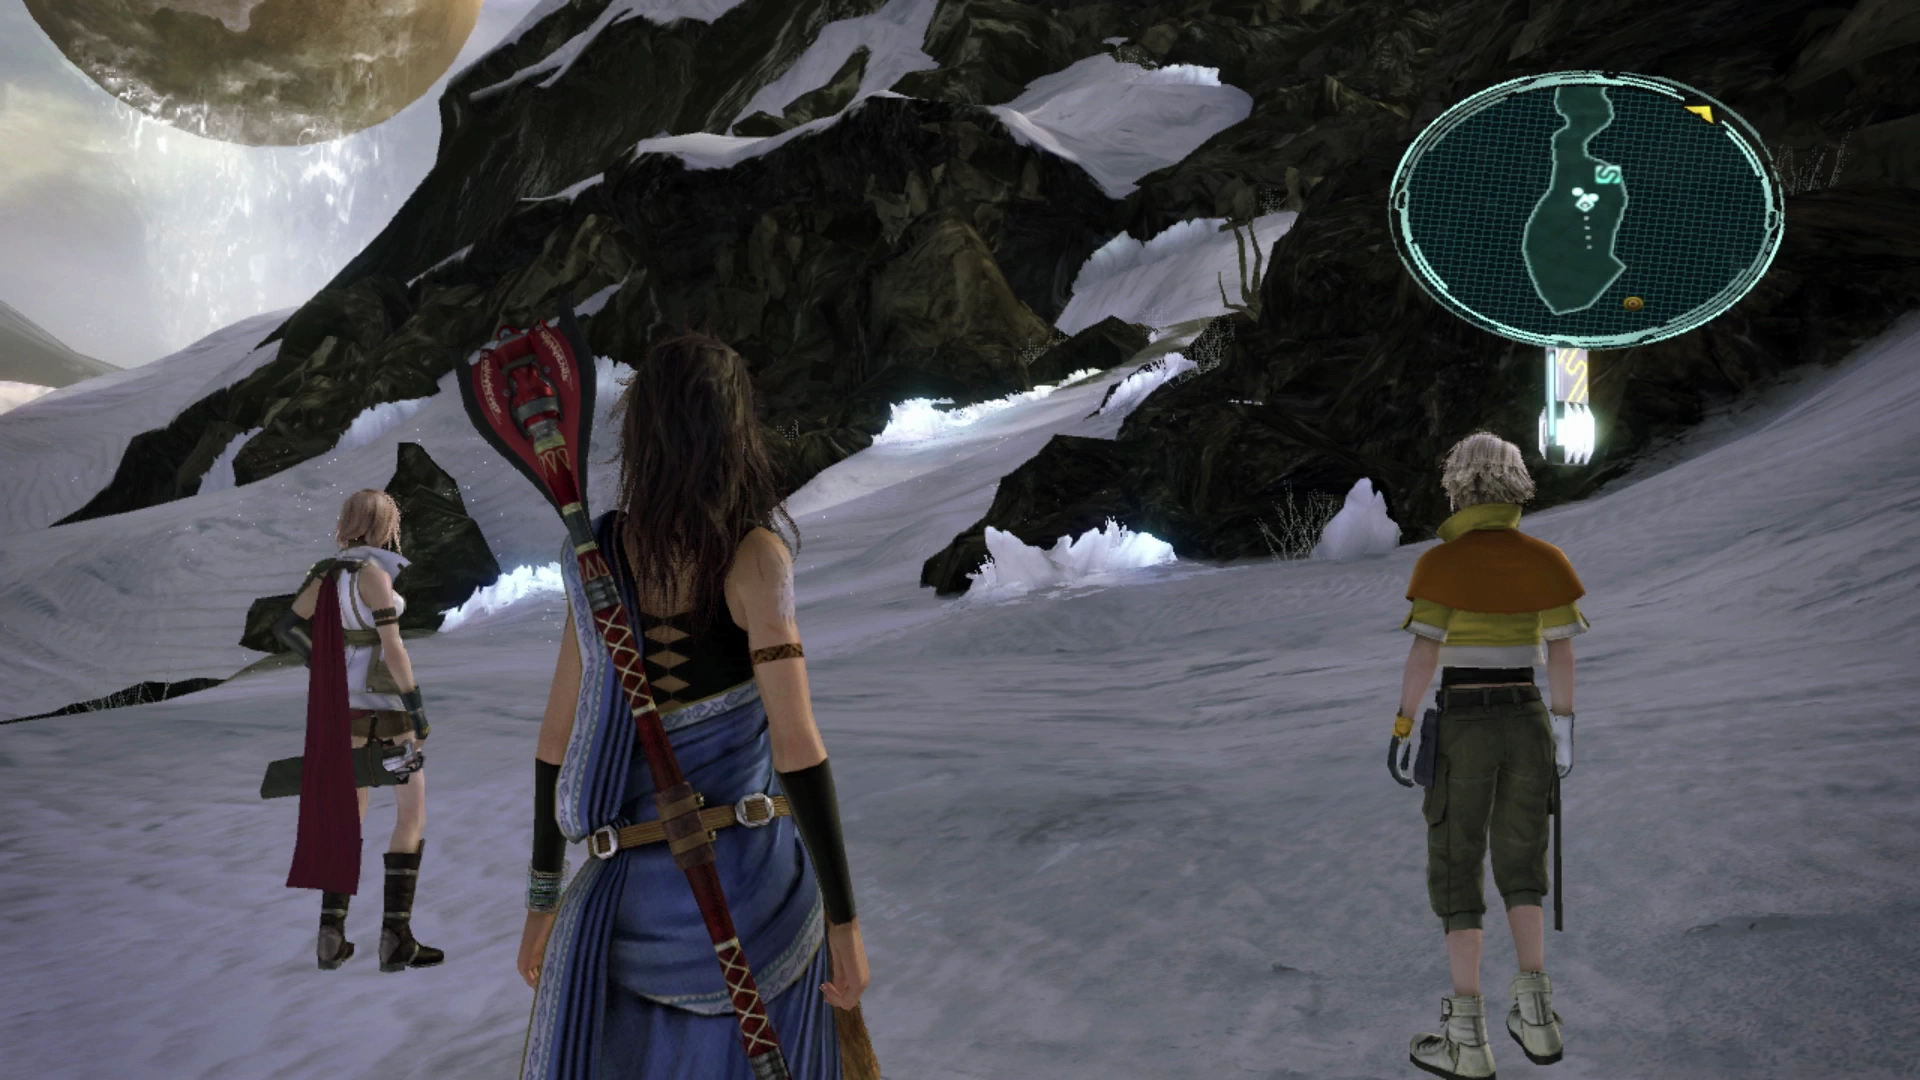
The team will arrive in Oerba after boarding the elevator coming from the top level of Taejin’s Tower.


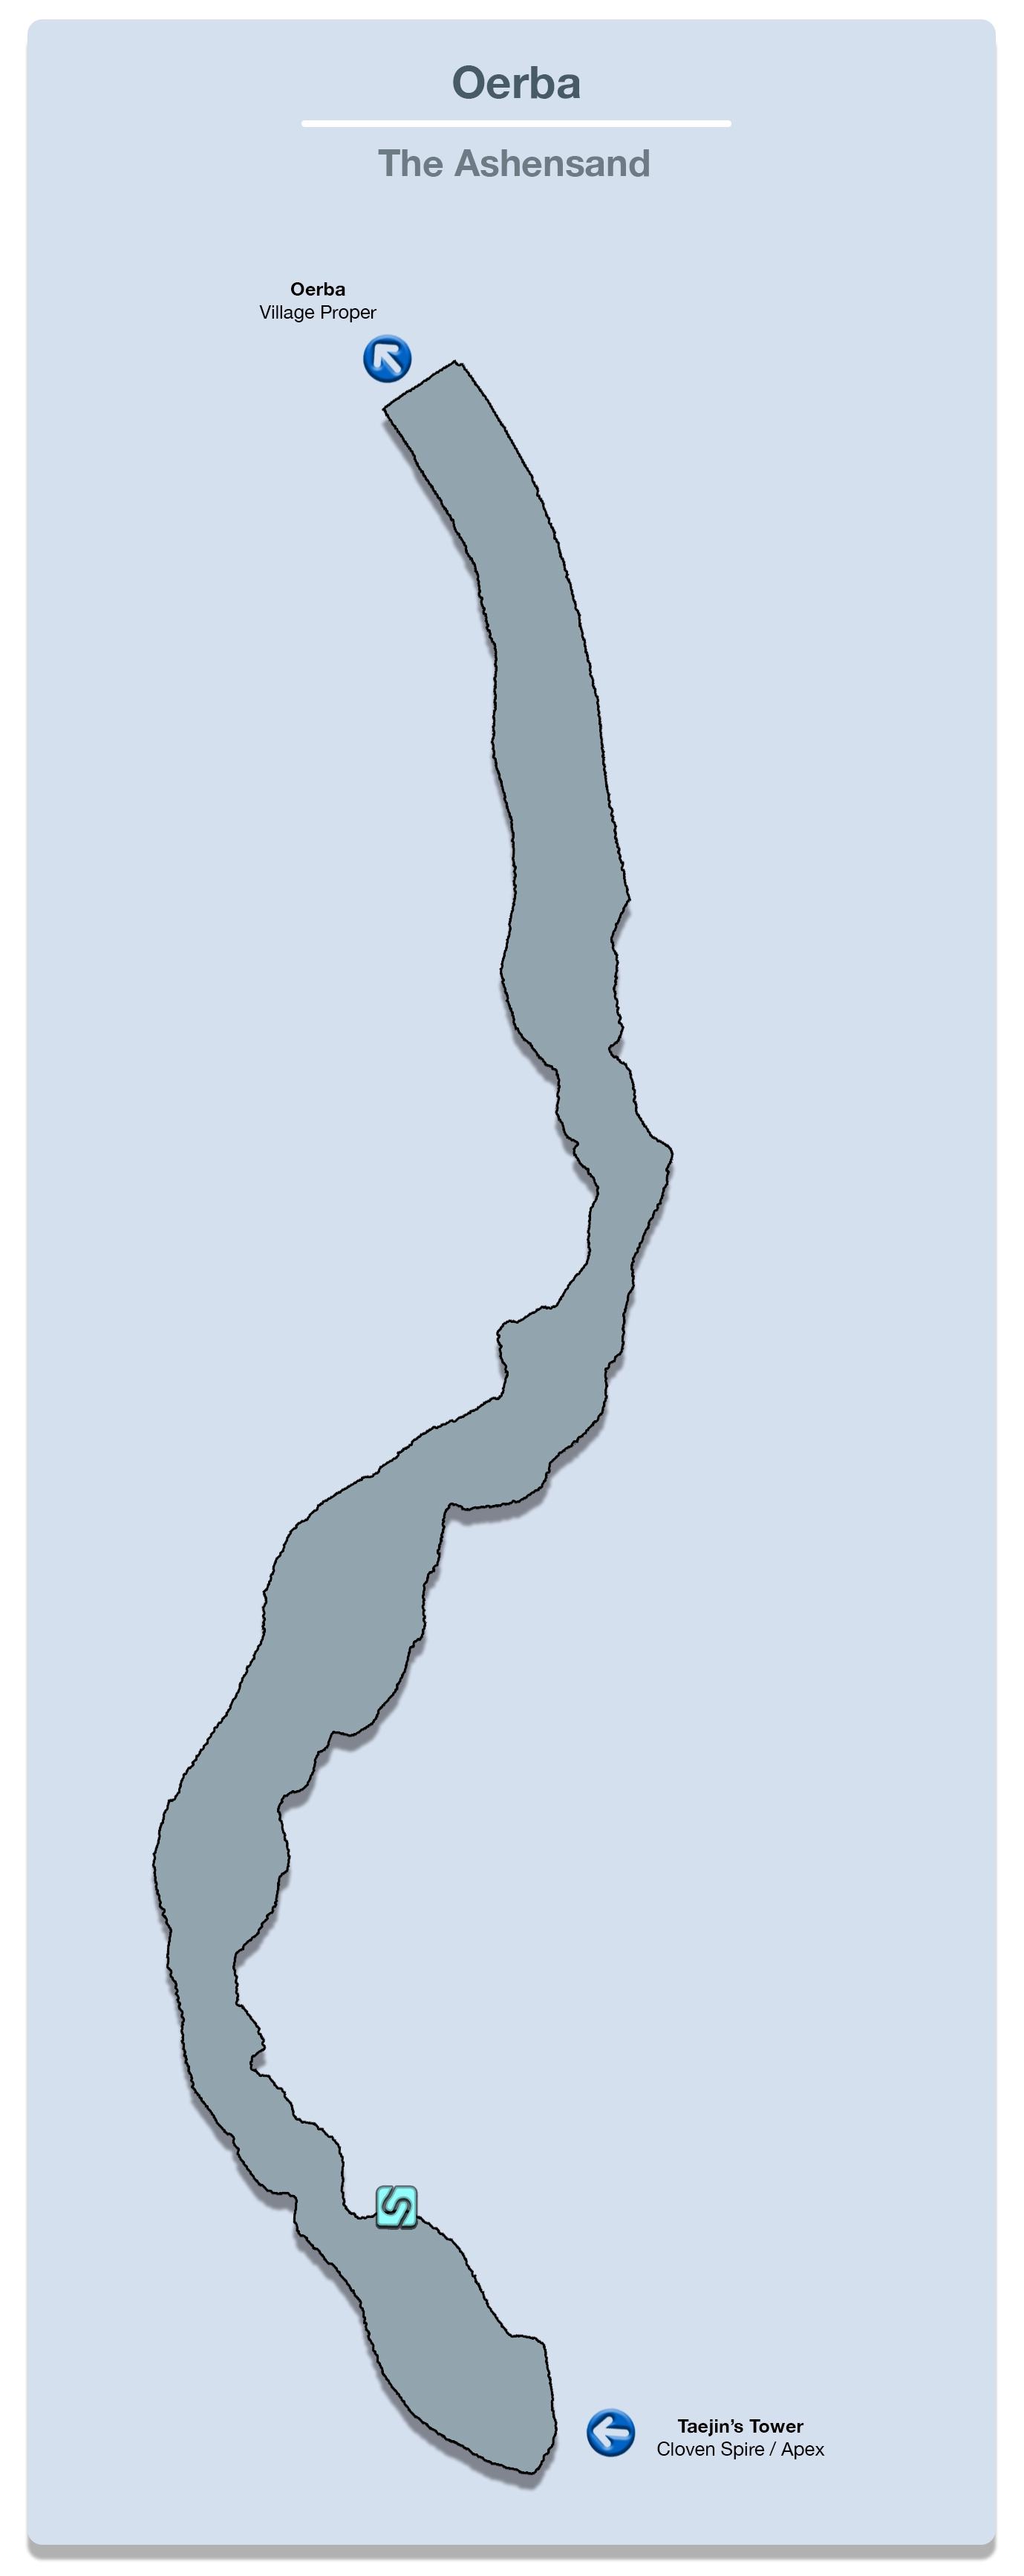
The Ashensand
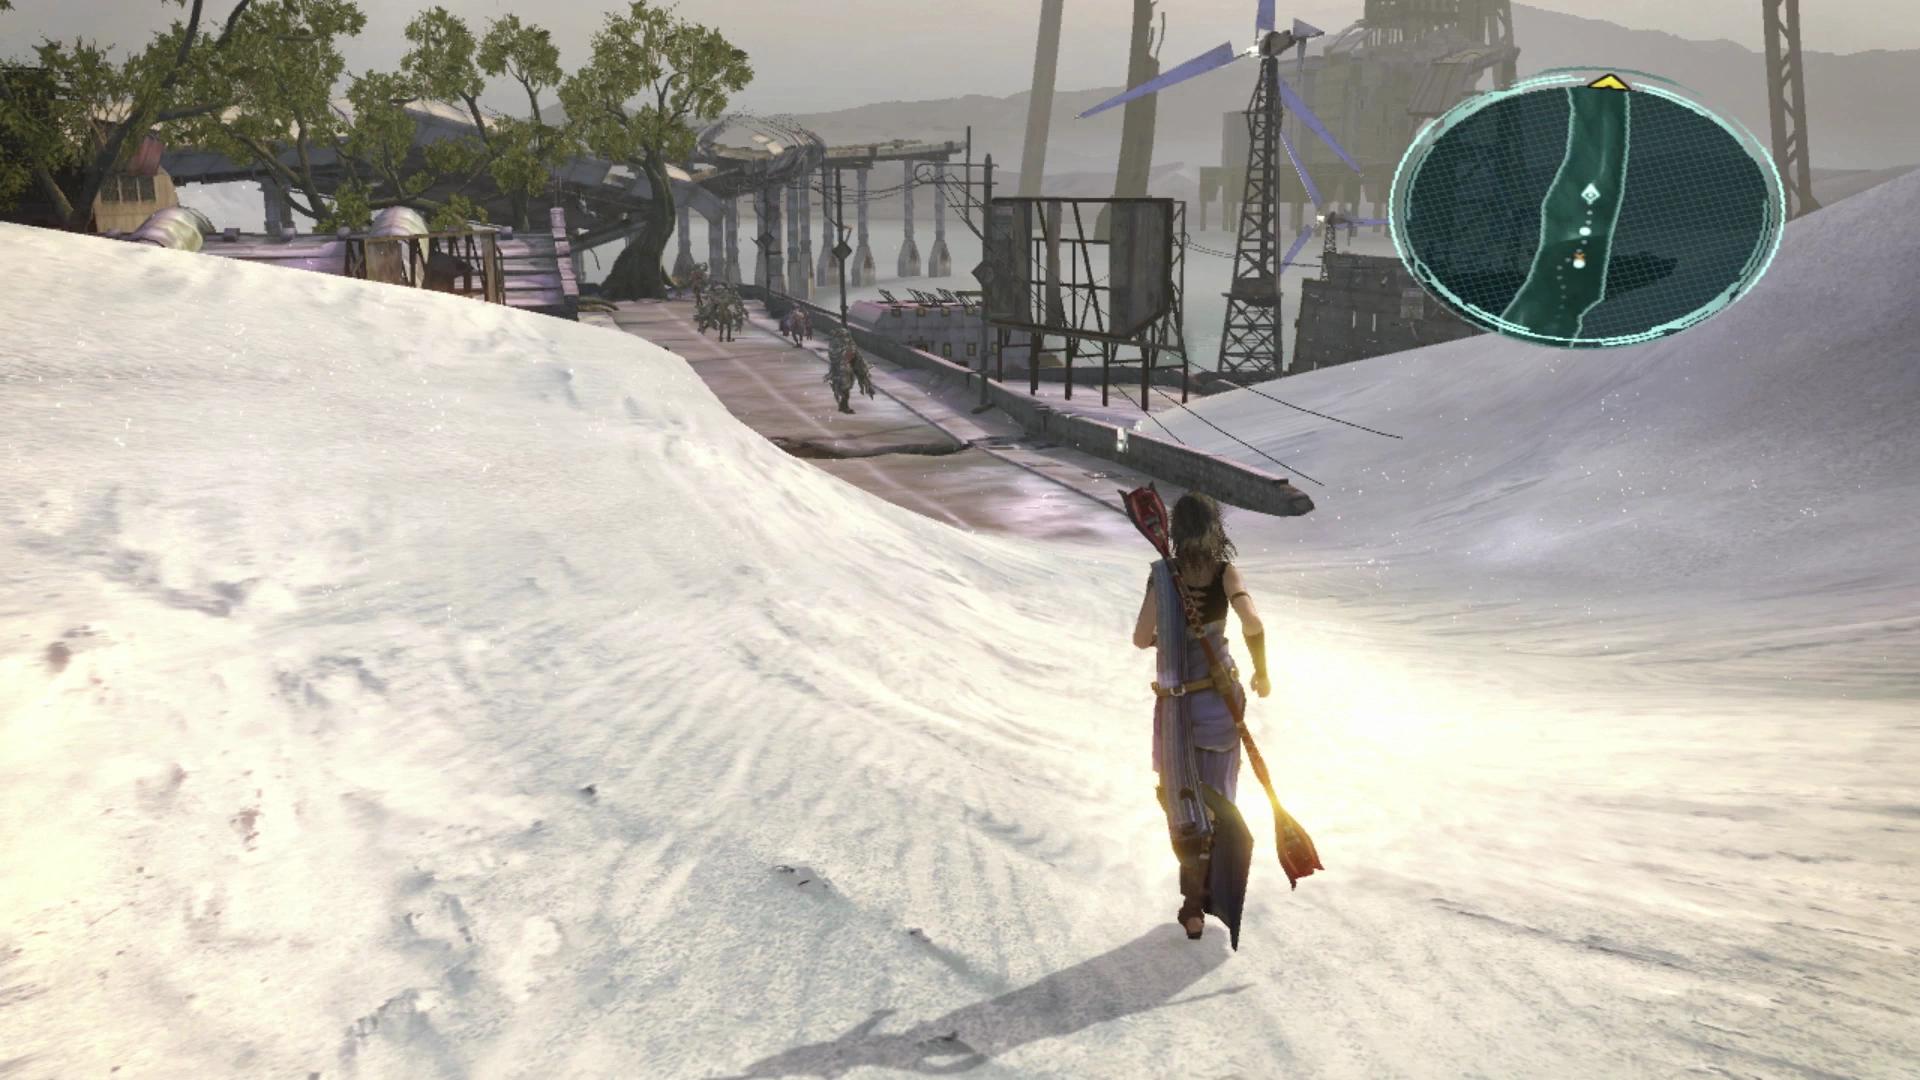
There is a nearby ![]() Save Station that you can use to save your game before proceeding up the snowy pathway. Along this pathway, you will run into Vampires and Taxim enemies which are both easy to defeat. Keep following the pathway along; there is nothing to pick up in this area as you make your way to the next.
Save Station that you can use to save your game before proceeding up the snowy pathway. Along this pathway, you will run into Vampires and Taxim enemies which are both easy to defeat. Keep following the pathway along; there is nothing to pick up in this area as you make your way to the next.
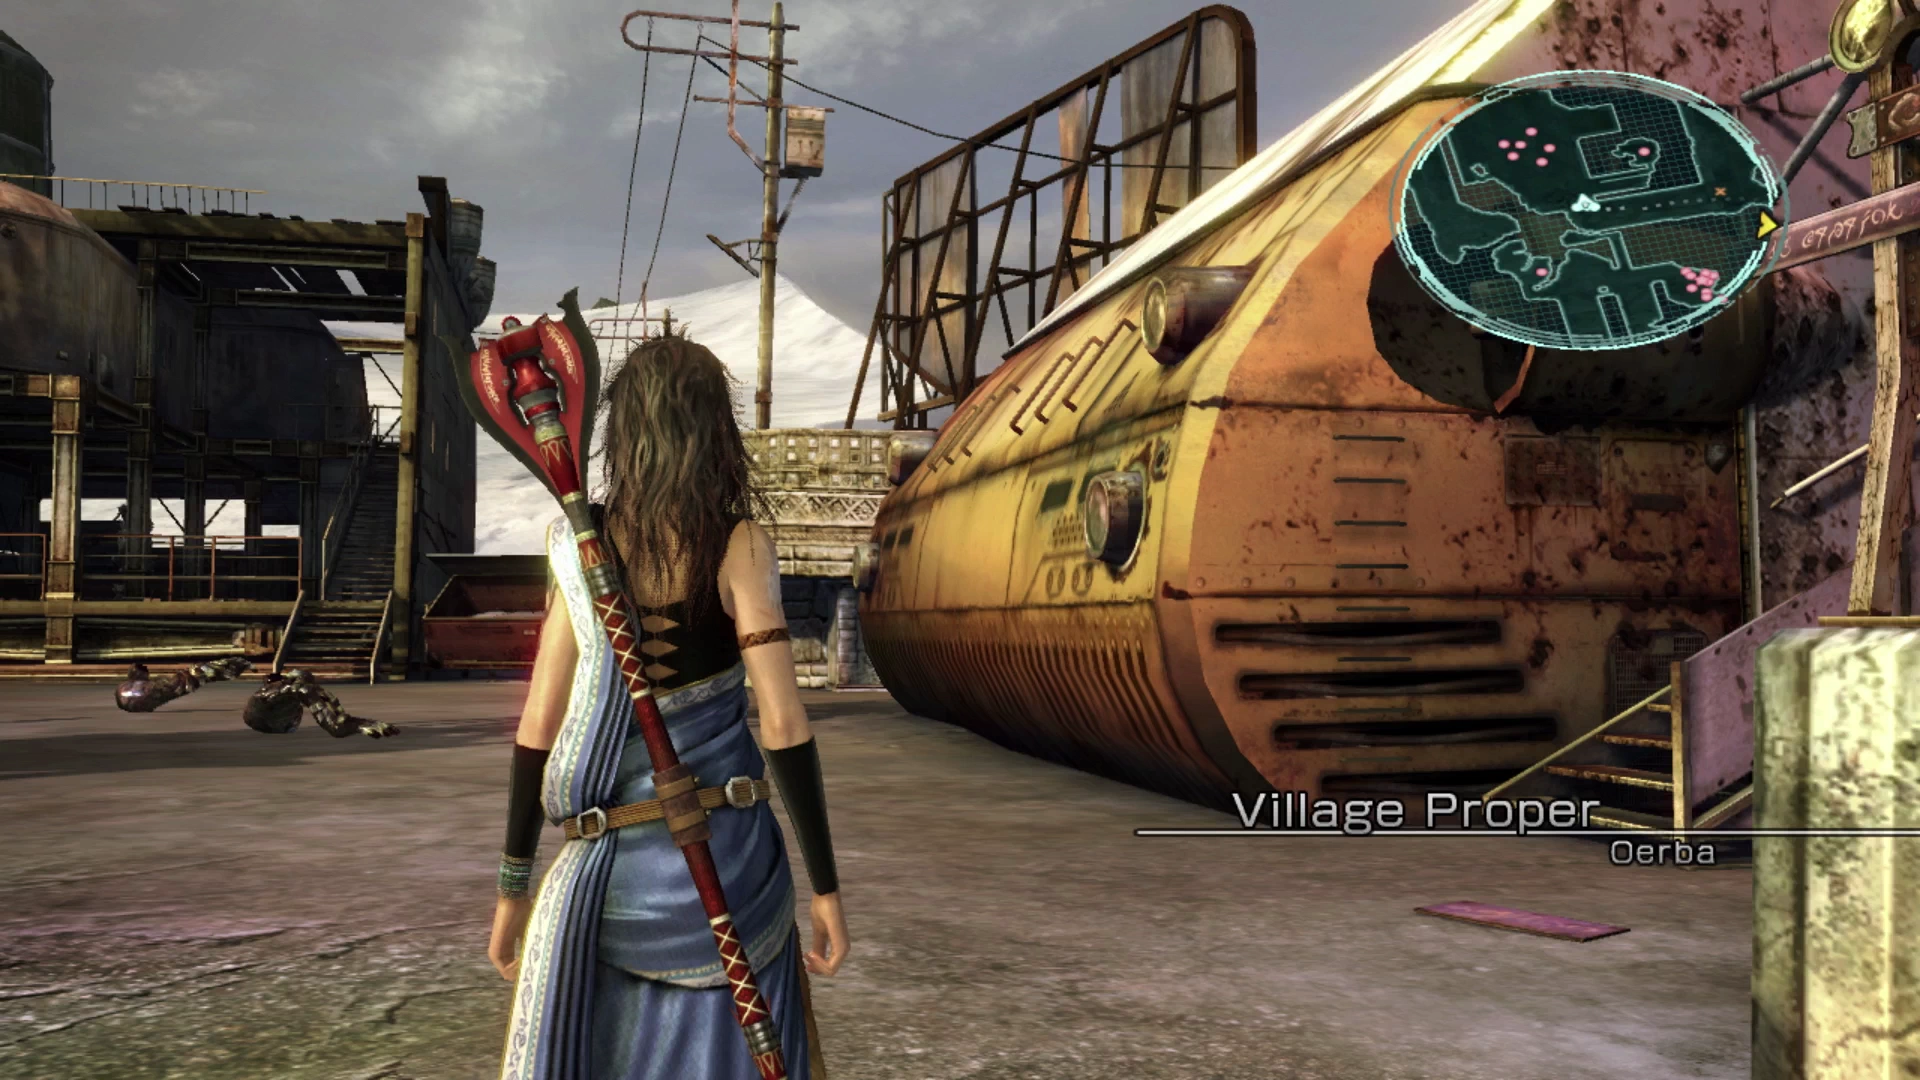
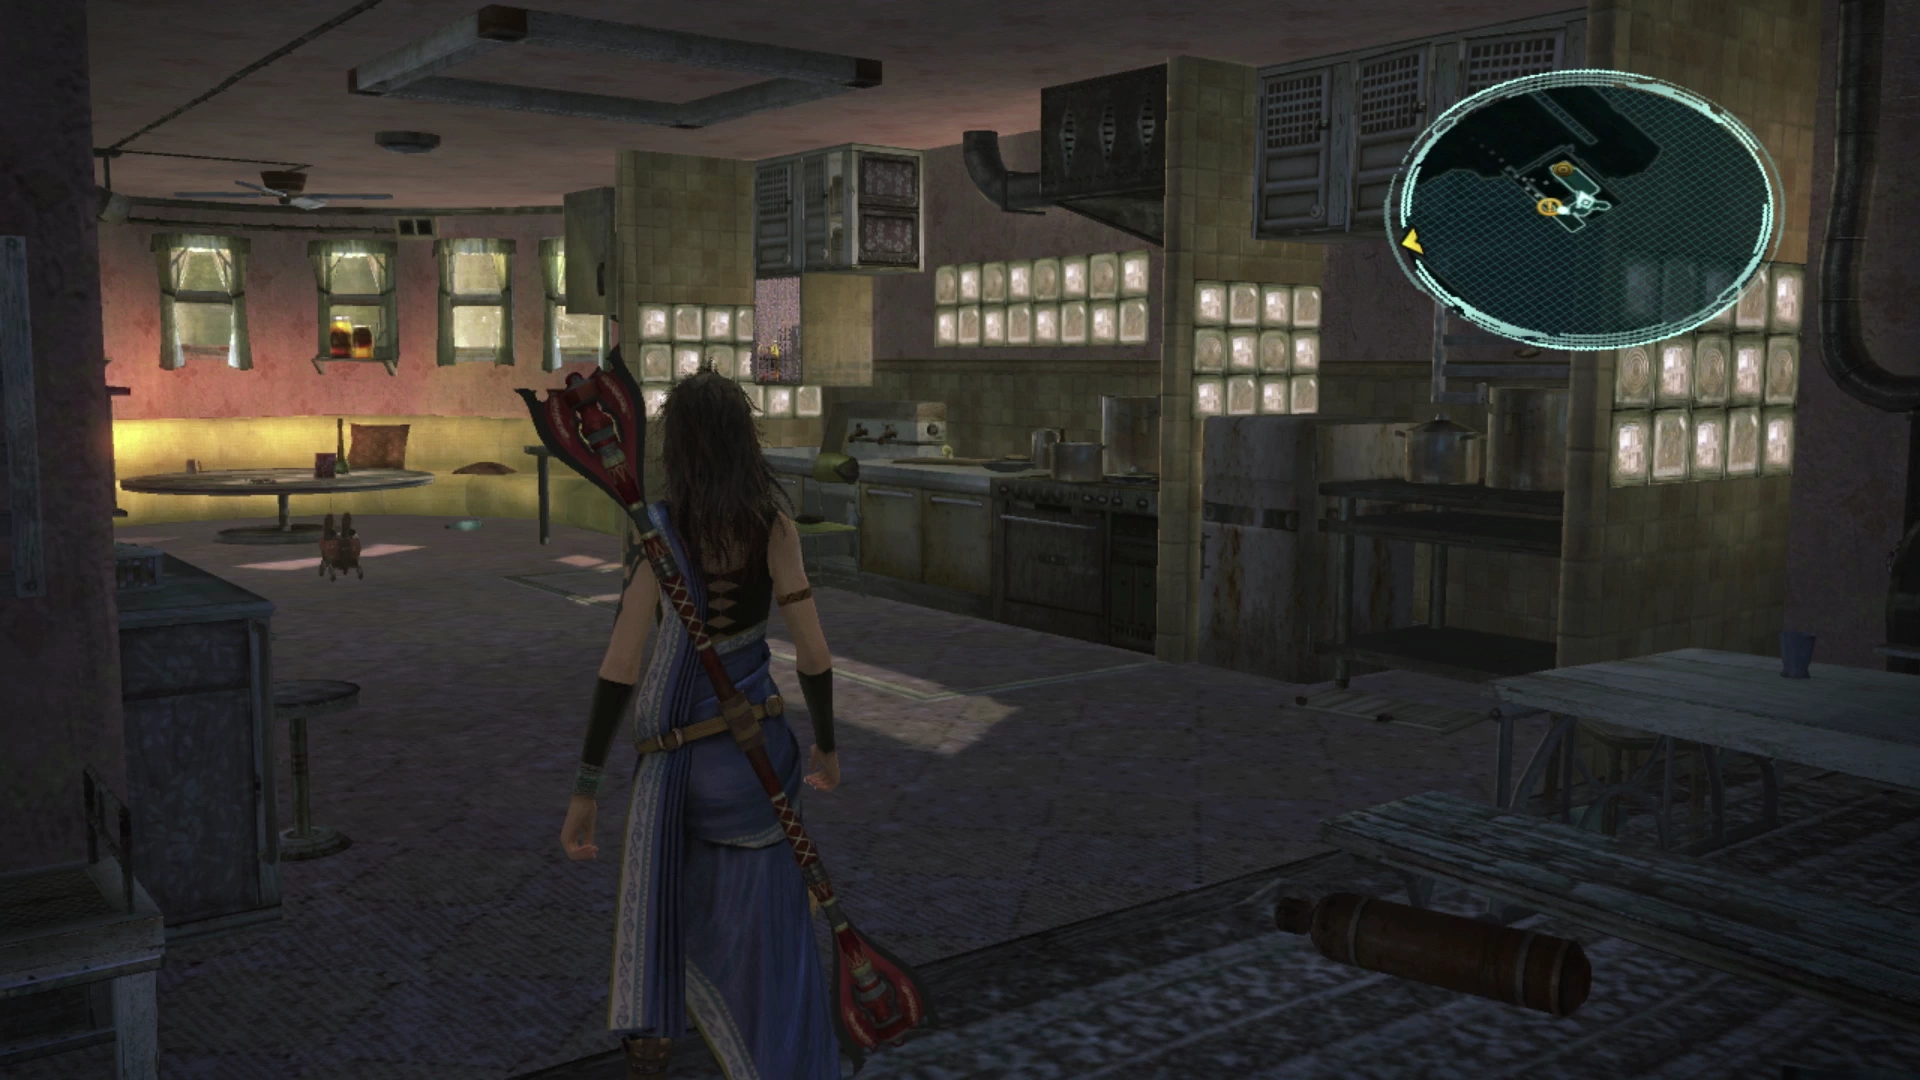
Village Proper
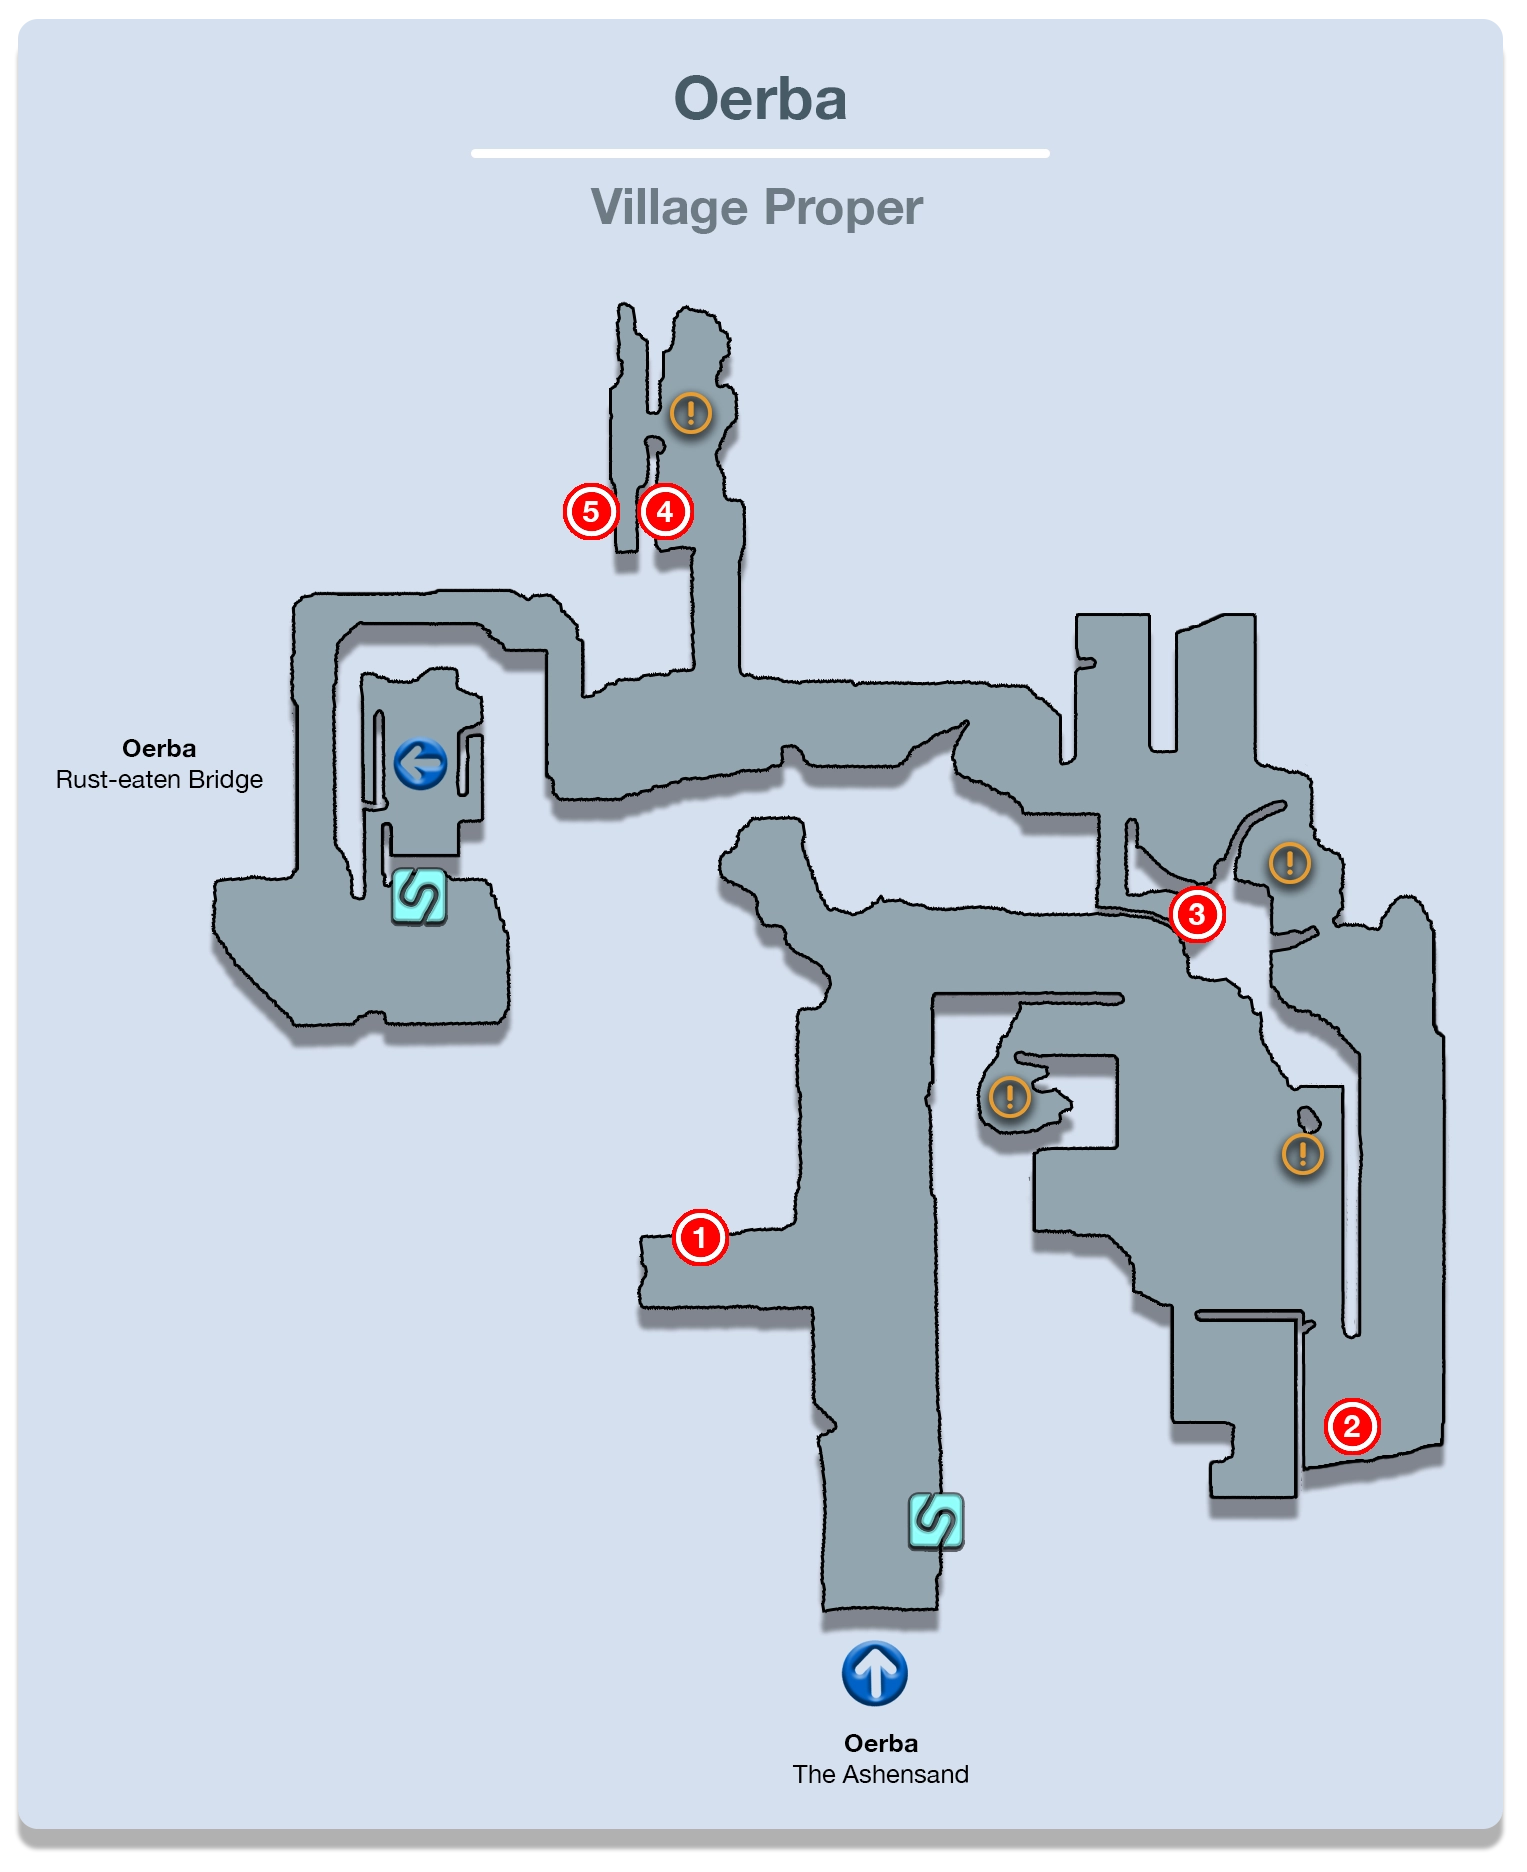
There is yet another ![]() Save Station once you reach the “Village Proper” and while you may not need to save your game again so soon, this is another reminder that you should be putting some work into upgrading your equipment.
Save Station once you reach the “Village Proper” and while you may not need to save your game again so soon, this is another reminder that you should be putting some work into upgrading your equipment.
Check out the upgrading equipment page in the Tips and Tricks section if you have questions about how to do this in the most efficient manner possible:
Tips and Tricks
A full guide on how to upgrade your weapons and accessories using components you obtain in the game.
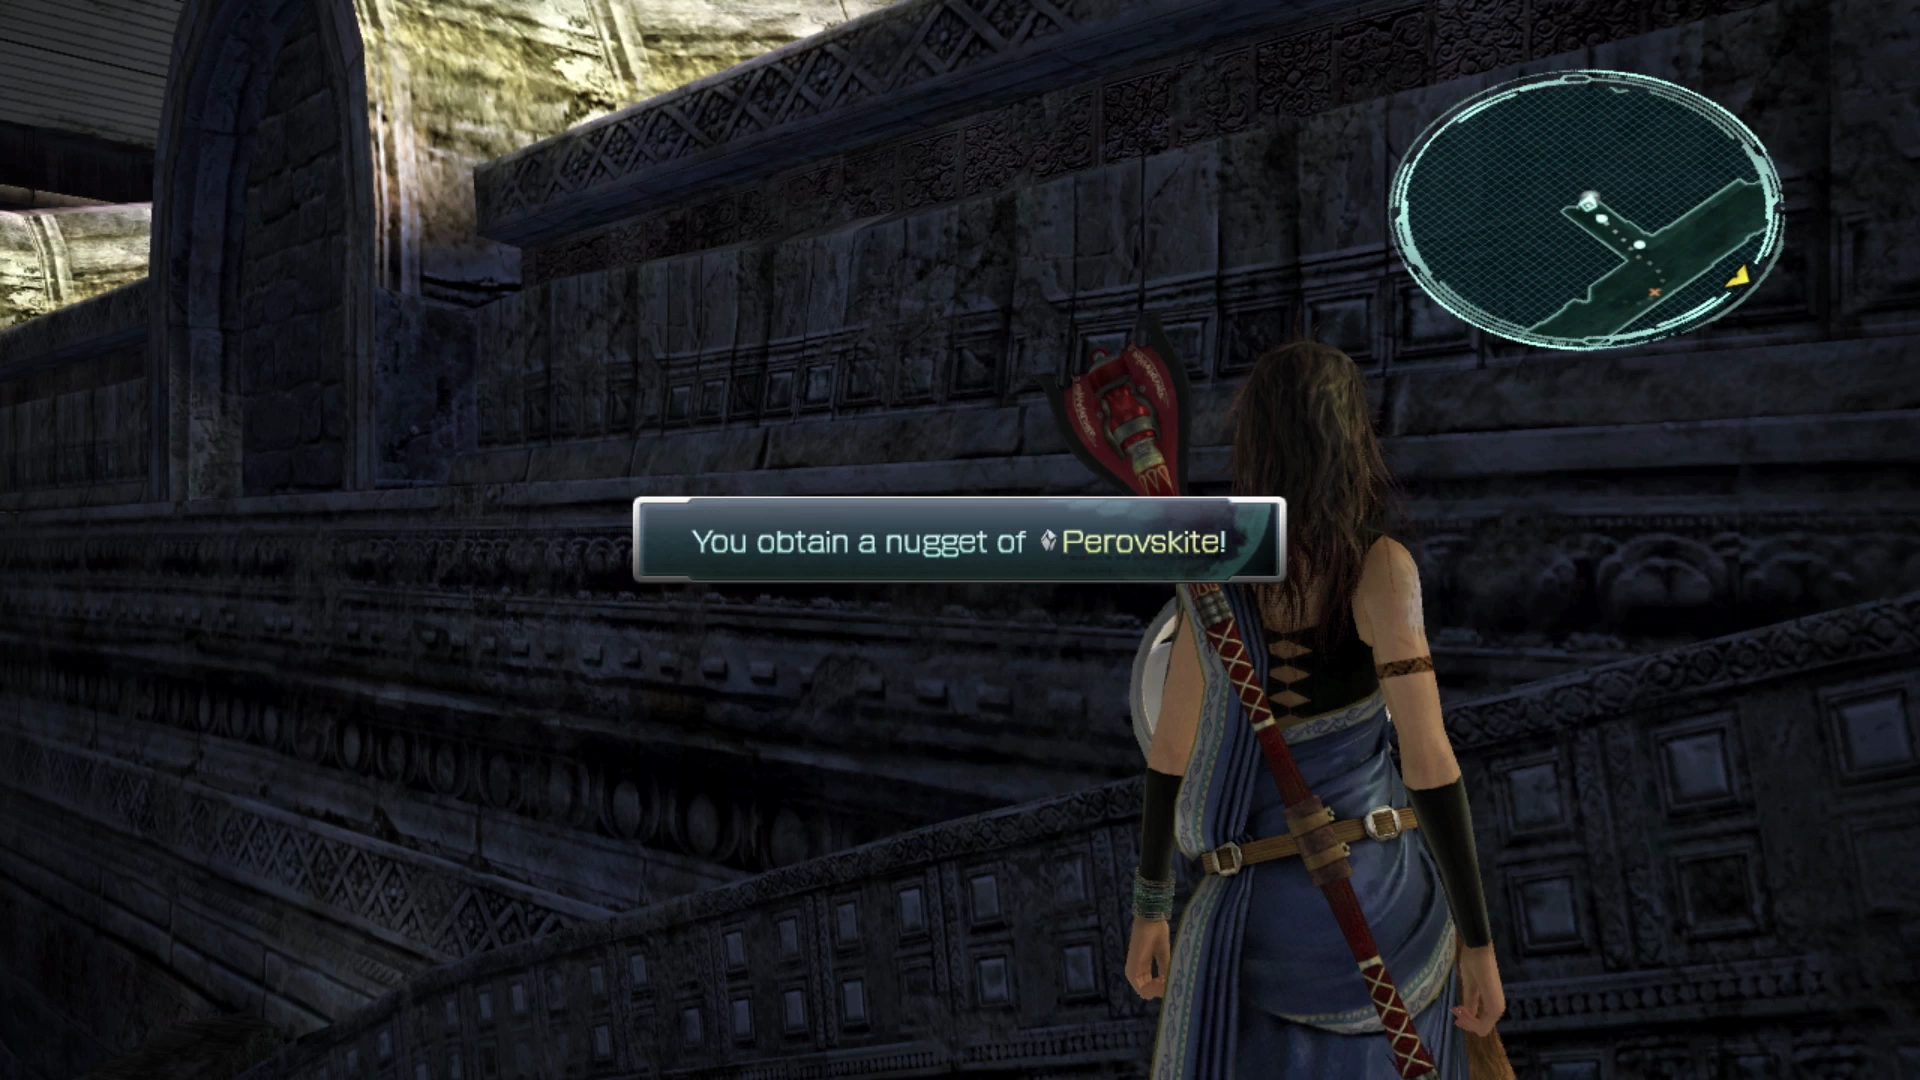
Take the pathway that veers off to the left to find a Treasure Sphere that contains a ![]() Perovskite. The next enemy group includes a Vampire and a Varcolaci, both of which you have faced previously. Focus your attacks on the Varcolaci to remove it from the battle as the Vampire takes quite a bit more damage to defeat.
Perovskite. The next enemy group includes a Vampire and a Varcolaci, both of which you have faced previously. Focus your attacks on the Varcolaci to remove it from the battle as the Vampire takes quite a bit more damage to defeat.
Just up ahead is the Cie’th Stone for ![]() Mission 28 - Faded Glory. The pathway through Oerba will lead you straight to the mark for this Mission so you don’t need to refer to the Mission page.
Mission 28 - Faded Glory. The pathway through Oerba will lead you straight to the mark for this Mission so you don’t need to refer to the Mission page.

This Mission has no unlock conditions, meaning that even if you haven’t completed any of the other Missions up until this point you can still complete it, so all players, regardless of how many of the side quests you plan to complete, should pick it up.
Helpful Hint
The Cie’th Stone for Mission 28 in Oerba serves as your next Waypoint which you can use to warp into and out of Oerba much more quickly. This is the Waystone that you will use later to warp out of Oerba if you plan to go back to the Archylte Steppe to complete more side Missions.
Head down the ramp and a short cutscene will take place. Fang and Vanille will provide some background stories about their home village.

You will notice a set of stairs nearby, once you regain control of your characters, on the right side of the screen that leads up into a house. You can defeat the Vetala in here if you want, but you will have to come back to this house very soon and the Vetala will respawn if you defeat it, so the only real purpose that defeating it serves is to earn some extra Crystogen Points (CP).
Helpful Hint
You’ve already fought a Vetala for ![]() Mission 25 - Spectral Haunt, but as a reminder, there is a good chance you will need to Stagger it twice during this fight so have your party start off in a more defensive Paradigm (either Evened Odds or Decimation) so that you can load up on beneficial status buffs. Attacks made against Vetala will do very little damage due to its protective shield, but this will disappear once it’s been Staggered.
Mission 25 - Spectral Haunt, but as a reminder, there is a good chance you will need to Stagger it twice during this fight so have your party start off in a more defensive Paradigm (either Evened Odds or Decimation) so that you can load up on beneficial status buffs. Attacks made against Vetala will do very little damage due to its protective shield, but this will disappear once it’s been Staggered.
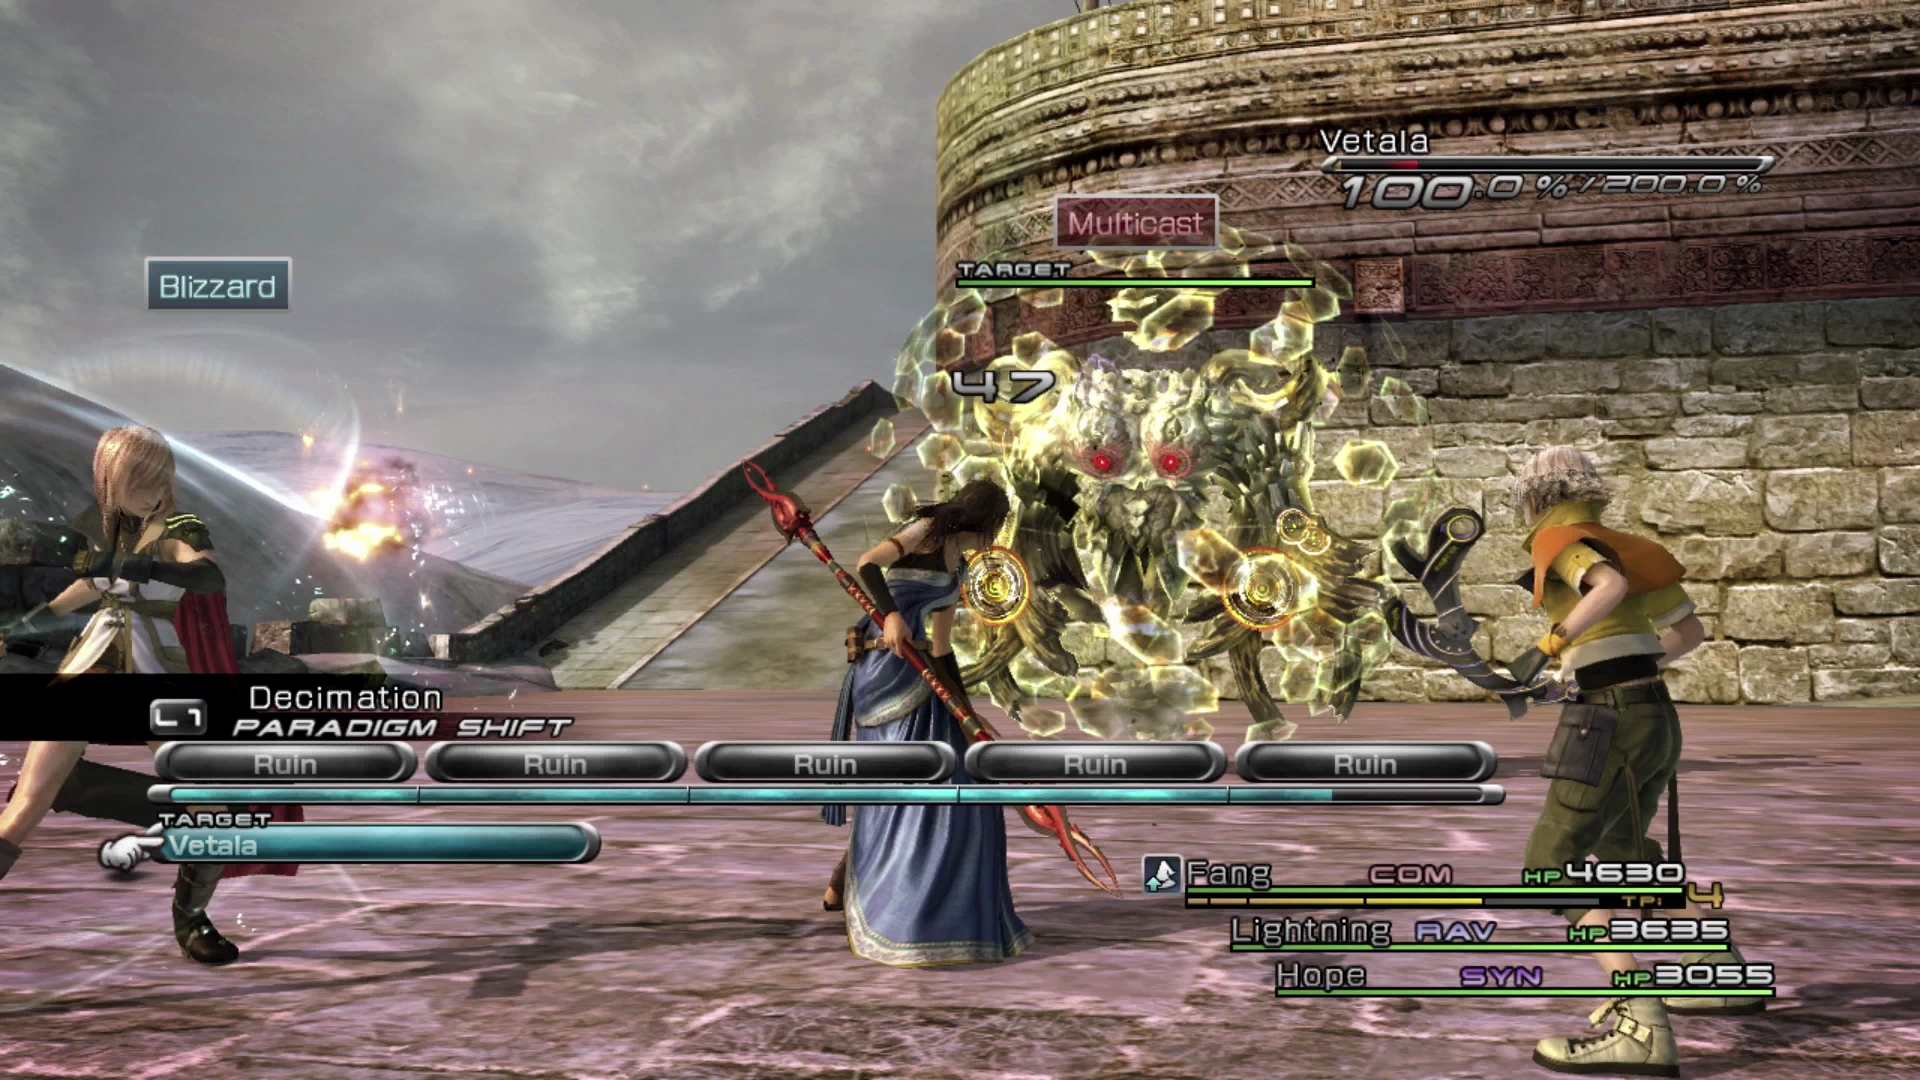
Eventually, towards the end of its Stagger window, it will recast “Inertial Barrier,” which will prevent damage against it again, and you will have to attempt to Stagger it one more time. ![]() Dispelga can’t be used to remove the barrier and, even worse, it will remove all your party’s helpful buffs.
Dispelga can’t be used to remove the barrier and, even worse, it will remove all your party’s helpful buffs.
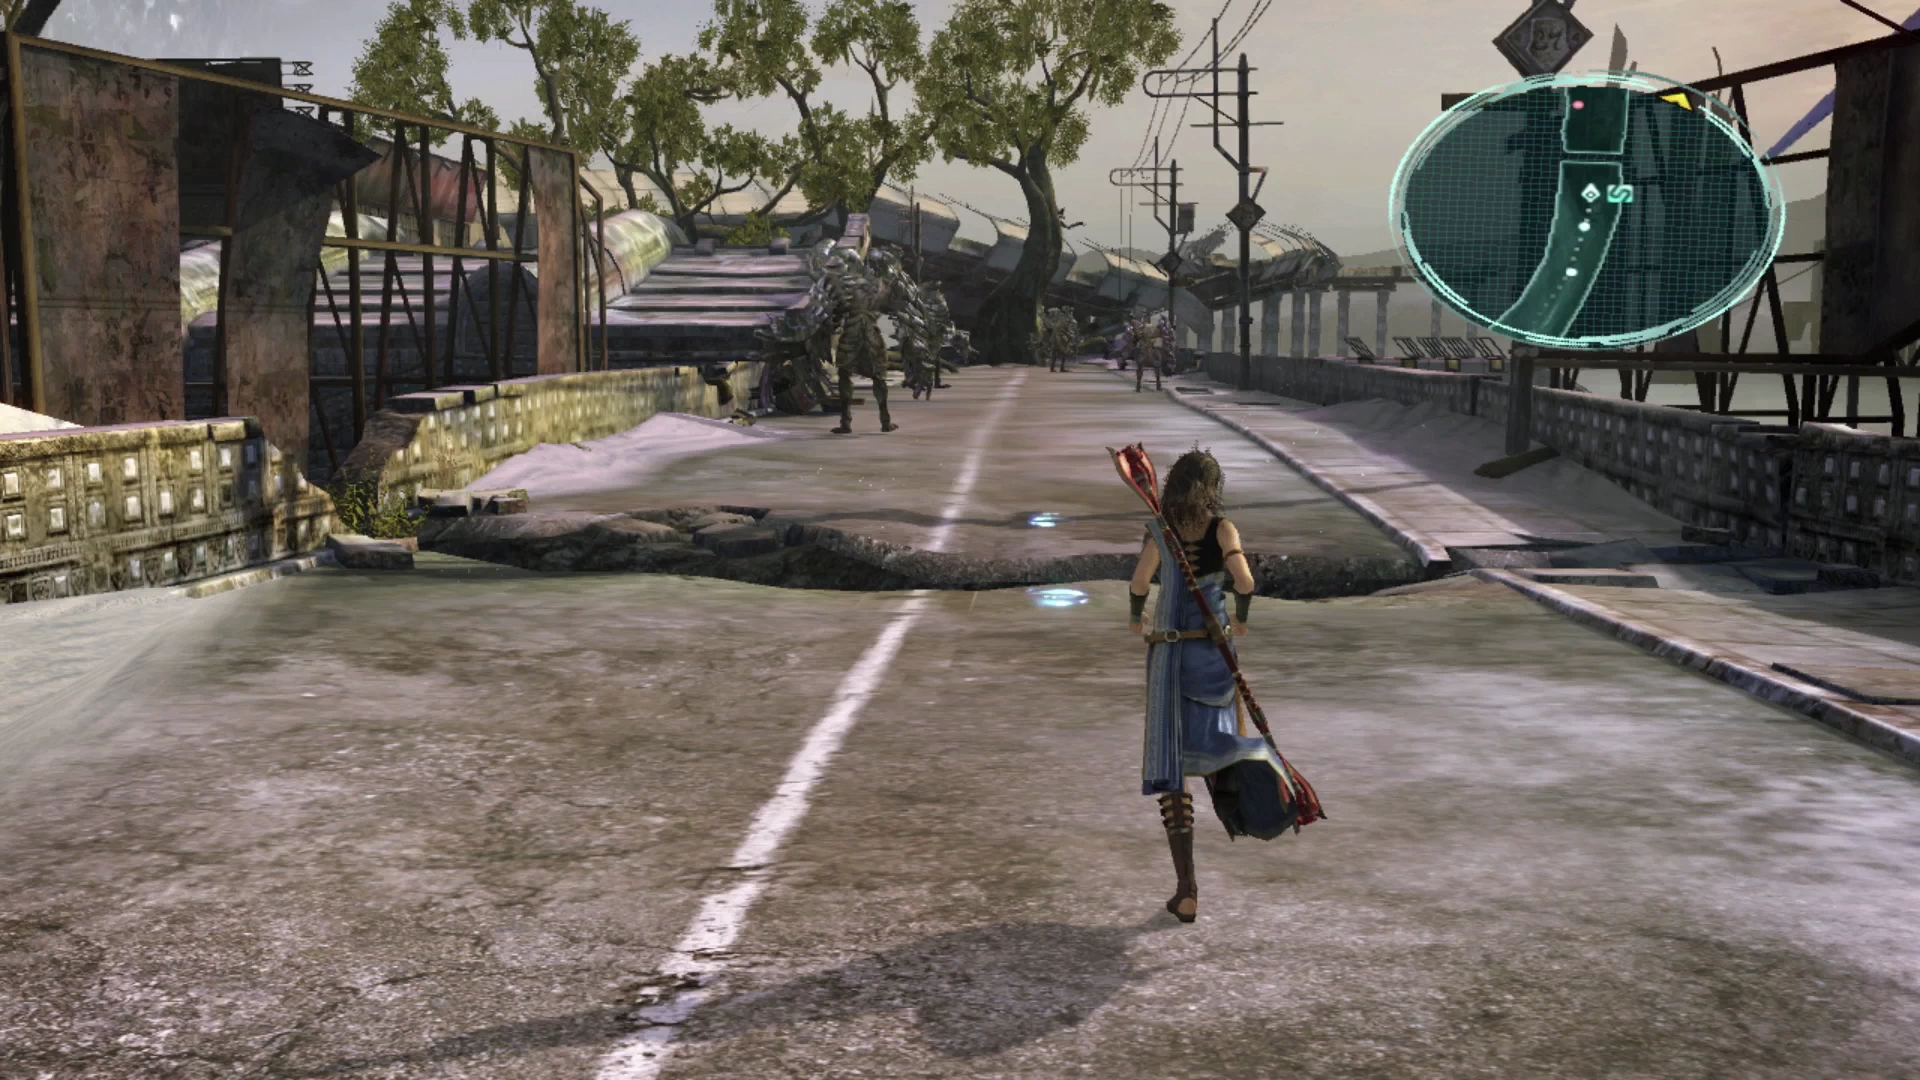
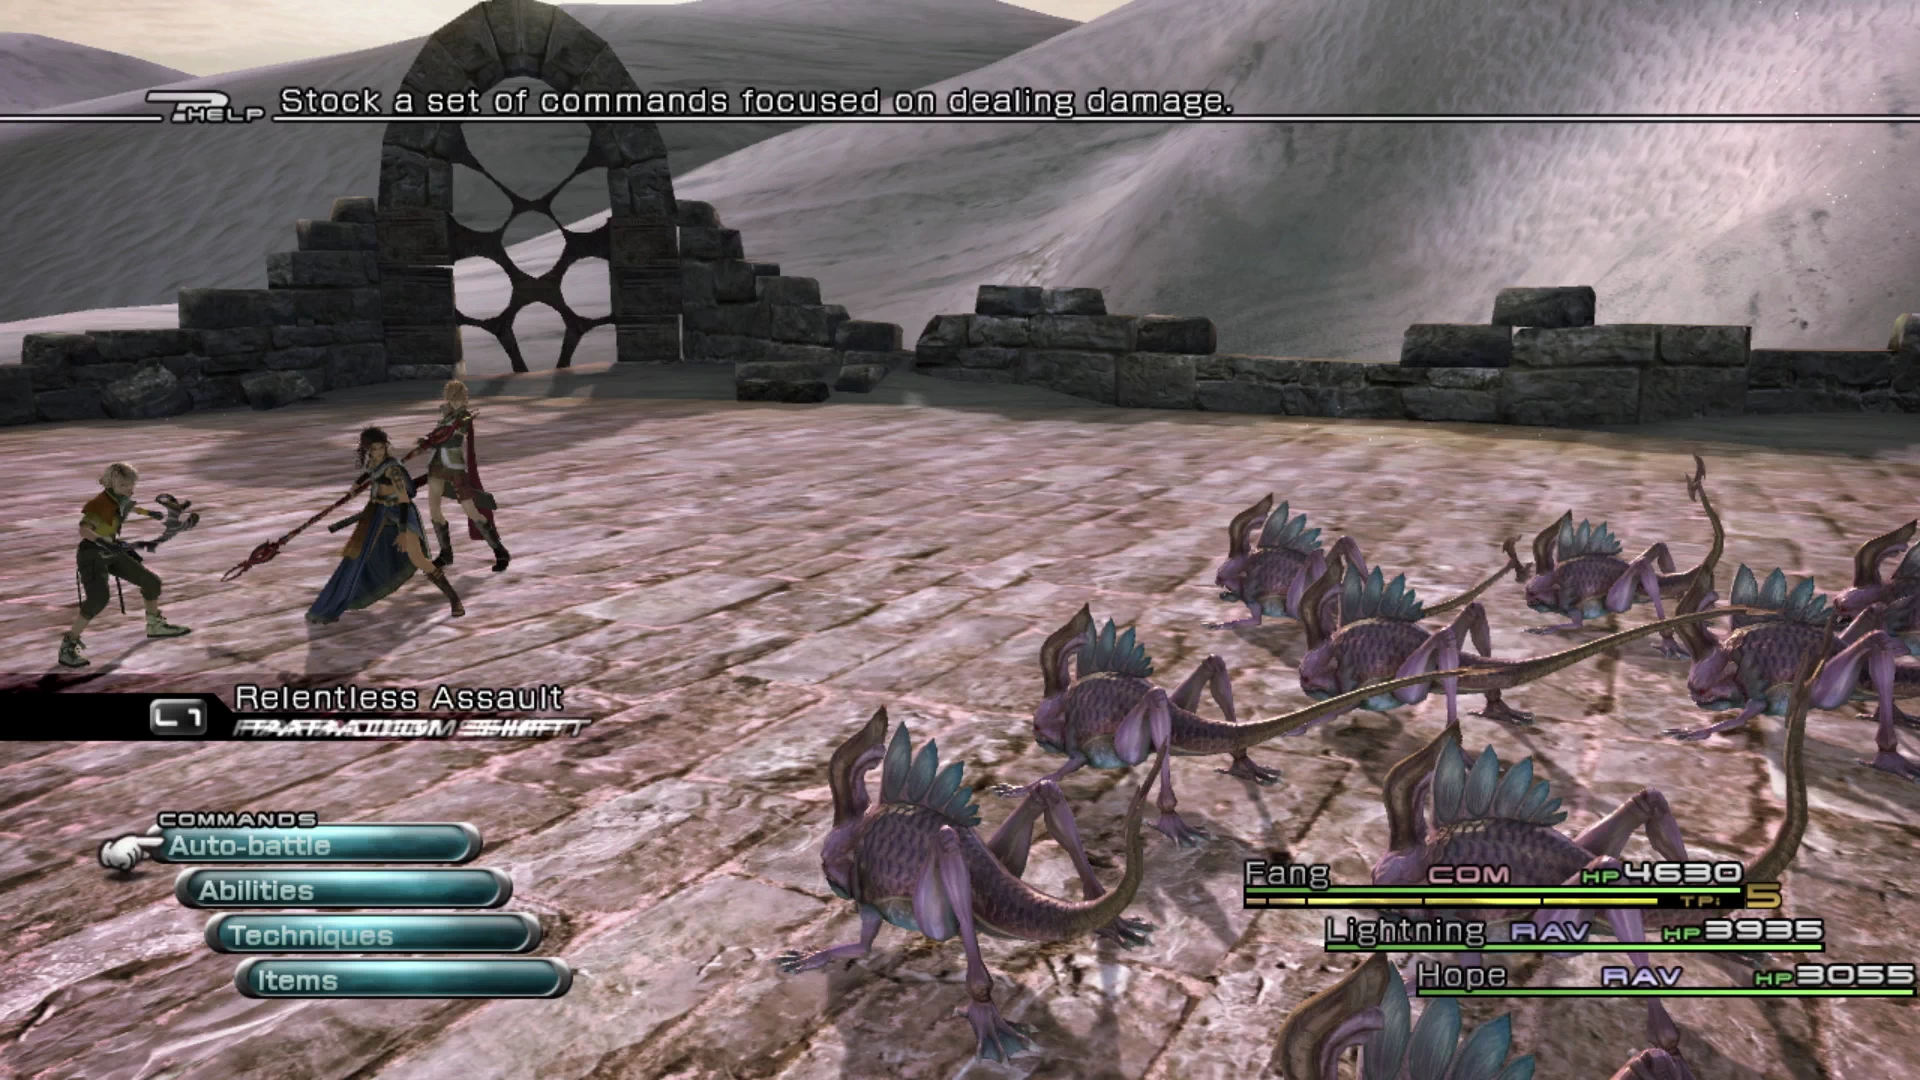
Approach the large group of enemies in the center of the village which includes four new enemies called Seekers (that look like zombie arms) and two Chonchon which you have fought previously. These large groups are fights where you should come out swinging, i.e., in an offensive Paradigm that has your ![]() Commando using
Commando using ![]() Ruinga to blast away at all the enemies as a group.
Ruinga to blast away at all the enemies as a group.
Take the stairwell in the building up to the second floor.
Dilapidated Dwelling
You can examine a number of items in this room using the ![]()
![]()
![]() button, but the most important thing to do is to examine the small robot in the middle of the floor near the table. This robot, named Bhakti, is involved in two side quests.
button, but the most important thing to do is to examine the small robot in the middle of the floor near the table. This robot, named Bhakti, is involved in two side quests.
The first side quest involves helping to repair Bhakti by finding some spare parts in and around Oerba. This walkthrough page will guide you through the necessary steps to find each of the spare parts as you play through this section of the game.
Bhakti is also involved in some completionist tasks that are taken care of much, much later in the game. Because of this, you don’t need to refer to the side quest page directly, because this walkthrough page will guide you through what you need to complete right now, but if you would like to read up more on the Bhakti side quests, you can always use the link below or head to the Side Quests section for reference:
Side Quests

A guide on where to find the spare parts to repair Bhakti and an overview of the achievements and rewards it is involved with.
Exit the Dilapidated Dwelling where you found Bhakti and head back out into the village proper.
Village Proper
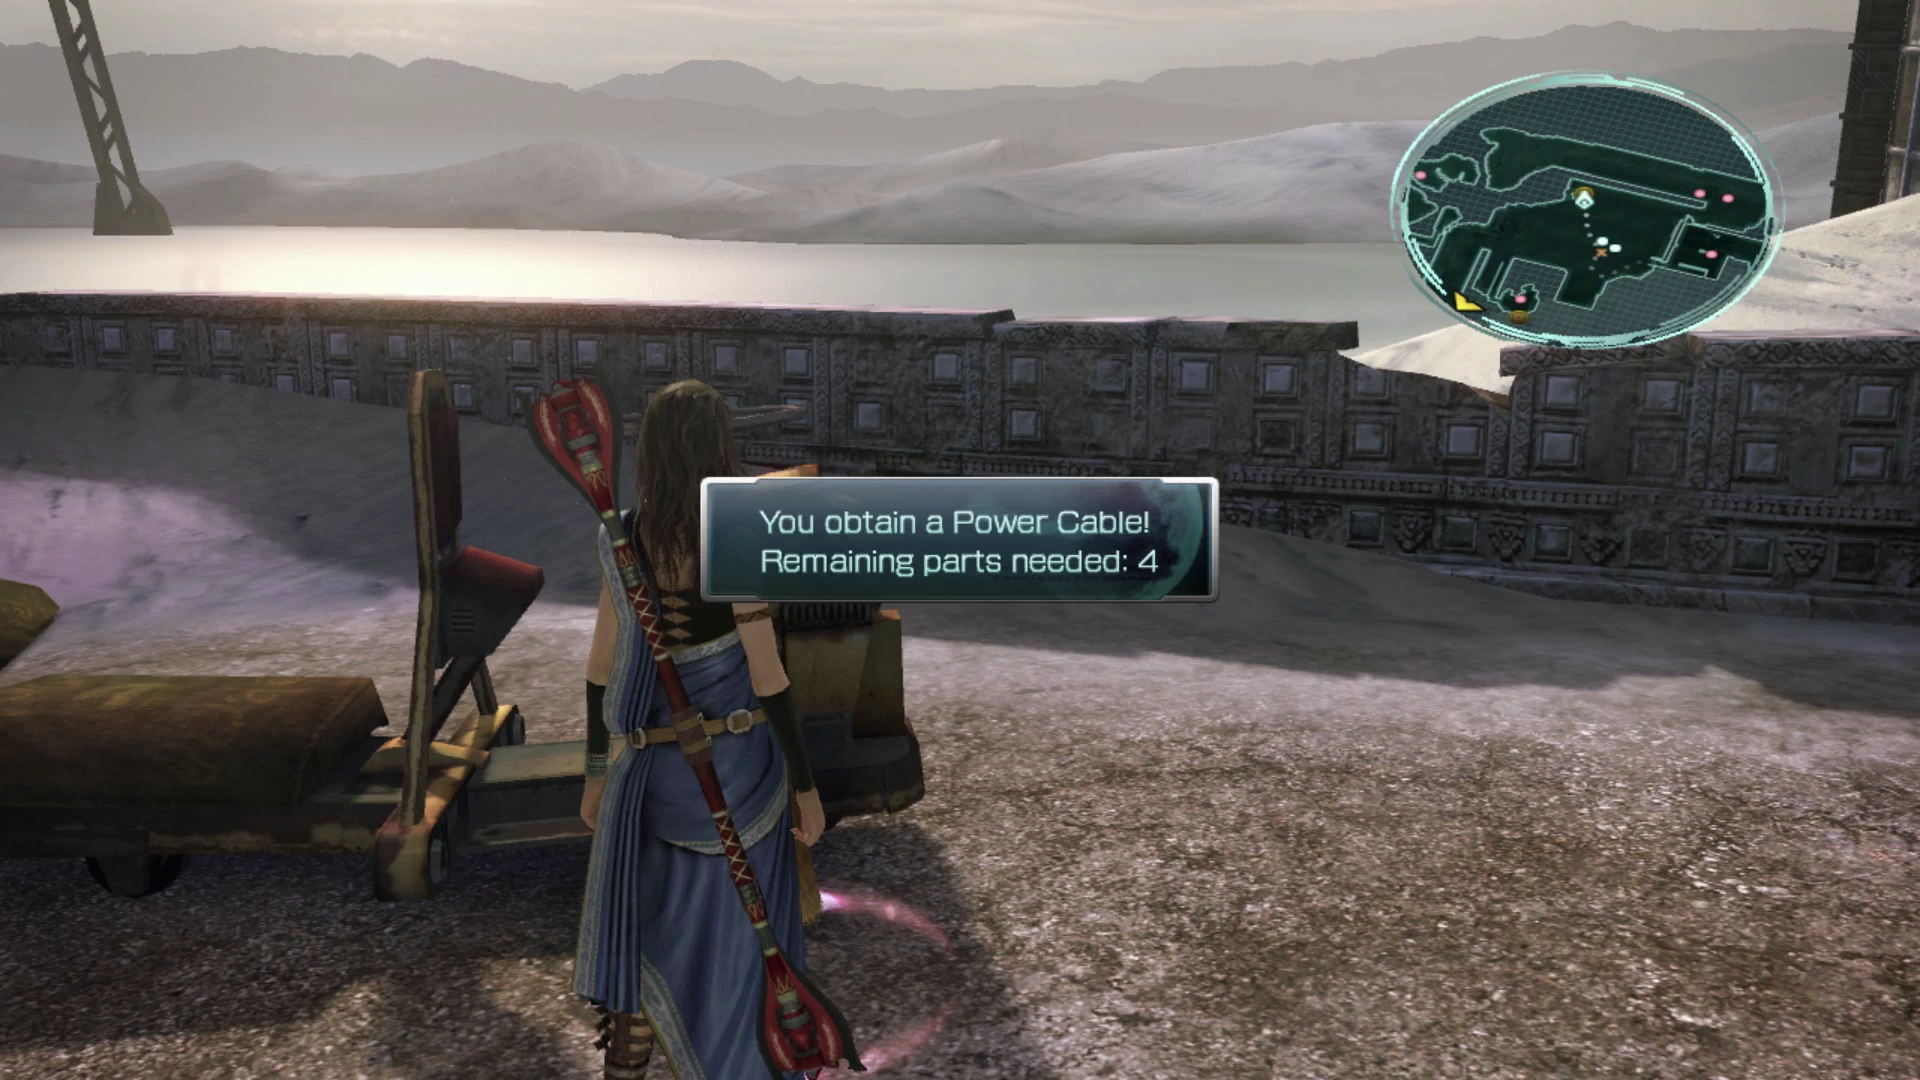
Start off by defeating the large group of enemies in the center of this area once again. This is the group that includes four Seekers and two Chonchons. There is a pile of equipment nearby which is marked on the mini-map if you’re having trouble finding it. Use ![]()
![]()
![]() to examine it and pick up the first of the five parts needed to repair Bhakti (the
to examine it and pick up the first of the five parts needed to repair Bhakti (the ![]() Power Cable ).
Power Cable ).
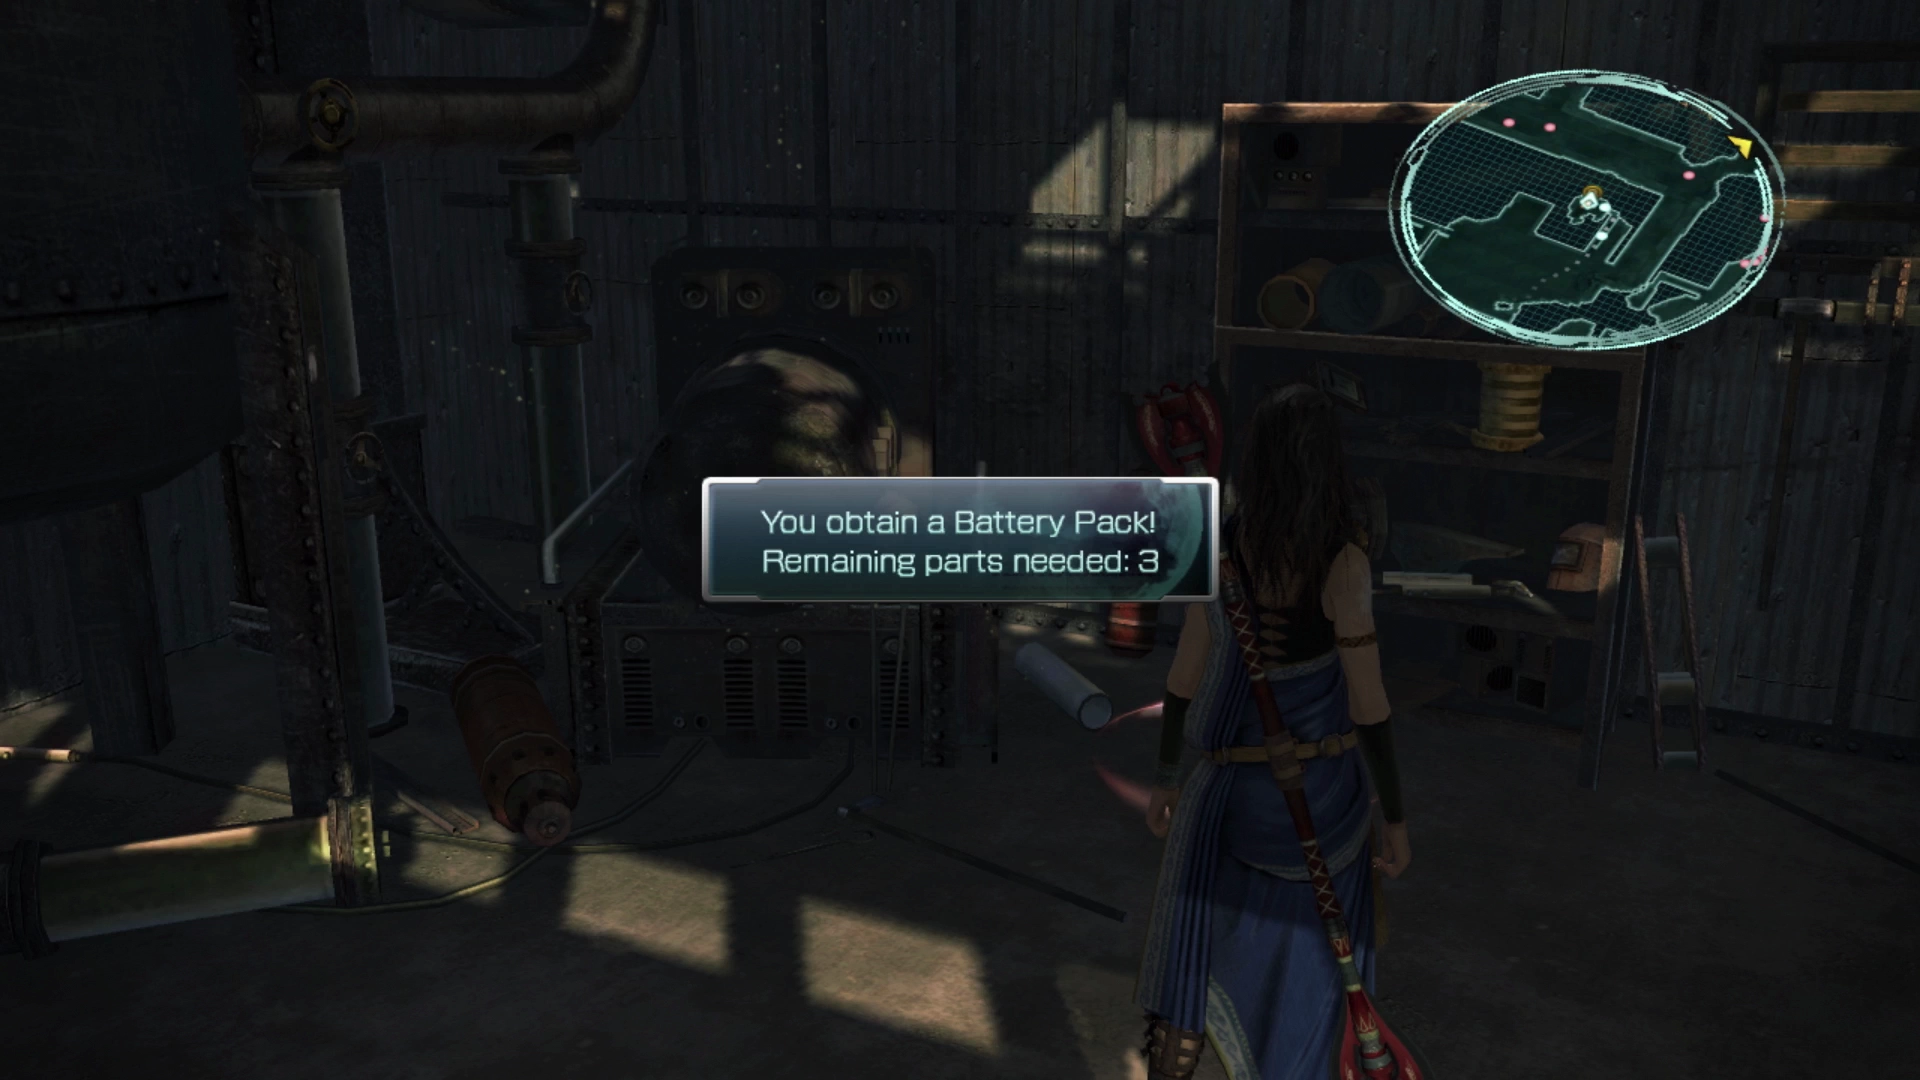
Now you can make your way up the stairs and into the house to confront the Vetala floating around in there. This house is referred to as the “Desolate Mill” when you pull up the map. Use the tips mentioned in the “Helpful Hint” note above to help you defeat the Vetala and then examine the nearby wall to obtain the ![]() Battery Pack . This is the second of the five parts you require.
Battery Pack . This is the second of the five parts you require.
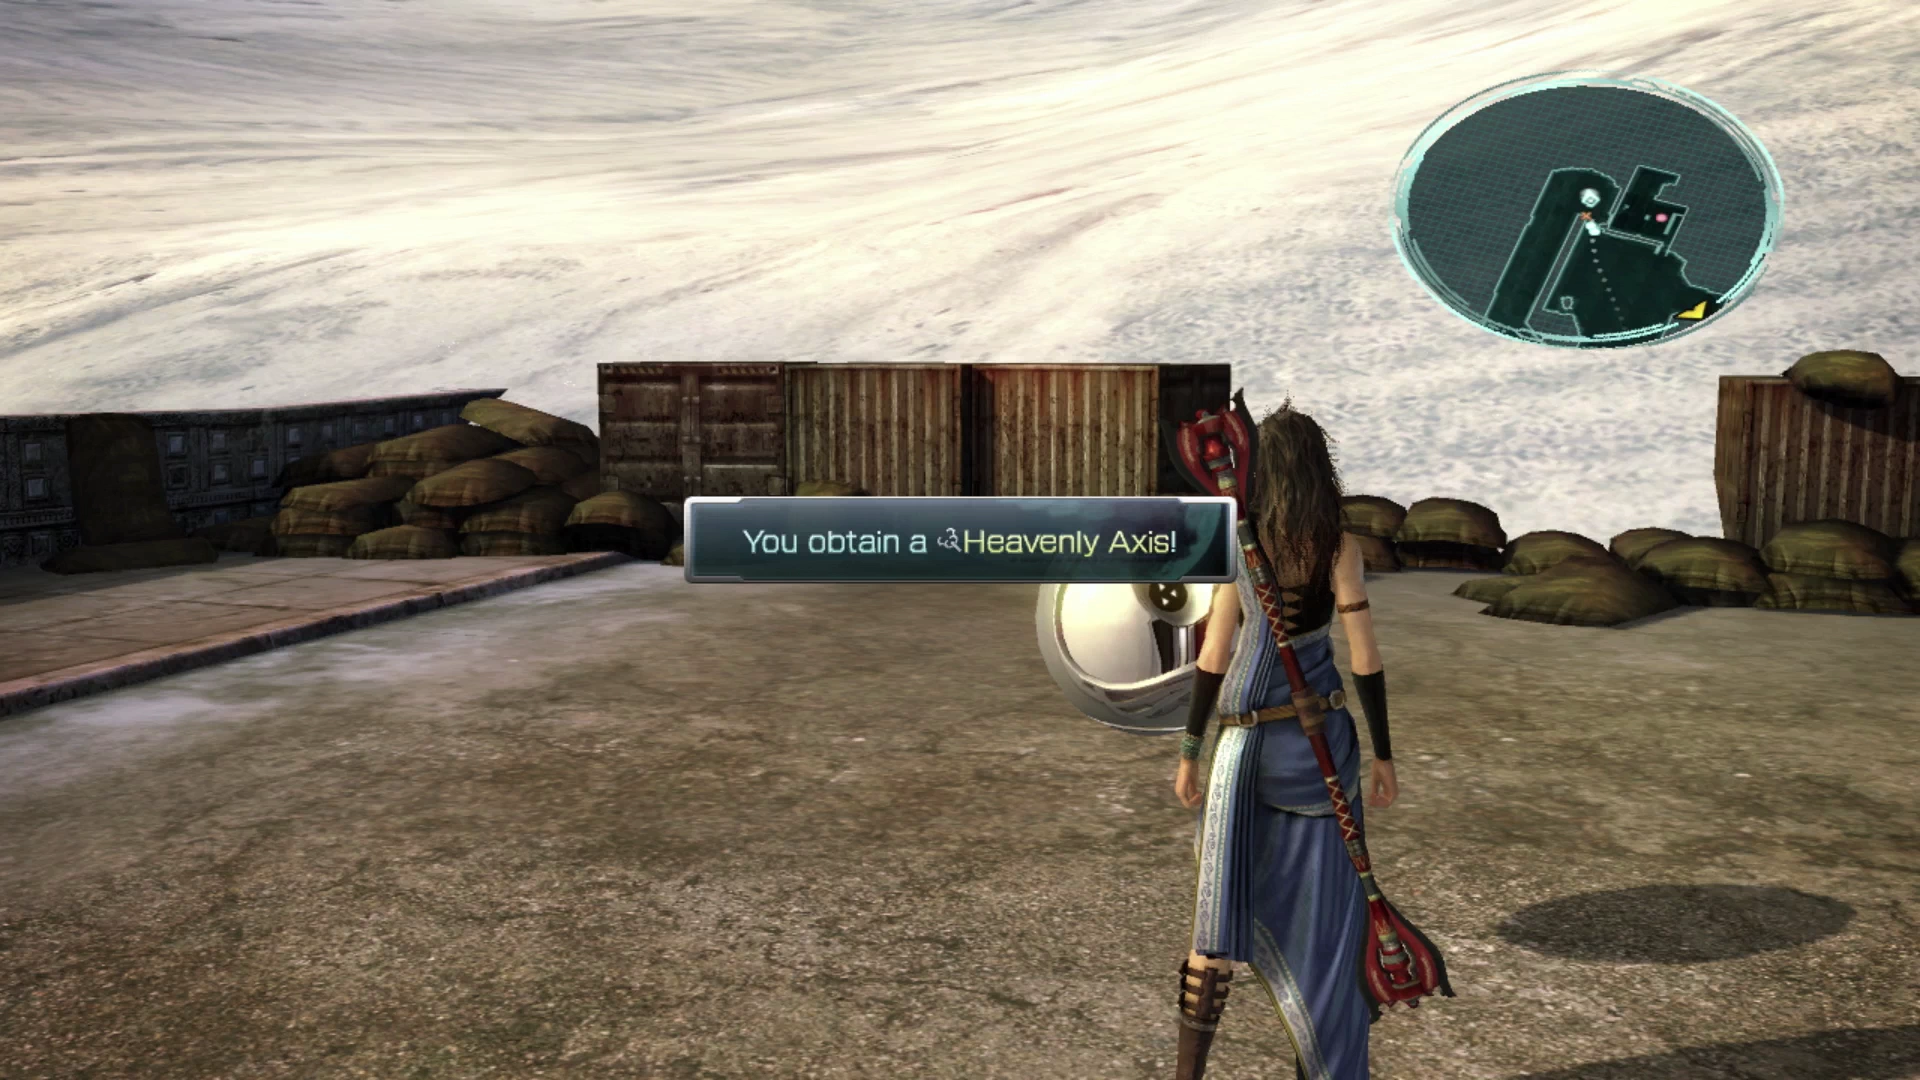
Exit the Desolate Mill, head down the stairs, and continue following the pathway through the village. The next group of enemies to face is just up ahead and includes one Seeker and one Vampire. The Treasure Sphere nearby contains a ![]() Heavenly Axis which is a mediocre weapon for Vanille that isn’t worth equipping.
Heavenly Axis which is a mediocre weapon for Vanille that isn’t worth equipping.
Travel down the ramp and notice that there are a few illuminated blue circles which you can use to jump over the roots of the tree. You can use these jumps to run around and past enemies in this area, but you need to fight the large Vampire in the middle of the room as this enemy is holding the next repair part for Bhakti. Once it’s been defeated, you will receive the ![]() Trochoid Gear . Three parts down and two more to go.
Trochoid Gear . Three parts down and two more to go.

Note that there is a Treasure Sphere close to where you fight the Vampire that contains a ![]() Librascope.
Librascope.
The next group of enemies up ahead is a large group of nine Ceratosaurs which are also the mark for ![]() Mission 28 - Faded Glory. Don’t worry about trying to get a preemptive strike in because these enemies go down easily. Just make sure that you are in control of your
Mission 28 - Faded Glory. Don’t worry about trying to get a preemptive strike in because these enemies go down easily. Just make sure that you are in control of your ![]() Commando (i.e. Fang if you’re playing with the recommended party) and that you have her focus on using
Commando (i.e. Fang if you’re playing with the recommended party) and that you have her focus on using ![]() Ruinga and
Ruinga and ![]() Blitz attacks as these will hit every enemy inflicting massive damage.
Blitz attacks as these will hit every enemy inflicting massive damage.
Because there are so many Ceratosaurs they can inflict a heavy amount of damage; you may want to consider starting the battle in a more defensive Paradigm such as Diversity in order to deal with the damage.
Take a right at the split pathway ahead.
Deserted Schoolhouse
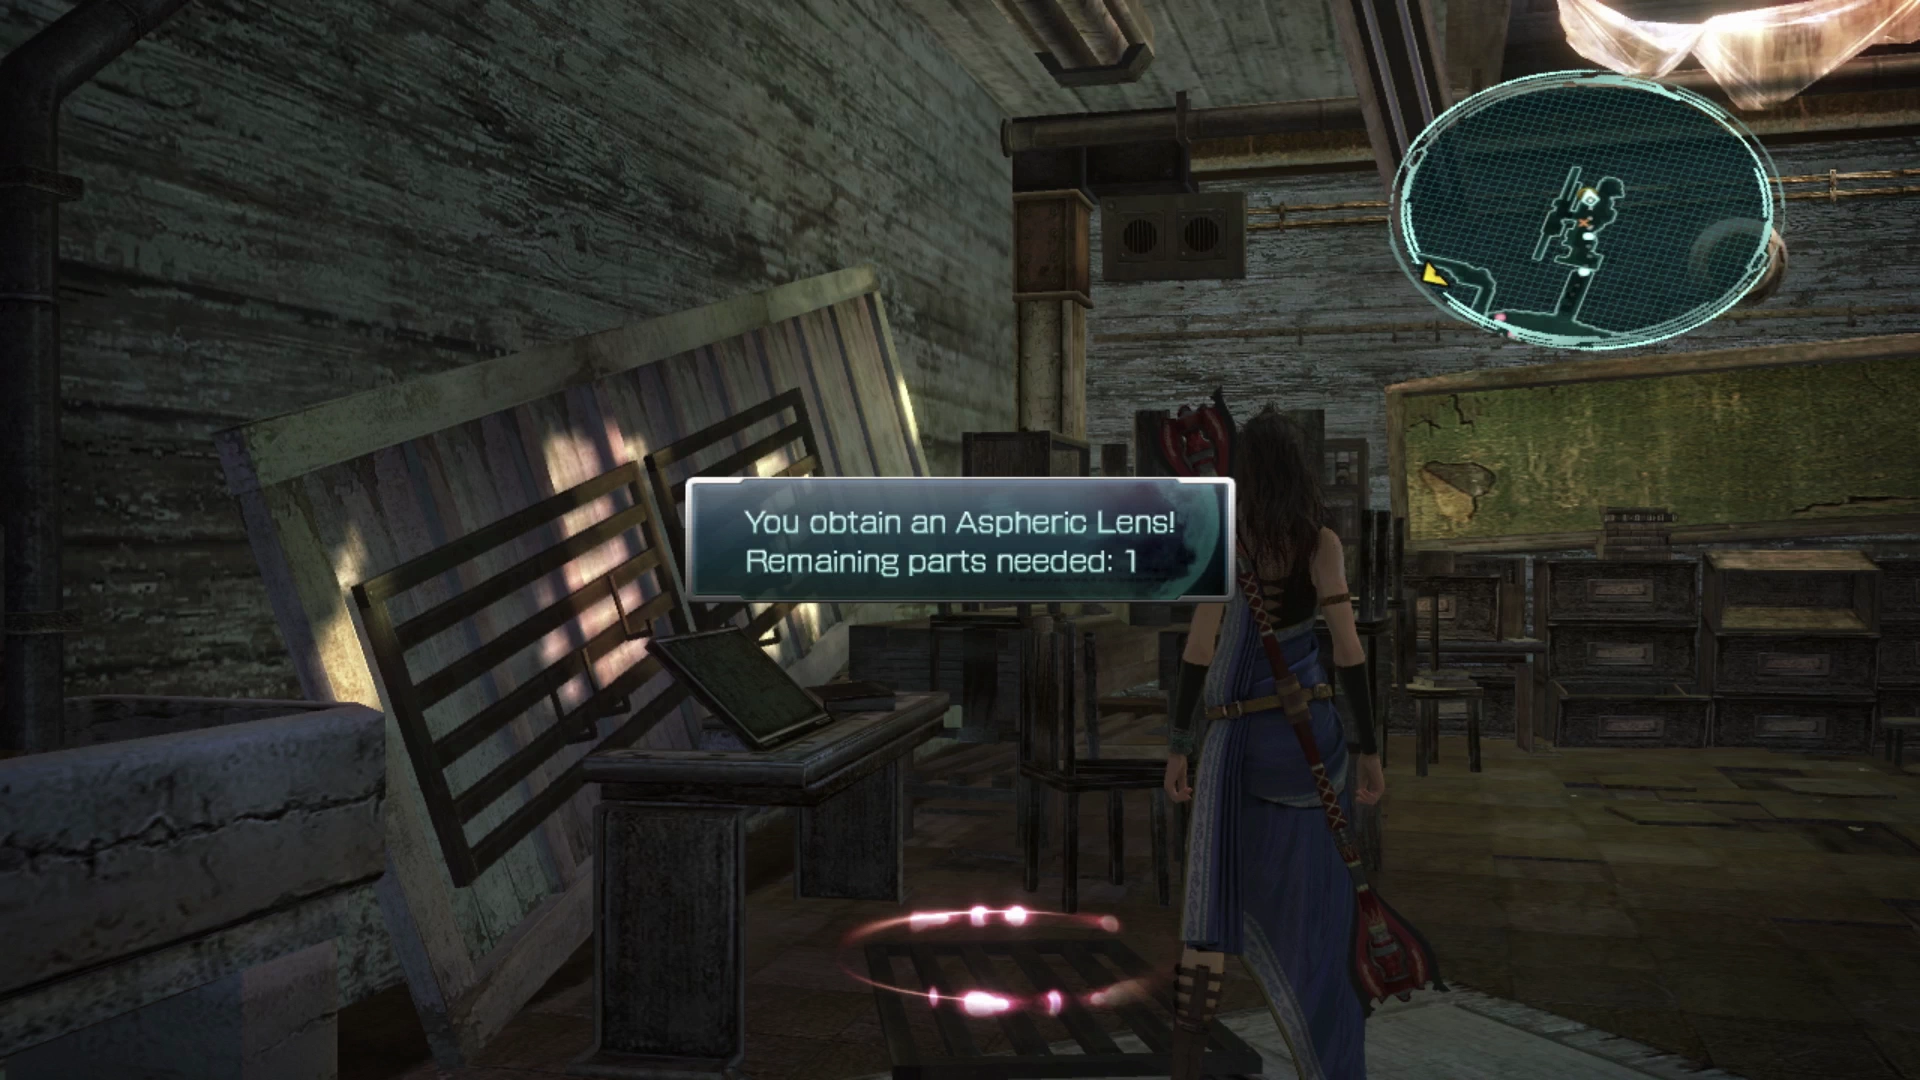
There is a group of enemies on the bottom floor of the schoolhouse that includes two Chonchons with a Vetala. Examine the back wall to find the ![]() Aspheric Lens , which is the fourth repair part for Bhakti, and you should now only need to find one last part.
Aspheric Lens , which is the fourth repair part for Bhakti, and you should now only need to find one last part.
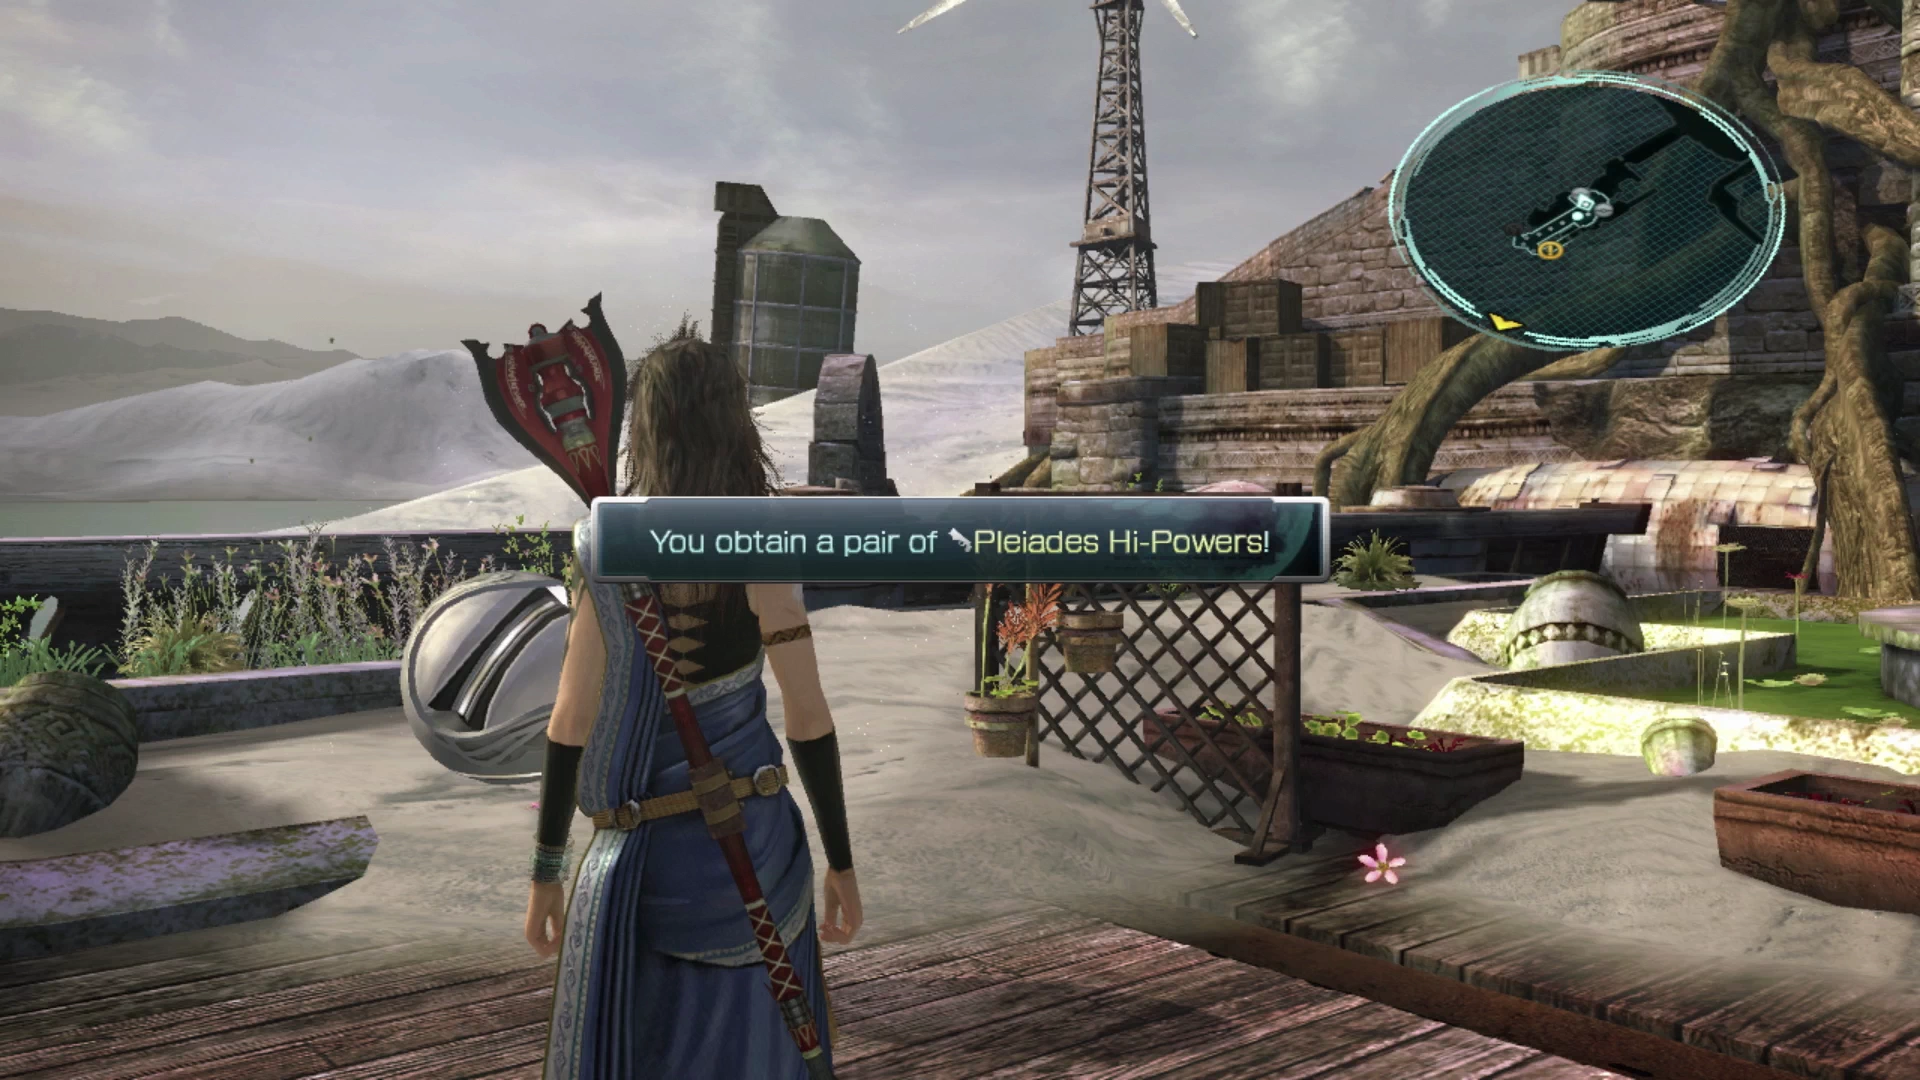
Head up the stairs to reach the rooftop garden. You can examine a few of the flower beds but, more importantly, there are two Treasure Spheres at the top. One contains a ![]() Moogle Puppet which can be sold for Gil and the second contains a pair of
Moogle Puppet which can be sold for Gil and the second contains a pair of ![]() Pleiades Hi-Powers, a new set of guns for Sazh. These guns trade a decrease in HP for an increase in strength. The strength is a huge bump, but it turns Sazh into a glass cannon.
Pleiades Hi-Powers, a new set of guns for Sazh. These guns trade a decrease in HP for an increase in strength. The strength is a huge bump, but it turns Sazh into a glass cannon.
Take the stairs back down to the lower level and rejoin the previous pathway.
Village Proper
The next group of enemies includes three Seekers and a Vampire. If you’re able to get a ![]() preemptive strike on them focus your efforts on the Vampire first, otherwise start by defeating the smaller Seekers.
preemptive strike on them focus your efforts on the Vampire first, otherwise start by defeating the smaller Seekers.
Follow the pathway up the stairs and around the building. There is a ![]() Save Station at the top that you can use to save your game. Walk into the entrance of the nearby building when you’re ready.
Save Station at the top that you can use to save your game. Walk into the entrance of the nearby building when you’re ready.
Derelict Depot
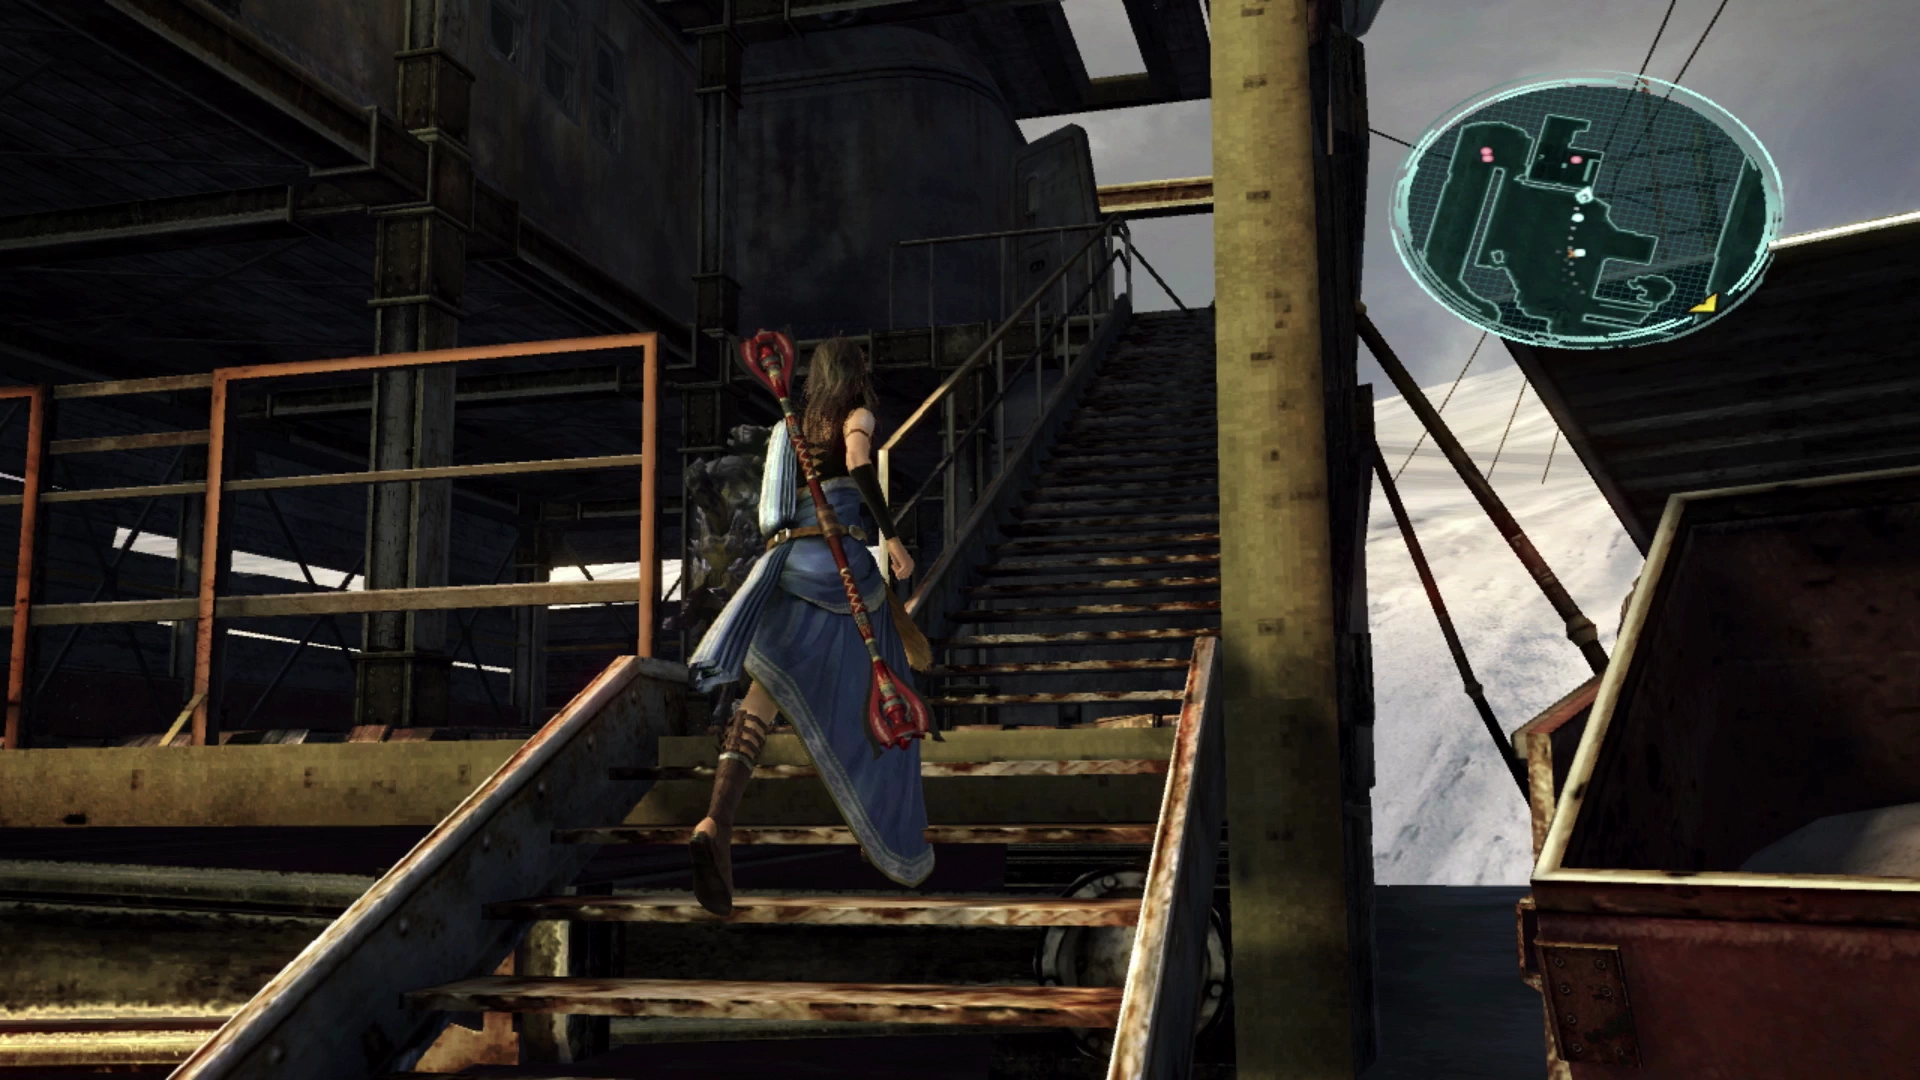
The bottom floor has a group of Taxim to defeat. These enemies are now weak compared to most of the other enemies you’ve been facing up until this point. Walk up the stairs and around the catwalk once they have been defeated.

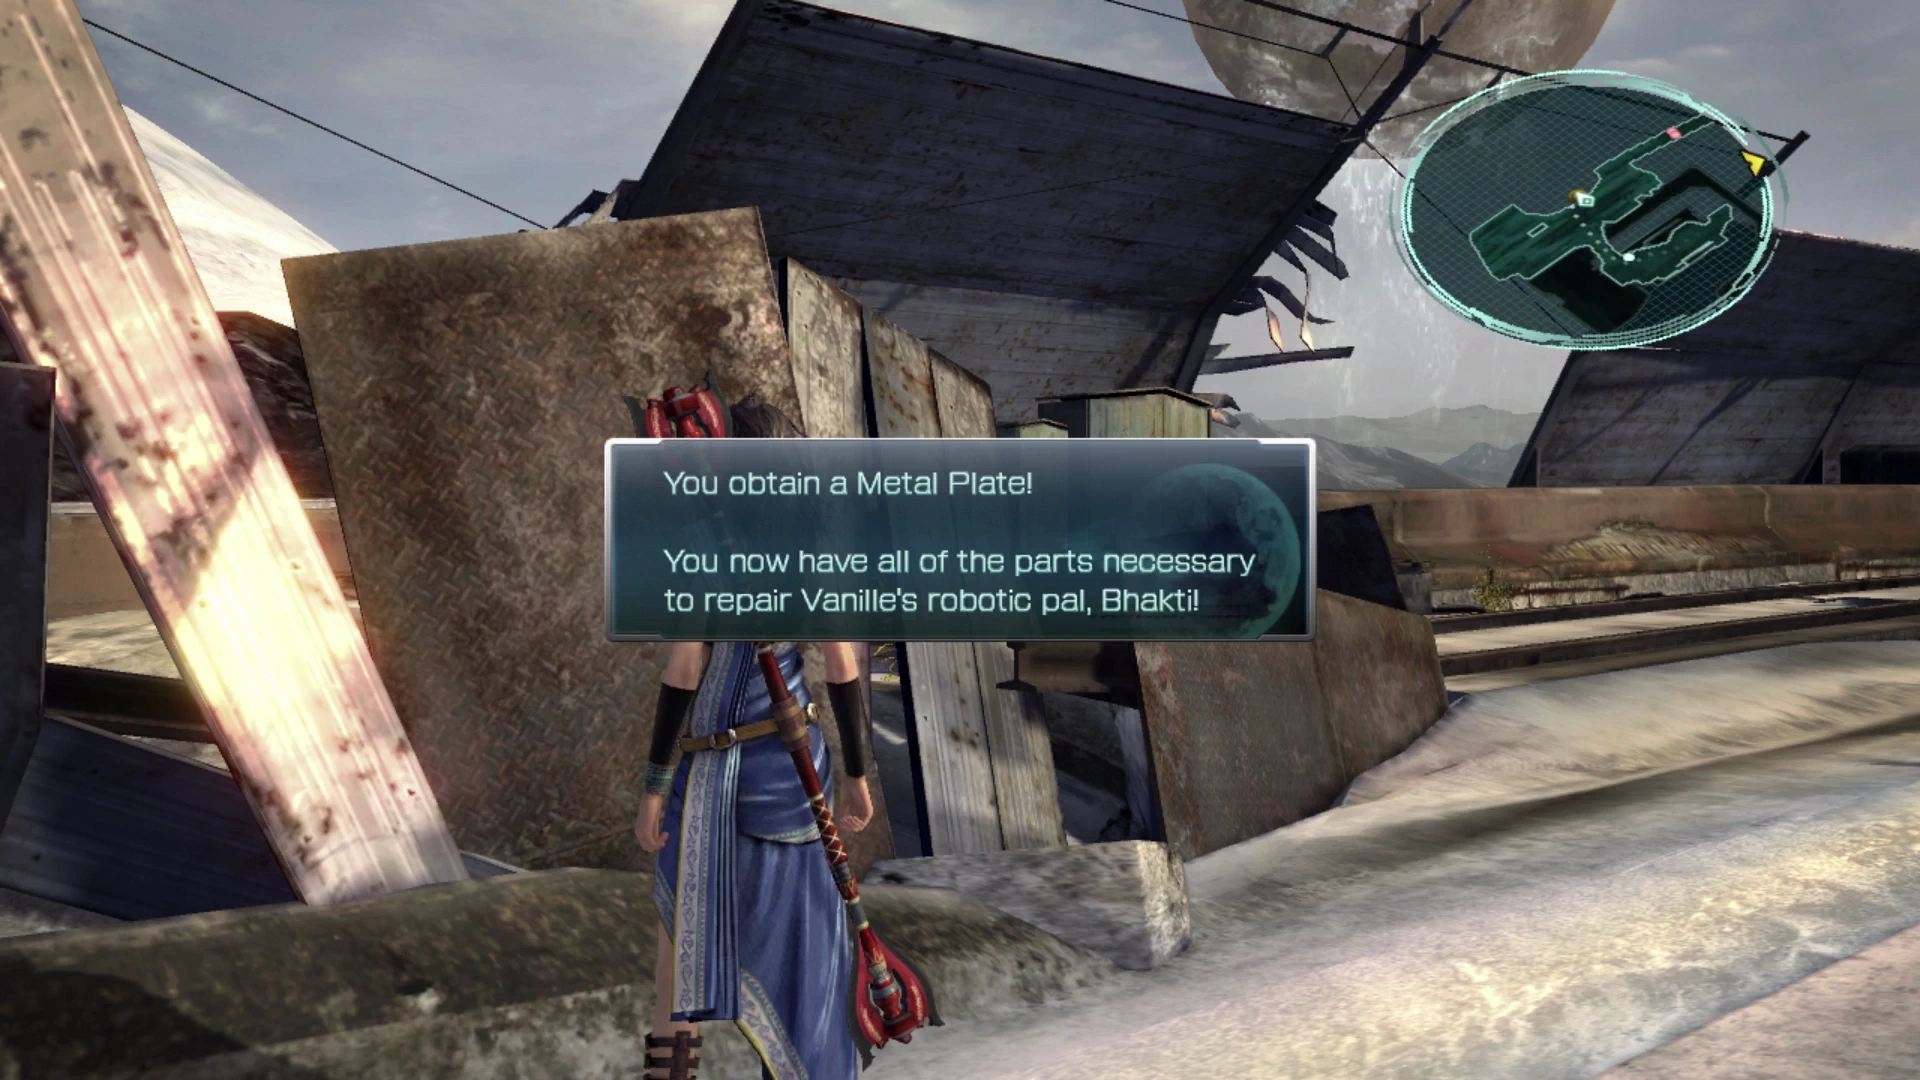
Walk across the sheets of metal over into the next area and look for the illuminated red circle on the ground nearby. Examine this wall with the ![]()
![]()
![]() button and you will obtain the
button and you will obtain the ![]() Metal Plate which is the last of the five items you need to repair Bhakti.
Metal Plate which is the last of the five items you need to repair Bhakti.
Before we make the long trip back to the little robot, there are two items that can be picked up nearby, one of which is extremely helpful if you are using Fang in your party.
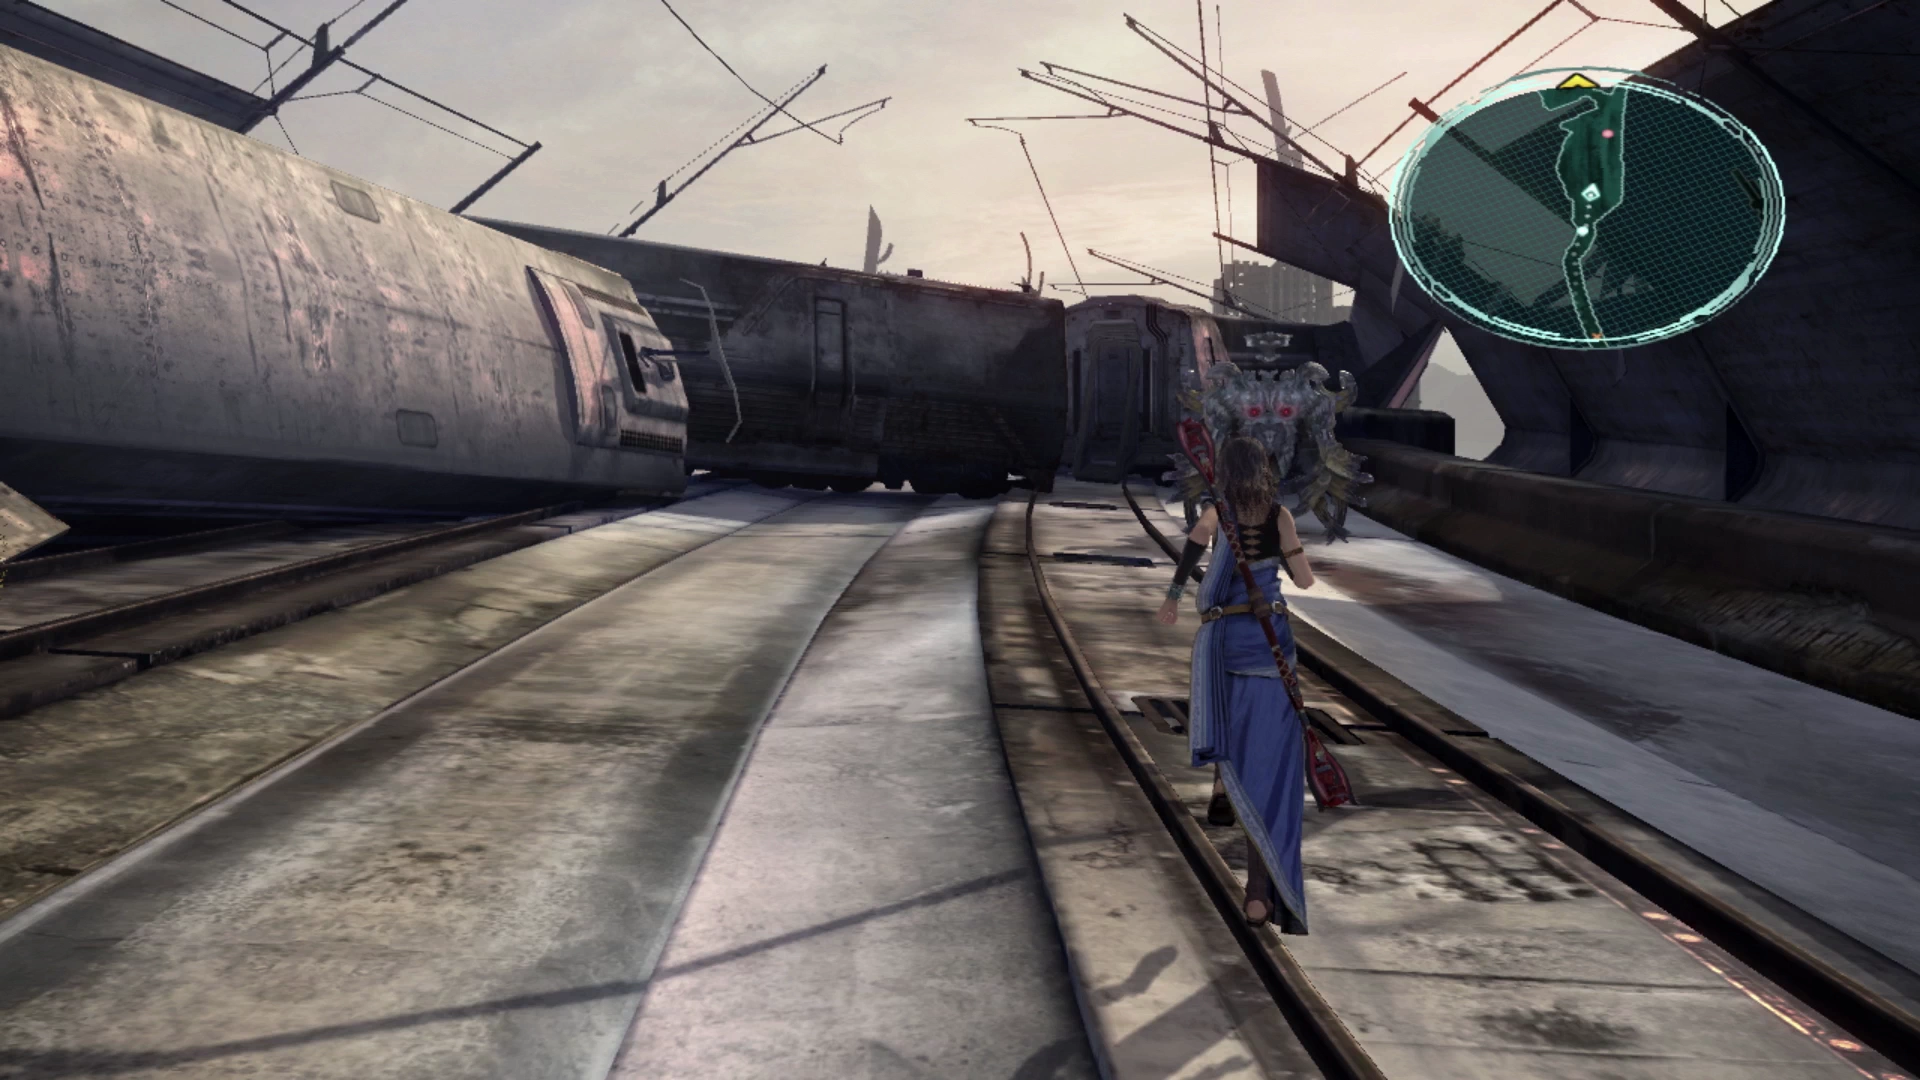
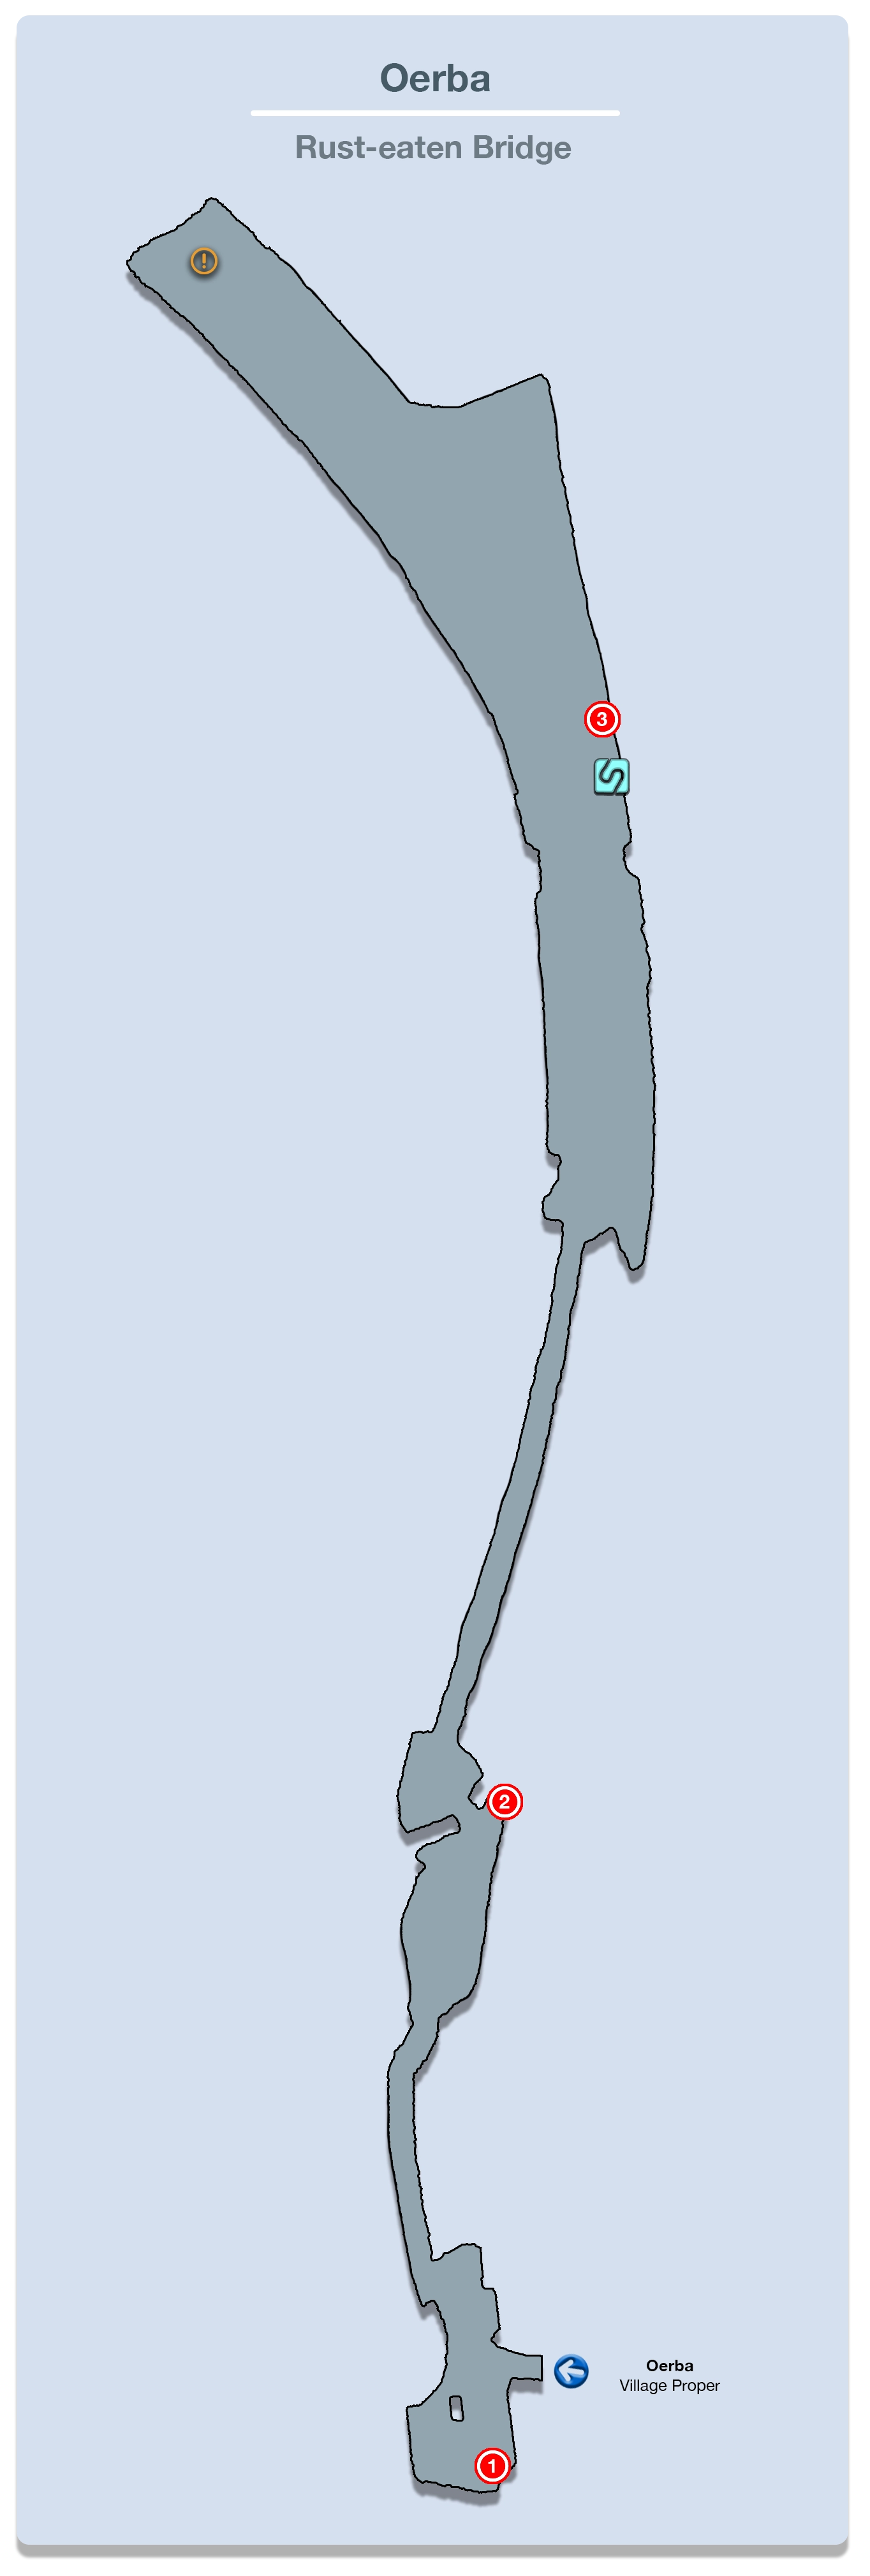
To the right of where you found the Metal Plate is a Treasure Sphere that contains a ![]() Flamebane Brooch. Now follow the pathway forward along the tracks and through this area, which is called the “Rust-eaten Bridge,” until you reach the next Treasure Sphere. You will have to defeat a group of two Seekers with two Varcolaci followed by a battle against a lone Vetala.
Flamebane Brooch. Now follow the pathway forward along the tracks and through this area, which is called the “Rust-eaten Bridge,” until you reach the next Treasure Sphere. You will have to defeat a group of two Seekers with two Varcolaci followed by a battle against a lone Vetala.
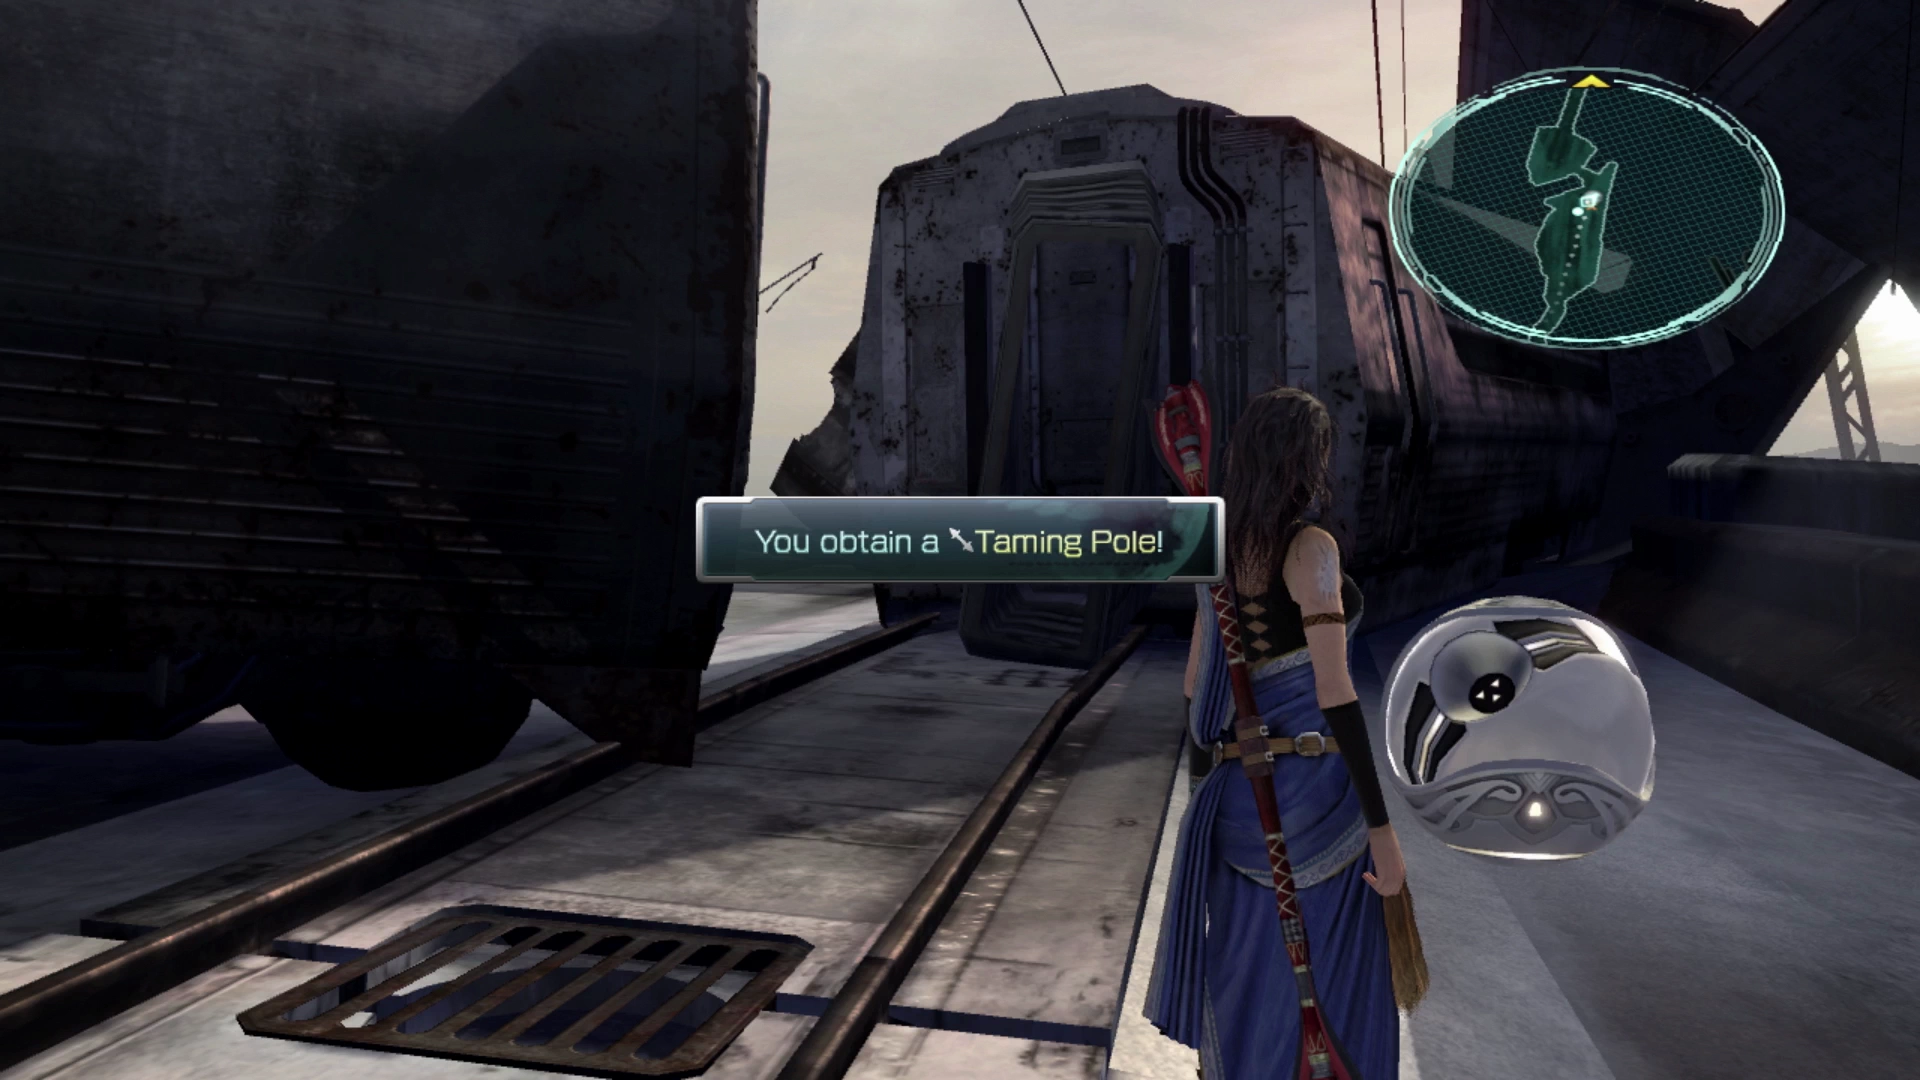
The Treasure Sphere behind the Vetala contains the ![]() Taming Pole. This is widely considered to be Fang’s strongest weapon due to its high strength and somewhat high magic stats. It was definitely worth a detour to pick this up!
Taming Pole. This is widely considered to be Fang’s strongest weapon due to its high strength and somewhat high magic stats. It was definitely worth a detour to pick this up!
Now make your way all the way back to Bhakti in the Dilapidated Dwelling.
Helpful Hint
In addition to being considered Fang’s strongest weapon, the ![]() Taming Pole is also part of the “Gestalt” synthesis group which can be used to activate the
Taming Pole is also part of the “Gestalt” synthesis group which can be used to activate the ![]() Random: Instant Chain synthesized ability. This ability will give Fang a 0.5% chance with each attack to instantly fill the enemy’s Chain Gauge so that one more attack will Stagger the enemy.
Random: Instant Chain synthesized ability. This ability will give Fang a 0.5% chance with each attack to instantly fill the enemy’s Chain Gauge so that one more attack will Stagger the enemy.
Activating ![]() Random: Instant Chain requires Fang to equip an accessory in the same Synthesis Group though, so consider equipping her with one of the following items if you have room:
Random: Instant Chain requires Fang to equip an accessory in the same Synthesis Group though, so consider equipping her with one of the following items if you have room:
None of these items are great, but the synthesized ability is definitely nice to have. If you would like more information on how these abilities work, check out the Synthesized Abilities section.
Dilapidated Dwelling
Sazh will use the parts you found to repair Bhakti when you arrive. Speak to Bhakti again to claim your rewards, which are fantastic by the way! They include:
- 10 vials of
 Deceptisol
 - 2
 Ultracompact Reactors
 - 1
 Gold Nugget
 - 5 vials of
 Perfume
 - 3 Platinum Ingots
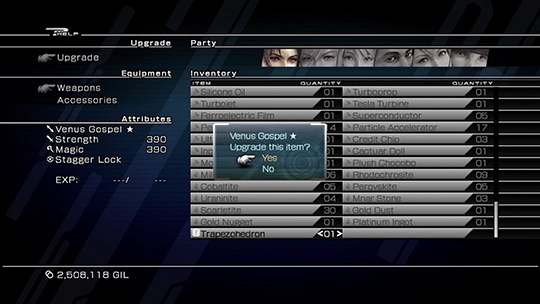
Most of these rewards can be sold at one of the shops at a ![]() Save Station and then, using the Gil that you receive, you can purchase the items required to upgrade your weapons. This is a great time to consider upgrading some of your primary party member’s weapons. Use the link below for more help on how to do this:
Save Station and then, using the Gil that you receive, you can purchase the items required to upgrade your weapons. This is a great time to consider upgrading some of your primary party member’s weapons. Use the link below for more help on how to do this:
Tips and Tricks
A full guide on how to upgrade your weapons and accessories using components you obtain in the game.
Now head all the way back up to the Rust-eaten Bridge where you found Fang’s ![]() Taming Pole.
Taming Pole.
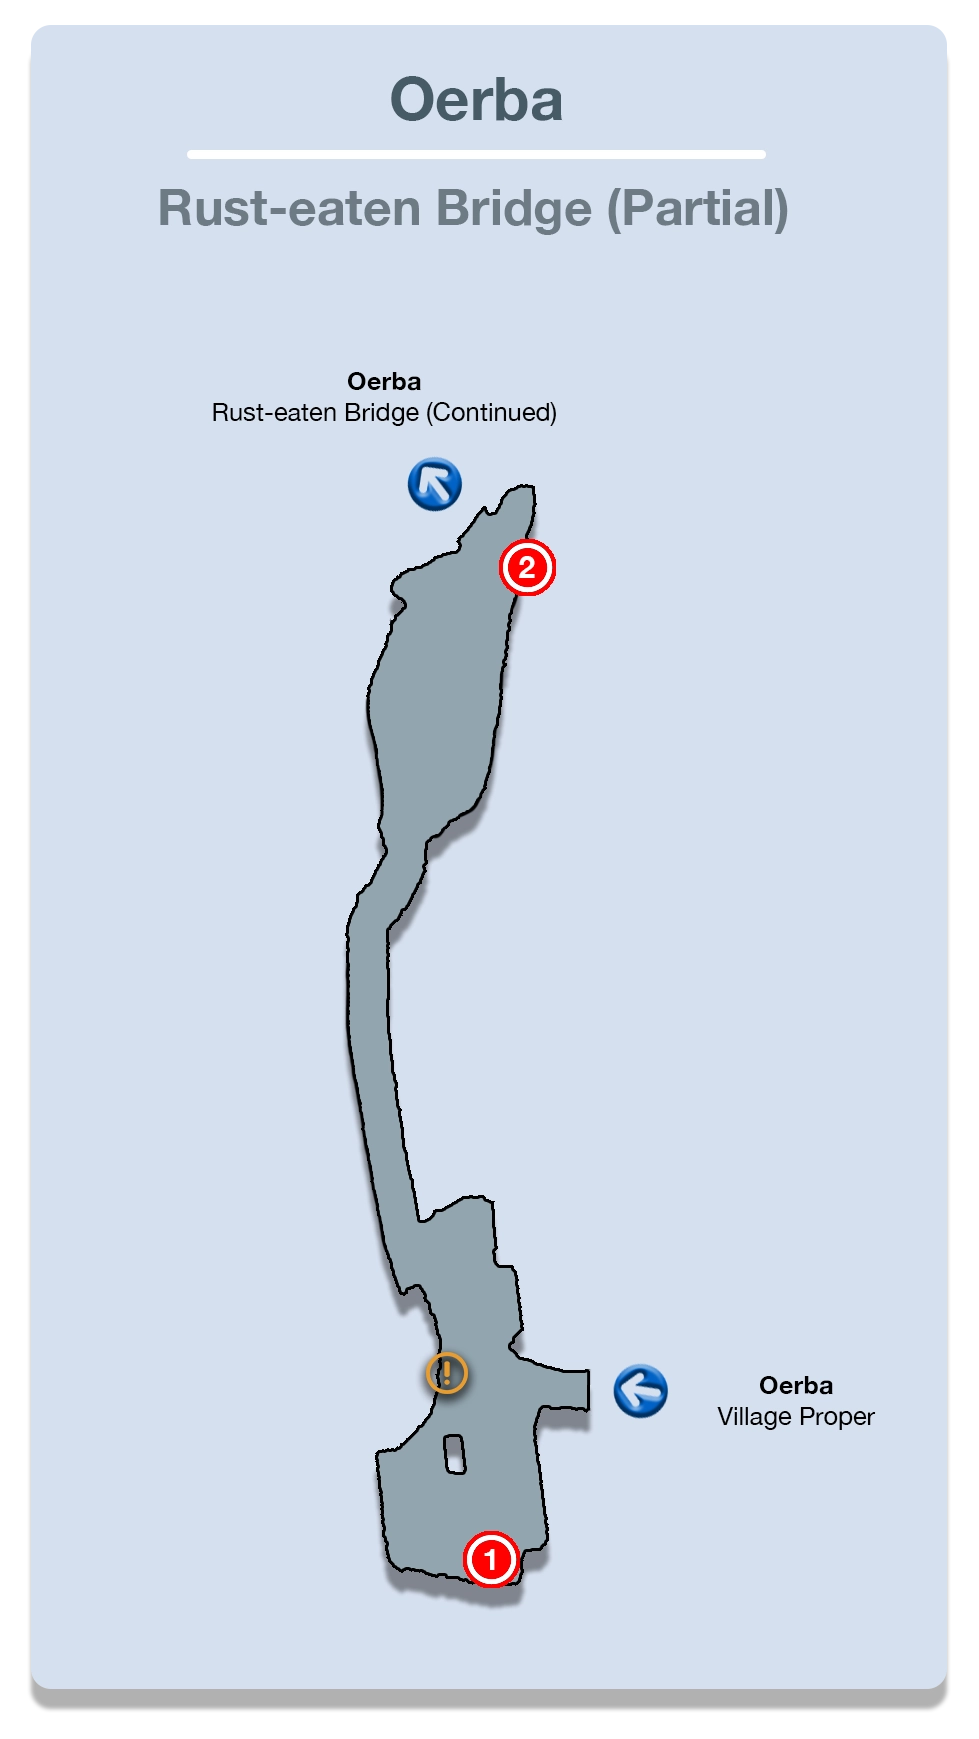
Rust-eaten Bridge
There isn’t much to walk you through as it relates to the Rust-eaten Bridge. It’s a straight pathway with a few groups of enemies along the way, and while it’s a lengthy walk, the enemies aren’t difficult to defeat.
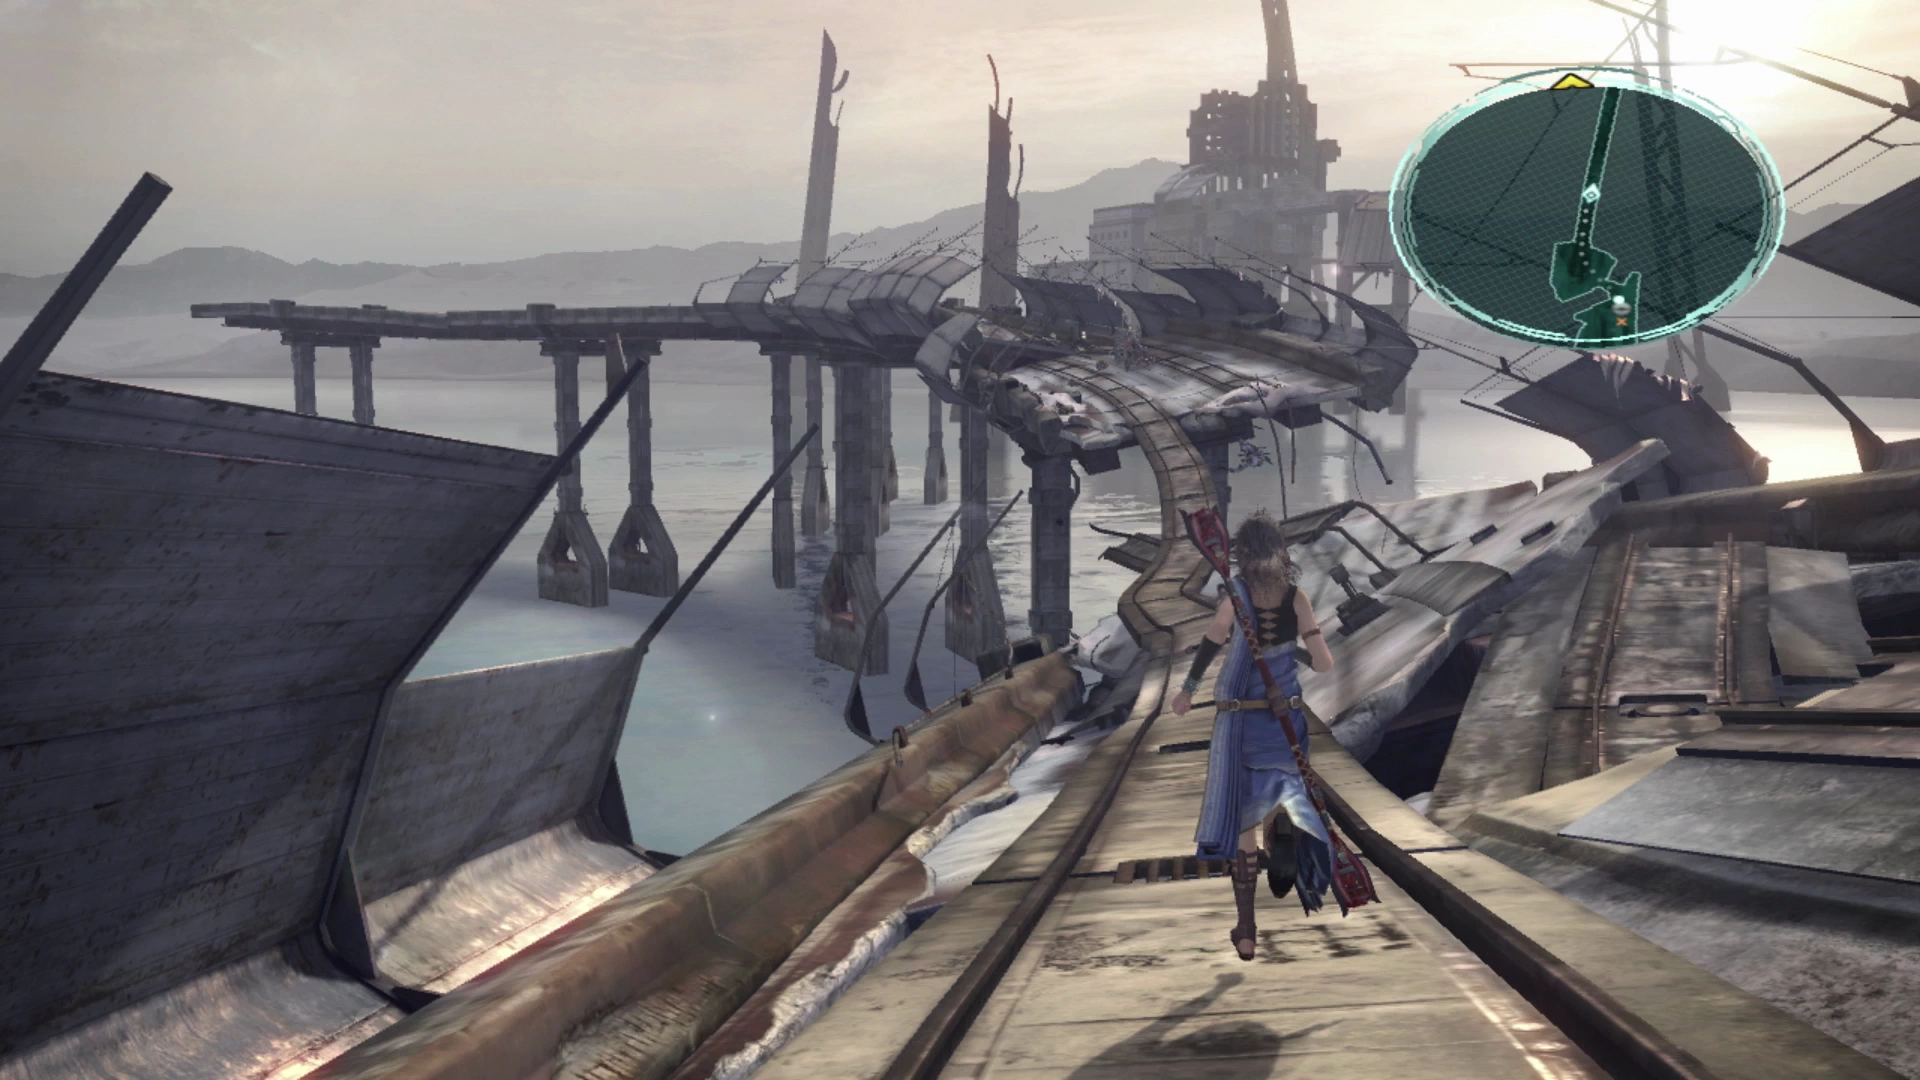
You will eventually reach the last ![]() Save Station which also has a Treasure Sphere behind it. The Treasure Sphere contains a vial of
Save Station which also has a Treasure Sphere behind it. The Treasure Sphere contains a vial of ![]() Ethersol. Save your game and then get ready for the next boss fight.
Ethersol. Save your game and then get ready for the next boss fight.
Switch your default Paradigm to Evened Odds before you move ahead to initiate the next battle.
Boss Battle
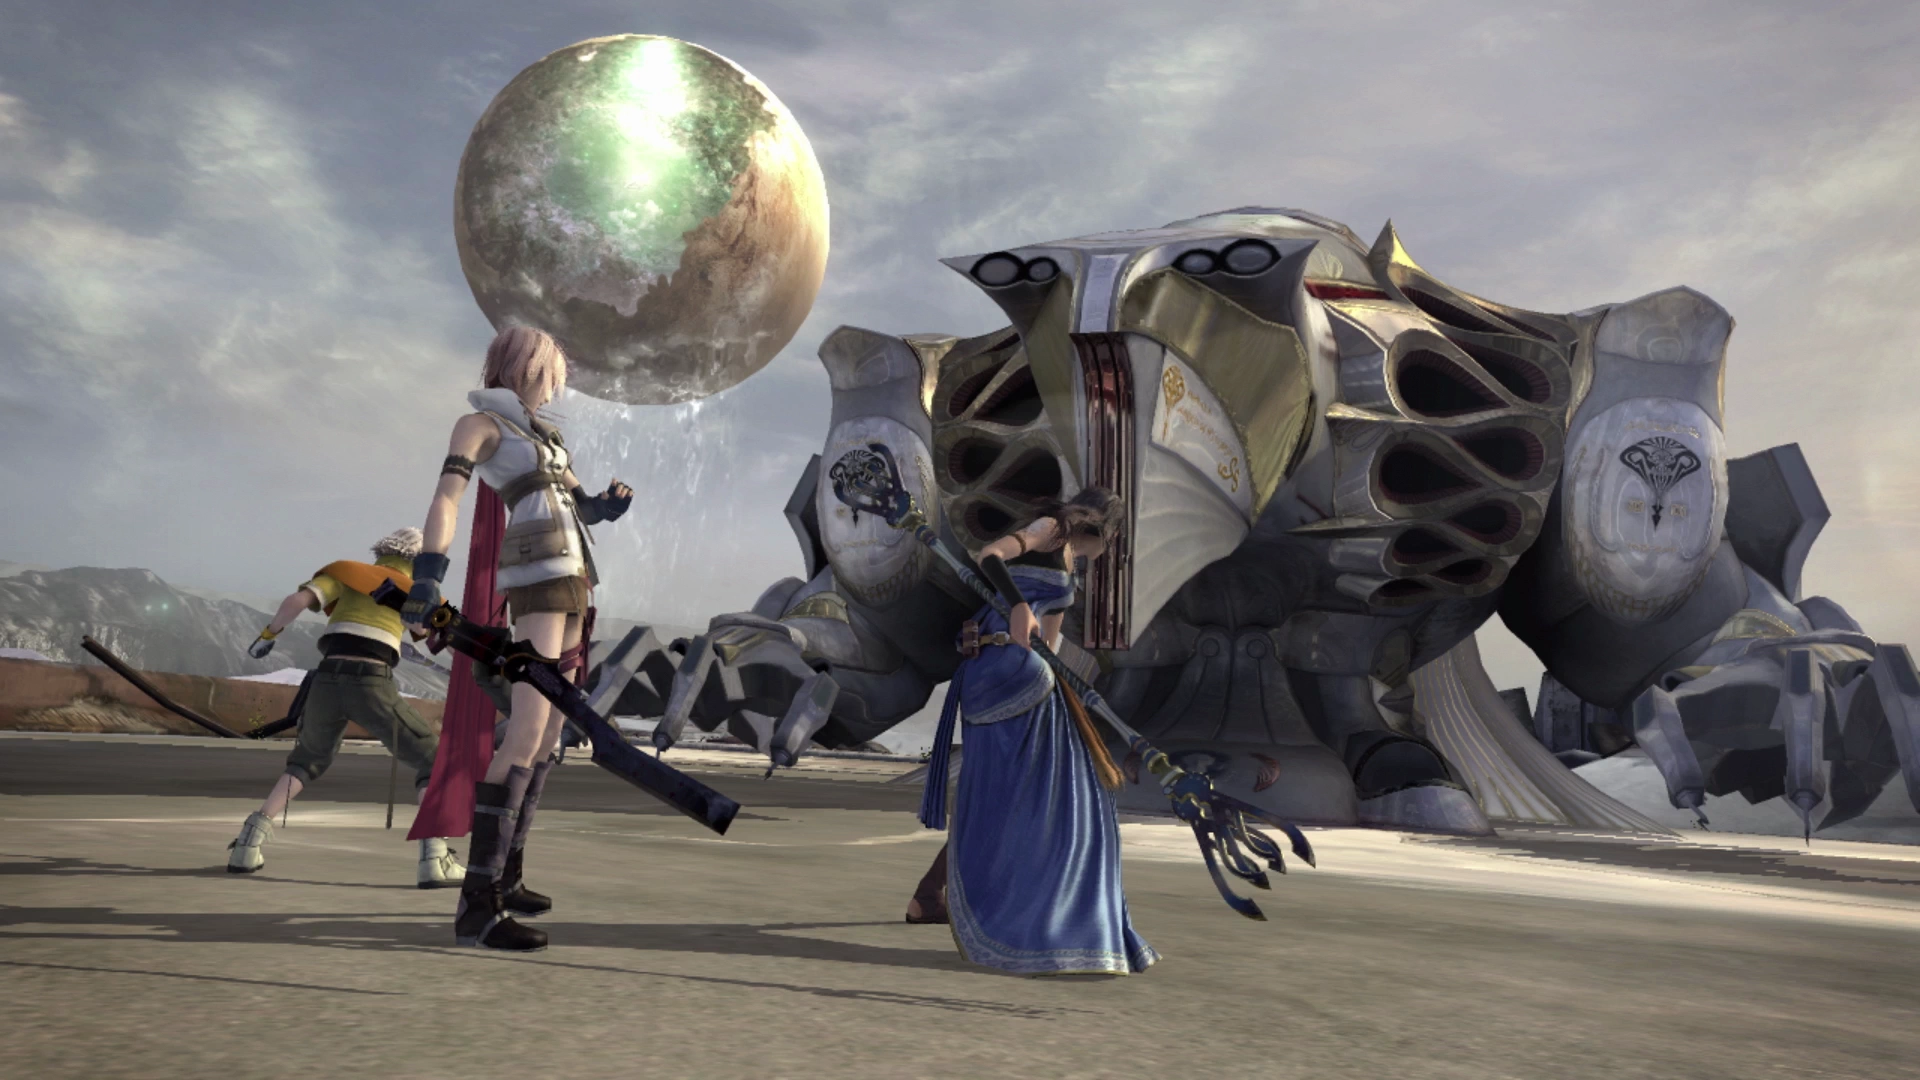
He’s back for more! This battle is a fair bit easier than the previous battle. There is only one target to hit and Barthandelus doesn’t have any world-ending attacks like during the previous fight that have the potential to wipe out your party.
Instead, he relies on attacks that inflict negative status effects (![]() Cursaga,
Cursaga, ![]() Dazega,
Dazega, ![]() Poisonga,
Poisonga, ![]() Fog,
Fog, ![]() Pain) which just need to be removed by a
Pain) which just need to be removed by a ![]() Medic with
Medic with ![]() Esuna. He will also use “Thanatosian Laughter,” a rapid multi-hit barrage fired in a straight line that can easily catch your whole party. You can see him readying the attack, and that is your cue to shift into a defensive Paradigm; it hits many times in a row, but it should be survivable as long as nobody enters it at low HP.
Esuna. He will also use “Thanatosian Laughter,” a rapid multi-hit barrage fired in a straight line that can easily catch your whole party. You can see him readying the attack, and that is your cue to shift into a defensive Paradigm; it hits many times in a row, but it should be survivable as long as nobody enters it at low HP.
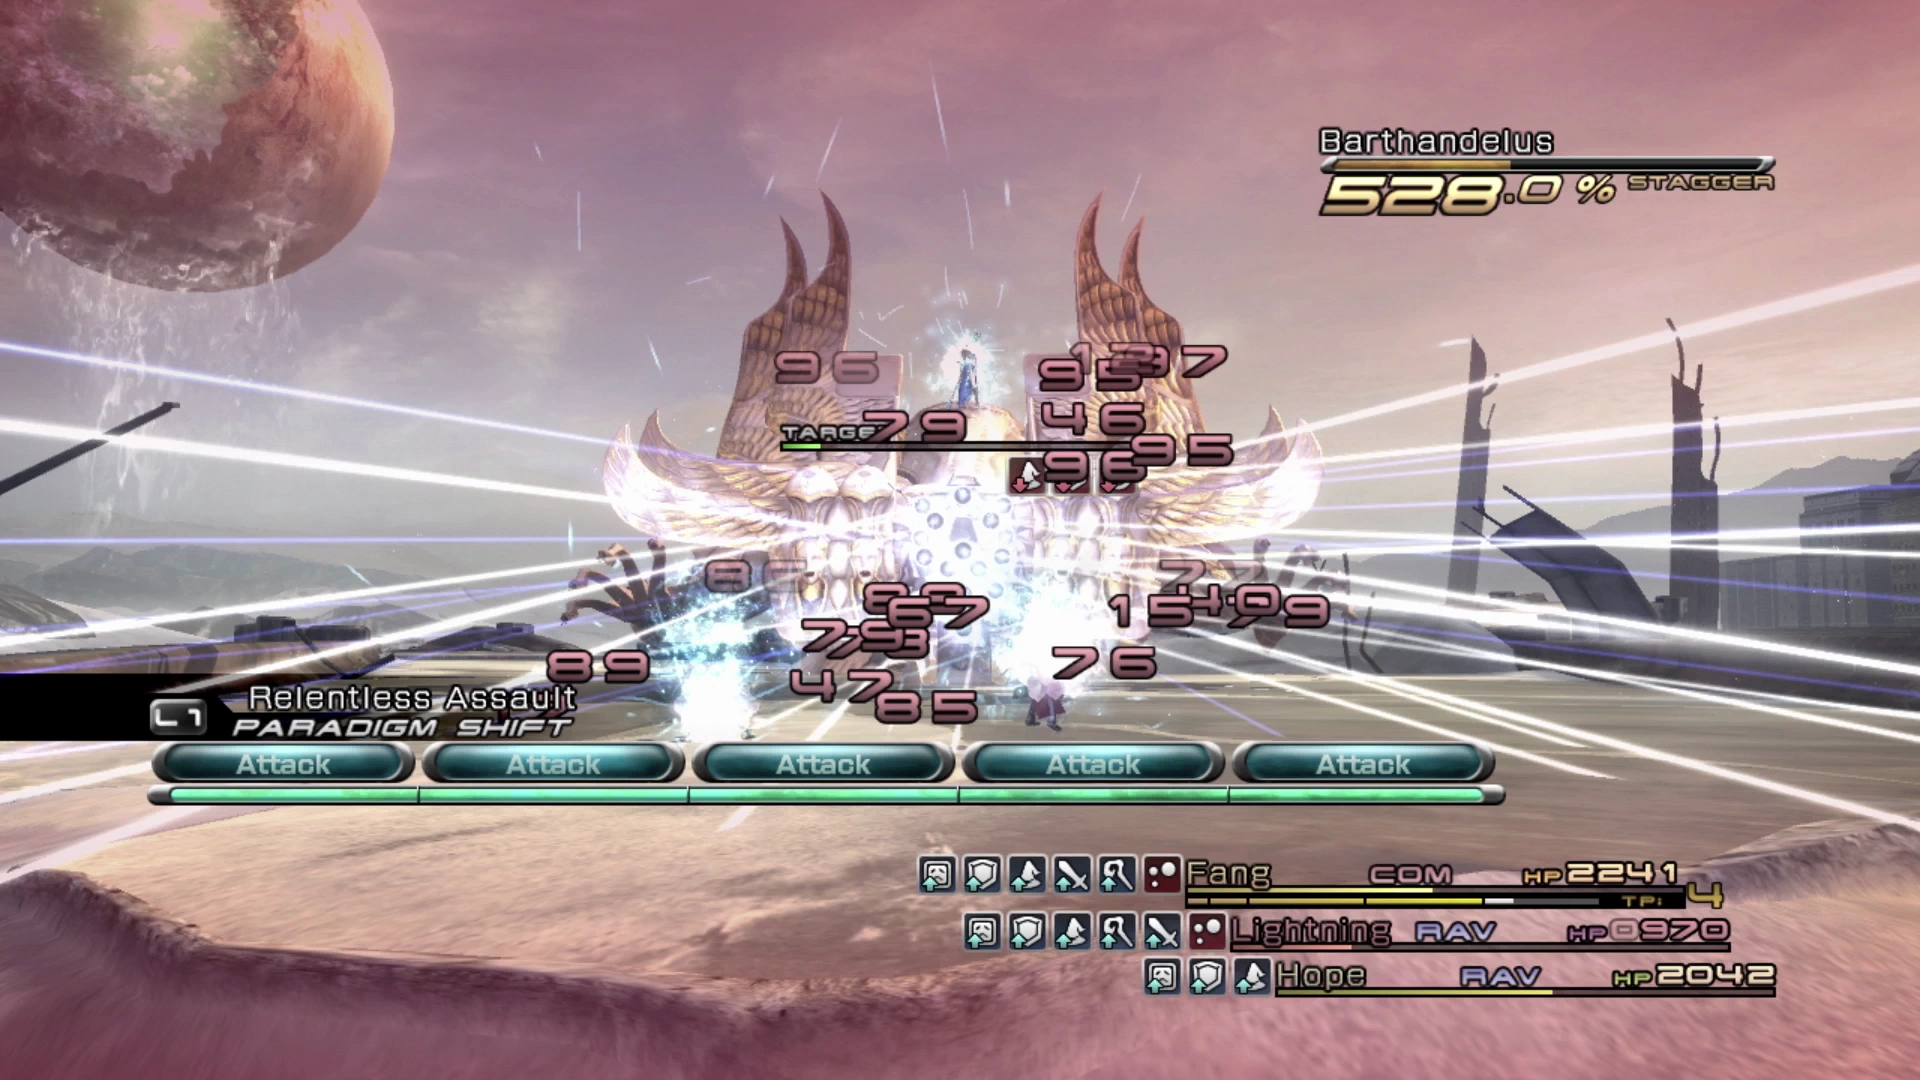
Start things off with ![]() Libra and then make sure to rotate into Paradigms that will allow your
Libra and then make sure to rotate into Paradigms that will allow your ![]() Synergists to get helpful buffs active (e.g. Decimation). Starting off in Evened Odds will also allow you to get debuffs up on Barthandelus which can be extremely helpful as he has just over 3,000,000 HP to work your way through.
Synergists to get helpful buffs active (e.g. Decimation). Starting off in Evened Odds will also allow you to get debuffs up on Barthandelus which can be extremely helpful as he has just over 3,000,000 HP to work your way through.
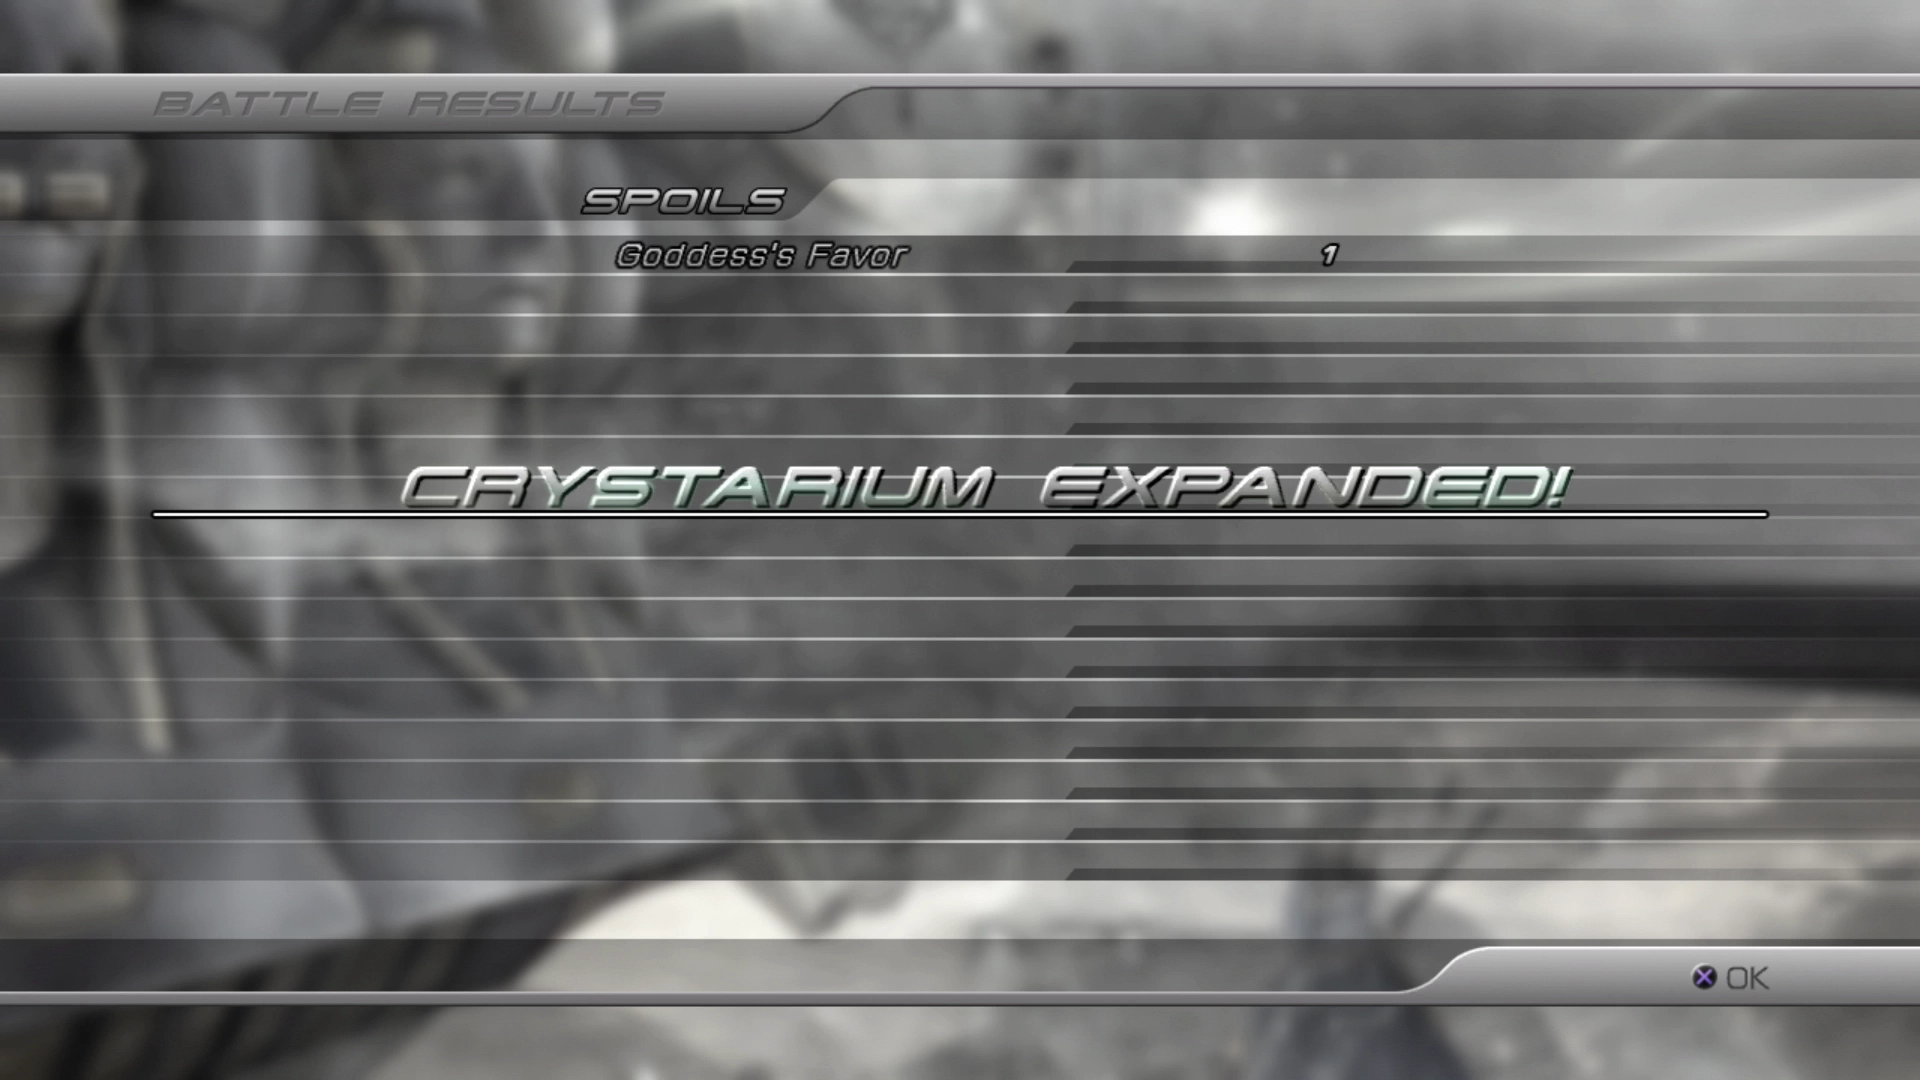
The ![]() Goddess’s Favor accessory that you receive at the end of the battle isn’t super useful, but each of your character’s Crystariums will be expanded at the end of the fight. And the better reward is the 100,000 Crystogen Points (CP) that you get to spend…
Goddess’s Favor accessory that you receive at the end of the battle isn’t super useful, but each of your character’s Crystariums will be expanded at the end of the fight. And the better reward is the 100,000 Crystogen Points (CP) that you get to spend…
Helpful Hint
Your party members are now quite far along in a few of their Crystariums, so where should you spend your CP this time?
There are no new Role Levels in your character’s primary roles that become available after this fight, so the recommendation at this point is to track down any new abilities that have become available in the new top tiers of each Crystarium and focus on getting those first.
In many cases, the abilities that have become available are special in that they need to be actively selected in battle and do a heavy amount of damage. They also use up the full ATB bar when you activate them. For example, in Fang’s ![]() Commando Crystarium, she has access to an ability called
Commando Crystarium, she has access to an ability called ![]() Highwind. Lightning has access to
Highwind. Lightning has access to ![]() Army of One in her
Army of One in her ![]() Ravager Crystarium.
Ravager Crystarium.
They may not see much use, but they are worth picking up and you have the points at this time to reach each of them. These are unique abilities for each character and you can learn more about them in the unique abilities section of the guide.
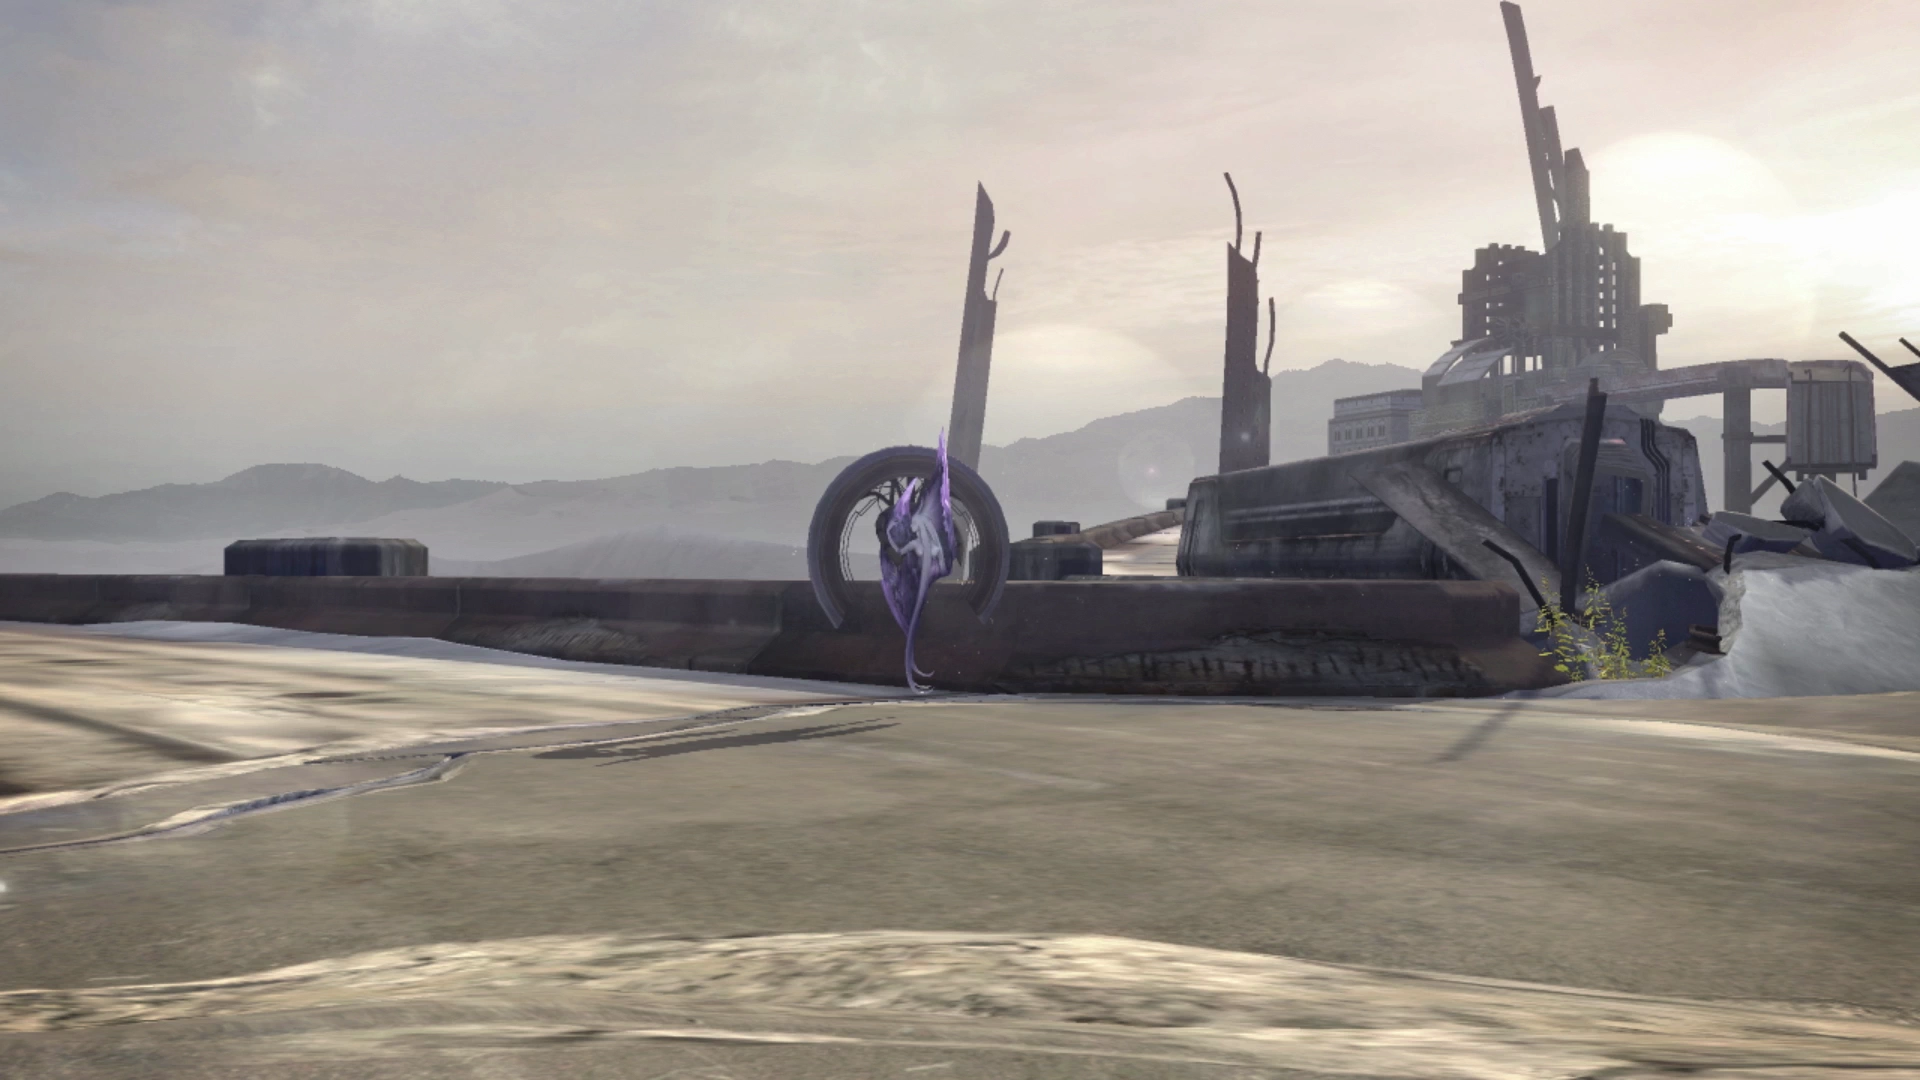
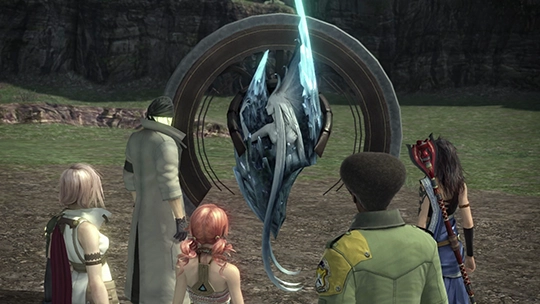
Approach the nearby Cie’th Stone and examine it to continue the story. After a lengthy cutscene you will find yourself back in control of your party, so what should you do?
There are two options available to you. Jump on the nearby ship and proceed to the next chapter of the game or use this opportunity to go back and complete some optional sections of the game.
Achievement/Trophy
You will automatically receive the  Instrument of Hope Achievement/Trophy at the end of Chapter 11.
Choosing a Path
There are three separate routes that you can take towards completing the game from here. No matter which one you pick you will still be able to go back and fully complete all aspects of the game if you choose to do so later, but each of the three options will offer you differing levels of difficulty and/or expediency depending on how much of the game you wish to complete now vs. later. The three options are:
- Complete some of the optional content that’s available now and leave the more challenging endgame content for after you have completed the chapters of the story (Chapters 12 and 13).
- Continue straight forward to the next chapter of the game to complete the story.
- Complete all of the optional side-quest and endgame content before completing the story.
The recommended approach for this guide is Option 1. This is because the optional side quest content that you can complete now will help you with Chapter 12 and 13, which will both see a bit of an increase in difficulty, but there’s also no need to try and do all the endgame content this early. So which option should you pick?
Select option 2 if you don’t want to do any of the endgame side quest content. Select option 3 if you want to add an extra layer of challenge / difficulty. This option will have you completing all the optional content before wrapping up the story and completing Chapters 12 and 13. Note that this will make Chapters 12 and 13 quite easy if you do them afterwards.
As stated above, option 1 is the recommended approach which will have you completing some of the available side quests now and then proceeding with the story, before returning to complete the game’s hardest endgame side quest content after Chapter 12/13. As a reminder, you can still complete all the side-quest and endgame content after you have completed the story.
Use the links below to take you to the next section of the guide depending on your choice.
Option 1: Complete some of the available side-quest and optional content before Chapter 12 (Recommended).
Walkthrough Guide
Completing the remaining optional content available back in the Archylte Steppe before proceeding to the next chapter of the game.
Option 2: Head Straight to Chapter 12 (Skipping optional content).
Walkthrough Guide
The team makes their way through the city as its inhabitants deal with the invasion of creatures from Gran Pulse.
Option 3: Complete all endgame content (Extra Challenge).
To select option 3 and proceed with all the optional content before completing the story (i.e. challenging yourself to the harder fights earlier), proceed to Chapter 11: Optional Content. This page will note where you would split off to continue doing the remaining endgame side quest content.
Note that the “Next” link below will take you to the optional content page (Option 1 which is the recommended path forward).