
Chapter 11: Optional Quests
The walkthrough for Chapter 11 is broken up into several individual parts including Vallis Media, the Archylte Steppe, Mah’habara Subterra, Sulyya Springs, Taejin’s Tower and Oerba. Use the links to jump directly to the section you are in if you have ventured too far forward or are too far back.
This section of the guide touches on some of the optional content and side quests that you can complete before moving on to chapter 12. It is recommended that you complete the items listed here as it will improve the power of your characters ahead of some of the more challenging content in the next chapter.
If you have completed the events at Oerba, you do have the option of proceeding directly to the next chapter of the game. Use the links to navigate there if you prefer to skip this section.
Warning
Many of the side quests and the Missions listed on this page can only be completed if you’ve already completed the previous optional Missions leading up to this point.
The first thing you will need to do is leave Oerba. Instead of boarding the ship that appears after defeating Barthandelus at the end of the previous section, turn around and walk all the way back through Oerba until you reach the Waypoint (which was for ![]() Mission 25 - Faded Glory). But wait! Don’t take it too quickly.
Mission 25 - Faded Glory). But wait! Don’t take it too quickly.
So where are we headed first?
The first optional areas that you can visit will allow you to do some Farming. The first farm spot that you have available to you is ![]() Mission 24 - A Potent Sting back in Taejin’s Tower. You can use this farming spot to earn some Gil and some Crystogen Points (CP).
Mission 24 - A Potent Sting back in Taejin’s Tower. You can use this farming spot to earn some Gil and some Crystogen Points (CP).
There are areas further ahead in the game that are more effective and efficient for farming, but if you’d like to store up some CP, check out the link below, as you are close to this farming spot right now:
Cie’th Stone Missions
Repeatedly attempting Mission 24 in Taejin’s Tower for some quick Gil.
Once you have done all the farming you plan to do, or if you plan to skip this farming opportunity, the next steps are to complete a few more of the available Missions.
You should now have completed Missions 1 through to Mission 28, so the next one to complete will be Mission 29. You can use the Mission section below to double-check and make sure you haven’t missed any or go back to complete any of the ones you’ve missed:
A link to the “Missions” section of the strategy guide with walkthroughs of all 64 available Missions.
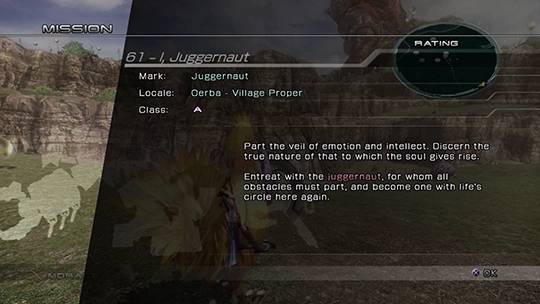
Assuming you’re all caught up, it’s time to move on to Mission 29. You may recall that there was a split path in the Maw of the Abyss Area of the Mah’habara Subterra. There is a Juggernaut at the end of the hallway that we had previously skipped, but it’s time to travel back into the Mah’habara Subterra to defeat the Juggernaut and reach the Cie’th Stone for Mission 29.
Find a nearby Waystone (in the Village Proper if you’re in Oerba) and use it to warp to the “Archylte Steppes - Northern Highplain” area. Travel into the Mah’habara Subterra which is just north of this ![]() Waystone (or, if you’re not looking at a map, follow the pathway down into the cave).
Waystone (or, if you’re not looking at a map, follow the pathway down into the cave).
Mah’habara Subterra - Maw of the Abyss
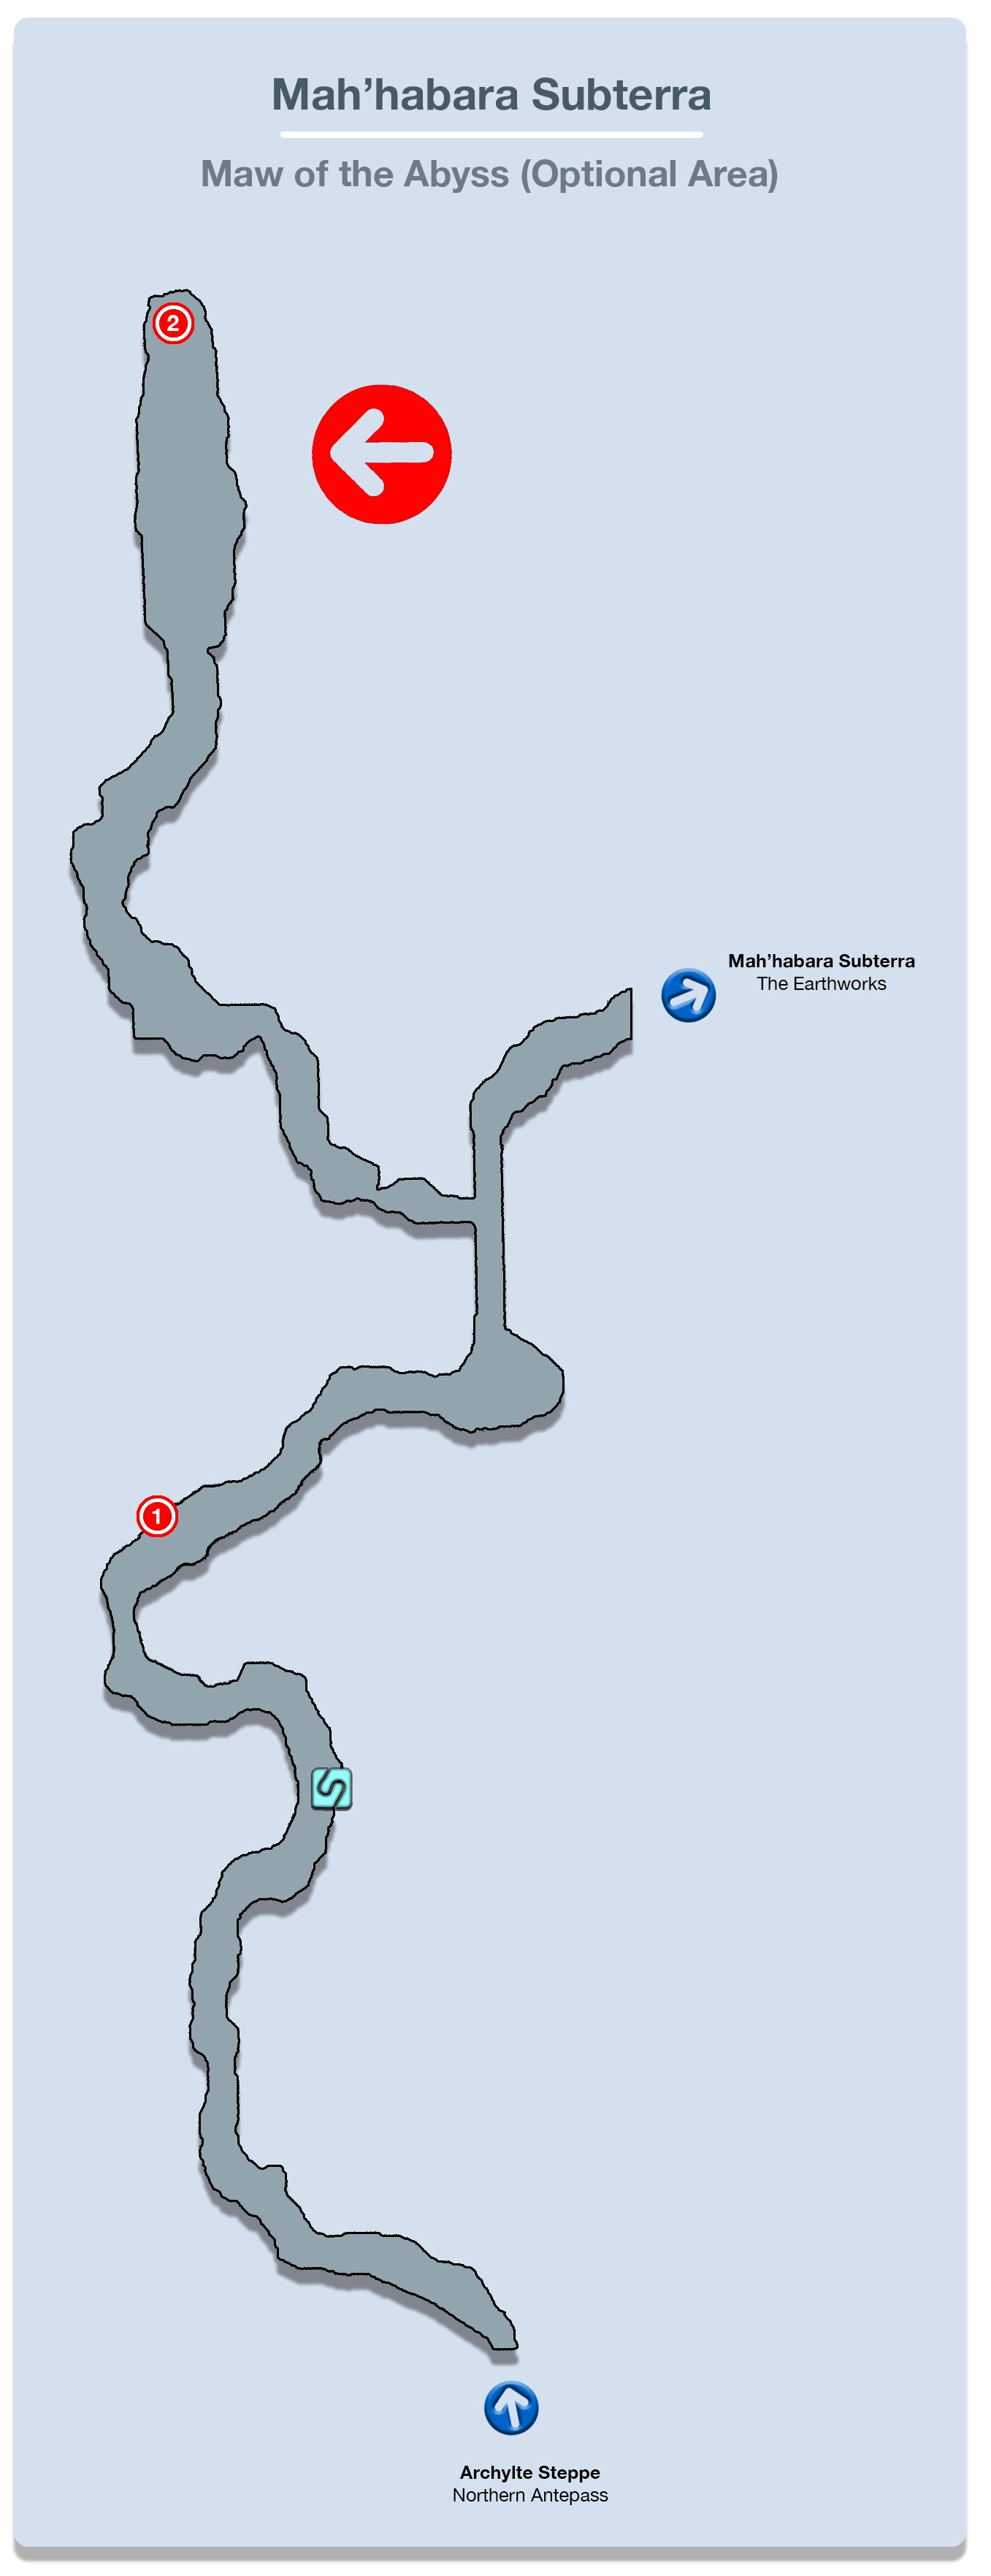
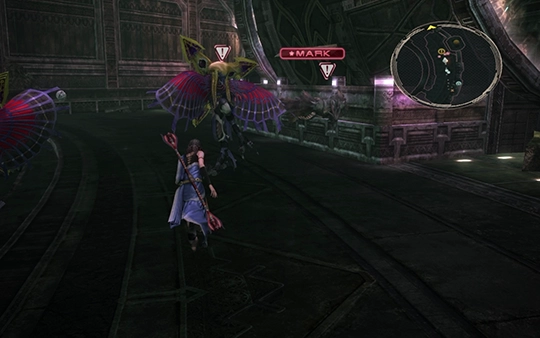
Follow the trail pathway along defeating the groups of Hoplites and Cryohedrons that you come across until you reach a fork in the road. This time take the pathway leading off to the left.
You will have a few more groups of Hoplites and Cryohedrons to defeat until you reach a large door. The fight against the Juggernaut will begin once you approach the door.
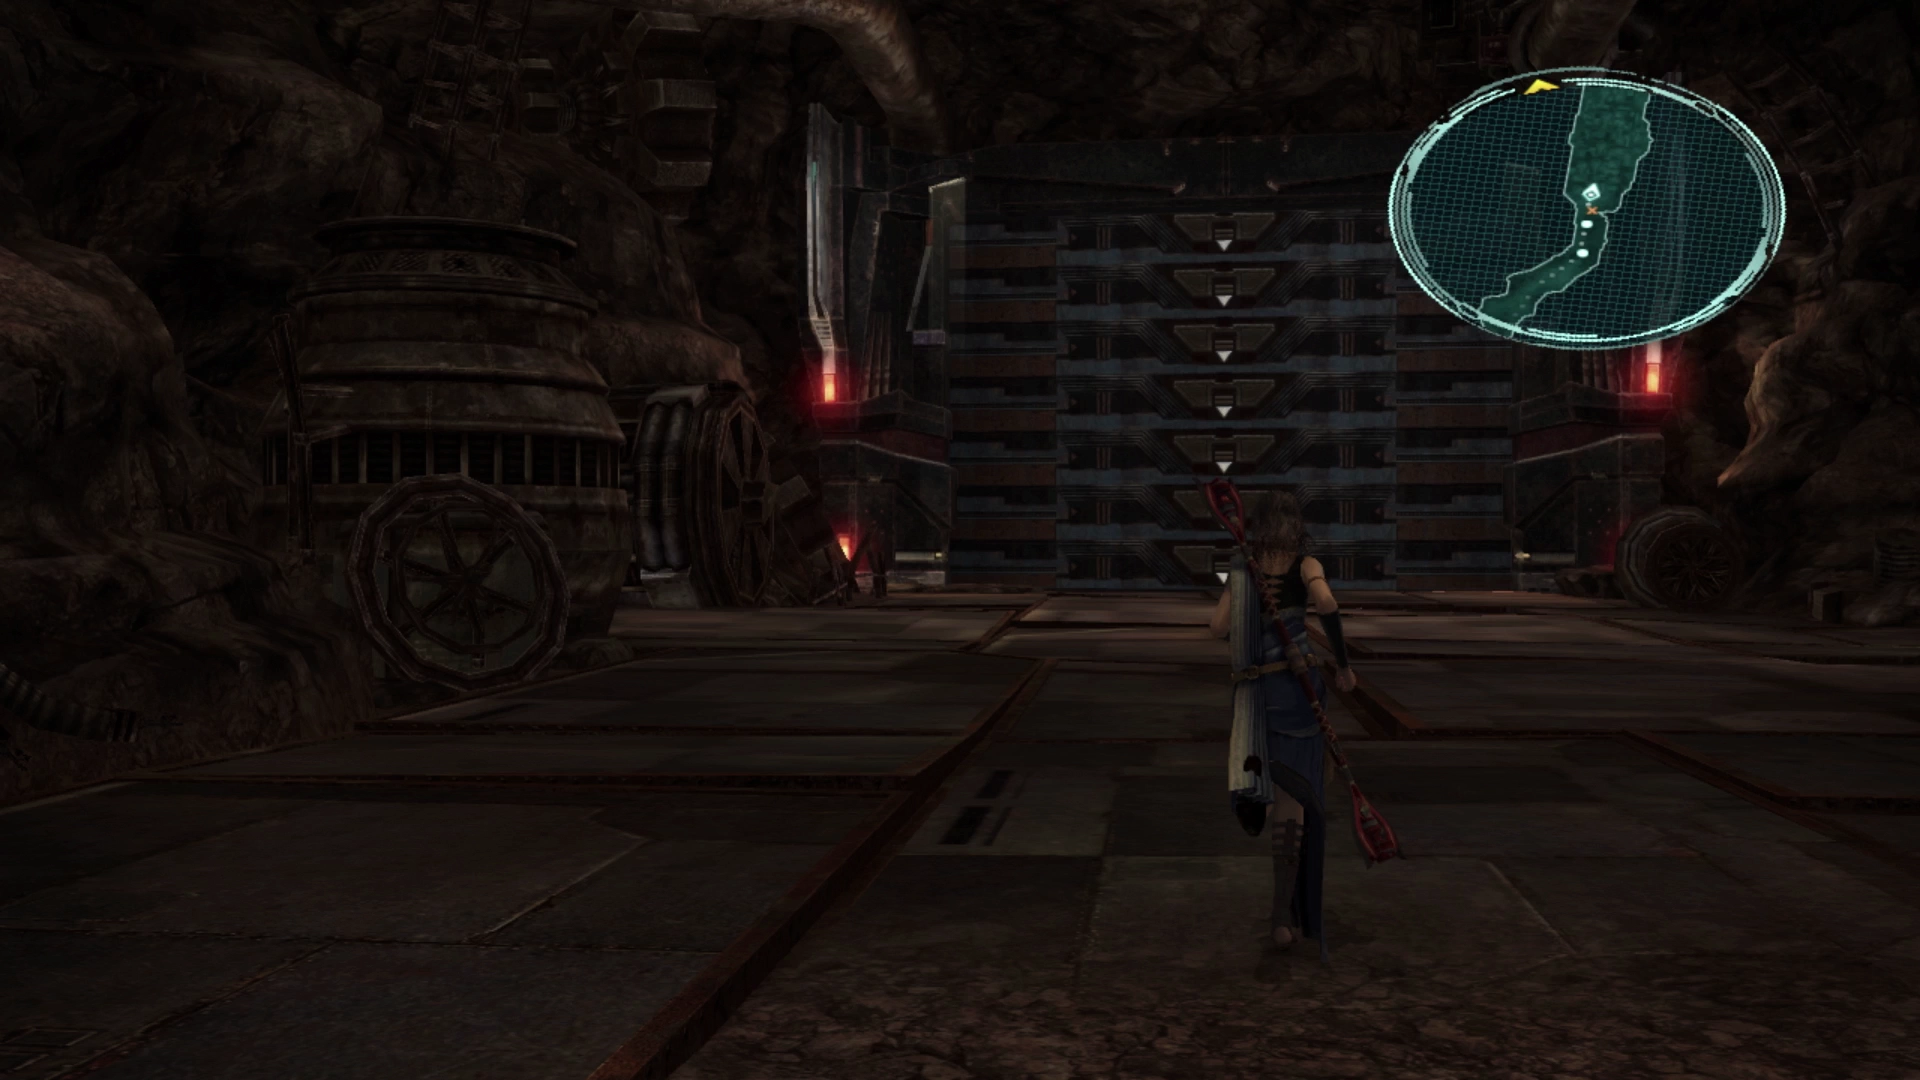
The Juggernaut is not as difficult to defeat anymore as your characters are much more powerful compared to the last time you came through this area, but you should still exercise some caution and prepare for a somewhat tough fight. Starting in a Paradigm like Evened Odds or Decimation to get status buffs up is a good idea, and don’t forget to use ![]() Libra at the start of the fight.
Libra at the start of the fight.
There is a Treasure Sphere in this room that contains a ![]() Platinum Bangle as well as the Cie’th Stone that starts Mission 29. Use the link below for more information:
Platinum Bangle as well as the Cie’th Stone that starts Mission 29. Use the link below for more information:
Cie’th Stone Missions

Juggernaut located in the Palisades of Taejin’s Tower.
The next Mission requires a fair bit of travel. Assuming you just completed Mission 29, start by heading back to a ![]() Waystone and use it to travel back out to the Central Expanse of the Archylte Steppe.
Waystone and use it to travel back out to the Central Expanse of the Archylte Steppe.
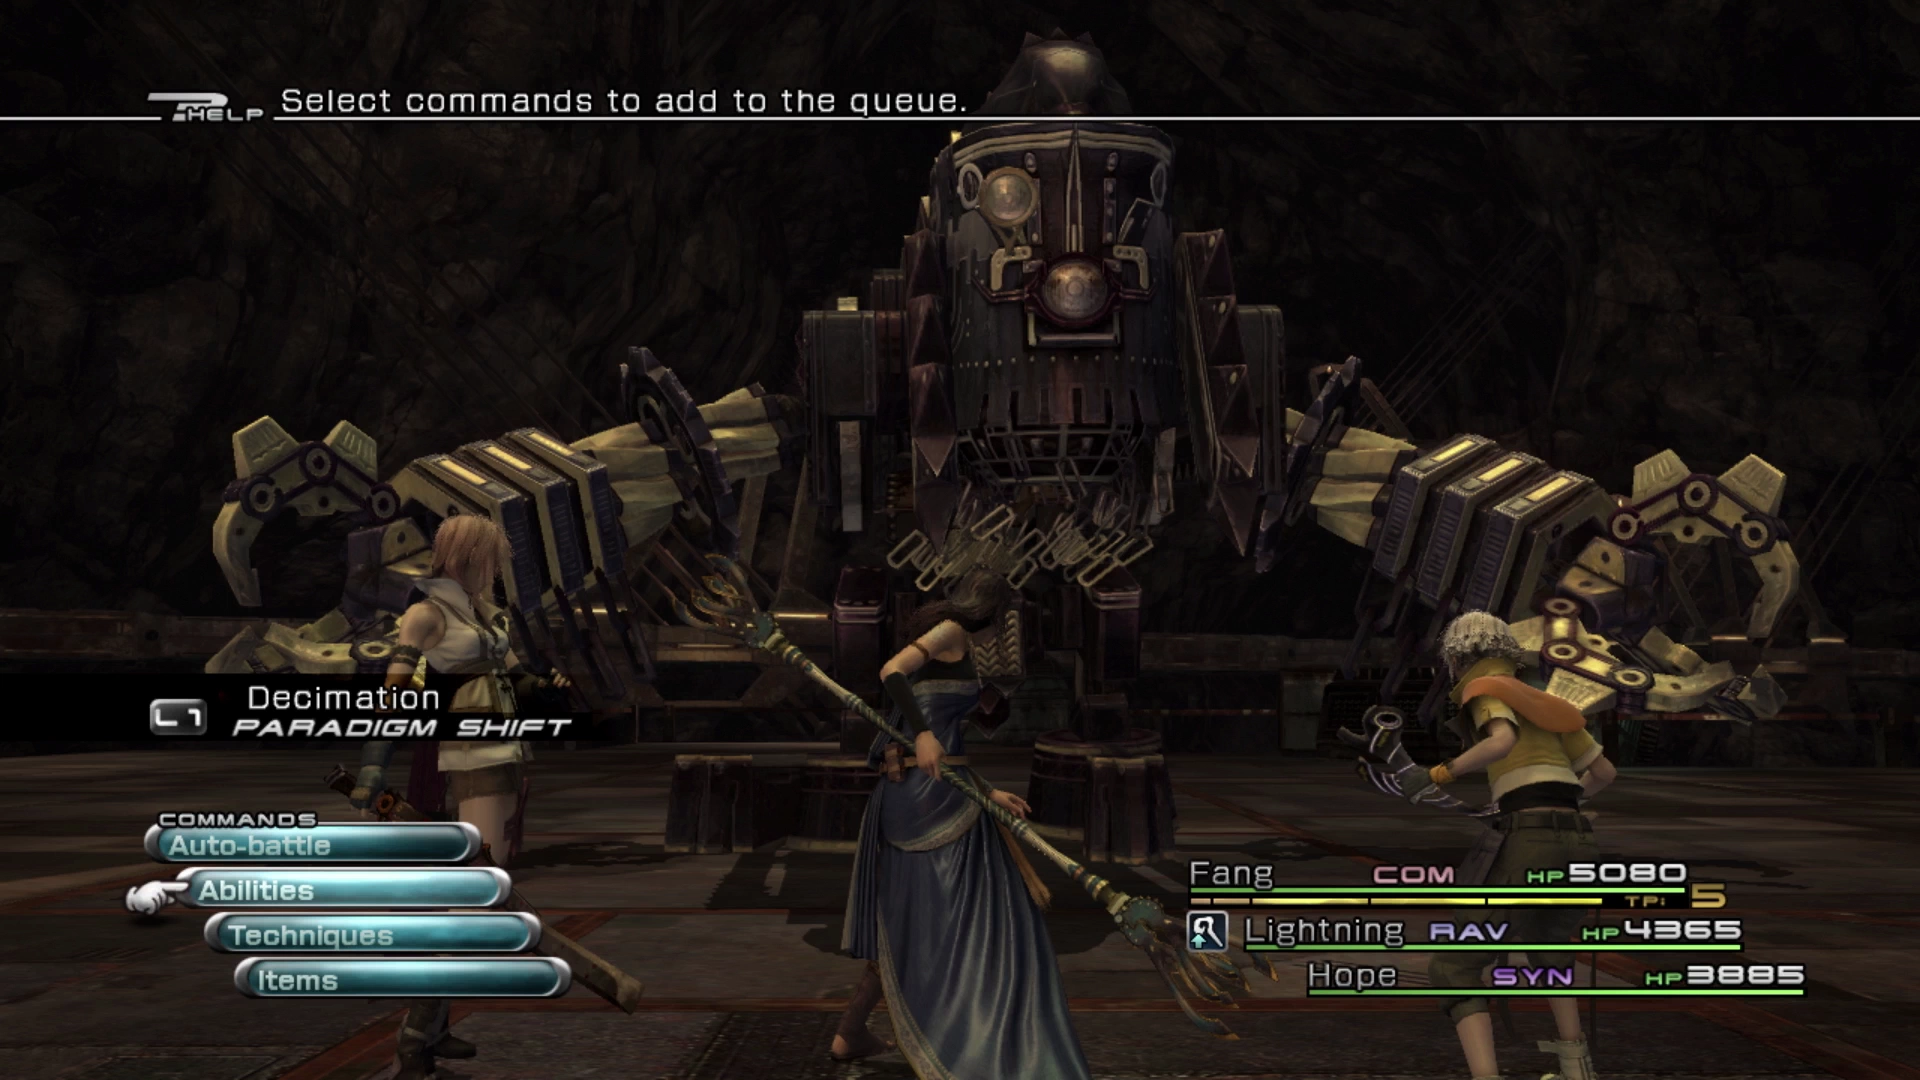
Archylte Steppe
Find a nearby Chocobo to ride by locating a feather on the mini-map. Take the Chocobo and ride it to the Eastern Tors area shown in the screenshots below.
Use the Chocobo to jump up to the top of the ridge. If this is the first time you’ve been here, you will find a Treasure Sphere that contains seven ![]() Diabolic Tails. Take your Chocobo through the canyon and into the next area.
Diabolic Tails. Take your Chocobo through the canyon and into the next area.
Aggra’s Trough
Aggra’s Trough is just a canyon-like path that you can ride your Chocobo through on the way to the next area. Eventually, you will come up to a ![]() Save Station which is when you’ll know that you’ve reached…
Save Station which is when you’ll know that you’ve reached…
Aggra’s Pasture
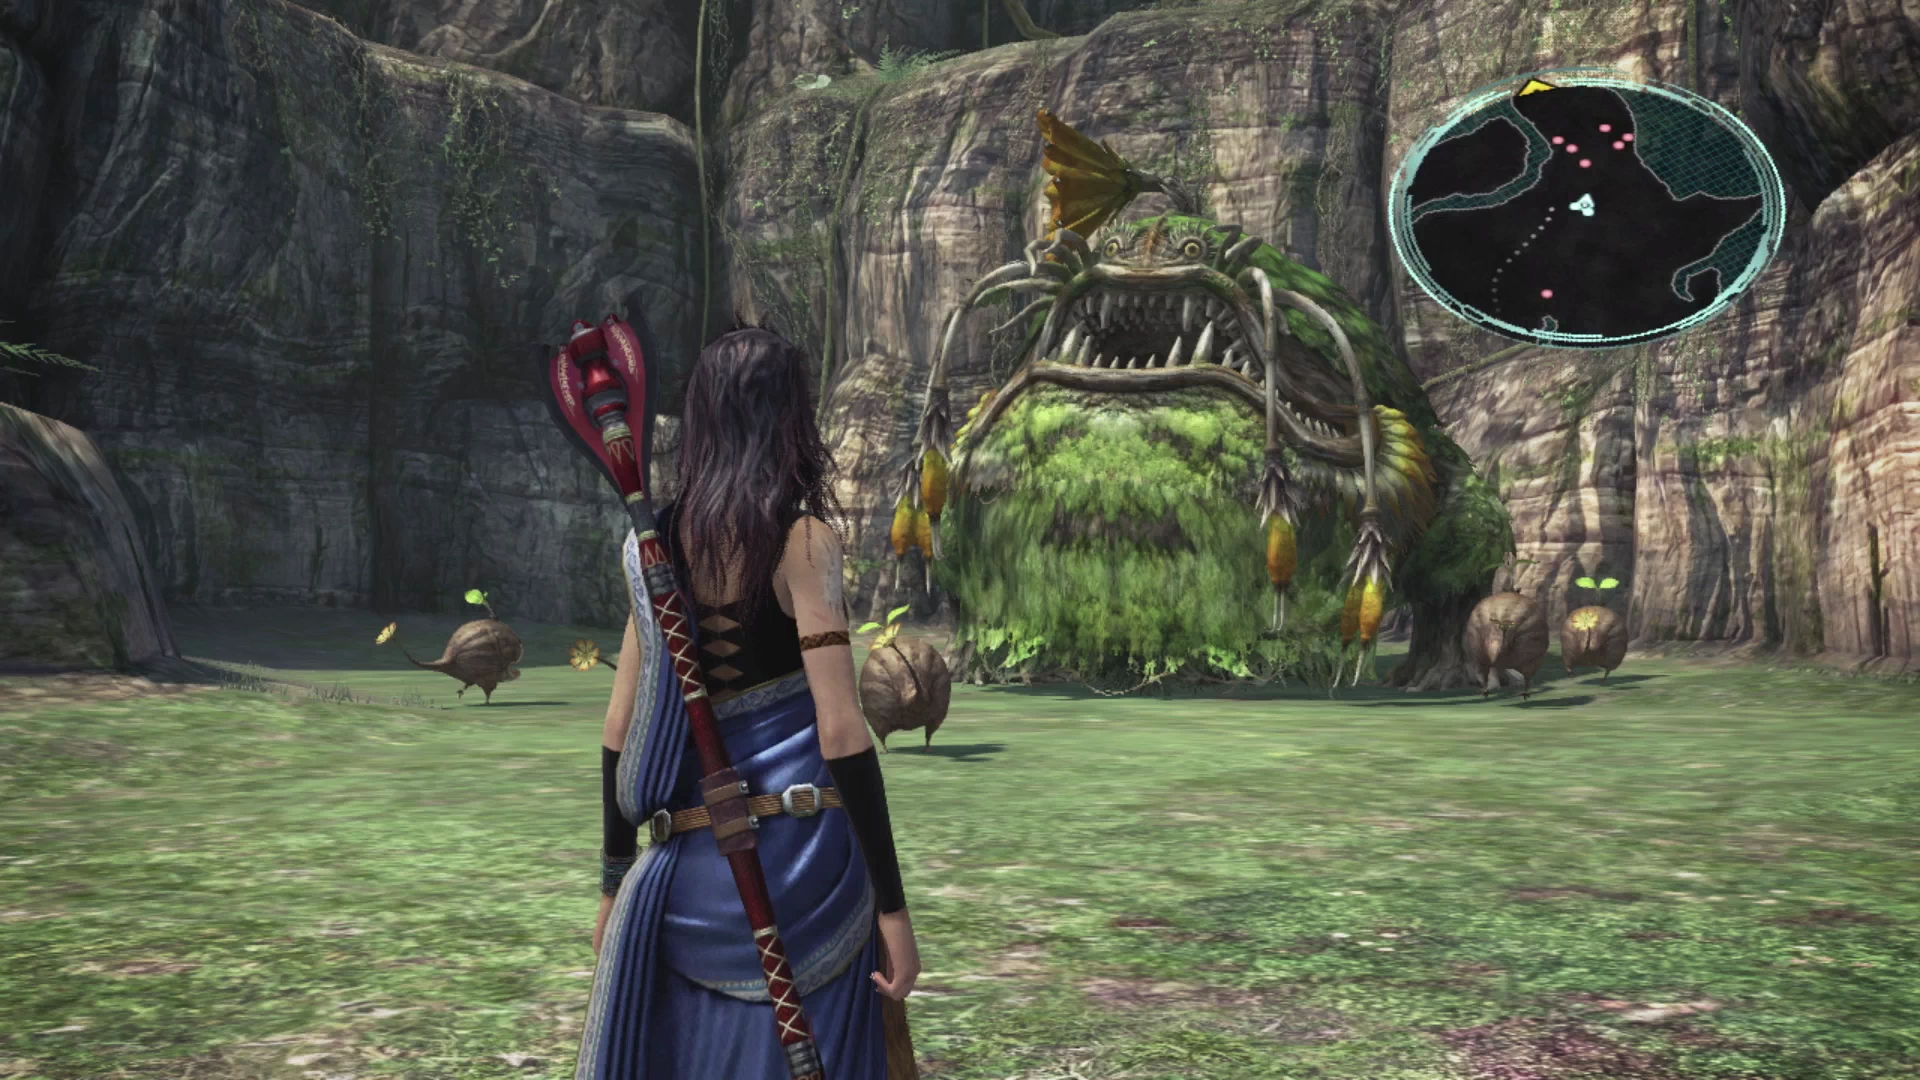
There are two things that you can do in this area: the Sheep side quest and defeating Ochu. You can read up on the Sheep side quest below, but all it involves is interacting with the various sheep that you come across while traveling through the Archylte Steppe. Examine the nearby sheep and, depending on the weather, you will get a different type of wool (i.e. Component for weapon upgrades).
Side Quests
A short side quest involving the sheep that you can find in the Archylte Steppe and surrounding areas.
There is a Treasure Sphere near the sheep which contains six ![]() Gloomstalks. The second Treasure Sphere in this zone is blocked by a group of five small enemies (Microchu) jumping and bouncing around. If you get close enough to them, you will be thrown into battle against all five along with an Ochu and this is your second task to complete.
Gloomstalks. The second Treasure Sphere in this zone is blocked by a group of five small enemies (Microchu) jumping and bouncing around. If you get close enough to them, you will be thrown into battle against all five along with an Ochu and this is your second task to complete.
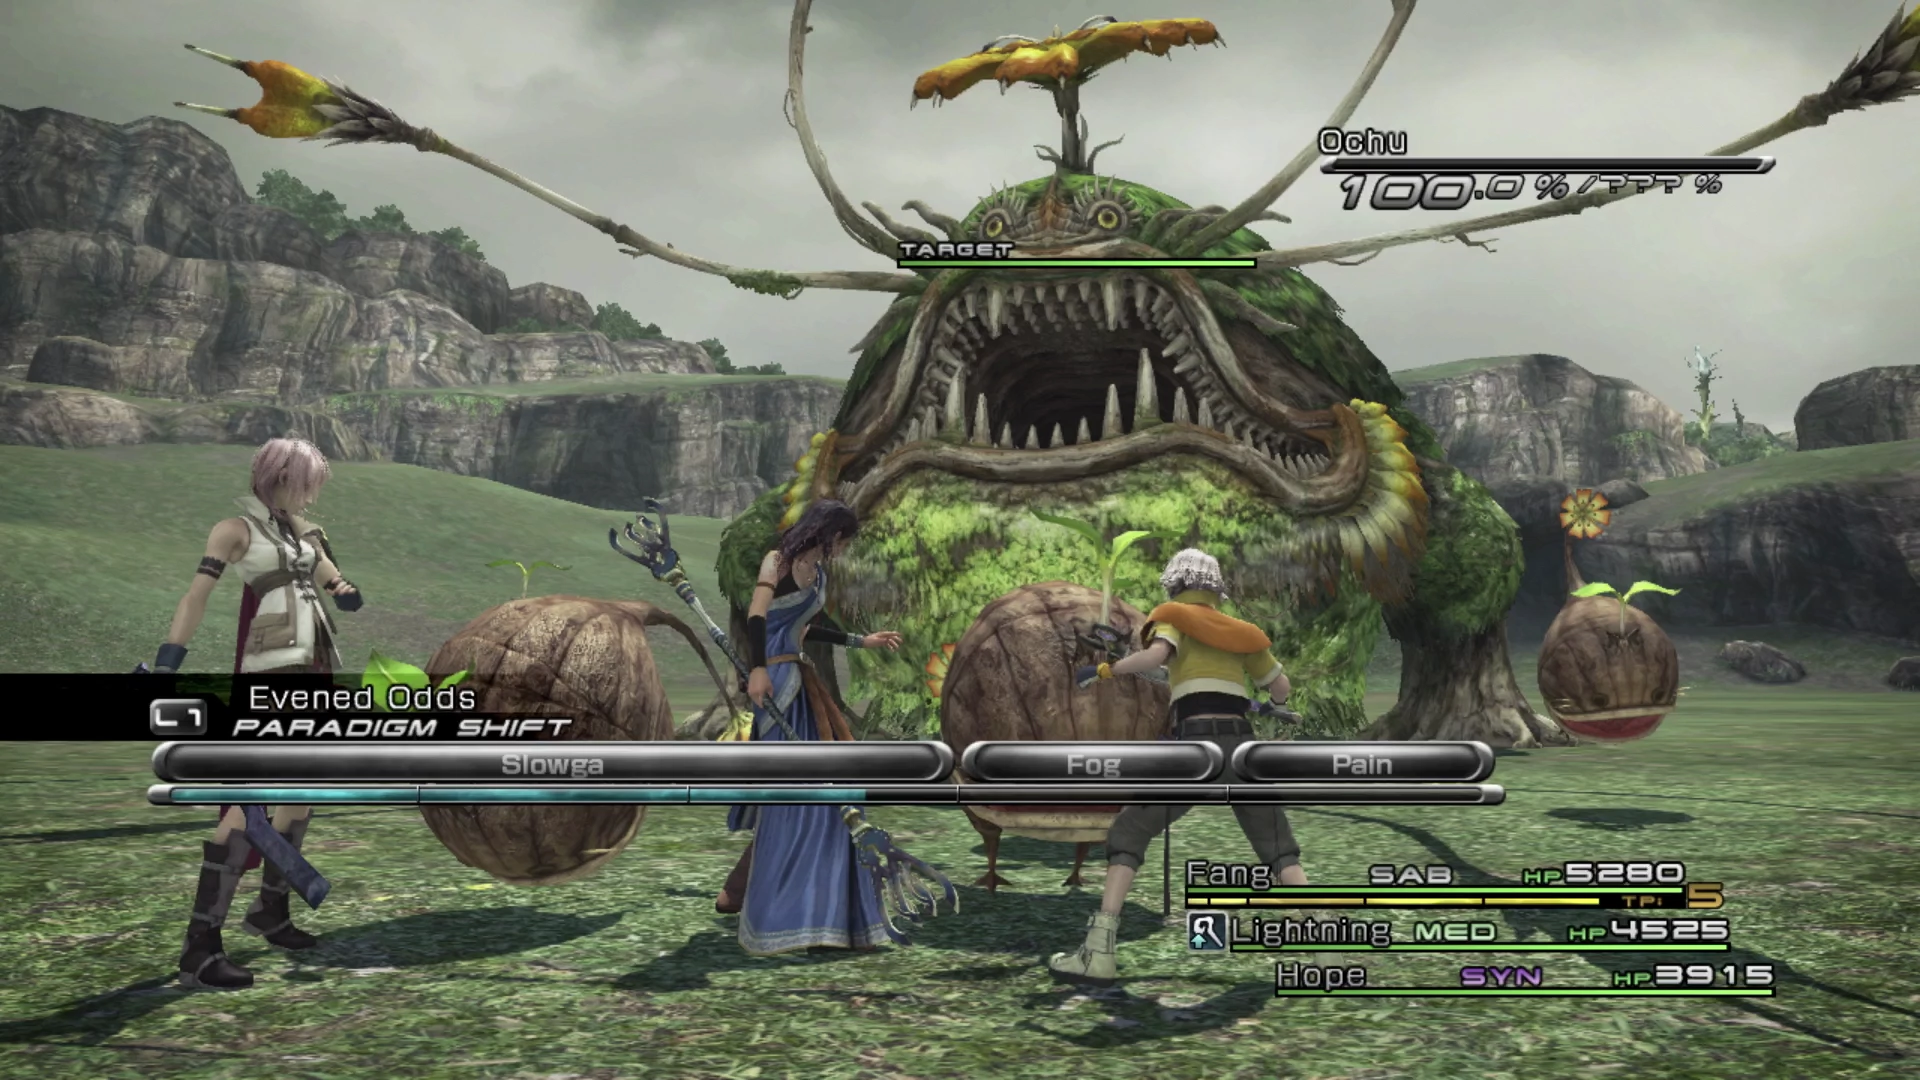
The battle against Ochu can be difficult even if you have been completing all the optional side quests and Missions along the way through Chapter 11. The rewards from the Treasure Sphere are also not that great so if you’re having trouble don’t worry about coming back later when your party members are more powerful.
For the battle against Ochu, focus on Ochu rather than on the little Microchus. Defeating all the Microchus will cause Ochu to use an ability called “Seed Dispersal” which will summon five new Microchus for you to deal with. Use a ![]() Librascope at the start of the battle which will reveal both Ochu’s and the Microchu’s weaknesses.
Librascope at the start of the battle which will reveal both Ochu’s and the Microchu’s weaknesses.
Start off in a defensive Paradigm such as Evened Odds and try to have your ![]() Saboteur get a range of debuffs active on Ochu (
Saboteur get a range of debuffs active on Ochu (![]() Deprotect,
Deprotect, ![]() Deshell,
Deshell, ![]() Imperil) to increase the damage done from regular attacks. Buffs are also very important, but they will be difficult to keep active as its “Screech” attack will remove them. Try to get them back up if you can anyway, but the more difficult aspect of “Screech” is just the sheer amount of damage that it deals (hence why having defensive status buffs can be important).
Imperil) to increase the damage done from regular attacks. Buffs are also very important, but they will be difficult to keep active as its “Screech” attack will remove them. Try to get them back up if you can anyway, but the more difficult aspect of “Screech” is just the sheer amount of damage that it deals (hence why having defensive status buffs can be important).
Grab the Treasure Sphere behind them after they’re defeated which contains a ![]() Platinum Bangle. The canyon at the back of Aggra’s Pasture leads to your next destination.
Platinum Bangle. The canyon at the back of Aggra’s Pasture leads to your next destination.
The Haerii Oldroad
You can either grab one of the Chocobos in Aggra’s Pasture or run through this canyon on foot (grab a Chocobo, it’s much faster!). There is a group of four Goblins in a clearing halfway through that you can run past without touching.
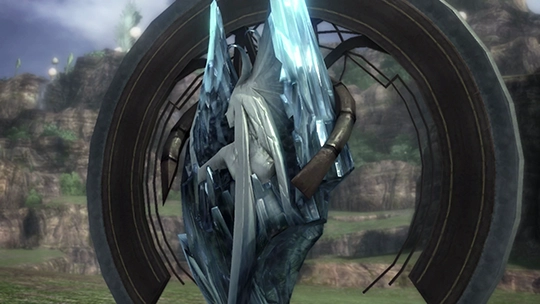
At the end of the pathway is the Cie’th Stone for the next Mission. This Stone is the second Cie’th Paling; completing its Mission will grant you access to the area in behind this wall.
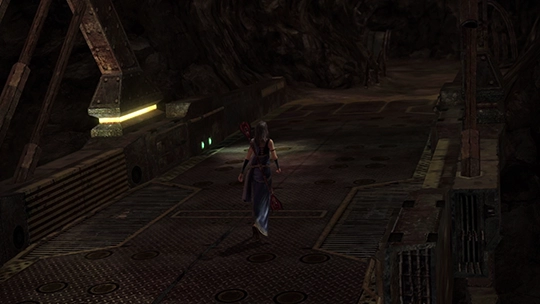
The mark for this Mission is in an area of the Mah’habara Subterra that you likely have not accessed up to this point. Check out the Mission 30 page and the Mah’habara Subterra Optional Zones page for more information:
Cie’th Stone Missions
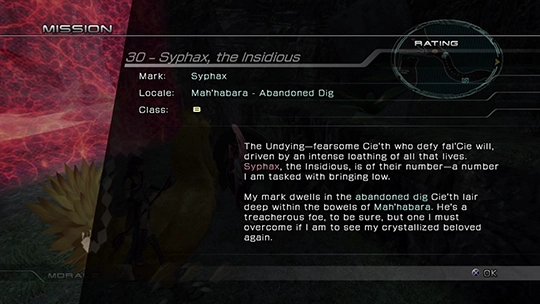
Syphax located in the Abandoned Dig of the Mah’habara Subterra.
Side Quests
Returning to the Mah’habara Subterra later on in the game to complete two additional Missions.
The Cie’th Stone for the next Mission to complete can be found behind the Cie’th Paling that opened along the Haerii Oldroad. From the area where you fought Syphax, travel all the way back through the optional zones in the Mah’habara Subterra, board Atomos and ride it back to the Waypoint in the Sulyya Springs.
Once you return to the Archylte Steppe you will have to obtain a Chocobo and ride through Aggra’s Trough, Aggra’s Pasture and the Haerii Oldroad, to reach your next destination.
Haerii Archaeopolis
A short cutscene will take place as soon as you enter the Haerii Archaeopolis showing you how many Goblins are lurking in the area. You will be automatically dismounted from your Chocobo.
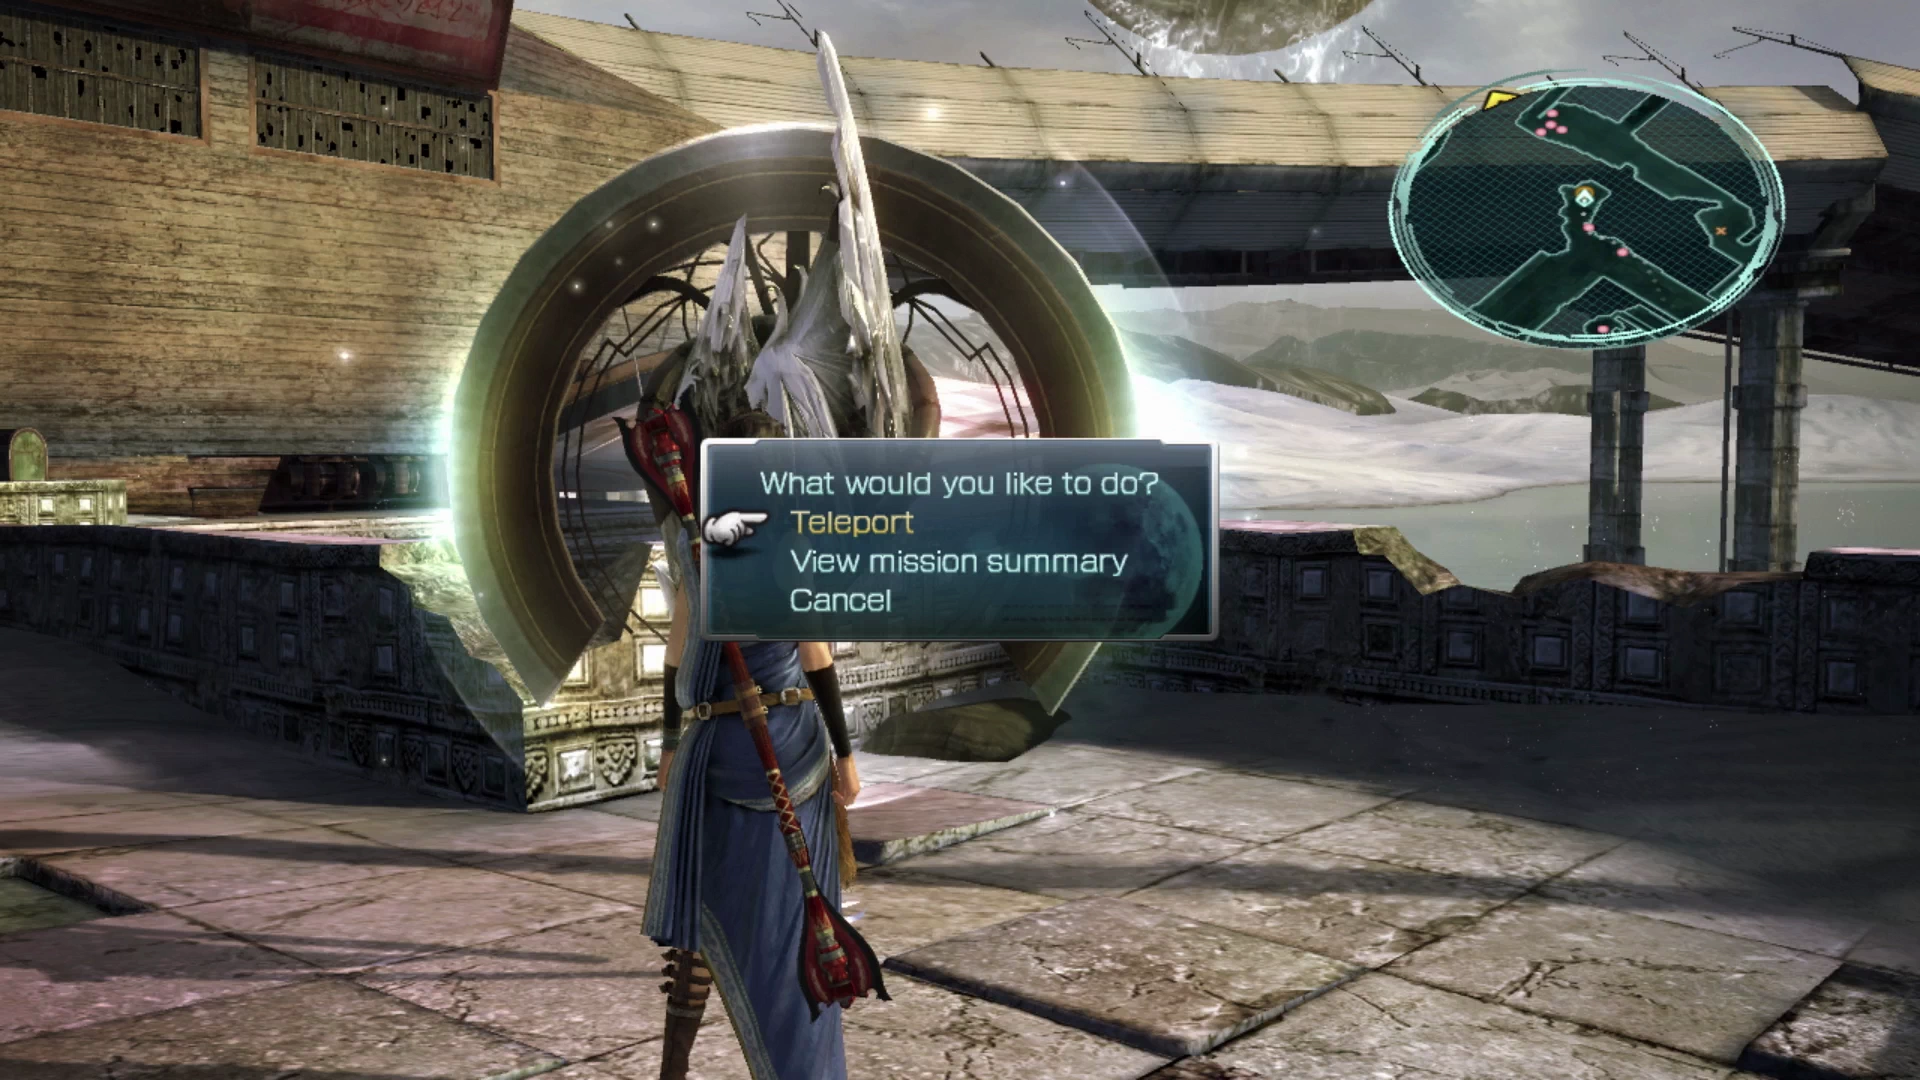
The Cie’th Stone for the next Mission is located along the far wall the Archaeopolis. The Cie’th Stone for this Mission also serves as a ![]() Waystone which will allow you to quickly teleport back to this area later without having to travel all the way through Aggra’s Pasture. Check out the link below for more information on how to complete this Mission:
Waystone which will allow you to quickly teleport back to this area later without having to travel all the way through Aggra’s Pasture. Check out the link below for more information on how to complete this Mission:
Cie’th Stone Missions
Pulsework Champion located in the Haerii Archaeopolis area of the Archylte Steppe.
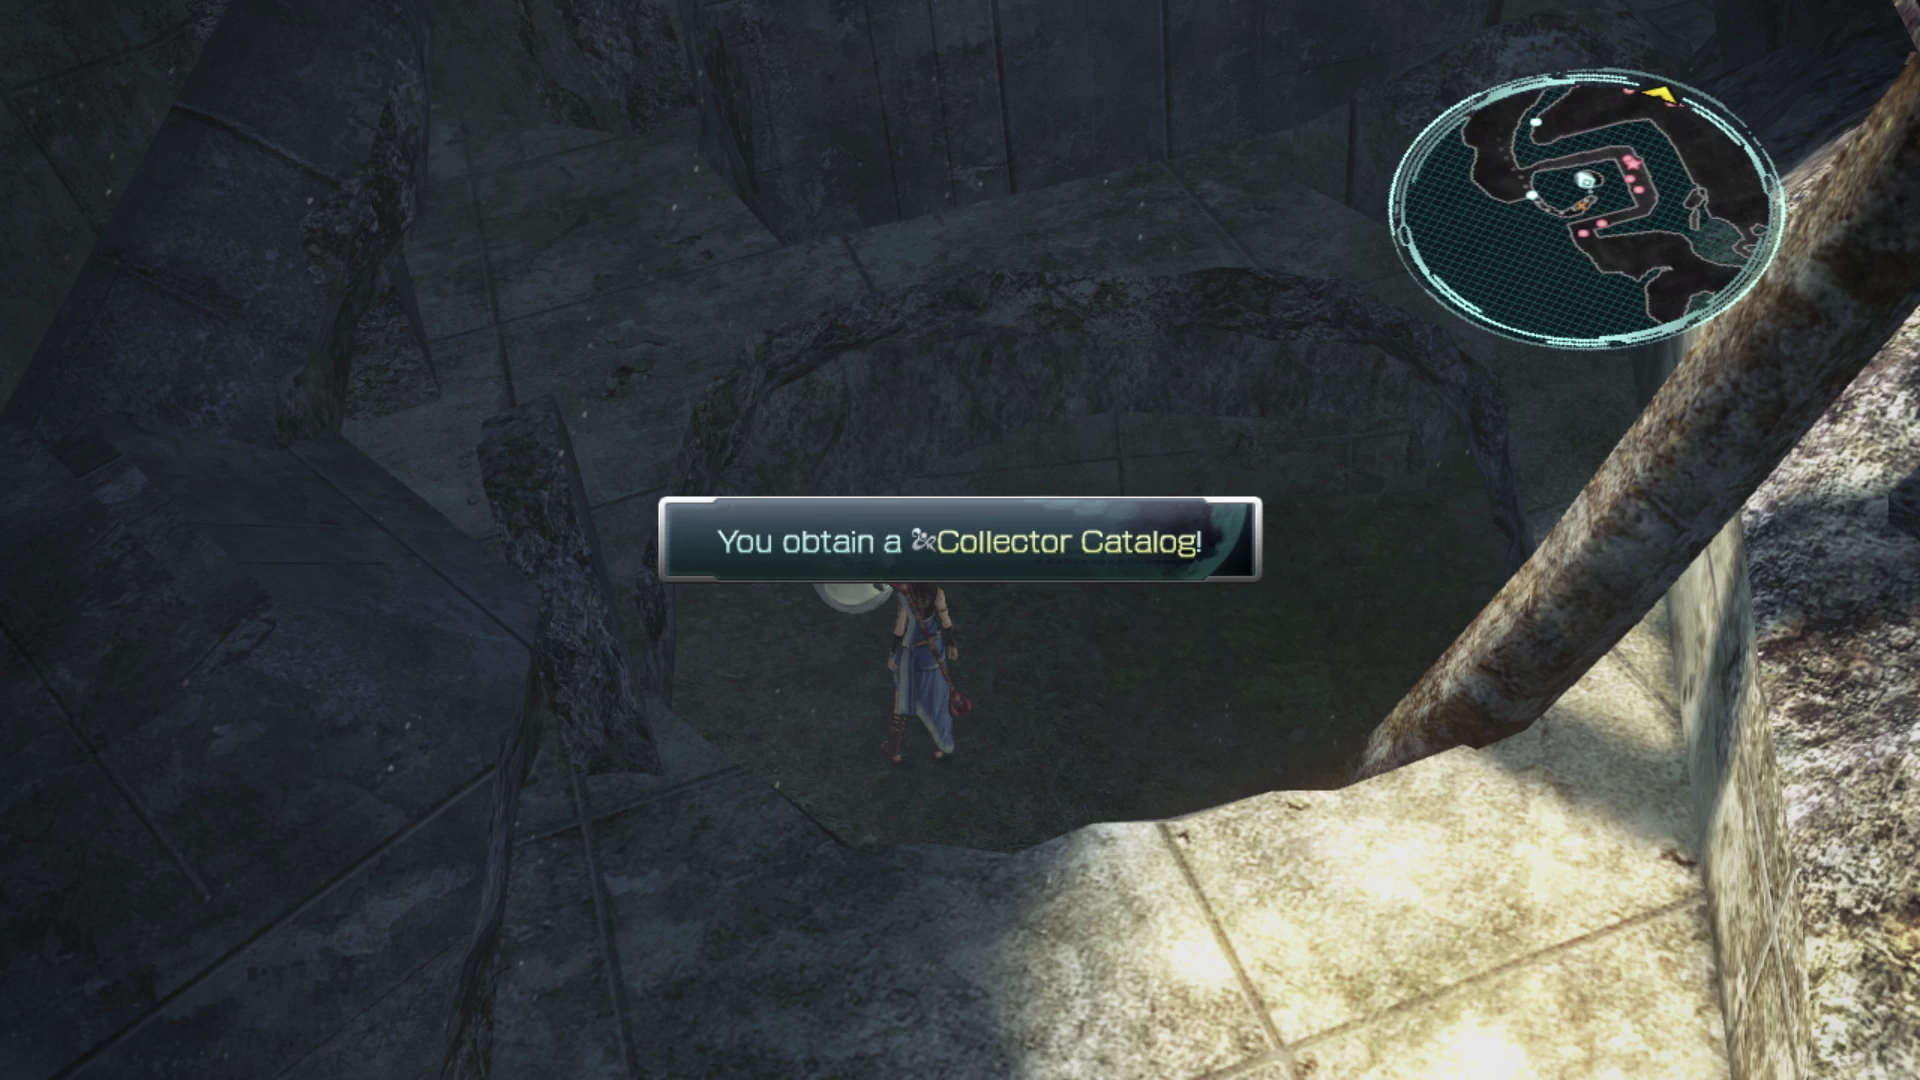
As noted on the Mission page, there is a Cactuar hiding near the area where the mark was located, and below the Cactuar, is a Treasure Sphere that contains another ![]() Collector Catalog. Make sure you grab it before continuing to the next Mission.
Collector Catalog. Make sure you grab it before continuing to the next Mission.
Helpful Hint
You should now have a few ![]() Collector Catalogs in your inventory. These items are very helpful for increasing the number of spoils that you receive after the battle, but unfortunately, having more than one equipped at a time will not increase these odds. Only equip one
Collector Catalogs in your inventory. These items are very helpful for increasing the number of spoils that you receive after the battle, but unfortunately, having more than one equipped at a time will not increase these odds. Only equip one ![]() Collector Catalog to one of your characters.
Collector Catalog to one of your characters.
So what do you do with the additional ![]() Collector Catalog? Not much, unfortunately, but you can upgrade one of them into a
Collector Catalog? Not much, unfortunately, but you can upgrade one of them into a ![]() Connoisseur Catalog.
Connoisseur Catalog.
Speaking of which, with your having just completed Mission 31, in theory, Mission 32 would come next. But you can pick up and complete Mission 33 on your way to the Cie’th Stone for Mission 32, so it is recommended that you reverse the order of these next two Missions to save time completing both.
The Cie’th Stone for Mission 33 is nearby. Check out the Mission page using the link below:
Cie’th Stone Missions
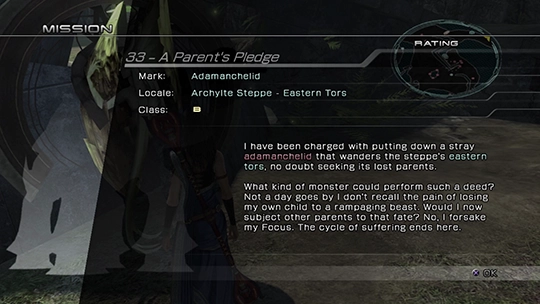
Adamanchelid located in the Eastern Tors of the Archylte Steppe.
Following the completion of Mission 33, let’s move on to Mission 32, which is back in Vallis Media. As a reminder, Vallis Media can be accessed in the southeastern section of the Archylte Steppe. The Cie’th Stone can be found halfway through the path back to the Base Camp. More information can be found on the Mission page:
Cie’th Stone Missions
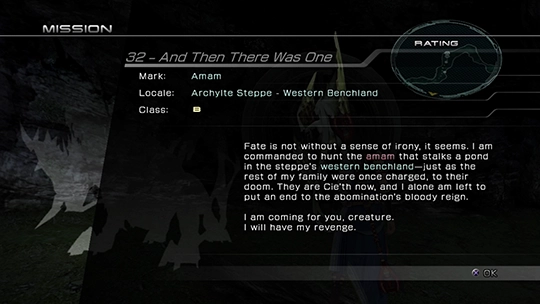
Amam located in the Western Benchland of the Archylte Steppe.
The last Mission to complete before you come up against the much more difficult Missions that you should leave until you reach the endgame is Mission 34. This one can be found back in the Haerii Archaeopolis.
Cie’th Stone Missions
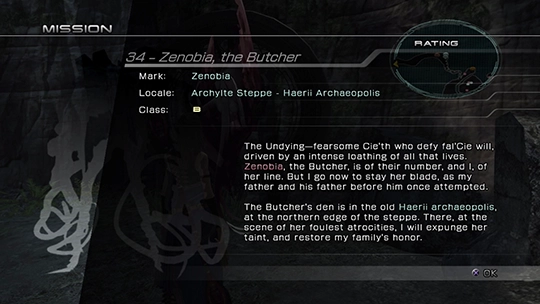
Zenobia / Tonberry located in the Haerii Archaeopolis of the Archylte Steppe.
A lot of players prefer to do the Missions in order, but note that there are some higher-level Missions that are already available and that are quite easy to complete at this stage of the game.
These Missions can be found in the Circle of Cie’th Stones in the Eastern Tors area of the Archylte Steppe. Completing these Missions is entirely optional and can be left until later in the game:
Cie’th Stone Missions
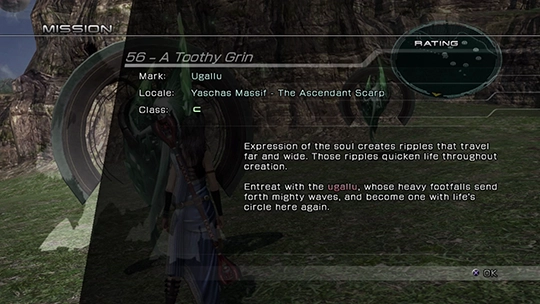
Ugallu in the Ascendant Scarp area of the Yaschas Massif.
Cie’th Stone Missions
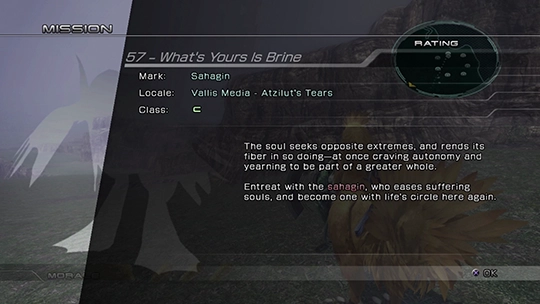
Sahagins in the Atzilut’s Tears area of Vallis Media.
Cie’th Stone Missions
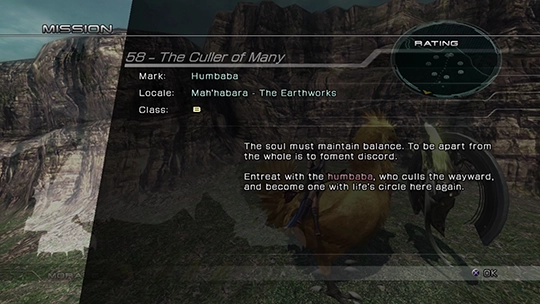
Humbaba in the Earthworks area of the Mah’habara Subterra.
Cie’th Stone Missions
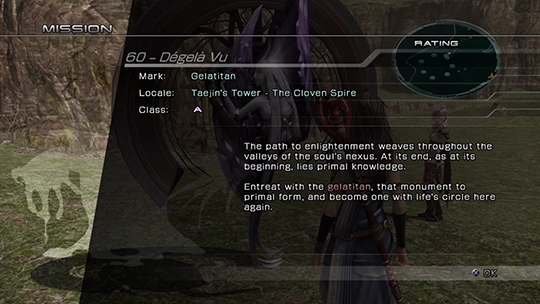
Gelatitans at the top of the Cloven Spire / Apex of Taejin’s Tower.
There is one last farming spot that you can take advantage of with efficiency now that your party is a little bit higher leveled. This farming spot can be found right in the Archylte Steppe. Check out the link below for more information:
Tips and Tricks
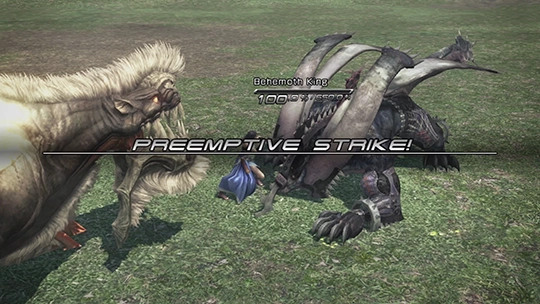
Taking on a Behemoth King and Megistotherian that can be quickly defeated in a three-way battle in the Archylte Steppe.
Choosing a Path (Again)
Now that you have completed Mission 34, you will have opened up access to the Titan’s Trials in the Faultwarrens. You can check out the Side Quests section to learn more about the Titan’s Trials, but the general recommendation at this point is that the Titan’s Trials (which include Mission 35 and beyond) should be left until after you have completed Chapter 12 and Chapter 13.
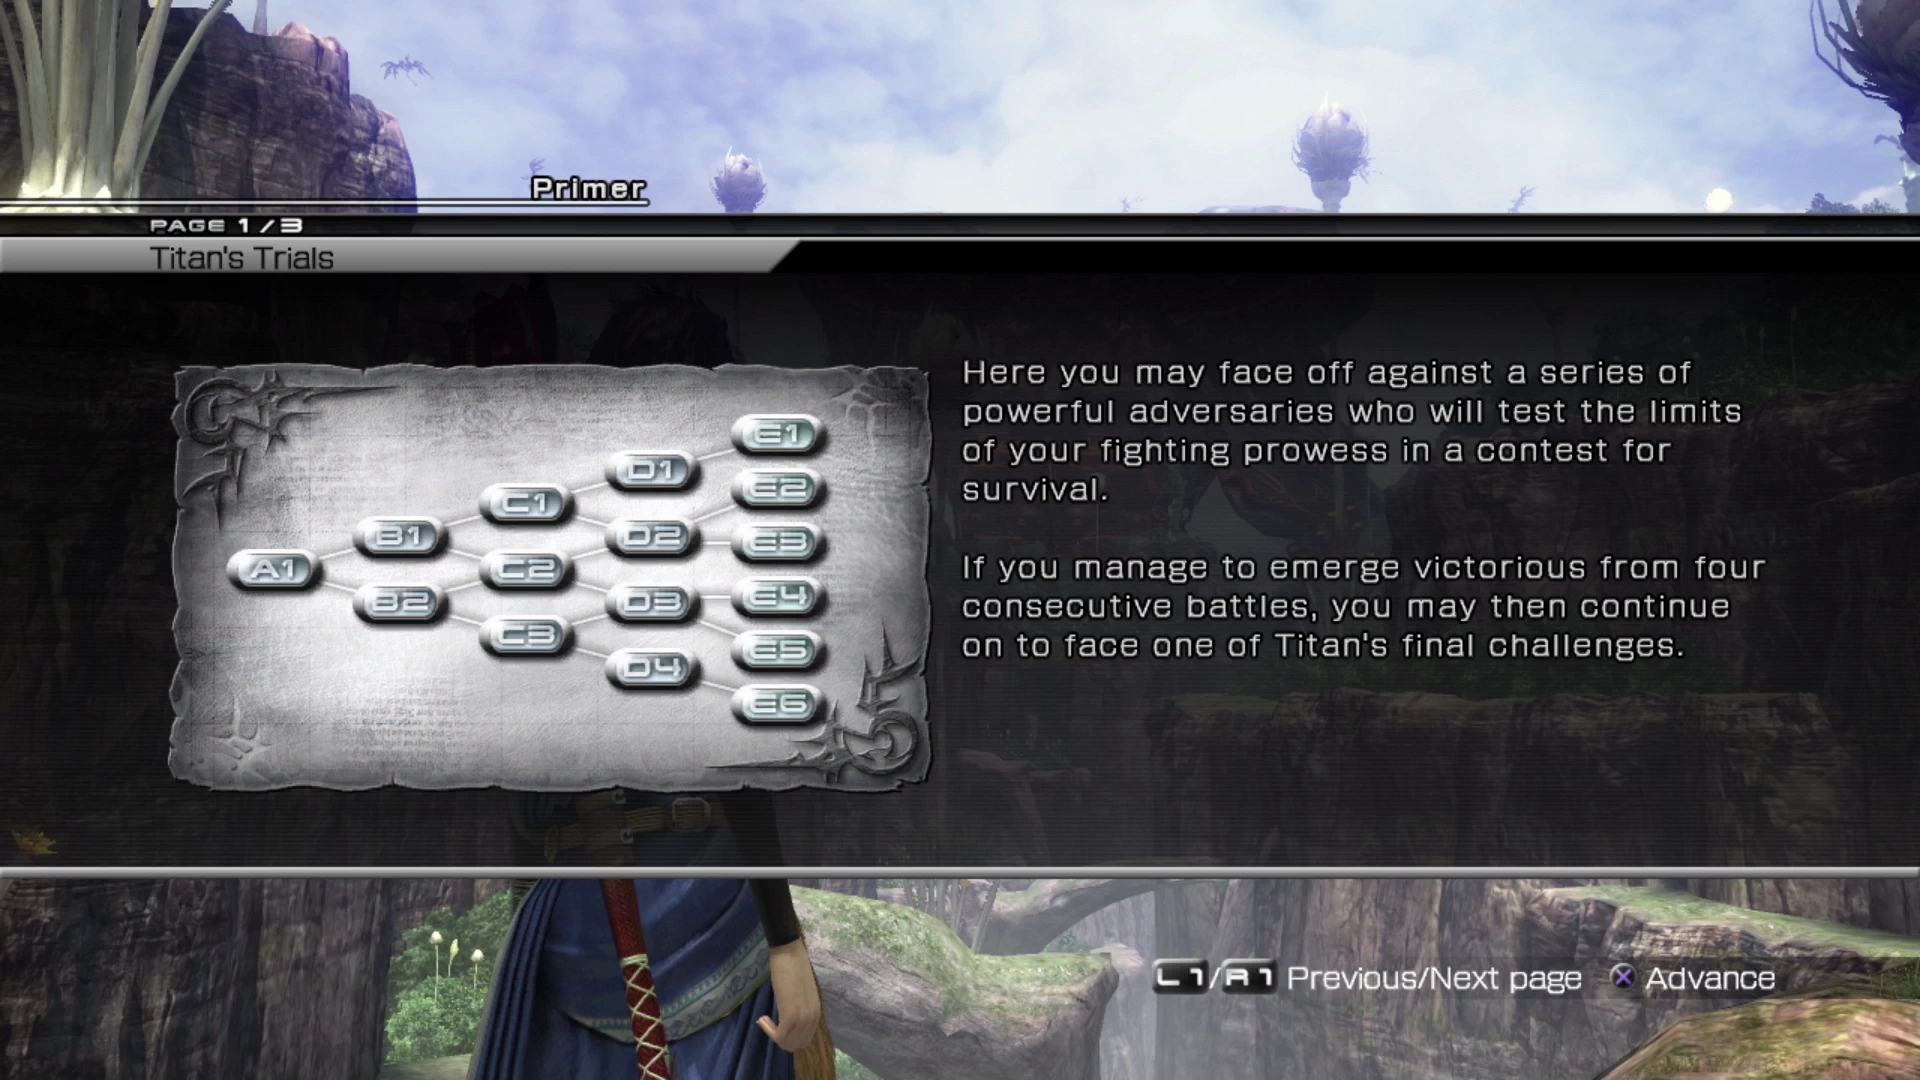
Why is this? Firstly, some of the Missions are fairly easy to complete; for example, Mission 35 is not very hard and you could do it right now, but without getting into too much detail on this page, the Titan’s Trials are structured in a way where you need to move through the Missions in groups of 4, and the later ones can be fairly hard at this stage of the game.
Are they impossible? Of course not. They’re just extremely challenging. Some players who want to challenge themselves or who have already played through Final Fantasy XIII may wish to continue with the remaining side quest content before completing the story.
What makes it easier later on in the game? After completing Chapter 12 and Chapter 13 you will gain access to the final level of each character’s Crystarium. This will greatly increase their stats and effectiveness in battle and will allow you to rise to the challenge of the Titan’s Trials / Faultwarrens more easily.
Secondly, though, there are no benefits to choosing to play the game in that order (i.e. leaving Chapter 12/13 until later). In fact, this will make Chapter 12 and Chapter 13 arguably too easy. And as one last reminder, unlike in other Final Fantasy games, in Final Fantasy XIII, you can still come back and complete all the endgame content after you have completed the story.
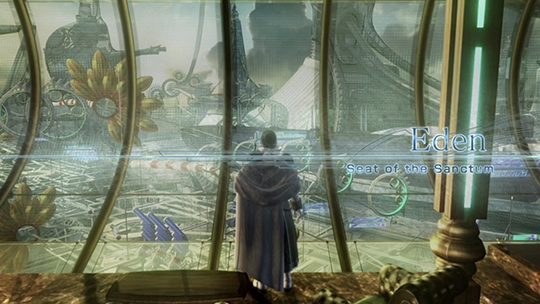
Therefore, it is recommended that you move on to completing Chapter 12 of the game using the Chapter 12 walkthrough link below. If your preference is to complete the content outside the recommended order, use the link below to go to the Faultwarrens:
Walkthrough Guide
RECOMMENDED
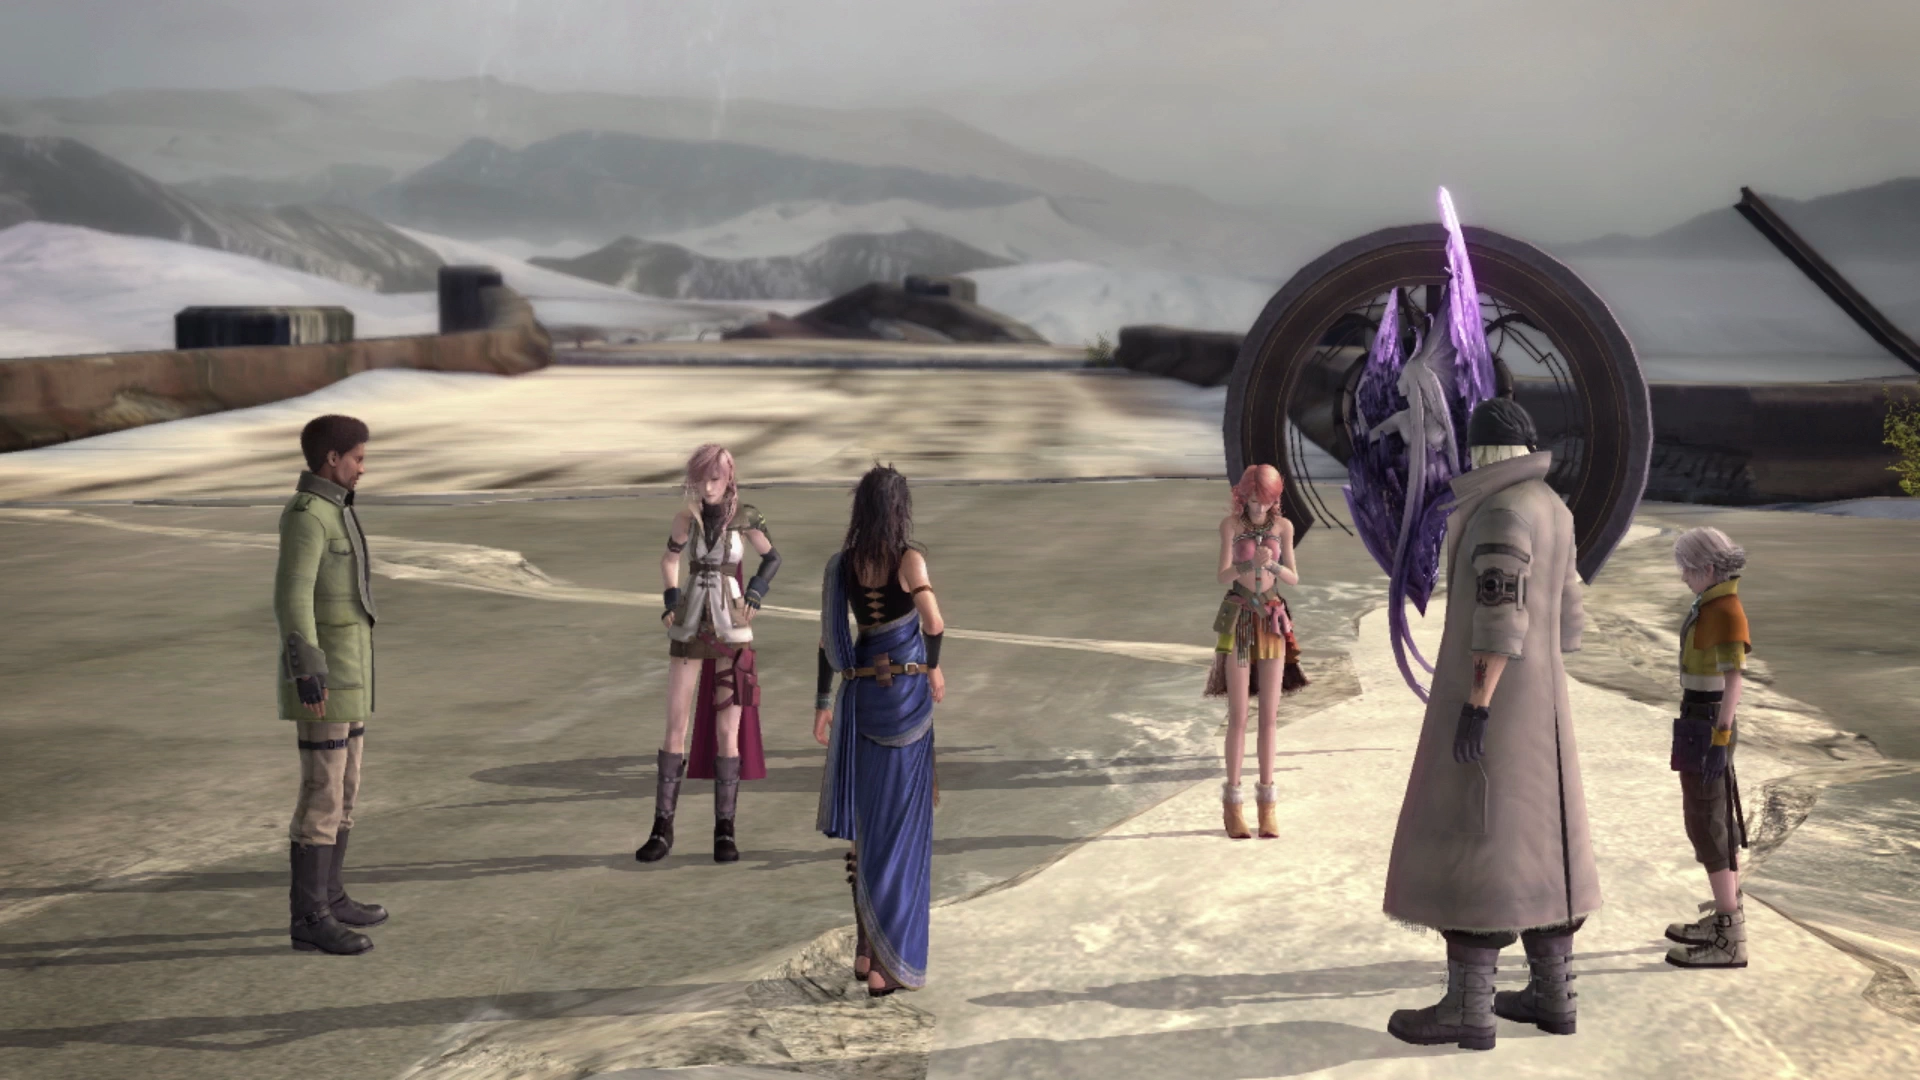
The team makes their way through the city as its inhabitants deal with the invasion of creatures from Gran Pulse.
Side Quests
OPTIONAL / EXTRA DIFFICULT
A subset of Missions that take place in the Faultwarrens area that involve defeating enemies spawned by the mighty Titan fal’Cie.