Chapter 12: Eden (Part 1)
This chapter is split into two parts. Part 2 covers the sections of Eden after the first boss battle.
Rust-eaten Bridge
This Chapter of the game begins when the team approaches the airship and uses the ![]()
![]()
![]() button to board it after defeating Barthandelus (for the second time) at the end of Chapter 11.
button to board it after defeating Barthandelus (for the second time) at the end of Chapter 11.
Some players may have opted to skip all the optional content at the end of Chapter 11 and can therefore just board the airship straight away. Unfortunately, players who ventured back into the Archylte Steppe to complete Missions and side quests will have to travel all the way back to the airship at the end of the “Rust-eaten Bridge” in Oerba.
As a reminder, to get back to the airship you can utilize any of the Waystones and warp to “Oerba - Village Proper.” You will then need to travel all the way back through Oerba Village, up to the Rust-eaten Bridge, and back to the airship. It is possible to run past many of the enemies you encounter along the way without engaging them in battle if you are careful.
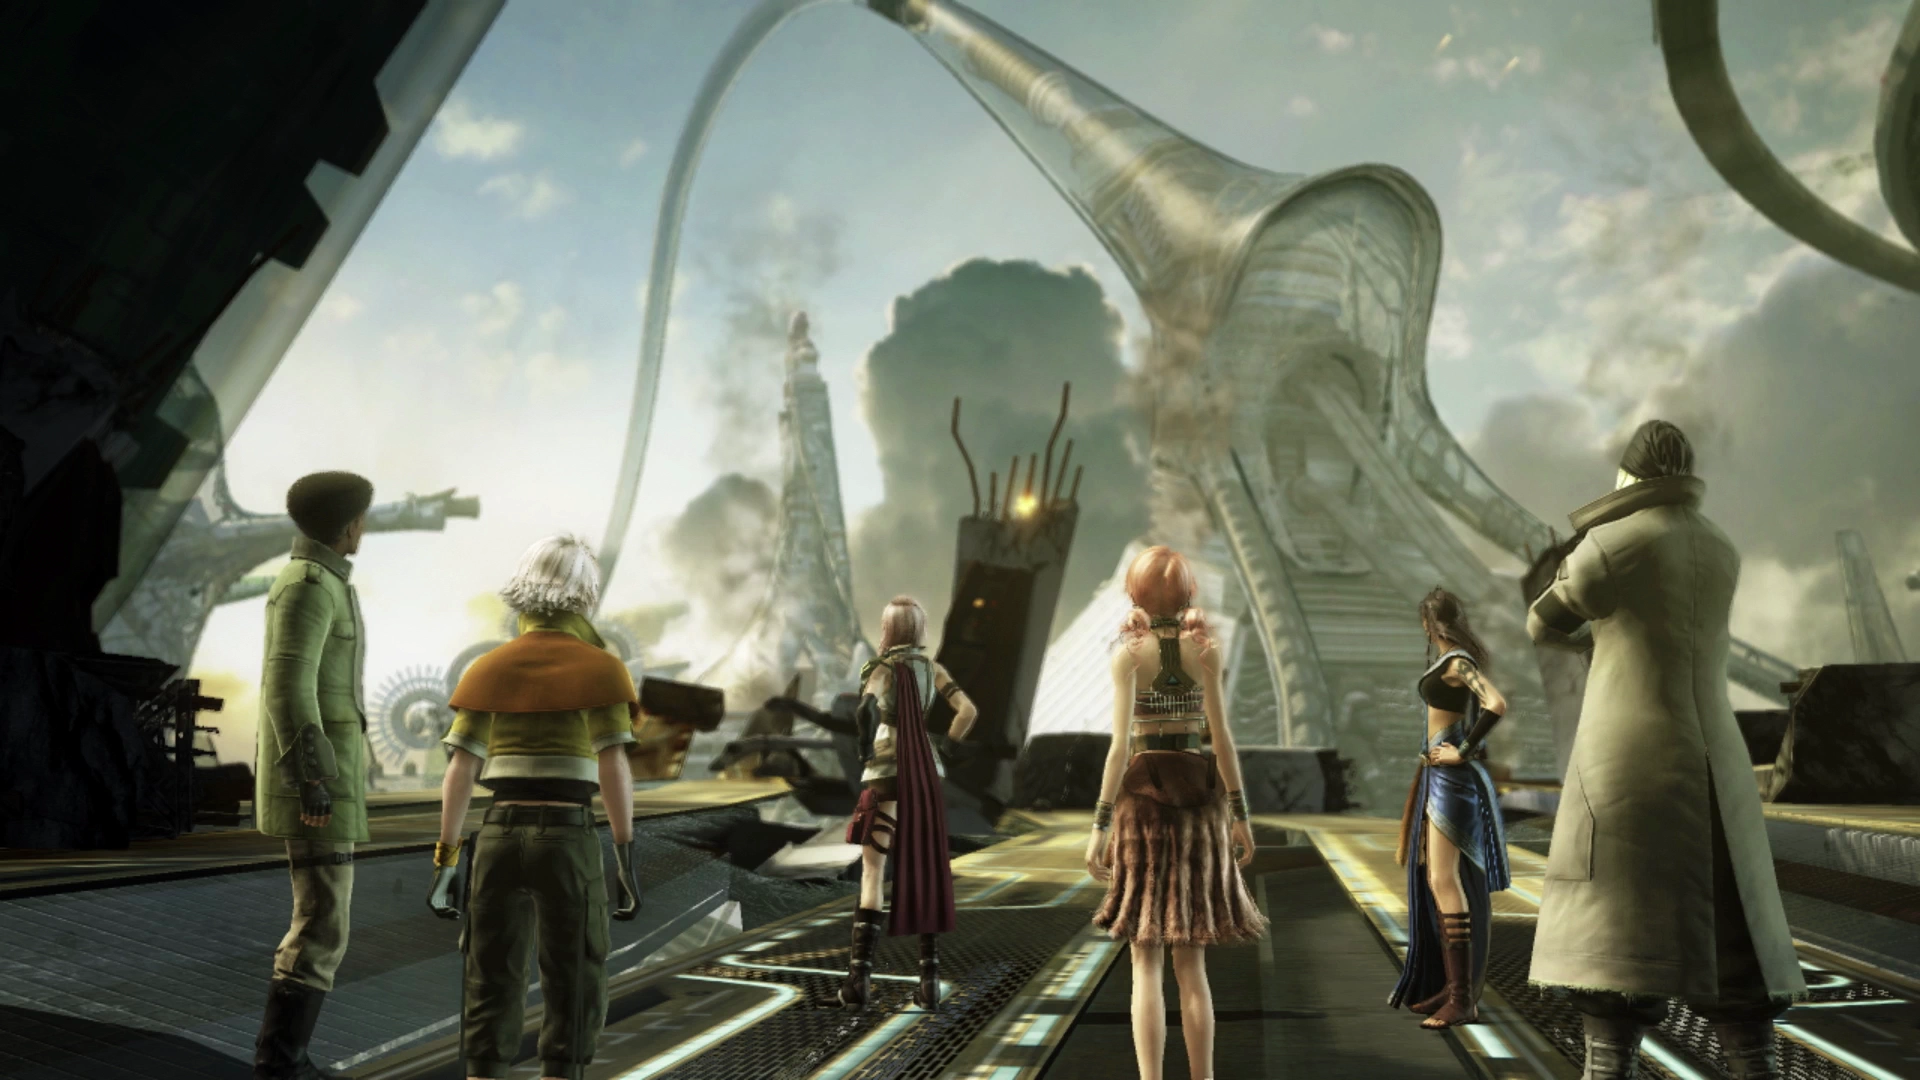
A cutscene will take place as the team boards the Airship and makes their way back to Eden on Cocoon. You will have the opportunity to save your game since this is the official conclusion of Chapter 11.
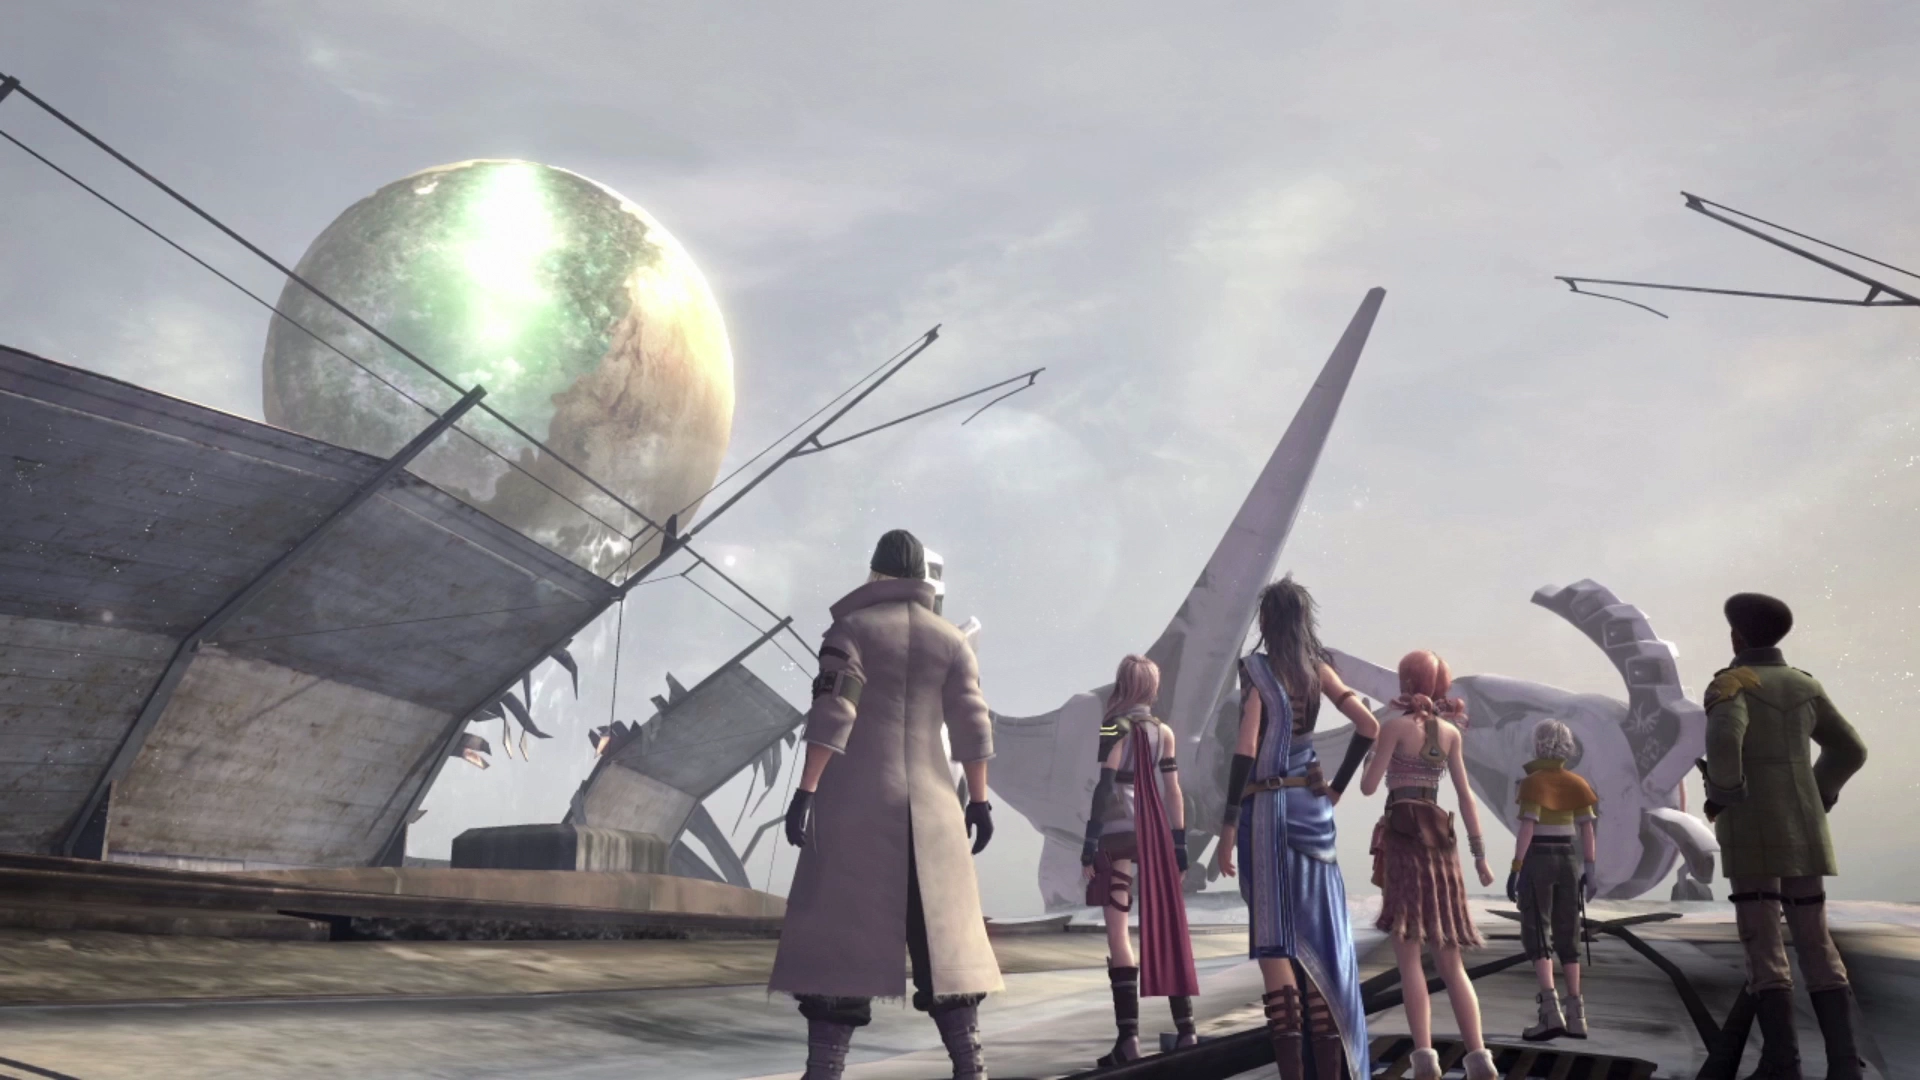
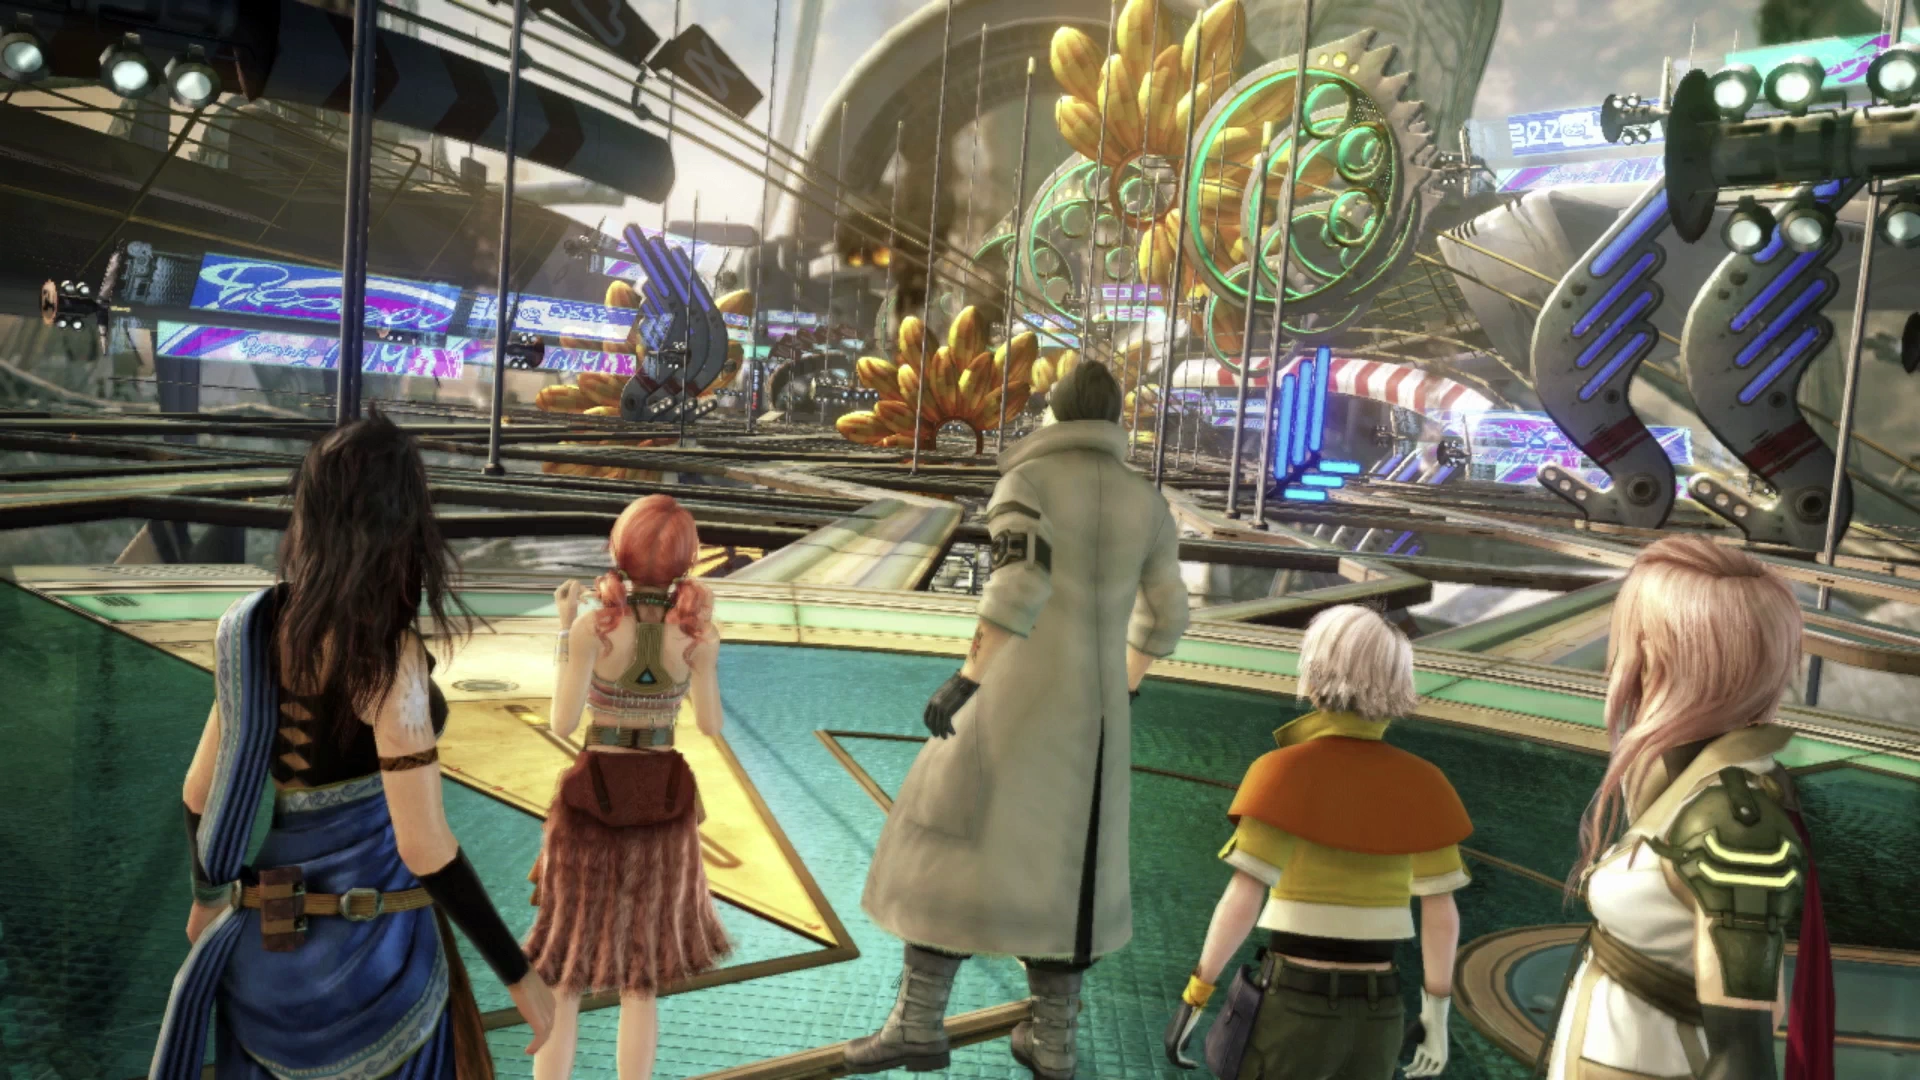
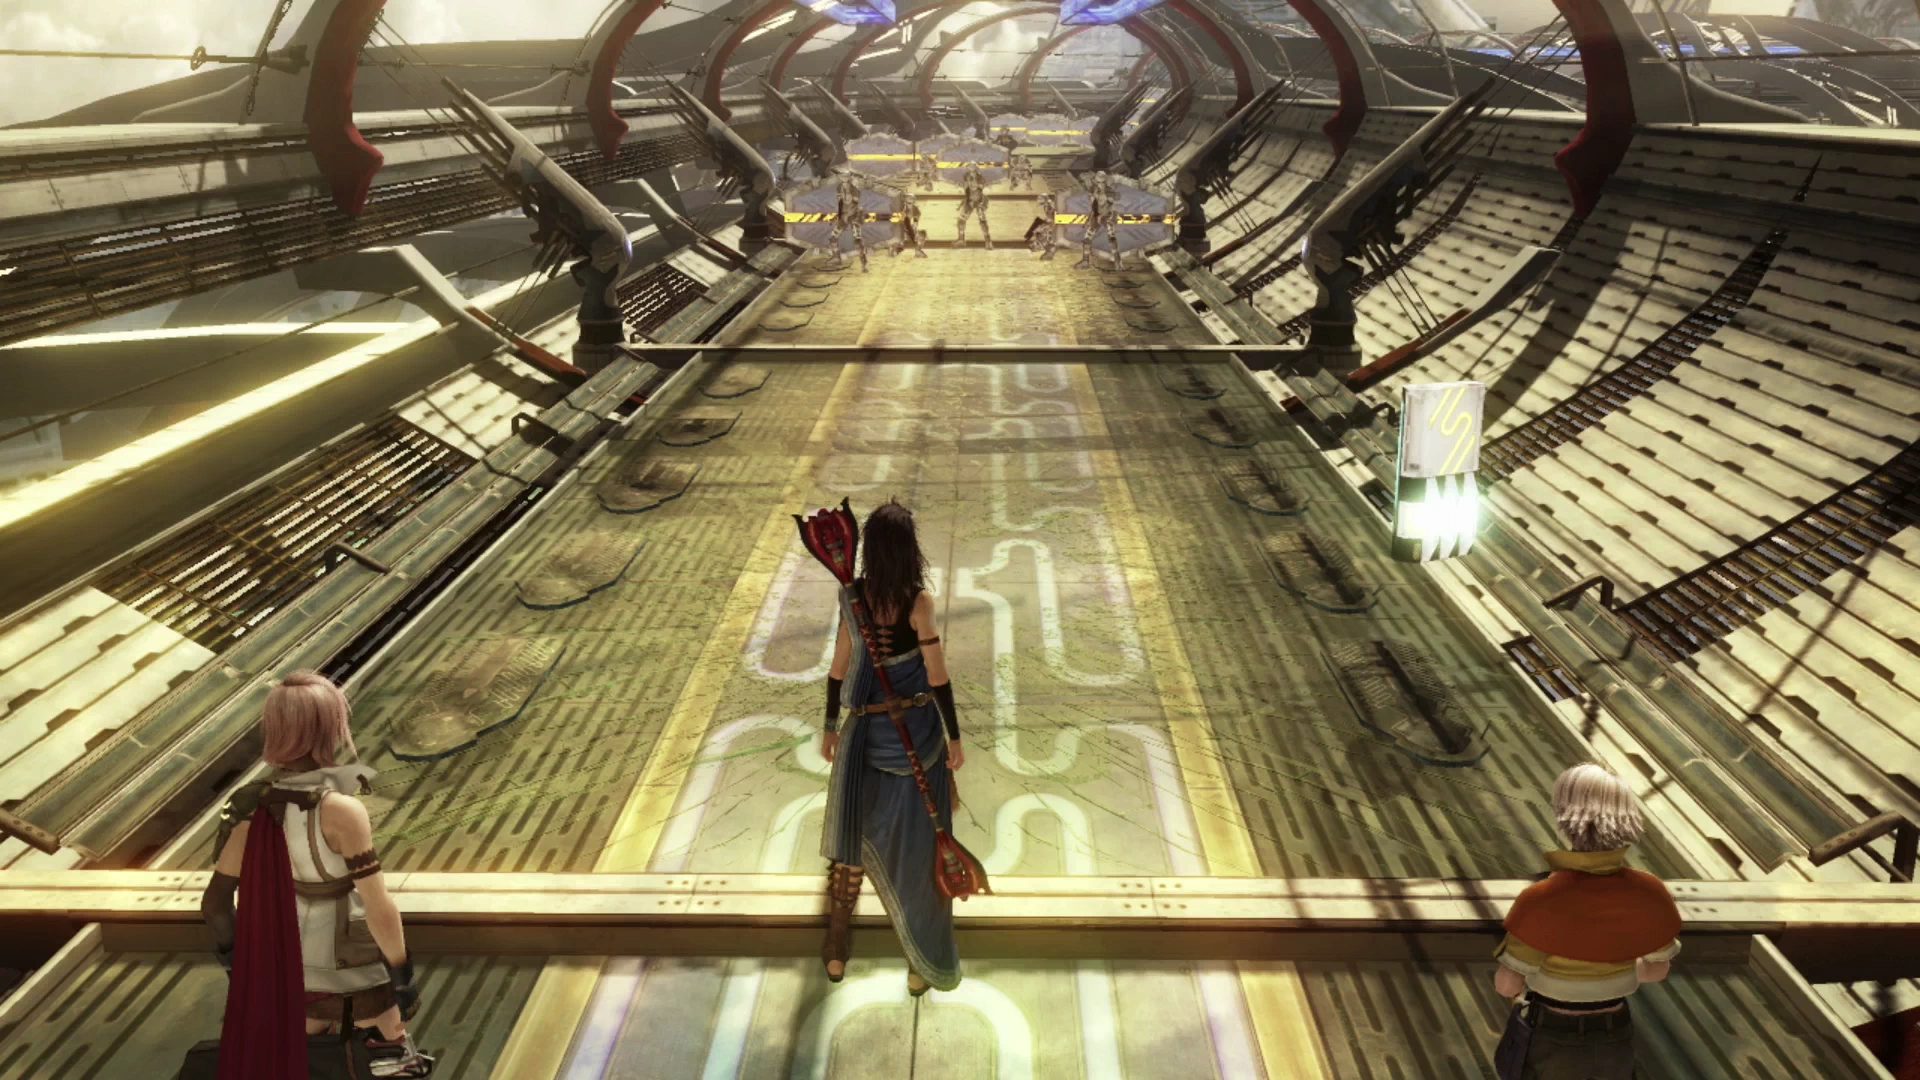
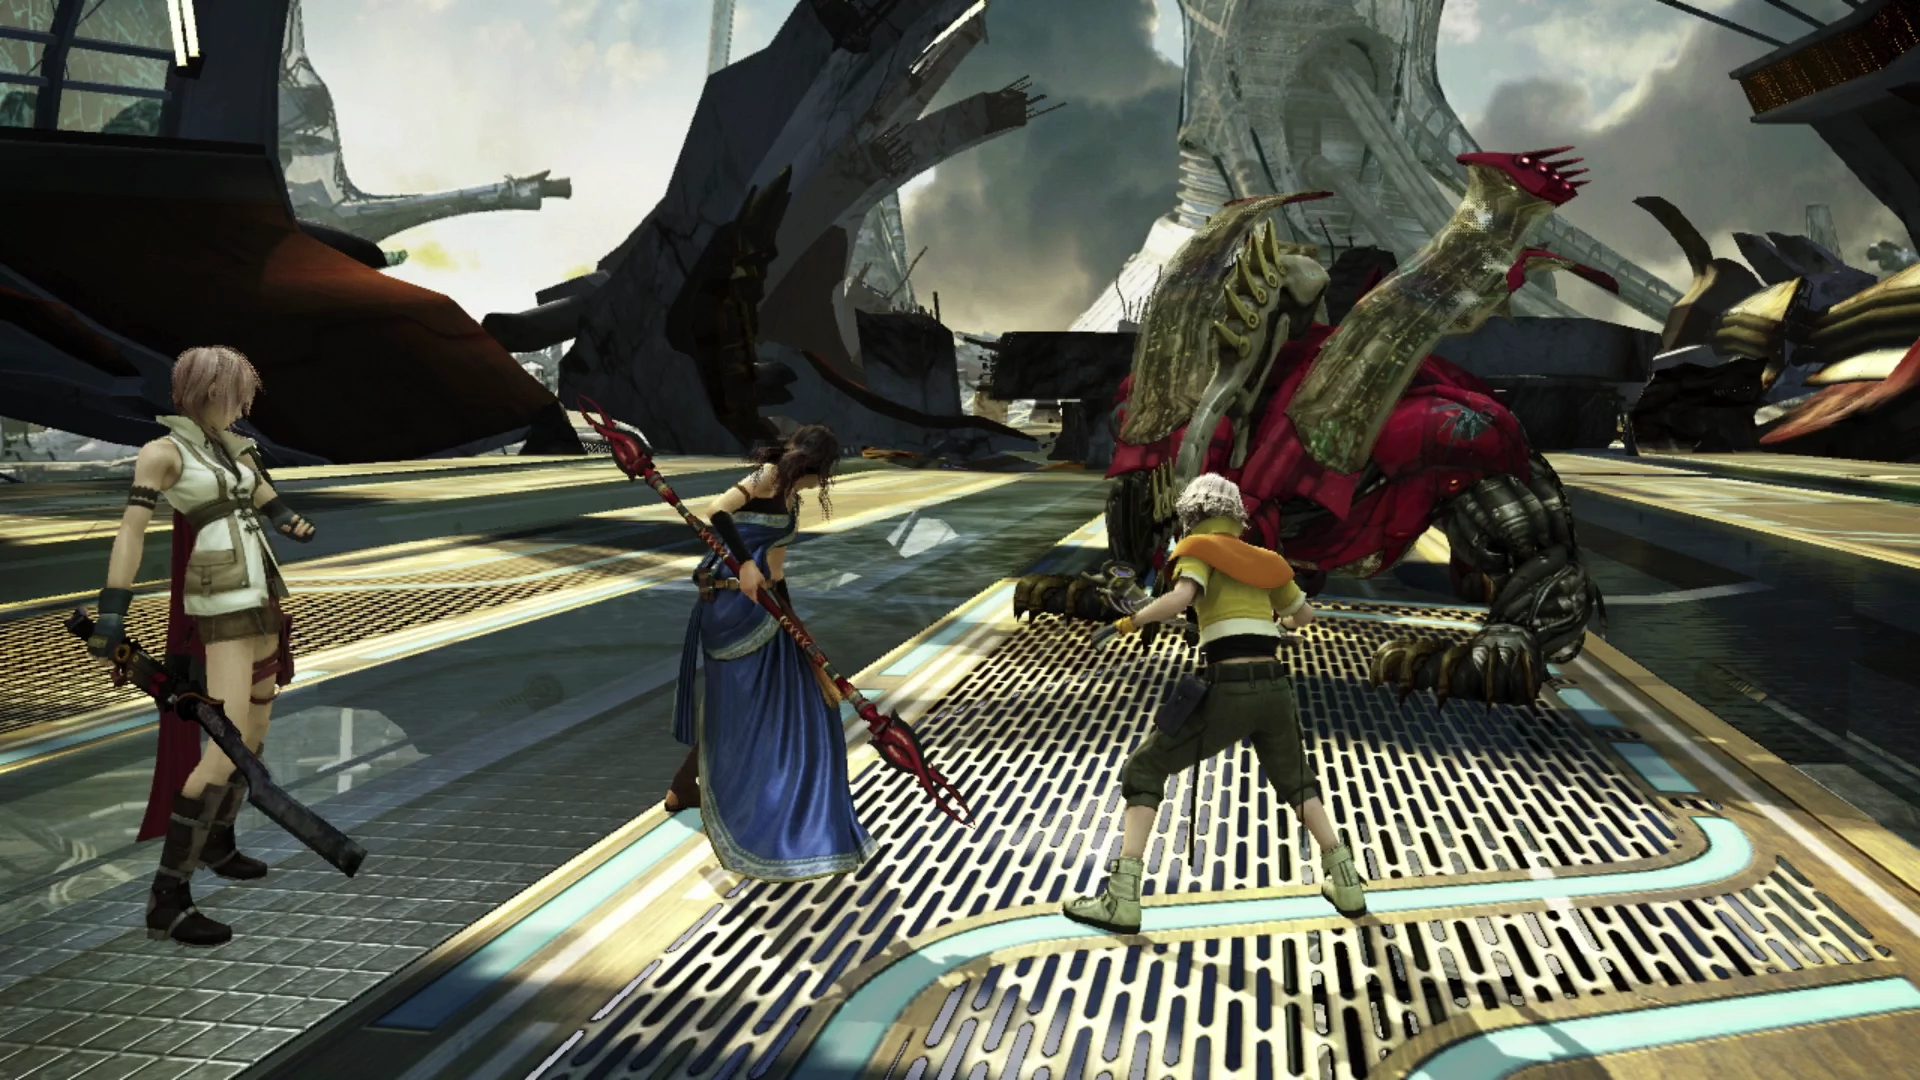
A very lengthy cutscene will kick up as you enter Eden for the first time before Lightning is thrown into battle against the next boss. This all happens before you even have an opportunity to arrive at the first location in Eden.
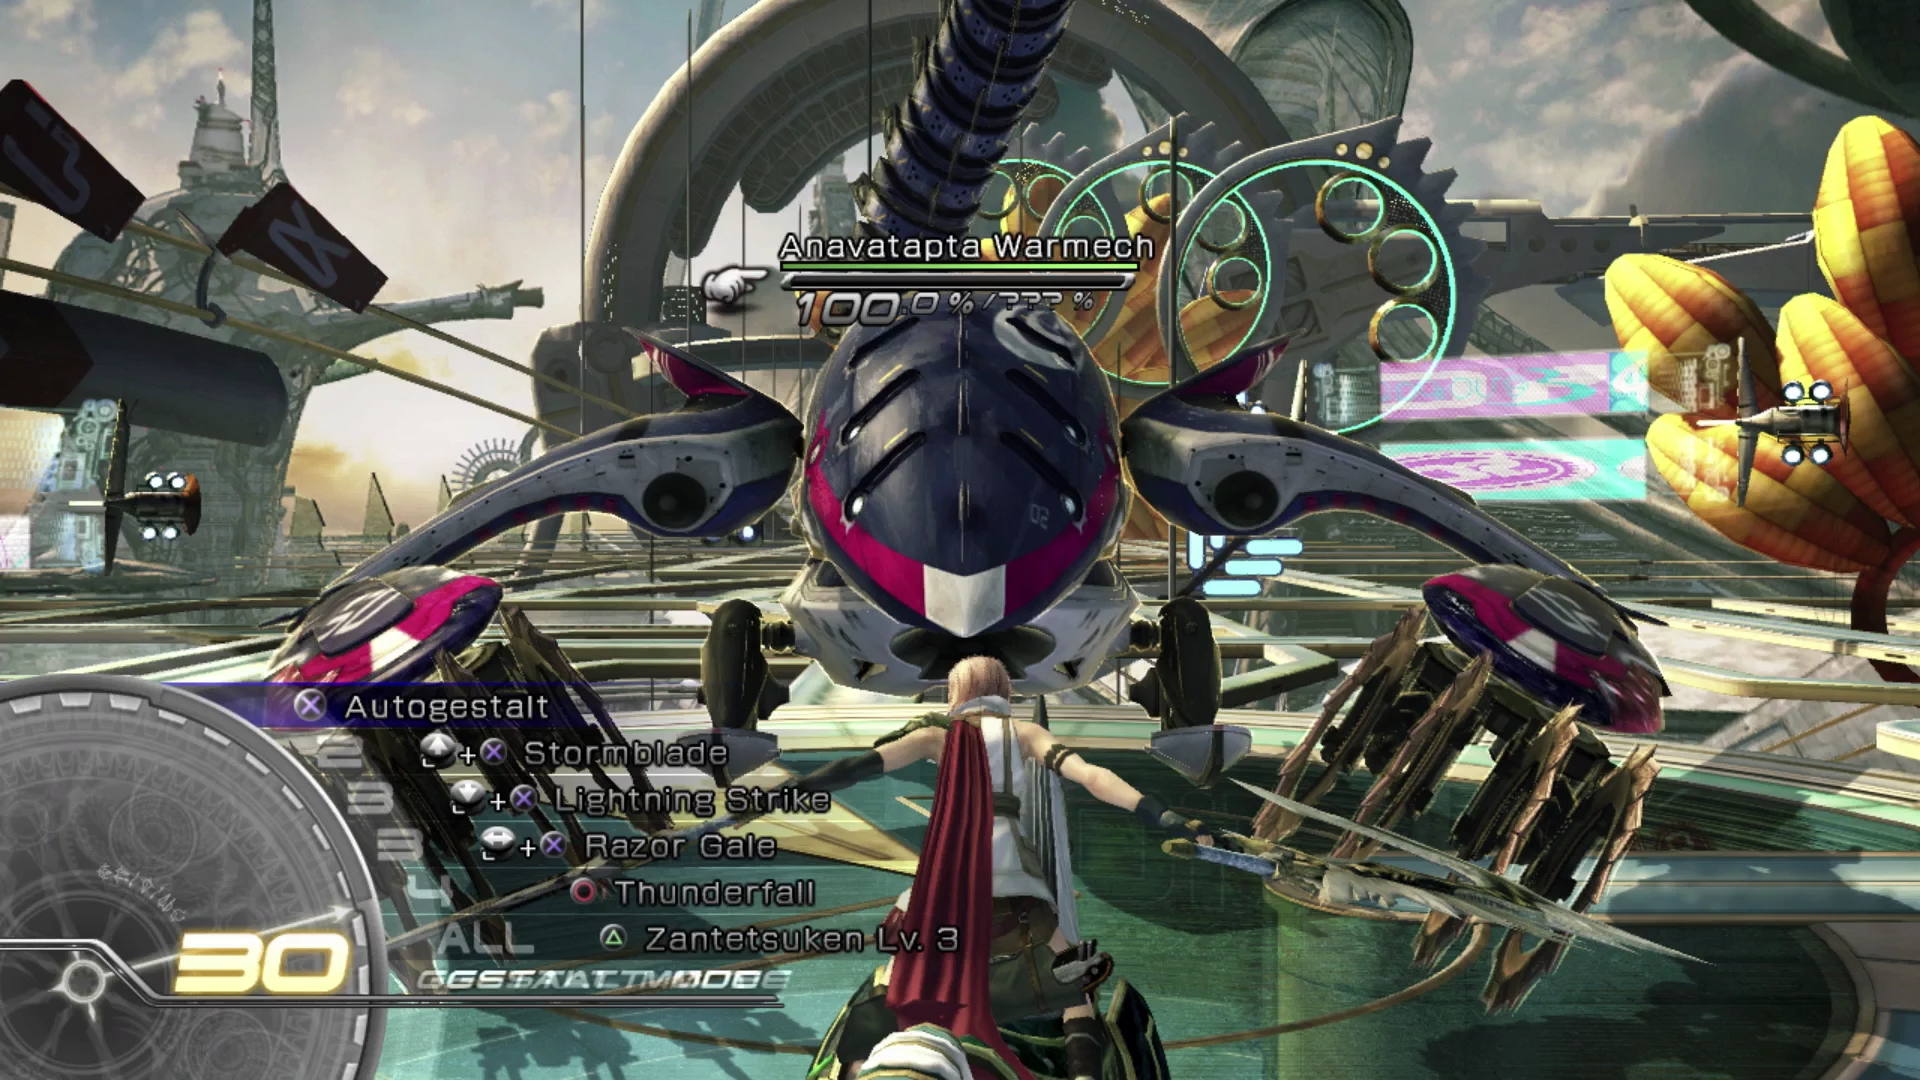
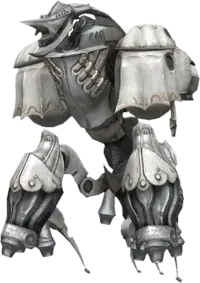
This battle is fairly easy as it’s possible to defeat the Warmech with Lightning and her Eidolon, Odin, before Odin leaves the fight and before your other party members have a chance to step in to help out. The easiest way to do this is to enter Gestalt Mode with a full Gestalt gauge and then just spam the Autogestalt button (![]()
![]()
![]() ) until the countdown of gestalt points reaches 1 or 0, at which point Odin unleashes “Zantetsuken.” Because you entered with a full gauge, the finisher comes out at its strongest level (Lv. 3), which should be more than enough to finish the Warmech.
) until the countdown of gestalt points reaches 1 or 0, at which point Odin unleashes “Zantetsuken.” Because you entered with a full gauge, the finisher comes out at its strongest level (Lv. 3), which should be more than enough to finish the Warmech.
This should be enough to bring Anavatapta Warmech up into a Stagger and deplete all of its HP without needing to rely on your party members to actually engage with the boss. You may want to consider reattempting the fight if you’re unable to defeat Warmech before Odin leaves or, if you’re having trouble and need to rely on your party of Lightning, Snow, and Vanille, just make sure to have Vanille keep the party healed as you work your way through the last of the Warmech’s HP.
It’s time for another cutscene after the battle has concluded.
Grand Prix Circuit
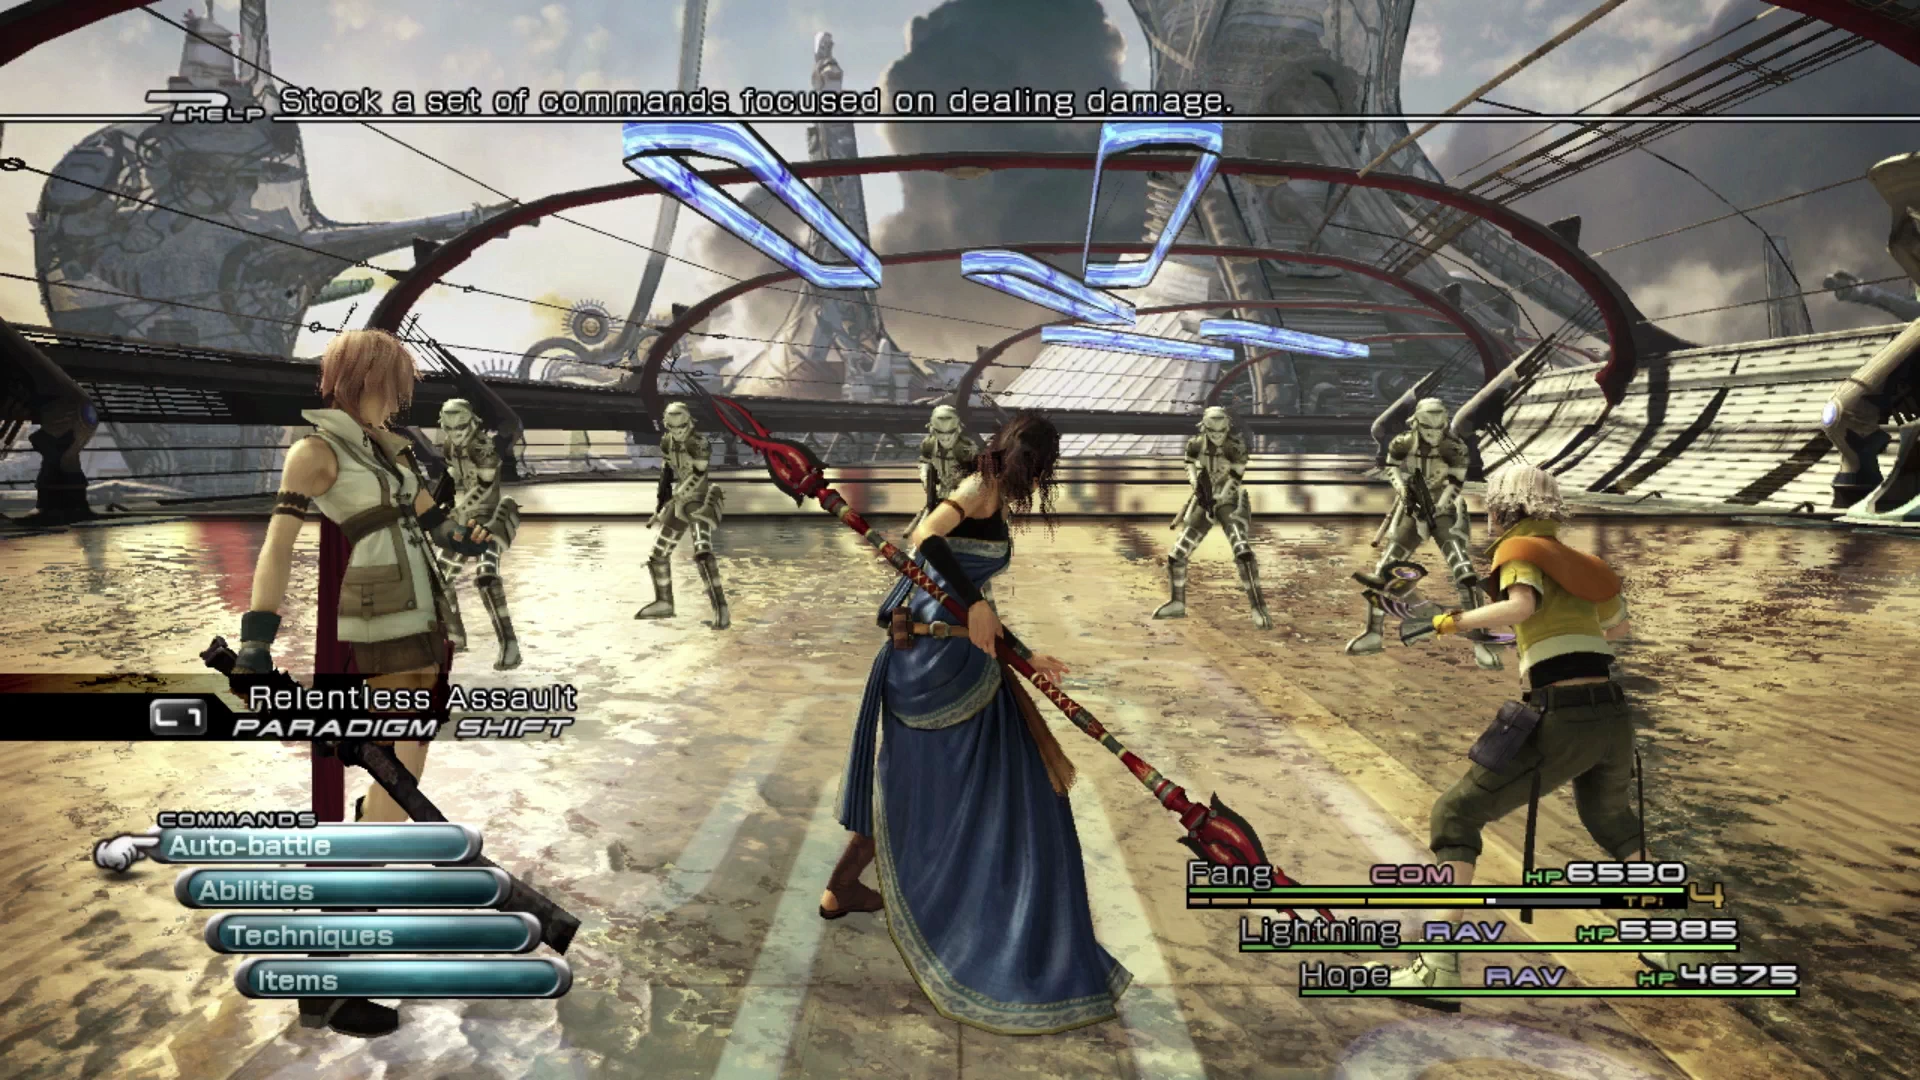
Our team will have automatically switched from whatever you had been using before over to Lightning, Snow and Vanille. Swap your party back around and make sure that your Paradigms are set up properly. This is also a good time to review the accessories that each of your party members has equipped.

The type of accessories that you have equipped can depend on your play style and they don’t have too significant of an impact on the general flow of gameplay, but this guide recommends a more offensive-focused approach for your gear choices. Consider the following options for your accessories:
 Commando (likely Fang*):
Strength-focused accessories such as Warrior’s Wristband or Brawler’s Wristband.
 Ravager (likely Lightning*):
Magic-focused accessories such as Sorcerer’s Mark or Shaman’s Mark.
- Ravager /
 Medic /
  Synergist (likely Hope*):
Magic-focused accessories will also work for this character, but you may also want to consider a bit of defense as well, such asDiamond Bangle or Platinum Bangle. This is typically the character you would equip a Collector Catalog to as well.
*The characters listed here are assuming that you are using the recommended party. This isn’t a requirement and you can complete the game with nearly any party combination, but if you’re interested to read more on the Optimized Party Setup Guide, use the link to navigate to the Tips and Tricks section.
There are two other considerations. Firstly, there can be some value in accessories that bestow buffs at the start of the battle. A good option is the ![]() Blessed Talisman which buffs the party member with
Blessed Talisman which buffs the party member with ![]() Faith at the start of the battle, increasing magic damage or healing. The drawback is that this buff only lasts for a short time, but many of your battles are over very quickly, meaning the character will get good value out of this accessory. Consider equipping it to either the
Faith at the start of the battle, increasing magic damage or healing. The drawback is that this buff only lasts for a short time, but many of your battles are over very quickly, meaning the character will get good value out of this accessory. Consider equipping it to either the ![]() Ravager or
Ravager or ![]() Ravager /
Ravager / ![]() Medic character (likely Lightning or Hope).
Medic character (likely Lightning or Hope).
Secondly, if you’re interested in improving defensive stats, the best option is to fill in the remaining slots using ![]() Diamond Bangle and
Diamond Bangle and ![]() Platinum Bangle. Increasing your character’s HP can also improve offensive output as it reduces the amount of time your party has to spend healing one another if and when their HP bars get low. A
Platinum Bangle. Increasing your character’s HP can also improve offensive output as it reduces the amount of time your party has to spend healing one another if and when their HP bars get low. A ![]() Tetradic Tiara can also provide very strong (temporary) defenses if needed.
Tetradic Tiara can also provide very strong (temporary) defenses if needed.
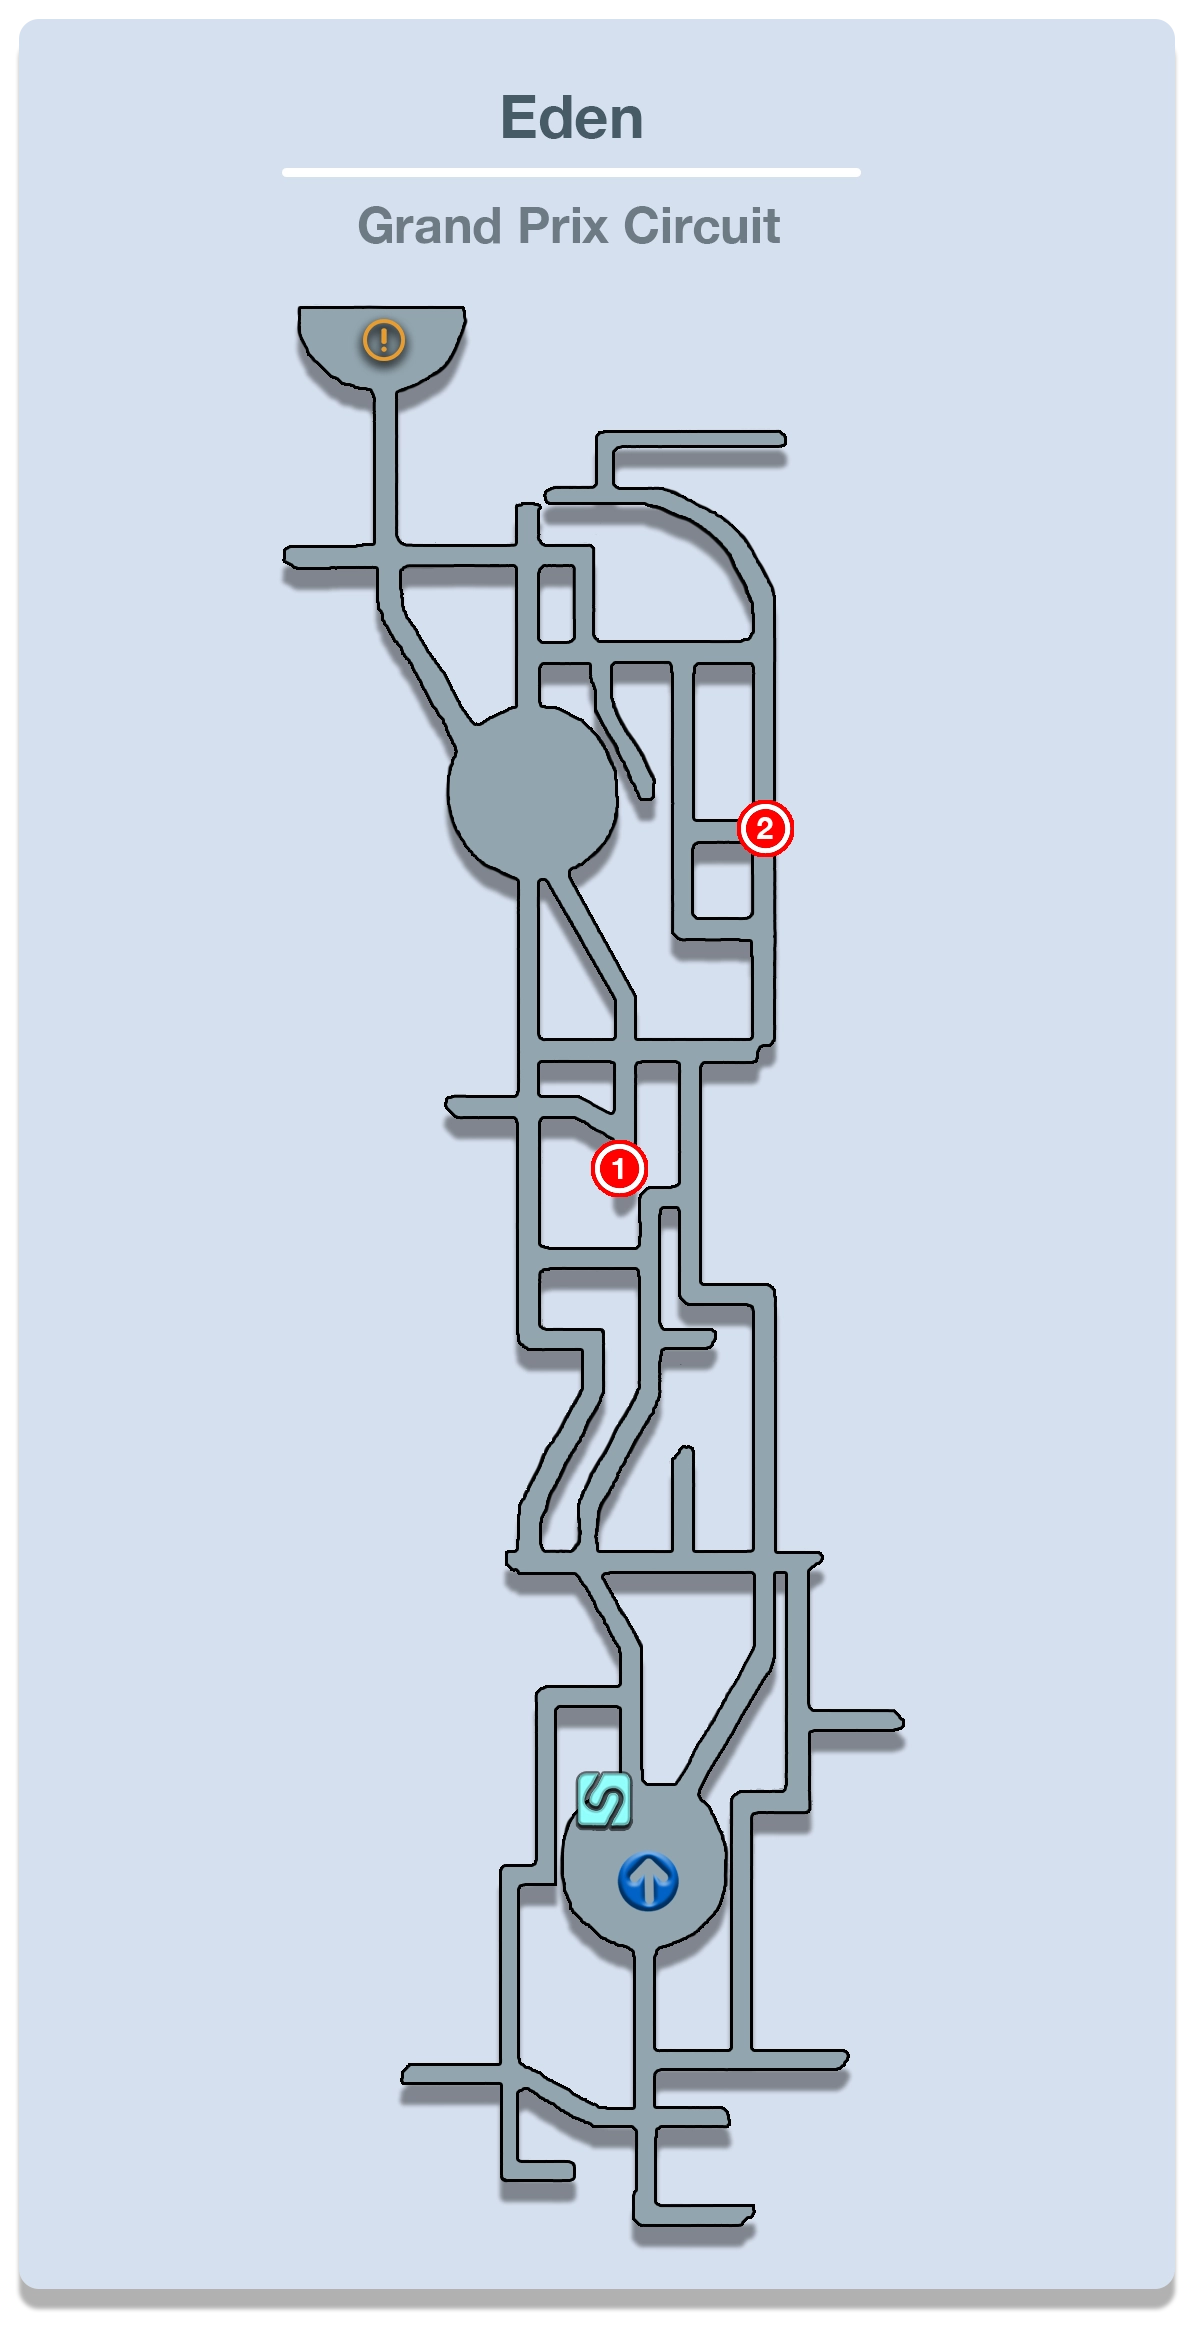
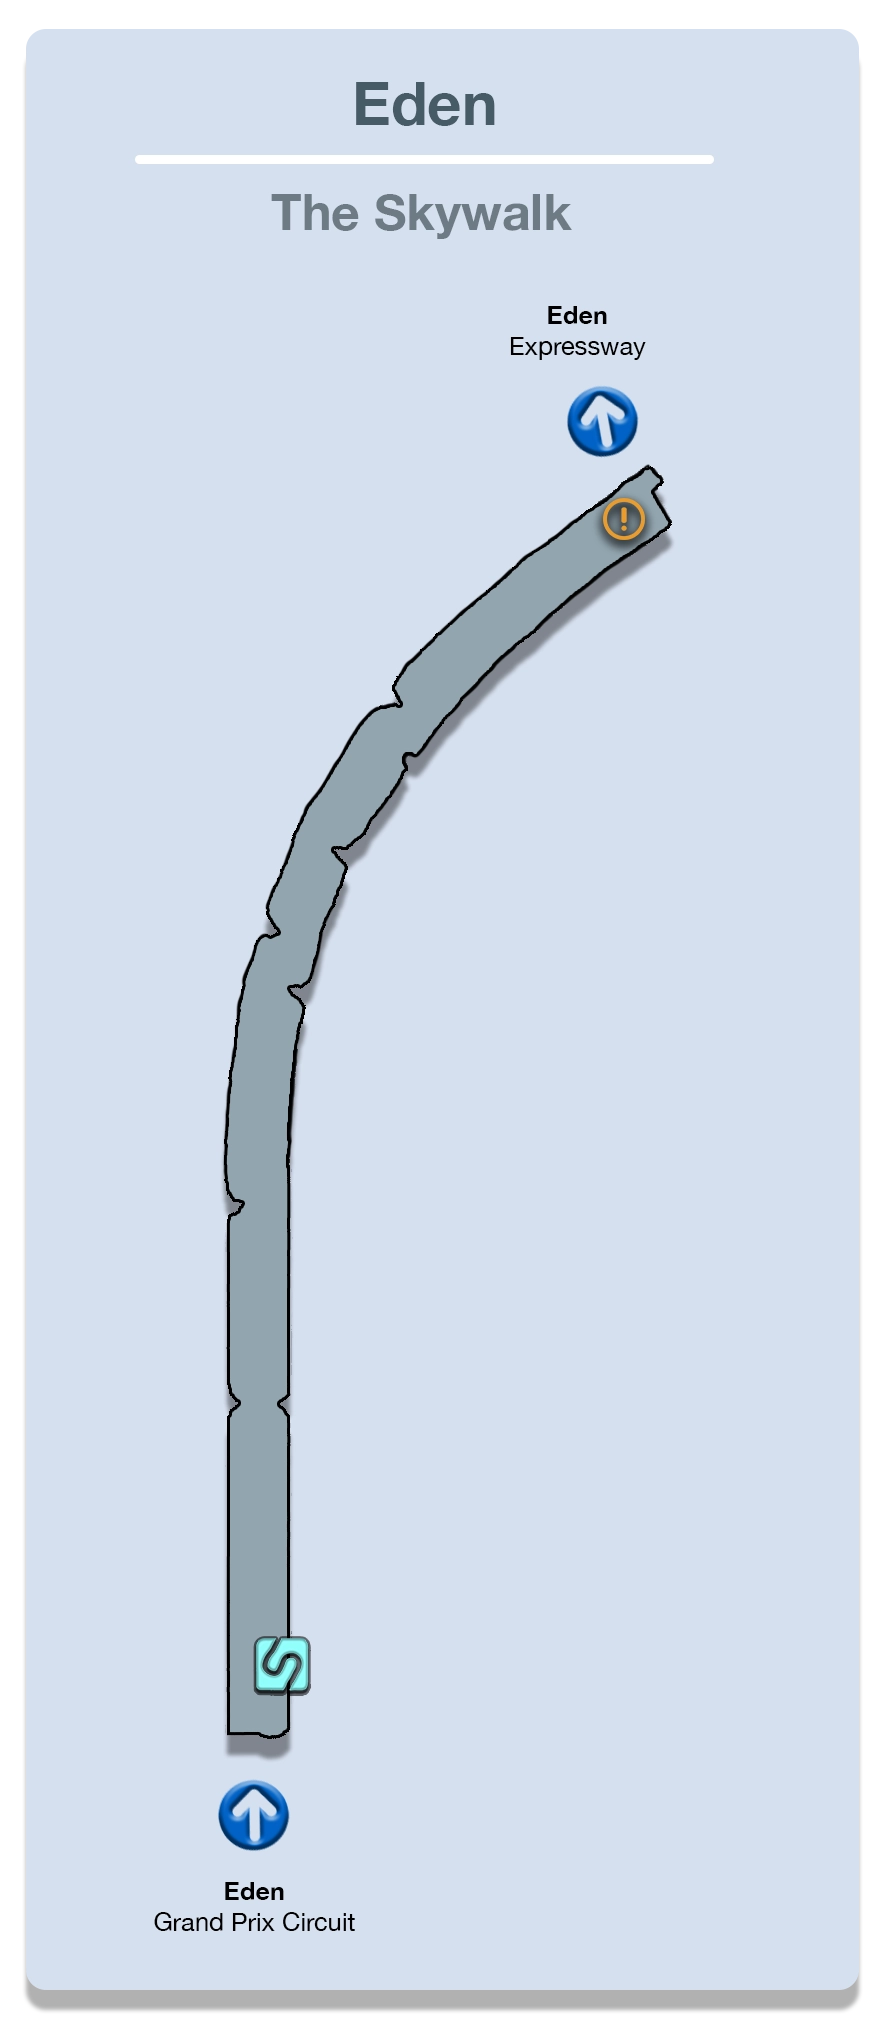
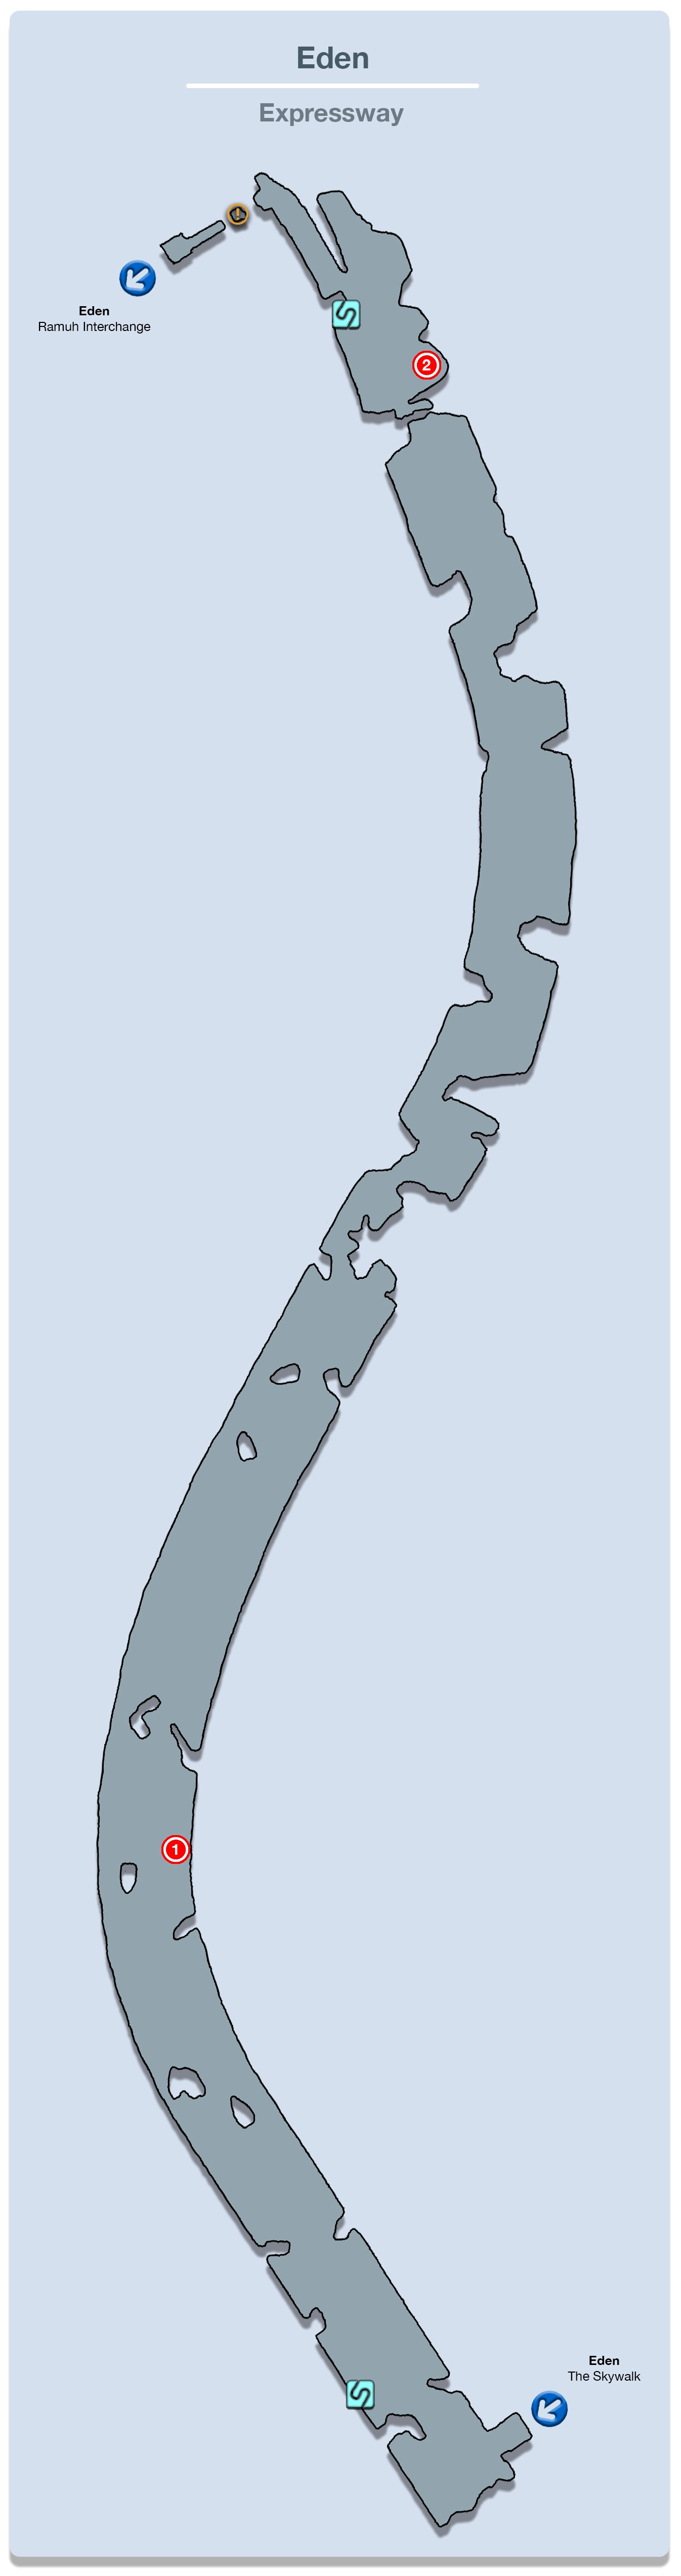
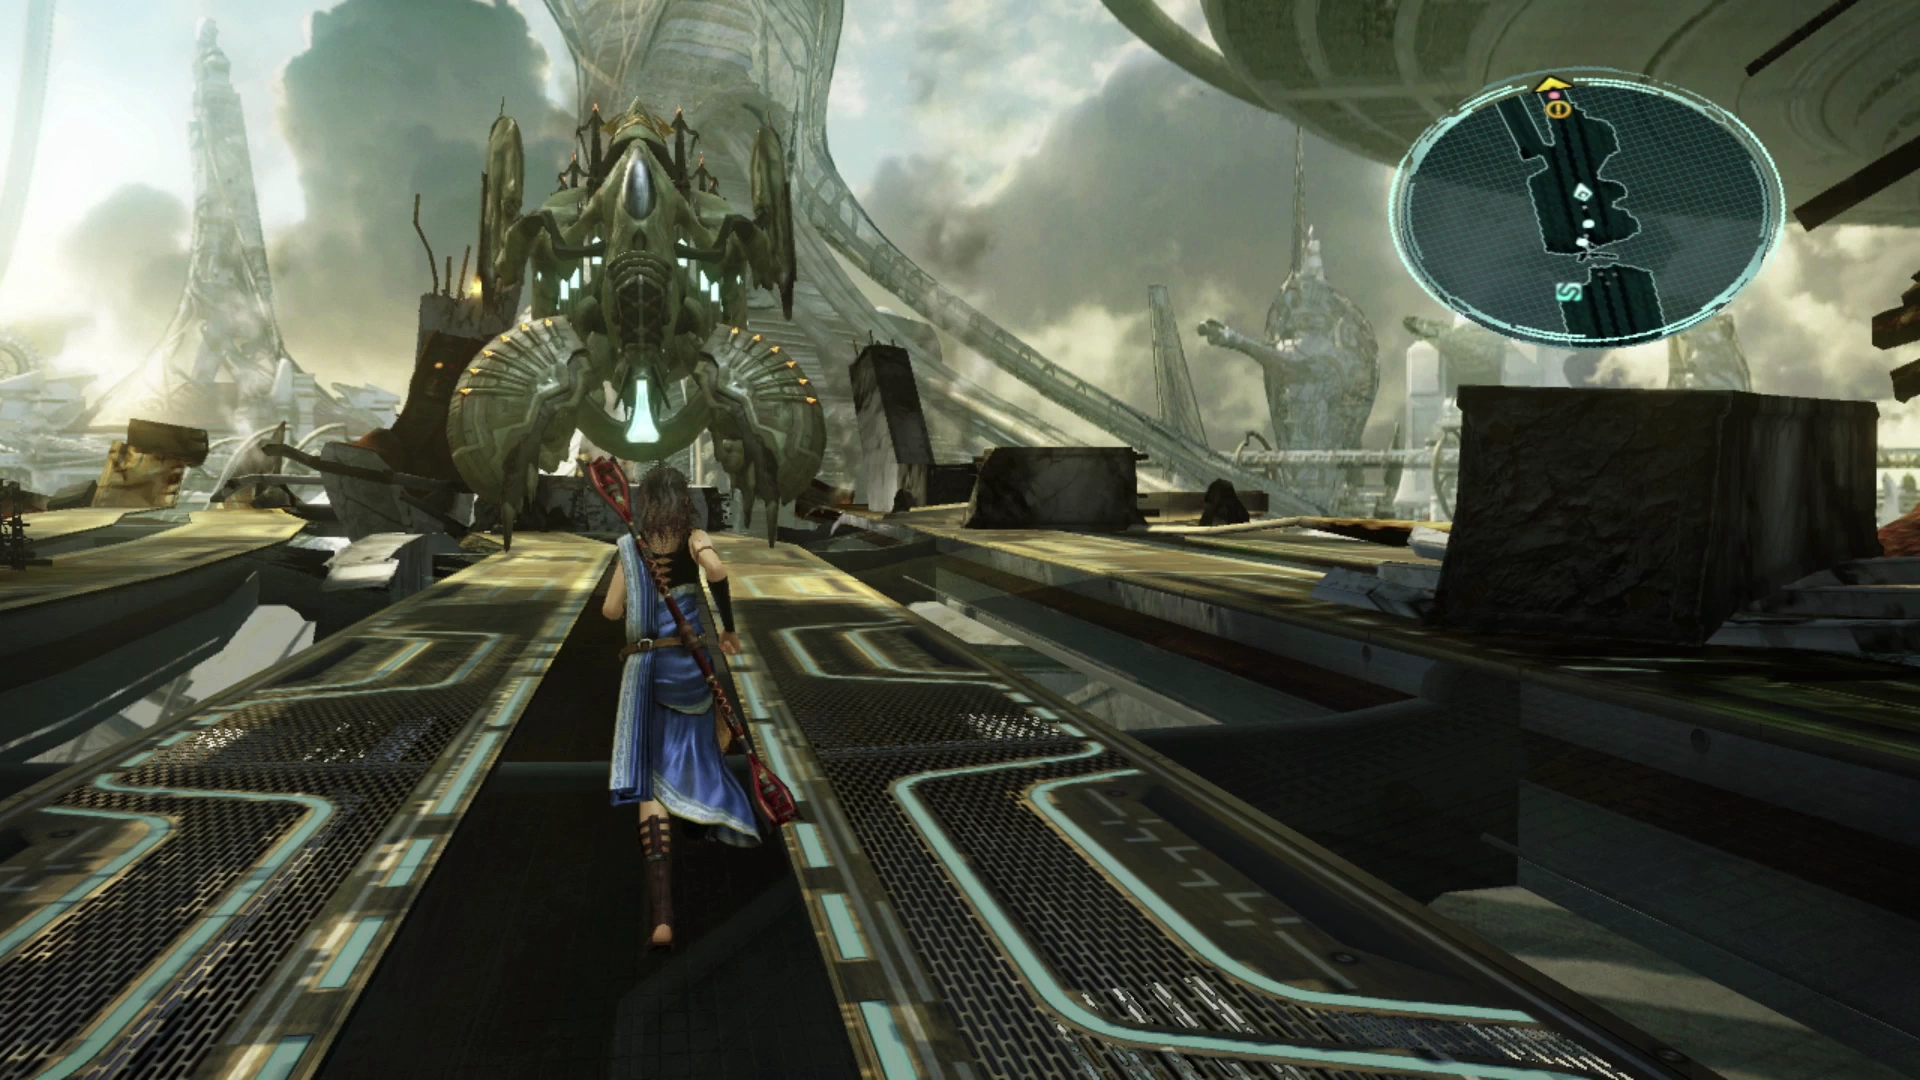
The map for the Grand Prix Circuit area looks complex but it’s fairly simple to navigate. There are a few areas that look like they can be crossed but are blocked by obstacles, and these are outlined on the included map.
Work your way up the left side of the map, going around the big yellow flower on the left side, and you’ll be forced into battle against two Varcolaci enemies which you have fought previously. Just after that is another battle against three more Varcolaci. On the other side of the yellow flower is your first Treasure Sphere which contains a ![]() Lionheart weapon.
Lionheart weapon.
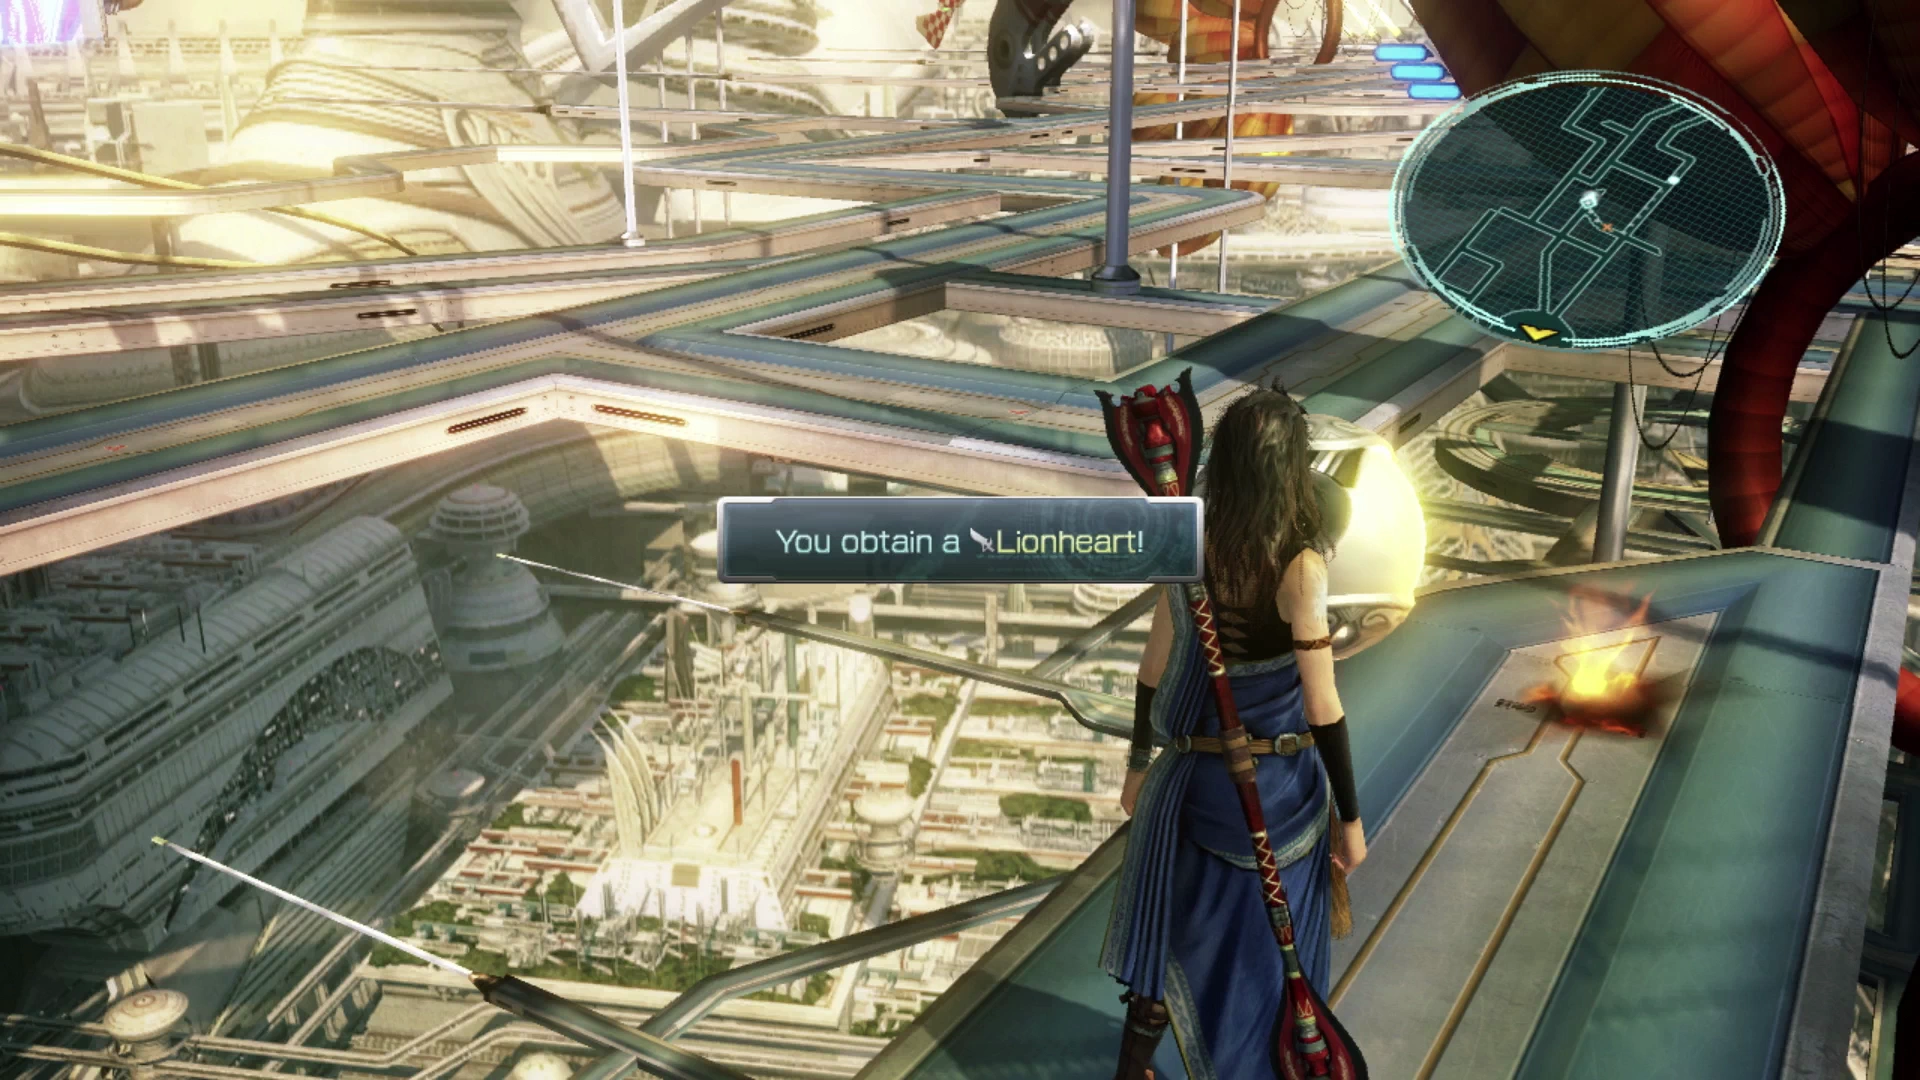
This weapon is considered by some players to be one of Lightning’s better weapon options due to it having the ![]() Quick Stagger passive ability. This passive ability will cause the Stagger Gauge to immediately jump to 100% if it’s at or above 90% already, allowing you to activate a Stagger more quickly.
Quick Stagger passive ability. This passive ability will cause the Stagger Gauge to immediately jump to 100% if it’s at or above 90% already, allowing you to activate a Stagger more quickly.
Triggering a Stagger is not difficult to do without this passive ability, so while it can be beneficial to have, it definitely isn’t necessary, and ![]() Lionheart has generally poor stats overall. Therefore, this guide recommends the continued use of her
Lionheart has generally poor stats overall. Therefore, this guide recommends the continued use of her ![]() Axis Blade (especially if you’re getting use out of the ‘ATB Rate’ synthesized ability) but you now have options to explore. Check out the Best Weapons section for a more detailed breakdown of each weapon’s pros and cons:
Axis Blade (especially if you’re getting use out of the ‘ATB Rate’ synthesized ability) but you now have options to explore. Check out the Best Weapons section for a more detailed breakdown of each weapon’s pros and cons:
Tips and Tricks
A guide on which weapons perform best for each character in each of their roles.
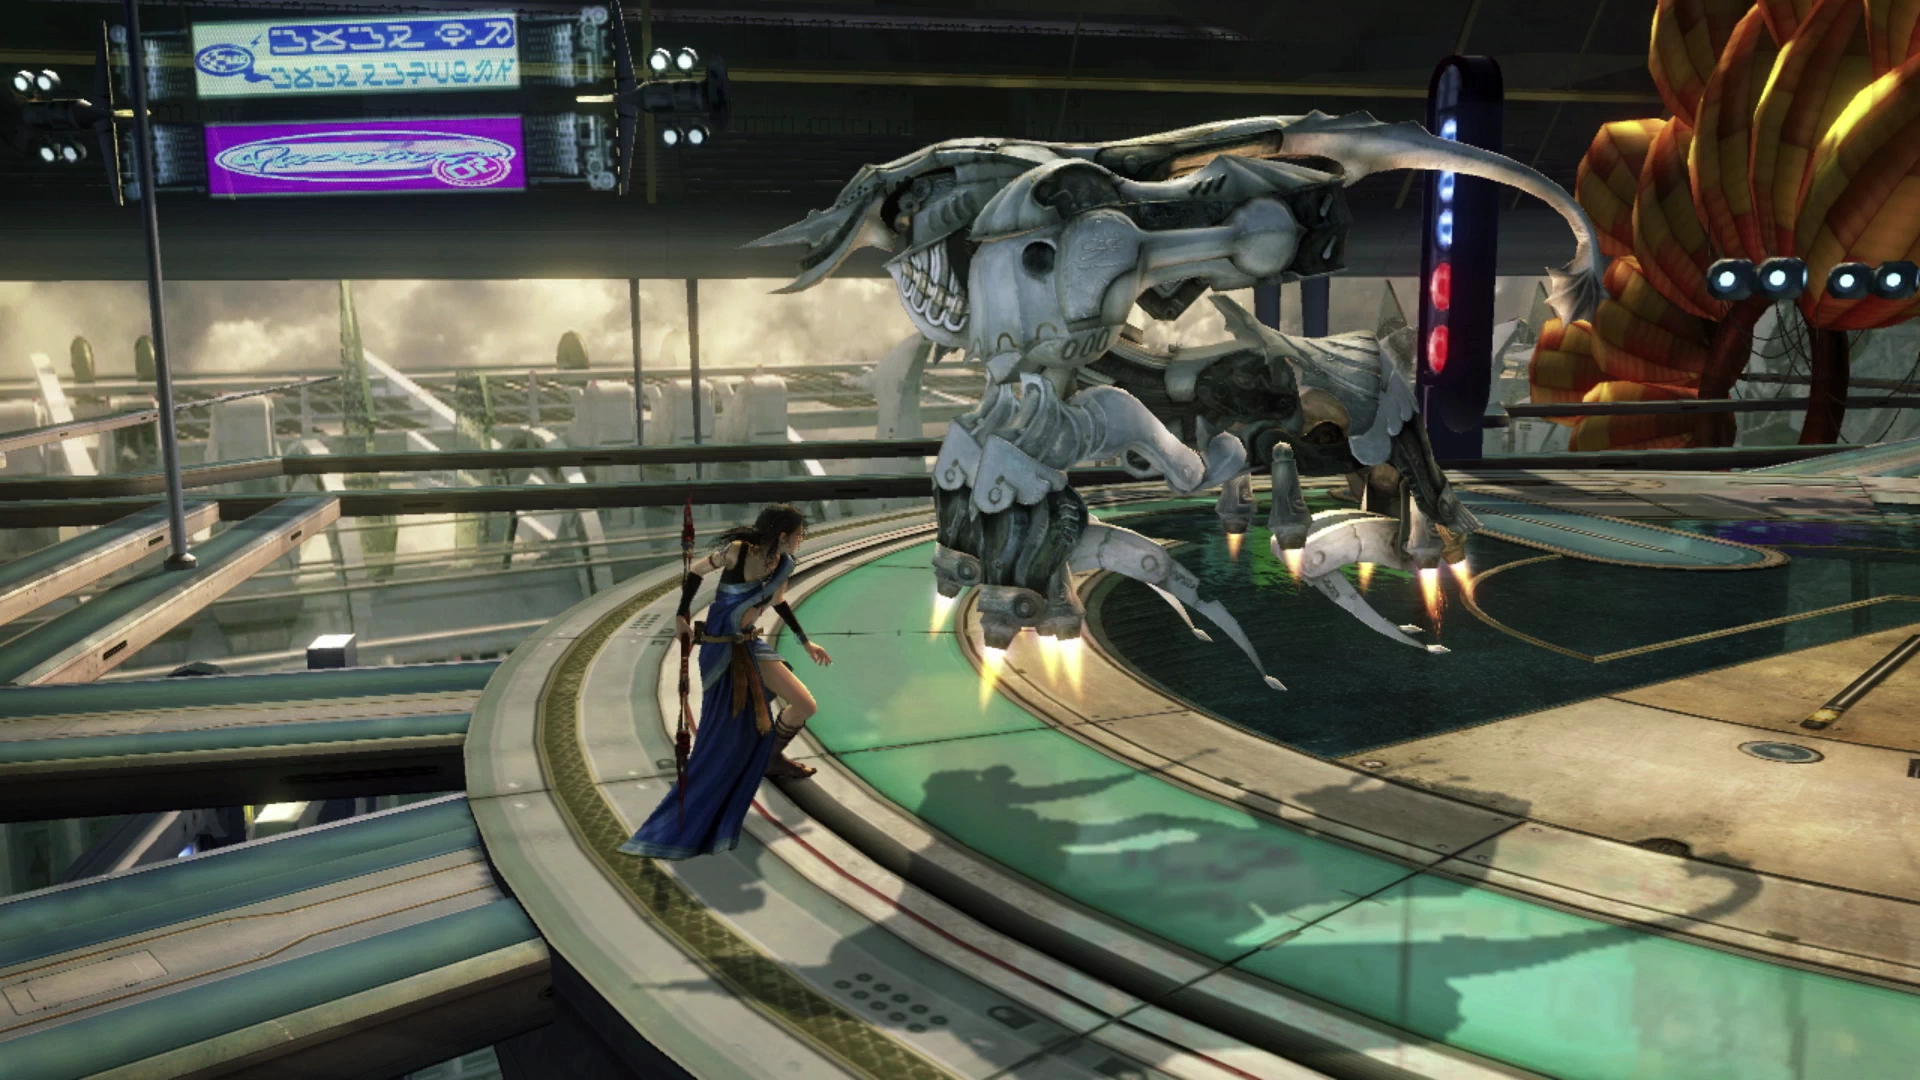
Just up ahead, on a big round platform in the center of the Grand Prix Circuit, is a Bulwarker enemy that flies around in circles patrolling. This enemy is very easy to sneak up on and get a preemptive strike on. It’s very similar to the Uhlan enemies you faced back in the Vile Peaks.
Its regular attacks don’t do too much damage but it has the ability to summon a Targeting Beacon. The Bulwarker will launch missiles that deal heavy damage near the Targeting Beacon once it has been summoned.
Missable Content
You will need to allow one of the Bulwarker enemies you face to summon a Targeting Beacon if you plan to fully complete all the Enemy Intel Entries. Once summoned, either use ![]() Libra on it twice or use a single
Libra on it twice or use a single ![]() Librascope to fully complete the entry.
Librascope to fully complete the entry.
You will fight another Bulwarker as you progress through Eden, so this is by no means your last chance, but keep this in mind if you’re a completionist planning to completely fill out the Enemy Intel section.
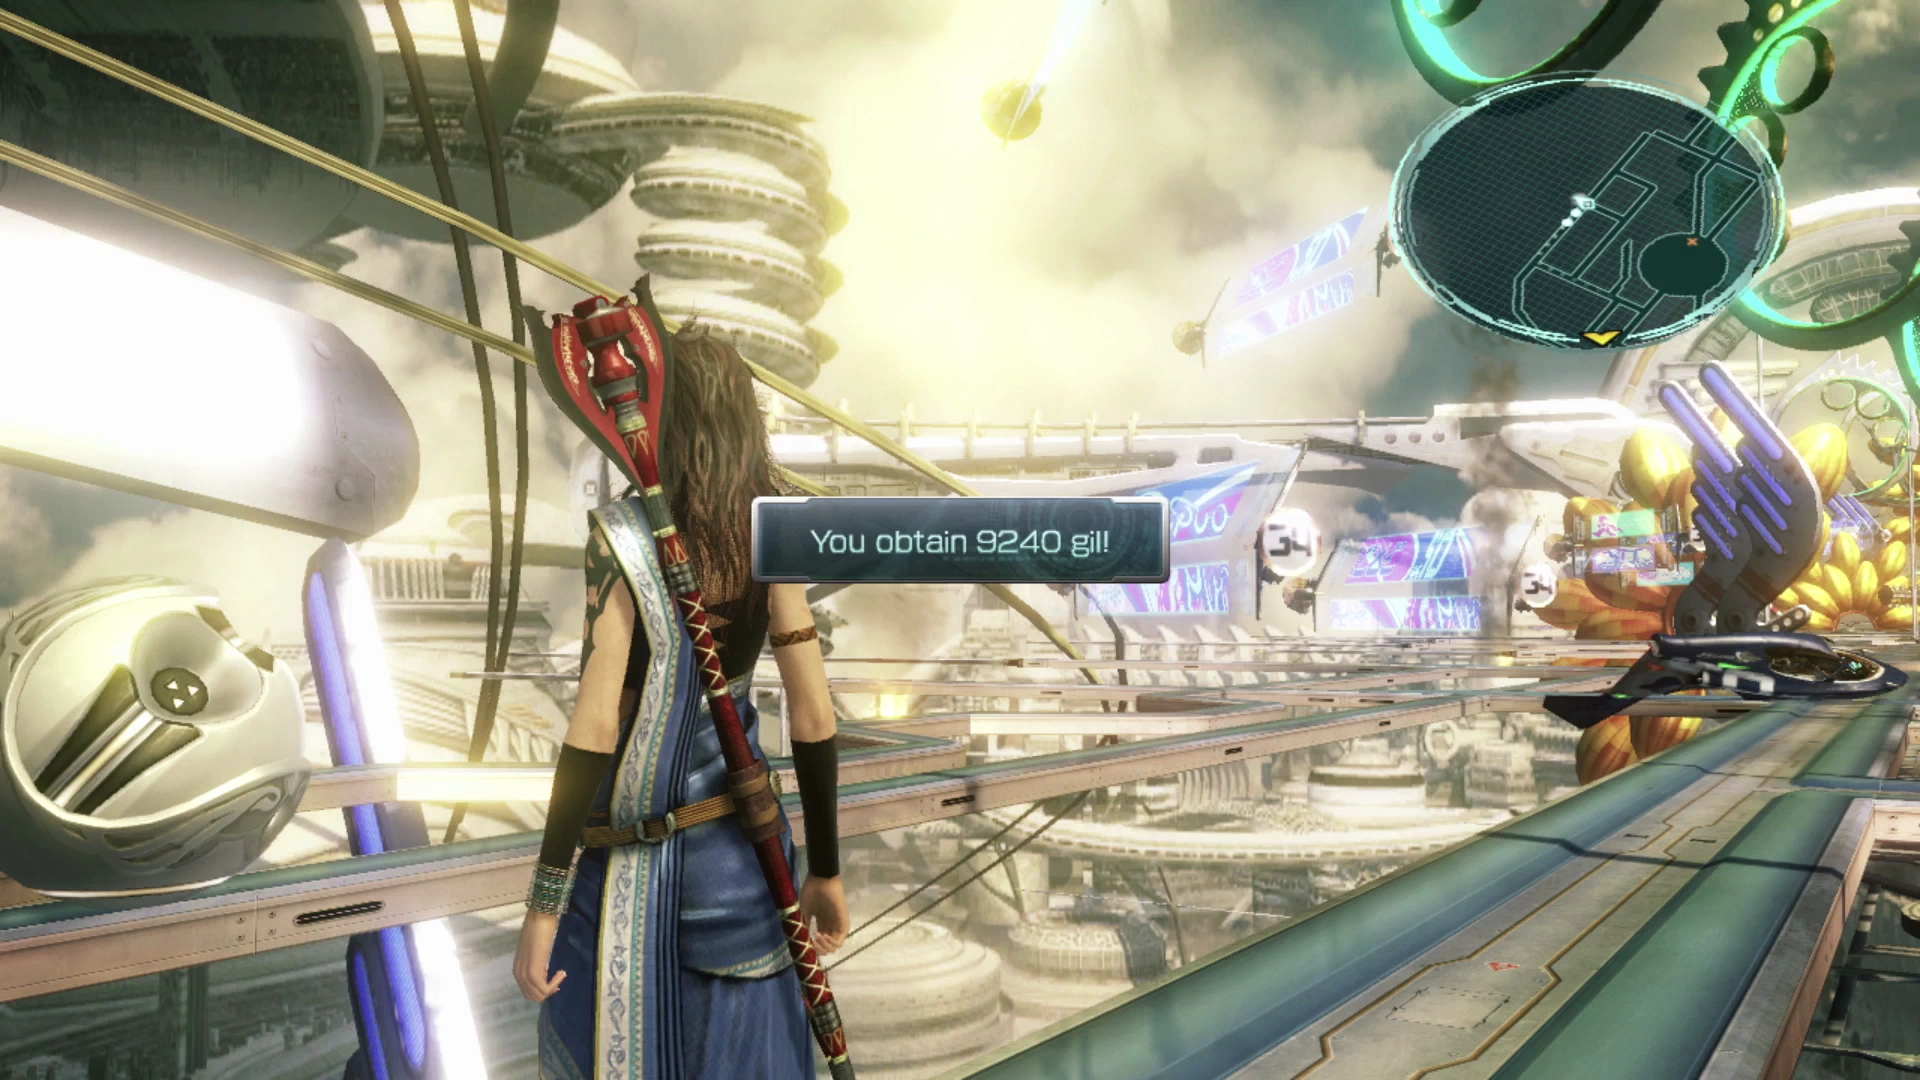
The next Treasure Sphere is located on the right side of the Circuit. Use the map to help you locate it. This one contains ![]() 9,240 Gil! As a reminder, make sure you picked up
9,240 Gil! As a reminder, make sure you picked up ![]() Lionheart in the previous Treasure sphere as there is no way to return to this area later in the game. Approach the destination marker on the far side of the floating platforms when you’re ready.
Lionheart in the previous Treasure sphere as there is no way to return to this area later in the game. Approach the destination marker on the far side of the floating platforms when you’re ready.
The Skywalk


Use the nearby ![]() Save Station to save your game. You may also want to consider accessing the shops to sell some of the spoils that you have been storing up. Specifically, any chips that have been dropping from soldiers leading up to now, as noted in the helpful hint below.
Save Station to save your game. You may also want to consider accessing the shops to sell some of the spoils that you have been storing up. Specifically, any chips that have been dropping from soldiers leading up to now, as noted in the helpful hint below.
Helpful Hint
The soldiers you face in Eden have a high probability of dropping ![]() Incentive Chips and
Incentive Chips and ![]() Credit Chips as part of their spoils when you defeat them in battle. Keep an eye on your inventory to make sure that you don’t exceed having more than 99 of them at any time otherwise the loot will automatically be discarded.
Credit Chips as part of their spoils when you defeat them in battle. Keep an eye on your inventory to make sure that you don’t exceed having more than 99 of them at any time otherwise the loot will automatically be discarded.
Helpful Hint
Being able to backtrack if you missed something is extremely handy and Final Fantasy XIII game save files do not take up too much space. This is a reminder not to save over your old save game files just in case you need to return to Chapter 11 or parts of Chapter 12 at any point in the future. It’s not possible to return to some of these sections of the game without returning to a previously saved game.
The first group of enemies up ahead includes a group of five Corps Defenders. Don’t forget to use ![]() Libra at the start of this first battle. Even without it, though, these enemies will go down fairly easily.
Libra at the start of this first battle. Even without it, though, these enemies will go down fairly easily.
The next group of enemies includes two Corps Stewards and a Sanctum Archangel, all of which will need to have ![]() Libra cast on them. You will be facing quite a bit more of these enemies as you progress through Eden and this will help speed up the fights. The next group of enemies includes four Adamantheron which are very similar to the Pantherons and Thexterons you’ve faced before.
Libra cast on them. You will be facing quite a bit more of these enemies as you progress through Eden and this will help speed up the fights. The next group of enemies includes four Adamantheron which are very similar to the Pantherons and Thexterons you’ve faced before.

The next group of enemies includes two Sanctum Seraphs, which are new, with a Bulwarker, which is not new. Spend some time defeating the Sanctum Seraphs first and this should give the Bulwarker a chance to summon its Targeting Beacon. Don’t forget to use Libra or a ![]() Librascope on the Beacon to complete the Enemy Intel section of the
Librascope on the Beacon to complete the Enemy Intel section of the ![]() Datalog.
Datalog.
Missable Content
This is the last opportunity for you to see a Bulwarker Targeting Beacon. Note that this is different from the previous Targeting Beacon you may have seen the Uhlans use in the Vile Peaks. Make sure to allow this Bulwarker the chance to summon one.
You can use the elevator at the end of the Skywalk pathway to reach the next area, but consider switching your default Paradigm to something more defensive (such as Evened Odds) before you activate it with ![]()
![]()
![]() .
.
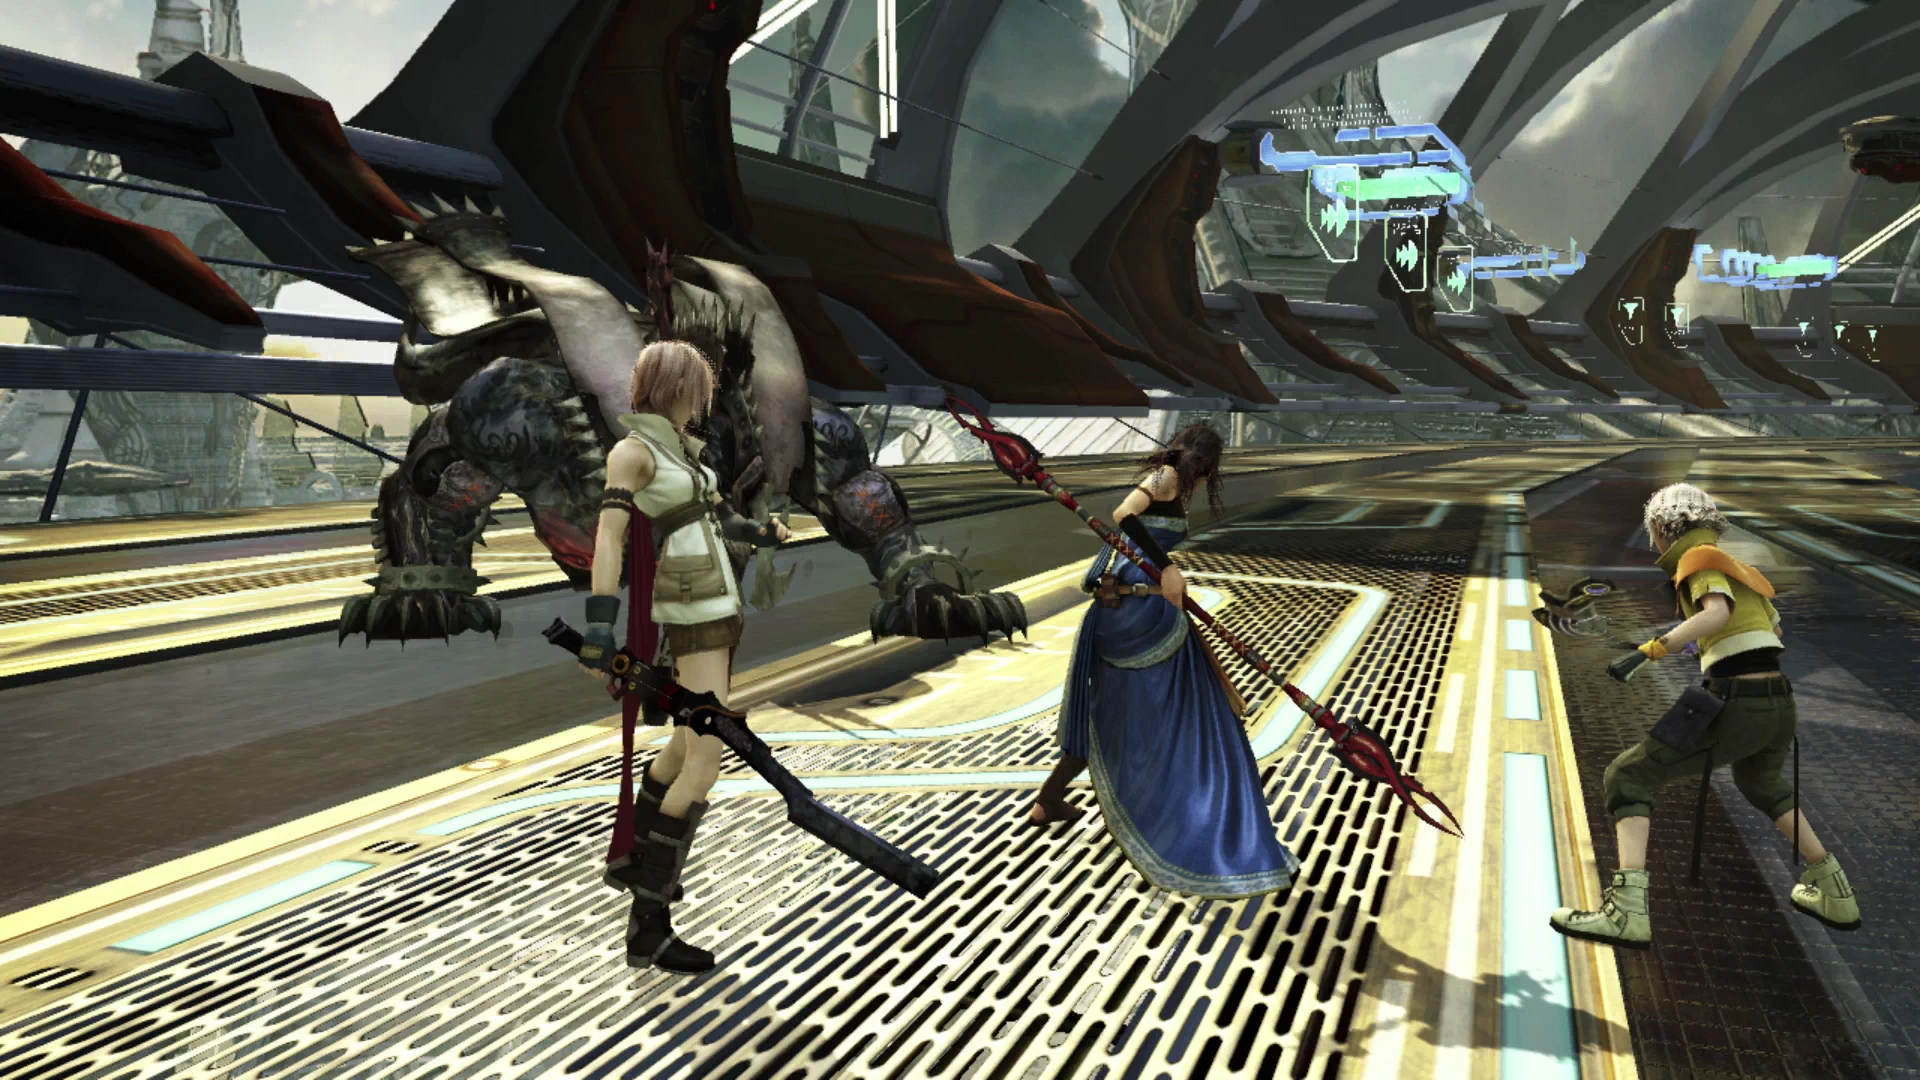
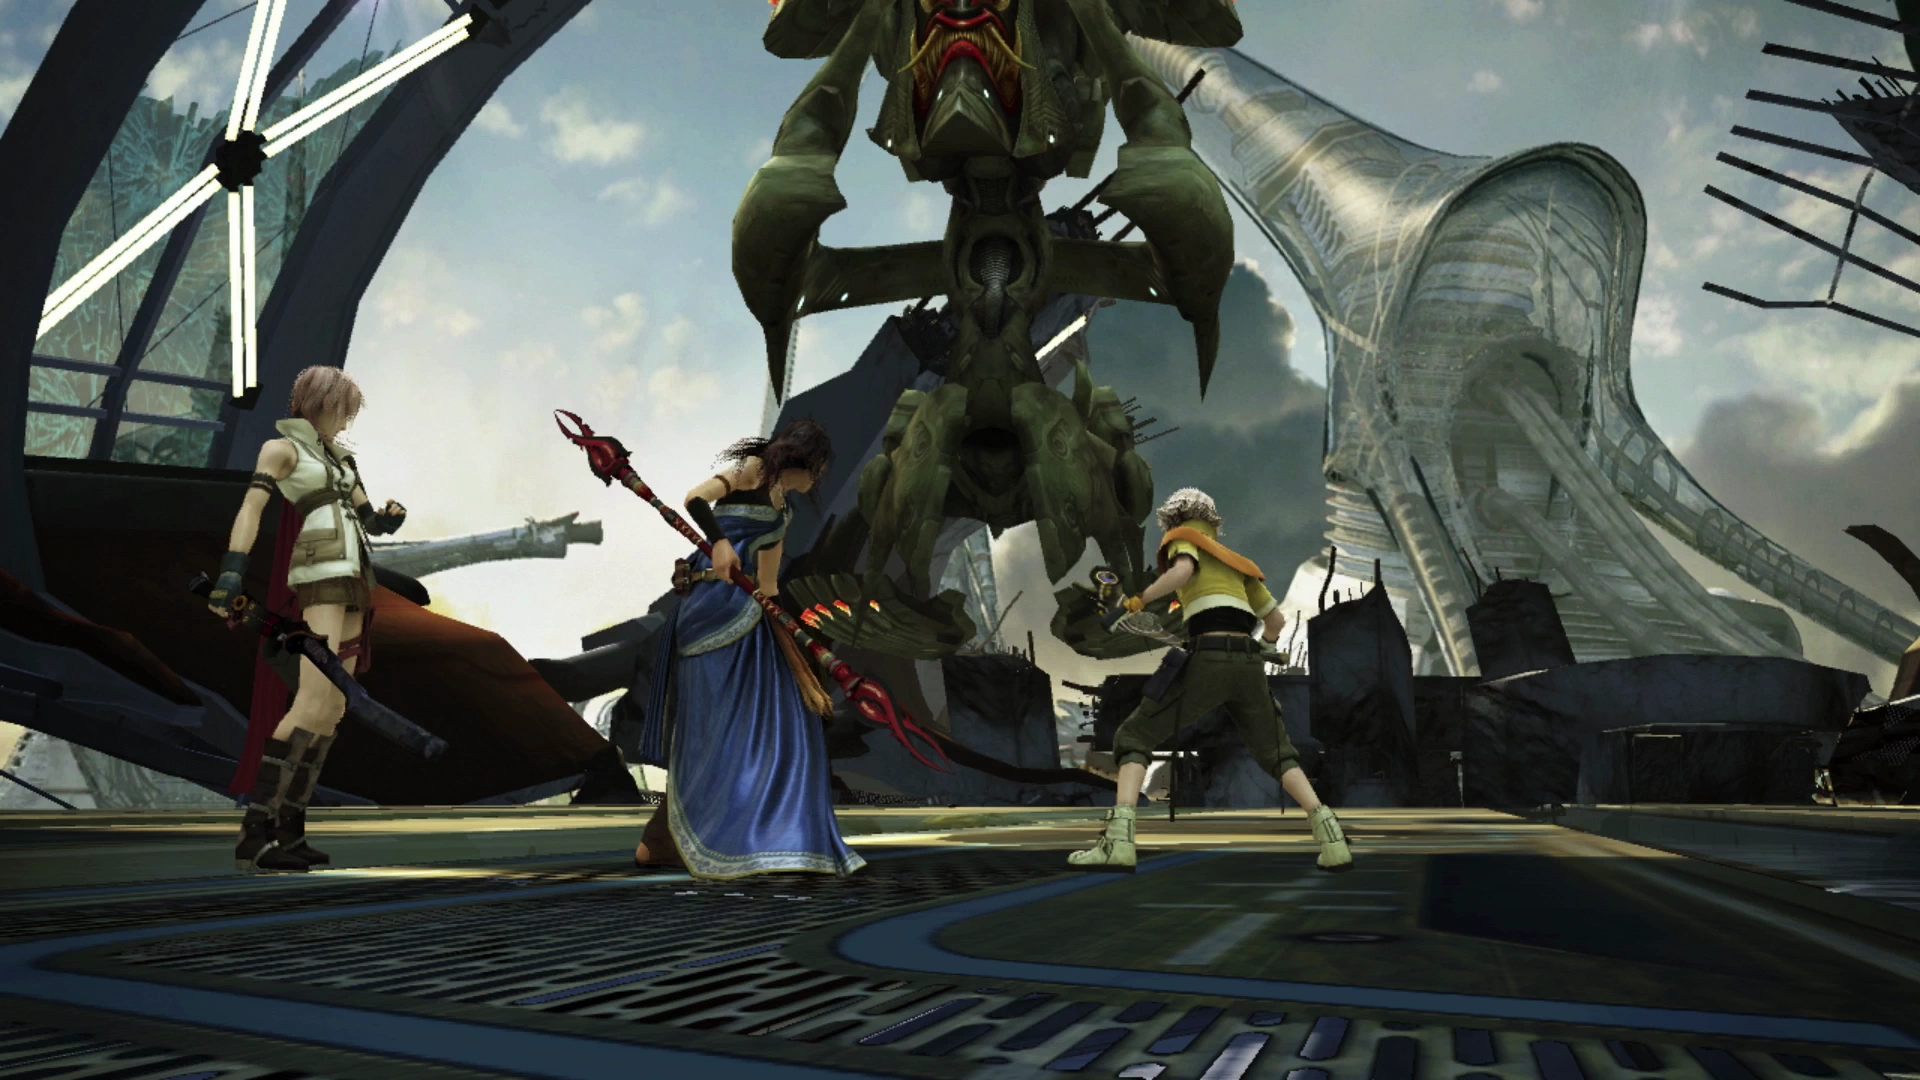
Expressway


A short cinematic will take place as the team enters this next area of Eden. At the end of the cinematic, you will be thrown into battle against a Behemoth King. This enemy would only be new (and require the use of a ![]() Libra to kick things off) if you didn’t take the opportunity to fight any Behemoth Kings in the Archylte Steppe.
Libra to kick things off) if you didn’t take the opportunity to fight any Behemoth Kings in the Archylte Steppe.
The best approach is to start off defensively by applying buffs and debuffs with a ![]() Saboteur and
Saboteur and ![]() Synergist. Like other Behemoth-type enemies, it will rise up onto two feet once its HP falls below 50%, remove any negative debuffs, and start hammering your party members for a fairly high amount of damage. It cannot perform this action if it is both Staggered and launched in the air, but this is fairly challenging to time optimally so assume that you will have a prolonged battle against a difficult enemy and plan accordingly.
Synergist. Like other Behemoth-type enemies, it will rise up onto two feet once its HP falls below 50%, remove any negative debuffs, and start hammering your party members for a fairly high amount of damage. It cannot perform this action if it is both Staggered and launched in the air, but this is fairly challenging to time optimally so assume that you will have a prolonged battle against a difficult enemy and plan accordingly.
Use the nearby ![]() Save Station to save your game, sell items or upgrade your weapons. Run forward and fight the two Orobon enemies up ahead (which you’ve fought before). Continue down the road to find another group of four of them to fight. Finally, the last group includes three more Orobons with a Behemoth King. Focus your attack on each of the three Orobons first before switching over to the Behemoth King when it’s all alone.
Save Station to save your game, sell items or upgrade your weapons. Run forward and fight the two Orobon enemies up ahead (which you’ve fought before). Continue down the road to find another group of four of them to fight. Finally, the last group includes three more Orobons with a Behemoth King. Focus your attack on each of the three Orobons first before switching over to the Behemoth King when it’s all alone.
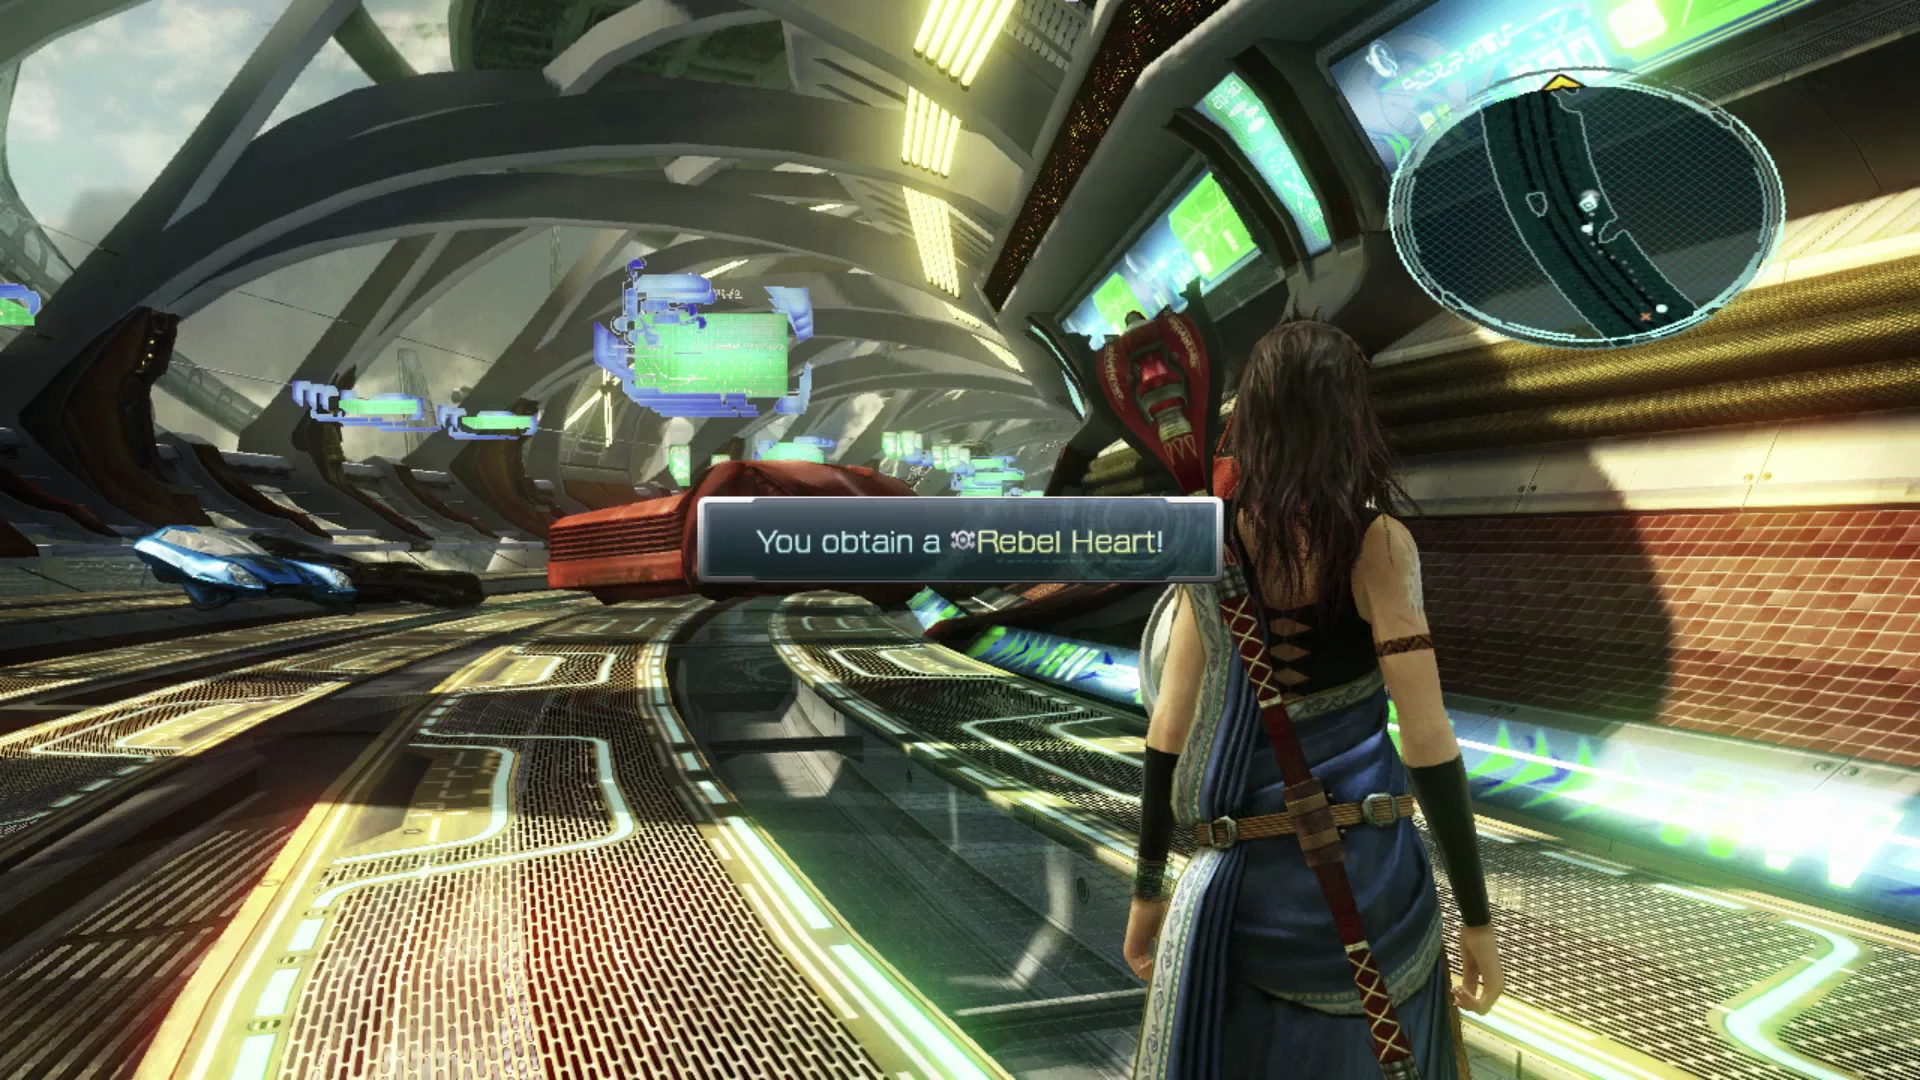
There is a Treasure Sphere on the right side of the Expressway, behind one of the overturned cars, that contains a ![]() Rebel Heart weapon for Snow. This weapon increases Snow’s stats when his HP reaches critical, making it a gimmicky weapon at best, and not worth equipping over whatever else he might be using.
Rebel Heart weapon for Snow. This weapon increases Snow’s stats when his HP reaches critical, making it a gimmicky weapon at best, and not worth equipping over whatever else he might be using.
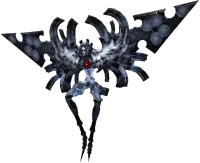
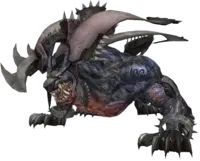
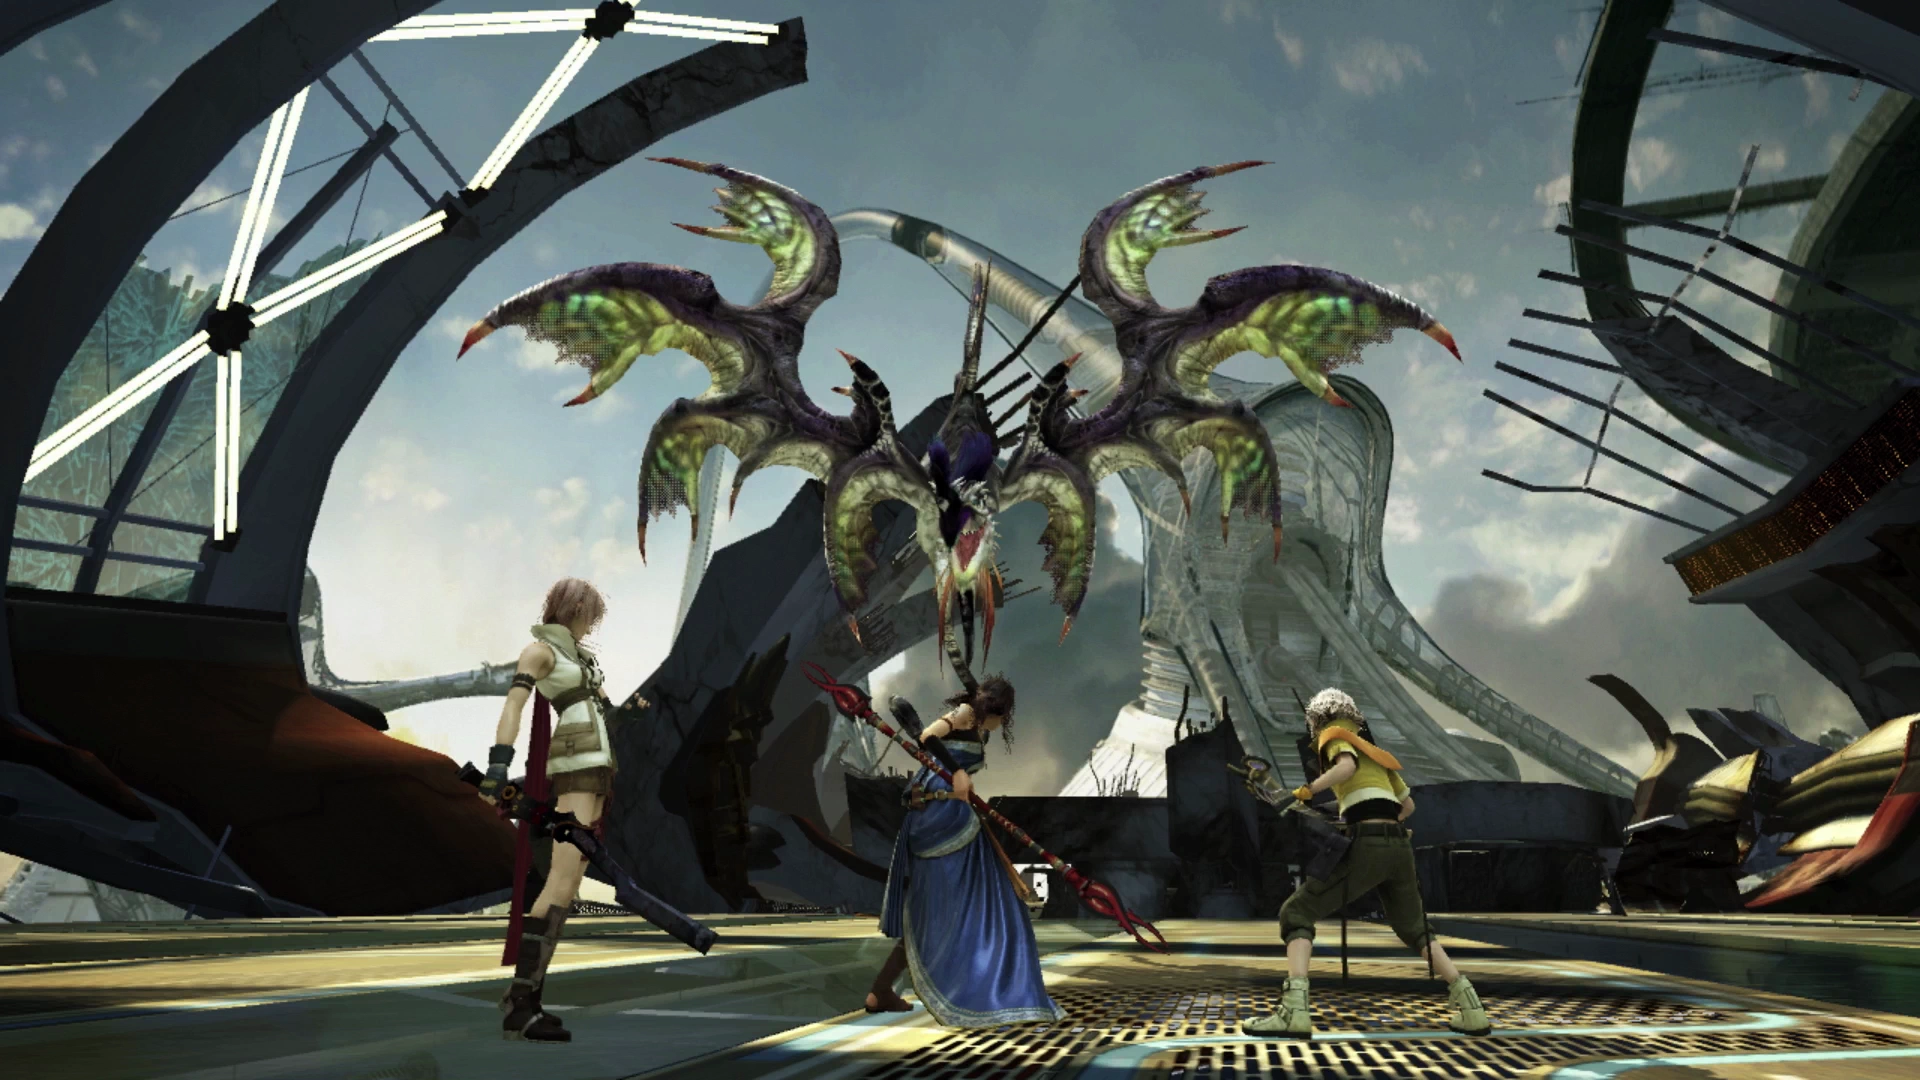
Continue along the Expressway until a giant Amphisbaena drops through the rough. It won’t immediately engage you in battle, but you also can’t sneak up on it for a preemptive strike. It deals a fairly high amount of damage but is otherwise just like the other Wyvern-type enemies you have faced already. It dies easily once you’re able to trigger a Stagger.
Further ahead is another group of two Adamantheron followed by a second group that includes three Adamantheron with two Corps Defenders. The pathway through this area is quite linear but make sure not to leave behind any of the Treasure Spheres. This includes the one that contained the ![]() Rebel Heart and the one just up ahead, which you can’t open until you defeat the nearby Proto-behemoth.
Rebel Heart and the one just up ahead, which you can’t open until you defeat the nearby Proto-behemoth.
This is a new enemy but the strategy you should employ is the same one that you’ve used to defeat previous Behemoth-type enemies. Use ![]() Libra early though to reveal its weakness to ice-based attacks, which should make defeating it much easier. Oddly though, unlike other Behemoths, the Proto-behemoth will not recover its HP when it stands up in its second form.
Libra early though to reveal its weakness to ice-based attacks, which should make defeating it much easier. Oddly though, unlike other Behemoths, the Proto-behemoth will not recover its HP when it stands up in its second form.
Helpful Hint
You probably aren’t at risk of this right now, but something to keep in mind is that each character can have a maximum of 999,999 CP at any given time. This is unlikely to impact your main party, but it can have an impact if you have been forgetting or delaying spending CP on your secondary/unused party members.
Keep an eye on their CP and keep it well under 999,999 so that they don’t max out and miss out on CP from upcoming boss battles.
Don’t forget to grab the Treasure Sphere behind you that contains an ![]() Otshirvani for Hope. This weapon has the
Otshirvani for Hope. This weapon has the ![]() Siphon Boost passive ability which will increase Hope’s ATB Gauge when he uses
Siphon Boost passive ability which will increase Hope’s ATB Gauge when he uses ![]() Fearsiphon,
Fearsiphon, ![]() Faultsiphon, or
Faultsiphon, or ![]() Lifesiphon.
Lifesiphon.
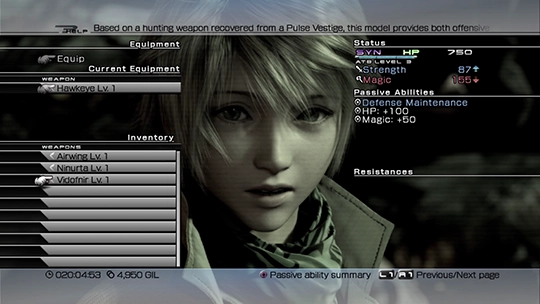
This can increase his effectiveness as a ![]() Ravager but its stats are very low to start, so it tends to only be useful towards the end of the game when you can upgrade it. It’s recommended that Hope continue to use his
Ravager but its stats are very low to start, so it tends to only be useful towards the end of the game when you can upgrade it. It’s recommended that Hope continue to use his ![]() Hawkeye (or
Hawkeye (or ![]() Eagletalon if you upgraded it) weapon instead of this one.
Eagletalon if you upgraded it) weapon instead of this one.

Use the nearby ![]() Save Station to save your game and then get ready for an upcoming boss battle before you jump over the nearby pile of rubble. You will want to start off in a defensive Paradigm but it’s worth noting that the upcoming boss is immune to all status effects, which means that having a
Save Station to save your game and then get ready for an upcoming boss battle before you jump over the nearby pile of rubble. You will want to start off in a defensive Paradigm but it’s worth noting that the upcoming boss is immune to all status effects, which means that having a ![]() Saboteur in your party will provide zero value.
Saboteur in your party will provide zero value.
If you have been using Paradigms like Evened Odds (![]() Saboteur /
Saboteur / ![]() Medic /
Medic / ![]() Synergist) or Superiority (
Synergist) or Superiority (![]() Saboteur /
Saboteur / ![]() Synergist /
Synergist / ![]() Synergist) just swap out the
Synergist) just swap out the ![]() Saboteur for a
Saboteur for a ![]() Sentinel (if Fang is your
Sentinel (if Fang is your ![]() Saboteur, for example).
Saboteur, for example). ![]() Provoke will still work on the boss allowing your
Provoke will still work on the boss allowing your ![]() Sentinel to absorb attacks while your party buffs up.
Sentinel to absorb attacks while your party buffs up.
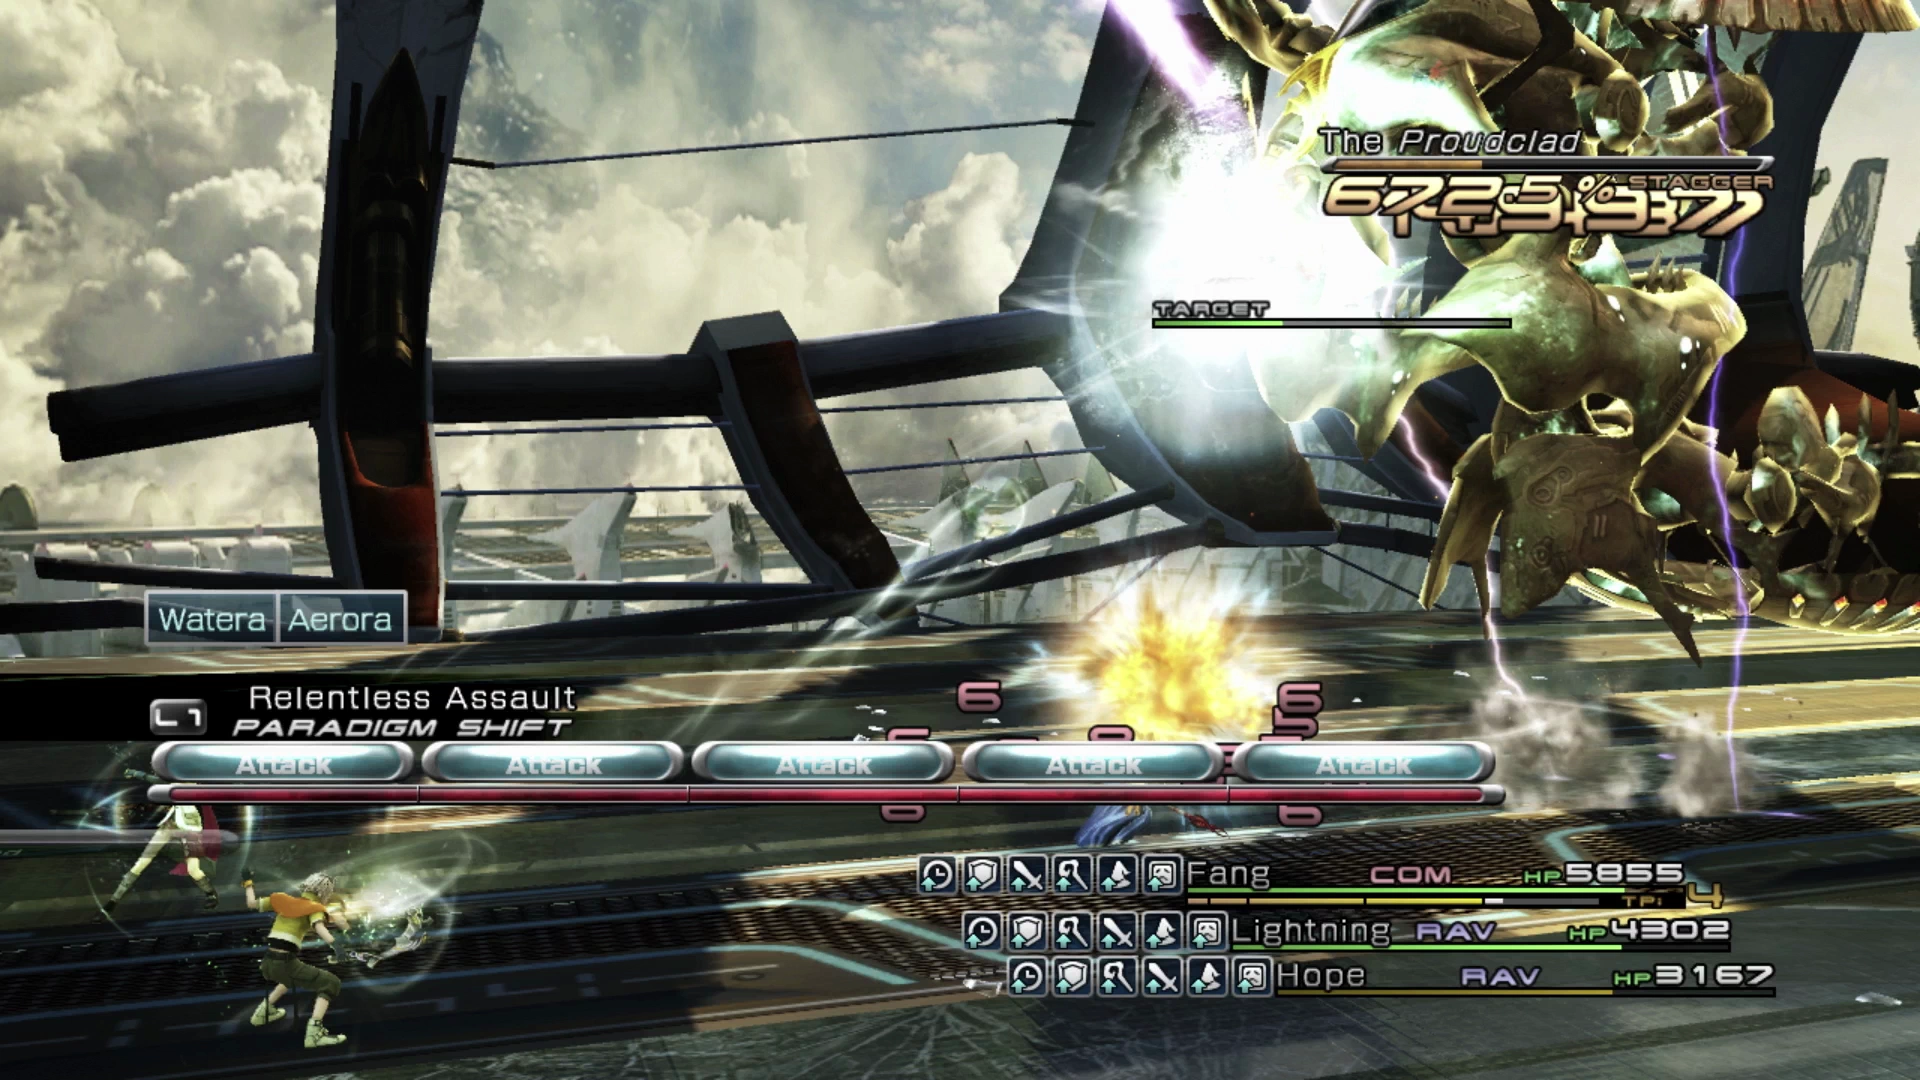
Boss Battle
Use ![]() Libra towards the beginning of the battle. Proudclad will continuously attack with weak laser beams and shots throughout the fight and, for the most part, this is its primary method of dealing damage. It isn’t until after it is Staggered for the first time that things escalate. A message will come up on the screen stating “Limiters Deactivated,” which buffs Proudclad with a number of positive status effects that greatly increase its damage, though it also takes more damage while in this state. It will also begin using a much heavier attack called “Retaliatory Strike,” and you will see the attack name appear as it starts, which is your cue to be ready with a defensive Paradigm.
Libra towards the beginning of the battle. Proudclad will continuously attack with weak laser beams and shots throughout the fight and, for the most part, this is its primary method of dealing damage. It isn’t until after it is Staggered for the first time that things escalate. A message will come up on the screen stating “Limiters Deactivated,” which buffs Proudclad with a number of positive status effects that greatly increase its damage, though it also takes more damage while in this state. It will also begin using a much heavier attack called “Retaliatory Strike,” and you will see the attack name appear as it starts, which is your cue to be ready with a defensive Paradigm.
Ideally, you will be able to defeat Proudclad in a single Stagger but this may be too difficult unless you have been completing the optional side quest content. Have a Paradigm ready to switch to if the damage becomes too much such as Combat Clinic (![]() Sentinel /
Sentinel / ![]() Medic /
Medic / ![]() Medic) and make sure to have your
Medic) and make sure to have your ![]() Synergist keep buffs active on your party members for the duration of the fight.
Synergist keep buffs active on your party members for the duration of the fight.
A strategy that you can use against “Retaliatory Strike” if it is causing too much damage to your party members is to have one of them summon an Eidolon. This will focus the damage on your Eidolon allowing your party members to survive the attack and continue the battle.
The damage in this fight can be fairly overwhelming, so if you’re having trouble, take some time to revisit your Paradigms and even go back and reassess the accessories that your party members have equipped. For this fight specifically, it may be worth swapping to a more defensive-focused equipment setup.
A short cutscene will take place at the end of the fight where Proudclad will take off. Off to the left side of the screen is an elevator the team can use to reach the level below which is continued in Part 2 of the Eden walkthrough.