
Chapter 12: Eden (Part 2)
This chapter is split into two parts. This section of the guide begins after the team has defeated Proudclad along the Expressway. Navigate back to Part 1 if you just arrived in Eden. The next few areas are named after summons and Eidolons from previous Final Fantasy titles that fans of the series will no doubt remember.
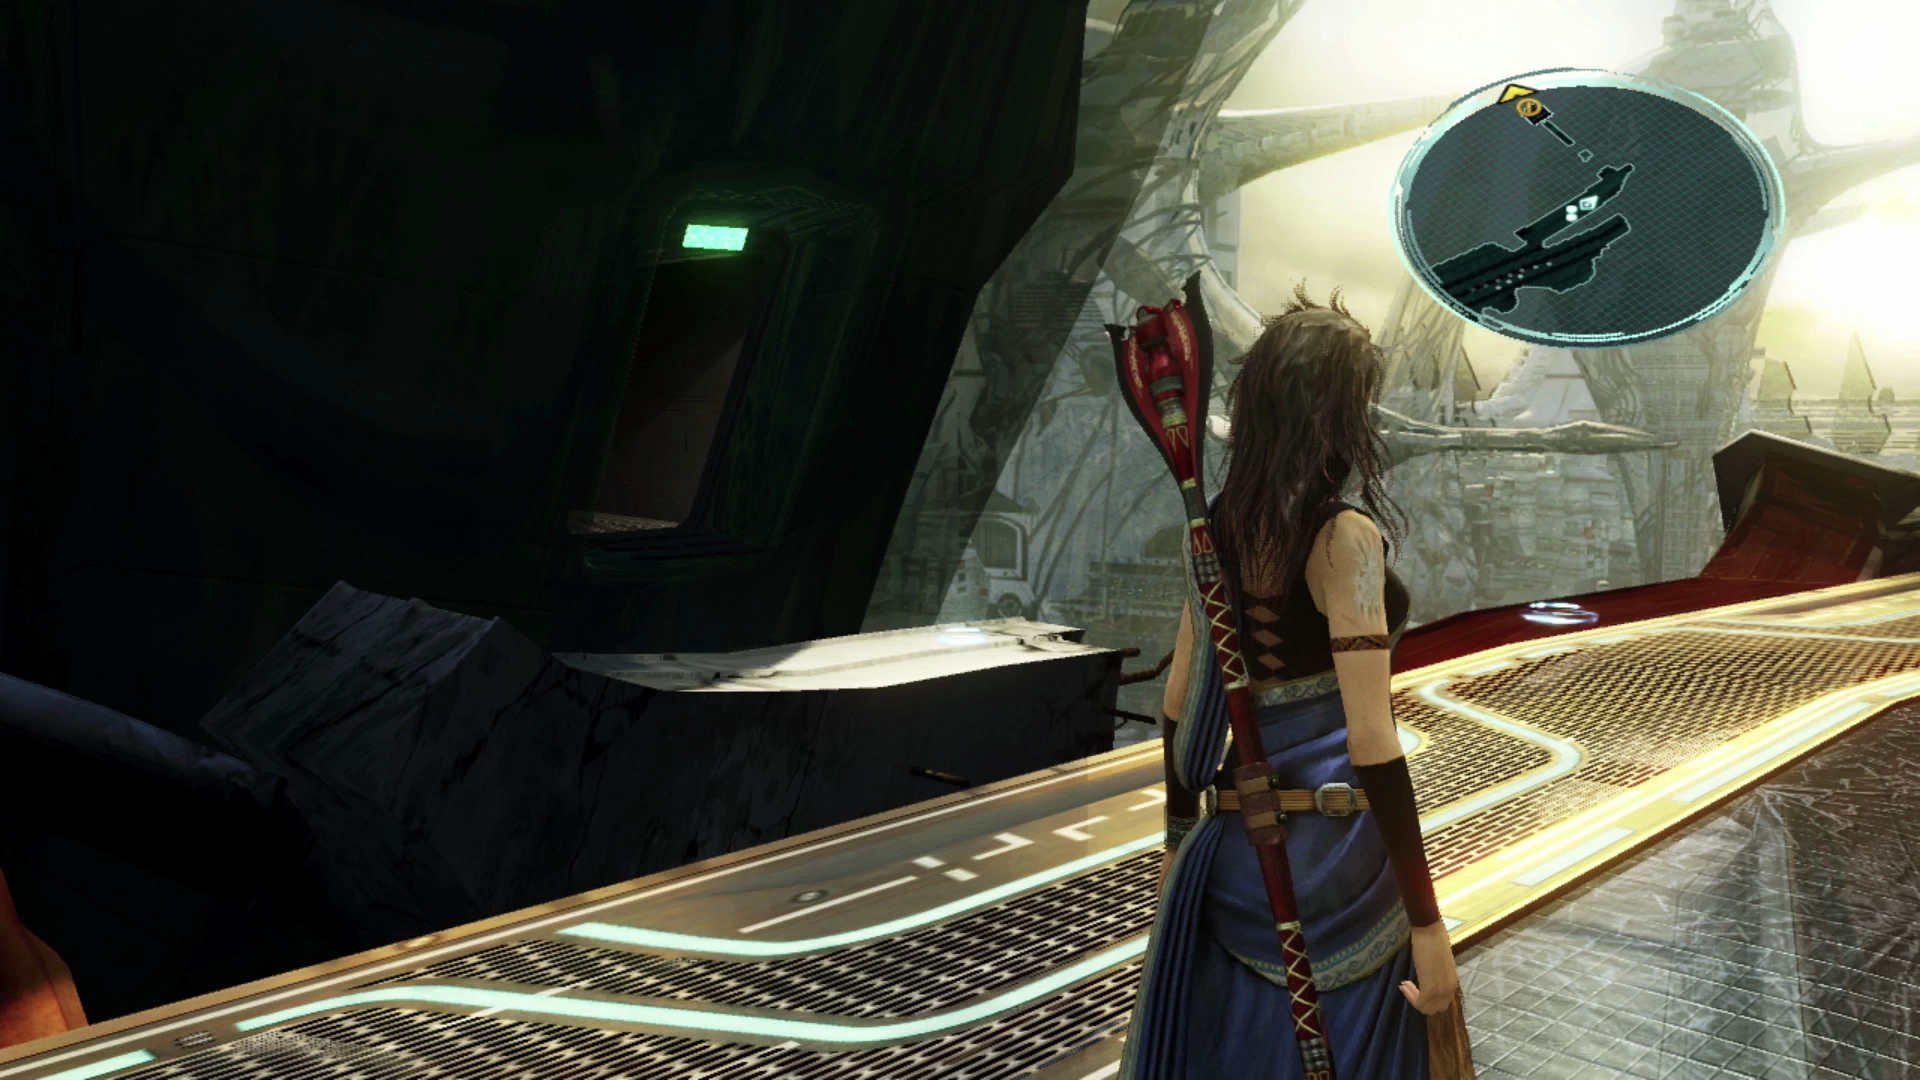
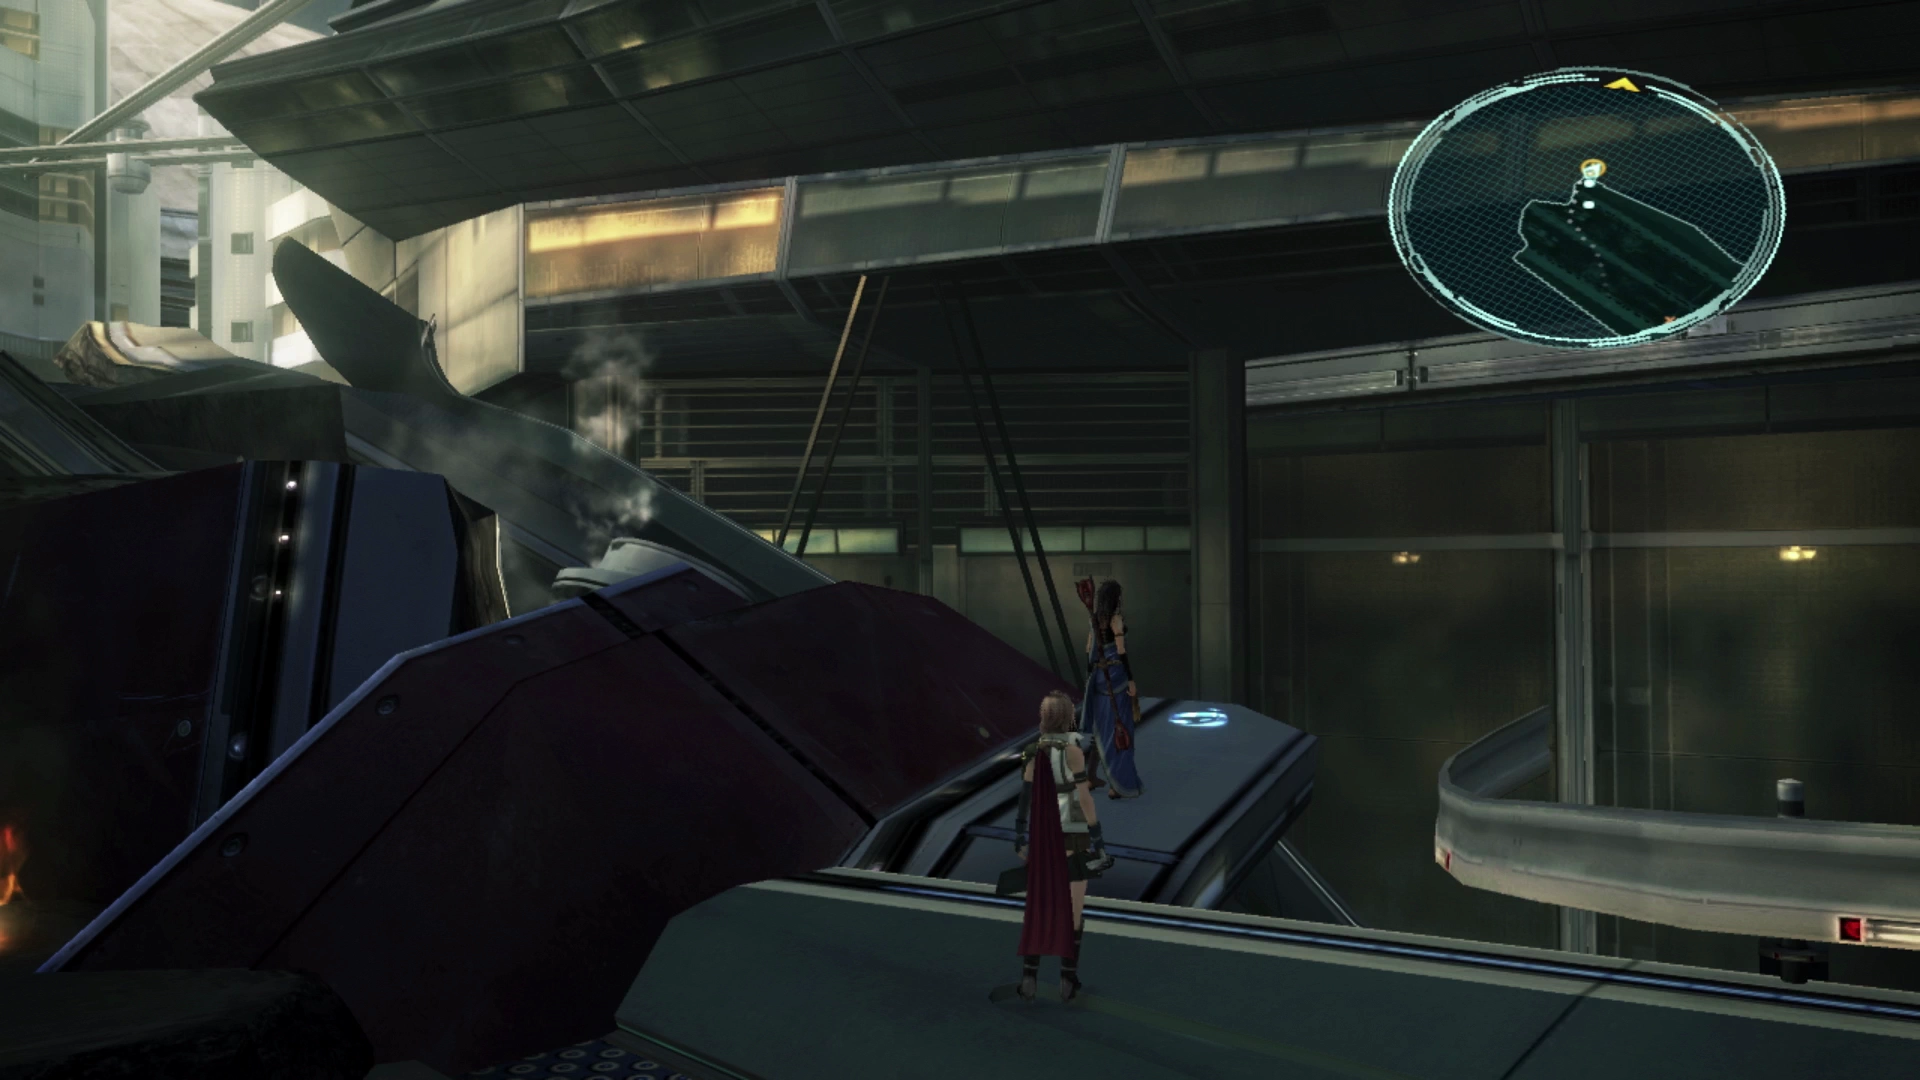
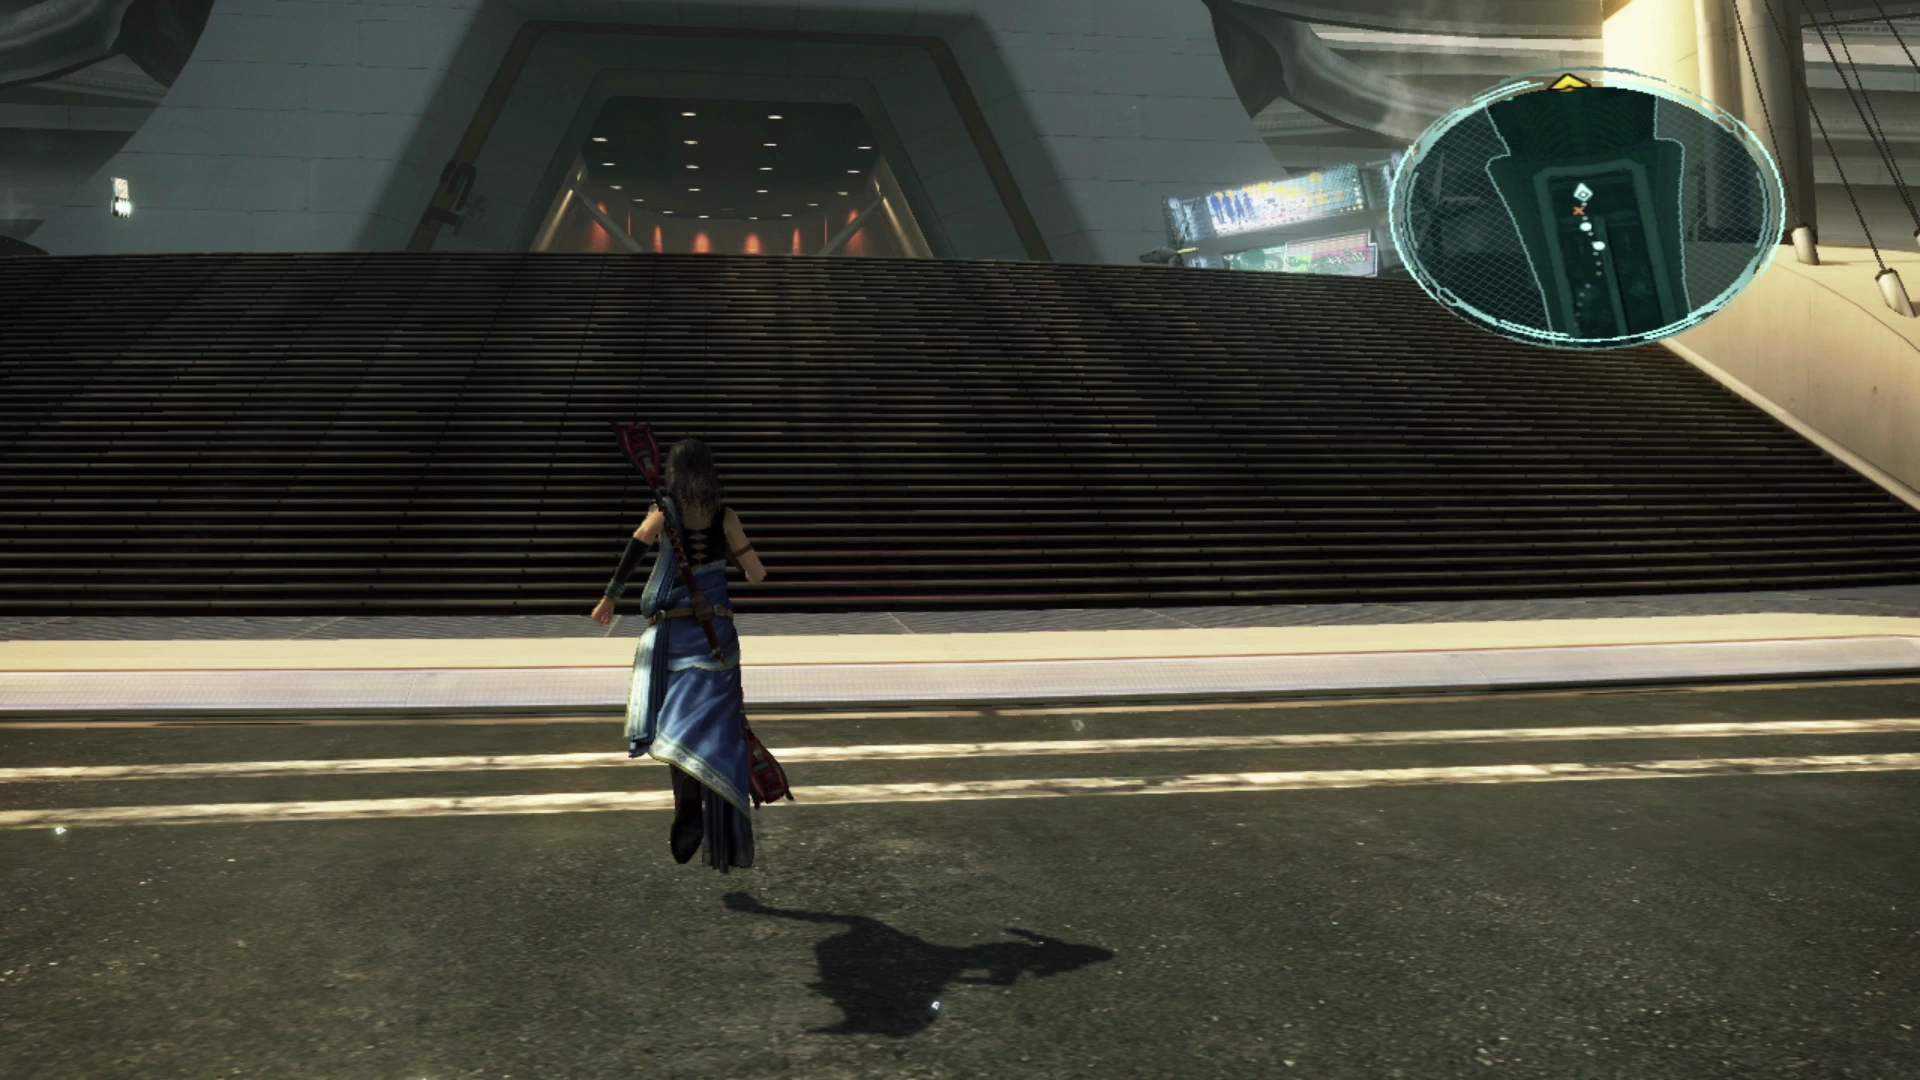
Bridge Pier Elevator
Walk into the elevator after defeating Proudclad and use the ![]()
![]()
![]() button to activate the elevator and ride it to the level below. When you get to the bottom, and before you step out and walk towards the destination marker, take some time to equip each of your party members with resistance against earth-based magic (e.g.
button to activate the elevator and ride it to the level below. When you get to the bottom, and before you step out and walk towards the destination marker, take some time to equip each of your party members with resistance against earth-based magic (e.g. ![]() Clay Ring).
Clay Ring).
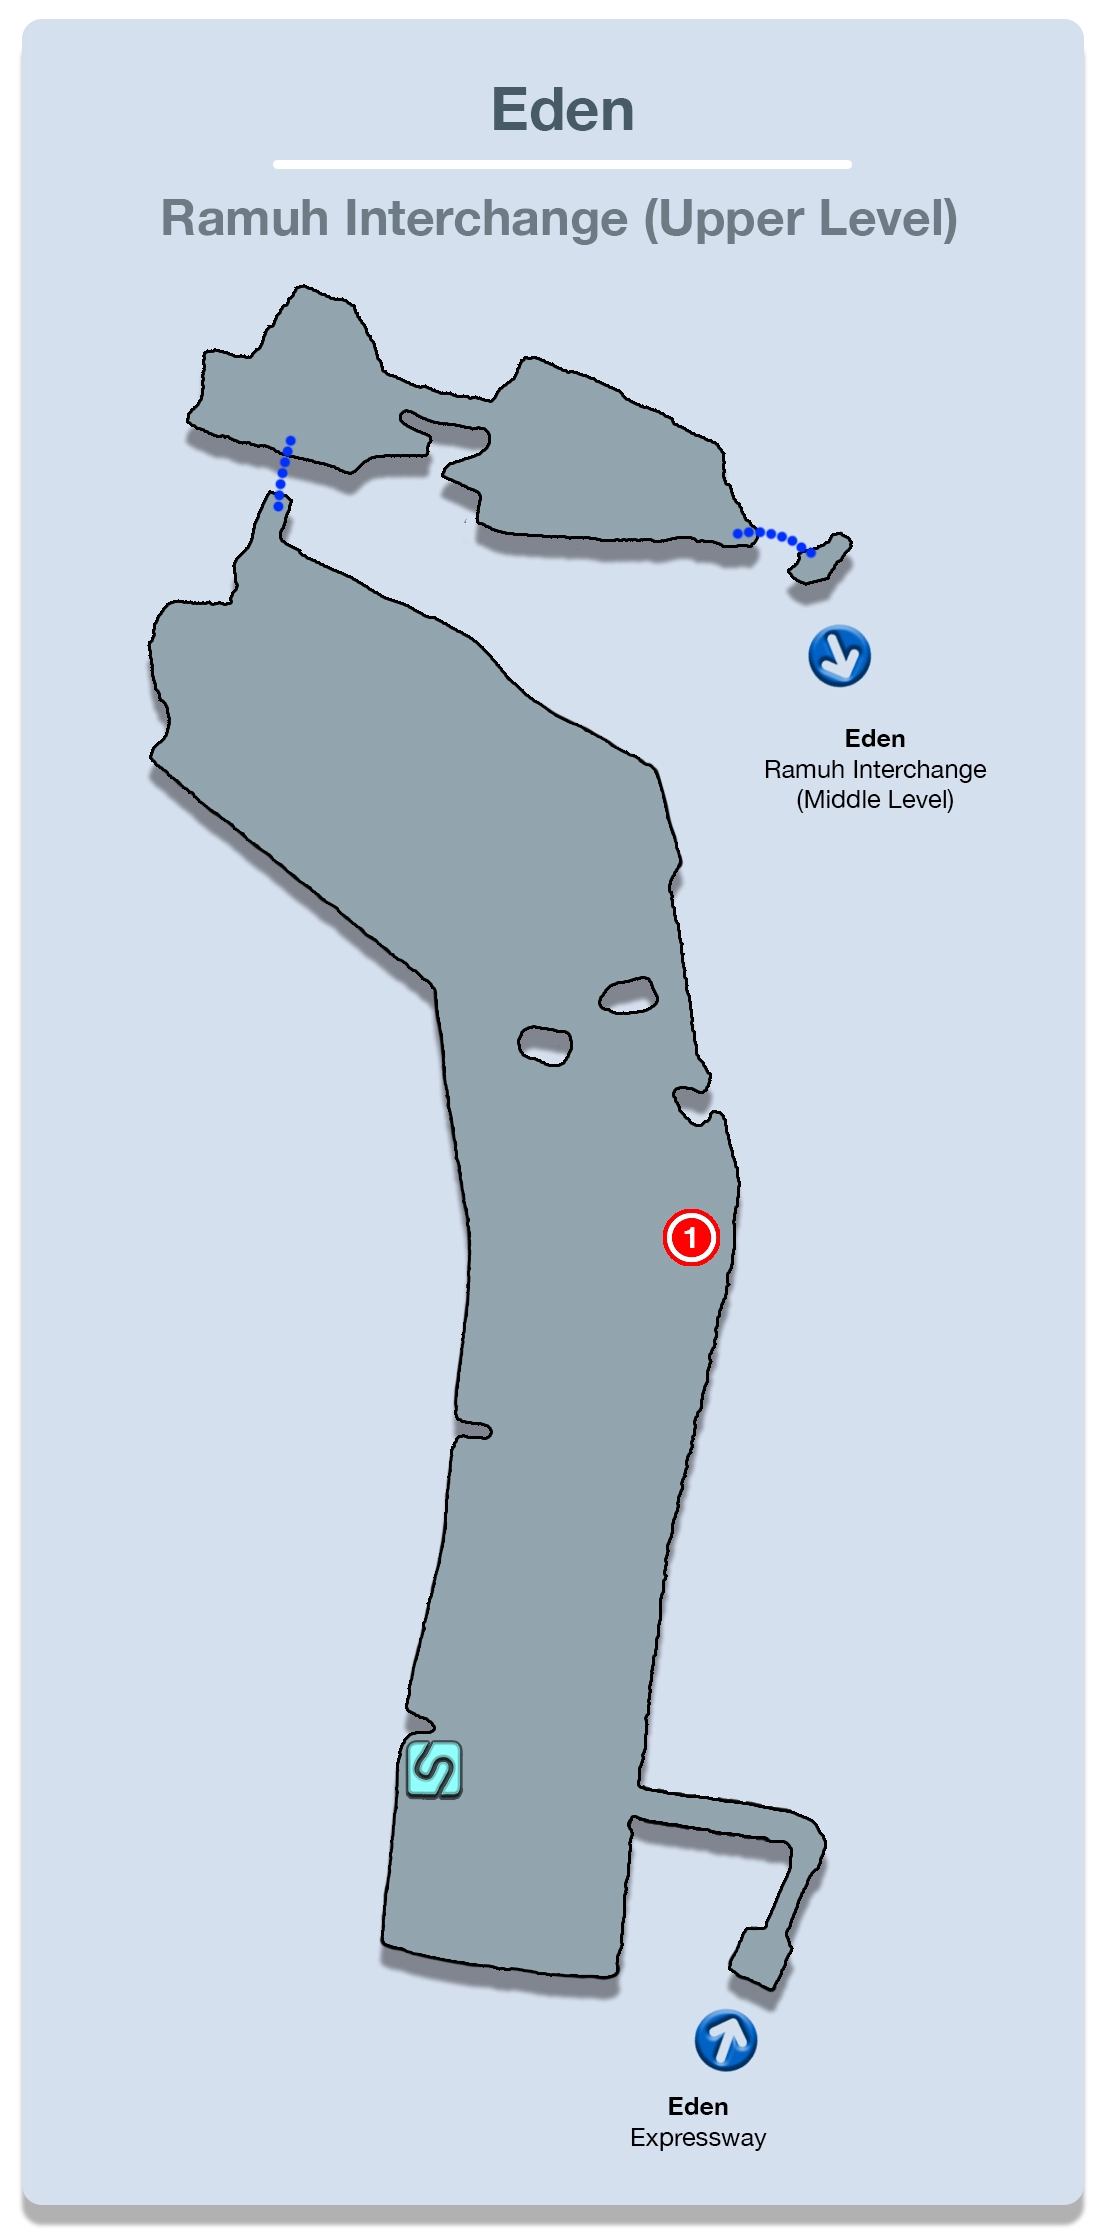
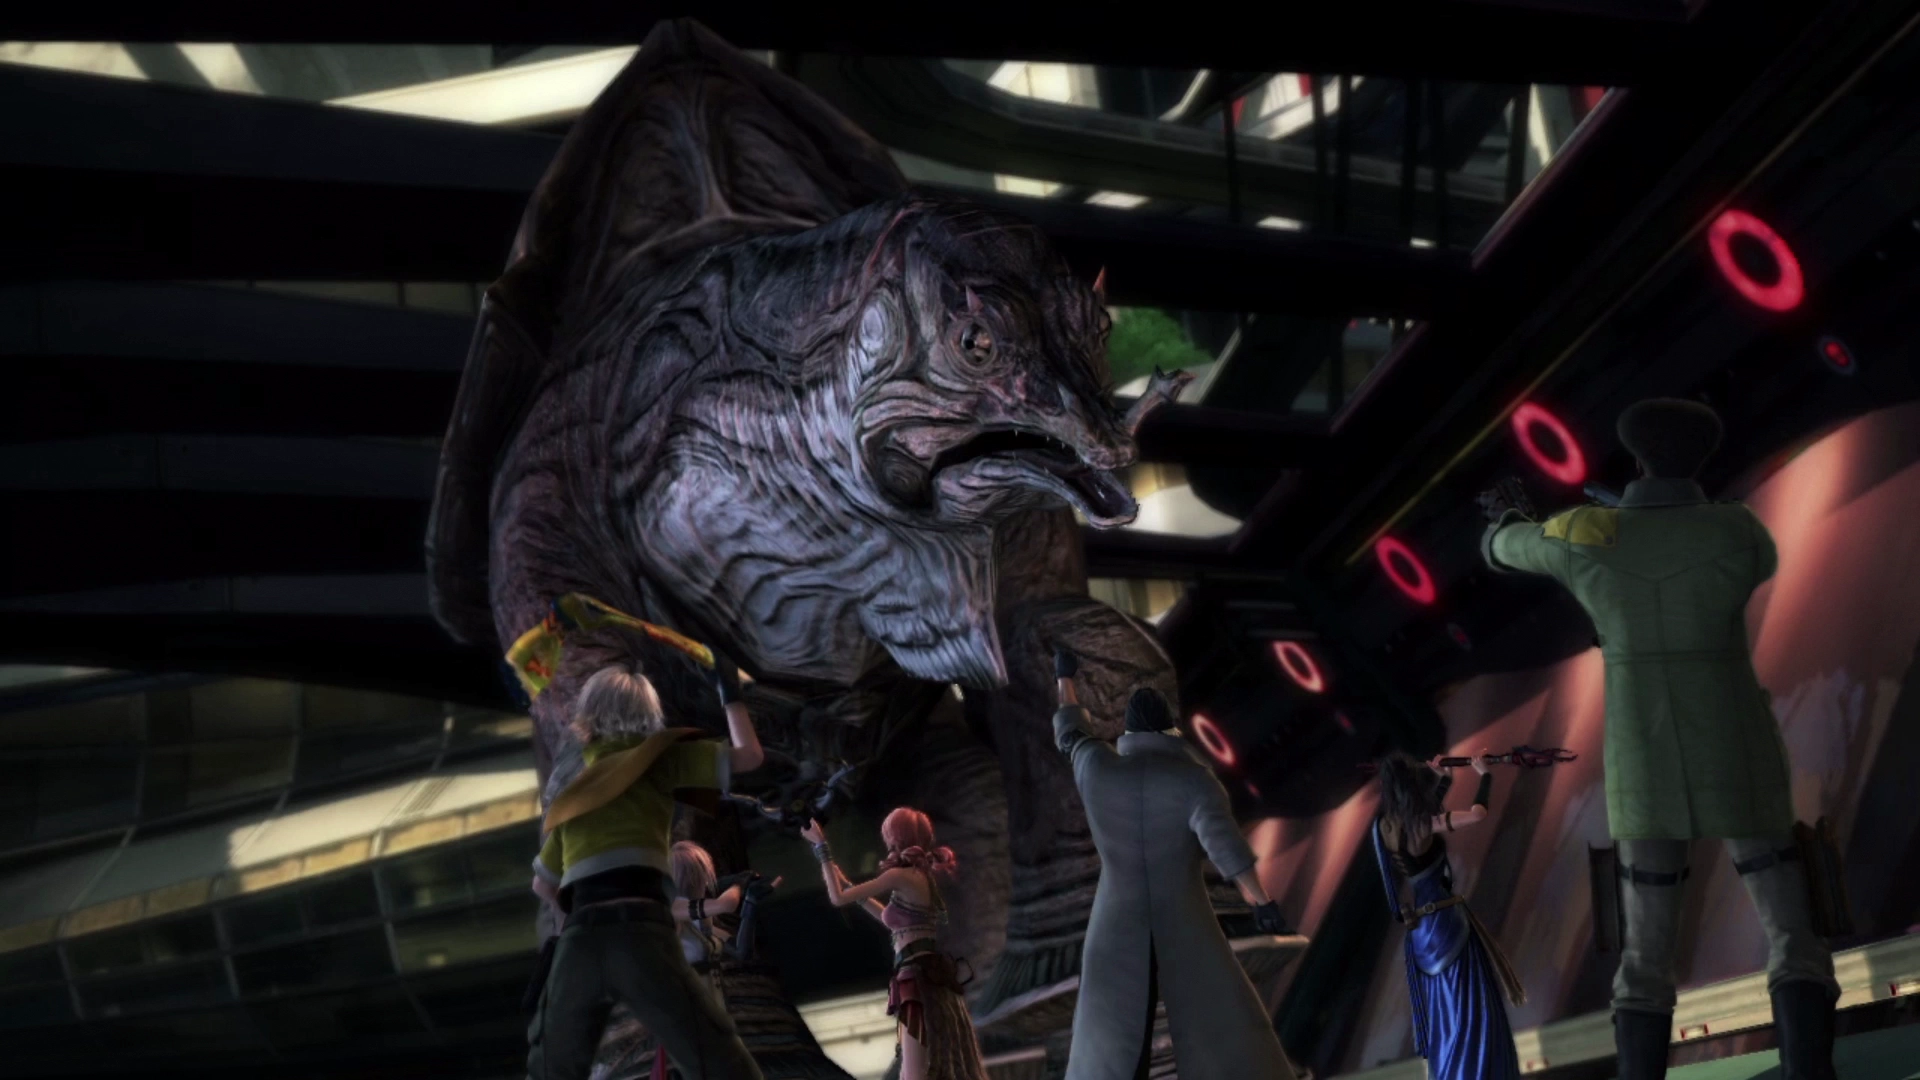
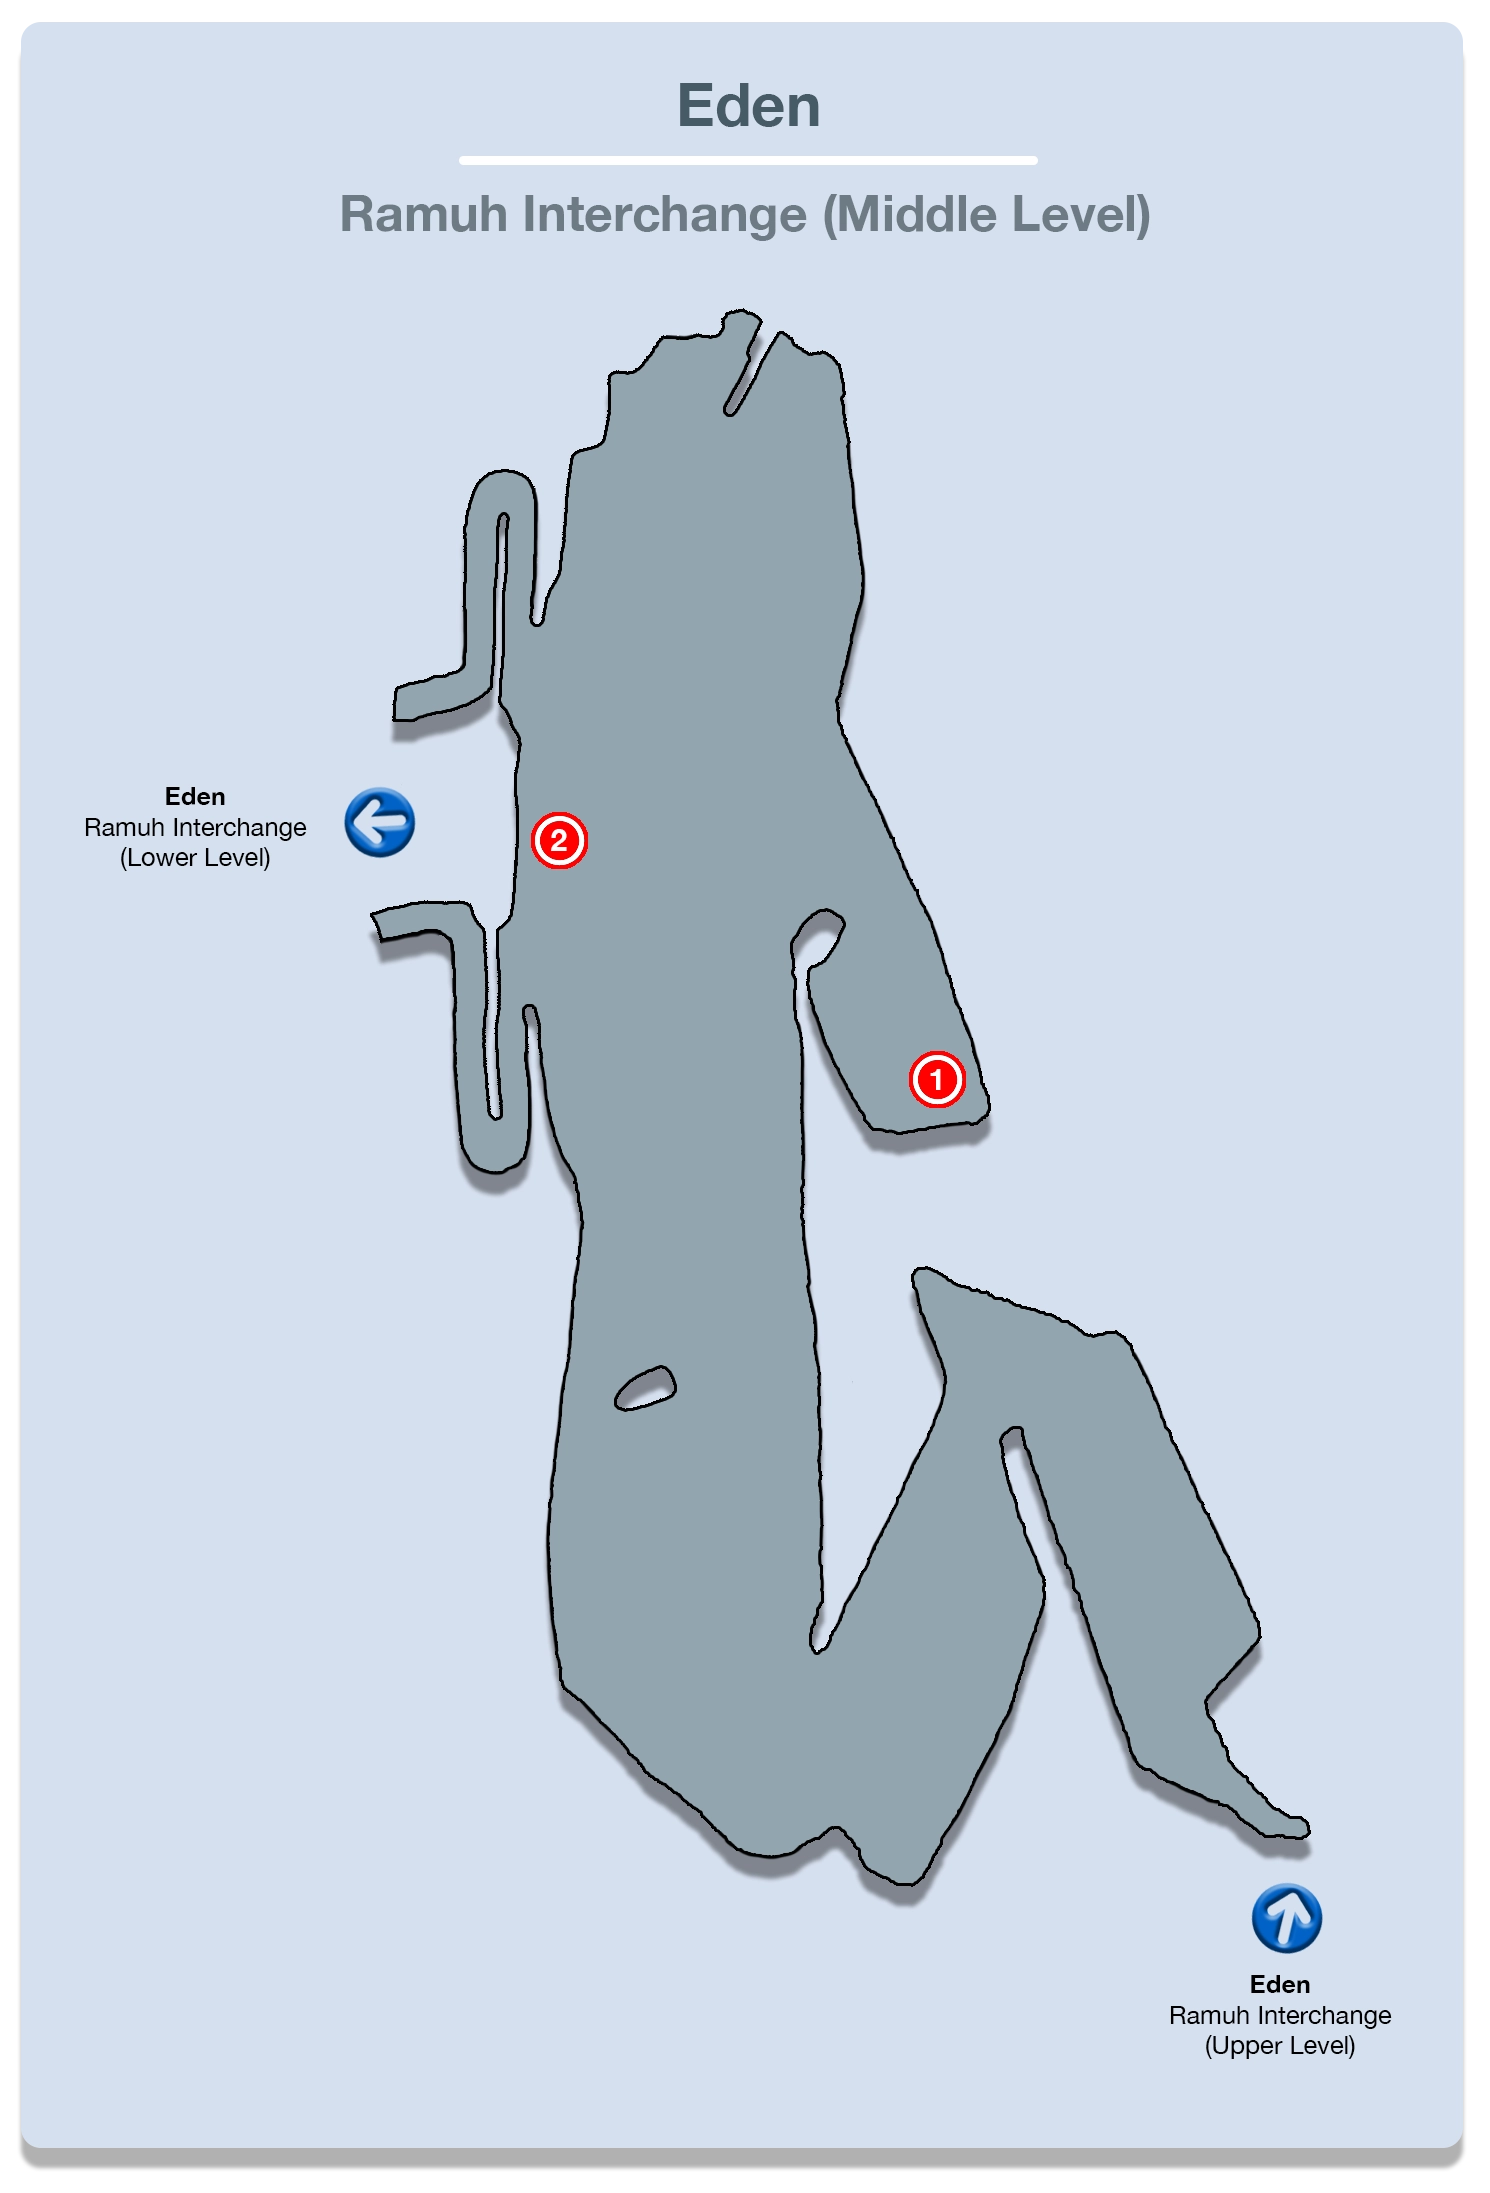
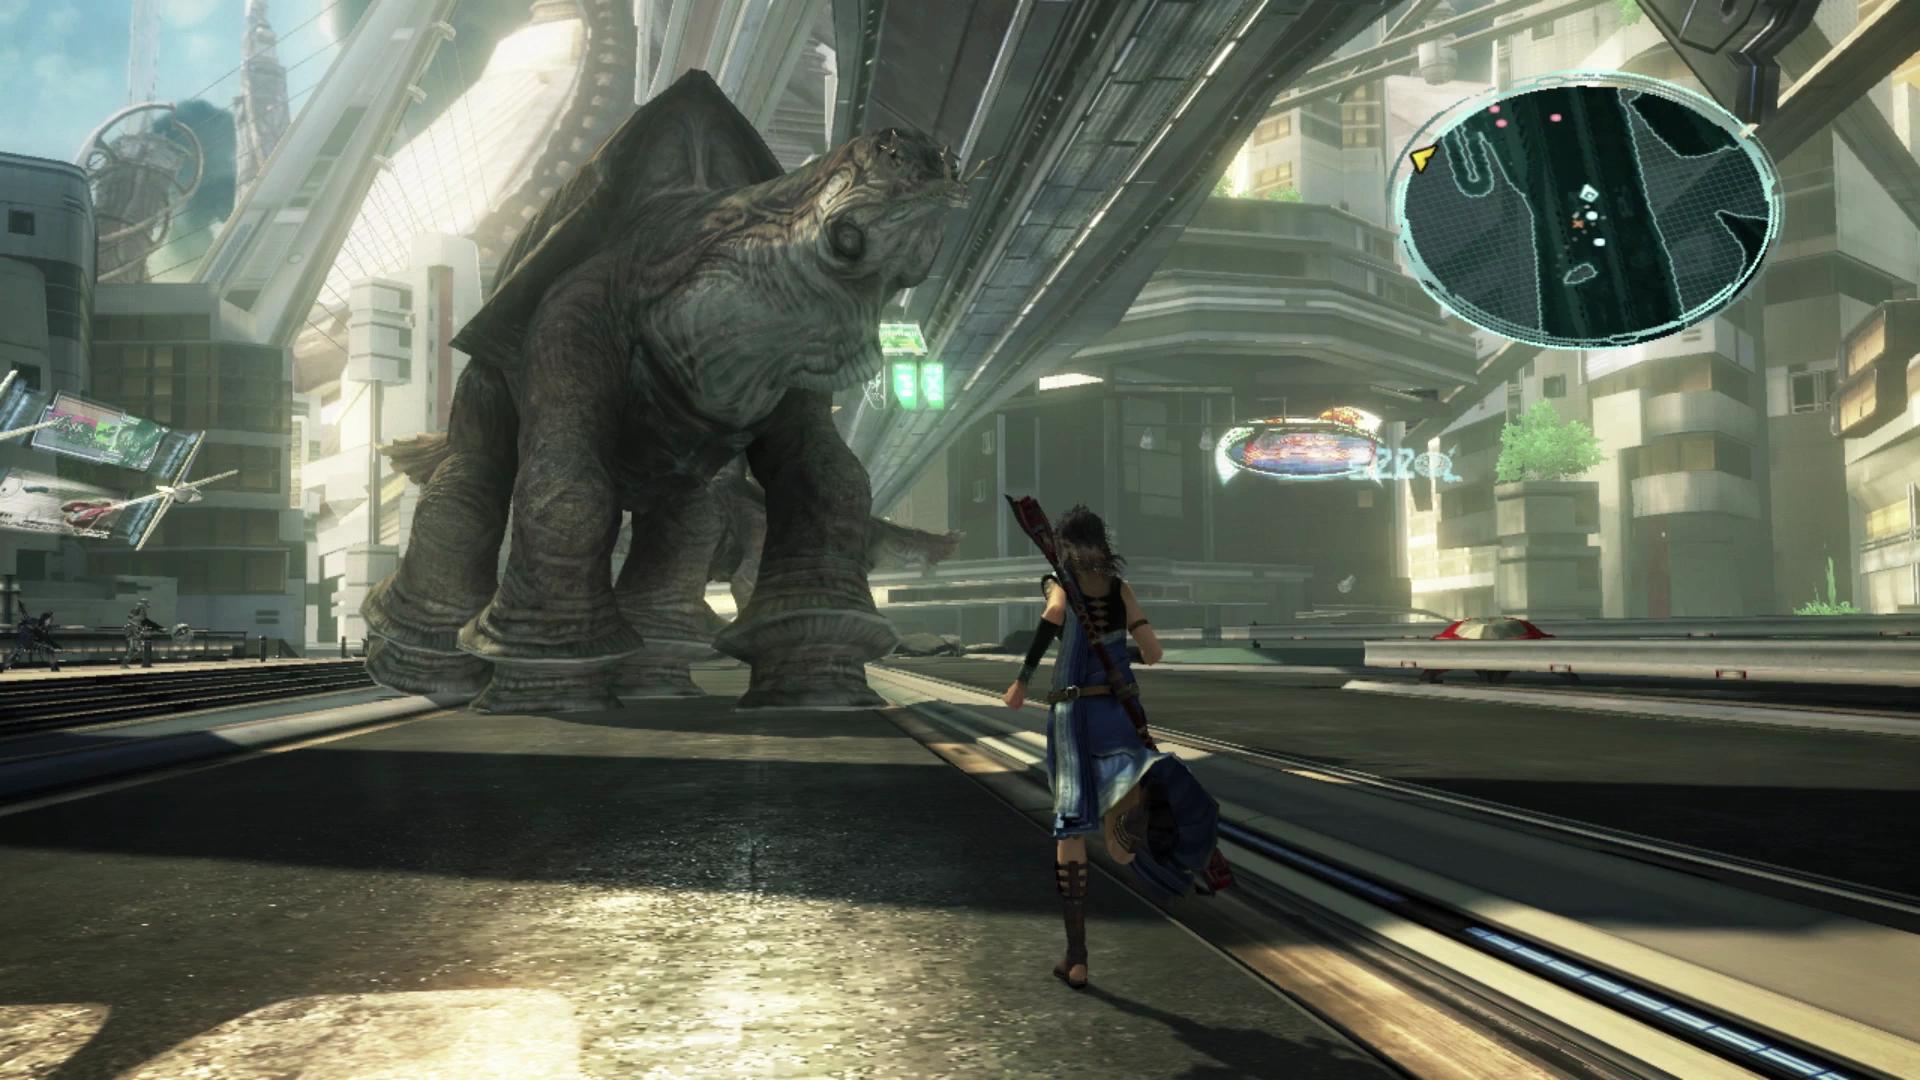
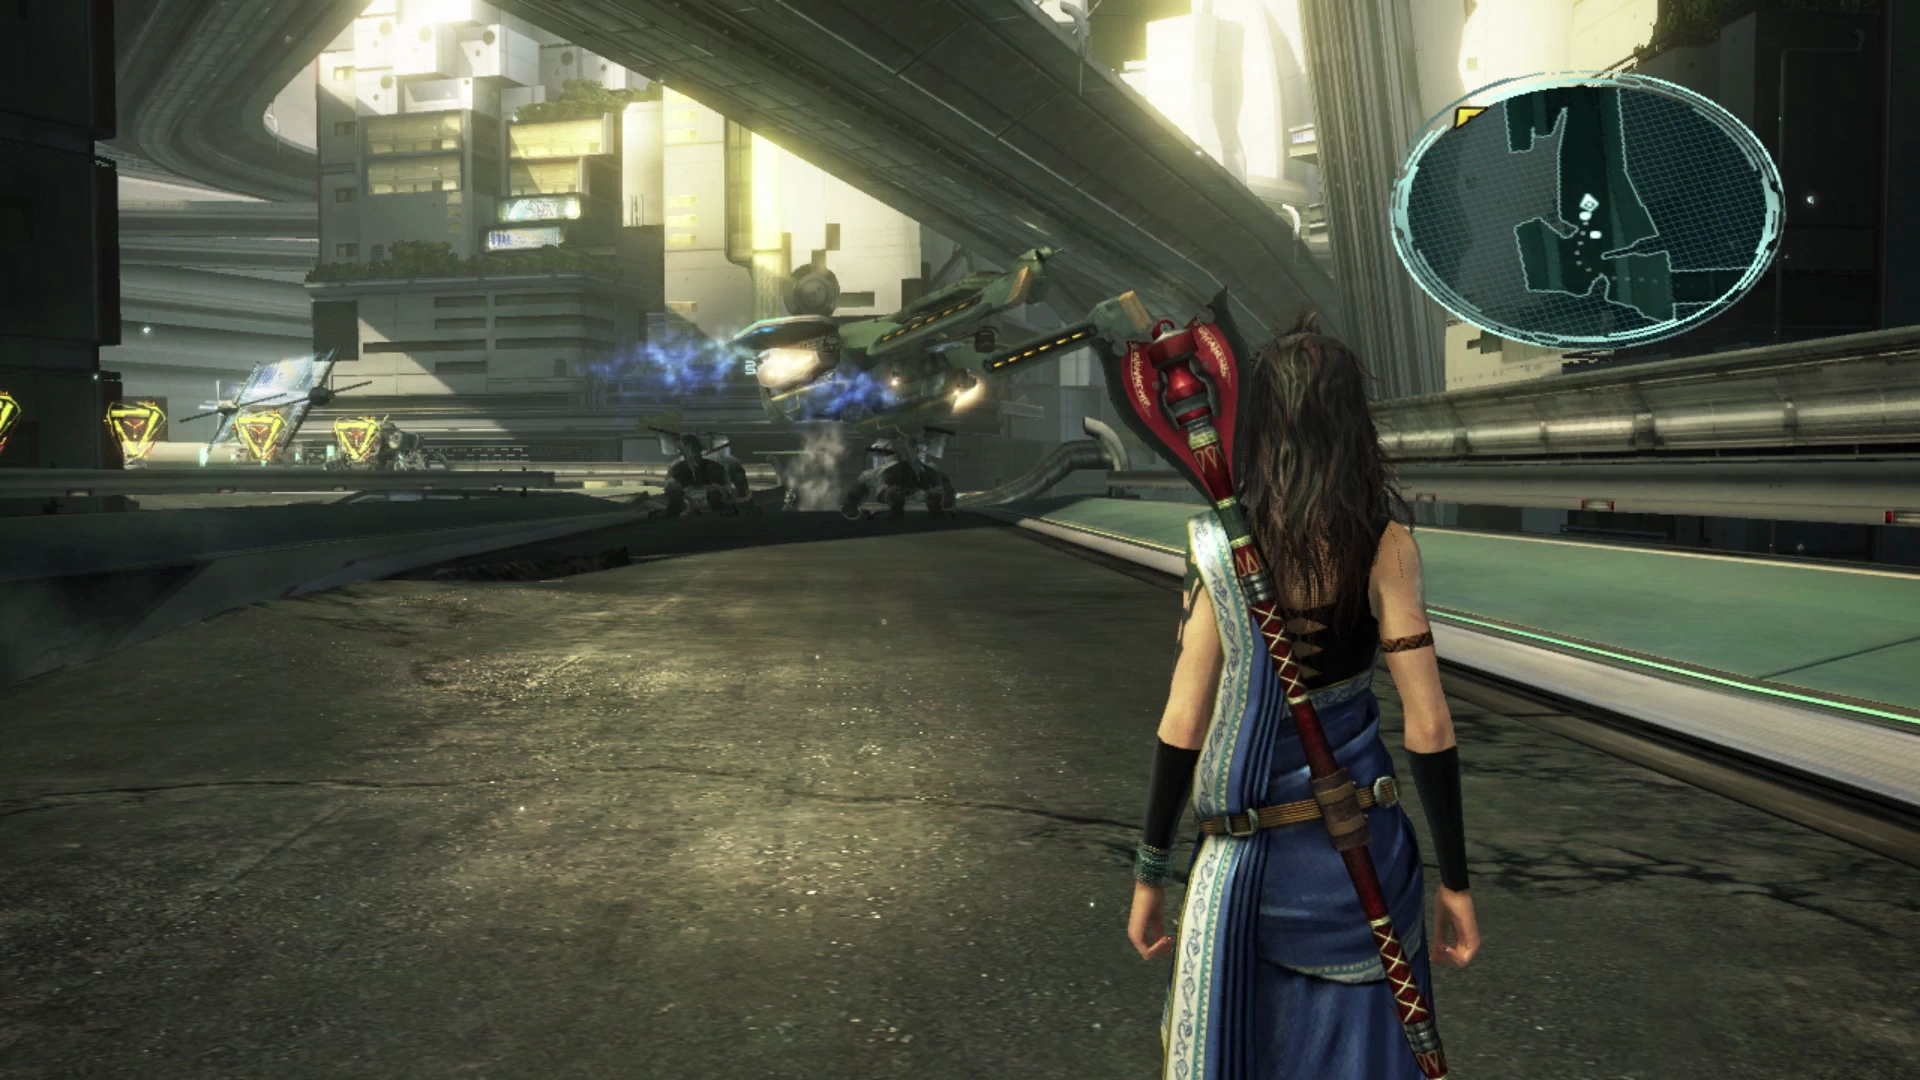
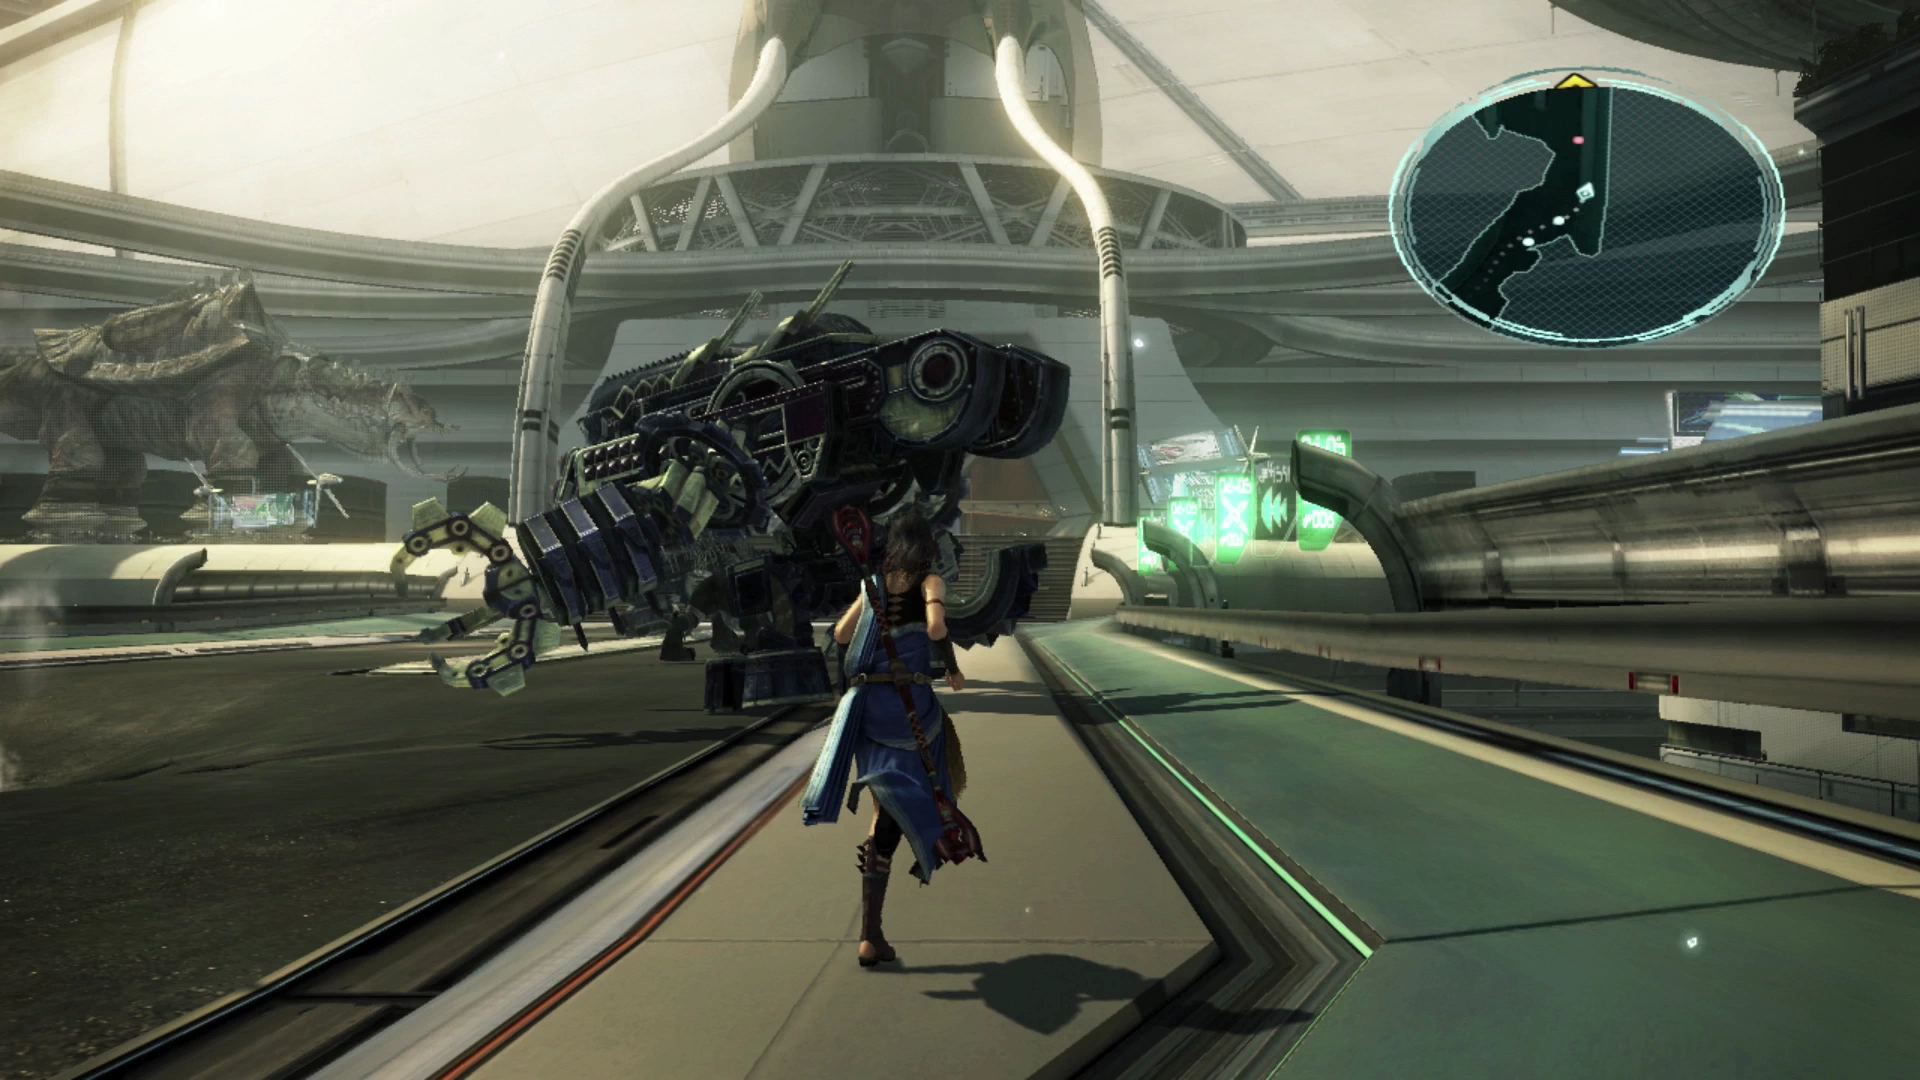
Ramuh Interchange
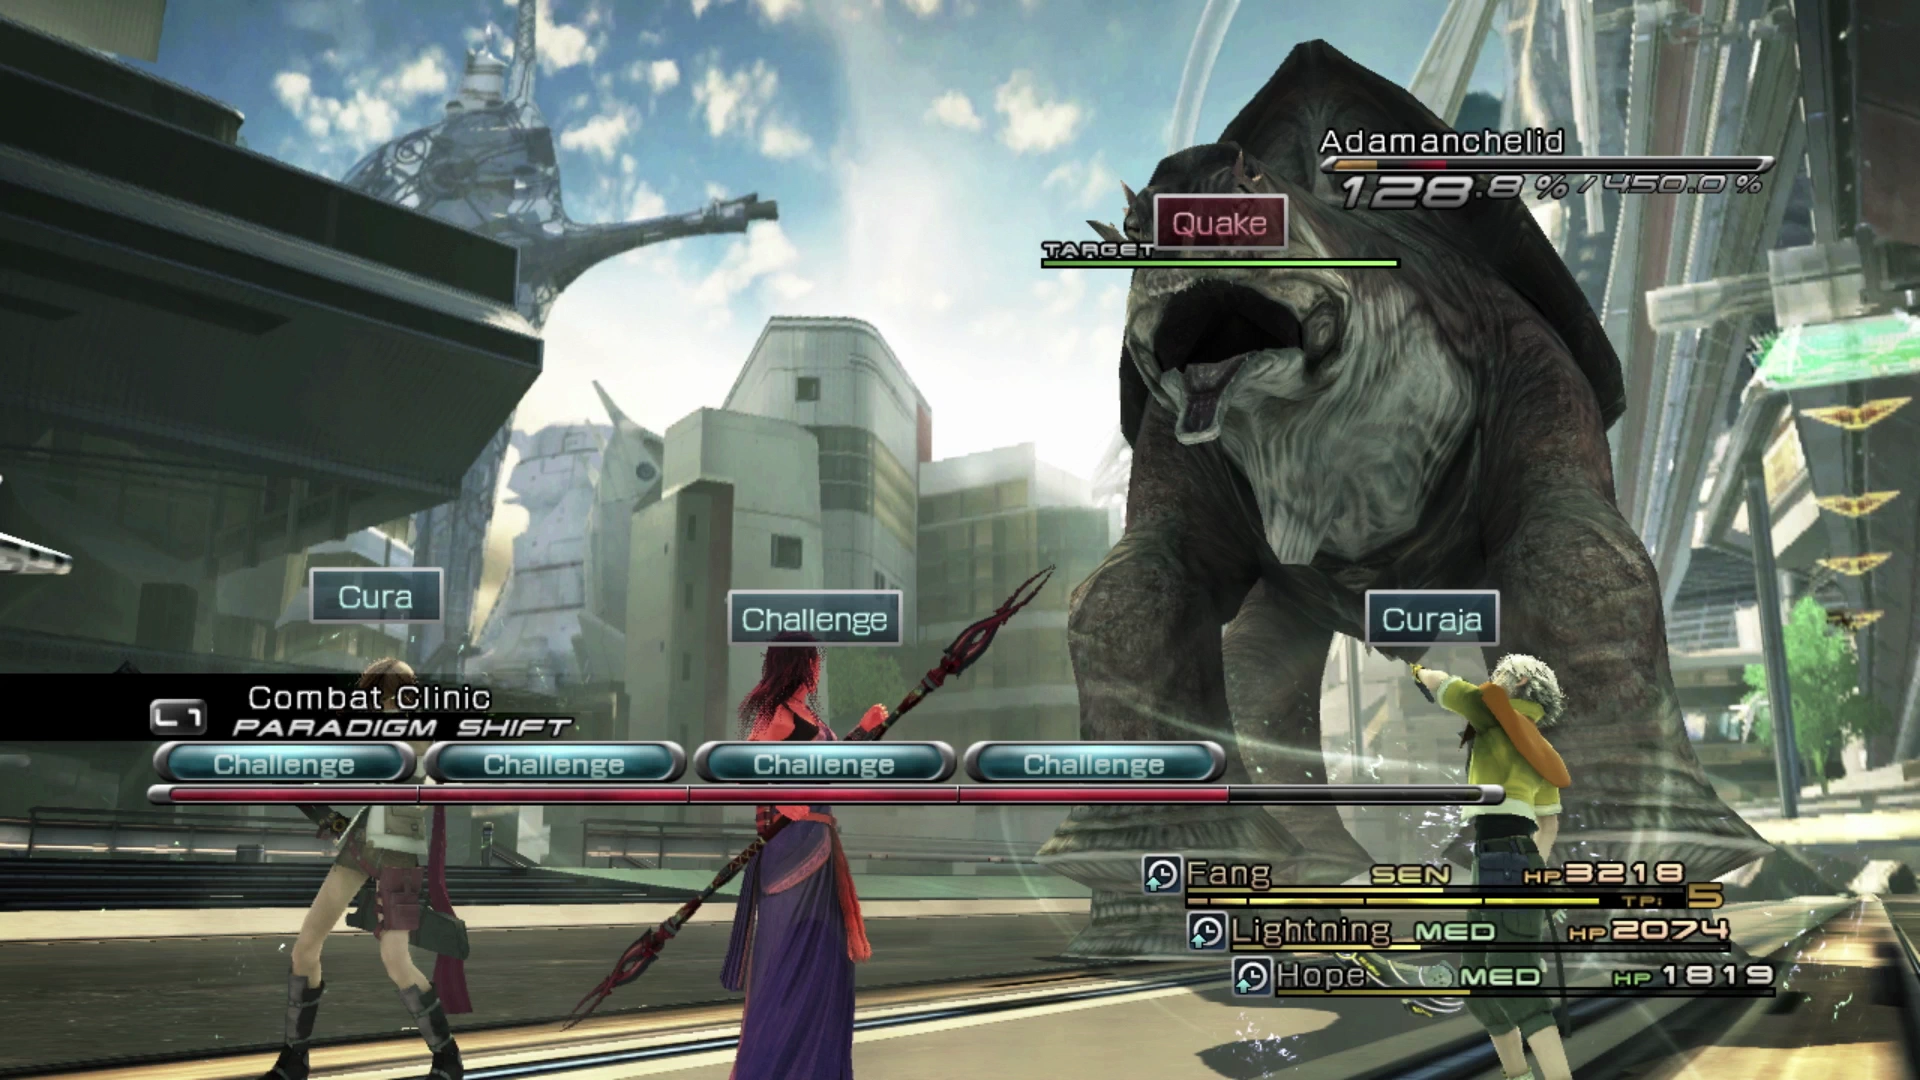
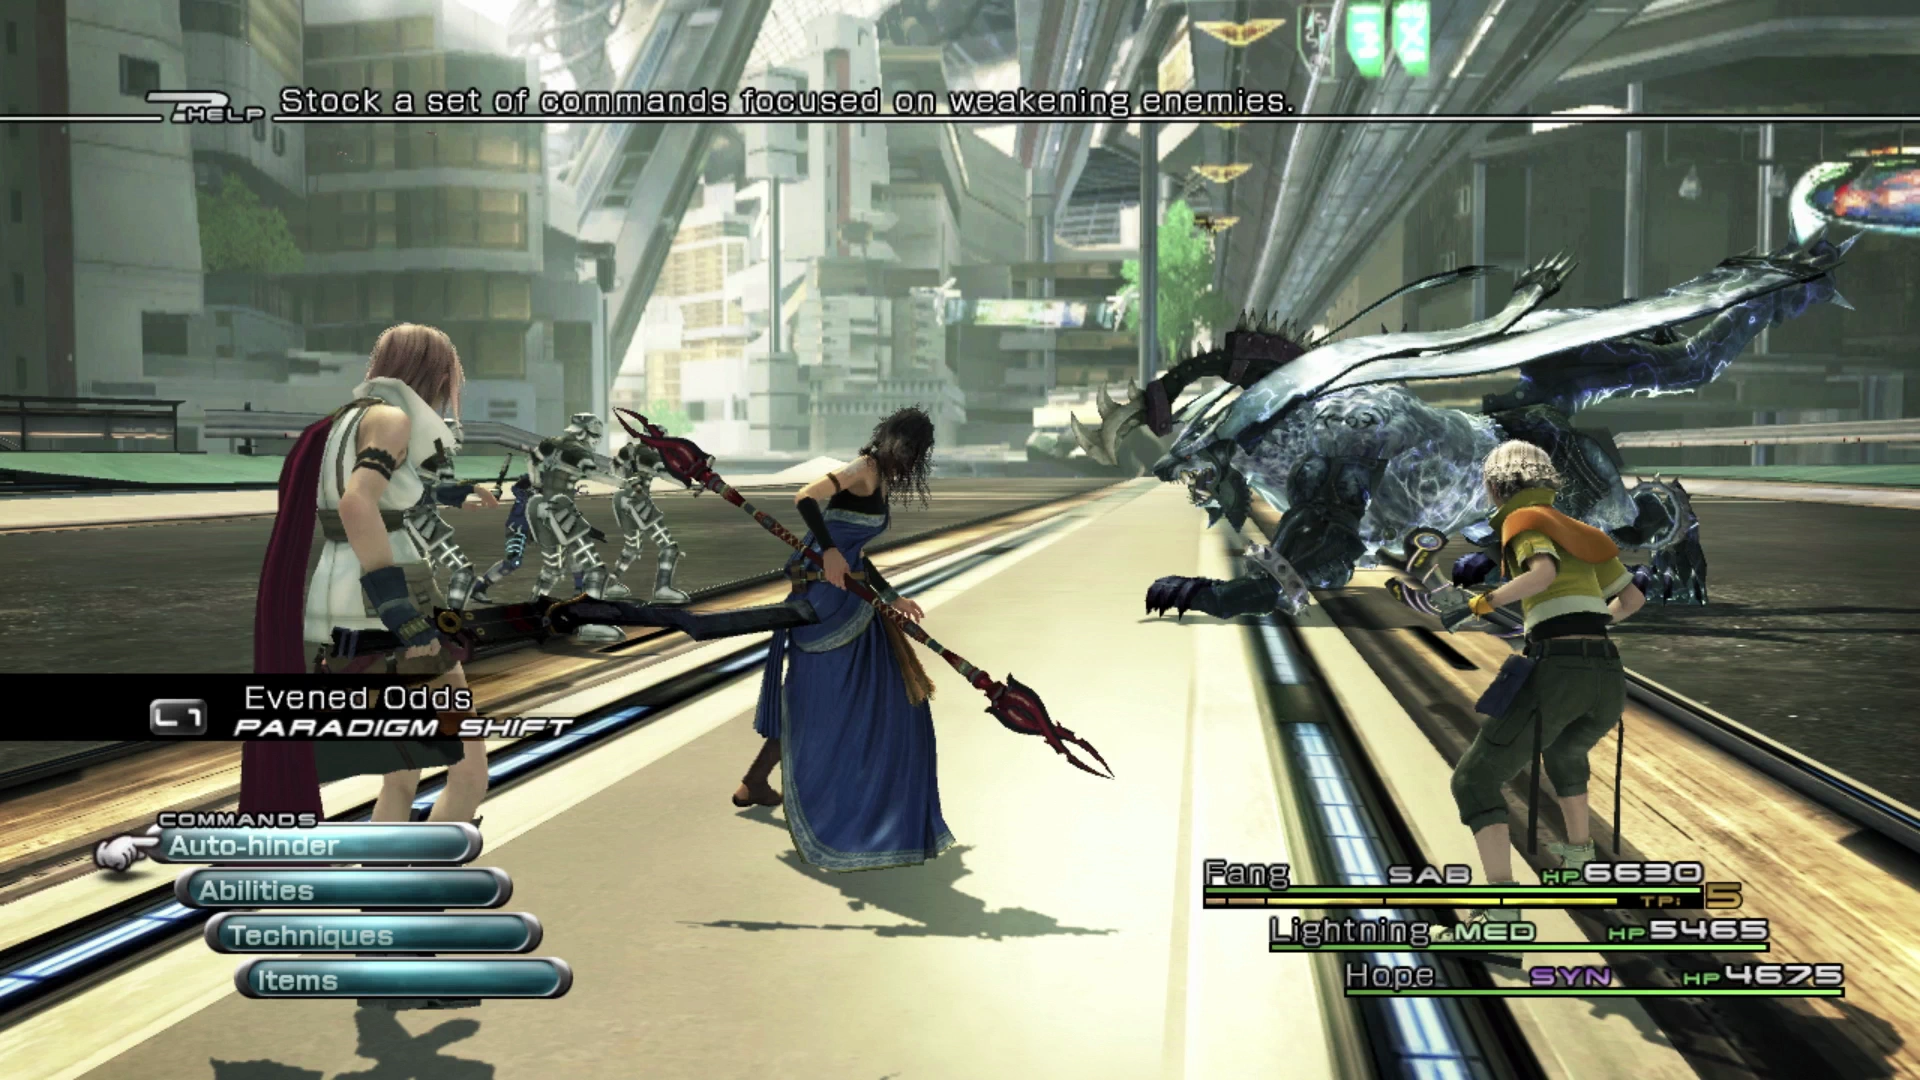
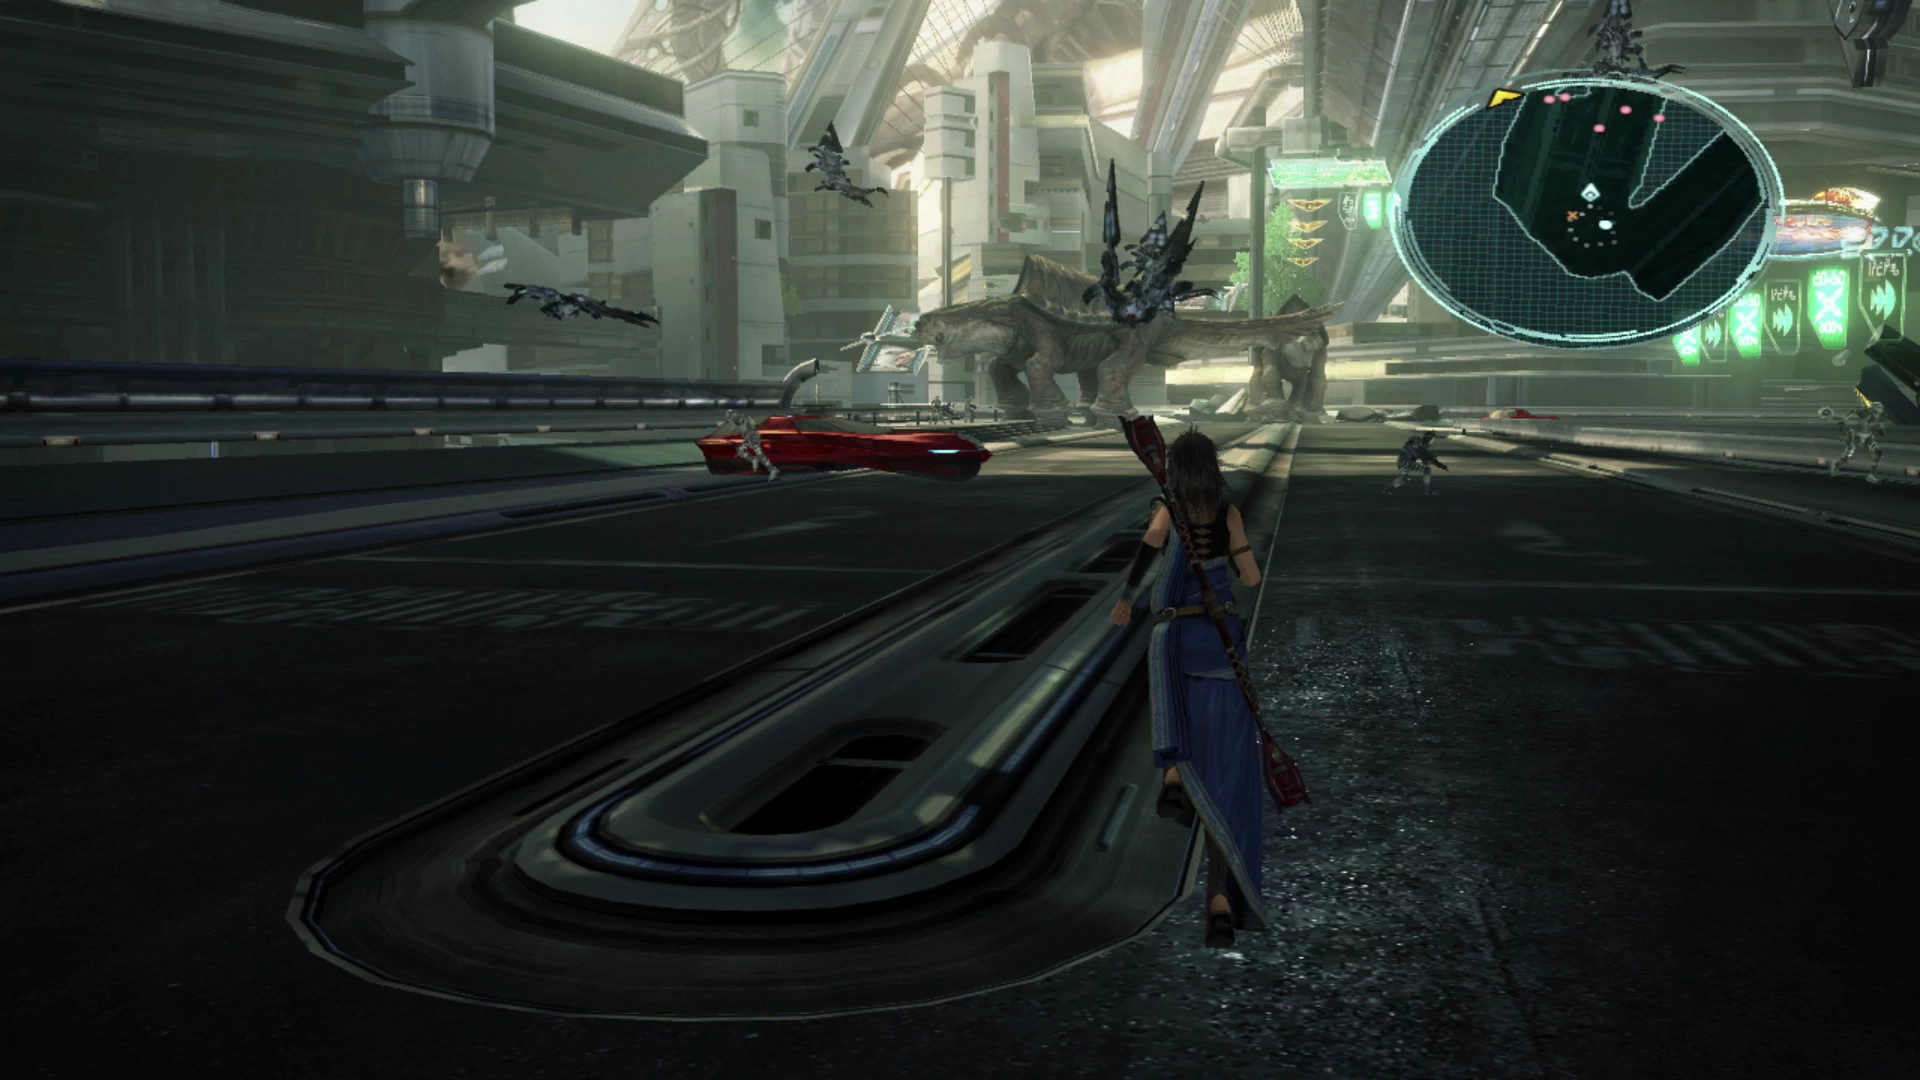
Another cutscene will kick up as you enter this next area where PSICOM soldiers will be battling with creatures from Gran Pulse. They will be ambushed by a large Adamanchelid, which you will end up fighting. You may already be familiar with this type of monster if you completed ![]() Mission 33 - A Parent’s Pledge.
Mission 33 - A Parent’s Pledge.
Helpful Hint

The difficulty of this fight comes from the massive amounts of damage that Adamanchelid can put out with its constant stomping on the ground. It will stomp five times in a row, and each of these stomps will deal a significant amount of damage to your party members depending on how far through each of their Crystariums they are and how much HP they have.
Start the fight off with ![]() Libra (unless you completed Mission 33) and make sure you’re in a defensive Paradigm that will allow one of your party members to apply helpful buffs (
Libra (unless you completed Mission 33) and make sure you’re in a defensive Paradigm that will allow one of your party members to apply helpful buffs (![]() Haste,
Haste, ![]() Protect,
Protect, ![]() Shell). Using the Evened Odds Paradigm is useful because it will allow your
Shell). Using the Evened Odds Paradigm is useful because it will allow your ![]() Saboteur to apply
Saboteur to apply ![]() Deprotect and
Deprotect and ![]() Deshell. Once you switch from defensive to offensive Paradigms this will help you rip through Adamanchelid’s HP fairly quickly. Note that it’s also susceptible to
Deshell. Once you switch from defensive to offensive Paradigms this will help you rip through Adamanchelid’s HP fairly quickly. Note that it’s also susceptible to ![]() Daze. Having your
Daze. Having your ![]() Saboteur apply
Saboteur apply ![]() Daze will allow your
Daze will allow your ![]() Synergist time to finish applying buffs.
Synergist time to finish applying buffs.
The goal is to bring the Adamanchelid down with a single Stagger and this should be achievable if you properly buff your group. You also need to be prepared for the attacks that occur between Adamanchelid’s five stomps. These attacks, which include Quake and Bay, can be very detrimental. Quake will require intense healing and Bay removes positive status effects, meaning you may need to reapply them.
Check out the video below to see how the battle can be completed with a five-star rating:
There is a ![]() Save Station on the left side of the road that you can use to save your game. Don’t forget to readjust your character’s accessories if you equipped them with
Save Station on the left side of the road that you can use to save your game. Don’t forget to readjust your character’s accessories if you equipped them with ![]() Clay Rings or other defensive gear.
Clay Rings or other defensive gear.
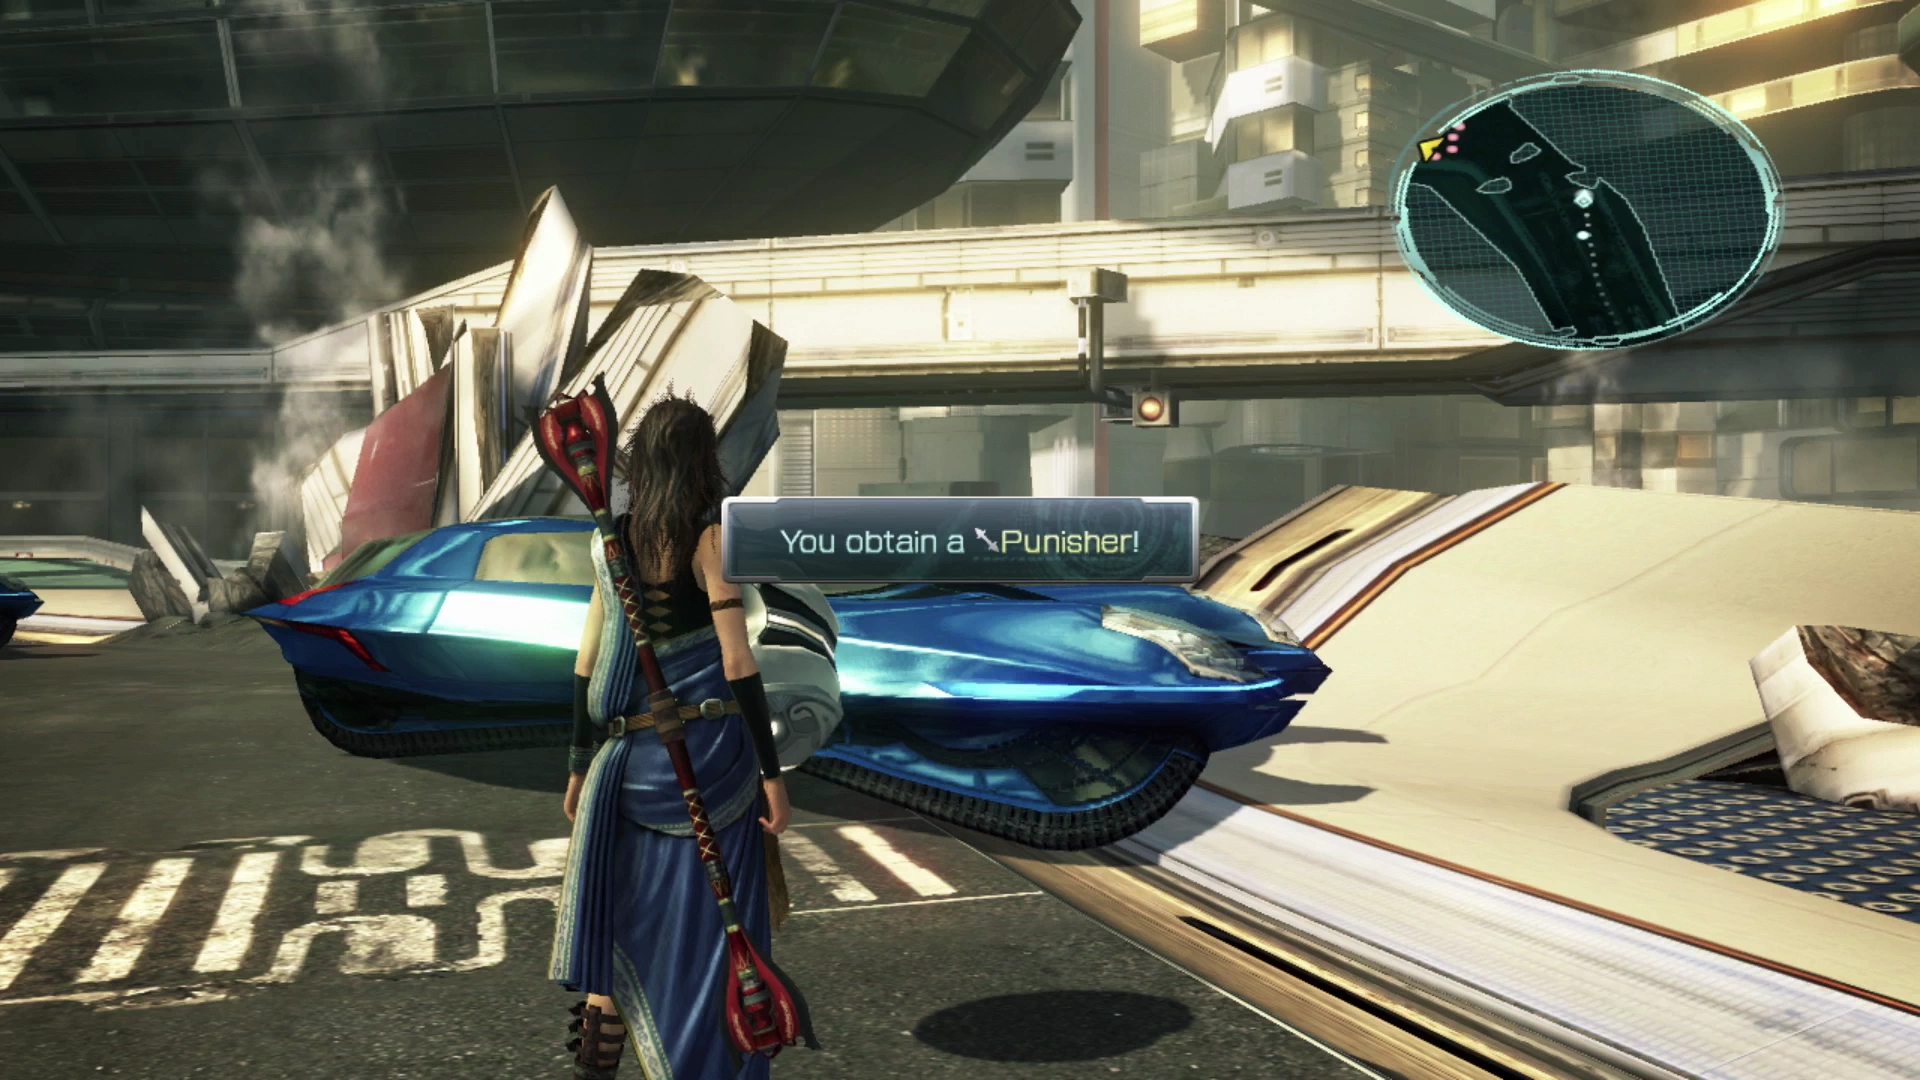
Run forward toward the blue vehicle on the right side of the road to find a Treasure Sphere that contains a ![]() Punisher for Fang. This weapon comes with the
Punisher for Fang. This weapon comes with the ![]() Stagger: TP Charge passive ability that recovers TP when she Staggers an enemy, but since she typically occupies the
Stagger: TP Charge passive ability that recovers TP when she Staggers an enemy, but since she typically occupies the ![]() Commando role, she will rarely be the one to Stagger, meaning that this weapon provides very limited value and, in most cases, should not be equipped.
Commando role, she will rarely be the one to Stagger, meaning that this weapon provides very limited value and, in most cases, should not be equipped.
Helpful Hint
Vanille has access to a unique ability in her ![]() Saboteur Crystarium called
Saboteur Crystarium called ![]() Death. It’s definitely not a requirement that you obtain this ability, but there is an upcoming optional fight that you can attempt where you will require her to have
Death. It’s definitely not a requirement that you obtain this ability, but there is an upcoming optional fight that you can attempt where you will require her to have ![]() Death activated. If you haven’t unlocked it yet, make sure you spend her Crystogen Points (CP) in her
Death activated. If you haven’t unlocked it yet, make sure you spend her Crystogen Points (CP) in her ![]() Saboteur Crystarium and work your way towards this ability.
Saboteur Crystarium and work your way towards this ability.
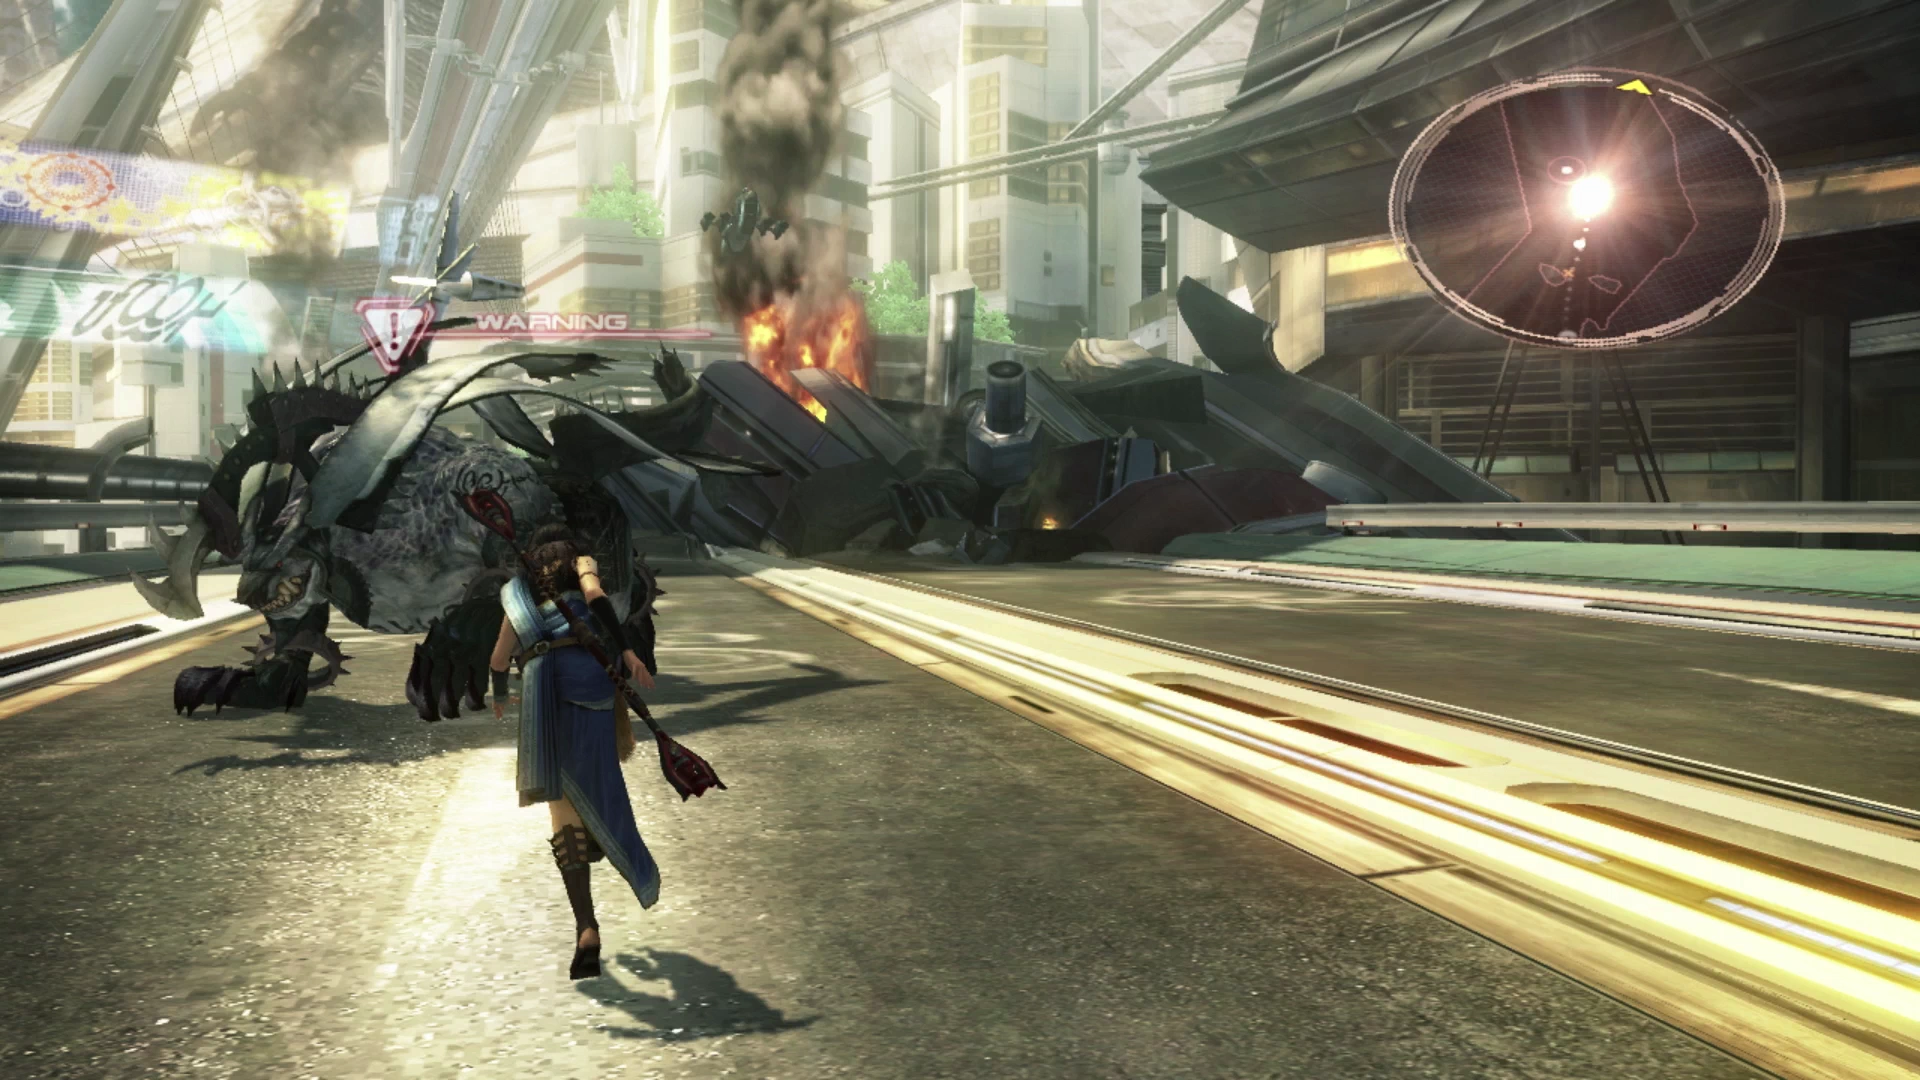
Just off to the left is a group of four Corps Defenders that are easy to defeat. Just beyond that though is a new enemy that, while it looks like a Behemoth King, is actually a Humbaba. It acts and behaves similarly to all the other Behemoth-type enemies you have faced up until this point.
Once its HP gets low it will stand on two feet, fully recover its HP, remove all of its negative debuffs, and begin attacking your party with much stronger attacks. It’s best to commence these fights in a defensive Paradigm and have one of your ![]() Synergists get some buffs on the party. And don’t forget to use
Synergists get some buffs on the party. And don’t forget to use ![]() Libra early.
Libra early.
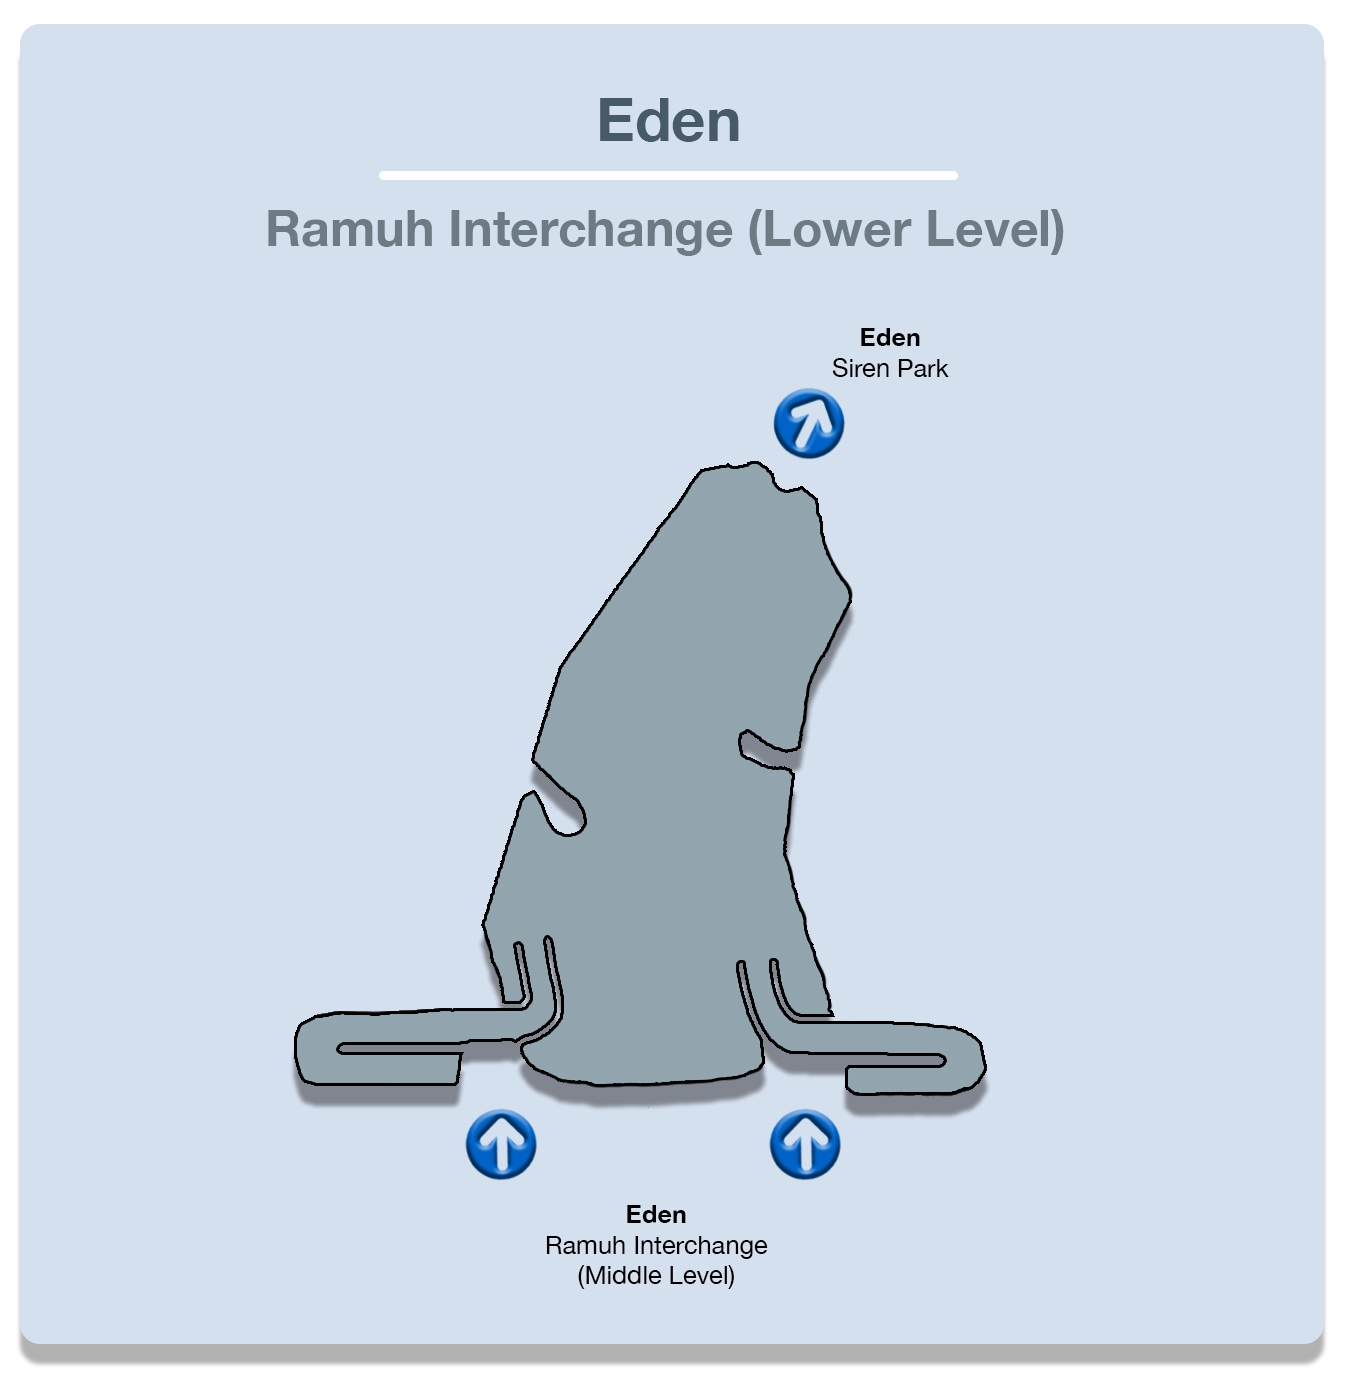
Look for the illuminated blue circle on the ground towards the far side of the platform and use it to jump down to the lower level of the interchange. Use the destination marker on the mini-map to help you locate the proper direction to travel.
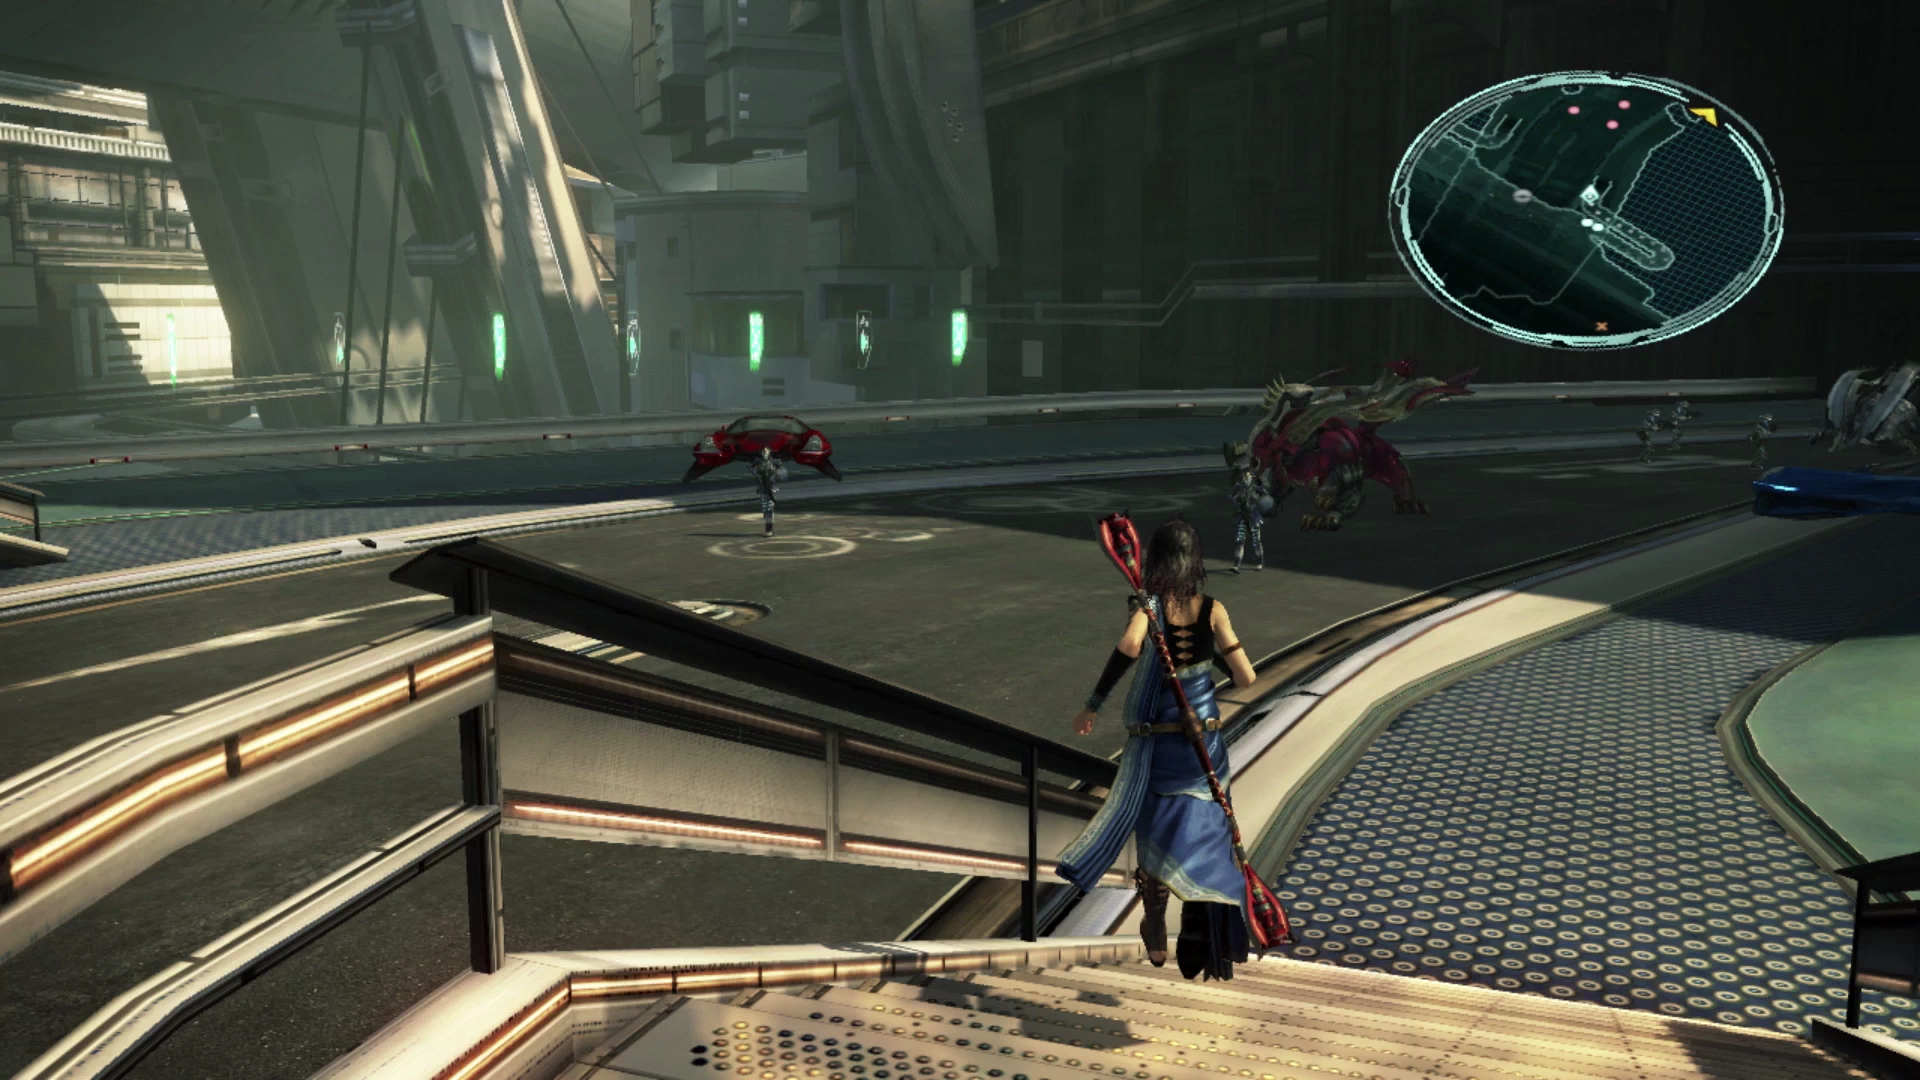
As you approach the next groups of enemies, you will notice that these are all three-way battles where the PSICOM Soldiers are already battling the Gran Pulse feral creatures. The first battle includes three Corps Stewards and one Sanctum Archangel battling against a Humbaba.
The Corps Stewards and Sanctum Archangel will focus their attacks on the Humbaba unless you start attacking them first, and because the Humbaba is much more difficult to defeat, you should focus your efforts on it first before switching over to the soldiers. It’s also fairly easy to get a preemptive strike on these combatants as well as most of the other groups you’ll encounter along the rest of the Ramuh Interchange.
The next group of enemies includes two Corps Stewards and a Sanctum Archangel battling against another Humbaba. It’s easy to sneak past these enemies and avoid these battles, but because you can get an easy preemptive strike, and you need the Crystogen Points (CP), it’s recommended that you engage in all these battles rather than avoid them.
The next group of enemies includes two Corps Stewards, a Sanctum Archangel and two Varcolaci. The same strategy of focusing on the non-soldier enemies is recommended but the Varcolaci are much easier to defeat, so this is a significantly easier battle than the last ones that involved a Humbaba. A bit further up ahead is another group of three Varcolaci on their own.
You’ll notice two more Adamanchelids wandering around in this area. You should now be familiar with the strategy required for defeating an Adamanchelid (if not, refer to the notes above) as you have had to defeat one of them already to progress to this point in the game. Why not use this opportunity to hone your skills and get more efficient and effective at defeating these Oretoises (these large, four legged creatures)?
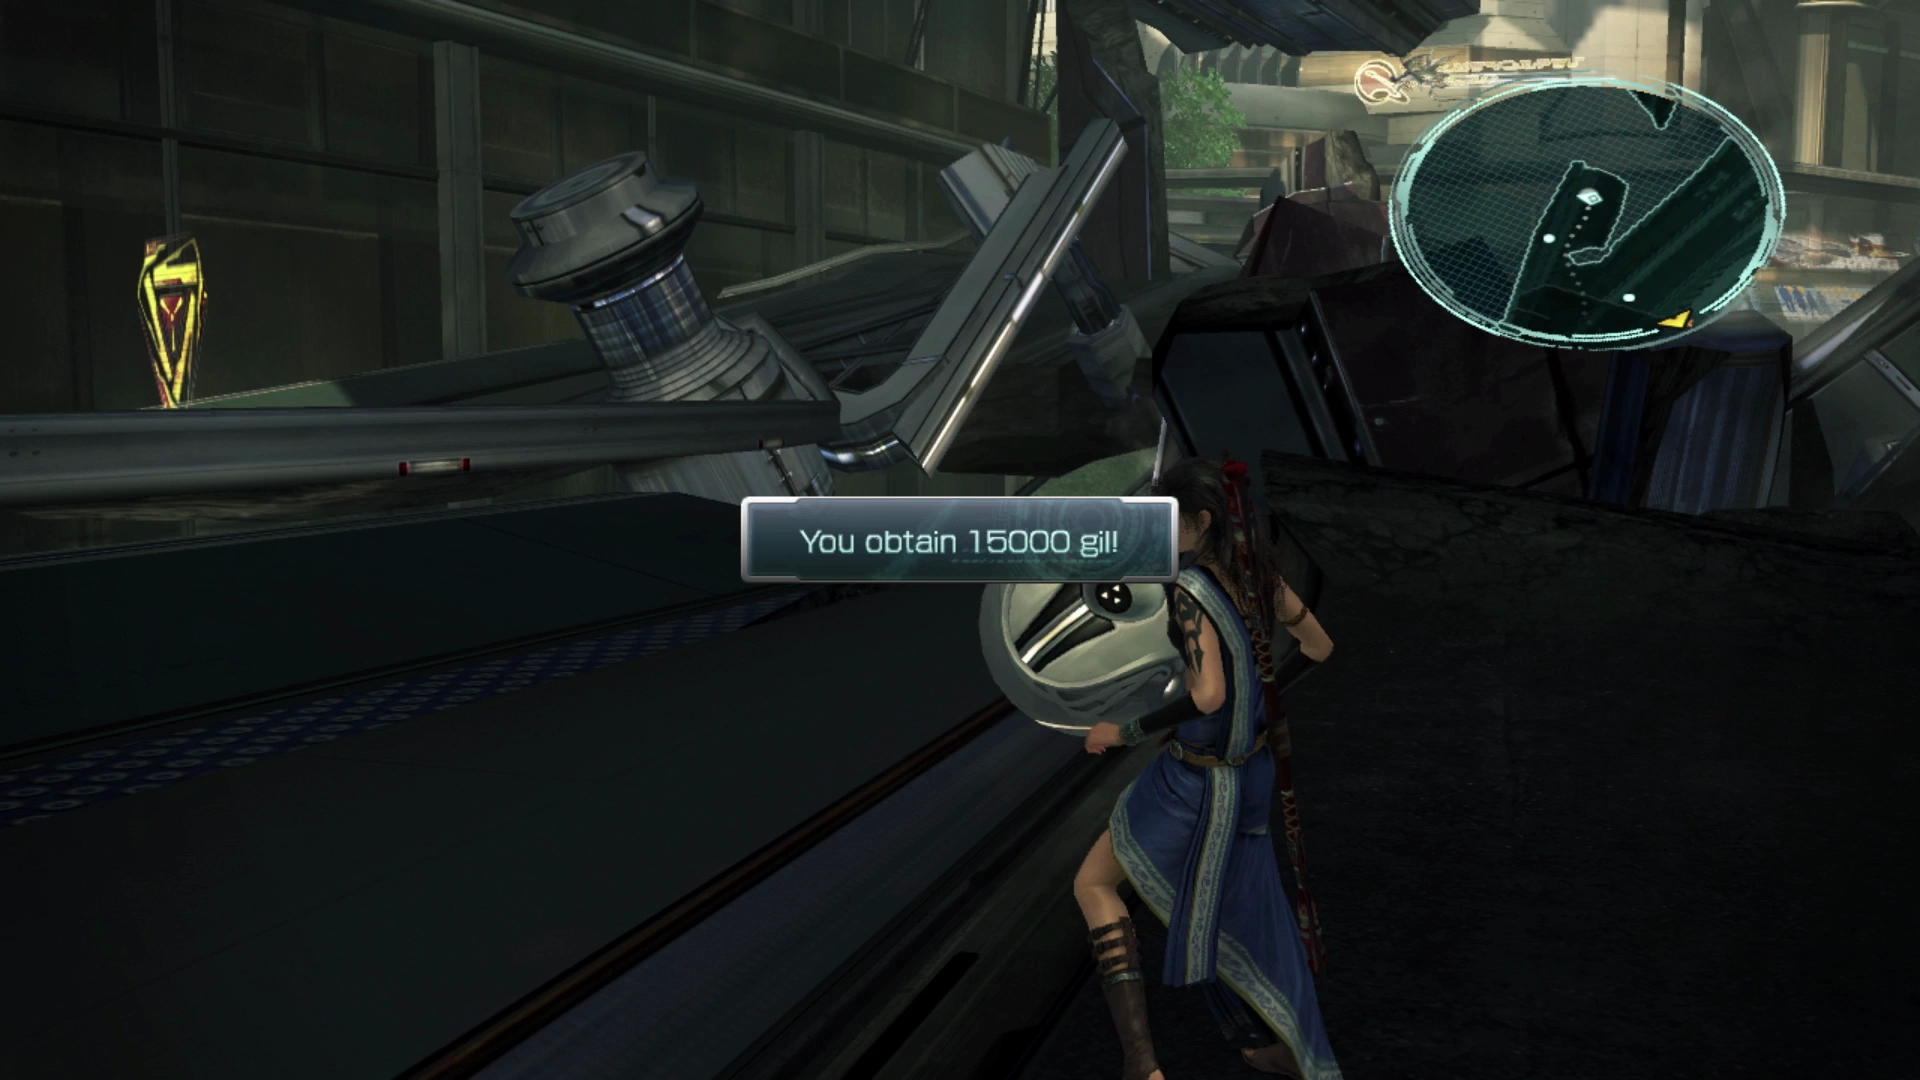
Whether you defeat the two of them or not, make sure you venture over to the right side of the platform to find a Treasure Sphere that contains ![]() 15,000 Gil, a very handsome sum to pocket and the largest we’ve seen so far.
15,000 Gil, a very handsome sum to pocket and the largest we’ve seen so far.
On the other side of the platform are a group of two Corps Defenders and a Sanctum Archangel guarding a Treasure Sphere that contains five ![]() Perfect Conductors. Use the ramps on either side of the Treasure Sphere to travel down to the next level below.
Perfect Conductors. Use the ramps on either side of the Treasure Sphere to travel down to the next level below.
The last group of enemies at the bottom of the ramps includes two Sanctum Archangels and a Proto-behemoth. Direct your attacks towards the two Archangels first and then switch over to the Proto-behemoth.
Like other Behemoth-type enemies, an assortment of debuffs and buffs applied will increase the likelihood of you being able to take down the Proto-behemoth in a single Stagger before it finishes standing up and recovering its HP. This will greatly reduce the length of the fight, but it’s not a big deal if you’re having trouble managing it.
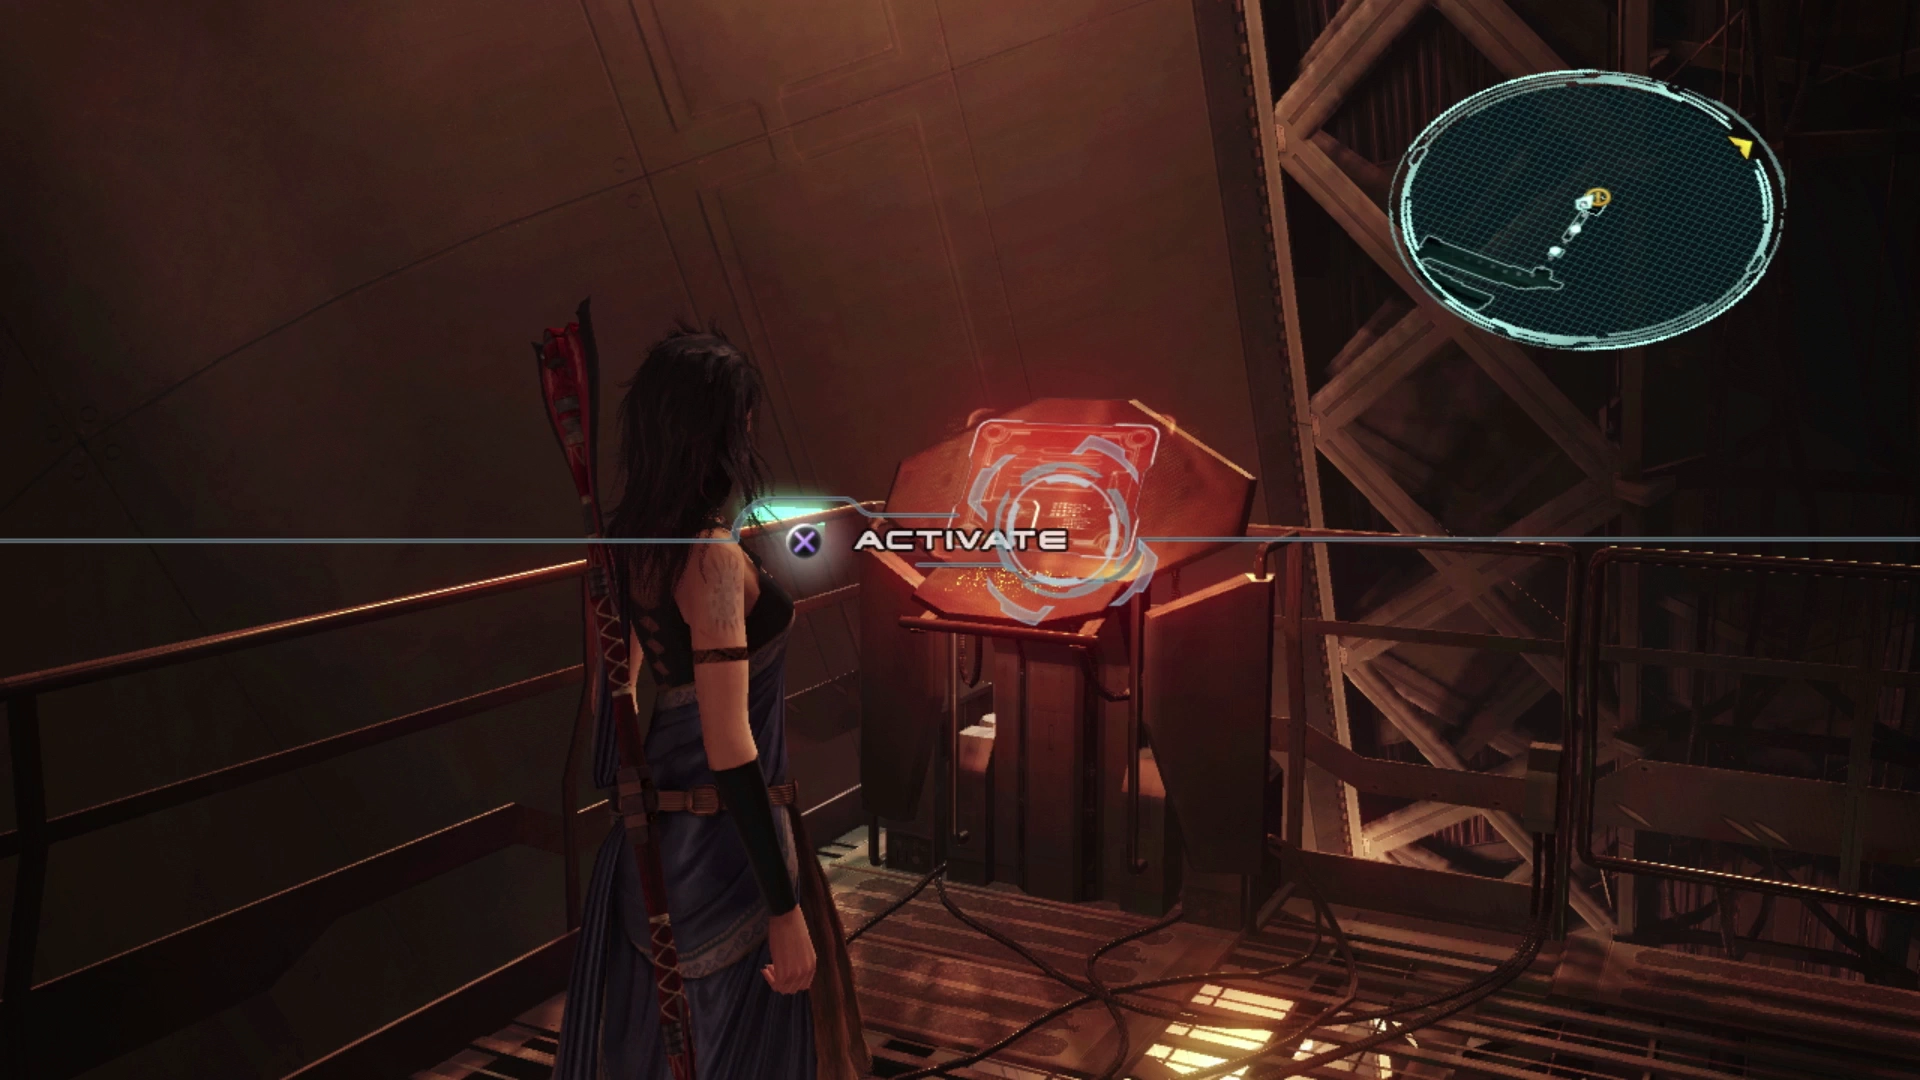
Work your way forward toward the destination marker, past the corpse of the feral creature on the ground, and use the ![]()
![]()
![]() button to open the gateway leading to the next area.
button to open the gateway leading to the next area.
Siren Park
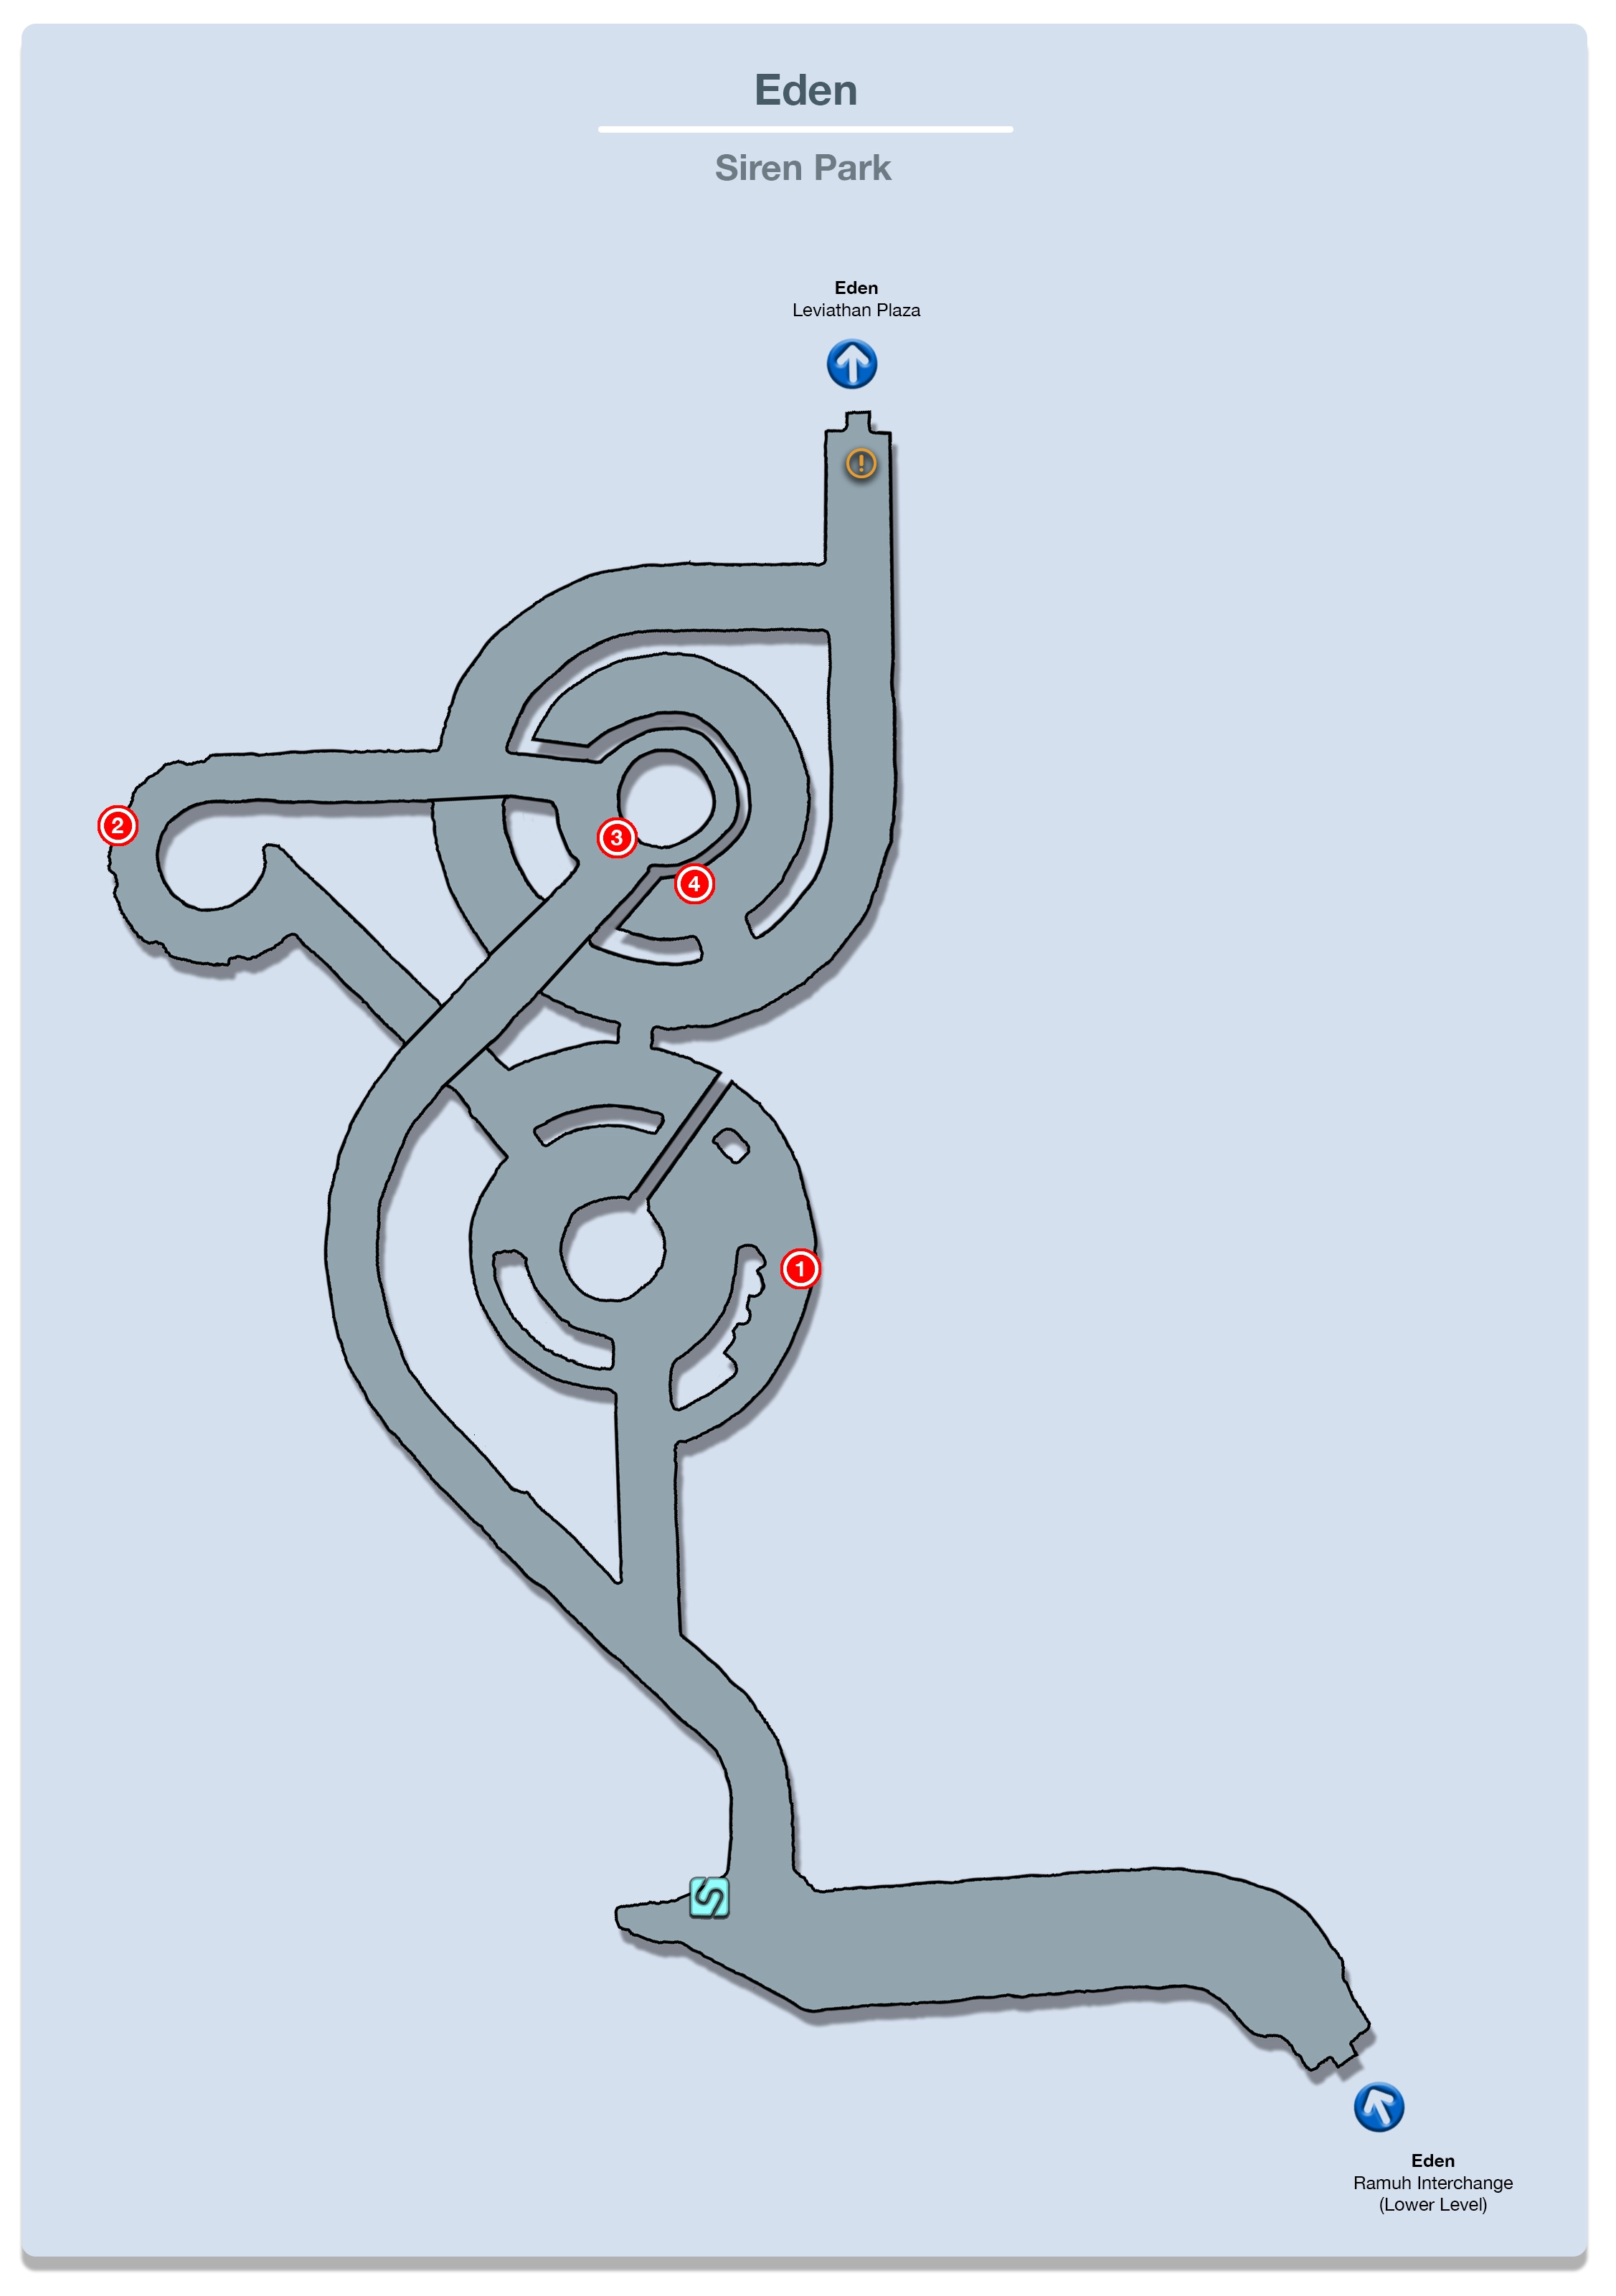


As you can see from the map of this area, there are a ton of different pathways you can take to reach the destination as well as a number of Treasure Spheres that you can pick up along each of the pathways. The route you take to reach the end isn’t important necessarily, but you should make an attempt to try to pick up the four Treasure Spheres in this area.
The four Treasure Spheres contain two ![]() Blaze Rings, a
Blaze Rings, a ![]() Librascope, six
Librascope, six ![]() Particle Accelerators and a
Particle Accelerators and a ![]() Champion’s Badge.
Champion’s Badge.
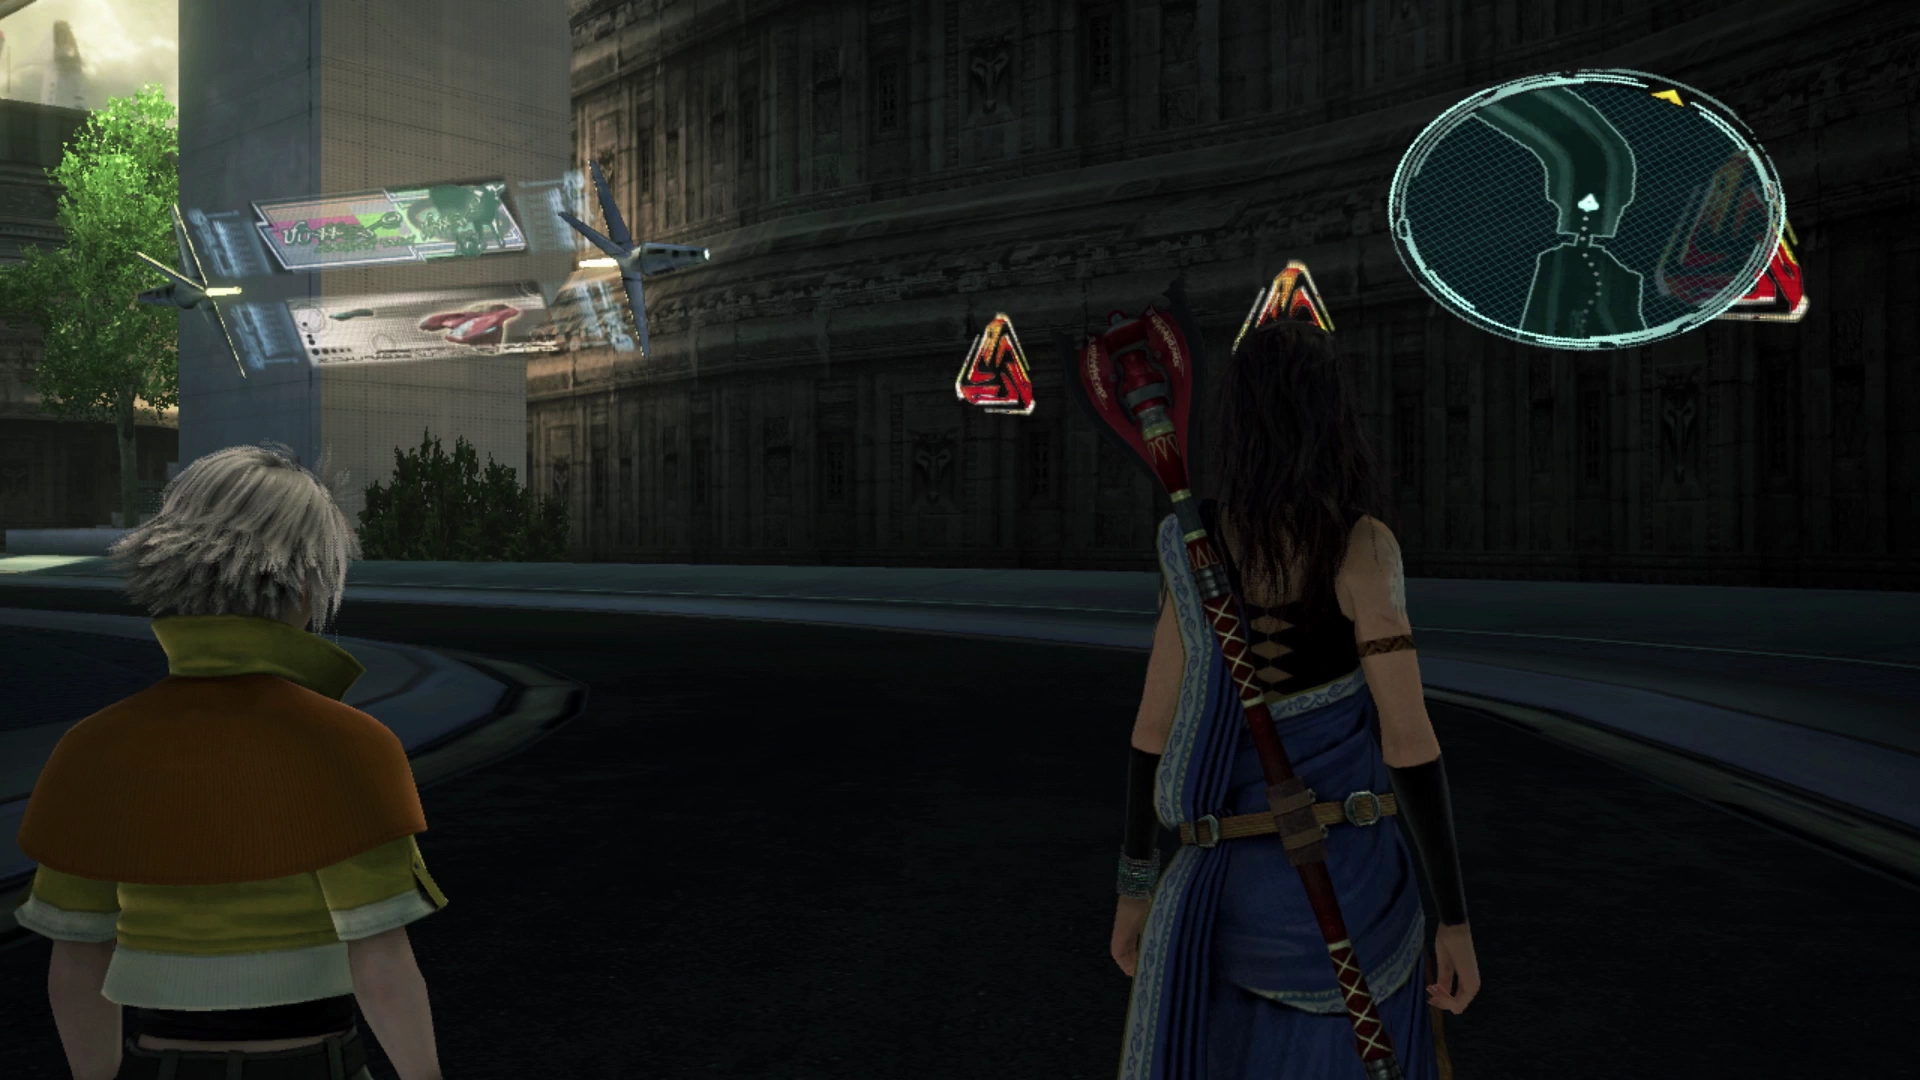
The first group of enemies you will encounter when you first enter Siren Park includes two Vampires that are in a three-way battle against three Sanctum Seraph. They are easy to defeat and easy to get a preemptive strike against. Once you defeat them, the easiest path through this area involves taking a right at this first fork in the road.
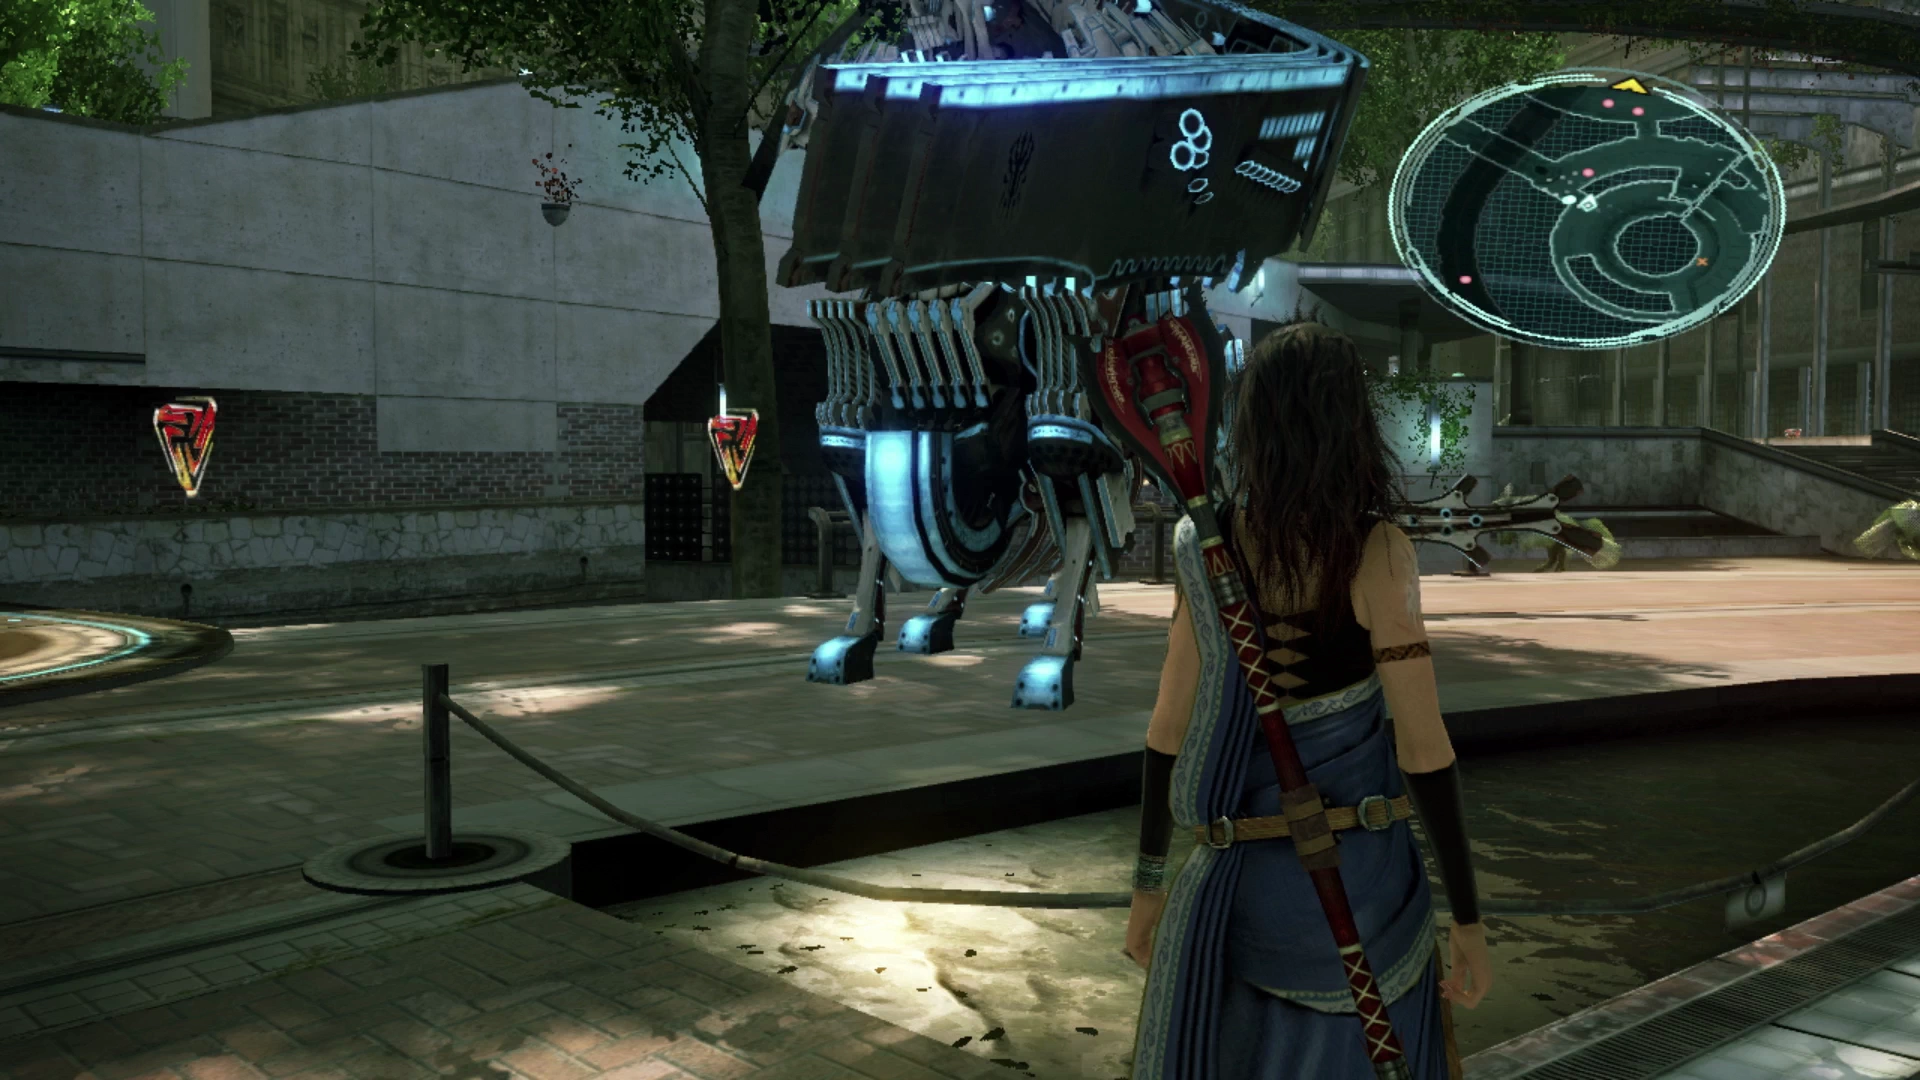
This area has the first Treasure Sphere with the two ![]() Blaze Rings. You’ll likely have to fight a few more battles but work your way through and towards the large Tyrant guarding the nearby pathway. The Tyrant is another Centaurion-type enemy (similar to Berserkers and Immortals) that will summon a Centaurion Blade during the battle.
Blaze Rings. You’ll likely have to fight a few more battles but work your way through and towards the large Tyrant guarding the nearby pathway. The Tyrant is another Centaurion-type enemy (similar to Berserkers and Immortals) that will summon a Centaurion Blade during the battle.
Like other Centaurions, you can bait it into charging towards you if you get close enough, at which point it will run towards you and then, when it reaches the end of its “leashed” area, it will turn around and go back to its starting spot, wherein you can engage it from behind and get a preemptive strike.
Follow the path leading through the tunnel and up the other side where you will encounter two Vampires followed by a three-way battle that includes three Orobon fighting against two Sanctum Inquisitrixes. Like the PSICOM Huntresses you’ve faced before, these Sanctum Inquisitrix are quite difficult to defeat so you should focus your efforts on them first (after using ![]() Libra at the start of the battle).
Libra at the start of the battle).
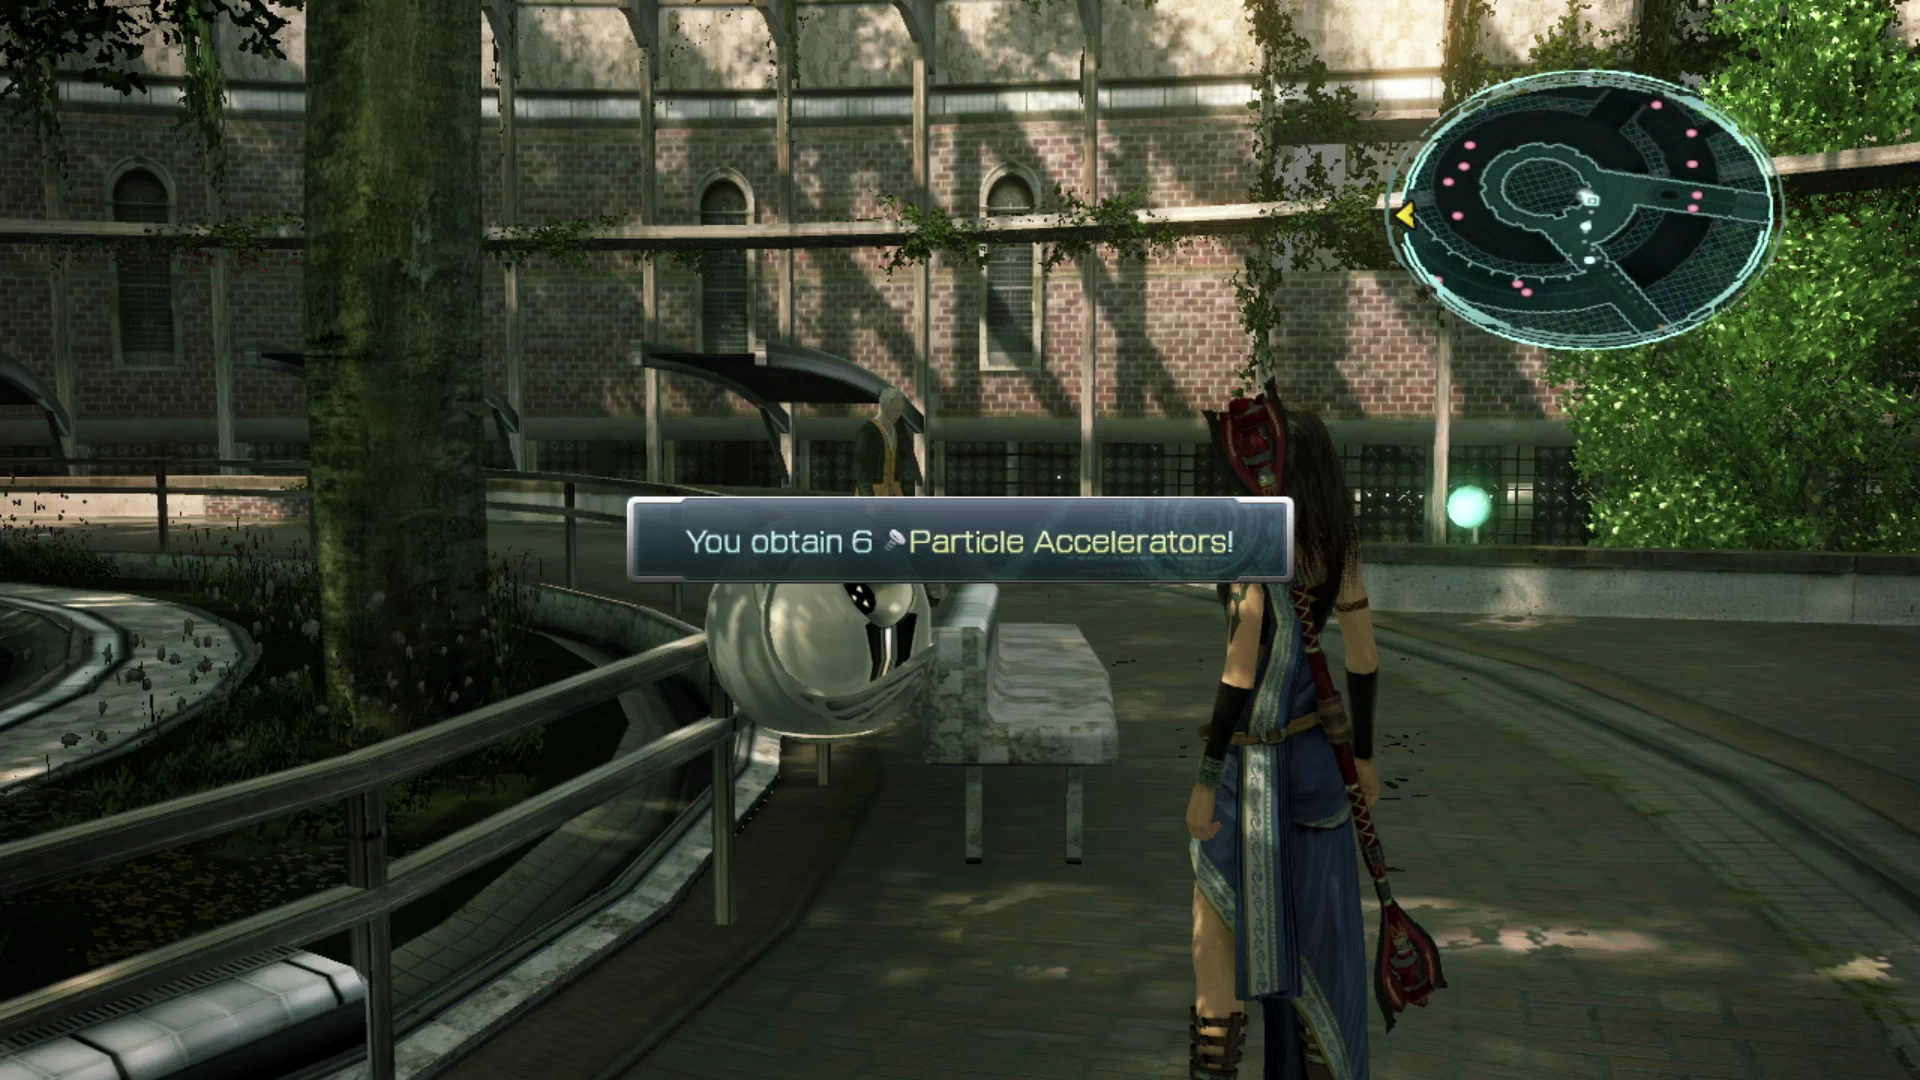
Behind this group is the next Treasure Sphere which contains a ![]() Librascope. Just beyond that is a group of two Adamantheron that are very easy to defeat. Keep moving forward into the middle of the next open area to find the next Treasure Sphere which contains the six
Librascope. Just beyond that is a group of two Adamantheron that are very easy to defeat. Keep moving forward into the middle of the next open area to find the next Treasure Sphere which contains the six ![]() Particle Accelerators.
Particle Accelerators.
Go back down the stairs and around the pathway to the right to find a group of two Adamantheron accompanying two Sanctum Inquisitrixes. This can be a difficult battle just due to the sheer amount of damage output that the Inquisitrixes have; play it a bit defensive, and take out the Adamantherons first.
The last required battle before you reach the destination marker is another three-way battle being fought between a Vernal Harvester and a Tyrant. The Vernal Harvester is similar to the Aster Protoflorian boss you faced at the end of Chapter 5.
Initiate the battle with a preemptive strike and try to take down the Vernal Harvester before it gets a chance to attack. This will give the Tyrant enough time to summon a Centaurion Blade, so focus down the Blade first and then switch to the Tyrant.
In order to pick up the last Treasure Sphere , you will need to backtrack away from the destination marker and follow the pathway to the right. Go up the stairs, either running past or defeating the group of Orobons, and open it to receive a ![]() Champion’s Badge.
Champion’s Badge.
Now head back to the destination marker and approach the doorway to kick off another cutscene.
Leviathan Plaza


Head towards the ![]() Save Station on the left side of the walkway and use it to save your game. There’s a Treasure Sphere further down this pathway on the left side that contains a pair of
Save Station on the left side of the walkway and use it to save your game. There’s a Treasure Sphere further down this pathway on the left side that contains a pair of ![]() Antares Deluxes for Sazh. From a stat perspective, this weapon is not considered to be a good upgrade on the weapons that Sazh already has, but don’t leave it behind.
Antares Deluxes for Sazh. From a stat perspective, this weapon is not considered to be a good upgrade on the weapons that Sazh already has, but don’t leave it behind.
Follow the pathway down the stairs and around the corner following the road. You’ll be able to see another battle taking place down the road which you join by approaching the two Humbabas on the road.
This fight can be challenging due to the incoming damage while you’re dealing with the first of the two Humbabas. Start off in a defensive Paradigm like Evened Odds so that you can get debuffs applied to both Humbabas and buffs applied to all of your party members (especially ![]() Haste). Don’t be afraid to play this fight defensively as the amount of damage coming in, even after you get one of the Humbabas to its Stagger point, is difficult to deal with.
Haste). Don’t be afraid to play this fight defensively as the amount of damage coming in, even after you get one of the Humbabas to its Stagger point, is difficult to deal with.
Continue along the plaza walkway and engage the Juggernaut up ahead. The generally recommended approach is to also start off in a defensive Paradigm for this fight, but just be aware that the Juggernauts will use “Steam Clean” to remove their debuffs which will limit their usefulness. They do greatly increase the amount of damage that Juggernaut takes while they are applied, but it can be a bit of a war of attrition trying to keep them applied. Buffing your party members though will definitely help speed things along.
The next fights are against another Humbaba and then another Juggernaut as you work your way up the stairs. The last battle will be against another pair of Humbabas. A short cutscene will take place as you reach the stairs; use the ![]() Save Station after it has concluded.
Save Station after it has concluded.
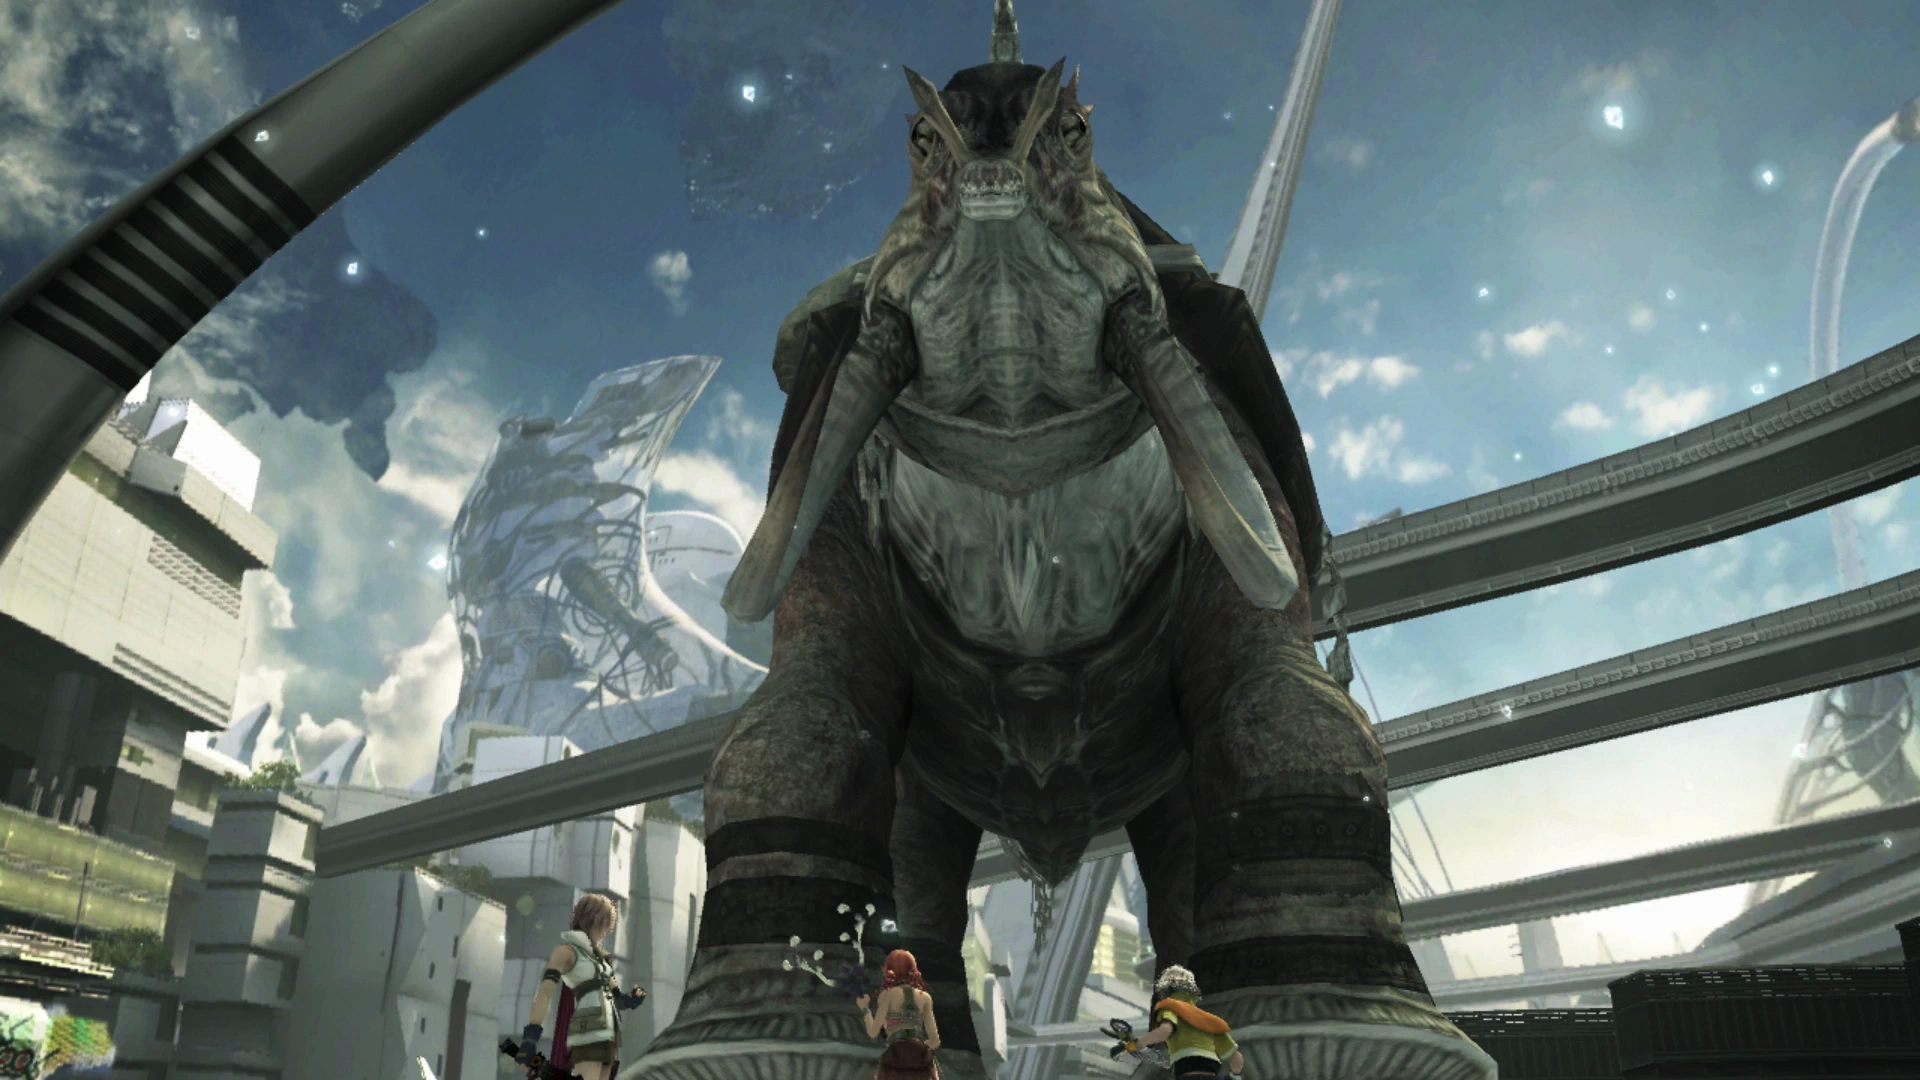
On your left is a gigantic Adamantoise enemy. These are much harder to defeat than Adamanchelids; they’re so difficult in fact that the only method you have for potentially defeating them at this stage of the game involves using some cheesy methods that involve you getting lucky. The rewards are worth it, but it can take a fair bit of time if you get unlucky. Read the notes below if you want to give it a try:
Helpful Hint
As mentioned above, this strategy involves getting lucky, particularly with the use of Vanille’s ![]() Death ability and instantly killing the Adamantoise before it has a chance to defeat your party. This is very difficult because the Adamantoise is so powerful that just one of its attacks will likely wipe out your party.
Death ability and instantly killing the Adamantoise before it has a chance to defeat your party. This is very difficult because the Adamantoise is so powerful that just one of its attacks will likely wipe out your party.
However, the rewards for defeating the Adamantoise could either be a ![]() Platinum Ingot, which can be sold for 150,000 Gil, or a very low chance at a
Platinum Ingot, which can be sold for 150,000 Gil, or a very low chance at a ![]() Trapezohedron, which can be used to upgrade one of your character’s weapons into its ultimate form.
Trapezohedron, which can be used to upgrade one of your character’s weapons into its ultimate form.
Whether you want to give this a try is entirely dependent on how much patience you have in employing a strategy that requires you to get lucky with casting ![]() Death and having it instantly KO the enemy. But there are some steps you can take to improve your odds, and ideally, you shouldn’t need to spend more than 20 or 30 minutes before you will land a successful kill. So how do you do it? Follow these steps:
Death and having it instantly KO the enemy. But there are some steps you can take to improve your odds, and ideally, you shouldn’t need to spend more than 20 or 30 minutes before you will land a successful kill. So how do you do it? Follow these steps:
Preparation:
- Equip Vanille with the
 Belladonna Wand which has
  Improved Debuffing and increases the likelihood of
  Death instantly KO’ing the enemy
 - Equip her with a
 Collector Catalog to improve the likelihood of receiving spoils at the end of the battle; you do not have to equip defensive accessories as she should not be getting hit (if she does get hit it’s likely over anyway)
 - Switch the Battle Team to include Vanille as the leader, with Fang and Hope backing her up
- Setup two Espionage Paradigms, which are the only two you will need, which will have Vanille as a
 Saboteur, Fang as a Saboteur and Hope as a
  Synergist
And then start the fight! Here are the steps you’ll follow once the battle begins:
Battle Steps:
- Give Hope a split second to cast
 Haste; he will cast it on himself first and then on Vanille. If Vanille is able to complete the next steps with the Haste buff enabled, she will be able to cast Death quite a few more times per attempt.
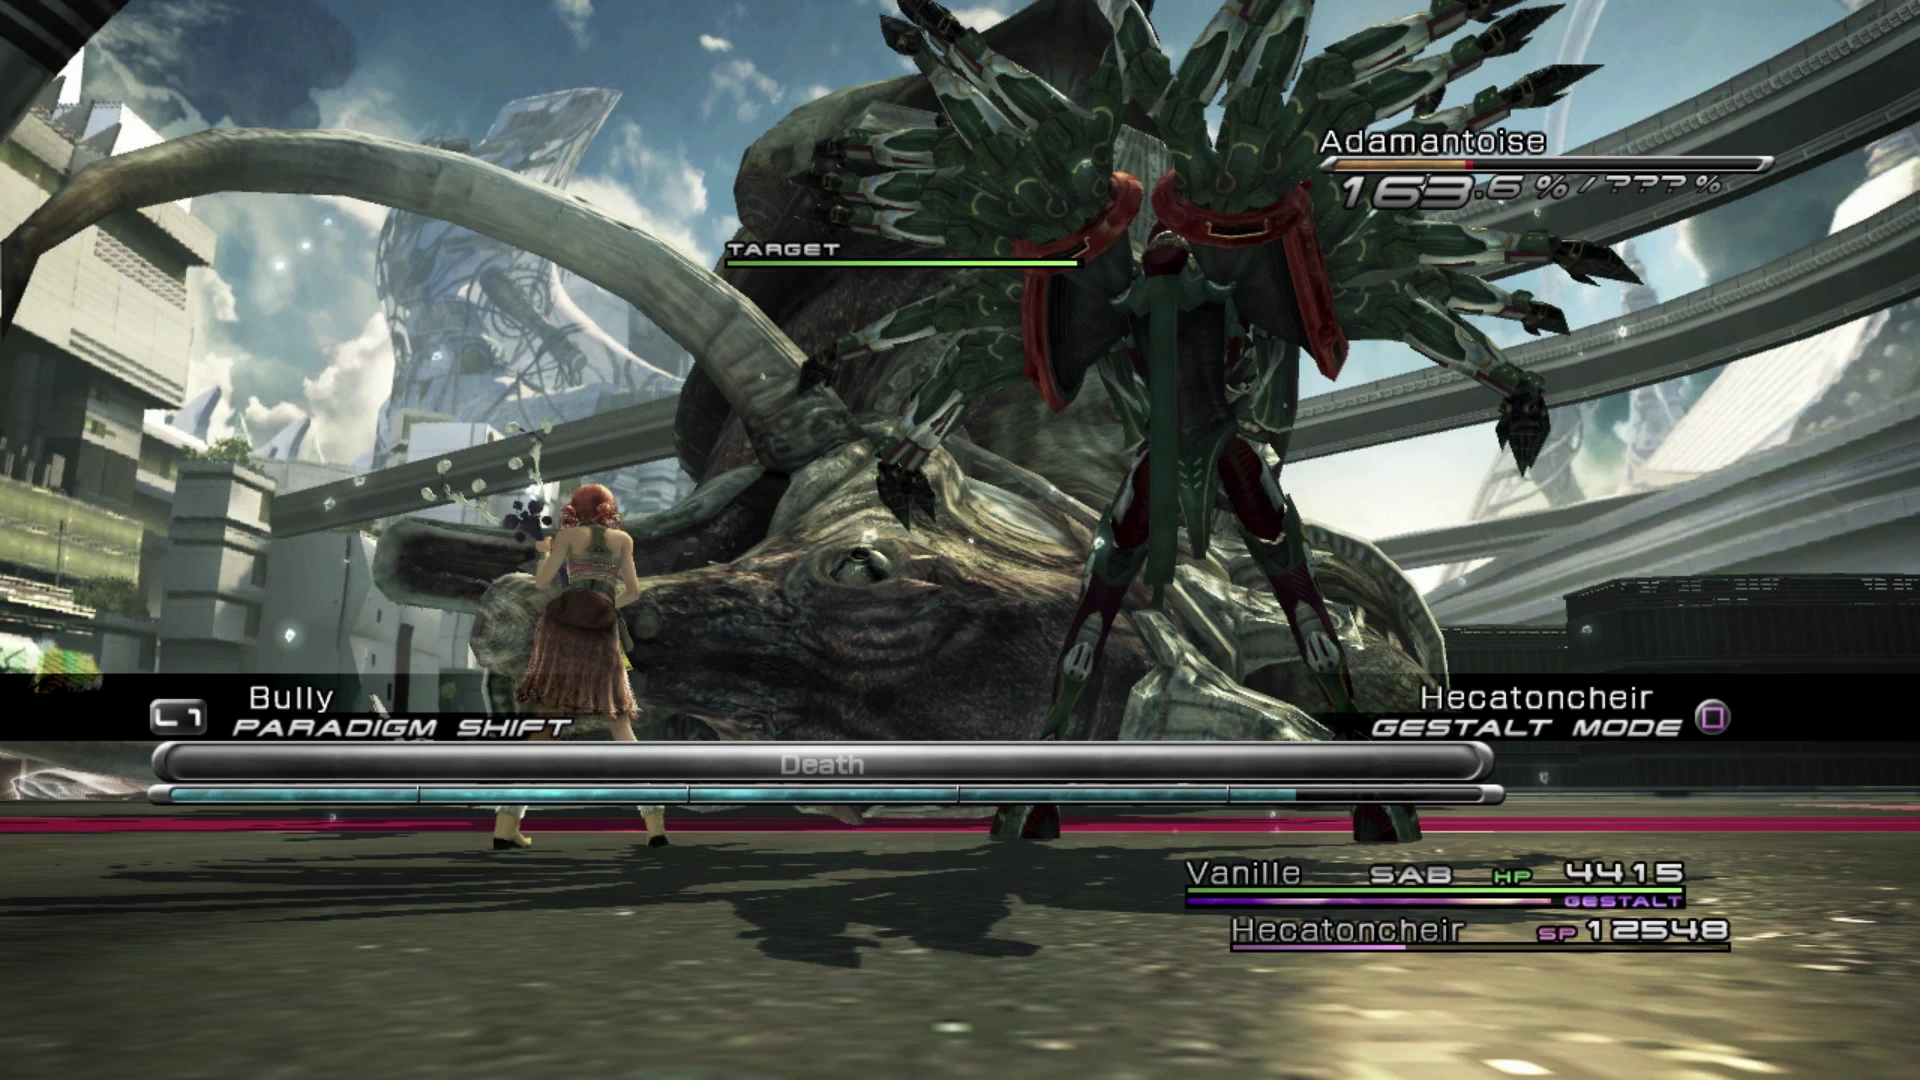
 - Have her ready to Summon her Eidolon, Hecatoncheir, as soon as she has Haste. Casting Hecatoncheir will Stagger the Adamantoise, knocking it on its side and, more importantly, preventing it from doing any damage to Vanille or the other party members until the Stagger is over.
- Manually select the ability
 Imperil and fill Vanille’s ATB Gauge with it. It can sometimes take 5 casts or more for the Imperil status to land, but it greatly improves the odds of her Death spell to inflict an immediate KO.
 - Begin the Death casting rotation. The most efficient means to cast Death is to cast it once, Paradigm shift to take advantage of the ATB Refresh strategy, cast Death twice, Paradigm shift, cast Death twice, etc. until one of two things happens: Adamantoise dies, or it stands back up and kills you and you try again.
Notes:
- There is a rare chance that Adamantoise will start off the battle with an immediate stomp. There’s nothing you can do to prevent this. It will immediately end the battle, and you’ll have to try again. Bad luck…
- Adamantoise may not drop anything. If you get this unlucky outcome, it’s worth reloading your game from the
 Save Station and trying again. It’s incredibly rare to get a
  Trapezohedron (~1%) so don’t waste your time trying to get this drop, but it’s worth it to keep trying until you get a Platinum Ingot.
 - The video included below shows just one attempt, but it will take most players 20 to 30 minutes and quite a bit more Death casts.
Watch the video for a demonstration of how to do this:
Warning
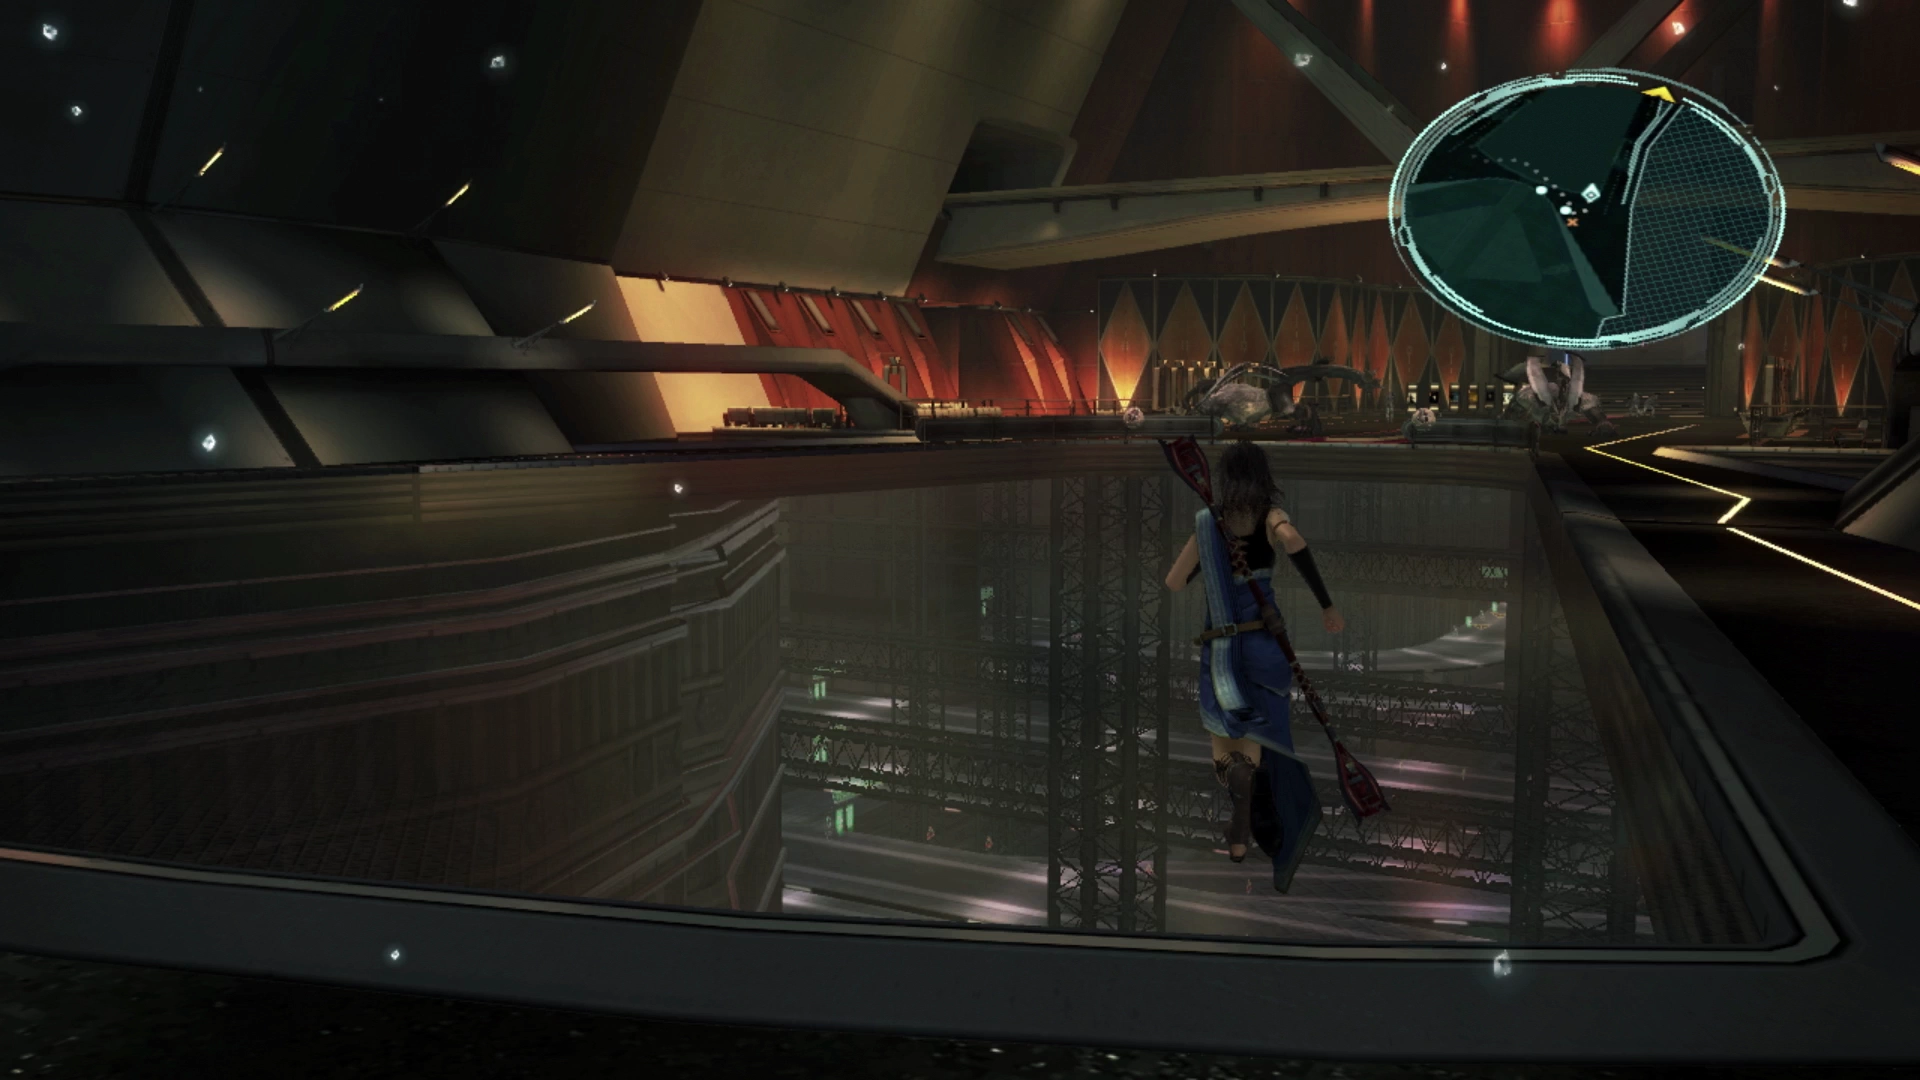
Do not walk on the clear glass in the building up ahead unless you defeated the Adamantoise outside the building. If you step on the glass and the Adamantoise is still alive it will come around the corner and smash the glass, which will prevent you from being able to open two of the Treasure Spheres in this area.
There are two groups of soldiers that you can engage, but you only have to defeat one in order to get past. Both of them are groups of two Sanctum Archangels.
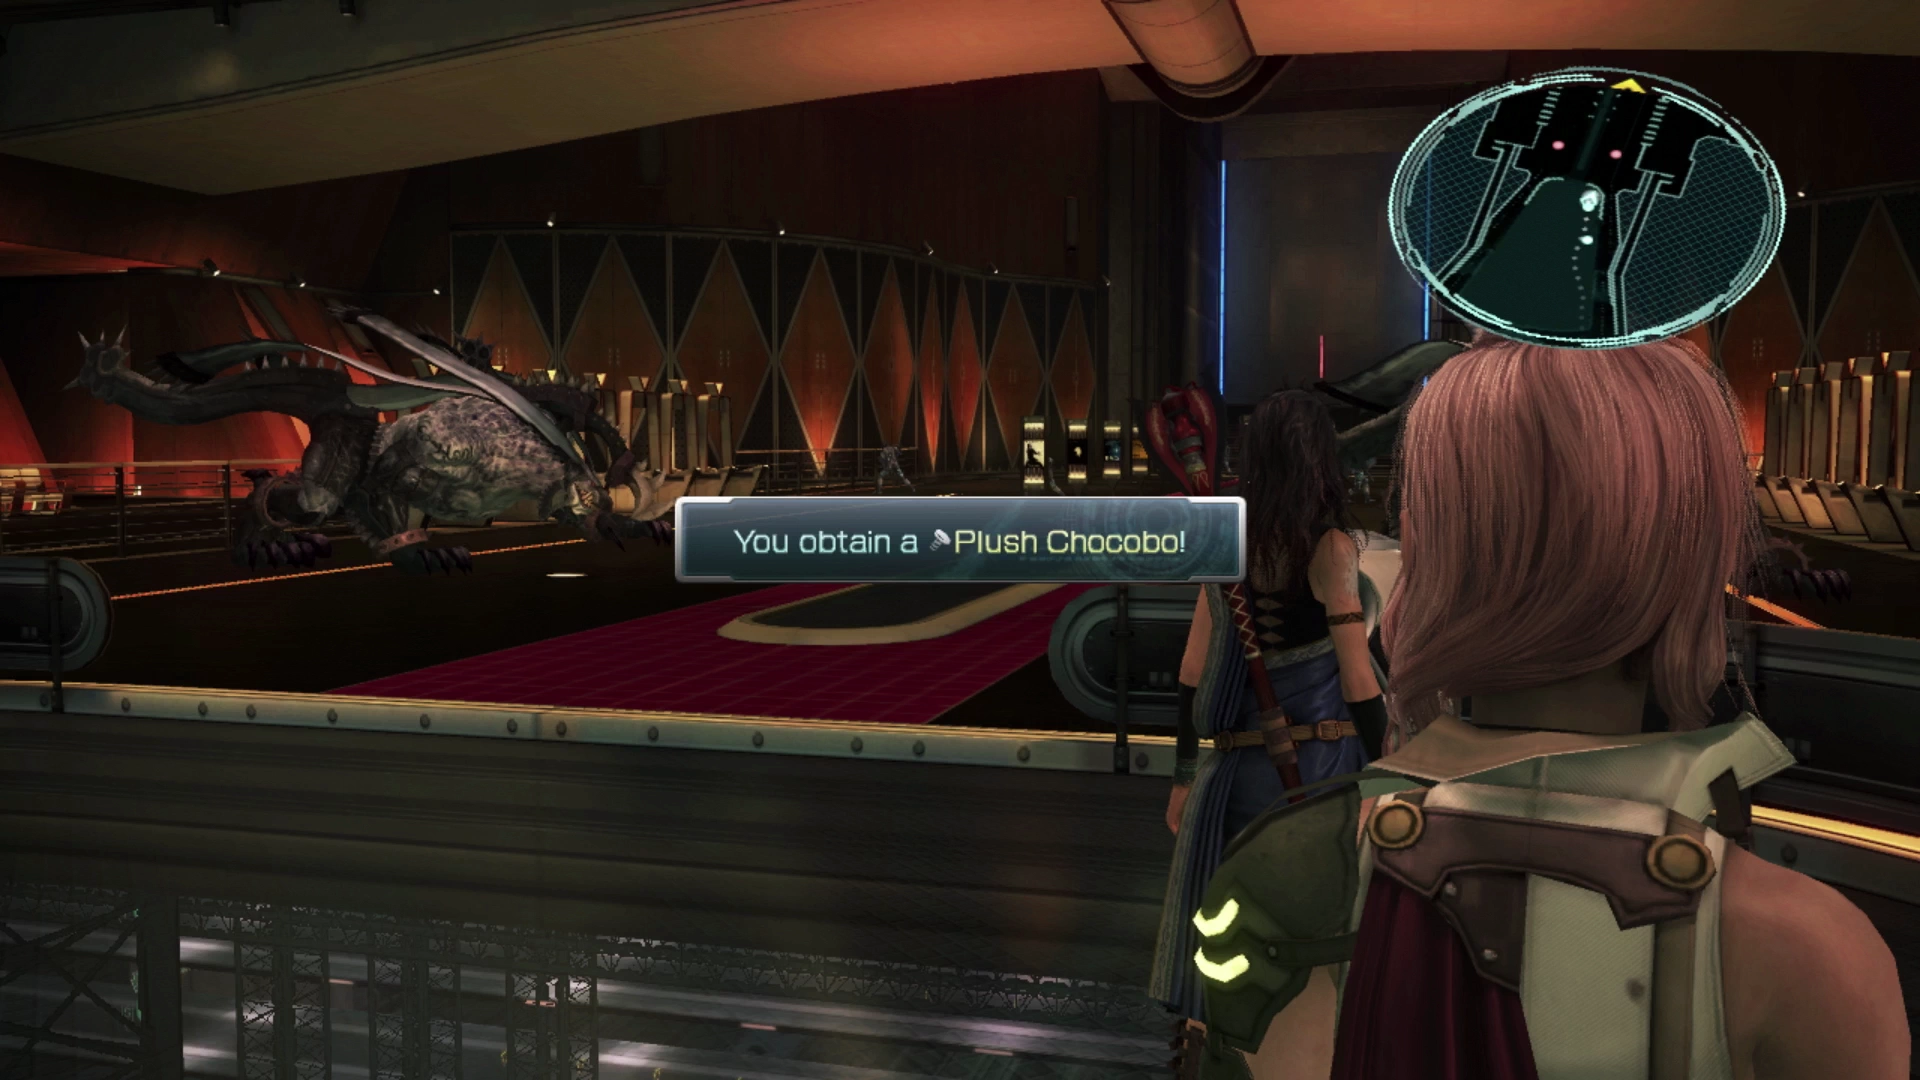
Without stepping on the glass, you can reach the two Treasure Spheres from the solid platforms nearby to pick up six ![]() Particle Accelerators and a
Particle Accelerators and a ![]() Plush Chocobo which can be sold for Gil. Remember that you’re free to step on the glass only if you defeated the Adamantoise, otherwise, you won’t be able to grab these two items.
Plush Chocobo which can be sold for Gil. Remember that you’re free to step on the glass only if you defeated the Adamantoise, otherwise, you won’t be able to grab these two items.
You can challenge the two Humbabas nearby or run past them if you use the ramped pathways on either side of the hangar. They’re fought individually rather than as a pair making them a bit easier to defeat if you’d prefer to challenge them for the Crystogen Points.
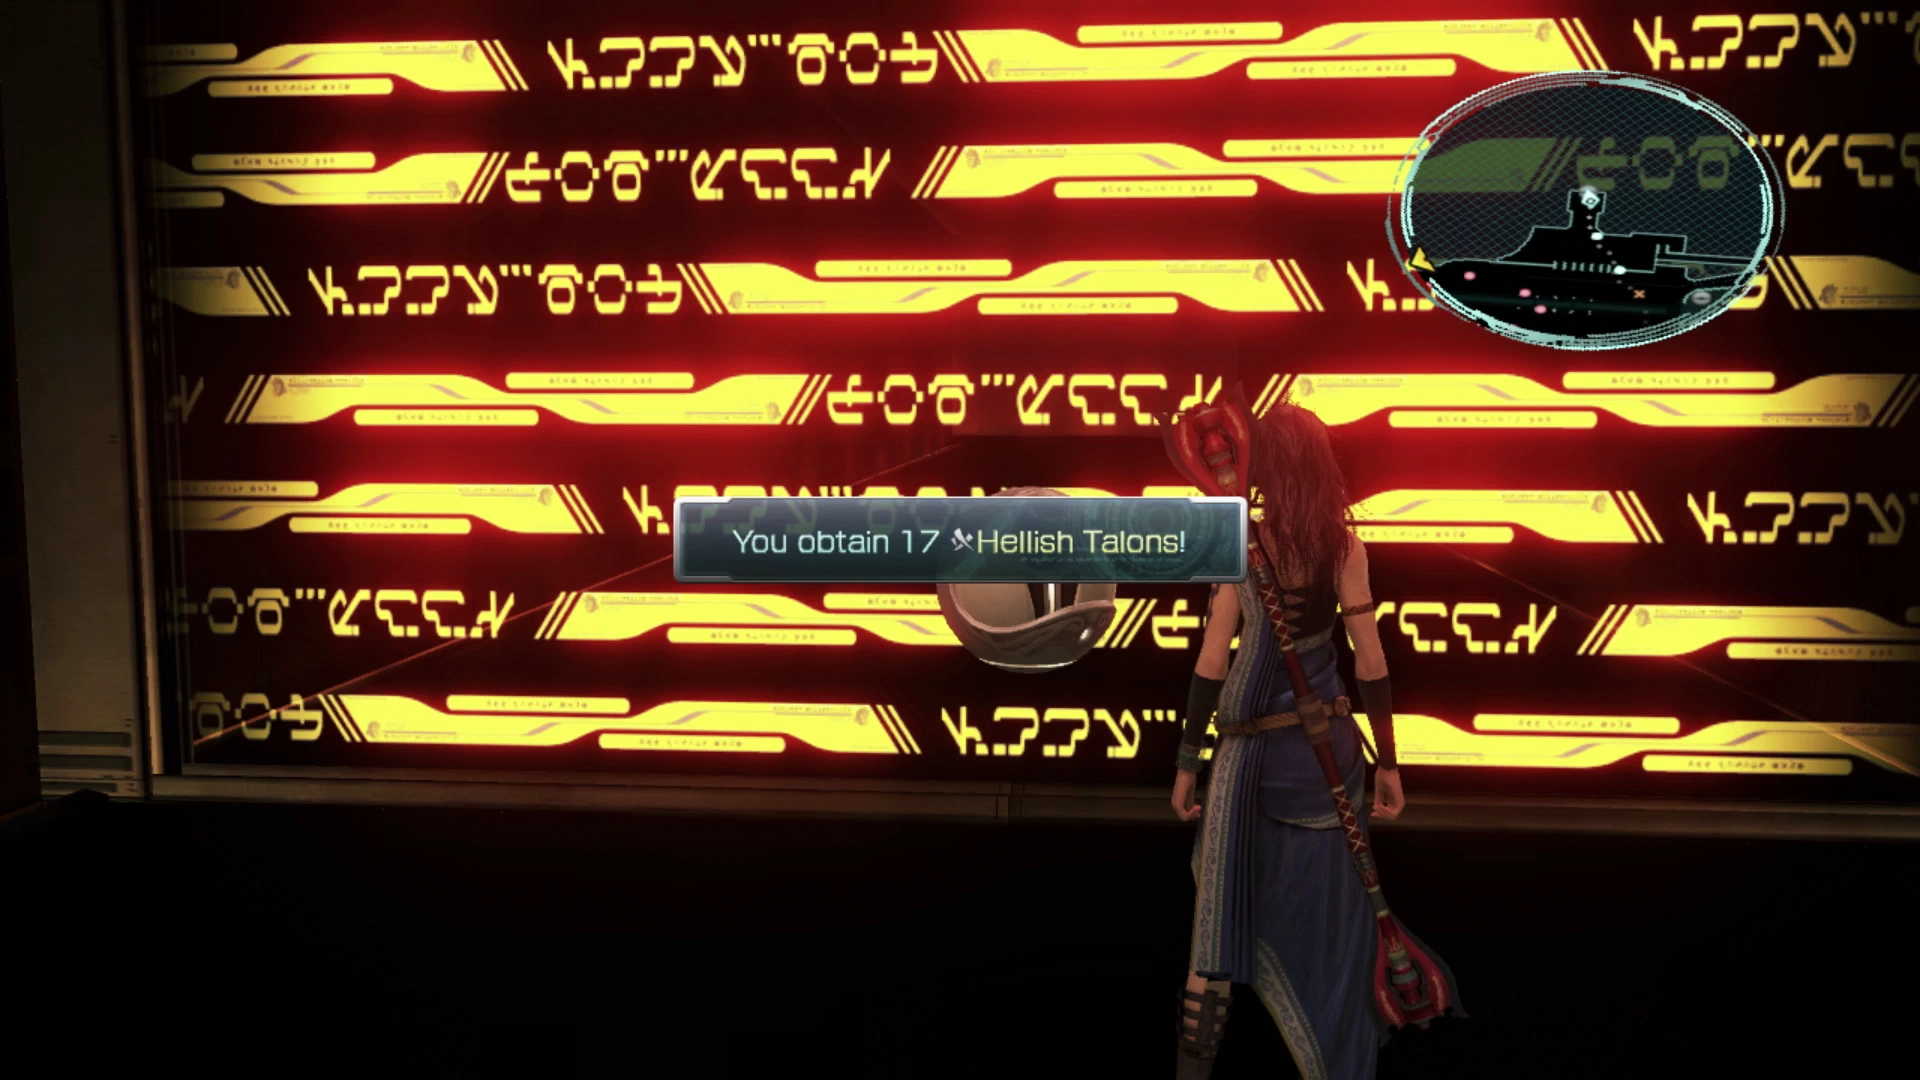
There are two Treasure Spheres in the yellowish rooms on either side of this hall. One of them contains twelve ![]() Hellish Talons and the second contains seventeen
Hellish Talons and the second contains seventeen ![]() Hellish Talons.
Hellish Talons.
Continue forward and engage the group of enemies which includes a Sanctum Archangel with a new enemy called a Sanctum Celebrant. The next group of soldiers includes two Sanctum Archangels and two Sanctum Celebrants which are a bit tougher due to how much damage the Celebrants can throw out.
Head up the stairs towards the destination marker and use the ![]()
![]()
![]() button to open the door and enter the next area.
button to open the door and enter the next area.
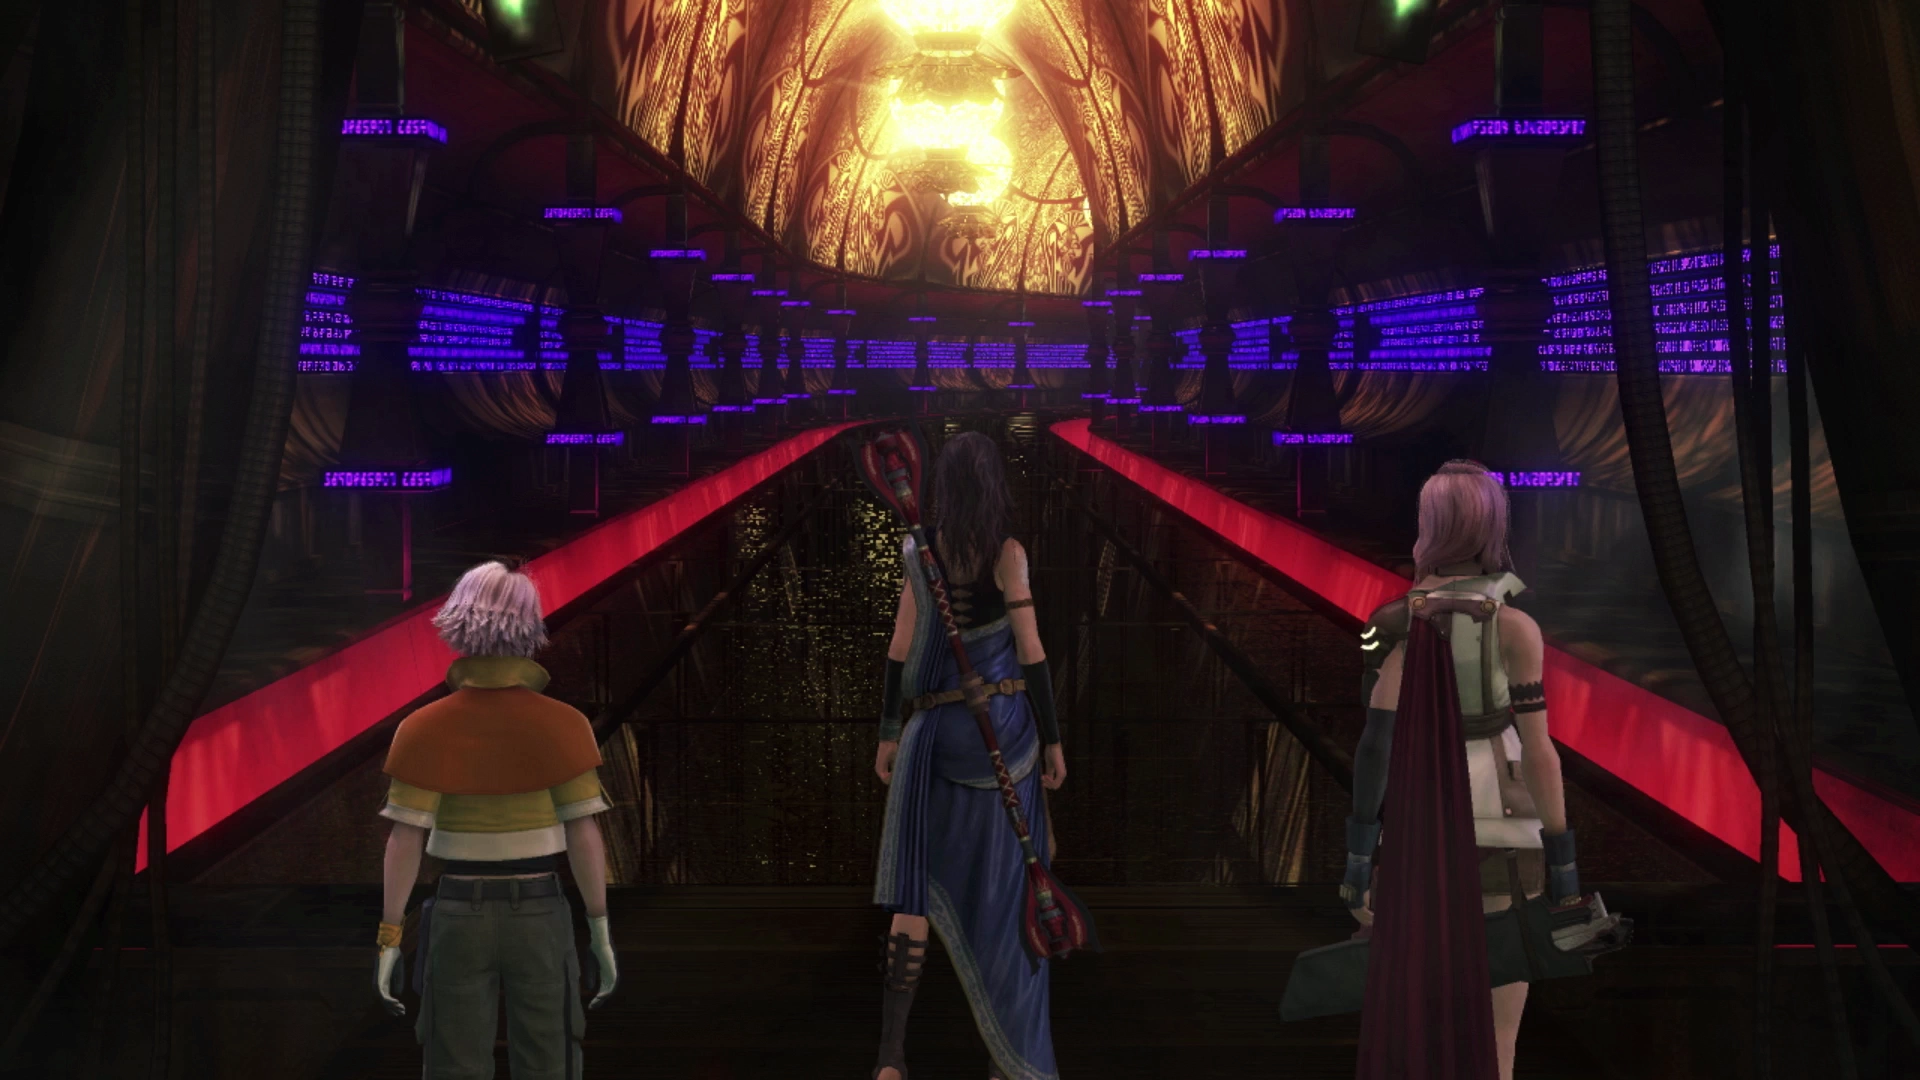
Edenhall Grand Foyer
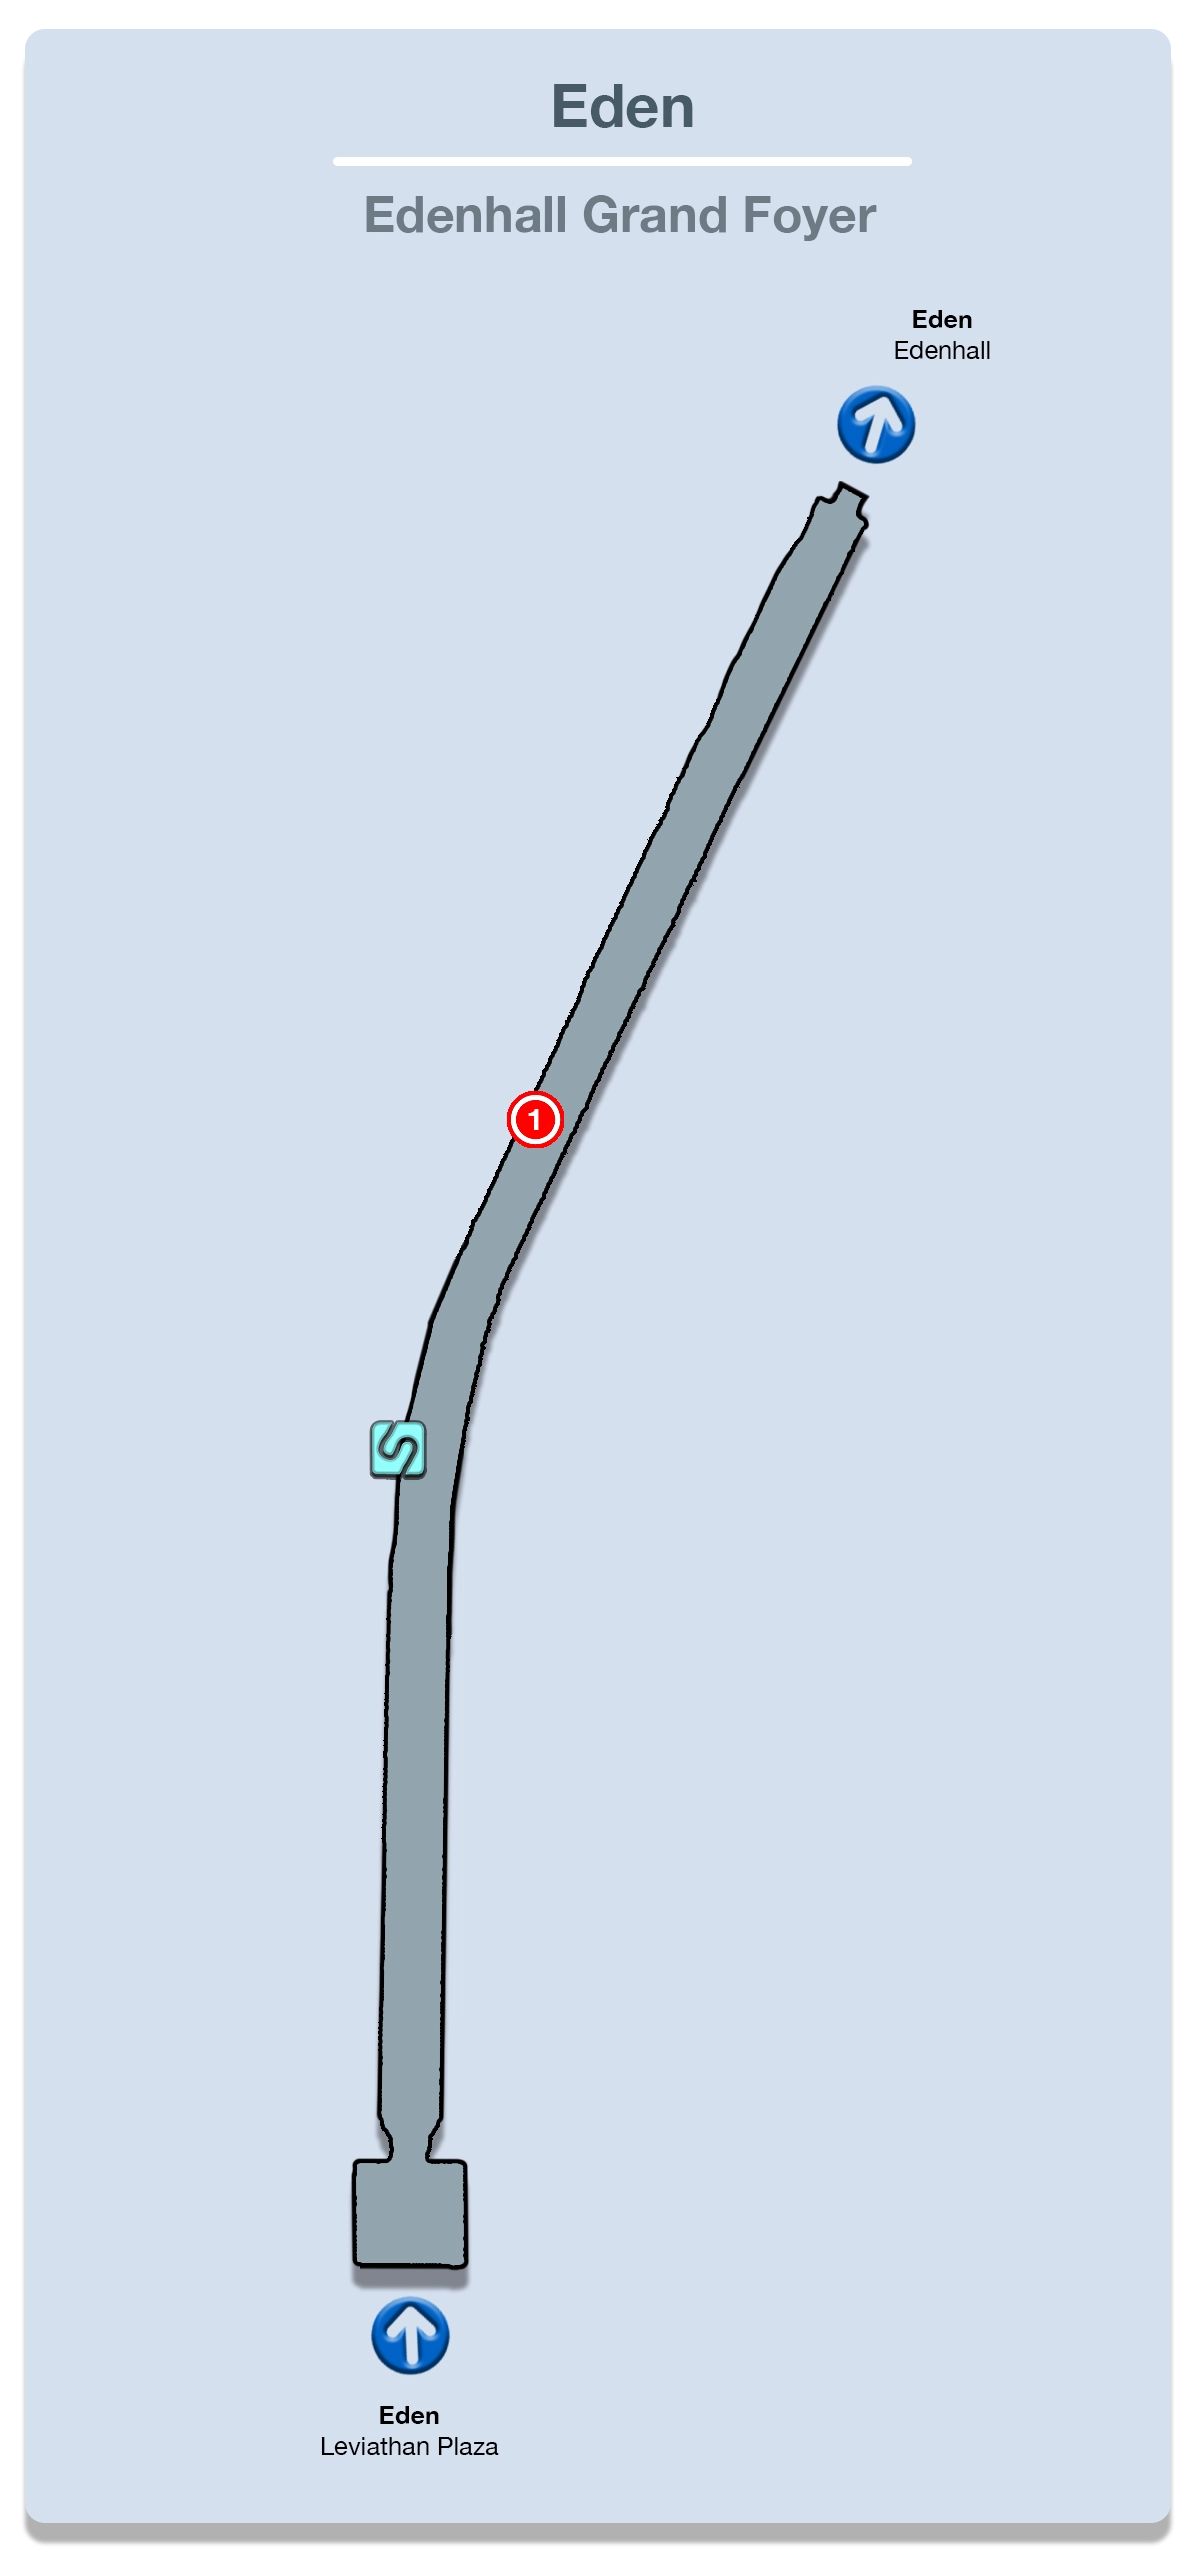
This next area is just a large hallway that does not contain any enemies that you have to fight. Instead, you’ll just be running past a number of Eden/Cocoon civilians, each of them hurling insults and derogatory comments at your party as you pass by.
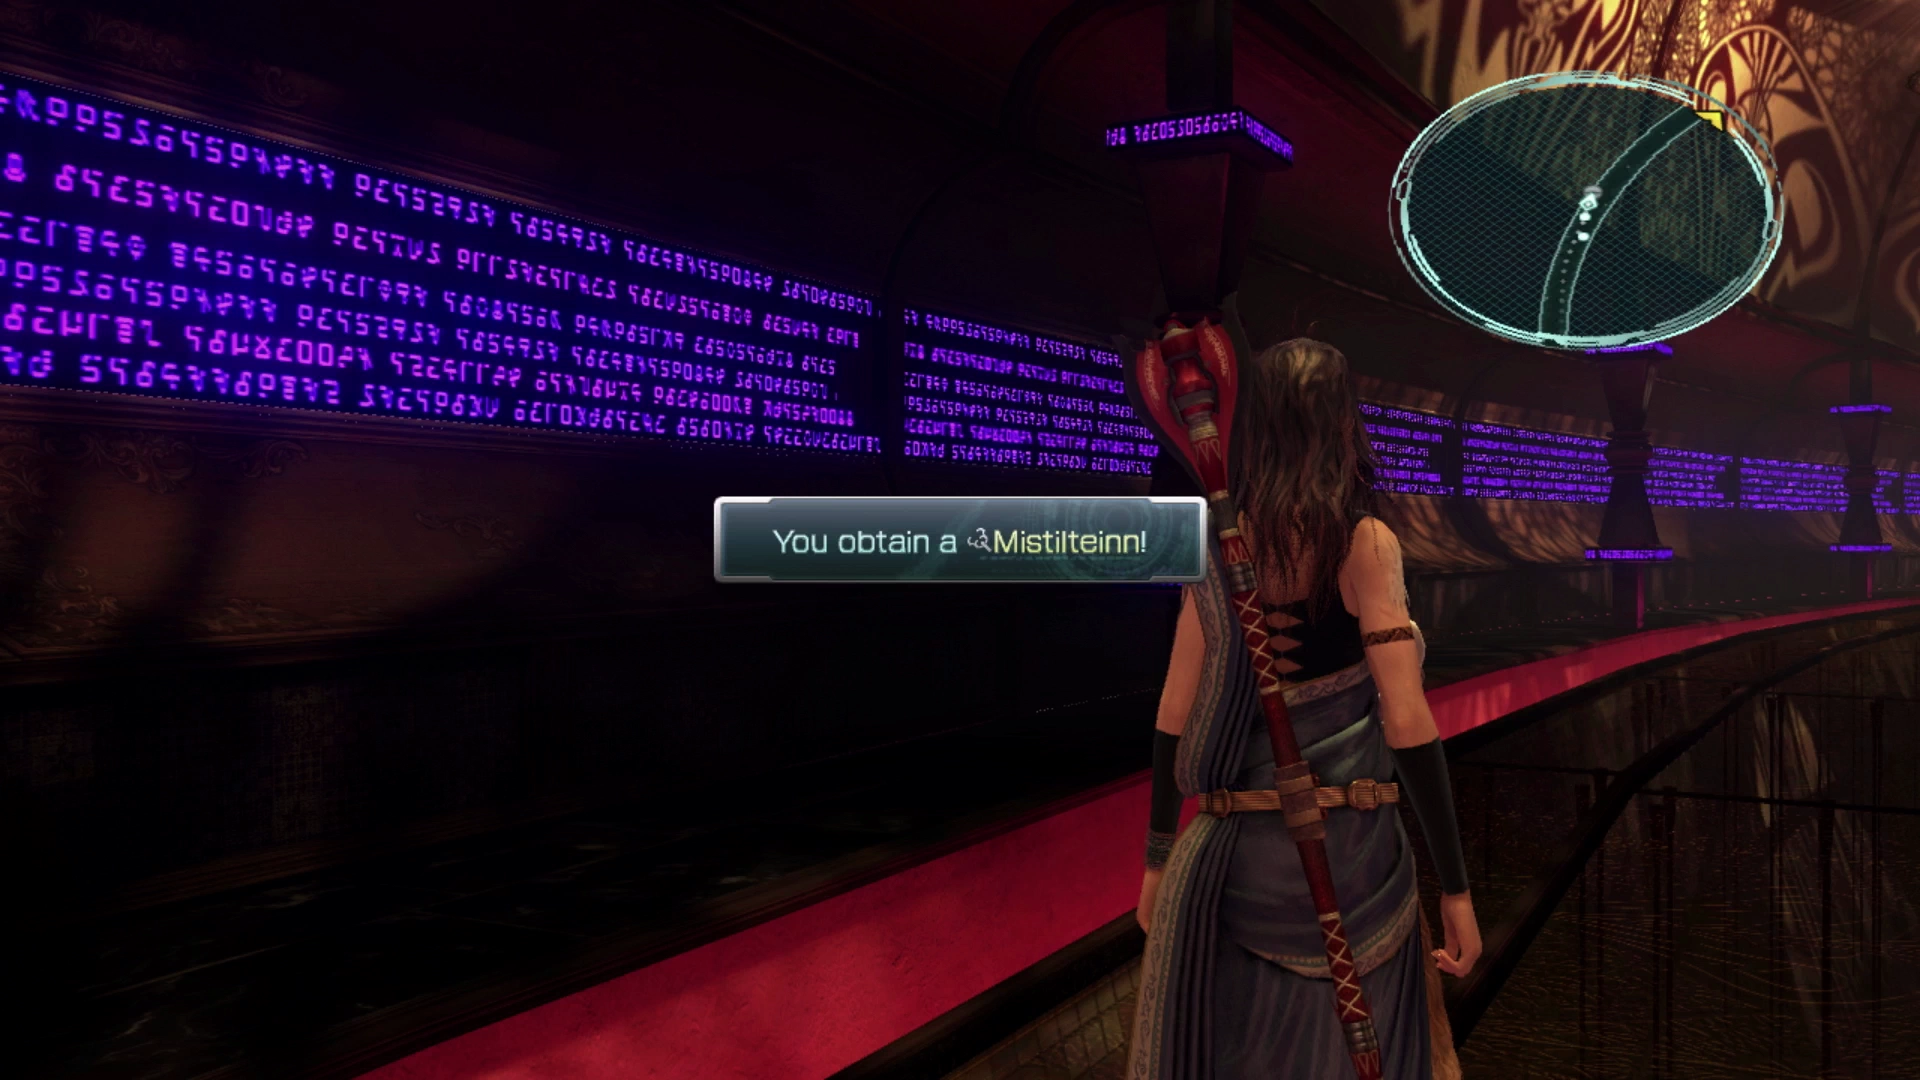
There will be a Treasure Sphere halfway through the hallway that you can open to obtain a ![]() Mistilteinn, which is a new weapon for Vanille. This weapon improves her abilities in battle if your party members are KO’d during a battle, but this shouldn’t be happening often enough for you to get value out of this new weapon, so don’t equip it to her.
Mistilteinn, which is a new weapon for Vanille. This weapon improves her abilities in battle if your party members are KO’d during a battle, but this shouldn’t be happening often enough for you to get value out of this new weapon, so don’t equip it to her.
Helpful Hint
As another reminder, each of your characters can have a maximum of 999,999 CP at any given time. This is unlikely to impact your main party, but it can have an impact if you have been forgetting to spend the CP that your unused party members have been storing up.
Take some time to spend some of their CP to keep it well under 999,999 so that they don’t max out and miss out on CP from upcoming boss battles.
Continue down the hallway, through the Grand Foyer, and out into the Edenhall.
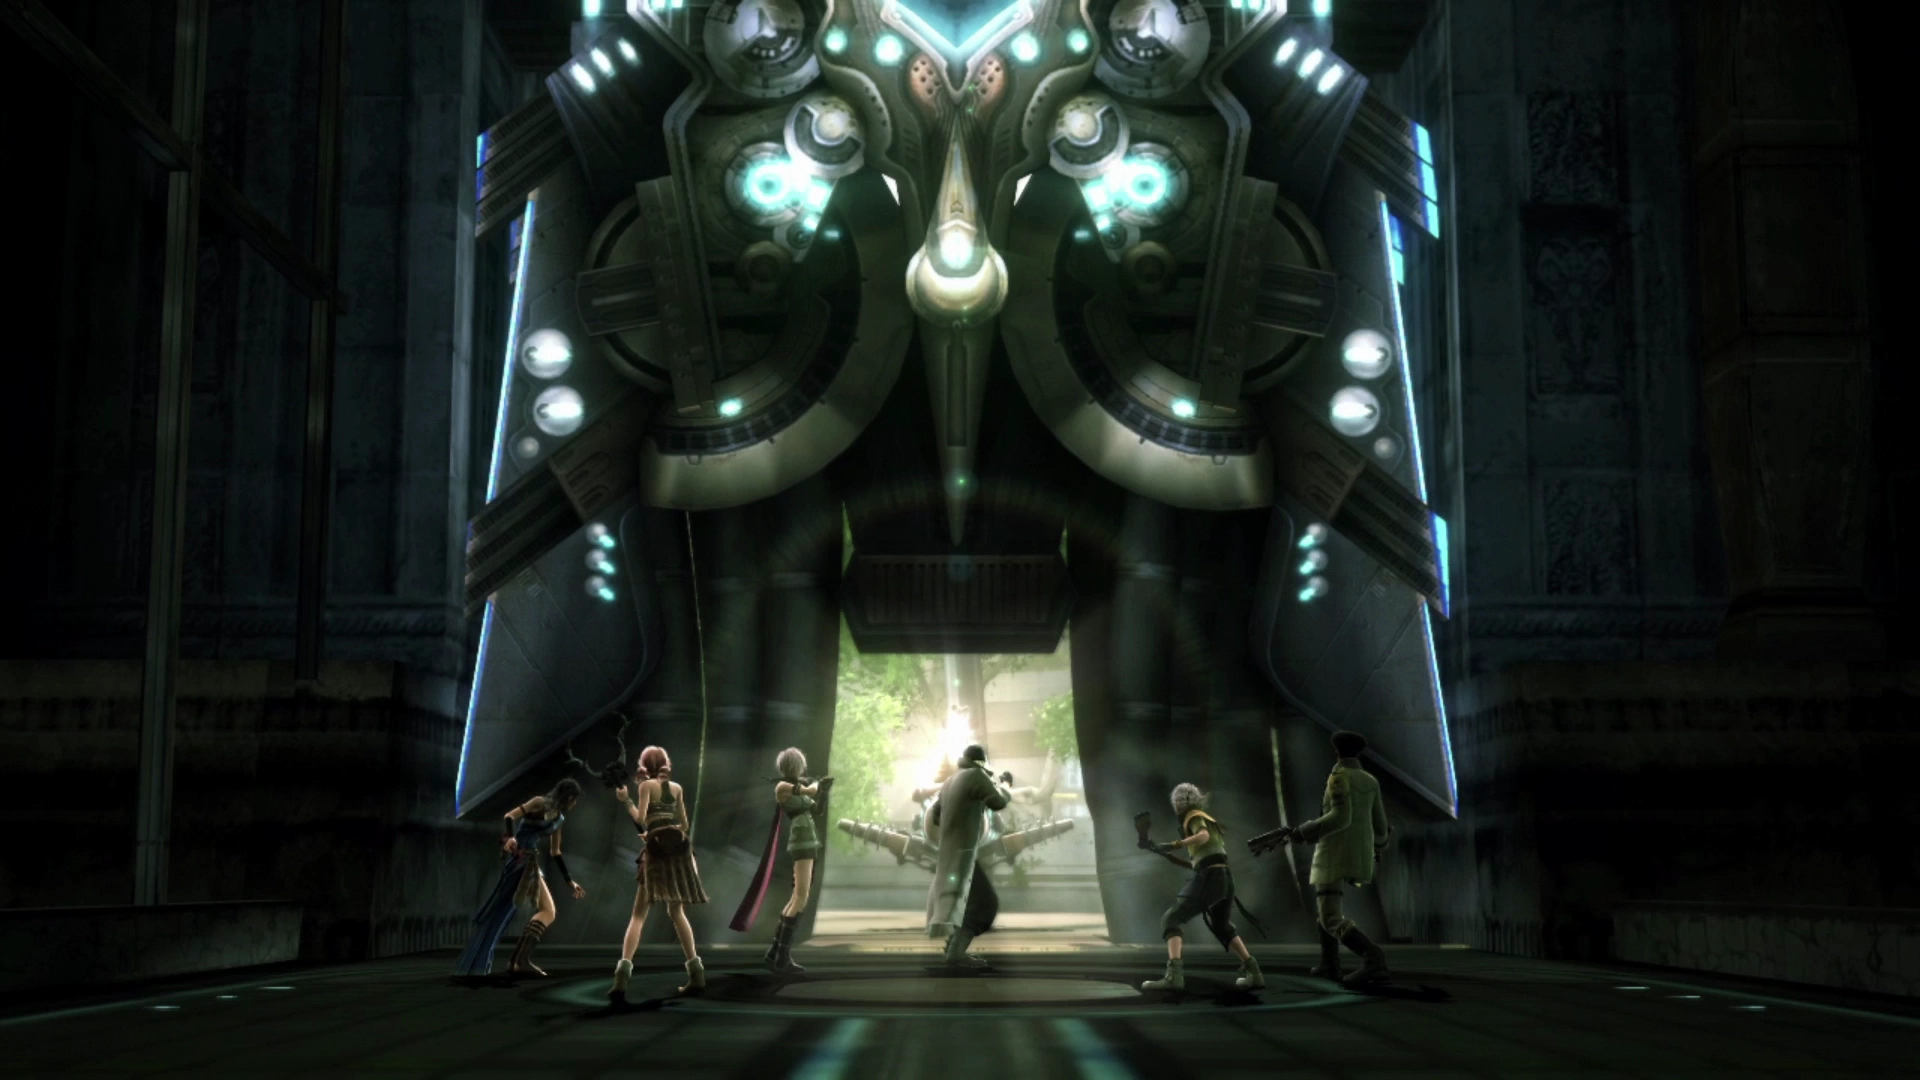
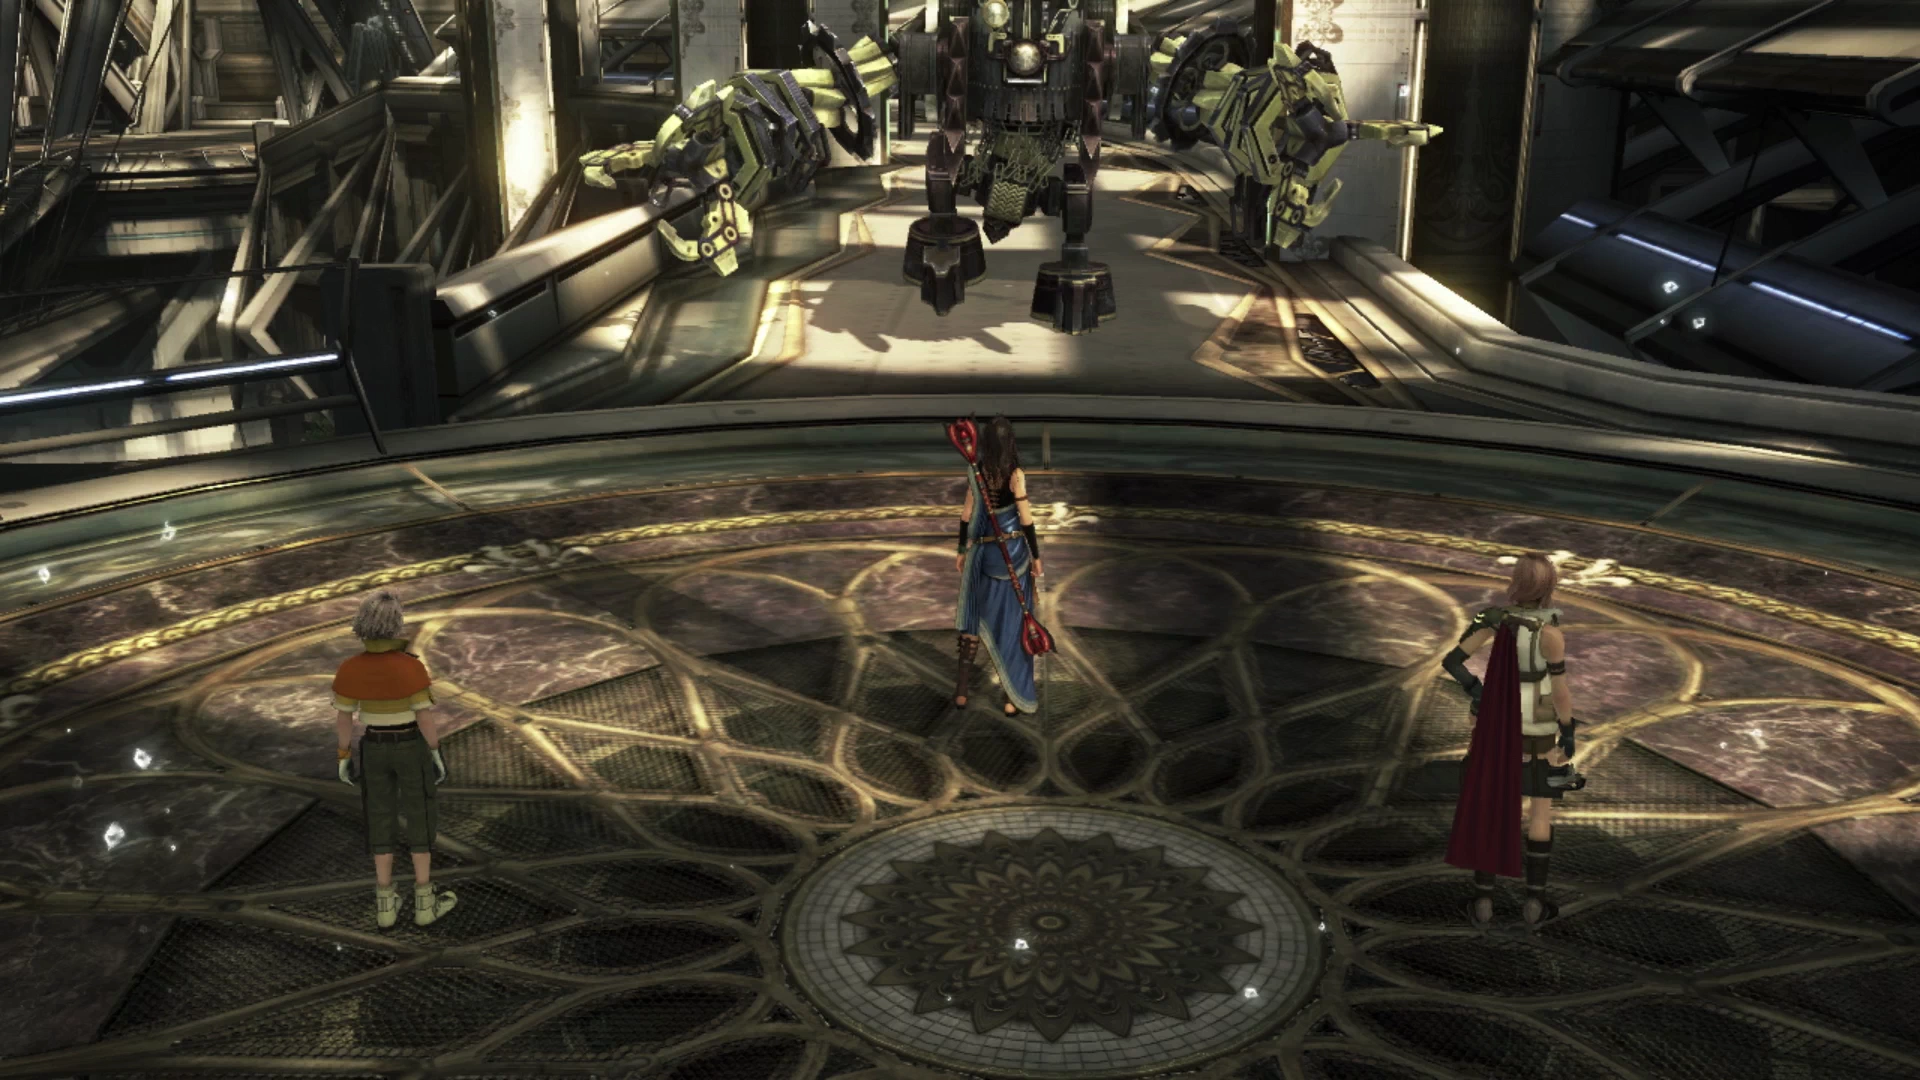
Edenhall
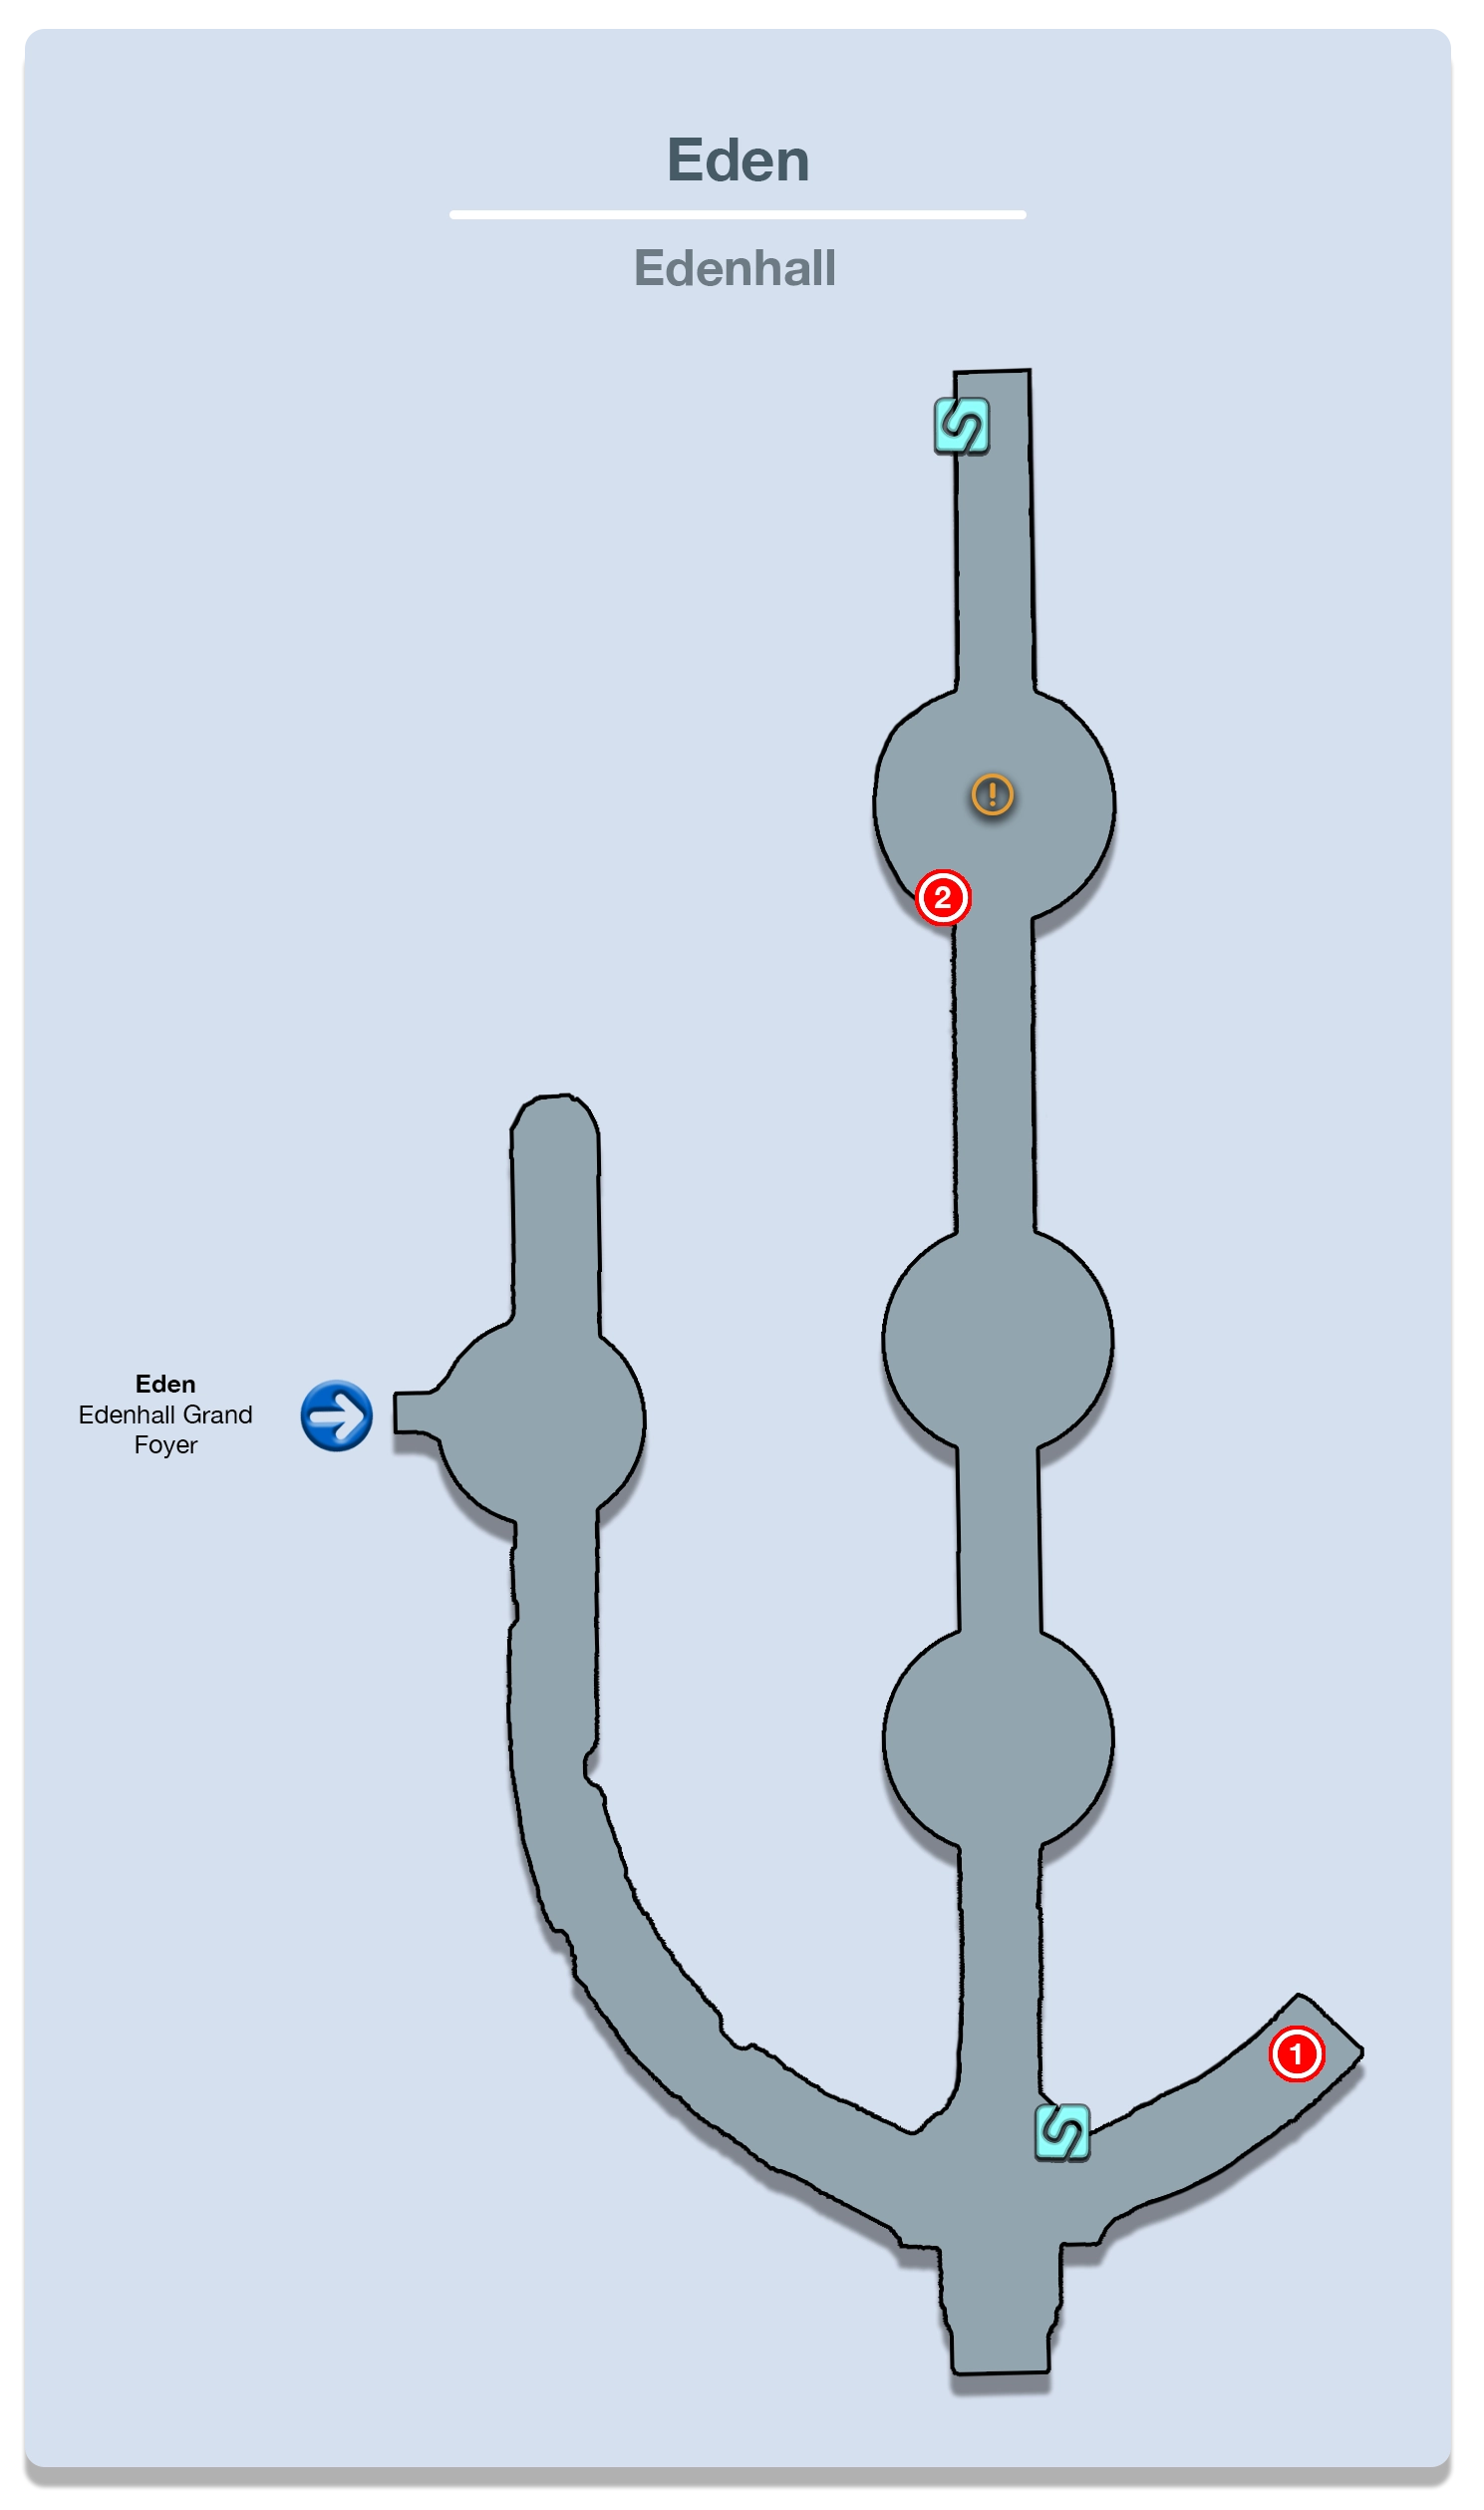

A short cinematic will kick off as you enter Edenhall. Lightning, taking a cue from Snow, decides the best approach for getting inside the large structure is to charge in through the front door.
Your team will be surrounded by a Tyrant on the back side and a Juggernaut towards the front. You don’t have to actually defeat the Tyrant, but this is another instance where you can bait the Tyrant out of the spot where it’s standing and ambush it from behind for a preemptive strike when it turns around to walk back to its original spot. But you can skip past it if you want to.
The Juggernaut, on the other hand, is a mandatory battle that you will need to complete in order to continue through Edenhall. Challenge one (or both) to a fight and proceed across the walkway. The next group of enemies you will face includes three Sanctum Archangels.
Following that will be a group of three Sanctum Inquisitrixes with a Sanctum Archangel. This battle is made difficult by the amount of damage that the Inquisitrixes can pump out, especially after they buff themselves using “Manadrive Bravera,” “Manadrive Vigilance,” “Manadrive Haste” and “Manadrive Veil.” “Manadrive Veil” will make it more difficult to apply debuffs on them as a ![]() Saboteur, but you should still spend some time in a defensive Paradigm to allow your
Saboteur, but you should still spend some time in a defensive Paradigm to allow your ![]() Synergist an opportunity to buff your party which should help you to survive the onslaught of damage.
Synergist an opportunity to buff your party which should help you to survive the onslaught of damage.

After that, you will face a group of two Sanctum Inquisitrixes with a single Sanctum Archangel which will be much easier than the last battle you had to deal with. A short cutscene will take place when you reach the ![]() Save Station showing the soldiers transforming into Cie’th.
Save Station showing the soldiers transforming into Cie’th.
Run past the ![]() Save Station to find a Treasure Sphere that contains a
Save Station to find a Treasure Sphere that contains a ![]() Power Glove. This accessory is a little bit more powerful than the Nintendo Power Glove; it provides 150 bonus strength to the character you equip it to, which makes it a great fit for your primary
Power Glove. This accessory is a little bit more powerful than the Nintendo Power Glove; it provides 150 bonus strength to the character you equip it to, which makes it a great fit for your primary ![]() Commando.
Commando.
Follow the pathway towards the Cie’th to engage your very first pair of Sacrifice enemies in battle. These enemies are ones that you will become very familiar with soon if you plan to do any farming to streamline some of the endgame content.
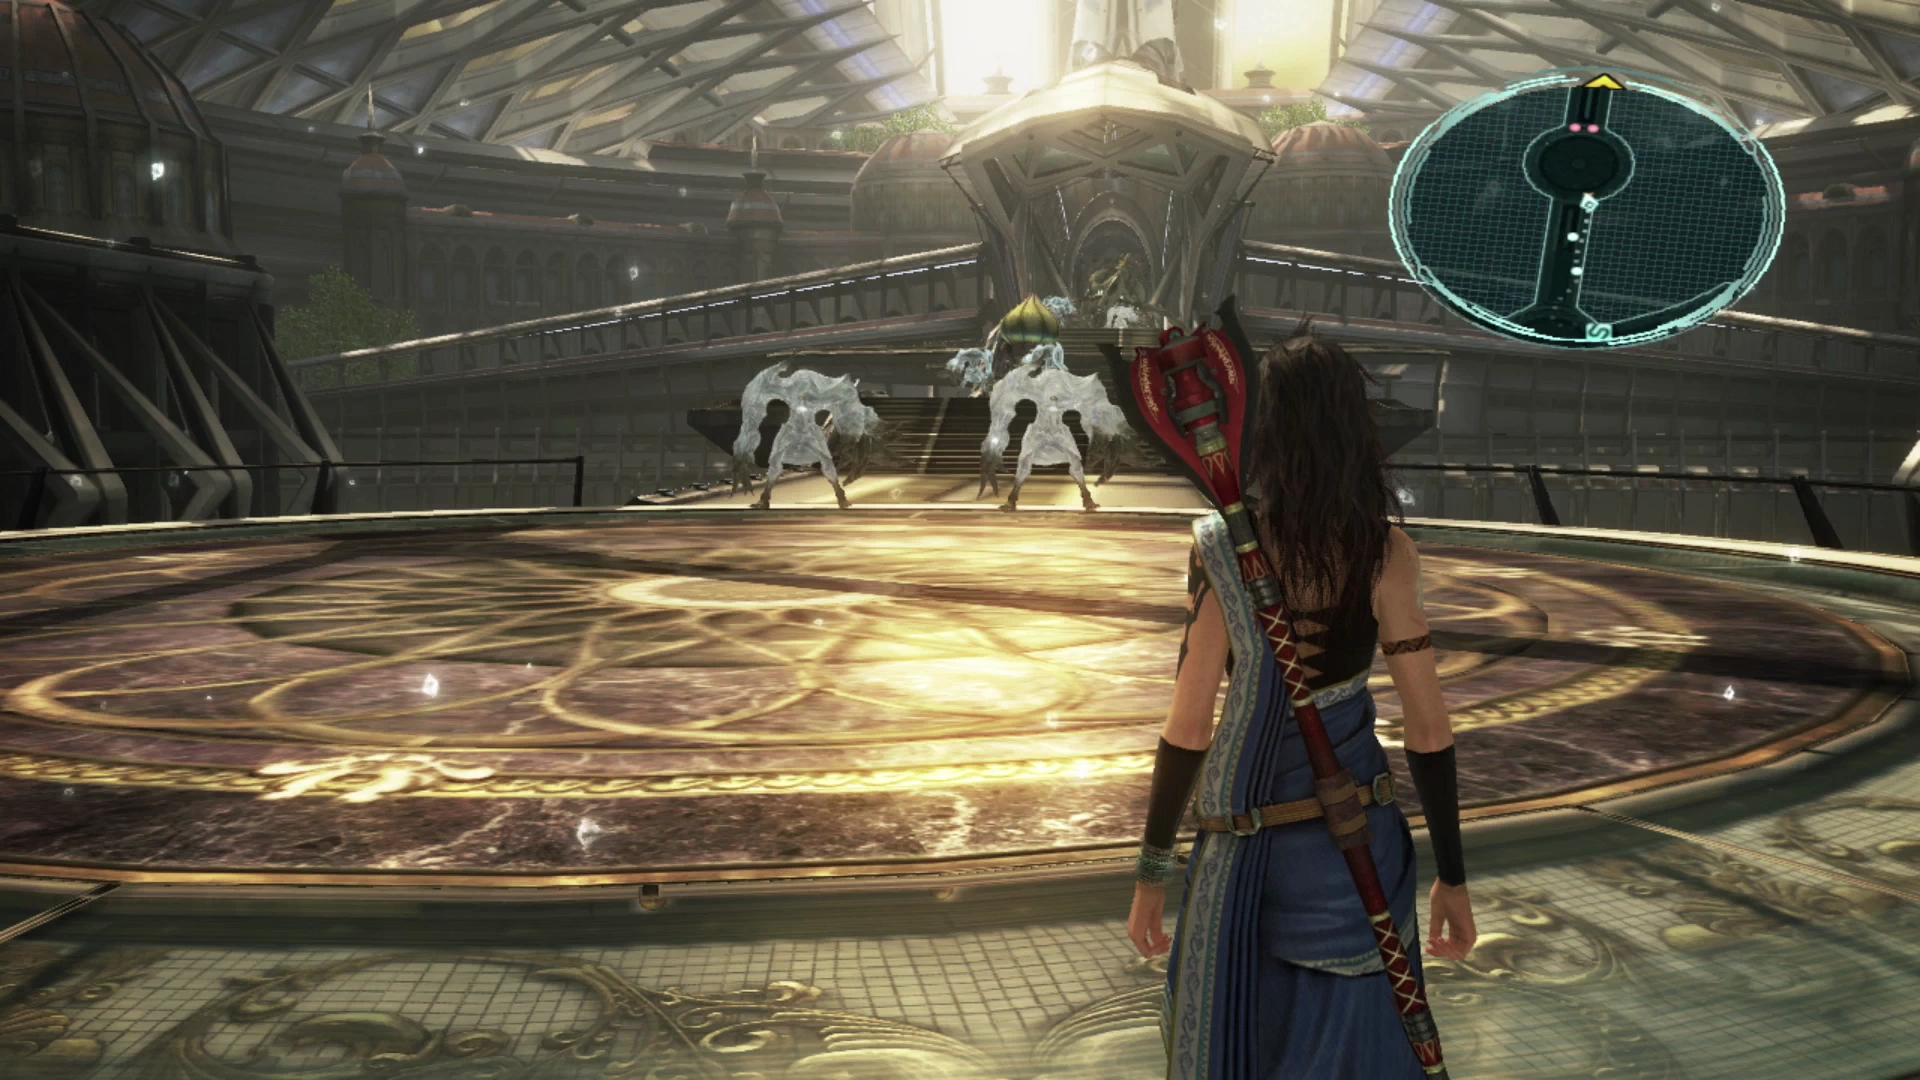
The important thing to note about these enemies is that they will use an attack called “Anathema” which unleashes a whole host of negative status effects on the target including ![]() Deshell, Defaith,
Deshell, Defaith, ![]() Imperil,
Imperil, ![]() Poison and
Poison and ![]() Slow. You will either have to just deal with these status effects as they come, or alternatively, you can have a
Slow. You will either have to just deal with these status effects as they come, or alternatively, you can have a ![]() Saboteur cast
Saboteur cast ![]() Fog/
Fog/![]() Fogga on a Sacrifice which will prevent it from using its “Anathema” attack.
Fogga on a Sacrifice which will prevent it from using its “Anathema” attack.
It’s usually not worth it to waste your time trying to cast ![]() Fog/
Fog/![]() Fogga when there are only two of them, like in these early groups in the Edenhall, but this will become an important strategy when there are more Sacrifices or when they accompany other enemies. It’s also relatively easy to get a preemptive strike on Sacrifices due to how slowly they patrol the areas of the map where they spawn.
Fogga when there are only two of them, like in these early groups in the Edenhall, but this will become an important strategy when there are more Sacrifices or when they accompany other enemies. It’s also relatively easy to get a preemptive strike on Sacrifices due to how slowly they patrol the areas of the map where they spawn.
The reason why these enemies are good for Farming is because they have a chance to drop either a ![]() Perfume, which sells for quite a bit of Gil, or a
Perfume, which sells for quite a bit of Gil, or a ![]() Scarletite, which is both an important catalyst but also sells for a high amount of Gil, so you can sell them if you manage to stock up on them. We won’t be farming them just yet, but knowing that they have such good drops, this is a good time to remind you to make sure that you have a
Scarletite, which is both an important catalyst but also sells for a high amount of Gil, so you can sell them if you manage to stock up on them. We won’t be farming them just yet, but knowing that they have such good drops, this is a good time to remind you to make sure that you have a ![]() Collector Catalog equipped to one of your characters to increase the likelihood of getting good spoils at the end of the battle.
Collector Catalog equipped to one of your characters to increase the likelihood of getting good spoils at the end of the battle.
There are two groups of Sacrifices to face before you reach another Vernal Harvester battling against two Sacrifices that you can engage in a three-way battle. Focus on the Vernal Harvester first, as the Sacrifices won’t attack your party until it is defeated, and then switch over to the two Sacrifices. With a preemptive strike, you should be able to defeat the Vernal Harvester very quickly.
Just past that is one more lone Sacrifice enemy to take care of and a Treasure Sphere next to it that contains an ![]() Ethersol. Just up ahead you will see the disabled Proudclad which you will be fighting for a second time, but let’s do some quick setup first.
Ethersol. Just up ahead you will see the disabled Proudclad which you will be fighting for a second time, but let’s do some quick setup first.
Make sure that you have a defensively oriented Paradigm setup. You can do this by swapping in Fang’s ![]() Sentinel role for her
Sentinel role for her ![]() Saboteur role, for example, because just like the last time you fought Proudclad, it is immune to negative status effects.
Saboteur role, for example, because just like the last time you fought Proudclad, it is immune to negative status effects.
Boss Battle
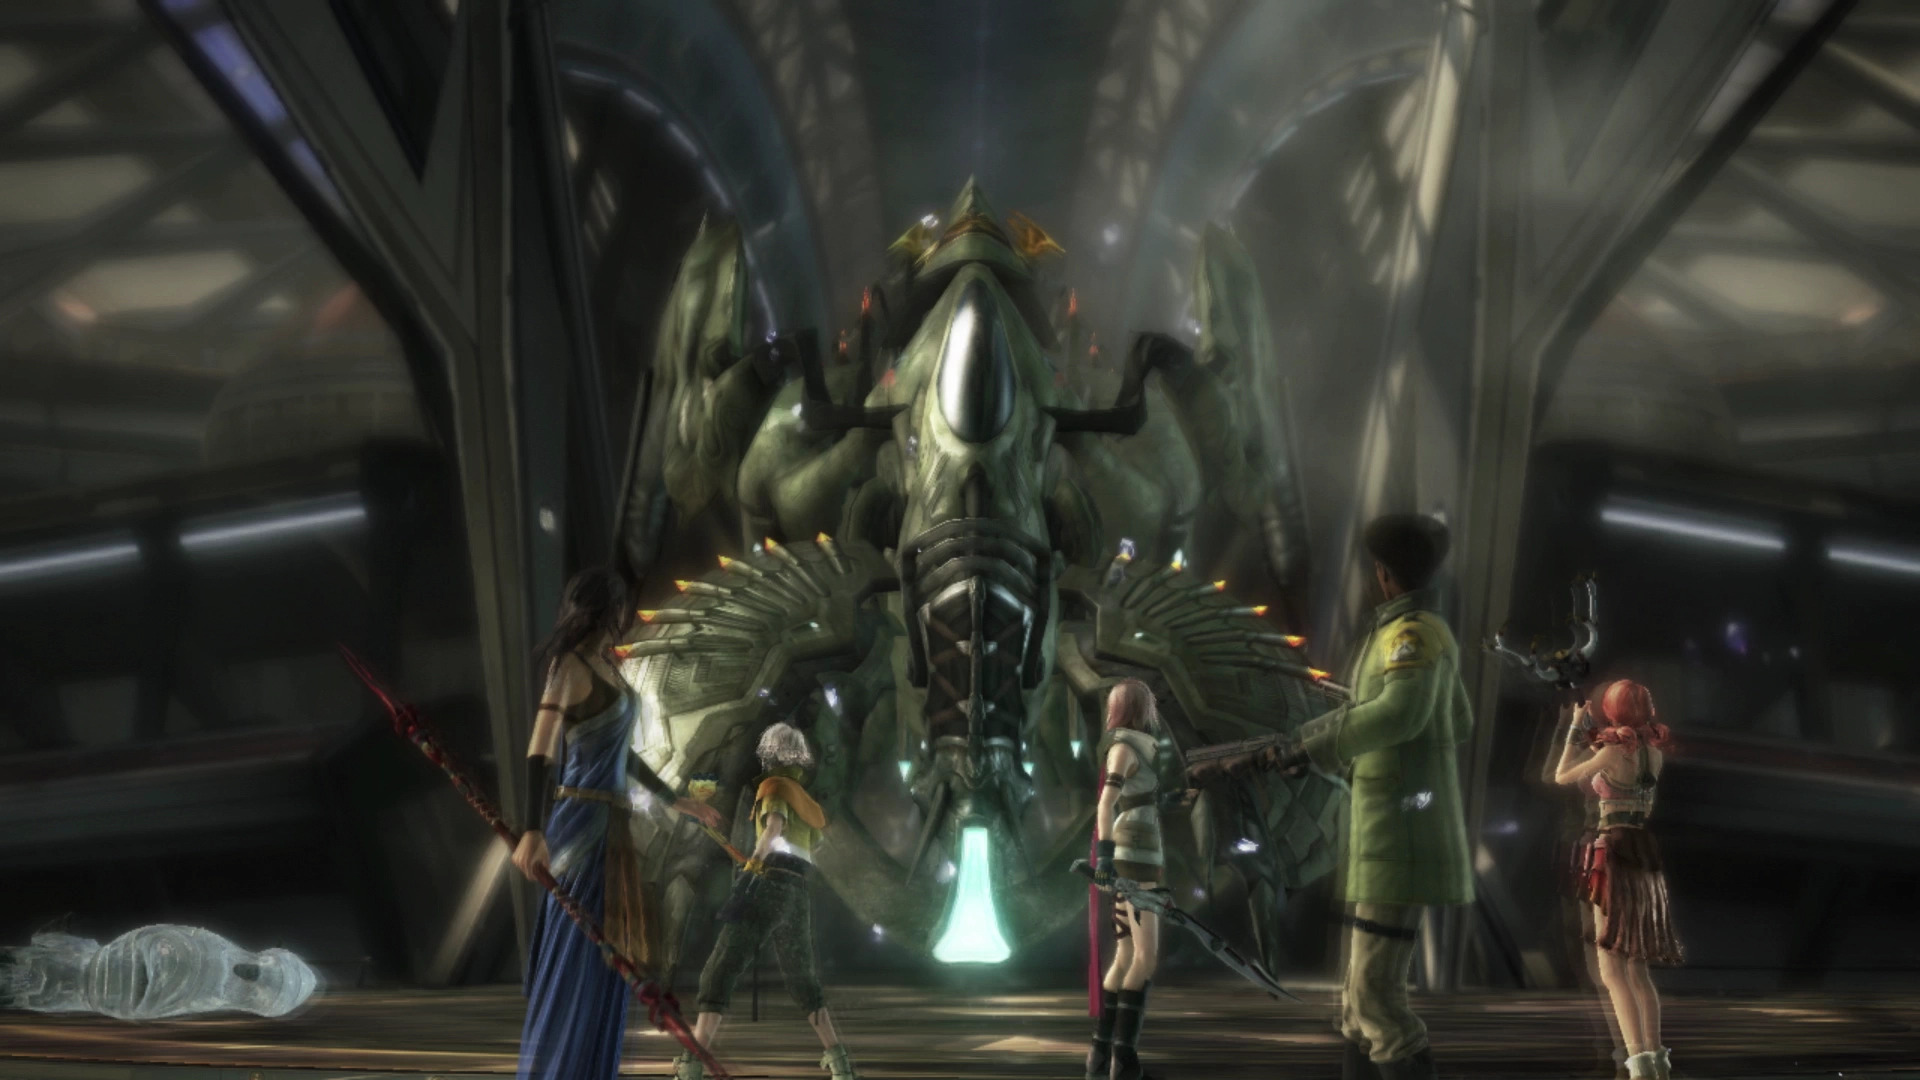
Despite this being the second time you have faced Proudclad, you will have to use ![]() Libra on it again in order to reveal its weaknesses one more time.
Libra on it again in order to reveal its weaknesses one more time.
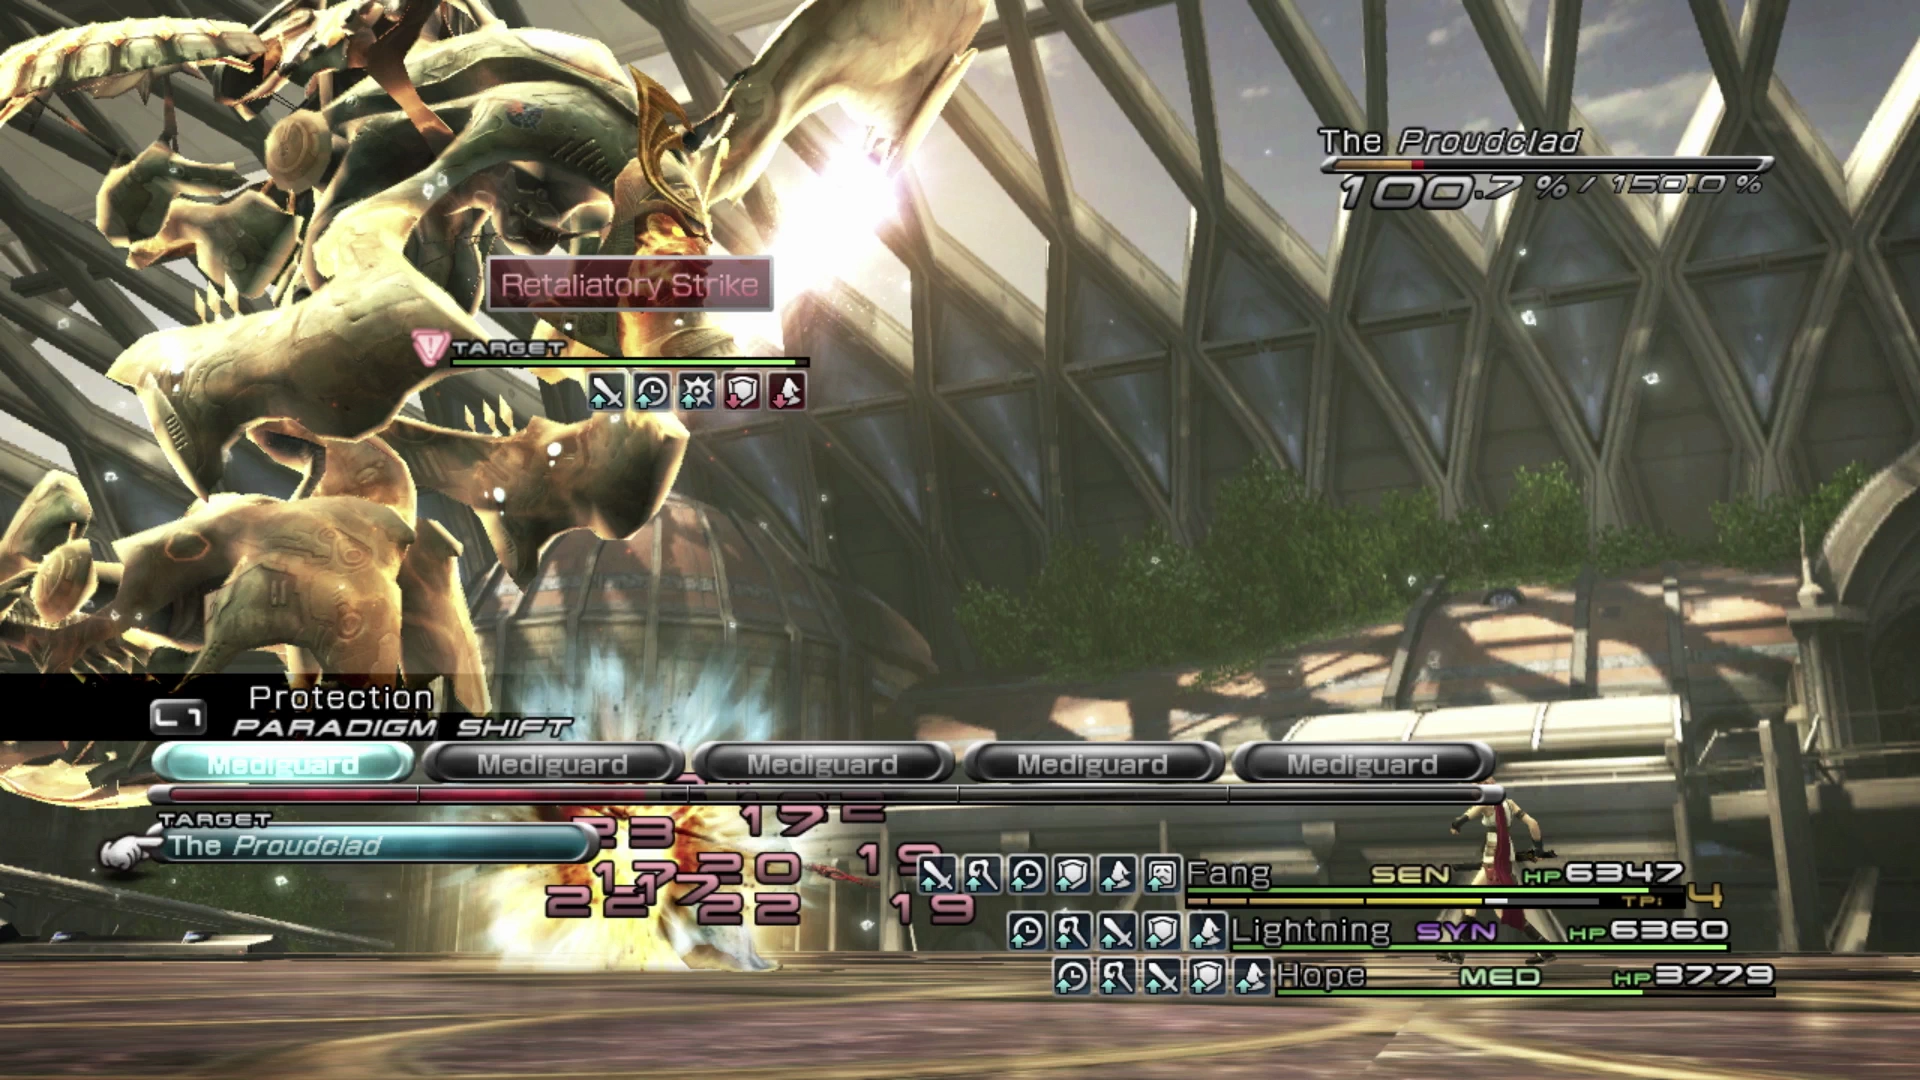
Proudclad has two modes that it will be in during this fight, “Annihilation Mode,” which is when it is on the ground, and “Aerial Defense Mode,” which is when it flies up into the air. When transitioning between the two modes, its Chain Gauge will completely reset, requiring you to start charging it up again.
Partway through the fight, a message will come up on the screen stating “Limiters Deactivated.” This will buff it with a number of positive status effects, greatly increasing its damage, but it will also take significantly more damage once this happens. Unfortunately, it will also recover a significant amount of HP once used. Most importantly though, after it recovers from a Stagger, it will begin using its “Retaliatory Strike” attacks which will deal heavy damage to your party members.
So that was a lot, but how do we deal with all of this incoming damage? The best way to handle all of this damage is to have some defensive Paradigms ready to go and to make sure that you maintain full positive status buffs on your party members at all times. The important ones include ![]() Haste to allow your party members to get in more attacks, as well as
Haste to allow your party members to get in more attacks, as well as ![]() Protect and
Protect and ![]() Shell, which can reduce incoming damage.
Shell, which can reduce incoming damage. ![]() Bravery and
Bravery and ![]() Faith are also helpful, but survival is the most important factor.
Faith are also helpful, but survival is the most important factor.
Be ready to switch to a defensive Paradigm, such as Combat Clinic, whenever your party member’s HP gets low or when Proudclad begins using Retaliatory Strike. If you’re having trouble surviving the onslaught, consider swapping your party member’s accessories towards defensive options that boost that party member’s HP or cast beneficial buffs when they reach low HP.
While it can be difficult to do, the optimal strategy for this battle against Proudclad is to go on the all-out offensive when it is Staggered in the air, making sure your party members are healed beforehand, and trying to dispense with as much of its HP as you can before it gets a chance to recover from the Stagger. Check out the video below to see how this is done:
A cutscene involving Yaag Rosch will take place at the end of the battle where he will suspend operations and try to evacuate civilians from Cocoon. That means that the l’Cie are free to head in and get to saving Cocoon!
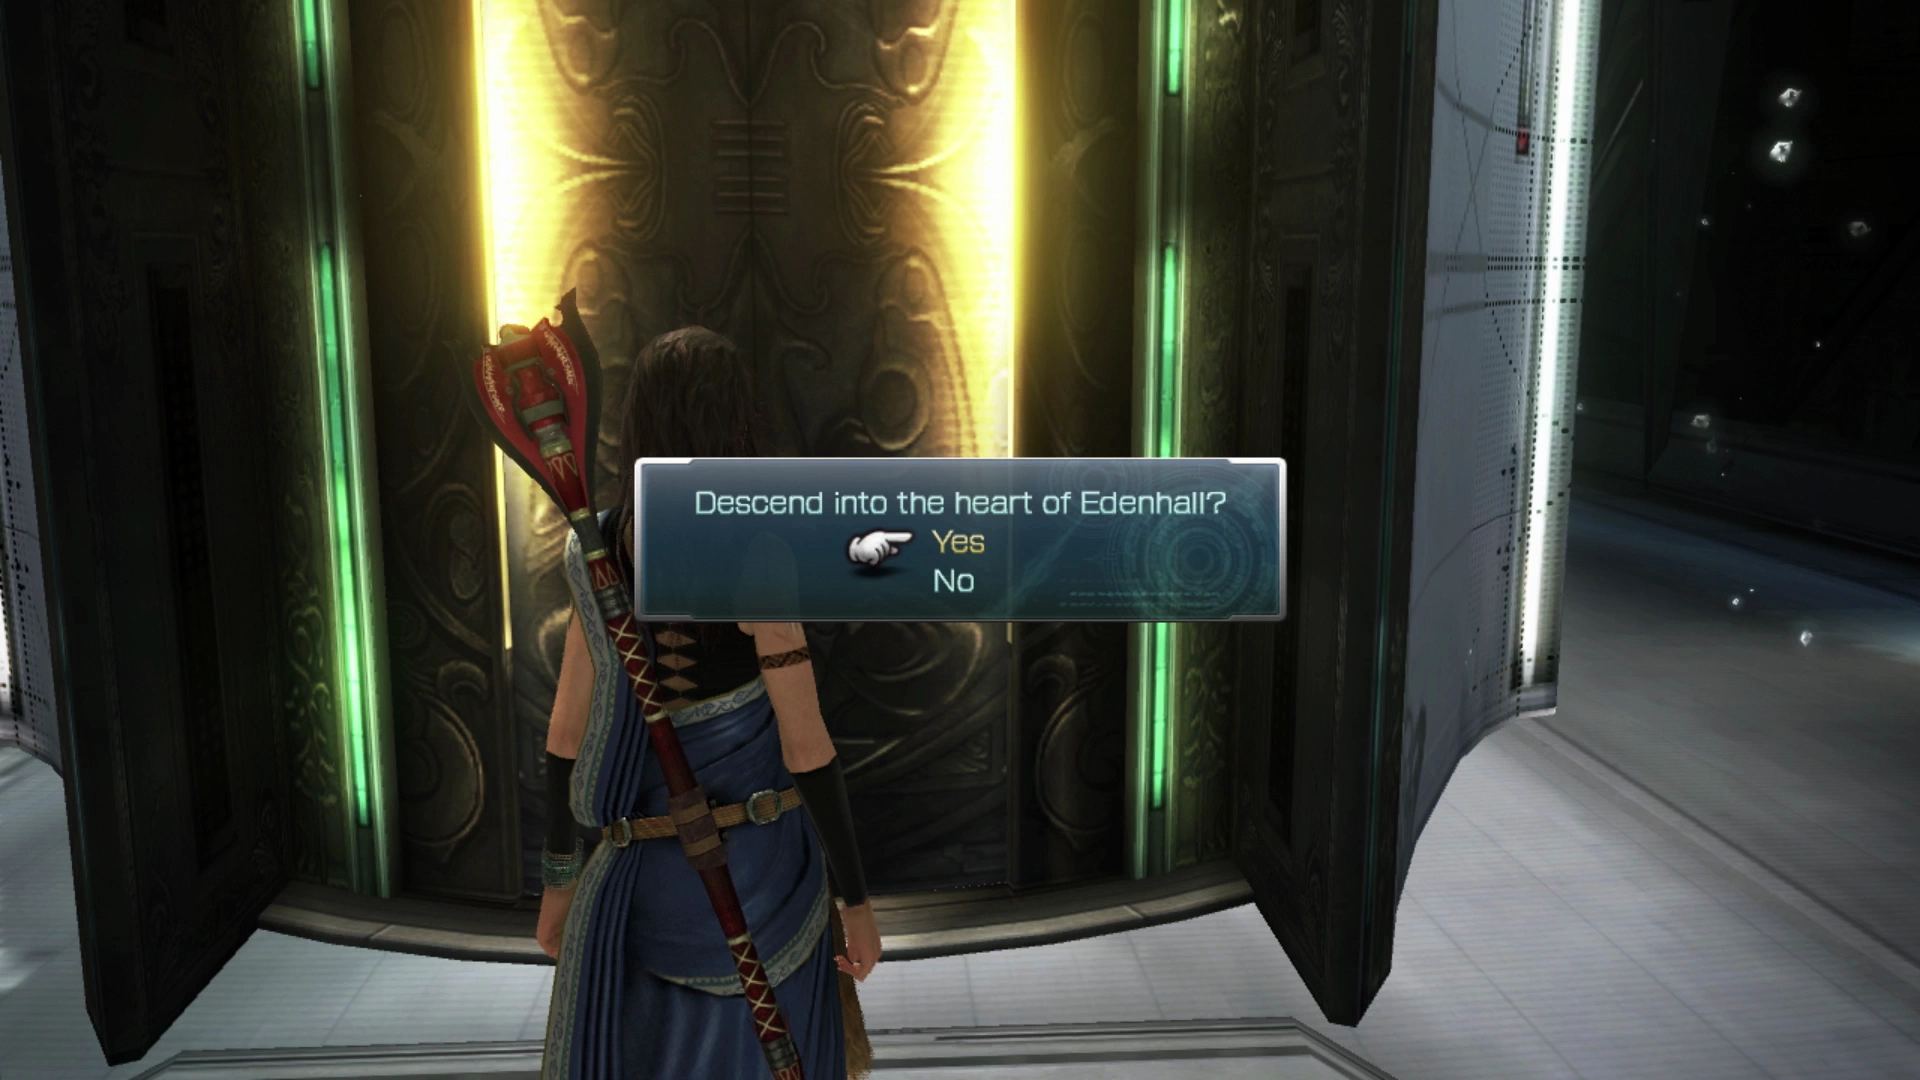
Use the ![]() Save Station and then activate the elevator to enter Orphan’s Cradle and begin the final chapter of the game.
Save Station and then activate the elevator to enter Orphan’s Cradle and begin the final chapter of the game.
Achievement/Trophy
You will automatically receive the  Instrument of Faith Achievement/Trophy at the conclusion of Chapter 12.