Chapter 13: Orphan’s Cradle (Part 1)
The Nascent Throne
The walkthrough for Orphan’s Cradle is broken up into three parts. The first two sections cover everything up to Jabberwocky and Bandersnatch for Part 1 with everything up to the Tiamat Eliminator being covered in Part 2. The final battle is covered in Part 3.
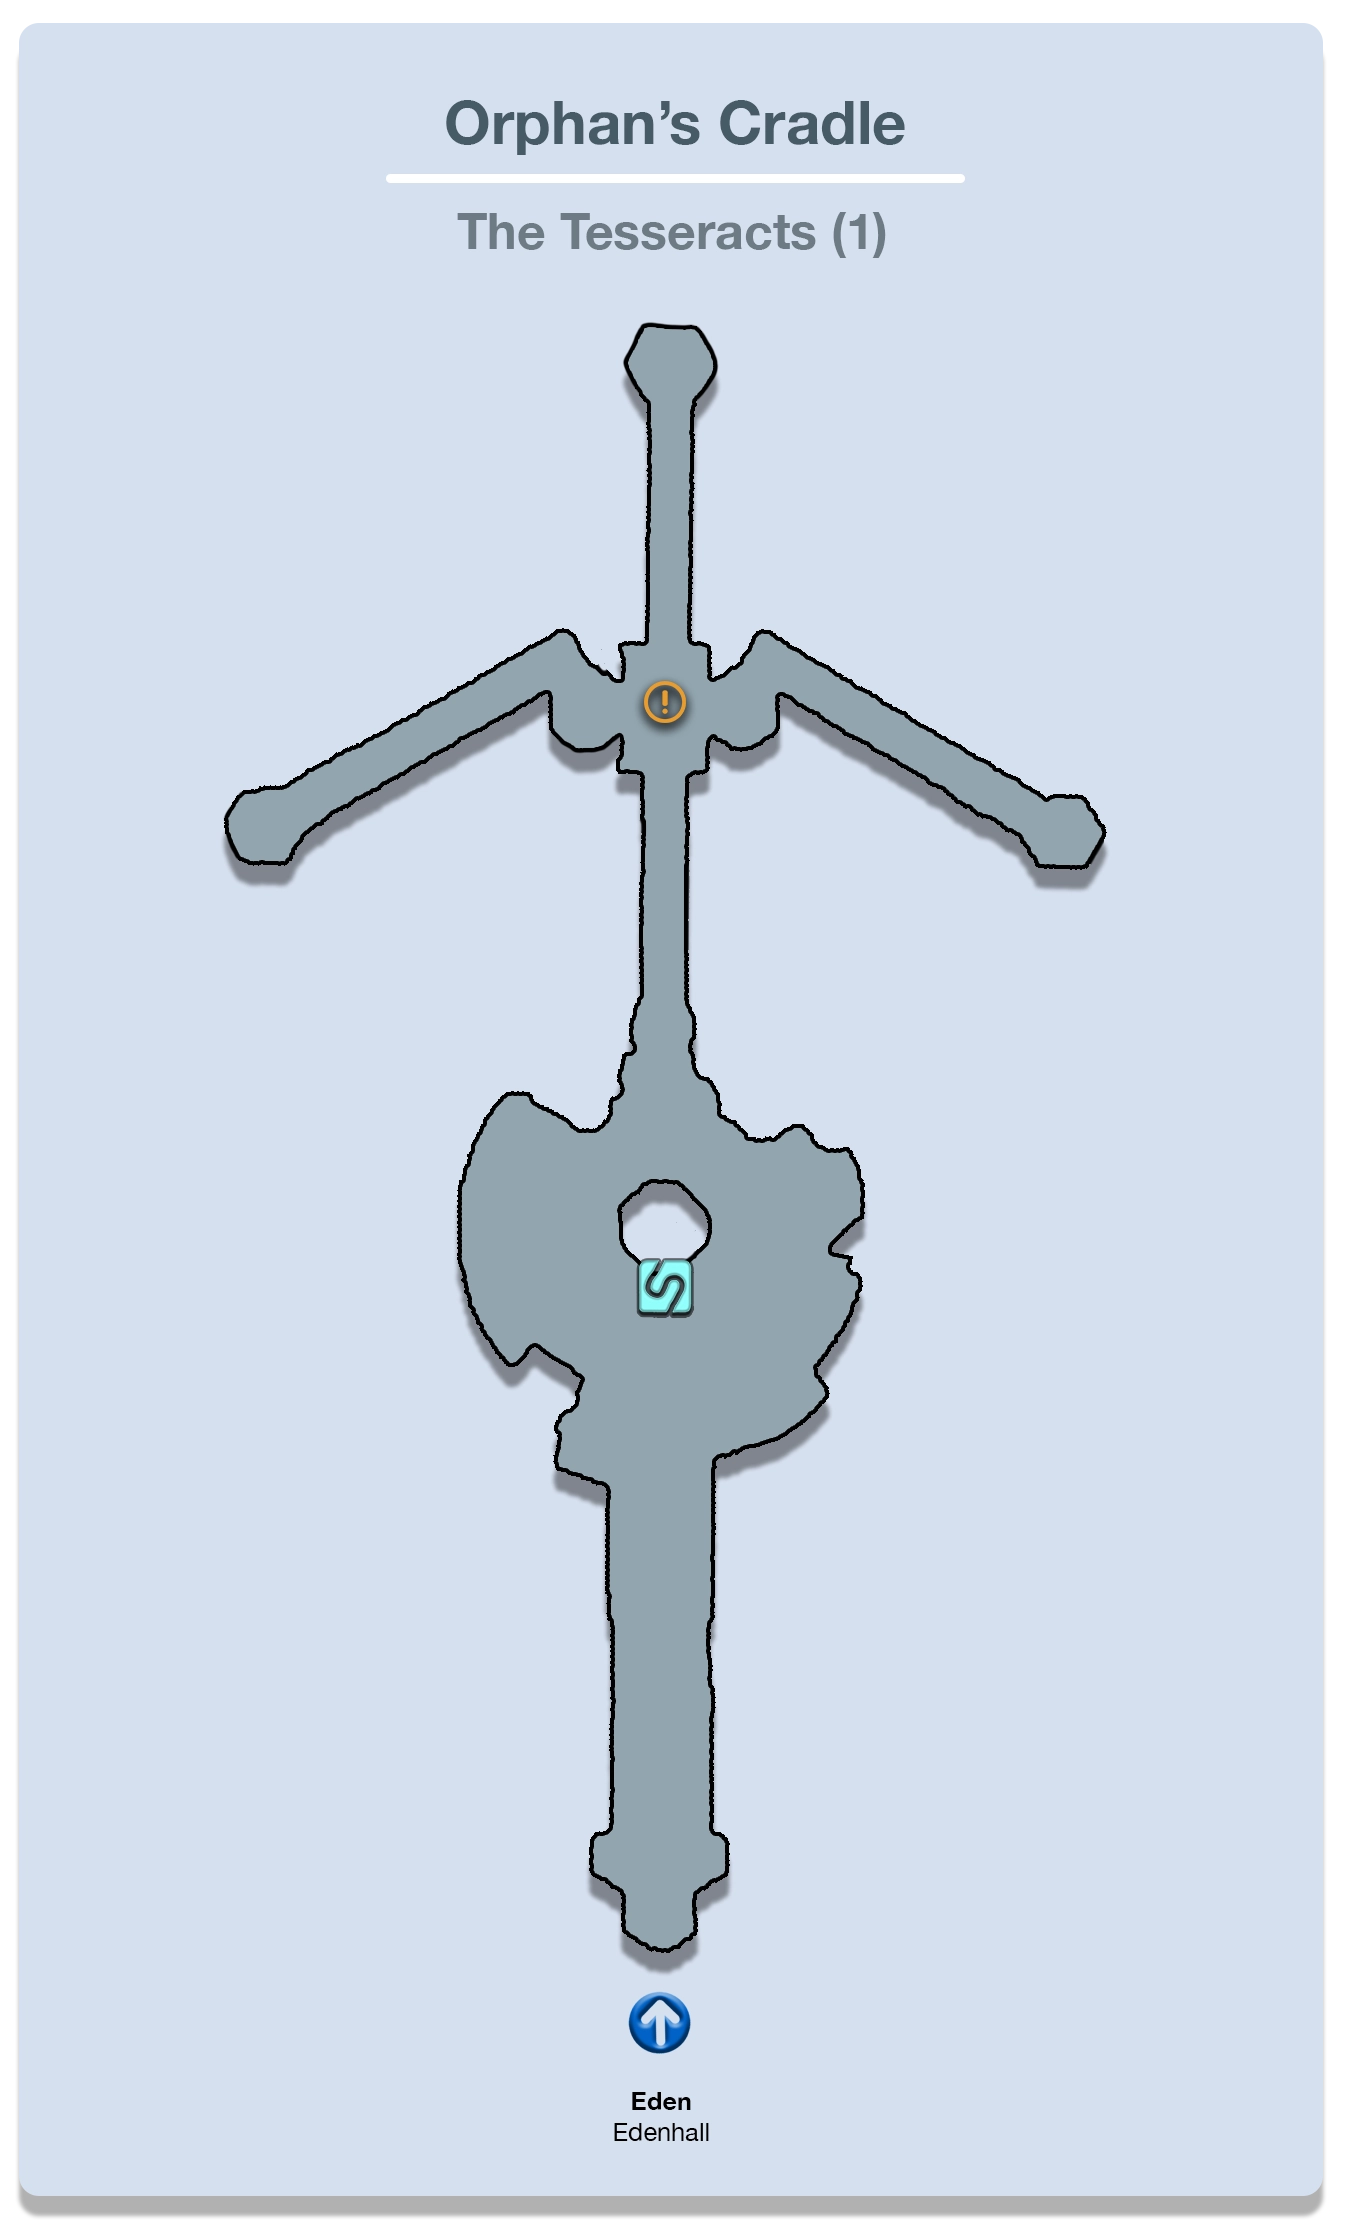
The Tesseracts
You will have the option to save your game as you begin this next chapter of the game, just like for the previous chapters, and then as you enter the next room a short cutscene will take place. Sacrifices will begin meandering their way over to the group.
Helpful Hint
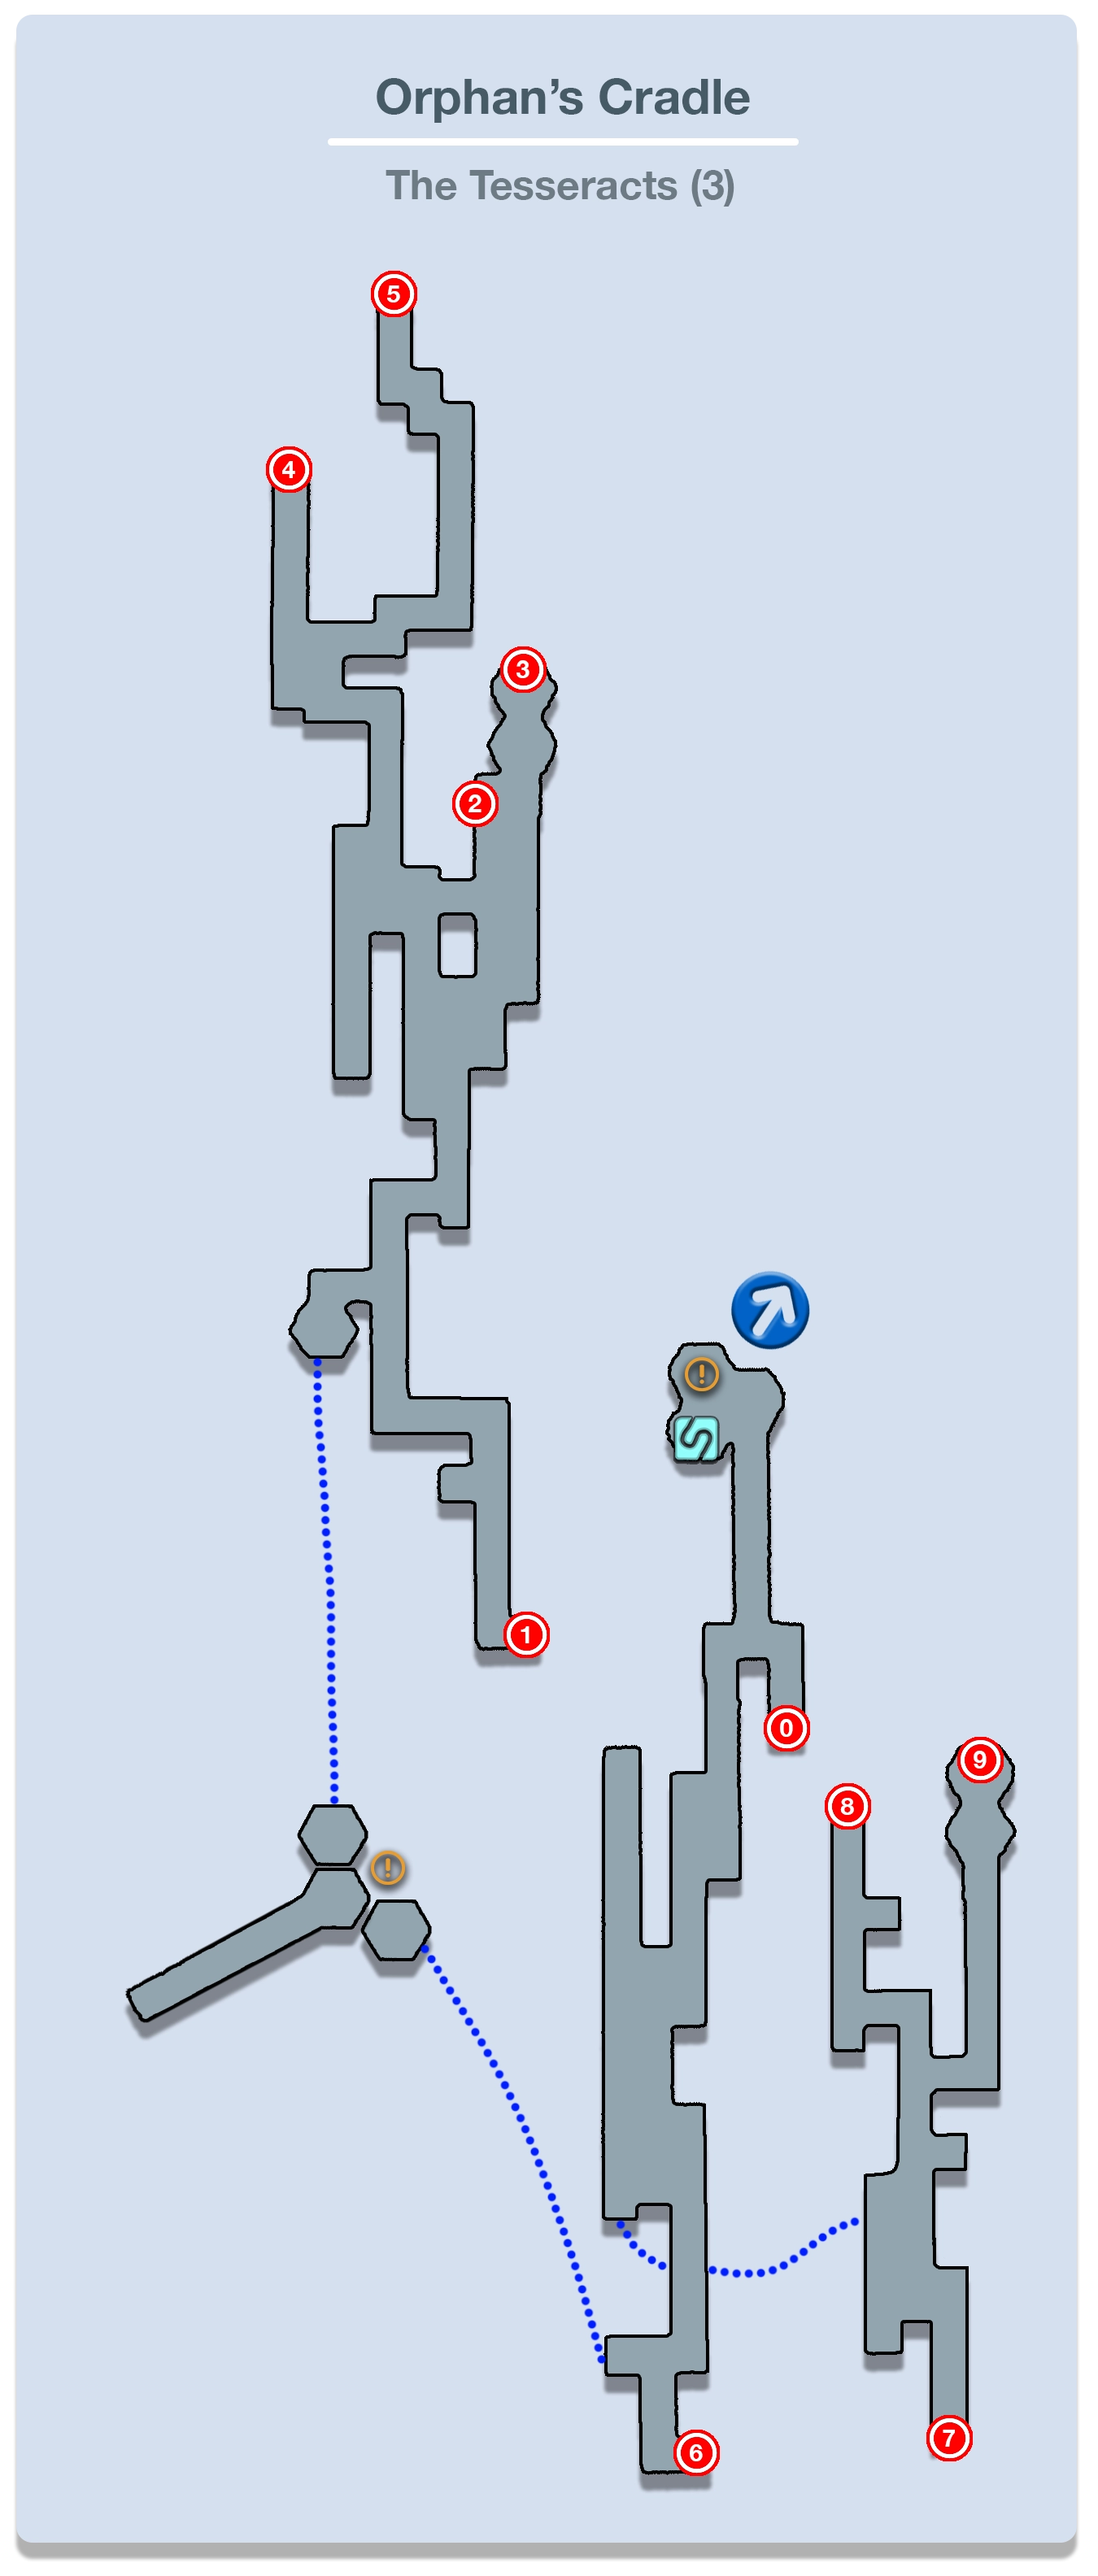
All these next few sections of the game are referred to as “The Tesseracts” on the map in the menu screen, so pay close attention to the maps and the directions that are mentioned, as not only do each of the sections of the Tesseracts look similar, they morph and change shape as you proceed through each area. Particular care will be given in this guide to describe each location in detail to help prevent you from getting lost or disoriented.
You will regain control of your characters in the center of the Tesseracts area. This is actually the same area where a really strong farming method becomes available, but there are a few steps that we can take care of first which will actually make this farming method even more convenient. Let’s get started!
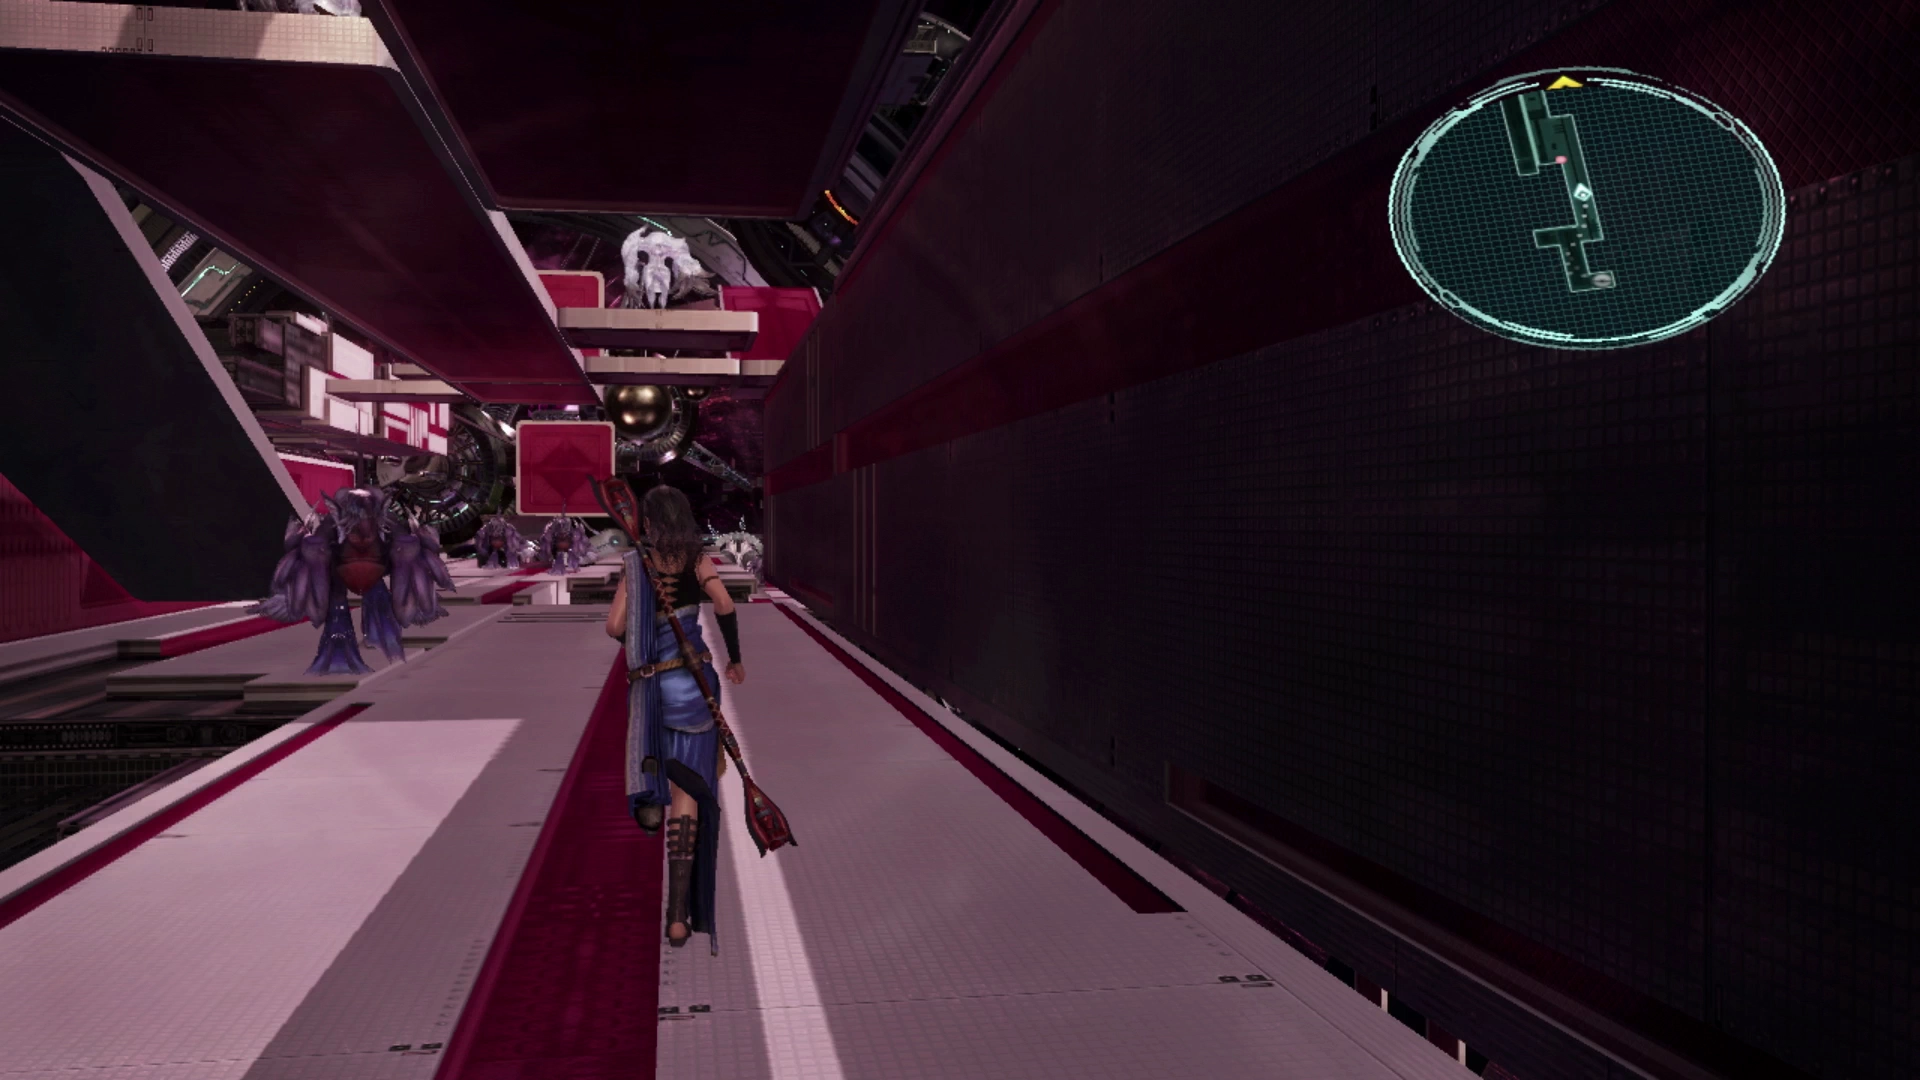
Use the ![]() Save Station up ahead to save your game if you need to. There is a group of four Sacrifices up ahead on the left and a group of three Sacrifices on the right. You can engage either of these groups in a battle, but just remember the tactics that were mentioned in the previous chapter of the walkthrough. For these groups, you’ll want to focus on a more defensive approach and, ideally, initiate the fight with a
Save Station up ahead to save your game if you need to. There is a group of four Sacrifices up ahead on the left and a group of three Sacrifices on the right. You can engage either of these groups in a battle, but just remember the tactics that were mentioned in the previous chapter of the walkthrough. For these groups, you’ll want to focus on a more defensive approach and, ideally, initiate the fight with a ![]() preemptive strike.
preemptive strike.
As mentioned in the previous chapter, the important thing to note about Sacrifices is that they will use an attack called “Anathema” which will unleash a whole host of negative status effects on the target including ![]() Deshell,Defaith,
Deshell,Defaith, ![]() Imperil,
Imperil, ![]() Poison and
Poison and ![]() Slow. You will either have to just deal with these status effects as they come or alternatively, you can have a
Slow. You will either have to just deal with these status effects as they come or alternatively, you can have a ![]() Saboteur cast
Saboteur cast ![]() Fog/
Fog/![]() Fogga on a Sacrifice which will prevent it from using its “Anathema” attack.
Fogga on a Sacrifice which will prevent it from using its “Anathema” attack.
In fact, while starting with a more defensive Paradigm would seemingly slow the battle down, inflicting ![]() Fog on Sacrifices will greatly reduce their damage and effectiveness in battle allowing you and your party to go on an all-out offensive. The best defense is sometimes a good offense.
Fog on Sacrifices will greatly reduce their damage and effectiveness in battle allowing you and your party to go on an all-out offensive. The best defense is sometimes a good offense.
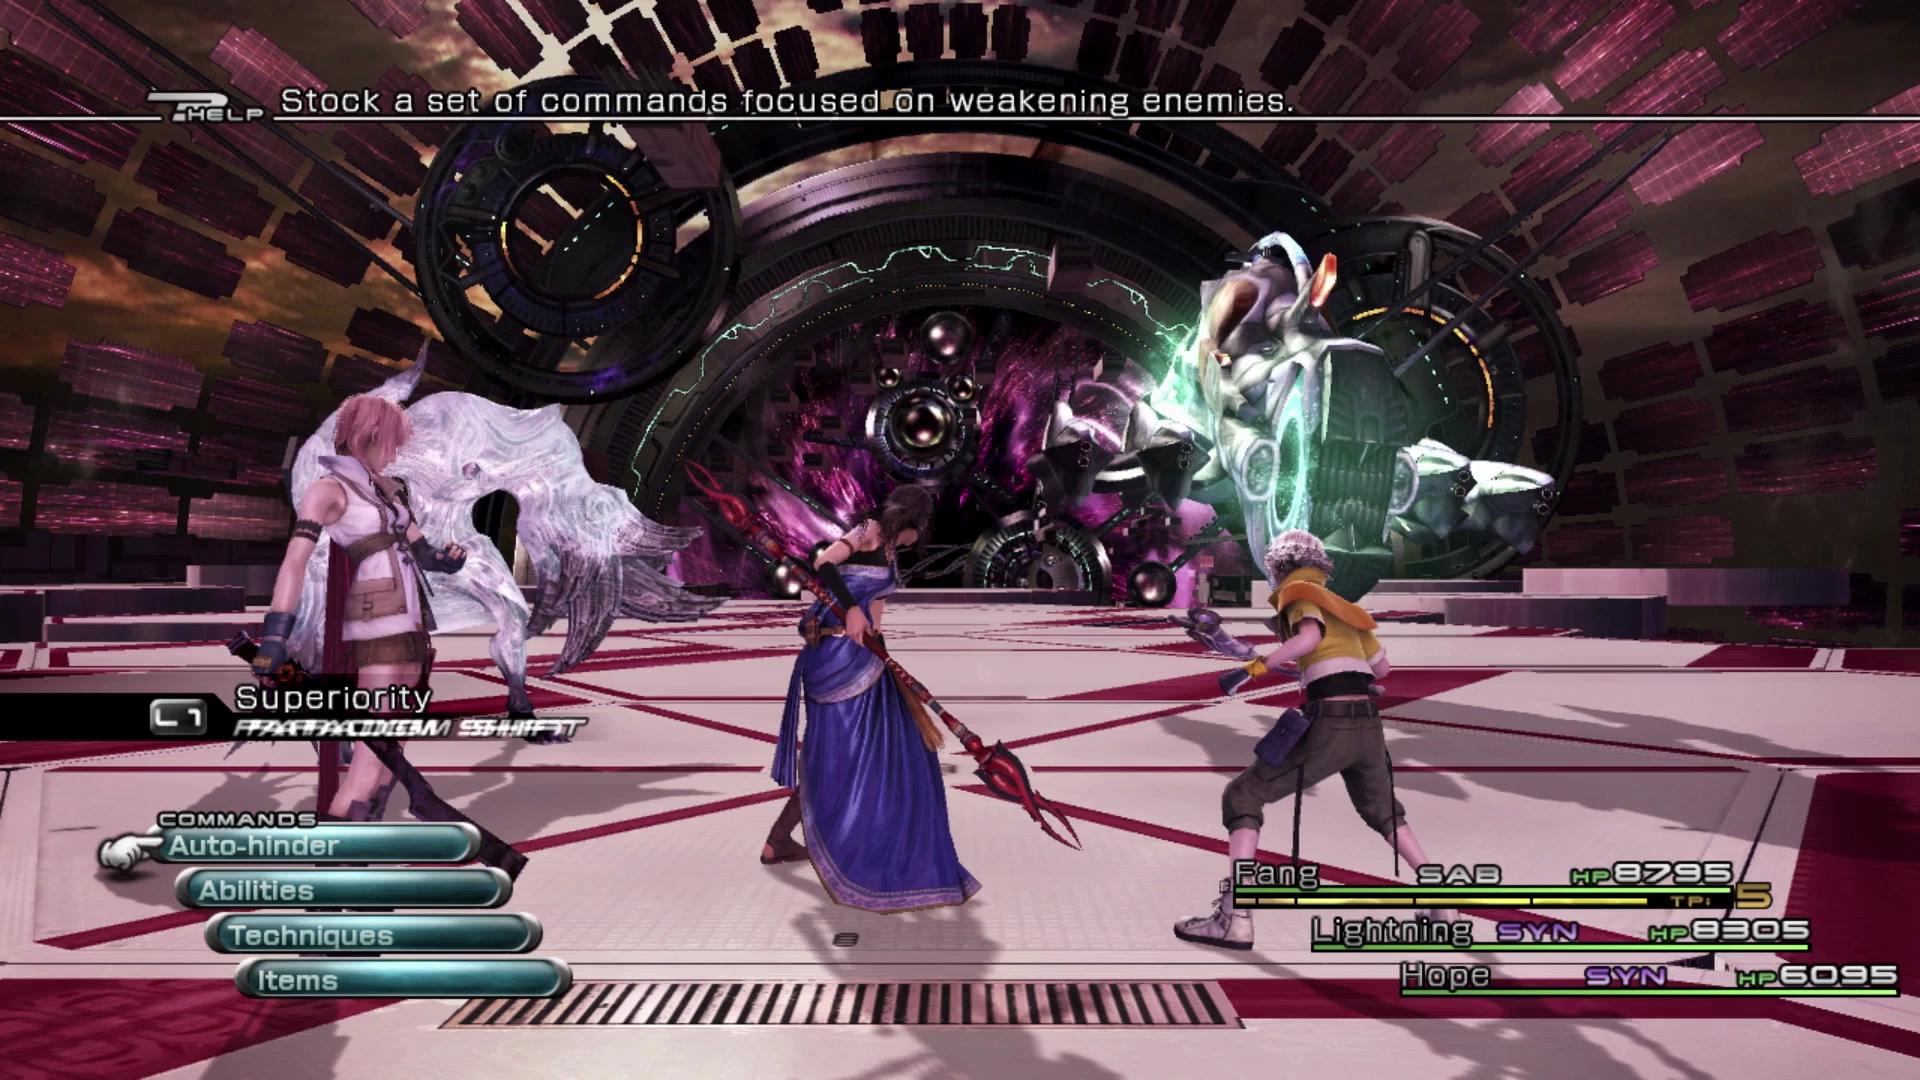
Travel just up ahead towards where the destination marker is on the map to trigger another short cutscene involving the fal’Cie in this area.
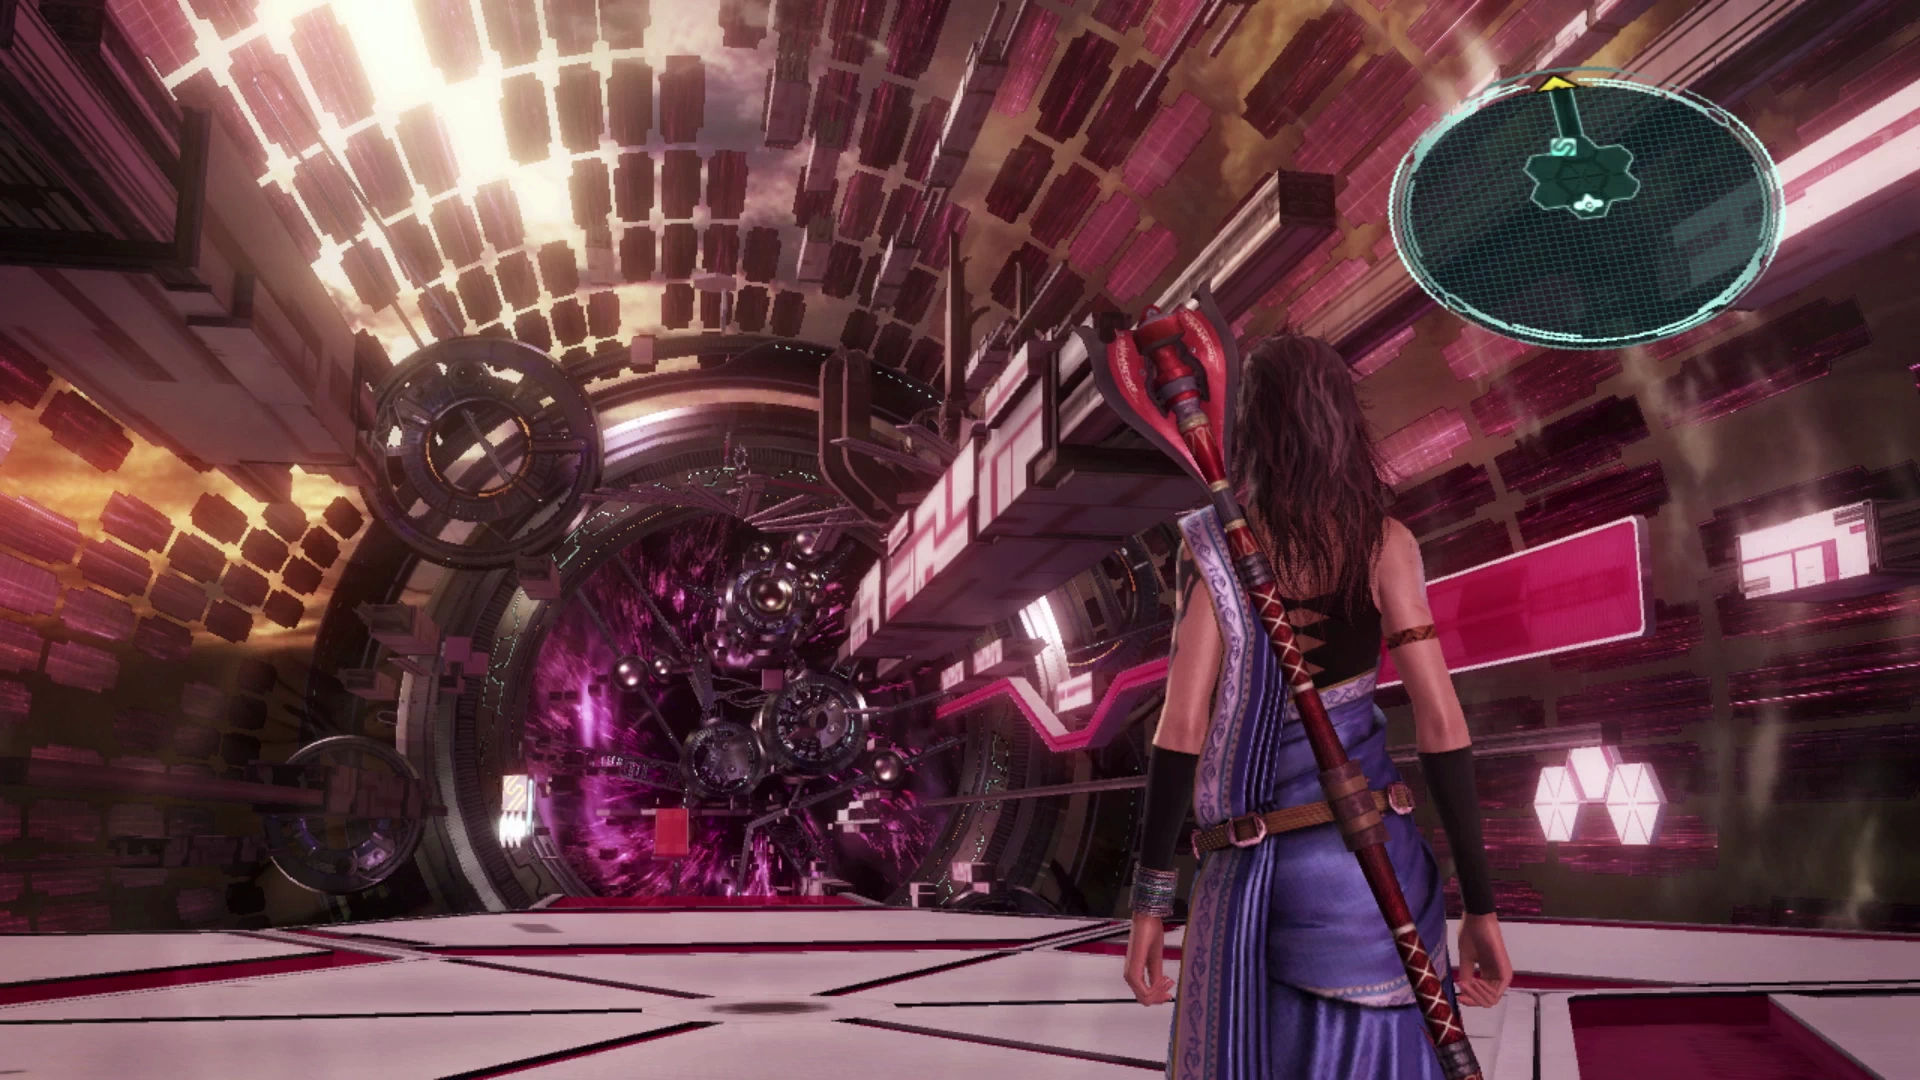
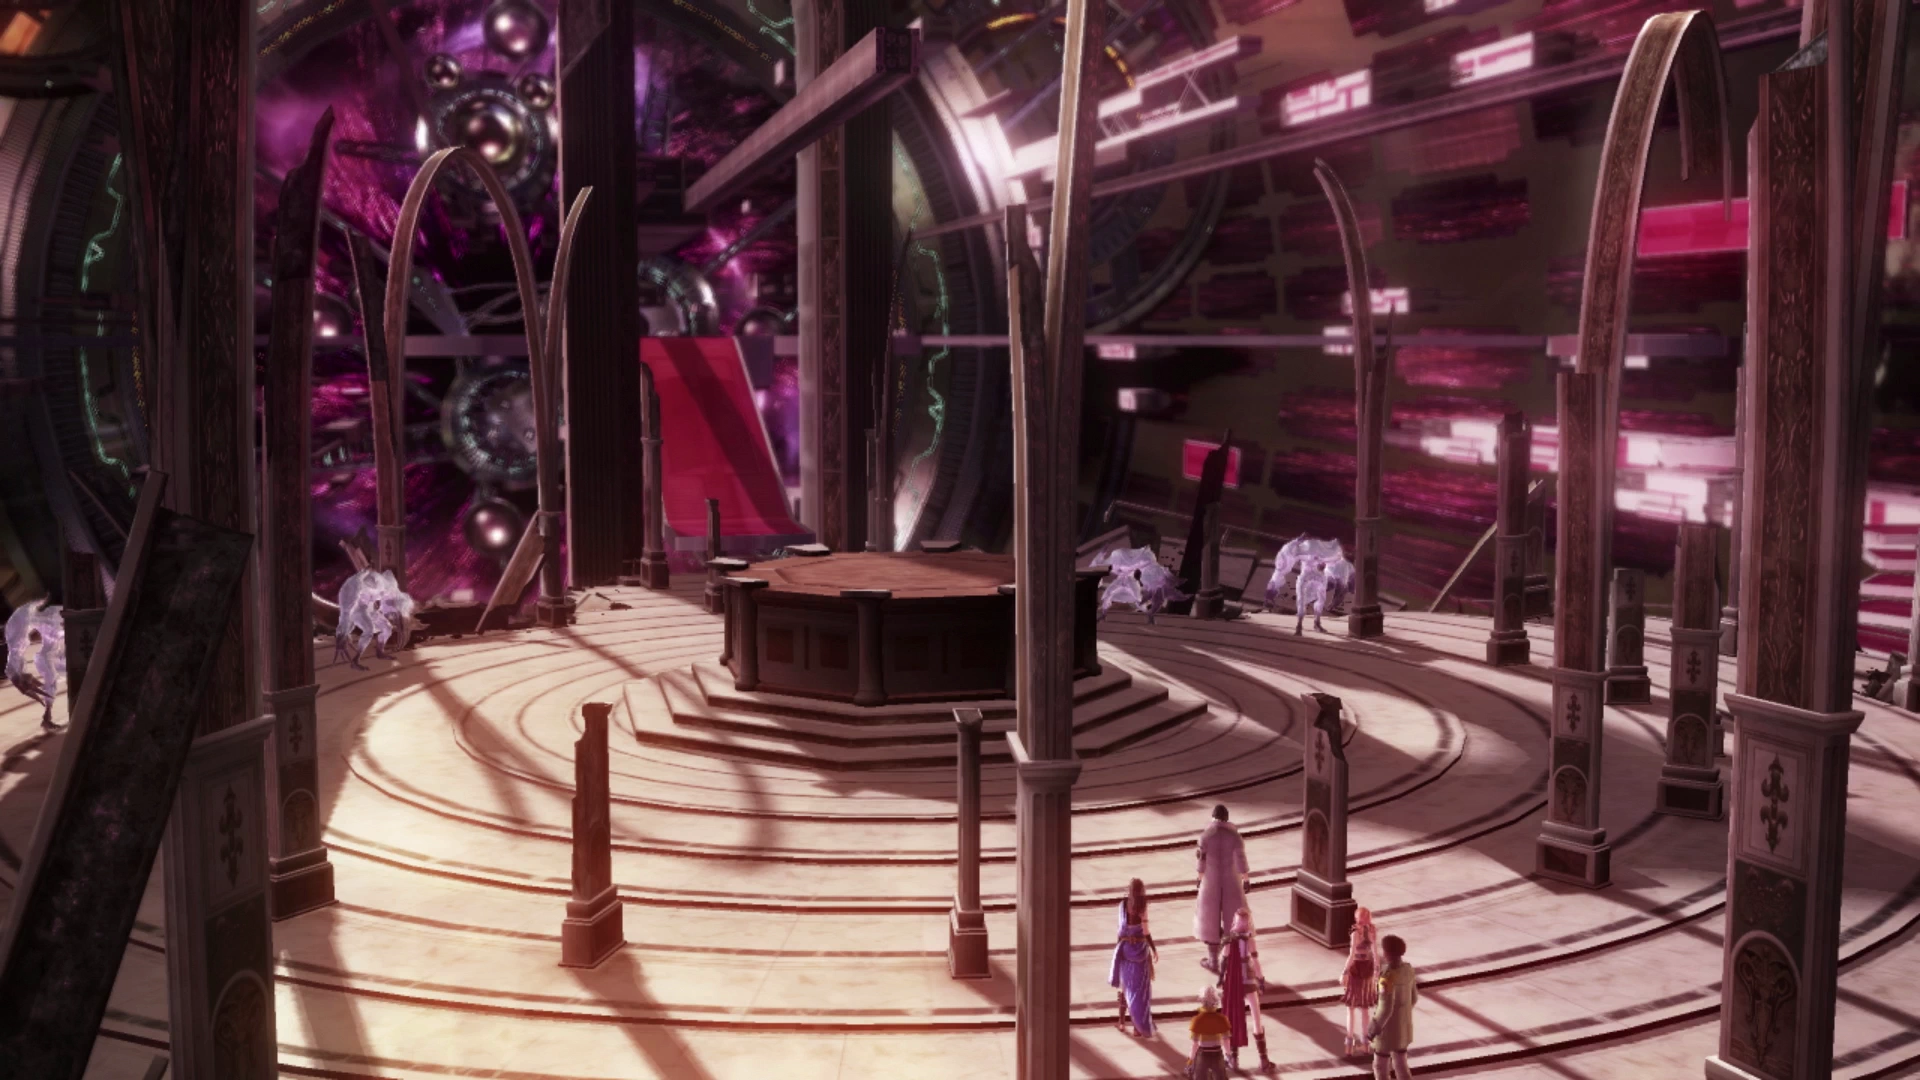
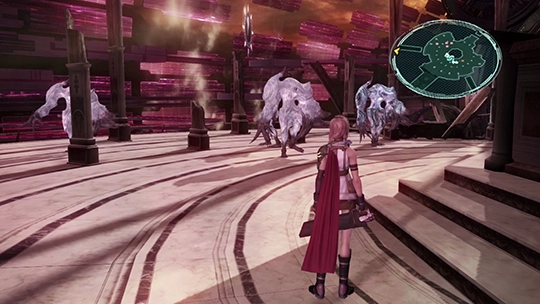
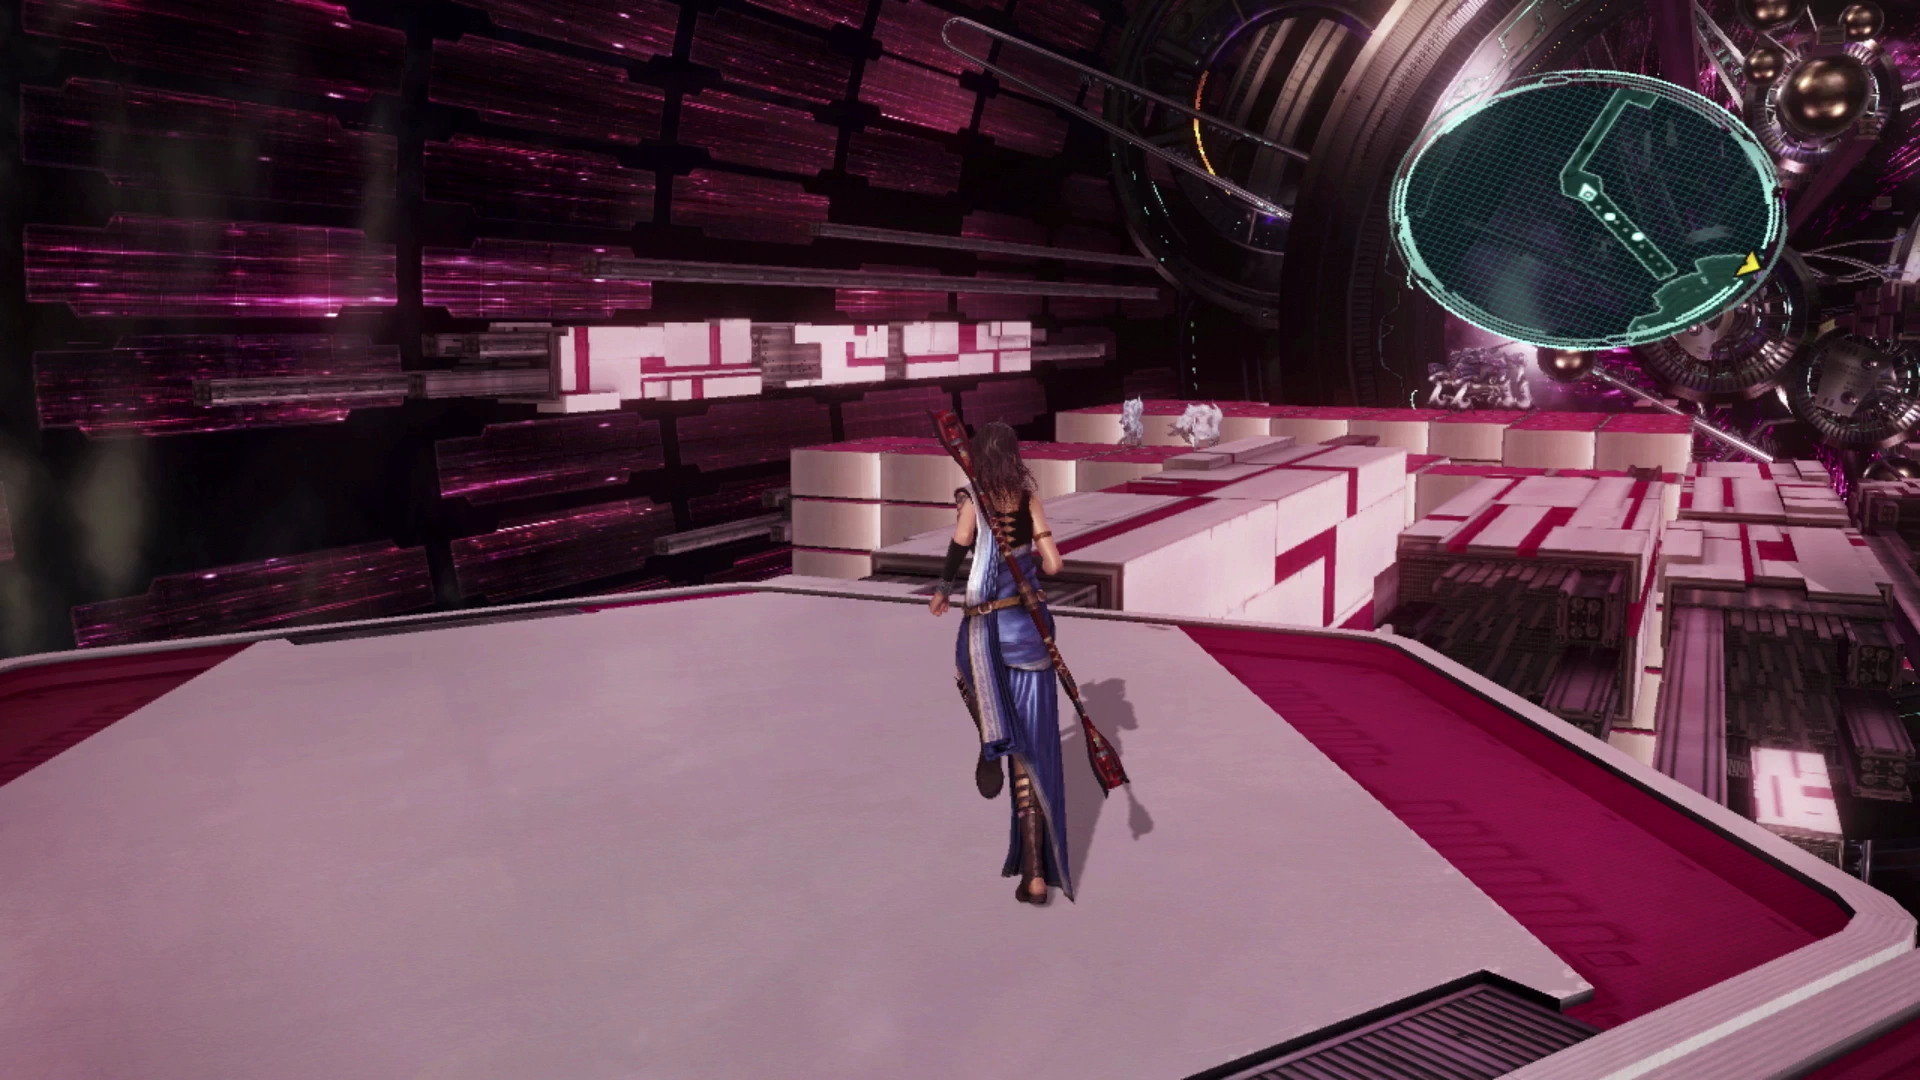
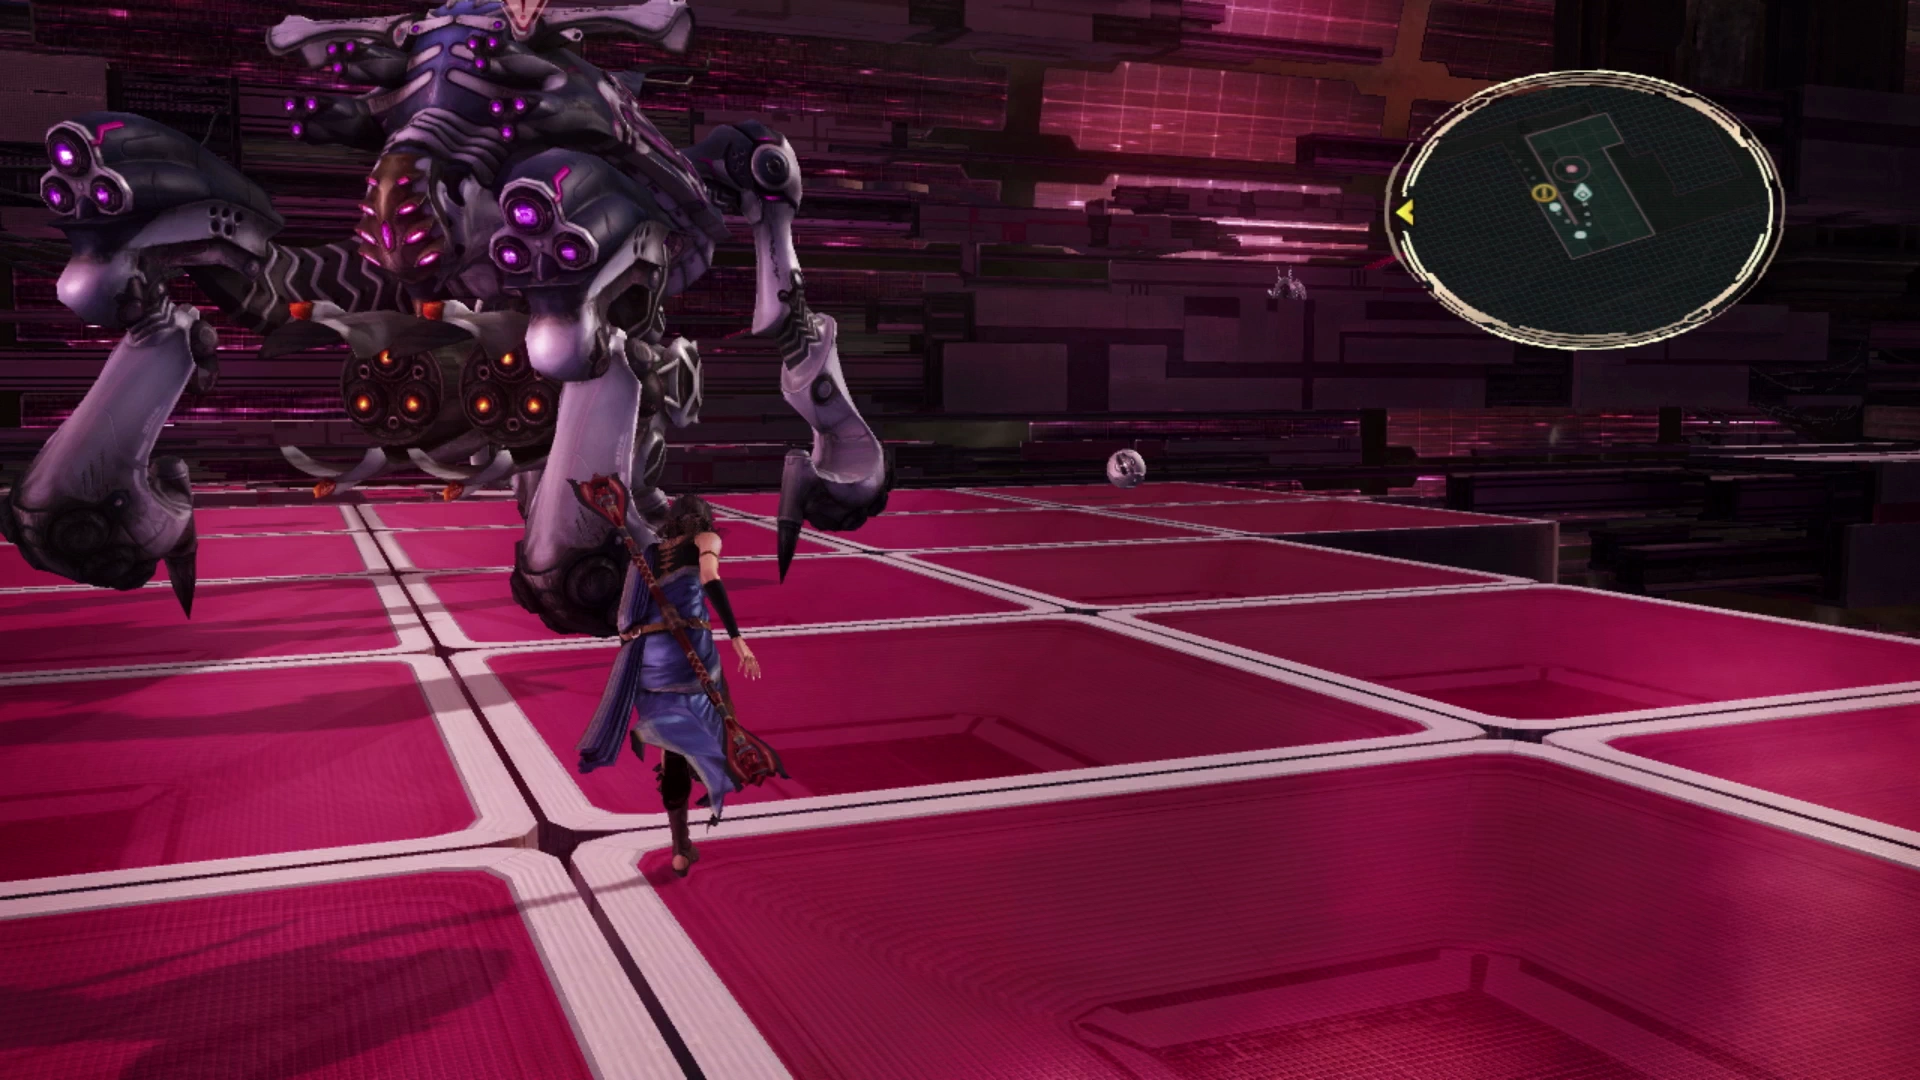
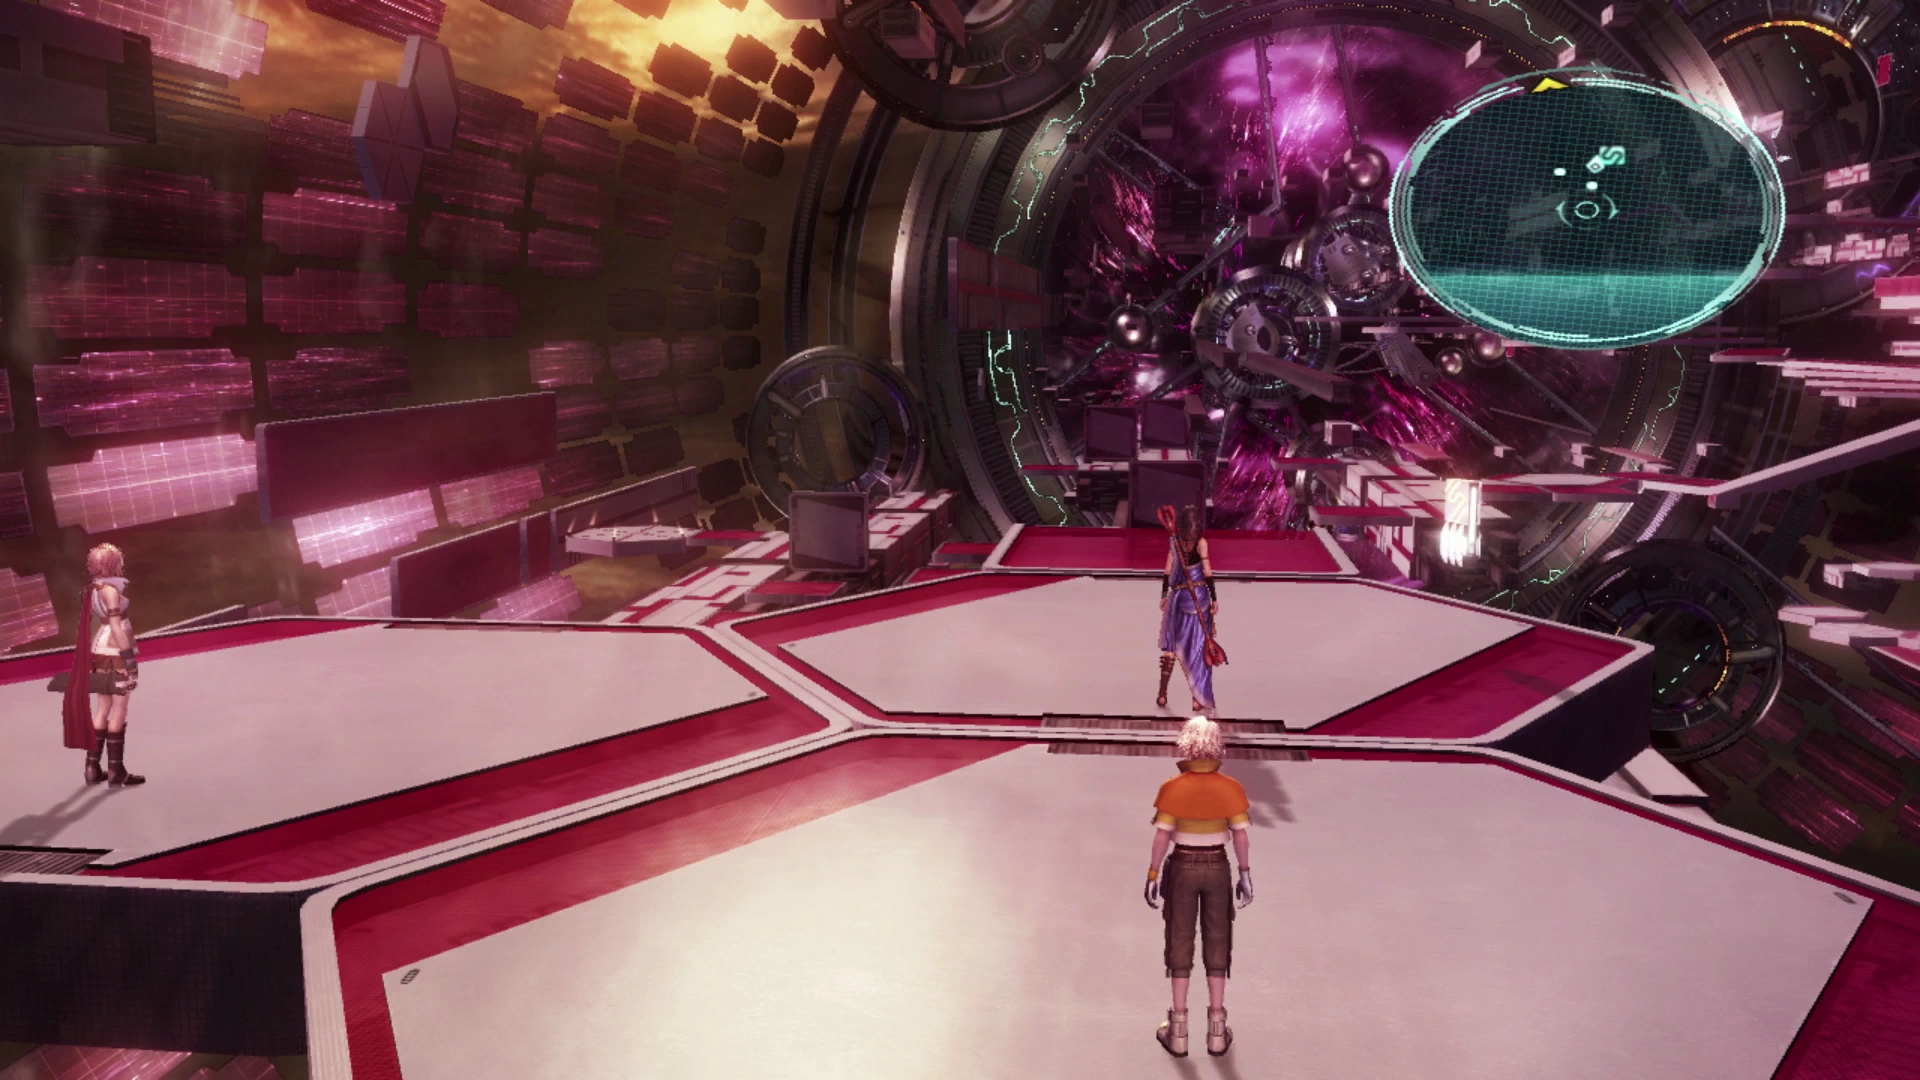
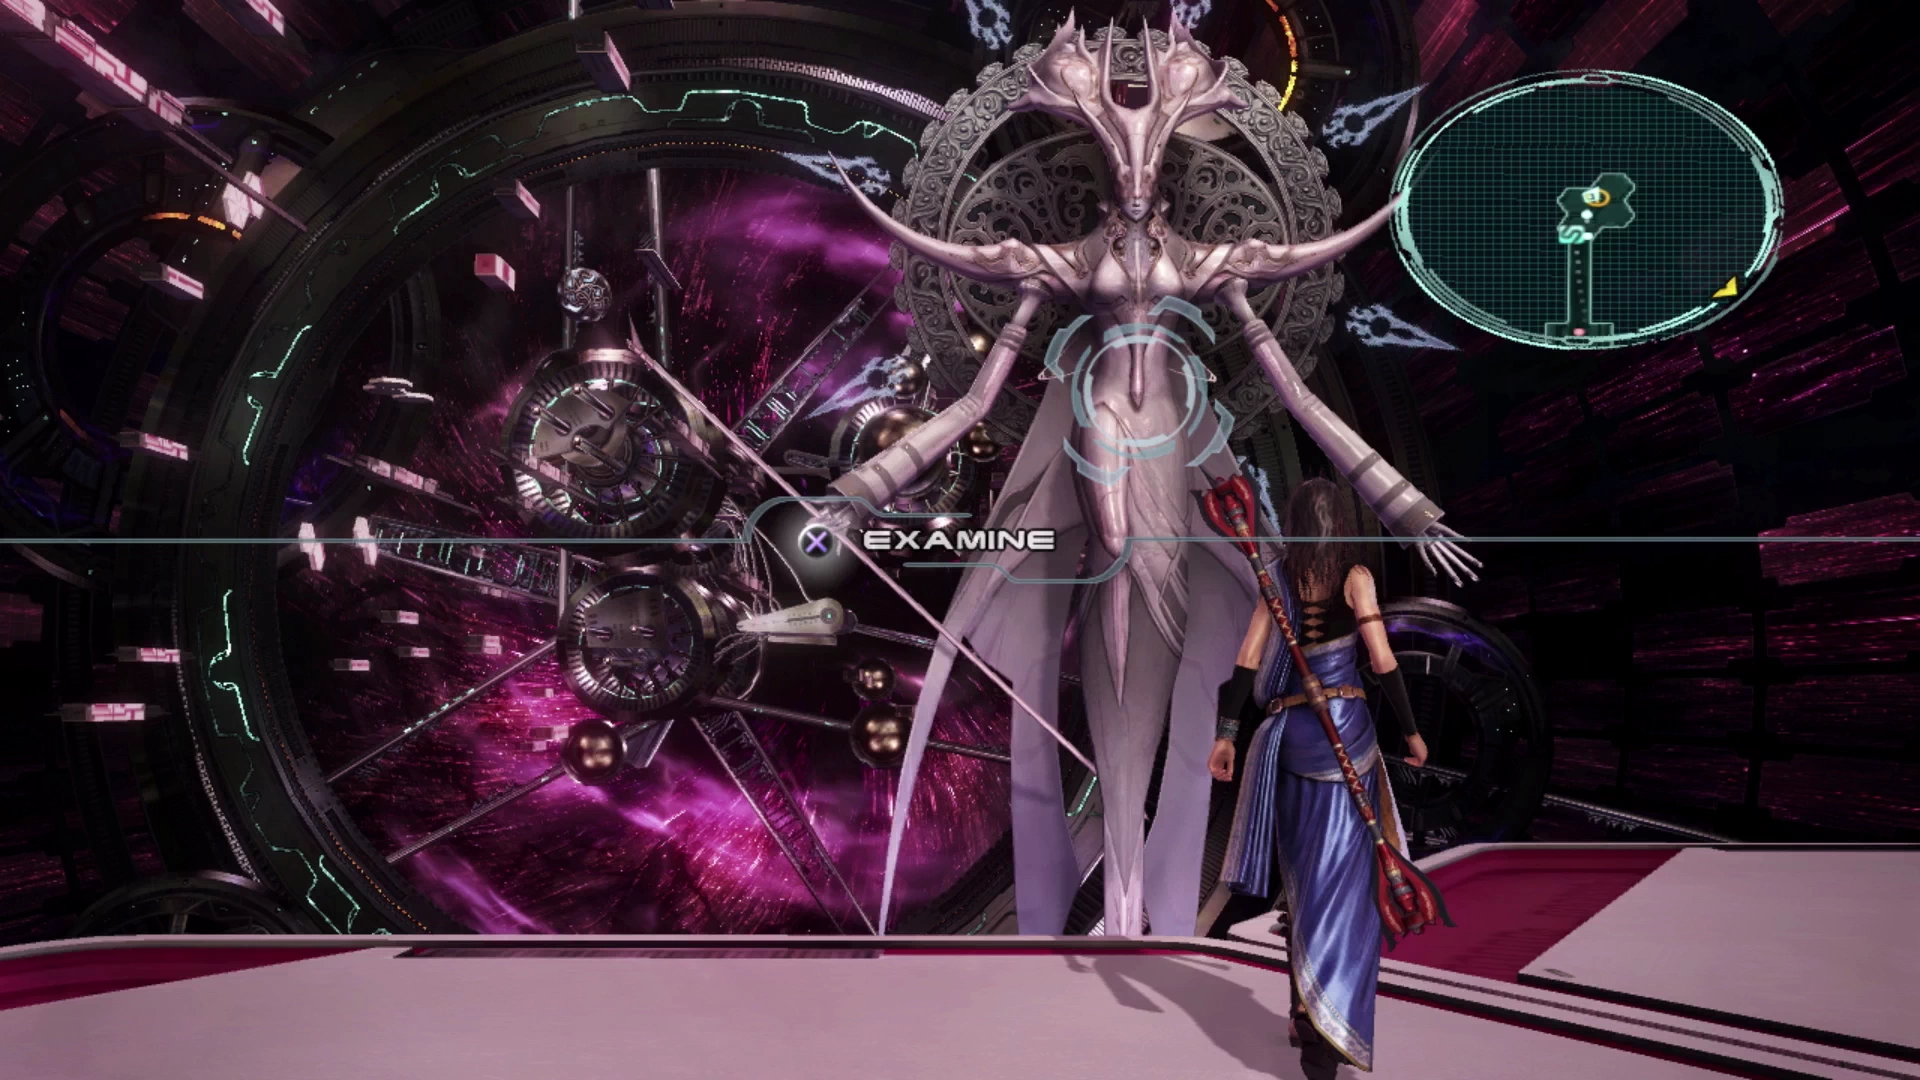
Four of them will appear and they will open up portals to various areas of the game. There are three at the top of this ramp, but your party leader will actually be facing the fourth back down in the center of the Tesseract (shown in the screenshot below):
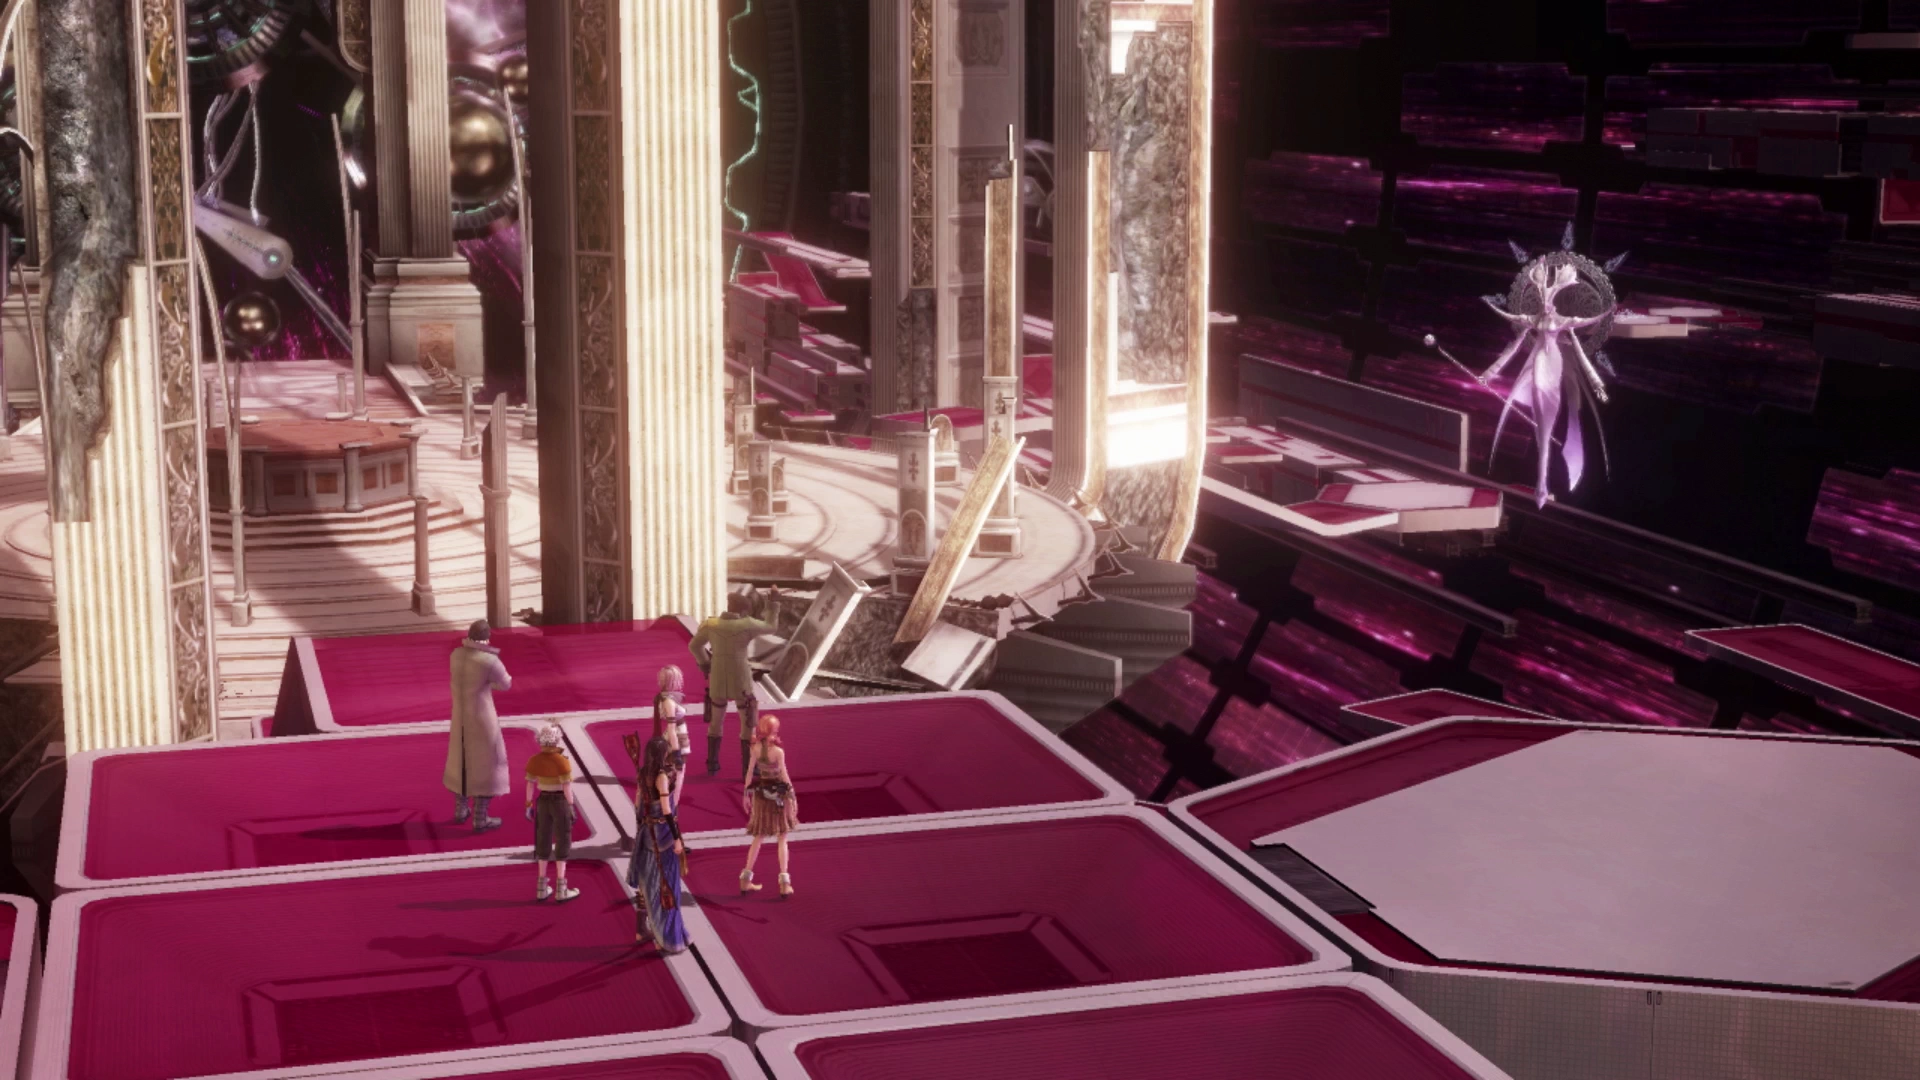
The one at the bottom of the ramp, if you were to continue moving forward, will not be active yet until you complete everything there is to do in the Tesseracts, but the other two portals can be used right now if you want to. The portal on the left side will warp you back to Gran Pulse, specifically, near the Base Camp in Vallis Media. The portal on the right will warp you back to Eden.
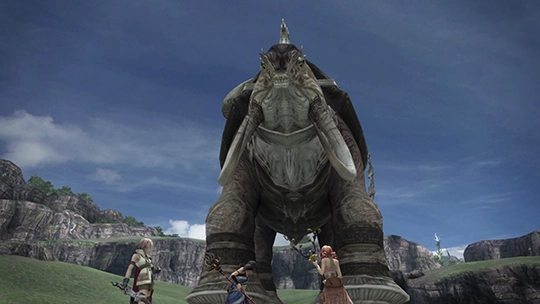
There’s no reason to use either portal right now unless the enemies in this area are proving to be too much of a challenge, in which case you can head back to either area. You can head back to Gran Pulse and go back to farming the Behemoth King / Megistotherian combo near the entrance to the Mah’habara Subterra if you need to.
There is another fal’Cie that appears back down in the center of the Tesseract that your party leader was facing. This fal’Cie will not warp you anywhere but will call over two elevators that you’ll need to help you progress through this area. Don’t interact with it though just yet!
Even more helpful though is that if you’ve defeated the two groups of Sacrifices in the central area and get close enough to this fal’Cie (without interacting with it or getting too close), the Sacrifices will respawn instantaneously. This instant respawning mechanism is the basis for one of the most effective farming strategies in the game. It’s at this point that you can begin utilizing the Sacrifice farming strategy.
Farming Sacrifices
The link that outlines how to utilize this strategy is included below, but before you follow the link over to the guide on Sacrifice Farming in the Tips and Tricks section to learn more about how it works, let’s delve into the reasons why you would want to spend some time farming here. What benefits does it offer? How much time should you spend farming here? Should you just skip past it and what would the drawbacks be?

Sacrifice farming has two huge benefits: it’s incredibly easy to do and the rewards are quite strong for the amount of time you have to invest. This is important if you plan to complete the optional endgame content and it’s even more important if you plan to try to obtain the most challenging achievements / trophies, including Treasure Hunter.
The Treasure Hunter Achievement/Trophy requires a huge investment of Gil which means you will be spending quite a bit of time farming either now or later on in the game, but the problem is that you will not have access to this farming method in this location (or, rather, it won’t be as efficient) once you have completed Chapter 13. So it’s now or never…
The rewards for farming here are the valuable spoils that you can obtain from Sacrifices after defeating them in battle. They have a chance to drop either a ![]() Perfume, which sells for 15,000 Gil, or a
Perfume, which sells for 15,000 Gil, or a ![]() Scarletite.
Scarletite. ![]() Scarletite are important catalysts that you will need in order to upgrade items if you plan to obtain the Treasure Hunter Achievement/Trophy, but they also sell for 7,000 Gil, so you can obtain some additional Gil once you’ve stockpiled enough of them to use as catalysts.
Scarletite are important catalysts that you will need in order to upgrade items if you plan to obtain the Treasure Hunter Achievement/Trophy, but they also sell for 7,000 Gil, so you can obtain some additional Gil once you’ve stockpiled enough of them to use as catalysts.

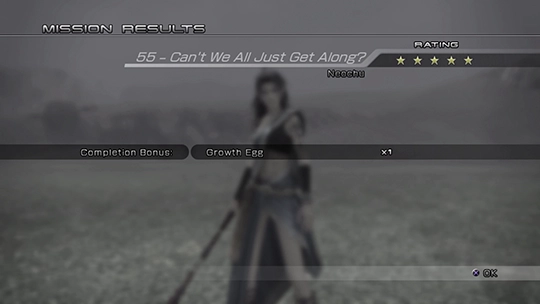
Lastly, if you’ve decided that you want to take on the challenge of the endgame optional content or you’re going to go for the Treasure Hunter Achievement/Trophy, it is highly recommended that you first go out and procure a ![]() Growth Egg before you start farming here. This incredibly powerful accessory will double the amount of Crystogen Points (CP) that your party earns which, if you’re going to invest some time farming Sacrifices, will pay off huge dividends in the amount of CP that your party members gain.
Growth Egg before you start farming here. This incredibly powerful accessory will double the amount of Crystogen Points (CP) that your party earns which, if you’re going to invest some time farming Sacrifices, will pay off huge dividends in the amount of CP that your party members gain.
Therefore, this guide recommends that you first attempt to follow the steps to procure a ![]() Growth Egg, which are outlined in the link below. This may be too hard to do at your current level, but give it a try, and if you’re unsuccessful / unlucky, you can always come back after you have farmed some Sacrifices and leveled up your party members through their Crystariums a bit further.
Growth Egg, which are outlined in the link below. This may be too hard to do at your current level, but give it a try, and if you’re unsuccessful / unlucky, you can always come back after you have farmed some Sacrifices and leveled up your party members through their Crystariums a bit further.
If you’ve decided to do some farming, here are the links to get you started. If not, skip down to the “Tesseracts Continued” heading below.
Tips and Tricks
A method for obtaining a Growth Egg accessory as quickly as possible.
Tips and Tricks
Defeating groups of Sacrifices for the Perfume and Scarletite drops to earn quick Gil and EXP. Arguably the most efficient farming location in the game.
As mentioned above, farming for Gil is very important if your plan is to obtain all the achievements / trophies in the game, and this is primarily due to the very difficult requirements of the Treasure Hunter Achievement/Trophy.
For that reason, it may be worth spending some time reading up on its requirements so you can get an idea of the time investment required. Use the link below for more information:
Side Quests
A guide outlining how to obtain the most difficult Achievement/Trophy in the game: Treasure Hunter. Contains farming tips and a list of treasure to obtain.
How long should you farm here? Check out the “How long should you farm here?” section of the farming guide for some recommendations.
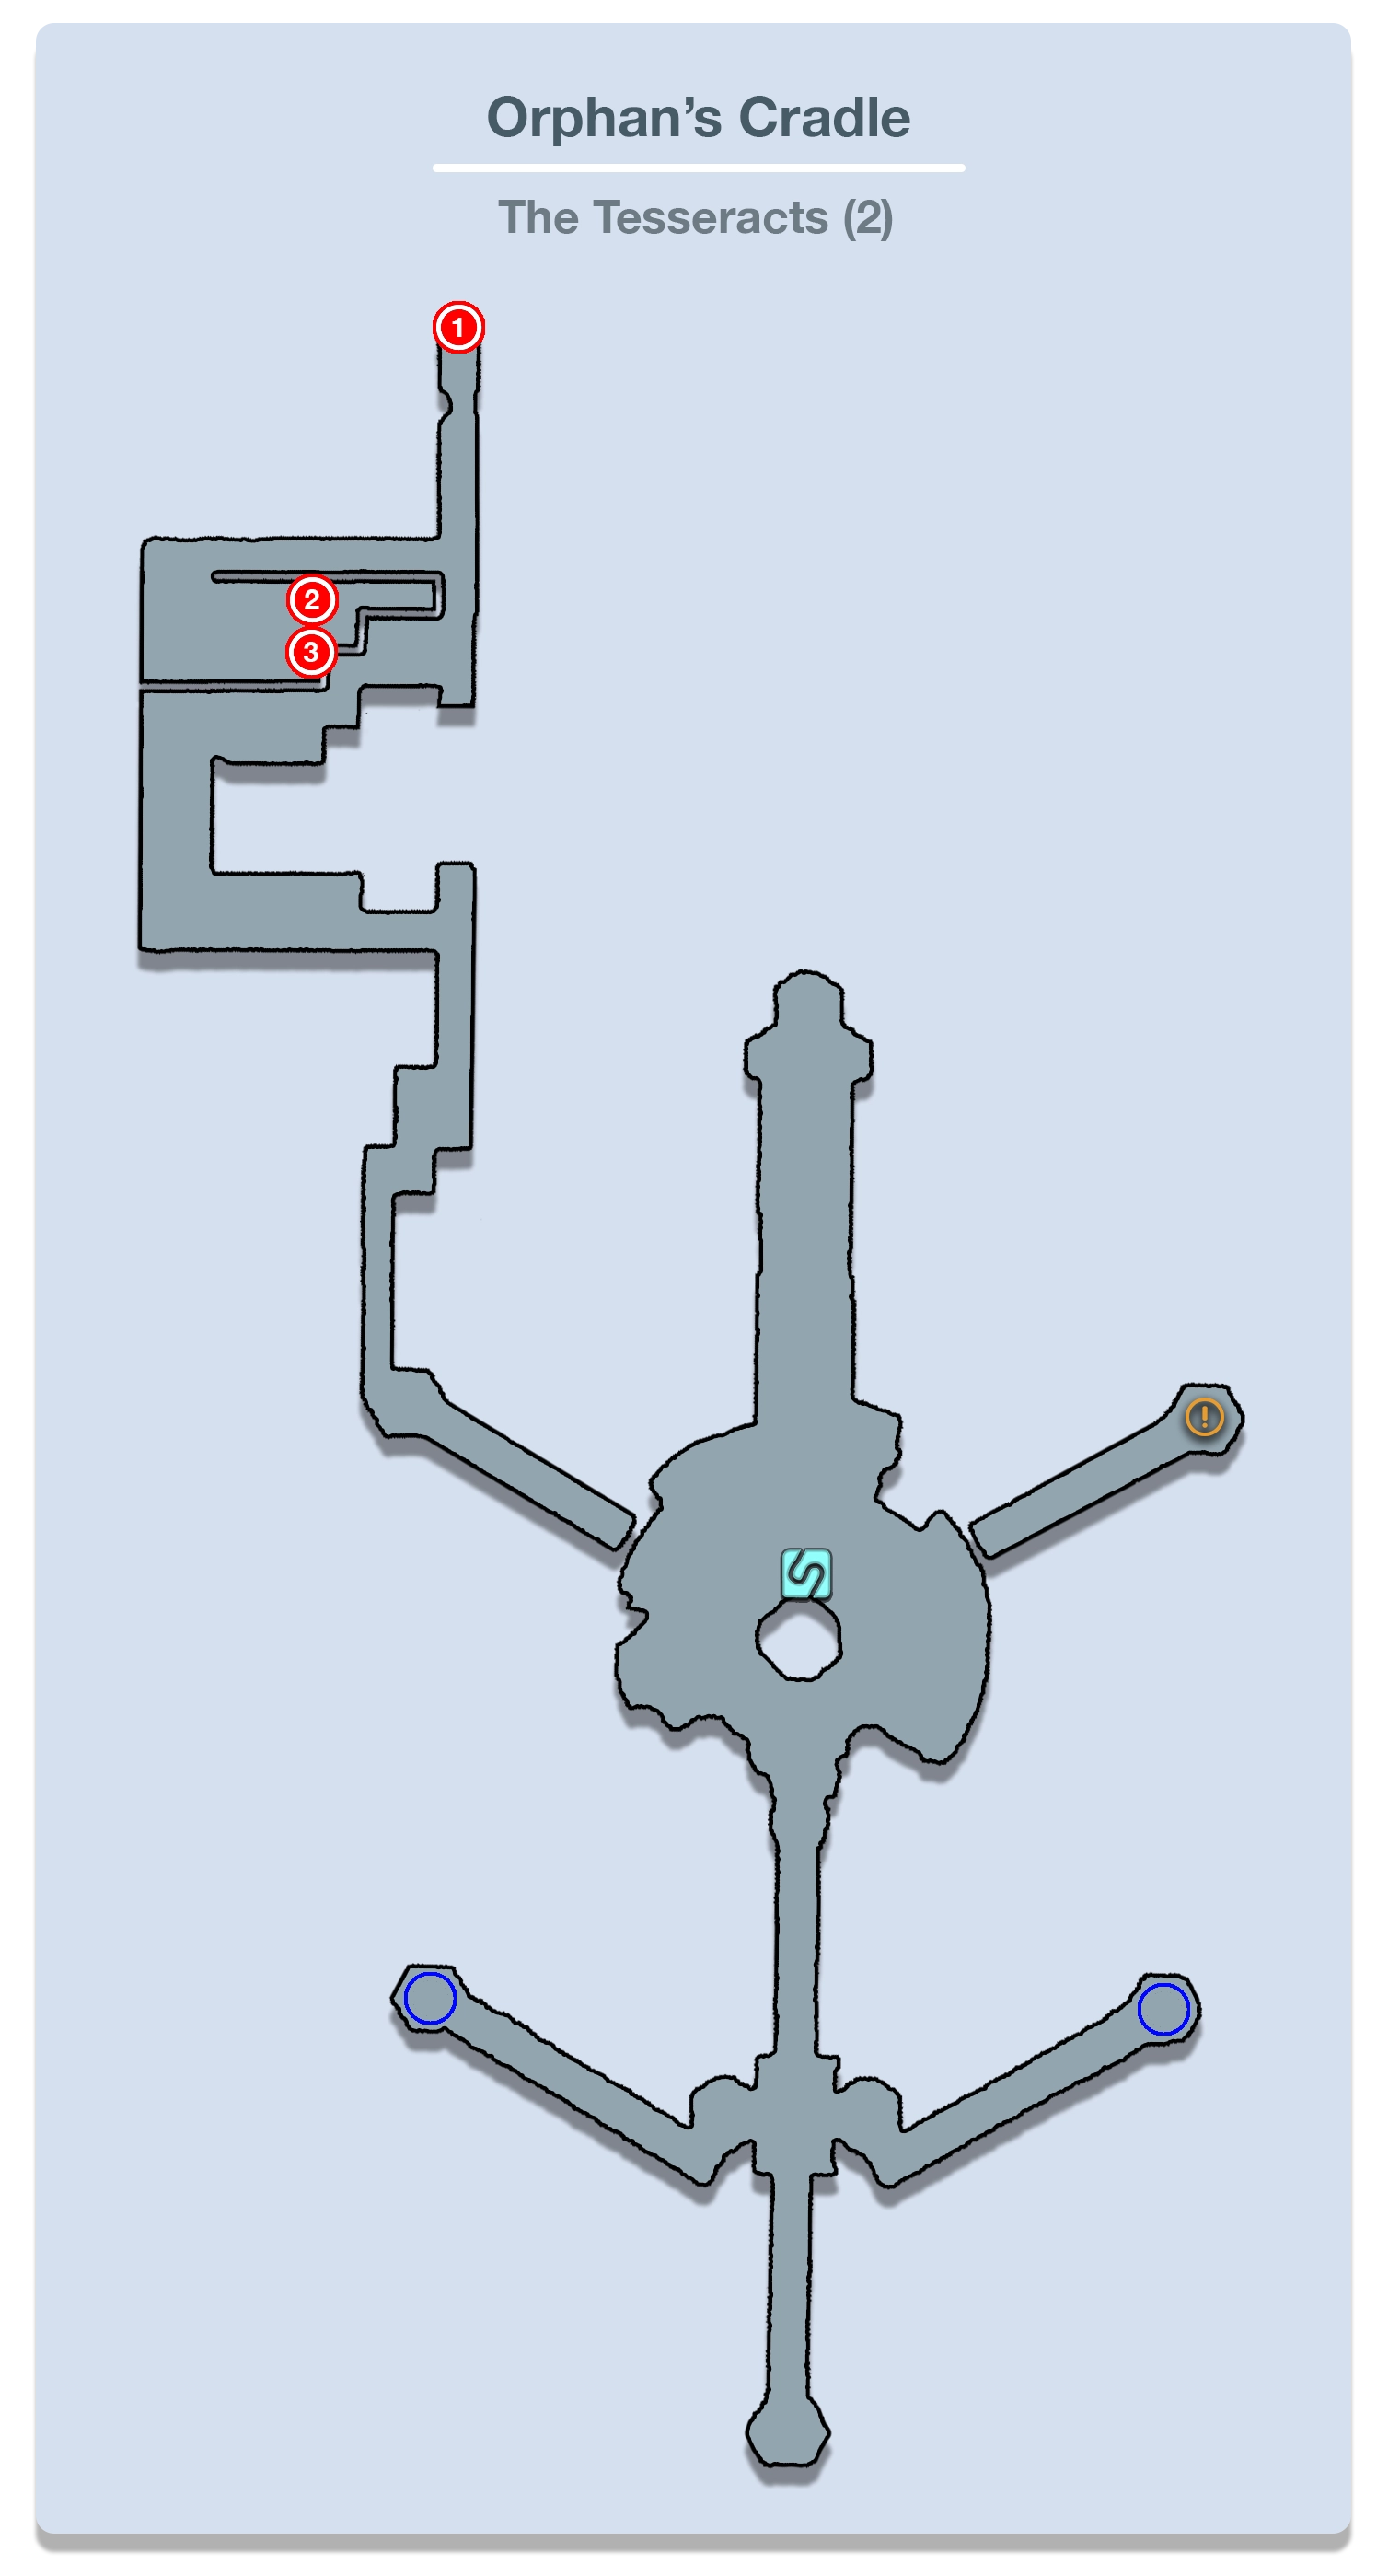
The Tesseracts Continued


Did you do some Sacrifice farming? Ideally yes, but if you did, make sure that you readjust your party back to their normal battle formation. Swap to your regular Paradigms and your regular equipment/accessories before you continue to move forward.
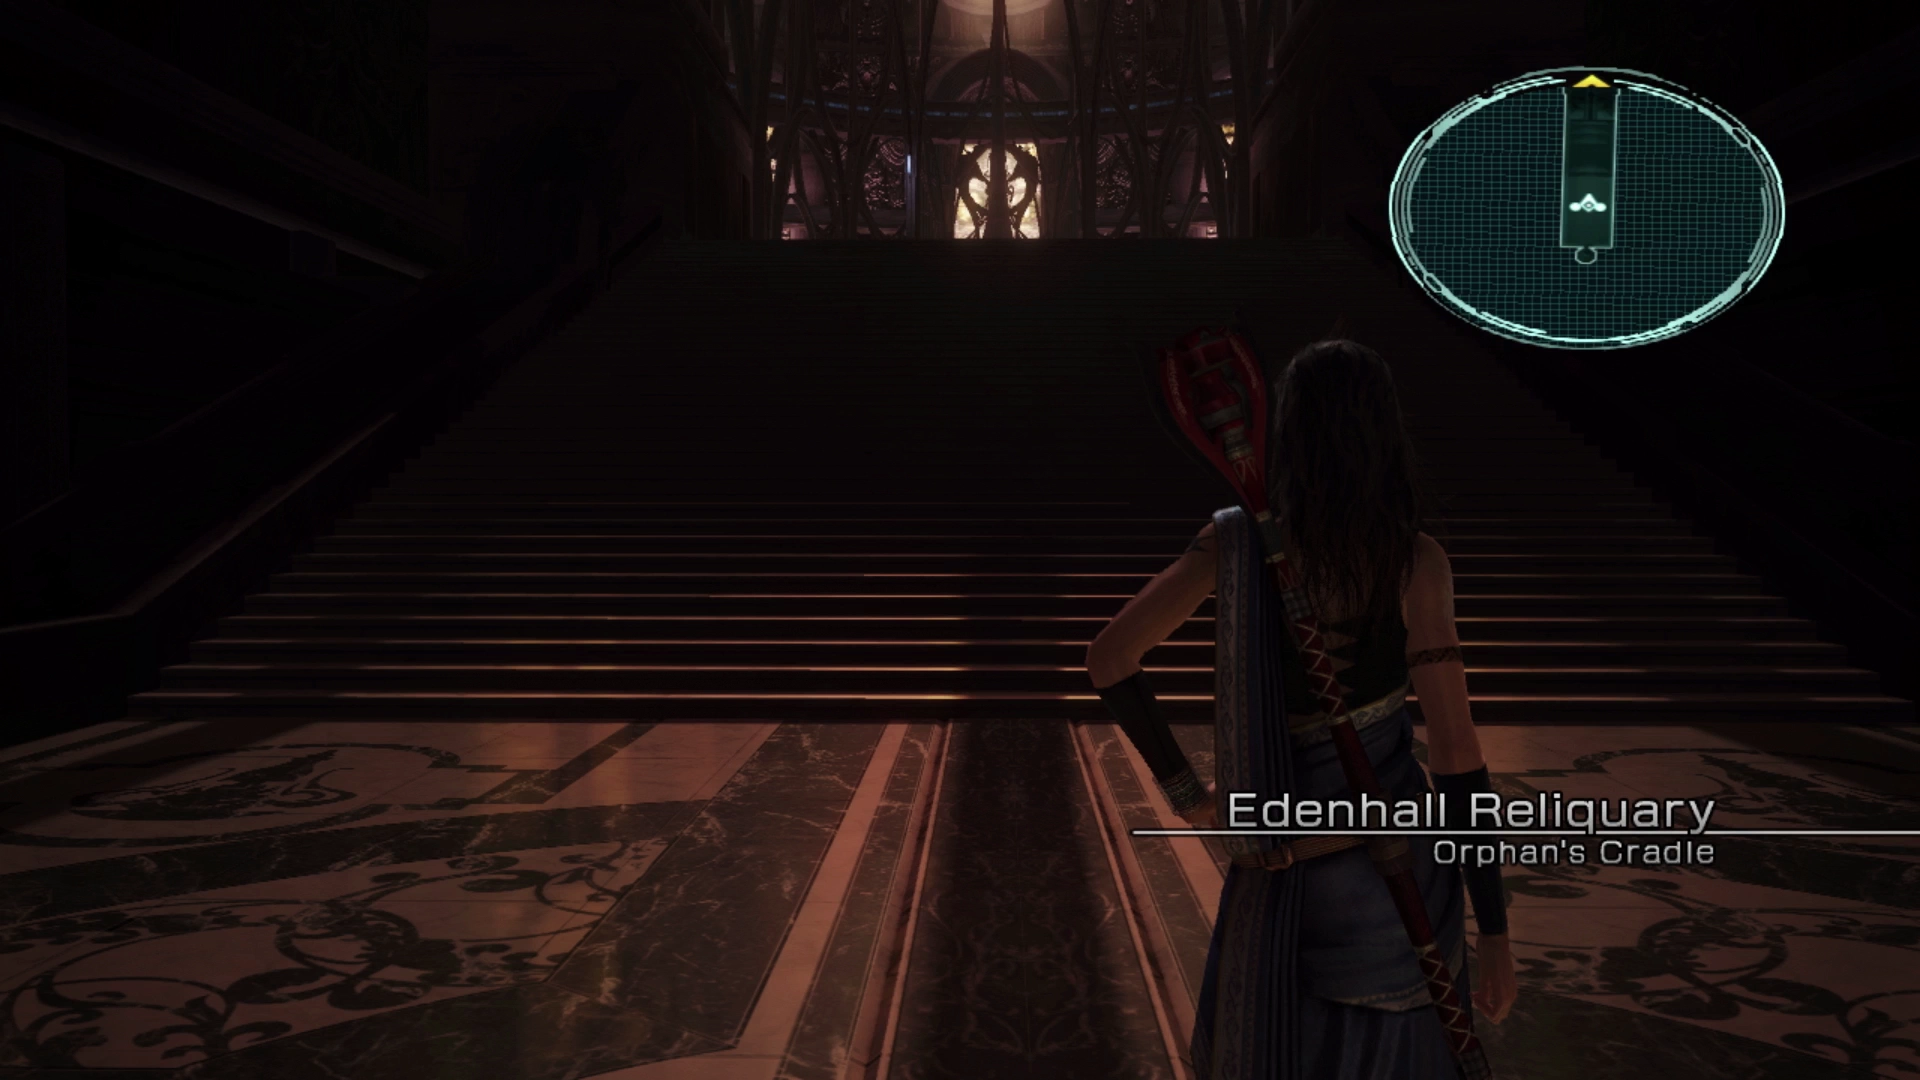
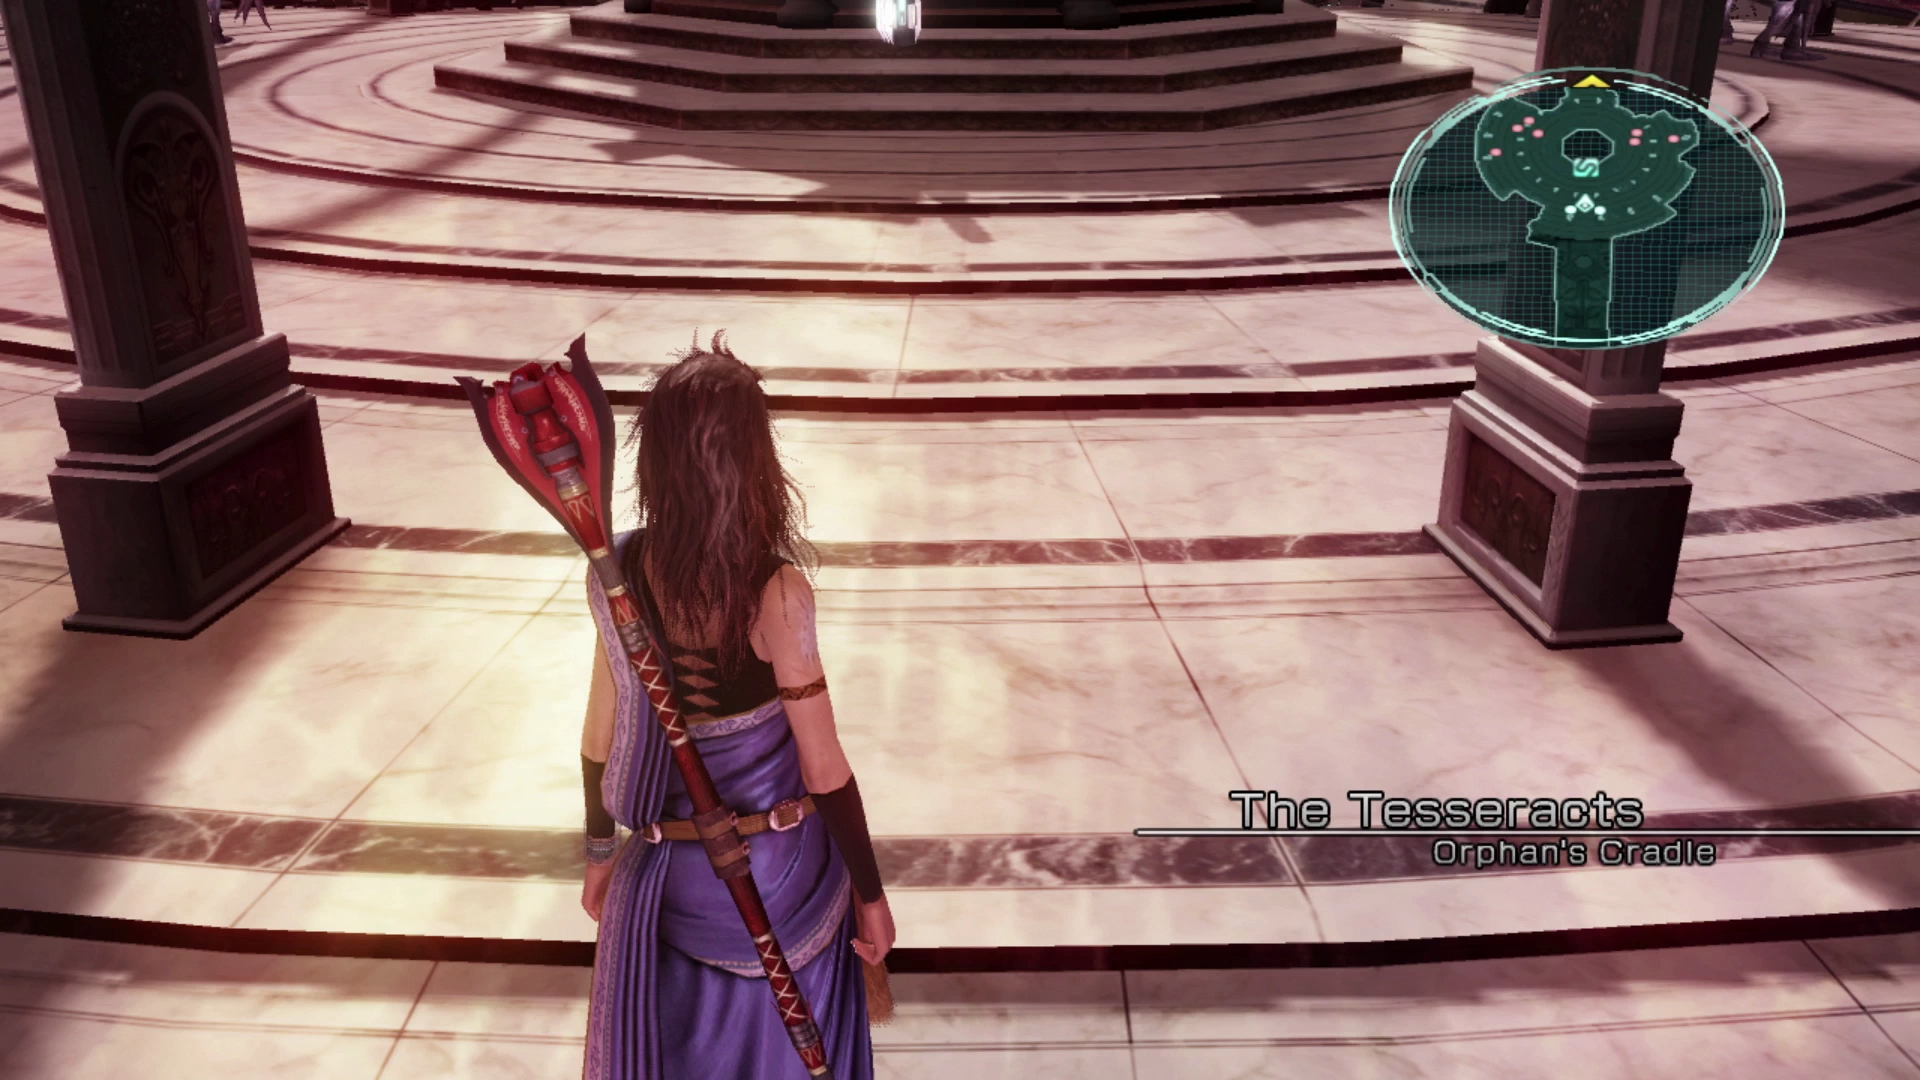
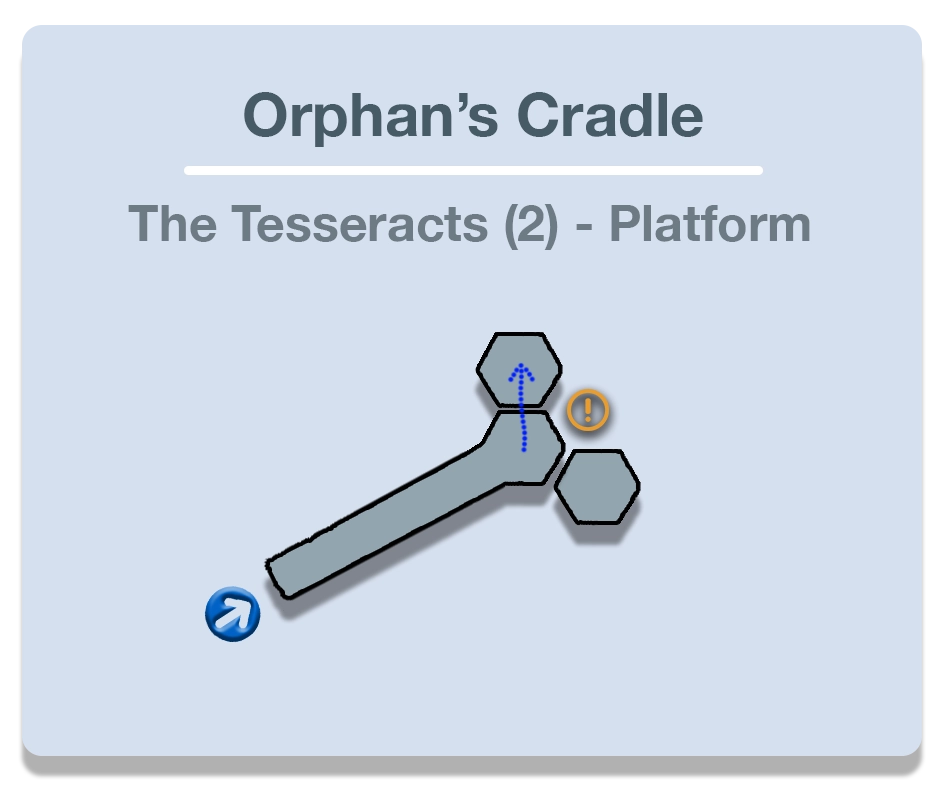
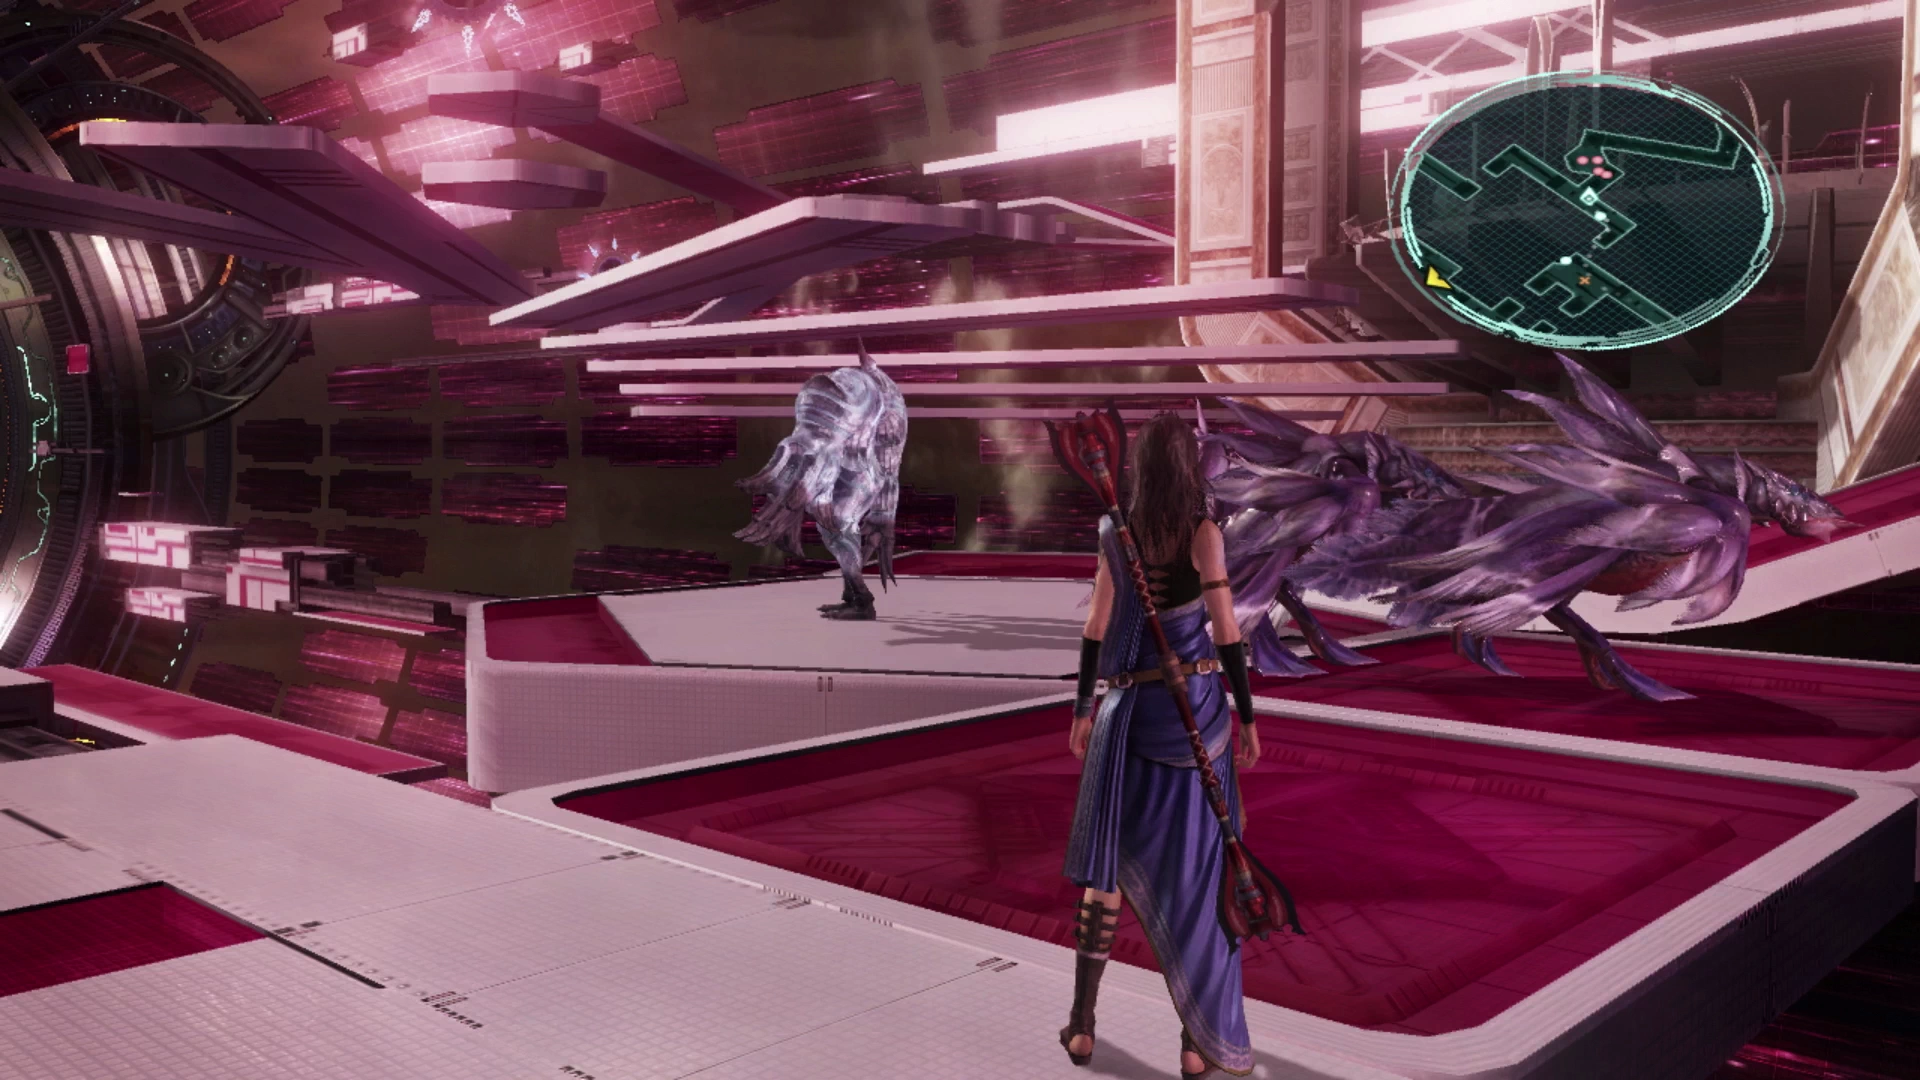
Your next destination is an optional area of the Tesseracts that contains some items you should pick up. It can be reached from the central area near where the two groups of Sacrifices spawn and is on the opposite side of the platform to where the fal’Cie is located (away from the destination marker on the mini-map). Use the screenshot below to help you find the right location:
There isn’t too much detail to go over in these next few sections of the walkthrough. For the most part, traveling through the Tesseracts involves walking across and jumping between linear pathways and battling enemies that are similar to the ones you have fought previously.
Helpful Hint
If you chose to complete the steps to obtain the ![]() Growth Egg early make sure that you continue to have it equipped to one of your party members as you proceed through this next area.
Growth Egg early make sure that you continue to have it equipped to one of your party members as you proceed through this next area.
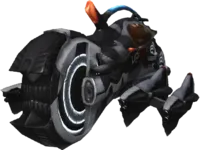
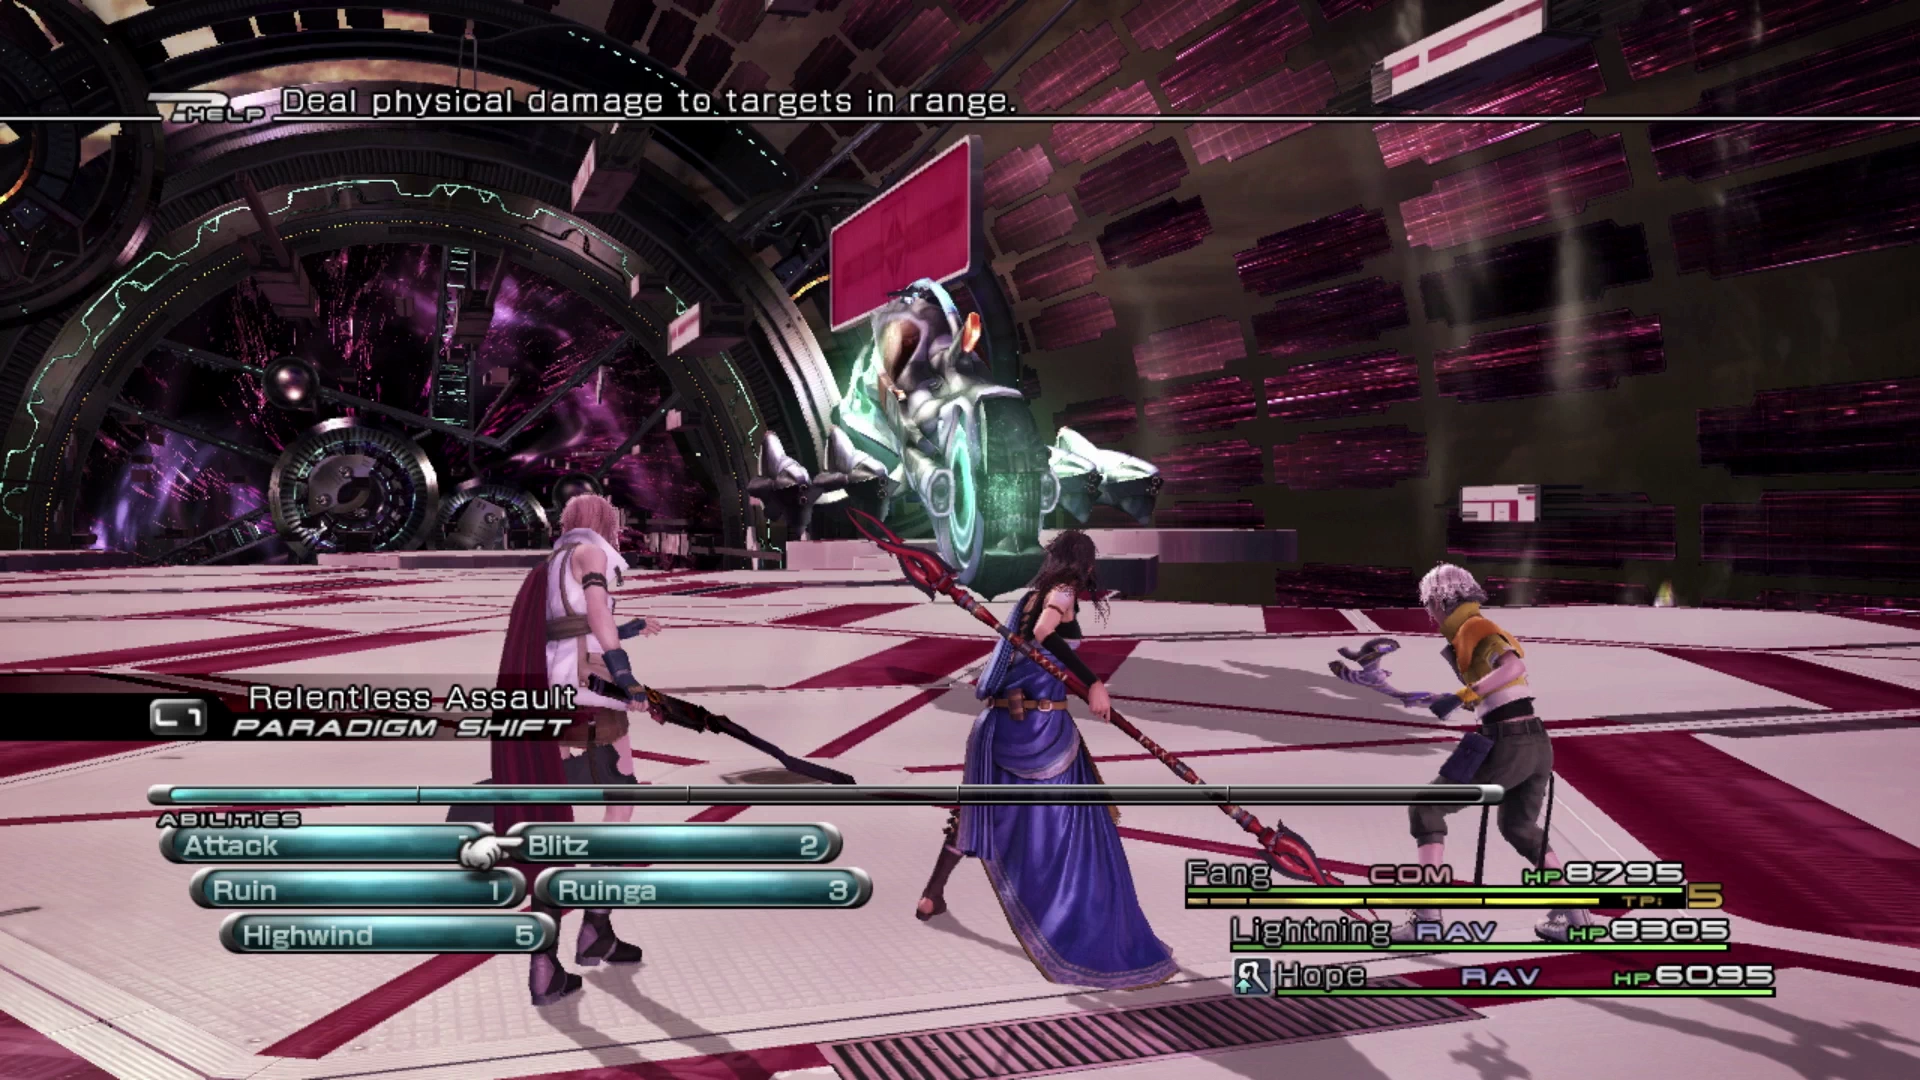
Just up ahead you will find a group of two Sacrifices. Jump down the walkway to the lower level and you will be ambushed by an Aquila Velocycle. Use ![]() Libra at the start of the fight and be prepared to do some heavy healing when it uses its “Plasma Cannon” attack.
Libra at the start of the fight and be prepared to do some heavy healing when it uses its “Plasma Cannon” attack.
Your party members may be KO’d if their HP is not at maximum. “Plasma Cannon” has a bit of a charge time and you can prevent the attack entirely if you’re able to trigger a Stagger as it’s being cast.
There is a split pathway with the left path leading up some stairs and the right pathway leading towards another Aquila Velocycle. Defeat the Aquila Velocycle which is guarding a Treasure Sphere that contains a ![]() Librascope. Then head up the pathways leading up the stairs to find a large Megrim Thresher to fight.
Librascope. Then head up the pathways leading up the stairs to find a large Megrim Thresher to fight.
This Megrim Thresher looks a lot more powerful than it is. Using ![]() Libra on it will reveal that it has a weakness to ice-based attacks, and if you spend a bit of time with a
Libra on it will reveal that it has a weakness to ice-based attacks, and if you spend a bit of time with a ![]() Synergist and/or a
Synergist and/or a ![]() Saboteur casting buffs and debuffs, you can heavily reduce the incoming damage and, especially with
Saboteur casting buffs and debuffs, you can heavily reduce the incoming damage and, especially with ![]() Enfrost cast on your party member’s weapons, greatly increase your party member’s damage dealt.
Enfrost cast on your party member’s weapons, greatly increase your party member’s damage dealt.
There are two Treasure Spheres behind the Megrim Thresher, one of which contains a ![]() Millerite and the other contains a
Millerite and the other contains a ![]() Cherub’s Crown. This accessory reduces the likelihood of
Cherub’s Crown. This accessory reduces the likelihood of ![]() Death instantly killing one of your characters when it’s cast on them. It’s fairly rare that
Death instantly killing one of your characters when it’s cast on them. It’s fairly rare that ![]() Death will ever be cast on your party causing this accessory to be of limited value. Travel all the way back to the center of the Tesseracts near the
Death will ever be cast on your party causing this accessory to be of limited value. Travel all the way back to the center of the Tesseracts near the ![]() Save Station.
Save Station.
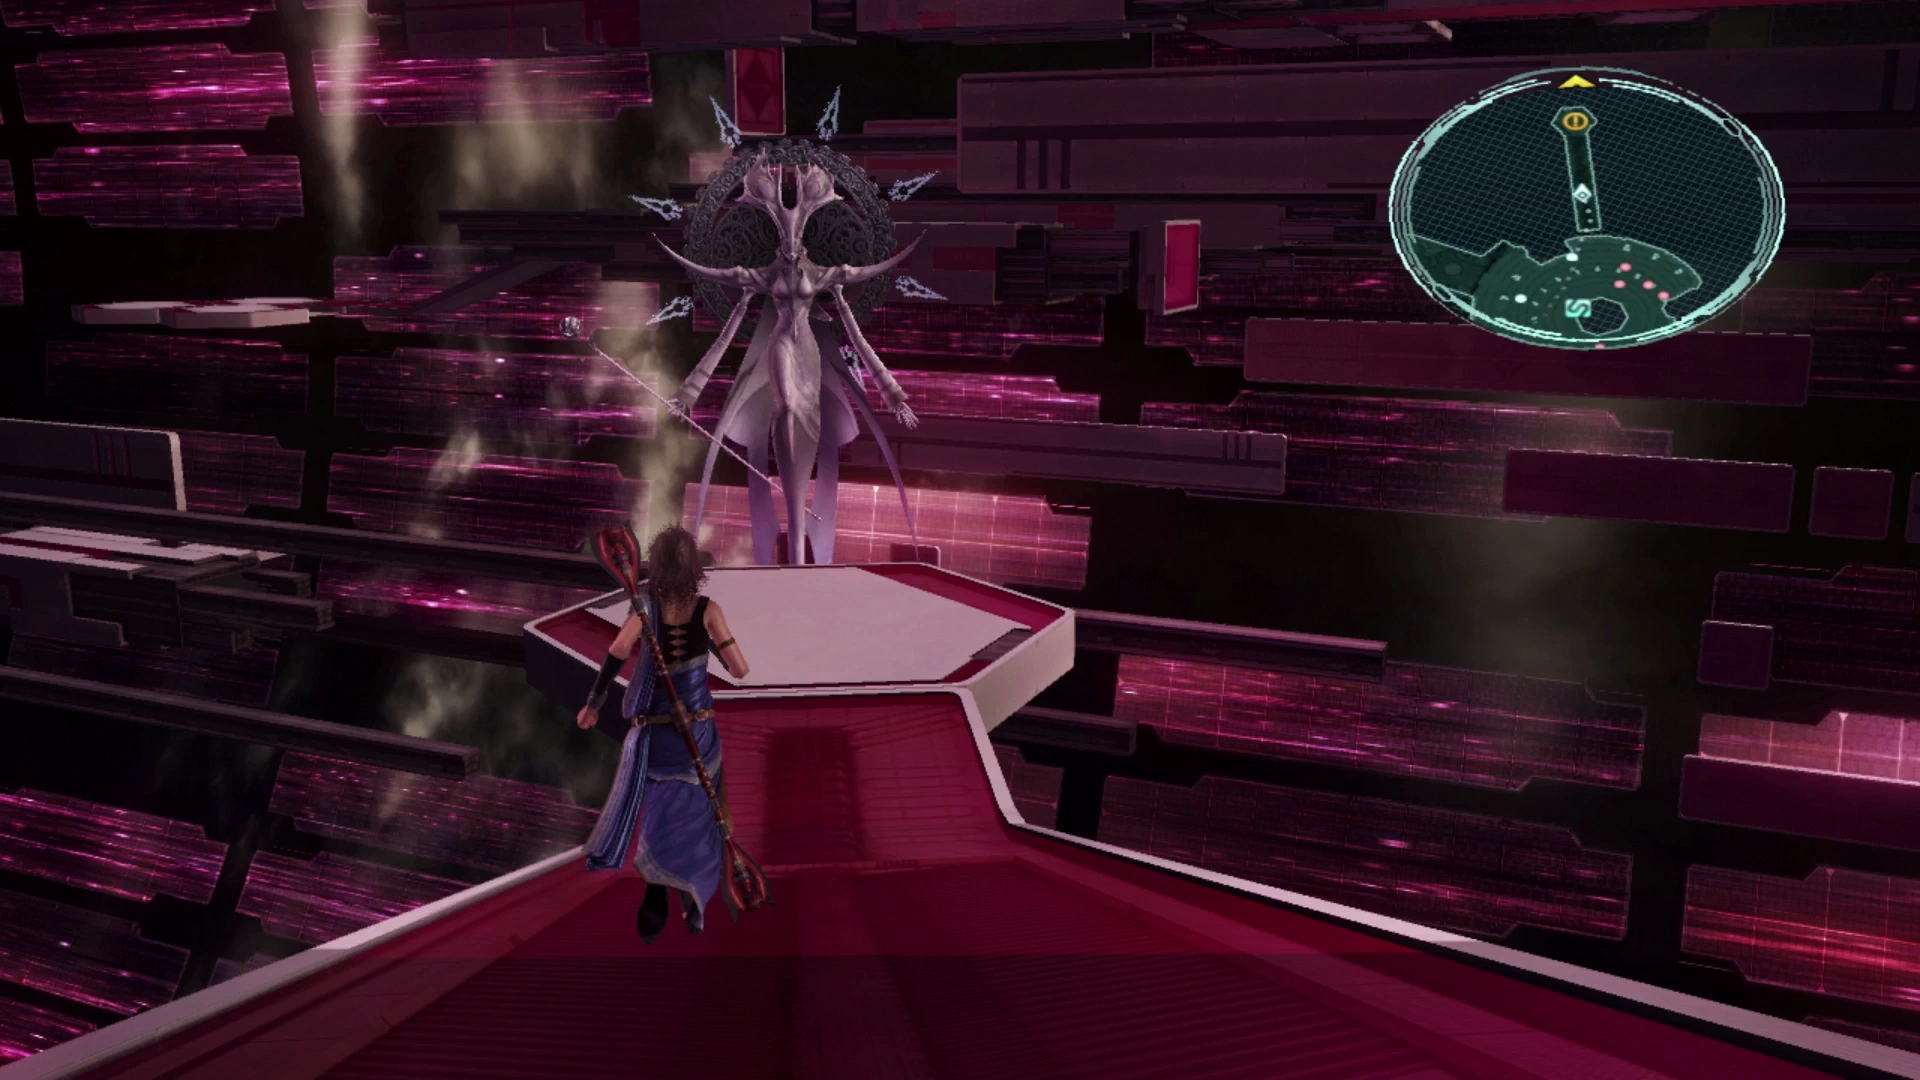
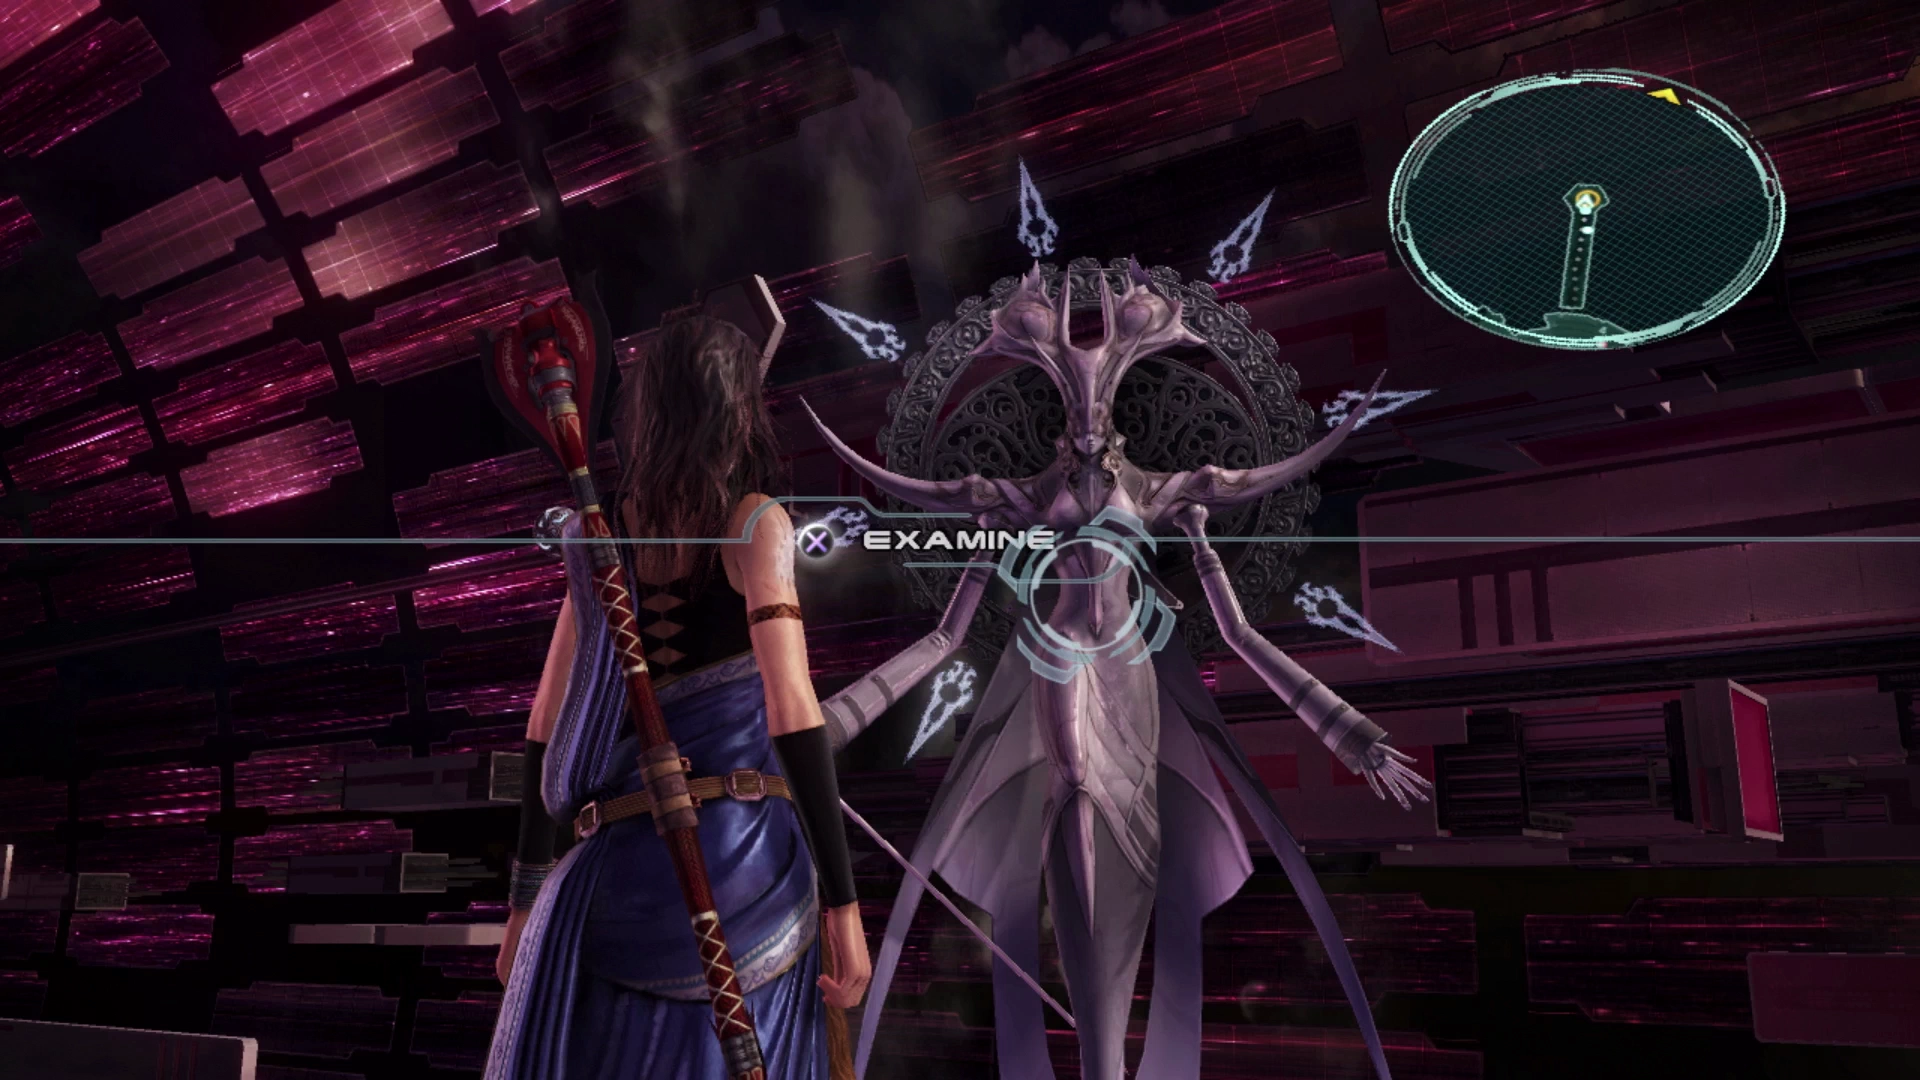
It’s now time to head down towards the fal’Cie that spawned. This is the spot that will be marked by the destination marker on your mini-map so pull open the map if you’re lost or having trouble finding the right location.
As you approach the fal’Cie, press the ![]()
![]()
![]() button to examine it, and a short cinematic will start up as two new platforms approach before the fal’Cie flies away. Your goal in these next few areas of the Tesseracts is to continue working your way along the paths towards the fal’Cie which is leading you to the next area.
button to examine it, and a short cinematic will start up as two new platforms approach before the fal’Cie flies away. Your goal in these next few areas of the Tesseracts is to continue working your way along the paths towards the fal’Cie which is leading you to the next area.
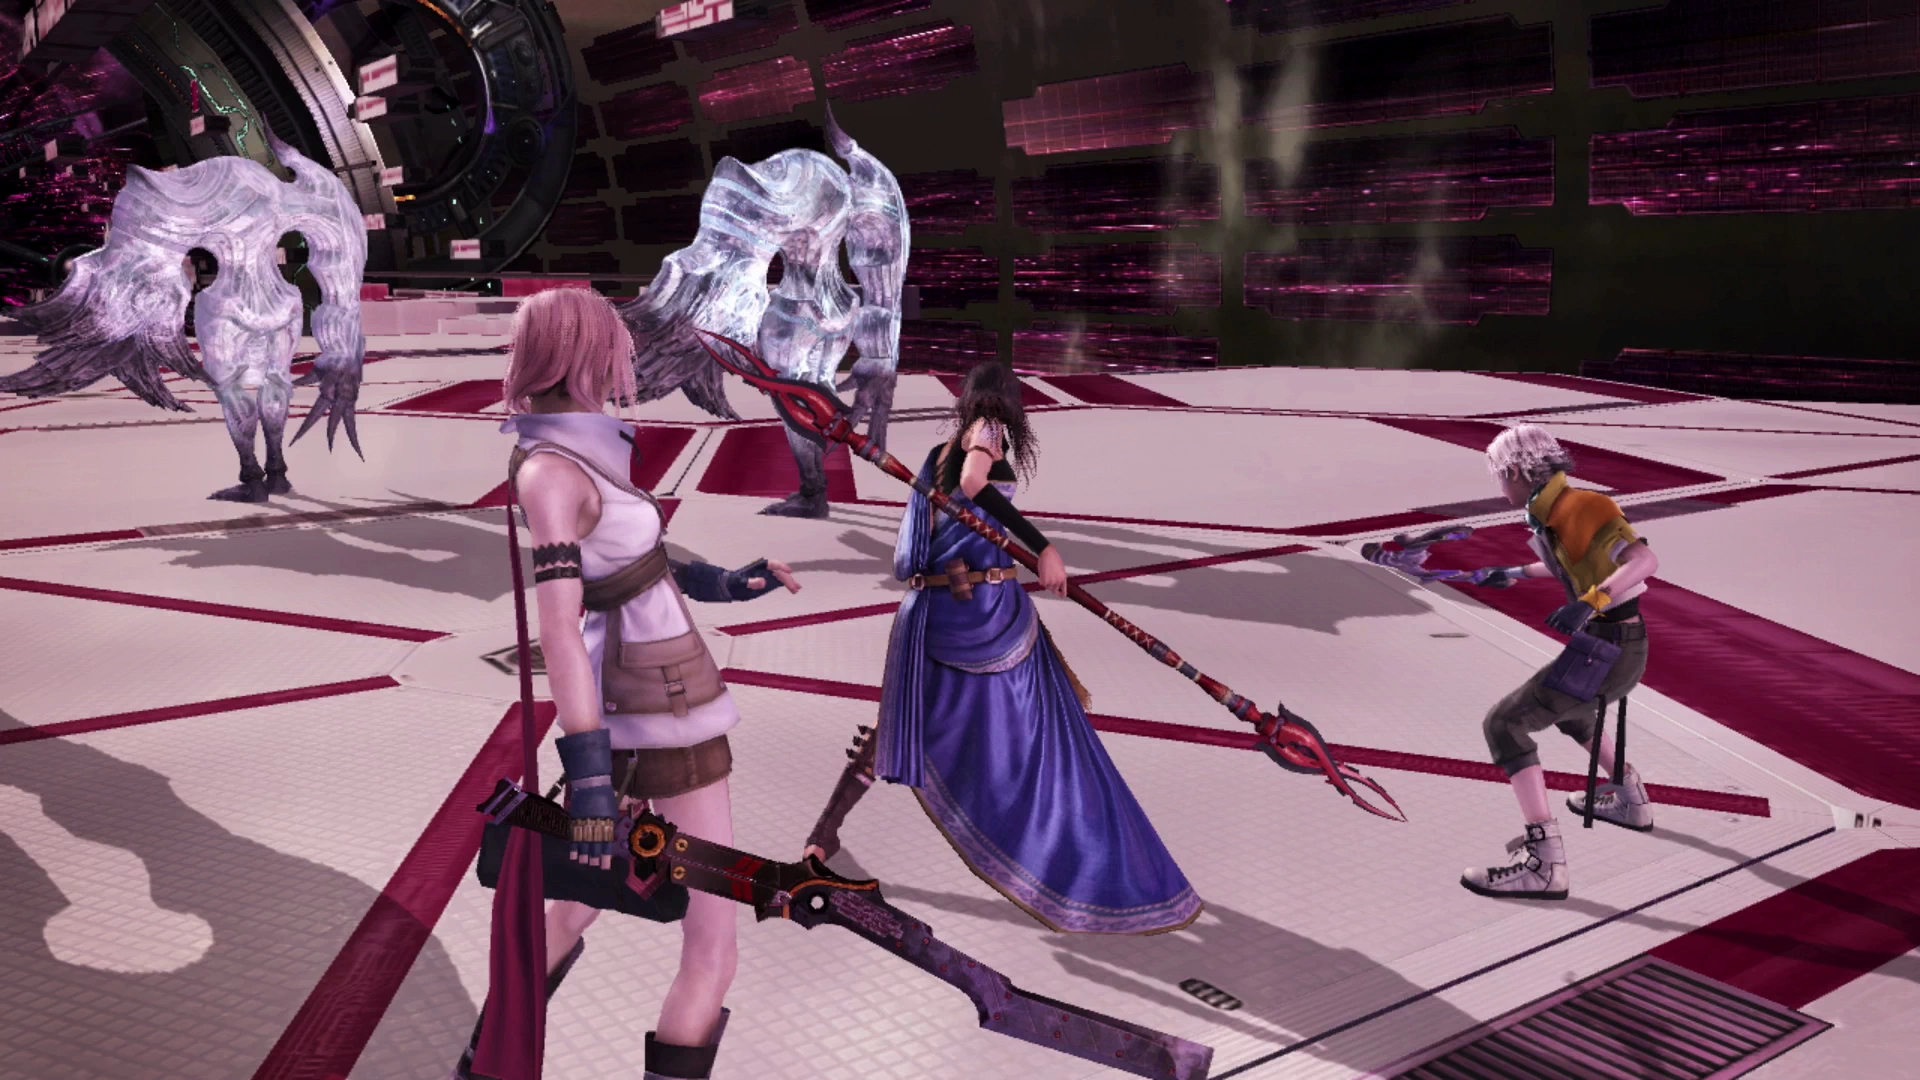
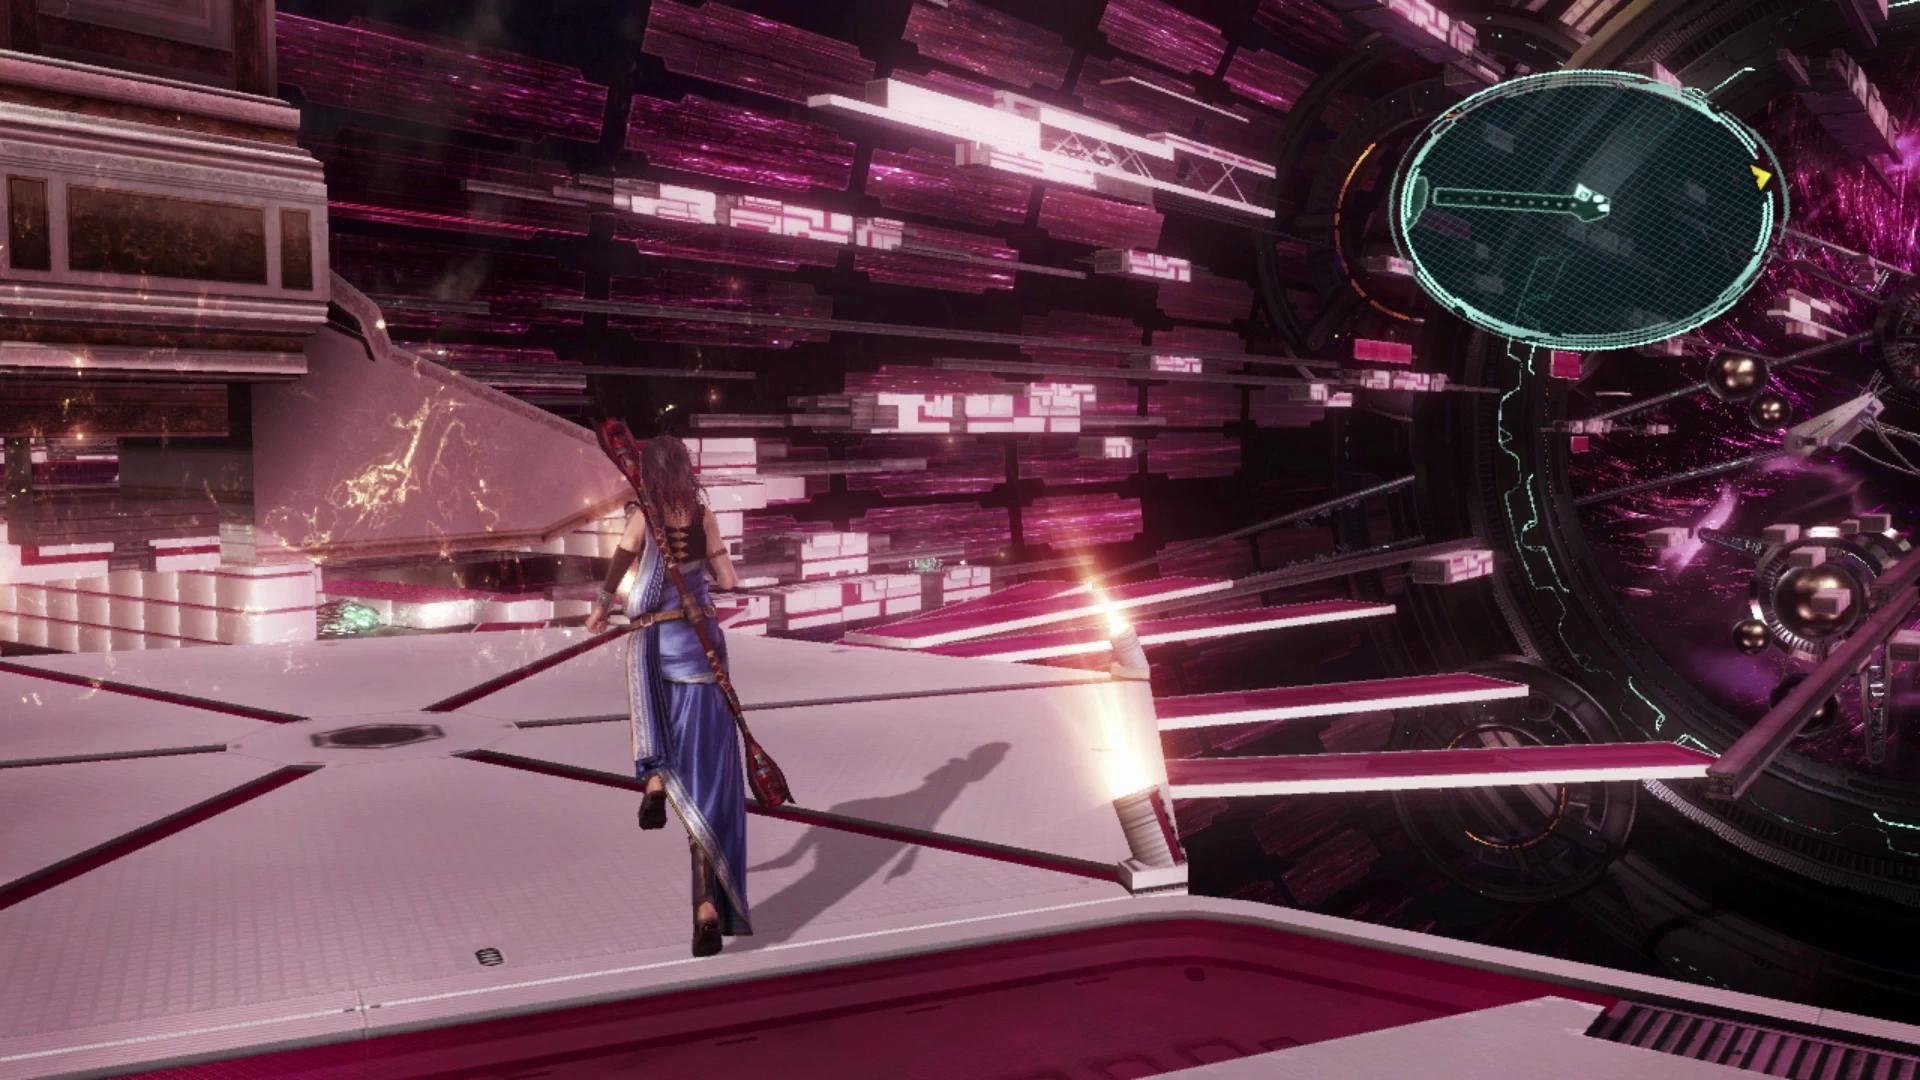
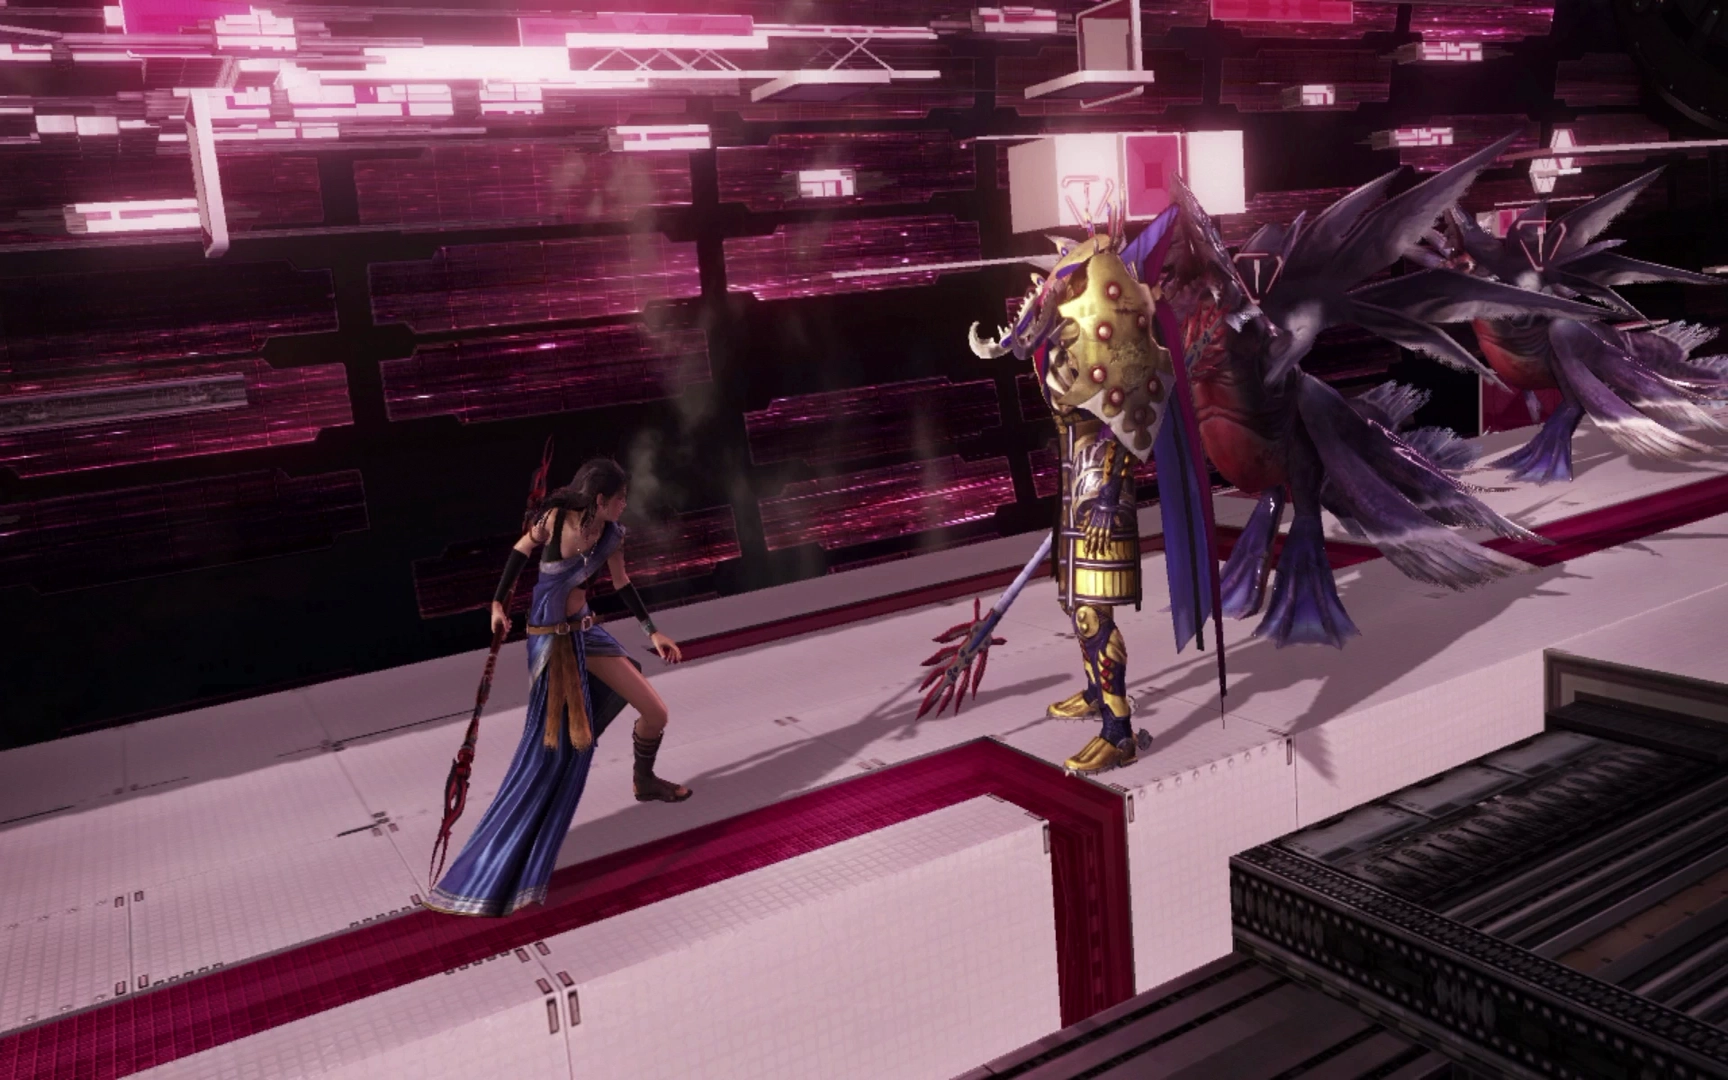
There will be one platform to the left of where the fal’Cie was previously floating and one on the right side. You want to jump on the platform on the left side which is not the one that your team leader starts off facing! Turn around and jump on the nearby platform. Use the screenshot below if you’re not clear on which platform is the right one.
The enemies in this area are similar to those that you’ve already faced in the Tesseracts. The important thing to do is to grab the five Treasure Spheres that are located in this area. These Treasure Spheres contain:
Once you have each of these items, use the platform to travel back to the central area near where you examined the fal’Cie. This time, take the platform on the right side.
Take a right from the area where the platform arrives to find another Treasure Sphere that contains twenty ![]() Seaking’s Beards. Continue along the platform and you will encounter a new enemy called a Dagonite (which is very similar to an Orobon). This lone Dagonite is easy to defeat.
Seaking’s Beards. Continue along the platform and you will encounter a new enemy called a Dagonite (which is very similar to an Orobon). This lone Dagonite is easy to defeat.
A little further up ahead is a group of three Dagonites which can be a bit more challenging, but these enemies are easy to sneak up on for a preemptive strike.
Take the ramp on the left side of the platform to the upper level where you will find a group of two Sacrifices, and on the other side, a group of three Sacrifices. There are three Treasure Spheres on this upper platform to open which contain:
-
 Aegisol x2
 -
 Tear of Woe x2
 -
 Gale Ring
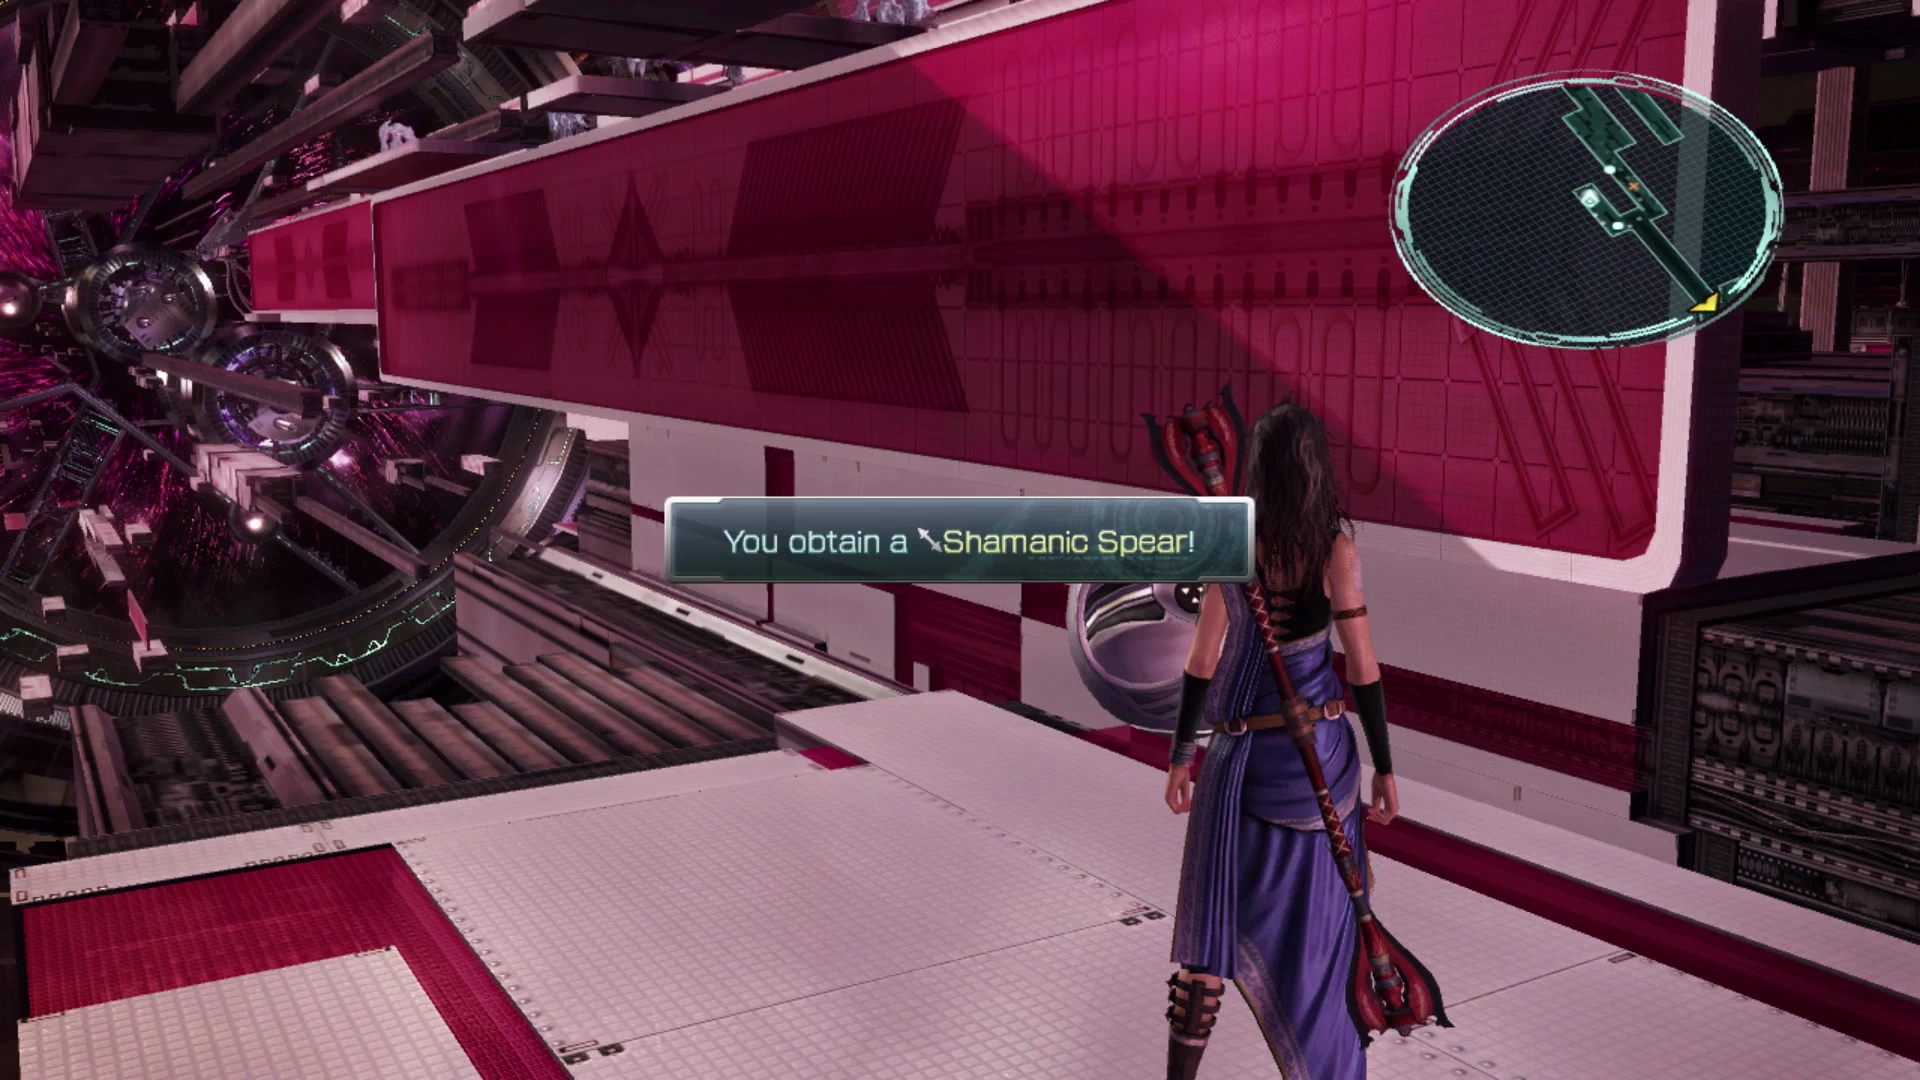
Head back down to the level below after you have grabbed all three. Next up is a group of three more Dagonites. Travel around the corner to grab the next Treasure Sphere which contains a ![]() Shamanic Spear weapon for Fang. This weapon provides no strength to Fang so it really only helps her out if she’s in a role that she’s not good at, so it’s recommended that you not equip it.
Shamanic Spear weapon for Fang. This weapon provides no strength to Fang so it really only helps her out if she’s in a role that she’s not good at, so it’s recommended that you not equip it.
Just up ahead you will find the fal’Cie at the end of the platform. It’s standing next to a ![]() Save Station which you can use to save your game. Examine the fal’Cie again when you are ready to move to the next area. The platforms will rearrange themselves again (annoying!).
Save Station which you can use to save your game. Examine the fal’Cie again when you are ready to move to the next area. The platforms will rearrange themselves again (annoying!).

Head forward down the platform to battle a group that includes one Sacrifice and one Aquila Velocycle. In these next few areas of the Tesseracts you will be fighting all the same enemies but in different combinations, some of which can prove to be very difficult to deal with. Focus your attacks on taking out the Sacrifice first to reduce the likelihood of it casting “Anathema” on your party too many times.
You can jump up to the higher level platform on the right side which will lead to a group of three Dagonites with a Sacrifice. This is a very challenging fight just due to the sheer amount of damage being pumped out by the Dagonites after they have buffed themselves and due to their attacks preventing your party members from acting while they are flying up in the air.
This battle is skippable if you’re having too much trouble, but if you focus on defeating the Sacrifice as quickly as possible, and approaching the fight defensively (using a ![]() Synergist /
Synergist / ![]() Medic often), you should be able to successfully bring them down. The pathway behind them leads back up to the center of the Tesseract, so you don’t need to go up this ramp.
Medic often), you should be able to successfully bring them down. The pathway behind them leads back up to the center of the Tesseract, so you don’t need to go up this ramp.
Continue following the pathway forward and drop down to the level below using the illuminated blue circle . Just up ahead is a group of two Sacrifices with two Dagonites which can be engaged using a preemptive strike if timed properly. After that is one more group of two Sacrifices and an Aquila Velocycle that are guarding a Treasure Sphere that contains a ![]() Tetradic Crown.
Tetradic Crown.

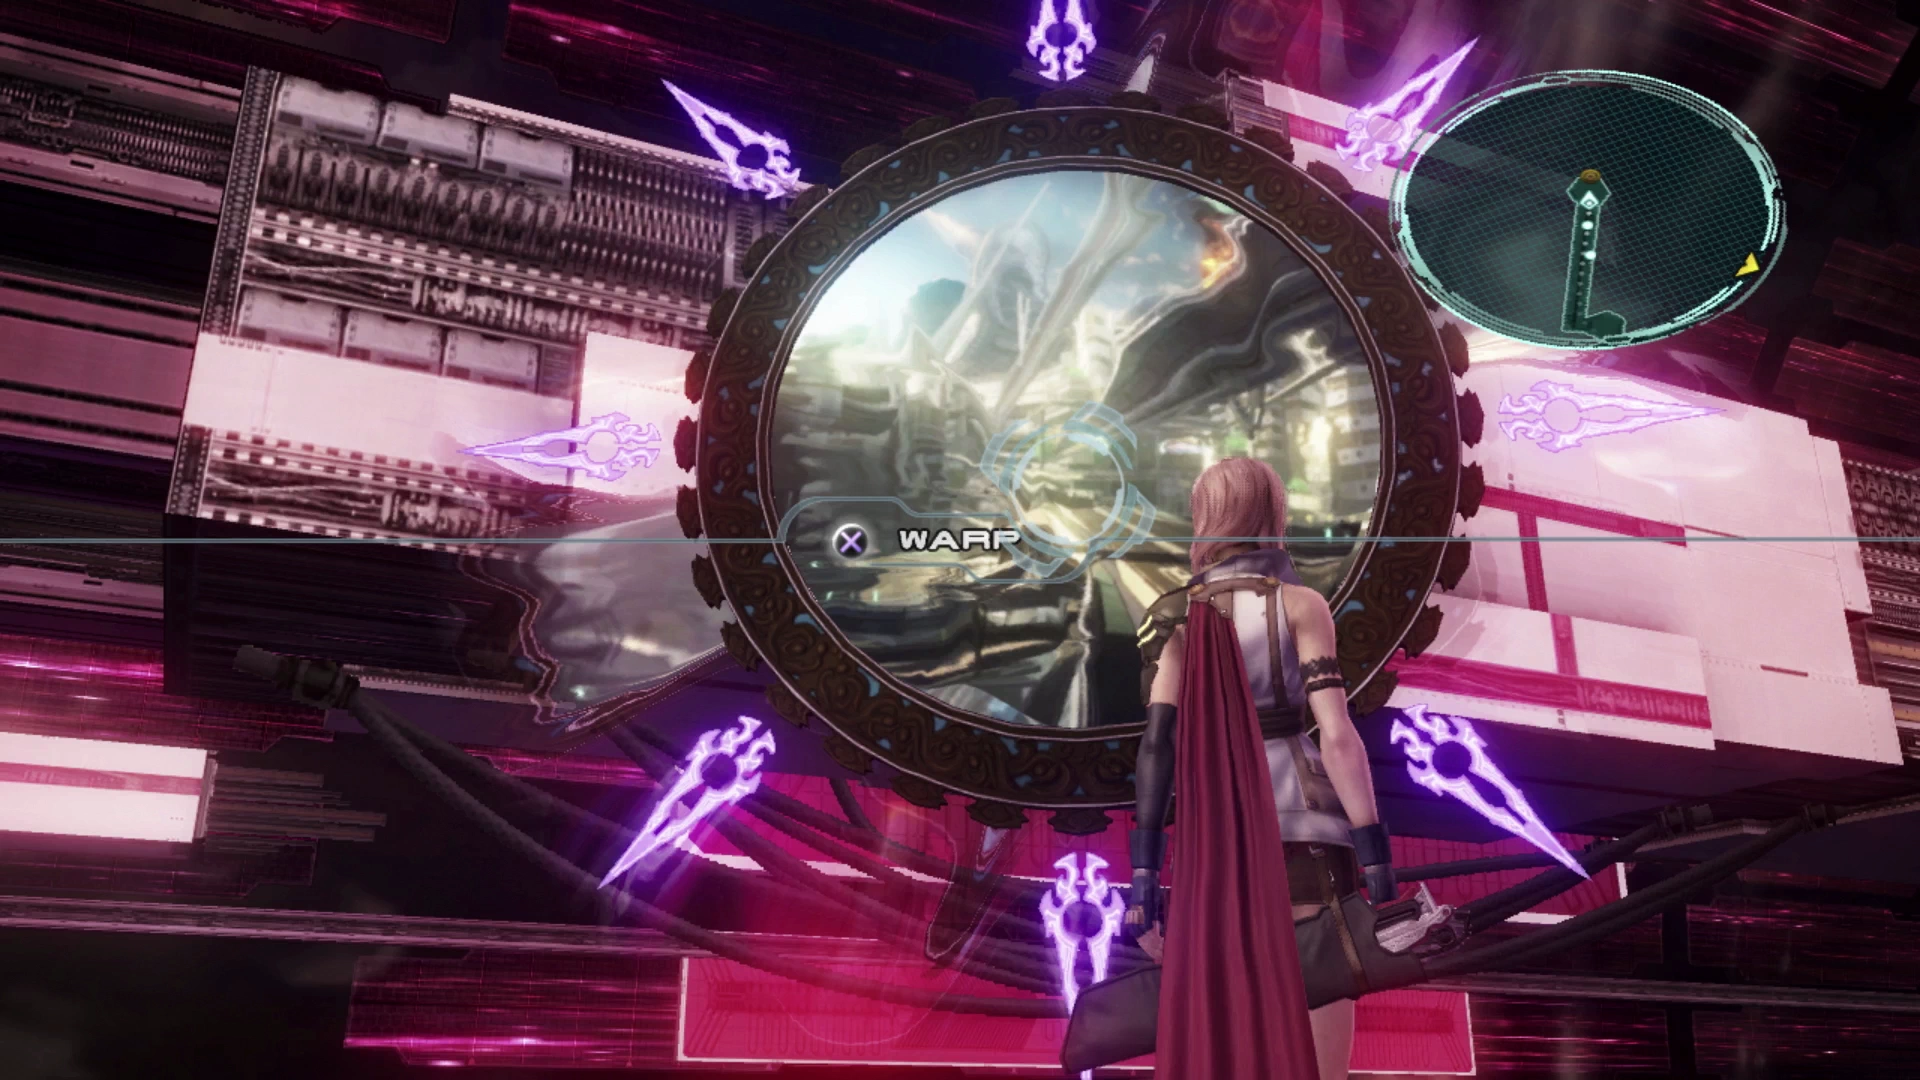
Turn around and head for the destination marker which will lead you to the next floating platform. Stepping on this floating platform will carry you and your party over to the next section of the Tesseracts.

Use the ![]() Save Station up ahead to save your game and then proceed along the platform towards the group of Dagonites that have an Aquila Velocycle with them (don’t jump off the left side of the platform yet). The Aquila Velocycle’s “Plasma Cannon” can hit your entire party for around 5,000 damage, but you should still focus on taking out each of the Dagonites first. Take a defensive approach and have a
Save Station up ahead to save your game and then proceed along the platform towards the group of Dagonites that have an Aquila Velocycle with them (don’t jump off the left side of the platform yet). The Aquila Velocycle’s “Plasma Cannon” can hit your entire party for around 5,000 damage, but you should still focus on taking out each of the Dagonites first. Take a defensive approach and have a ![]() Synergist buff your party early to make the fight a bit easier.
Synergist buff your party early to make the fight a bit easier.
The next battle up ahead includes two Dagonites with a new enemy called a Sanctum Templar. The Sanctum Templar looks and behaves like other PSICOM Elites you’ve faced (PSICOM Executioner, PSICOM Warlord, PSICOM Reaver). They use magic-based attacks (so using ![]() Fog is very effective) but they are not overly difficult to deal with.
Fog is very effective) but they are not overly difficult to deal with.
At the end of the pathway is a Treasure Sphere that contains six ![]() Starblossom Seed. Turn around and head back to the center of the platform, near the
Starblossom Seed. Turn around and head back to the center of the platform, near the ![]() Save Station, and look for the illuminated blue circle on the ground that you can use to jump down to the platform below.
Save Station, and look for the illuminated blue circle on the ground that you can use to jump down to the platform below.
There is a Sanctum Templar that patrols in this area and will charge at your party as soon as it sees them. Because it is alone it is very easy to defeat, but it is possible to sneak up on it for a preemptive strike if you time its patrols properly.
Follow the pathway along and jump off the left side when you see the next illuminated blue circle to find another Treasure Sphere that contains 8 mats of ![]() Black Mycelium. Jump back up to the previous level and push forward towards the next group of enemies which includes both a Sacrifice and a Sanctum Templar.
Black Mycelium. Jump back up to the previous level and push forward towards the next group of enemies which includes both a Sacrifice and a Sanctum Templar.
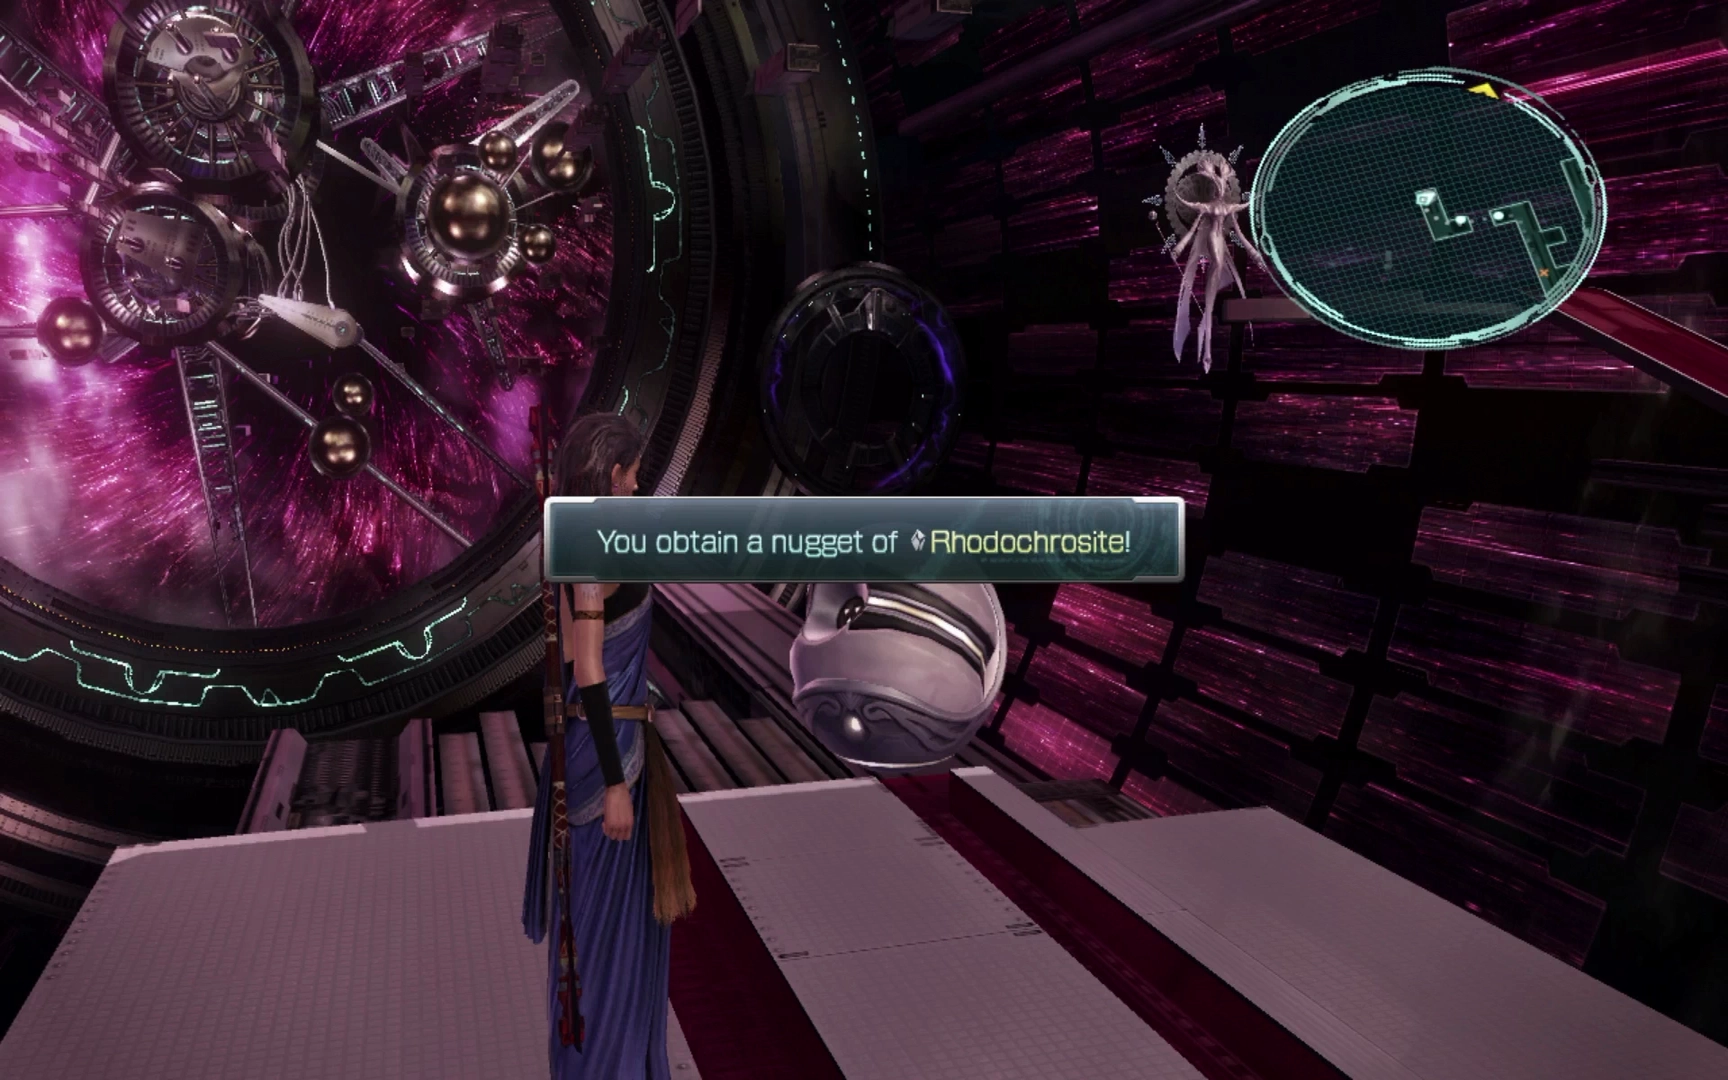
Continue forward and take the pathway on the left side of the platform to find the next Treasure Sphere which contains a nugget of ![]() Rhodochrosite. Jump back up and hop off the other side of the platform to continue making your way towards the fal’Cie.
Rhodochrosite. Jump back up and hop off the other side of the platform to continue making your way towards the fal’Cie.
The last group of enemies in this area includes two Sacrifices and a Sanctum Templar and this can be another really challenging fight. Don’t be afraid to take a defensive approach to the battle, especially at the start, and getting ![]() Fog cast on both of the Sacrifices can make things much easier.
Fog cast on both of the Sacrifices can make things much easier.
Switch your default Paradigm to something defensive like Evened Odds, use the ![]() Save Station and then examine the fal’Cie when you’re ready to proceed to the next boss fight.
Save Station and then examine the fal’Cie when you’re ready to proceed to the next boss fight.
Boss Battle
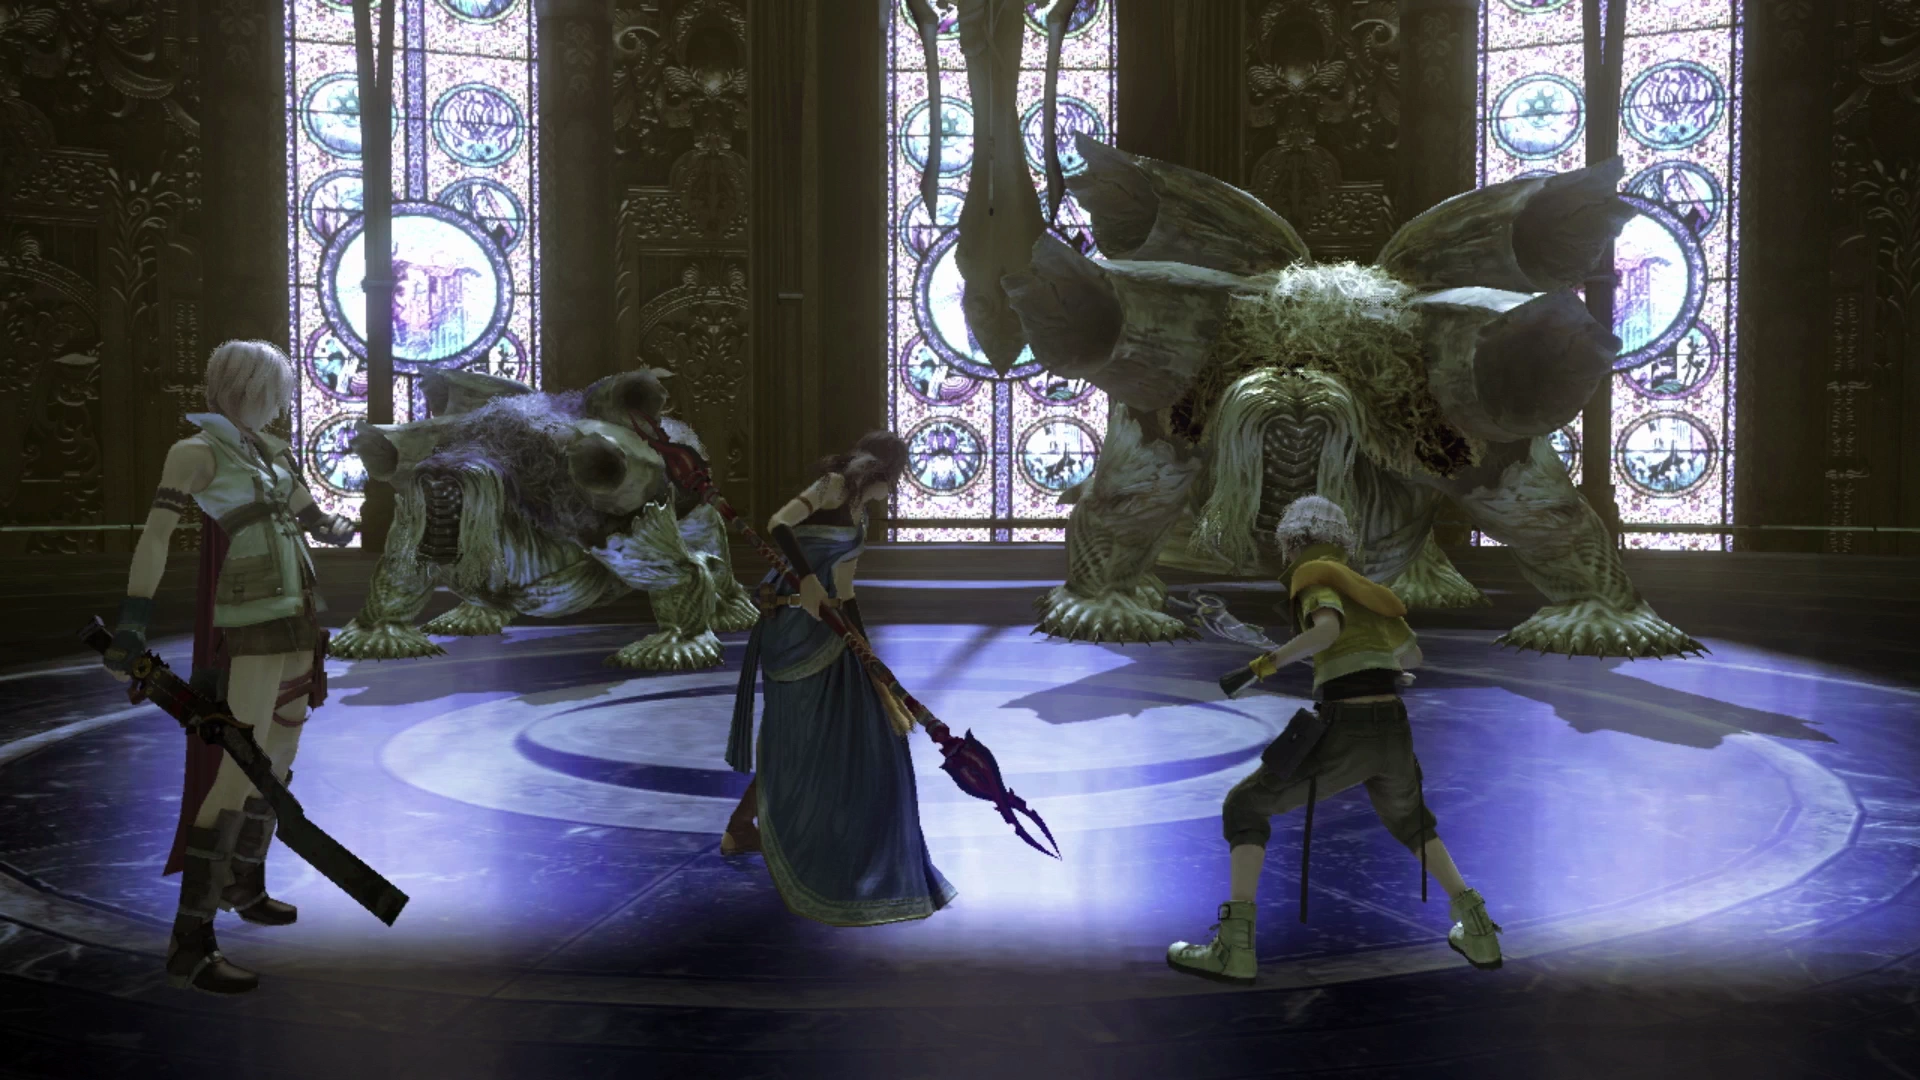
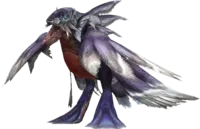
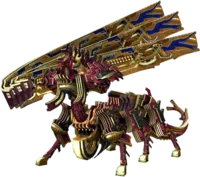
This battle is against two bosses that you will be fighting at the same time. Both of them can mitigate most attacks at the start of the battle requiring you to trigger a Stagger in order to more effectively bring them down. The Bandersnatch is immune to physical attacks and the Jabberwocky is immune to magical damage.
The Jabberwocky will hit your party with powerful magic-based attacks including an attack called “Breath of the Beast,” which hits any party members that are in range of the attack three times. The Bandersnatch will use an attack called “Mucosphere,” which just deals standard physical damage to the target.
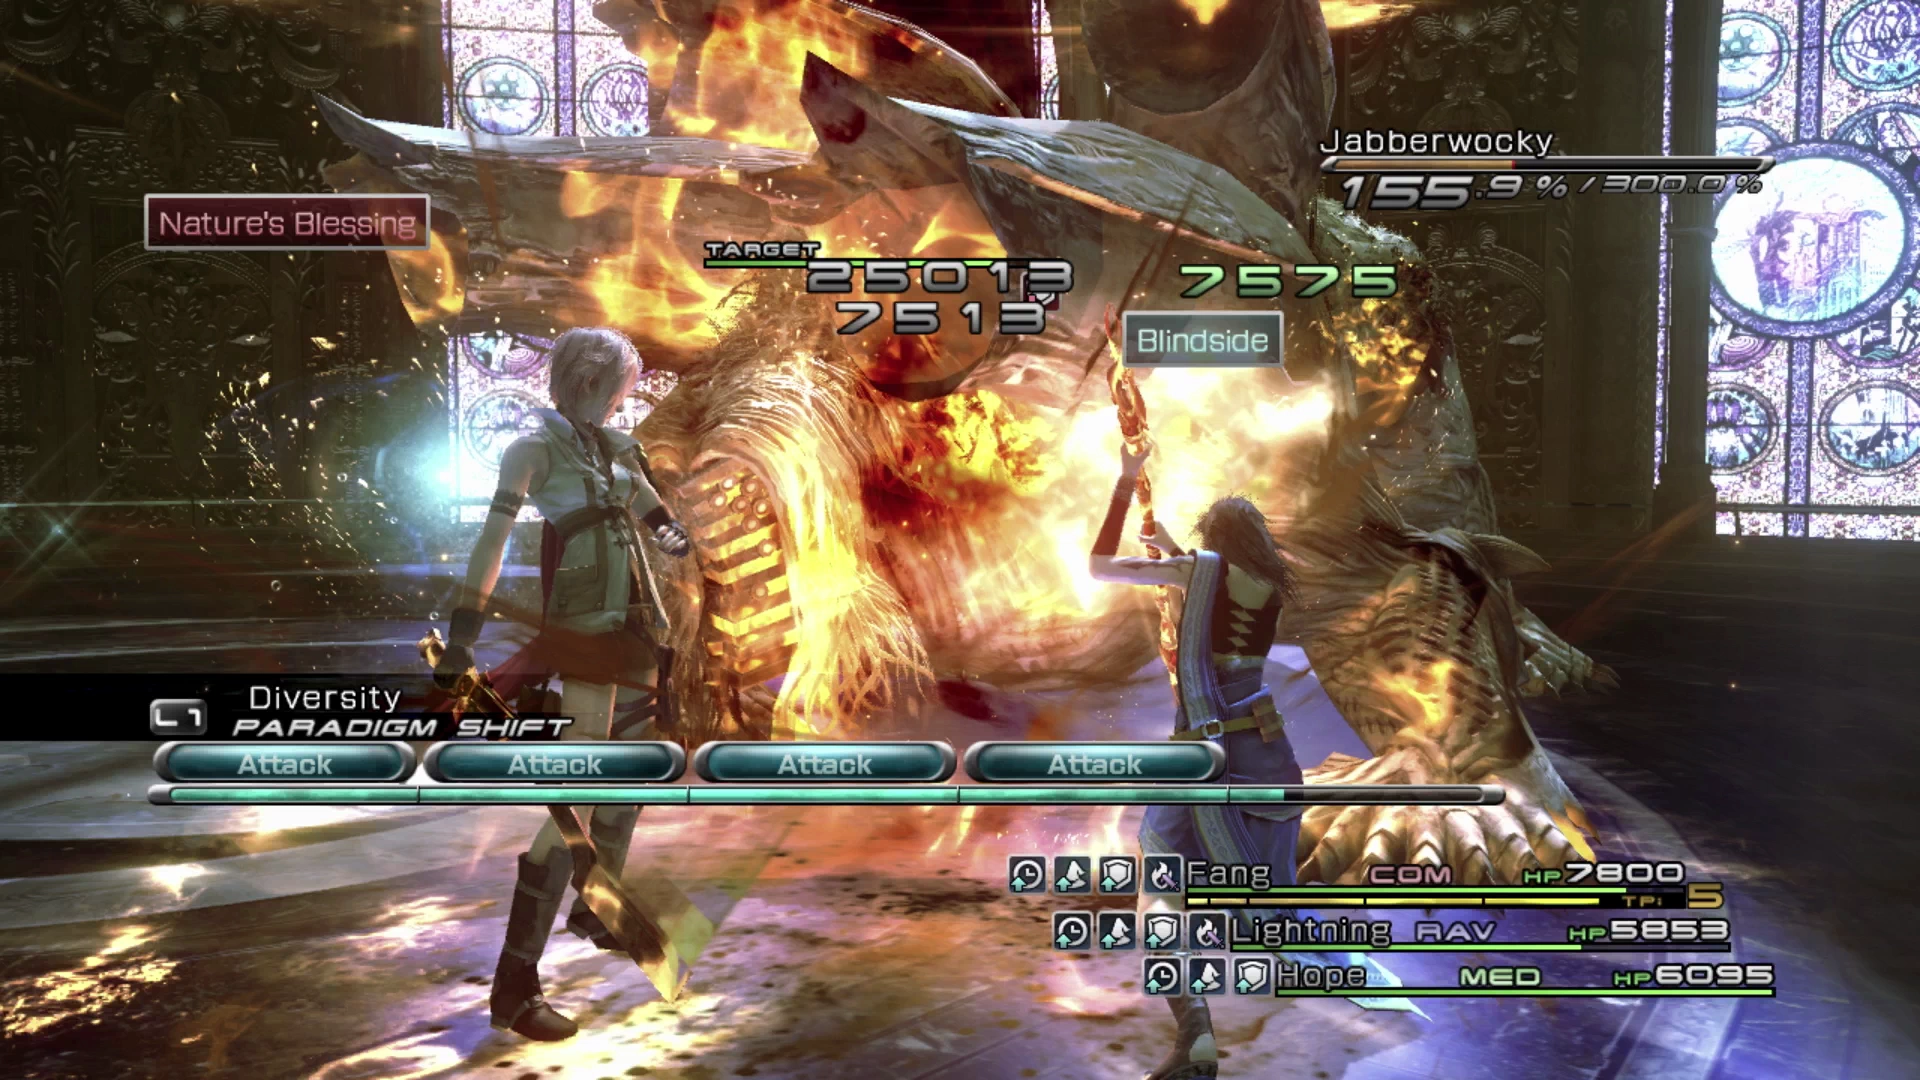
Start off the battle by using a ![]() Librascope which will fully reveal the enemy intel entries of both of these two bosses. It’s recommended that you focus your attacks on the Jabberwocky as its attacks will hit your party members with more damage. Have your
Librascope which will fully reveal the enemy intel entries of both of these two bosses. It’s recommended that you focus your attacks on the Jabberwocky as its attacks will hit your party members with more damage. Have your ![]() Saboteur focus on getting all debuffs active on the Jabberwocky first including
Saboteur focus on getting all debuffs active on the Jabberwocky first including ![]() Deprotect,
Deprotect, ![]() Deshell and
Deshell and ![]() Imperil while your
Imperil while your ![]() Synergist buffs the party.
Synergist buffs the party.
Note that both the Jabberwocky and Bandersnatch are capable of healing one another. Ideally, you will be able to bring them down quickly enough that you won’t have to deal with this mechanic. Swap over to the Bandersnatch once the Jabberwocky has been defeated and it should go down with relative ease.
This concludes the first section of the Orphan’s Cradle walkthrough. After completing the battle against Jabberwocky and Bandersnatch, your team will be returned to the Tesseracts, which is continued in Part 2.