
Chapter 13: Orphan’s Cradle (Part 3)
The walkthrough for Orphan’s Cradle is broken up into three parts. The first two sections cover everything up to Jabberwocky and Bandersnatch for Part 1 with everything up to the Tiamat Eliminator being covered in Part 2. The final battle is covered in this section, Part 3.
The Narthex
After defeating Tiamat Eliminator, you can use the warp portal to transport the team to the Narthex. As one final reminder, this is considered a point of no return. Head back to Part 2 of Orphan’s Cradle and review the checklist if you’re not sure whether there are parts you need to complete before venturing forward.
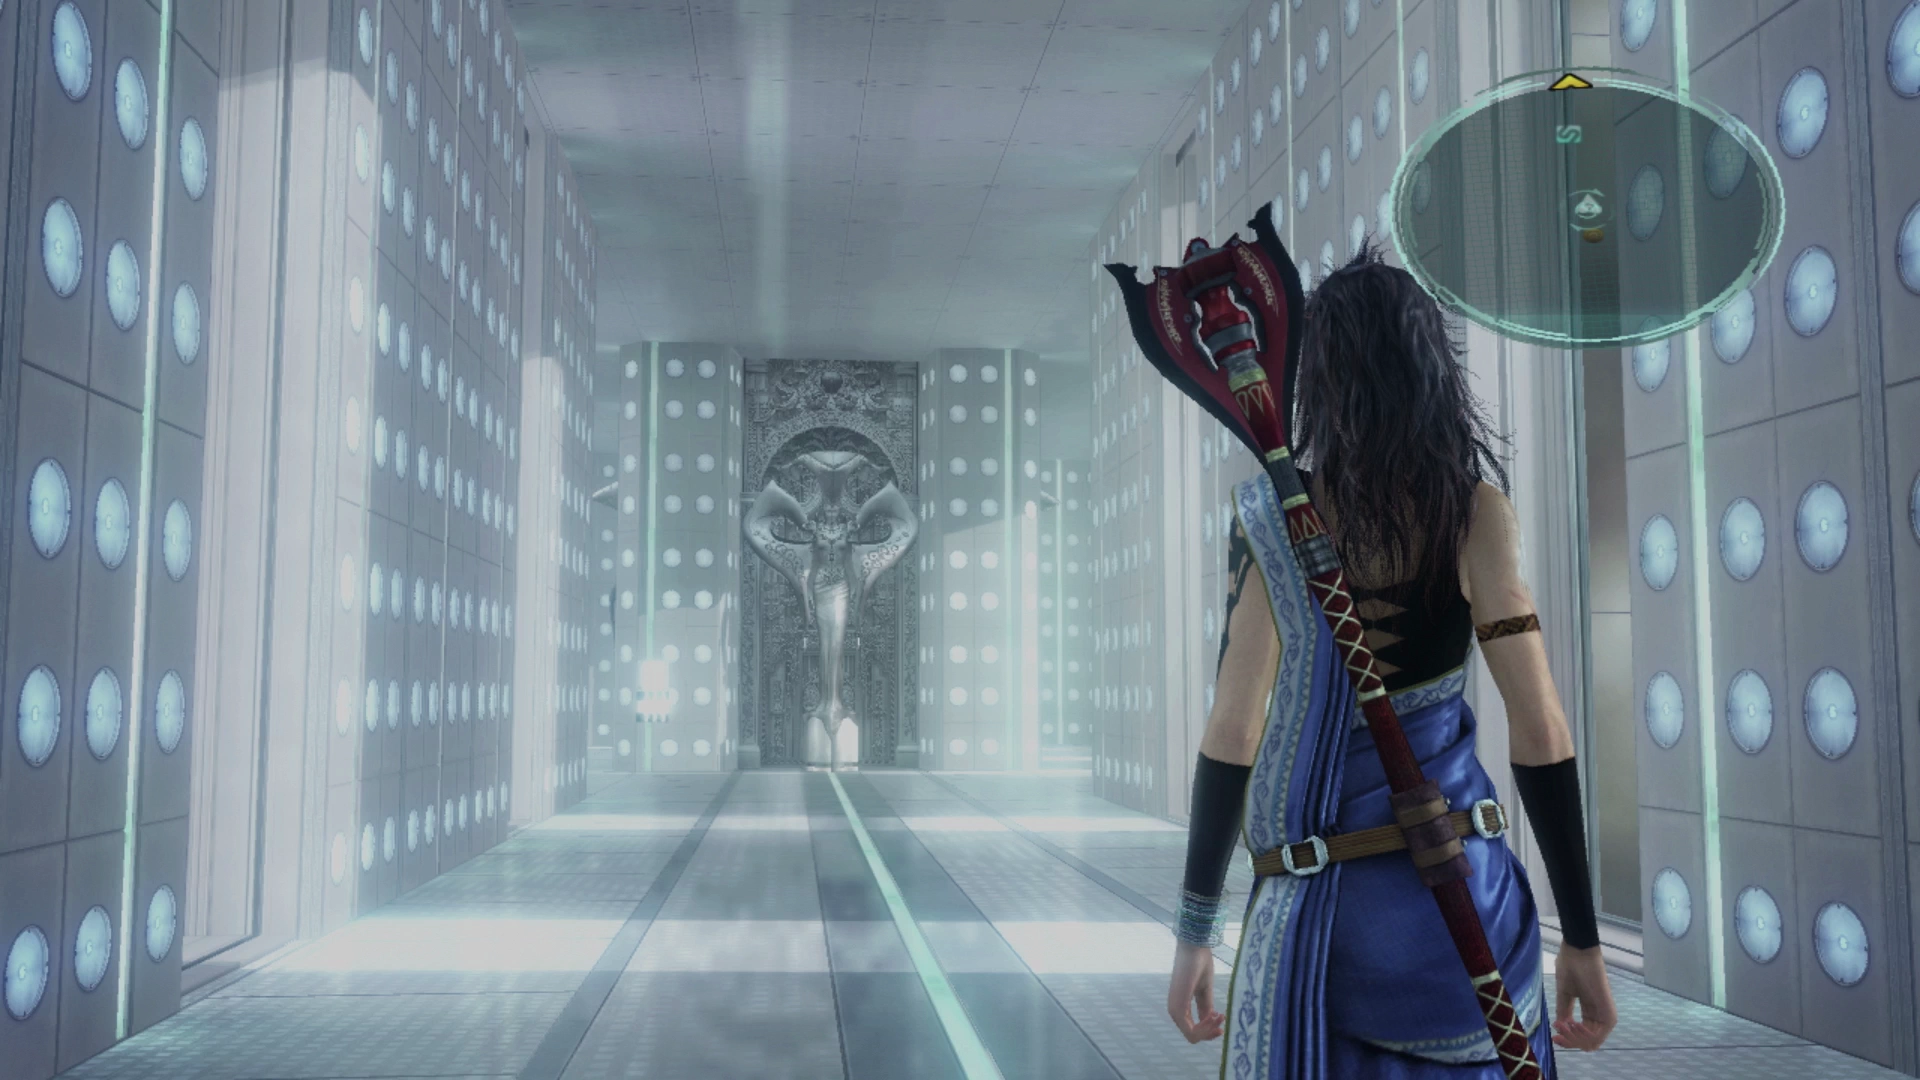
Use the ![]() Save Station up ahead and then wander down the hallways of the Narthex to find a Treasure Sphere that contains a vial of
Save Station up ahead and then wander down the hallways of the Narthex to find a Treasure Sphere that contains a vial of ![]() Ethersol. The final boss battle begins just up ahead, so let’s take some time to review your party configuration, though there is nothing specifically that you need to protect yourself against. Still, it’s good practice to do one final review of the following:
Ethersol. The final boss battle begins just up ahead, so let’s take some time to review your party configuration, though there is nothing specifically that you need to protect yourself against. Still, it’s good practice to do one final review of the following:
- Paradigms
- The standard party setup that you have been using up to this point should work just fine for the final boss. You can refer to the Optimized Party Setup Guide for more tips, but it’s not worth adjusting your strategy now to a new one if you’ve found one that works for you.
- Switch the default Paradigm to one that is more defensive so your team members can apply buffs (
 Synergists) and debuffs (
 Saboteurs) at the beginning of the fight.
- Equipment
- Review your character’s equipment and accessories to make sure that your most powerful equipment is being used. These are lengthy battles so stay away from accessories that cast buffs at the start of battle because they are of limited value (
 Shield Talisman, Blessed Talisman, etc.)
 - Remove the
 Growth Egg and Collector Catalog. There will be no Crystogen Points (CP) awarded during this fight nor any spoils that can be influenced by whichever accessories you have equipped.
 - It can be helpful to equip your party leader with a Cherub’s Crown.
- Review your character’s equipment and accessories to make sure that your most powerful equipment is being used. These are lengthy battles so stay away from accessories that cast buffs at the start of battle because they are of limited value (
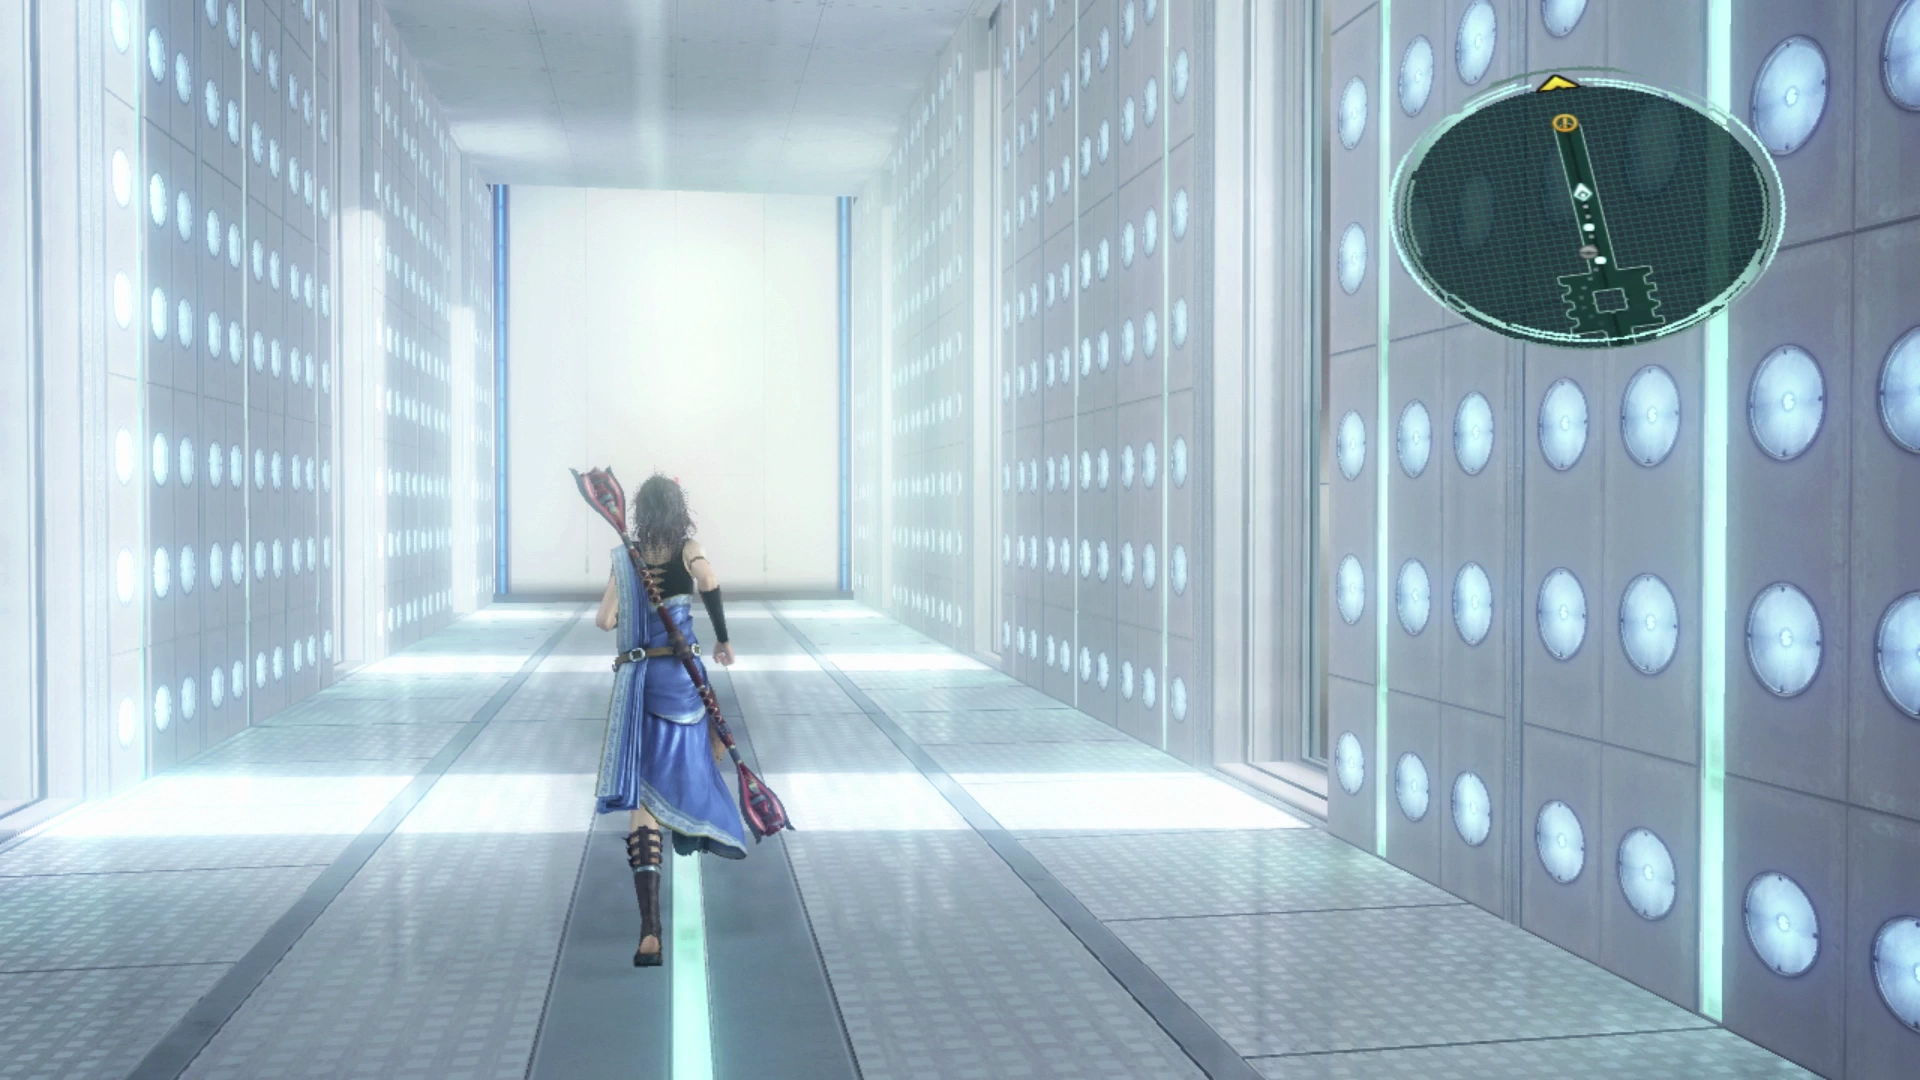
Step through the doorway on the far side of the Narthex area when you’re ready to begin.
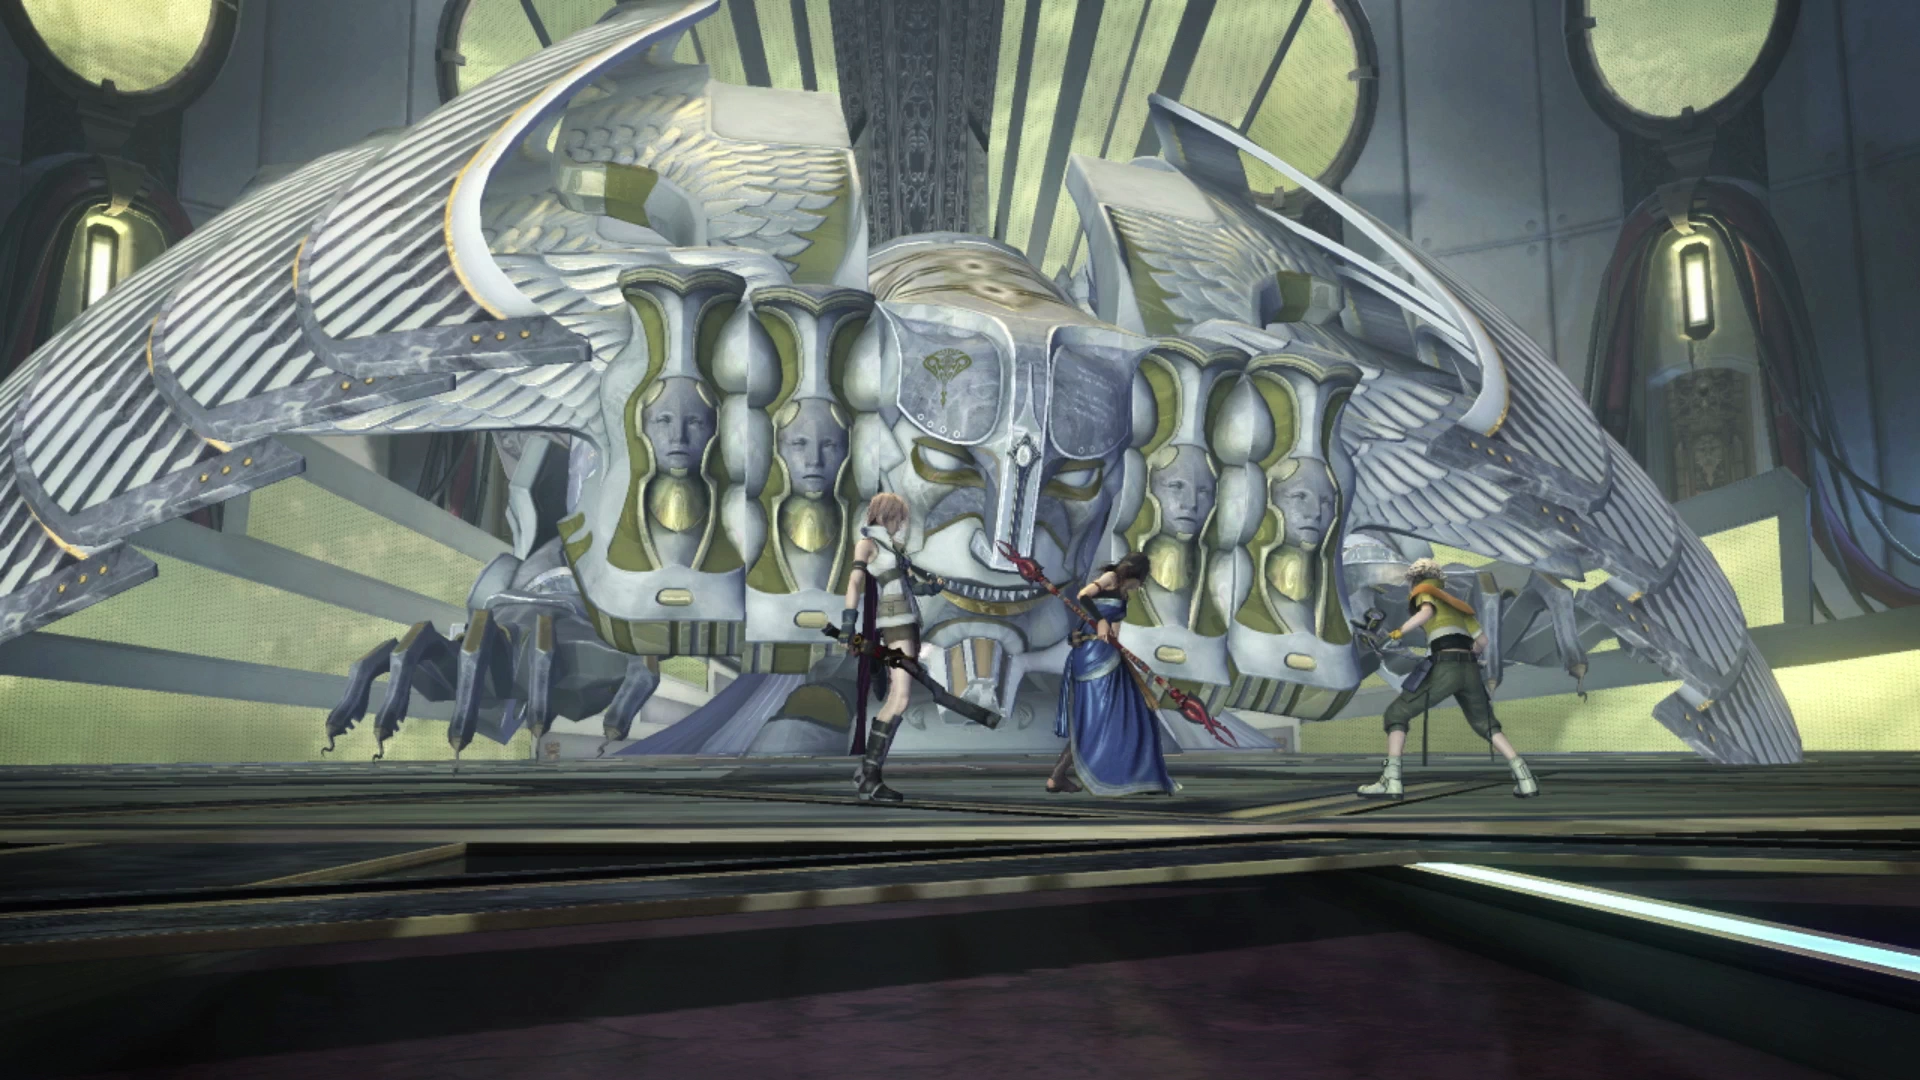
The Nascent Throne
A lengthy cutscene will take place when your team first enters and then it’s time for the first battle which is against Barthandelus, one more time…
Final Boss Battle
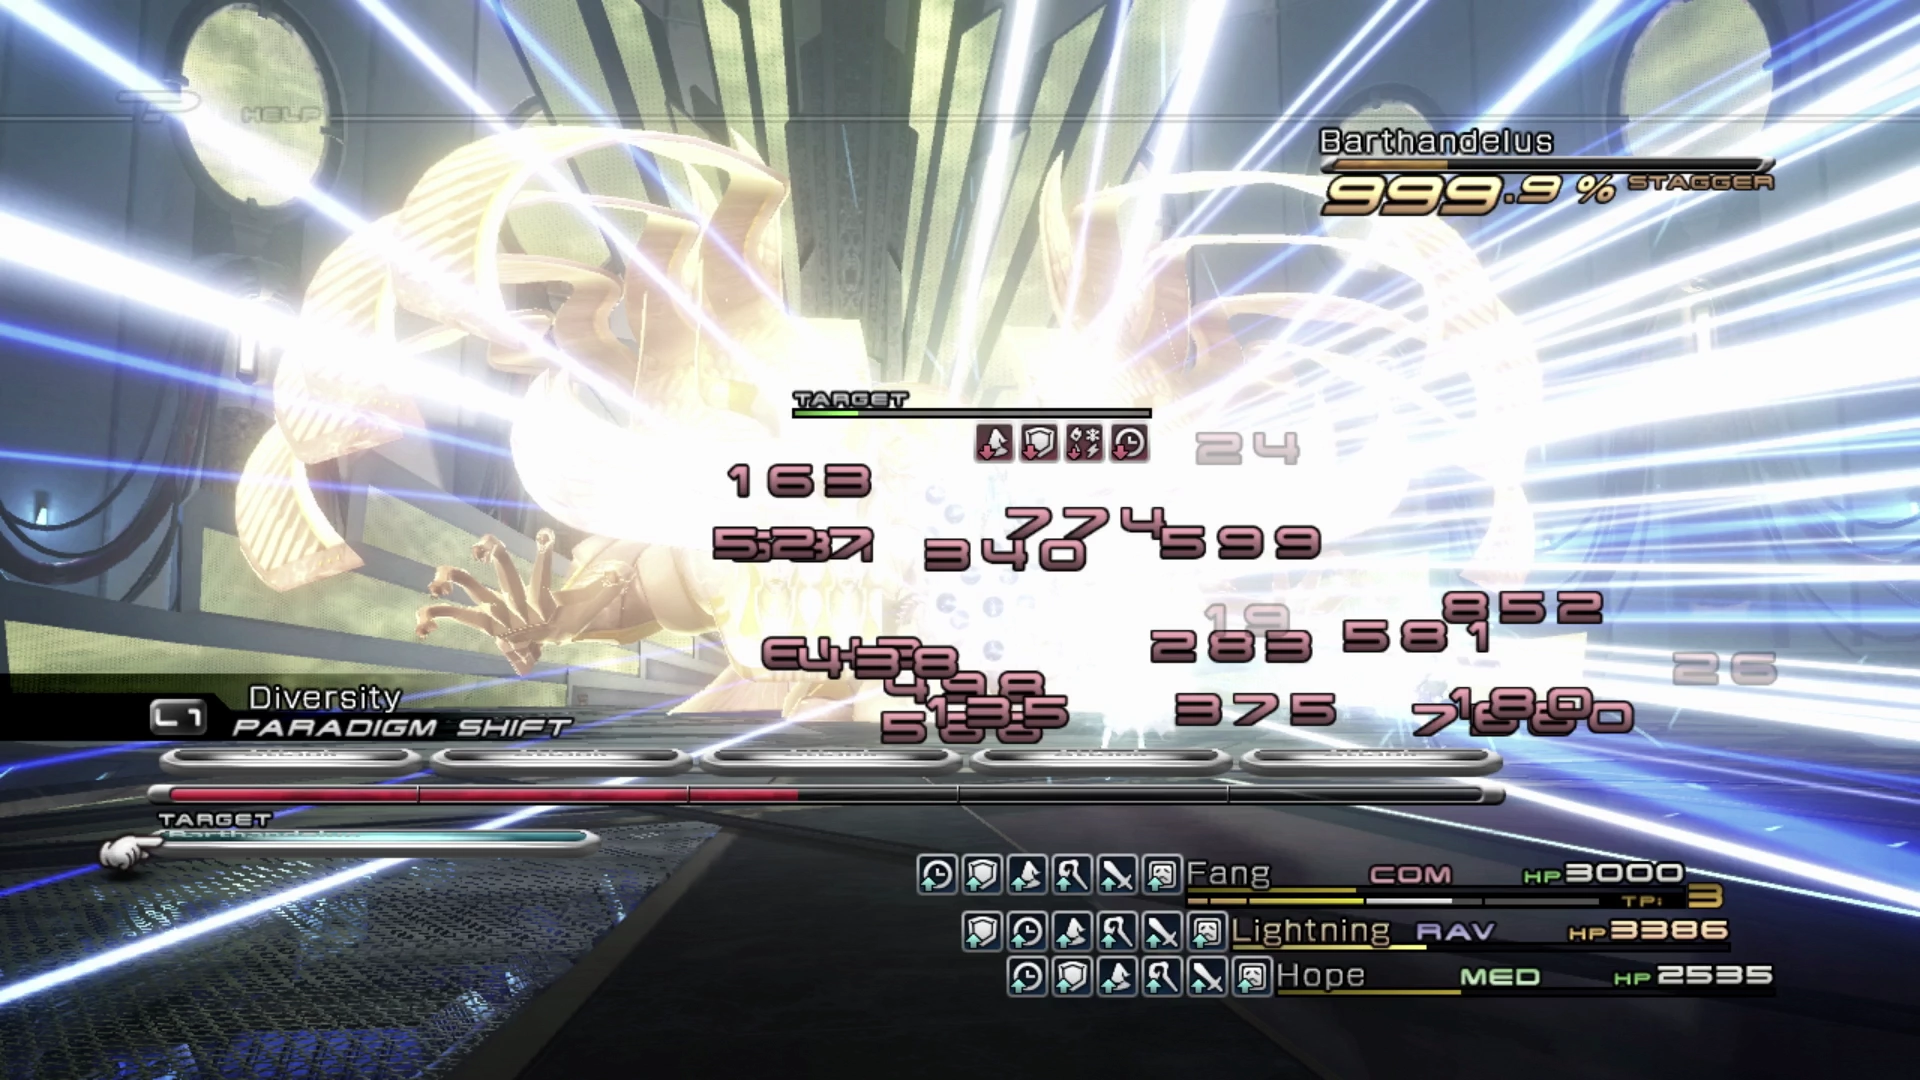
This version of Barthandelus is not nearly as difficult as some of the previous ones you have faced despite many of his attacks sharing the same names as those you’ve faced previously. He will use the following attacks:
- Thanatosian Laughter: hits all party members for a percentage of their HP leaving them in Critical HP status.
- Ultima: a magic-based attack that deals damage to all party members.
- Doom: this will only be cast if the battle extends to 20 minutes.
In addition to the above, Barthandelus will cast regular laser-beam attacks on party members that hit for a relatively insignificant amount of damage. From an overall perspective, besides dealing with “Thanatosian Laughter” bringing your party member’s HP fairly low, the remaining attacks are not overly difficult to deal with.
Start the battle off by using ![]() Libra and use a Paradigm that includes a
Libra and use a Paradigm that includes a ![]() Synergist and
Synergist and ![]() Saboteur like Evened Odds. You should aim to apply
Saboteur like Evened Odds. You should aim to apply ![]() Imperil,
Imperil, ![]() Slow,
Slow, ![]() Deprotect and
Deprotect and ![]() Deshell on Barthandelus and keep those four status effects active for the duration of the fight.
Deshell on Barthandelus and keep those four status effects active for the duration of the fight.
You should also try to keep as many positive status effects active on your party members as you can utilizing both Evened Odds and Decimation to provide enough time for your ![]() Synergist to get them all active. Beneficial status effects for this fight include
Synergist to get them all active. Beneficial status effects for this fight include ![]() Haste,
Haste, ![]() Protect,
Protect, ![]() Shell,
Shell, ![]() Bravery and
Bravery and ![]() Faith.
Faith.
Depending on the strength of your party members, you may be able to defeat Barthandelus by ripping through all of his HP before a single Stagger wears off.
The team will take some time to celebrate too early before the next battle begins.
Final Boss Battle
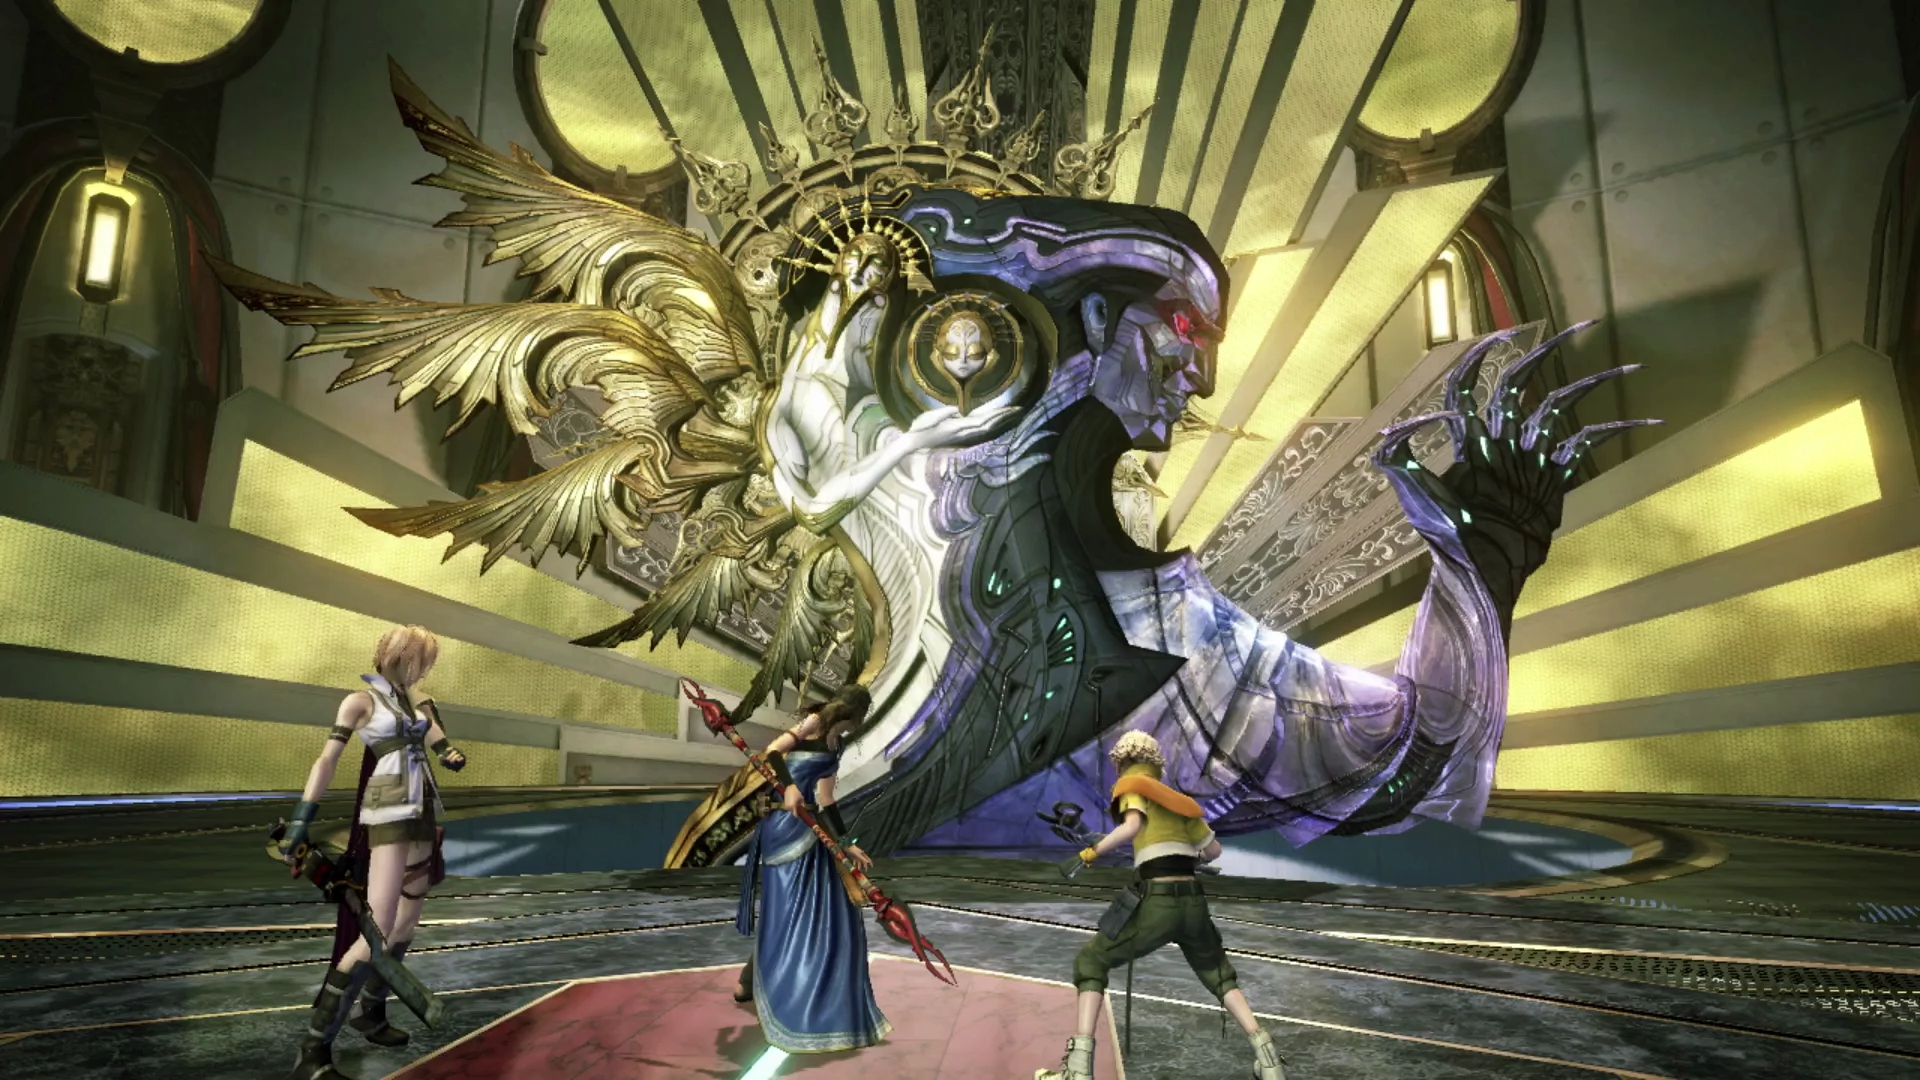
What a cool-looking final boss! With only one side of it having a wing, it’s reminiscent of the one-winged angel from Final Fantasy VII (aka Safer Sephiroth). Orphan has a wide range of attacks that include the following:
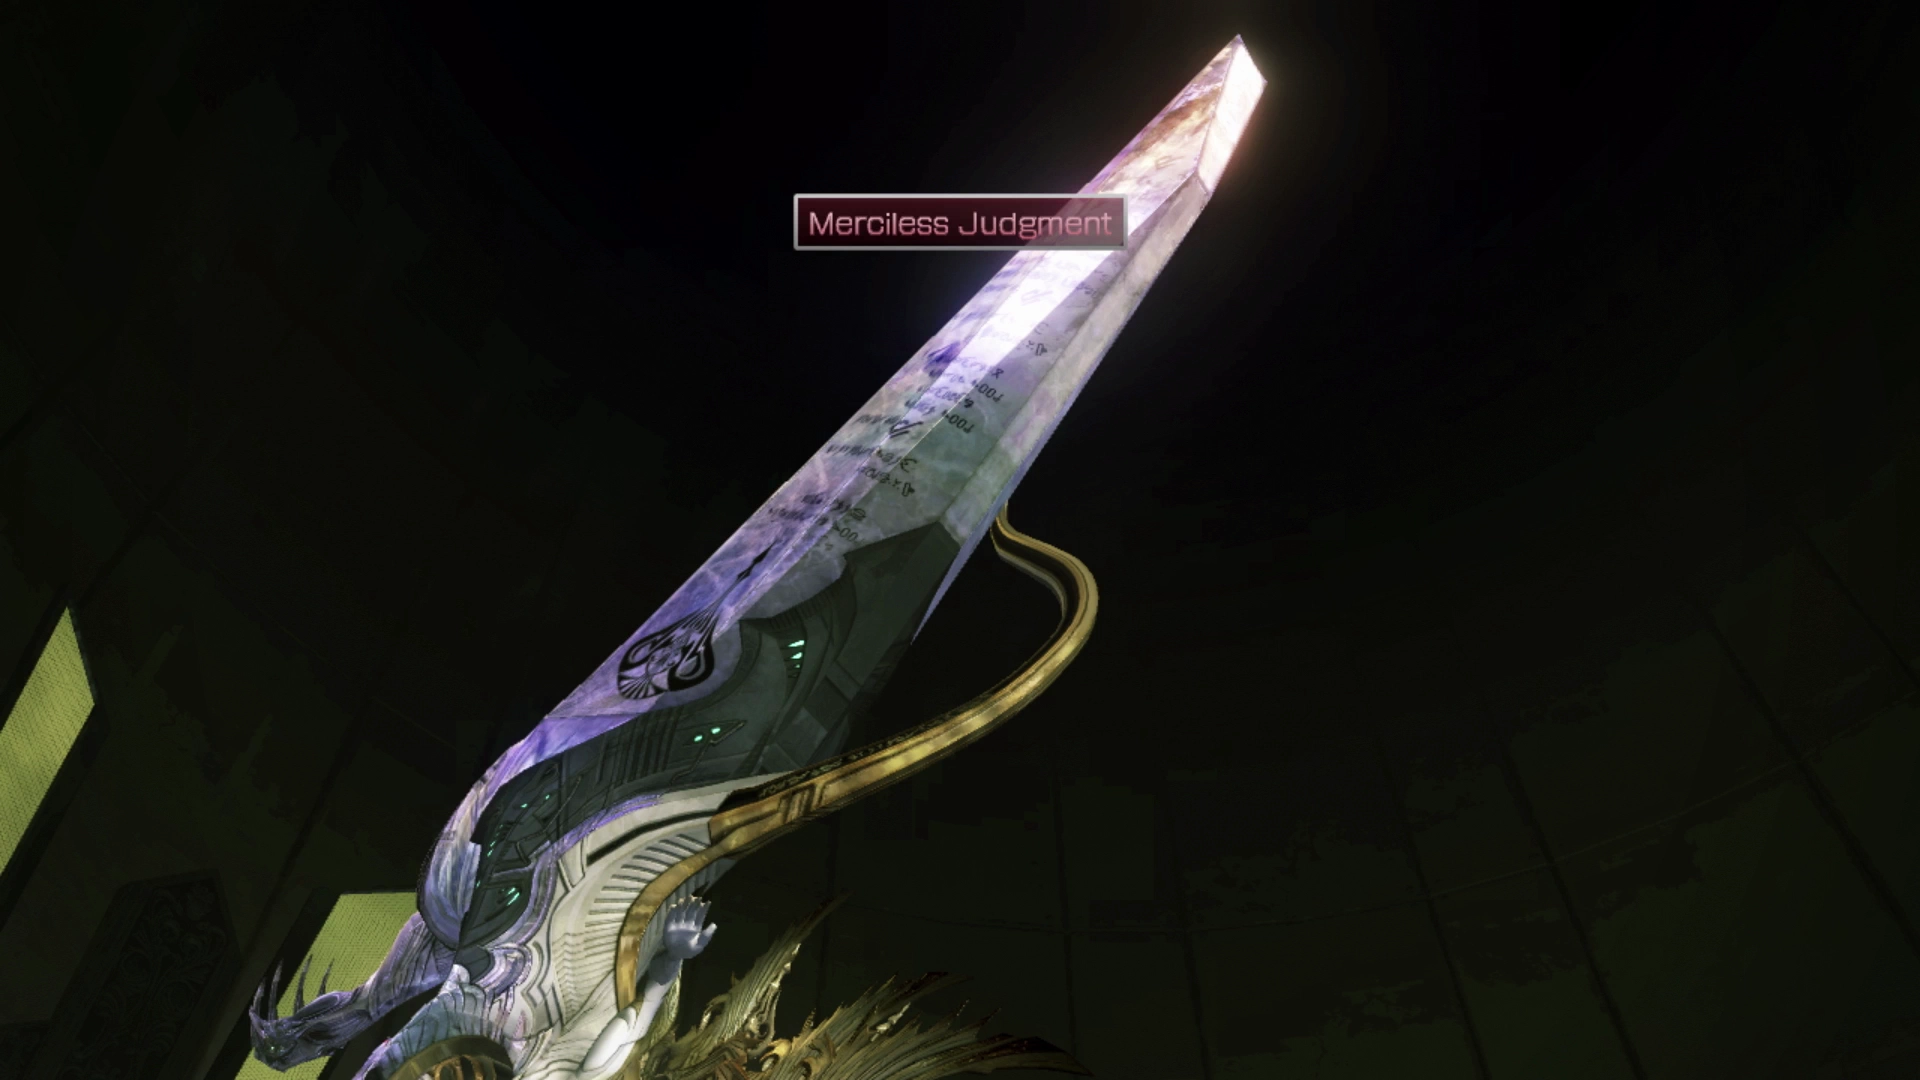
- Consummate Light: Orphan moves into a recovery period and uses this attack just before it uses “Merciless Judgment.” Prepare for heavy damage when you see this attack used.
- Consummate Darkness: Orphan moves into a more offensive battle strategy and this attack also preempts the use of “Merciless Judgment.” Prepare for heavy damage if you see this attack used as well.
- Opposite Extremes: This move will only be used when Orphan is below 40% and it will allow it to use both recovery and offensive battle tactics.
- Merciless Judgment: Deals damage equal to 99% of all party members’ current HP and resets Orphan’s Chain Gauge. Your party will not be able to take action while the animation for this attack is underway.
- Requiem: Hits a single party member with heavy damage.
- Progenitorial Wrath: Deals damage to one party member and has a 50% chance of inflicting instant
 Death. If this is used against your party leader, it can mean an instant game over screen. You can reduce the odds of this happening by equipping your party leader with a Cherub’s Crown, but for other party members, you may need to revive them from KO in the midst of battle.
 - Chains of Torment: Can inflict negative status effects on a party member including
 Poison.
 - Vile Exploitation: Deals damage to all party members and restores Orphan’s HP by the amount of damage dealt. This attack will only be used during its “Consummate Light” or “Opposite Extremes” form.
- Dies Irae: Deals damage to all party members and can potentially inflict
 Deprotect and
  Deshell which should be removed by having a
  Medic cast
  Esuna as quickly as possible.
In addition to the attacks listed above, Orphan will do a standard physical attack that involves slapping all three party members.
The most important and difficult element of this fight is dealing with “Merciless Judgment.” Thankfully, this attack is telegraphed ahead of time and you will know when it is coming up because it happens right after Orphan uses “Consummate Light” or “Consummate Darkness.”
Either way, because of the massive amount of damage inflicted on your party members, no matter what level they are, you should get in the habit of not letting their HP get too low during this fight and switching to a Paradigm that includes a ![]() Medic.
Medic.
The fight will begin with Orphan using “Merciless Judgment” right off the bat, so move into a defensive Paradigm and don’t forget to use ![]() Libra early on in the battle. You should also ensure that you give a
Libra early on in the battle. You should also ensure that you give a ![]() Saboteur enough time to get debuffs cast on Orphan including
Saboteur enough time to get debuffs cast on Orphan including ![]() Imperil,
Imperil, ![]() Deshell and
Deshell and ![]() Deprotect and a
Deprotect and a ![]() Synergist should be casting
Synergist should be casting ![]() Haste,
Haste, ![]() Protect and
Protect and ![]() Shell on your party members, too.
Shell on your party members, too.
Other buffs, including ![]() Bravery and
Bravery and ![]() Faith, are also helpful along with a buff like
Faith, are also helpful along with a buff like ![]() Enfire which does increased damage with every attack if
Enfire which does increased damage with every attack if ![]() Imperil has been applied.
Imperil has been applied.
Orphan is resistant to many negative status effects buffs but it is susceptible to ![]() Poison which can be cast by a
Poison which can be cast by a ![]() Saboteur. Unfortunately, if you have been using Fang as your Saboteur, she does not have access to this spell, but Lightning, Sazh and Vanille all do. While it’s not a dealbreaker, if you do have access to this spell, it will inflict a large amount of damage on Orphan over the course of the battle, making the fight significantly easier (though it may need to be recast).
Saboteur. Unfortunately, if you have been using Fang as your Saboteur, she does not have access to this spell, but Lightning, Sazh and Vanille all do. While it’s not a dealbreaker, if you do have access to this spell, it will inflict a large amount of damage on Orphan over the course of the battle, making the fight significantly easier (though it may need to be recast).
You may get unlucky and have one or more of your party members be instantly KO’d when Orphan uses “Progenitorial Wrath” (just revive them and continue along), but as the fight progresses, move into an all-out offensive and try to rip through as much of Orphan’s HP as you can while it is Staggered. Good luck!
The video below provides a demonstration on how to complete this fight. Note though that it does not provide a demonstration of receiving a five-star battle ranking which is easier to do if you come back and re-attempt the fight later on after completing the endgame content:
Another cutscene will take place at the end of the battle before involving Fang and Vanille before the rest of the team joins in, and then it is time for the final battle against Orphan’s true form…
Final Boss Battle
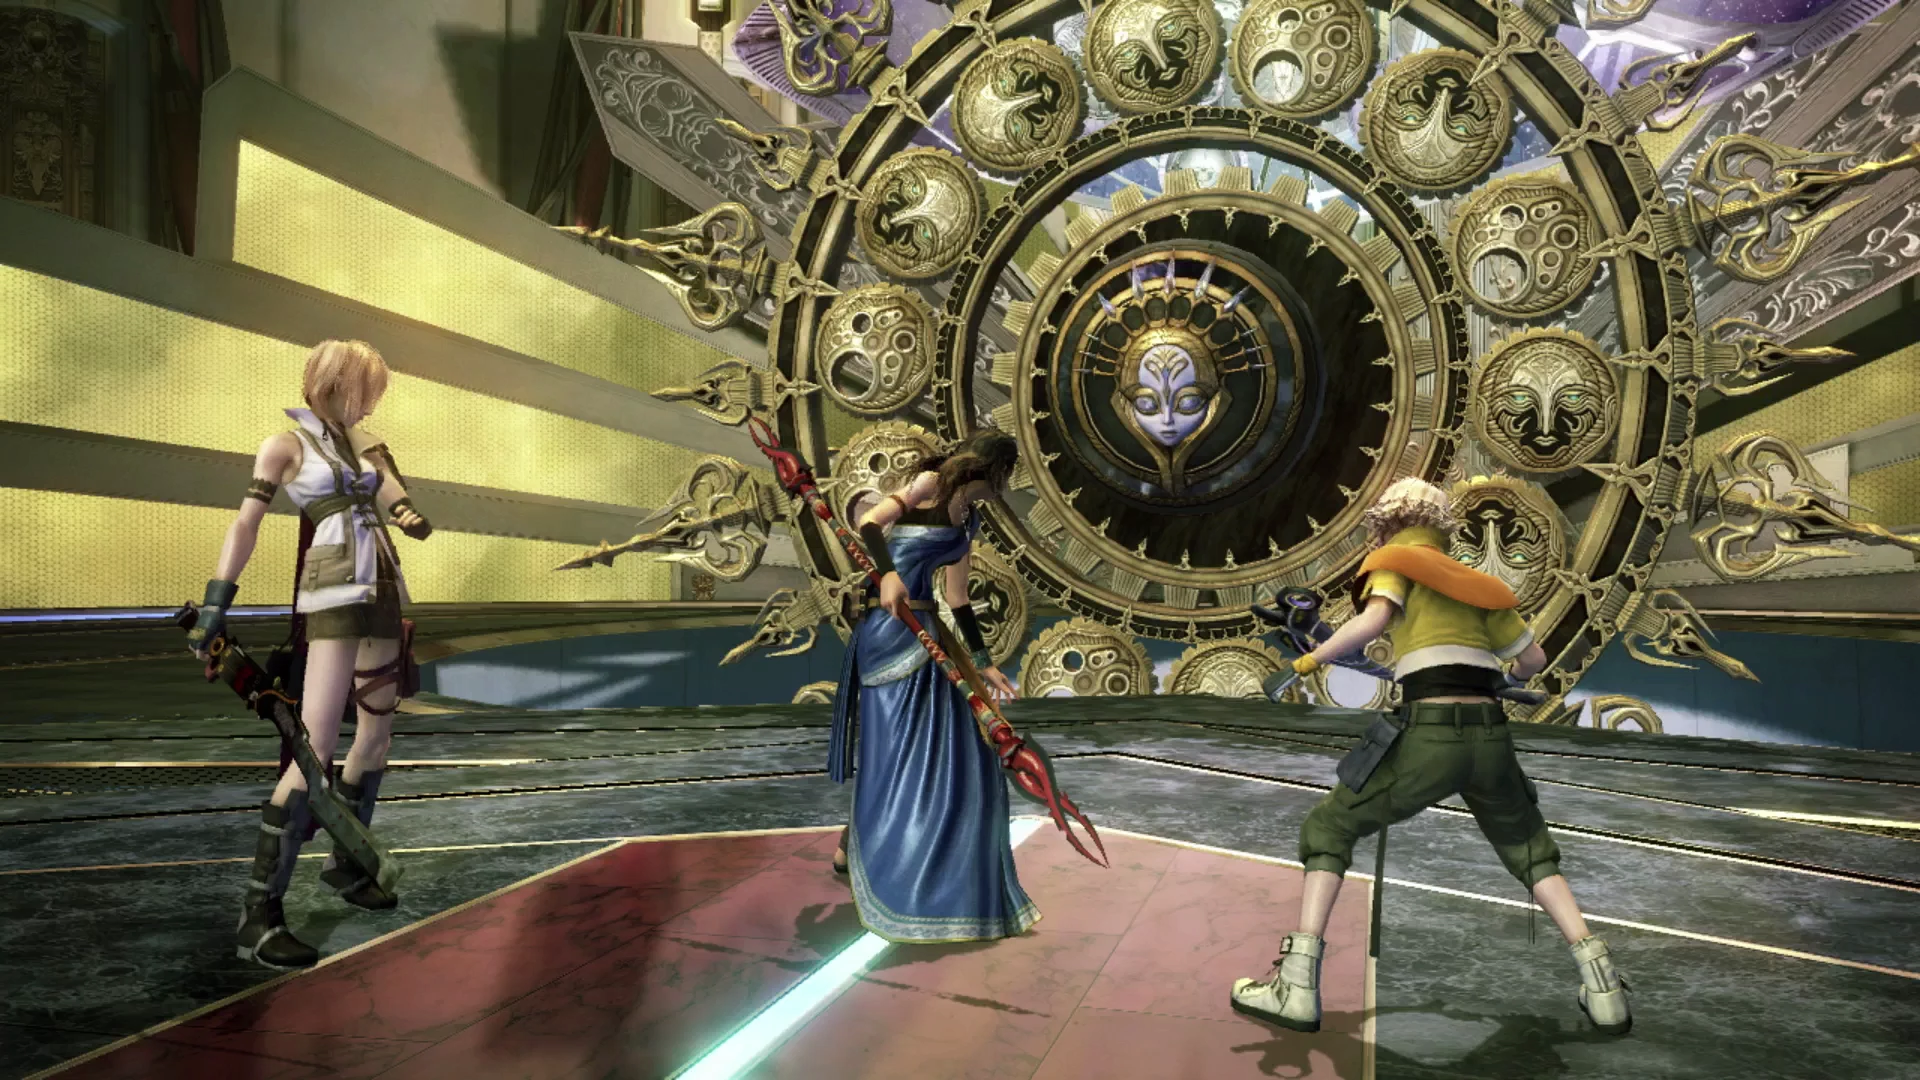
Orphan will open the battle by casting ![]() Doom on your party leader just like you’ve seen before in the battles against the various Eidolons that you’ve fought throughout the game. Your goal is to defeat Orphan before the Doom countdown, which starts at 4200 and ticks down above your party leader, runs out, otherwise it’s “Game Over.” This final version of Orphan can use the following attacks:
Doom on your party leader just like you’ve seen before in the battles against the various Eidolons that you’ve fought throughout the game. Your goal is to defeat Orphan before the Doom countdown, which starts at 4200 and ticks down above your party leader, runs out, otherwise it’s “Game Over.” This final version of Orphan can use the following attacks:
- Kaleidoscopic Ray: Deals damage to one party member.
- Necrosis: Inflicts
 Fog and
  Pain on one party member.
 - Temporal Hollow: Drains Orphan’s Chain Gauge, removes any negative status effects and dispels positive status effects from your party.
- Rebirth: Deals a small amount of damage to your party and casts
 Haste,
  Bravery,
  Faith and
  Veil on Orphan. This move is only used after Orphan has been Staggered.
Begin the battle with a quick ![]() Libra and use your more defensive Paradigm to load up Orphan with negative status effects (
Libra and use your more defensive Paradigm to load up Orphan with negative status effects (![]() Deprotect,
Deprotect, ![]() Deshell,
Deshell, ![]() Imperil) and load your party up with positive status effects before moving into the all-out offensive.
Imperil) and load your party up with positive status effects before moving into the all-out offensive.
Orphan will take very little damage in this form until you can trigger a Stagger, so the idea is to inflict as much damage as possible while it is Staggered and, ideally, you will be able to defeat it in a single Stagger if you time it properly.
Similar to above, this video provides a demonstration on how to complete this fight but it does not provide a demonstration of receiving a five-star battle ranking. This is easier to do if you come back and re-attempt the fight later on after completing the endgame content:
Congratulations, you’ve defeated Orphan and completed the story portions of Final Fantasy XIII! Now it’s on to the optional side quest content!
Achievement/Trophy
You will automatically receive the  Instrument of Change Achievement/Trophy at the conclusion of Chapter 13.
A lengthy cutscene will take place at the conclusion of the game. A few images are included below which have been taken from the cinematic that plays at the end of the game:


End-game cinematic:
Optional Endgame Side Quest Content
It’s now time to decide whether you want to work your way through the optional endgame content and challenge yourself to some of the more difficult battles that are available in Final Fantasy XIII.

The story mode tends to be fairly linear, but the truly entertaining sections of any Final Fantasy game, including this one, involve challenging yourself to the endgame content. If you’re interested in reading further, check out the endgame content section to get yourself started:
Walkthrough Guide

A complete listing of the optional endgame content including Missions, side quests, farming tips and all the available achievements / trophies.