Chapter 13: Orphan’s Cradle (Part 2)
The Tesseracts
The walkthrough for Orphan’s Cradle is broken up into three parts. The first two sections cover everything up to Jabberwocky and Bandersnatch for Part 1 with everything up to the Tiamat Eliminator being covered in Part 2. The final battle is covered in Part 3.
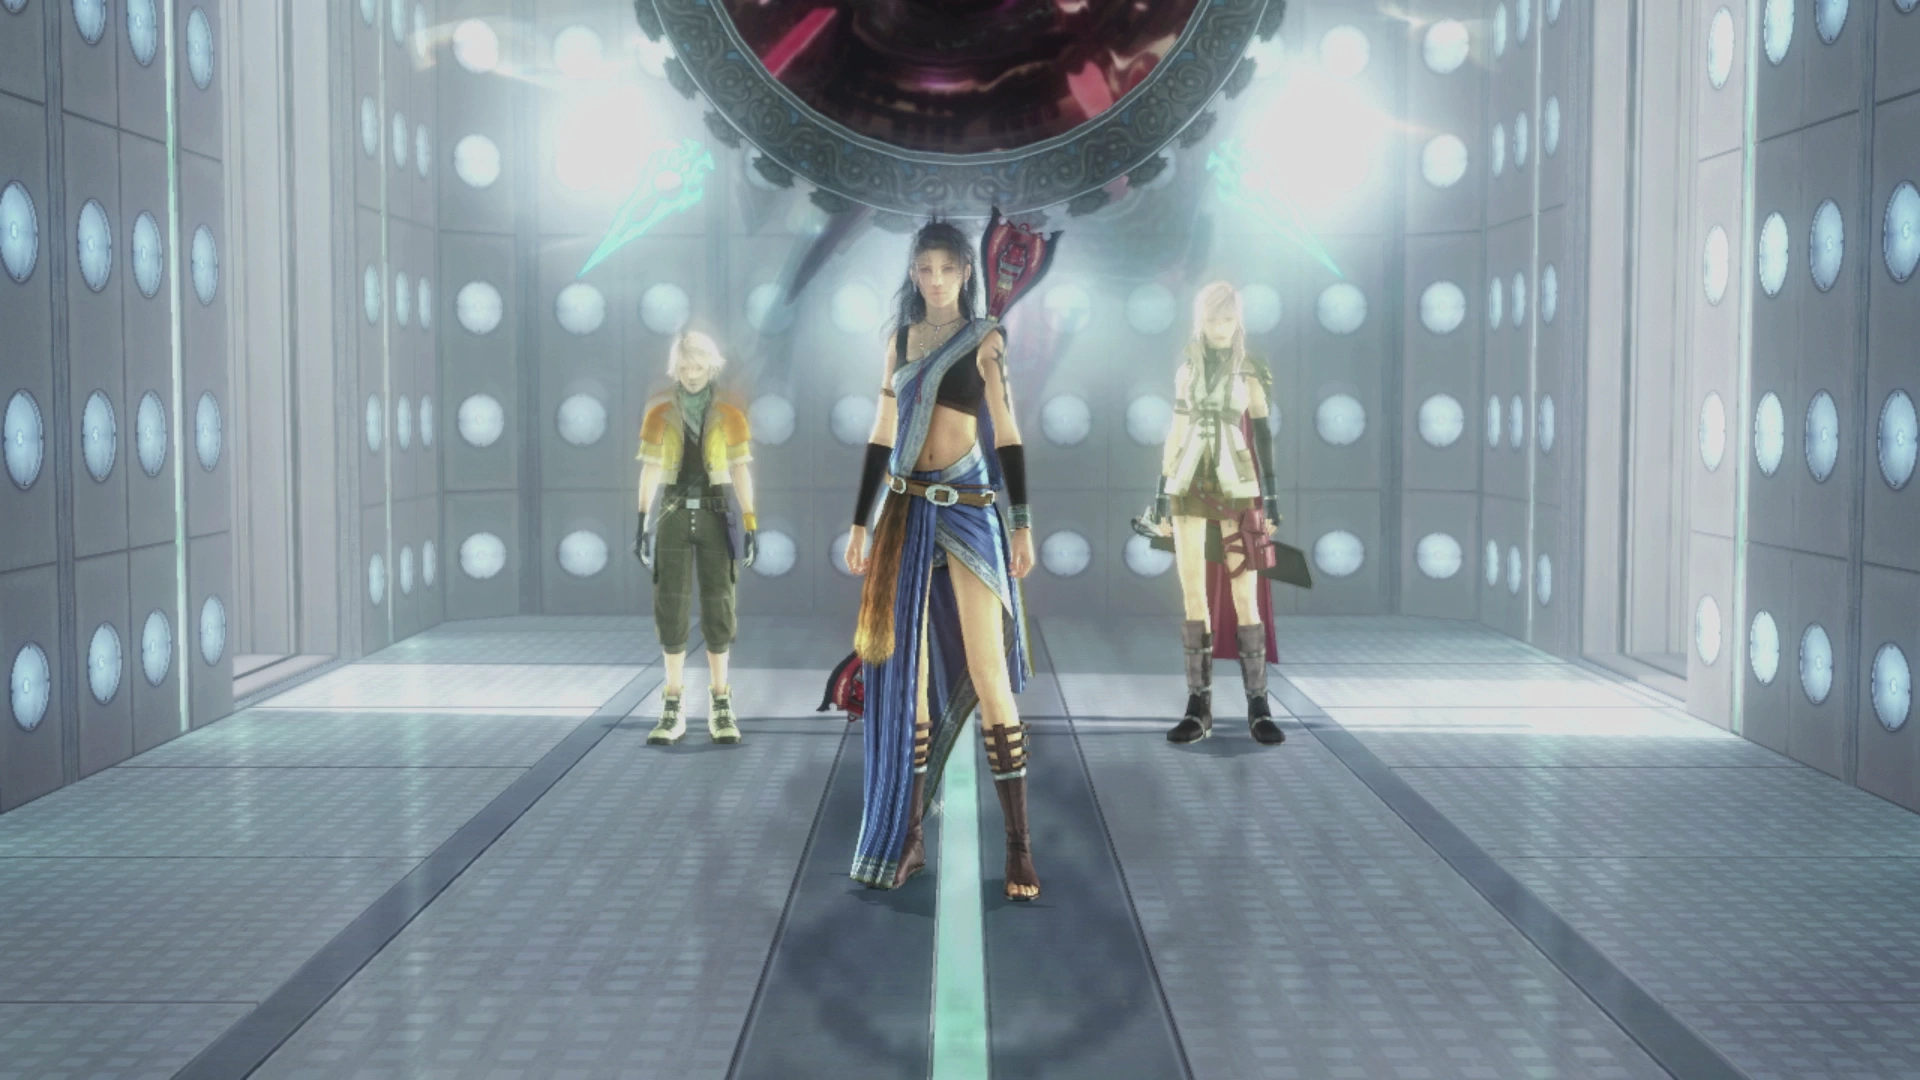
After defeating the Jabberwocky and Bandersnatch, your team will be transported back out to the Tesseracts. Take a few steps forward and a short cutscene will take place. Use the ![]() Save Station to save your game if you need to and then walk forward down towards the destination marker which is just up ahead.
Save Station to save your game if you need to and then walk forward down towards the destination marker which is just up ahead.
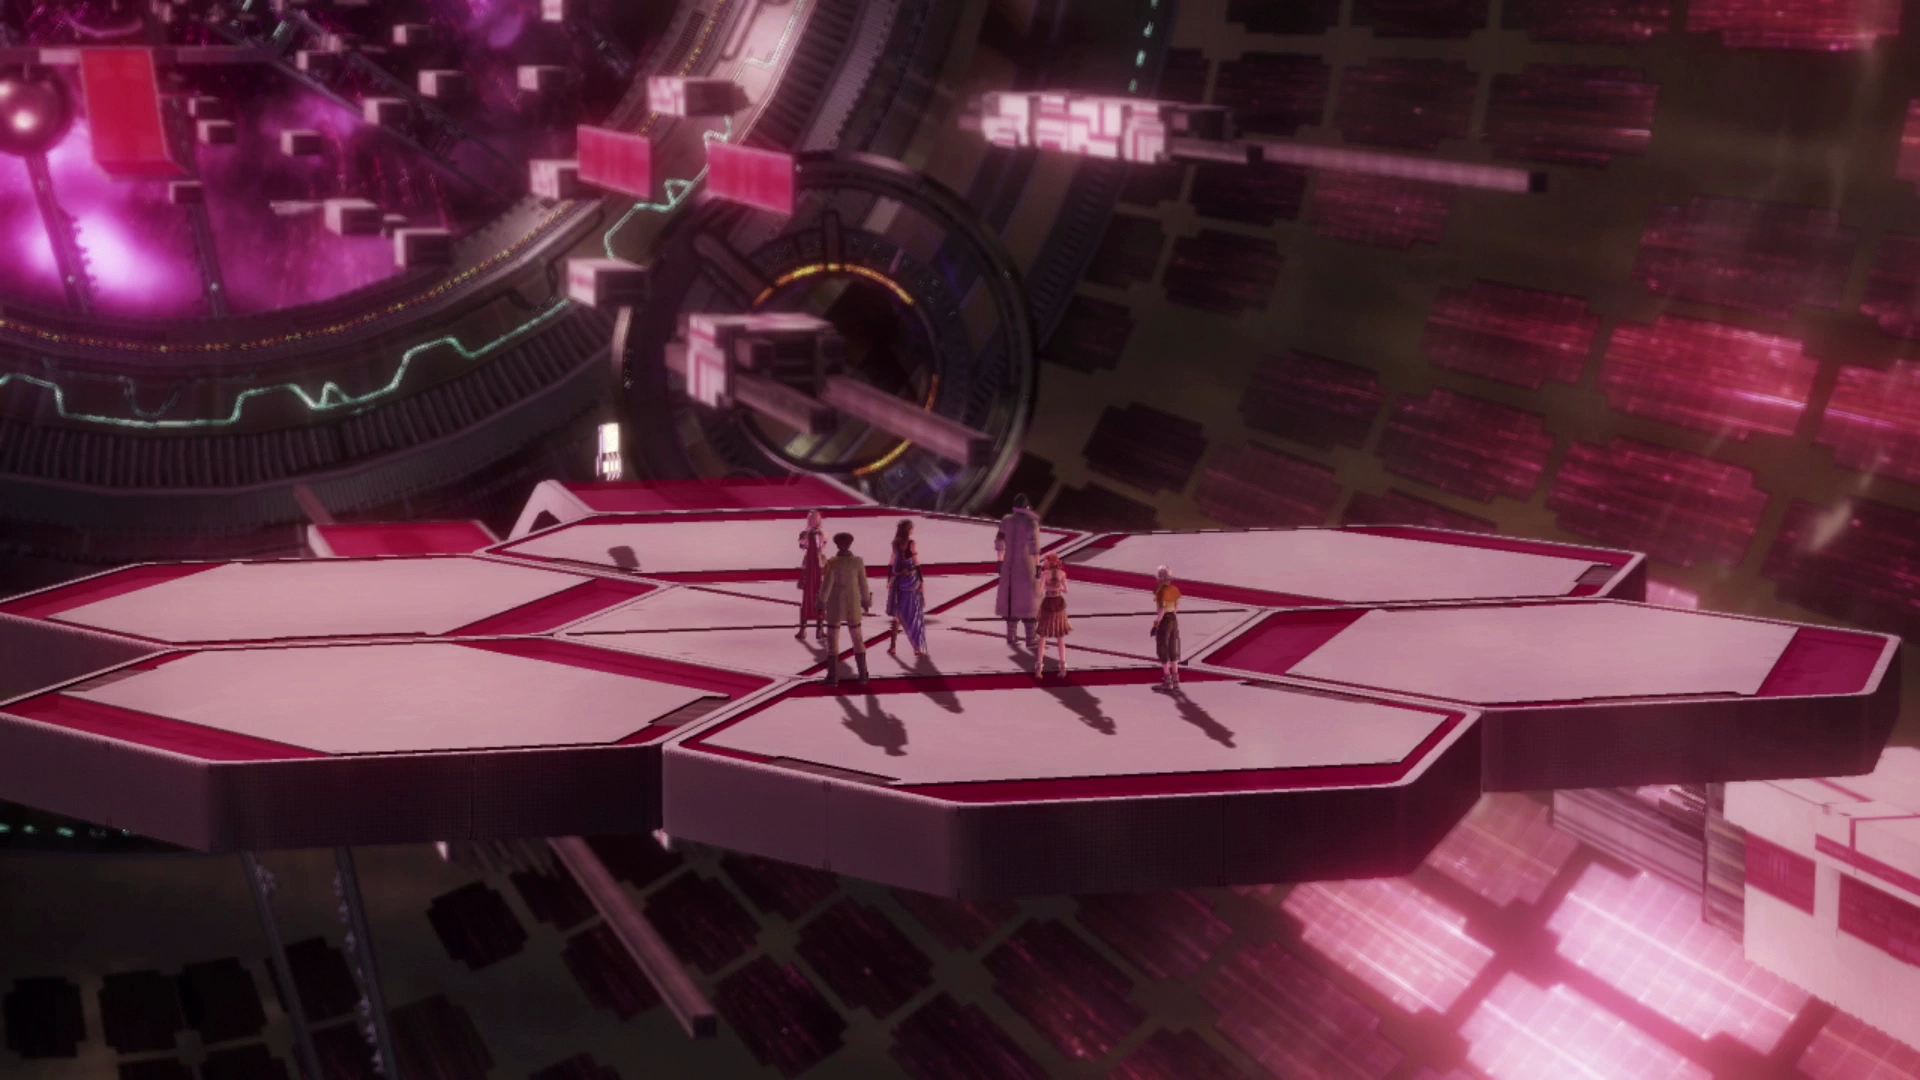
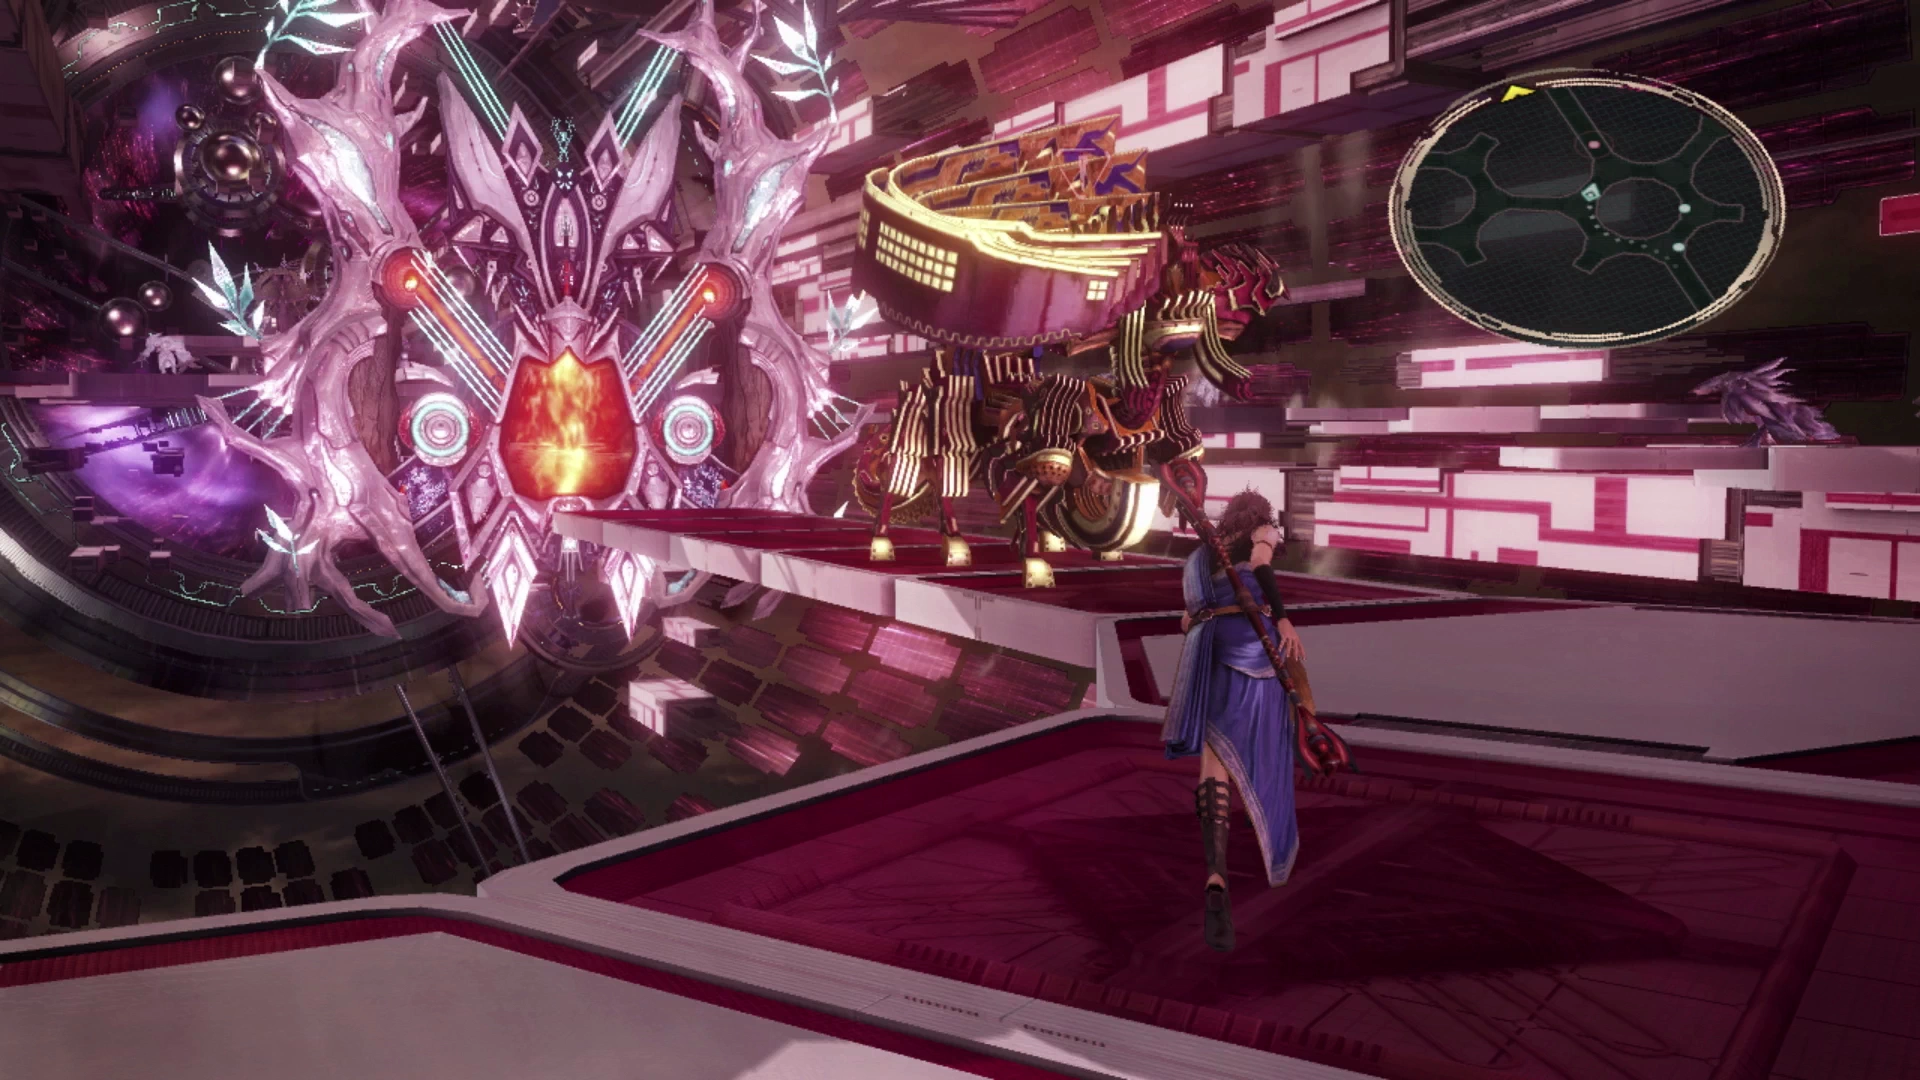
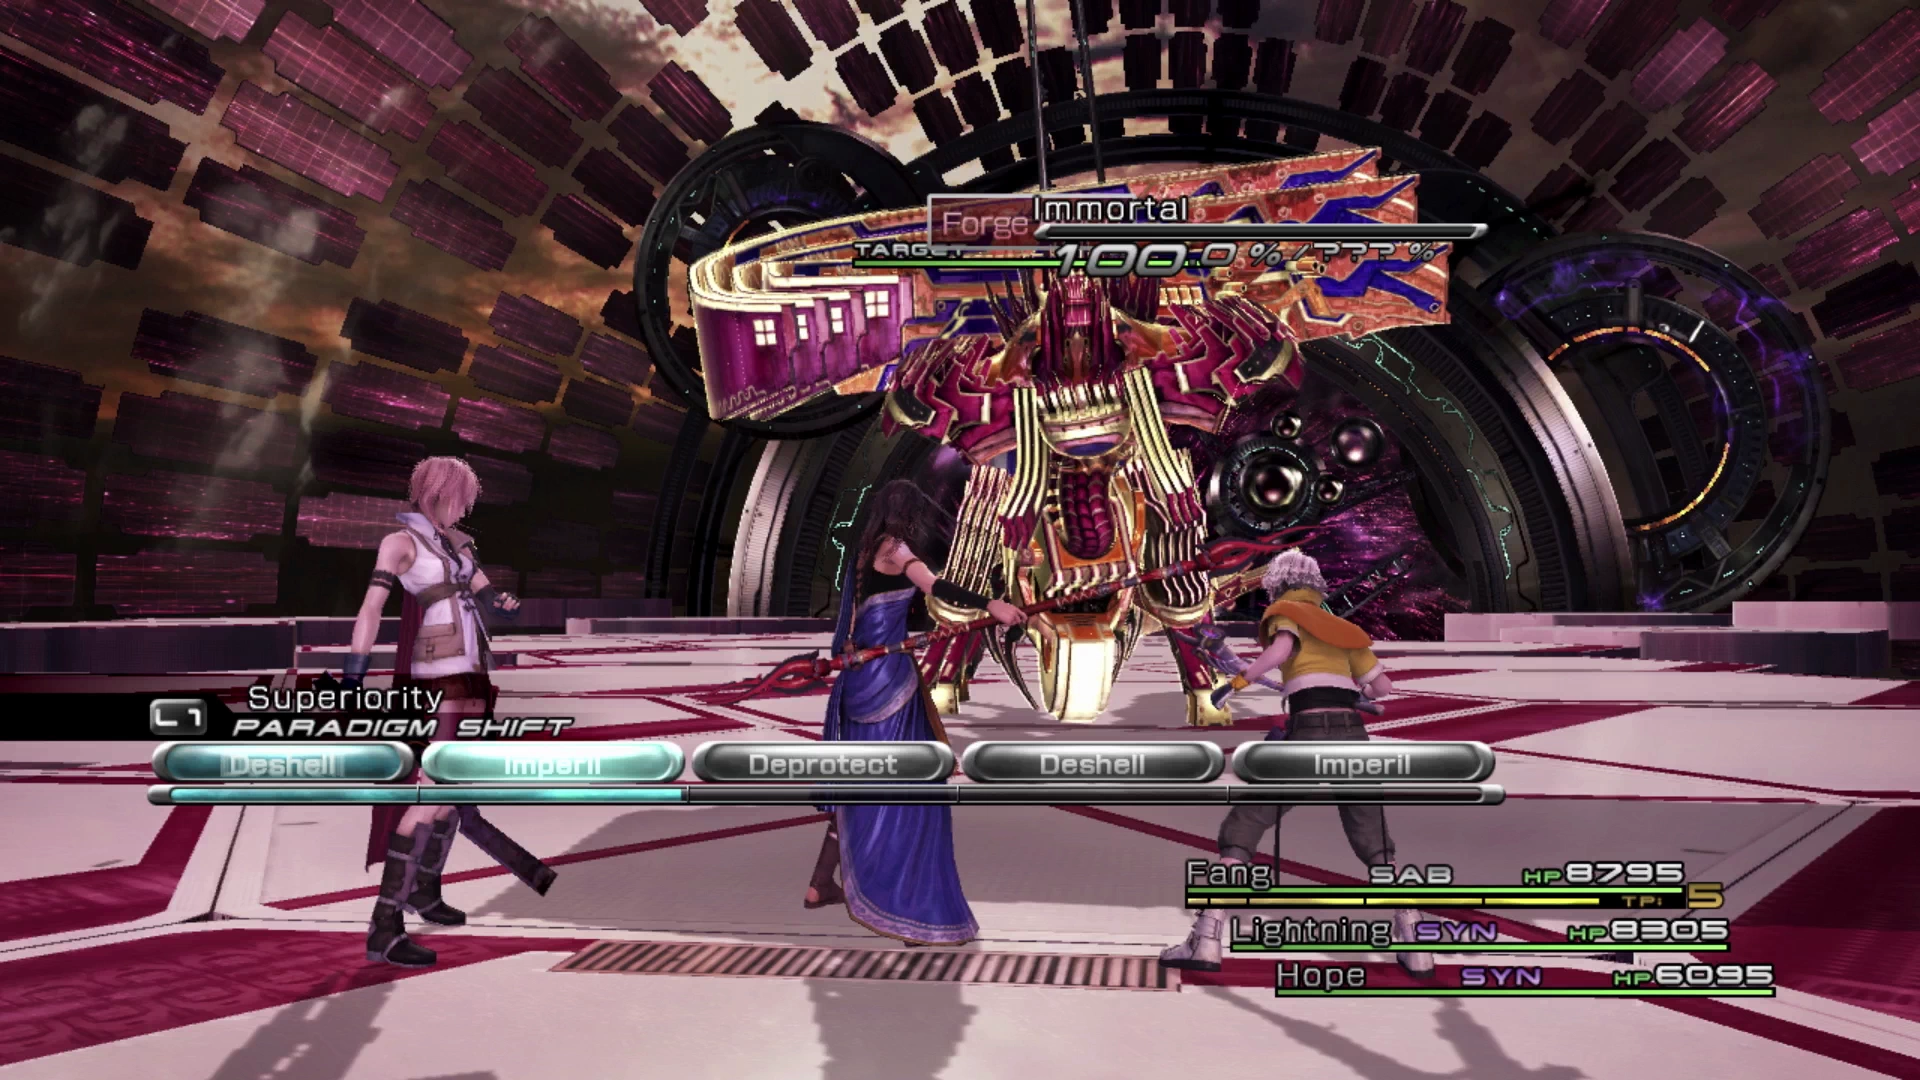
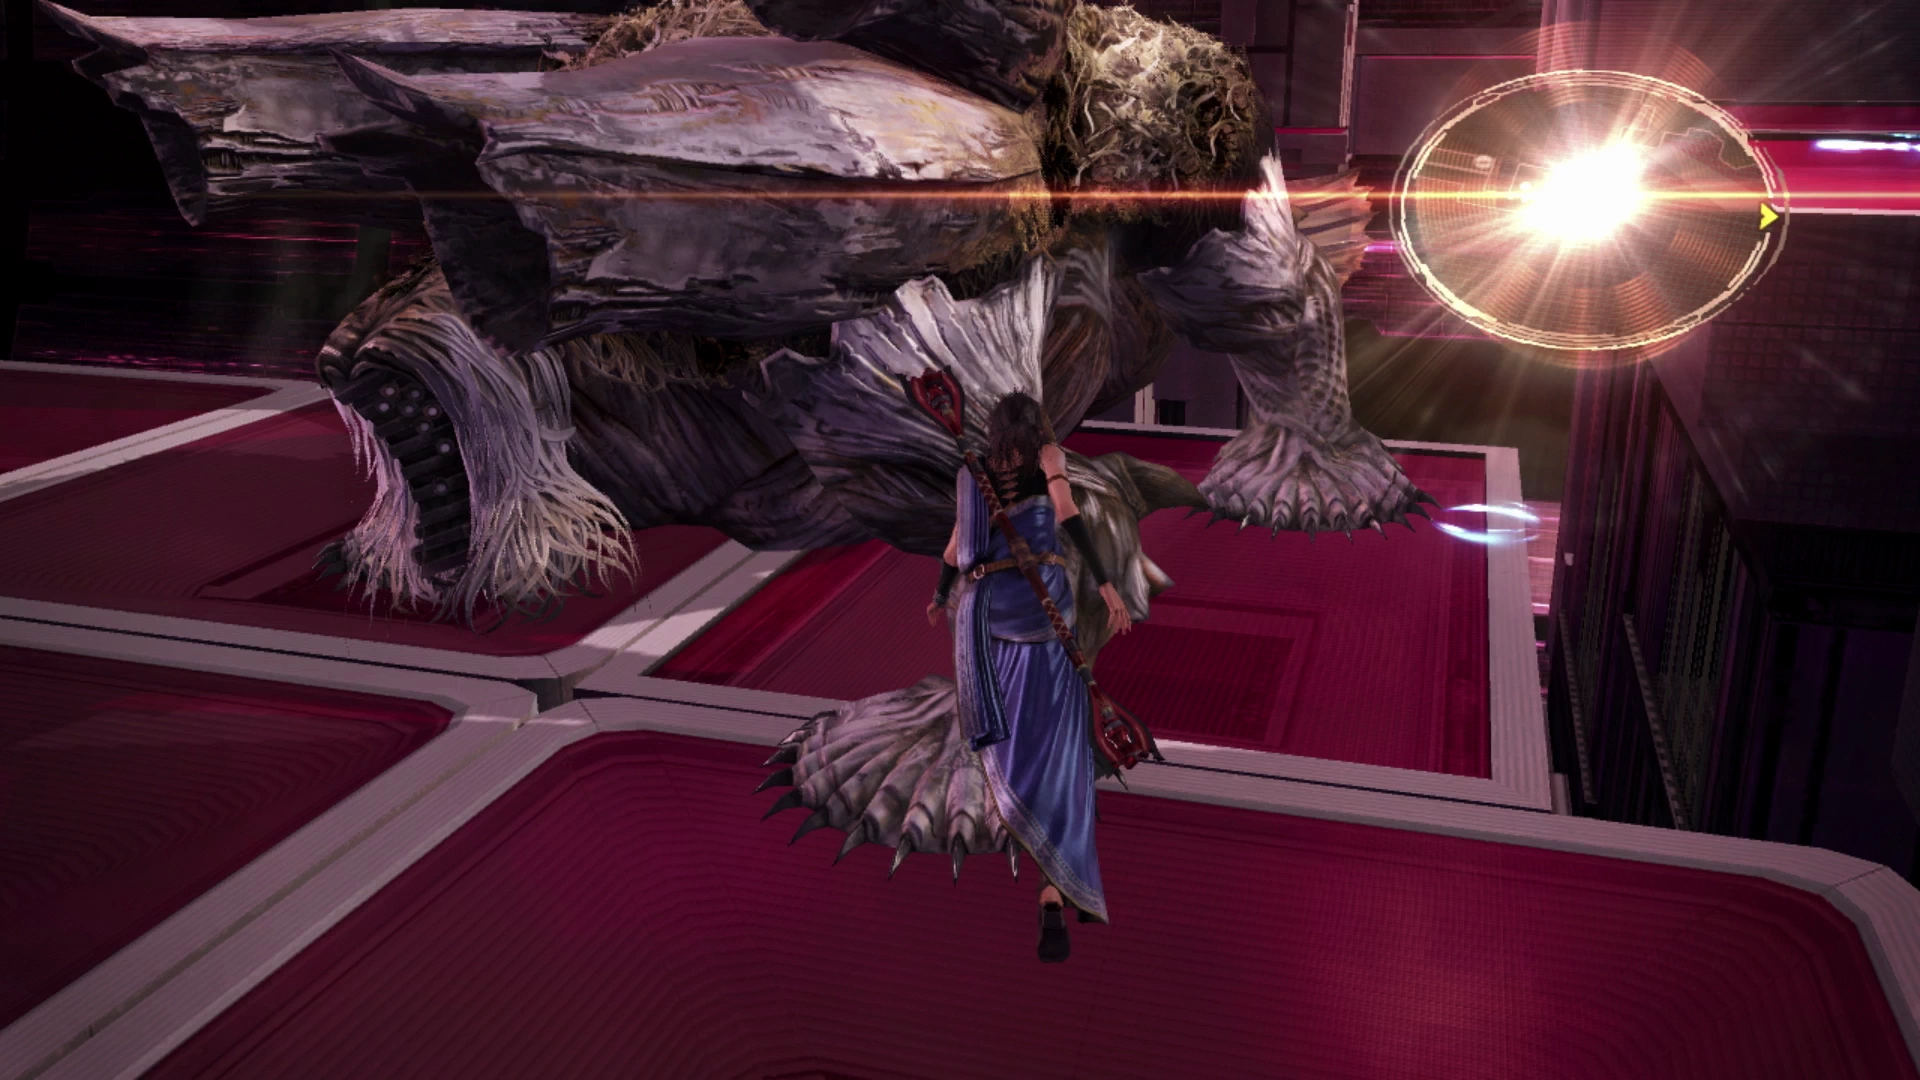
Another cutscene will kick off involving more of the fal’Cie. They will rearrange the layout of the Tesseracts one more time giving you a few new areas to travel through. Just up ahead is a gigantic Immortal enemy which is another Centaurion enemy similar to the Berserkers and Tyrants that you’ve fought before.
Missable Content
The Immortal, like the Centaurions before it, is capable of summoning a “Centaurion Blade” into battle when it uses the move “Forge Blade.” This is something that’s difficult to prevent as it usually casts this attack fairly early in the battle, but if you’re planning to fully complete your ![]() Datalog entries, you’ll need to allow an Immortal to use this spell and then either use
Datalog entries, you’ll need to allow an Immortal to use this spell and then either use ![]() Libra on the Centaurion Blade twice or use a
Libra on the Centaurion Blade twice or use a ![]() Librascope on it once.
Librascope on it once.
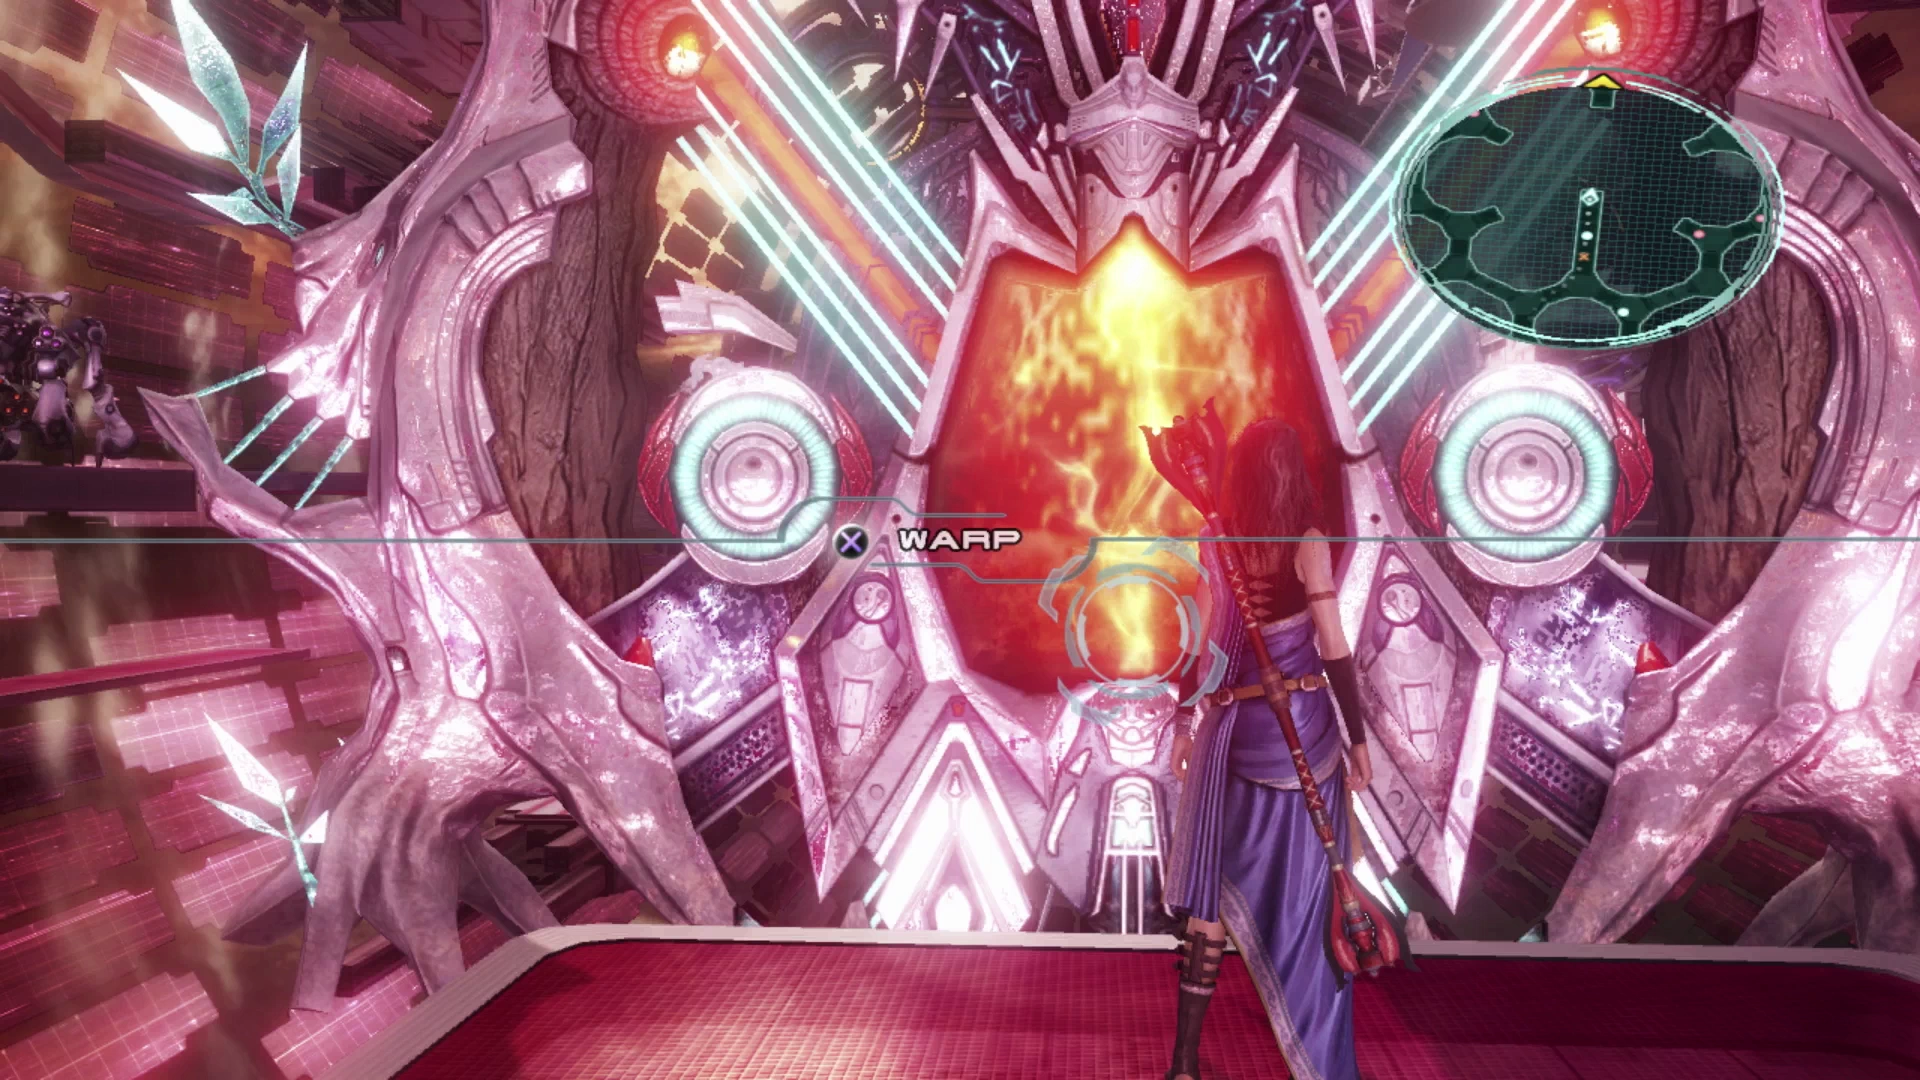
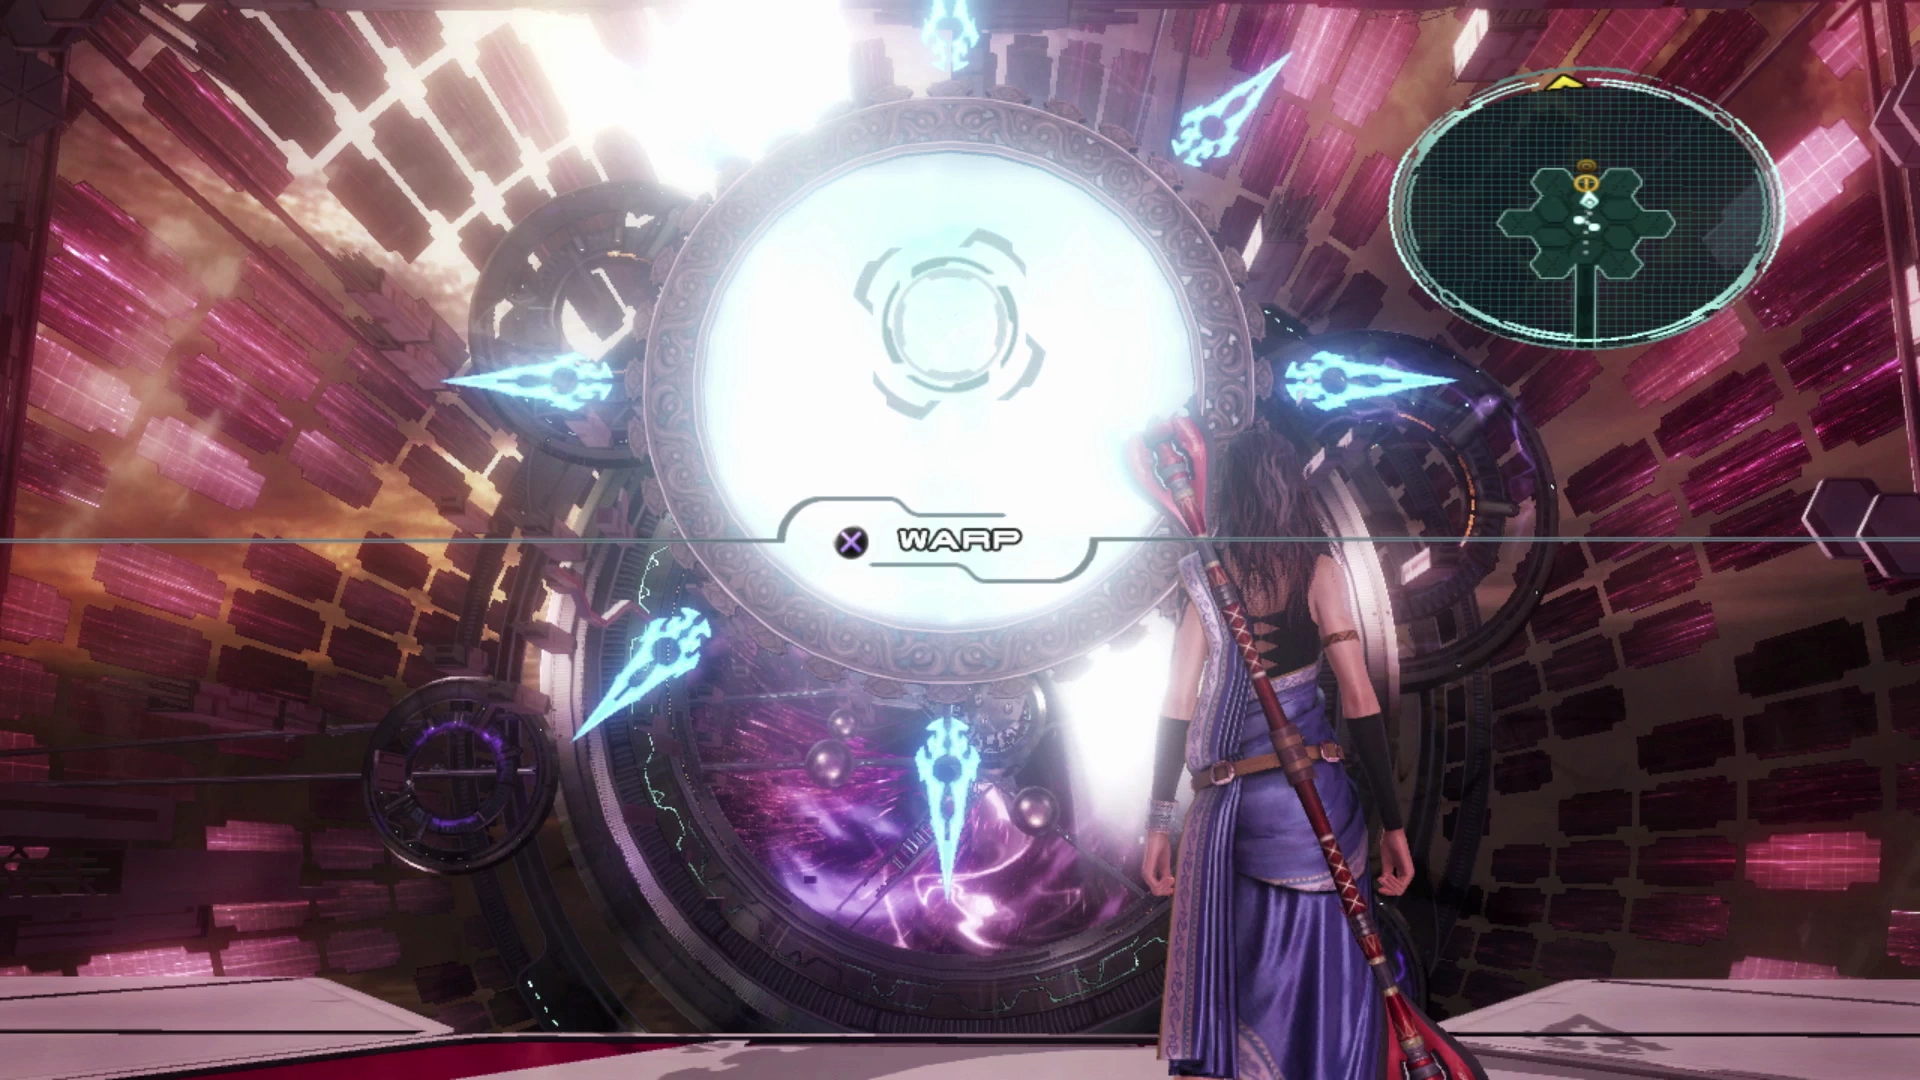
Examine the large fal’Cie object in the center of this section of the Tesseracts, just behind where the Immortal was standing, and it will allow you to warp to another area using the ![]()
![]()
![]() button when you get close enough.
button when you get close enough.
There are a couple of Treasure Spheres to pick up in these upper sections. The one on the right side of the map contains an ![]() Adamant Bangle, a very powerful accessory that reduces damage taken and boosts the party member’s HP.
Adamant Bangle, a very powerful accessory that reduces damage taken and boosts the party member’s HP.
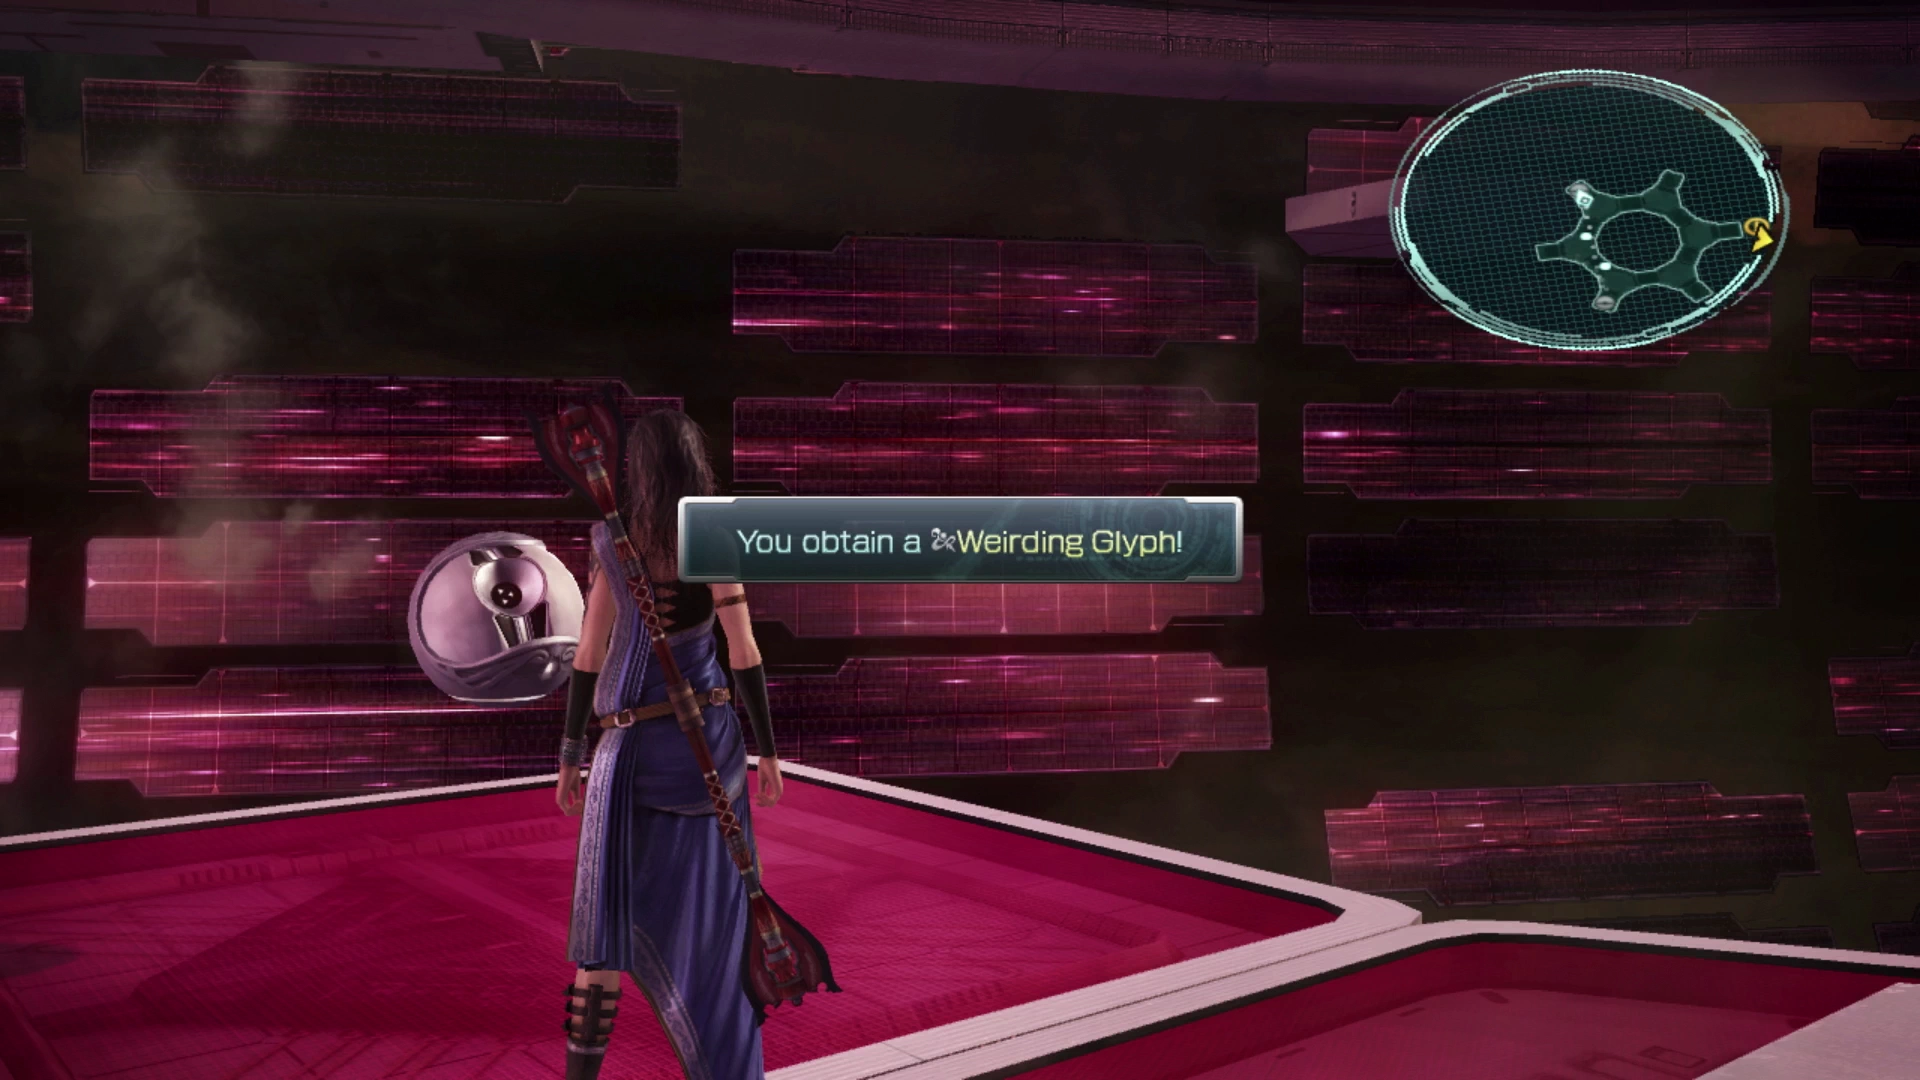
On the left side is a ![]() Weirding Glyph which greatly increases defense against magic attacks. Proceed towards the fal’Cie on the other side of the platform again and use it to warp to the lower level.
Weirding Glyph which greatly increases defense against magic attacks. Proceed towards the fal’Cie on the other side of the platform again and use it to warp to the lower level.
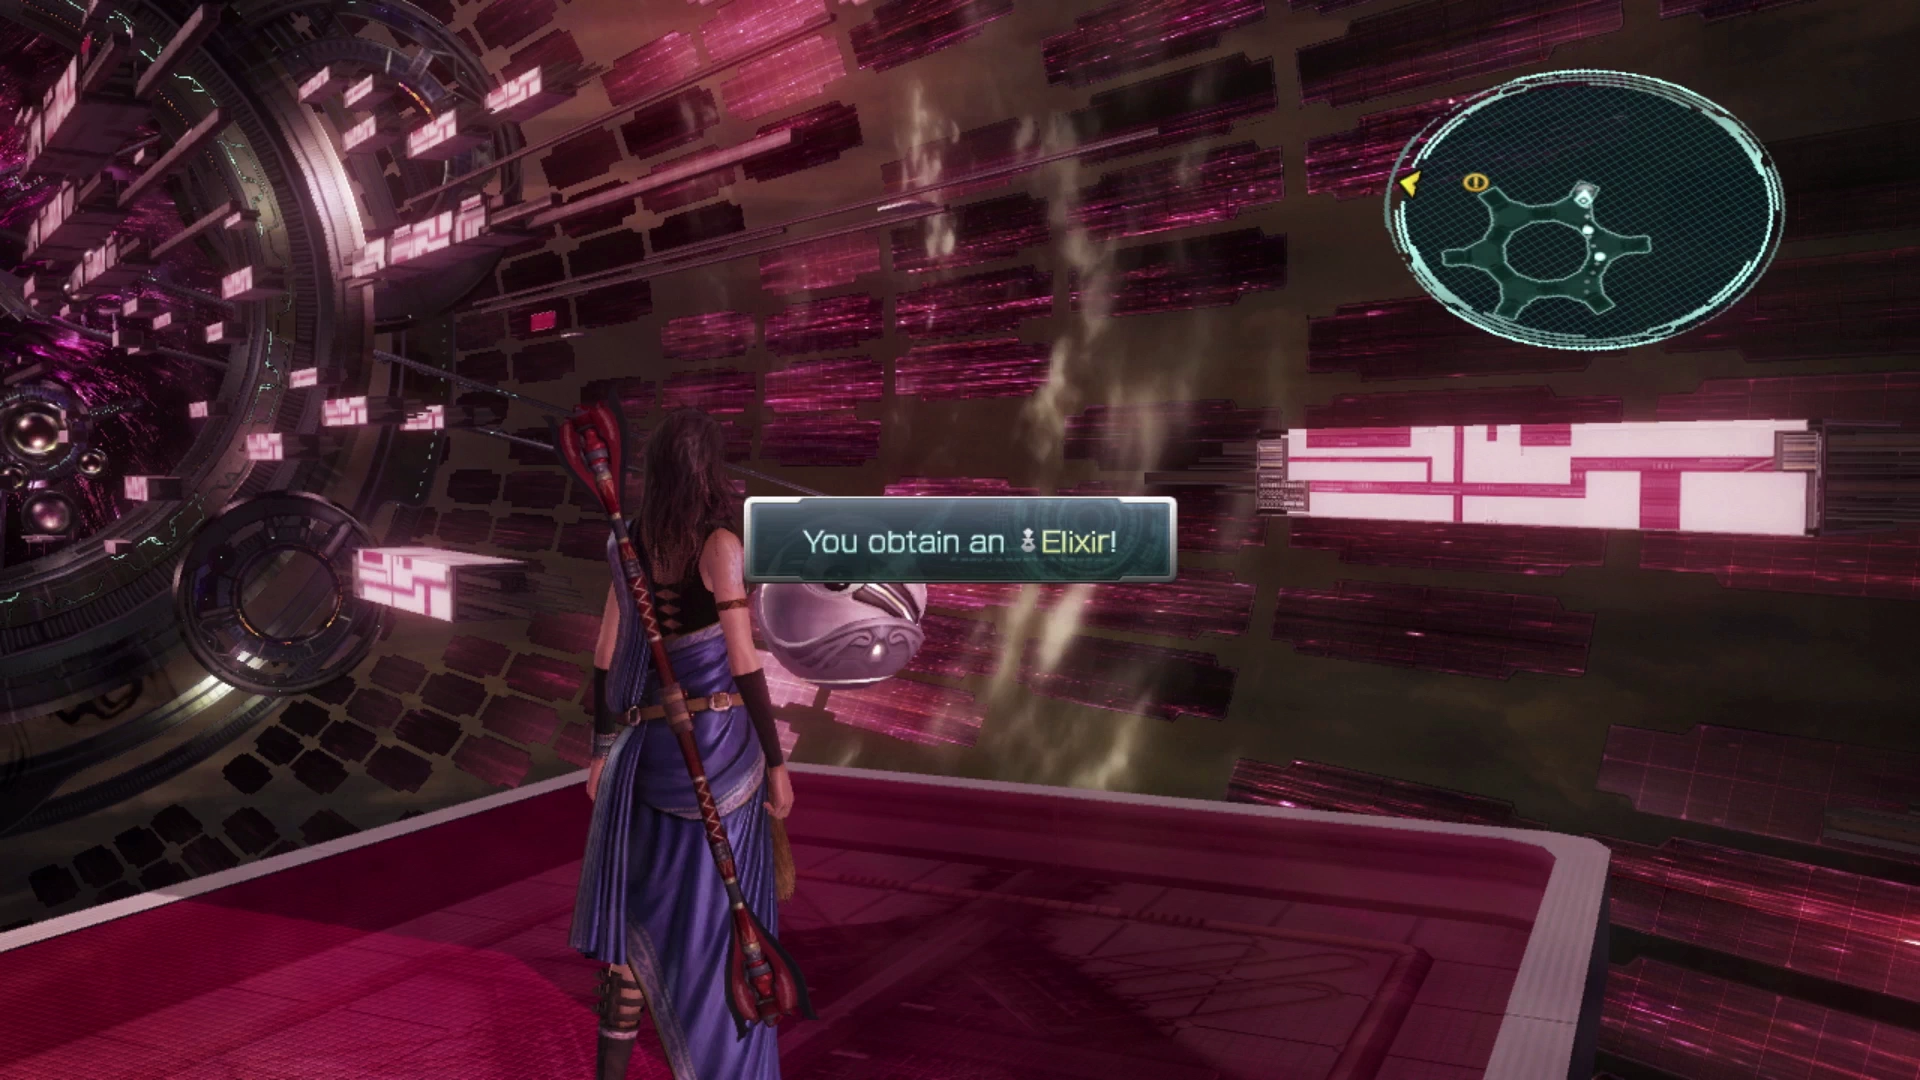
This won’t warp you straight back to where you were just yet; instead, there is another platform with even more Treasure Spheres to pick up. On the far left side is another ![]() Scarletite while on the far right side you will find an
Scarletite while on the far right side you will find an ![]() Elixir.
Elixir.
Missable Content
This is the only ![]() Elixir that you can pick up in the game. There are ways to obtain them through dismantling other items (
Elixir that you can pick up in the game. There are ways to obtain them through dismantling other items (![]() Doctor’s Code) but this is costly as those items are also quite rare.
Doctor’s Code) but this is costly as those items are also quite rare.
Refer to the Missable Content page for more information on specific items and Datalog Enemy Intel entries you should keep an eye out for.
Once again, walk towards the large floating fal’Cie and use it to warp one more time. This time it will warp you back to your original location on the main level.
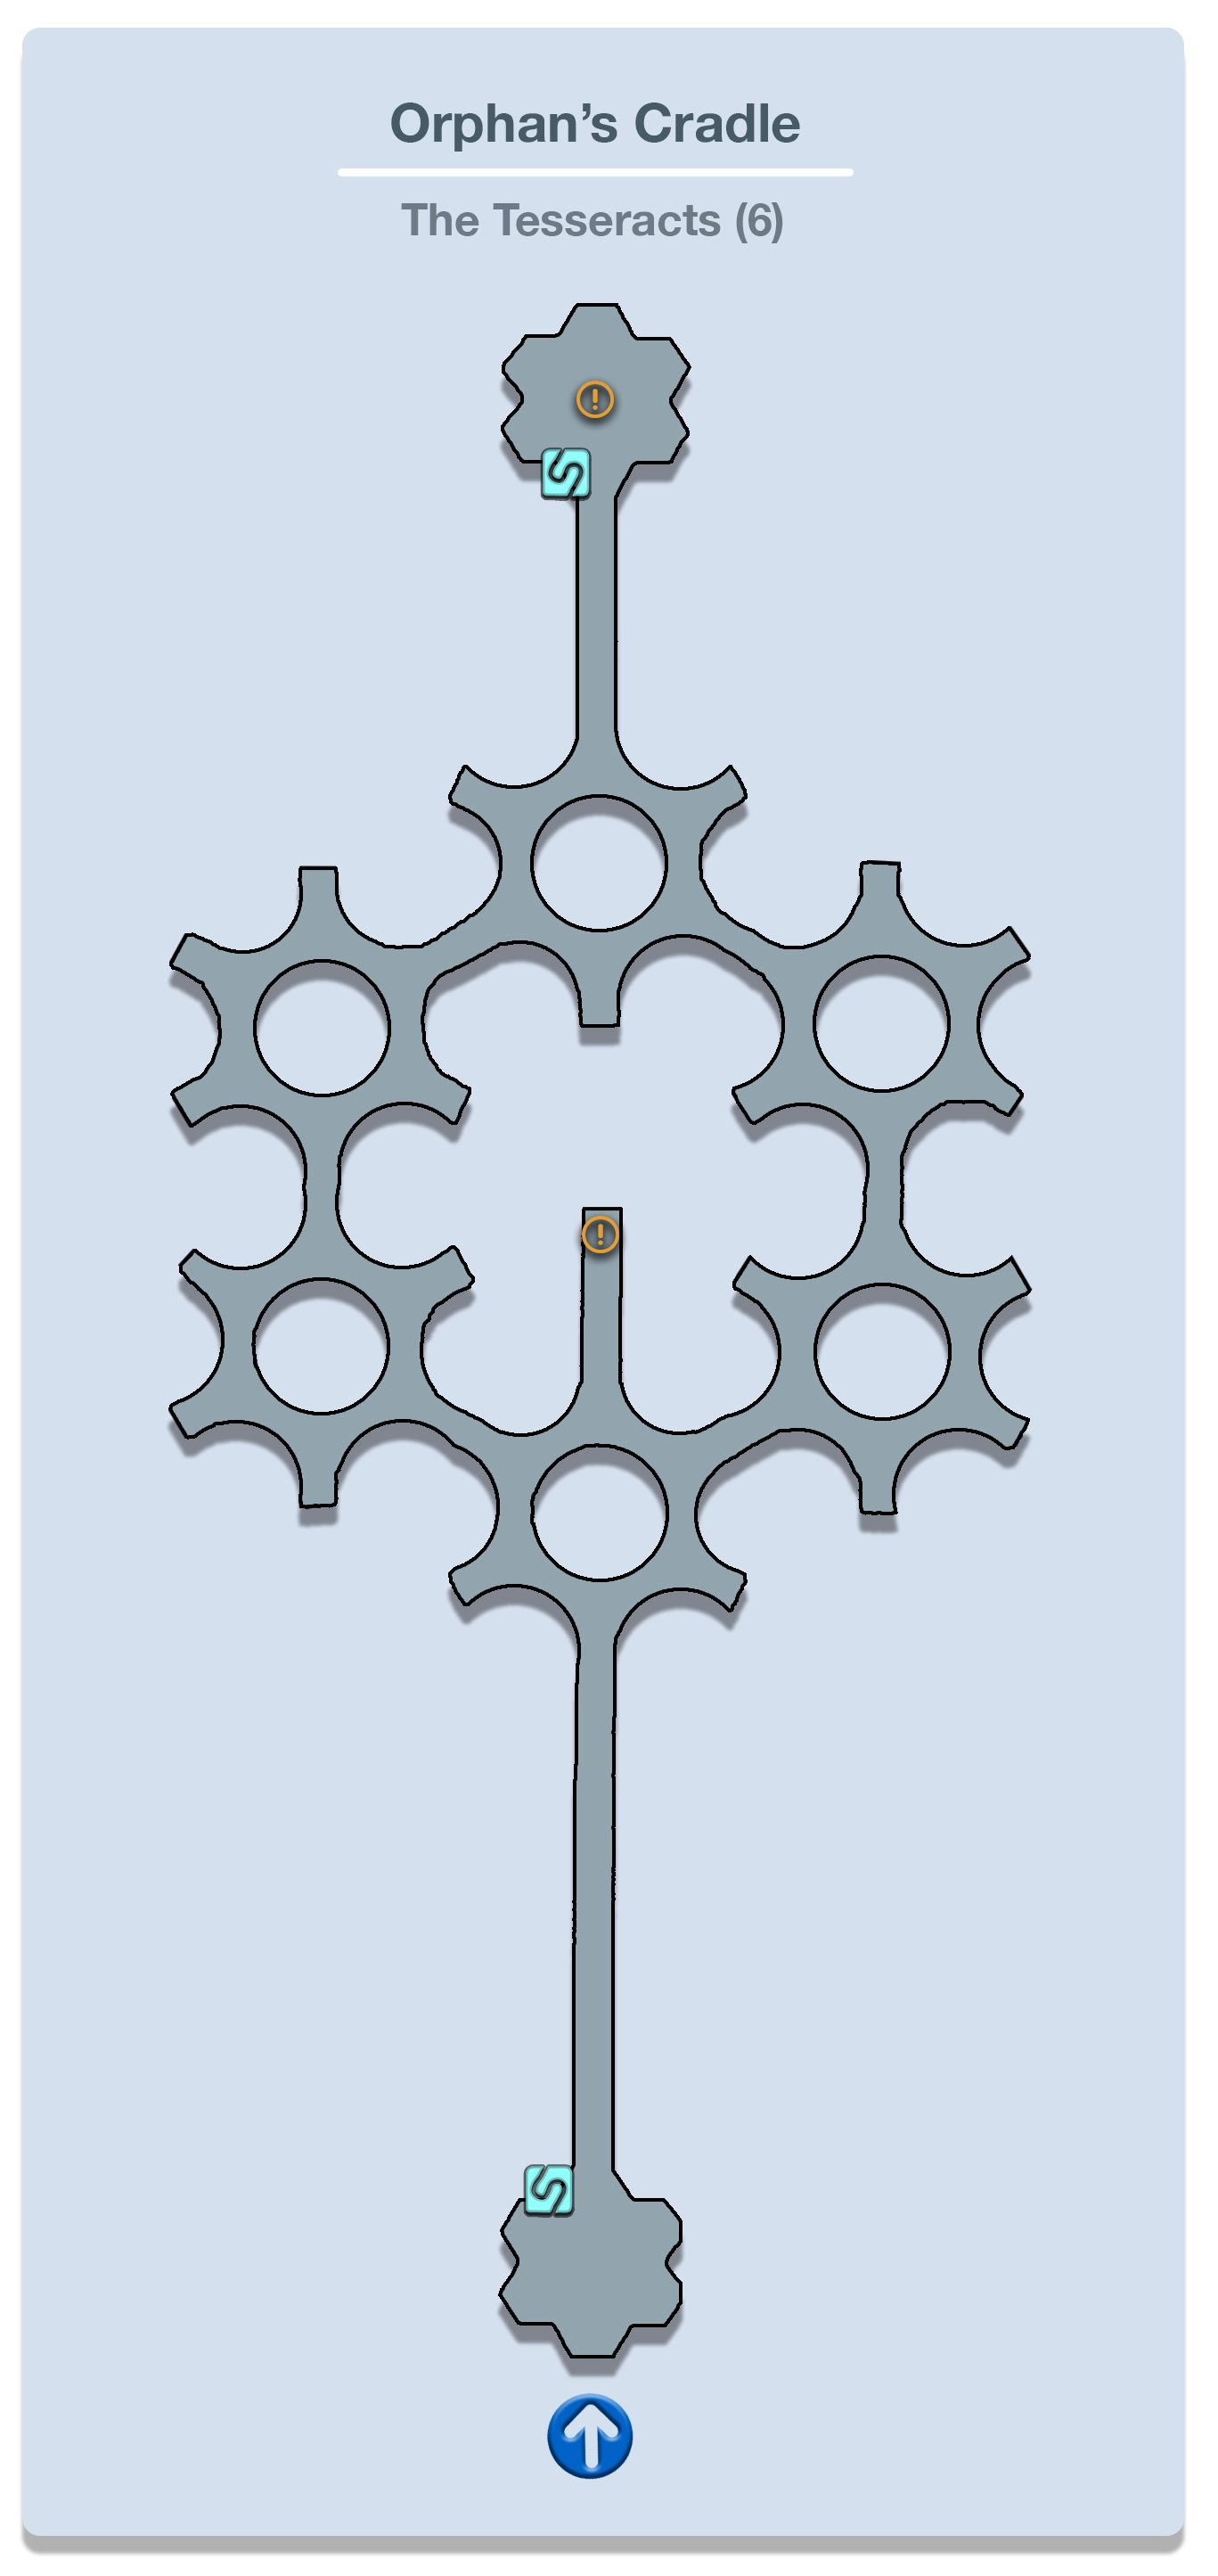
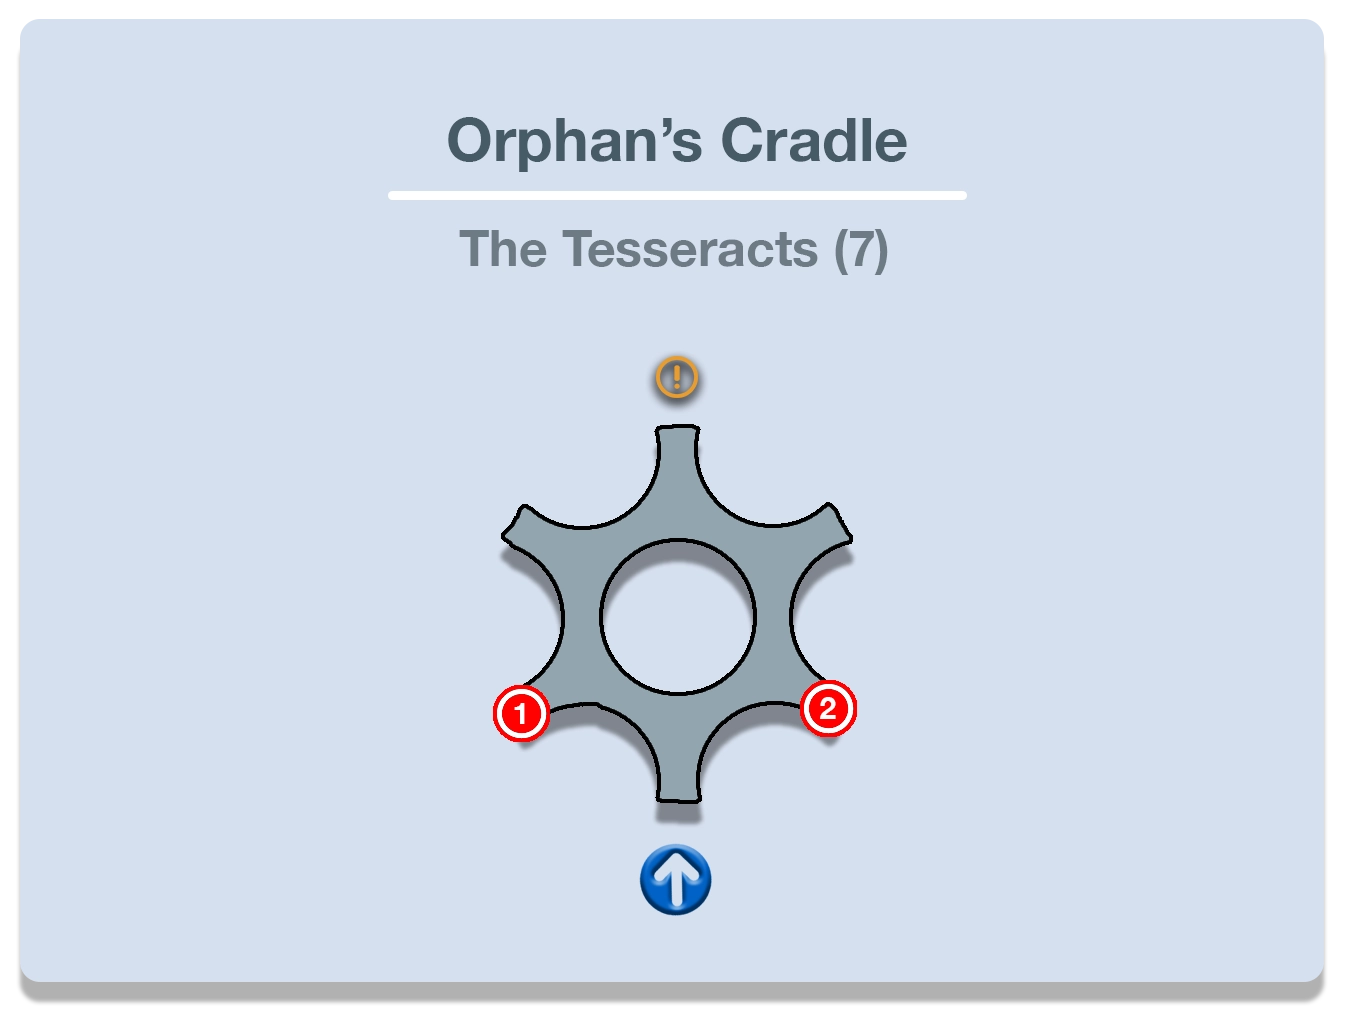
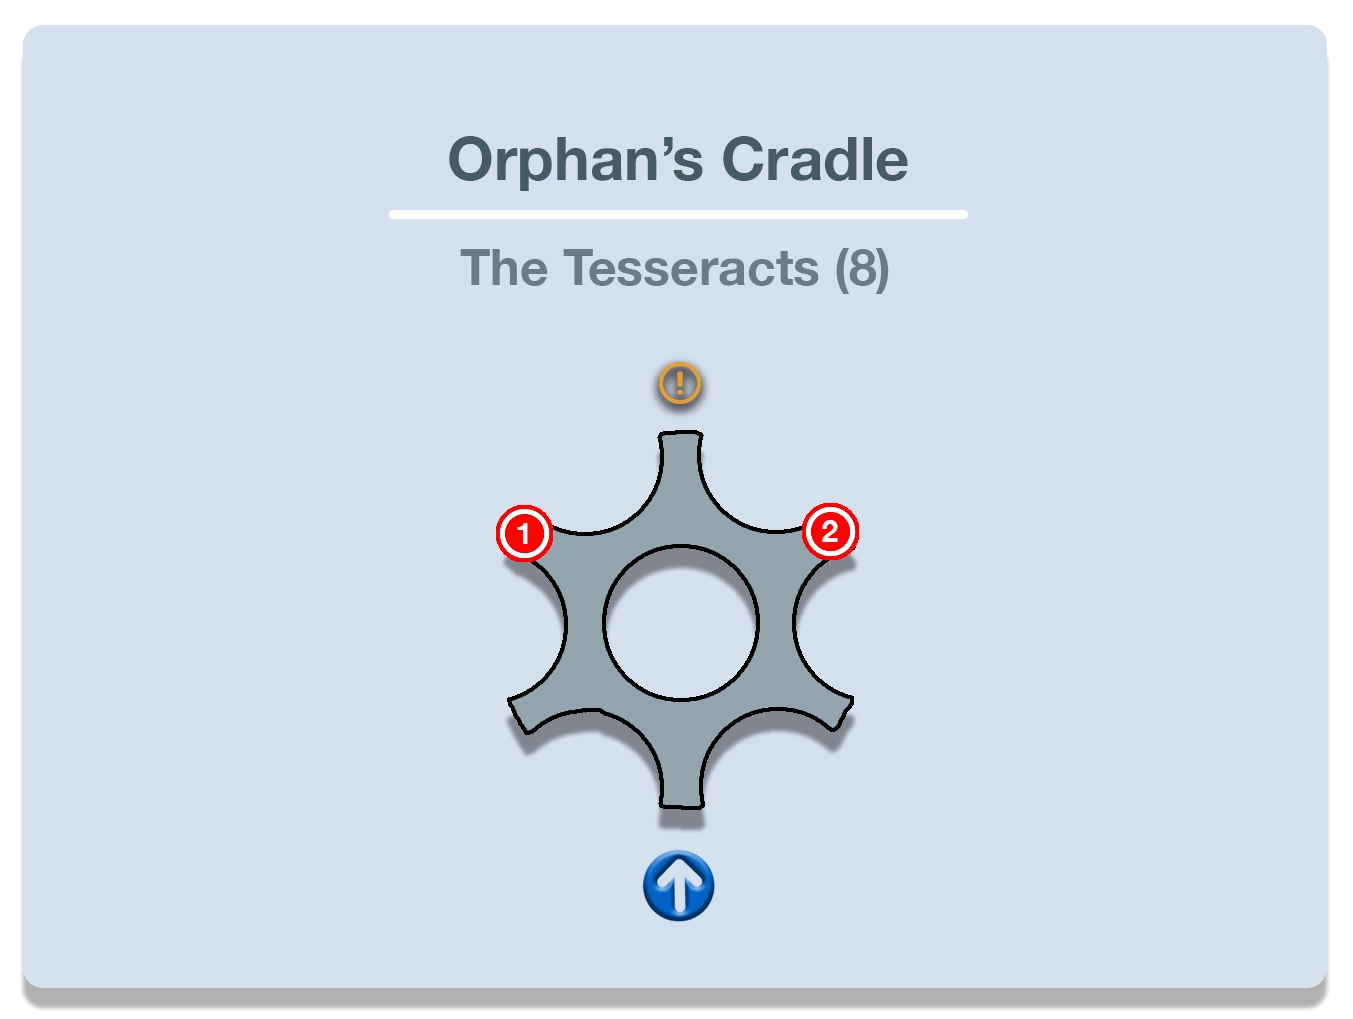
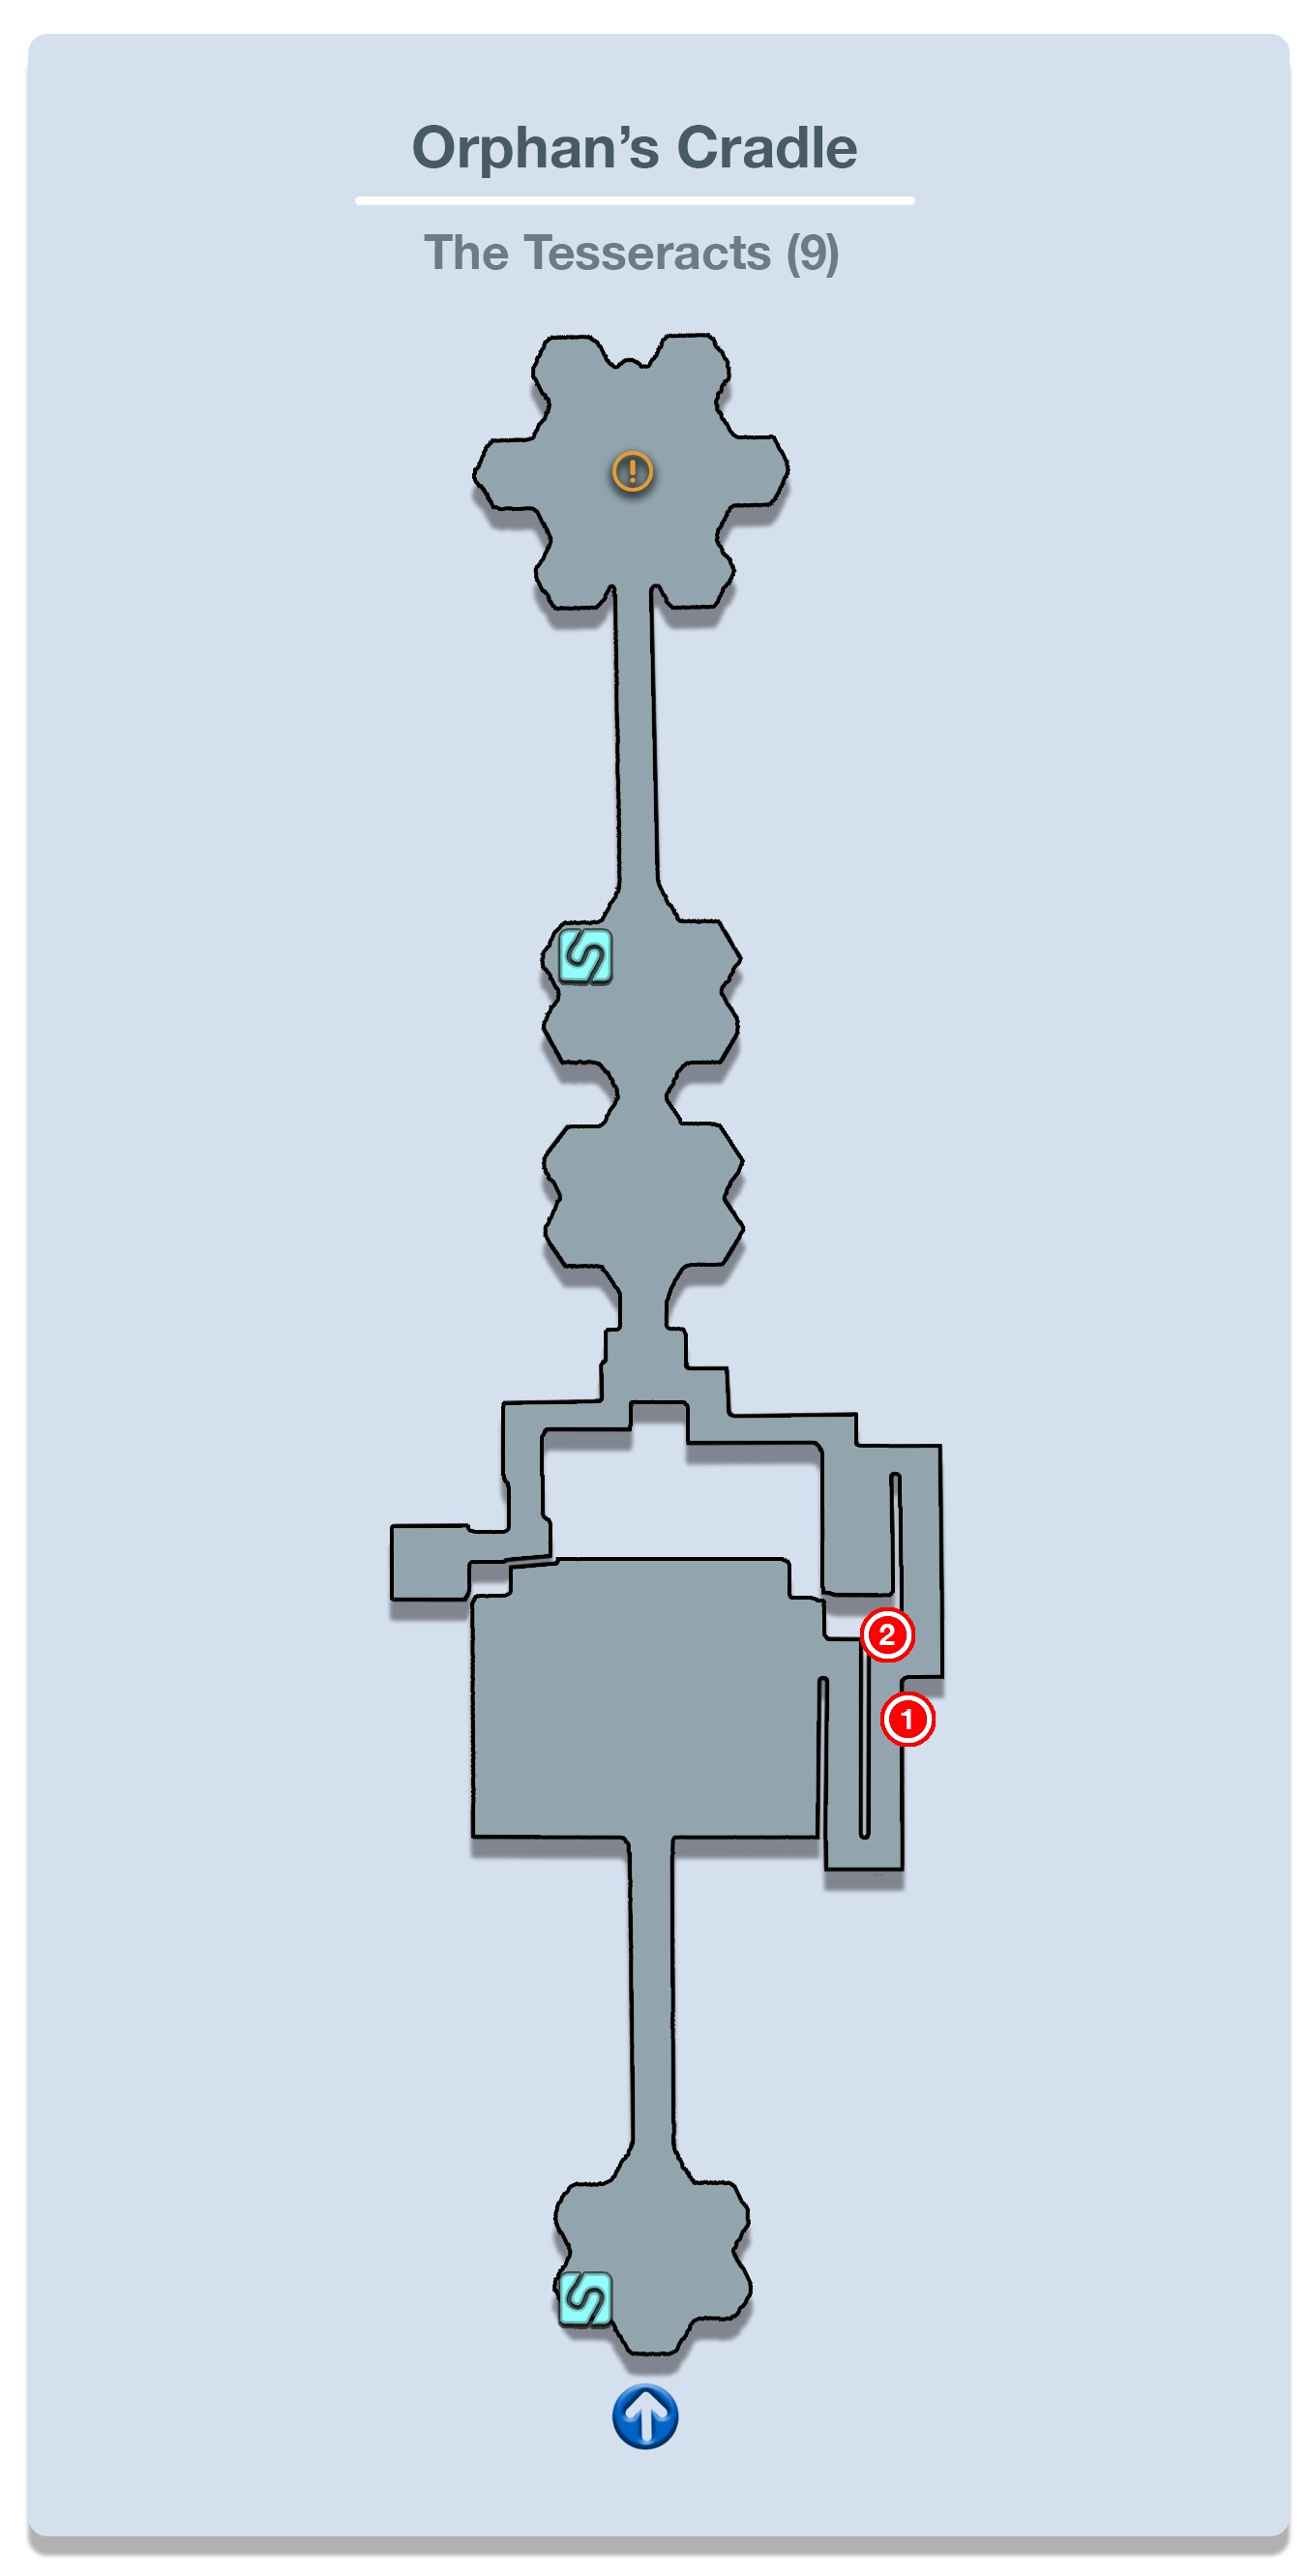
Looking at the map for this area, you’ll see that there are two pathways that you can use to work your way around this section of the Tesseracts towards the far side. Both sides have an assortment of enemies and enemy combinations for you to face, both of them being fairly challenging, so you can opt to take either path at your discretion.
- The left path has a Megrim Thresher and a Sanctum Templar combination as well as a number of Aquila Velocycles.
- The right path includes a few large groups of Dagonites with Sacrifices.
- At the end of both pathways you will have to face off against a Megrim Thresher with two Sacrifices. Taking out the Sacrifices first and having a
 Saboteur cast
  Fog on the Sacrifices can make this last fight a bit easier.
Climb the ramp at the far end of the paths and use the ![]() Save Station at the top to save your game. The next boss coming up can use an attack which will inflict the
Save Station at the top to save your game. The next boss coming up can use an attack which will inflict the ![]() Deprotect and
Deprotect and ![]() Deshell negative status effects. You can make the fight a bit easier by equipping accessories that prevent this status effect such as
Deshell negative status effects. You can make the fight a bit easier by equipping accessories that prevent this status effect such as ![]() Metal Armbands or a
Metal Armbands or a ![]() Serenity Sachet which can be purchased from
Serenity Sachet which can be purchased from ![]() B&W Outfitters.
B&W Outfitters.
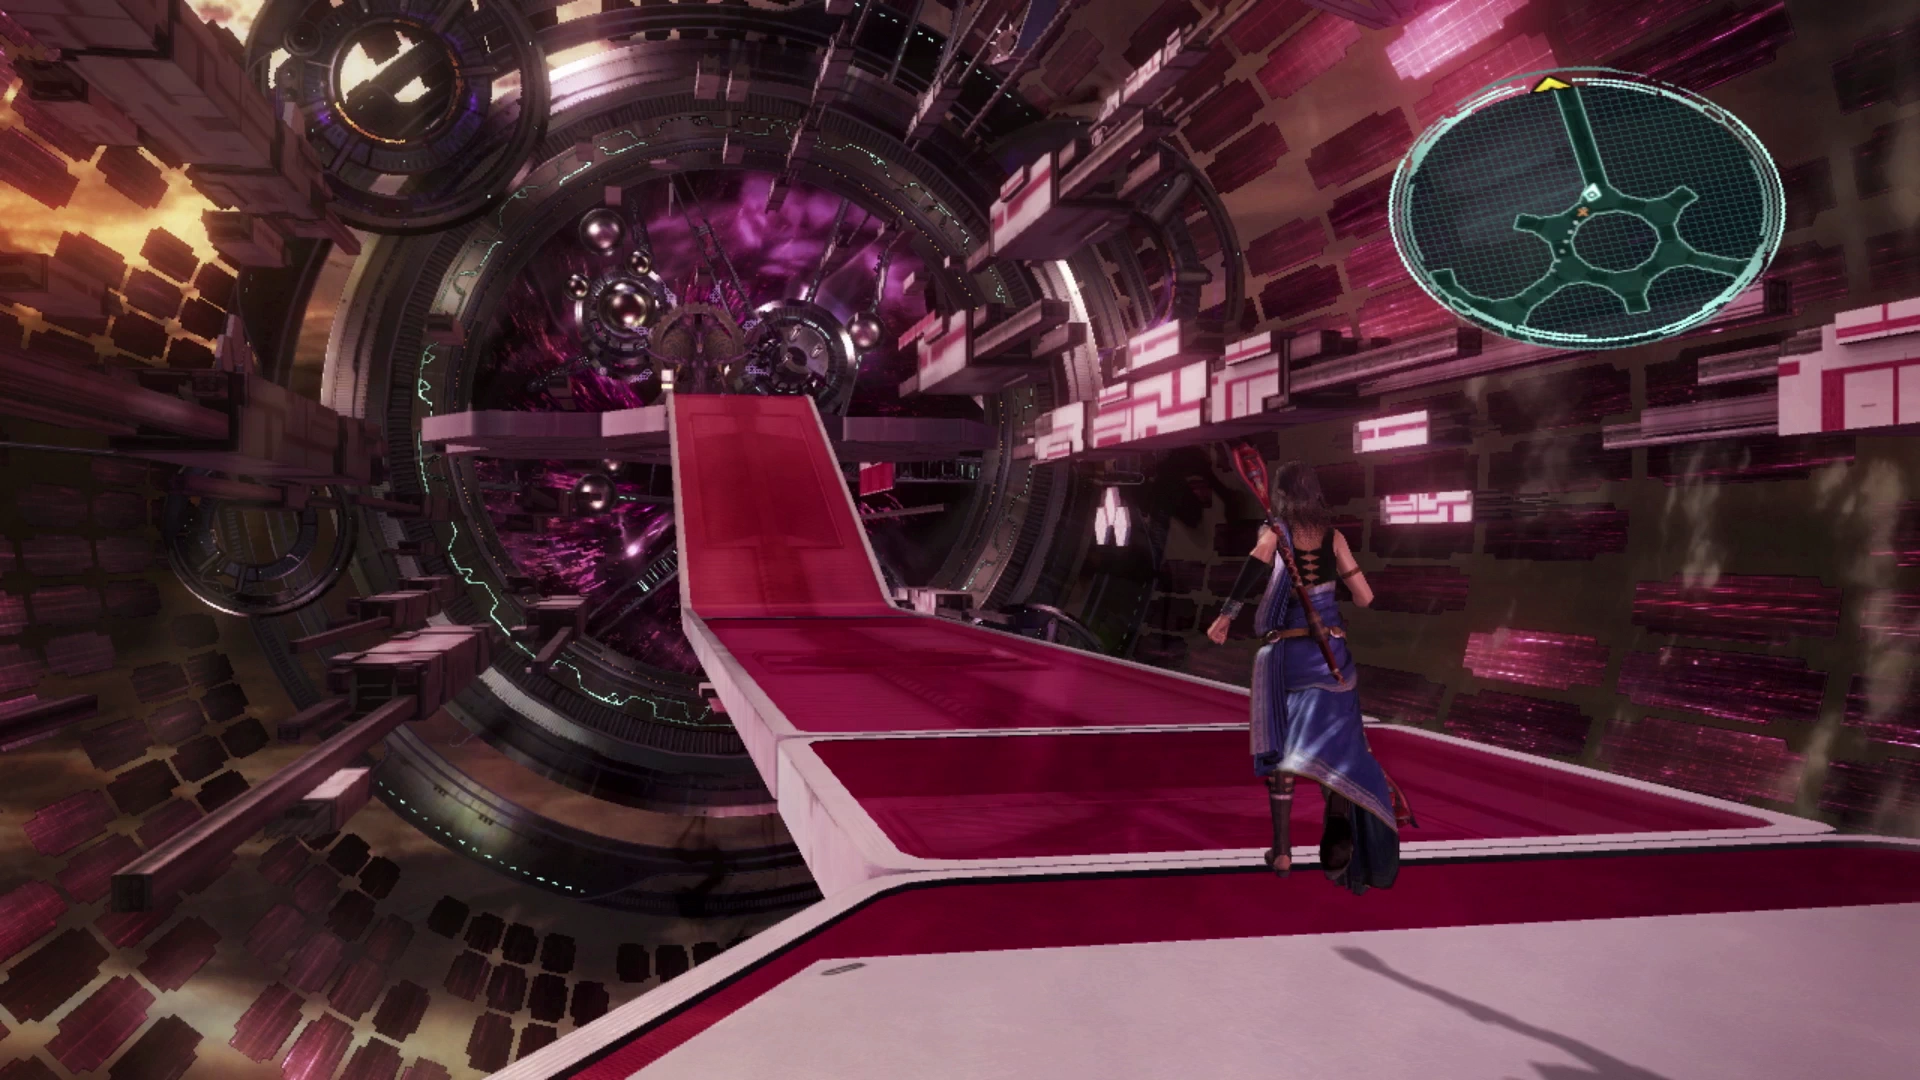
Approach the fal’Cie at the end of the pathway and interact with it to be transported to the next boss fight.
Boss Battle
There isn’t much in the way of strategy to discuss as it relates to this fight as it operates as more of a gear and level check than any of the previous fights you’ve completed. What that means is that it’s just a matter of being able to deal with the damage that Wladislaus deals while dealing enough damage to bring it down.
It has two attacks that it will use during the course of the fight: the first is just its regular attack but it will attack fairly rapidly compared to other enemies that you’re used to fighting. The second is an attack called “Mounting Contempt” which, as mentioned above, will inflict ![]() Deprotect and
Deprotect and ![]() Deshell while dispelling positive buffs and it will hit for more and more damage as the fight progresses.
Deshell while dispelling positive buffs and it will hit for more and more damage as the fight progresses.
Start off by using ![]() Libra and then switch to a defensive Paradigm to kick things off. Getting important buffs active, such as
Libra and then switch to a defensive Paradigm to kick things off. Getting important buffs active, such as ![]() Protect,
Protect, ![]() Haste and a weapon buff (i.e.
Haste and a weapon buff (i.e. ![]() Enfire which will increase magic damage dealt with each attack), will make the battle much easier. Having your
Enfire which will increase magic damage dealt with each attack), will make the battle much easier. Having your ![]() Saboteur apply
Saboteur apply ![]() Deprotect,
Deprotect, ![]() Deshell,
Deshell, ![]() Curse and
Curse and ![]() Slow will also provide major benefits.
Slow will also provide major benefits.
Wladislaus’ Chain Gauge will be at 999%, which means you won’t be able to Stagger it during the course of this fight, but just pump damage into it as quickly as you can before the damage from “Mounting Contempt” overwhelms your party.
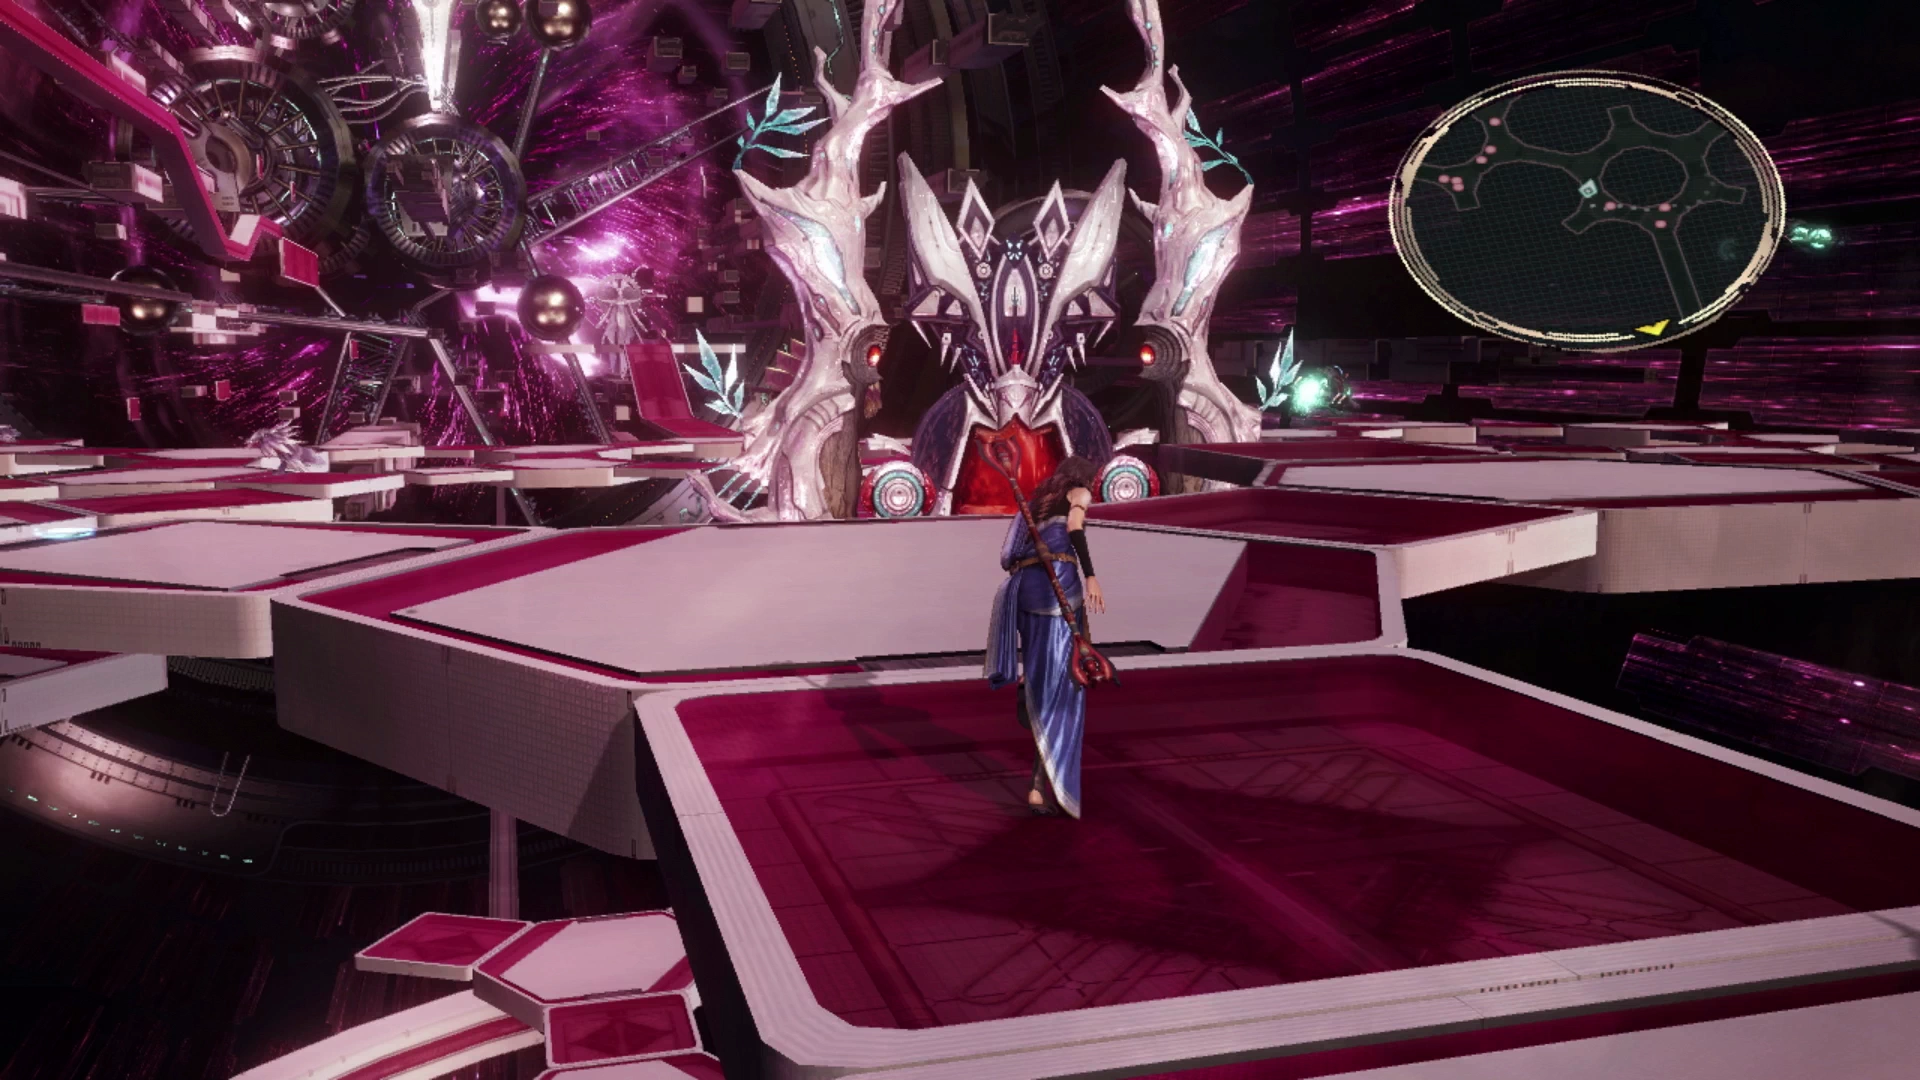
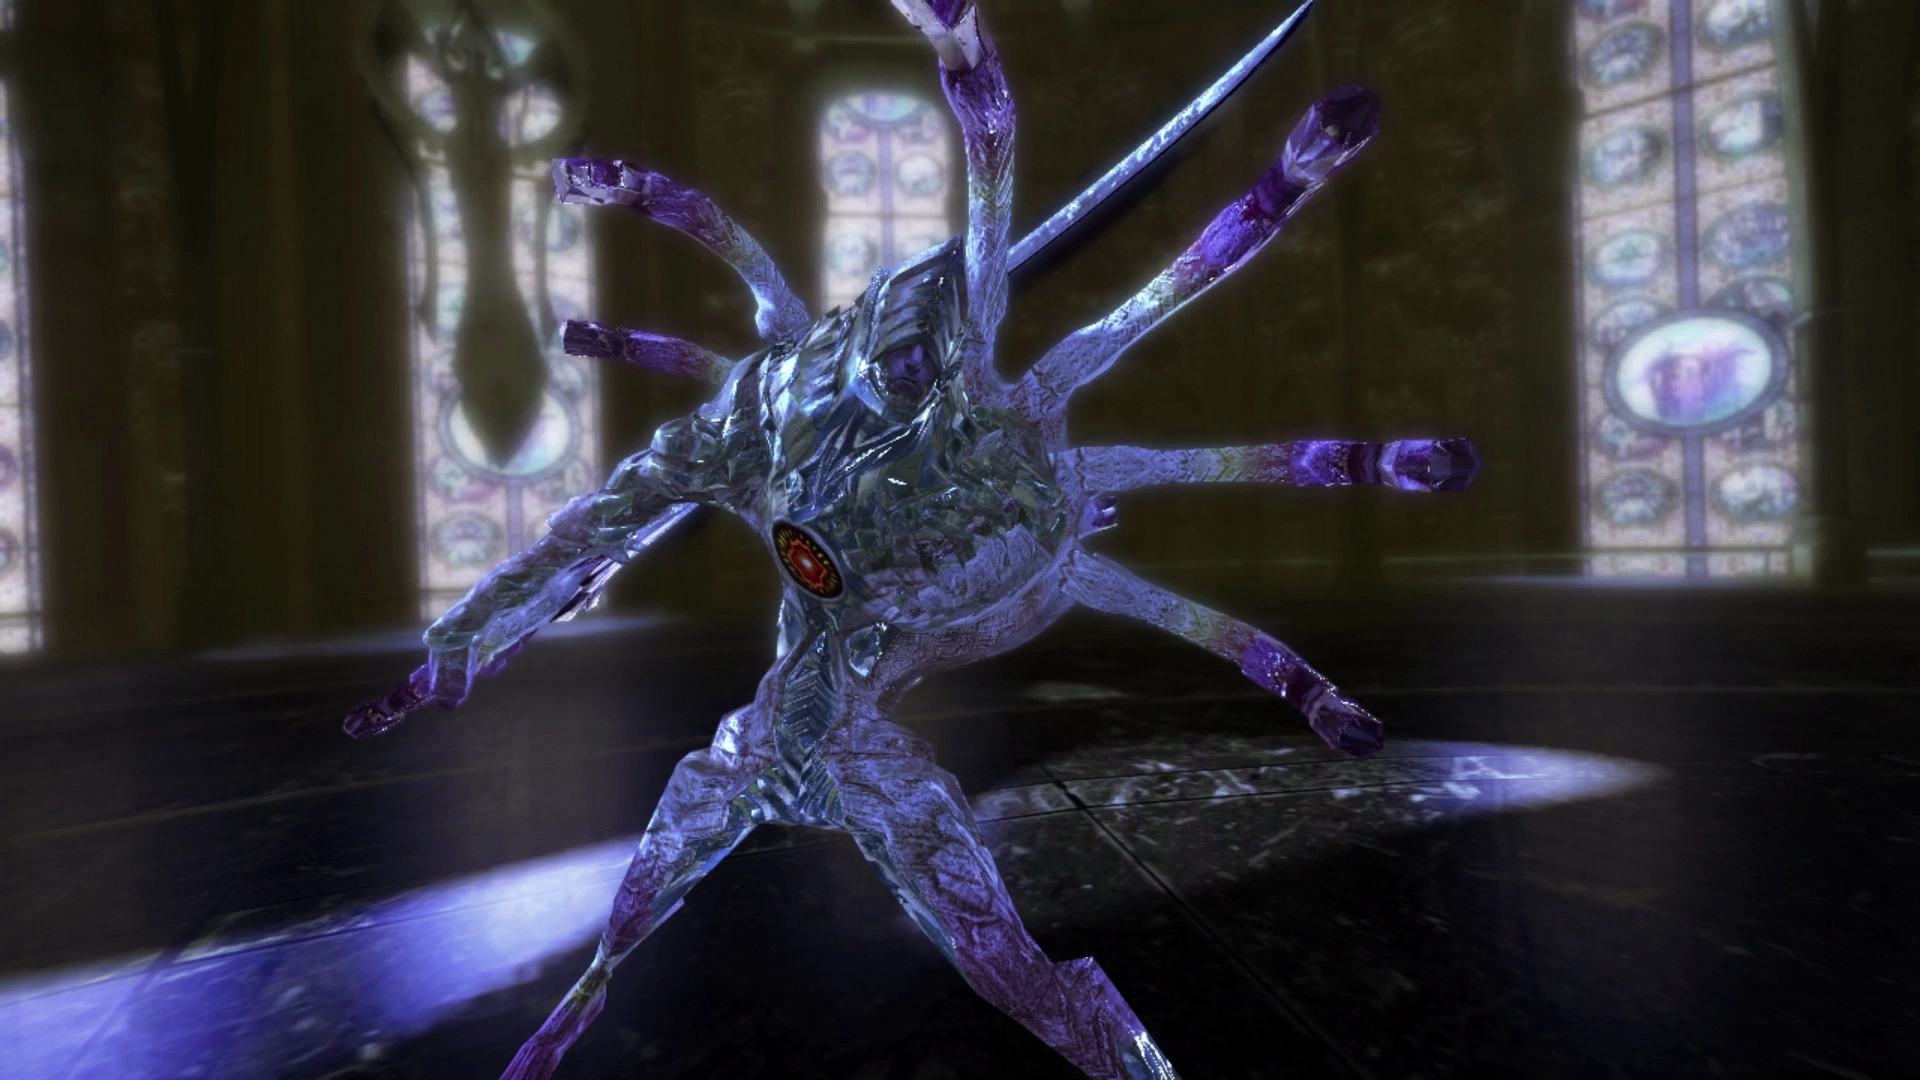
Your party will be warped back out of the battlegrounds and back into the center of the Tesseract when the battle is over. Use the nearby ![]() Save Station and then move forward toward the gold fal’Cie for a short cutscene involving the summoning of the Tiamat Eliminator.
Save Station and then move forward toward the gold fal’Cie for a short cutscene involving the summoning of the Tiamat Eliminator.

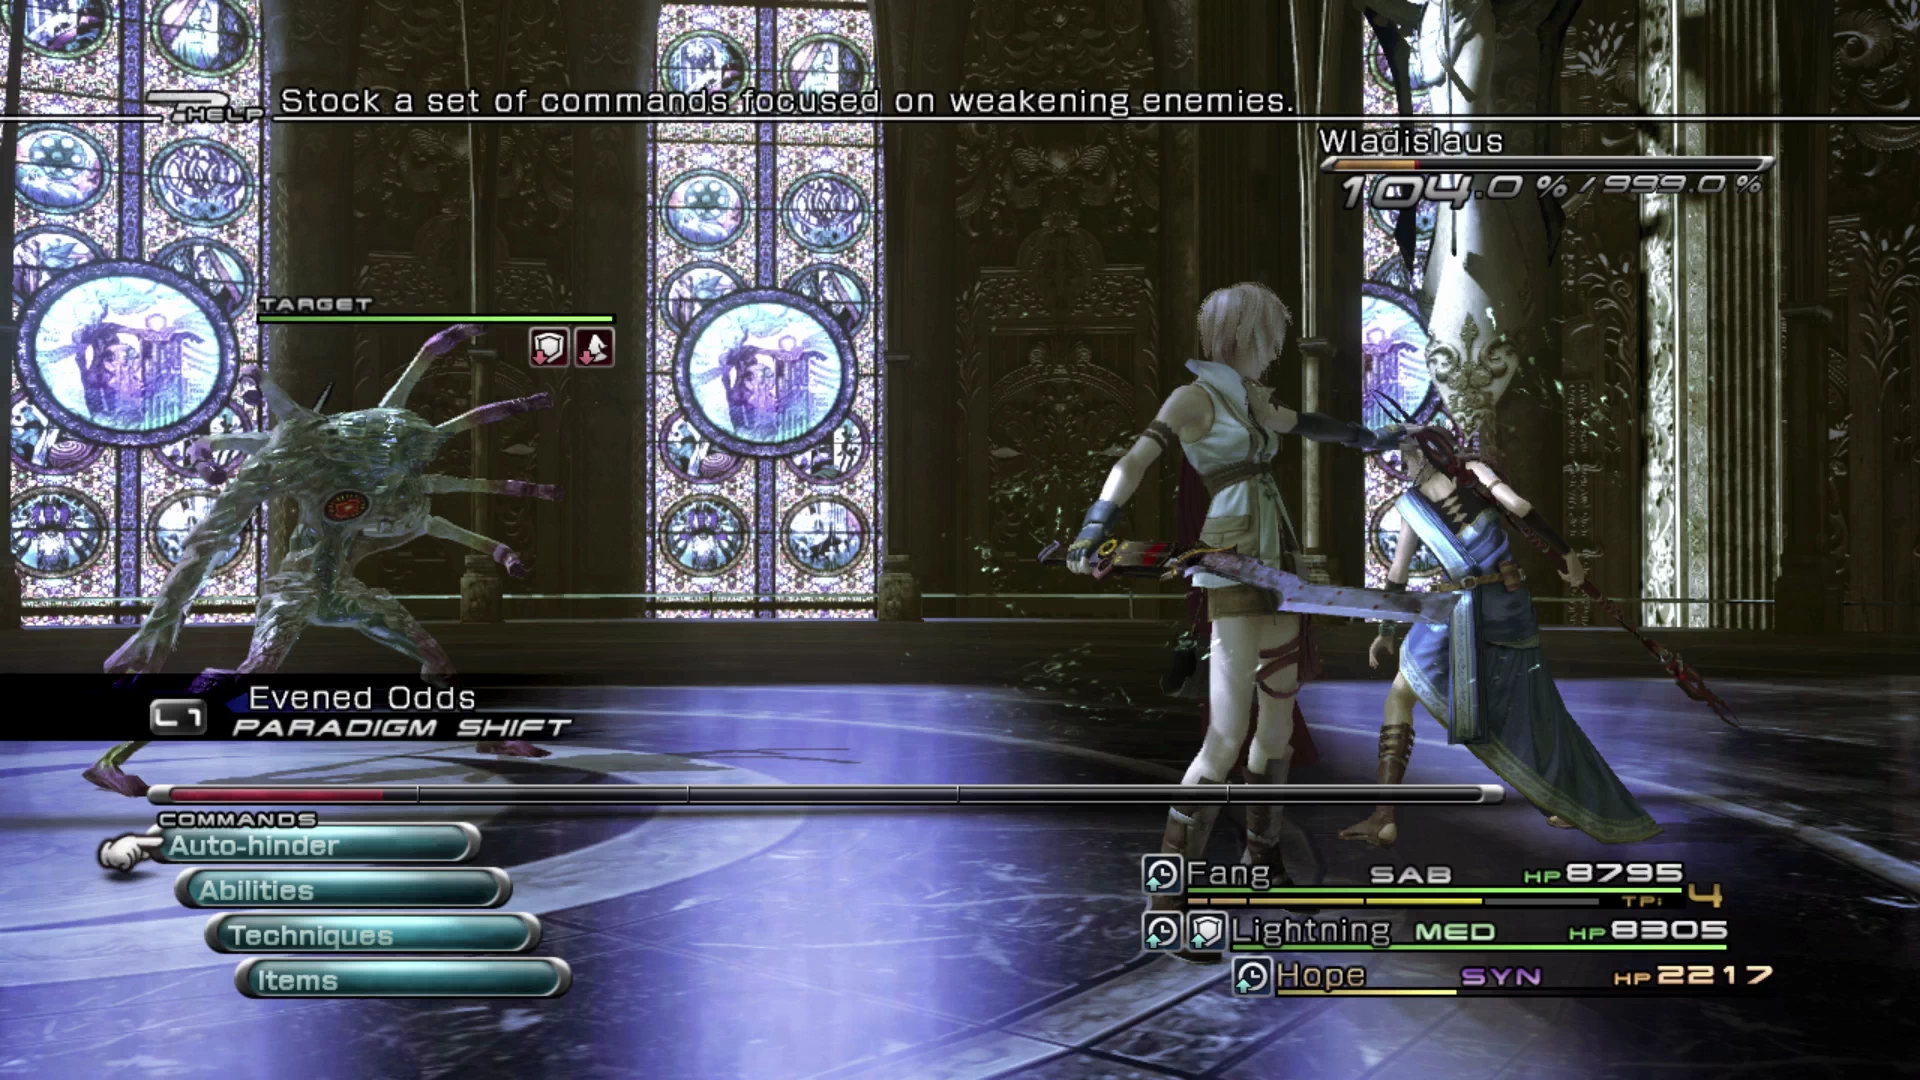
There is nothing to do on this bottom floor other than to run towards the ramp on the right side of the screen and grab the Treasure Sphere halfway up. This Treasure Sphere contains a free ![]() 3,000 Gil. Don’t forget to readjust your party member’s equipment if you swapped in any accessories for the boss battle against Wladislaus and then charge up toward the next two enemies.
3,000 Gil. Don’t forget to readjust your party member’s equipment if you swapped in any accessories for the boss battle against Wladislaus and then charge up toward the next two enemies.
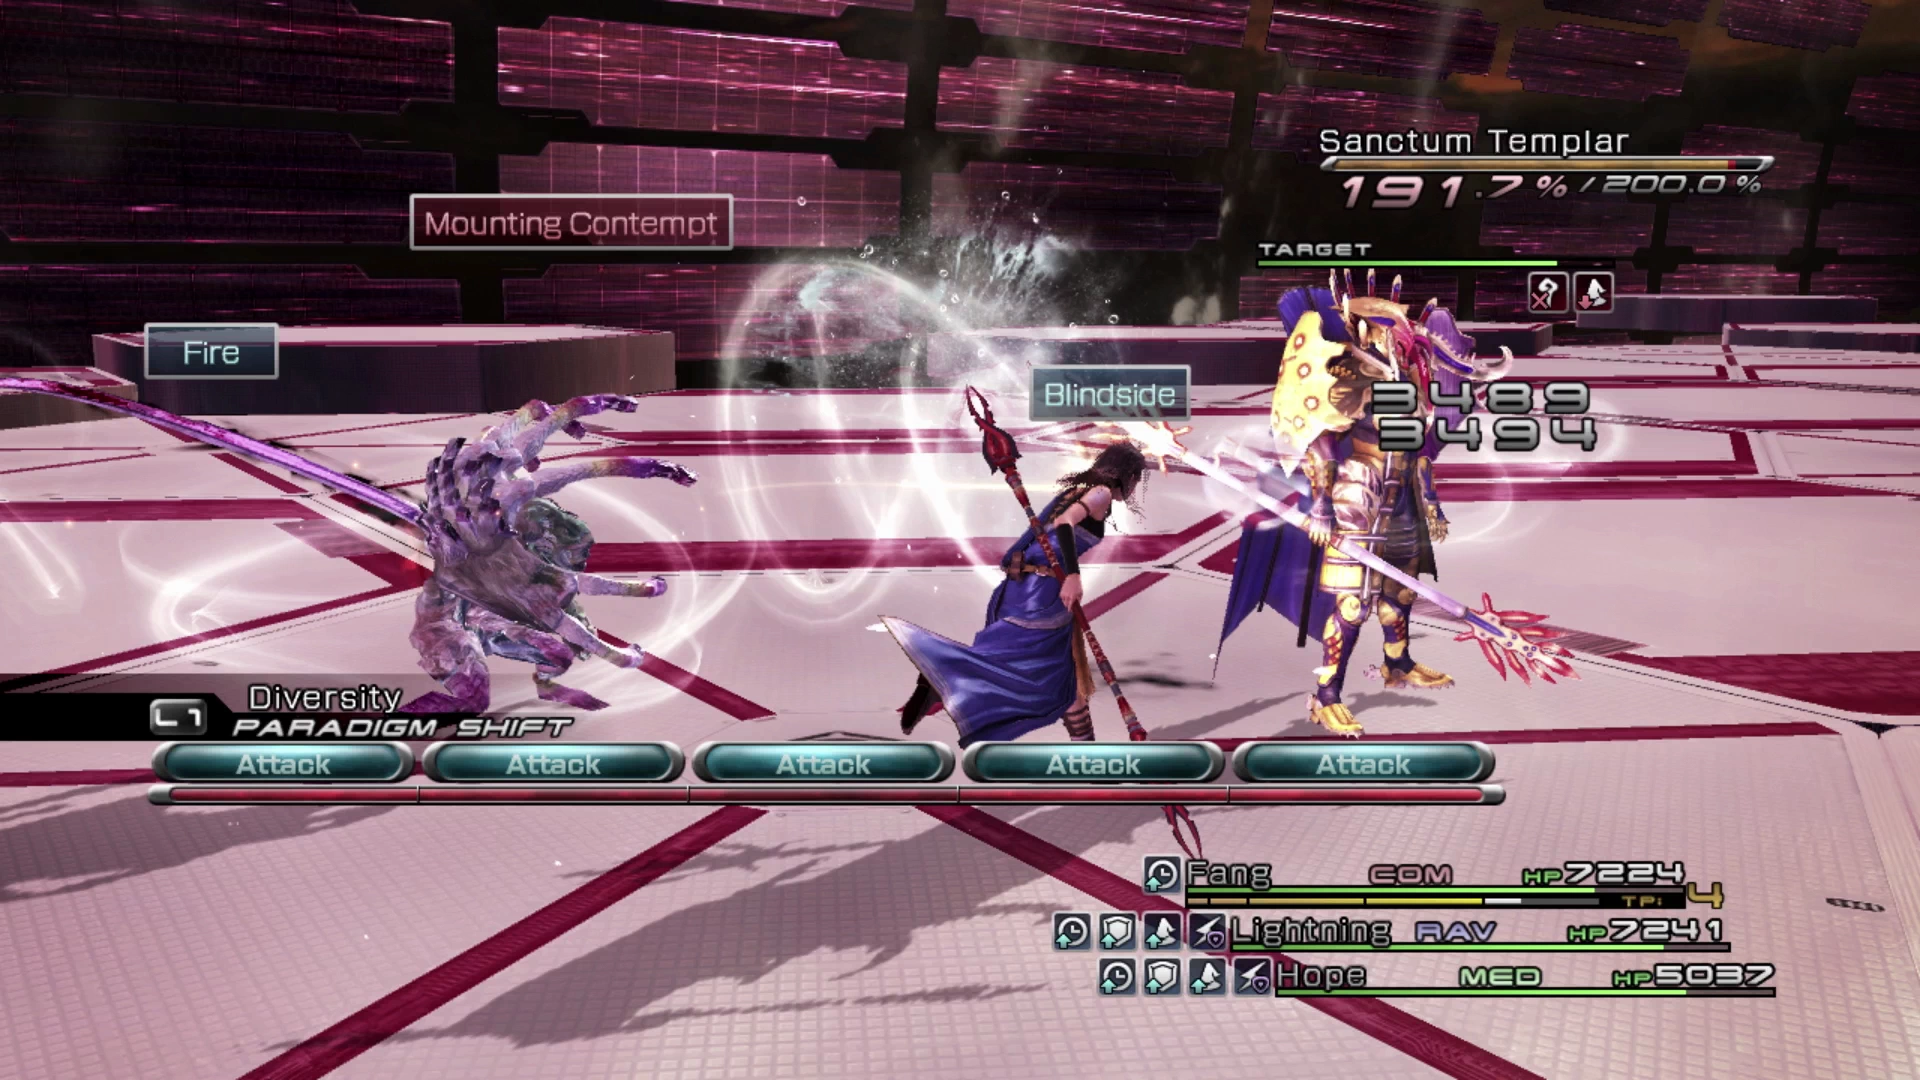
It’s another Wladislaus accompanied by a Sanctum Templar! The best way to deal with these two enemies is to take a defensive approach starting with a Paradigm like Evened Odds before focusing your attacks on the Sanctum Templar. Due to the amount of damage that these two enemies can output it’s important to remain in a defensively-focused Paradigm like Diversity after you are done with Evened Odds.
Continue climbing the ramp until you reach another Treasure Sphere that contains ![]() 5,000 Gil. Unfortunately, there are no further Treasure Spheres loaded with Gil to pick up after this one but it would have been nice had that trend continued!
5,000 Gil. Unfortunately, there are no further Treasure Spheres loaded with Gil to pick up after this one but it would have been nice had that trend continued!
Your next battle, just a bit further up, is against another Jabberwocky and Bandersnatch combo. Making this fight much easier though is that you can quite easily sneak up on the two feral creatures for a preemptive strike if you time your jump to the upper platform properly. Make use of the same strategies that were mentioned in the ‘Boss Battle’ section in Part 1 of the Orphan’s Cradle guide for this fight.
When you get to the top of the platform, the pathway splits with one pathway leading off to the left and the other pathway on the right leading towards the destination marker. The pathway on the left will lead you down to a lone Wladislaus that you can defeat for optional Crystogen Points (CP). Unfortunately, it doesn’t guard any neat treasure down there.
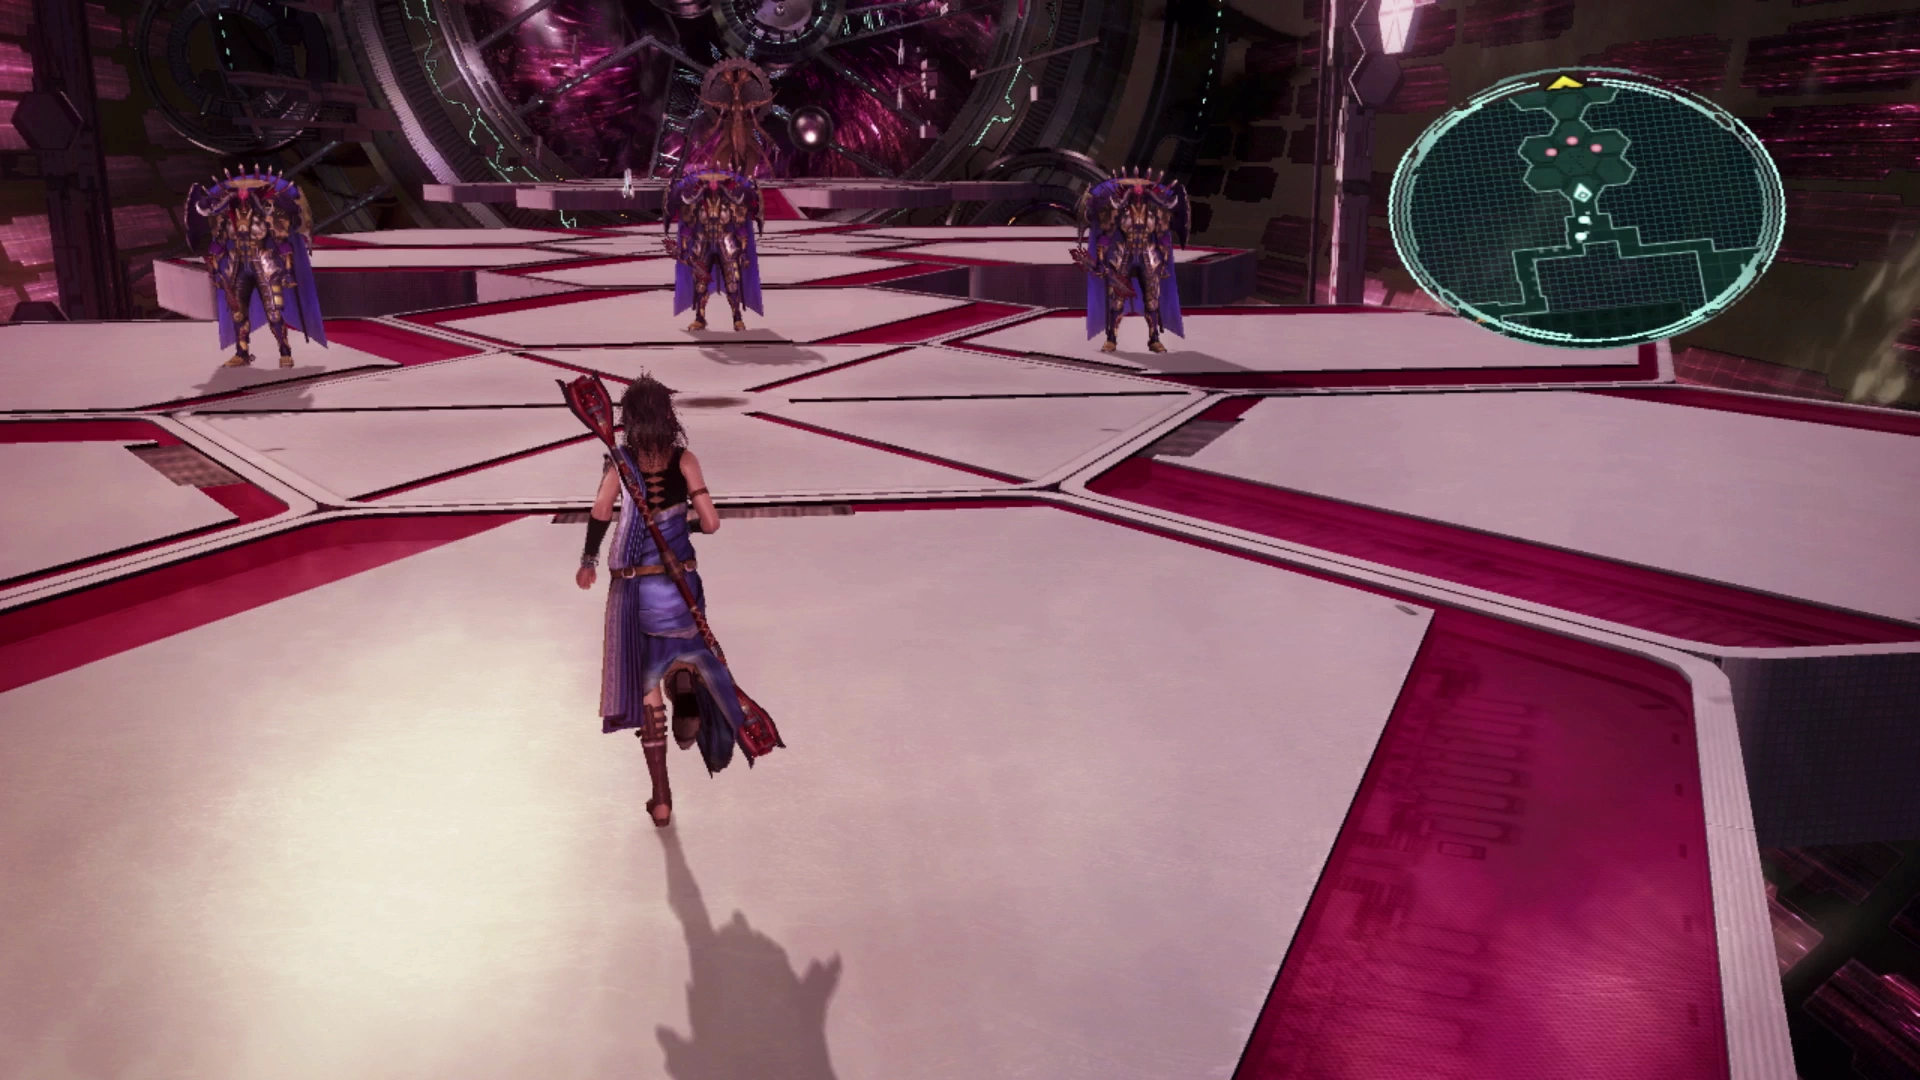
Head towards the map marker and towards the next fight which involves fighting three Sanctum Templars at the same time. This is another battle where you should take a defensive approach first, loading your party members up with buffs from your ![]() Synergist and applying as many debuffs as you can with your
Synergist and applying as many debuffs as you can with your ![]() Saboteur (
Saboteur (![]() Fog being incredibly useful for preventing their magic-based attacks).
Fog being incredibly useful for preventing their magic-based attacks).
Then, once your party is adequately prepared, focus your attacks on one of the Templars, switching from Relentless Assault to Diversity if you need healing.
Move just a bit further forward to and examine the fal’Cie to initiate the next boss fight.
Boss Battle
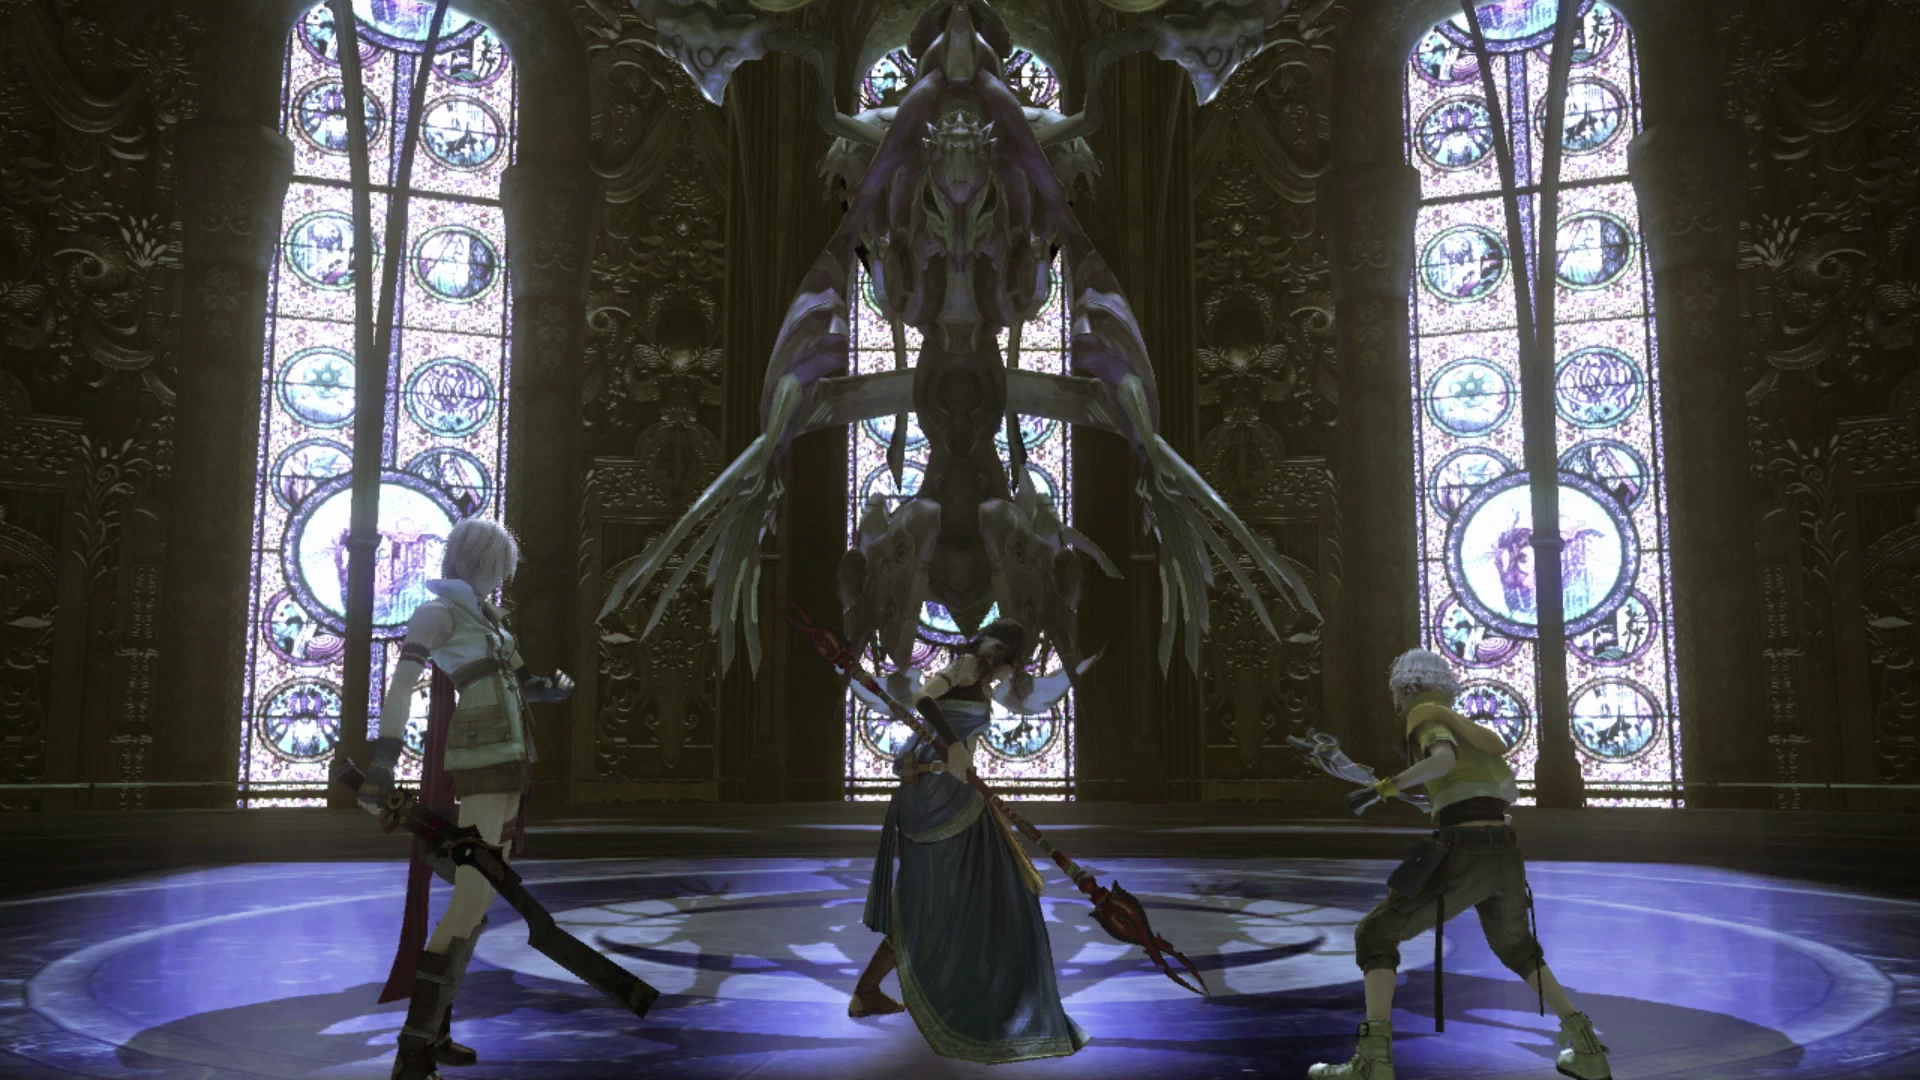
It’s time for the last boss battle in the Tesseracts! This boss will rotate between its flying form (you will see “Lift Off” on the screen) and its ground-based form (when you see “Descent” on the screen). The major difference between these two forms is that it can be launched only when it is in its ground form and it is immune to negative status effects while flying.
Its attacks are fairly standard and there are none that are overly powerful or that require any major degree of preparation. It will use the following attacks:
- Ice Grenades: Inflicts ice-based damage to one target and may inflict the
 Slow status effect.
 - Tail Hammer: Deals damage but also launches party members in range up into the air. May also inflict
 Imperil.
 - Overdrive: Casts helpful buffs on Tiamat Eliminator including
 Bravery,
  Haste,
  Protect and
  Shell.
 - Laser Rain: Hits all targets twice and dispels positive status effects.
- Pinpoint Beam: Hits one target six times and dispels up to six positive status effects.
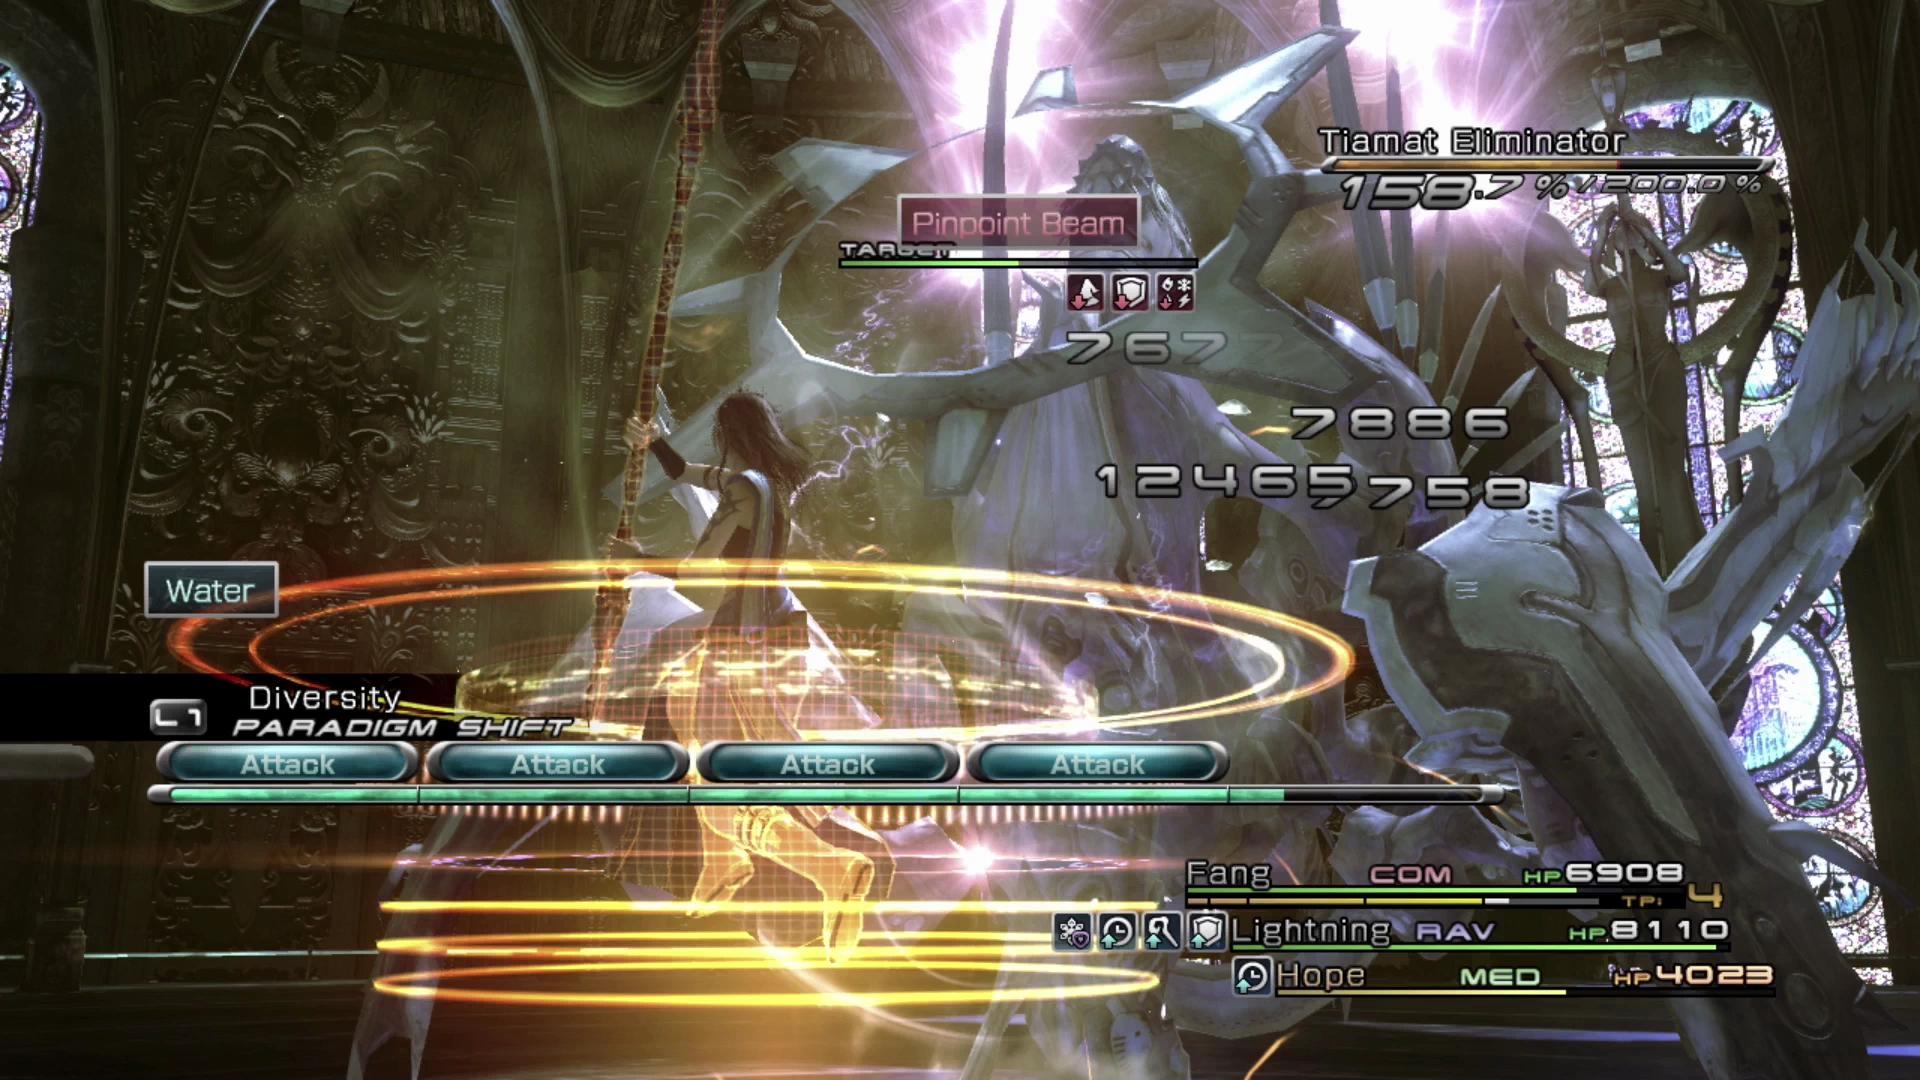
None of these attacks deal significant damage and so the fight against Tiamat Eliminator tends to be straightforward. Just take some time to recast buffs as they are taken off from time to time and work towards Staggering the boss and it should be defeated in no time.
Make sure to use ![]() Libra early on in the fight and be ready to switch to a more defensive Paradigm if the damage gets to be too much.
Libra early on in the fight and be ready to switch to a more defensive Paradigm if the damage gets to be too much.
A final portal will appear after the battle ends but don’t use it to warp to the next area just yet. It’s important to do a quick double-check of everything before you proceed forward from here. Proceeding past this point will prevent you from accessing many of these areas of the Tesseract and any of the enemies available within it.
Warning
This is considered a point of no return and once you move forward after defeating the Tiamat Eliminator you will not be able to return to many sections of the Tesseract.
Here is a short checklist of things to consider before moving forward:
- Do you have all the Enemy Intel entries for the enemies in this area? This is an optional step, but if you plan to fully complete the Datalog, you will need to have completed the entries for:
- Sanctum Templar
- Aquila Velocycle
- Immortal (and Centaurion Blade)
- Megrim Thresher
- Dagonite
- Bandersnatch and Jabberwocky
- Wladislaus
- Did you want to do any more Sacrifice farming? As one final reminder, the farming method outlined in the Farm Sacrifices in Chapter 13 section will no longer be available if you proceed forward from here.
If you have completed everything you plan to and you’re ready to proceed to the conclusion of the story, use the link below to go to Part 3 of the Orphan’s Cradle guide.