
Chapter 13 Sacrifice Farming
The process of farming Sacrifices in Chapter 13 is one of the more lucrative farming methods available in Final Fantasy XIII. If you’ve just arrived on this page coming from the Chapter 13 - Orphan’s Cradle (Part 1) walkthrough page, the benefits of this farming method were already mentioned, but they bare repeating. So why should you farm Sacrifices in Chapter 13?
Sacrifice farming has two major benefits: it’s very easy to do and it offers high valued rewards compared to the amount of time you have to invest. This is important if you plan to complete the optional endgame content and it’s even more important if you plan to try to obtain the most challenging Achievements/Trophies, including Treasure Hunter.
The Treasure Hunter Achievement/Trophy requires a large investment of Gil, which means you will be spending quite a bit of time farming either at this location, in Chapter 13, or later on in the game. The problem is that you will not have access to this farming method in this location (or, rather, it won’t be as efficient) once you have completed Chapter 13.
The rewards for farming at this location are the valuable spoils that you can obtain from Sacrifices after defeating them in battle. They have a chance to drop either a ![]() Perfume, which sells for 15,000 Gil, or a
Perfume, which sells for 15,000 Gil, or a ![]() Scarletite.
Scarletite.
![]() Scarletite are important catalysts that you will need in order to upgrade items if you plan to obtain the Treasure Hunter Achievement/Trophy, but they also sell for 7,000 Gil, so you can obtain some additional Gil once you’ve stockpiled enough of them to use as catalysts.
Scarletite are important catalysts that you will need in order to upgrade items if you plan to obtain the Treasure Hunter Achievement/Trophy, but they also sell for 7,000 Gil, so you can obtain some additional Gil once you’ve stockpiled enough of them to use as catalysts.
Optional Growth Egg
Lastly, if you’ve decided that you want to take on the challenge of the endgame optional content or you’re going to go for the Treasure Hunter Achievement/Trophy, it is highly recommended that you first go out and procure a ![]() Growth Egg.
Growth Egg.
This incredibly powerful accessory will double the amount of CP that your party earns which, if you’re going to invest some time farming Sacrifices in Chapter 13, will pay off huge dividends in the amount of CP that your party members gain.
Therefore, you should first attempt to follow the steps to procure a ![]() Growth Egg which are outlined in the link below. This may be too hard to do at your current level, but give it a try, and if you’re unsuccessful/unlucky, you can always come back after you have farmed some Sacrifices for a little while and leveled up your party members through their Crystariums.
Growth Egg which are outlined in the link below. This may be too hard to do at your current level, but give it a try, and if you’re unsuccessful/unlucky, you can always come back after you have farmed some Sacrifices for a little while and leveled up your party members through their Crystariums.

Follow the link below for more information:
Tips and Tricks

A method for obtaining a Growth Egg accessory as quickly as possible.
The Farming Location
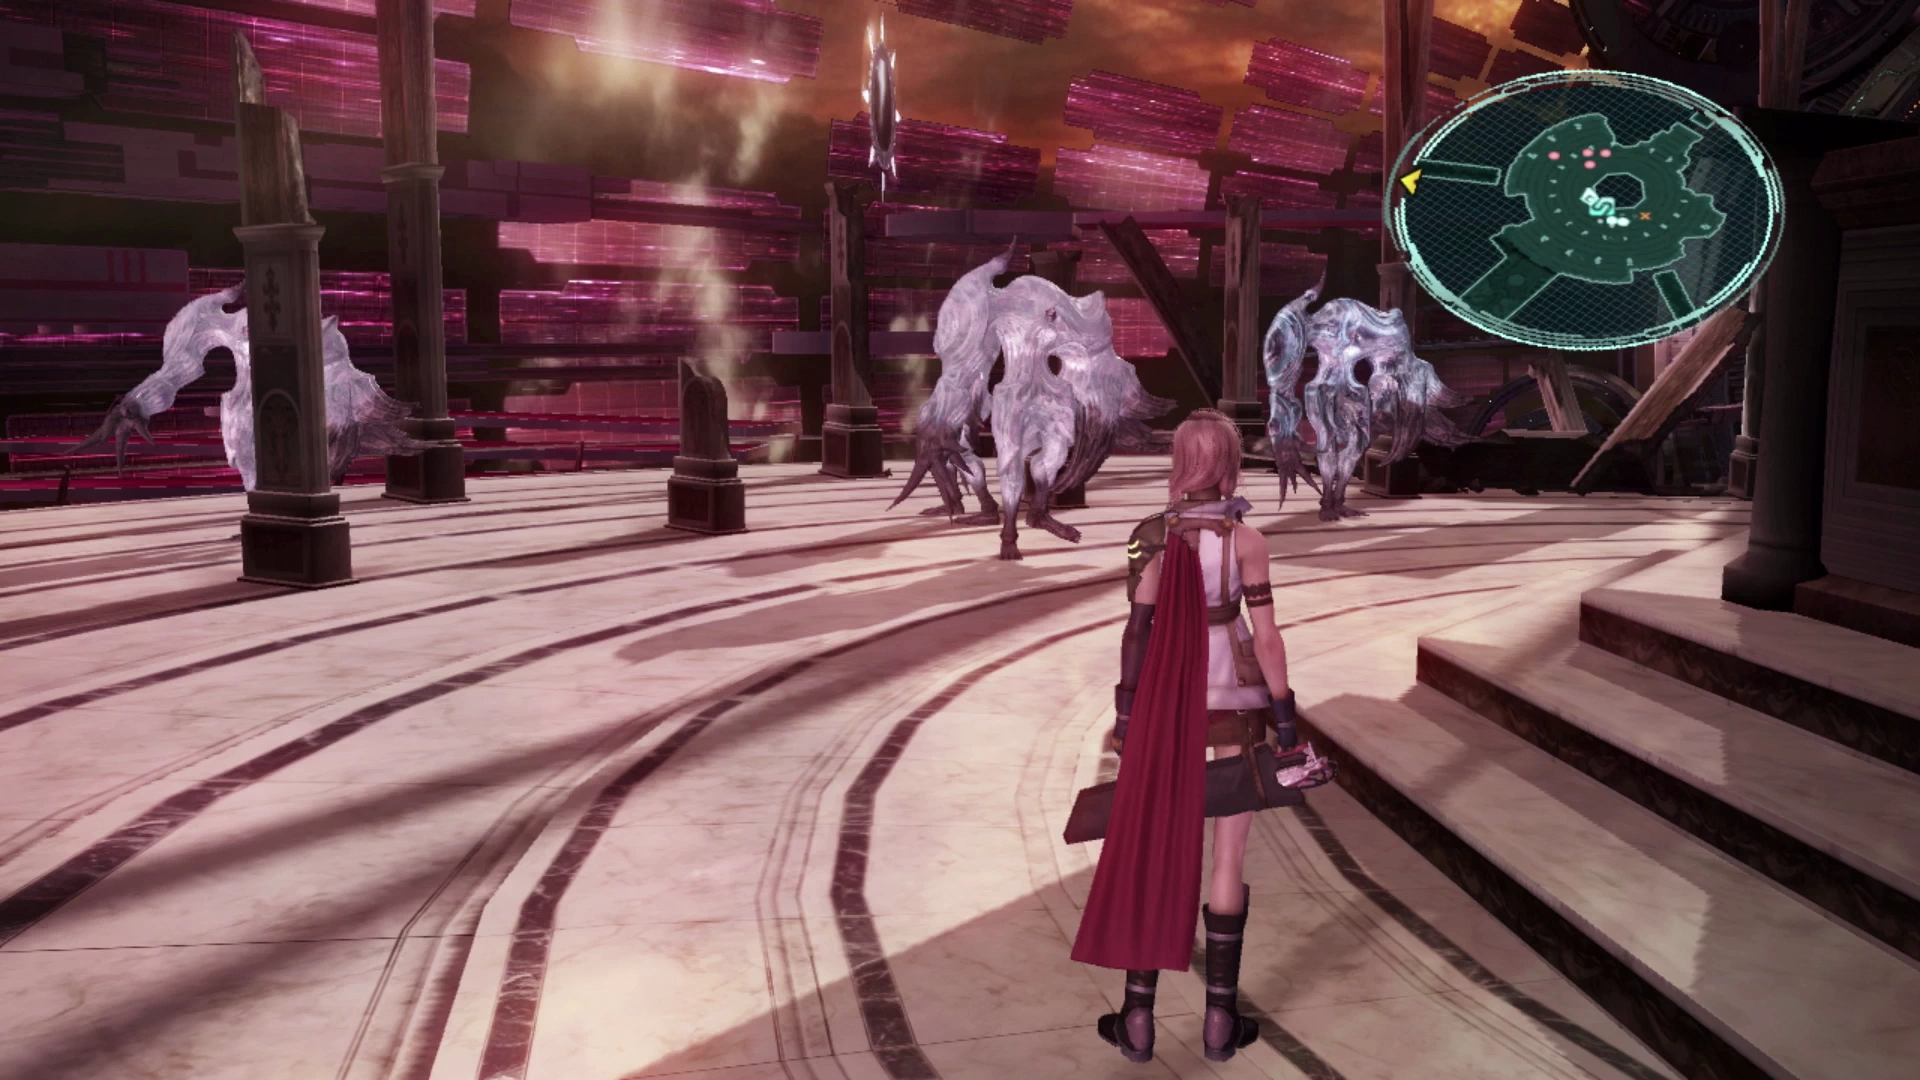
The Sacrifices that you will be farming are located near the ![]() Save Station in the middle of the Tesseracts. You should first venture up towards the end of the platform to activate the four fal’Cie which will open up some portals to transport you out of Orphan’s Cradle, but one of the fal’Cie will also appear on a platform near the center of the Tesseracts as shown in the screenshot below:
Save Station in the middle of the Tesseracts. You should first venture up towards the end of the platform to activate the four fal’Cie which will open up some portals to transport you out of Orphan’s Cradle, but one of the fal’Cie will also appear on a platform near the center of the Tesseracts as shown in the screenshot below:

If you’ve defeated the two groups of Sacrifices in the central area and get close enough to this fal’Cie, without interacting with it or getting too close, the Sacrifices near the ![]() Save Station will respawn instantaneously. You will be able to see the red dots on the mini-map reappear on the map once you get close enough to the fal’Cie.
Save Station will respawn instantaneously. You will be able to see the red dots on the mini-map reappear on the map once you get close enough to the fal’Cie.

The Strategy
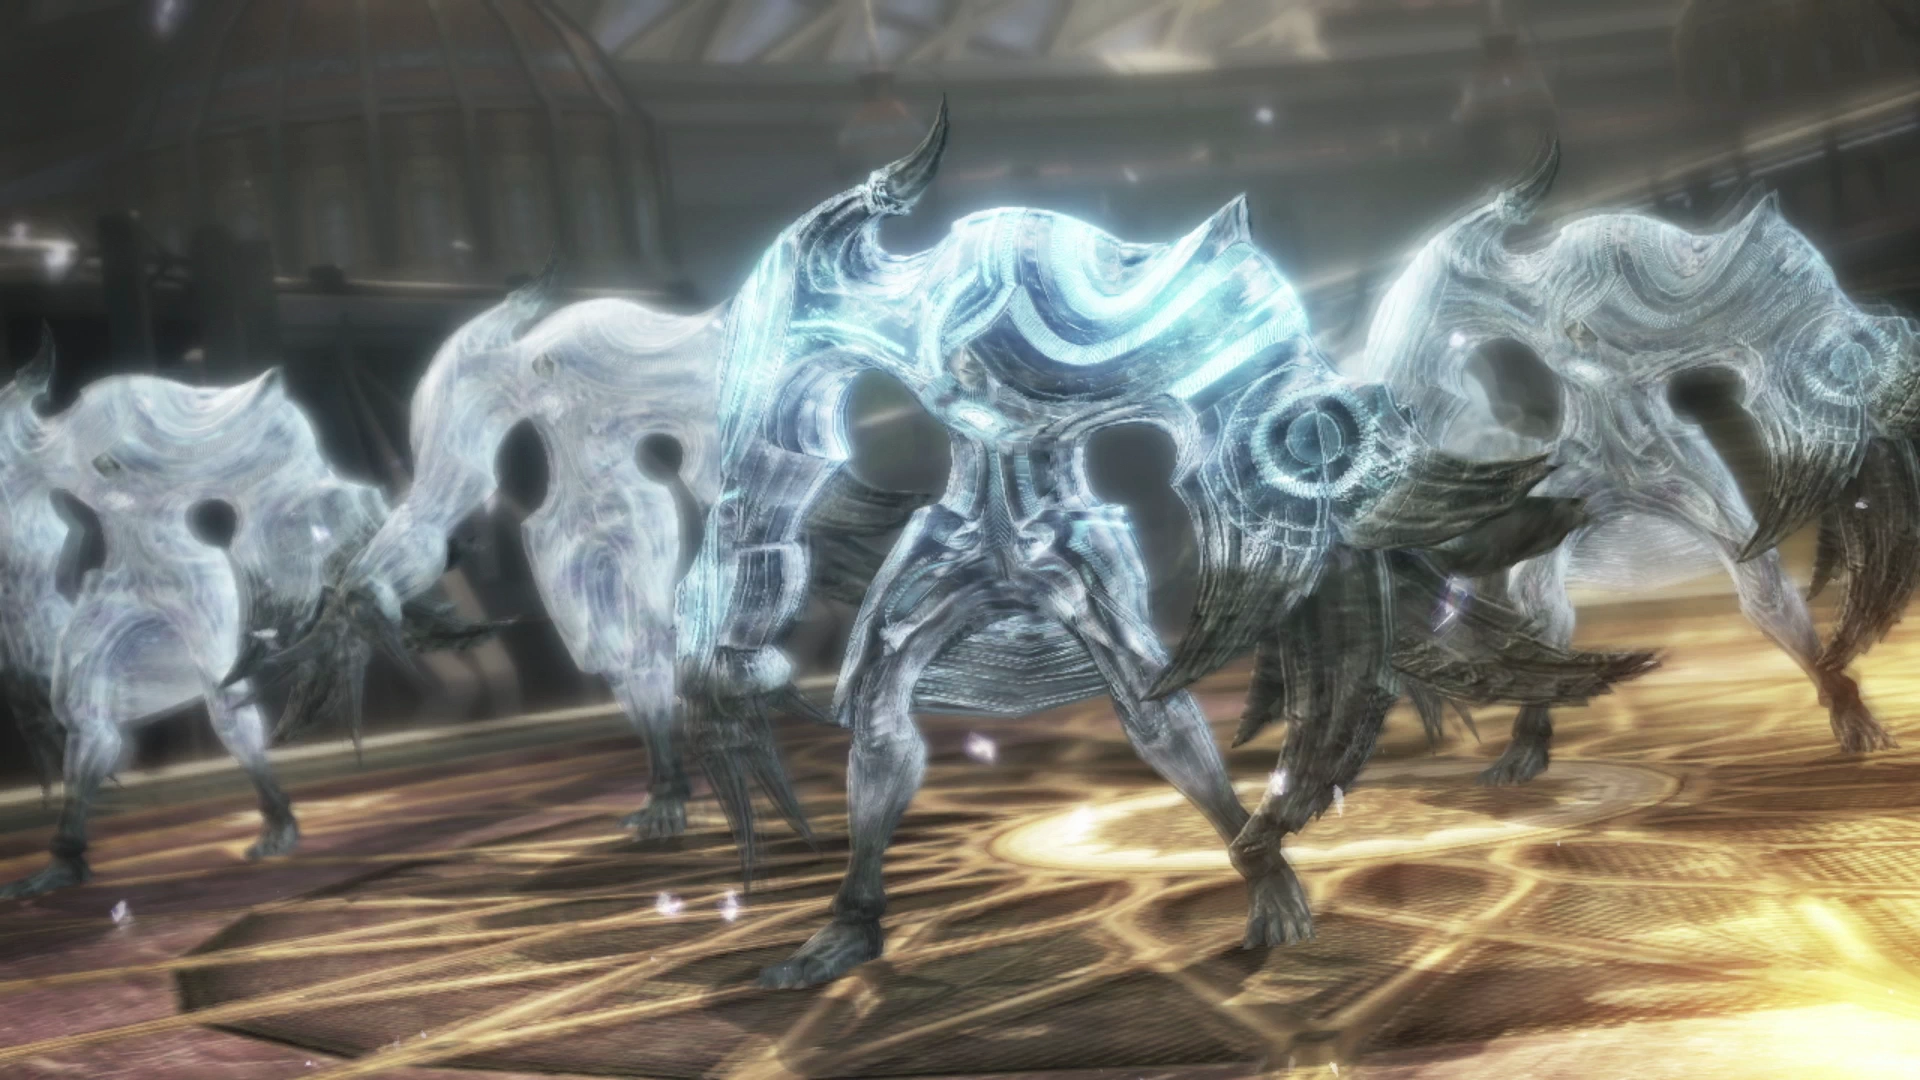
Firstly, let’s do a brief primer on the enemy that you will be farming. The most important thing to note about Sacrifices is that they are slow moving and are easy to sneak up on. The fact that you can get a ![]() preemptive strike on them for every battle is one of the major factors as to why this farming method is so quick and efficient.
preemptive strike on them for every battle is one of the major factors as to why this farming method is so quick and efficient.
In fact, if you don’t get a preemptive strike, you should press the ![]()
![]()
![]() button and select “Retry.” Eventually you will get so good at predicting their patrol patterns and maximum ranges that you will hardly ever miss a preemptive strike.
button and select “Retry.” Eventually you will get so good at predicting their patrol patterns and maximum ranges that you will hardly ever miss a preemptive strike.

The second thing to note about them is their only truly troublesome attack which is called “Anathema” which can inflict ![]() Deshell, Defaith,
Deshell, Defaith, ![]() Imperil,
Imperil, ![]() Poison and
Poison and ![]() Slow. This attack will not only damage your party members, but more importantly, it will slow down your offense and make your farming less efficient.
Slow. This attack will not only damage your party members, but more importantly, it will slow down your offense and make your farming less efficient.
There are three methods that we will be using to negate and/or prevent “Anathema” from impacting your party as much as possible:
- Having a
 Saboteur cast
  Fog or Fogga to prevent a Sacrifice from casting spells (including “Anathema”).
 - Having a
 Commando use
  Ruinga which will stun a Sacrifice and any other Sacrifices around them if they are Staggered.
 - Using preventative accessories in case an “Anathema” cast still gets through.
The most important of these methods is actually number 2 and this is because, through the use of ![]() Ruinga, you will be able to keep most, or all, of the Sacrifices completely locked up and unable to attack, negating all damage or the potential negative status effects.
Ruinga, you will be able to keep most, or all, of the Sacrifices completely locked up and unable to attack, negating all damage or the potential negative status effects.
Unfortunately, the only way to get a ![]() Commando to cast
Commando to cast ![]() Ruinga consistently is for you to manually control the
Ruinga consistently is for you to manually control the ![]() Commando, which leads in to the full strategy that we will be utilizing…
Commando, which leads in to the full strategy that we will be utilizing…
Set up a party that consists of Fang, Hope and Lightning as your Battle Team leader (i.e. the one you will be controlling). Lightning will be serving as your ![]() Commando, Fang will be the
Commando, Fang will be the ![]() Saboteur and Hope will be a
Saboteur and Hope will be a ![]() Ravager. Hope can switch to healing as a
Ravager. Hope can switch to healing as a ![]() Medic if any of your party members take too much damage or if you end up being overwhelmed with negative status effects.
Medic if any of your party members take too much damage or if you end up being overwhelmed with negative status effects.
You will only need three Paradigms for this strategy. You can make use of others depending on your play style but they should not be required. The three Paradigms are:
- Ruthless:
Lightning asCommando, Fang as Saboteur, Hope as  Ravager
 - Relentless Assault:
Lightning asRavager, Fang as Commando, Hope as Ravager - Diversity:
Lightning asRavager, Fang as Commando, Hope as  Medic
Medic
For most of your battles, you will be relying entirely on the Ruthless Paradigm. You would switch to Relentless Assault if there is only one enemy left or two enemies that are spread far enough apart that ![]() Ruinga will not hit both of them, and you would only use Diversity in emergency situations where healing is required.
Ruinga will not hit both of them, and you would only use Diversity in emergency situations where healing is required.
This strategy relies on beginning each battle with a preemptive strike, manually selecting the ![]() Ruinga ability, and repeating that attack over and over again (by hitting
Ruinga ability, and repeating that attack over and over again (by hitting ![]()
![]()
![]() on the directional pad to repeat the last action). Have Lightning target either Sacrifice B or C when you’re fighting the pack of four, or have her target Sacrifice B when you’re fighting the group of three, and she will usually hit a group of most, or all, of the Sacrifices with each
on the directional pad to repeat the last action). Have Lightning target either Sacrifice B or C when you’re fighting the pack of four, or have her target Sacrifice B when you’re fighting the group of three, and she will usually hit a group of most, or all, of the Sacrifices with each ![]() Ruinga cast.
Ruinga cast.
Sometimes you will get lucky and they will all clump up; sometimes they will decide to explore just how far they can get from one another, which will really slow things down. Either way, this process can be repeated each time you fight the groups of Sacrifices.
Fang, in her ![]() Saboteur role, will just cast random debuffs which will sometimes include
Saboteur role, will just cast random debuffs which will sometimes include ![]() Fog, but not always, so sometimes you will need to get lucky. Leaving Fang in her
Fog, but not always, so sometimes you will need to get lucky. Leaving Fang in her ![]() Saboteur role provides other benefits though as other debuffs, such as
Saboteur role provides other benefits though as other debuffs, such as ![]() Deprotect and
Deprotect and ![]() Deshell, will greatly increase the damage that Lightning and Fang deal out to Staggered Sacrifices.
Deshell, will greatly increase the damage that Lightning and Fang deal out to Staggered Sacrifices.
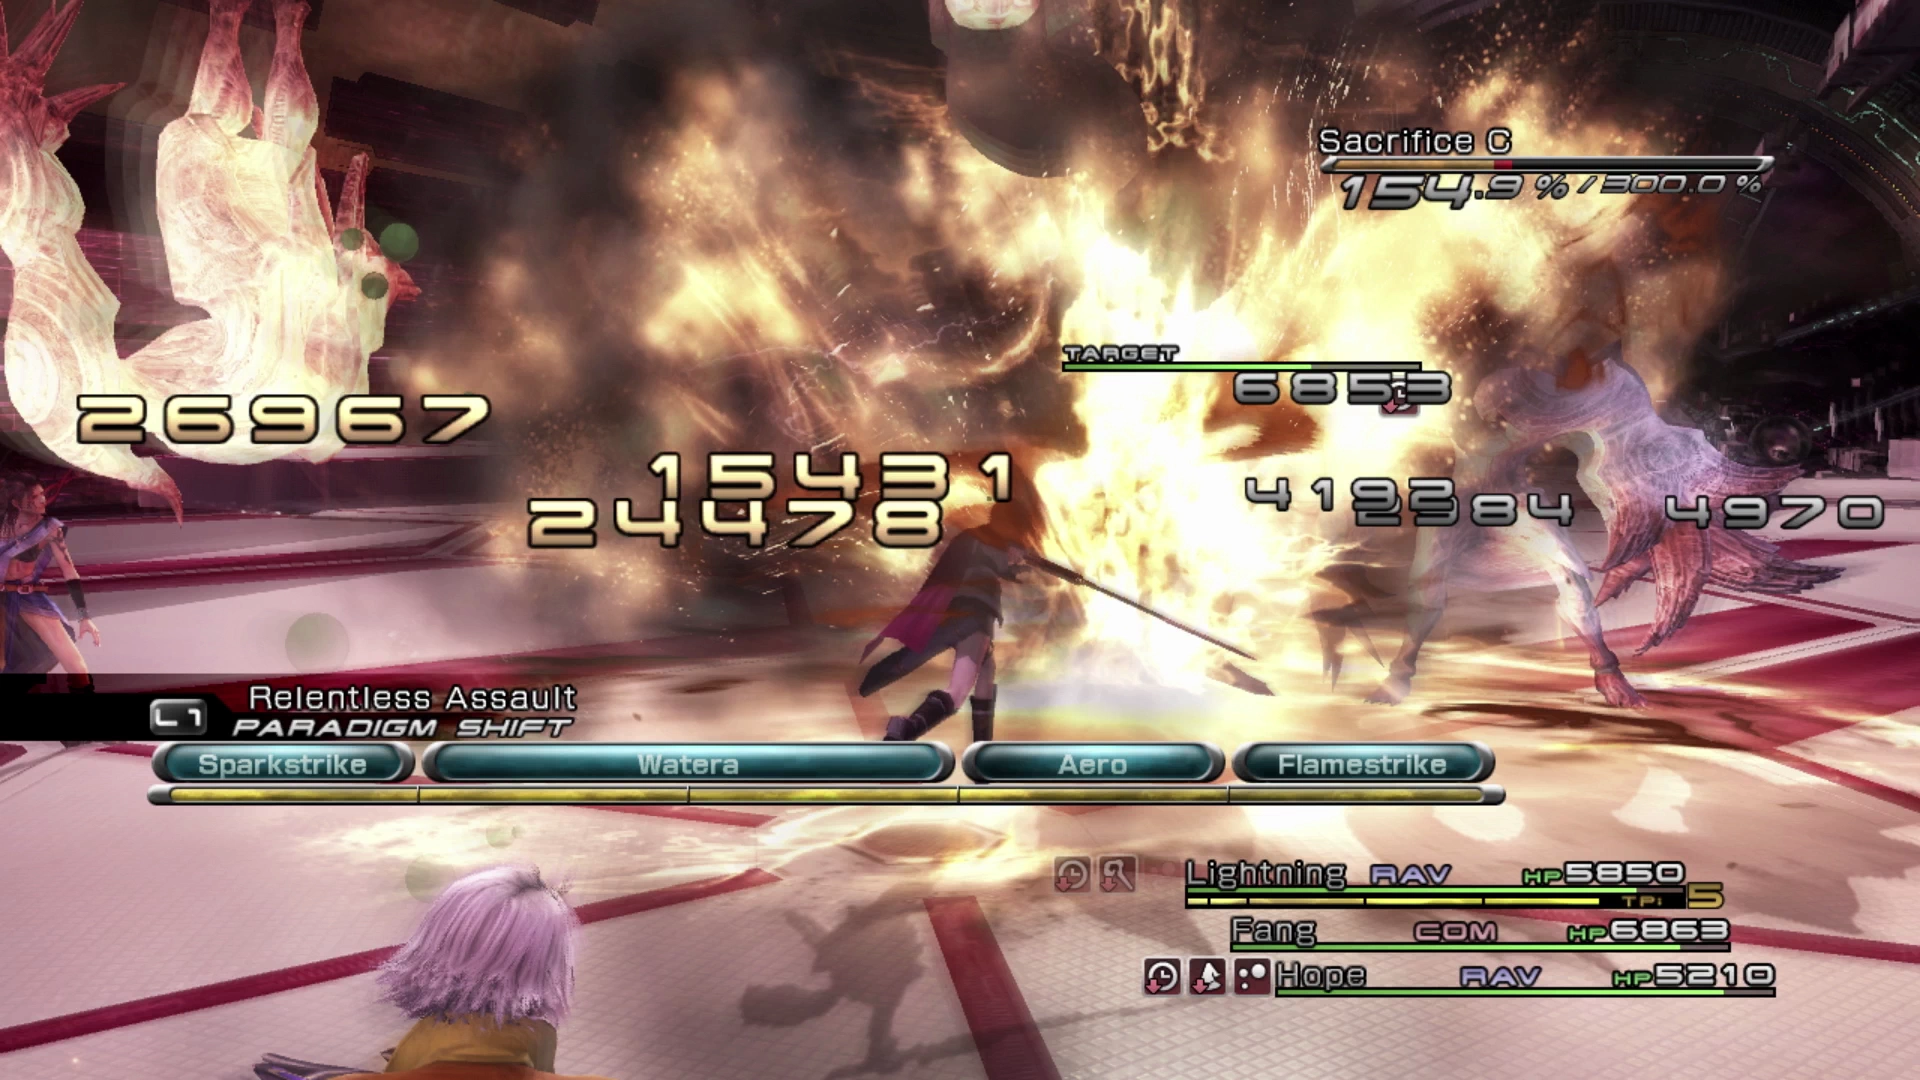
Lastly, equip your party members with accessories that increase their damage so they can wipe through enemies even faster. In a best case scenario, they will be able to rip through all or most of the Sacrifices before the Stagger wears off. If one Sacrifice dies and you’re not sure which one to target next, just remember that an enemy that has been Staggered will be highlighted yellow on the list of enemies to attack (as shown in the screenshot below). Prioritize the Staggered Sacrifices.
Other accessories that will help is ![]() Goddess’s Favor which reduces the duration of status effects if your party members do get hit with “Anathema.” The rest of your accessories should be focused on increasing damage, such as
Goddess’s Favor which reduces the duration of status effects if your party members do get hit with “Anathema.” The rest of your accessories should be focused on increasing damage, such as ![]() Power Glove,
Power Glove, ![]() Sorcerer’s Mark, and
Sorcerer’s Mark, and ![]() Blessed Talisman. Don’t forget to equip the
Blessed Talisman. Don’t forget to equip the ![]() Growth Egg and a
Growth Egg and a ![]() Collector Catalog.
Collector Catalog.
Warning
Make sure one of your party members has ![]() Collector Catalog equipped to increase the likelihood that the Sacrifices will drop a
Collector Catalog equipped to increase the likelihood that the Sacrifices will drop a ![]() Perfume or a
Perfume or a ![]() Scarletite.
Scarletite.
Once you have defeated both the group of four Sacrifices and the group of three Sacrifices, run towards the fal’Cie and get close enough for the two groups to respawn, and then head back up and fight them again. This is all there is to it!
Make sure to save your game from time to time and sell the ![]() Perfume and extra
Perfume and extra ![]() Scarletite you pick up (for more info on how much Scarletite you might need, continue reading below).
Scarletite you pick up (for more info on how much Scarletite you might need, continue reading below).
There is a video below demonstrating this farming method if you would like to see it in action.
Other Tips
- Spend some time getting used to how far the Sacrifices will run to attack you before they leash back and stop moving. There are certain spots where you can stand and, even if the Sacrifice is standing right next to you, it will not move any closer towards you. You can use this leashing to time your preemptive strikes more effectively.
- There is no need to utilize the ATB Refresh tactic and you can stay in the Ruthless Paradigm for nearly all the fight since Ruinga only requires 3 ATB slots.
- If your last 1 or 2 Sacrifices are already loaded up with all the debuffs that Fang can cast (
 Imperil,
  Deprotect,
  Deshell, Fog,
  Slow) you may as well switch to Relentless Assault, otherwise Fang will be providing limited value.
 - Sometimes you will get unlucky. The Sacrifices can cast
 Death if they’re not inflicted with Fog, which has a chance of instantly killing one of your characters. If they use this on your party leader it’s an instant game over, but even if they just successfully use it on one of your other party members, this has the potential to really slow things down. It may be worth restarting and trying again.
In other words, there is still a randomness element to this strategy, so do expect things to go poorly from time to time.
Example
Here is a video demonstrating this farming method in action:
How long should you farm?
The main benefit of this farming strategy is how braindead easy it is to do. Once you get into the swing of things, you’ll be able to complete these battles while watching TV or doing something else productive. How long you utilize this farming method is really just a matter of how long you can do it before the boredom gets to be too much.
From a pure efficiency standpoint, there are more lucrative farming methods available later on in the game, but they will require your full concentration as they are not nearly as easy to pull off. As a general recommendation, 5 to 10 hours of farming is usually enough, even if you’re planning to pursue the Treasure Hunter trophy.
You will want to finish your farming with at least 25 ![]() Scarletites in your inventory (you can sell the rest that drop). Farming until you have around 5 million Gil is also a good general guideline, due to the final consideration…
Scarletites in your inventory (you can sell the rest that drop). Farming until you have around 5 million Gil is also a good general guideline, due to the final consideration…

Using your ![]() Growth Egg, you will eventually store up enough Crystogen Points (CP) using this method that you will run out of spots to spend them, but there is actually another level of the Crystarium that becomes available after you complete Chapter 13. Characters can have a maximum of 999,999 CP at one time, so due to this fact, it becomes a bit of a drawback if you get to a point where you run out of places to spend CP and your characters have ~500,000 CP stockpiled.
Growth Egg, you will eventually store up enough Crystogen Points (CP) using this method that you will run out of spots to spend them, but there is actually another level of the Crystarium that becomes available after you complete Chapter 13. Characters can have a maximum of 999,999 CP at one time, so due to this fact, it becomes a bit of a drawback if you get to a point where you run out of places to spend CP and your characters have ~500,000 CP stockpiled.
They will each gain quite a bit more when you continue the game and finish working your way to the end of the chapter. Therefore, it can be argued that the efficiency of this farming spot starts to fall off at around the point where you have over 5,000,000 Gil or when your character’s CP starts to reach its maximum for this chapter.
That said, Gil is Gil, and once you complete Chapter 13, this farming spot will be gone forever, or rather, becomes far less efficient, as you can no longer reset the Sacrifices as easily. So the choice is up to you! Remember that there are other farming methods you can utilize later so don’t sweat this decision too much!