
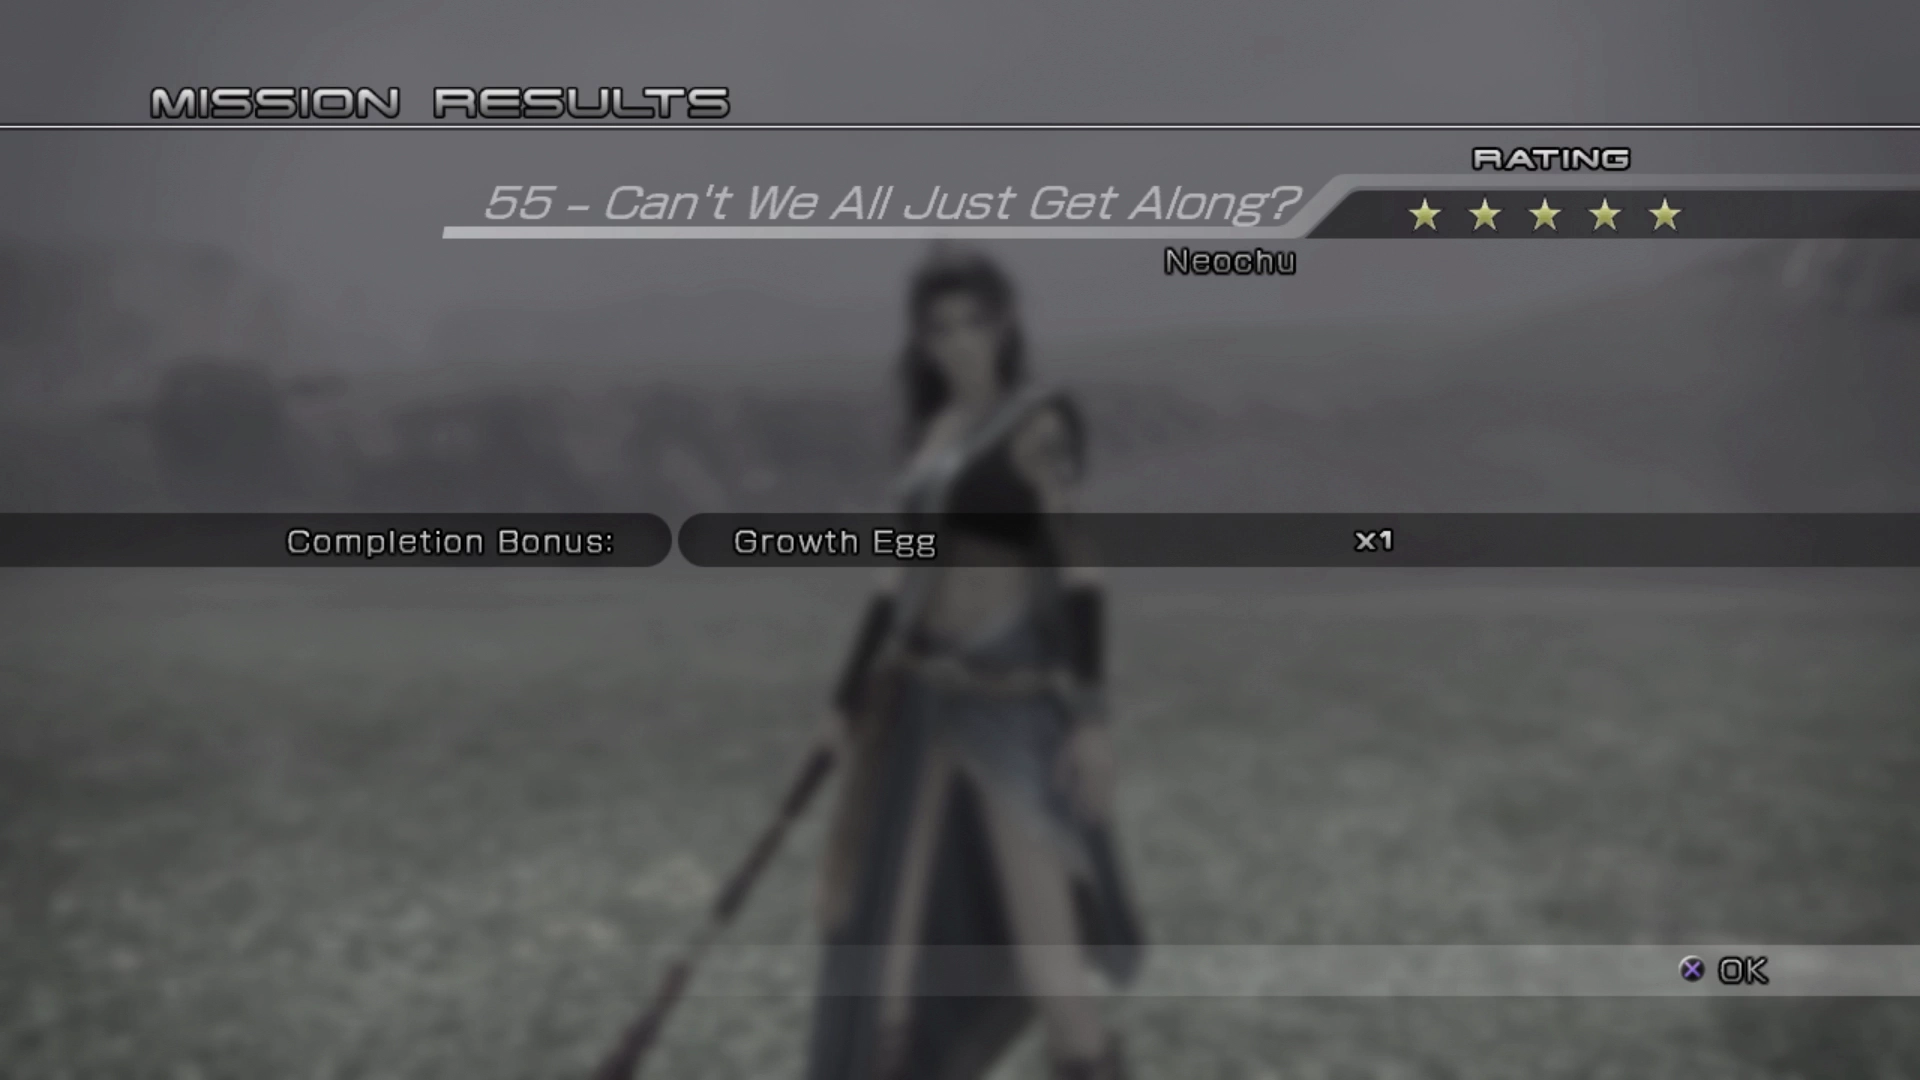
Early Growth Egg
There is a high level Mission available that provides an amazing reward once it has been completed. That reward is called a ![]() Growth Egg. This accessory, when equipped to one of your party members, will double the amount of Crystogen Points (CP) that all of your party members receive at the end of each battle (including the ones not participating in the fight).
Growth Egg. This accessory, when equipped to one of your party members, will double the amount of Crystogen Points (CP) that all of your party members receive at the end of each battle (including the ones not participating in the fight).
Because of how valuable this item is, it’s worth going out of your way to obtain it as early as you can in order to expedite the leveling and growth of your characters so you can challenge high level endgame content much sooner. So how do you get one?
Mission 55 - Can’t We All Just Get Along?
The Mission you need to complete is ![]() Mission 55; and this Mission will likely be the highest leveled Mission you’ve seen compared to the previous Missions you have completed. If you have been following this walkthrough along section by section, you most likely have completed up to
Mission 55; and this Mission will likely be the highest leveled Mission you’ve seen compared to the previous Missions you have completed. If you have been following this walkthrough along section by section, you most likely have completed up to ![]() Mission 34. So how big of a step up is moving from Mission 34, skipping the rest, and going right to Mission 55?
Mission 34. So how big of a step up is moving from Mission 34, skipping the rest, and going right to Mission 55?
In short, this is an extremely challenging Class “A” Mission, and at this stage of the game it is likely that you are going to have to employ cheesy tactics in order to bring down the boss as your characters won’t be able to survive very long against the mark.

The normally recommended order of Missions provides time for you to level your characters appropriately, but because of how valuable the ![]() Growth Egg accessory is, it’s worth trying some more
Growth Egg accessory is, it’s worth trying some more ![]() Death spam and trying to get lucky just like you may have attempted against the Adamantoise back in Eden during Chapter 12.
Death spam and trying to get lucky just like you may have attempted against the Adamantoise back in Eden during Chapter 12.
The Difficulty
It’s worth noting that, even while utilizing the ![]() Death spam strategy against this mark, your characters may still be too low-leveled to complete this Mission. The mark, Neochu, and its allies, hit extremely hard against an unprepared party.
Death spam strategy against this mark, your characters may still be too low-leveled to complete this Mission. The mark, Neochu, and its allies, hit extremely hard against an unprepared party.
The strategy outlined on this page is designed for parties that need to use wacky strategies in order to complete the fight, but remember that if your party is fairly high-leveled, or if you have already completed the Missions leading up to this page (35 through 54 which involves going through the Faultwarrens and Titan’s Trials), the actual strategy for this fight can be found on the Mission page (![]() Mission 55 - Can’t We All Just Get Along?). This is the one that doesn’t involve
Mission 55 - Can’t We All Just Get Along?). This is the one that doesn’t involve ![]() Death spam.
Death spam.
Cie’th Stone Location
If you’ve decided that this is something that you would like to challenge yourself to do, it’s time to track down Cie’th Stone. The Cie’th Stone for this Mission is located back in Oerba at the top of the Deserted Schoolhouse.
The best way to get there is to use one of the ![]() Waystones and use it to warp to “Oerba - Village Proper.” This means that you will need to travel all the way through Oerba and back, but this is still the quickest route.
Waystones and use it to warp to “Oerba - Village Proper.” This means that you will need to travel all the way through Oerba and back, but this is still the quickest route.
Mark Location
The mark for Mission 55 can be found in Aggra’s Pasture. If you have been completing the Missions leading up to Chapter 13, which includes all the Missions up to Mission 34, you should already know where Aggra’s Pasture is. The mark appears in the area near where you may or may not have fought the Ochu earlier on as you were passing through.
Warning
One last warning that if your party members have not completed most of the Missions up to this point you will probably struggle with this battle, even using the ![]() Death spam strategy.
Death spam strategy.
Consider finding a way to level up your party members using one of the CP Farm Strategies or by fighting against some of the Farmable Sacrifices in the Tesseract if you’re struggling.
The Strategy
Be forewarned, Neochu is extremely powerful and extremely difficult to deal with. You will need to get very lucky with one of Vanille’s ![]() Death casts and you are just hoping against all odds that you will get lucky and that Neochu will be instantly killed before it can KO your party members.
Death casts and you are just hoping against all odds that you will get lucky and that Neochu will be instantly killed before it can KO your party members.
For starters, Neochu has two powerful moves that will make this difficult to accomplish. The first of these moves is called “Screech.” Neochu will use “Screech” around 1-minute after the battle has begun and it will probably do enough damage to instantly KO a few (or all) of your party members. In other words, once Neochu uses “Screech” its game over and you will need to try again, so you’ll need ![]() Death to work before it uses this attack.
Death to work before it uses this attack.
The second move that can prove to be very annoying is its regular attack which involves it puncturing its vines into the earth and hitting a party member through the ground, which subsequently launches that party member into the air. A single attack from Neochu is survivable, but getting hit twice in a row is likely a death sentence for that character and means you will likely have to start the battle over. It’s extra annoying when it hits your party leader (Vanille) as you will temporarily lose control of their actions while they are flying through the air.
The whole strategy for this battle involves trying to survive and protect Vanille while she casts ![]() Death and hoping that one of these
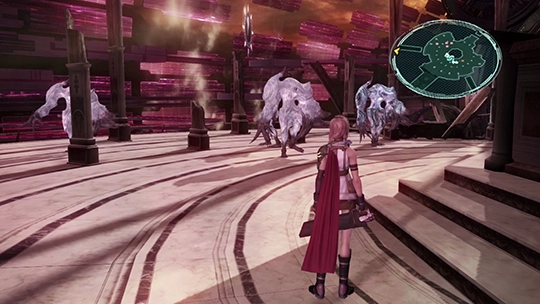
Death and hoping that one of these ![]() Death casts will instantly kill Neochu. Unfortunately, you will still have to fight the five little Picochus once it is dead.
Death casts will instantly kill Neochu. Unfortunately, you will still have to fight the five little Picochus once it is dead.
The Setup
Complete the following steps before starting the battle:
- Set up two Attrition Paradigms which will have Vanille as a
 Saboteur (and your party leader), Fang as a
  Sentinel and Hope as a
  Medic. These are the two primary Paradigms you will be switching back and forth between while Vanille is casting
  Death.
 - Set up the remaining four Paradigms in preparation for the drawn out regular battle against the Picochus once Neochu is dead. Here are some suggestions:
- Equip Vanille with the
 Belladonna Wand which will increase the odds of Death successfully killing Neochu.
 - Equip all three characters with defensive-focused accessories that either prevent damage or increase your party member’s HP. Survival is the primary focus for both Fang and Hope while Vanille is casting Death.
- Press the


 button and use a
  Fortisol and an Aegisol at the start of the fight. All three of your party members will then begin the battle with
  Bravery,
  Faith,
  Haste,
  Protect,
  Shell,
  Veil and
  Vigilance cast which will help them to survive the onslaught of damage. The Fortisol and Aegisol will be returned to your inventory if you restart the fight so you won’t have to worry about blowing through your entire stockpile.
You’re all ready for the battle!
The Battle
This strategy, as mentioned above, is a bit cheesy and just relies on Vanille getting lucky by having her cast ![]() Death spell which has a very small chance of instantly killing Neochu, and then defeating the smaller Picochu enemies afterwards. This may require you to attempt many repeats of the fight and there are going to be many instances where you will get really unlucky and a party member will be KO’d early, at which point you’ll have to restart the battle and try again.
Death spell which has a very small chance of instantly killing Neochu, and then defeating the smaller Picochu enemies afterwards. This may require you to attempt many repeats of the fight and there are going to be many instances where you will get really unlucky and a party member will be KO’d early, at which point you’ll have to restart the battle and try again.
The idea is that Fang will taunt and hold most of the Picochus which will focus their attacks on her while Hope is just constantly healing as a ![]() Medic and trying to keep her alive. Obviously, if Fang is struggling and taking too much damage or if Hope is unable to keep her alive through the damage being dealt, your party is probably too low-leveled to attempt this strategy and you may need to come back after leveling your characters further through their Crystariums.
Medic and trying to keep her alive. Obviously, if Fang is struggling and taking too much damage or if Hope is unable to keep her alive through the damage being dealt, your party is probably too low-leveled to attempt this strategy and you may need to come back after leveling your characters further through their Crystariums.
Vanille can get even more casts of ![]() Death off each attempt if you utilize the ATB Refresh strategy. How this works in battle is you would swap from one Attrition Paradigm to the other just as a
Death off each attempt if you utilize the ATB Refresh strategy. How this works in battle is you would swap from one Attrition Paradigm to the other just as a ![]() Death cast lands on Neochu and swap Paradigms after every two casts (Death, Death, Paradigm Switch, repeat). After you switch Paradigms, Vanille’s ATB bar should be completely full allowing her another quick cast, and allowing you to get more
Death cast lands on Neochu and swap Paradigms after every two casts (Death, Death, Paradigm Switch, repeat). After you switch Paradigms, Vanille’s ATB bar should be completely full allowing her another quick cast, and allowing you to get more ![]() Death casts in for each battle, increasing your chances of success.
Death casts in for each battle, increasing your chances of success.
These Paradigm swaps will also fill the ATB bar for Fang and Hope which will allow for more healing and defensive abilities on their part, which will increase your likelihood of survival. You may need to time your Paradigm shifts in a way where it doesn’t completely debilitate Hope while he’s trying to get a healing spell off or if Fang is close to dying.
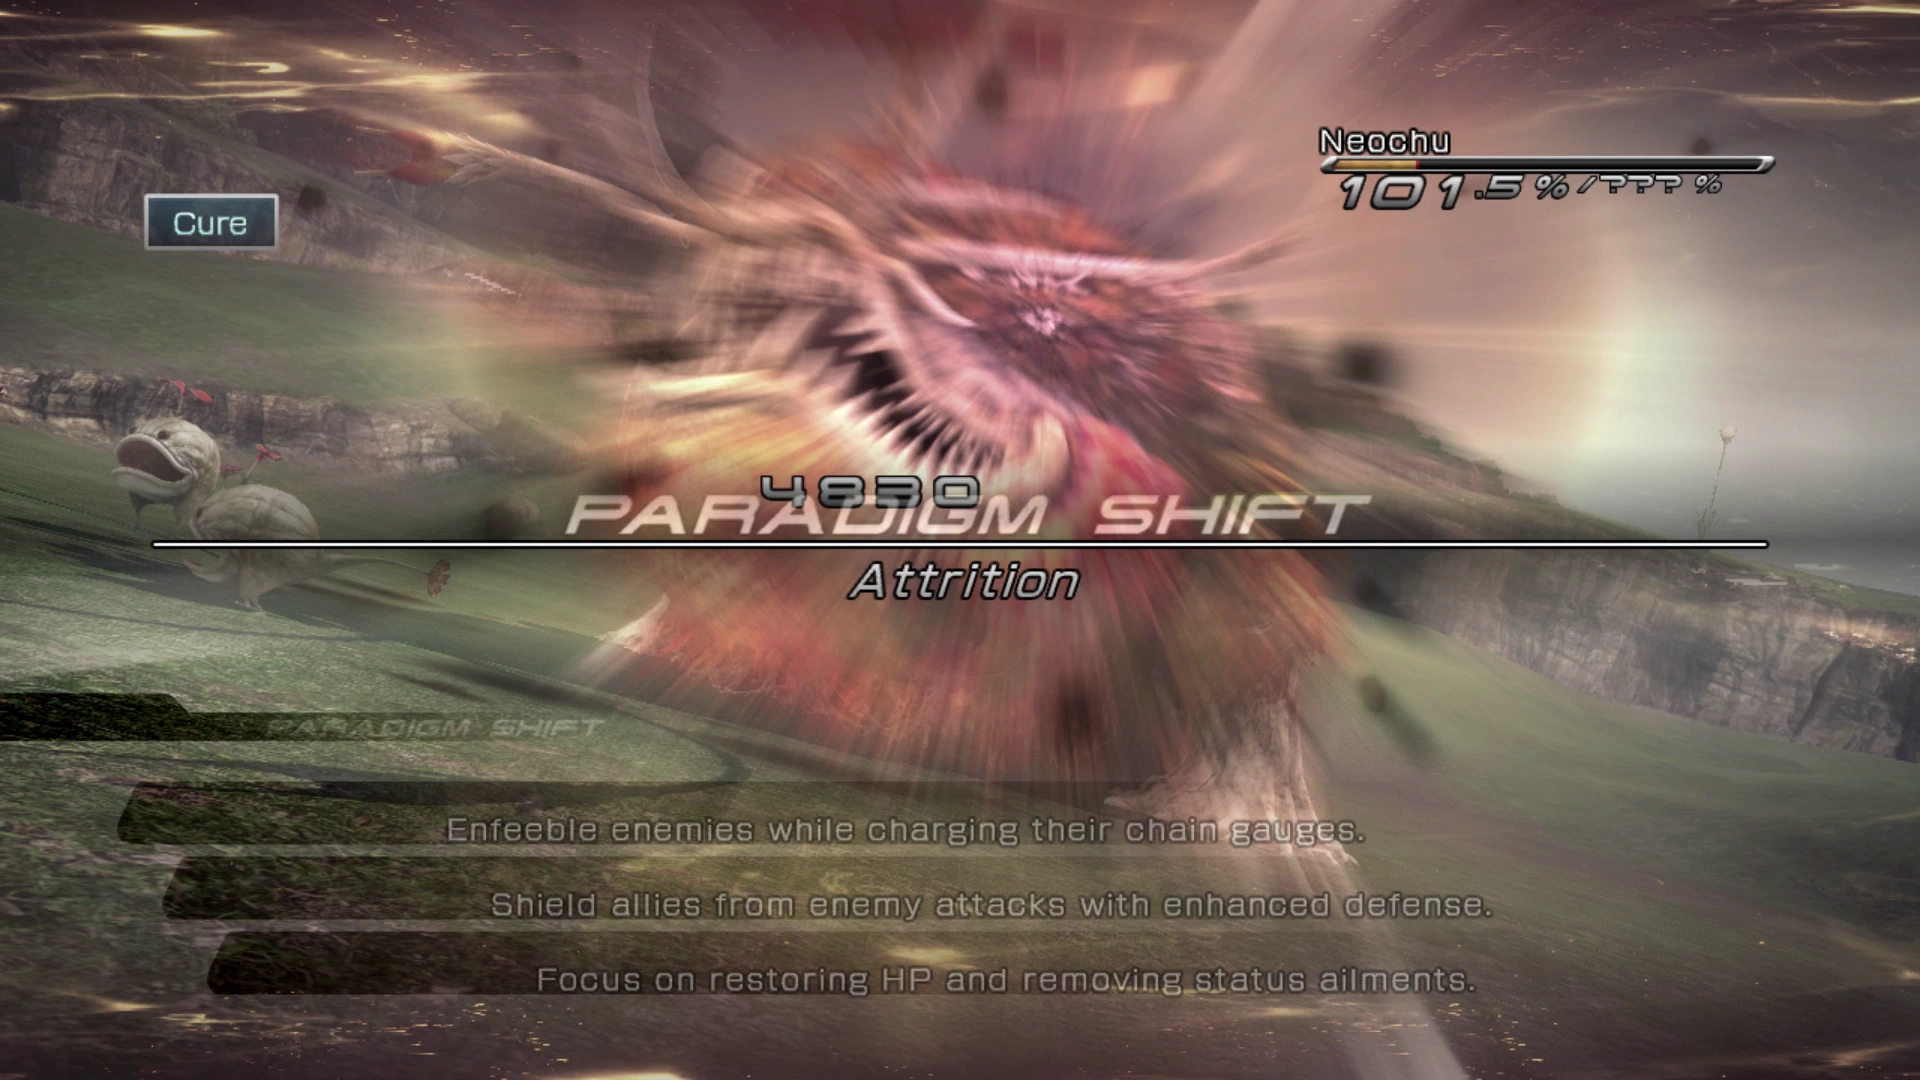
Lastly, make sure to have Vanille start each fight by casting ![]() Imperil on Neochu and make sure that this status effect is active (you can see it on Neochu’s HP bar).
Imperil on Neochu and make sure that this status effect is active (you can see it on Neochu’s HP bar). ![]() Imperil will greatly reduce Neochu’s resistance to the instant death effect of Vanille’s
Imperil will greatly reduce Neochu’s resistance to the instant death effect of Vanille’s ![]() Death spell.
Death spell.
This strategy involves getting lucky. Don’t be surprised if it takes longer than an hour for you to complete successfully; it’s luck of the draw. Check out the video below which includes some failed attempts to give you a better idea of how this strategy looks when playing:
Don’t forget to swap your equipment and Paradigms back after you successfully complete the battle. Equip your ![]() Growth Egg to one of your party members right away so they can start benefiting from the rewards of your success as soon as possible.
Growth Egg to one of your party members right away so they can start benefiting from the rewards of your success as soon as possible.
Use the links below to help you navigate back to one of the previous sections of the guide:
Tips and Tricks
Defeating groups of Sacrifices for the Perfume and Scarletite drops to earn quick Gil and EXP. Arguably the most efficient farming location in the game.
Walkthrough Guide
The first sections of the Tesseracts up to the battle against Jabberwocky and Bandersnatch.