 Mission 05: Joyless Reunion
Edimmu (Class D)
Prerequisites
- Complete Mission 03 - Massif Contamination
 Cie’th Stone Location
The Cie’th Stone for this Mission is back along the pathway that was used to complete ![]() Mission 04 - A Hero’s Charge. It can be found in the Ascendant Scarp area of the Yaschas Massif.
Mission 04 - A Hero’s Charge. It can be found in the Ascendant Scarp area of the Yaschas Massif.
Mark Location
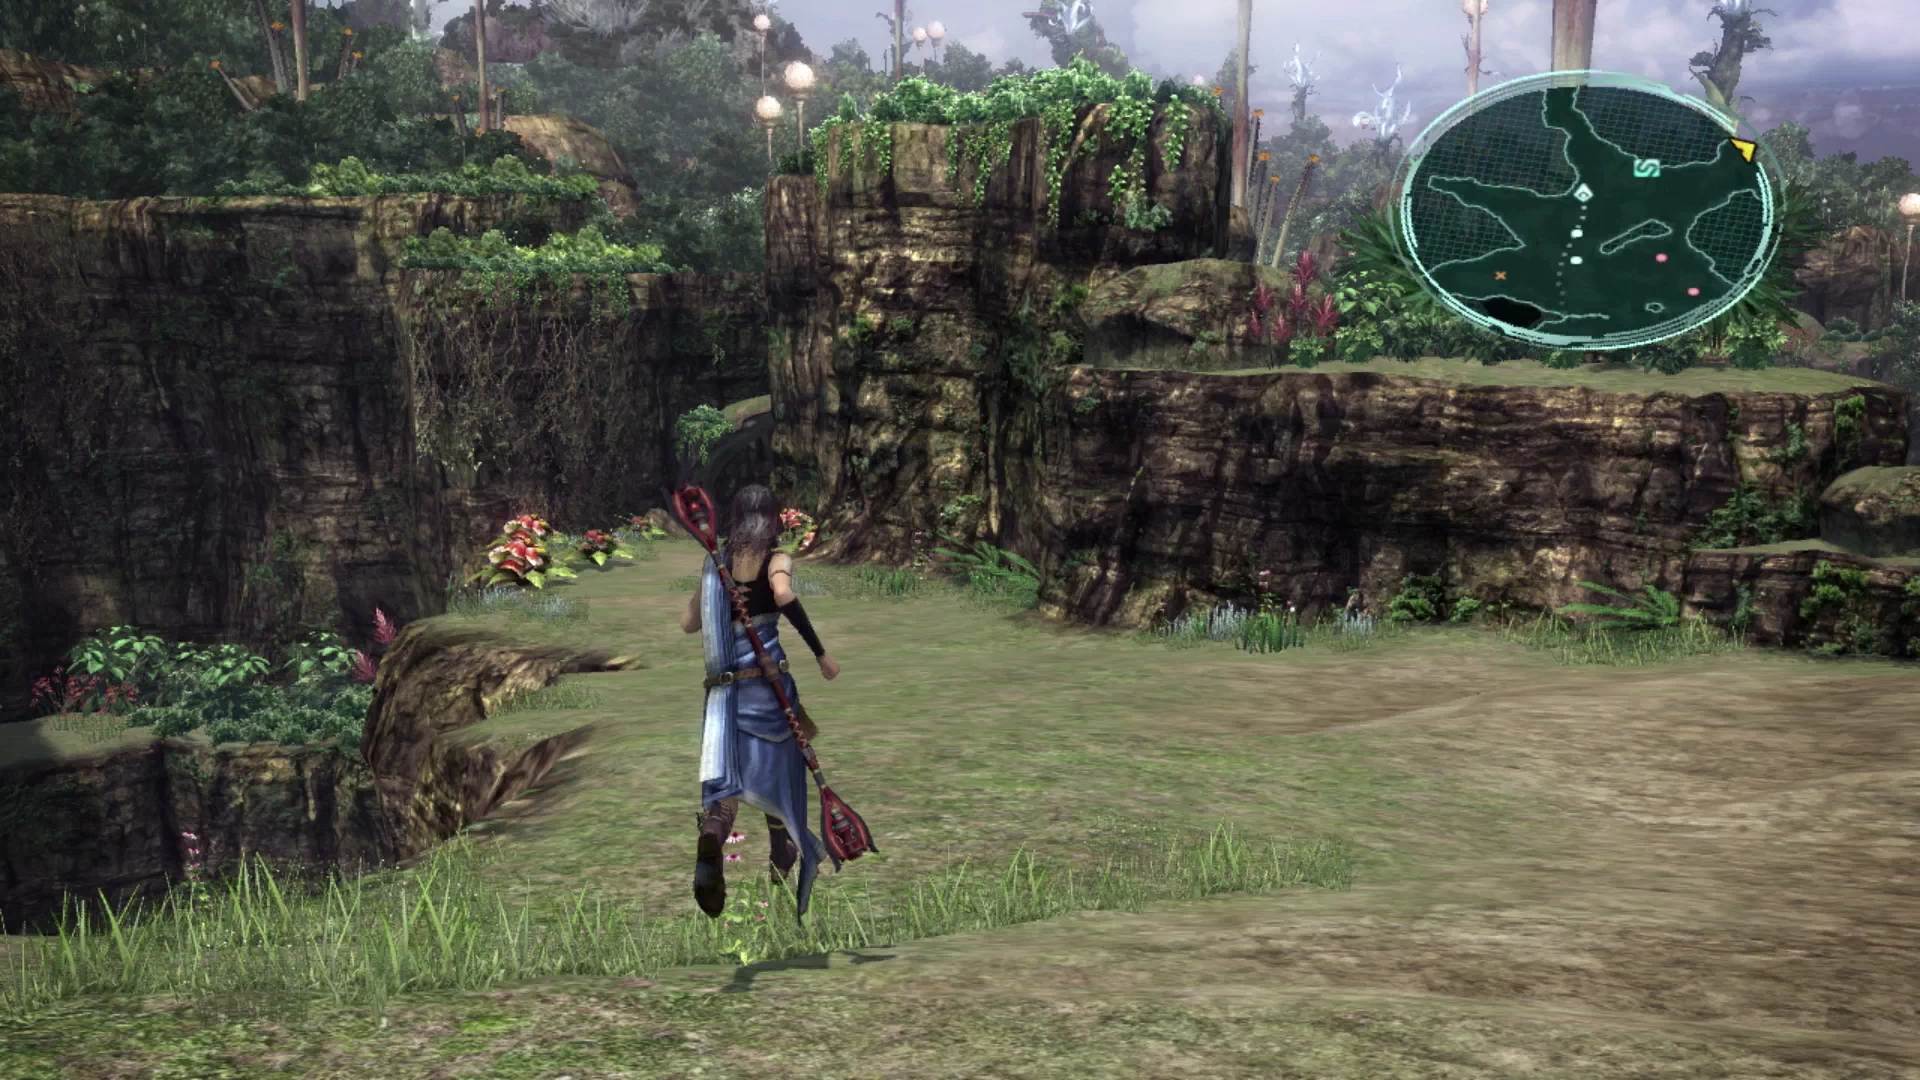
This Mission is going to send you all the way back up from the Ascendant Scarp area towards the Waypoint stone which, as you may recall, was for the last hunt, ![]() Mission 04 - A Hero’s Charge. Unfortunately there’s no way to teleport to the
Mission 04 - A Hero’s Charge. Unfortunately there’s no way to teleport to the ![]() Waystone from where you are, so travel all the way back through the valley until you reach the
Waystone from where you are, so travel all the way back through the valley until you reach the ![]() Waystone.
Waystone.
Make your way down the pathway leading north out of this area which leads into the Tsumitran Basin. You’ll have to fight a group of Triffids along the way. The mark location is directly across from where you come in and can be seen on the map. Just be careful not to aggro the nearby Behemoth King.
Take a left and go north before heading over to the mark and follow the trail down the pathway. Again, run past the Behemoth King, and when you reach the end of the path you’ll find a Treasure Sphere that contains a ![]() Watchman’s Amulet which you can grab after you have defeated the three Gorgonopsid and Svarog guarding it.
Watchman’s Amulet which you can grab after you have defeated the three Gorgonopsid and Svarog guarding it.
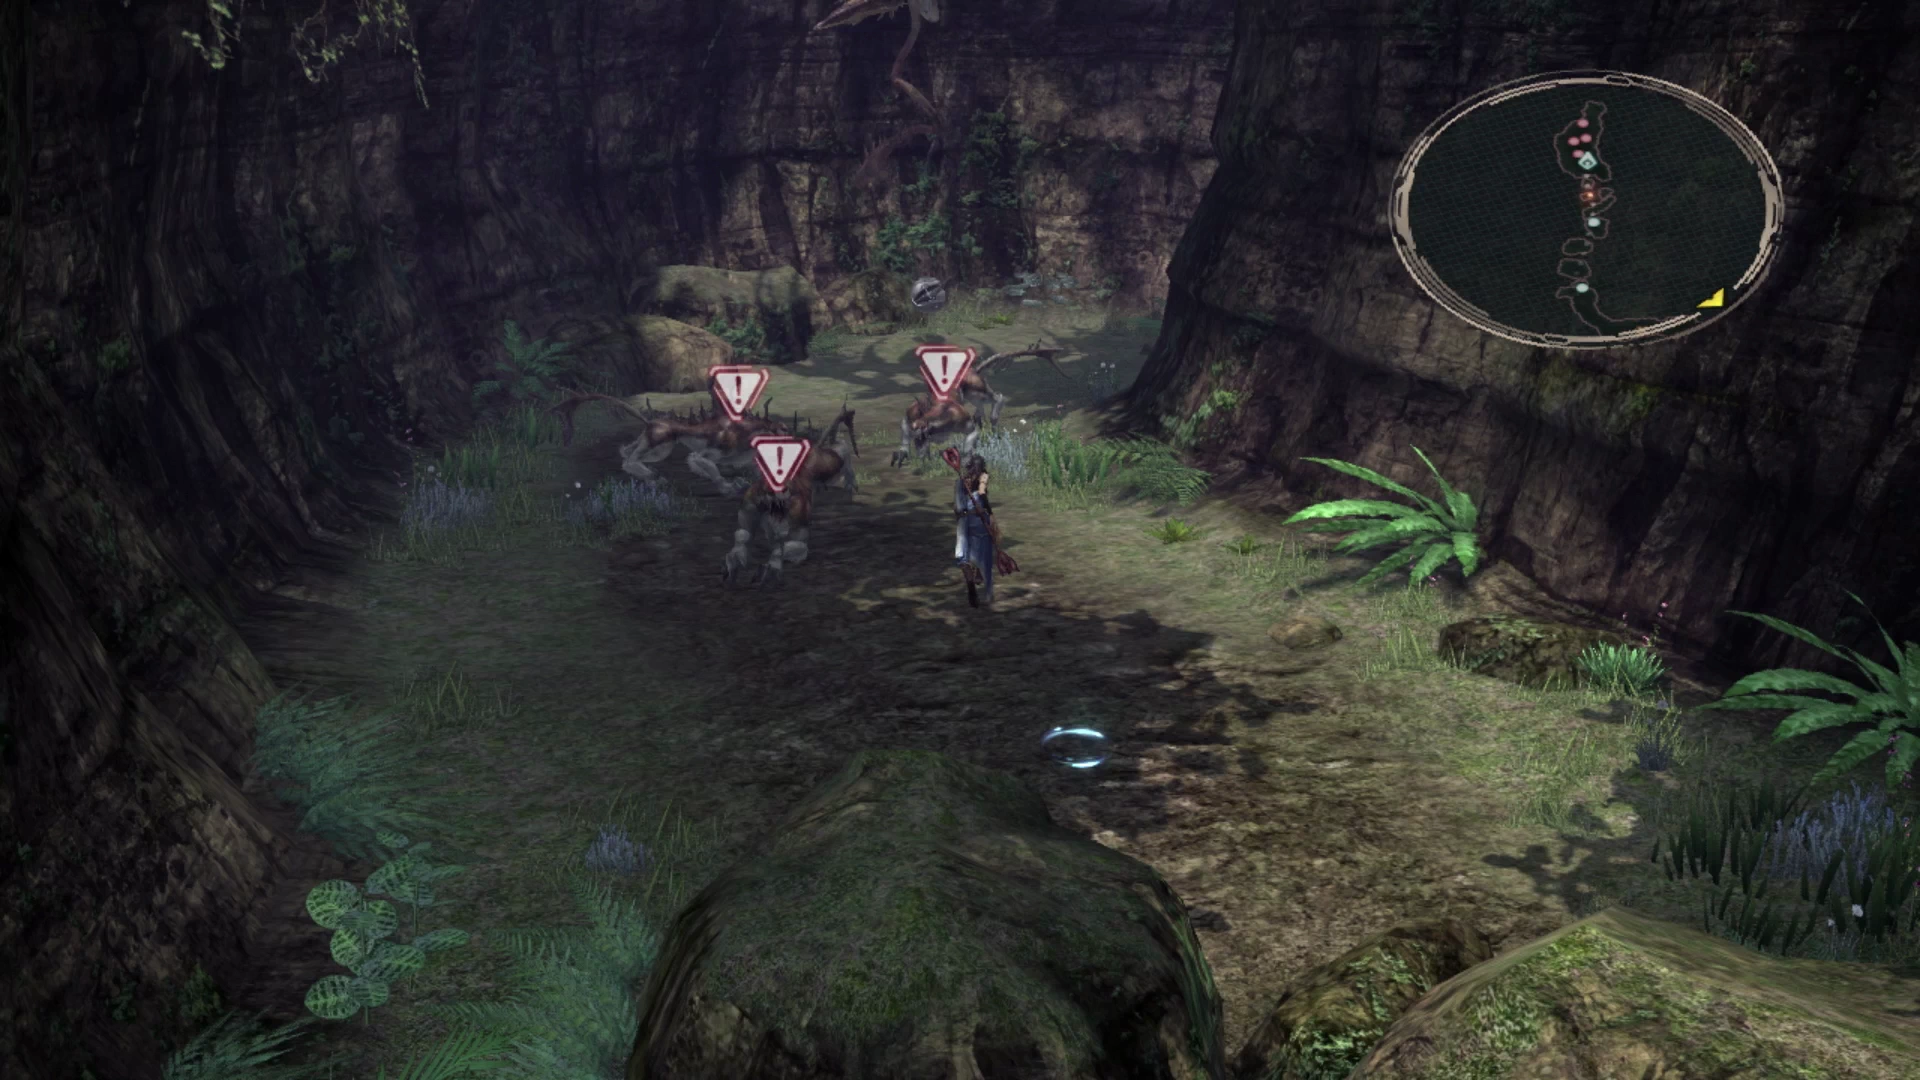
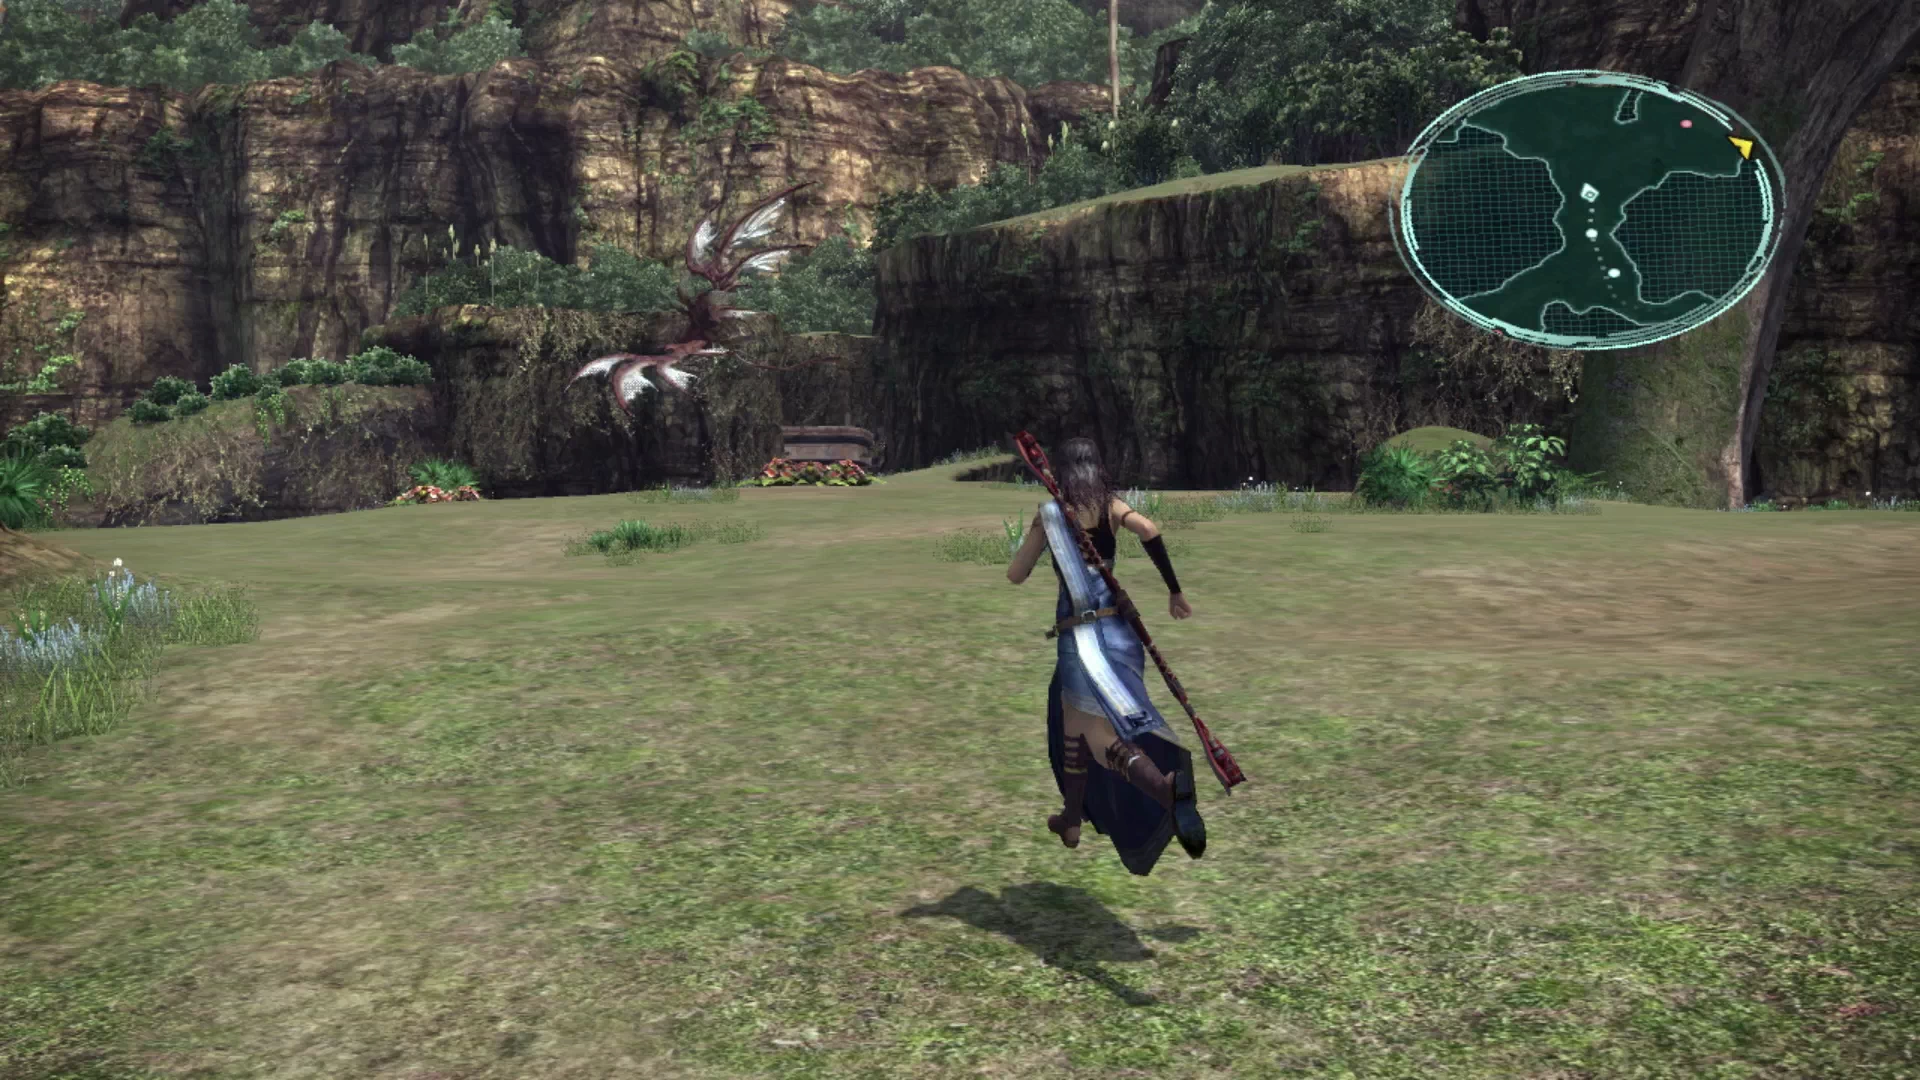
Now it’s time to head towards the mark and finish it off. You will have to battle a group of enemies that includes two Triffids and a Svarog along the way.
Battle Tactics
Mark Battle
Class: D
HP: 116,640
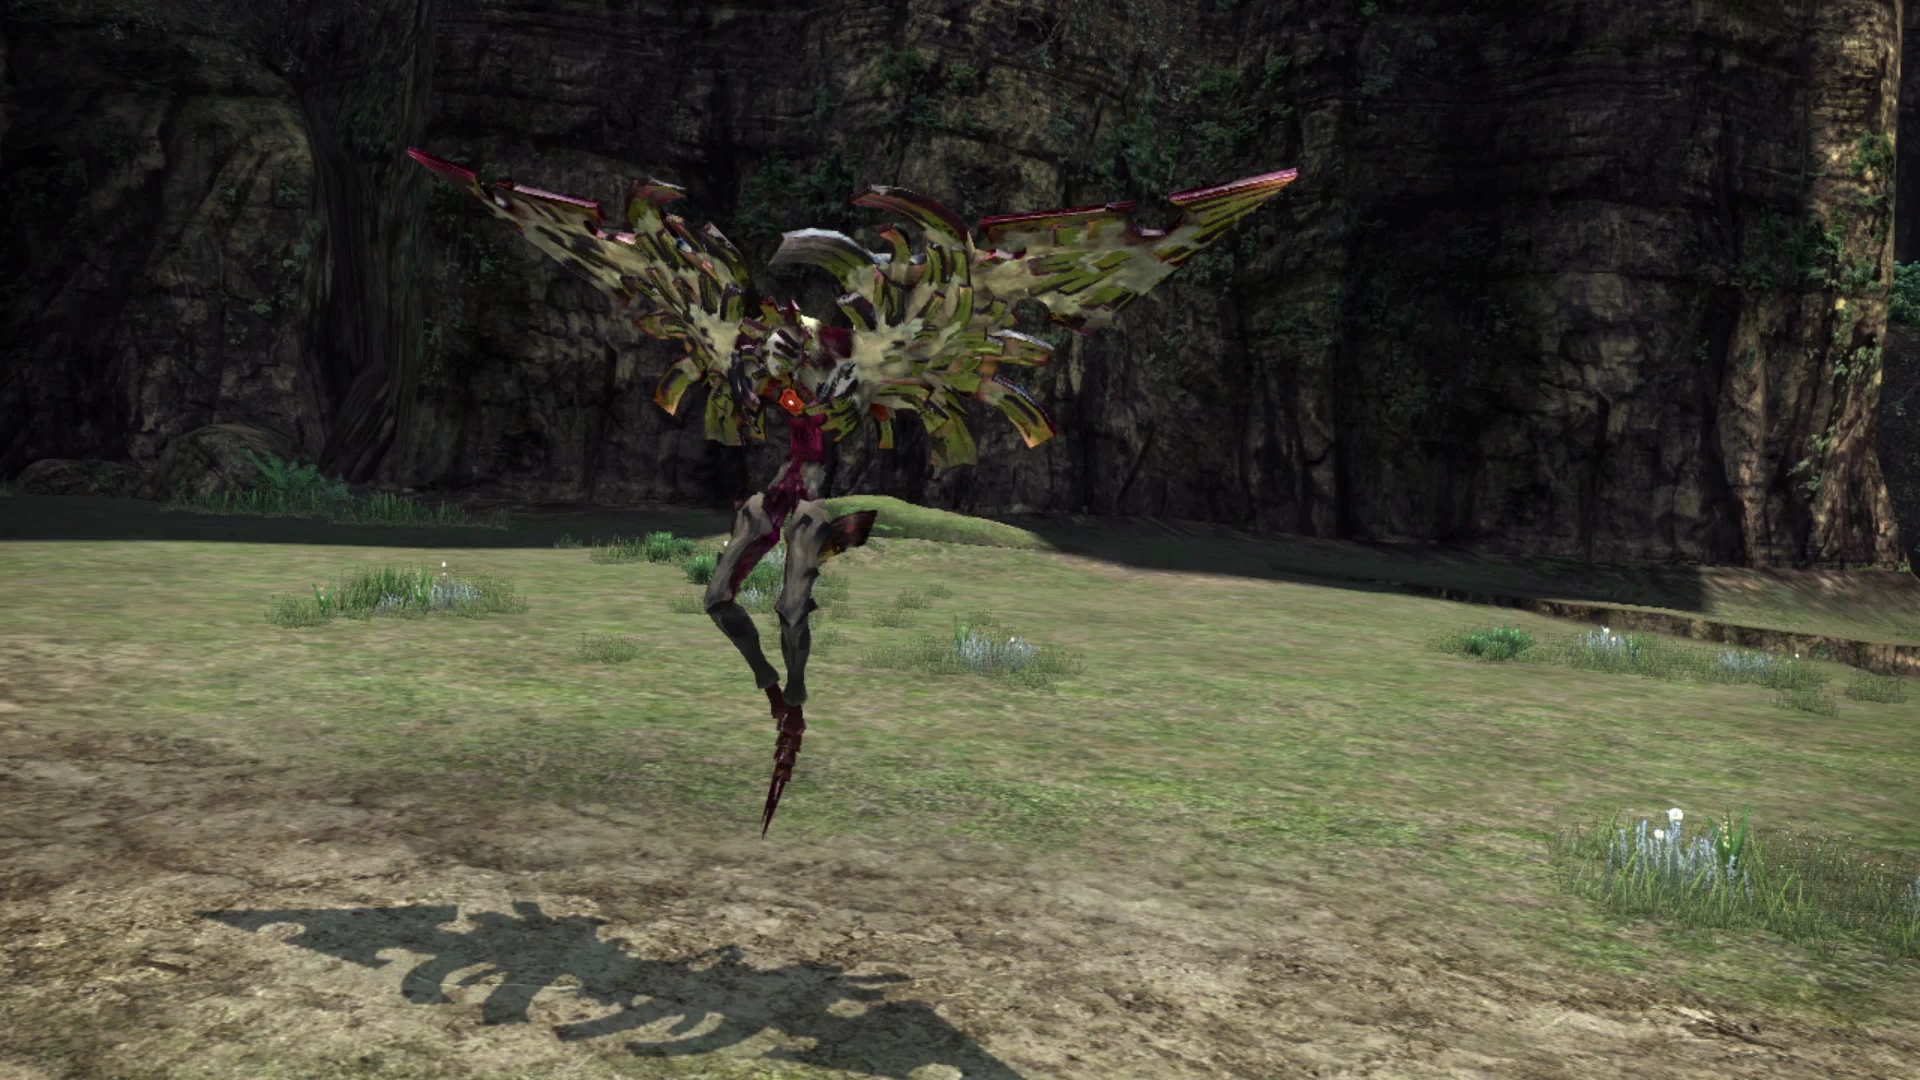
The main difficulty in defeating Edimmu is that it use an attack called Miasma which will spray your entire team with negative status effects. Jump into a Paradigm that will allow Hope to use ![]() Esuna to clear some of these off or they will quickly debilitate you and cause the battle to spiral out of control.
Esuna to clear some of these off or they will quickly debilitate you and cause the battle to spiral out of control.
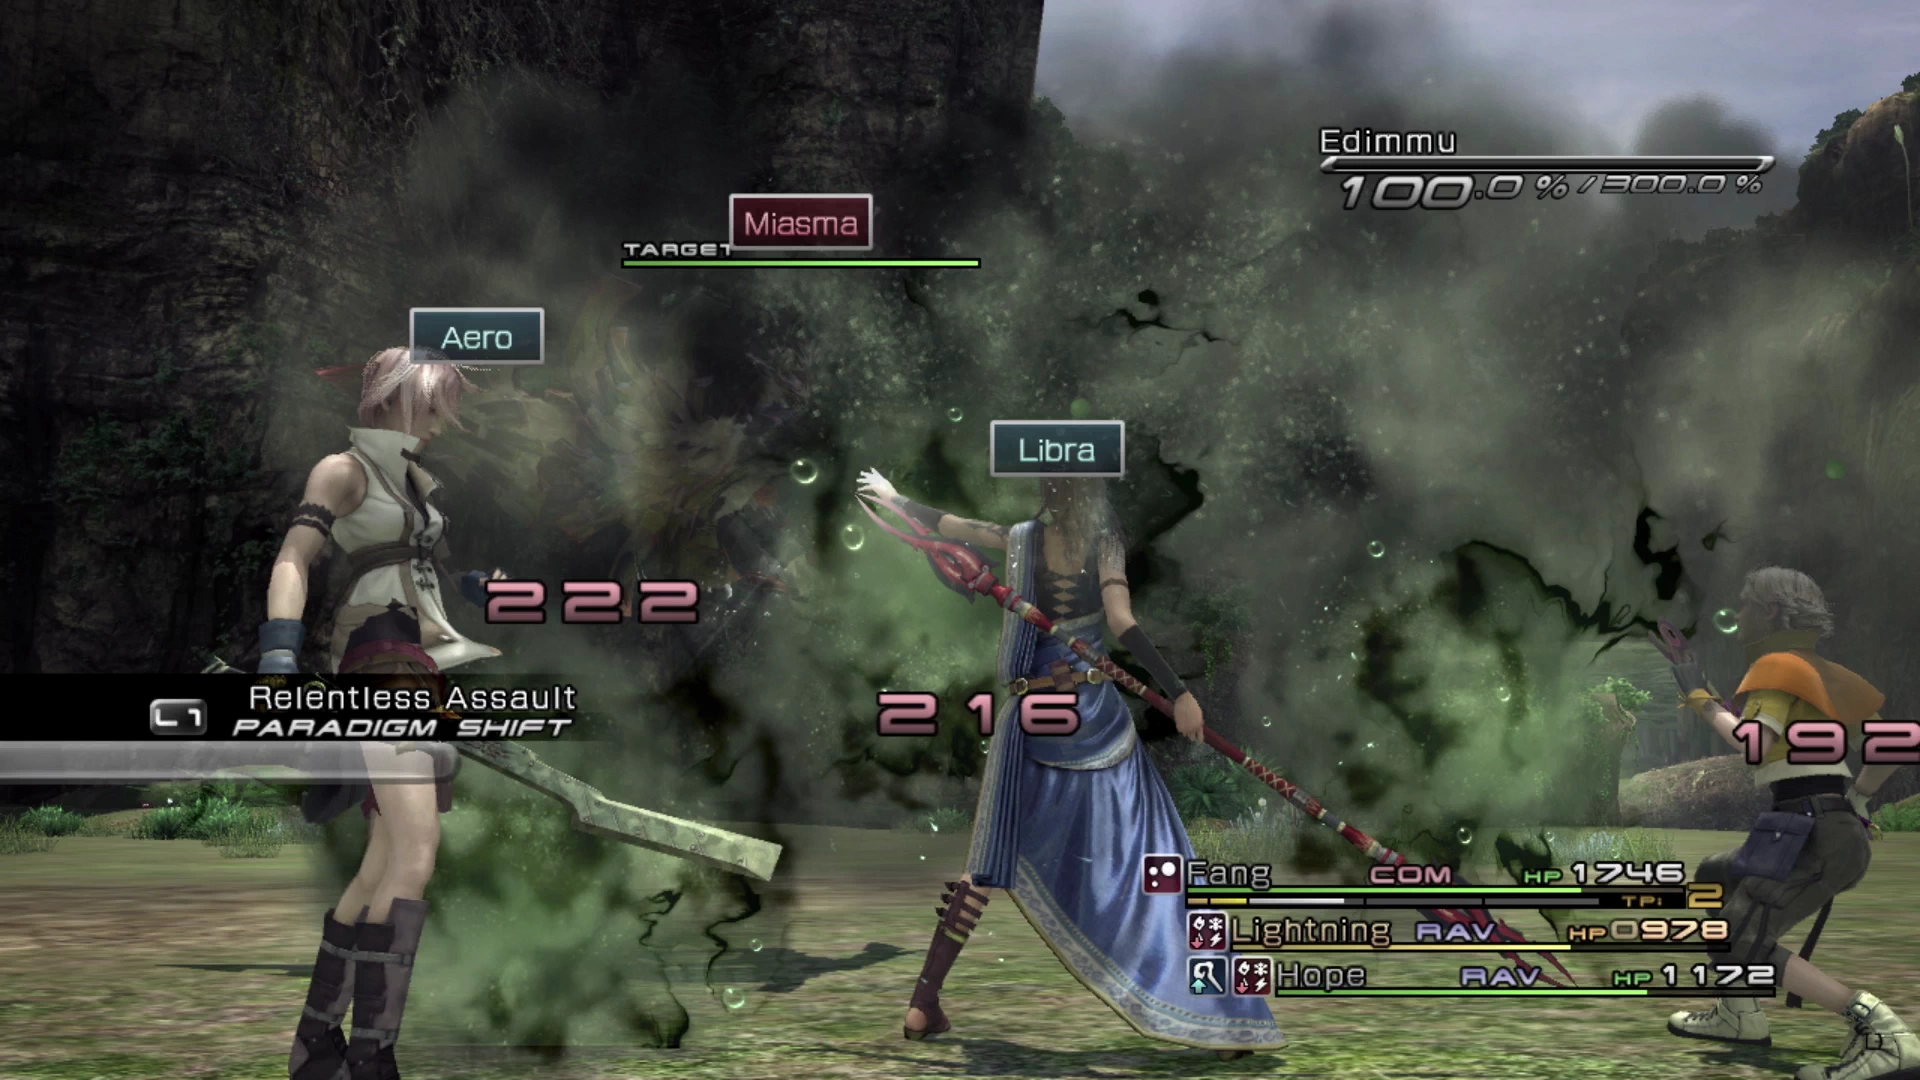
Your party members will struggle to hit it with regular attacks, which it will often evade, but use ![]() Libra early on in the fight and this will have your party members focus on ranged attacks which are less likely to miss (
Libra early on in the fight and this will have your party members focus on ranged attacks which are less likely to miss (![]() Ruin from a Commando, for example).
Ruin from a Commando, for example).
- First Attempt:
 Sorcerer’s Mark
 - Repeat Attempts:
 Bomb Core (x3)
Achievement/Trophy
You will automatically receive the  Kelger’s Cup Achievement/Trophy after you have completed Mission 01 through 05. This is typically the last Mission that most players will complete unless they were completed out of order.
Next Steps Following Completion
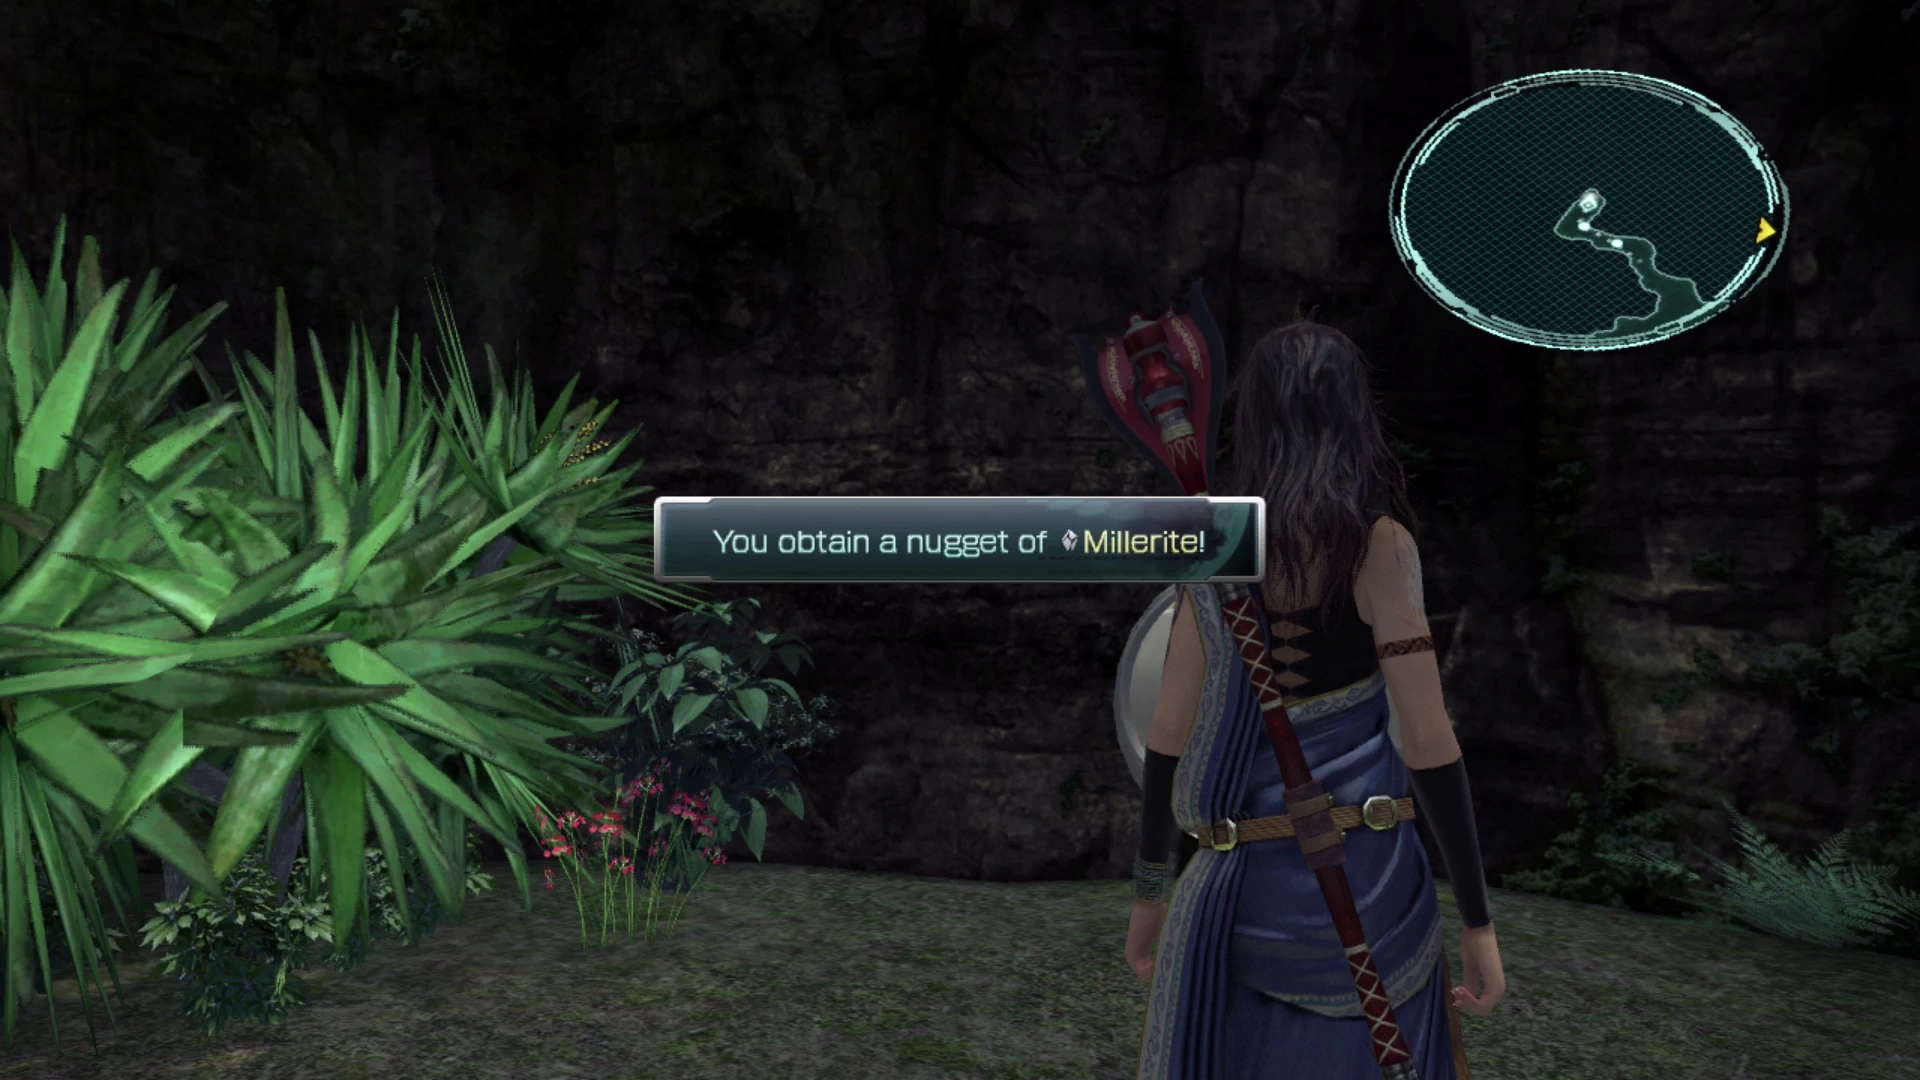
Don’t forget to grab the Treasure Sphere that Edimmu was guarding to pick up a free ![]() Millerite before you leave the area.
Millerite before you leave the area.
The next mark requires a fair bit of traveling to reach. Head back to the Chapter 11 page for more information on how to get there from where you are now.