The walkthrough for Chapter 11 is broken up into a few individual parts including Vallis Media, the Archylte Steppe, Mah’habara Subterra, Sulyya Springs, Taejin’s Tower and Oerba. Head back to the Walkthrough index to navigate to a different section of Chapter 11 if you have ventured too far forward or are too far back.
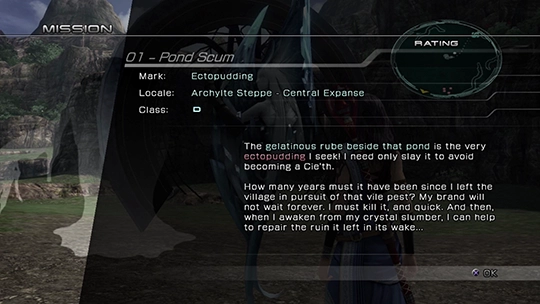
As you enter the Archylte Steppe for the first time you will be given an overview of the Cie’th Stones and Missions primer and a brief introduction on how these Missions work. These Missions make up the bulk of the optional side quests that you can complete while playing through Final Fantasy XIII and it’s at this point in the game where you have a decision to make on how you wish to proceed.
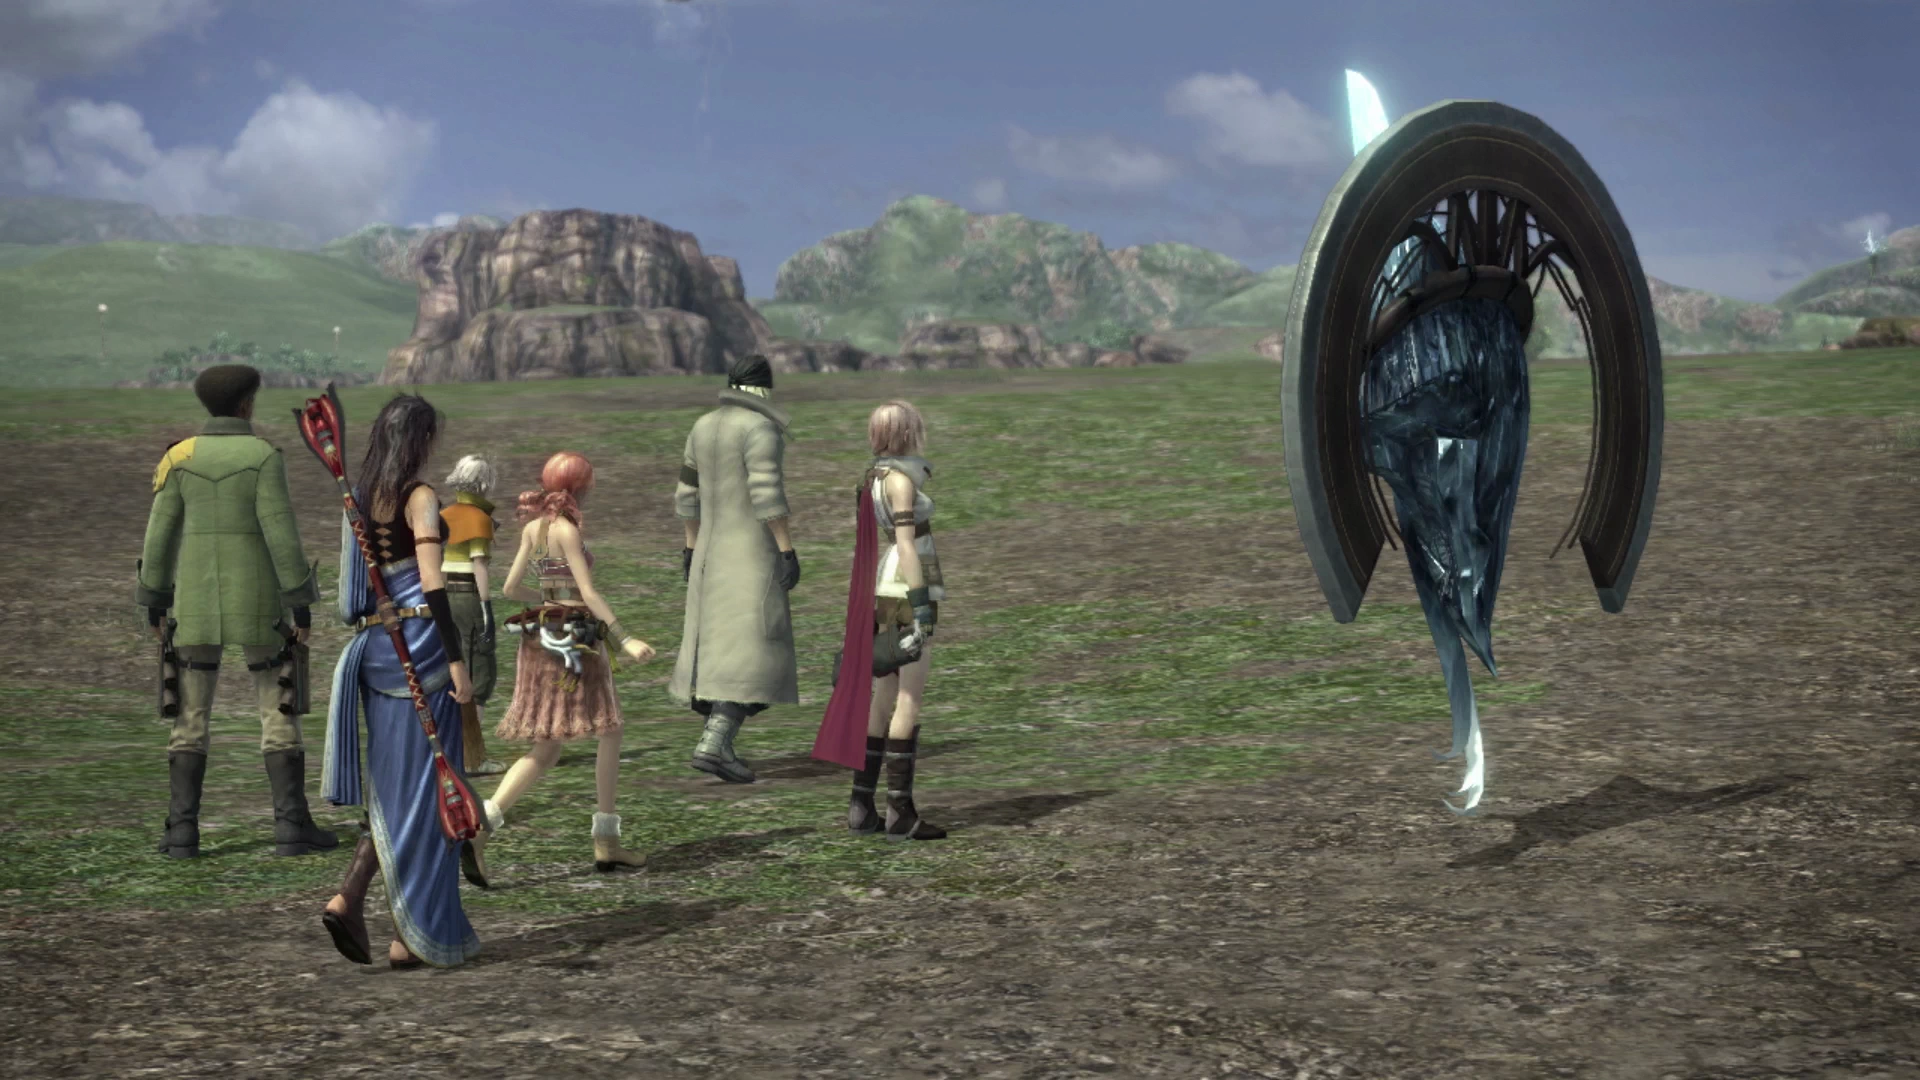
Namely, do you want to attempt some of the Cie’th Stone Missions and really dig into the side quest and end-game content? Or do you rush the story to its conclusion as quickly as you can? Well, dear gamer, only you can make that decision for yourself.
But it’s worth noting that one of the major complaints lodged against Final Fantasy XIII by critics has had to do with the game’s linearity. It can be argued that gamers who decided to go straight for the next story/plot point, and who opted to skip the Archylte Steppe, missed a lot of these additional side quests, Missions, and the end-game content that truly made Final Fantasy XIII a great game. It’s the end-game content that makes all the games in the Final Fantasy series great!
Therefore, while likely not surprising, this guide recommends that you complete the available Cie’th Stones and Missions to get the full experience of the game. The page below provides a walkthrough that is intended to guide you through all this additional content, but it’s important to note that it is all technically optional.
Warning
Despite what was mentioned in the paragraphs above, if instead you would like to rush to the story’s conclusion and skip these sections, you can navigate straight to the Mah’habara Subterra section of the walkthrough.
You can always come back and revisit this content after you have beaten the game, but the guide below outlines the most efficient route, assuming you want to tackle all the available content as you play your way through.
The Archylte Steppe
Let’s go over a few important notes about this vast new landscape before jumping into your first major task which is to complete the objectives of the first Cie’th Stone for Mission 01. Note the following:
- Treasure Spheres: There are several Treasure Spheres throughout the Archylte Steppe. Some of them have some great items in them; some of them are guarded by high-level creatures preventing you from opening them until they have been defeated. It’s not recommended that you go too far out of your way to obtain these Treasure Spheres. Instead, just get the ones you can easily access as you travel from one location to the next.
- The Map and Directions: The Archylte Steppe map can be quite large and difficult to navigate. Something to note though is that the names of the Archylte Steppe regions use cardinal directions, including Northern Highplain, Eastern Tors, Western Benchland, Central Expanse and Southern Funnelway. This means that this is the first area of the game where cardinal directions, such as north/west/east/south can be used to help you get from one place to another.
To orient yourself, your team has just reached the Archylte Steppe coming from the Southern Funnelway which is in the southeast corner of the map. Your eventual destination, once you’re done all the side quests, is Mah’habara, which is in the northwest. Use the Archylte Steppe map page to help you navigate through this area. - Monster Difficulty: It’s probably obvious just looking at the size and scariness of some of the monsters roaming around, but just to draw attention to it, there are many high-level monsters in this area that should be avoided. The giant creatures that look like dinosaurs/brachiosaurus (which are called Shaolong Gui and Long Gui), large Behemoths, etc. should all be avoided at your party’s current level.
However, most of the smaller creatures can and should be challenged to help you build up some Crystogen Points (CP), and there’s no downside to attempting a fight even if the creatures end up being too difficult to defeat. You can just hit the “Retry” option and start again from right where you left off if you’re defeated and run away if a fight ends up being too hard.
Helpful Hint
We’ve now reached the point in the game where you should begin to standardize not only the party members that you will be using in your main team, but also the Paradigms that you should be using most often and, later, what weapons to equip (but that comes later).
For some tips and guidance on how to set up your party/Paradigms, check out the Optimized Party Setup Guide page for more information.
There is a ![]() Save Station nearby that you can use to save your game, and then it’s time to get started with the optional content. The first objective is to complete the first two Missions. These early Missions are very easy and are all relatively close to one another.
Save Station nearby that you can use to save your game, and then it’s time to get started with the optional content. The first objective is to complete the first two Missions. These early Missions are very easy and are all relatively close to one another.
Also provided below is an overview of some basic tips and tricks to help you complete these Missions. Use the links below for more information:
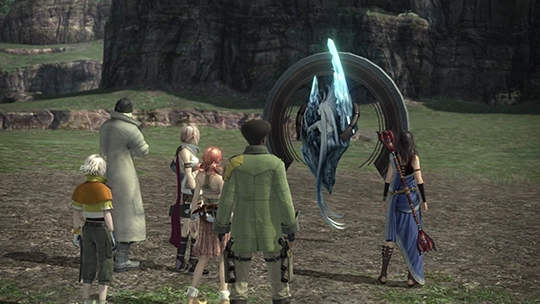
A brief overview of the Mission system in Final Fantasy XIII to help get you oriented.
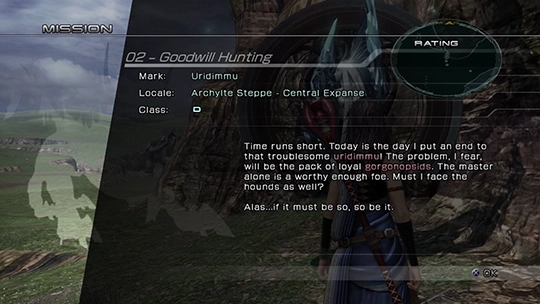
Uridimmu located in the Central Expanse of the Archylte Steppe.
The third Cie’th Stone can be picked up nearby but will require traveling out of the Archylte Steppe area. The next few Missions take place in the Yaschas Massif area which is located southeast of here and requires quite a bit of travel. You will be going all the way back to where the first team arrived in Vallis Media.
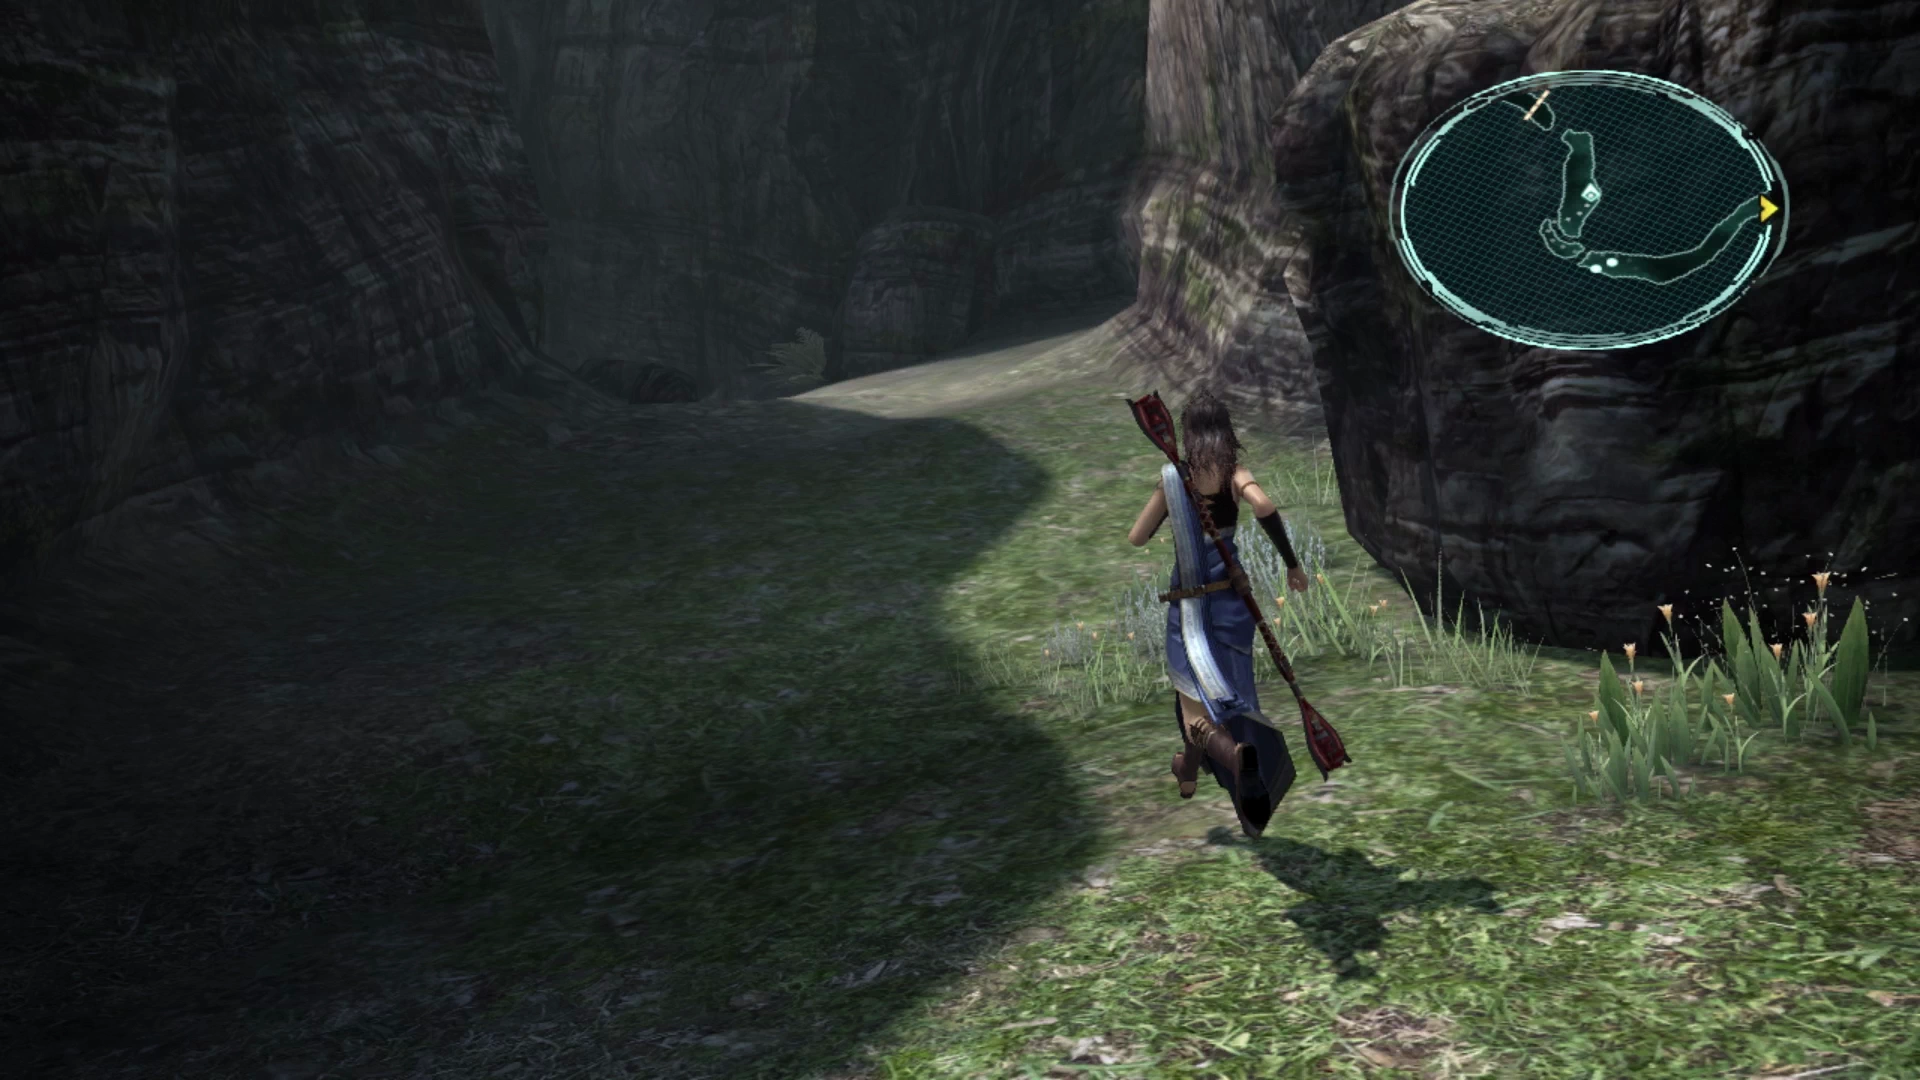
As a reminder, these Missions are optional, and it’s at this point that you will be deviating away from the next area of the game where the story kicks back up, so this is your last chance to skip out on the optional end-game content if you’re not up for it.
Travel southeast back to the corner where the team came in, near where the Cie’th Stone for Mission 01 was located. When you look at the map and zoom all the way out you will see the pink star indicating where the game intends for you to go.
Start by heading back towards that first ![]() Save Station and save your game one more time. Proceed down the pathway nearby, to the south, which leads through the Southern Funnelway. A new area should load up, and it’s shown in the screenshot below, which you can use to make sure you’ve traveled to the right area:
Save Station and save your game one more time. Proceed down the pathway nearby, to the south, which leads through the Southern Funnelway. A new area should load up, and it’s shown in the screenshot below, which you can use to make sure you’ve traveled to the right area:
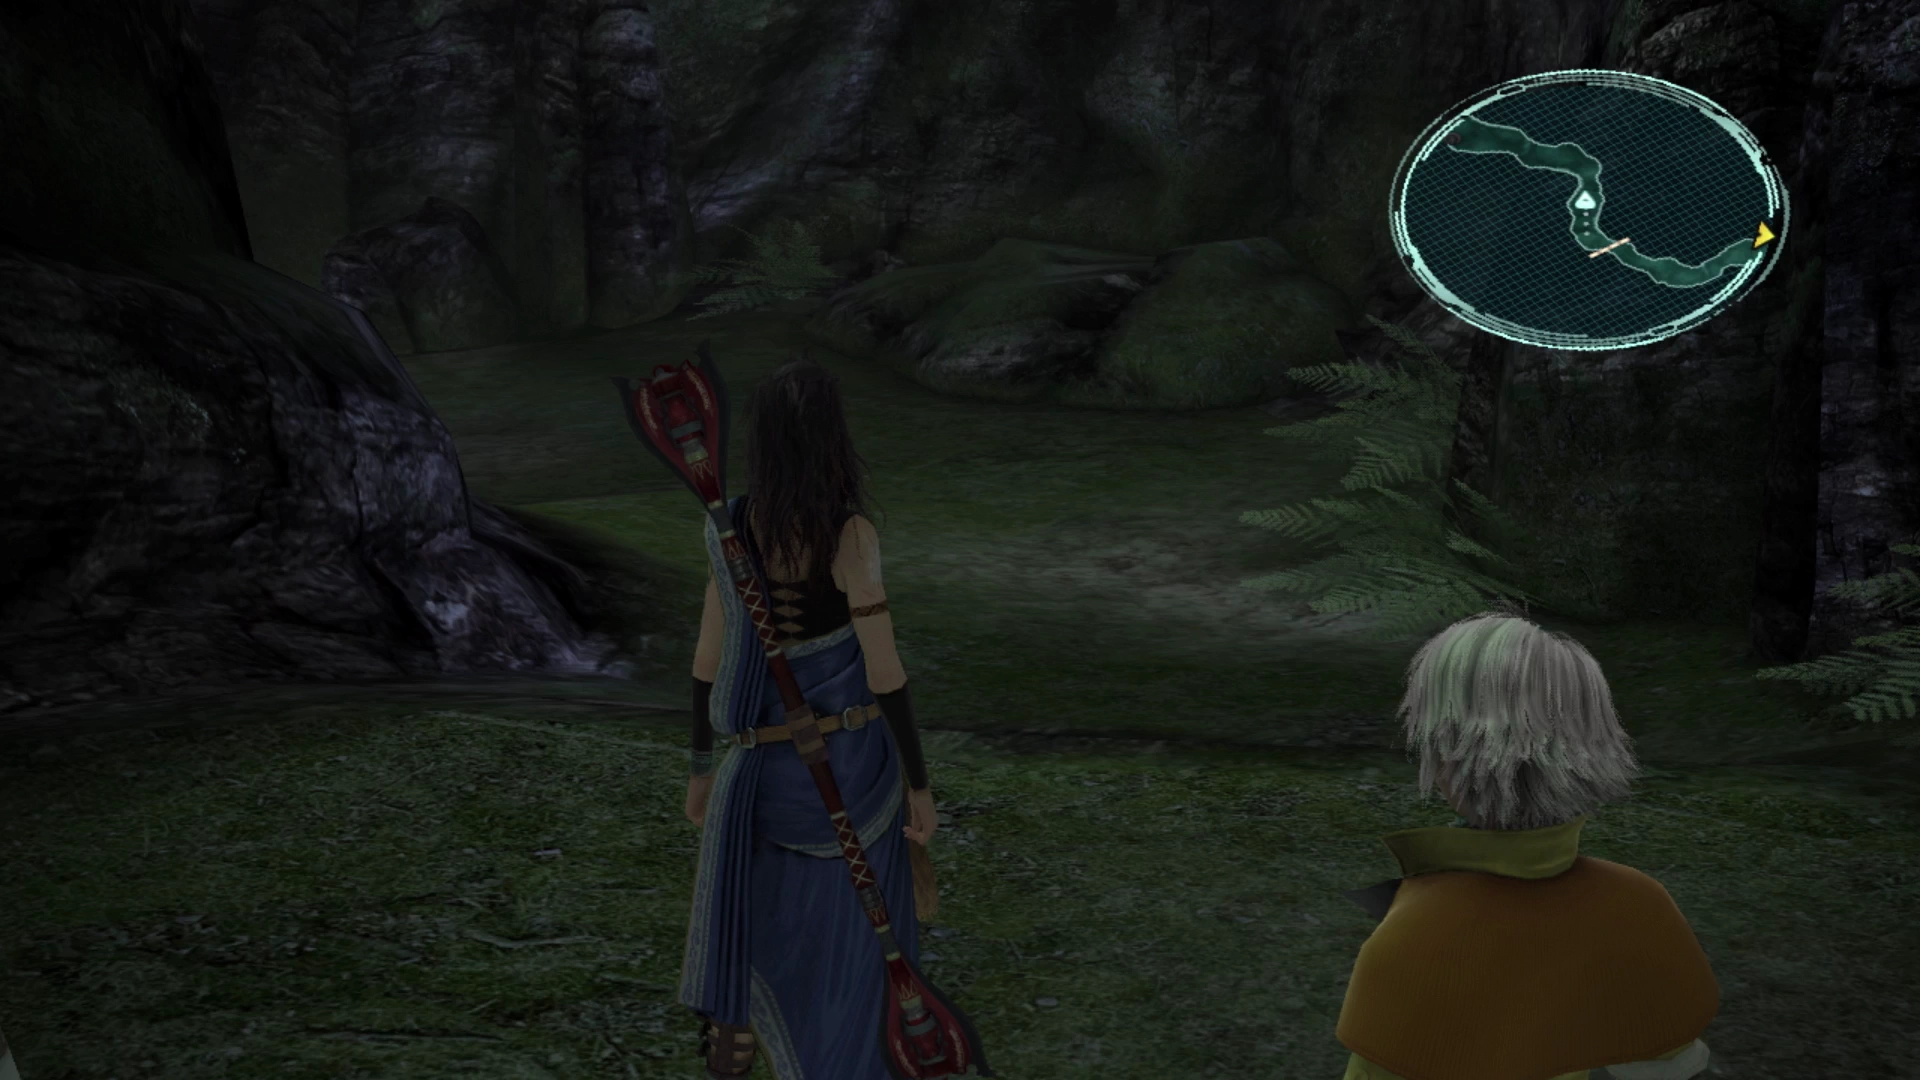
You now have to travel through the entirety of Vallis Media, through the Base Camp where your team first arrived, and back up past where they found Hope near the waterfall. Once you reach the waterfall, turn right, and jump in behind it to find a Treasure Sphere that contains a ![]() Rune Bracelet.
Rune Bracelet.
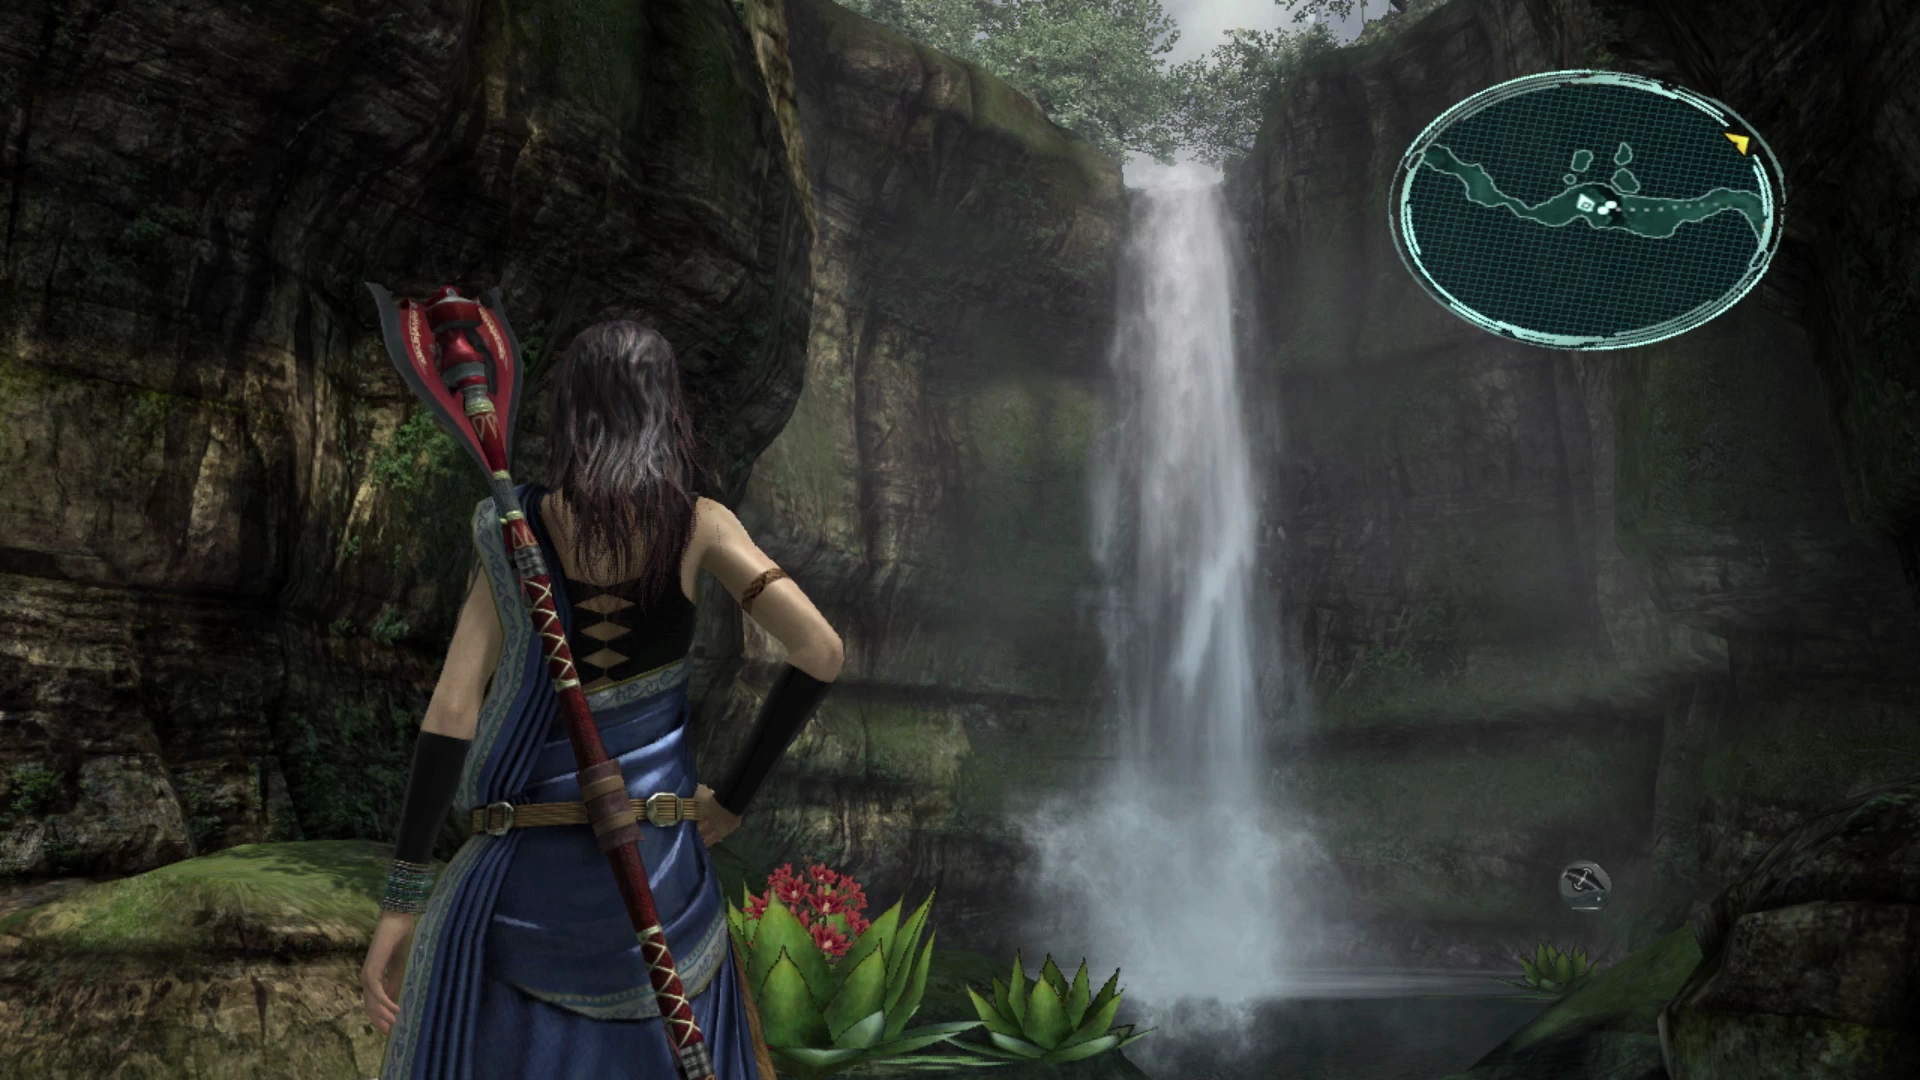
A bit further on up the trail, after a few more battles, you will transition into the next zone which is…


