Chapter 11: Vallis Media
Gran Pulse - Terra Incognita
Chapter 11 is the longest portion of the game and is broken up into a few individual parts including Vallis Media, the Archylte Steppe, Mah’habara Subterra, Sulyya Springs, Taejin’s Tower and Oerba. Head back to the Walkthrough page to navigate to a different section of Chapter 11 if you have ventured too far forward or are too far back.
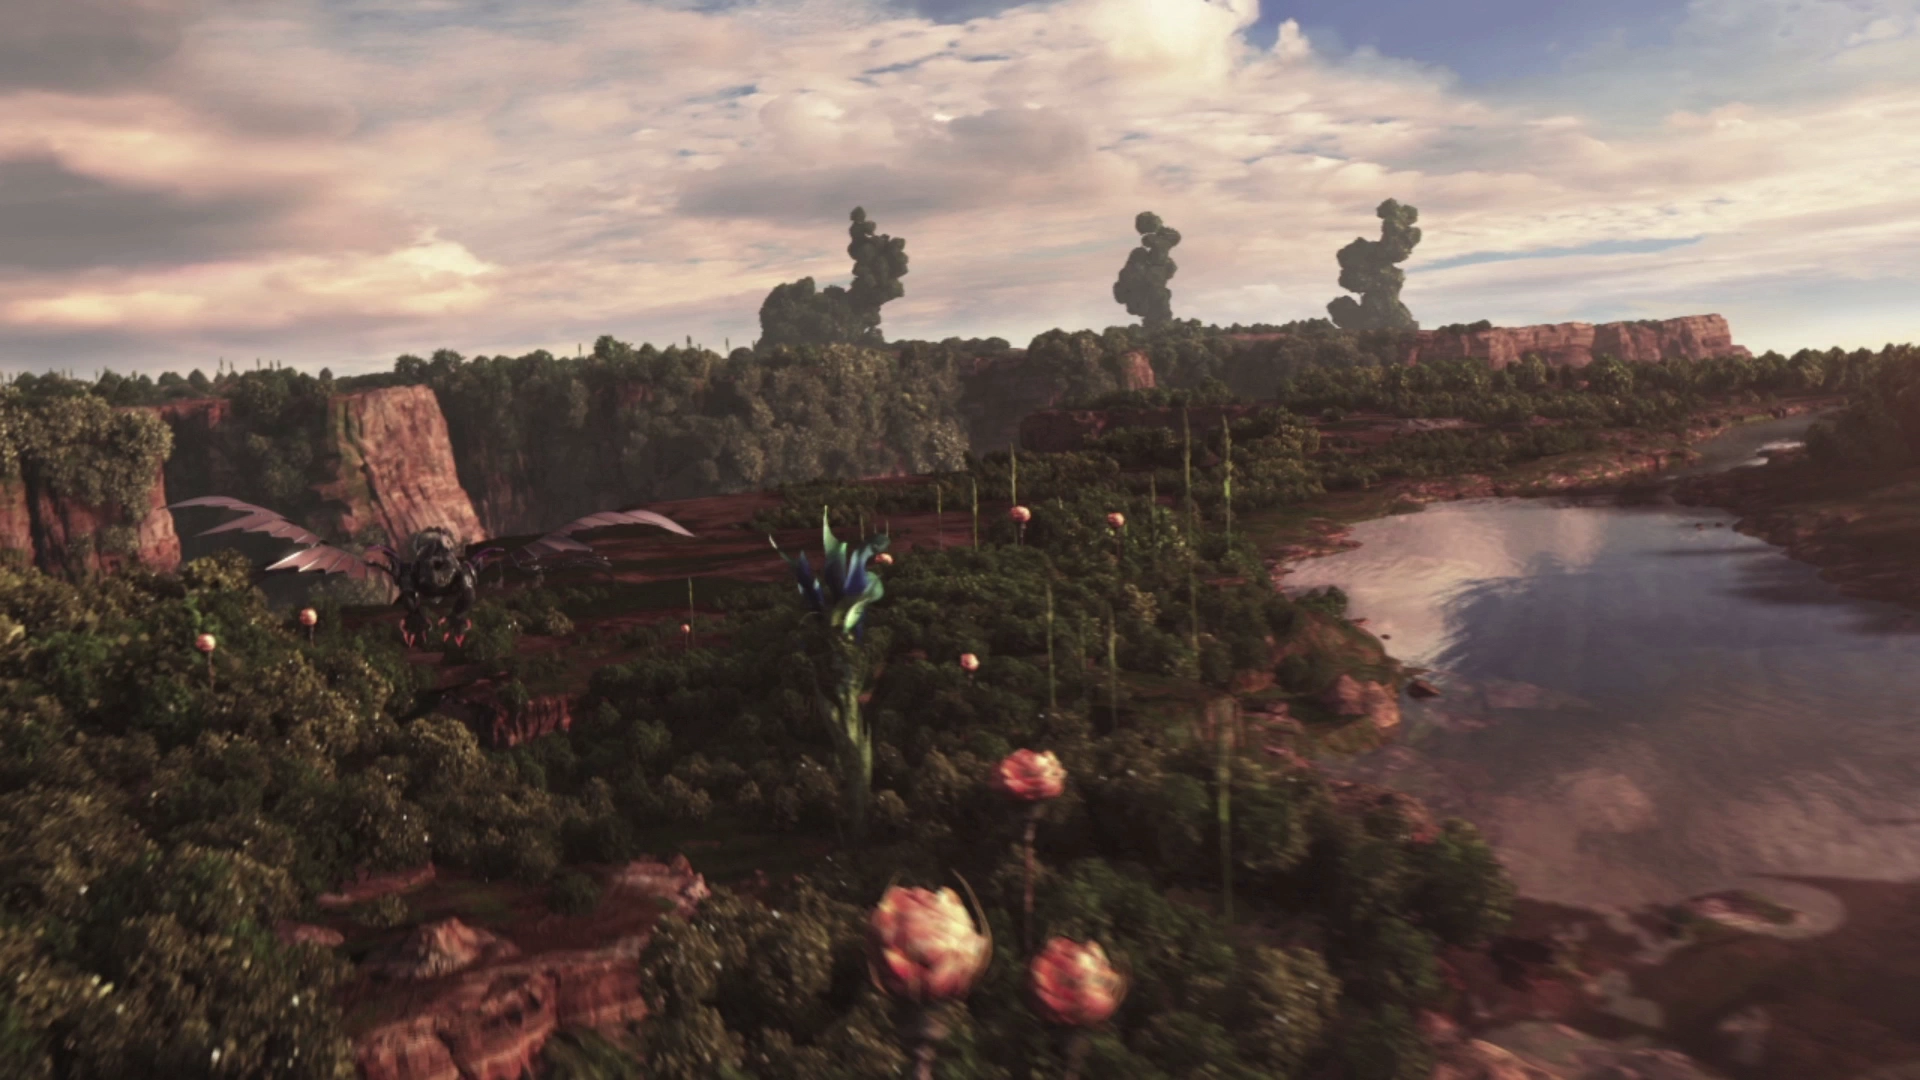
Welcome to Gran Pulse! This area has quite an interesting opening video that helps to highlight the openness and vastness of this new section of the game which stands in stark contrast to the very linear nature of the game leading to this point. This first section of Chapter 11 takes place in Vallis Media which is still linear. Let’s get started!
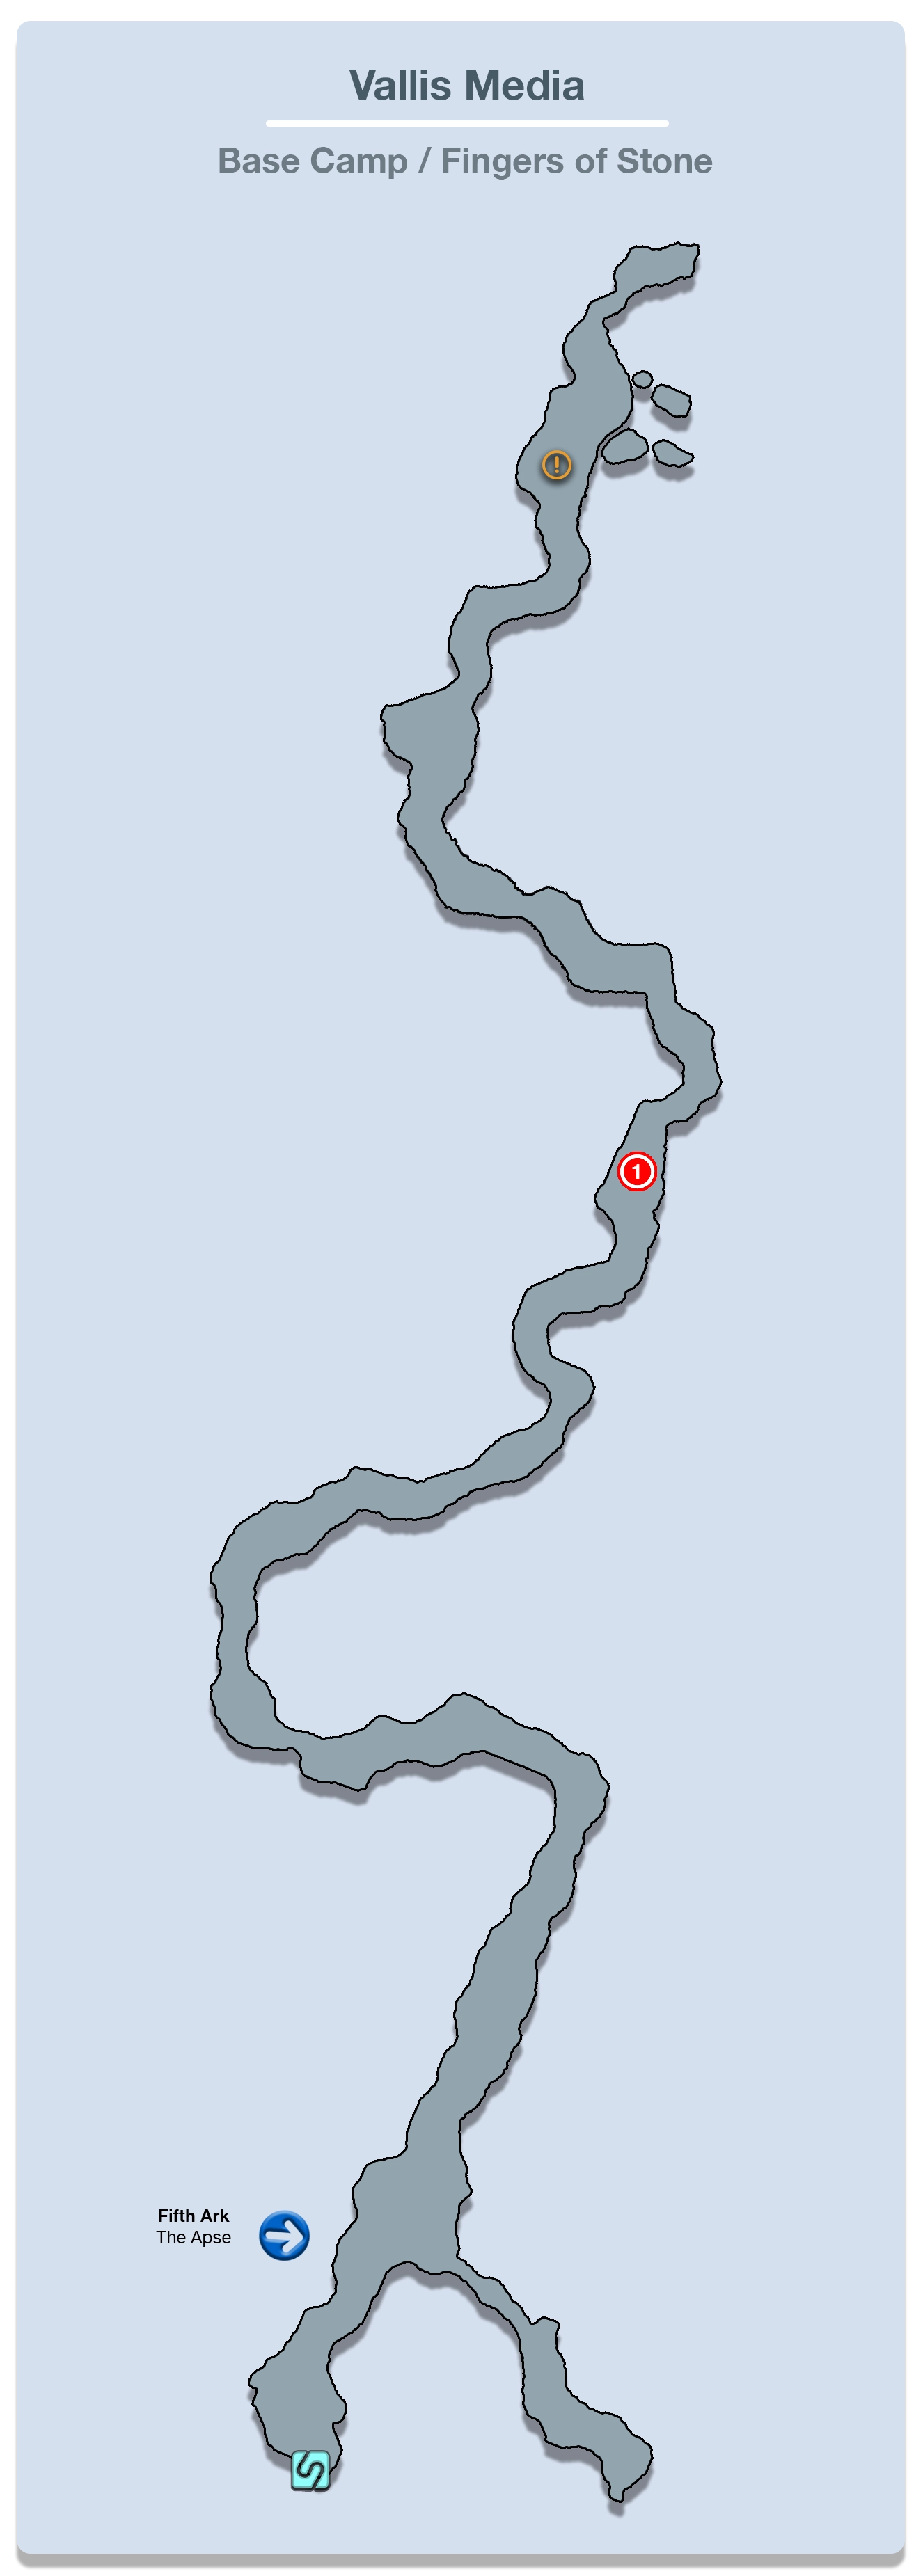
Base Camp
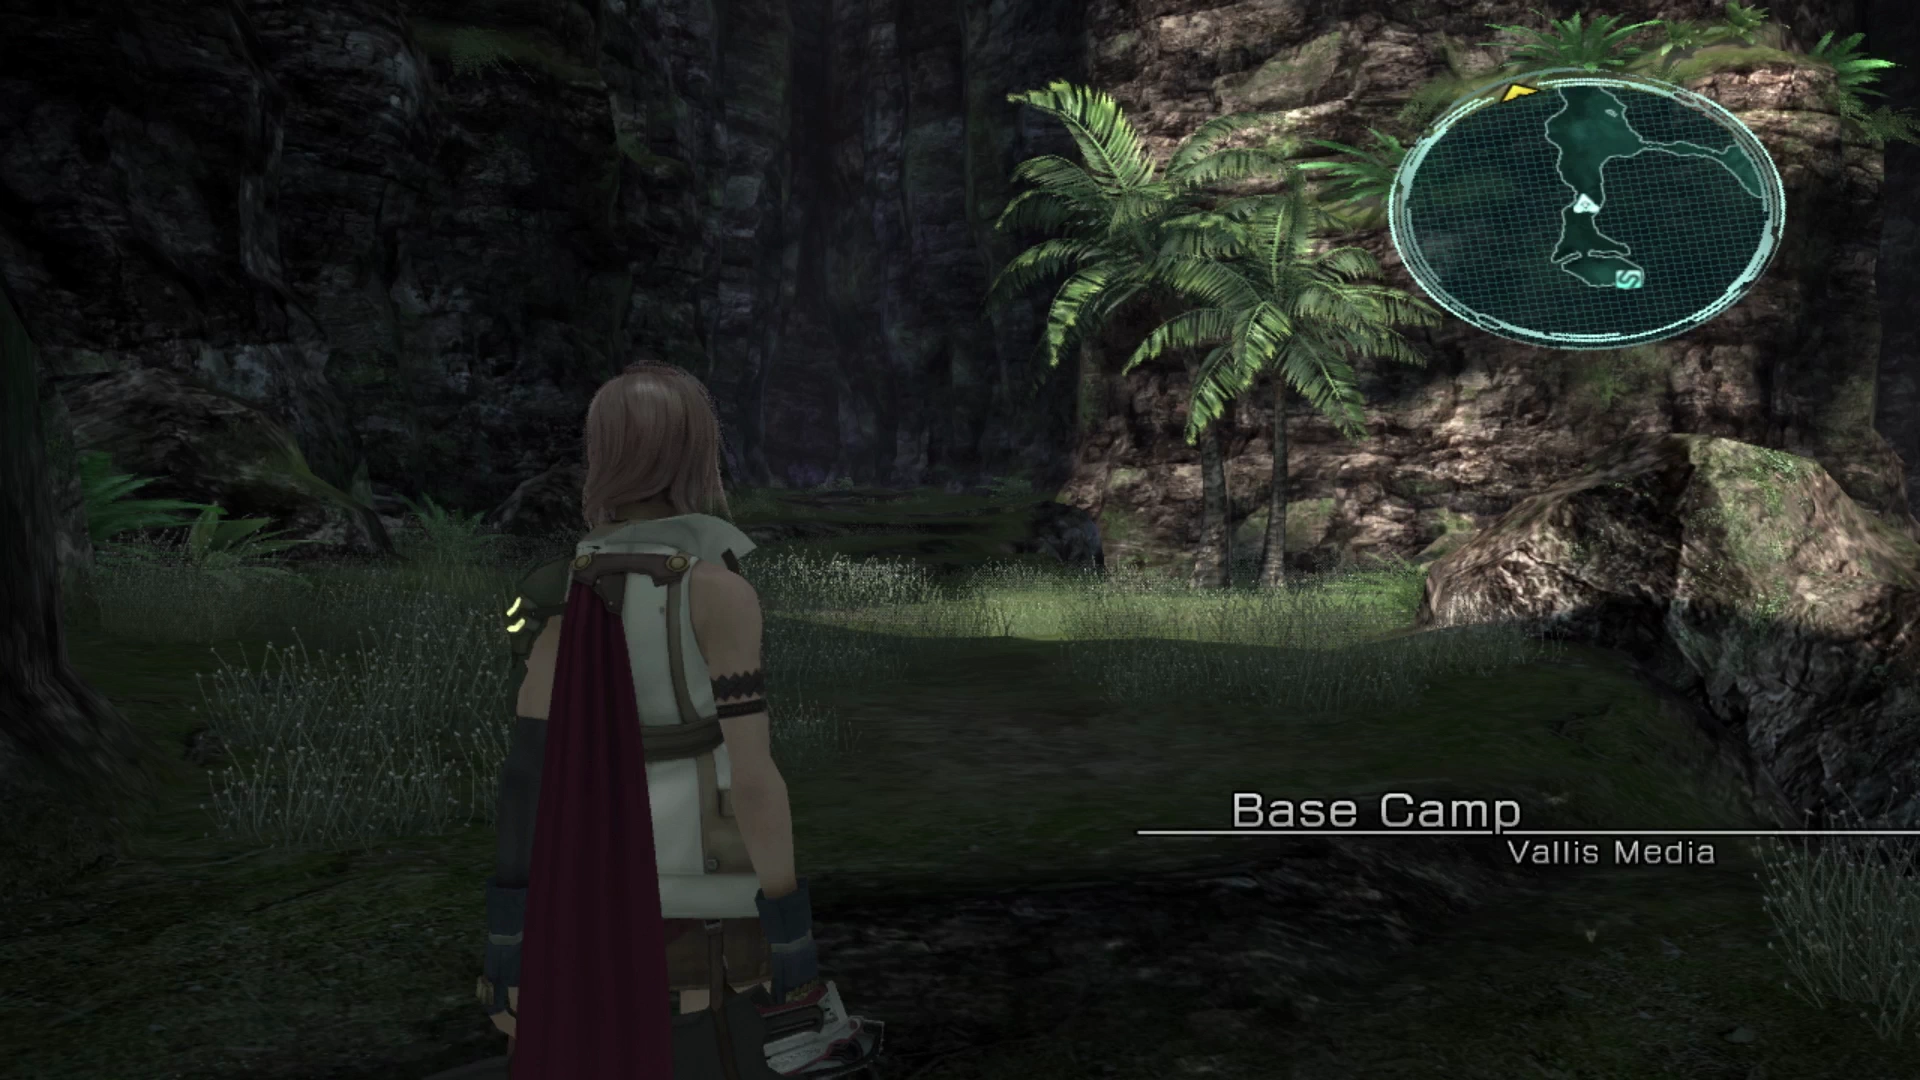
You’ll find yourself back in control of your characters at the “Base Camp” but will be missing one team member. It’s time to track down Hope. If you’re following the recommended party guidelines which would include Fang, Lightning, and Hope, this means that you will have to temporarily replace him for this next section of the game.
Take some time to set up your party by rearranging the Battle Team. It’s typically recommended that Hope be replaced with Vanille because they serve somewhat similar roles as magic users (such as ![]() Ravagers and
Ravagers and ![]() Medics), but even if you opt for a different party, the one you start with will include Lightning, Snow and Sazh. Review your Paradigm configurations as well.
Medics), but even if you opt for a different party, the one you start with will include Lightning, Snow and Sazh. Review your Paradigm configurations as well.
There is a ![]() Save Station just behind where your team starts in the Base Camp area that you can use to save your game. Continue up the pathway and into the next area when you’re ready to continue the journey.
Save Station just behind where your team starts in the Base Camp area that you can use to save your game. Continue up the pathway and into the next area when you’re ready to continue the journey.
Fingers of Stone
This is another chapter of the game where enemies take a significant step forward in terms of the damage that they can deal to your party members. Make sure you continue to have each of them work their way through their Crystariums.
Helpful Hint
In Part 1 of Chapter 10, there was a helpful hint that talked about which characters should focus on which Roles/Crystariums, but it may be worth getting a bit more specific on what you should be targeting to make your characters as effective as possible in battle.
The enemies in these areas will award a much greater amount of CP for you to spend which will allow you to work your way strategically through each of the Crystarium. What should you target?
- ATB Crystals
Each character can unlock one “ATB Crystal” in one of their Crystariums. Typically, it will be found in their strongest role ( Commando for Fang and Lightning,
  Synergist for Hope,
  Medic for Vanille, etc.).
Adding another ATB charge will greatly increase the effectiveness of your characters in all their roles, so you should prioritize unlocking ATB Crystals on the top tiers first and foremost. - Accessory Crystals
Having the ability to equip another accessory can greatly increase the power and effectiveness of your party members and, again, this applies no matter what role they are in. - Ability Crystals
Unlocking spells or abilities as you work your way around each Crystarium will greatly increase the utility and effectiveness of your characters in battle, especially when using “Auto” commands or when the computer/AI is playing your two non-leader characters.
More spells and abilities will open up more possibilities so make sure to unlock these starting with each character’s primary role but then filling out secondary roles as well. - Role Levels
Finally, as mentioned earlier in the guide, increasing a Role Level increases the effectiveness of that character when they are in that role and the entire party. Check out the Roles section for more information.
Skip past regular stat-boosting Crystals (+100 HP, +20 Strength, +20 Magic) to target the 4 priorities mentioned above. Stat-boosting crystals are helpful but are the lowest priority.
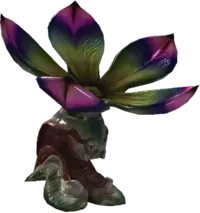
The first enemies you face up ahead are a group of five Alraune. These enemies are a bit stronger than the other Nudibranchs (slug) type enemies you have faced in the past, but they don’t require any complicated strategy to defeat. You may just need to go defensive and have Vanille do some healing if the damage gets to be too much.
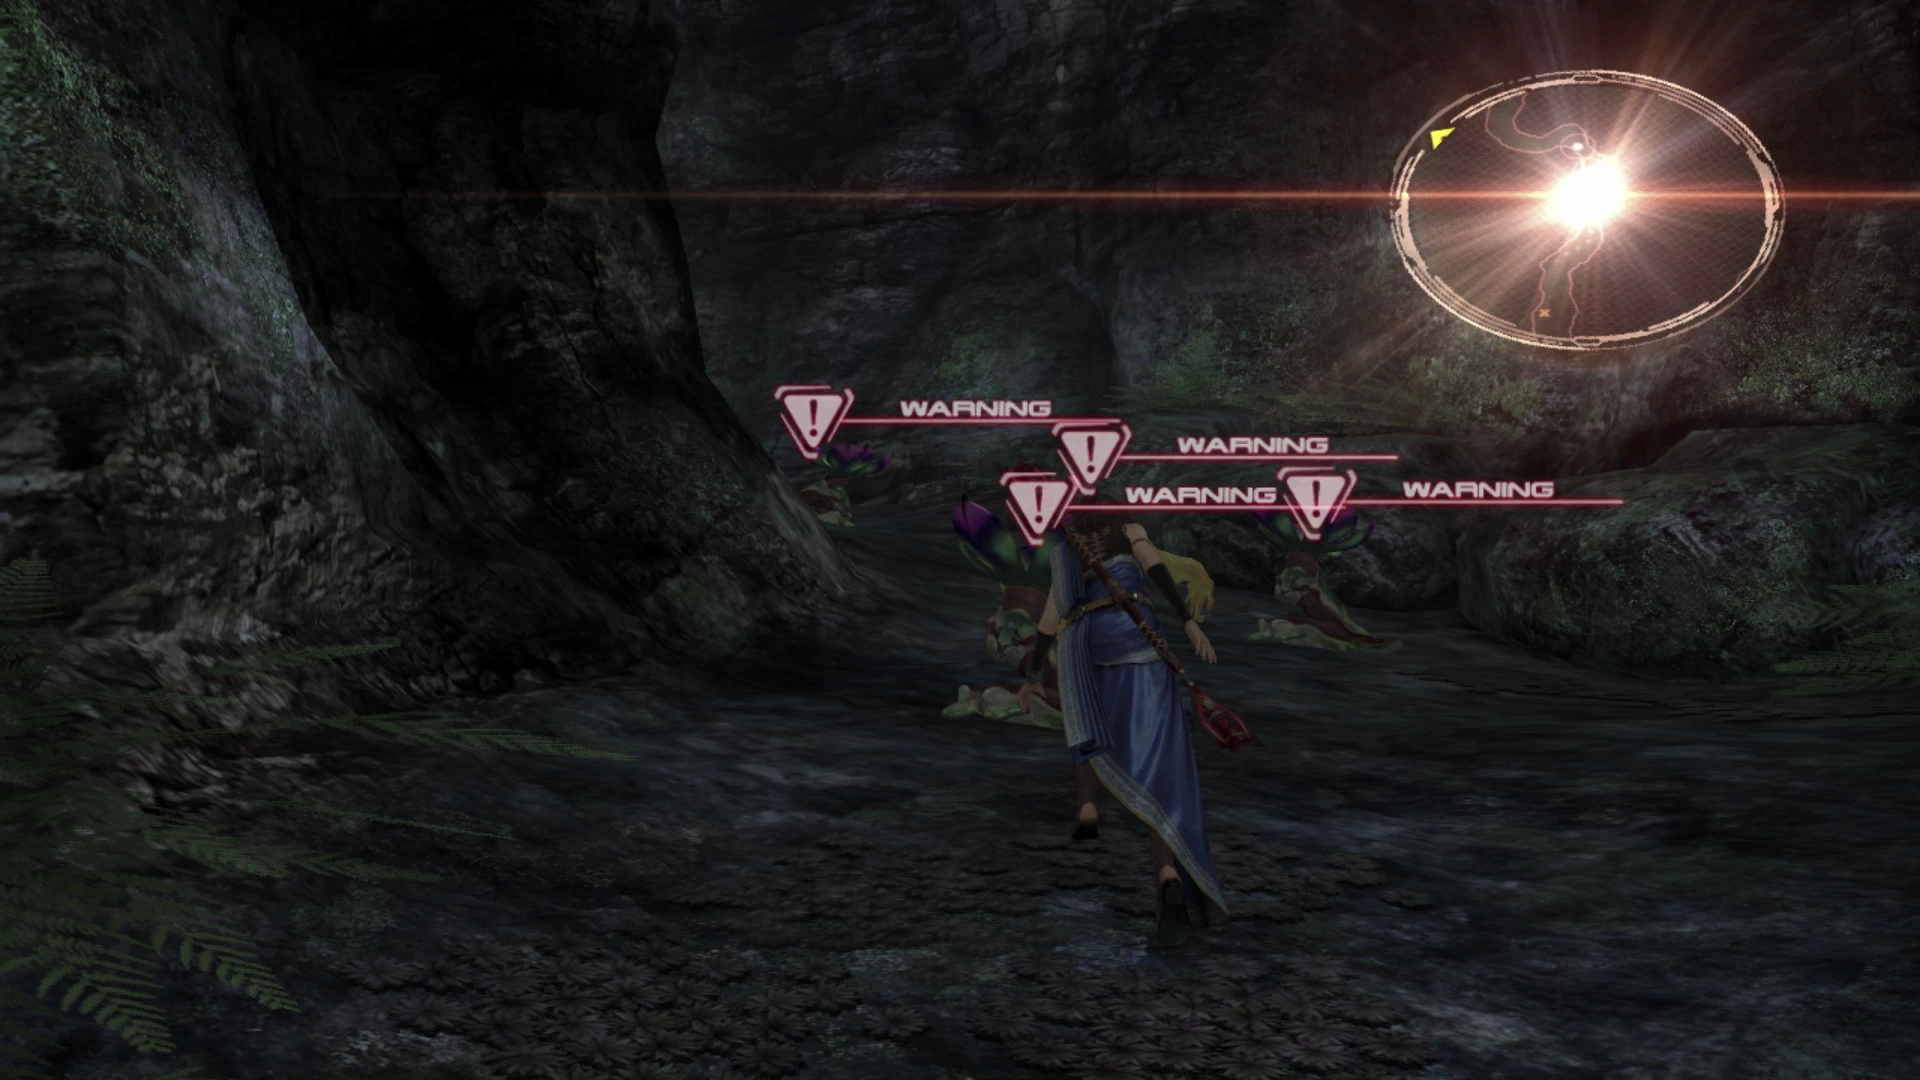
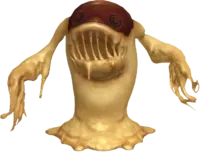
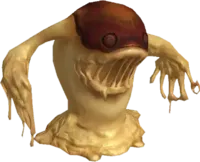
The next group of enemies includes two Flans. These Flans can merge to form their larger counterpart, a Dire Flan, just like the Phosphoric Ooze and Alchemic Ooze in the Fifth Ark, so try to defeat them as quickly as you can. After that is a group of three Alraune and a Flan.
Just up ahead is a large Dire Flan. You can run fast enough to get by it and not fight it if you’re quick enough, but you’d also have to leave behind the Treasure Sphere which contains the ![]() Partisan weapon for Fang.
Partisan weapon for Fang.
This isn’t a great weapon for her because of its high magic and low physical stats (the complete antithesis of what she needs in her role as a ![]() Commando), but let’s not leave any treasure behind…
Commando), but let’s not leave any treasure behind…
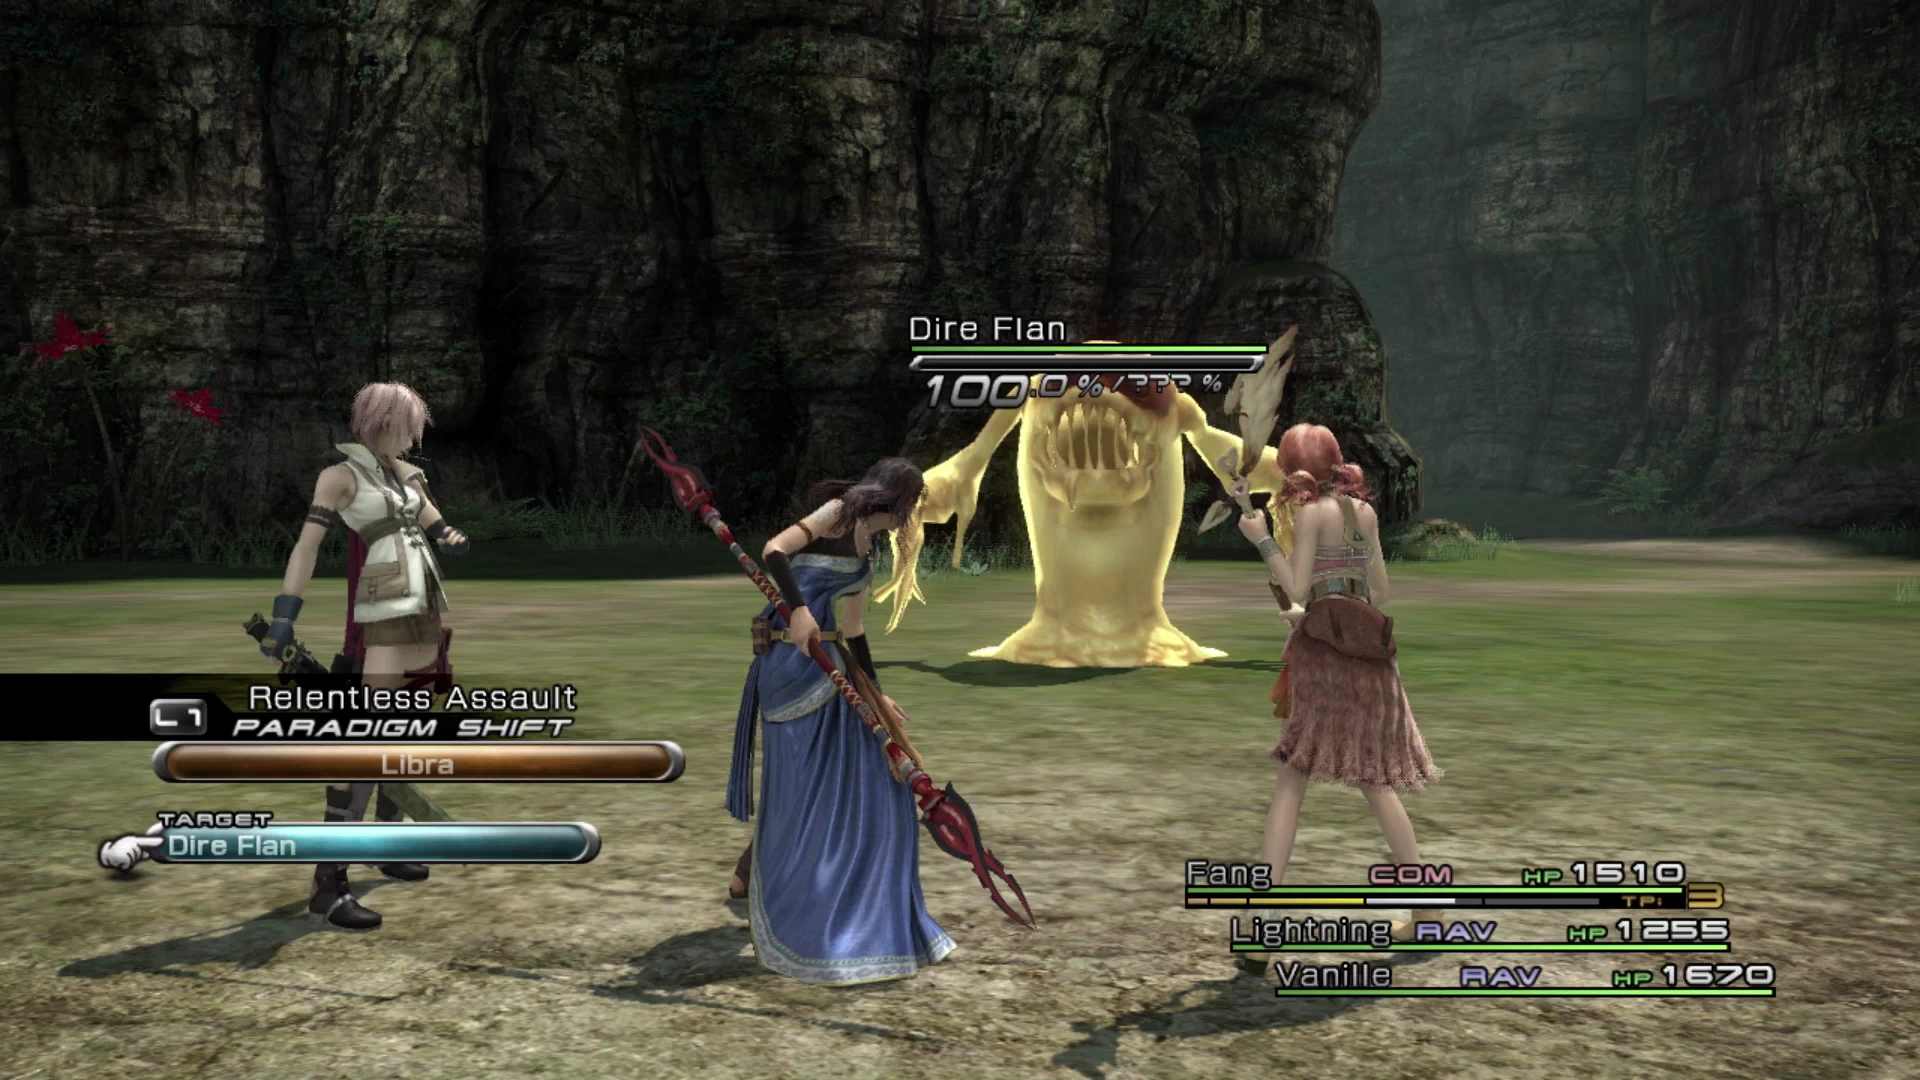
There is another group of two Flans just up ahead followed by another Dire Flan. The last group of enemies includes three more Alraune and a Flan that you will have to defeat before you reach the clearing where Hope is located. A short cutscene will take place before you’ll be thrown into your next Eidolon battle.
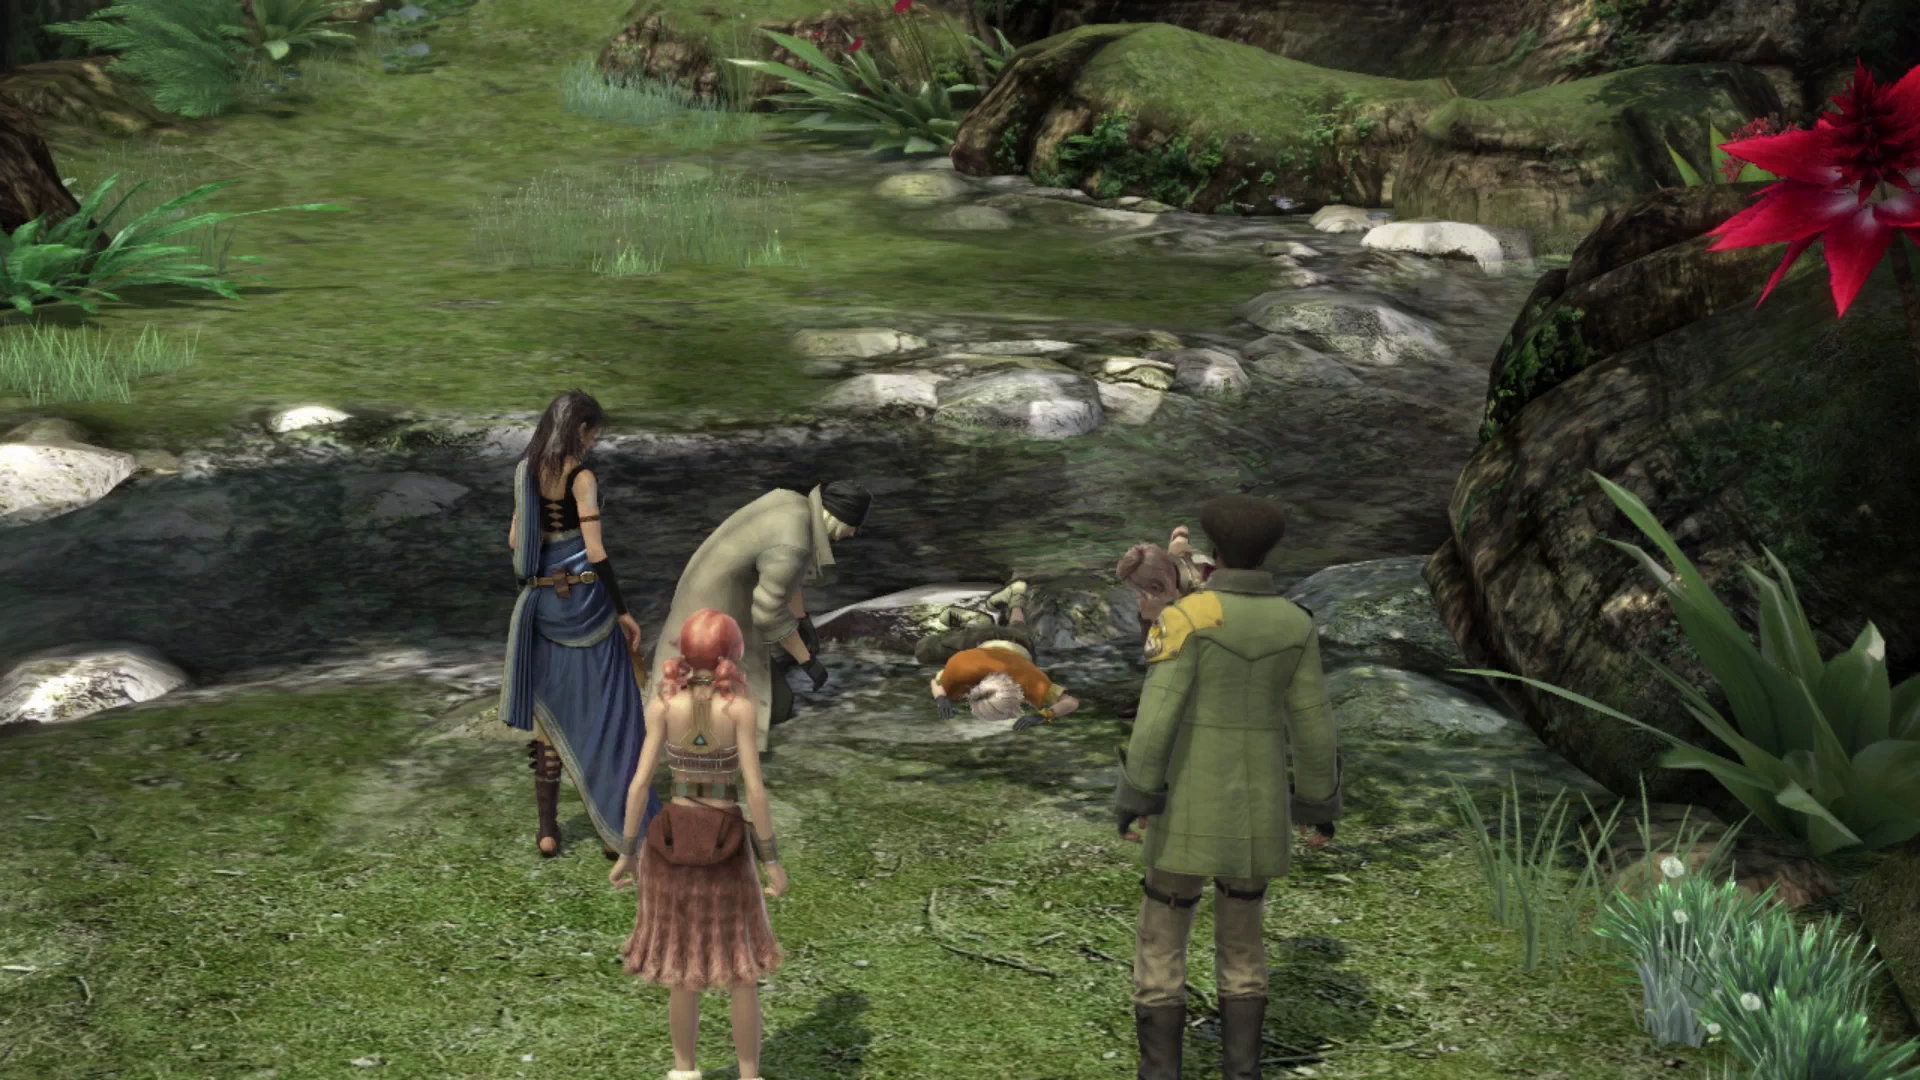
Eidolon Battle
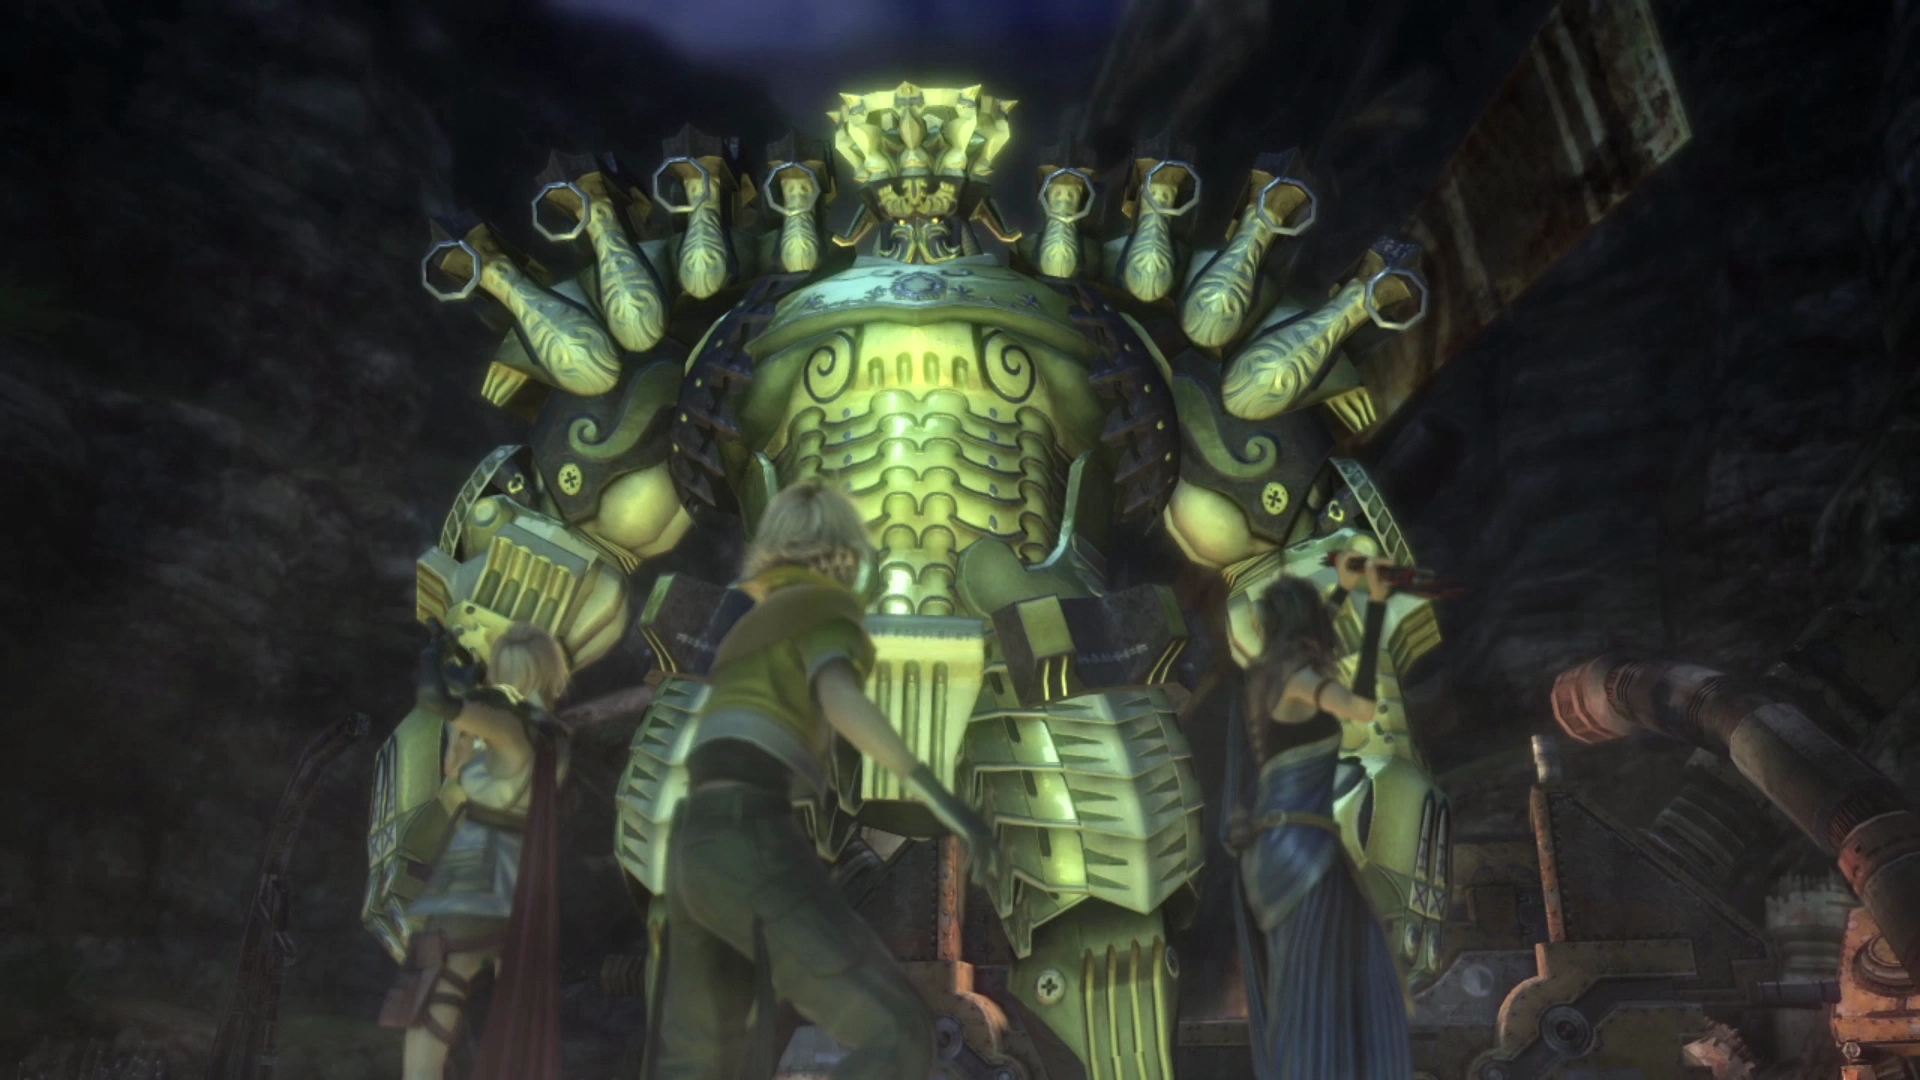
This is your fifth Eidolon battle following Fang’s battle against Bahamut and similar principles from that fight carry forward. ![]() Doom will be cast on Hope at the beginning of the fight initiating a countdown timer. The fight is over if the timer reaches zero.
Doom will be cast on Hope at the beginning of the fight initiating a countdown timer. The fight is over if the timer reaches zero.
Hope’s primary function with the group is to heal and provide support, so this Eidolon wants him to demonstrate those abilities in this fight. The Gestalt charges under the following conditions:
- Yields to those who amass chain bonuses.
- Yields to those who heal the wounded.
- Yields to those who strengthen their allies.
In other words, rotating Hope between his ![]() Synergist and
Synergist and ![]() Medic roles, as well as the odd switch into
Medic roles, as well as the odd switch into ![]() Ravager, will make quick work of Alexander.
Ravager, will make quick work of Alexander.
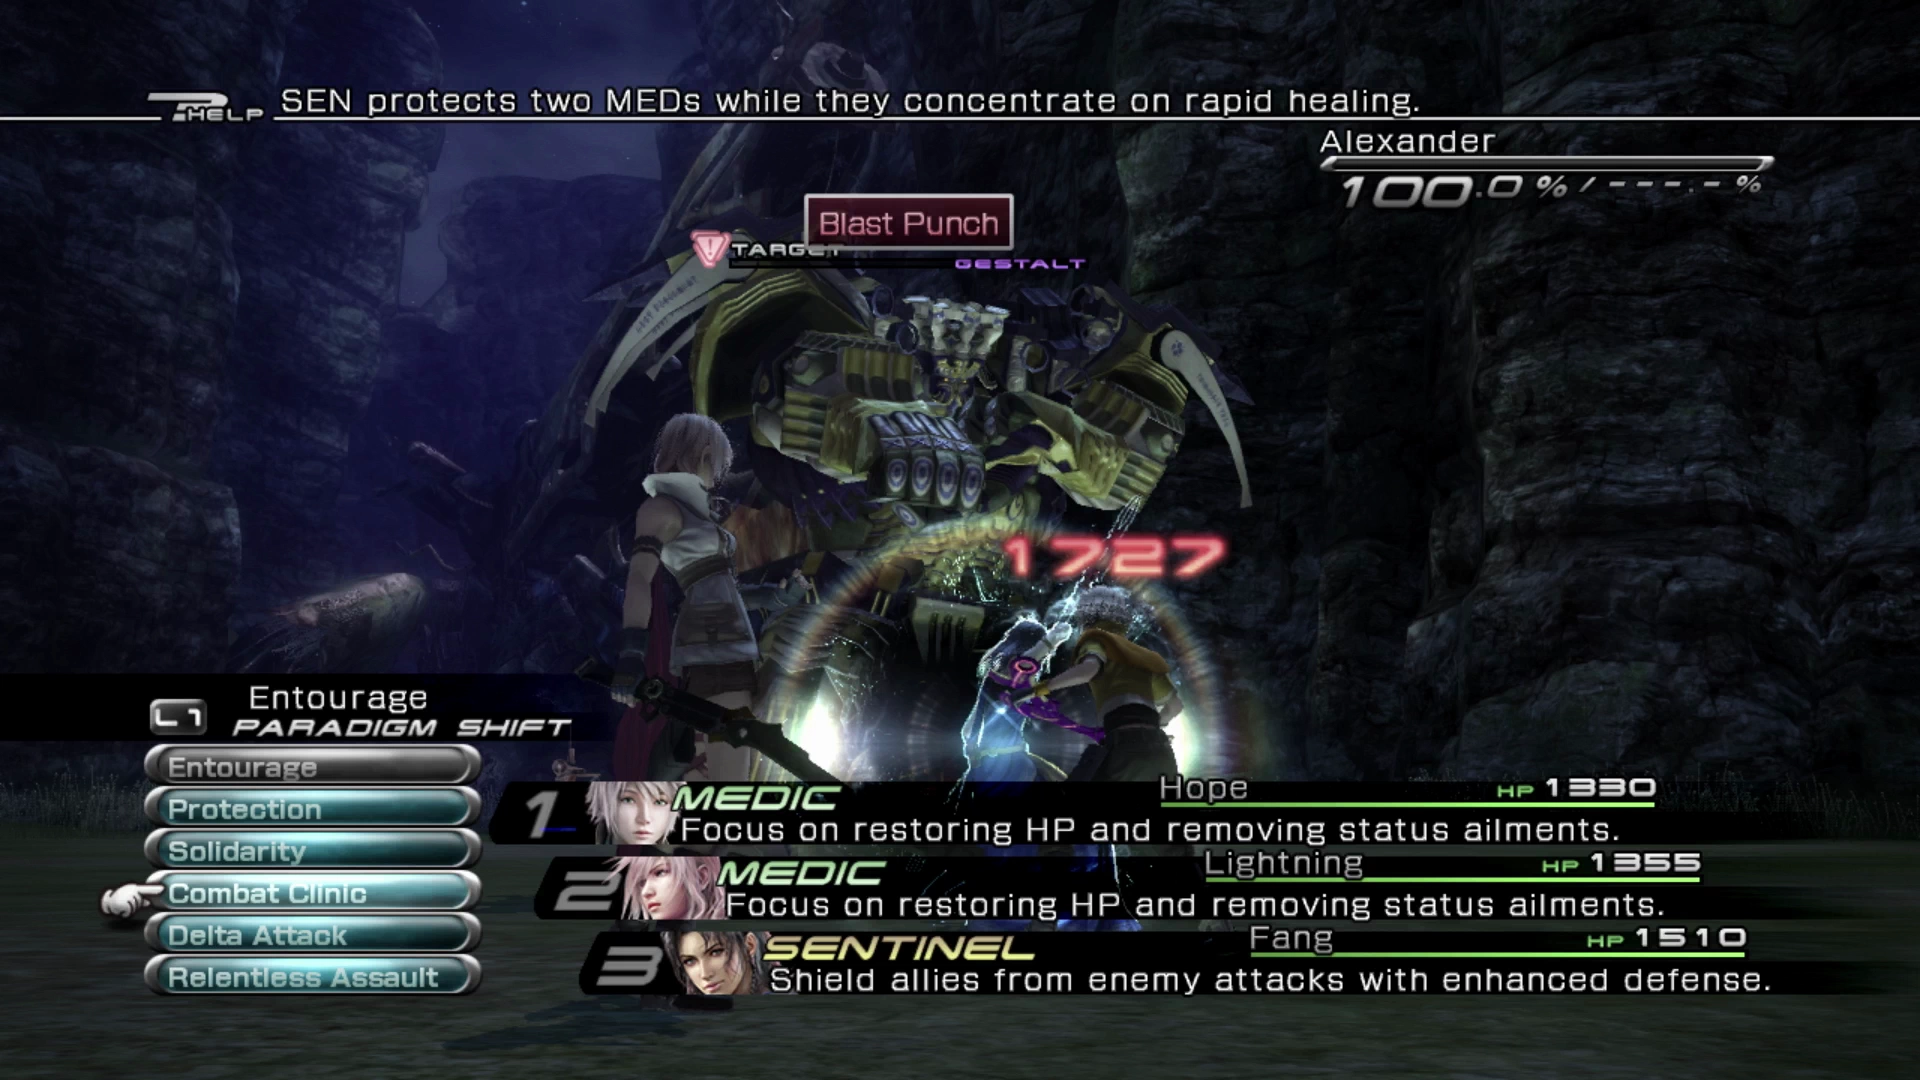
Start by switching to the Protection Paradigm at the beginning of the battle. This will set up Fang as a ![]() Sentinel to absorb attacks, have Lightning throw out some heals, and allow you to cast buffs on your party members as Hope. First thing’s first though, don’t forget to use
Sentinel to absorb attacks, have Lightning throw out some heals, and allow you to cast buffs on your party members as Hope. First thing’s first though, don’t forget to use ![]() Libra at the start of the fight.
Libra at the start of the fight.
While other ![]() Synergist party buffs can be helpful, the most important buff for Hope to apply to the team is Protect. This is because Alexander’s attacks are all physical. Once Protect is applied, and in between Alexander’s attacks, move into Relentless Assault to help boost the Chain Gauge.
Synergist party buffs can be helpful, the most important buff for Hope to apply to the team is Protect. This is because Alexander’s attacks are all physical. Once Protect is applied, and in between Alexander’s attacks, move into Relentless Assault to help boost the Chain Gauge.
Remember to press once the Gestalt Gauge is full.
This is one of the easier Eidolon battles to deal with and, once the battle is complete, Hope will have access to another ATB Gauge segment. This means that all three of your party members, assuming you’re using the recommended party of Fang, Lightning, and Hope, all have a minimum of 4 ATB Gauge segments.
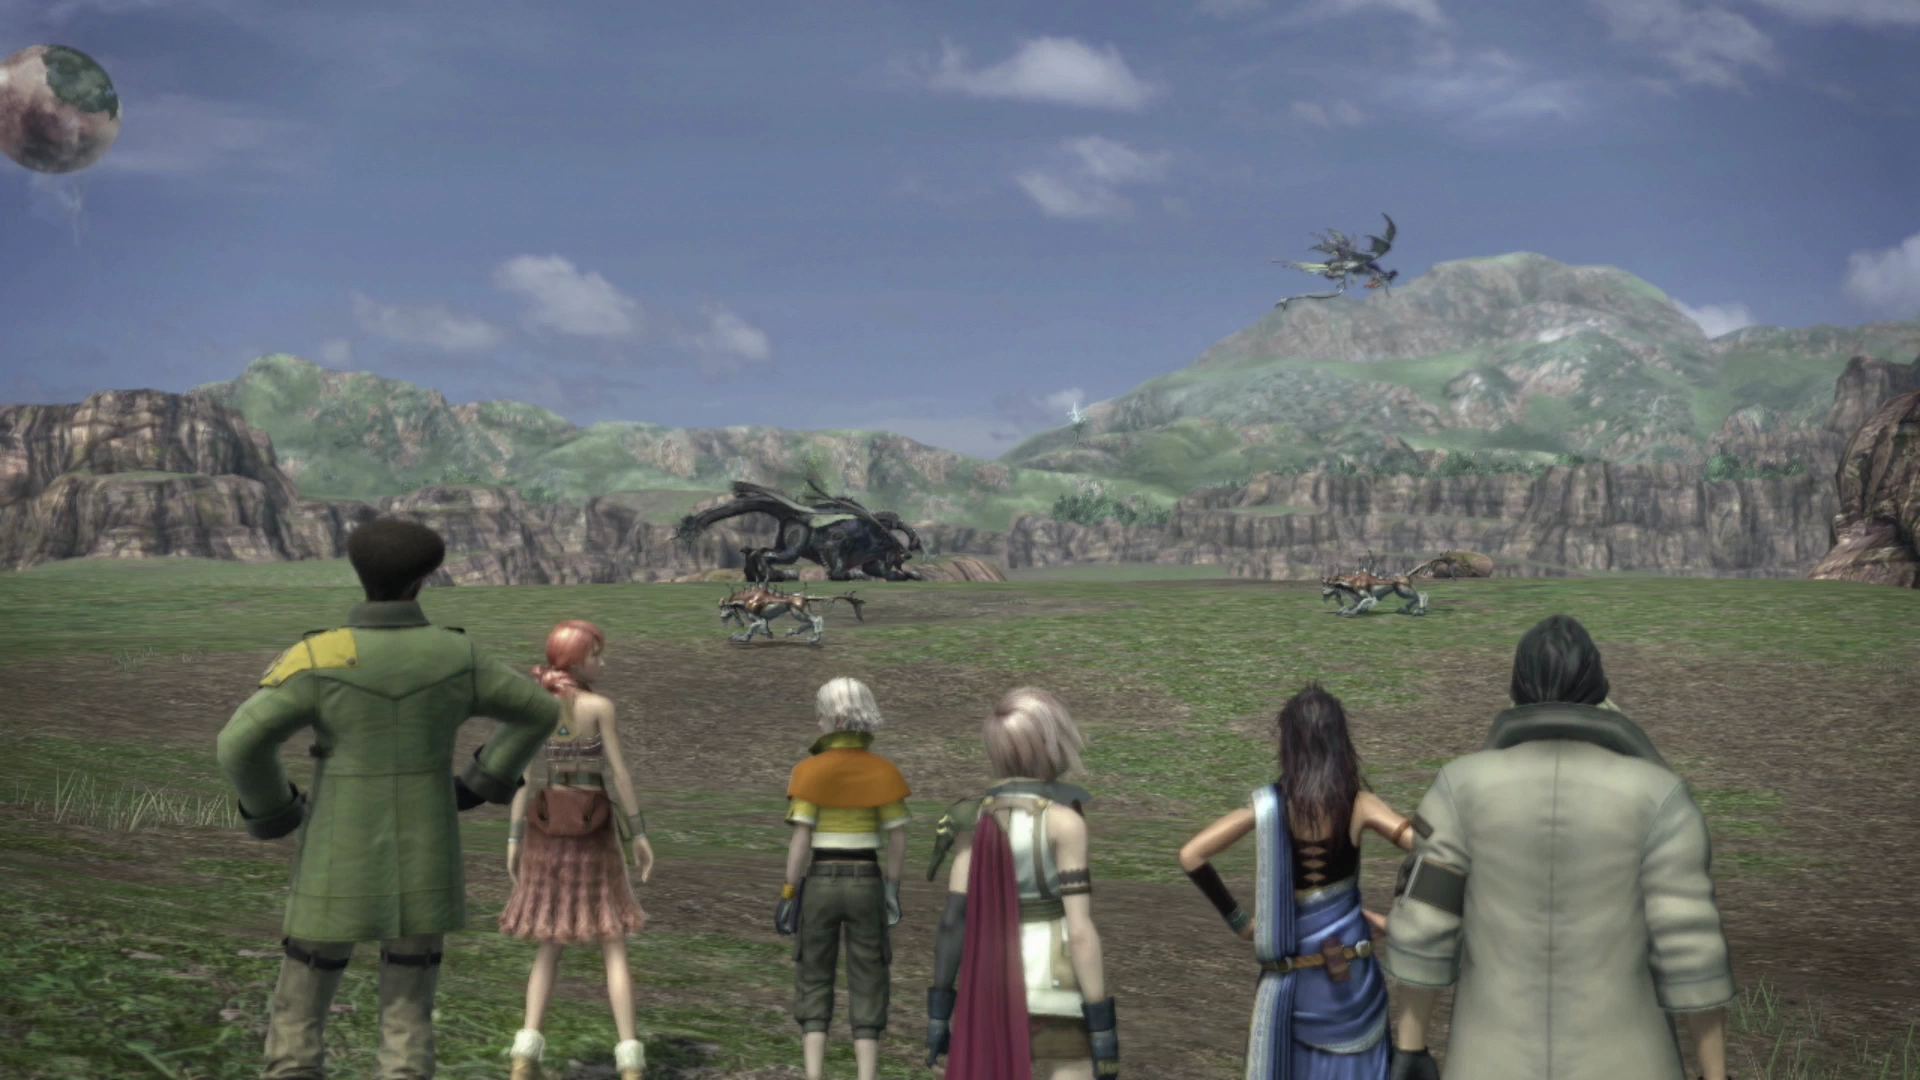
Another cutscene will take place before the team automatically completes their travels through Vallis Media and into the Archylte Steppes. After 10 full chapters, you now have the option of exploring new areas of the game. Check out the full walkthrough and recommendations on the next page.


