
Chapter 10: The Fifth Ark (Part 2)
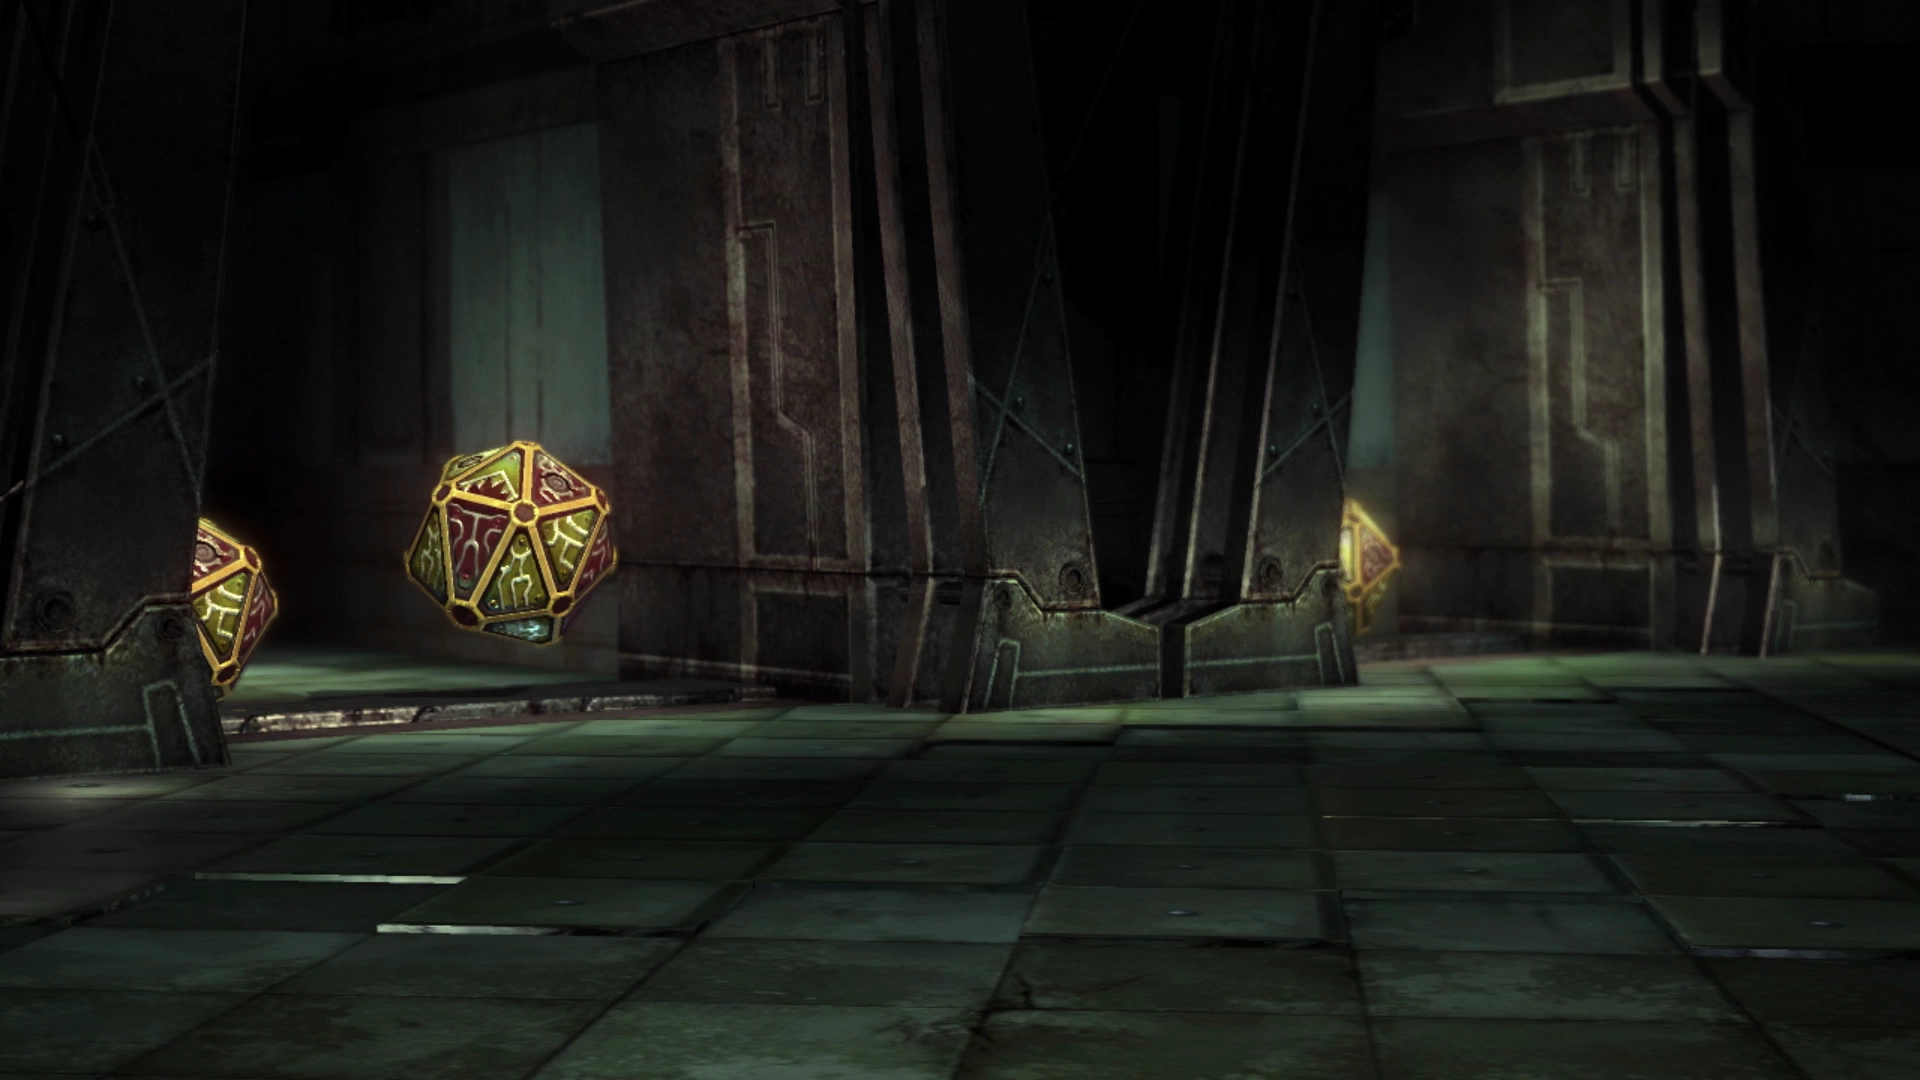
Concealed Vestige
The walkthrough for the Fifth Ark is broken up into two parts. The first section contains all the areas leading up to the confrontation with Cid Raines. If you have not yet reached the confrontation with Cid, navigate back to the Fifth Ark Part 1 page using the navigation links.
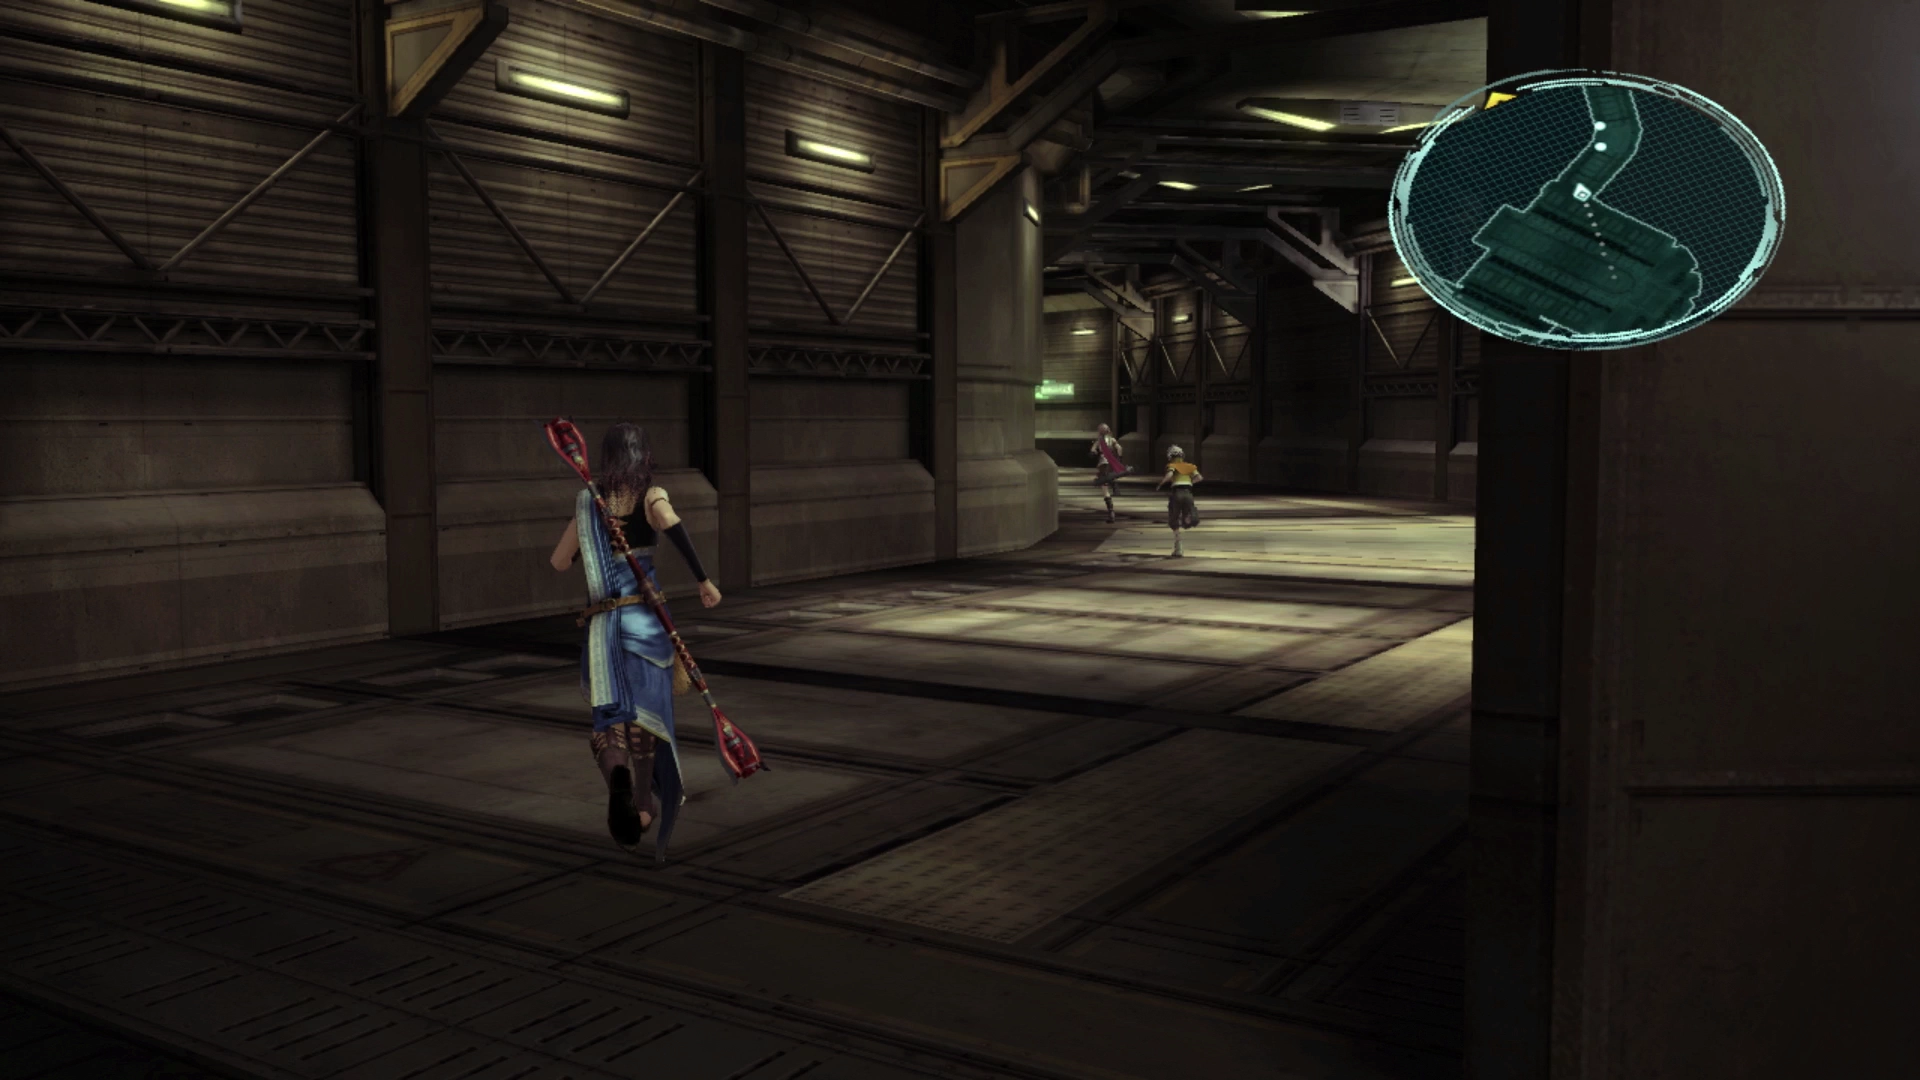
Central Conflux
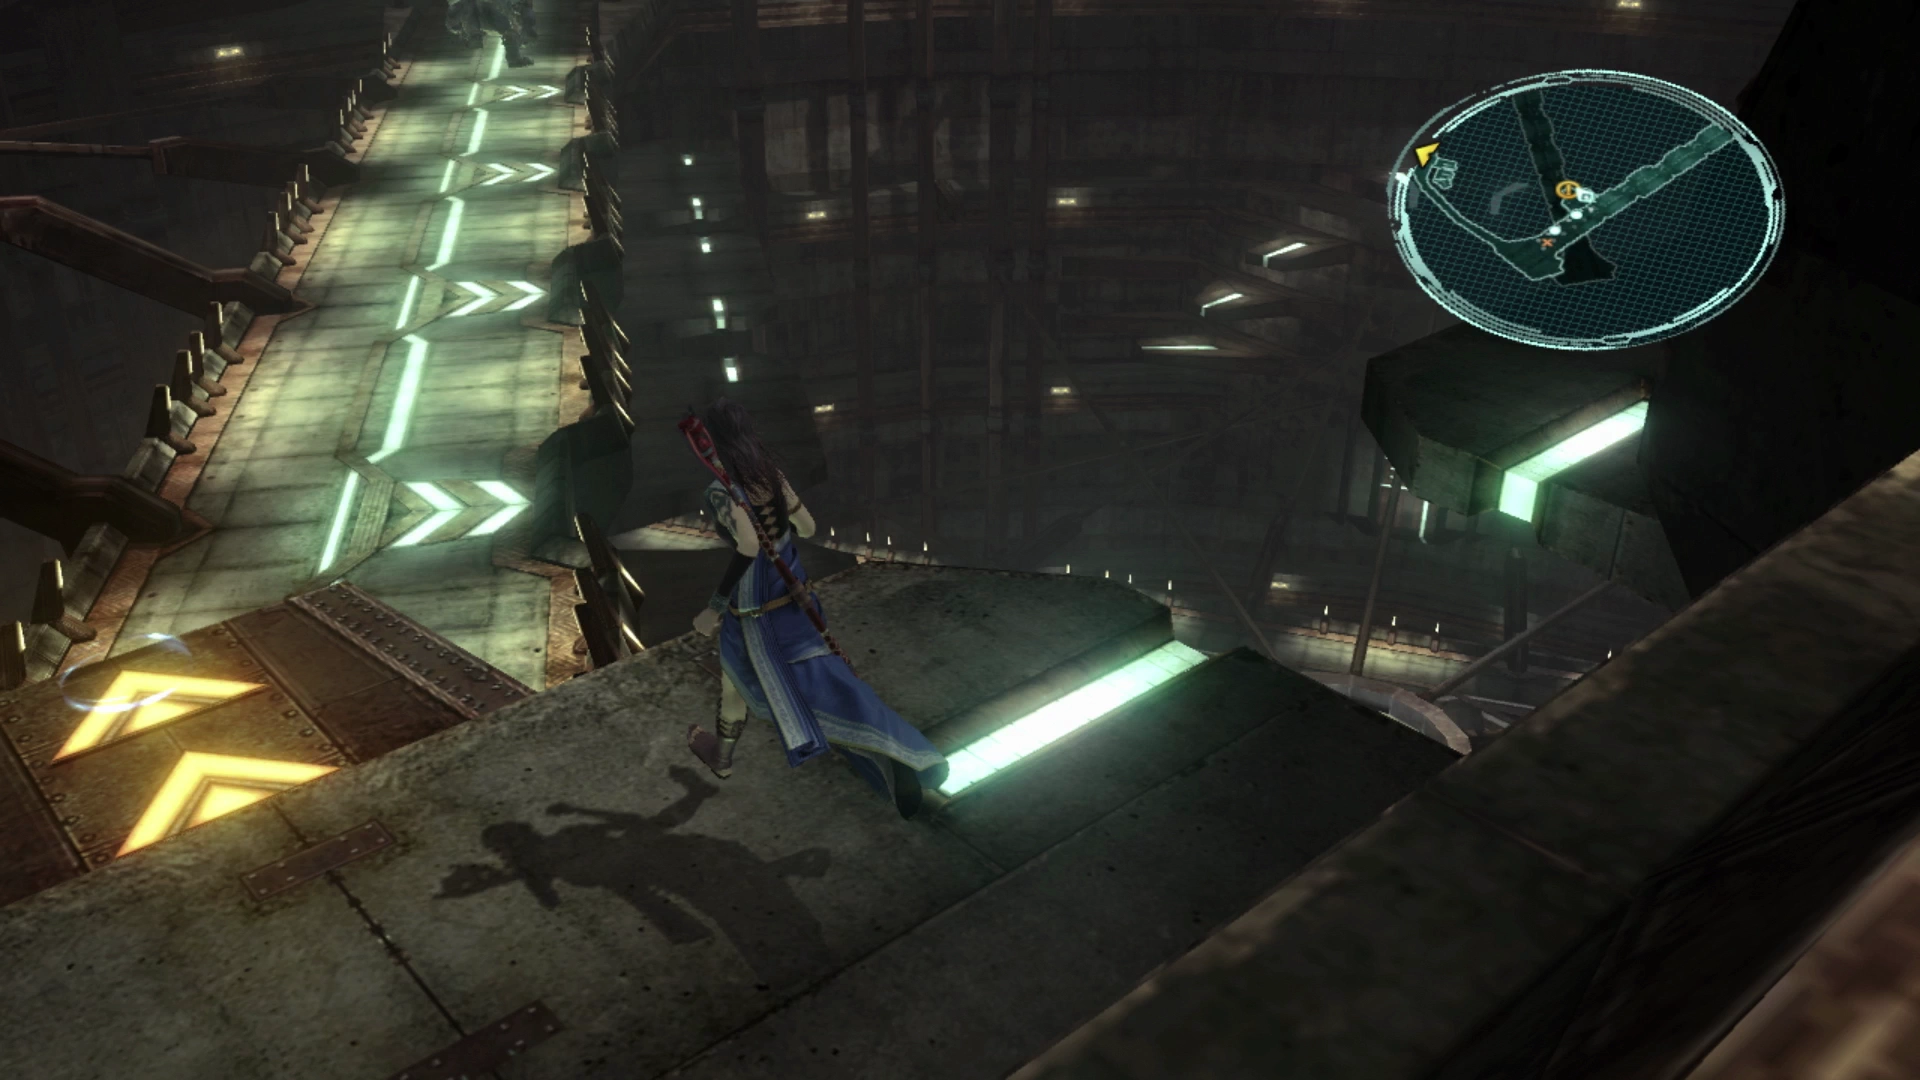
Step off the elevator and into the next area which has a similar layout to the High Conflux area. Use the map destination markers to drop down to the lower level and use the platforms that encircle the map to climb back up to the upper levels if you need to.
The groups of enemies in this area will be fighting each other when you first arrive but, unlike the earlier three-way battles, all the enemies will turn and fight you when you initiate a battle. Thankfully their HP will be around 50% of normal though, which will help speed things up.
Work your way down the Conflux, defeating each of the groups of enemies that you come across. There are no Treasure Spheres in this area to gather so there is nothing to miss on your way to the bottom. There is another ![]() Save Station at the bottom that you can use to save your game.
Save Station at the bottom that you can use to save your game.
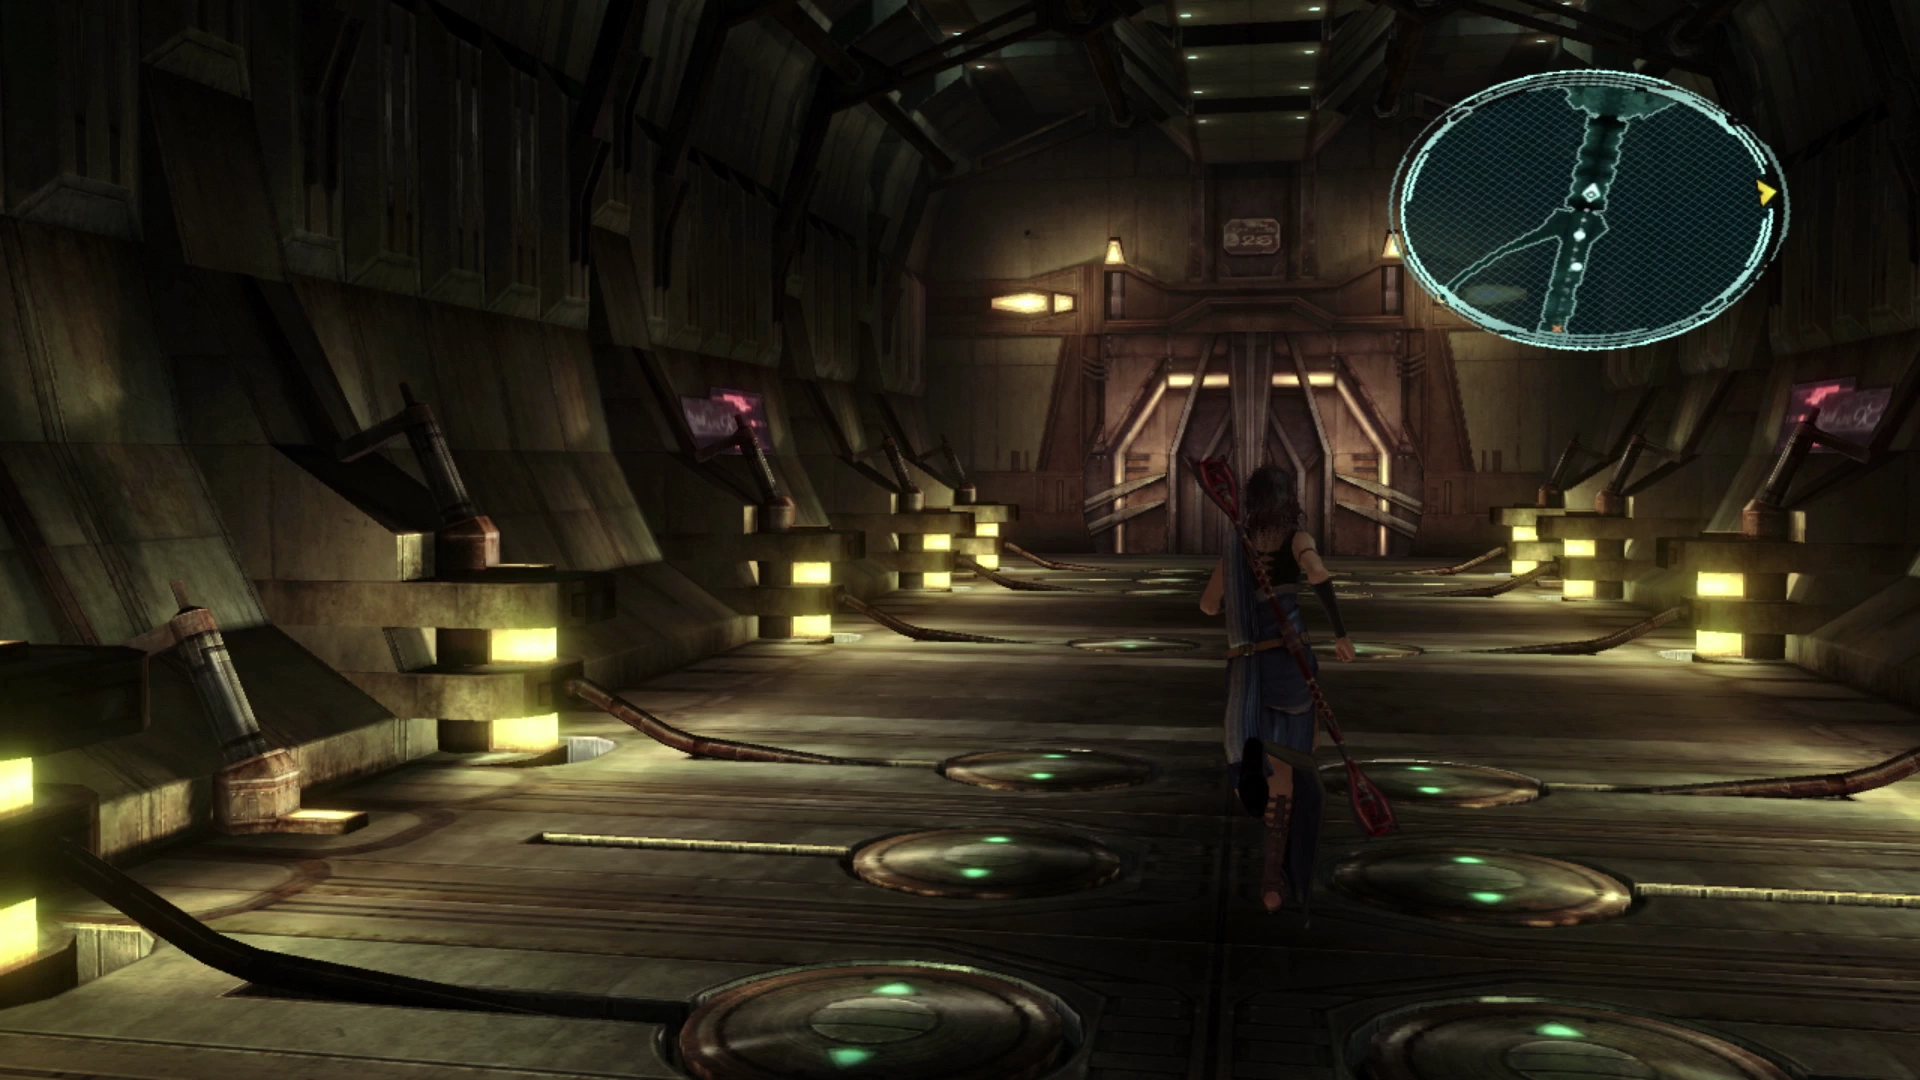
The Synthrona
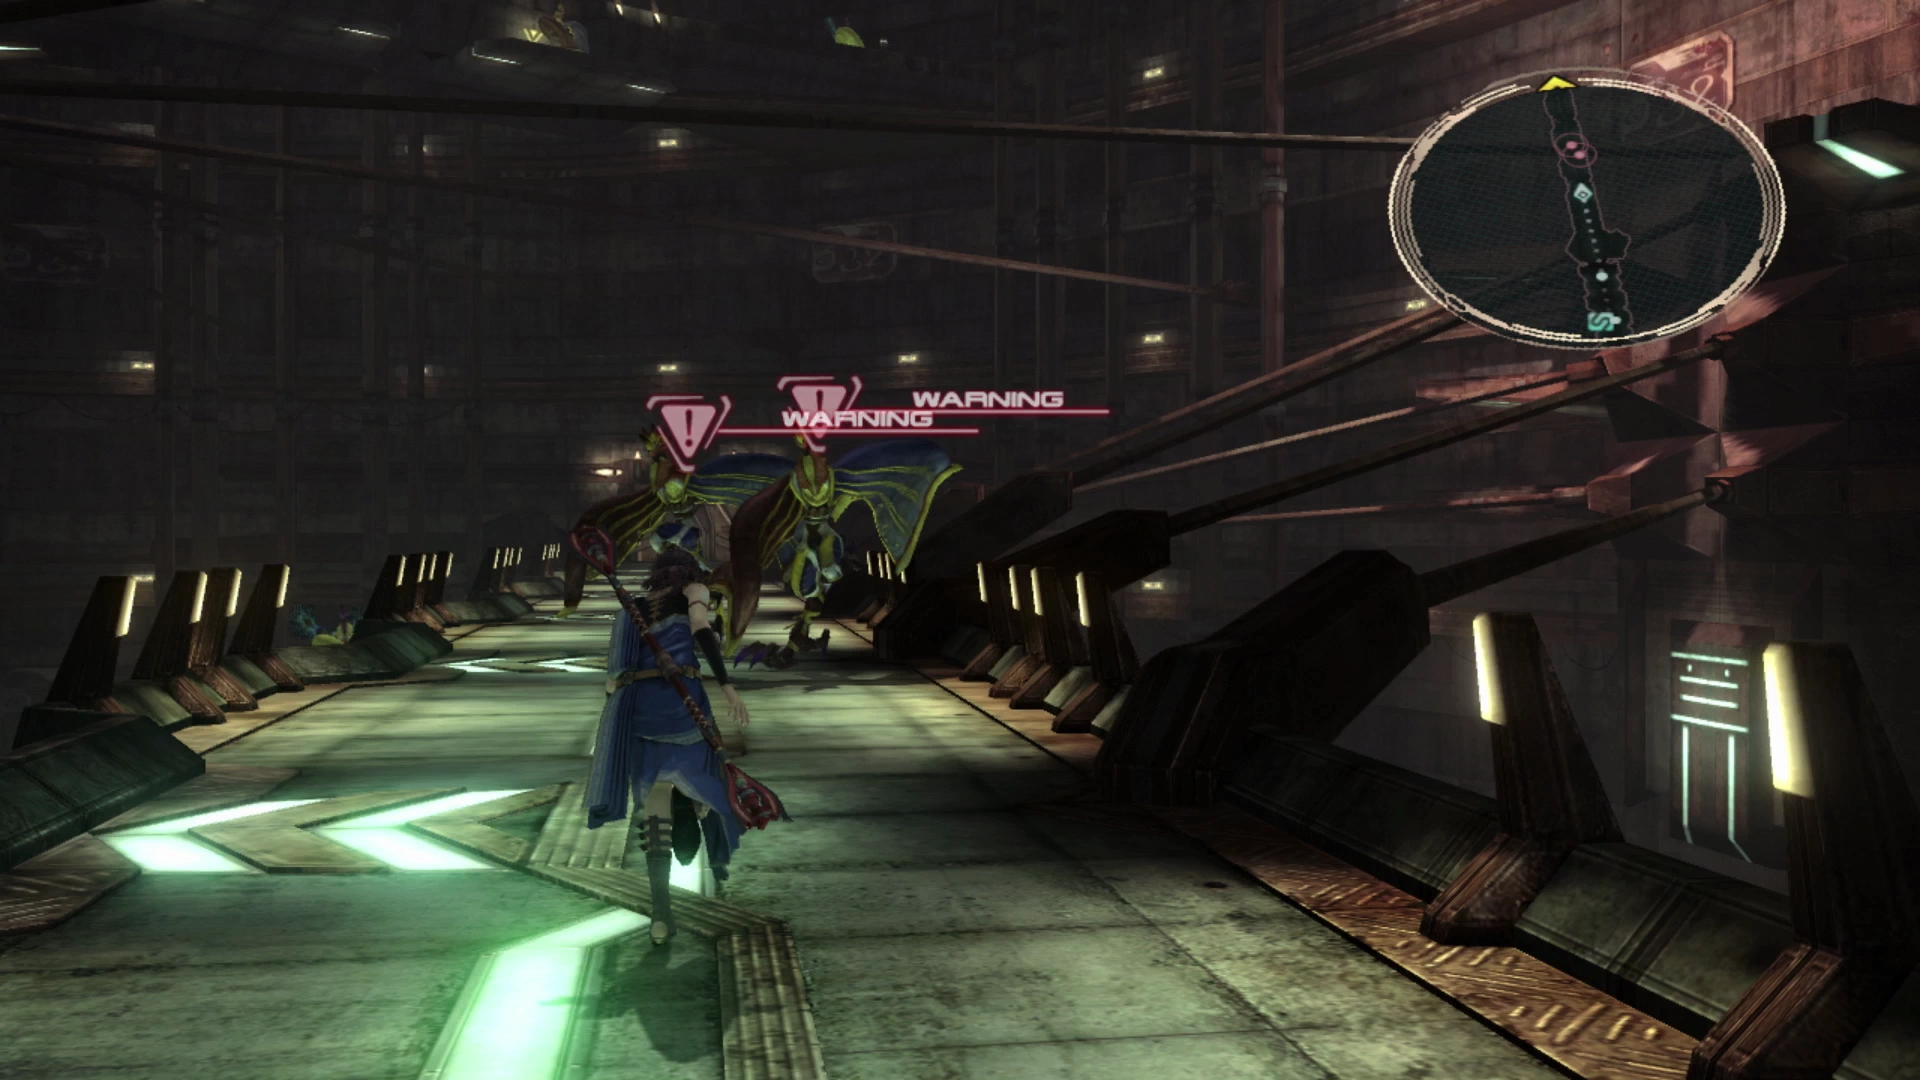
A short cutscene will play as you enter this next room, and the team will be ambushed by two separate groups of enemies. The first group includes four Circuitrons which can prove problematic if they start using “Self Destruct” on your team. It’s not something that you can heal through so go on the all-out offensive to take them out as quickly as possible.
The second group of enemies includes three Pulsework Knights. It’s difficult, but not impossible, to get a preemptive strike on them as they patrol back and forth along the right wall the room. Take them out and move into the next room.
It’s another trap with a group of two Pulsework Knights and a Stikini to defeat. Remember to defeat the Stikini first before it’s able to inflict the ![]() Daze status on any of your party members using “Forbidden Dance.”
Daze status on any of your party members using “Forbidden Dance.”
The hallway up ahead has a Treasure Sphere on the right side that contains a ![]() Feymark. This weapon is useful when Snow is in a magic-focused role such as a
Feymark. This weapon is useful when Snow is in a magic-focused role such as a ![]() Ravager or a
Ravager or a ![]() Medic, but these are not roles that Snow excels at, so this weapon has very limited applications and should generally not be equipped. Keep moving forward into the next area.
Medic, but these are not roles that Snow excels at, so this weapon has very limited applications and should generally not be equipped. Keep moving forward into the next area.
Basement Conflux
This is the last Conflux to navigate down and it can be navigated the same way as the two previous ones. Run up towards the destination markers to have your team jump down to the level below.
Along the way, they will encounter a group of two Pulsework Knights surrounded by a group of four Imps. These enemies can be avoided but you may as well defeat them since they are all at ~50% HP and your characters need the Crystogen Points (CP).
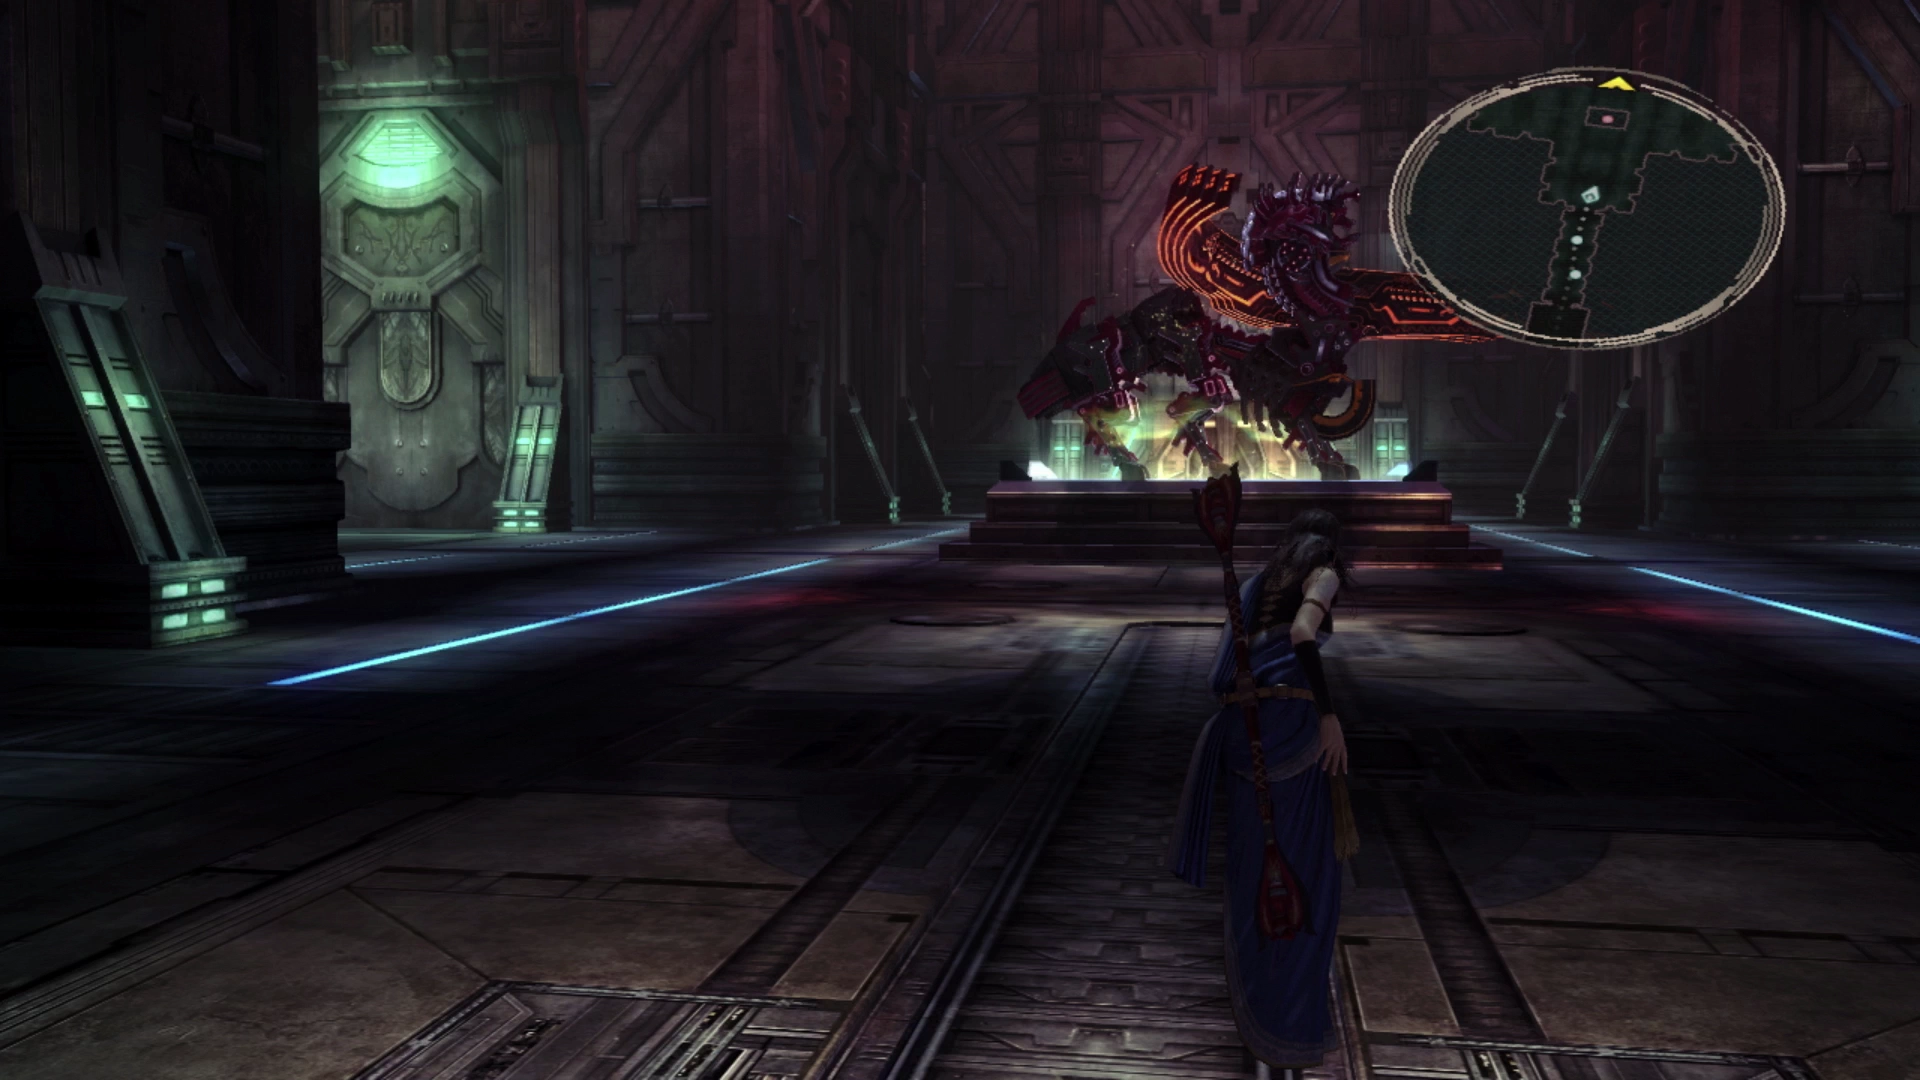
The level below has a Greater Behemoth patrolling back and forth on it. This Behemoth is easy to sneak up on because if you get close enough to where it will chase you, it will eventually turn around to walk back to its original position, at which point you can ambush it from behind. This will allow you to make much quicker work of it and, ideally, prevent it from standing up on two legs and recovering all its HP.
Continue down the hallway into the next area.
Hypogeum
This is another room where the team will be ambushed by a group of enemies. And in this case, it’s another group of Circuitrons. Just be careful of their Self Destruct ability and try to defeat them quickly.
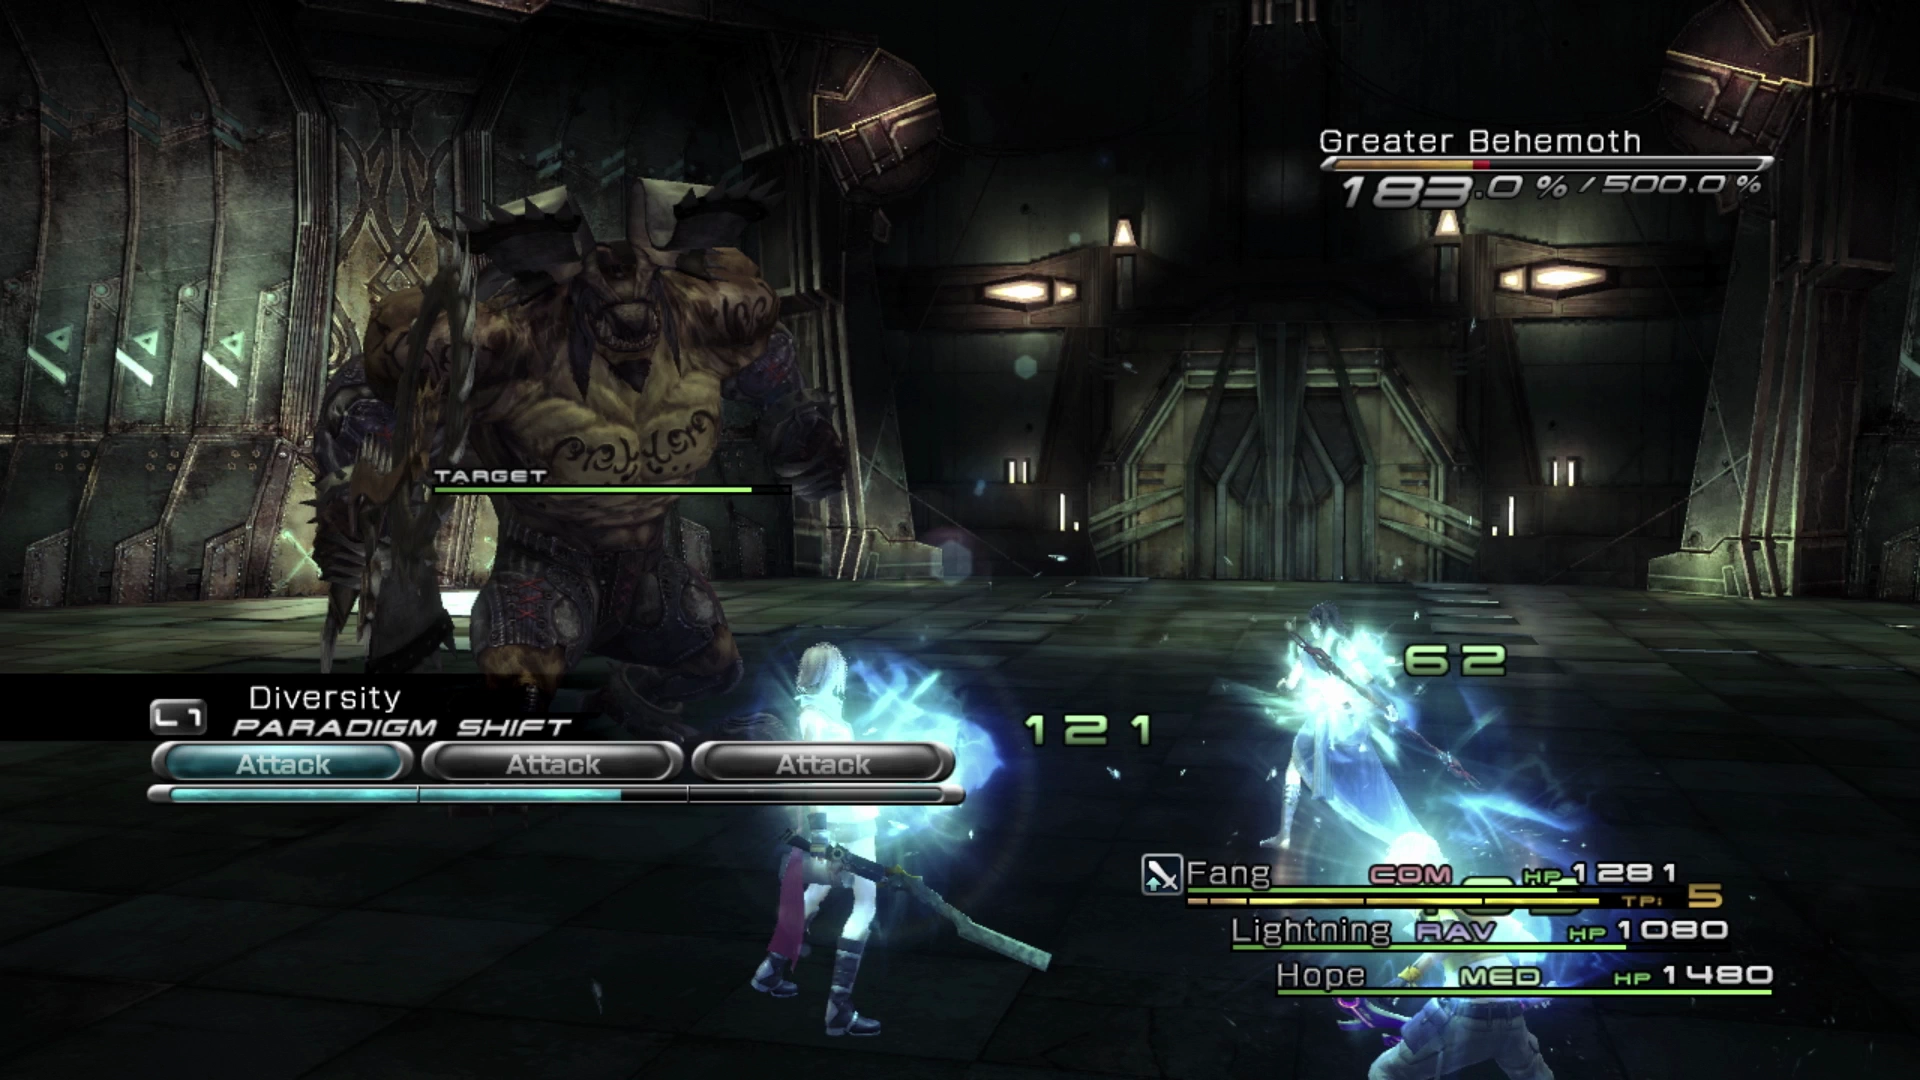
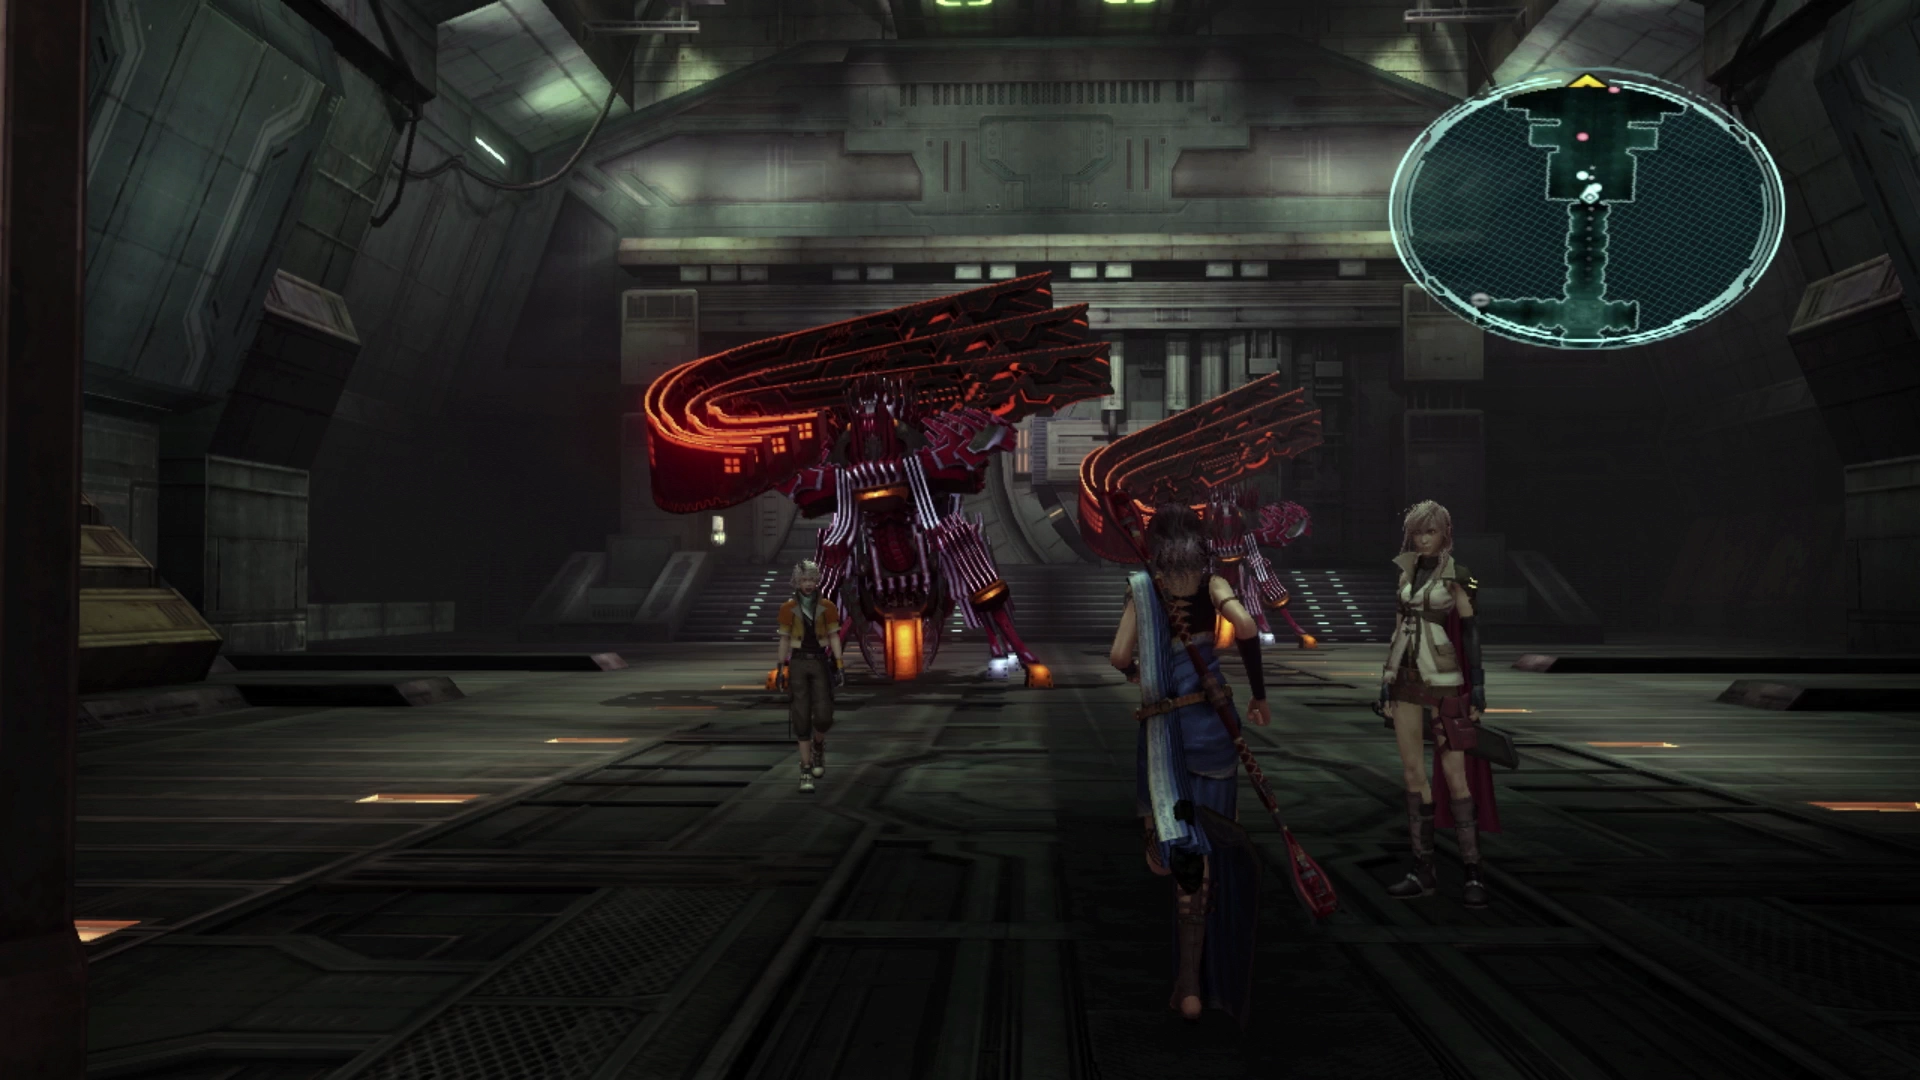
The next room contains a very large group of enemies that includes two Skata’ne, one Stikini, and a Greater Behemoth. These enemies will all have around 50% HP, but due to the sheer amount of damage they can deal if they focus their attacks on one of your party members, this fight can prove to be quite problematic.
Consider taking a defensive approach to this battle. Be ready to swap to a healing Paradigm, such as Diversity, early enough in the fight before you run into trouble. Remember that the Stikini needs to go down very quickly before it starts inflicting your party members with the ![]() Daze status effect. Then take out the Skata’ne one by one before moving on to the Greater Behemoth.
Daze status effect. Then take out the Skata’ne one by one before moving on to the Greater Behemoth.
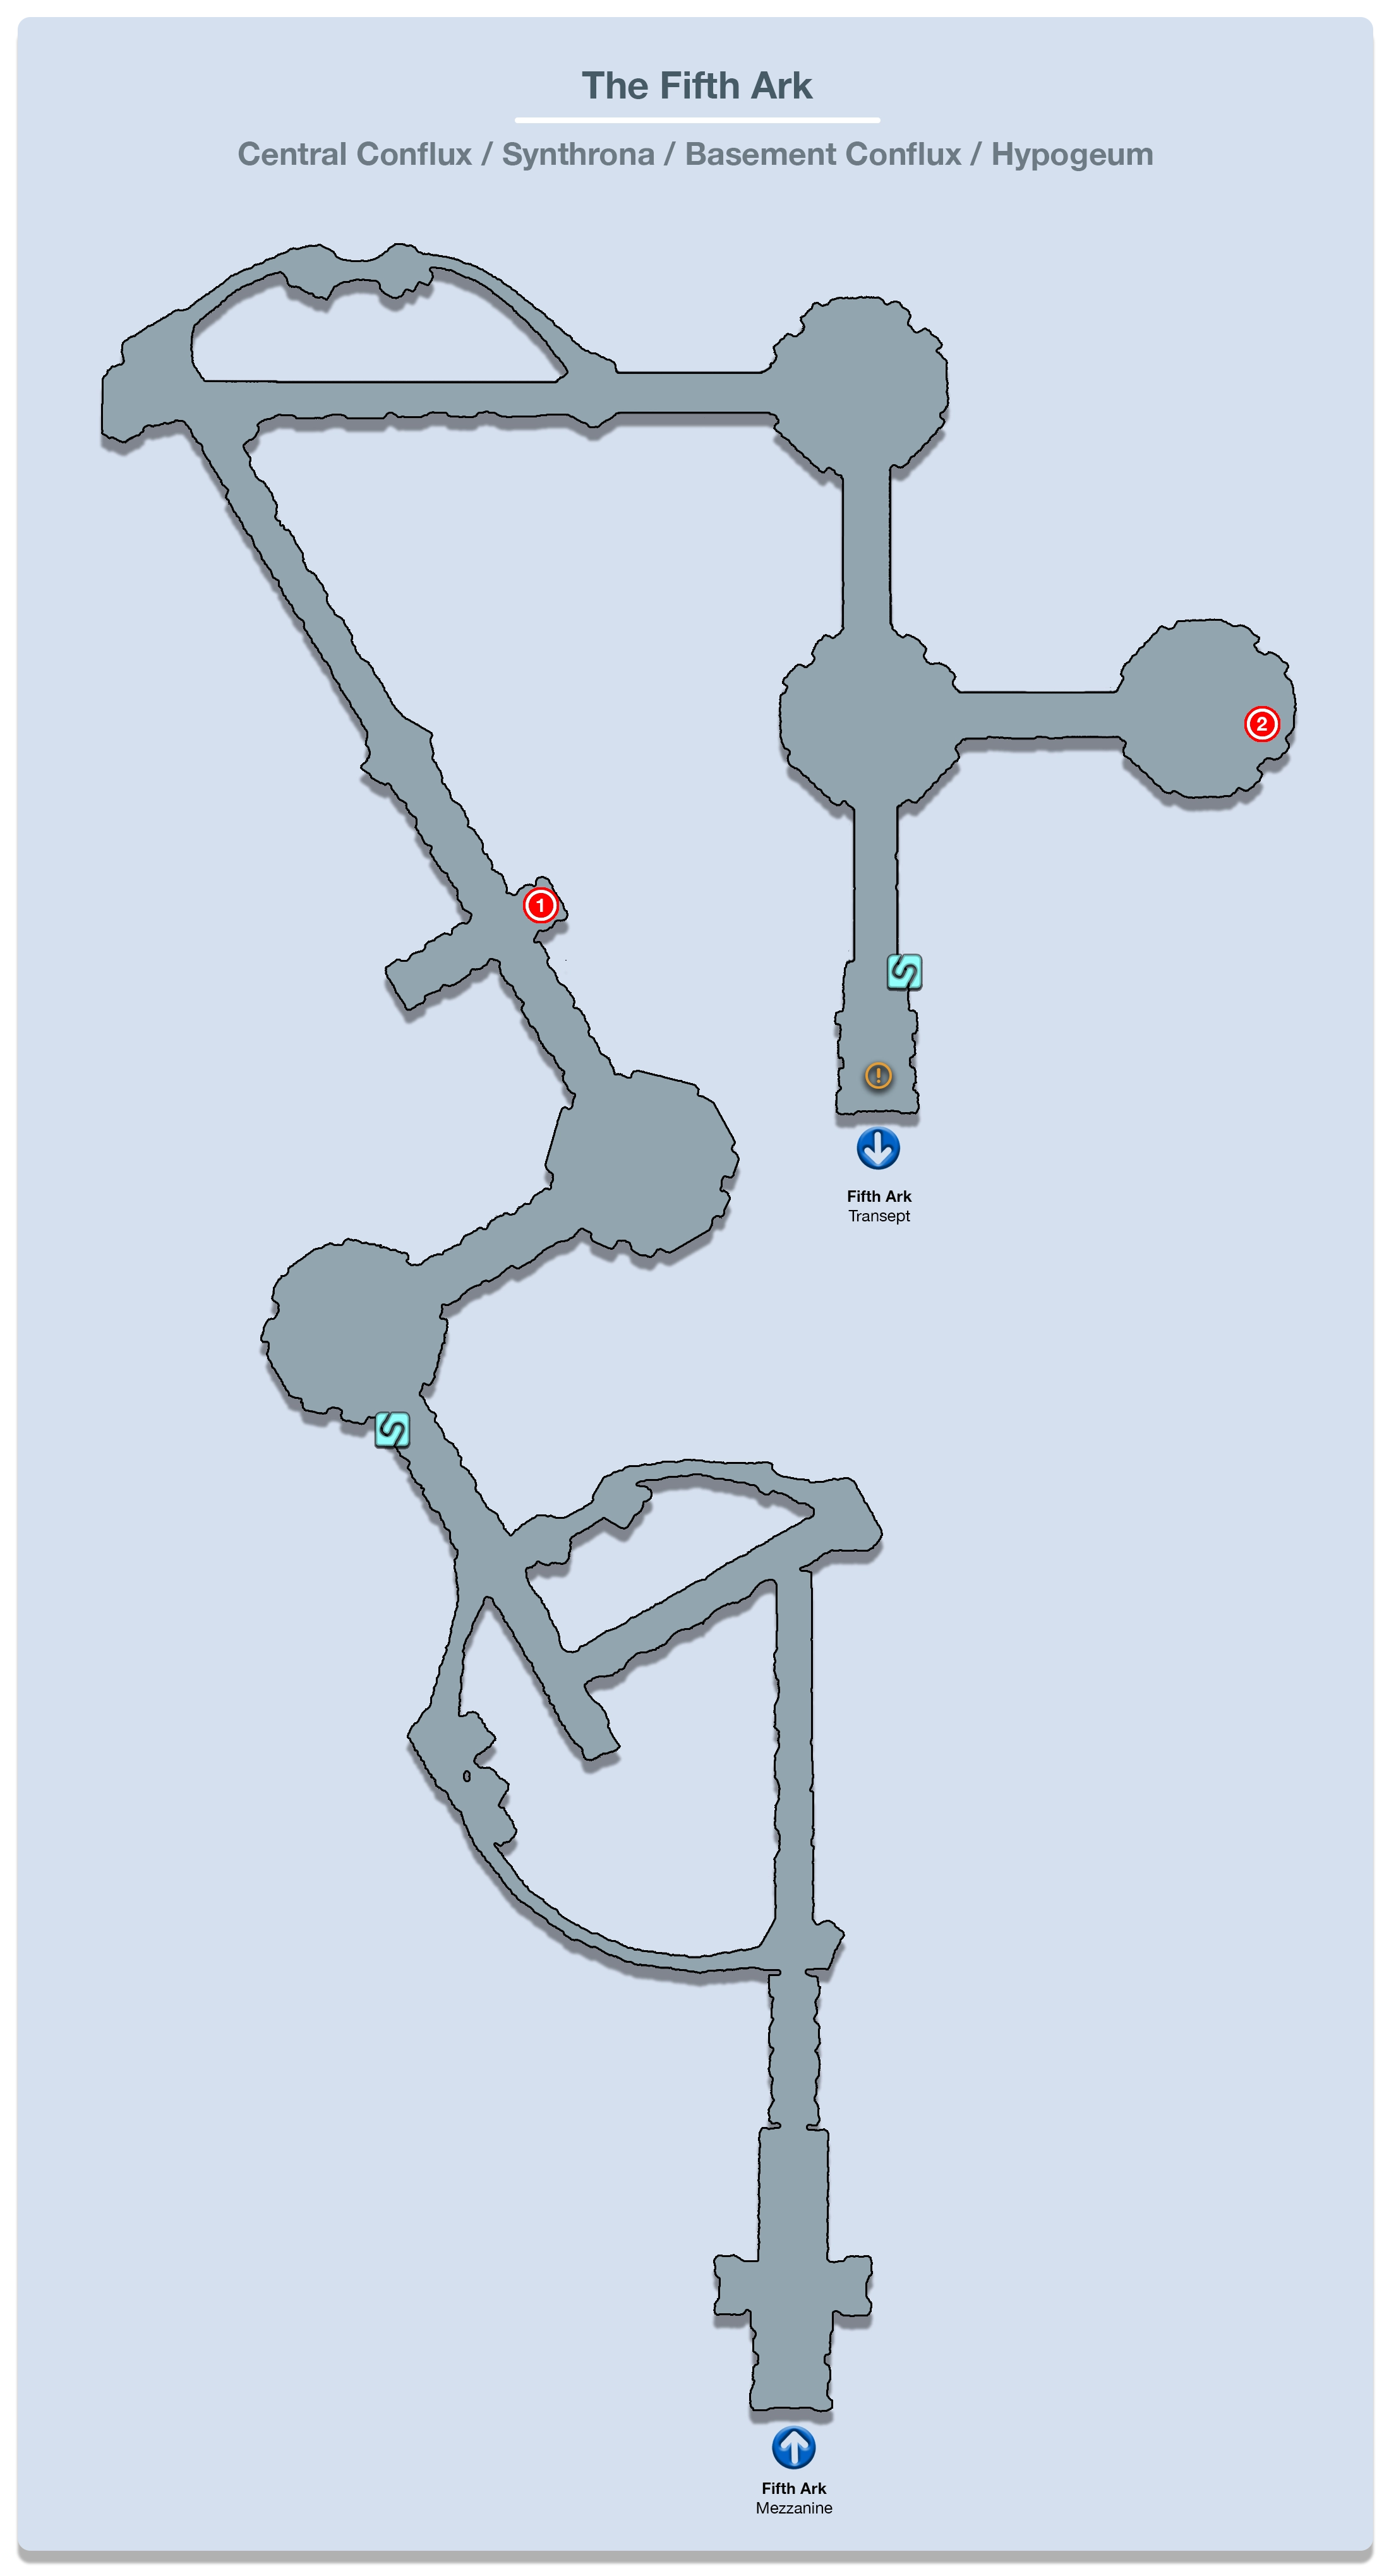
Use the map to help you navigate out of this room. All three doors look the same, but aside from the door you used to enter, two doors can be used to exit this room, and you want to take the one on the left (or to put it another way, they form a “T” and you want to take the middle/bottom door). This will take you to the room with the Treasure Sphere that contains three ![]() Electrodes.
Electrodes.
You will have to defeat a Berserker in this room to get to the Treasure Sphere, but you should be familiar with the strategies for defeating these enemies already. Defeat the Berserker, grab the treasure, and then head through the last doorway towards the ![]() Save Station (you can run past the Greater Behemoth group if they respawn, and you don’t want to fight them again).
Save Station (you can run past the Greater Behemoth group if they respawn, and you don’t want to fight them again).
Save your game and then ride the elevator down to the next level. Just like before, you’ll be ambushed by a group of enemies (this time it’s two Skata’ne and a Stikini). If you stand right in the center of the elevator you can get a preemptive strike on them just as they land but before they see you.
Continue forward into the next area.
Transept

The room just up ahead has another Berserker to defeat. Again, like the previous Berserkers, this one is easy to ambush with a preemptive strike. There’s nothing else in this room after you’ve defeated it so head forward and make use of the ![]() Save Station just up ahead to save your game.
Save Station just up ahead to save your game.
Substratal Conflux
You’ll be jumped by a few groups of Skata’ne and Stikini in this area. Remember to always focus on the Stikini first. The last group of enemies has two Stikini making it a bit more difficult than the previous fights.
The hallway leading off to the left has a Treasure Sphere in it that contains two ![]() Otherworldly Bones.
Otherworldly Bones.
Vaults
The door will close behind the team just up ahead, locking them in with two Berserkers. These enemies are the same as the last ones. They can also be ambushed with a preemptive strike, but it’s much more difficult to maneuver around this small space and get them to lunge toward your team without accidentally starting the fight.
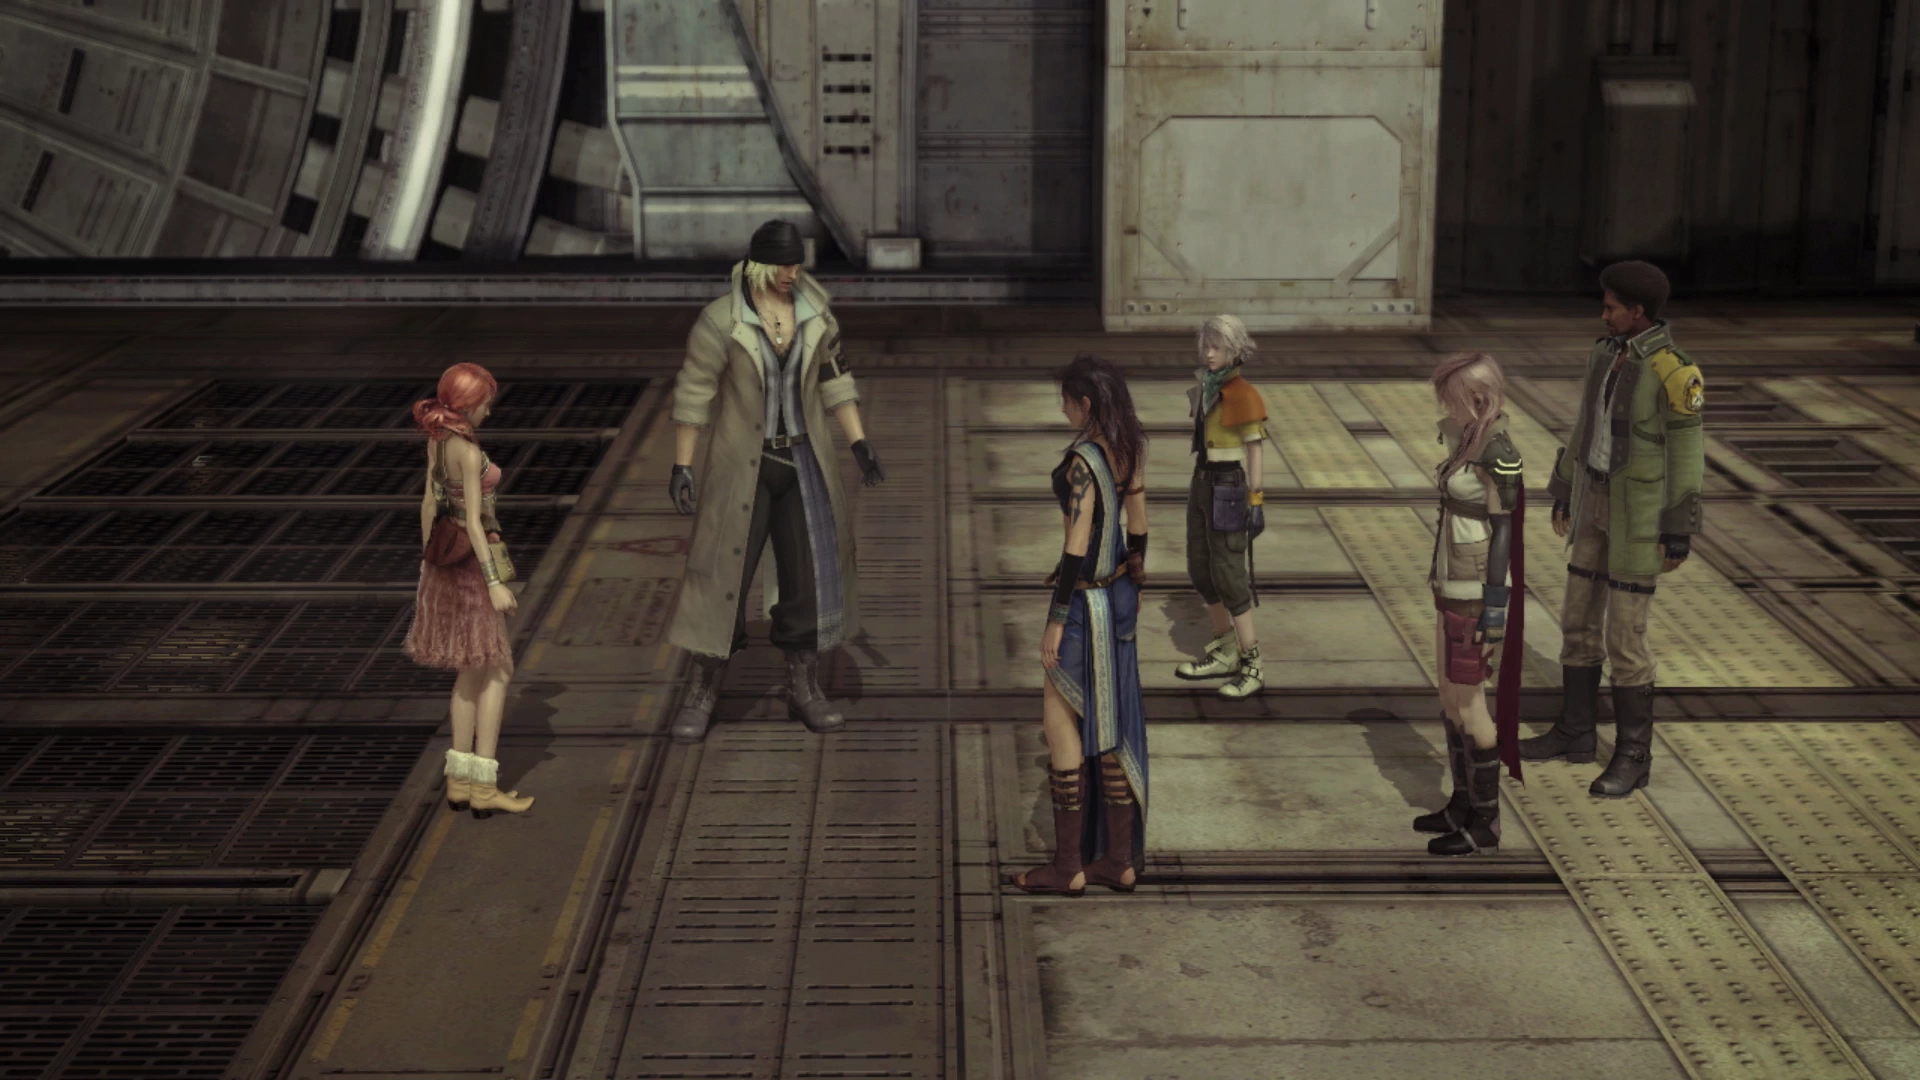
Use the ![]() Save Station and open the door to kick off the next battle after a lengthy set of cutscenes. Prepare for the fight by customizing the equipment for Fang, Lightning and Vanille aiming for a more defensive setup.
Save Station and open the door to kick off the next battle after a lengthy set of cutscenes. Prepare for the fight by customizing the equipment for Fang, Lightning and Vanille aiming for a more defensive setup.
Helpful Hint
Some players may find it challenging to time the switching of Paradigms and may find their characters getting KO’d before it even seems like they have a chance to respond. As a reminder, you can slow down the battle speed to be more proactive with your timing by accessing the Menu, selecting “Settings,” and switching the Battle Speed from “Normal” to “Slow.”
This doesn’t change the amount of damage dealt or received or how often your characters can perform actions in battle, but it can give you more time to respond and react to the enemy’s attack patterns.
The Apse
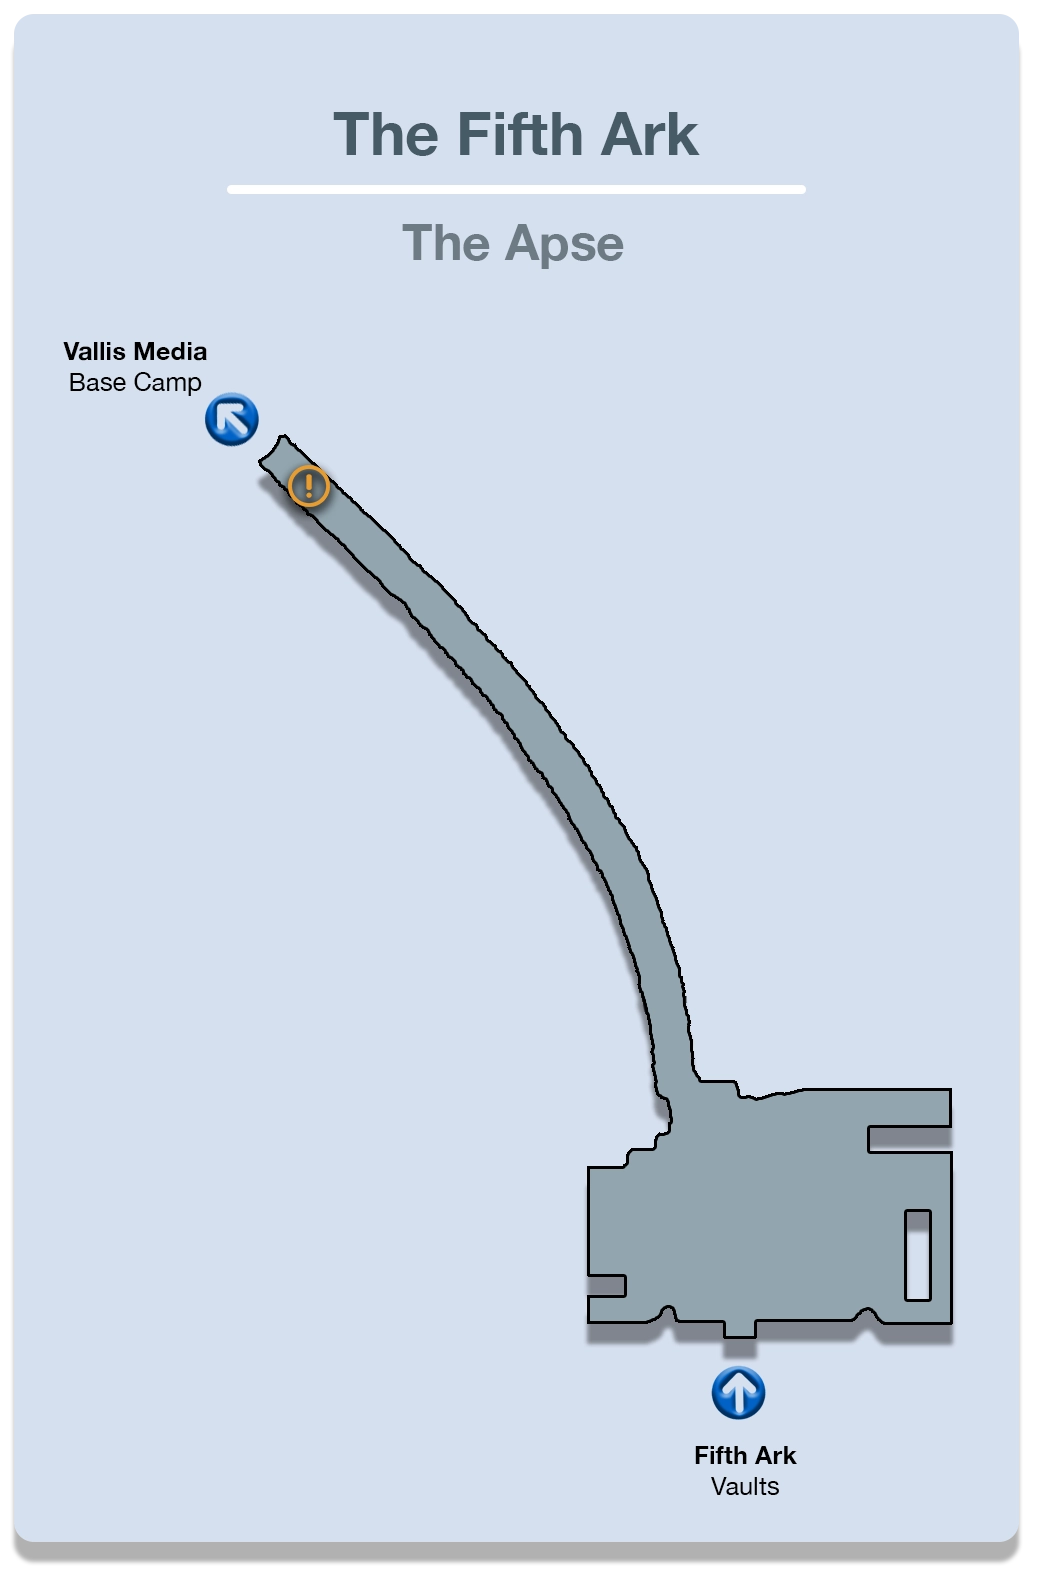
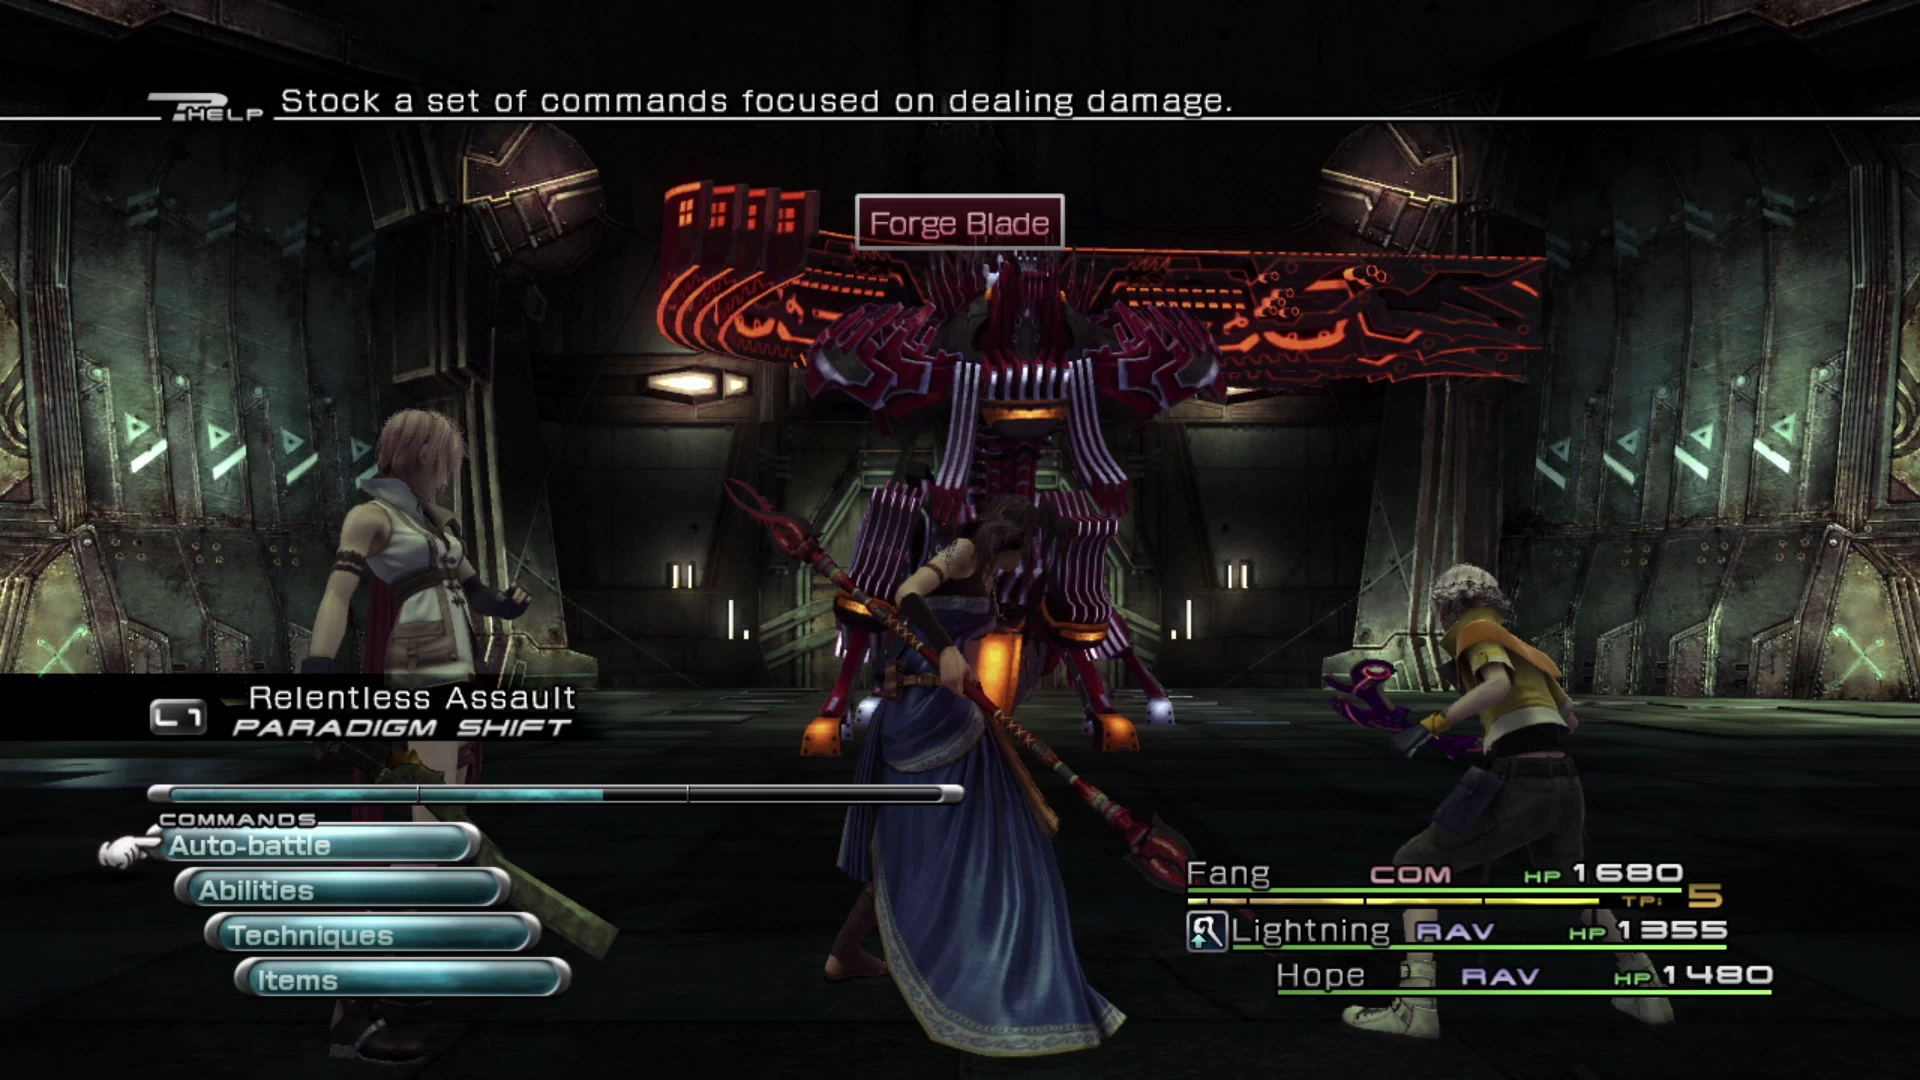
Fang will be thrown into the battle against her Eidolon and her teammates will be automatically chosen for her. This battle will include Fang, Lightning, and Vanille.
Eidolon Battle
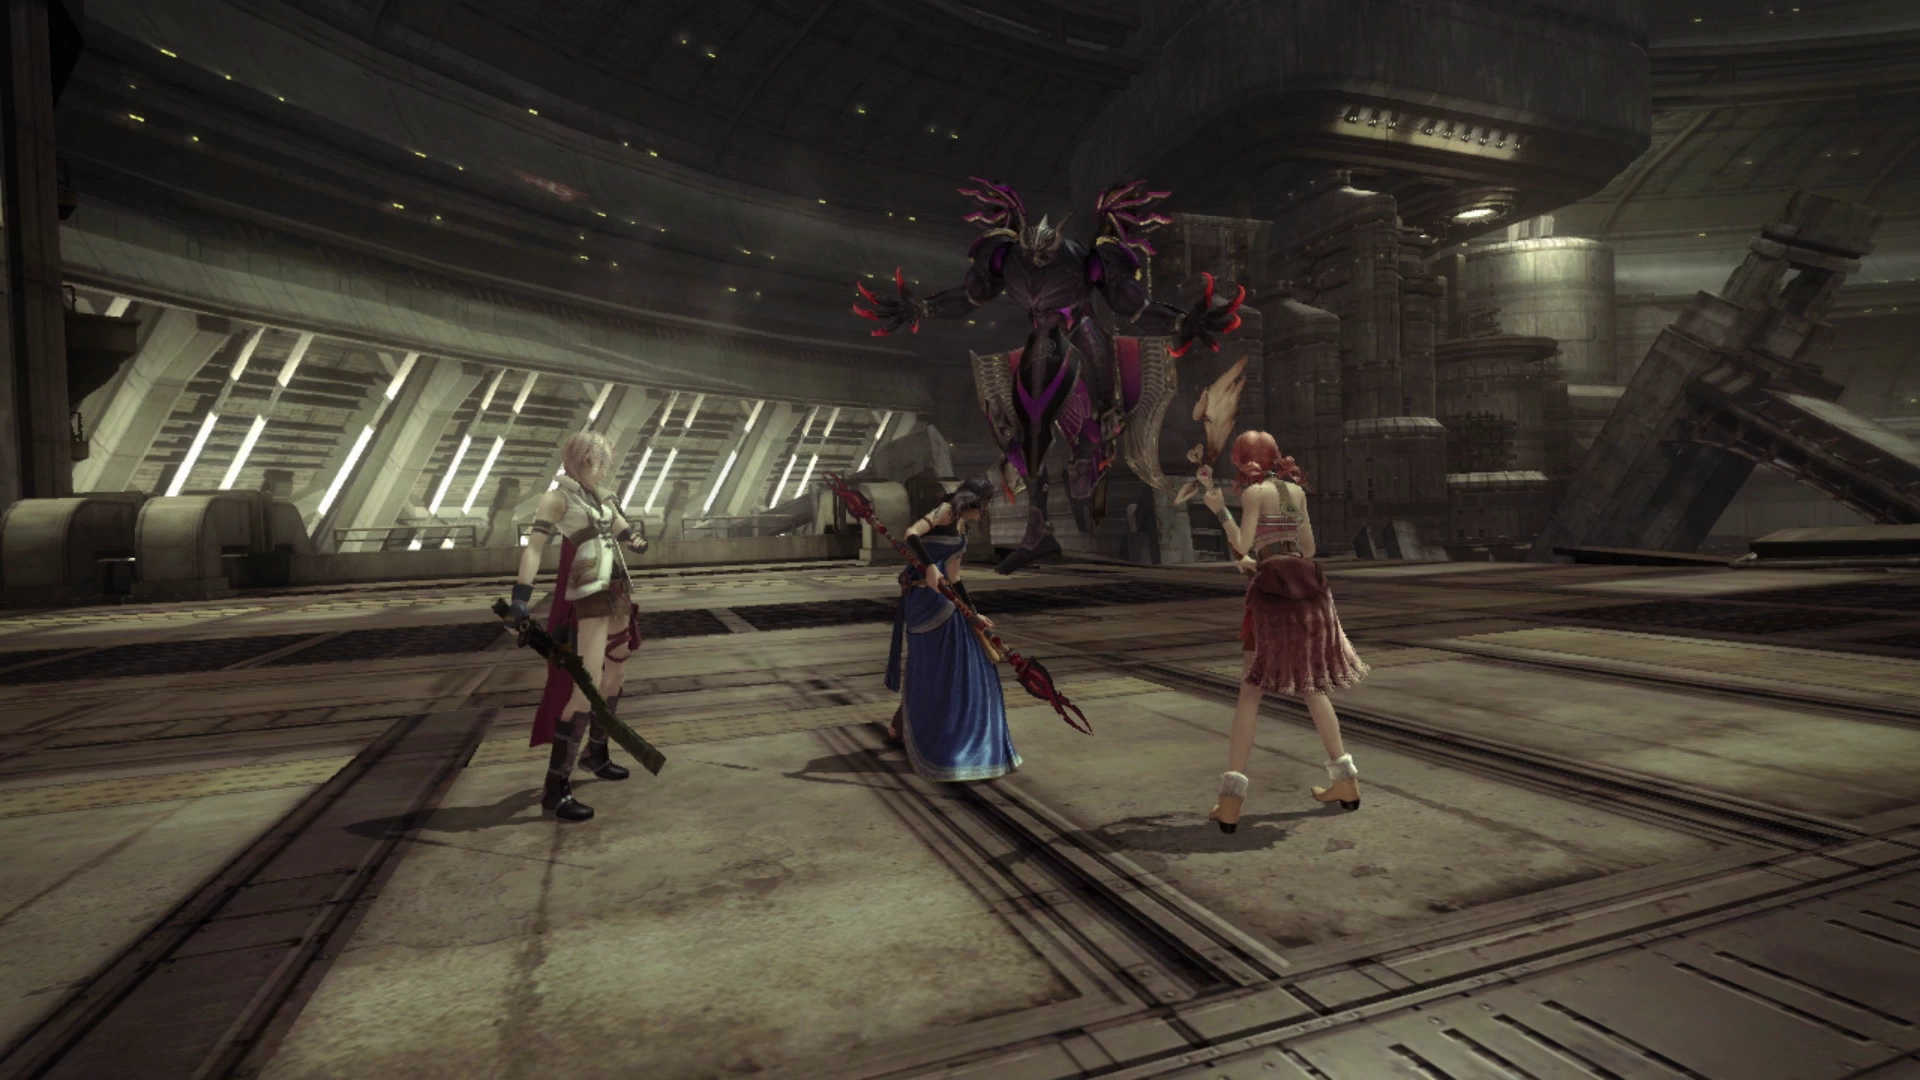
This is your fourth Eidolon battle following Sazh’s battle against Brynhildr and similar principles from that fight carry forward. ![]() Doom will be cast on Fang at the beginning of the fight initiating a countdown timer. The fight is over if the timer reaches zero.
Doom will be cast on Fang at the beginning of the fight initiating a countdown timer. The fight is over if the timer reaches zero.
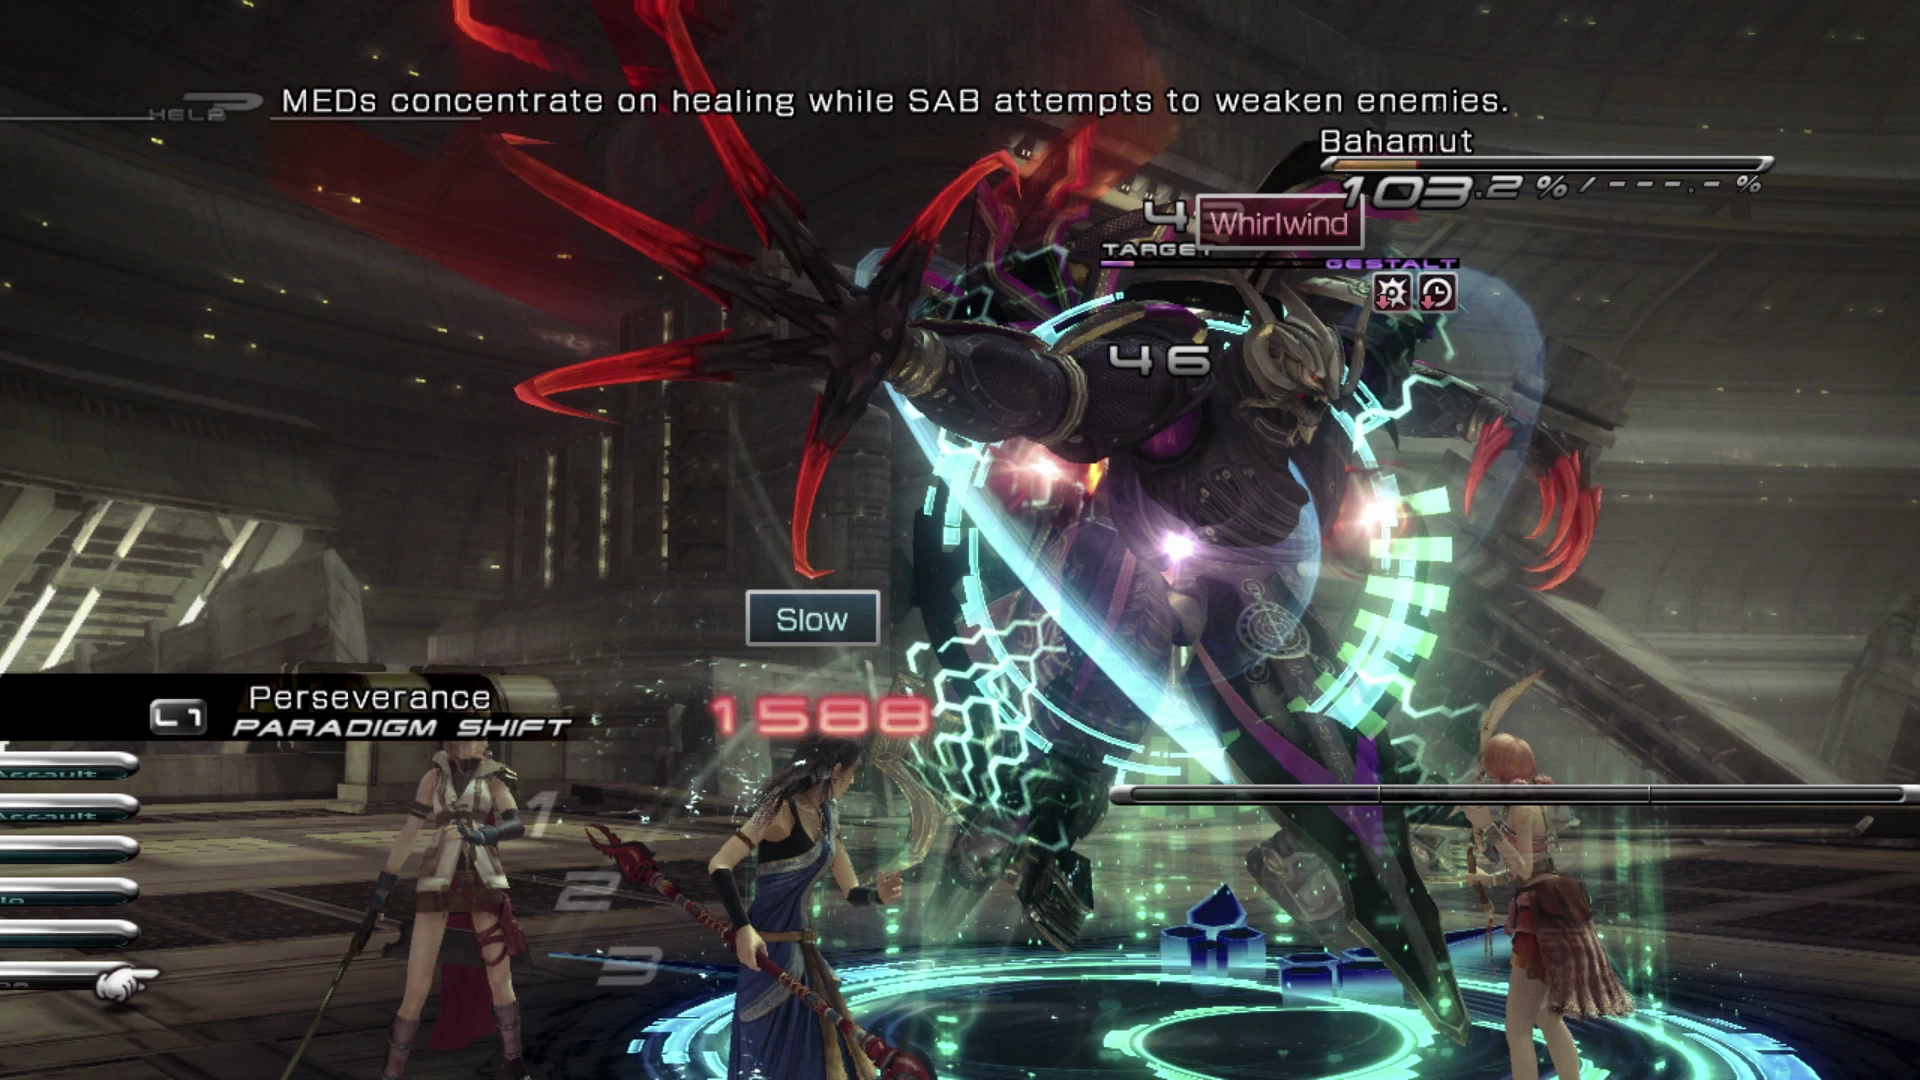
This can be a challenging fight as it requires you to be extremely defensive to survive the onslaught of Bahamut’s attacks. But that’s okay, because of Bahamut’s yield conditions which can be seen when you use ![]() Libra:
Libra:
- Yields to those who amass chain bonuses.
- Yields to those who defend against and endure attacks.
- Yields to those who weaken and debilitate their enemies.
In addition to your predefined party, you’ll jump right into the fight, so you won’t be able to set up Paradigms, and you will kick this fight off with the default set of Paradigms that the game assigns. You can set up your own if you press the ![]()
![]()
![]() button and select “Retry.” Just before the fight begins when you retry, the Menu screen will pop up, making the fight a bit easier.
button and select “Retry.” Just before the fight begins when you retry, the Menu screen will pop up, making the fight a bit easier.
That said, you don’t need any customized Paradigms or odd strategies, because the best strategy is to focus on defending against attacks, and splicing in the odd debuff or chain bonus attack all of which you already have the right Paradigms for.
As soon as the fight begins, immediately switch to the Combat Clinic Paradigm, which puts Fang in her ![]() Sentinel role and both Lightning and Vanille in their medic roles. Immediately select the “Ability” option and select
Sentinel role and both Lightning and Vanille in their medic roles. Immediately select the “Ability” option and select ![]() Mediguard for all three ATB segments. You want to get Fang defending against as many attacks as possible and, while ideally, it would be nice to squeeze a
Mediguard for all three ATB segments. You want to get Fang defending against as many attacks as possible and, while ideally, it would be nice to squeeze a ![]() Provoke in for this first attack, all three party members are going to get hit anyway, so get Fang’s defense up so the Gestalt Gauge can get charging.
Provoke in for this first attack, all three party members are going to get hit anyway, so get Fang’s defense up so the Gestalt Gauge can get charging.
Generally, you will want to stay in Combat Clinic for most of the fight and you want to make sure that Fang is using ![]() Steelguard or
Steelguard or ![]() Mediguard every time Bahamut throws a flurry of attacks, and his attack pattern is almost the same every time. One swipe, followed by a second swipe, followed by a “Whirlwind,” and lastly an “Umbral Vise” or “Inferno.” All these attacks will pummel your party members with damage, so allow them to heal up and continue enduring the assault.
Mediguard every time Bahamut throws a flurry of attacks, and his attack pattern is almost the same every time. One swipe, followed by a second swipe, followed by a “Whirlwind,” and lastly an “Umbral Vise” or “Inferno.” All these attacks will pummel your party members with damage, so allow them to heal up and continue enduring the assault.
There are two things you will want to weave in while during this attack. The first is to get a ![]() Libra cast by Fang when she’s not taking hits. The second is to very, very briefly switch to the Relentless Assault or Diversity Paradigm, only when your party members are fully healed up (or close, hence using Diversity if they need a bit more healing), to have your
Libra cast by Fang when she’s not taking hits. The second is to very, very briefly switch to the Relentless Assault or Diversity Paradigm, only when your party members are fully healed up (or close, hence using Diversity if they need a bit more healing), to have your ![]() Ravagers pump up the Chain Gauge. This will fill the Gestalt Gauge quite a lot if you’re able to fit a few attacks in.
Ravagers pump up the Chain Gauge. This will fill the Gestalt Gauge quite a lot if you’re able to fit a few attacks in.
The idea of this fight is not to inflict damage on Bahamut but rather to survive the assault long enough to press ![]()
![]()
![]() . Don’t panic if Fang’s Doom counter is getting low as the Gestalt Gauge fills up faster and faster as the battle progresses. Good luck!
. Don’t panic if Fang’s Doom counter is getting low as the Gestalt Gauge fills up faster and faster as the battle progresses. Good luck!
Fang will become much more powerful at this point as she gains her fourth ATB Gauge Segment. This is exponentially important if you properly utilize the ATB Refresh strategy as this will give her a full four ATB’s worth of attacks every time you swap Paradigms, and if you’re using her as your ![]() Commando as recommended, this will greatly increase her damage output.
Commando as recommended, this will greatly increase her damage output.
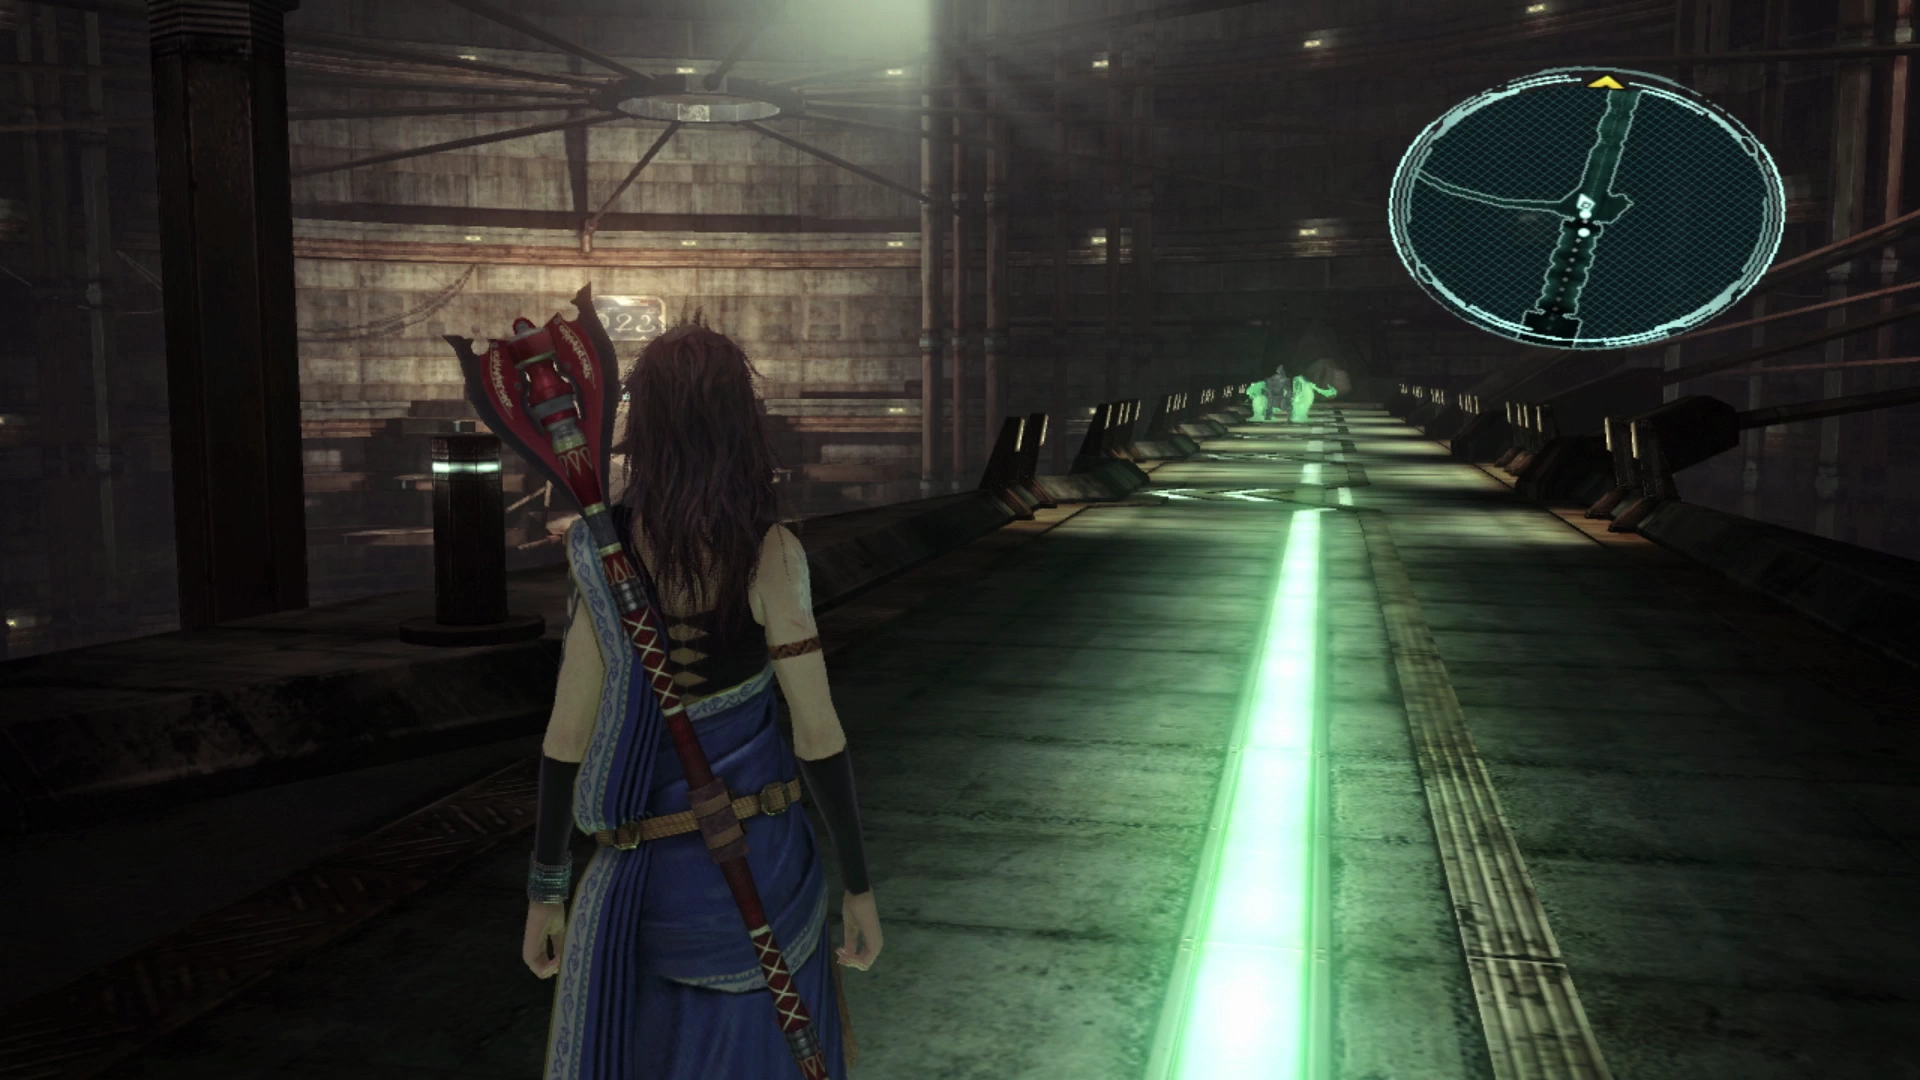
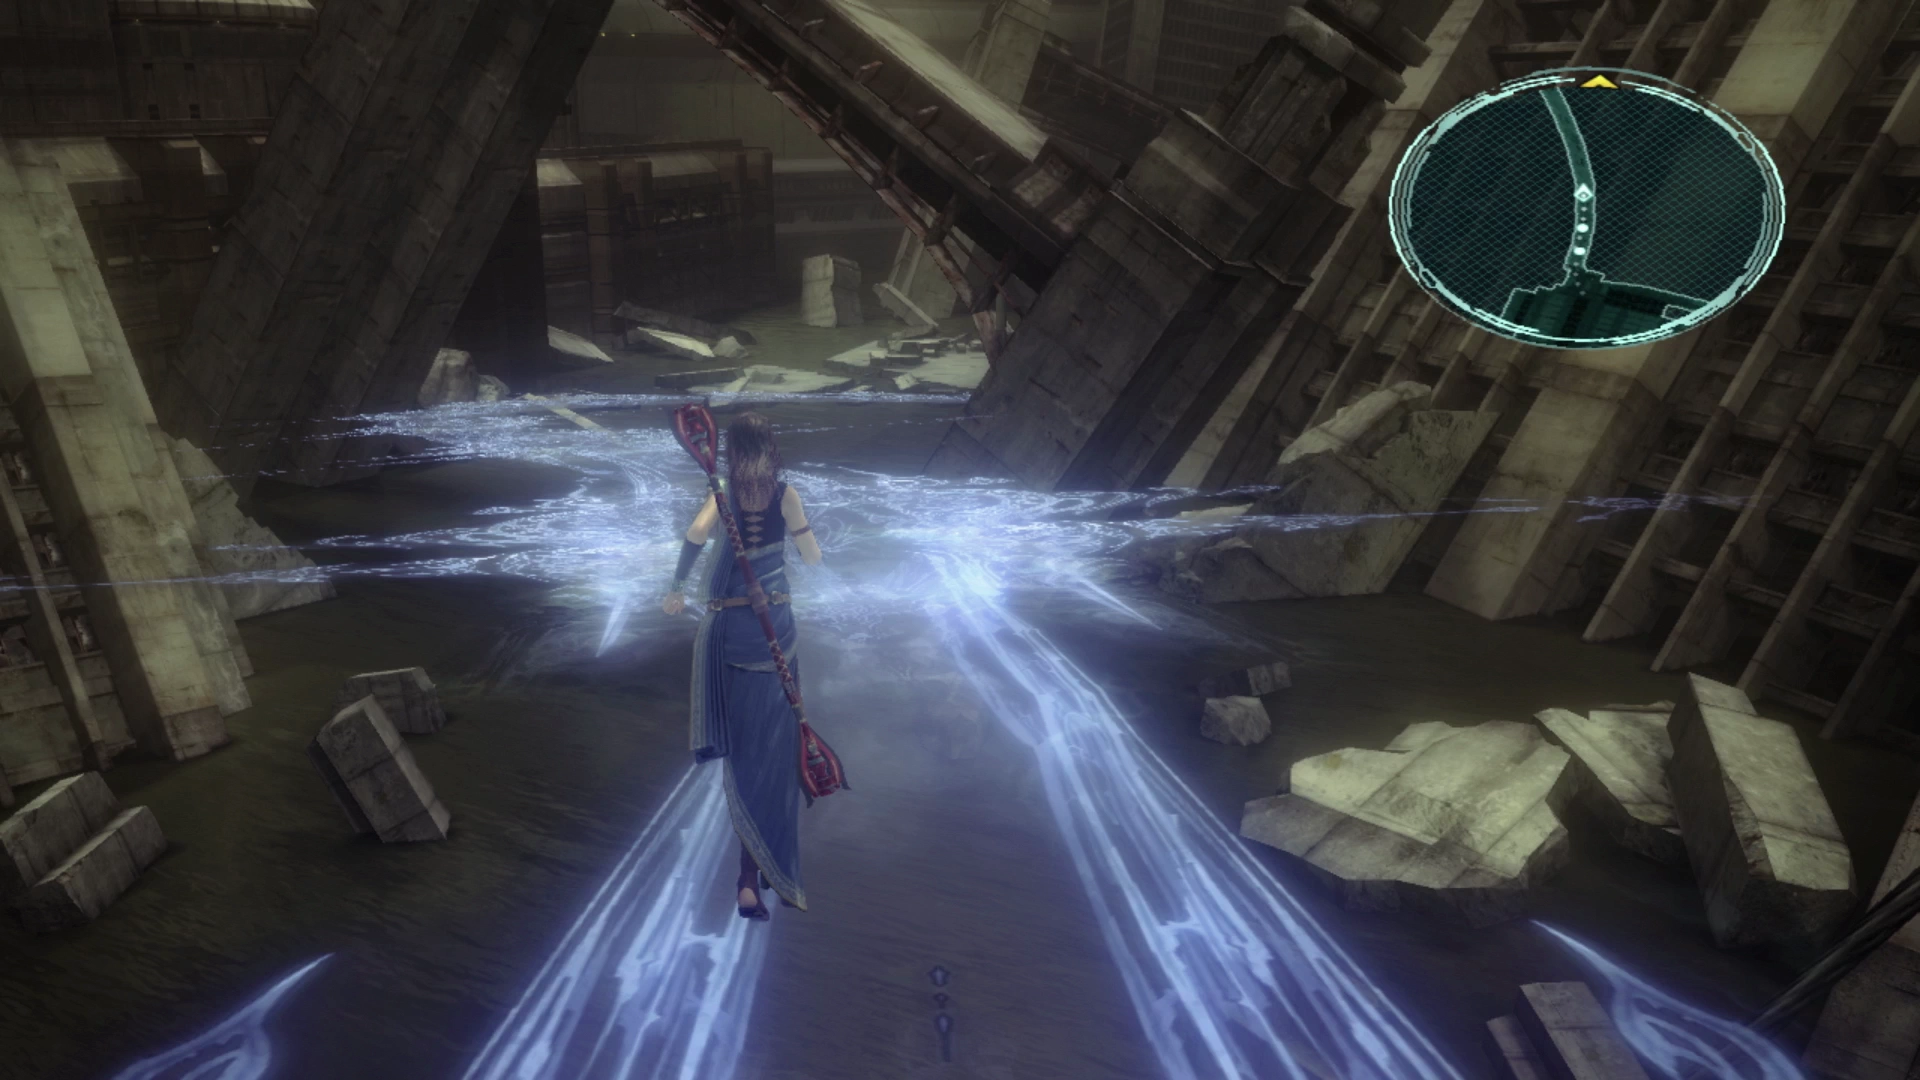
Follow the lighted blue pathway down until another cutscene initiates and you will have reached the end of chapter 10. Now it’s on to Chapter 11 in Gran Pulse!
Achievement/Trophy
You will automatically receive the  Instrument of Truth Achievement/Trophy at the end of Chapter 10.