
Chapter 10: The Fifth Ark (Part 1)

Concealed Vestige
The walkthrough for the Fifth Ark is broken up into two parts. The first section contains all the areas leading up to the confrontation with Cid Raines. If you are past this confrontation, navigate to the Fifth Ark Part 2 page using the navigation links.
Upper Traverse
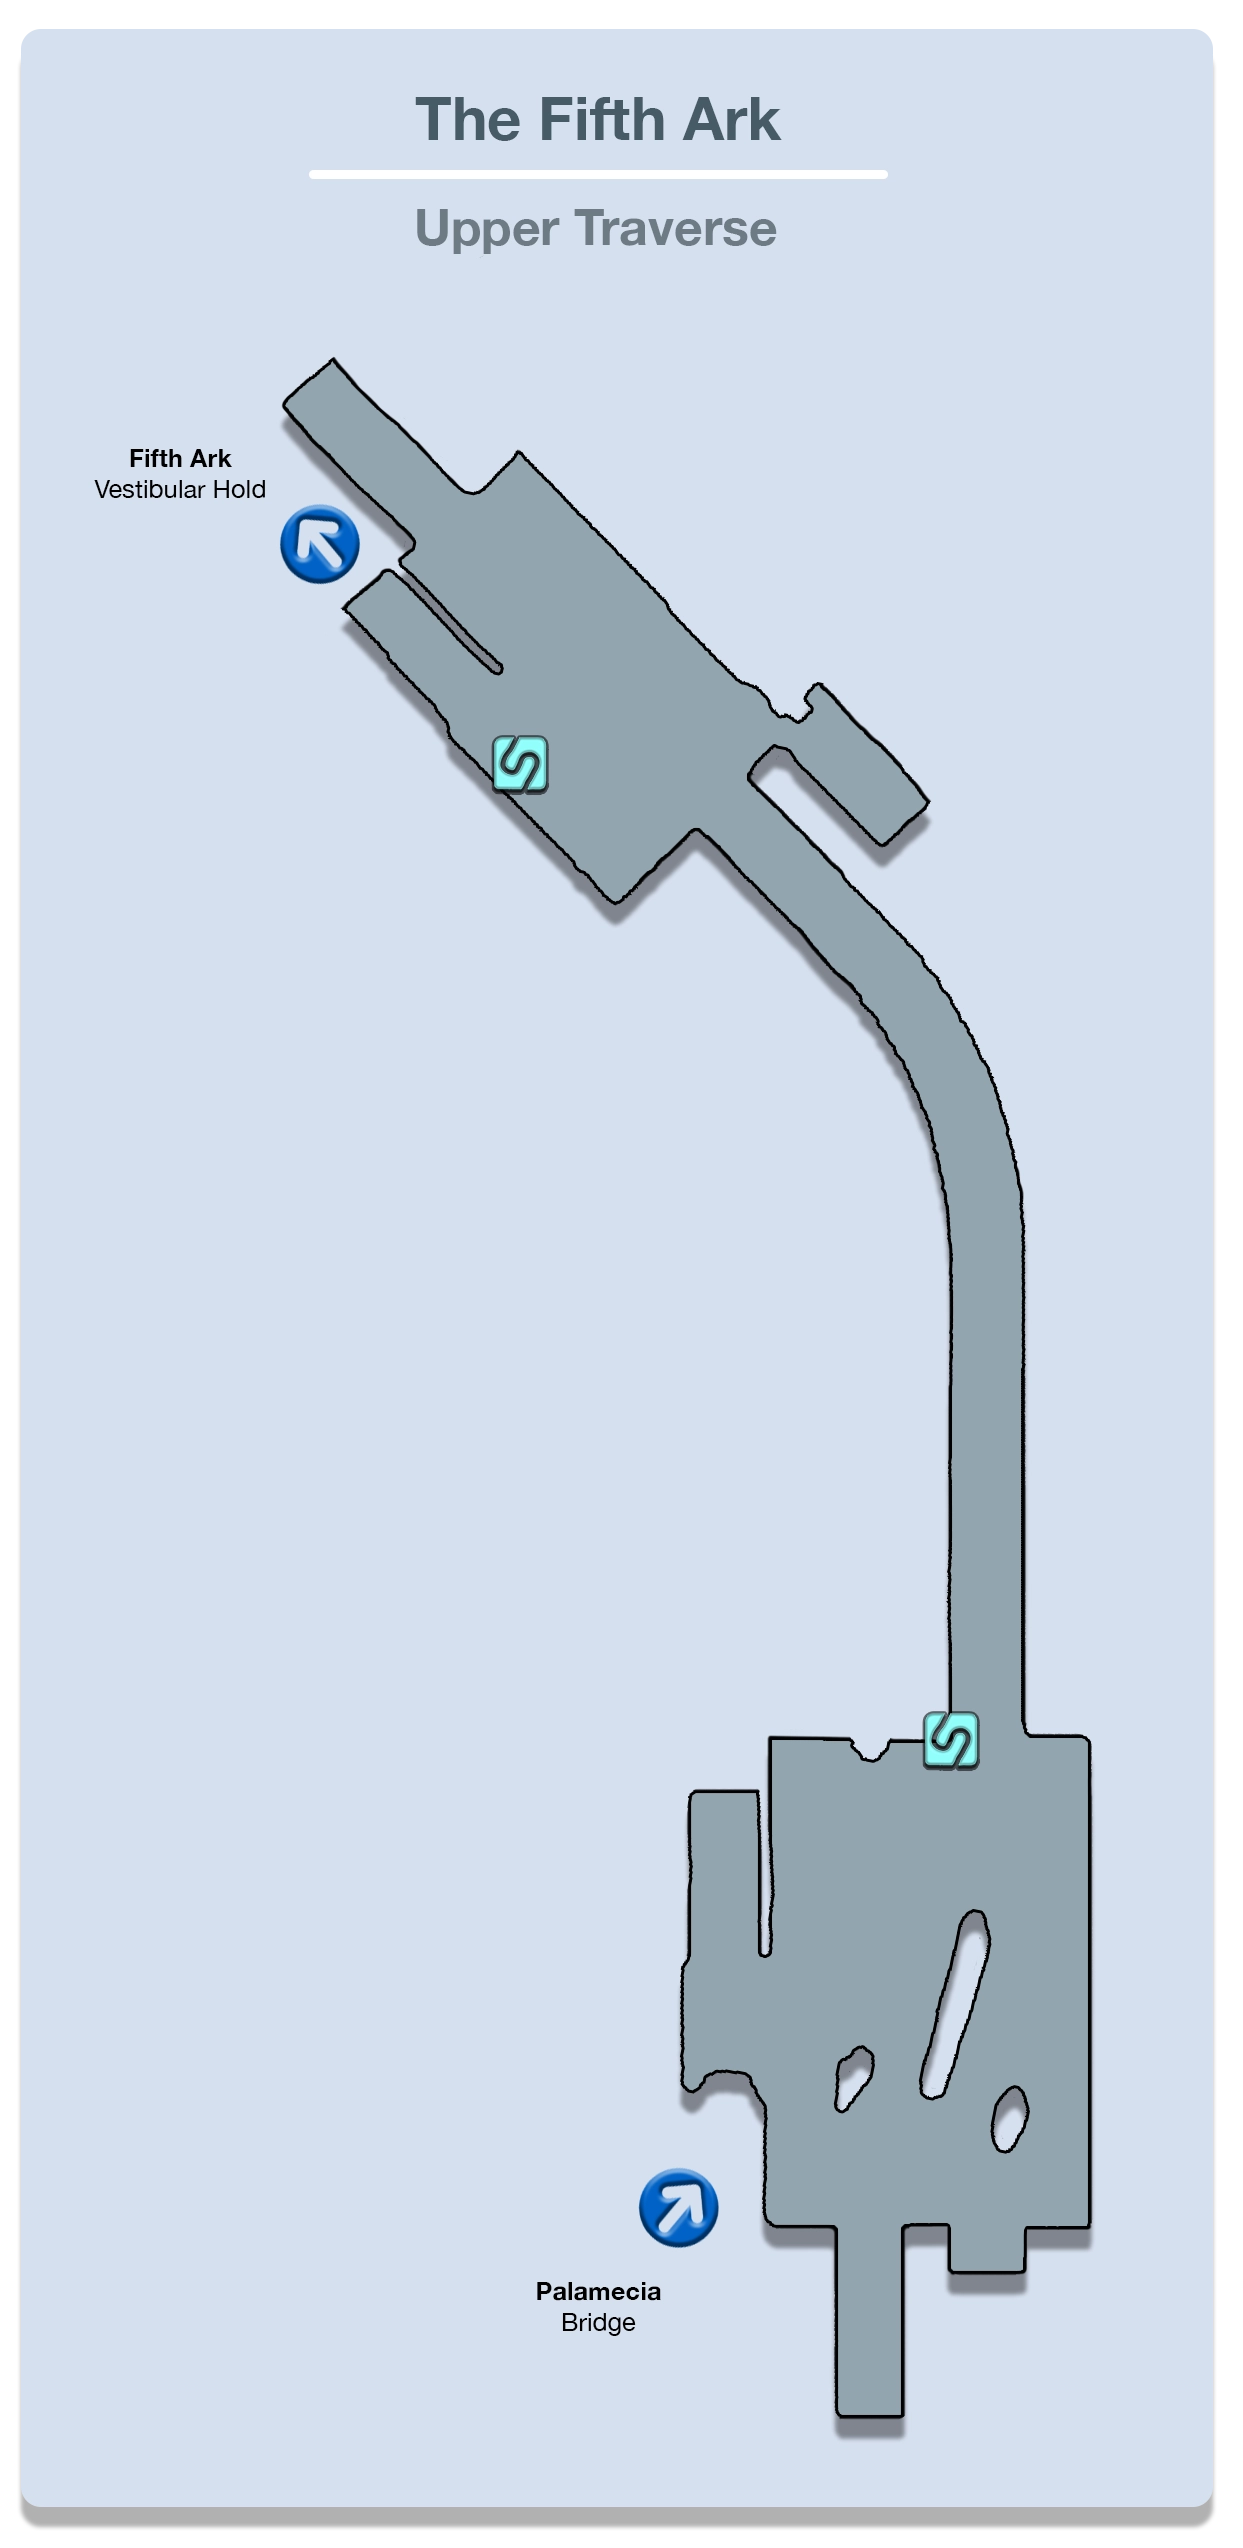
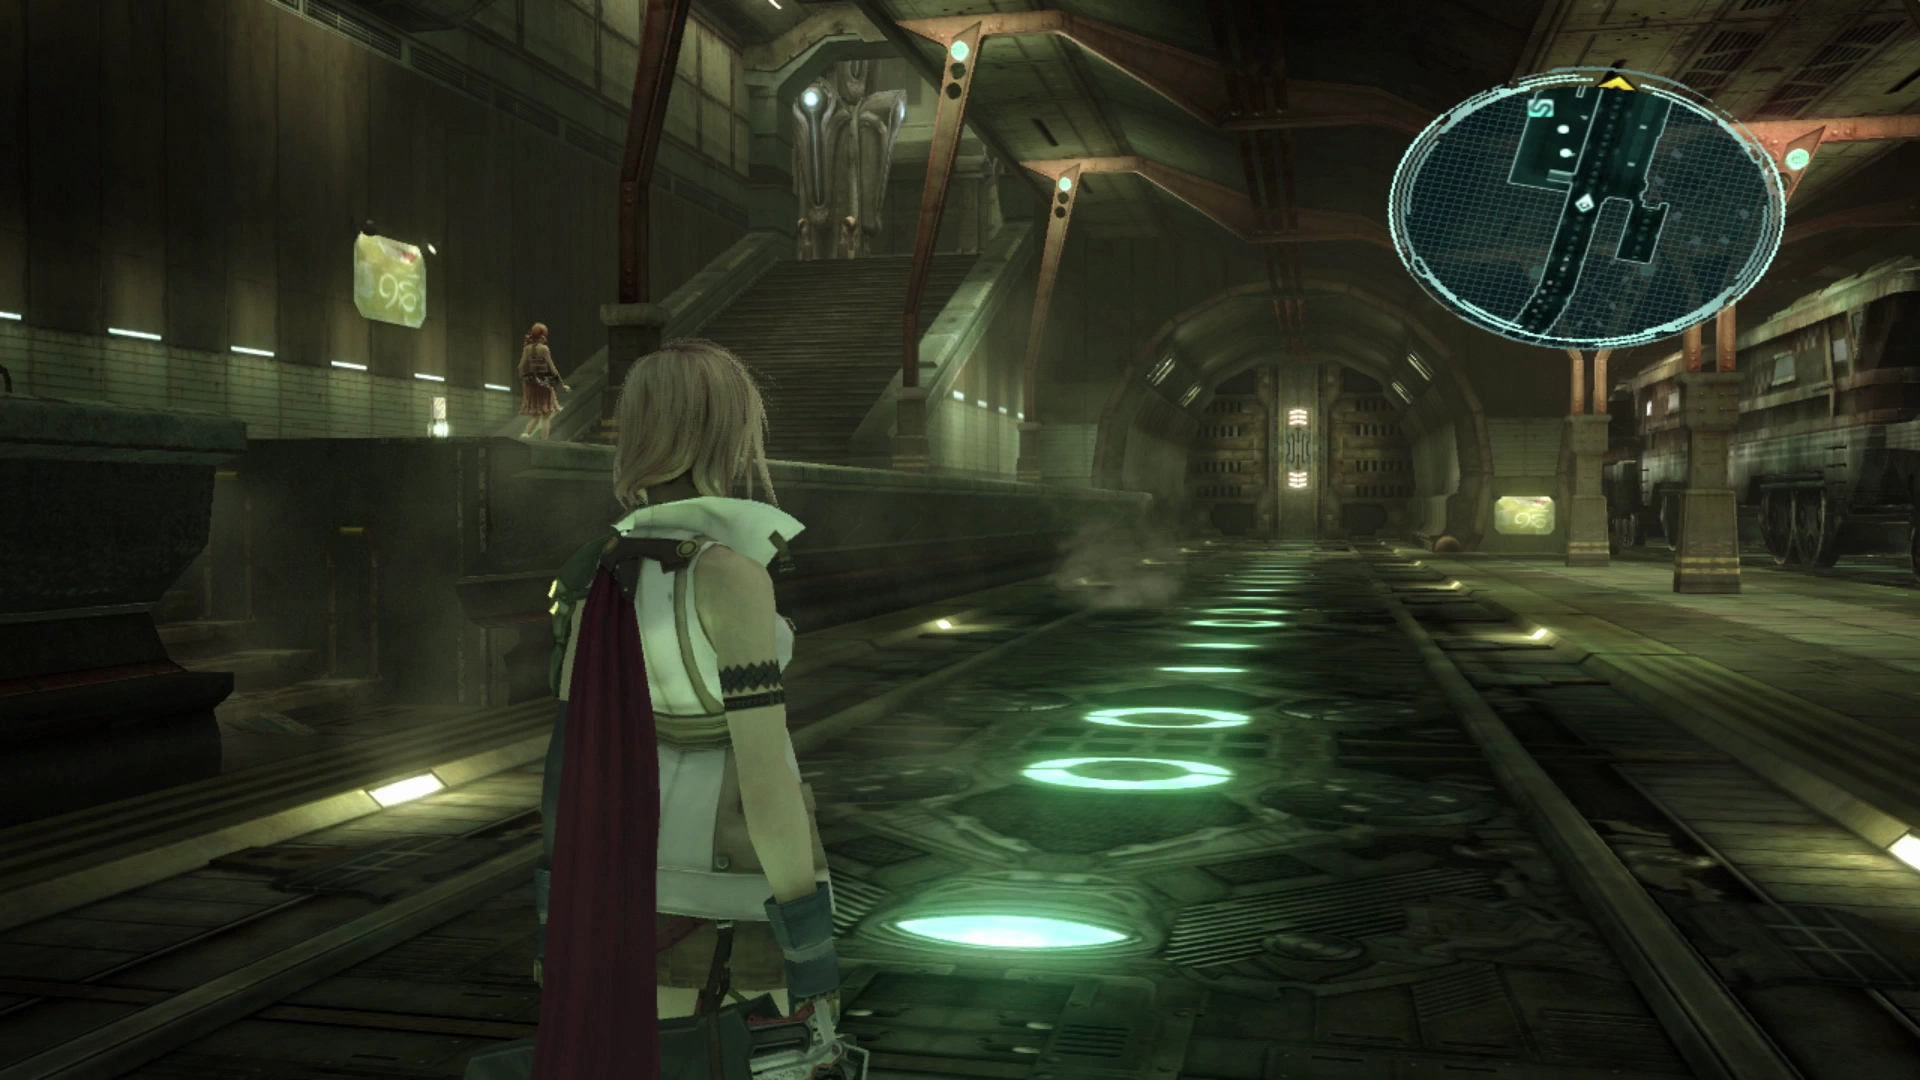
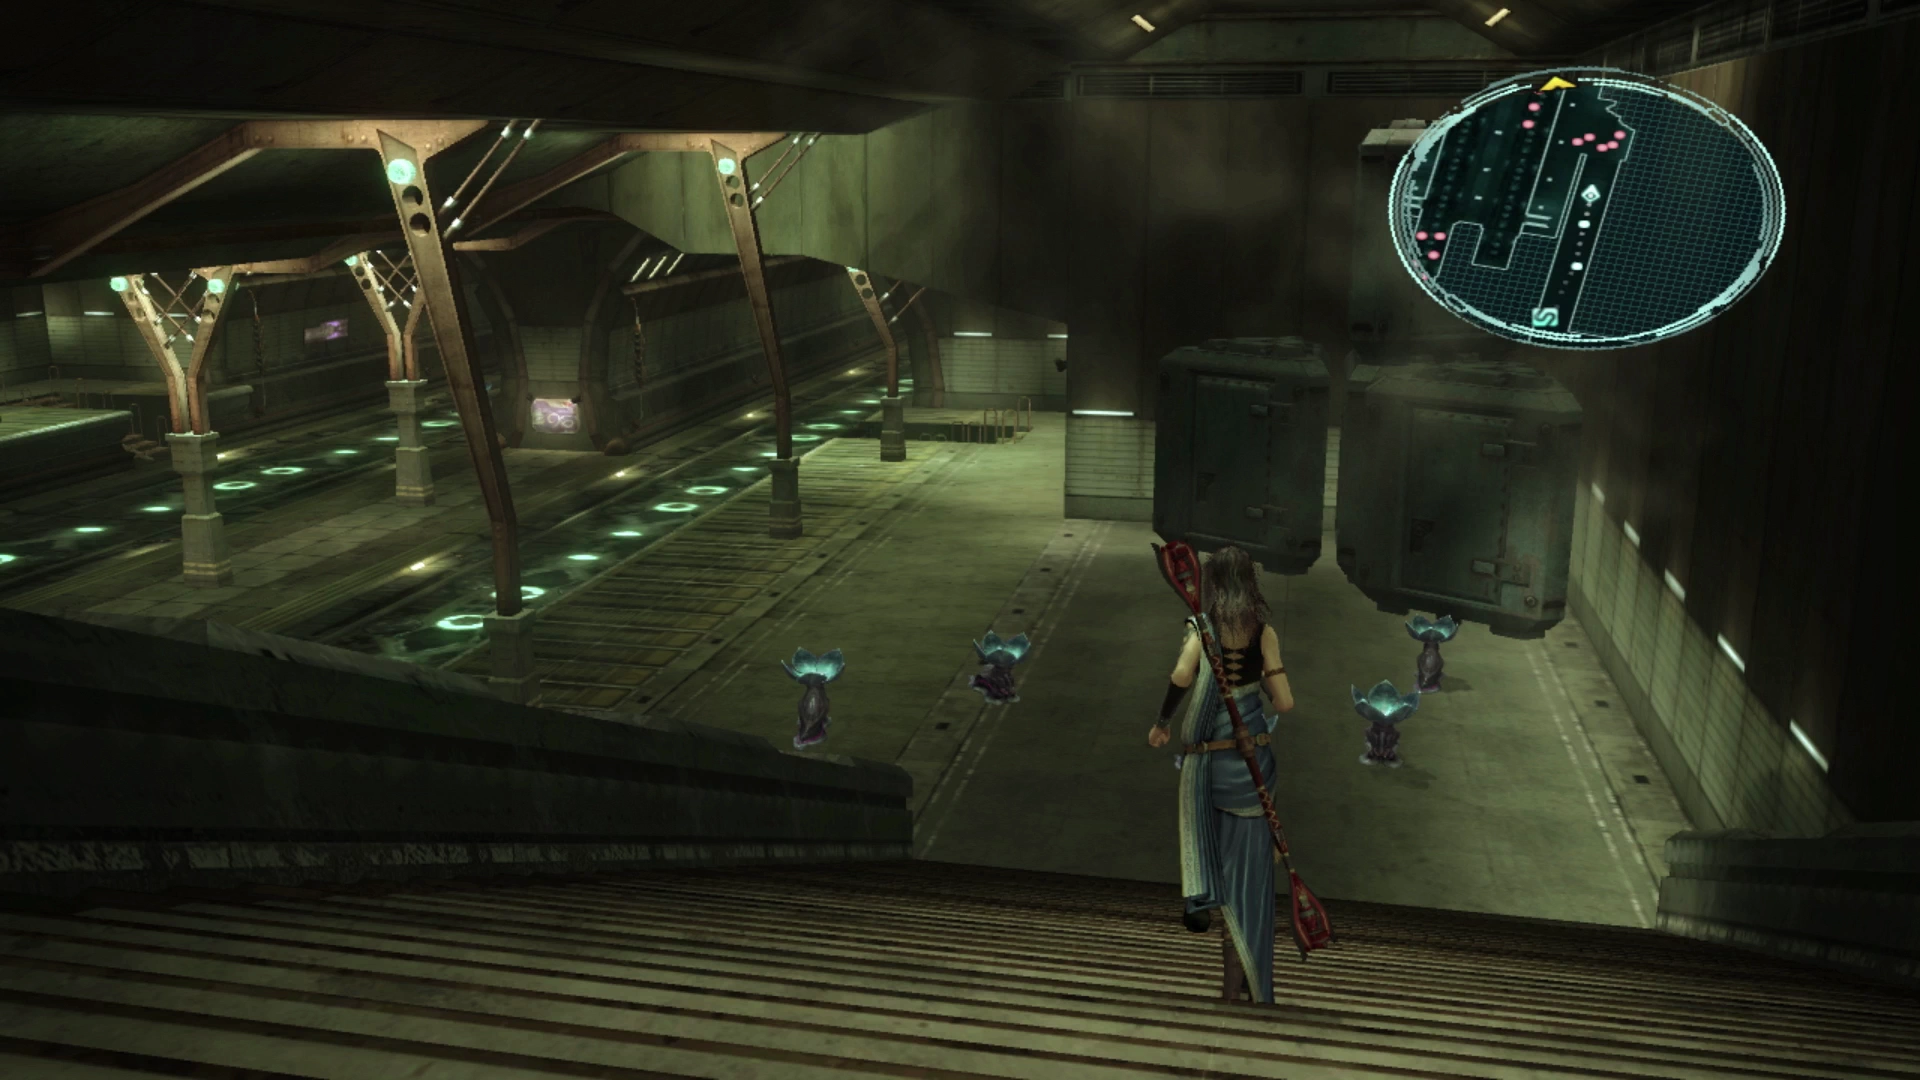
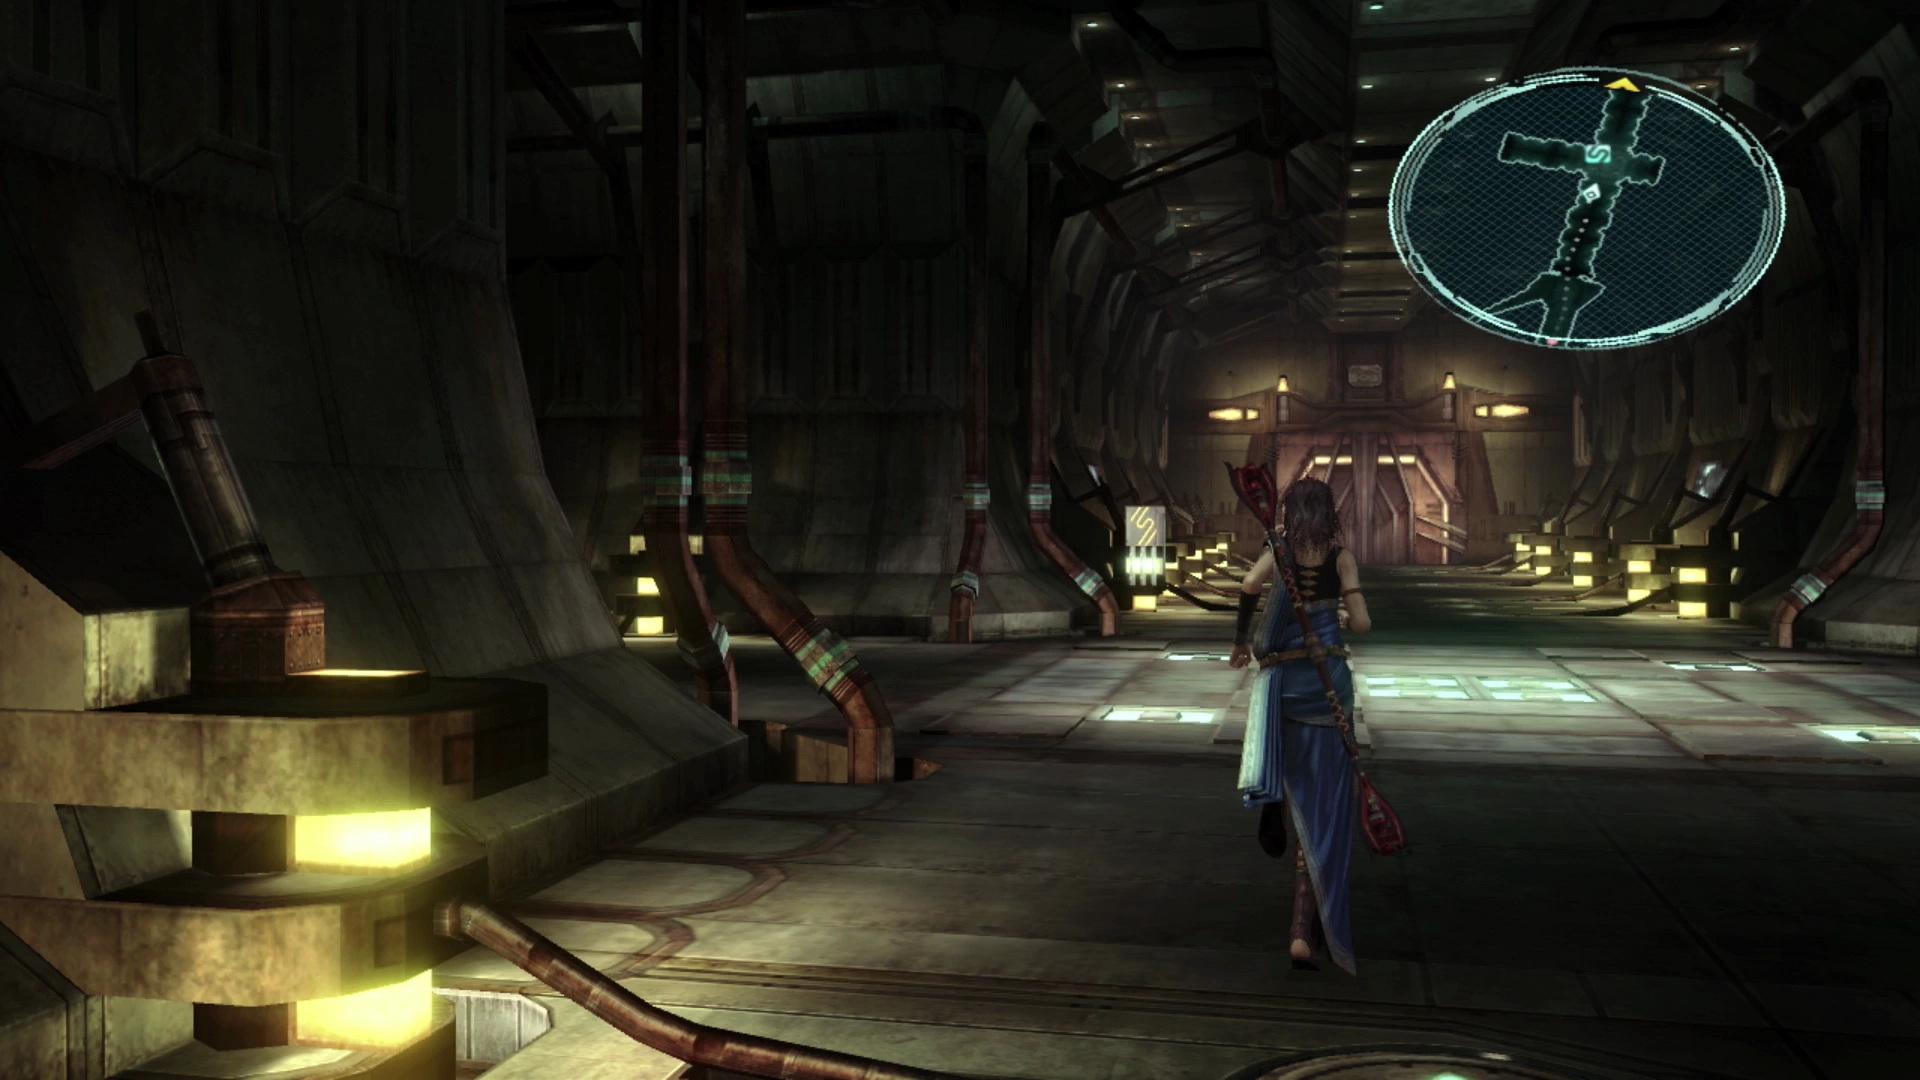
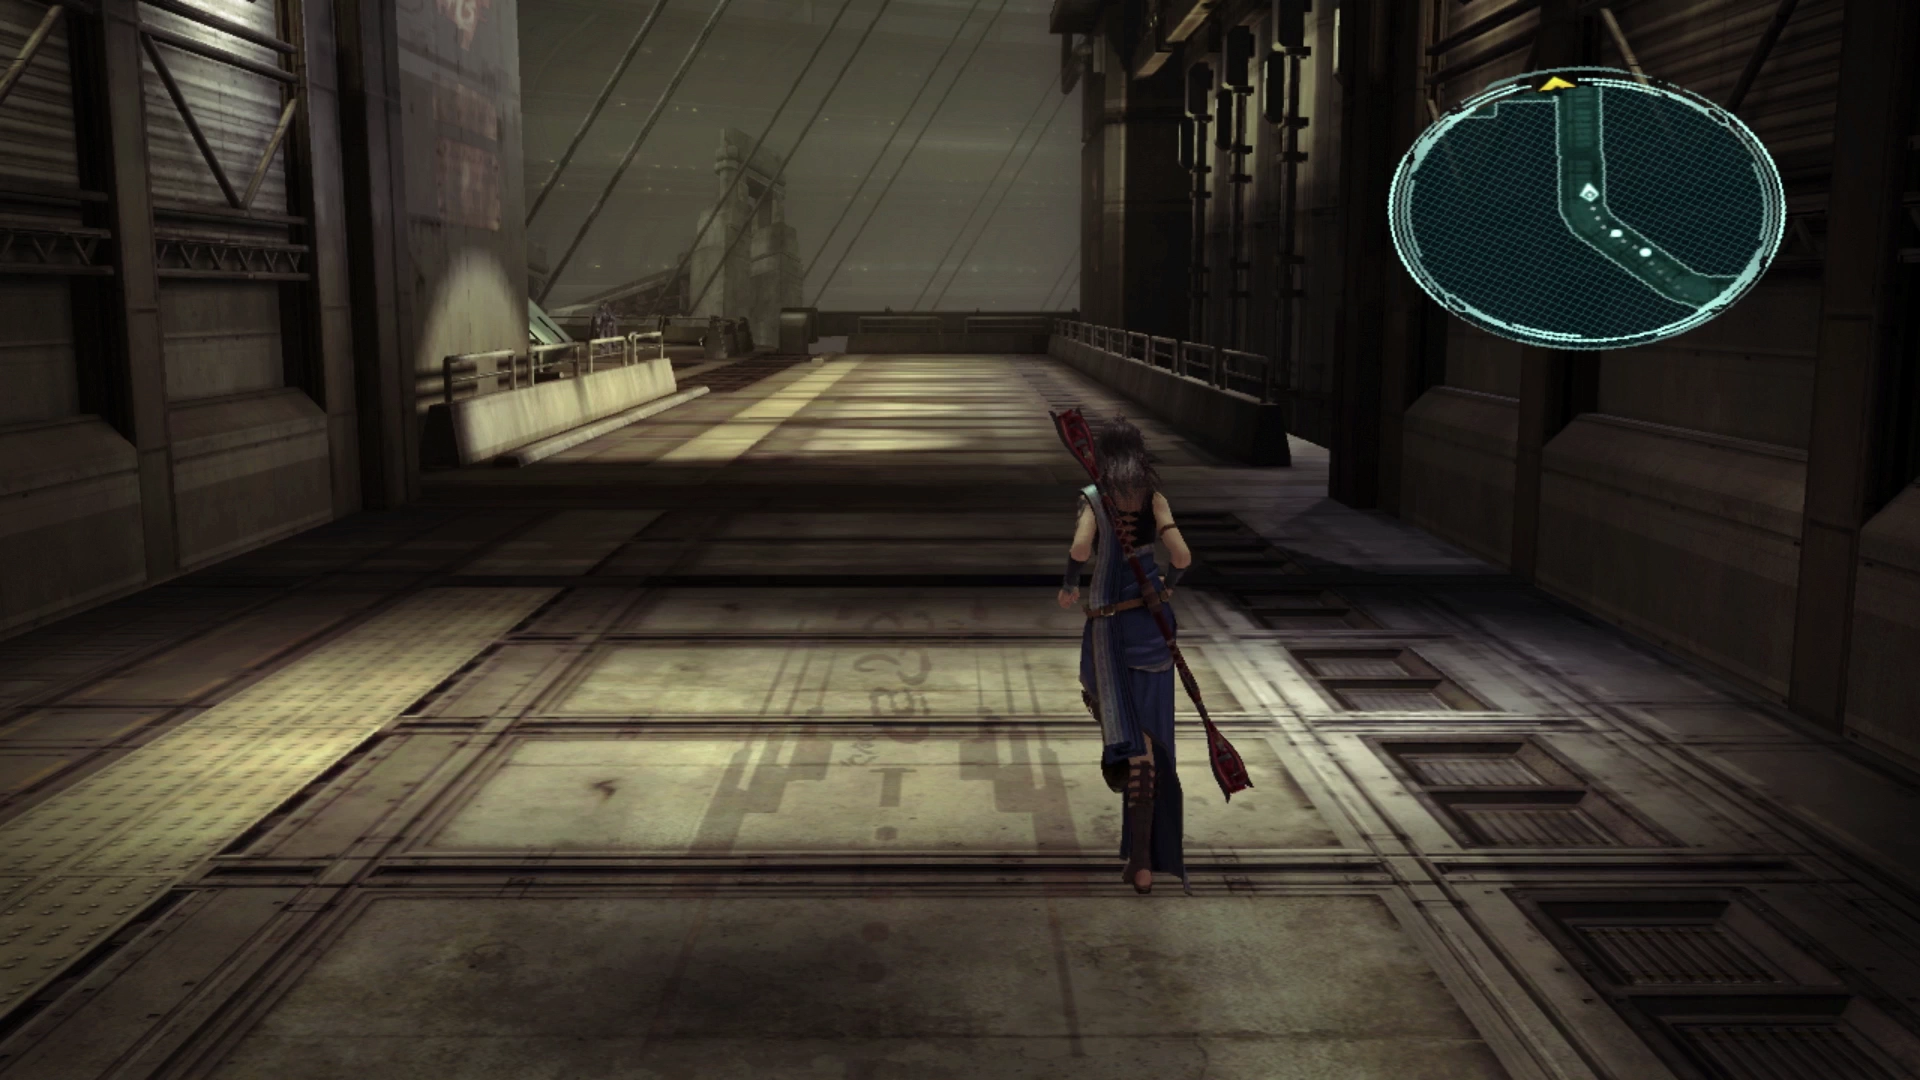
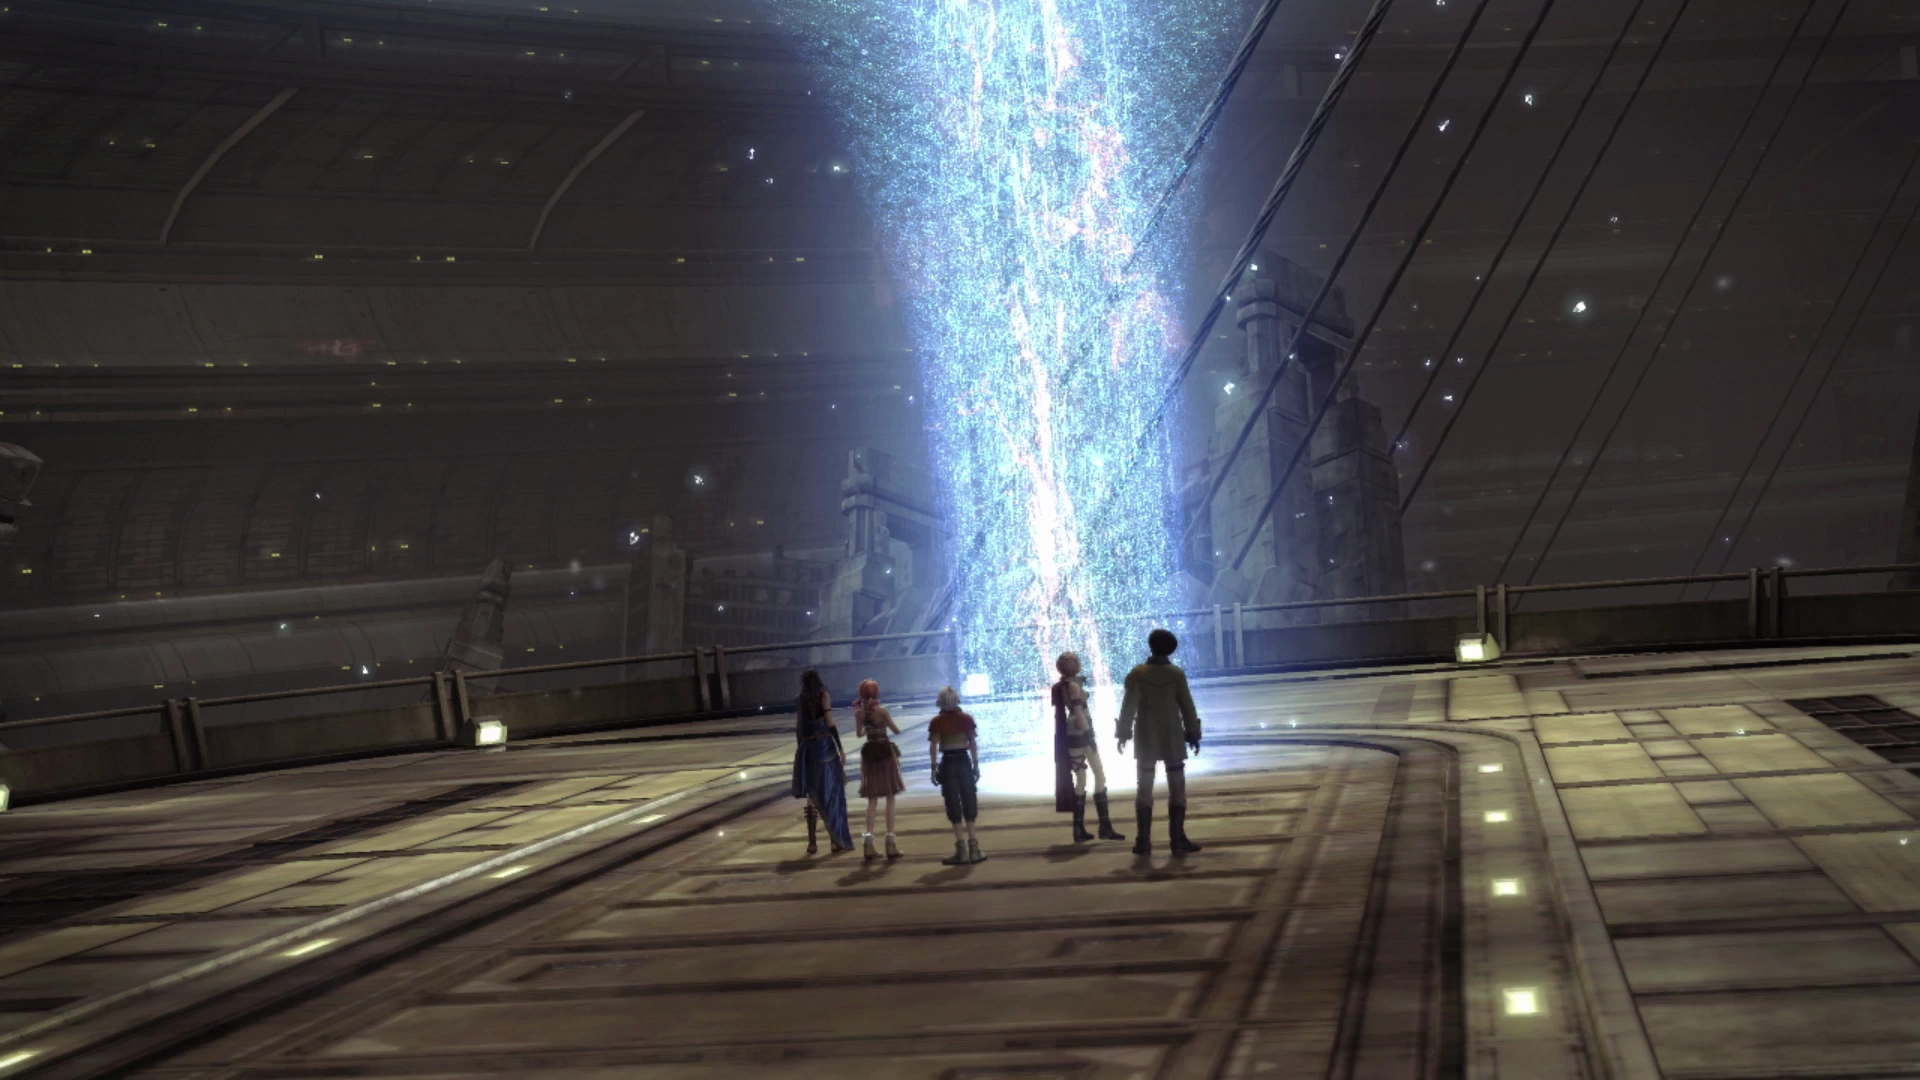
After a short discussion amongst the team members, with Snow looking sullen and keeping quiet in the corner, you will regain control of Lightning in this starting area with no one else in your party (yet).
You can wander around and talk to the other characters, though it serves no purpose, and you can also save your game at the ![]() Save Station nearby. Run down the hallway towards Vanille and Hope when you’re ready to continue.
Save Station nearby. Run down the hallway towards Vanille and Hope when you’re ready to continue.
Snow and Lightning will have a brief chat and then you will be back in control of a full party ready to move forward into the next area. There’s yet another ![]() Save Station just up ahead, but more importantly, take this time to rearrange your “Battle Team” so that it has the right party members and revisit your Paradigms to make sure they are set up properly.
Save Station just up ahead, but more importantly, take this time to rearrange your “Battle Team” so that it has the right party members and revisit your Paradigms to make sure they are set up properly.
Helpful Hint
It was mentioned in the previous section of the guide but your recommended party for this and most other parts of the game includes Lightning, Fang, and Hope. Check out the “Best Party” section if you would like a more detailed explanation of how to set up an optimal party.
You can’t change the leader of your party just yet, but you will be able to soon. Take Lightning into the next area to continue the story with a brief explanation of where the team has found themselves.
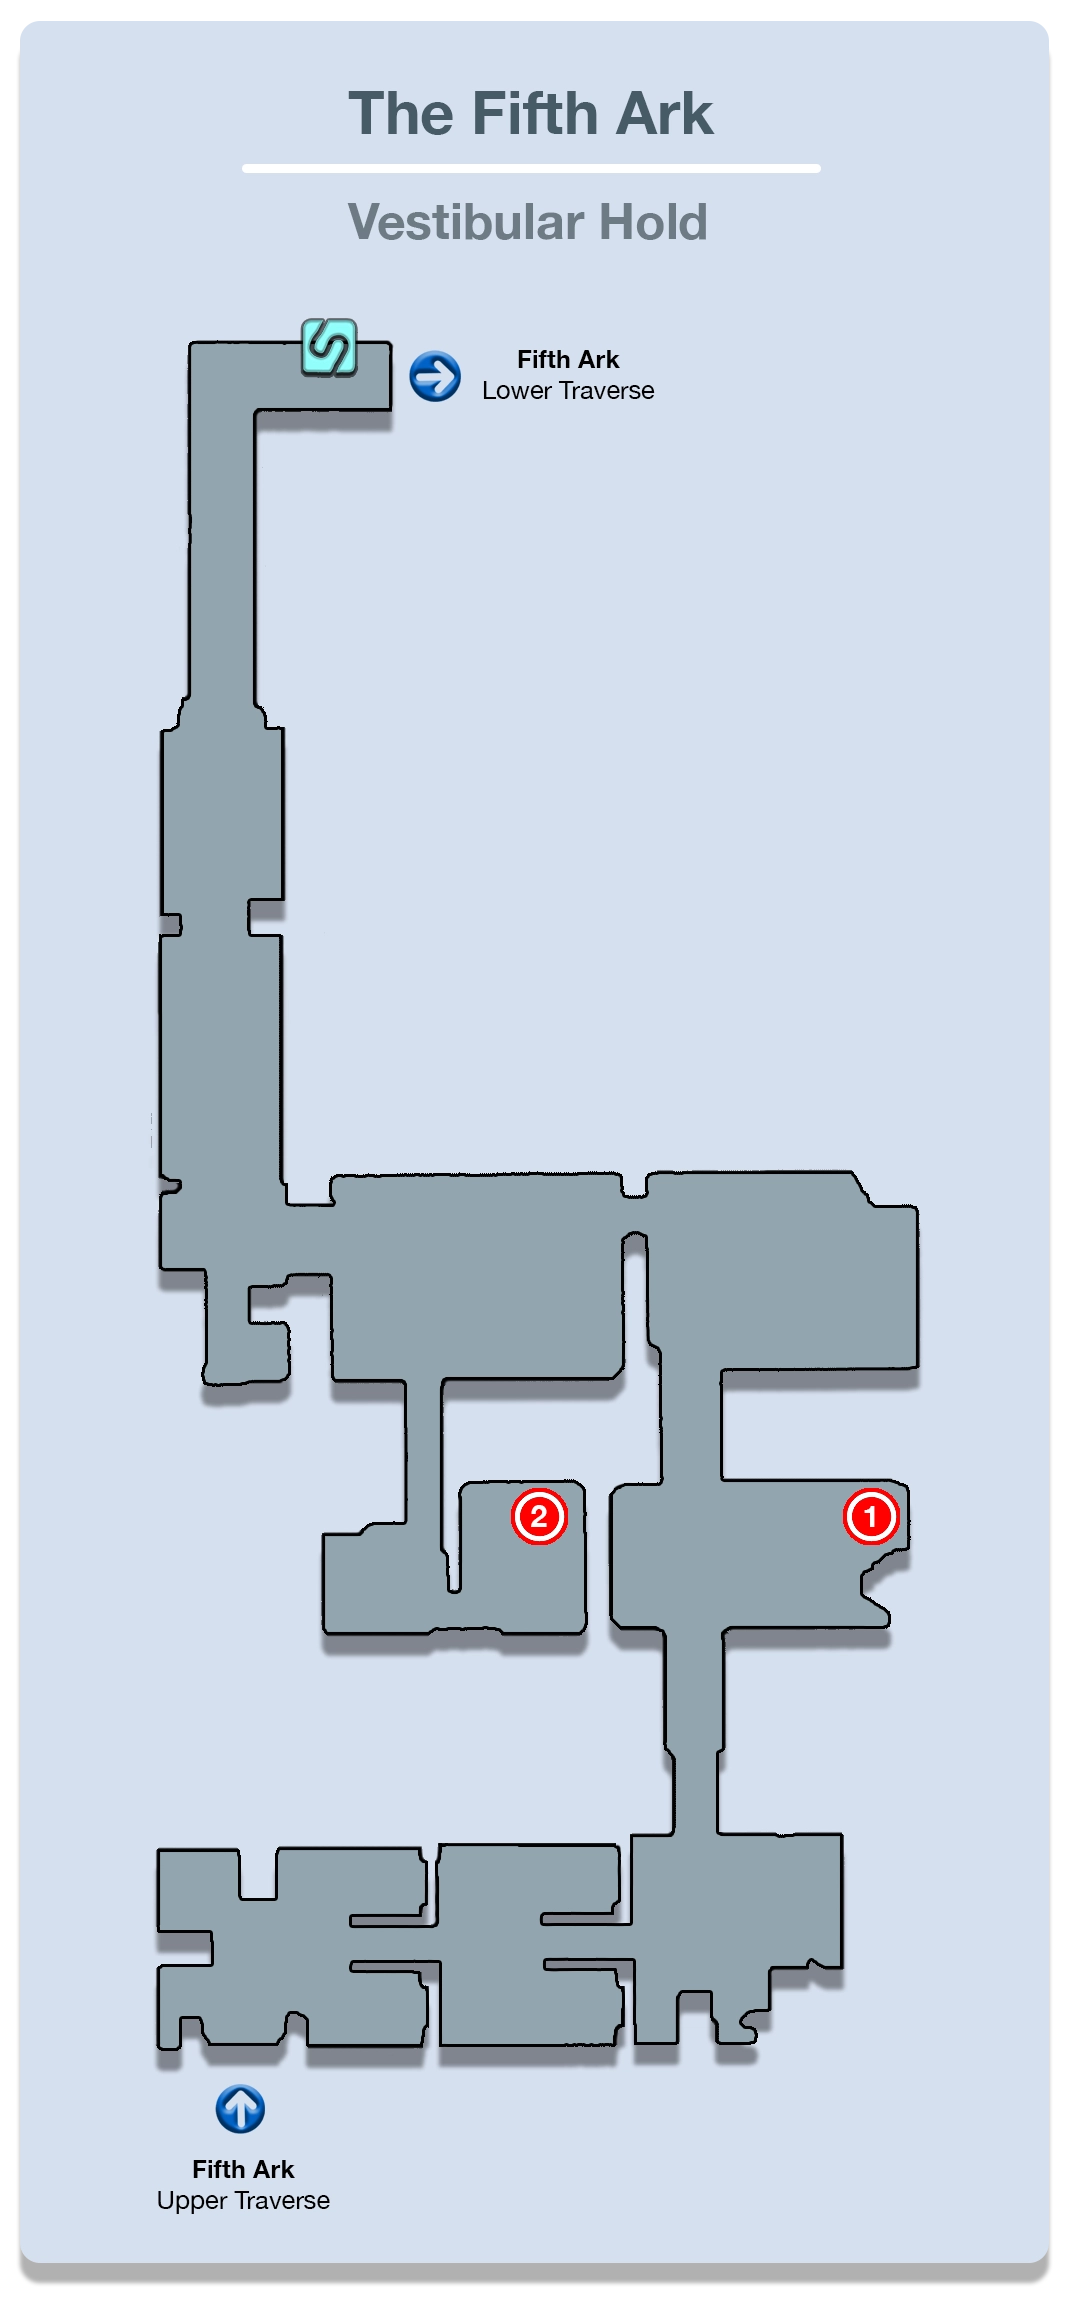
Vestibular Hold
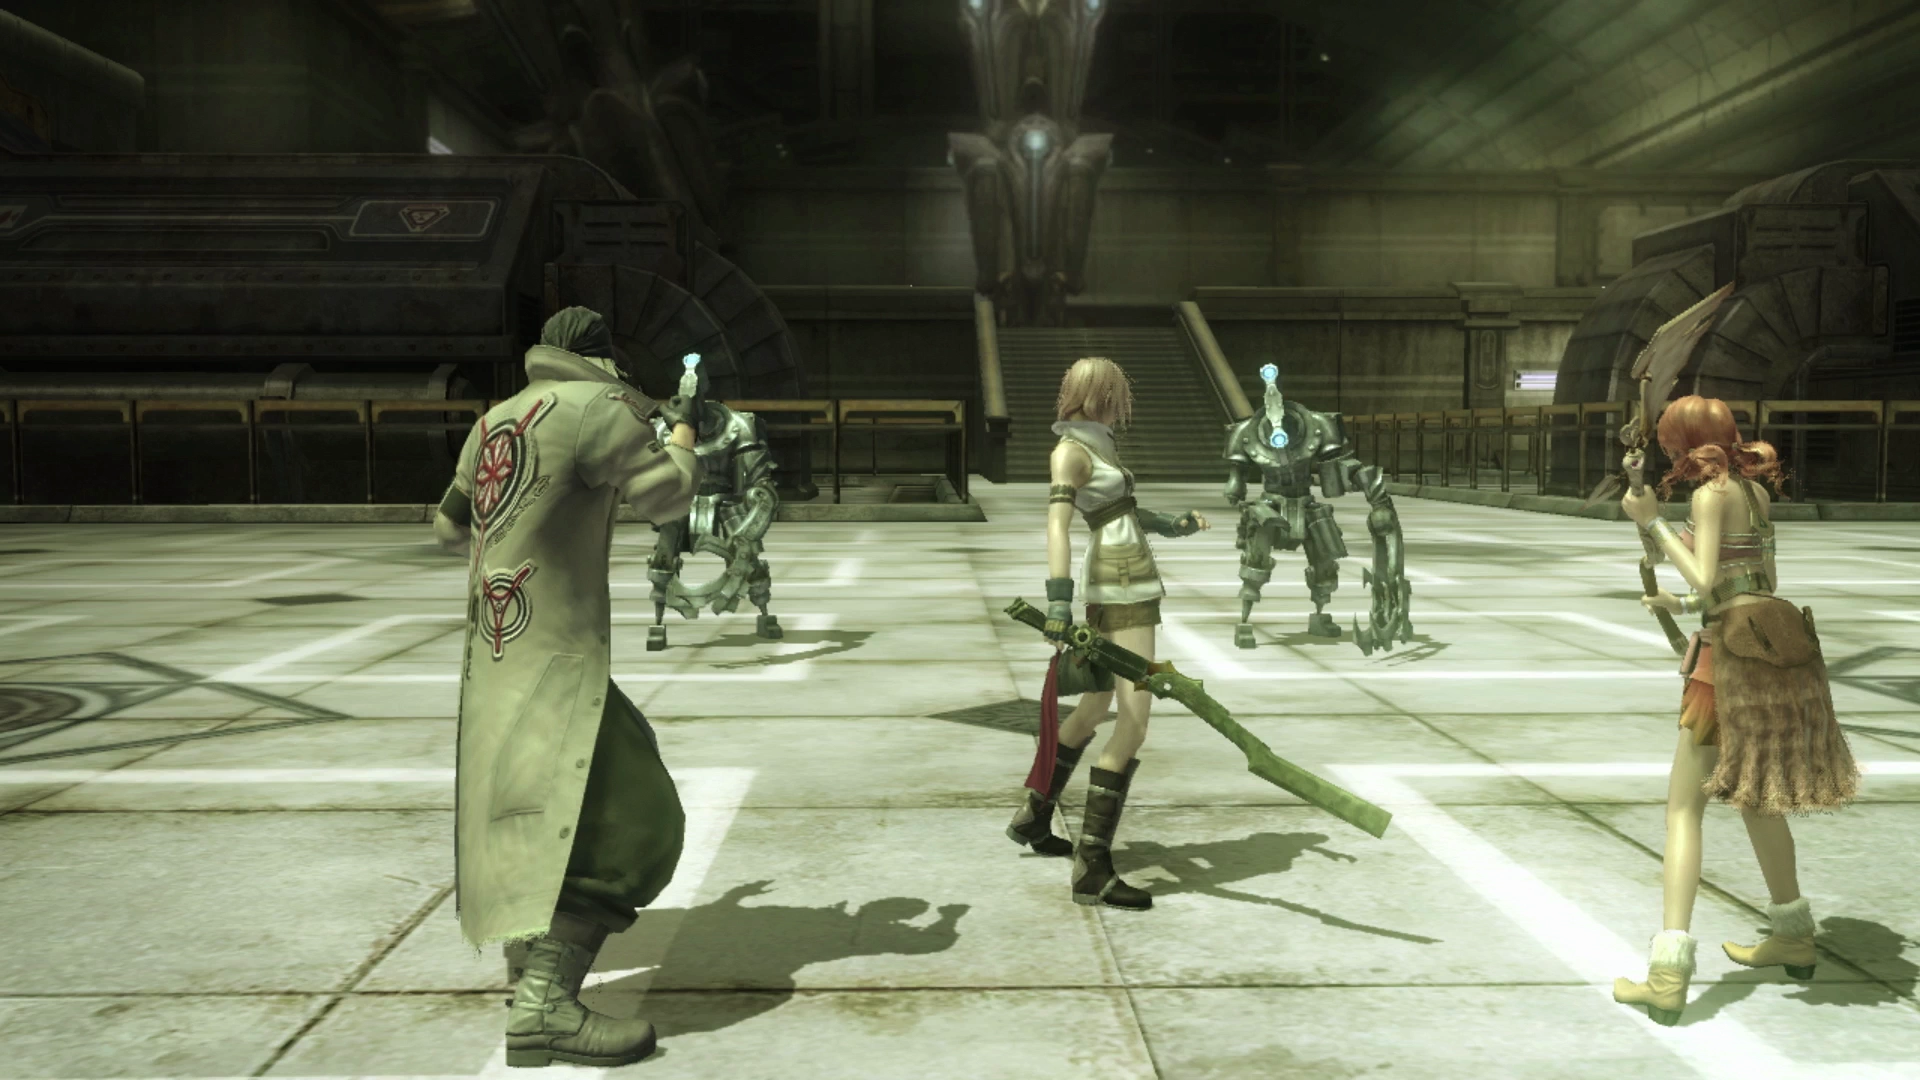
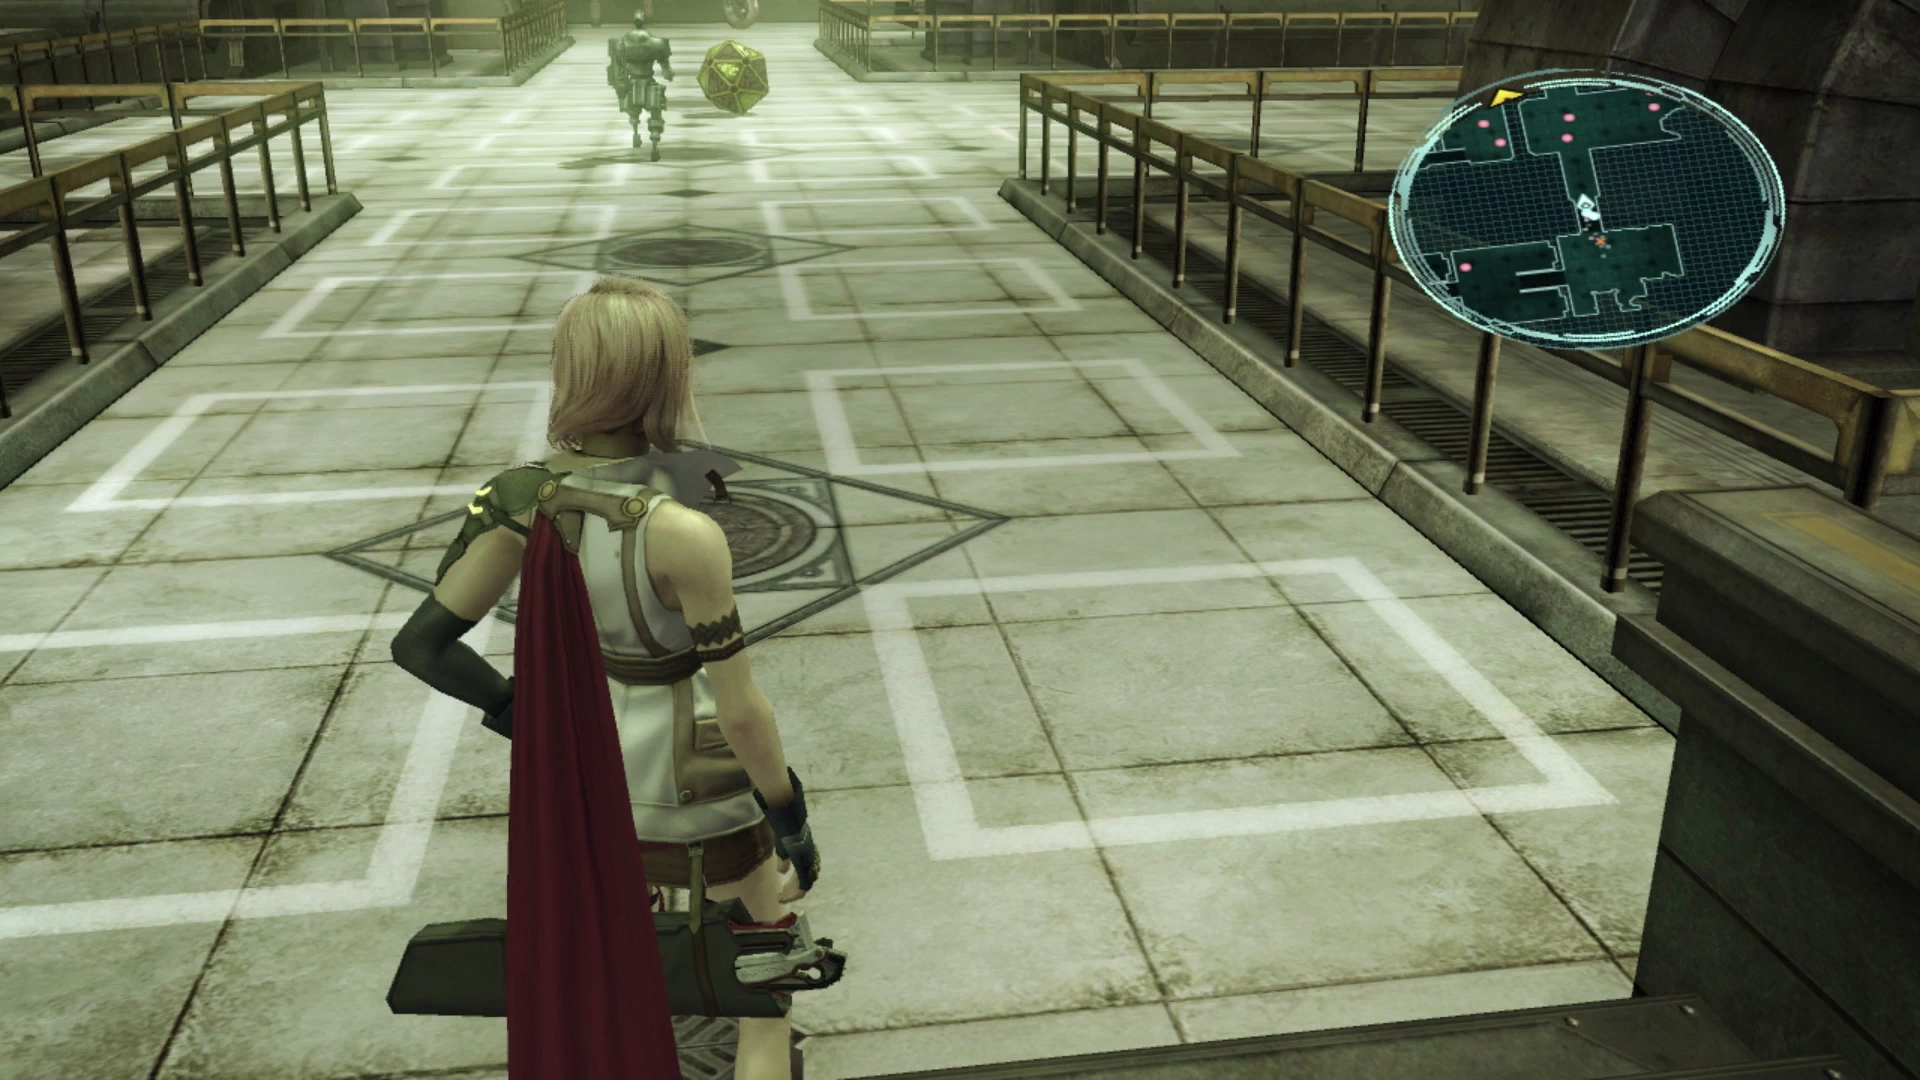
Your team will automatically be thrown into battle against two Pulsework Knights so it’s important to set up your party ahead of this cutscene or you’ll be stuck with the default party members (Lightning, Snow and Vanille) and the default Paradigms. You can always hit the ![]()
![]()
![]() button and select “Retry” if you venture too far by accident.
button and select “Retry” if you venture too far by accident.
These Pulsework Knights function very similarly to the ones that you’ve previously faced but, because they are new, you should use ![]() Libra on one of them to kick things off. The enemies in this area, including the Pulsework Knights, will inflict quite a bit of damage on your team members.
Libra on one of them to kick things off. The enemies in this area, including the Pulsework Knights, will inflict quite a bit of damage on your team members.
This will become easier and easier to deal with as you work your way through the Fifth Ark and press your way through each character’s Crystariums, but for now, be prepared to play rather defensively. Be ready to swap to the Diversity Paradigm at a moment’s notice to have Hope start tossing out heals before your party member’s HP drops too low.
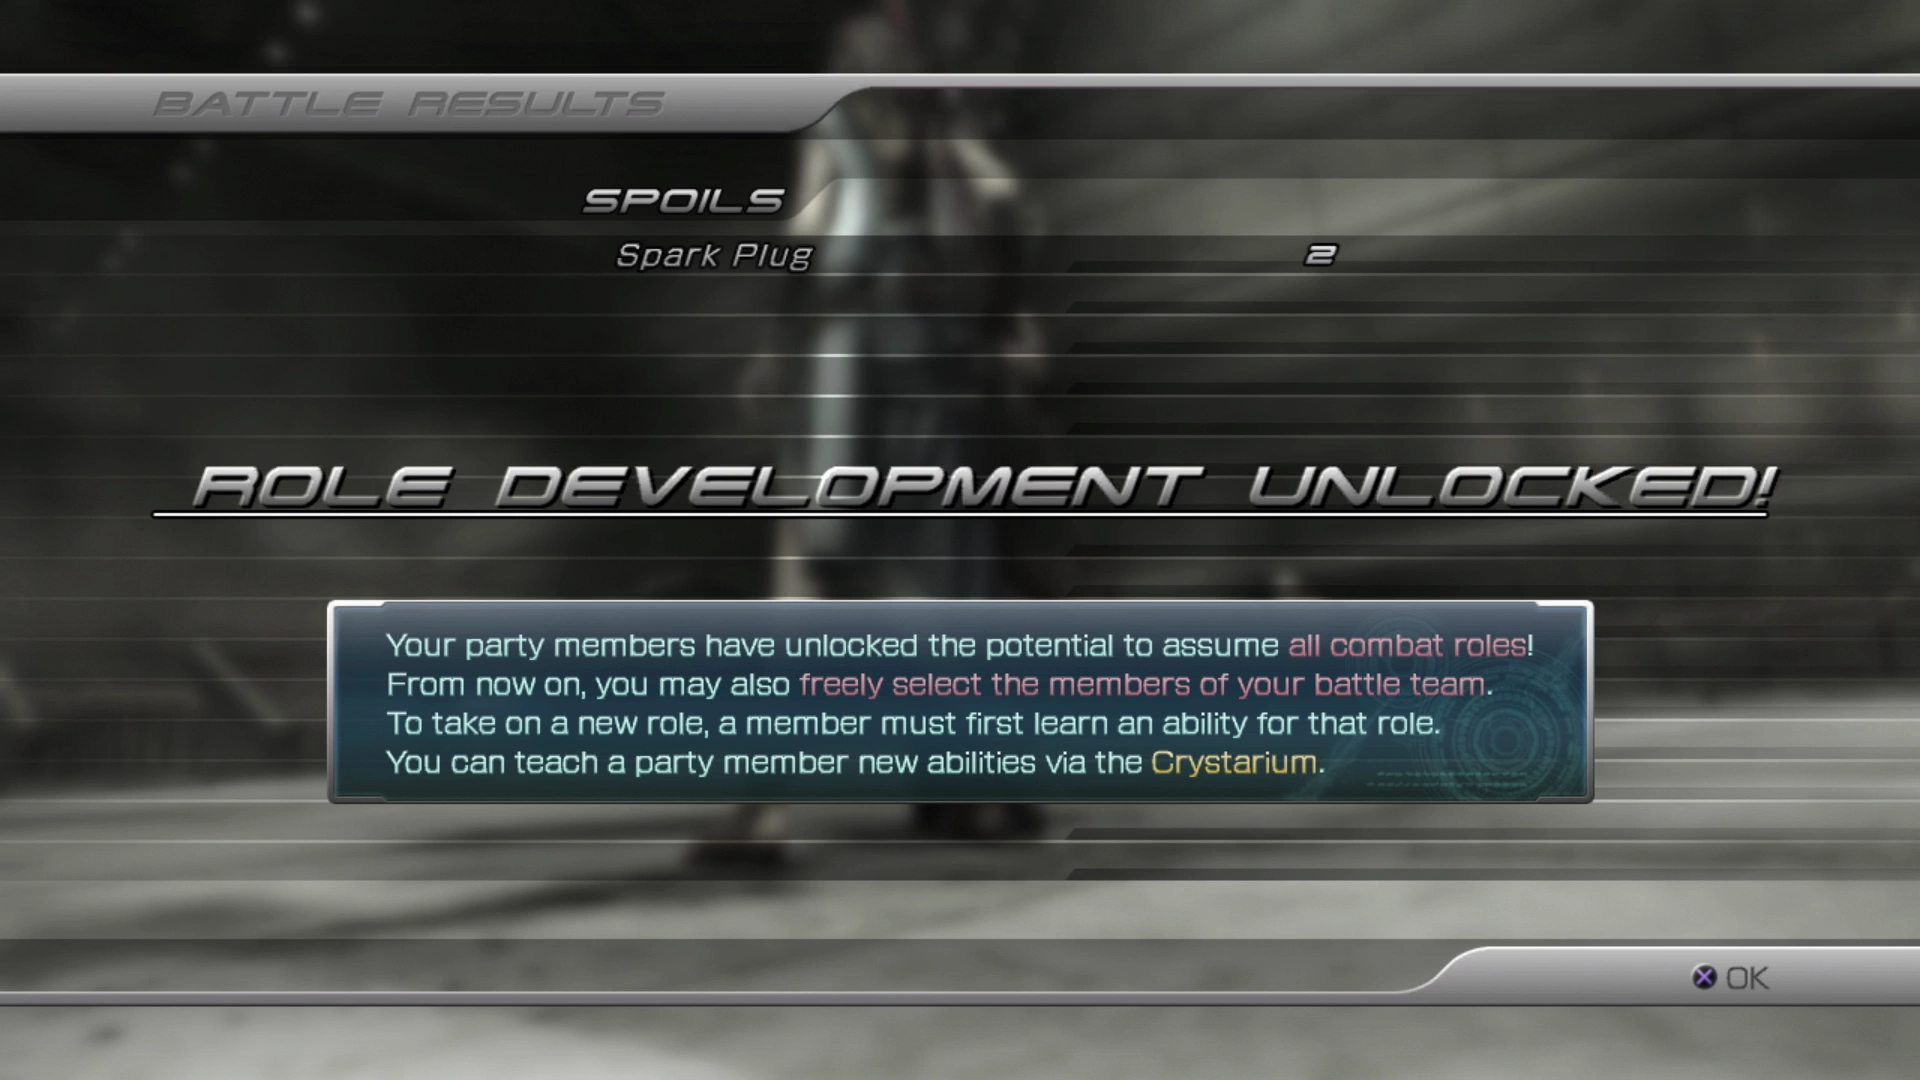
At the end of this first battle, a notification window will pop up indicating that your party members can now take on any role (![]() Commando,
Commando, ![]() Ravager,
Ravager, ![]() Medic,
Medic, ![]() Sentinel,
Sentinel, ![]() Synergist or
Synergist or ![]() Saboteur).
Saboteur).
It’s been mentioned before, but not all party members are created equal; some are much better at certain roles than others due to the stats and the abilities they have access to in their Crystariums as these are not the same between different characters.
For example, Sazh will gain access to the ![]() Bravery status buff as a
Bravery status buff as a ![]() Synergist very early on in the game. He probably already has this ability. Lightning, Snow and Hope will gain this ability much later (in the highest levels of their
Synergist very early on in the game. He probably already has this ability. Lightning, Snow and Hope will gain this ability much later (in the highest levels of their ![]() Synergist Crystarium) whereas Vanille and Fang will never gain access to this ability as a
Synergist Crystarium) whereas Vanille and Fang will never gain access to this ability as a ![]() Synergist.
Synergist.
All this information can be summarized as “some characters that are just plain better in certain roles than others.” Check out the “Best Party” page for more information.
Helpful Hint
All of that said, each character tends to be the best at one role specifically. So, if you want to know where it can be beneficial to spend the CP of the team members you are not using, consider the following:
- Fang is the best
 Commando. Her backup roles would be
  Sentinel and
  Saboteur.
 - Hope is the best
 Medic. Starting in that Crystarium can be helpful, but he should also focus on
  Ravager to help the team deal damage, as well as the
  Synergist role to some degree.
 - Lightning is the best Ravager and her points should be spent there followed by either the Commando role or Medic role.
- Sazh is the best Synergist. His backup role would be Ravager.
- Snow is the best Sentinel. His backup role would be Commando and he could lean into Ravager to help deal damage when he is in the party.
- Vanille is the best Saboteur. Her backup role would be Ravager, also to help deal damage, followed by Medic as she would essentially be replacing Hope in your party if you use her.
Additionally, you can now swap out your party’s leader and make anyone the party leader. Just move the party member that you want to lead the party to the furthest left position when you are in the “Battle Team” menu. This is also the character that you will control when you close out of the menu screen.
Helpful Hint
In theory, you can control any party member in battle but there are some benefits to being in control of the party member that spends the most amount of time in the ![]() Commando role (i.e., Fang).
Commando role (i.e., Fang).
The reason for this is it will allow you to keep up the Chain Gauge and build up a Stagger because if you see that a Chain is about to drop you can force your ![]() Commando to attack right away, instead of waiting for their ATB Gauge to fill, by pressing the
Commando to attack right away, instead of waiting for their ATB Gauge to fill, by pressing the ![]()
![]()
![]() button.
button.
There are a few enemies that spawn behind your team after the first battle. There are no rewards to pick up behind them and you can simply keep moving forward and ignore them, but as you’re probably noticing, the fights have become quite a bit tougher. There is some value in going back and defeating these groups of enemies for the sole purpose of earning additional Crystogen Points (CP).
The group of enemies up ahead includes one Pulsework Knight and one Circuitron. These Circuitron enemies come from the same family of enemies as the Bombs that they look like from earlier in the game. Just like those Bombs, they will cast “Self Destruct” if their health gets low or they start to take damage, so take them out first every time you fight them.
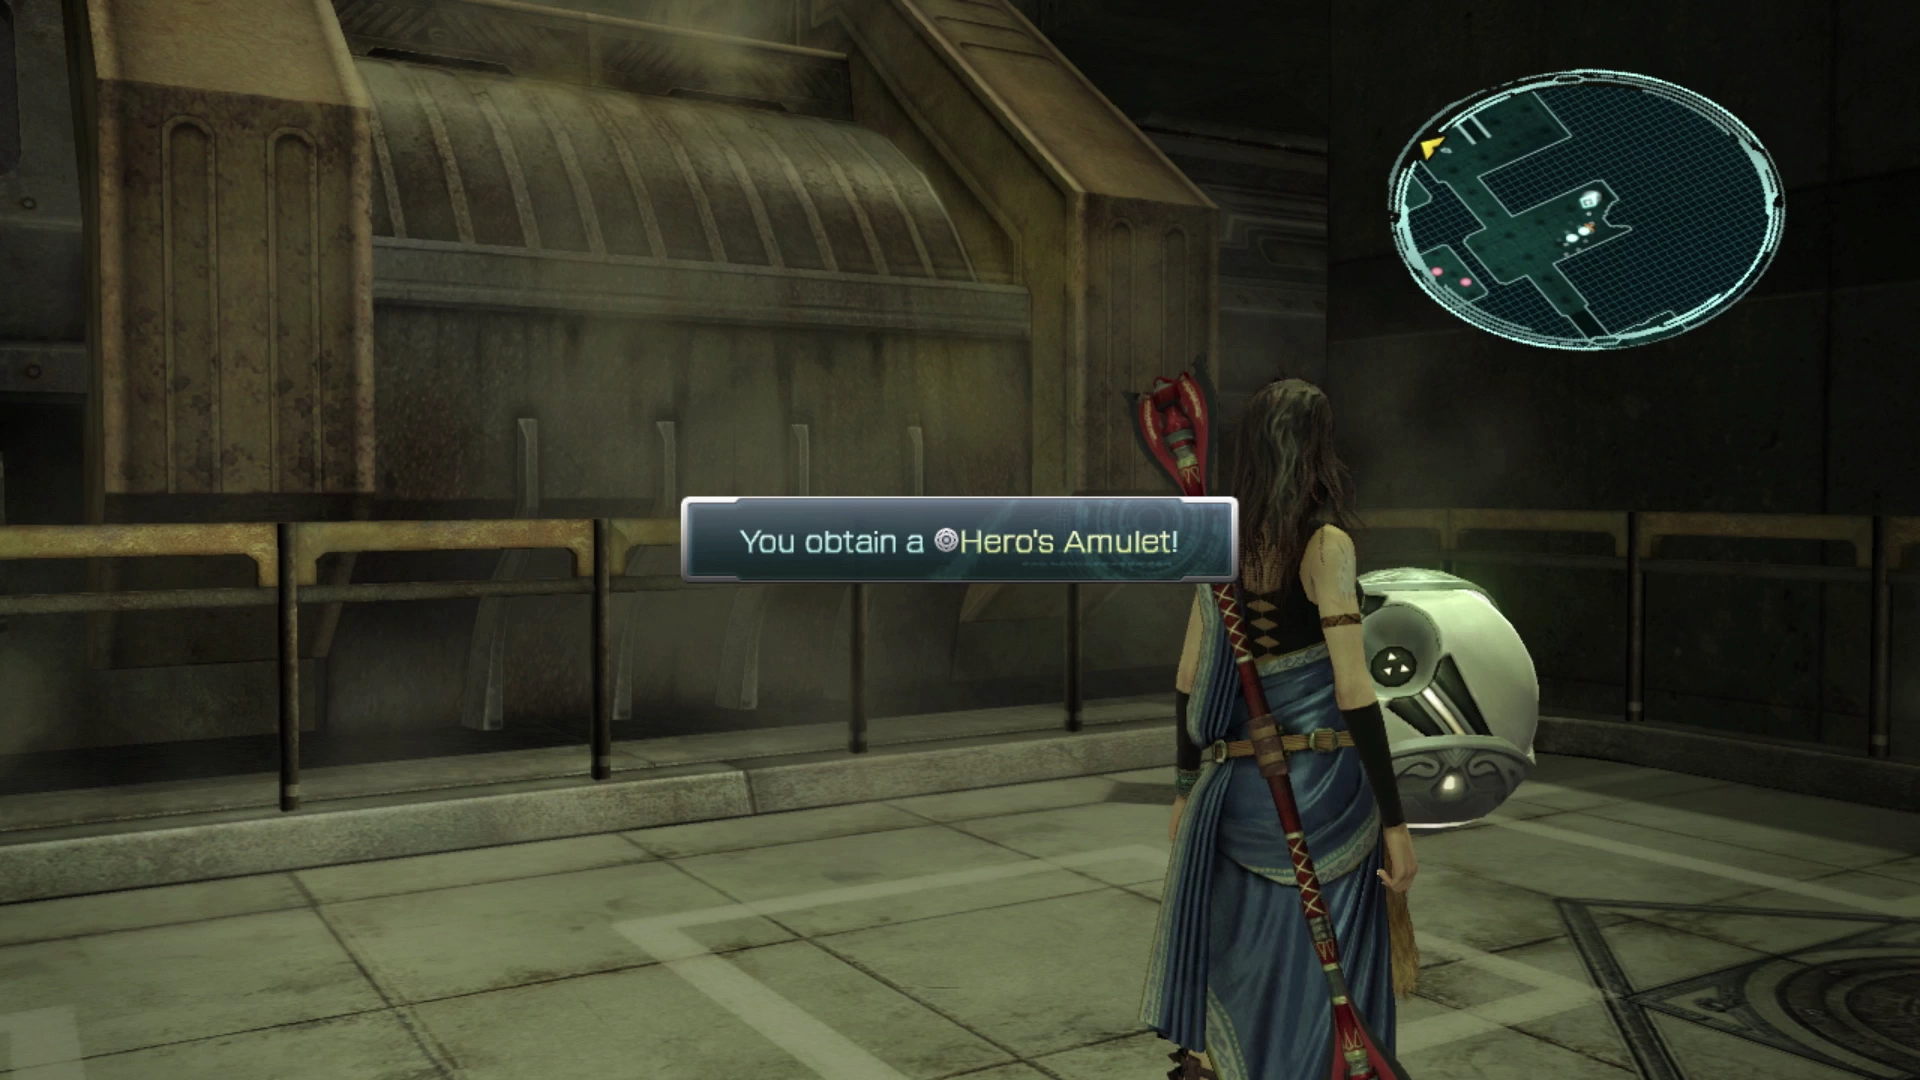
To the right of this group is a group of two Pulsework Knights guarding a Treasure Sphere. Note that most of the other Pulsework Knights you face are easy to sneak up on given how slow they are and their predictable patrols, but these two will face you no matter what. Defeat them and open the Treasure Sphere which contains a ![]() Hero’s Amulet.
Hero’s Amulet.
This accessory increases physical defense and will cast ![]() Bravery on the wearer if their HP drops low making it a somewhat useful accessory to equip to one of your characters.
Bravery on the wearer if their HP drops low making it a somewhat useful accessory to equip to one of your characters.
Defeat the group of enemies on the next platform, which includes two Circuitrons and a Pulsework Knight, and then take the stairs down to the lower platform. Down here you will find a group of three Circuitrons guarding a Treasure Sphere that contains eight ![]() Bomb Shells. Keep following the pathway towards the map marker until you reach the
Bomb Shells. Keep following the pathway towards the map marker until you reach the ![]() Save Station up ahead.
Save Station up ahead.
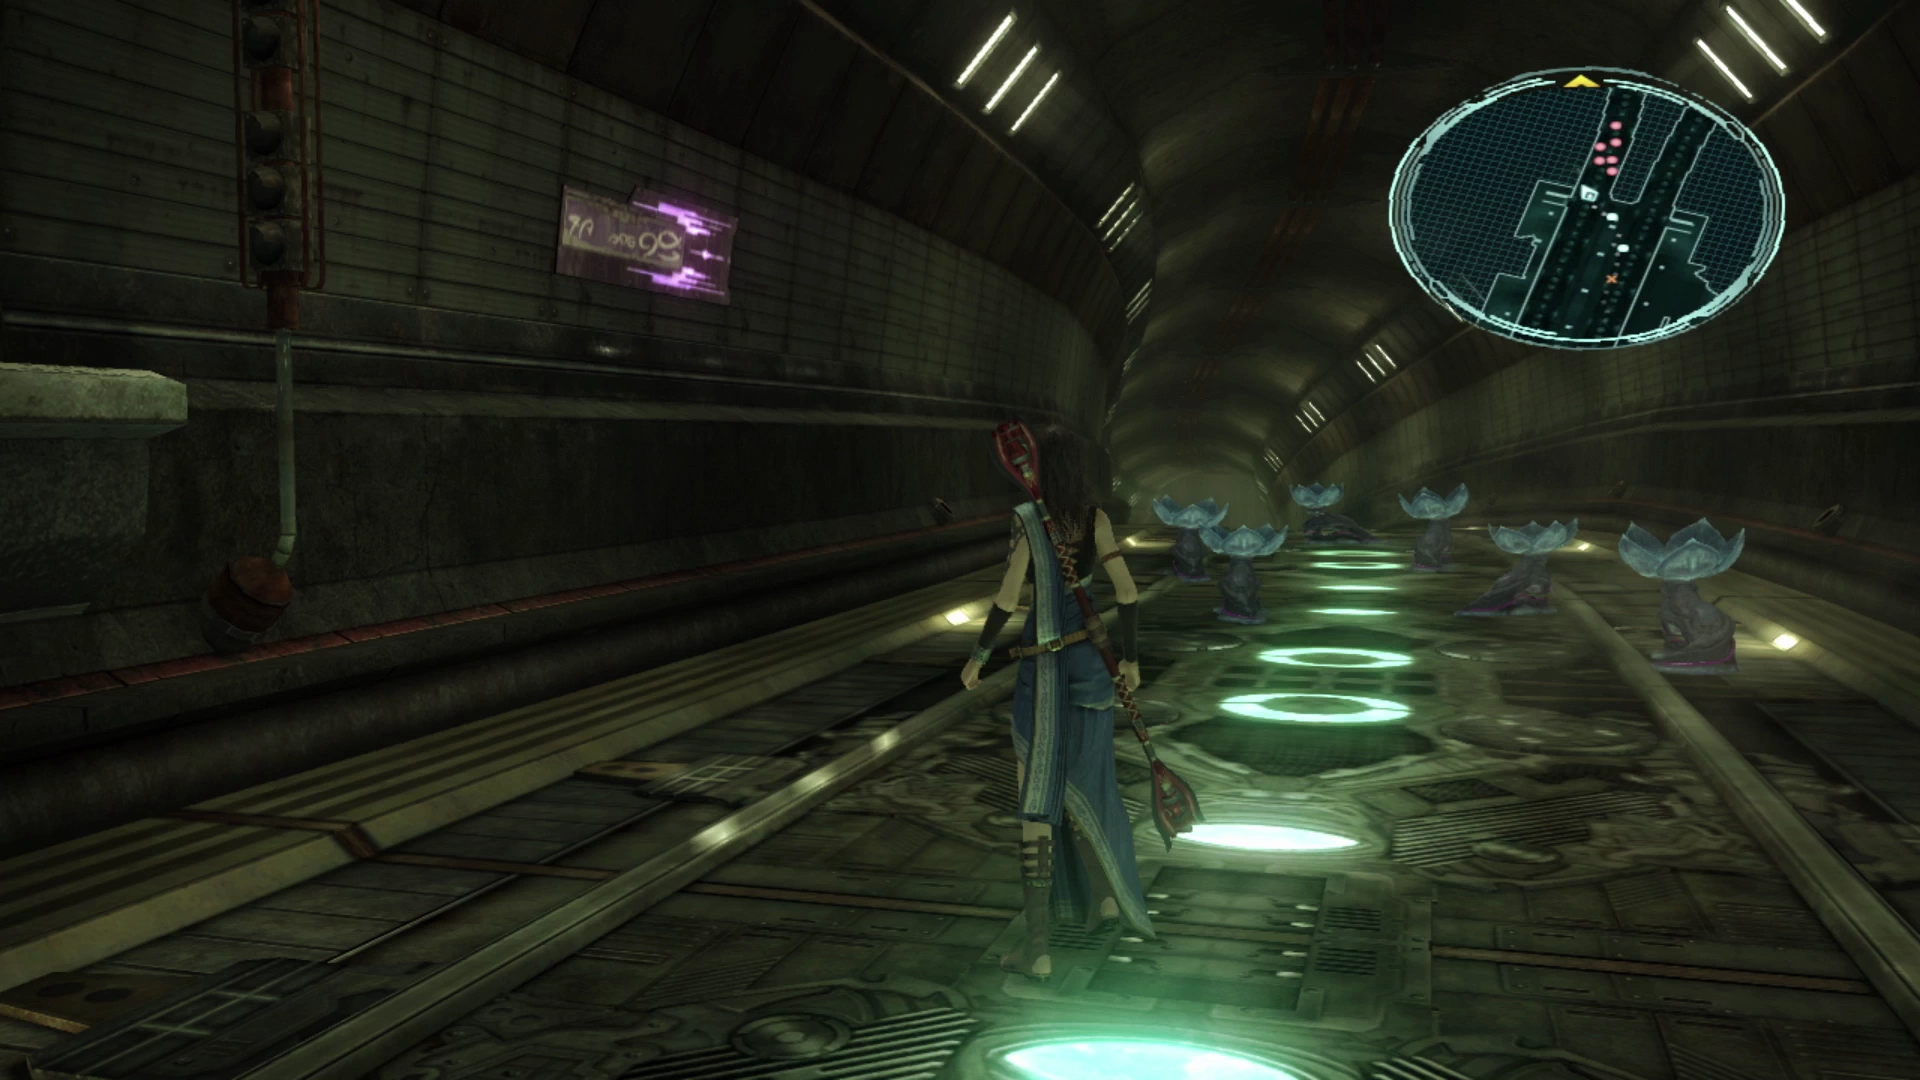
Lower Traverse

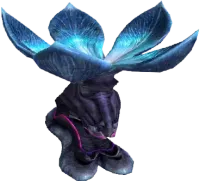

At the bottom of the stairs is a new group of enemies for you to face. These Noctilucale enemies are very similar to the Crawlers that you’ve fought with previously and they die just as easily.
They are also very slow-moving so it’s easy to sneak up on them, although, because you typically fight them in large groups, it’s hard to find a time when they’re all looking away long enough for you to sneak up and initiate a preemptive strike, but it’s worth giving it a try!
Missable Content
There are three ![]() Datalog Entries for enemies that need to be created/summoned by other enemies you face while you are traveling through the Fifth Ark. The enemies that you face later, towards the end of the Fifth Ark, have a higher chance of creating/summoning the creatures noted below, but if you encounter them in battle, make sure you use
Datalog Entries for enemies that need to be created/summoned by other enemies you face while you are traveling through the Fifth Ark. The enemies that you face later, towards the end of the Fifth Ark, have a higher chance of creating/summoning the creatures noted below, but if you encounter them in battle, make sure you use ![]() Libra on them twice to fully complete their Datalog Enemy Intel entry if you are looking for 100% completion of the Datalog.
Libra on them twice to fully complete their Datalog Enemy Intel entry if you are looking for 100% completion of the Datalog.
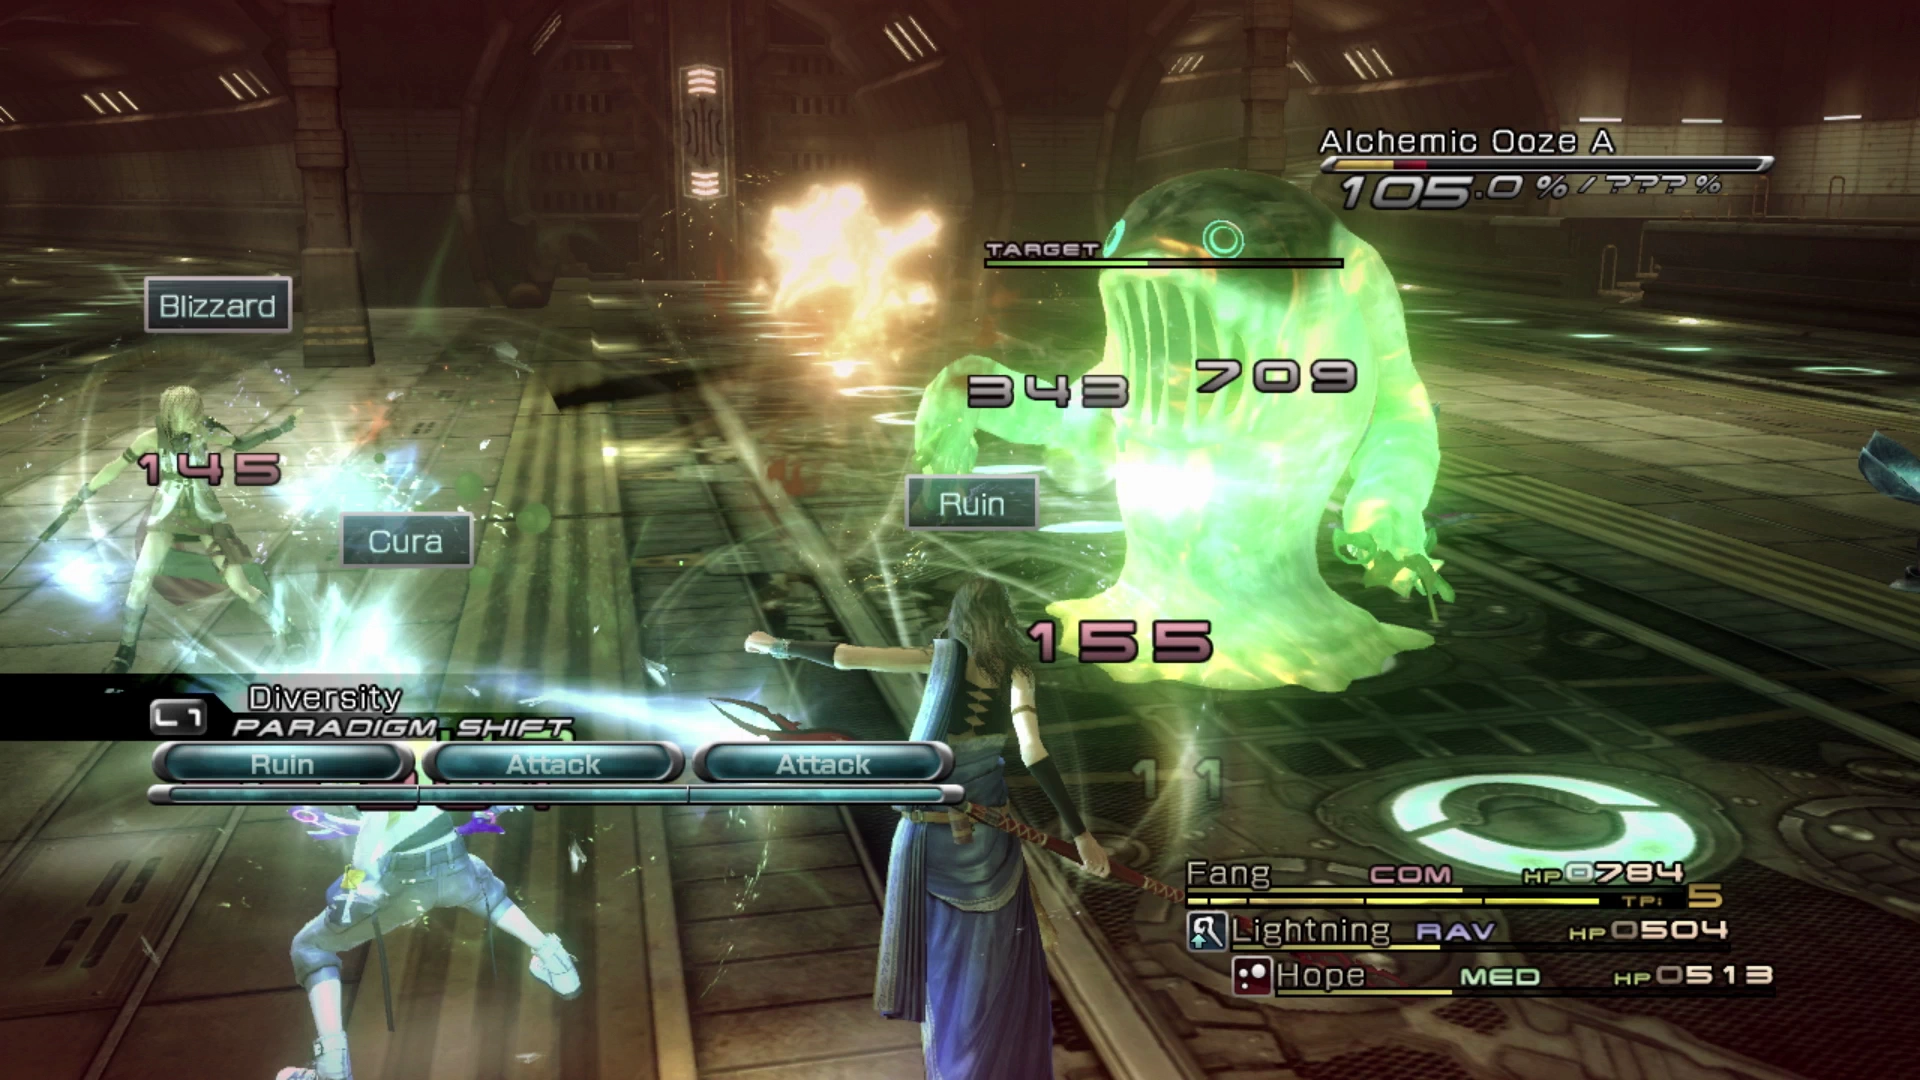
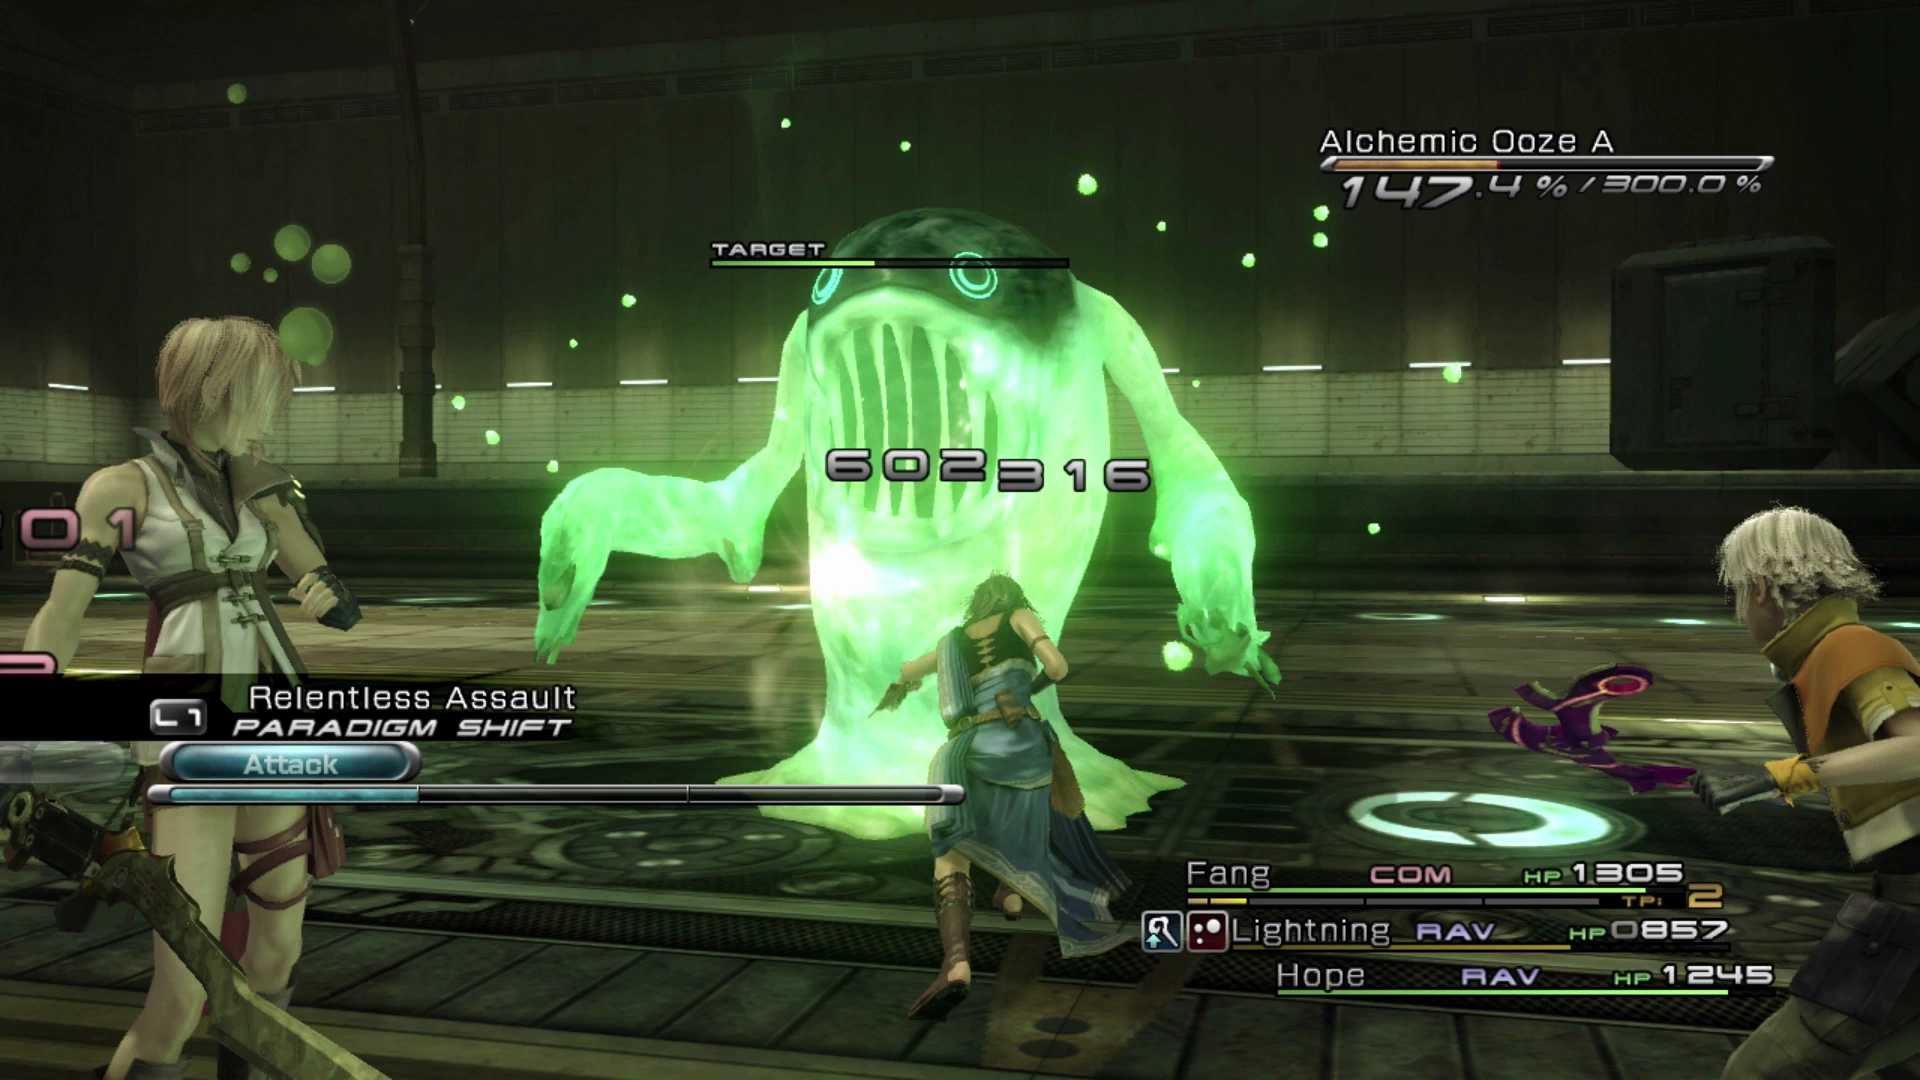
- Phosphoric Ooze: When their HP is 50% or lower there is a chance they will merge with another Phosphoric Ooze creating the much more powerful Alchemic Ooze.
- Imp: May summon an Ahriman.
- Berserker: Will use an attack called “Forge Blade,” which will create a Centaurion Blade (if you don’t interrupt it).
The Centaurion Blade is hard to miss because a Berserker will cast “Forge Blade” early in every battle but the other two can be missed if you’re not careful.
Note that the first Imps you face will likely not summon an Ahriman, but this walkthrough will include reminders of when you are facing the last groups of these enemies and which groups of enemies are most likely to summon one.
Don’t try to get the earlier groups of Imps to summon one or you may end up just waiting around in vain.
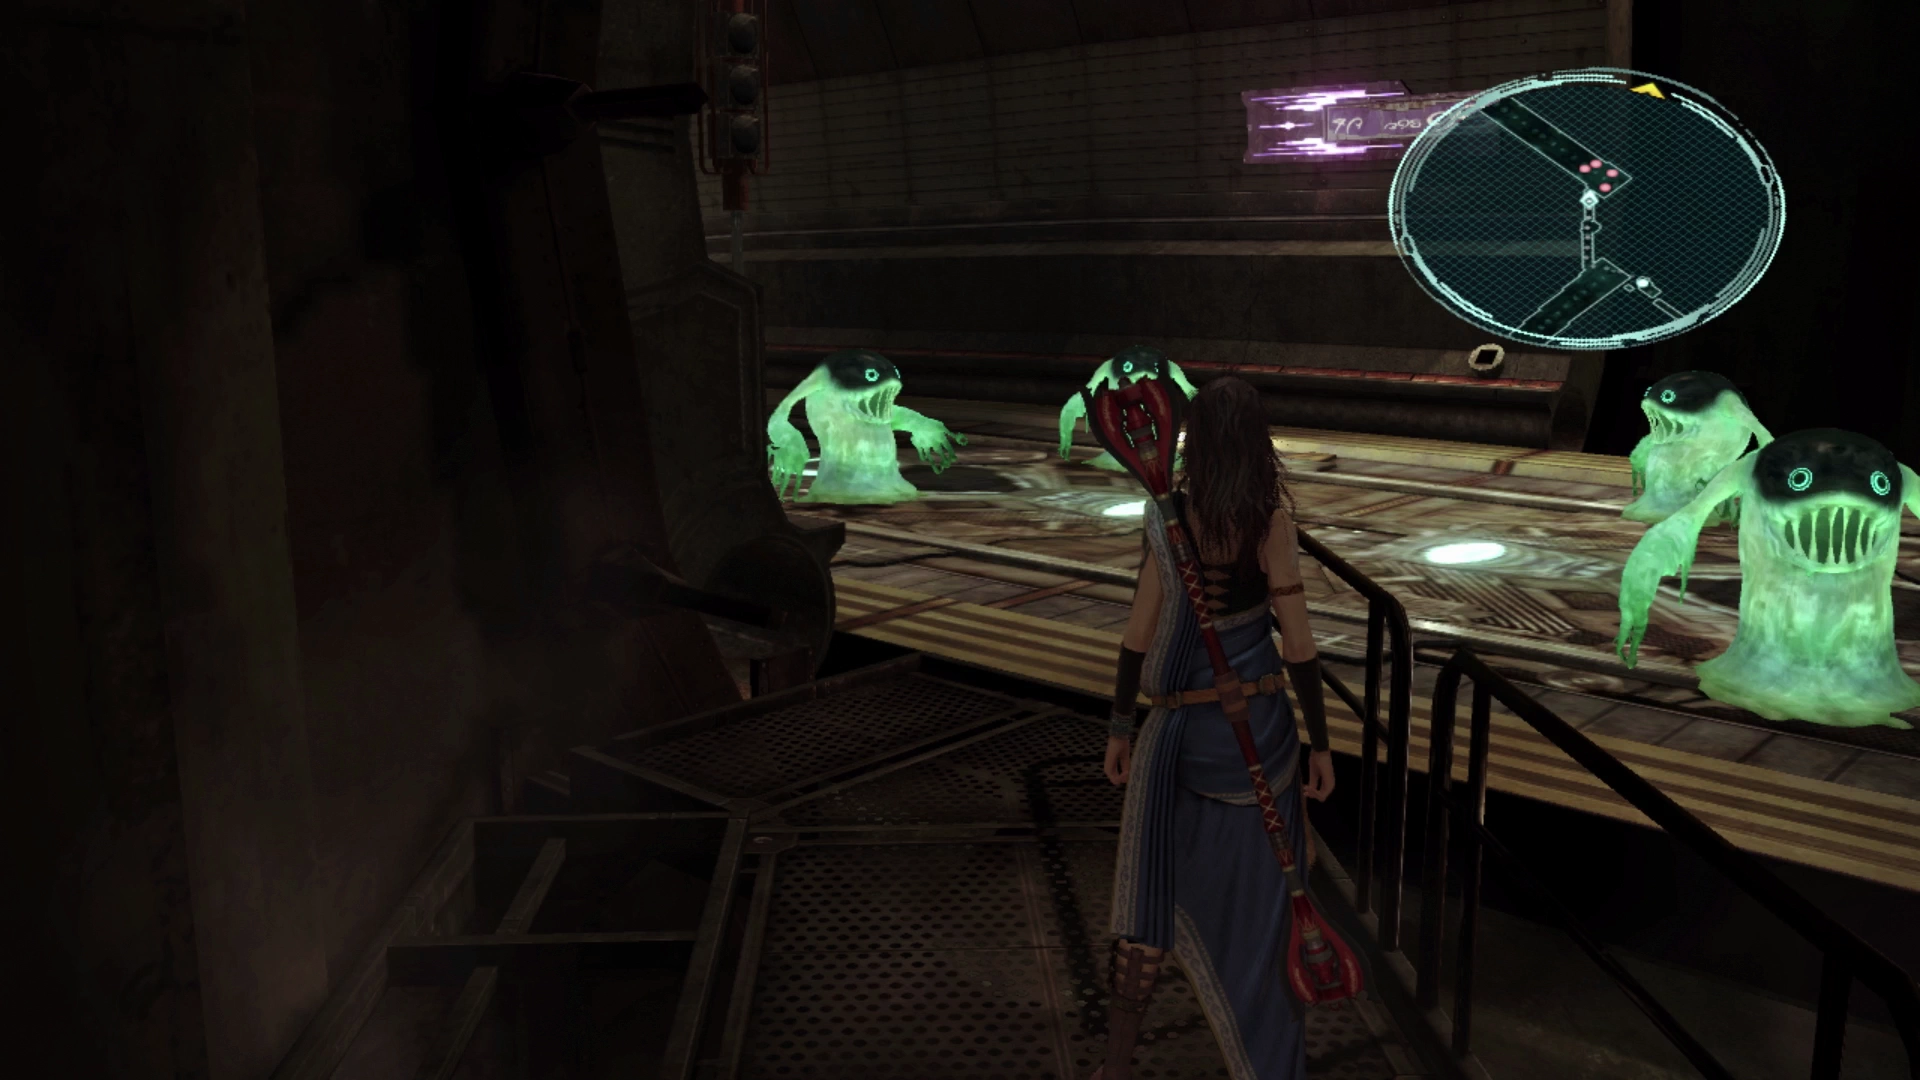
Just up ahead and to the left, guarding a Treasure Sphere, is your first group of enemies which include two Phosphoric Oozes (as well as three Noctilucale). This first group of Oozes is unlikely to transform into an Alchemic Ooze so defeat them quickly.
Open the Treasure Sphere to pick up a ![]() Saint’s Amulet which applies the
Saint’s Amulet which applies the ![]() Faith status effect when a character’s HP gets too critical. It’s not very useful so don’t equip it to your party members right now.
Faith status effect when a character’s HP gets too critical. It’s not very useful so don’t equip it to your party members right now.
There are two pathways up ahead, as shown on the map, one on the left and one on the right. The right pathway is a dead end so take the pathway on the left towards the group of 10 Noctilucales and defeat them.
There’s another group of four Noctilucales with three Phosphoric Oozes to defeat. There is a high likelihood that if you damage one of the Oozes HP enough, without killing it, it will merge with another Ooze to create an Alchemic Ooze.
Because of this, start by defeating the Noctilucales first. If an Alchemic Ooze spawns it will make the battle much more difficult as it has very high attack strength. Don’t forget to use ![]() Libra on it if it spawns to complete your Enemy Intel entry!
Libra on it if it spawns to complete your Enemy Intel entry!
Helpful Hint
Unfortunately, if the enemies you are facing spawn more enemies for you to kill (e.g. a Phosphoric Ooze becomes an Alchemic Ooze or an Imp summons an Ahriman), the target time for completing the battle will not change even though you now have more difficult enemies to face. This means that your Battle Results Rating will suffer. You may find yourself getting 3 stars or even no stars.
There’s not much that you can do about this, and its only real impact is that it will reduce the quality of the spoils you receive at the end of the battle. What this does mean though is that you should try to prevent these enemies from ever spawning, other than for the express and sole purpose of filling out your Datalog Enemy Intel entries.
Keep working on making battles as quick and efficient as possible!
When you reach the end of the hallway take the pathway leading off to the right. You’ll see an illuminated blue circle indicating where you can jump up onto the platforms leading to the other tunnel area. Defeat the group of Noctilucale there and open the Treasure Sphere which contains ten vials of ![]() Medicinal Oil.
Medicinal Oil.
Head back down to the lower platform, continue forward, and this time take the walkway leading to the left. As you approach the next tunnel a group of four Phosphoric Oozes will spawn. Try to focus your attacks so that your characters all hit the target at the same time to prevent the oozes from merging and creating an Alchemic Ooze (unless you still need the Enemy Intel entry).
The end of the tunnel will have a broken open area that your party can jump up and climb through. It leads to another open area with a ![]() Save Station and a Treasure Sphere in the corner that contains a
Save Station and a Treasure Sphere in the corner that contains a ![]() Rainbow Anklet. This accessory provides resistance to the
Rainbow Anklet. This accessory provides resistance to the ![]() Daze effect.
Daze effect.

Proceed into the next area when you are ready.
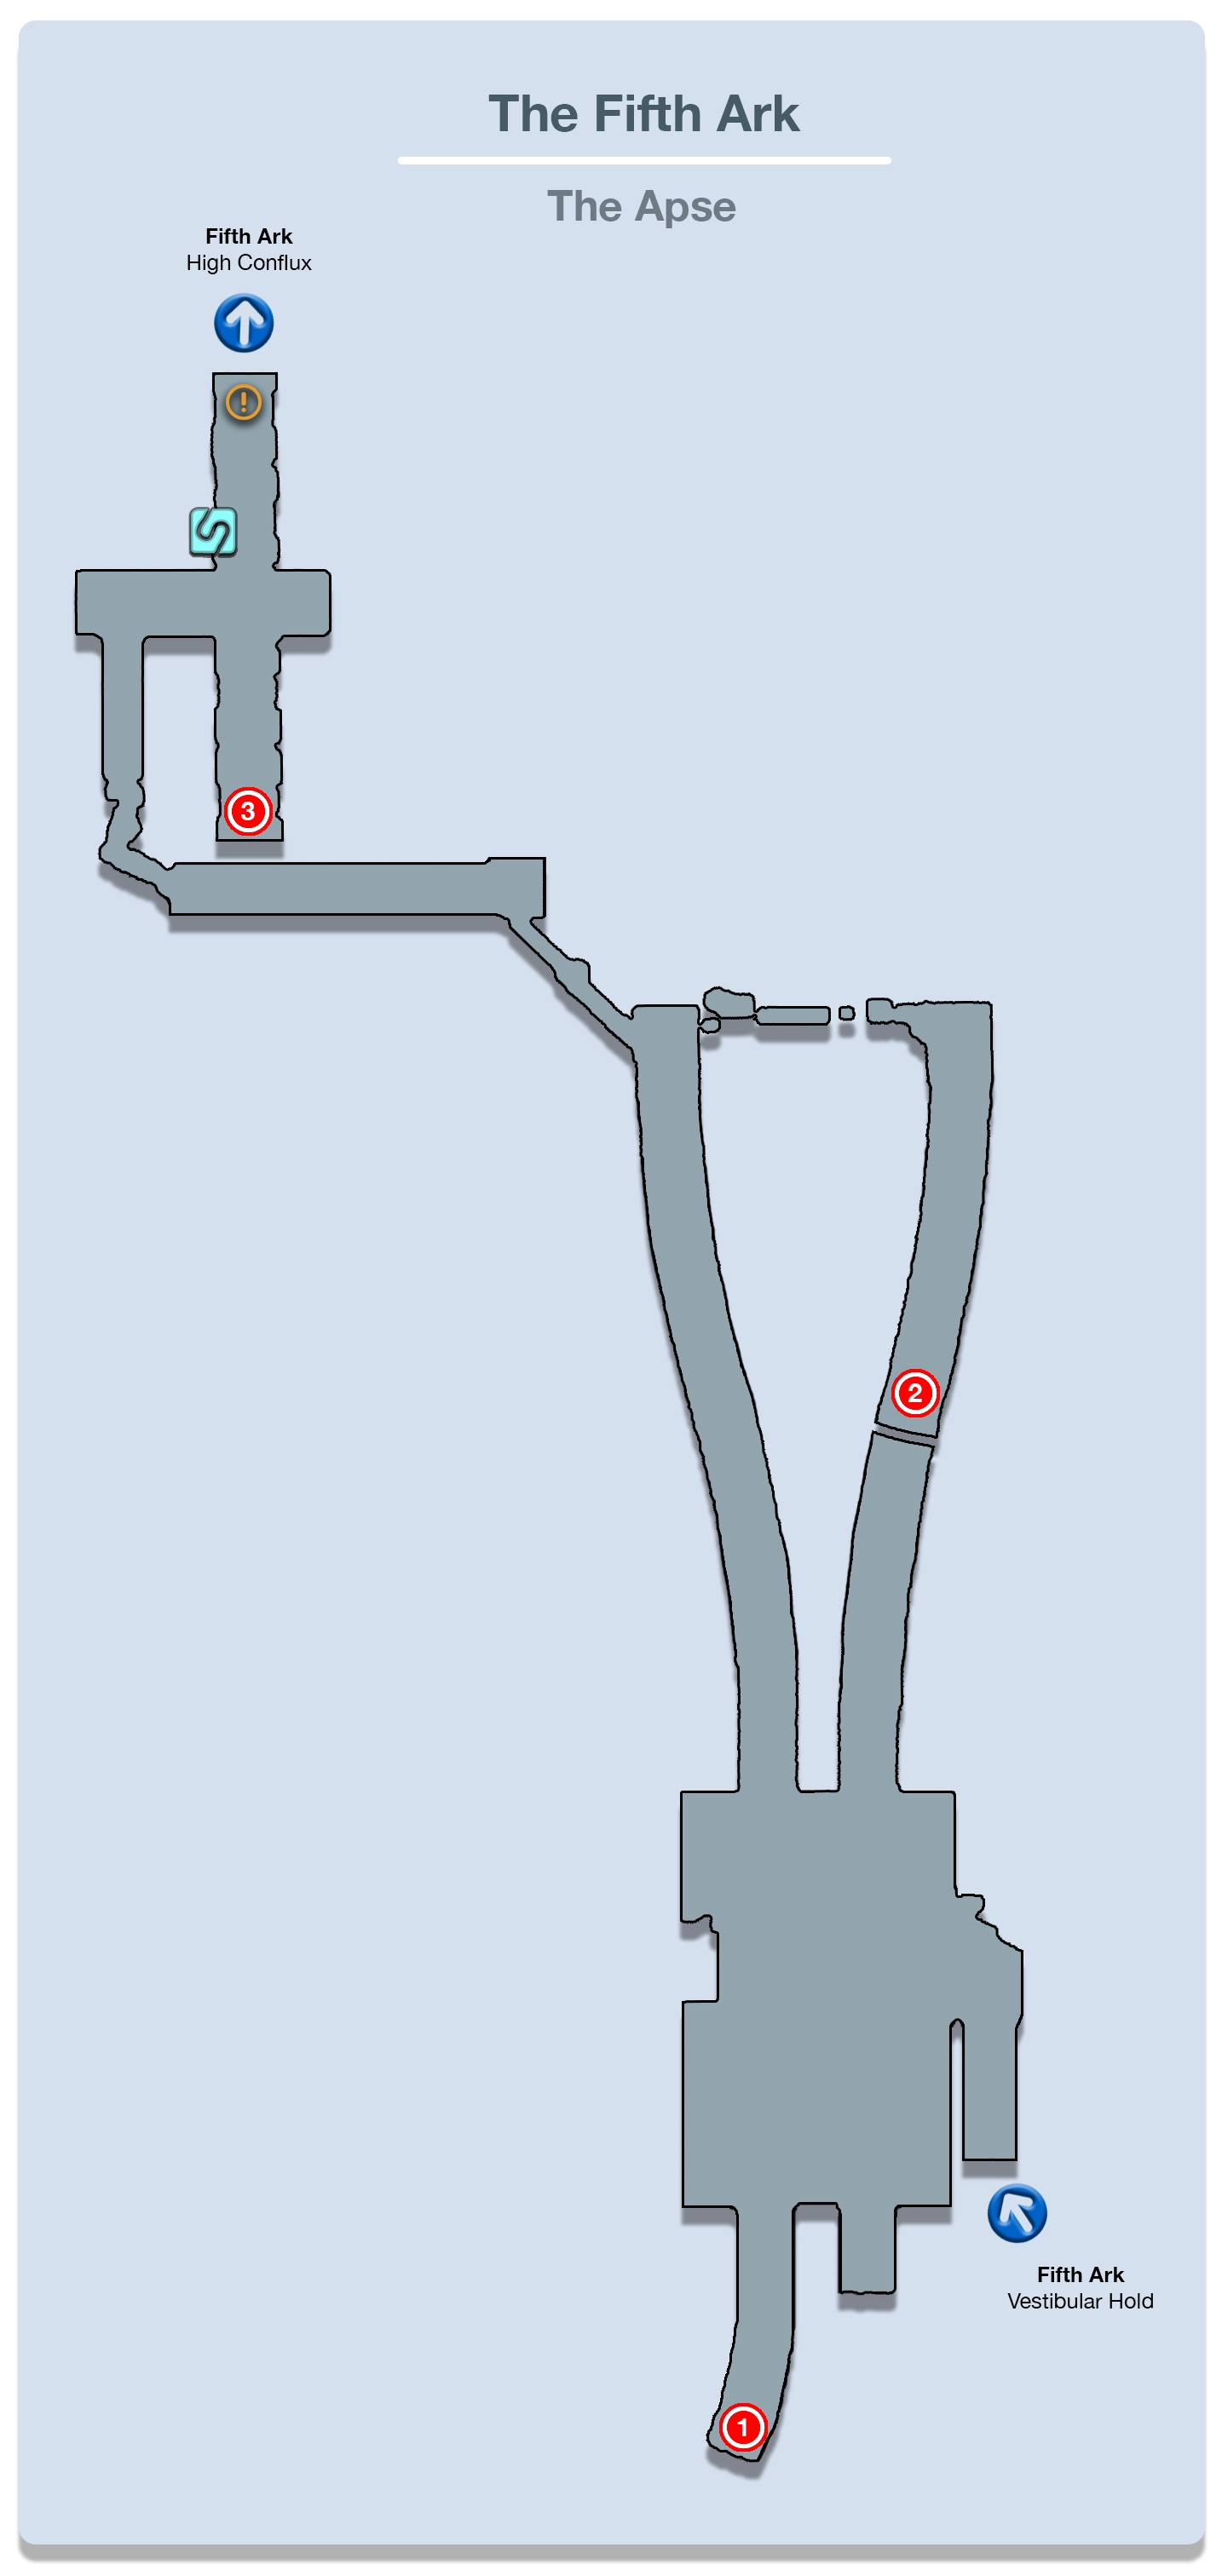
High Conflux
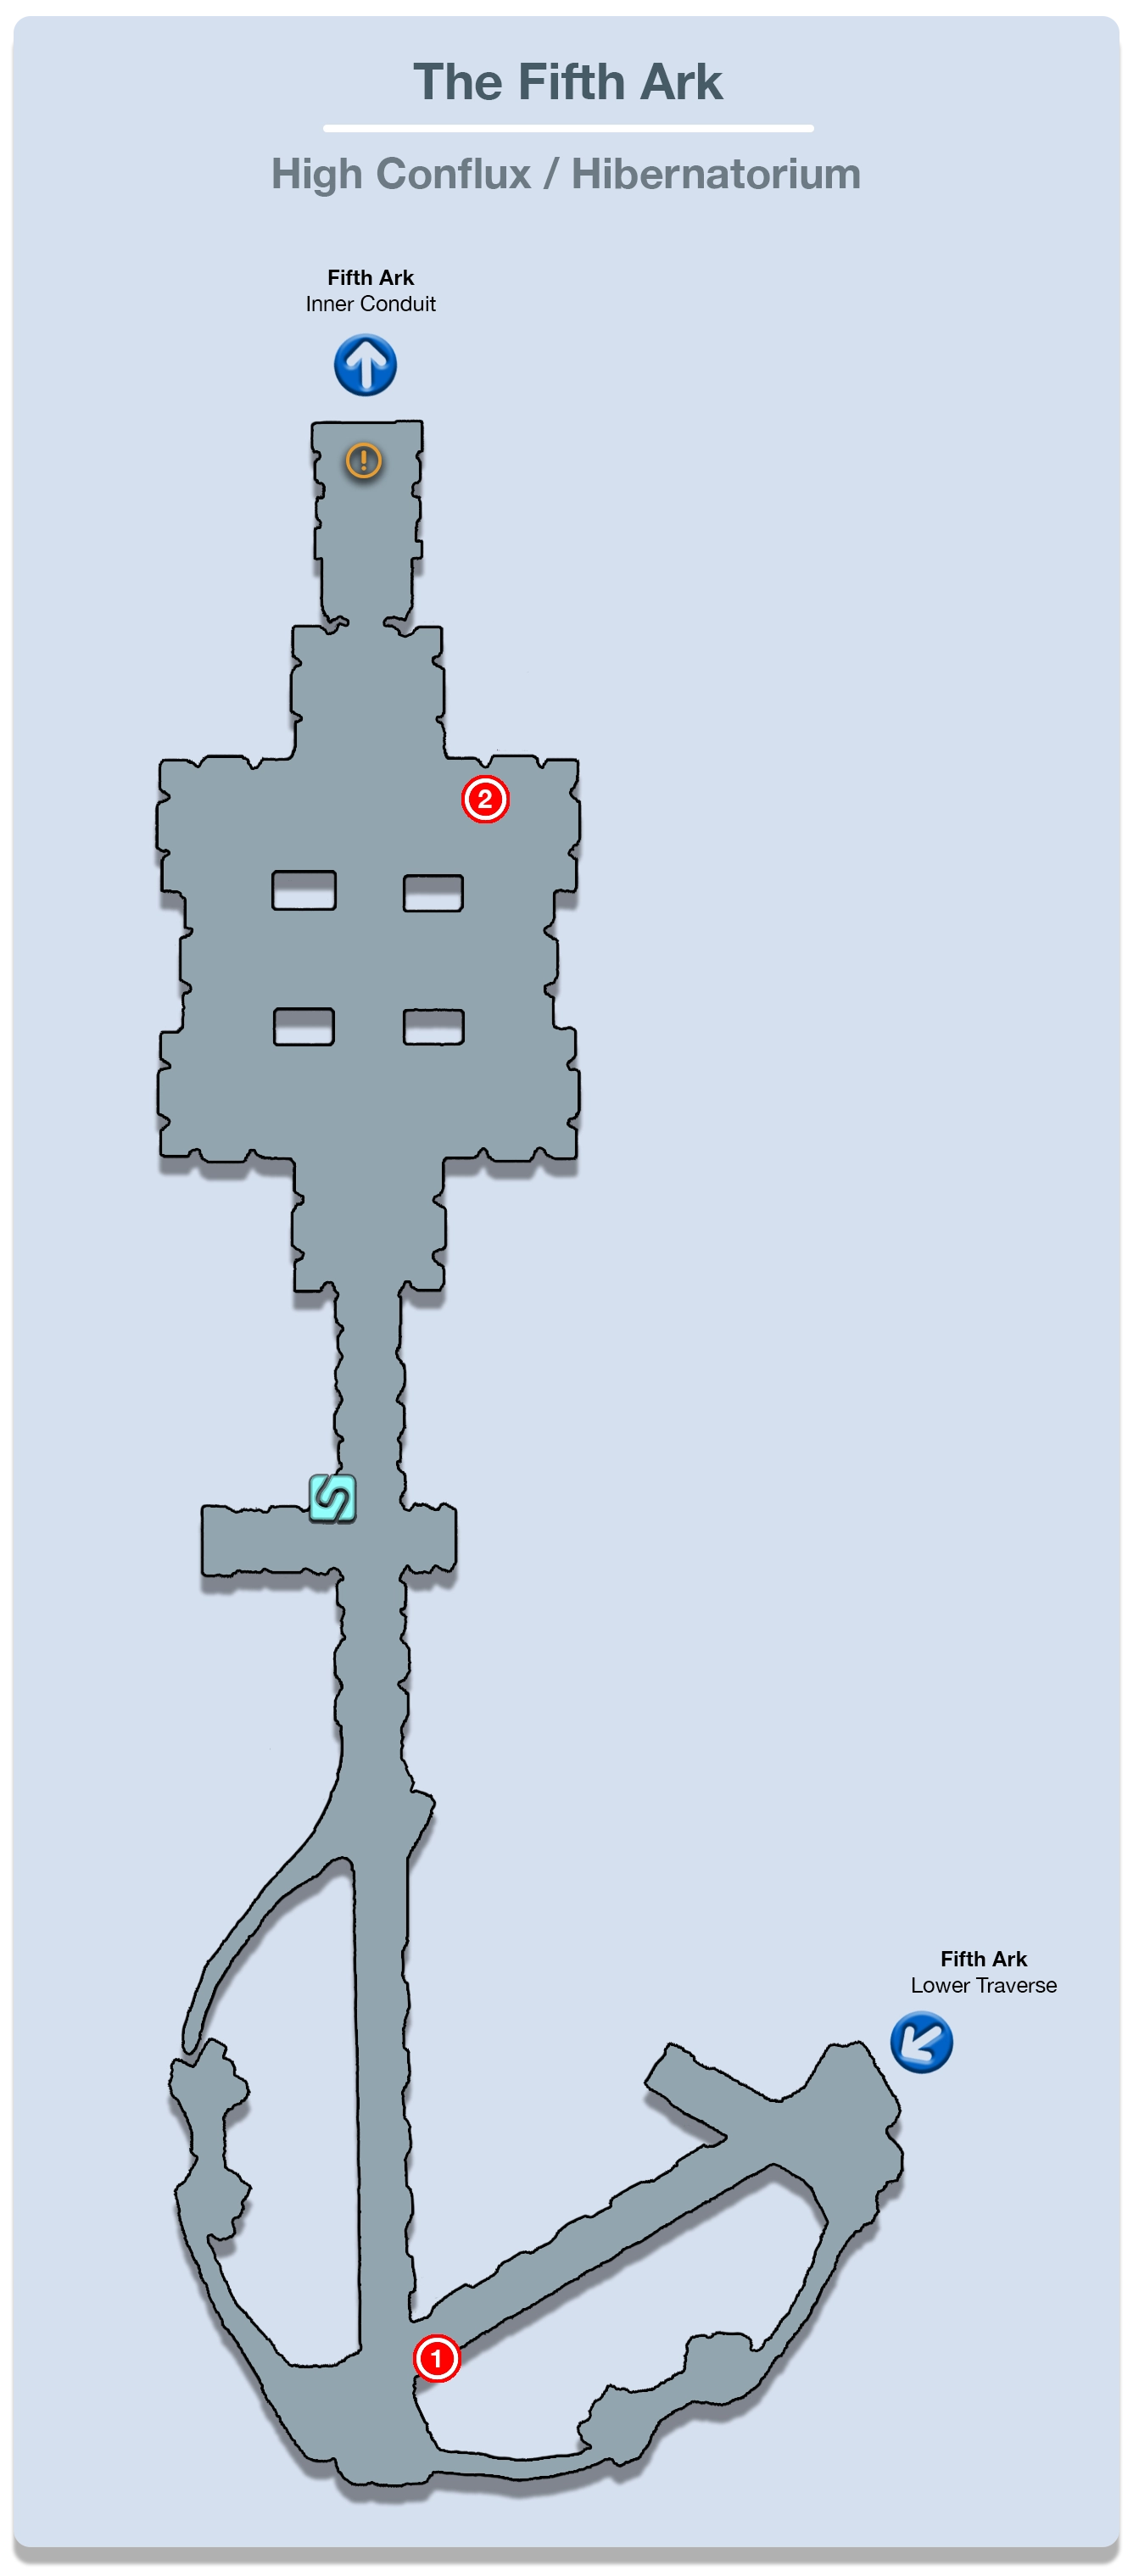
The High Conflux map looks a lot more confusing than it is. There is a section of the ledge that you can use to drop down to the level below which is identified on the mini-map as the destination marker. There are also some pathways leading off to the side that extend around the outer ridge area that are primarily used if you need to climb back up.
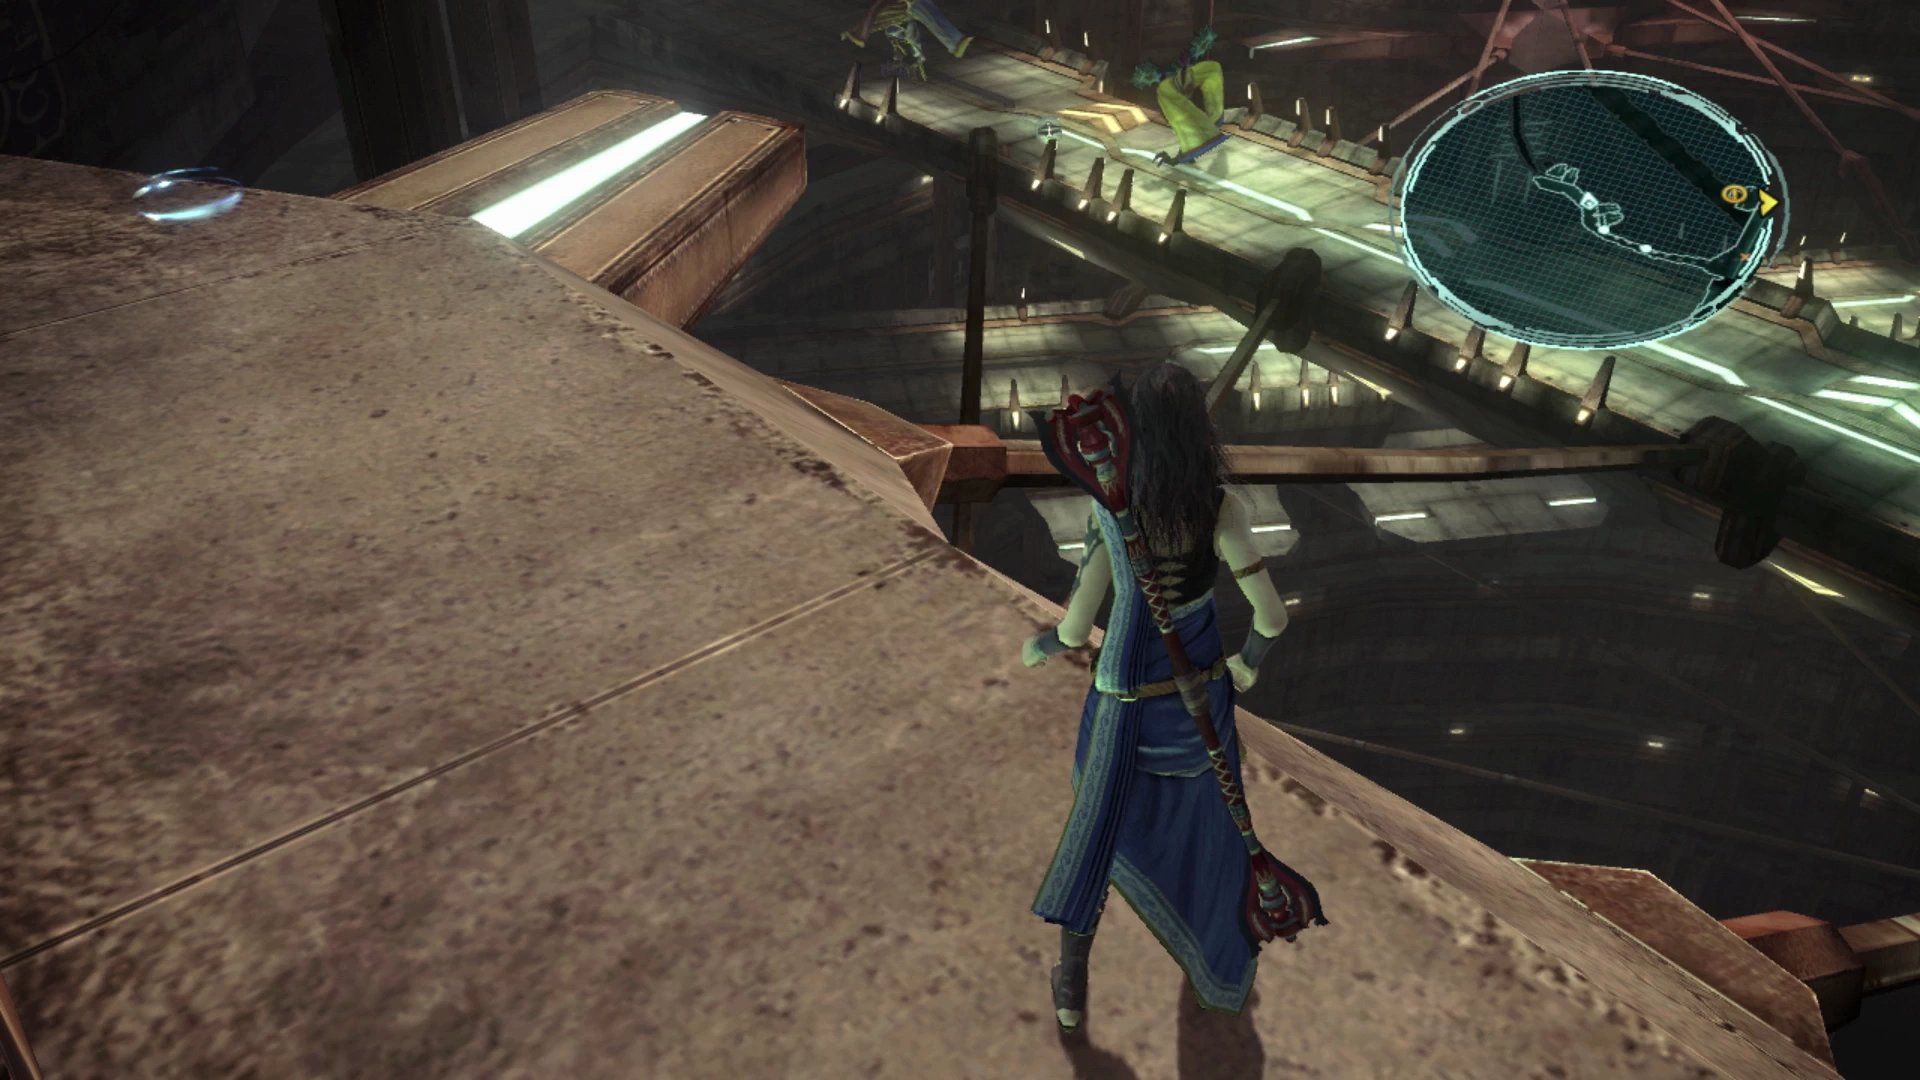
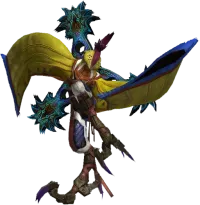
Charge forward and you will wind up battling two new enemies, a Skata’ne and a Stikini. These enemies are very similar to the Succubus and Incubus enemies you’ve faced before.
Focus your attacks on the Stikini first because it will use an attack called “Forbidden Dance,” which can inflict ![]() Daze, which is like the Stop status effect in previous Final Fantasy titles and prevents your characters from moving for a brief time. If you take them out quickly enough you won’t have to deal with the
Daze, which is like the Stop status effect in previous Final Fantasy titles and prevents your characters from moving for a brief time. If you take them out quickly enough you won’t have to deal with the ![]() Daze status effect and you shouldn’t need to equip the
Daze status effect and you shouldn’t need to equip the ![]() Rainbow Anklet you just picked up, but it can help if you are having trouble.
Rainbow Anklet you just picked up, but it can help if you are having trouble.
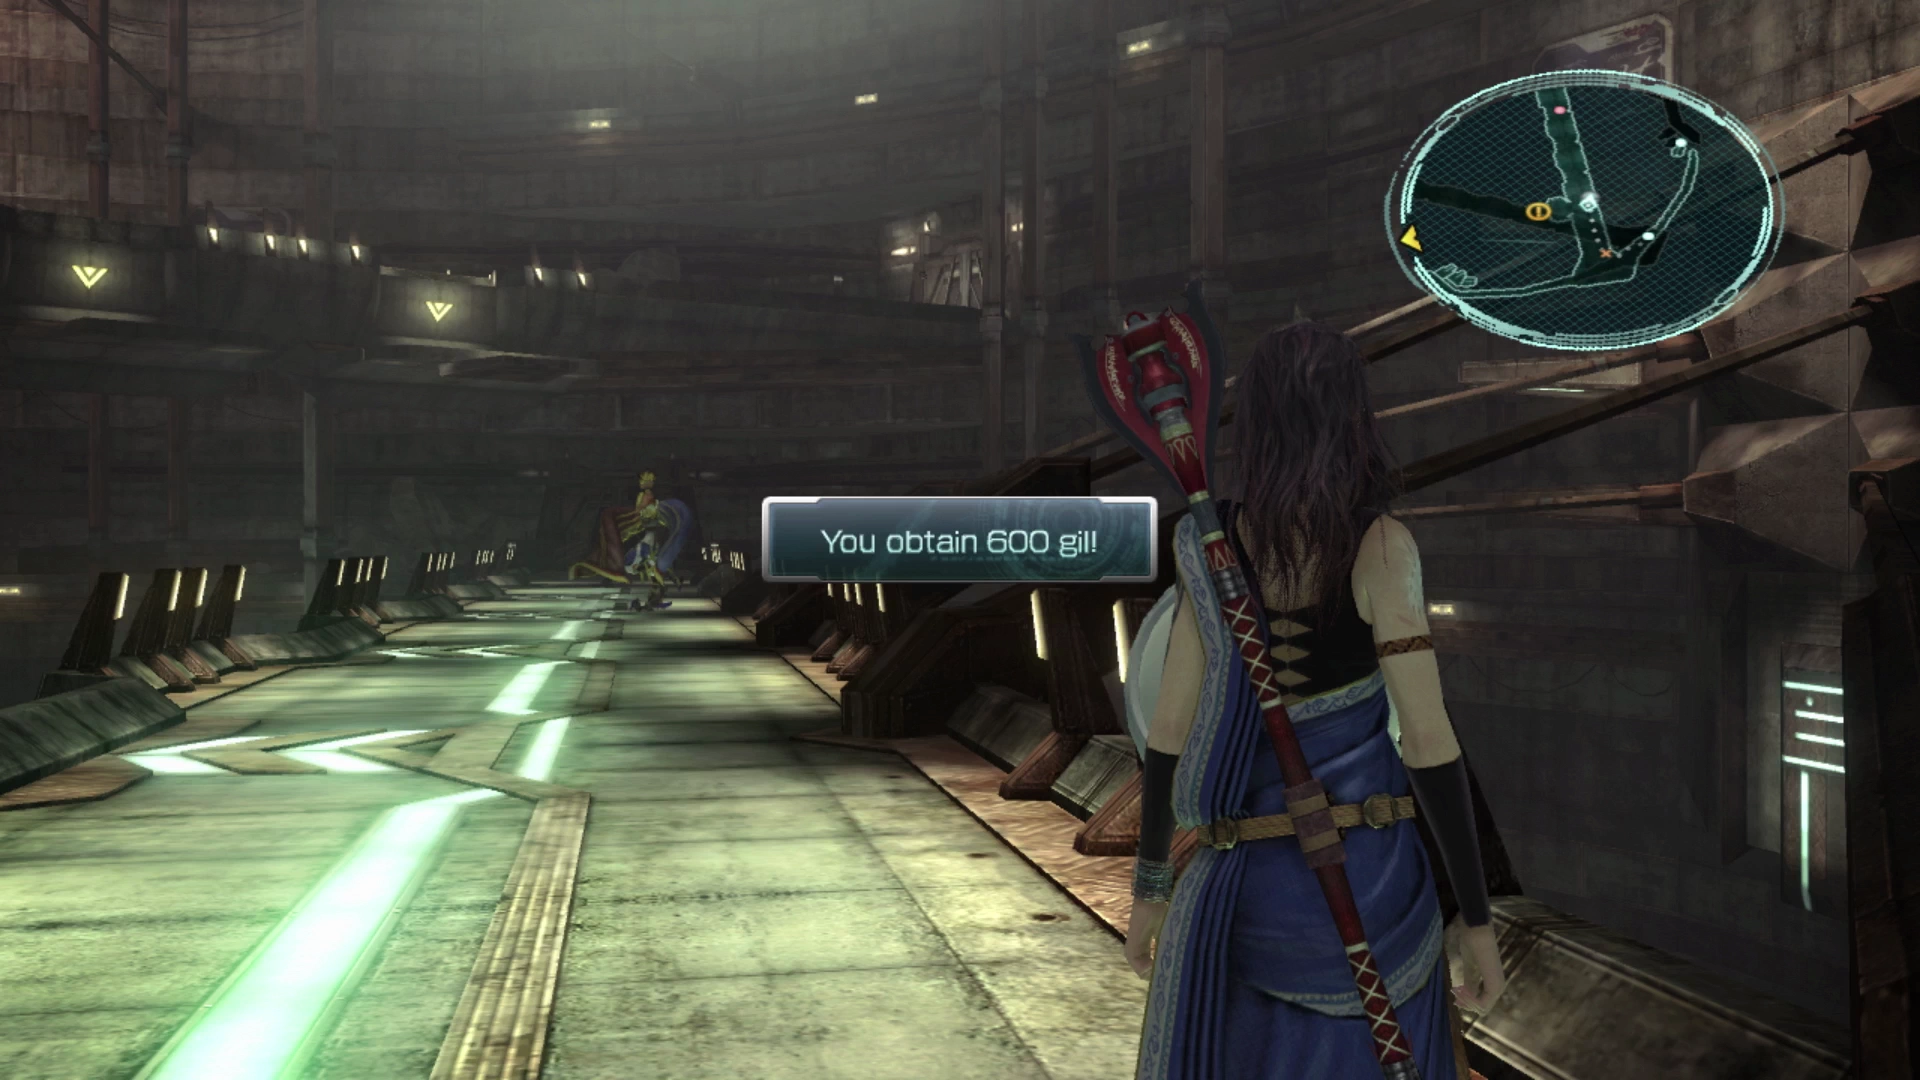
Drop to the ledge below, defeat the next set of Skata’ne and Stikini, and open the nearby Treasure Sphere to pick up ![]() 600 Gil.
600 Gil.
Warning
For some unknown reason, this Treasure Sphere will sometimes disappear or not be there after you defeat the enemies nearby. Don’t spend too much time looking for it if you can’t find it as the rewards are not all that important.
Drop down one more level and defeat the last group of enemies which includes one Skata’ne, one Stikini and a Circuitron. Focus on the Circuitron first, then the Stikini, then the Skata’ne. Proceed through the doorway at the bottom and down the hallway.
Halfway down the hallway is a ![]() Save Station where you can save your game. There is nothing else in this hallway so keep following it down into the next area.
Save Station where you can save your game. There is nothing else in this hallway so keep following it down into the next area.
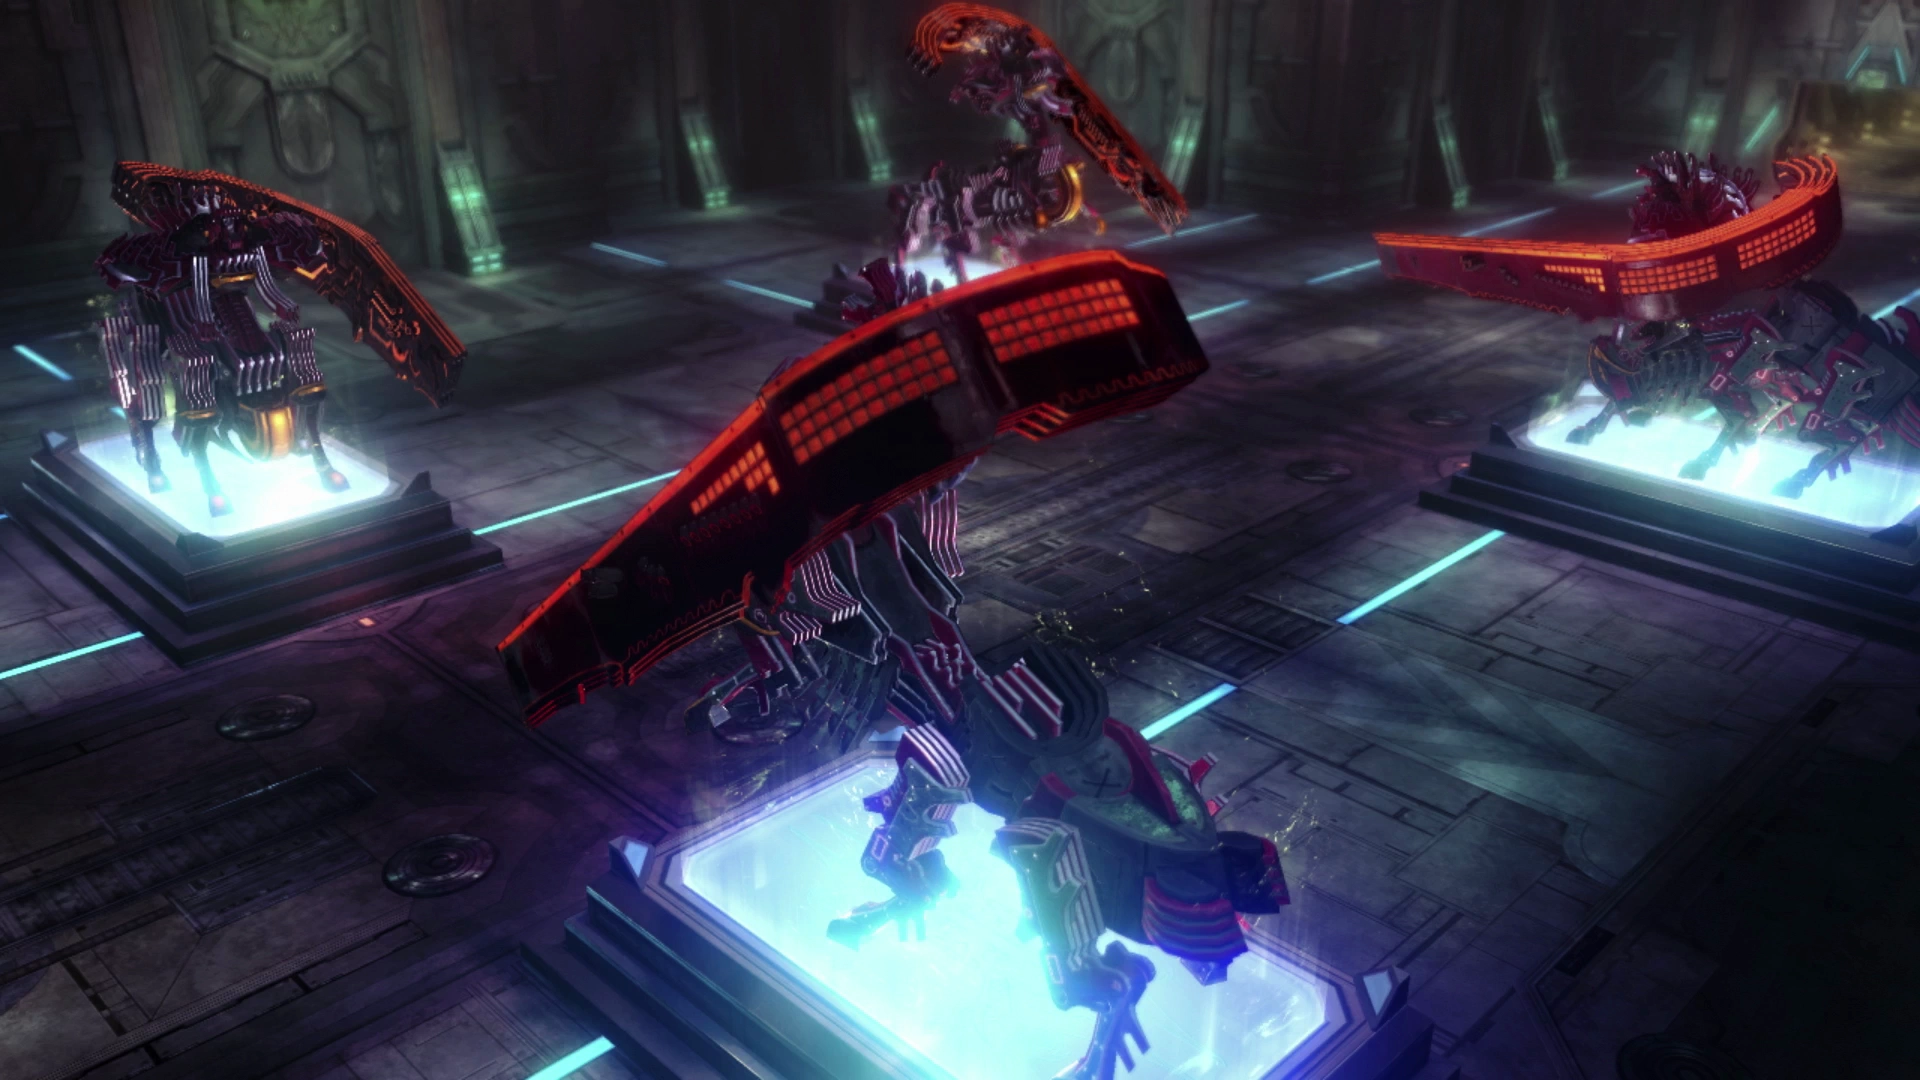
Hibernatorium
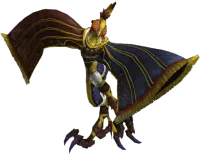
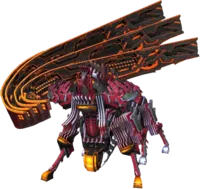
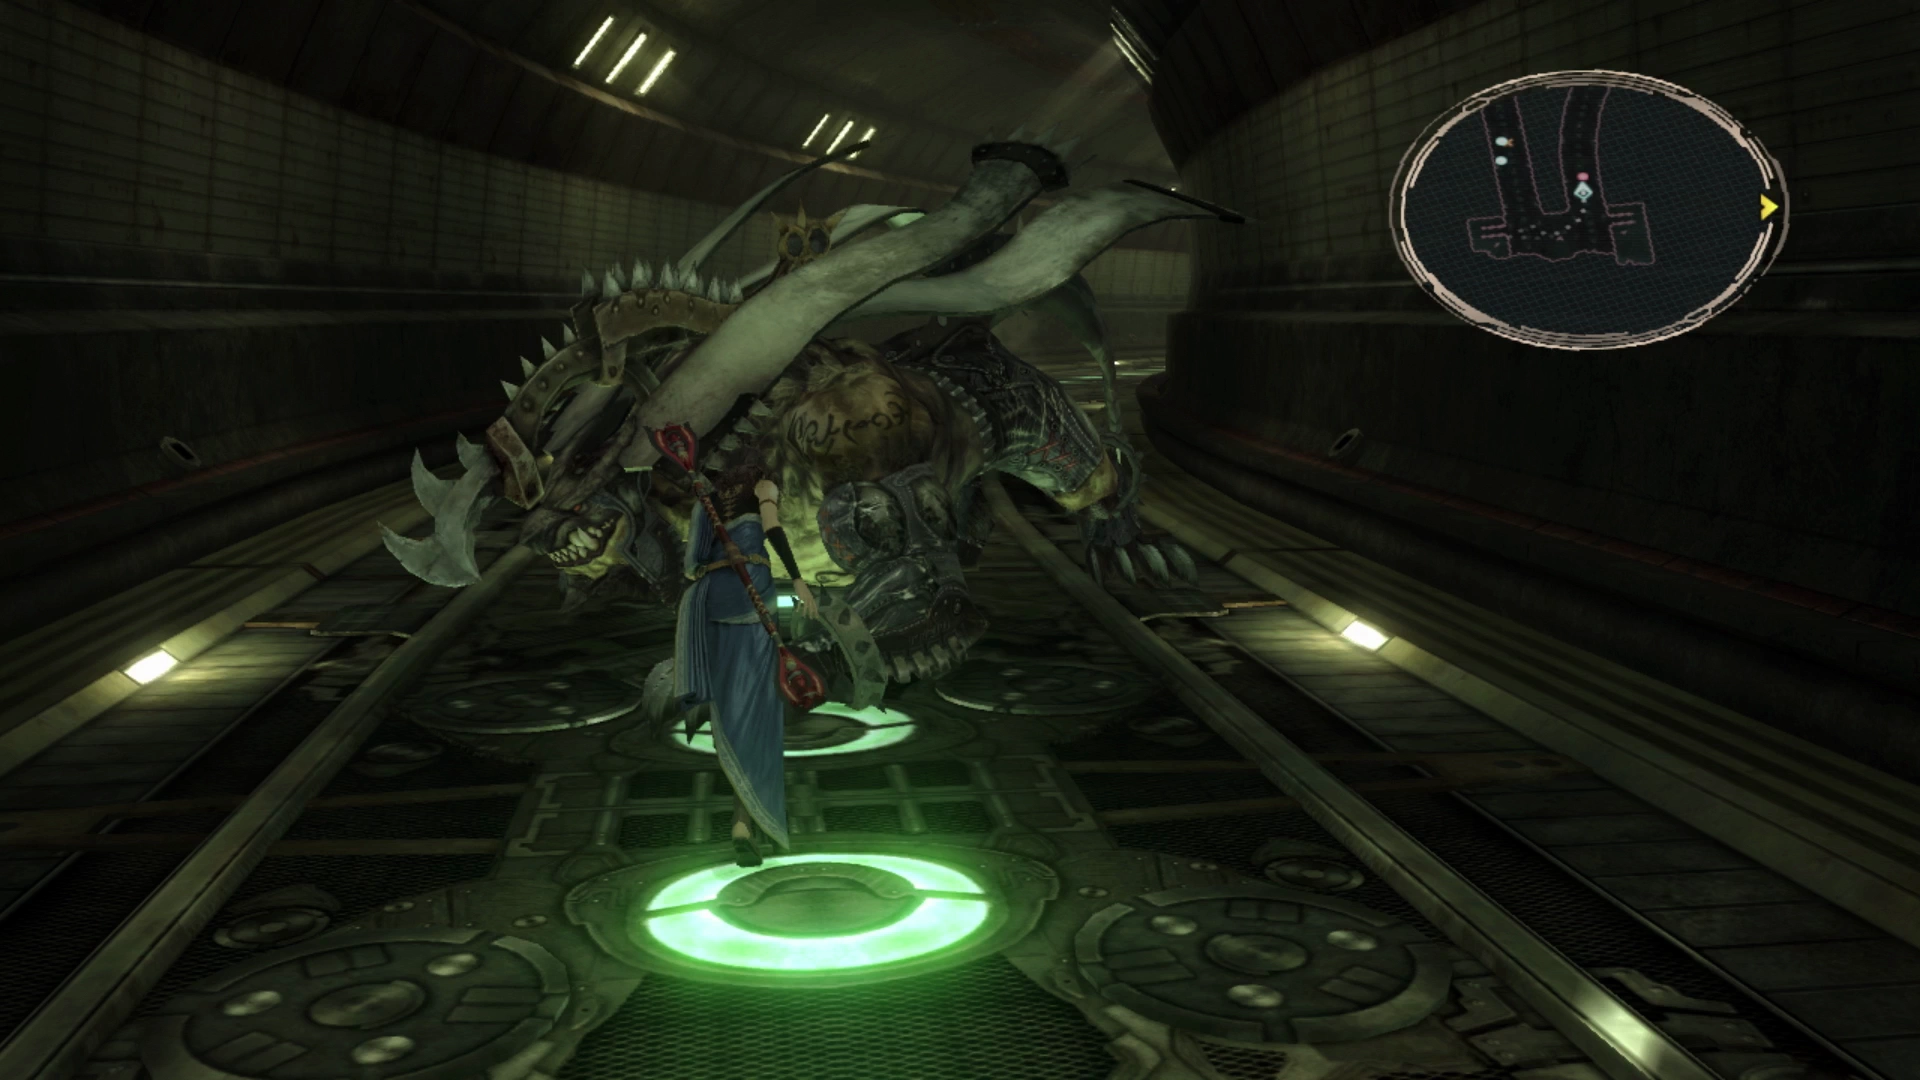
A short cinematic will start as you enter this next room before two gigantic mechanical enemies called Berserkers will jump off their ledges and run toward your party.
Missable Content
These are the Berserkers that can summon a Centaurion Blade in battle. They will typically do this as their first attack when they use an attack called “Forge Blade.” The Centaurion Blade does a fair bit of damage once it’s spawned, but more importantly, make sure you use ![]() Libra on it twice to complete your Datalog Enemy Intel entries.
Libra on it twice to complete your Datalog Enemy Intel entries.
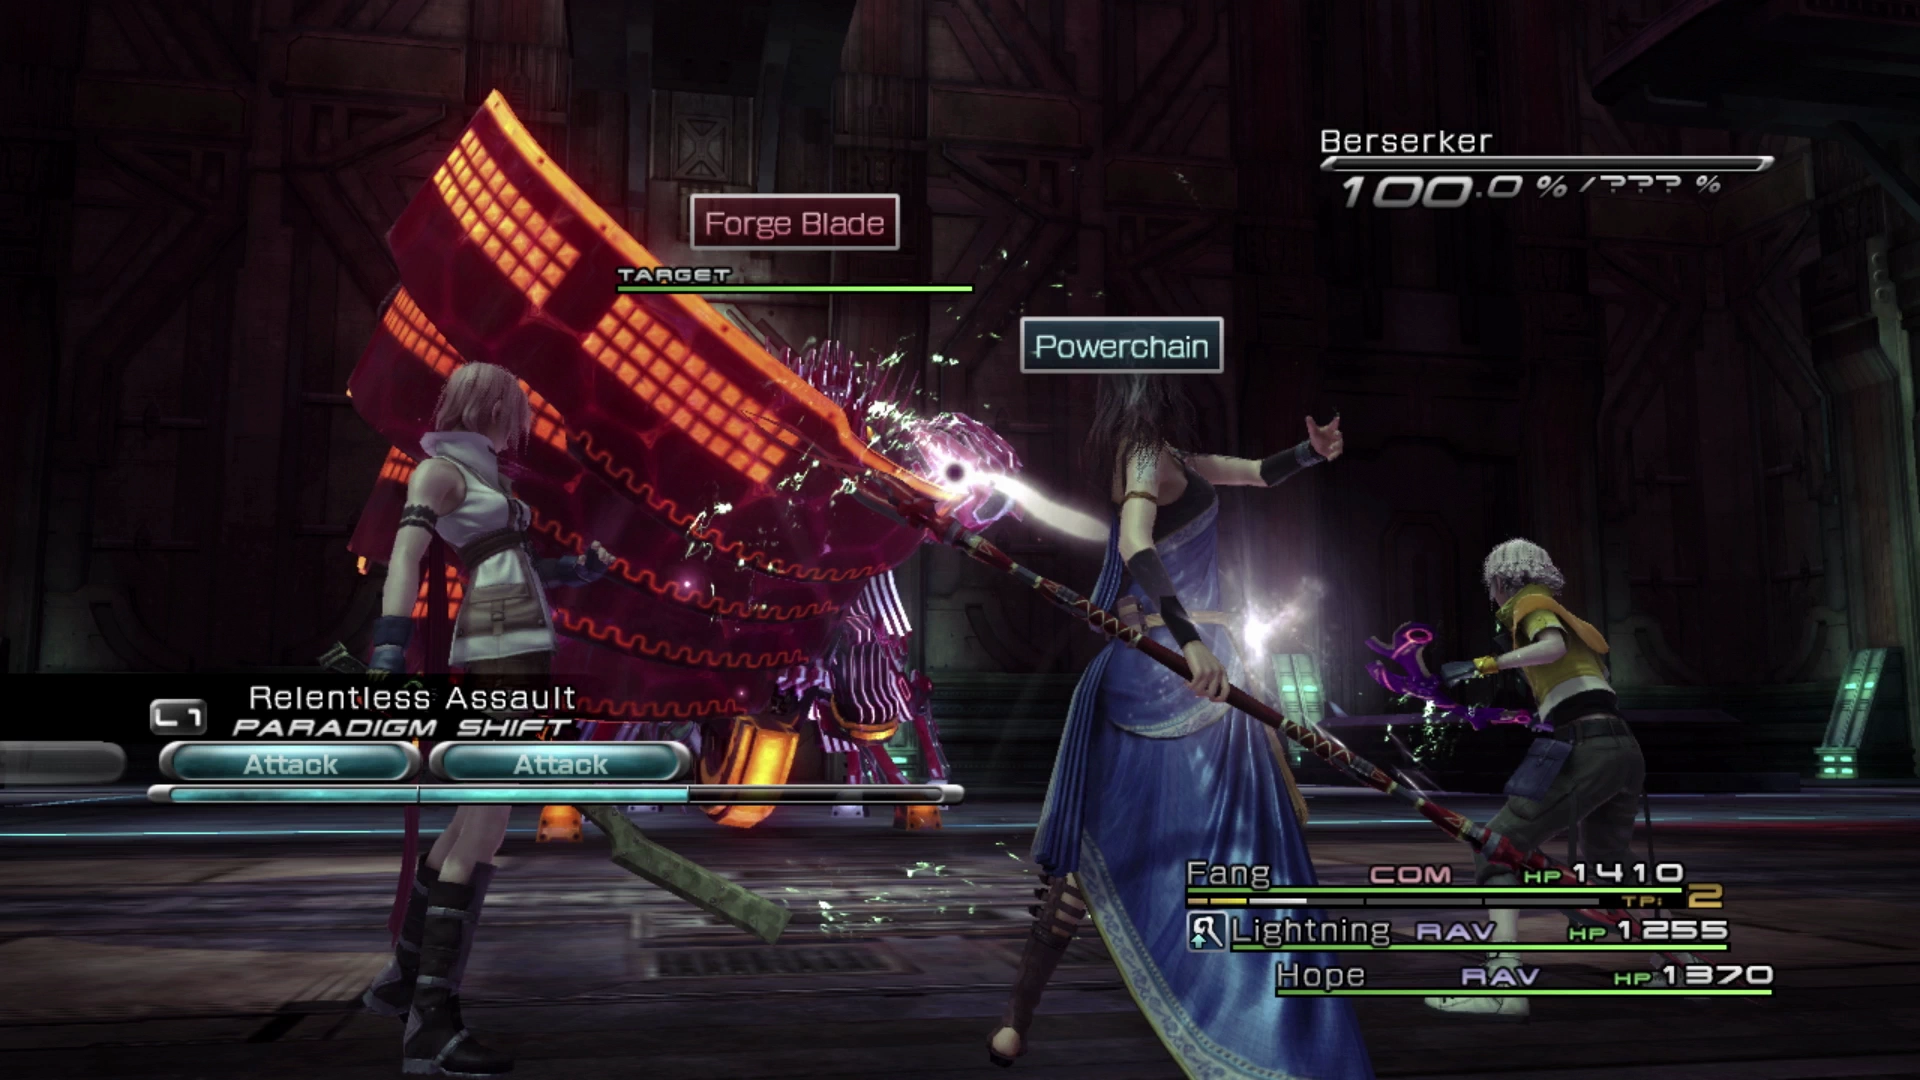
It’s important to have one Berserker summon a Centaurion Blade to complete your Enemy Intel section, but aside from that necessity, the summoned blades are a real pain and will greatly slow down your fight against the Berserker (and probably cause a low Battle Results Rating at the end of the fight).
Berserkers are slow, lumbering enemies. It’s easy to predict their movement, to see when they’re turning around, and to bait them into chasing you if you get close enough before engaging in battle (at which point they will turn around to go back to their original spot). Try to engage all the Berserkers you see into a preemptive strike by sneaking up on them whenever you can.
They can be hit with ![]() Launch when they have been Staggered, which will stop their cast of “Forge Blade” and prevent you from having to fight a Centaurion Blade. Additionally, the fight automatically comes to an end even if the summoned blade is still alive, but the Berserker has been defeated, so focus your attacks on the Berserker unless the Centaurion Blade has been summoned at the start of the battle.
Launch when they have been Staggered, which will stop their cast of “Forge Blade” and prevent you from having to fight a Centaurion Blade. Additionally, the fight automatically comes to an end even if the summoned blade is still alive, but the Berserker has been defeated, so focus your attacks on the Berserker unless the Centaurion Blade has been summoned at the start of the battle.
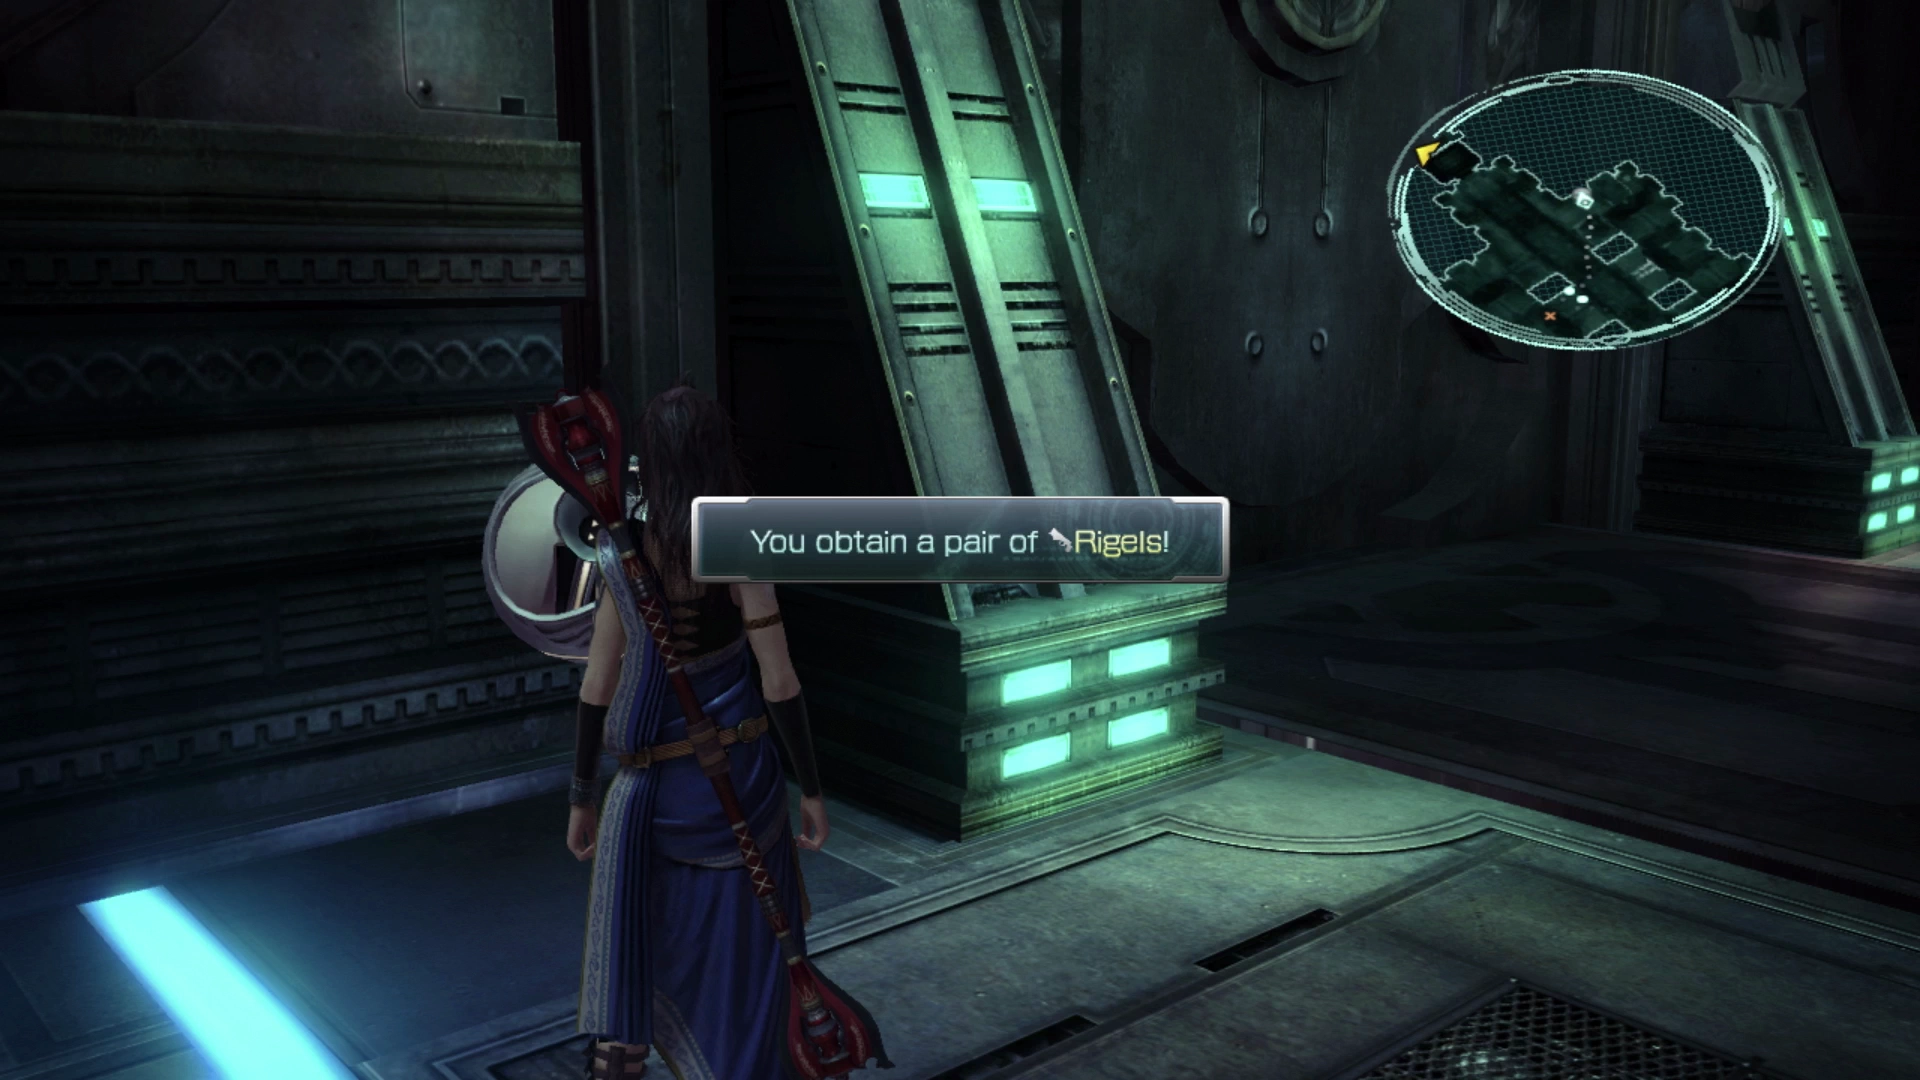
There is a Treasure Sphere at the back of the room that you can grab after you’ve defeated both Berserkers. It contains a pair of ![]() Rigels, which are a new weapon for Sazh. Sazh likely isn’t in your party anyway, but these weapons will help him in his
Rigels, which are a new weapon for Sazh. Sazh likely isn’t in your party anyway, but these weapons will help him in his ![]() Ravager role if you have chosen to include him in your party.
Ravager role if you have chosen to include him in your party.
At the end of the hallway is a device you can activate with the ![]()
![]()
![]() button to lower the elevator down to the next level.
button to lower the elevator down to the next level.
Inner Conduit
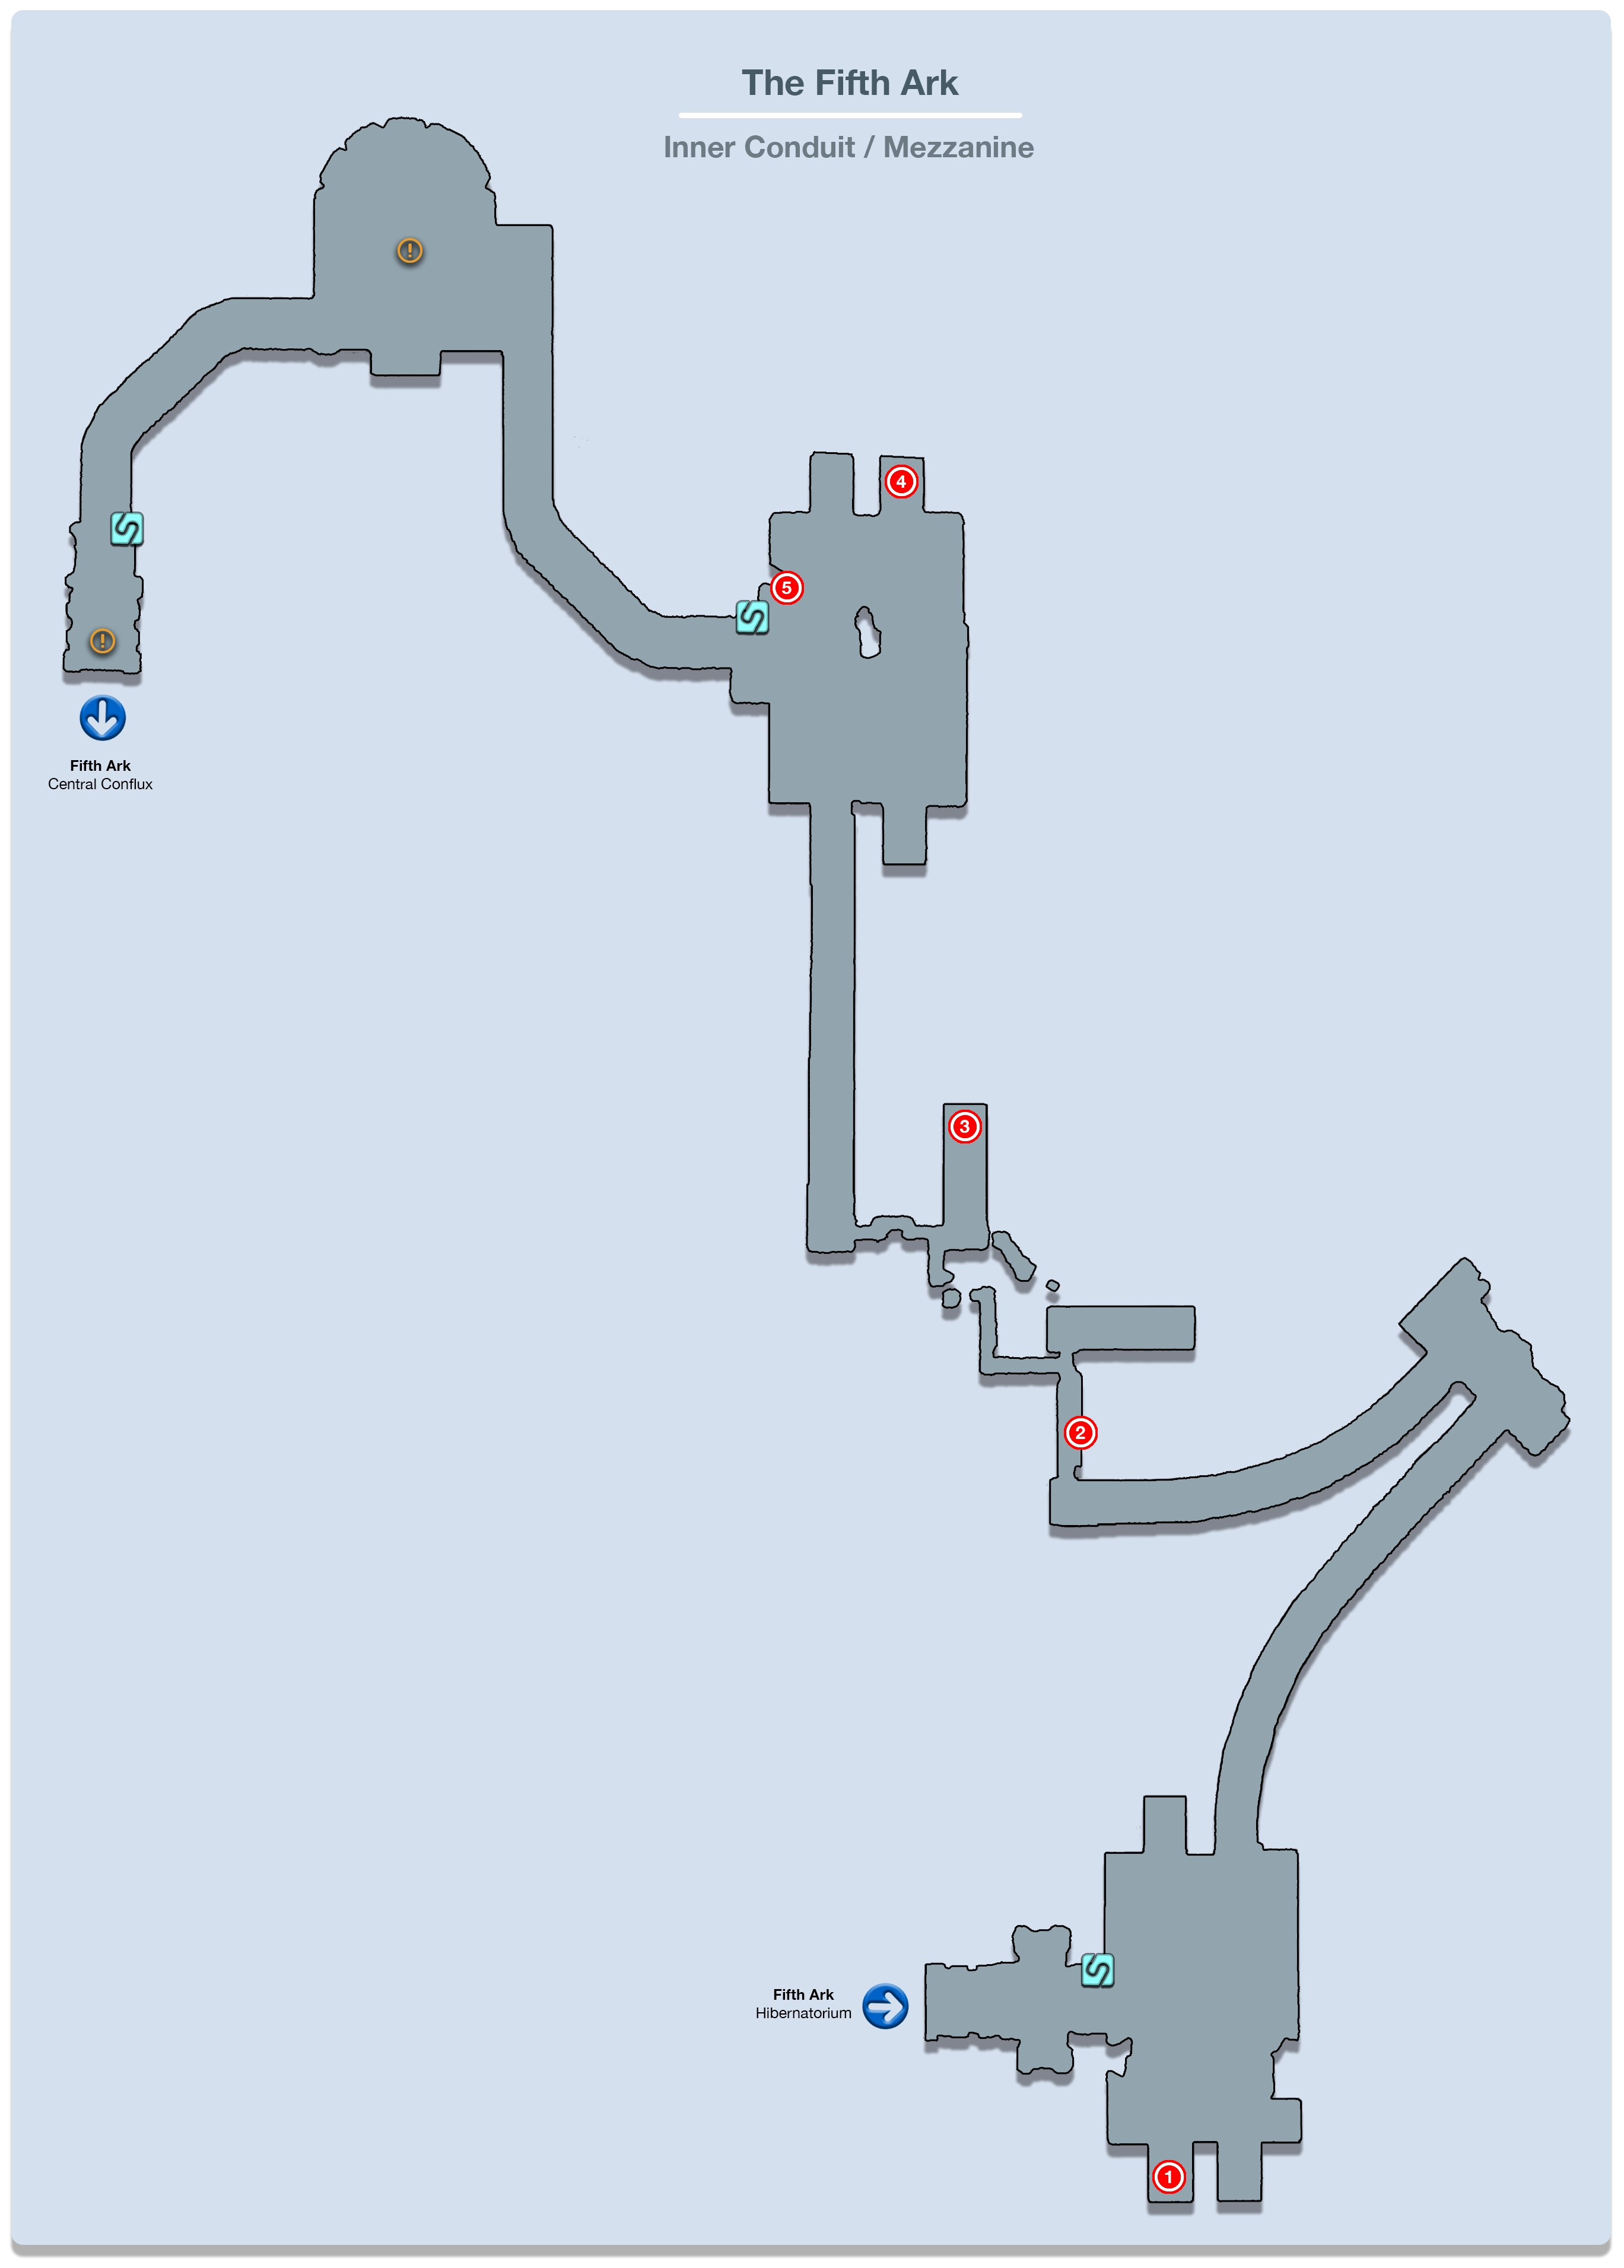


Save your game at the ![]() Save Station and proceed to the next area. Off to the right side of the entrance to this large room is a group of four Imps. You can ambush these Imps by jumping off the other level for a quick preemptive strike.
Save Station and proceed to the next area. Off to the right side of the entrance to this large room is a group of four Imps. You can ambush these Imps by jumping off the other level for a quick preemptive strike.
Open the Treasure Sphere in behind where they were dancing to receive an ![]() Auric Amulet. This amulet applies Shell automatically if the wearer’s HP drops to a critical level (i.e. when the screen flashes red). Its utility is limited so there’s no need to replace what your characters are already wearing with this accessory.
Auric Amulet. This amulet applies Shell automatically if the wearer’s HP drops to a critical level (i.e. when the screen flashes red). Its utility is limited so there’s no need to replace what your characters are already wearing with this accessory.
Travel over to the next group of enemies and defeat them. This rather large group includes two Phosphoric Oozes and three Imps. Focus attacks on the Oozes first to ideally prevent them from merging into an Alchemic Ooze.
Continue down the hallway and a group of four more Phosphoric Oozes will spawn. The last group of enemies at the end of this hall includes two Phosphoric Oozes and four Imps.
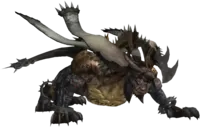
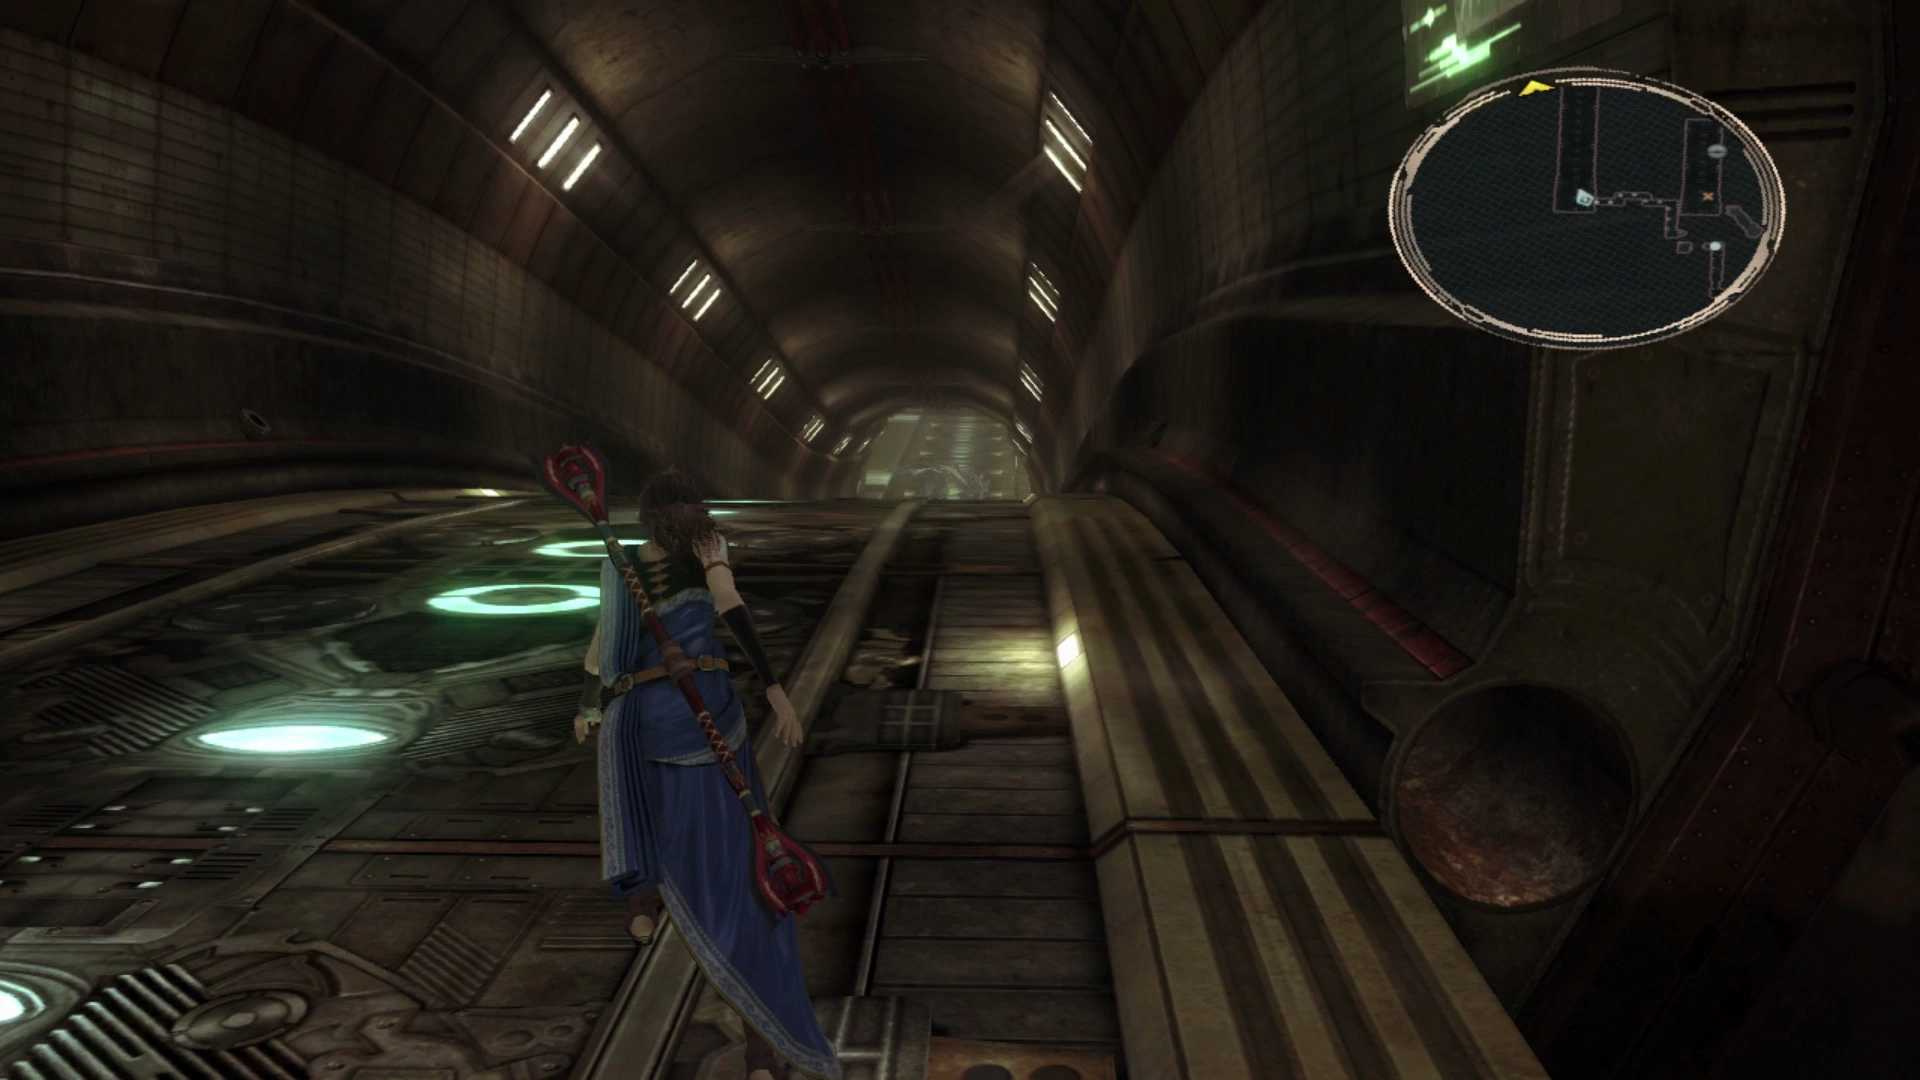
Just up around the corner is a new enemy for you to face, a Greater Behemoth. This enemy is similar to the Feral Behemoths you’ve previously faced. Try to sneak up on it by baiting it from its current location and running towards it when it turns around to get a free preemptive strike.
These enemies can be quite difficult to deal with, especially once they transform from their four-legged form to their secondary form where they stand up on two feet and attack you with a rotating buzzsaw. Be prepared to swap to defense Paradigms like Diversity and even Protection if the damage gets to be too much.
Warning
If you’re unlucky, you may run into a Greater Behemoth in these areas that will cast ![]() Painga either once or continuously. This debuff heavily reduces the amount of damage your party deals so you’ll need to switch to a Paradigm that puts one of your characters in the
Painga either once or continuously. This debuff heavily reduces the amount of damage your party deals so you’ll need to switch to a Paradigm that puts one of your characters in the ![]() Medic role to clear it off.
Medic role to clear it off.
The extra time that it takes to clear away these debuffs and get the Chain Gauge charged again will, unfortunately, slow down the fight and likely cost you any potentially high Battle Results Rating you may have had. There’s not much you can do to prevent this though.
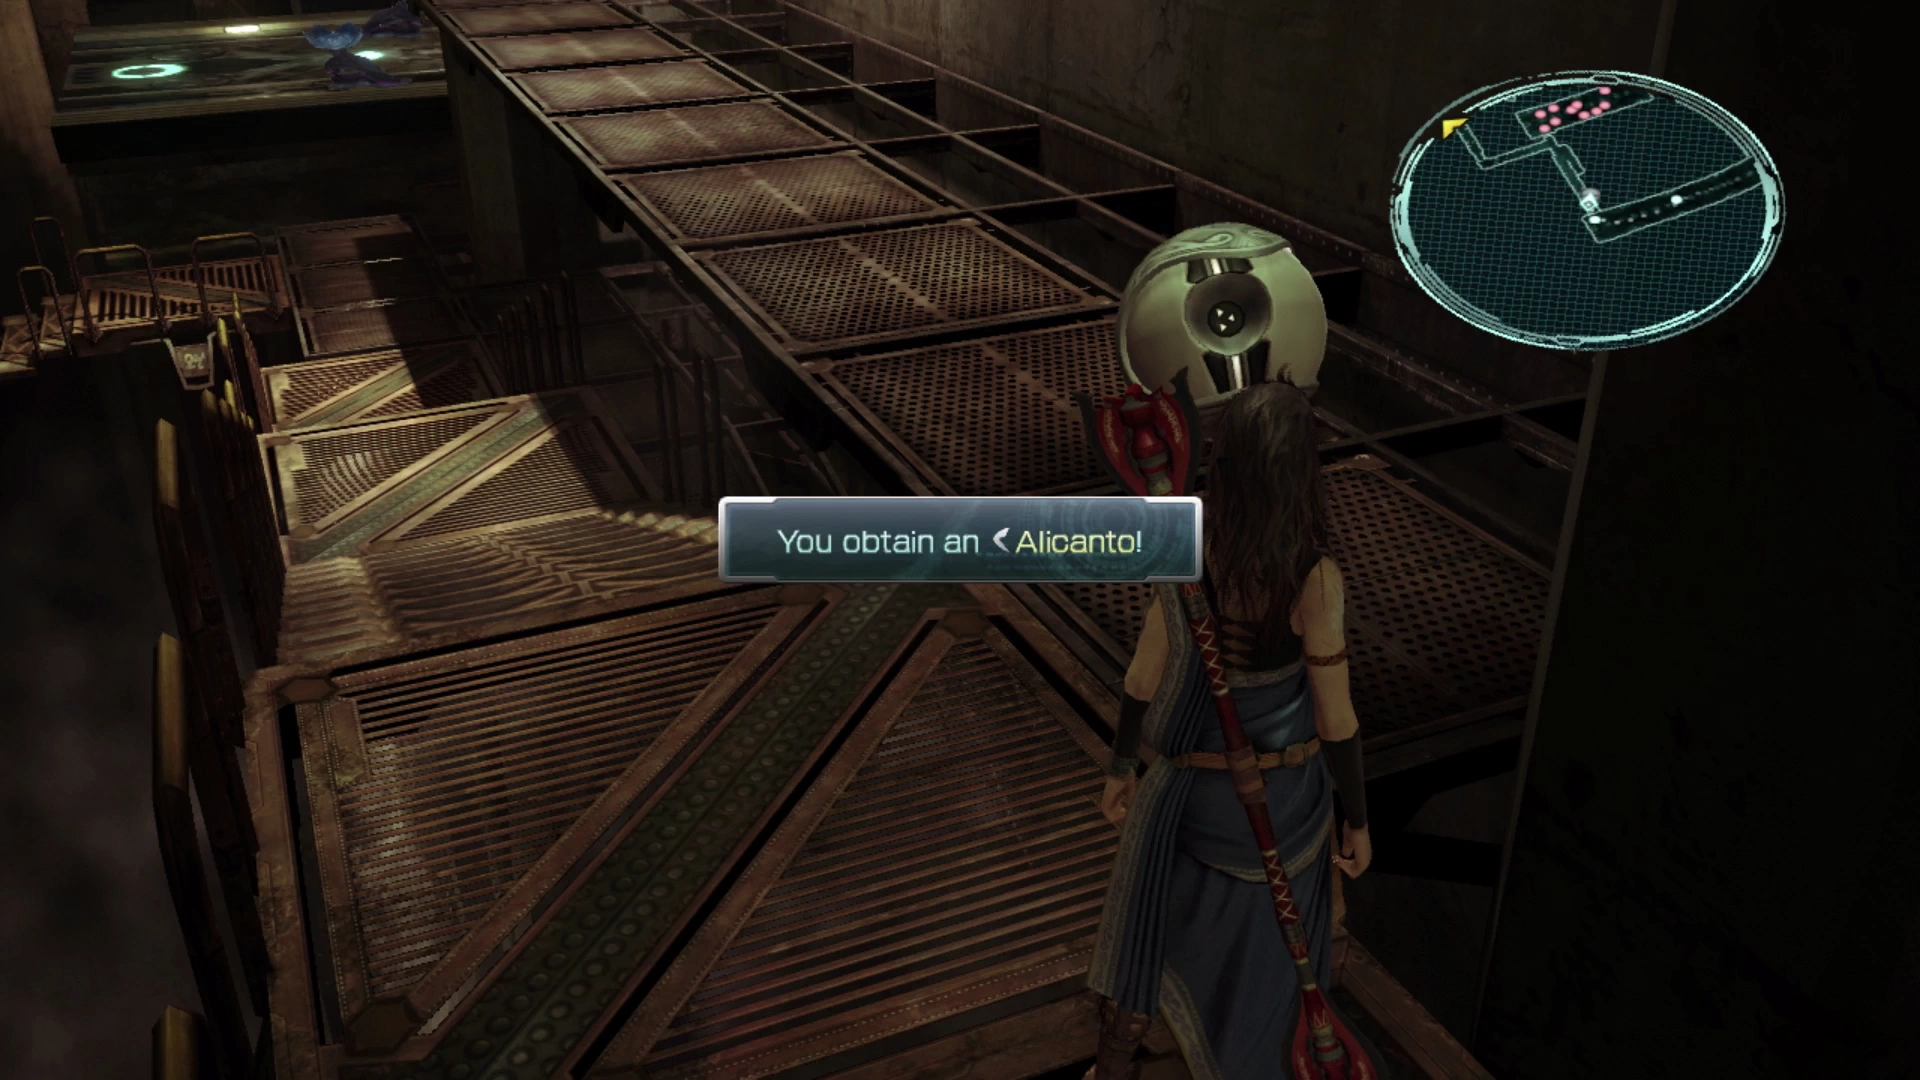
Keep following the hallway until you reach the next group of enemies (three Phosphoric Oozes and an Imp). The pathway leading off to the right has a Treasure Sphere with an ![]() Alicanto inside it. This is a new weapon for Hope; it is somewhat powerful but, in its current un-upgraded form, it comes with the
Alicanto inside it. This is a new weapon for Hope; it is somewhat powerful but, in its current un-upgraded form, it comes with the ![]() Stagger Lock effect, which prevents Hope from initiating a Stagger with his attacks. This makes it a very poor weapon choice for now.
Stagger Lock effect, which prevents Hope from initiating a Stagger with his attacks. This makes it a very poor weapon choice for now.
Just up ahead is an illuminated blue circle on the ground which you can use to jump up to the next level. A large group of 10 Noctilucale are waiting on the platform. You may get lucky and jump right on one, allowing you to initiate a preemptive strike, but either way, be prepared to do some healing as the amount of damage this amount of enemies can deal out can quickly become debilitating.
Use the next illuminated blue circle to continue jumping along the platforms up to the next level to fight another group of enemies that includes four Noctilucale and a Greater Behemoth. Take out the Noctilucale first and then focus on the Behemoth.
The Treasure Sphere behind this group of enemies contains seven ![]() Gargantuan Claws. Use the blue circles to jump back to the earlier staircase and this time continue following the pathway along and then down the hallway.
Gargantuan Claws. Use the blue circles to jump back to the earlier staircase and this time continue following the pathway along and then down the hallway.
Your next battle is against a lone Greater Behemoth. Just a little further down is a group of three Imps and a Greater Behemoth (these are relatively easy to get a preemptive strike against).
Finally, in the back corner of this larger room, is a group of four Imps guarding a Treasure Sphere that contains a ![]() Metal Armband.
Metal Armband.
Missable Content
This last group of Imps is the easier group to use to summon an Ahriman and complete your Datalog Enemy Intel entry (by using ![]() Libra on it twice). Just stop attacking or move to a defensive style Paradigm until one of the Imps uses its “Conjure” ability which will eventually add an Ahriman to the fight.
Libra on it twice). Just stop attacking or move to a defensive style Paradigm until one of the Imps uses its “Conjure” ability which will eventually add an Ahriman to the fight.
Try not to let more than one of them summon an Ahriman because this enemy is quite powerful and difficult to deal with, especially if accompanied by lots of Imps.

This is your last opportunity to complete the Ahriman Datalog Enemy Intel entry!
There is another Treasure Sphere up near the ![]() Save Station that contains an
Save Station that contains an ![]() Ethersol. Save your game and then it’s time to prepare for the next boss fight.
Ethersol. Save your game and then it’s time to prepare for the next boss fight.
The best way to prepare for this fight is to anticipate the heavy amounts of damage that your party members will take. Jump into the “Equipment” menu and select the Optimize option aiming for “Defense” which should help them to survive the onslaught.
Set up the following Paradigms:
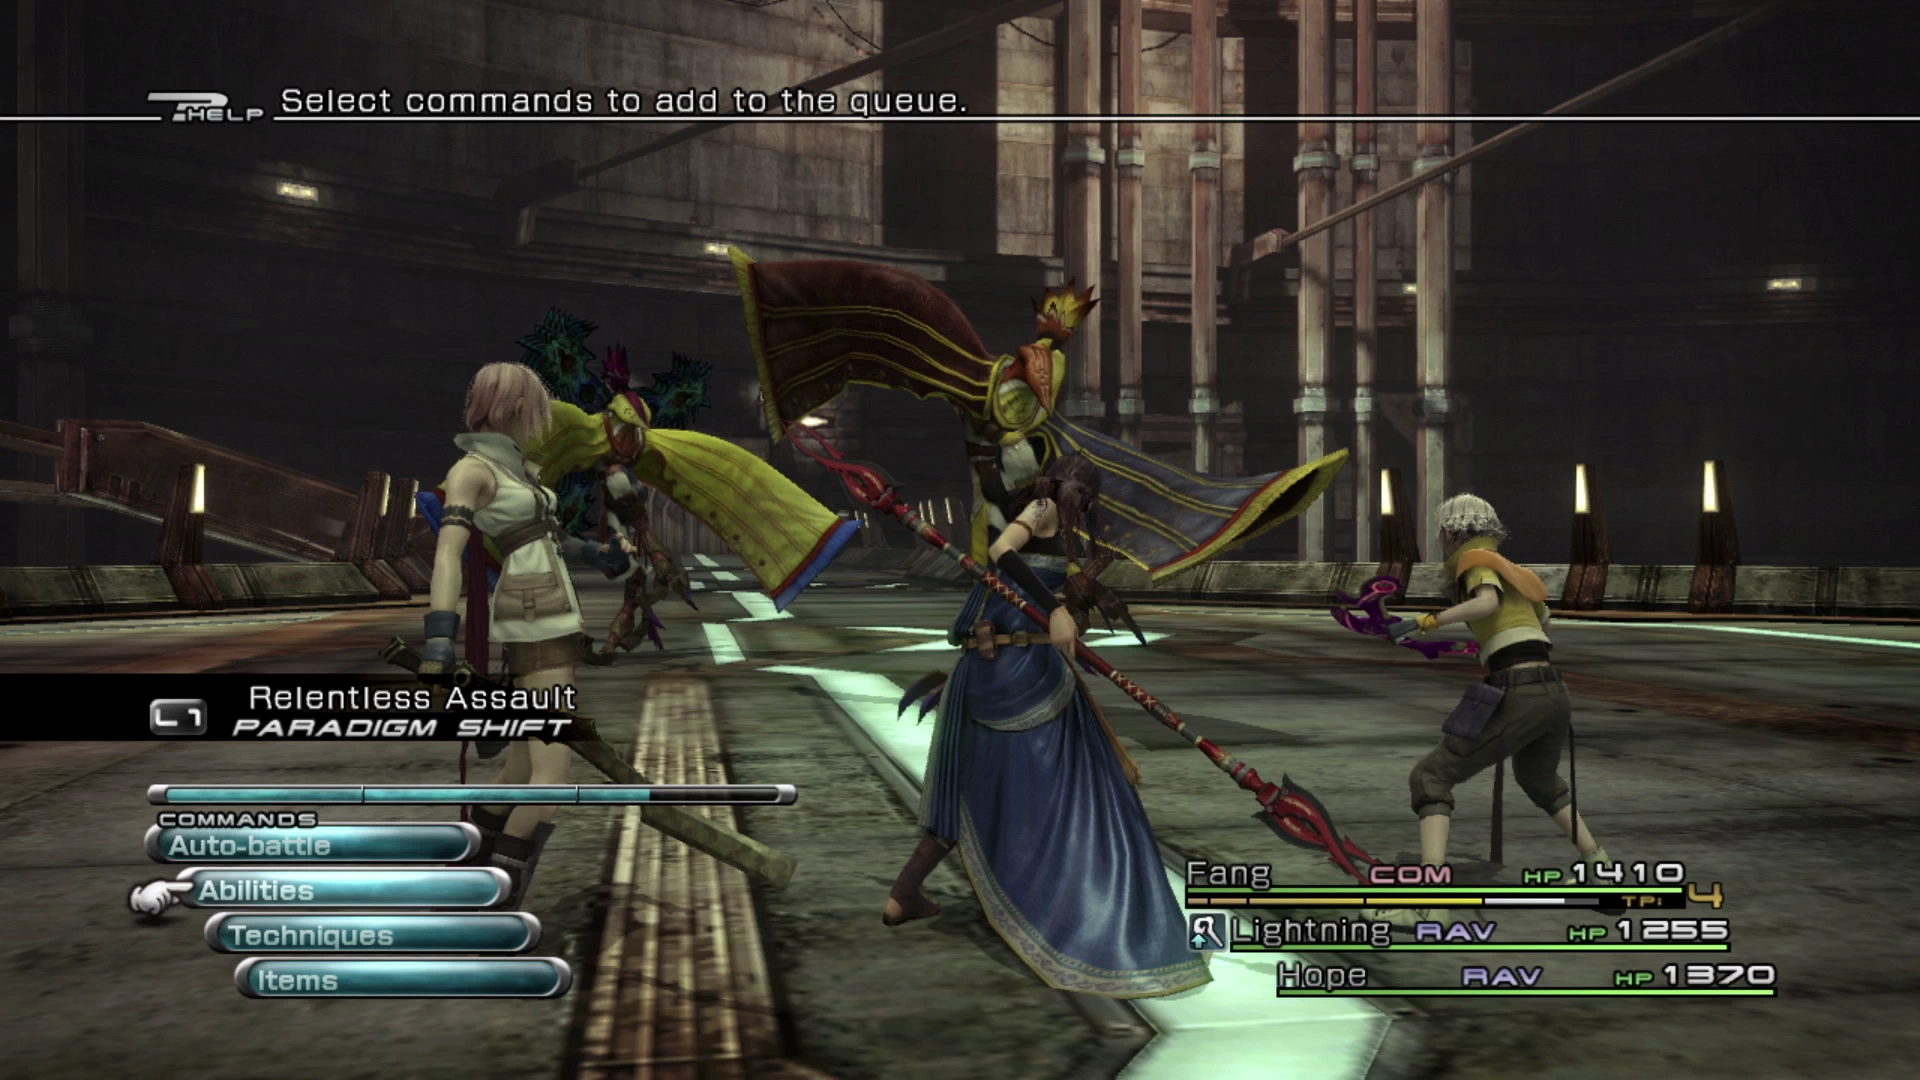
- Relentless Assault
- Relentless Assault
- two copies for ATB Refresh
- Diversity
- Decimation
- Evened Odds (Default Starting Paradigm)
- Protection
Helpful Hint
Some players may find it challenging to time the switching of Paradigms and may find their characters dying before it even seems like they have a chance to respond. As a reminder, you can slow down the battle speed to be more proactive with your timing by accessing the Menu, selecting “Settings,” and switching the Battle Speed from “Normal” to “Slow.”
This doesn’t change the amount of damage dealt or received or how often your characters can perform actions in battle, but it can give you more time to respond and react to the enemy’s attack patterns.
Mezzanine
Walk through the hallway when you’re ready for the next fight.
Boss Battle
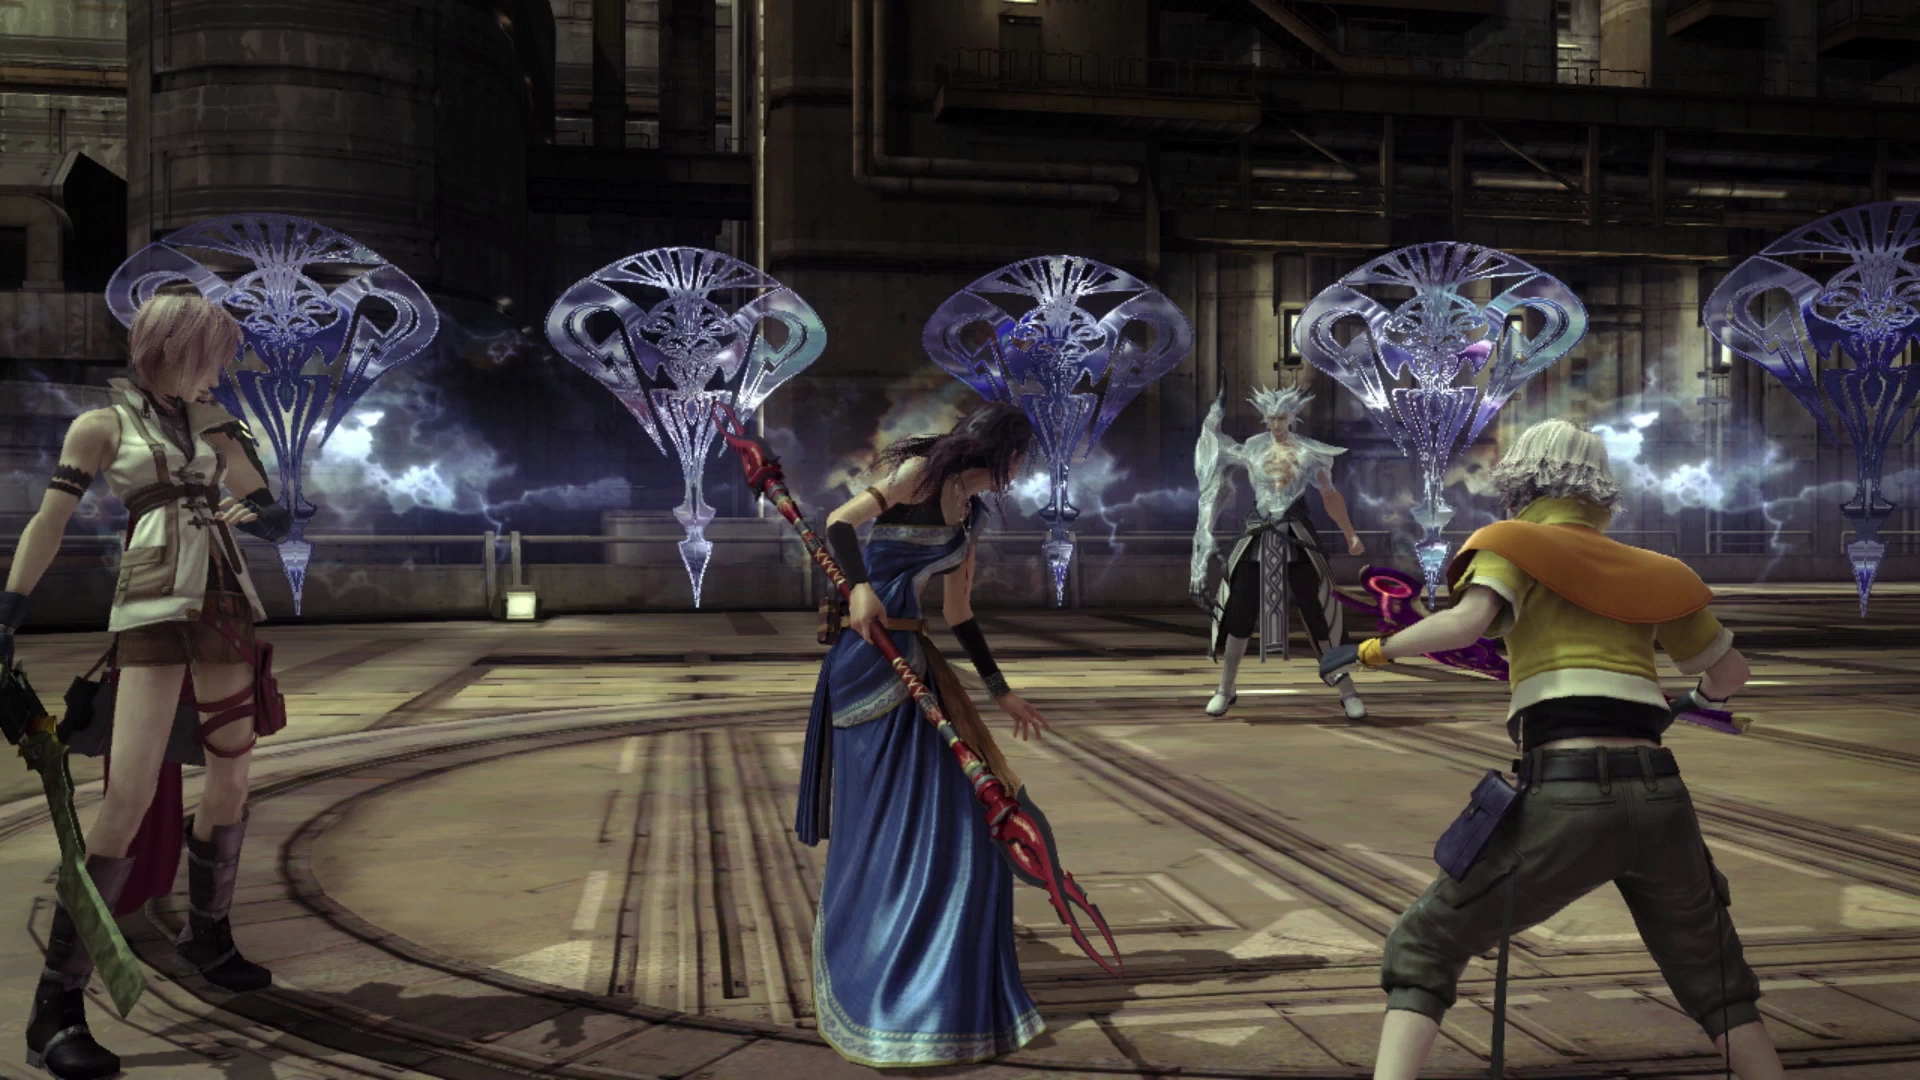
This is one of the more complex and challenging boss battles you’ve dealt with so far but it’s also a ton of fun. Firstly, a quick overview of the boss and what to expect.
Cid essentially has his own Paradigms that he will use throughout the battle called “Shifts.” These shifts are:
- Offensive Shift: Heavy attacks against your party.
- Defensive Shift: He will use “Guard” which will reduce the amount of damage dealt from your attacks.
- Recovery Shift: He will either heal himself or remove debuffs from himself.
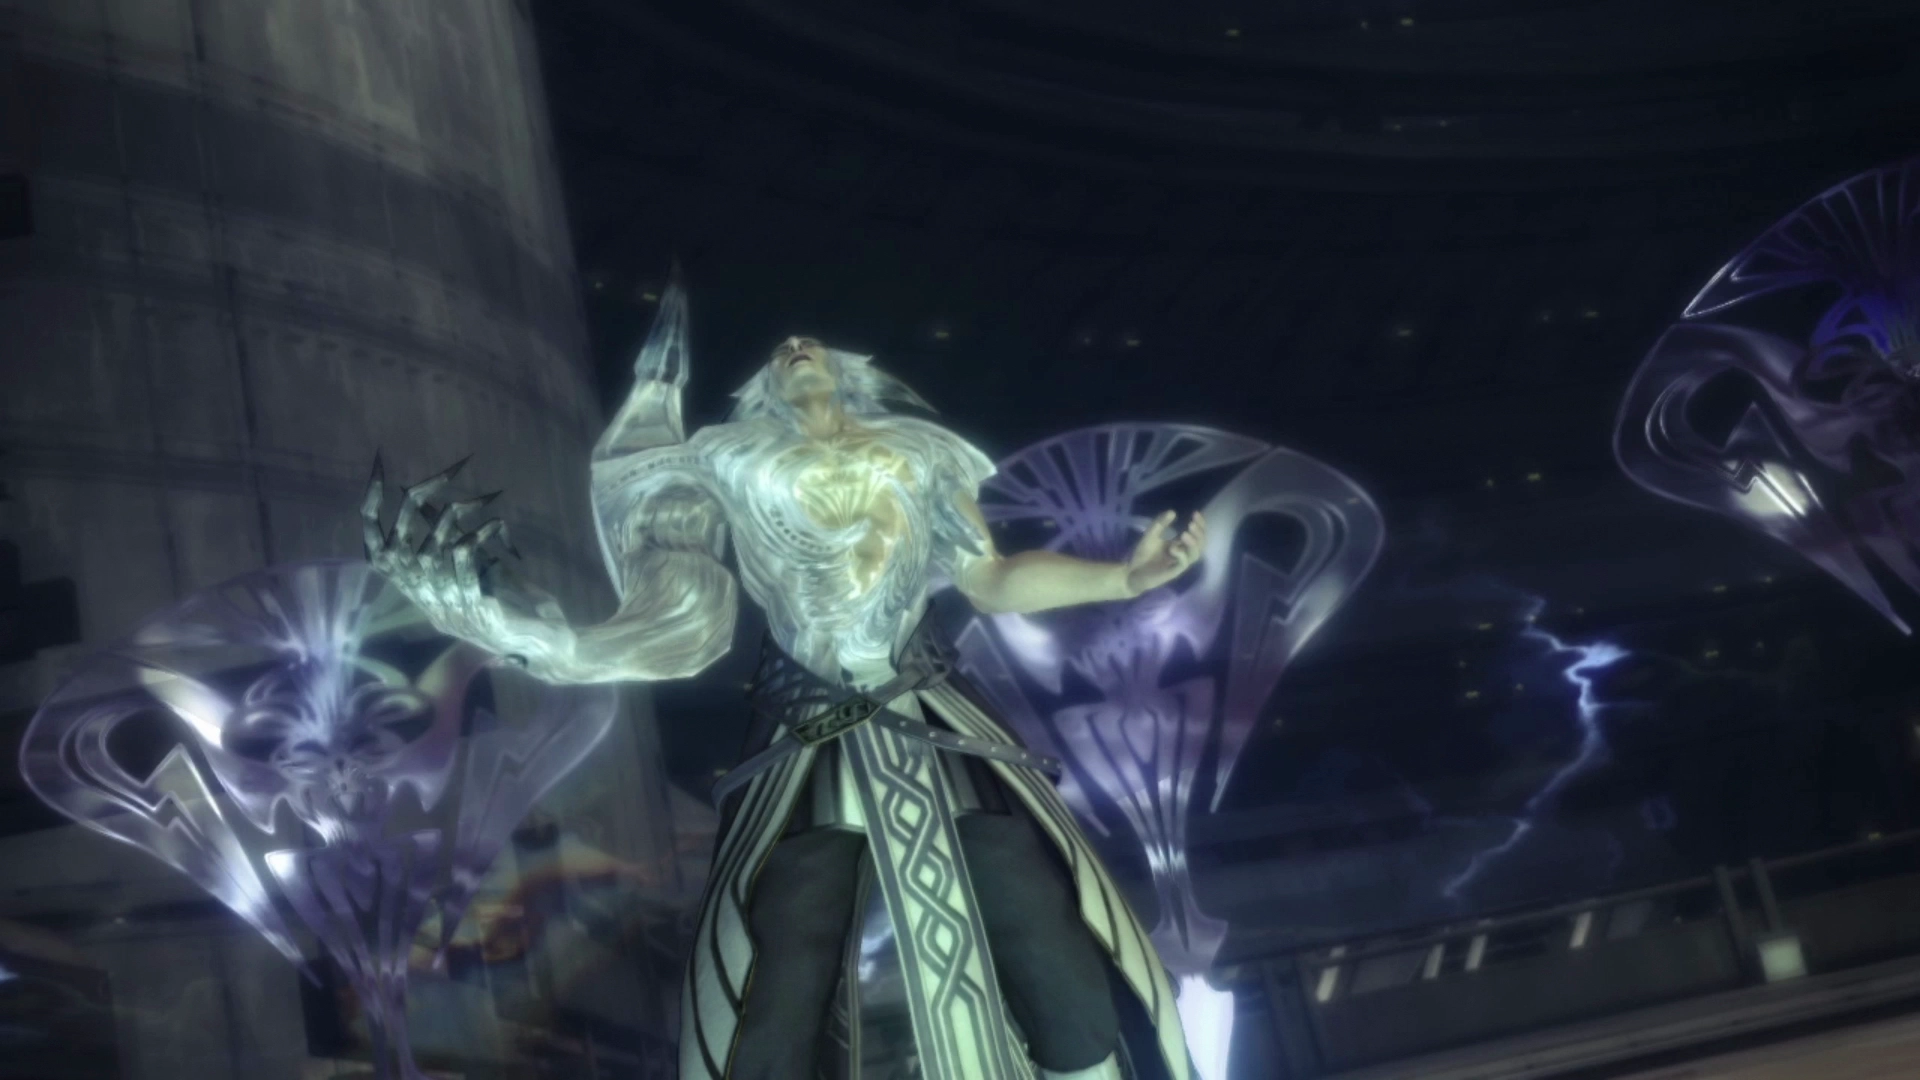
You can use your knowledge of his various Paradigms/shifts to plan your attacks and anticipate incoming damage. Most importantly though, once his HP reaches ~60%, he will use an attack called “Metamorphose,” followed by an attack called “Seraphic Ray.”
- Metamorphose: Grows a set of wings, removes all your party’s buffs, removes any negative status effects from himself and primes him to use Seraphic Ray.
- Seraphic Ray: Deals heavy damage to the entire party.
After Metamorphose has been used you will no longer be able to see which “Shift” Cid is in, but he also gains access to additional roles similar to the ![]() Synergist and
Synergist and ![]() Saboteur role which will see him blanket your party with debuffs or cast several negative status effects on your party.
Saboteur role which will see him blanket your party with debuffs or cast several negative status effects on your party.
Strategy
Start with your party in the Evened Odds Paradigm which will allow Hope to get some helpful spells cast including ![]() Protect and
Protect and ![]() Shell. During the early phase of the fight, have Fang use
Shell. During the early phase of the fight, have Fang use ![]() Libra and then try to get a
Libra and then try to get a ![]() Slow cast on Cid Raines but don’t spend more than two or three turns trying. This spell fails often, and you may get unlucky; it’s not worth spending too much time in this Paradigm.
Slow cast on Cid Raines but don’t spend more than two or three turns trying. This spell fails often, and you may get unlucky; it’s not worth spending too much time in this Paradigm.
Switch over to Relentless Assault or Diversity, depending on whether your party members need heals. Remember that you should have two Relentless Assault Paradigms to swap between the two to utilize the ATB Refresh tactic.
Keep an eye on Cid Raines HP meter for when it gets close to 60% and make sure your party members are fully healed. Once you reach this stage of the fight you will need to be very strategic and reactionary to what Cid Raines does.
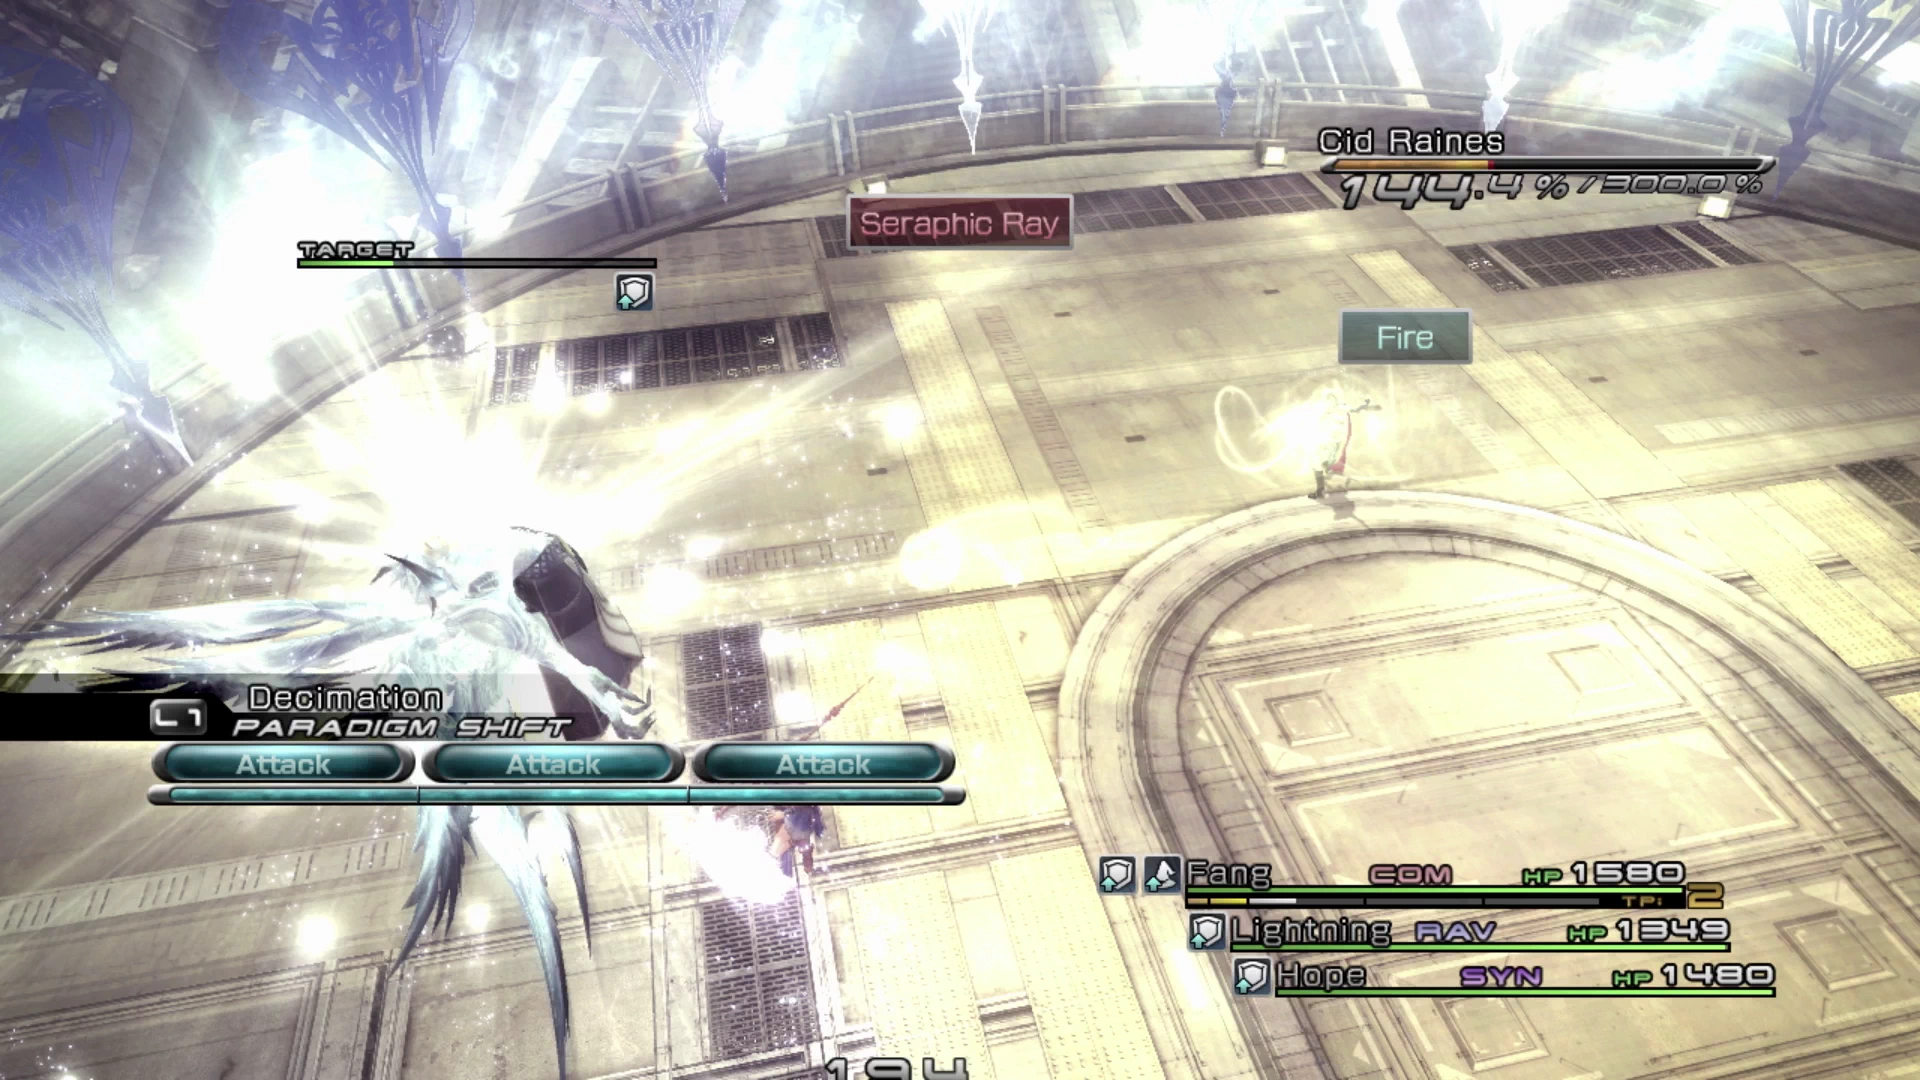
Swap to the Protection Paradigm as soon as you see Cid use Metamorphose (and reduce the game speed if you’re having trouble swapping in time). This will allow your party to quickly recover after he uses Seraphic Ray. Then your Paradigm use should be as follows:
- Relentless Assault / Diversity when Cid is guarding, healing, or otherwise not dealing damage to your party
- Decimation if Cid wipes out Hope’s Synergist buffs and if they need to be reapplied
- Evened Odds for the same reason as Decimation but if you need to heal as well, also if Cid buffs himself, you should use Fang’s
 Dispel ability to remove his status buffs
 - Protection if the damage gets to be too much
This is a tough fight so if you’re having trouble with it consider venturing back into the Fifth Ark hallway areas and battling more enemies to build up Crystogen Points (CP) to spend in your character’s Crystariums.
Congratulations! This is one of the more challenging fights up to this point in the game. Don’t forget to change out your default Paradigm before you move forward.
Ride the elevator at the end of the hall down to the next level. Your party will be ambushed by a group of Circuitrons that drop down from above. The next section of the Fifth Ark is continued on the next page of the walkthrough.