
Chapter 9: The Palamecia (Part 3)


The walkthrough for the Palamecia is broken up into three parts. This last section takes place after the two teams have reunited and after the Kalavinka Striker has been defeated. Navigate back to the Chapter 9: The Palamecia (Part 2) Walkthrough page if you have not reached this part of the game yet.
After jumping off the creature that Vanille and Fang capture, the team will land in the Bridge Access area of the Palamecia. Before they get rolling, you will finally be presented with an information window that indicates that you can now officially change the composition of your battle team and choose the three characters that you will be battling with.
Helpful Hint
You can change your primary party by accessing the menu screen (![]()
![]()
![]() ) and selecting the “Battle Team” option. The leader of the party is the player you select and place furthest to the left while the second and third team members make up the rest of your party.
) and selecting the “Battle Team” option. The leader of the party is the player you select and place furthest to the left while the second and third team members make up the rest of your party.
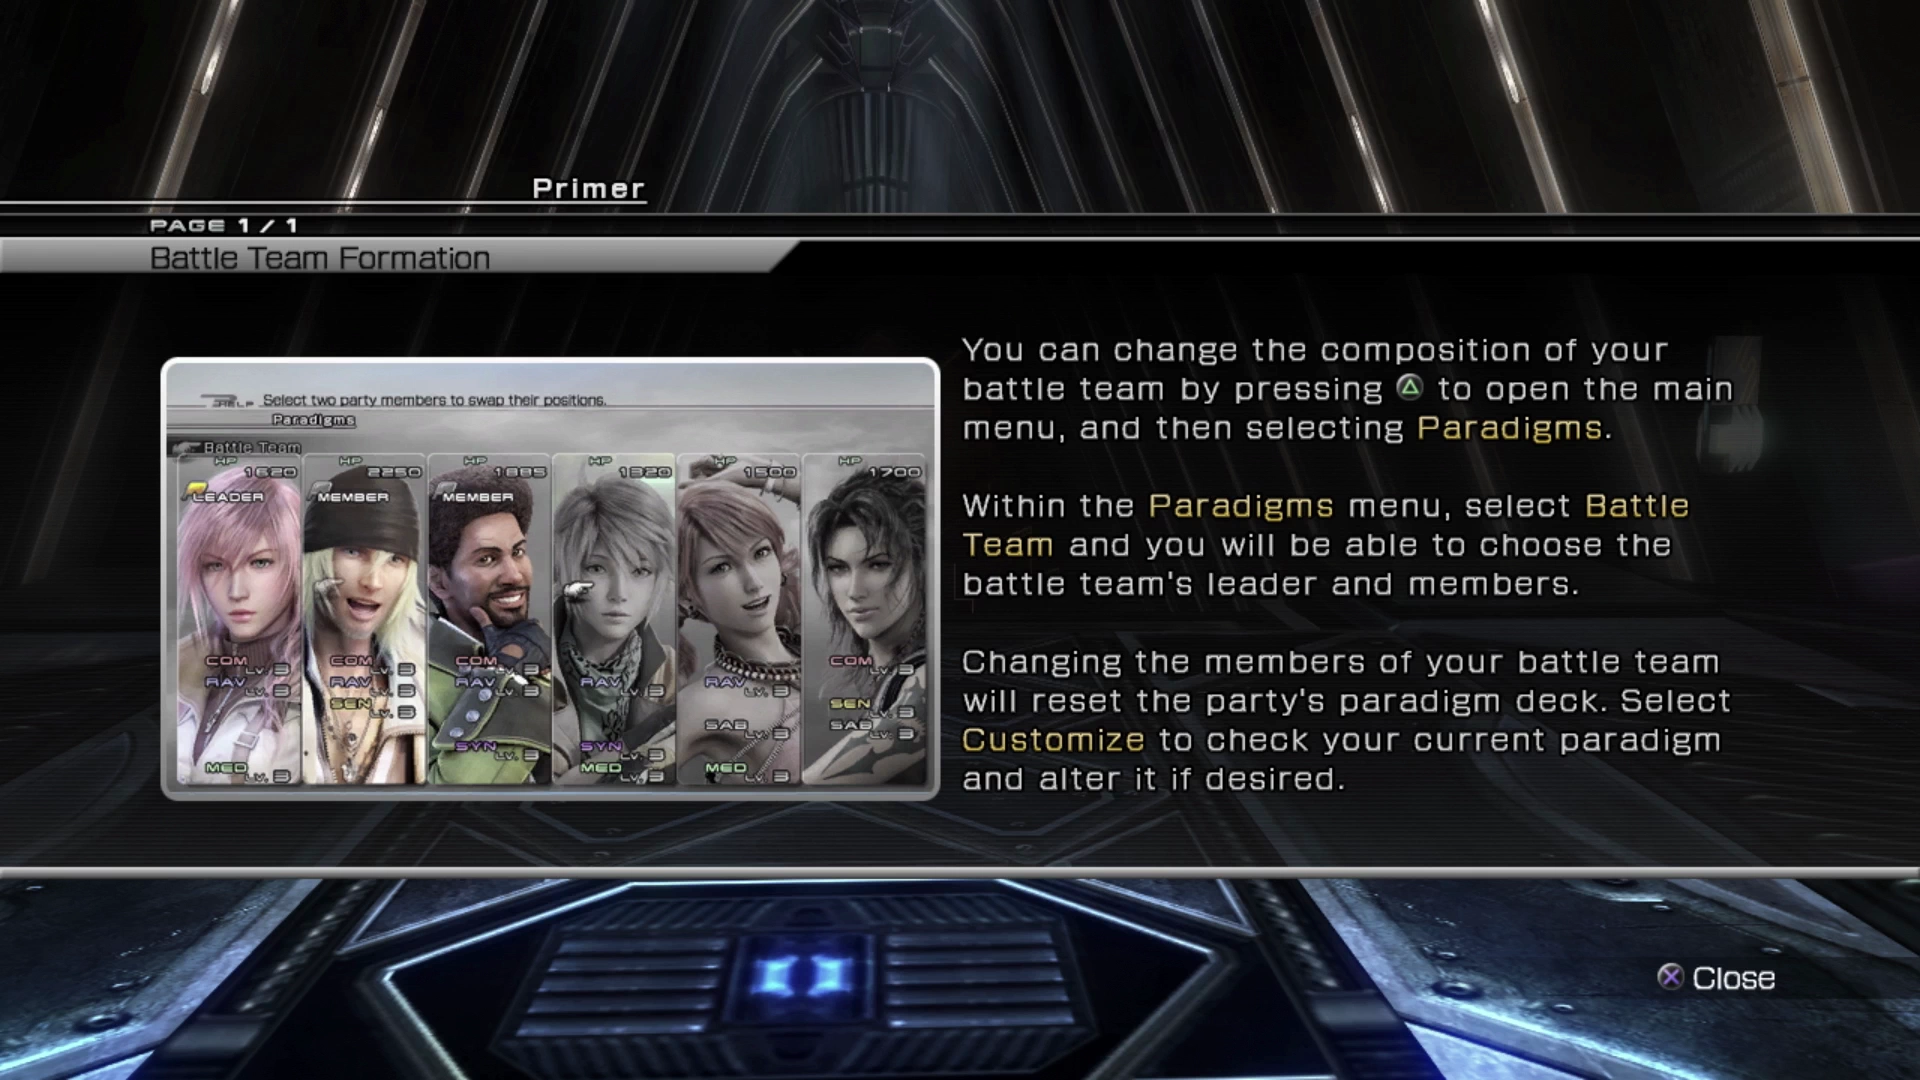
Unfortunately, during this chapter of the game, you will not have the option to change your party leader. Lightning cannot be moved from the leftmost position so she will be your party leader for the remainder of the chapter.
So who should you choose to be in your party? There are two things that you should take into consideration when deciding your party members both now and going forward into the chapters coming up. Those two factors are:
- Who are your primary and most powerful party members overall? (For this, consider reading the “Best Party” to help you decide). Additionally, though, you should consider…
- Who is your actual best party based on what your characters can currently access in their Crystariums and what enemies you will face? For example, Vanille is one of the most powerful party members according to the “Best Party” guide but only when you need a strong
 Saboteur and only when she has access to her most powerful debuffs, i.e. not right now.
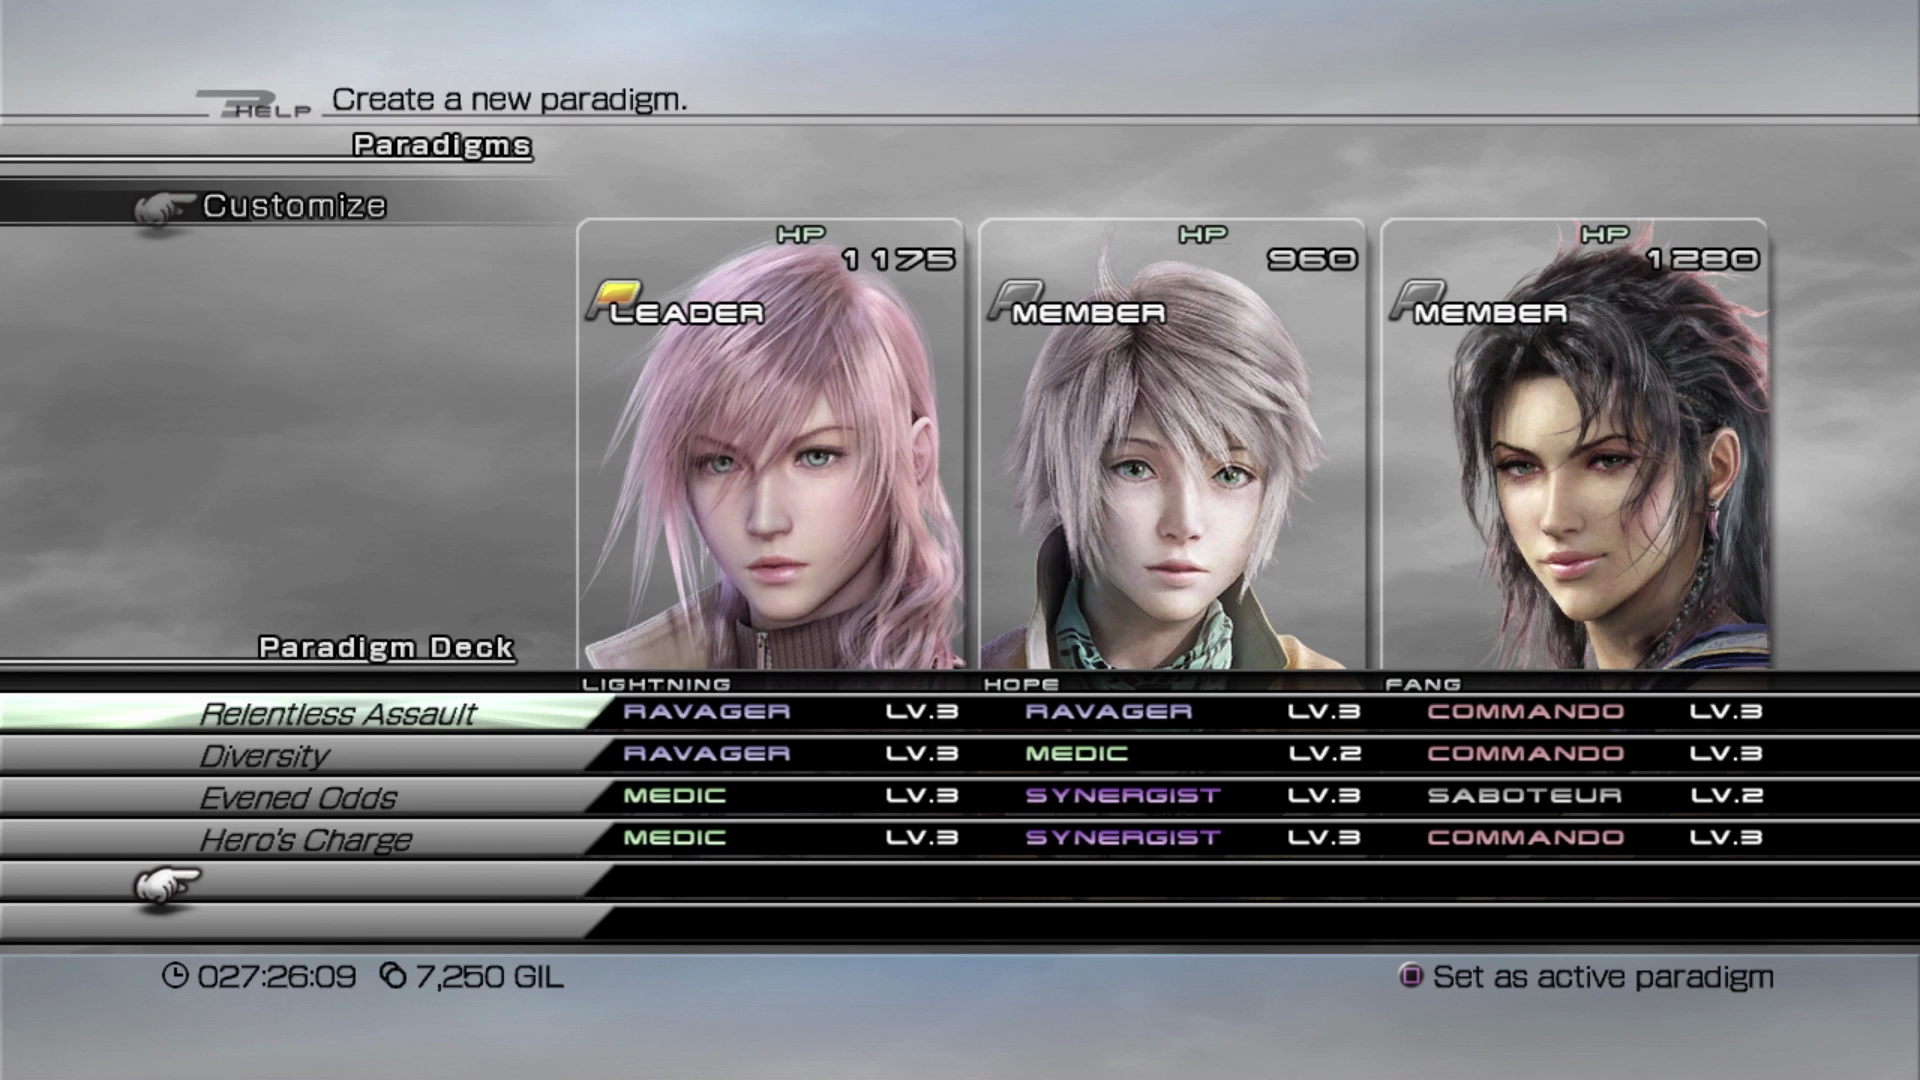
Who do we select then? At this point of the game, it’s recommended that you set your primary party up as Lightning, Fang, and Hope. In other words, the same group that fought their way through the last few sections of the chapter. Why these party members?
- Lightning is an all-around strong character and can perform most roles very well. She also has access to quite a wide variety of skills and abilities, and this makes sense when you consider that she is the main protagonist of the story. She would function well as either a
 Commando or a
  Ravager, but again, she should be spending most of her time in her Ravager role, because…
 - Fang is the strongest Commando in the game. The stats she gains from her other roles as a
 Sentinel and Saboteur help to also strengthen her up as a Commando and she is the most effective in this role throughout the game. Lastly…
 - Hope is the strongest magic user in the game. There are parts of the game where it may make sense to swap him out for someone like Vanille, especially if you want to utilize her debuffing prowess as a Saboteur, but you don’t need to make use of powerful debuffs just yet, making your most efficient choice Hope.
In theory, you can easily complete the game using any combination of characters, but why make it harder on yourself? Let’s get started with the last sections of the chapter.
Bridge Access
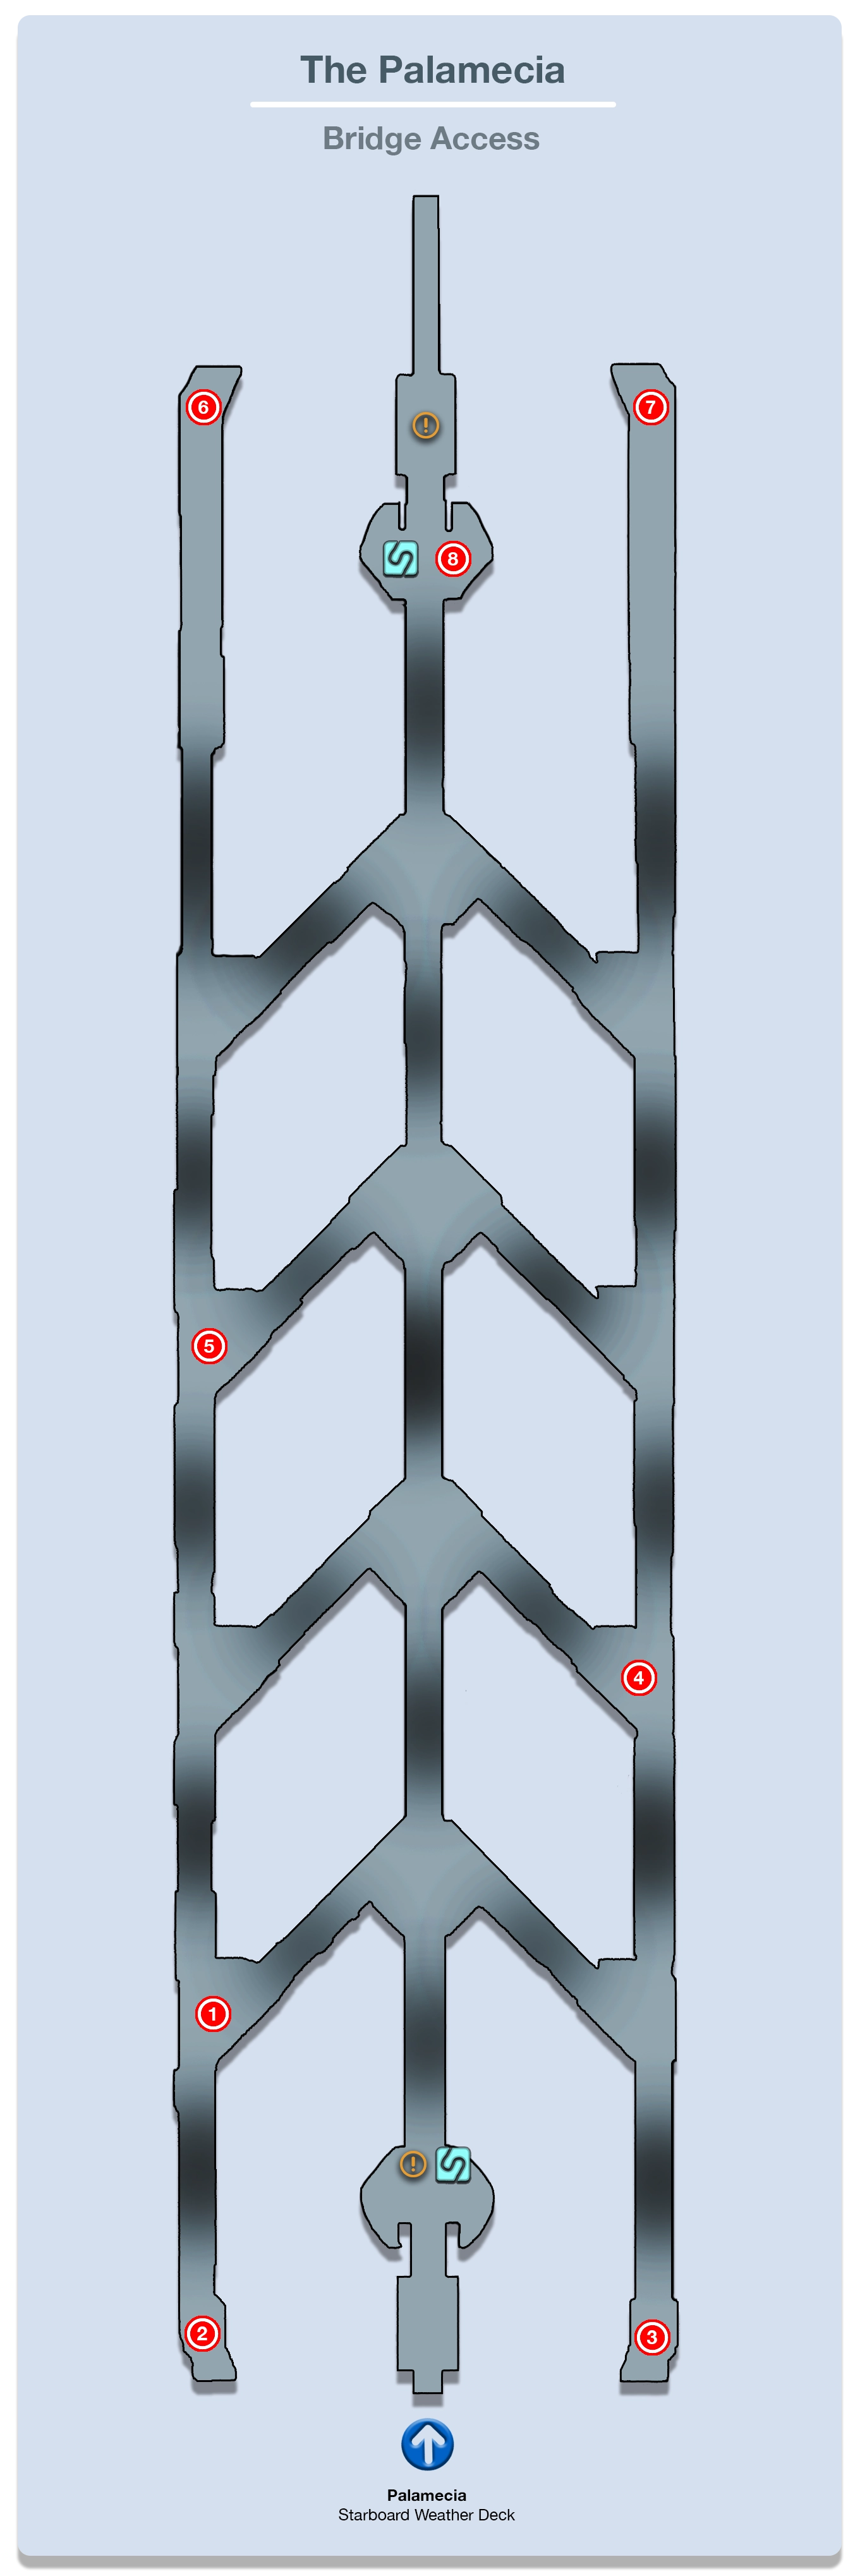
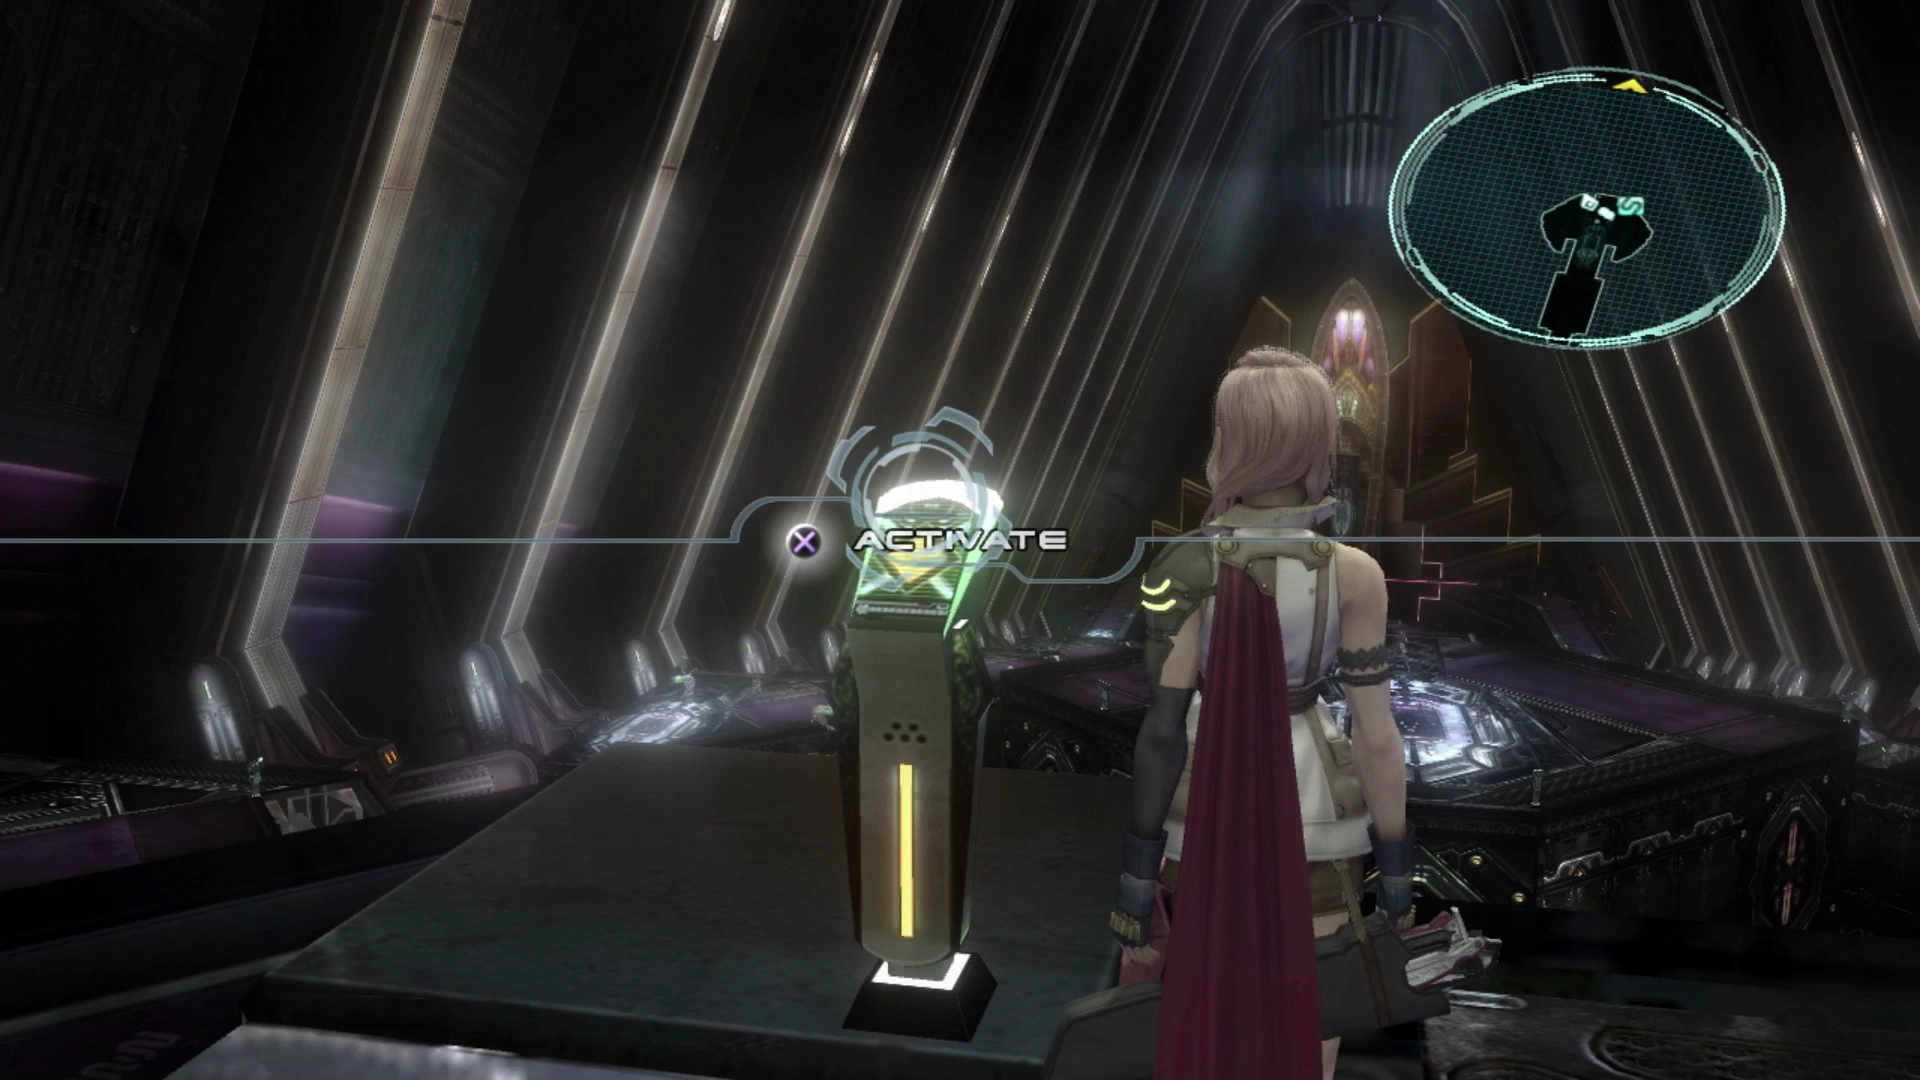
This very large, open area looks a lot more complicated than it is. The premise behind each of these platforms is that you’ll need to activate the bridges that connect each of them to navigate around the Bridge Access area.
This is made easy by the fact that you can activate the bridges between each of the platforms from any of the platforms; you don’t have to follow a specific pattern or walkway. The idea is that you can skip around certain platforms to avoid fights with some of the groups of enemies that you see, but you don’t want to avoid too many fights, as explained below.
There are two main goals in this area:
- Activate the bridges and reach all the Treasure Spheres scattered throughout the map.
- Fight and defeat as many of the groups of enemies as you can, even the more difficult ones. There is a difficult boss battle coming up that can be made easier if you can fill out more of your character’s Crystariums.
Use the map below to help you find the right trail through the Bridge Access and scroll below it to find a list of the treasure that you need to pick up.
There are a total of eight Treasure Spheres in this area. They contain:
-
 Librascope
 -
 Pain Dampener
 -
 Rune Bracelet (x2)
 -
 Umbra
Umbra -
 3,600 Gil
 - Gold Bangle
-
 Perfect Conductor
 -
 Ethersol**
** Note that the Treasure Sphere containing the ![]() Ethersol is on the last platform near the
Ethersol is on the last platform near the ![]() Save Station when you reach the far side of the Bridge Access. To reach this area, you will have to battle a fairly difficult group of enemies.
Save Station when you reach the far side of the Bridge Access. To reach this area, you will have to battle a fairly difficult group of enemies.
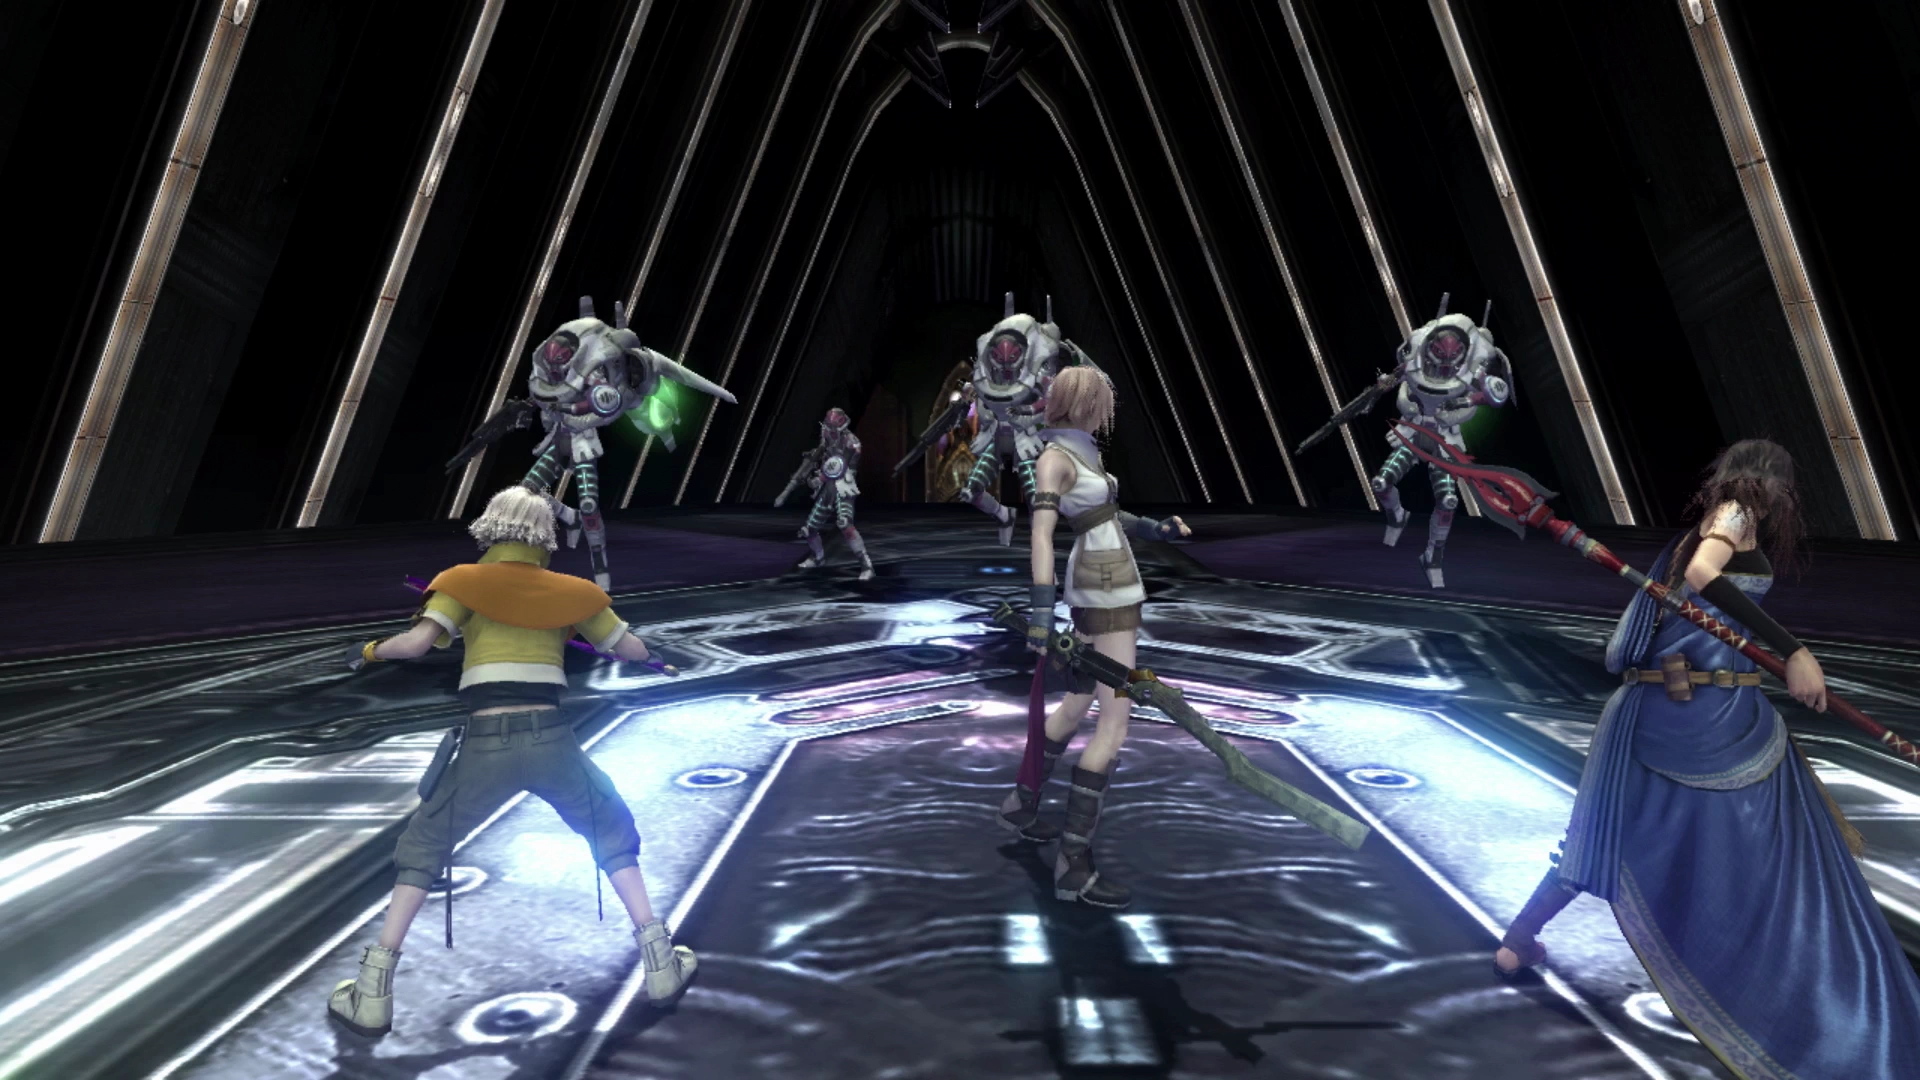
The group on the last platform includes a group of four PSICOM Dragoons accompanied by a PSICOM Reaver. The difficulty of this fight is the high amount of damage this group of enemies will throw at you to start the battle if they all launch their attacks at the same time.
Start in Relentless Assault but be prepared to switch to Diversity very quickly and, for the most part, you may have to leave Hope healing for the duration of this battle while Lightning and Fang slowly take down each of the Dragoons. Even with Hope healing nearly full-time, you may struggle with this fight so consider using one of your Shrouds if you’re having trouble.
Some notes on the items above, the ![]() Rune Bracelet and
Rune Bracelet and ![]() Gold Bangles are strong accessories that are worth equipping to your characters. The
Gold Bangles are strong accessories that are worth equipping to your characters. The ![]() Umbra weapon you will come across is a weapon for Snow that increases his resistance to certain negative status effects, so don’t equip him with it (but this doesn’t matter as he shouldn’t be in your party anyway).
Umbra weapon you will come across is a weapon for Snow that increases his resistance to certain negative status effects, so don’t equip him with it (but this doesn’t matter as he shouldn’t be in your party anyway).
After you have obtained the last of the Treasure Spheres and saved your game at the ![]() Save Station, it’s time to get ready for the next boss battle which is a difficult one. To prepare, make sure you spend all your available Crystogen Points (CP) as every stat boost your characters receive will help them out. Set up the following Paradigms:
Save Station, it’s time to get ready for the next boss battle which is a difficult one. To prepare, make sure you spend all your available Crystogen Points (CP) as every stat boost your characters receive will help them out. Set up the following Paradigms:
Set the default Paradigm to Evened Odds before the battle begins. Run up into the next area to kick off a cutscene.

Bridge
Boss Battle
This boss is a real step up from the previous bosses that you have faced both in terms of complexity and difficulty. There is a very real chance that you may need to go back into the Bridge Access area and run around defeating enemies to build up Crystogen Points (CP) and level up your characters.
This is one of the recommended solutions if this is a battle you’re struggling with, but hopefully, with the strategies listed here, you shouldn’t have any problems.
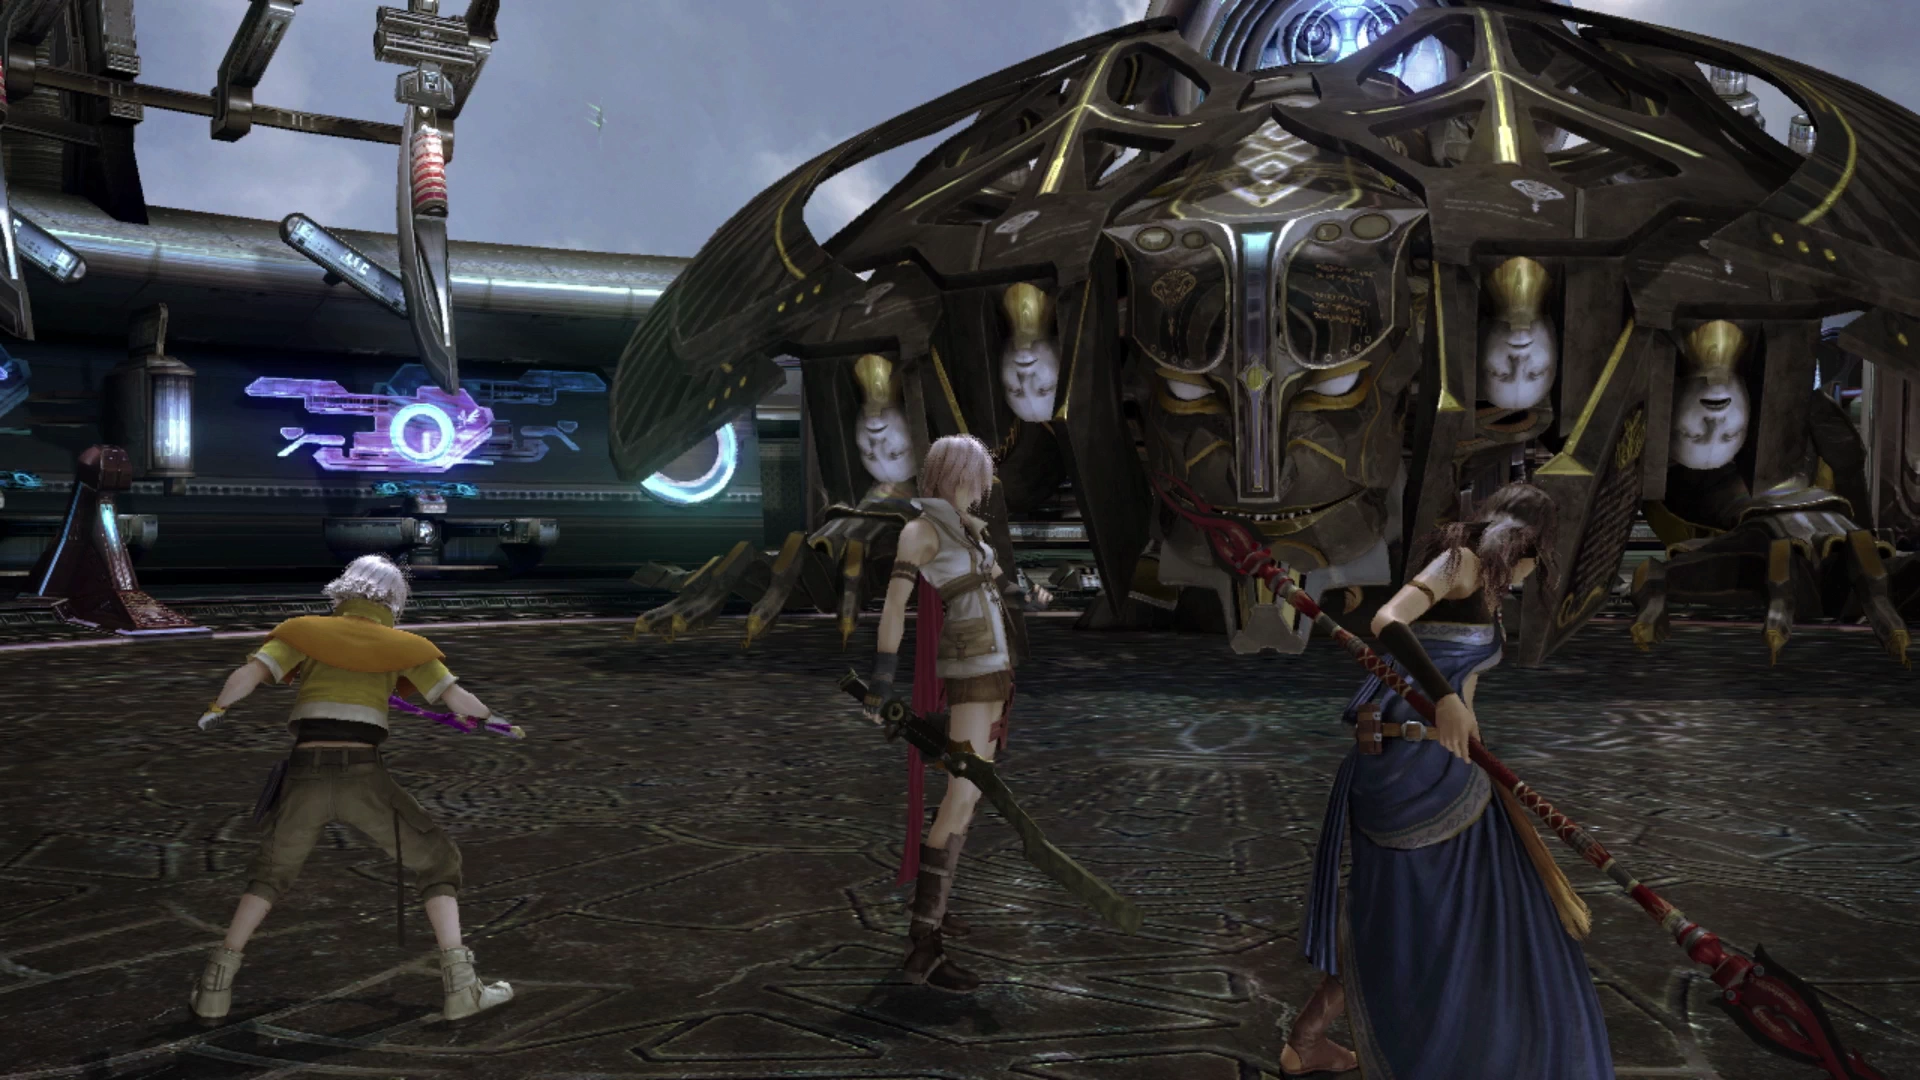
Phase 1
The first phase of the boss will have 5 targets for you to attack, very similar to the fight against the Havoc Skytank, with the idea being that you should defeat the four targets before focusing on Barthandelus. At the start of the battle, have Lightning use a ![]() Librascope item which will cast Libra on all five targets at the same time.
Librascope item which will cast Libra on all five targets at the same time.
As mentioned above, your team should start in the Evened Odds Paradigm and should be permitted just enough time for Hope to cast ![]() Shell on all your party members and for Fang to throw out a few debuffs (like
Shell on all your party members and for Fang to throw out a few debuffs (like ![]() Slow) while Lightning supports the party with a few heals. Quickly switch over to Relentless Assault and begin attacking the four targets which include:
Slow) while Lightning supports the party with a few heals. Quickly switch over to Relentless Assault and begin attacking the four targets which include:
- Left Pauldron (weak to Lightning-based magic)
- Left Ailette (weak to Fire-based magic)
- Right Pauldron (weak to Ice-based magic)
- Right Ailette (weak to Water-based magic)
Your characters will automatically use the right elemental affinity of attacks after a ![]() Librascope has been used. Just have your team swap between Relentless Assault and Diversity (when you need healing) as you work your way through defeating each of the four targets.
Librascope has been used. Just have your team swap between Relentless Assault and Diversity (when you need healing) as you work your way through defeating each of the four targets.
Before you defeat the last target though make sure you swap back into Hero’s Charge Paradigm briefly to allow Hope one last opportunity to cast buffs on your party and recast any of the buffs that have fallen off. The fight becomes much more difficult once Barthandelus enters Phase 2 which happens once the final Pauldron/Ailette is defeated.
Phase 2
This next phase of the fight will see Barthandelus unleash a nearly continuous barrage of attacks against your party and there’s not much that you can do to outright prevent this. These attacks include:
- Thanatosian Smile: A physical attack that deals damage to one target.
 Ruinga: A magical attack that targets one party member but hits those nearby.
- Baptism in Ruin: Casts three Ruin spells in succession one target at a time.
- Destructo: His most powerful attack that can annihilate your party. Read below for more information on how to counteract this.
Keep an eye on your party’s buffs and consider swapping into the Protection Paradigm from time to time to allow Hope to get as many of his available buffs active. There is value in having ![]() Protect and
Protect and ![]() Shell on all your party members.
Shell on all your party members.
So now, let’s focus on the most important and most difficult aspect of this fight: how do you deal with Barthandelus’ devastating Destructo attack? The amount of damage dealt by Destructo has the power to one-shot all your party members, even if one of them is in their ![]() Sentinel role.
Sentinel role.
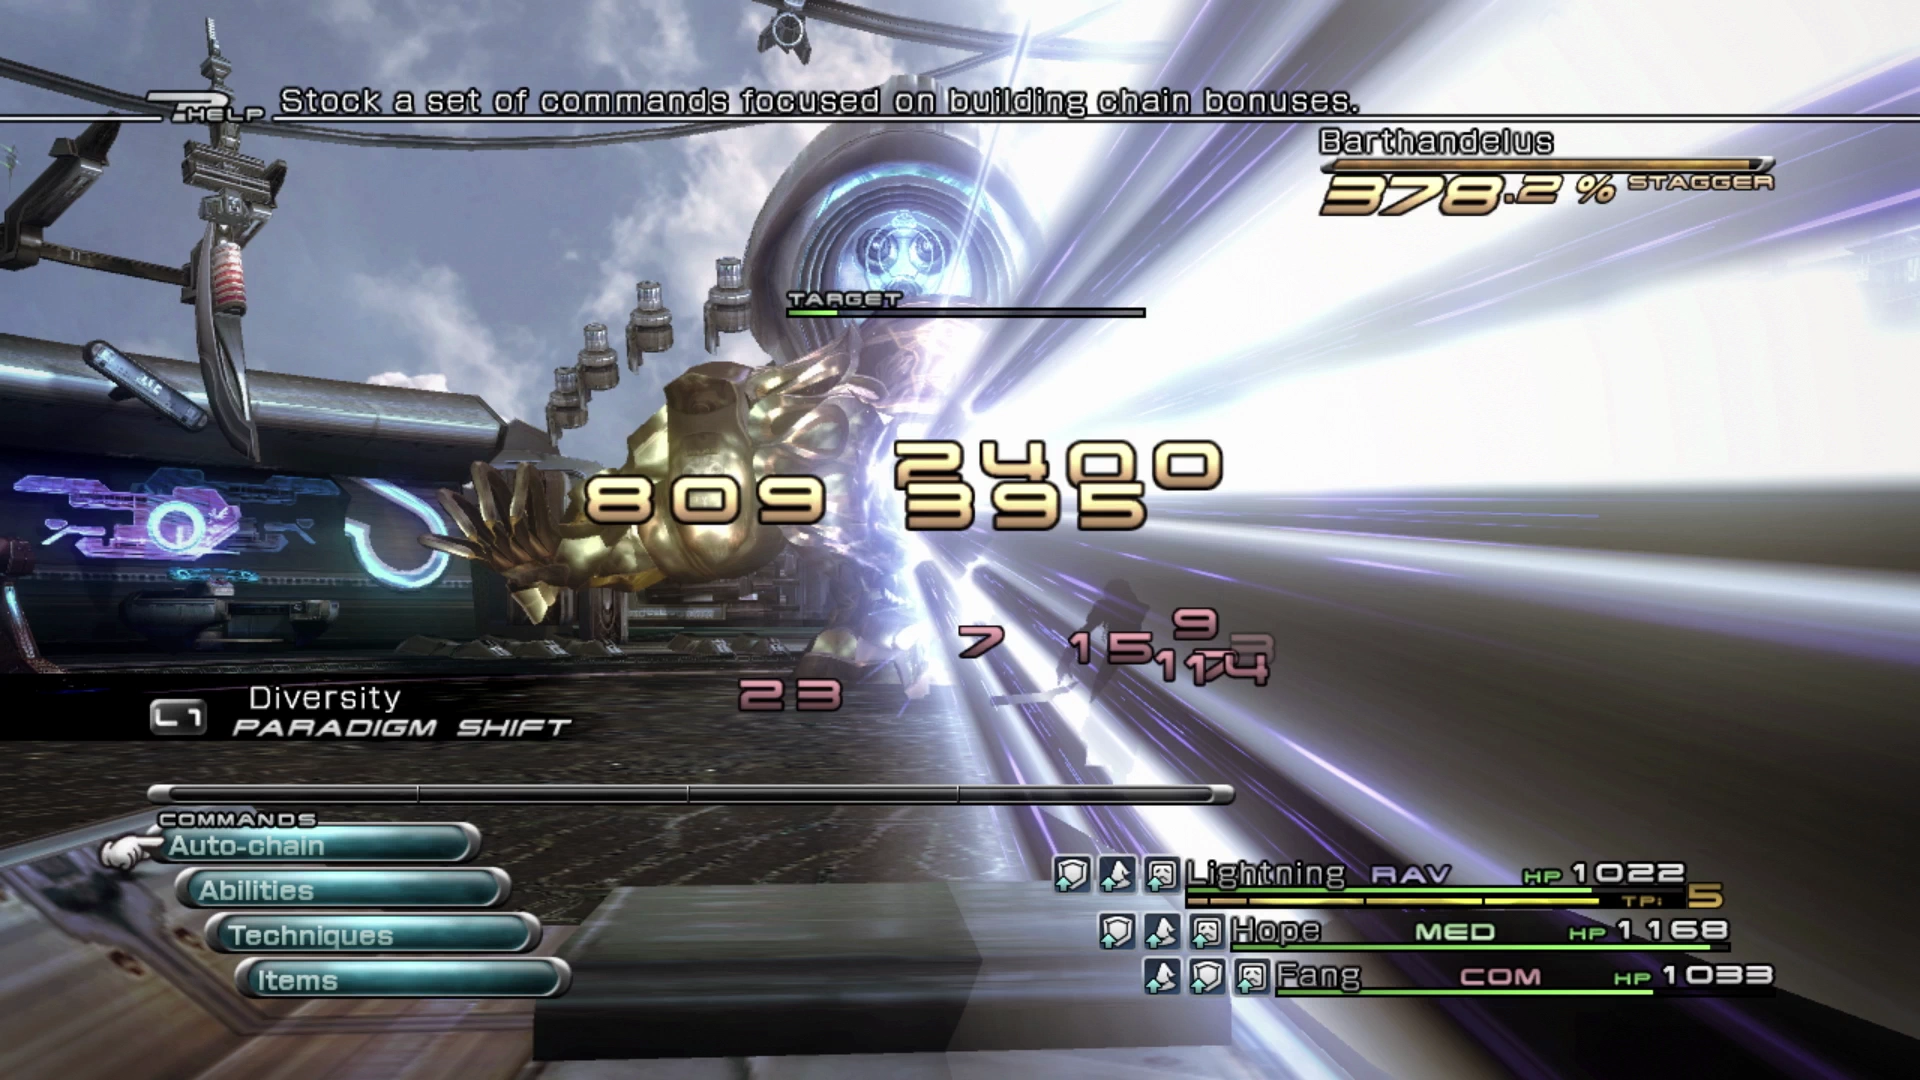
While it may seem counterintuitive, your strategy when you see Barthandelus begin charging Destructo is to go on the all-out offensive. It has a long charge time which will allow you to charge Lightning’s ATB Gauge up to three times, and in that time, you need to get Barthandelus’ Chain Gauge up to just over 50% towards a Stagger.
This will stun Barthandelus (you will be able to hear him react in pain) and, while he will still cast Destructo and deal damage, it will be for a significantly reduced and survivable amount. Heal your party back up and recommence attacks against Barthandelus until you bring it down.
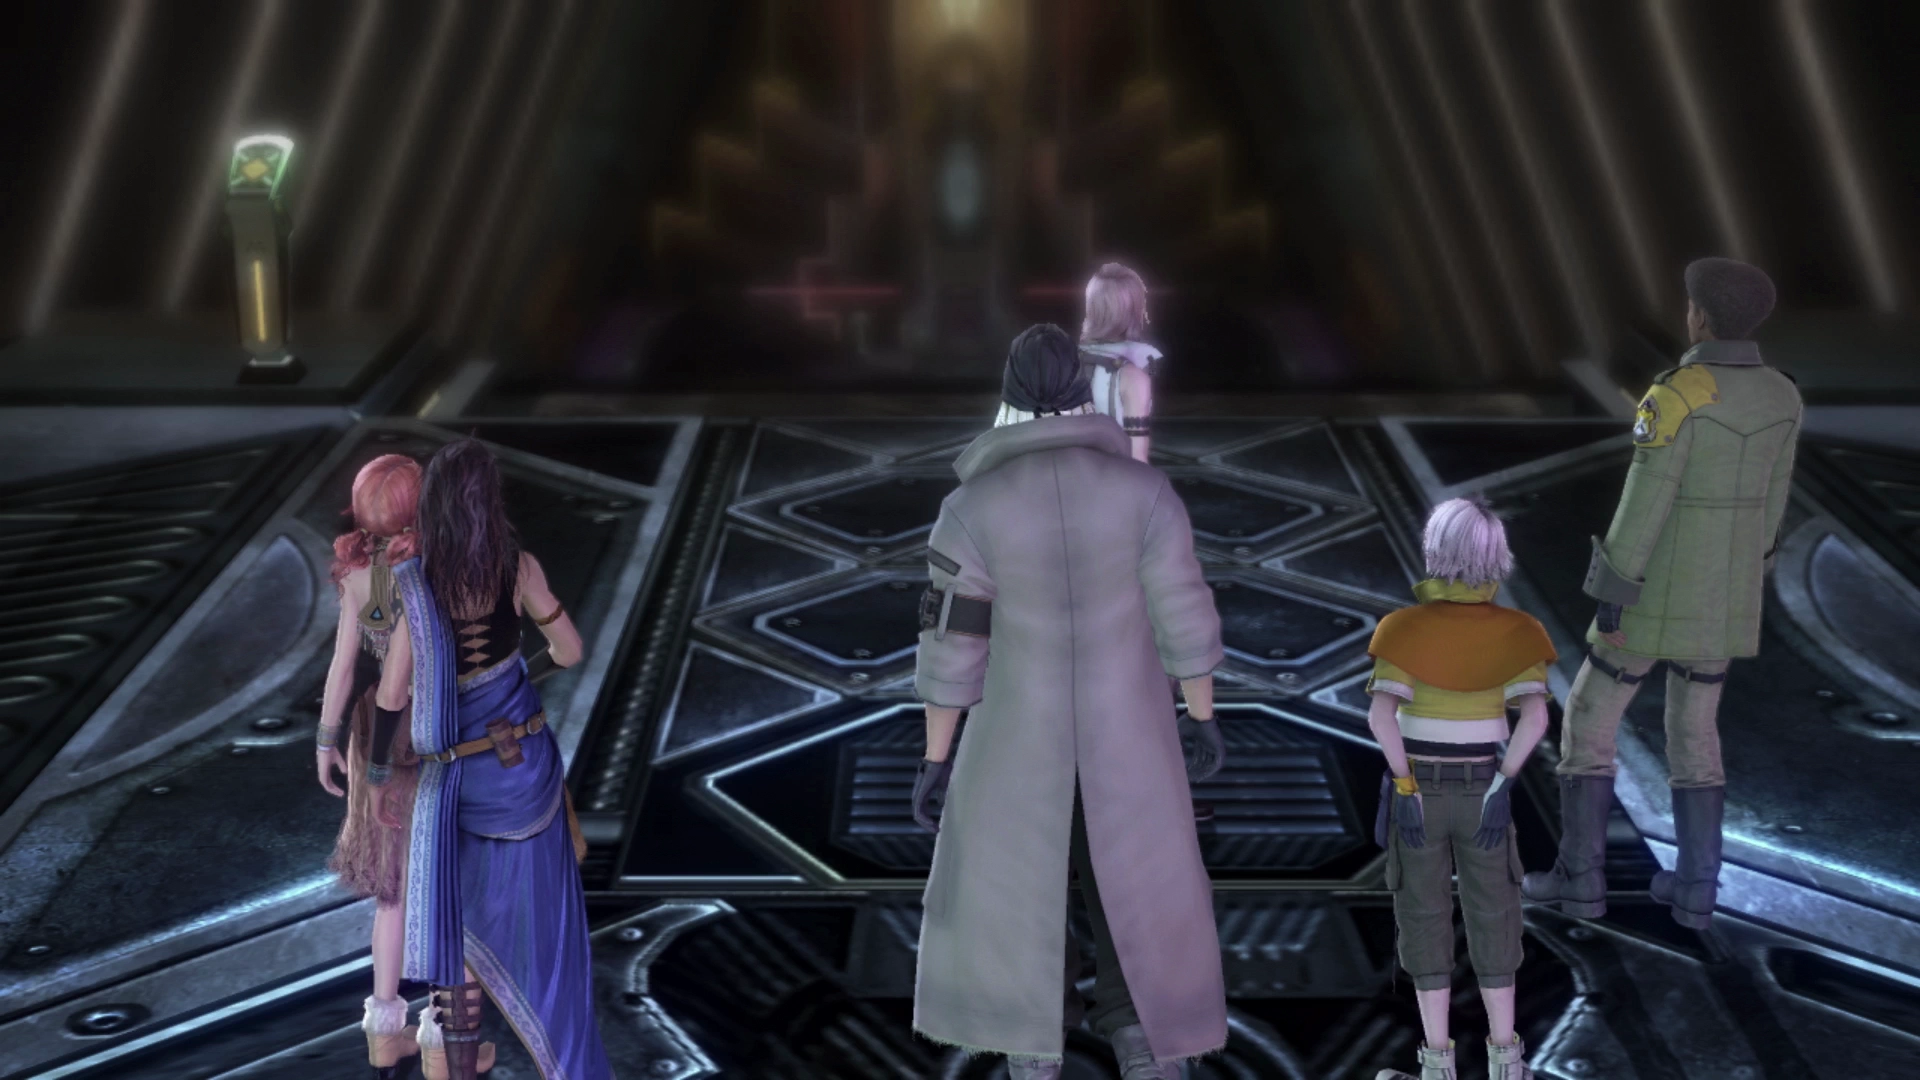
The character’s Crystariums will expand at the end of the battle, but it turns out that the Fal’Cie wasn’t defeated as easily as the team might have thought.
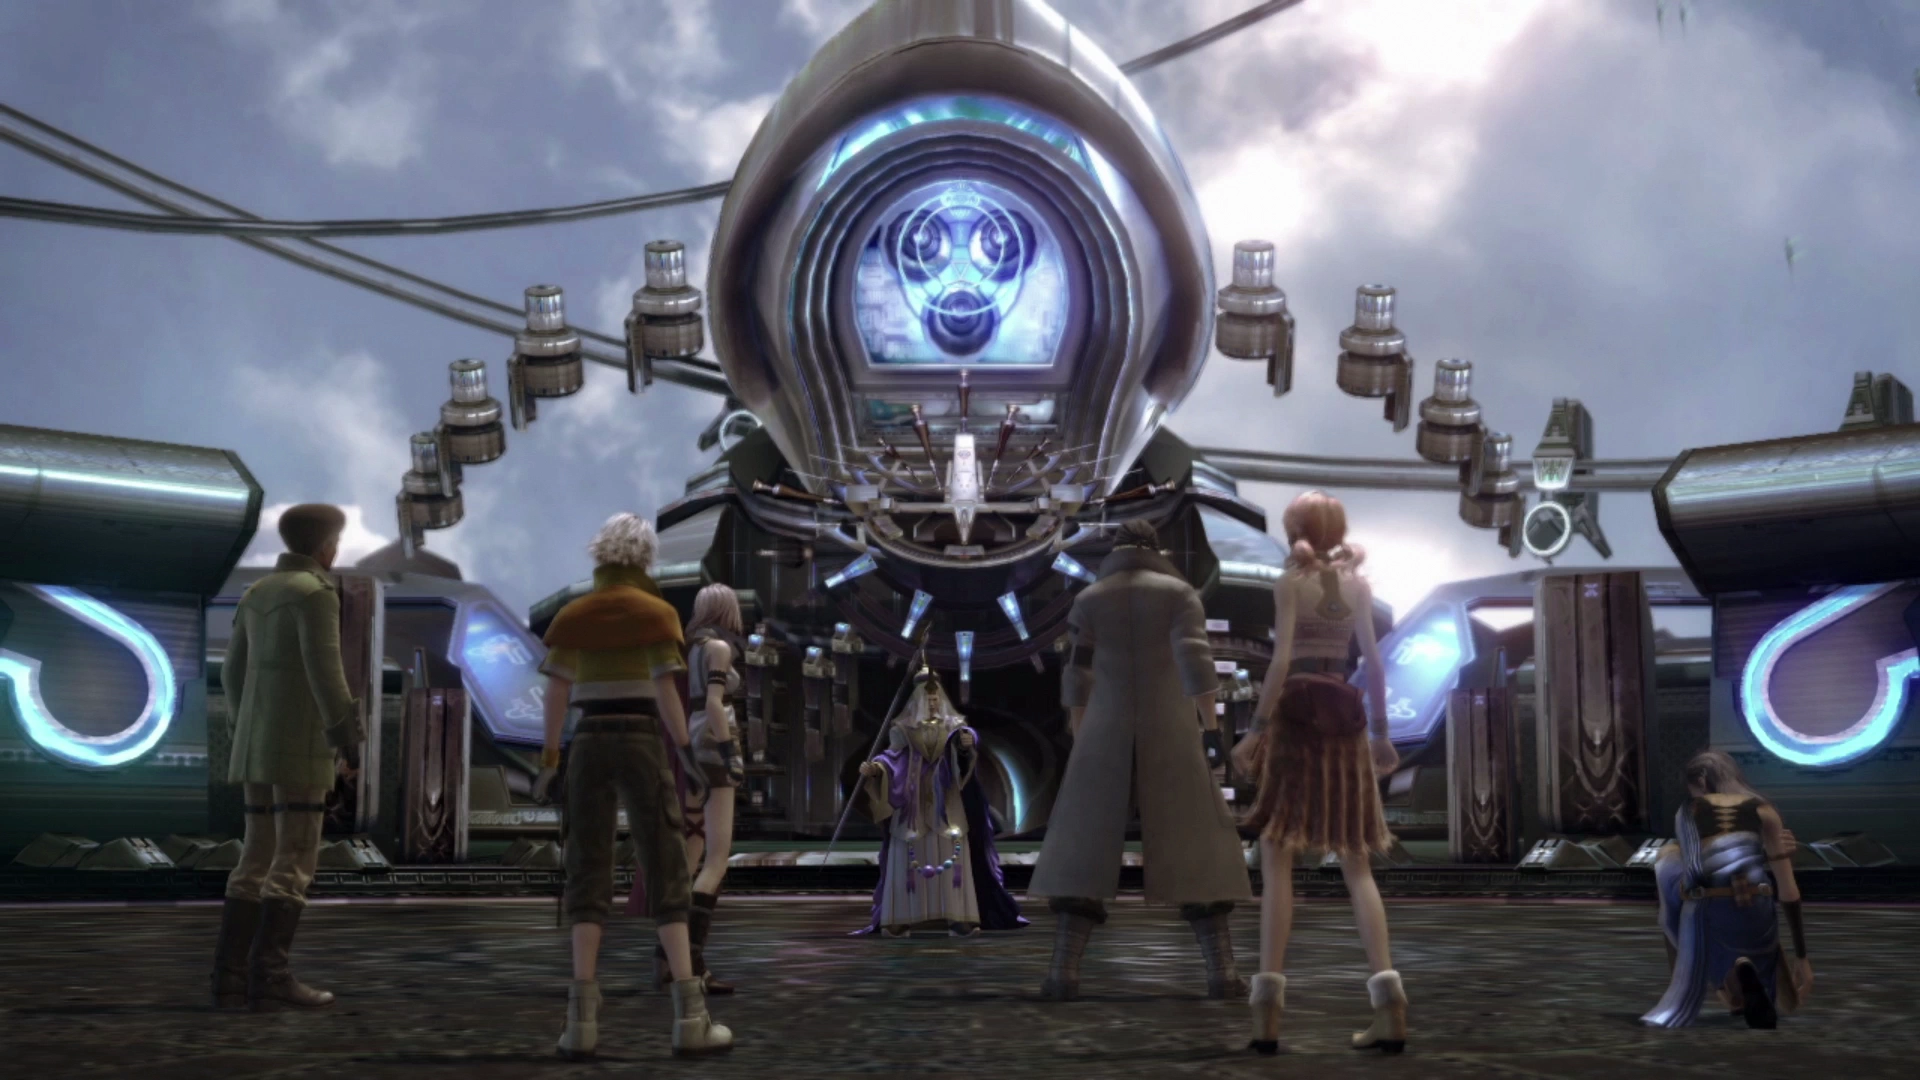
After a lengthy cutscene, the team will make their escape from the Palamecia in another ship before they land in an unknown area somewhere on Cocoon…
Achievement/Trophy
You will automatically receive the  Instrument of Wrath Achievement/Trophy at the end of Chapter 9.