
Chapter 9: The Palamecia (Part 2)

The walkthrough for the Palamecia is broken up into three parts. Part 1 covers the first section of the ship with Lightning, Hope, Fang, and Snow before you have control of Sazh and Vanille in the Cargo Access area. This second part covers the Cargo Access area through to the battle against the Kalavinka Striker.
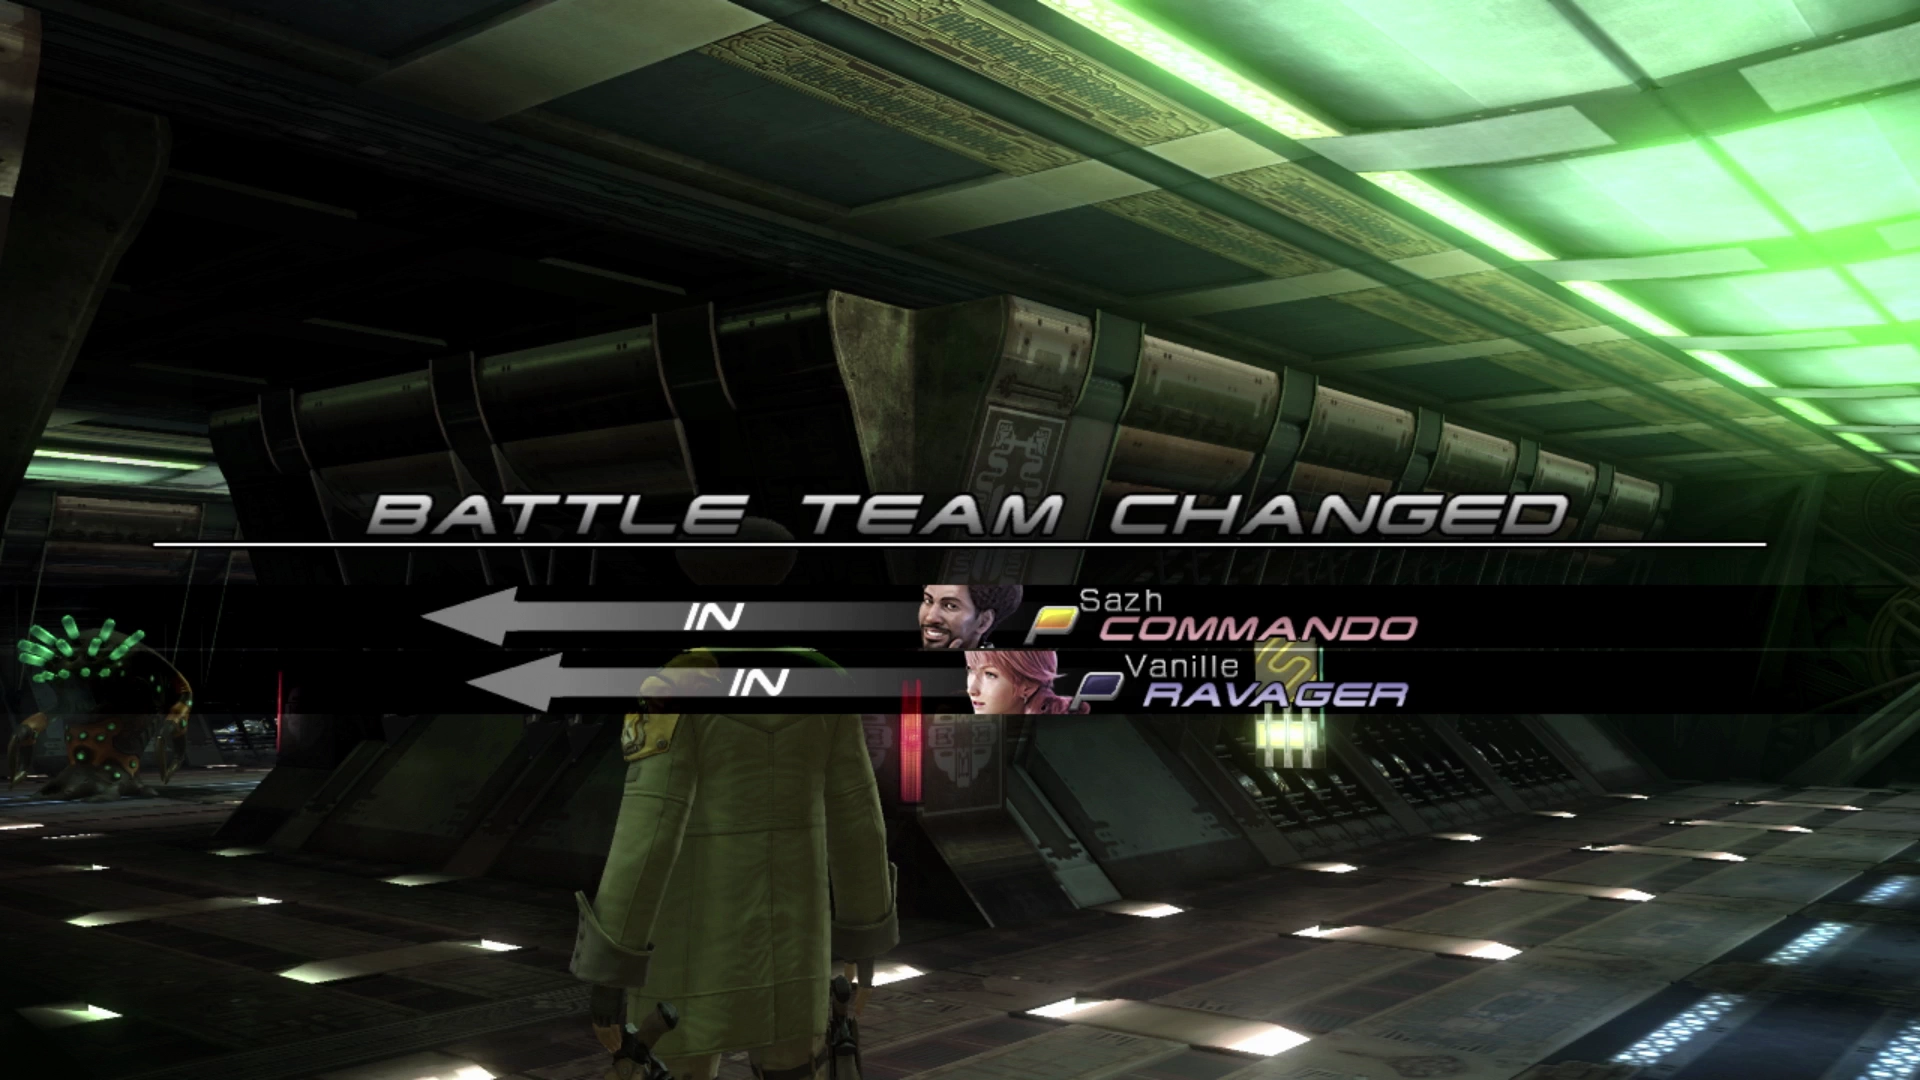
If you are not yet in control of Sazh and Vanille, you should head back to the previous section and, if you’ve already fought the Kalavinka Striker, move forward to the next page.
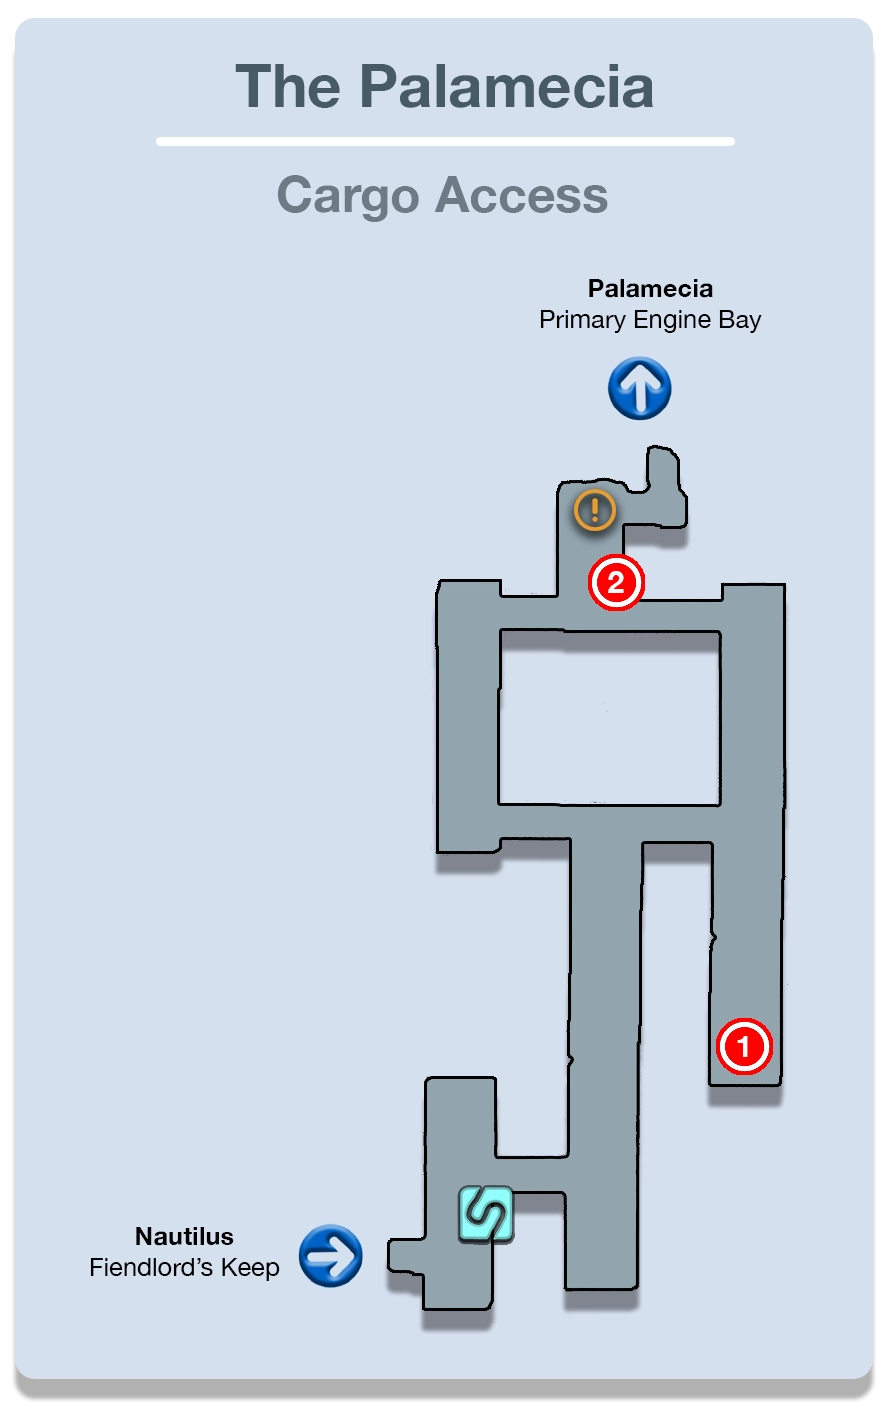
Cargo Access
Sazh and Vanille will have an abundance of Crystogen Points (CP) for you to spend in their Crystariums.
- Sazh: Have him target
 Boon in his
  Synergist role and Scourge and Jeopardize in his
  Commando role. Normally his role as a
  Ravager would be most important but he won’t be active in that role for the next few sections of the game. Consider moving towards the Role Levels of Commando and then Synergist after that.
 - Vanille: She will be spending most of her time, for now at least, as a Ravager, so continue working your way through that Crystarium followed by spending points in her
 Saboteur role. Again, focus on trying to increase her Role Level in each.

Make sure you have your Paradigms set up properly. Just like before, Sazh should start as a ![]() Commando with Vanille functioning as a
Commando with Vanille functioning as a ![]() Ravager. From there, rotate into the following Paradigms depending on how each of the upcoming battles are progressing:
Ravager. From there, rotate into the following Paradigms depending on how each of the upcoming battles are progressing:
- War & Peace (Sazh as Commando and Vanille as
 Medic)
 - Tide Turner (Sazh as Synergist and Vanille as Saboteur)
- Dualcasting (both as Ravagers)
Many of these Paradigms will already be set up for you but do a quick review of them before you start moving through the Cargo Access area. Use the ![]() Save Station to save your game and then run up and challenge the first group of enemies.
Save Station to save your game and then run up and challenge the first group of enemies.
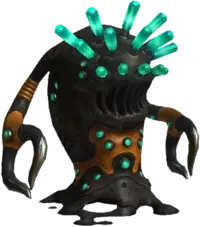
The Flanitor enemies you will already be familiar with, but the Flanborgs are new. Make sure to use ![]() Libra on the first Flanborg you face but then always focus on the Flanitor enemies first because, as you probably remember from before, they can heal other enemy combatants that have low HP.
Libra on the first Flanborg you face but then always focus on the Flanitor enemies first because, as you probably remember from before, they can heal other enemy combatants that have low HP.
Helpful Hint
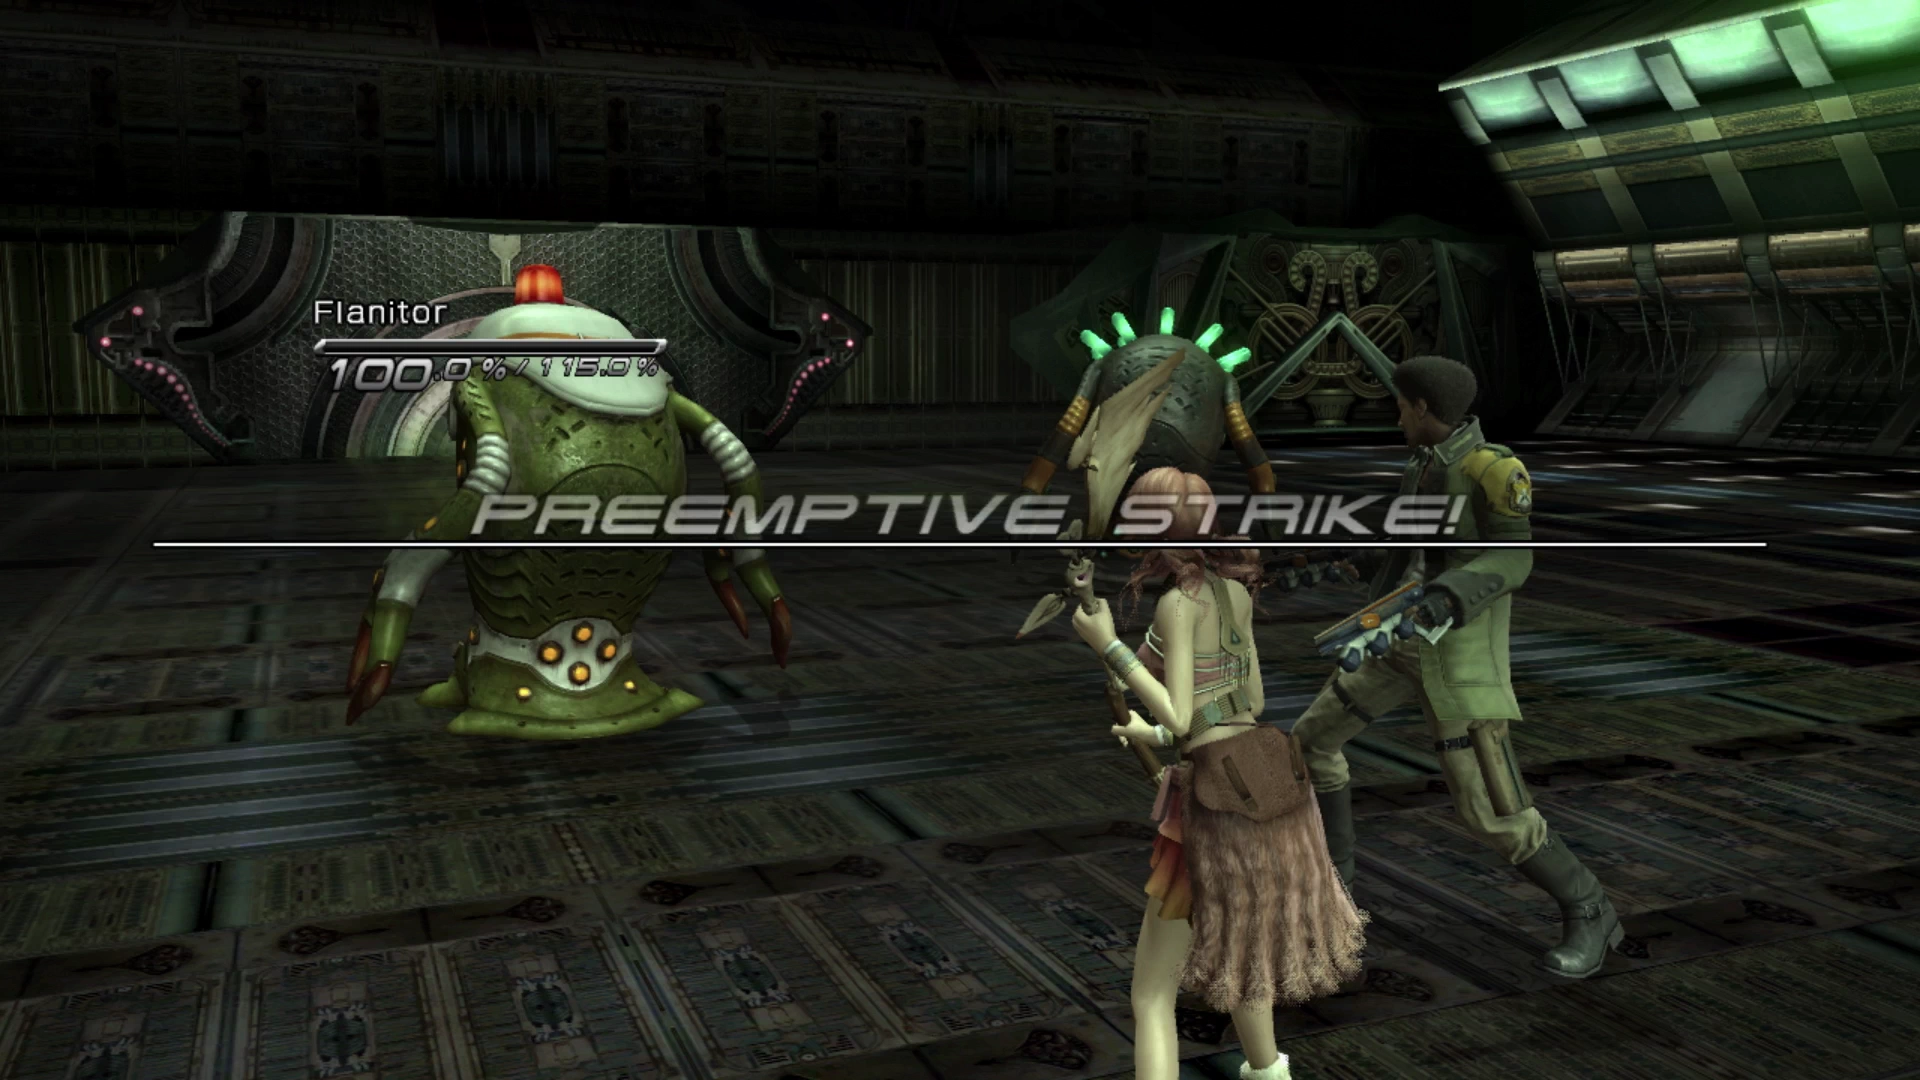
Flanborgs and Flanitors are extremely easy to sneak up on. It’s possible to get a ![]() preemptive strike on nearly all the enemies in this area which will greatly speed up your efficiency and improve the quality of the spoils that you receive at the end of each battle.
preemptive strike on nearly all the enemies in this area which will greatly speed up your efficiency and improve the quality of the spoils that you receive at the end of each battle.
Approach and defeat the next Flanborg which is all by itself. Proceed past it and take the pathway to the right. There is another group of two Flanborgs to defeat here and then you need to turn right one more time.
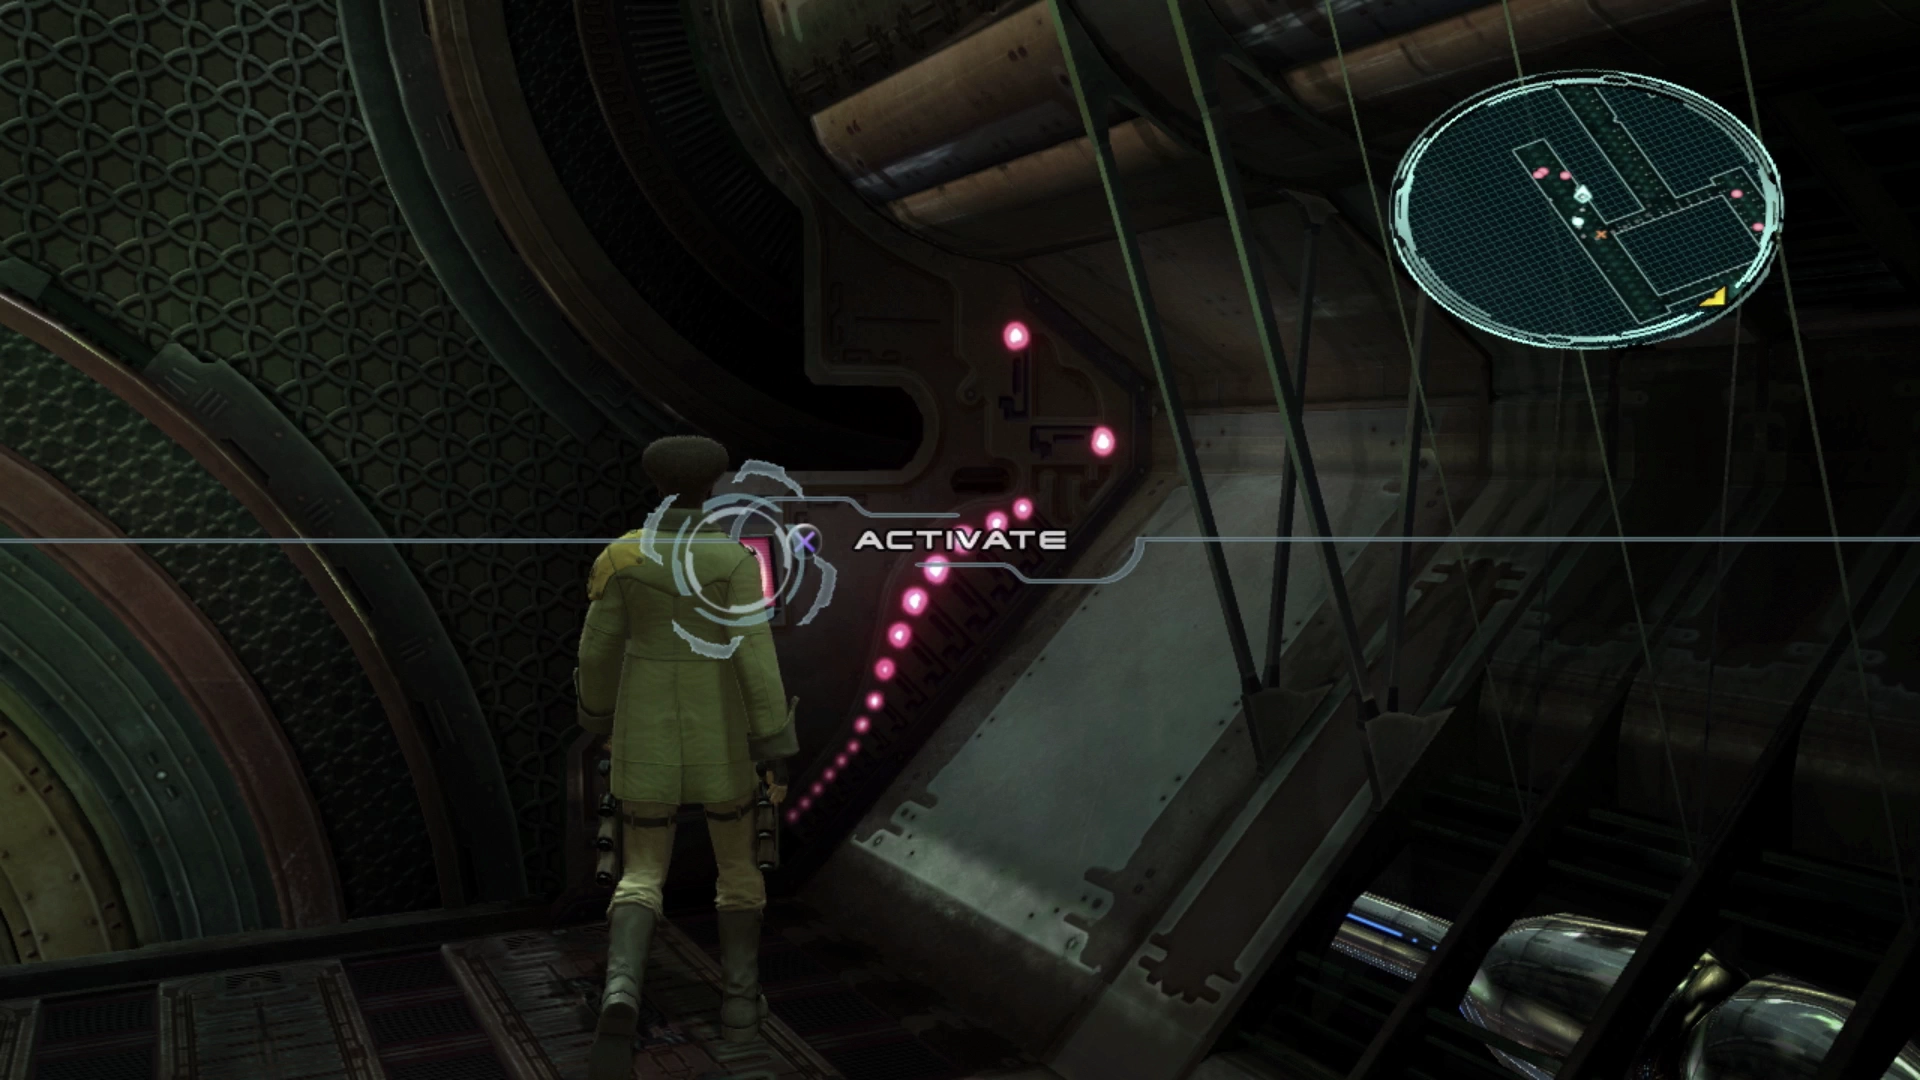
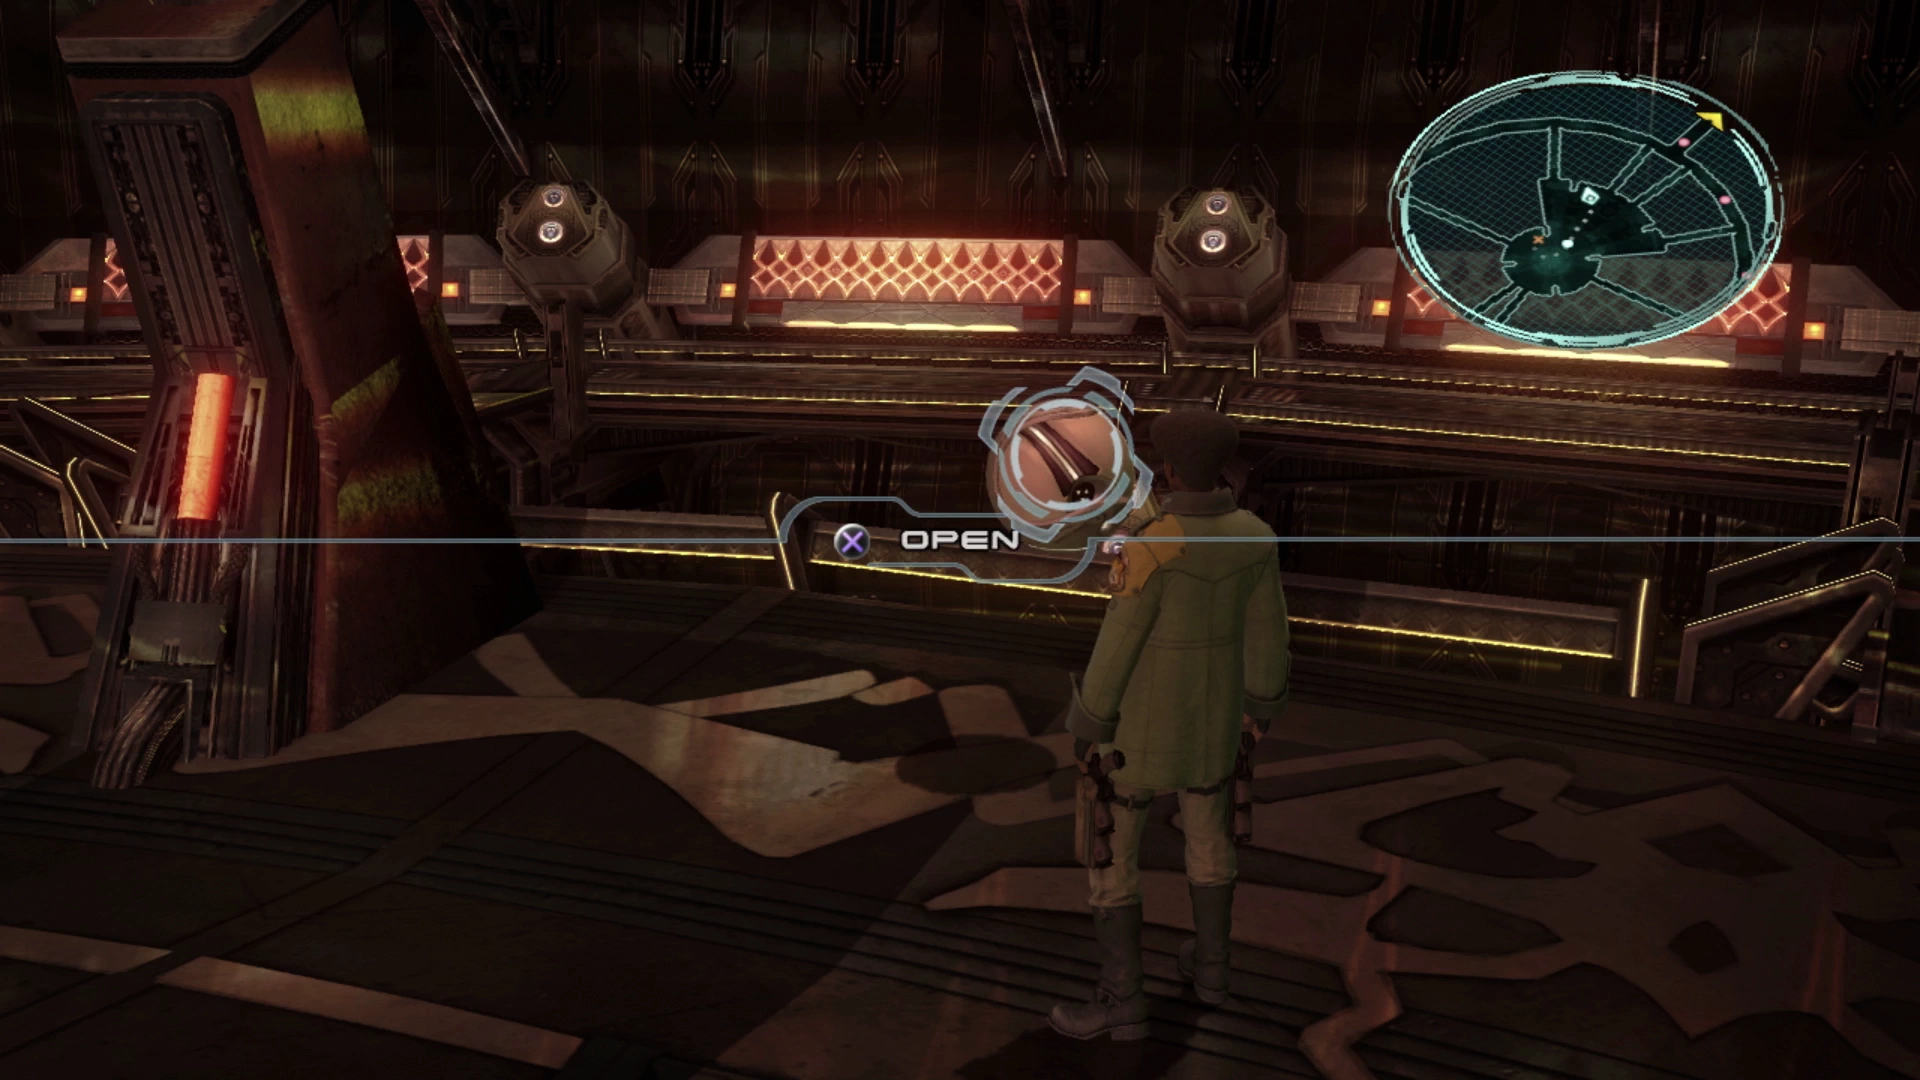
Open the locked door by pressing ![]()
![]()
![]() near the control screen and then defeat the two Flanborgs with a Flanitor in this locked room. Behind them is a Treasure Sphere that contains a
near the control screen and then defeat the two Flanborgs with a Flanitor in this locked room. Behind them is a Treasure Sphere that contains a ![]() Royal Armlet. This accessory increases your physical and magical resistance at the expense of strength so it’s not worth equipping to either of your party members right now.
Royal Armlet. This accessory increases your physical and magical resistance at the expense of strength so it’s not worth equipping to either of your party members right now.
Continue towards the exit of the Cargo Access area and, just before you reach the map marker, you will find one more Treasure Sphere . This one contains twelve vials of ![]() Murky Ooze. Open the door using the control panel on the left side to proceed into the next area.
Murky Ooze. Open the door using the control panel on the left side to proceed into the next area.
Now it’s back to Lightning, Hope, Fang, and Snow.
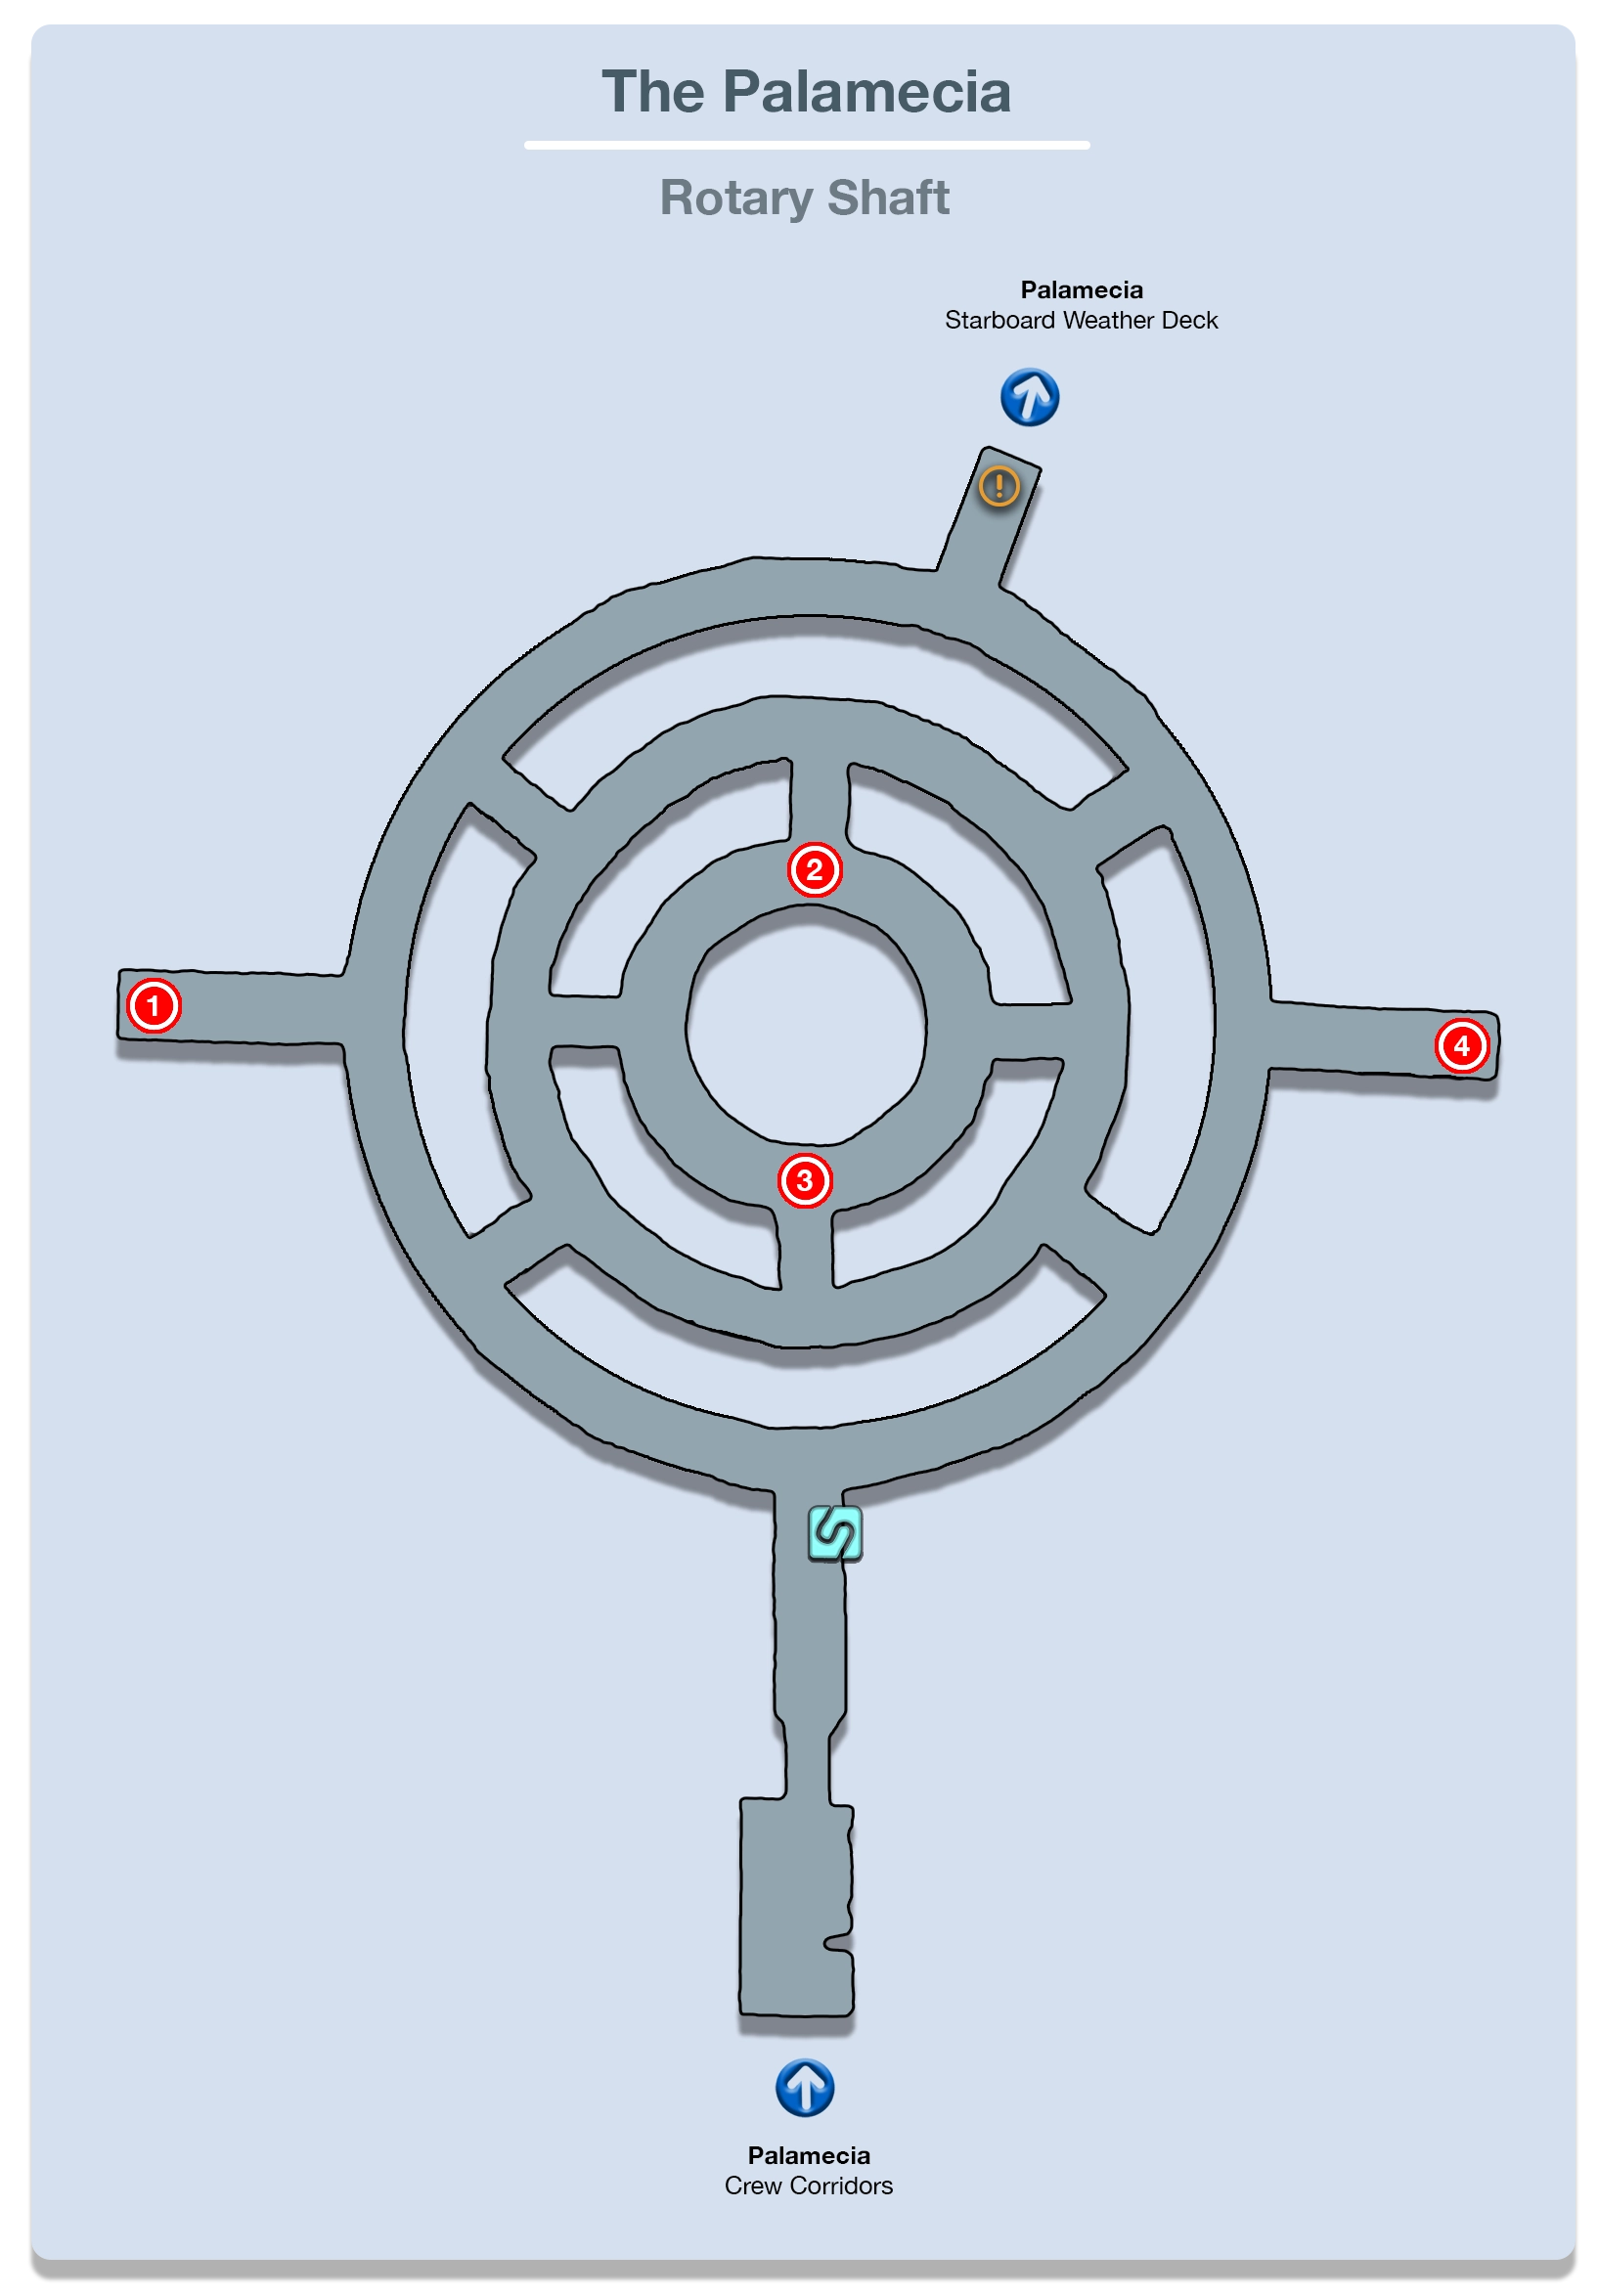
Rotary Shaft
Once you’re back in control of your characters use the ![]() Save Station just up ahead to save your game. Follow the guidelines outlined on the previous page for a reminder on how to best spend their Crystogen Points (CP).
Save Station just up ahead to save your game. Follow the guidelines outlined on the previous page for a reminder on how to best spend their Crystogen Points (CP).
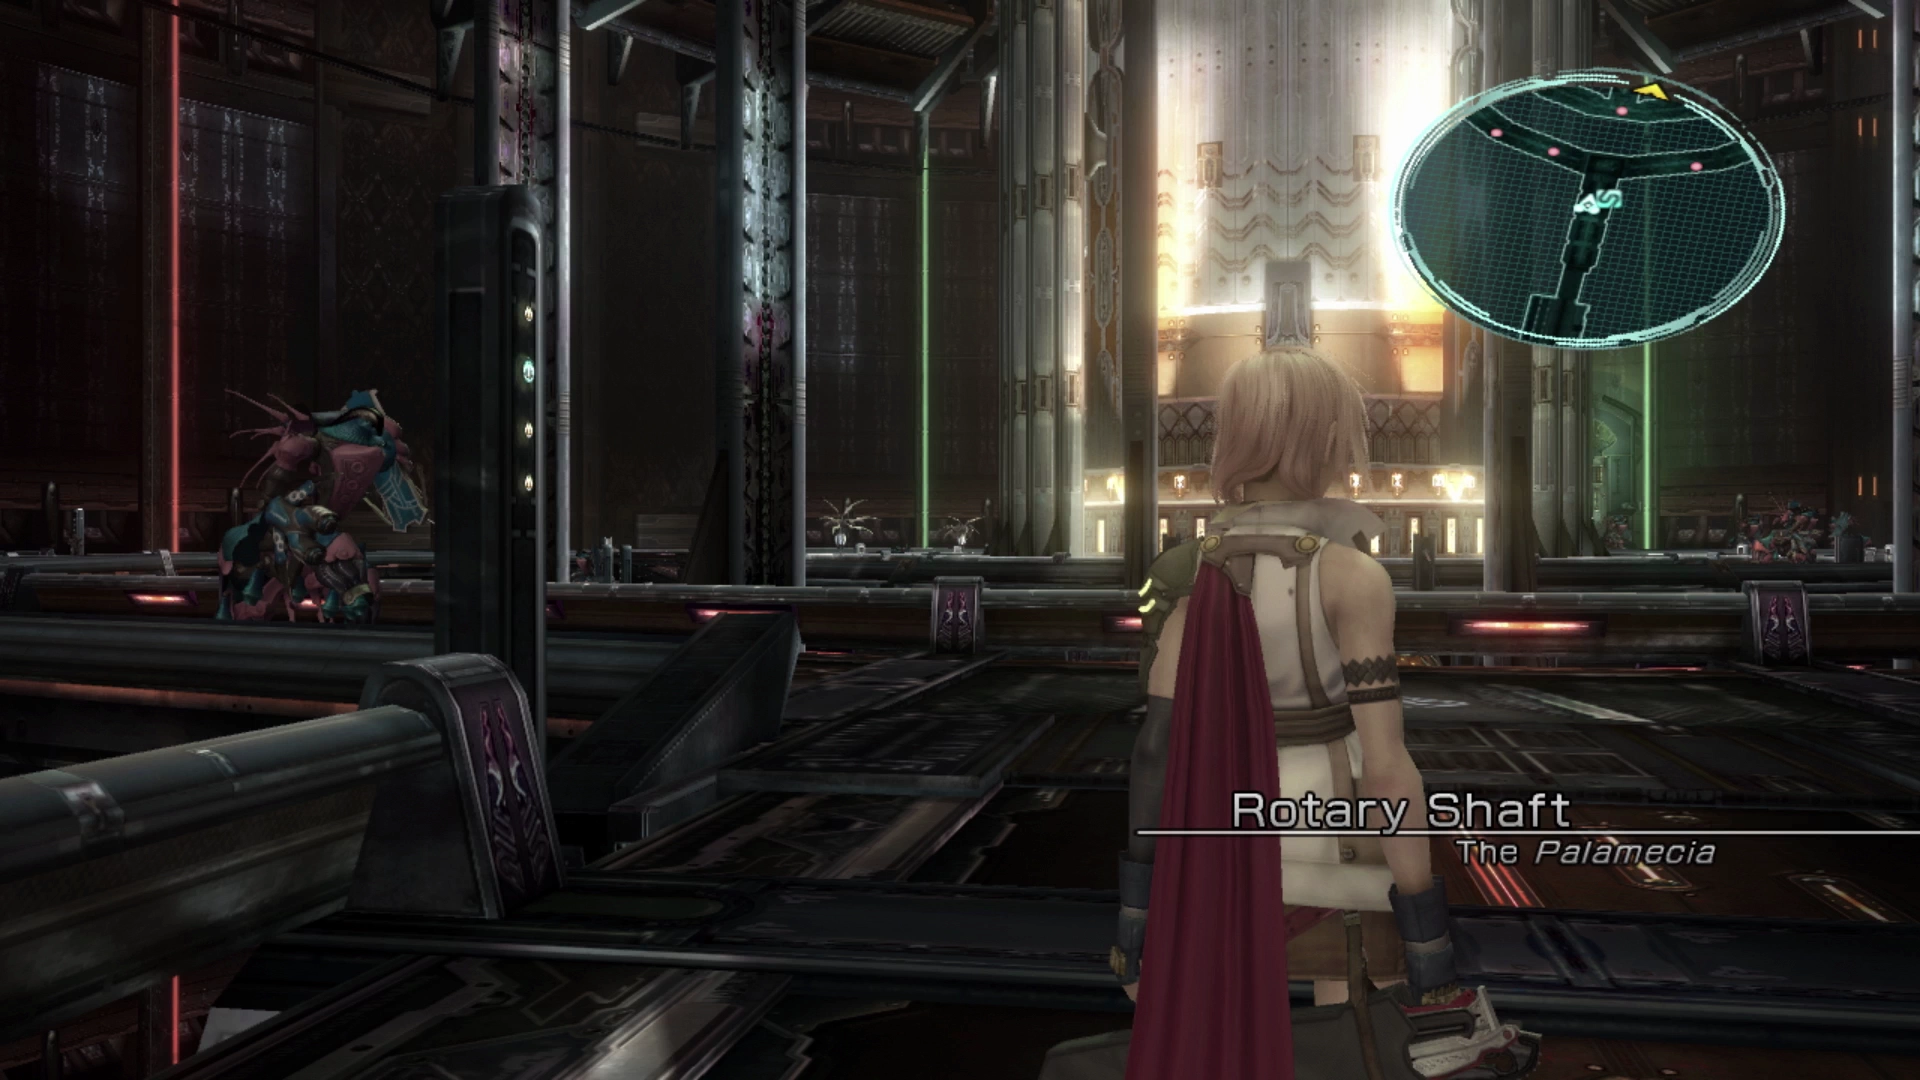
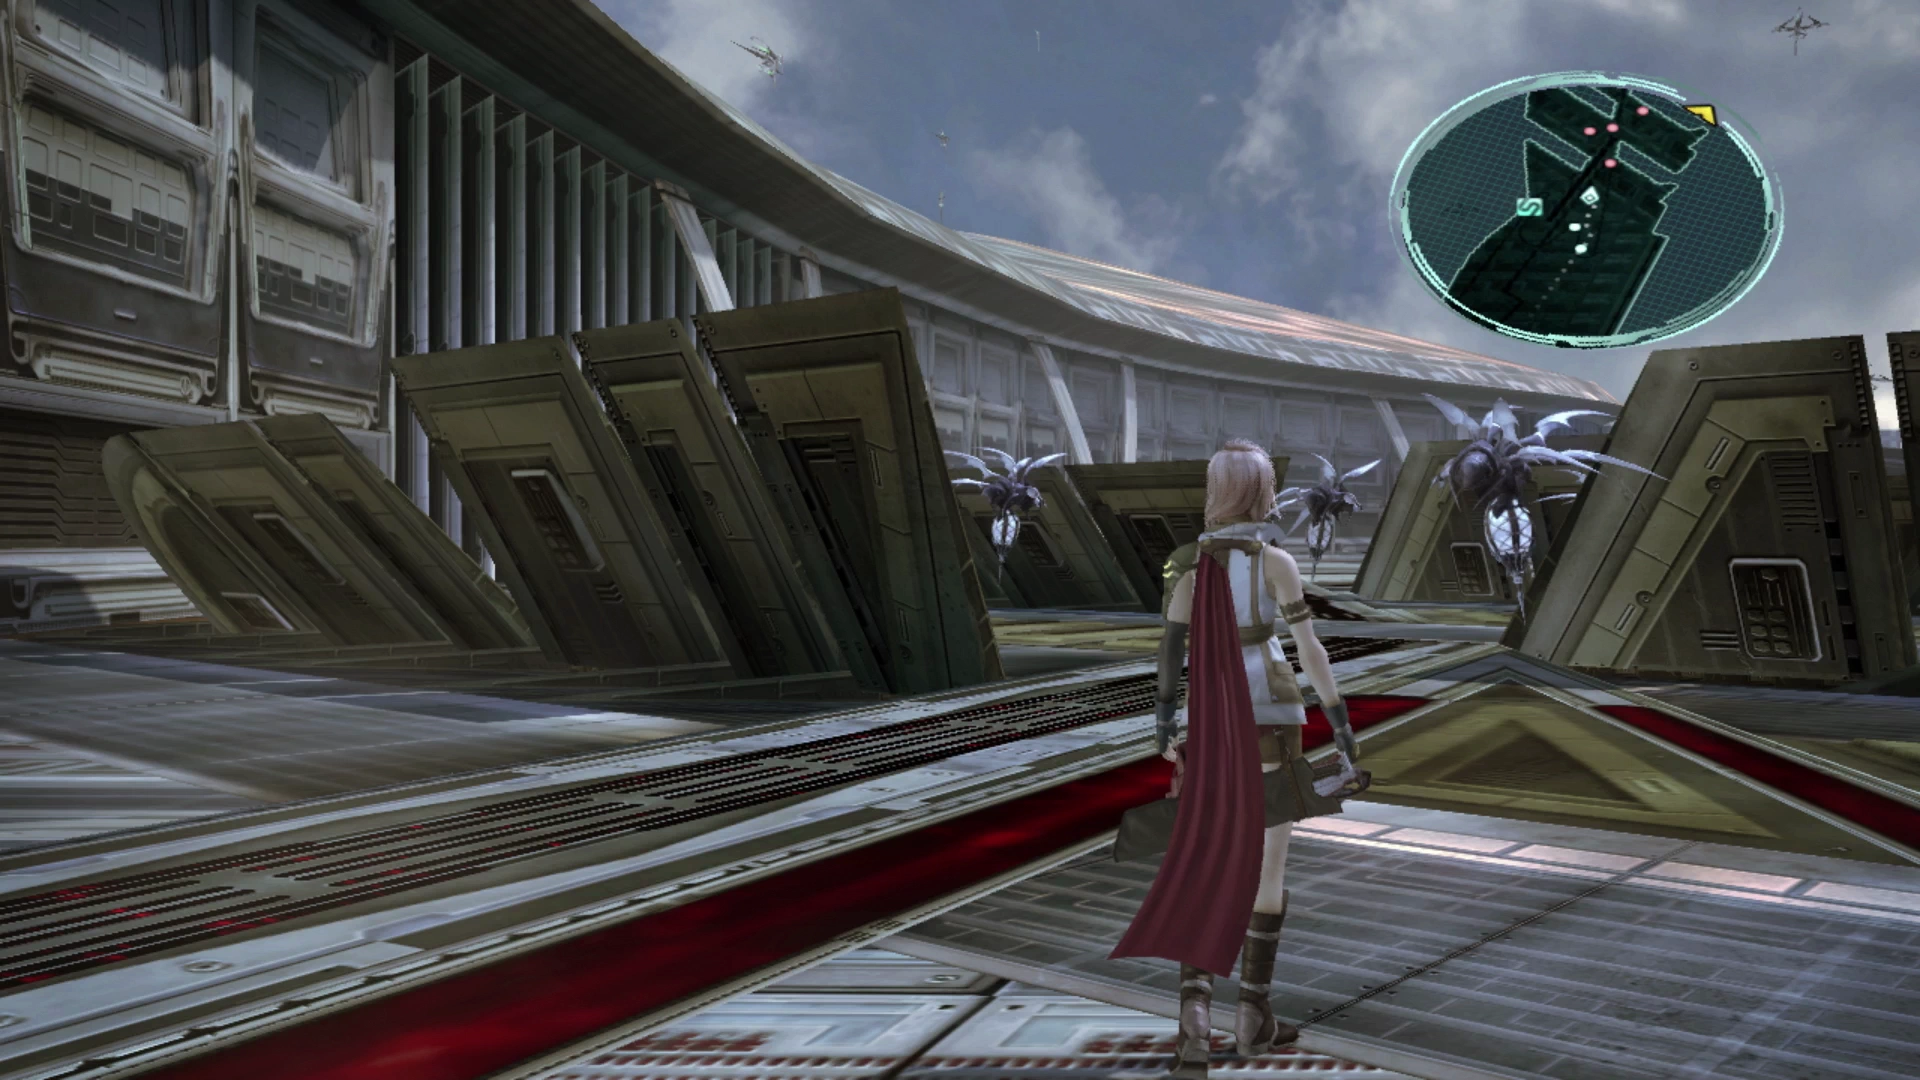
The Rotary Shaft is a pretty large room with several interweaving pathways making it a bit difficult to explain the navigation. It is advisable to use the map as a guide to find the Treasure Spheres. Before you venture in, let’s look at two new enemies that you will face in this area:
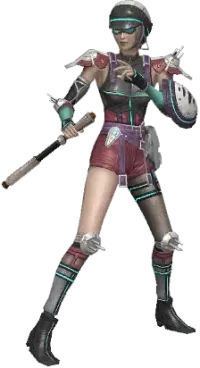
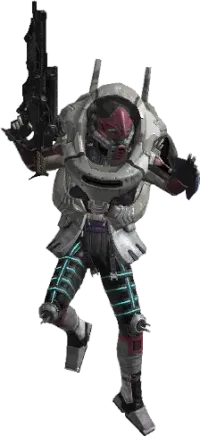
- Vespid Soldiers: These are the flying enemies. They are straightforward in terms of how you defeat them, which is to use a standard Paradigm, build up the Chain Gauge quickly and Stagger them, but they have some pretty powerful attacks to be wary of. Most important is their
 Aeroga spell which can do massive damage to more than one of your party members. Be ready to heal your party members both before and after it has been cast, especially if you’re fighting a few of them and they line up their attacks together.
 - Thermadons: These enemies are the same as the Armadons that you faced before. They take a lot of damage to defeat and need to be Staggered to remove their outer shell which prevents attacks from inflicting much damage. Focus your attacks on other enemies first and deal with any Thermadons you encounter last.
There are four Treasure Spheres in this area, and you should work your way across and through the interweaving platforms to open them all. Don’t worry about taking any wrong turns or about taking shortcuts as defeating these enemies will help to power up your characters with the CP they earn for some difficult boss fights coming up.
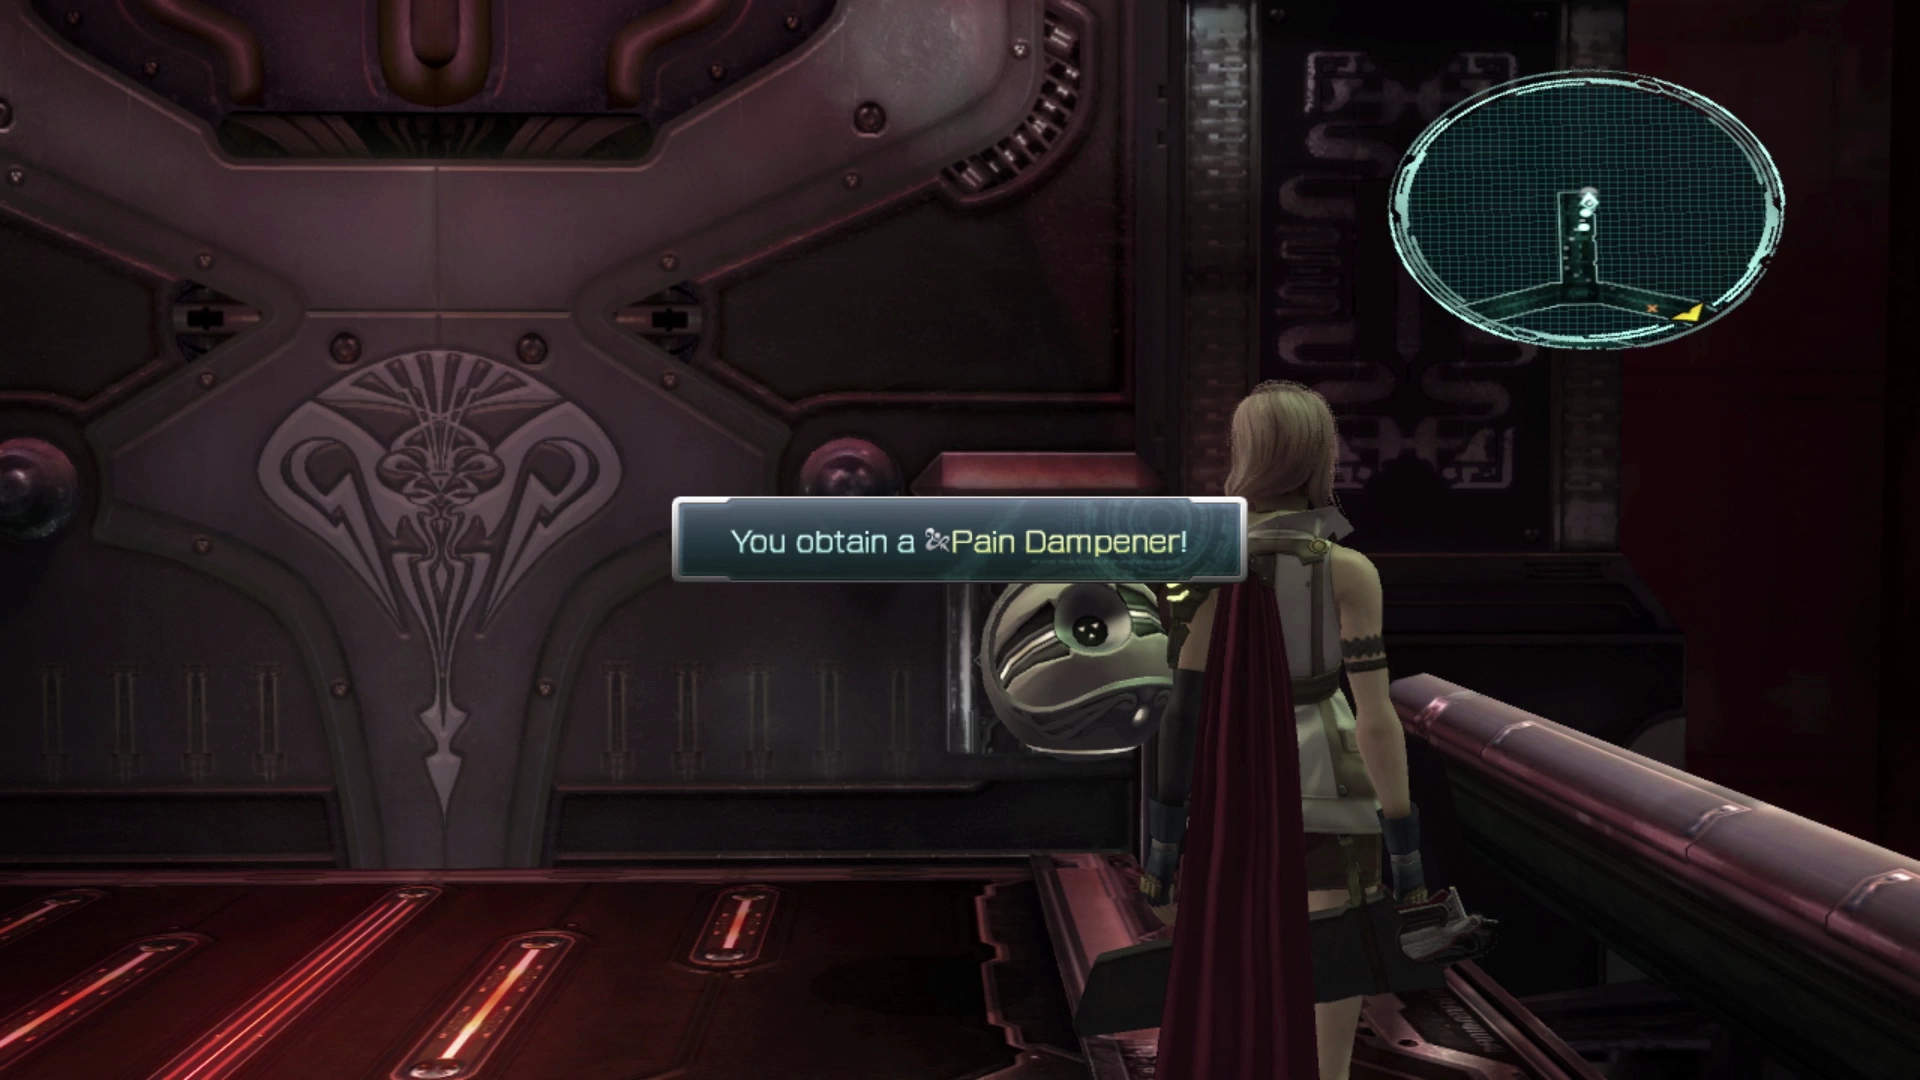
The Treasure Spheres contain a ![]() White Cape, a
White Cape, a ![]() Rhodochrosite, a
Rhodochrosite, a ![]() Perfect Conductor and a
Perfect Conductor and a ![]() Pain Dampener. Work your way towards the exit which is where the map marker appears to leave this area once you have all the items. Another short cutscene takes place before you wind up in control of Sazh and Vanille again.
Pain Dampener. Work your way towards the exit which is where the map marker appears to leave this area once you have all the items. Another short cutscene takes place before you wind up in control of Sazh and Vanille again.
Primary Engine Bay
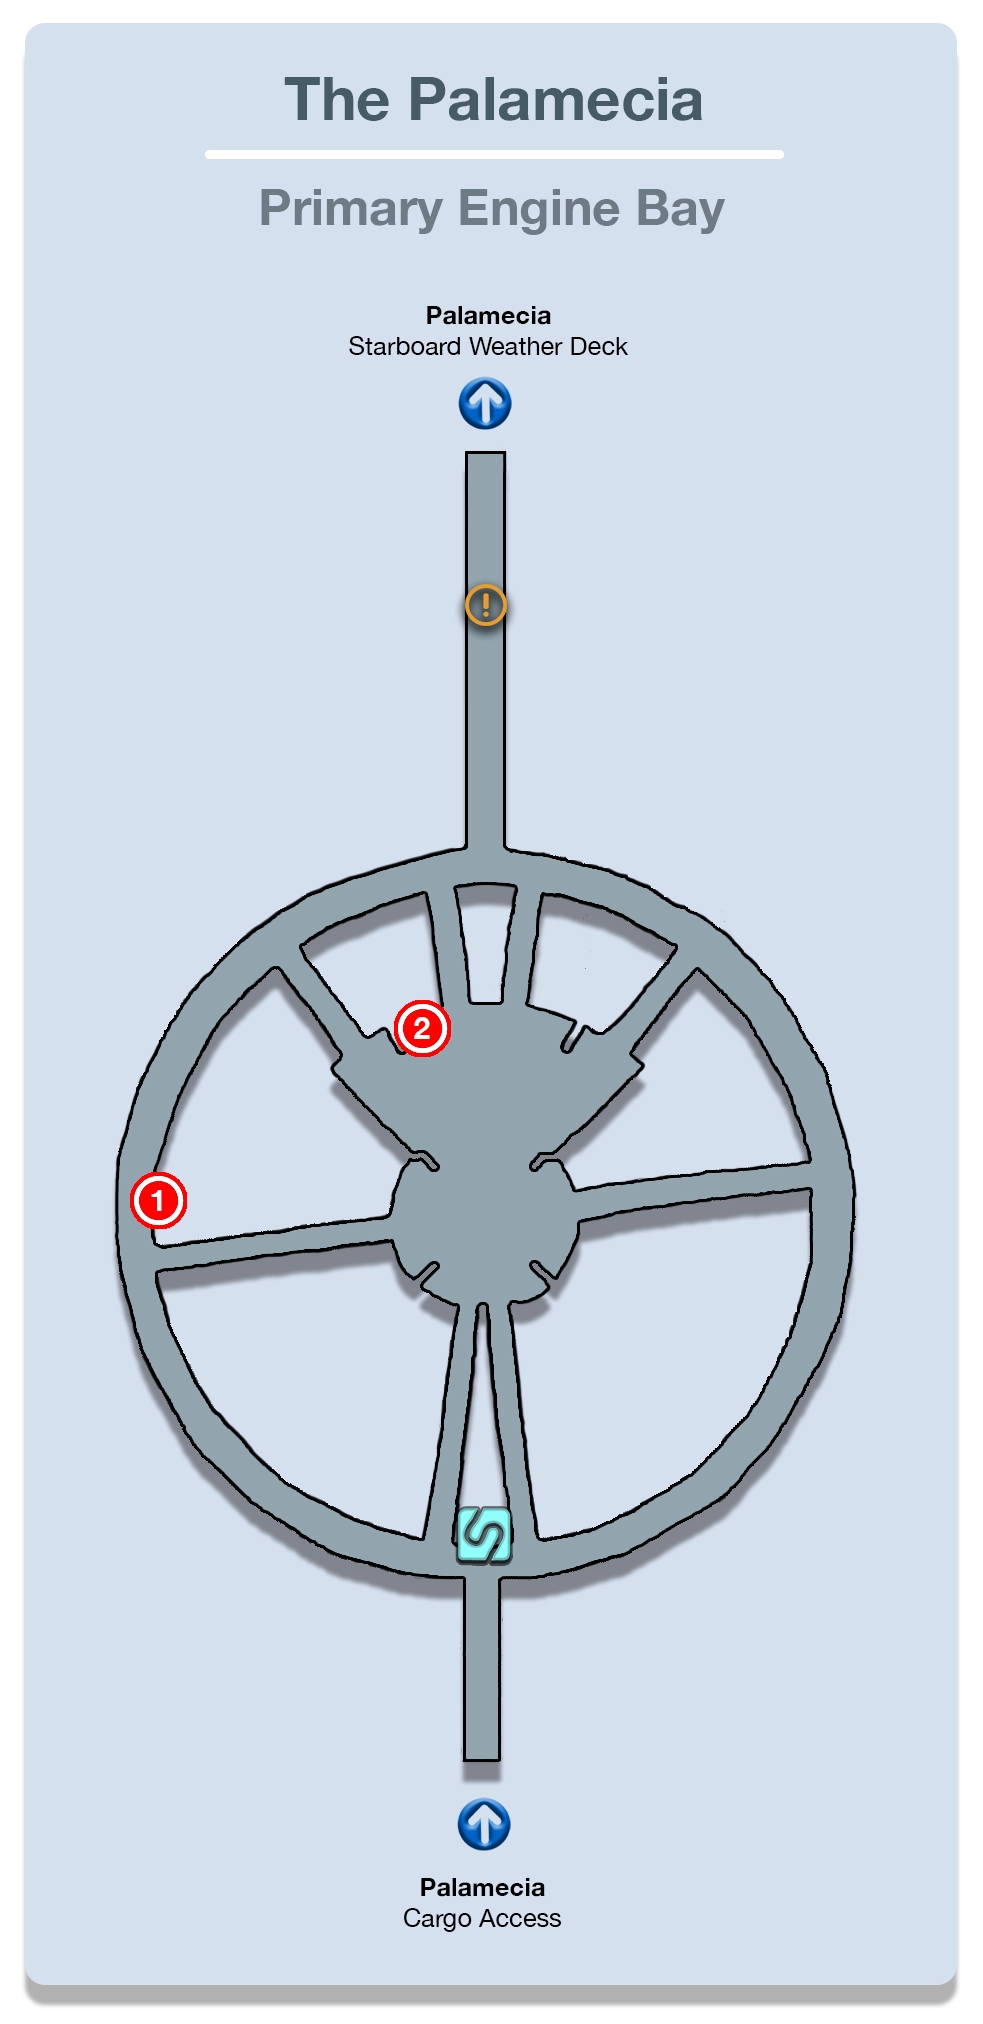
Use the ![]() Save Station to save your game and then take the pathway leading left. A Flanitor is patrolling back and forth in this area. Just wait for it to reach the end of its patrol when it’s close to you and jump in for a preemptive strike when its back is turned.
Save Station to save your game and then take the pathway leading left. A Flanitor is patrolling back and forth in this area. Just wait for it to reach the end of its patrol when it’s close to you and jump in for a preemptive strike when its back is turned.

There is a Treasure Sphere just up ahead, but you’ll have to defeat the group of two Flanborgs nearby before you can open it. This Treasure Sphere contains eight ![]() Segmented Carapaces.
Segmented Carapaces.
Now it’s time to take out the large group of enemies in the center of the Primary Engine Bay. This group includes three Vespid Soldiers and a lone Thermadon. This is an extremely challenging fight and it’s absolutely worth spending the time to bait the enemy into charging towards you so that you can run in and get a preemptive strike when its back is turned.
With a preemptive strike, Sazh can use his ![]() Blitz ability to keep them all at, or near, their Stagger points which will allow your two party members to quickly take out a few of the Vespid Soldiers. With one or more of them gone, it’s easier to swap between your regular Paradigm rotations to take out the Thermadon.
Blitz ability to keep them all at, or near, their Stagger points which will allow your two party members to quickly take out a few of the Vespid Soldiers. With one or more of them gone, it’s easier to swap between your regular Paradigm rotations to take out the Thermadon.
Unfortunately, the Treasure Sphere in the center of the platform, your reward for defeating this large group of enemies, is just a tuft of ![]() Phoenix Down, but this is good practice and a good opportunity to earn some CP nonetheless.
Phoenix Down, but this is good practice and a good opportunity to earn some CP nonetheless.
There is one more lone Thermadon that you will have to deal with as you make your way towards the map marker and into the next area. Sazh and Vanille will automatically be thrown into one more battle against a Vespid Soldier and a Thermadon. Just like before, focus on the Vespid Soldier first.
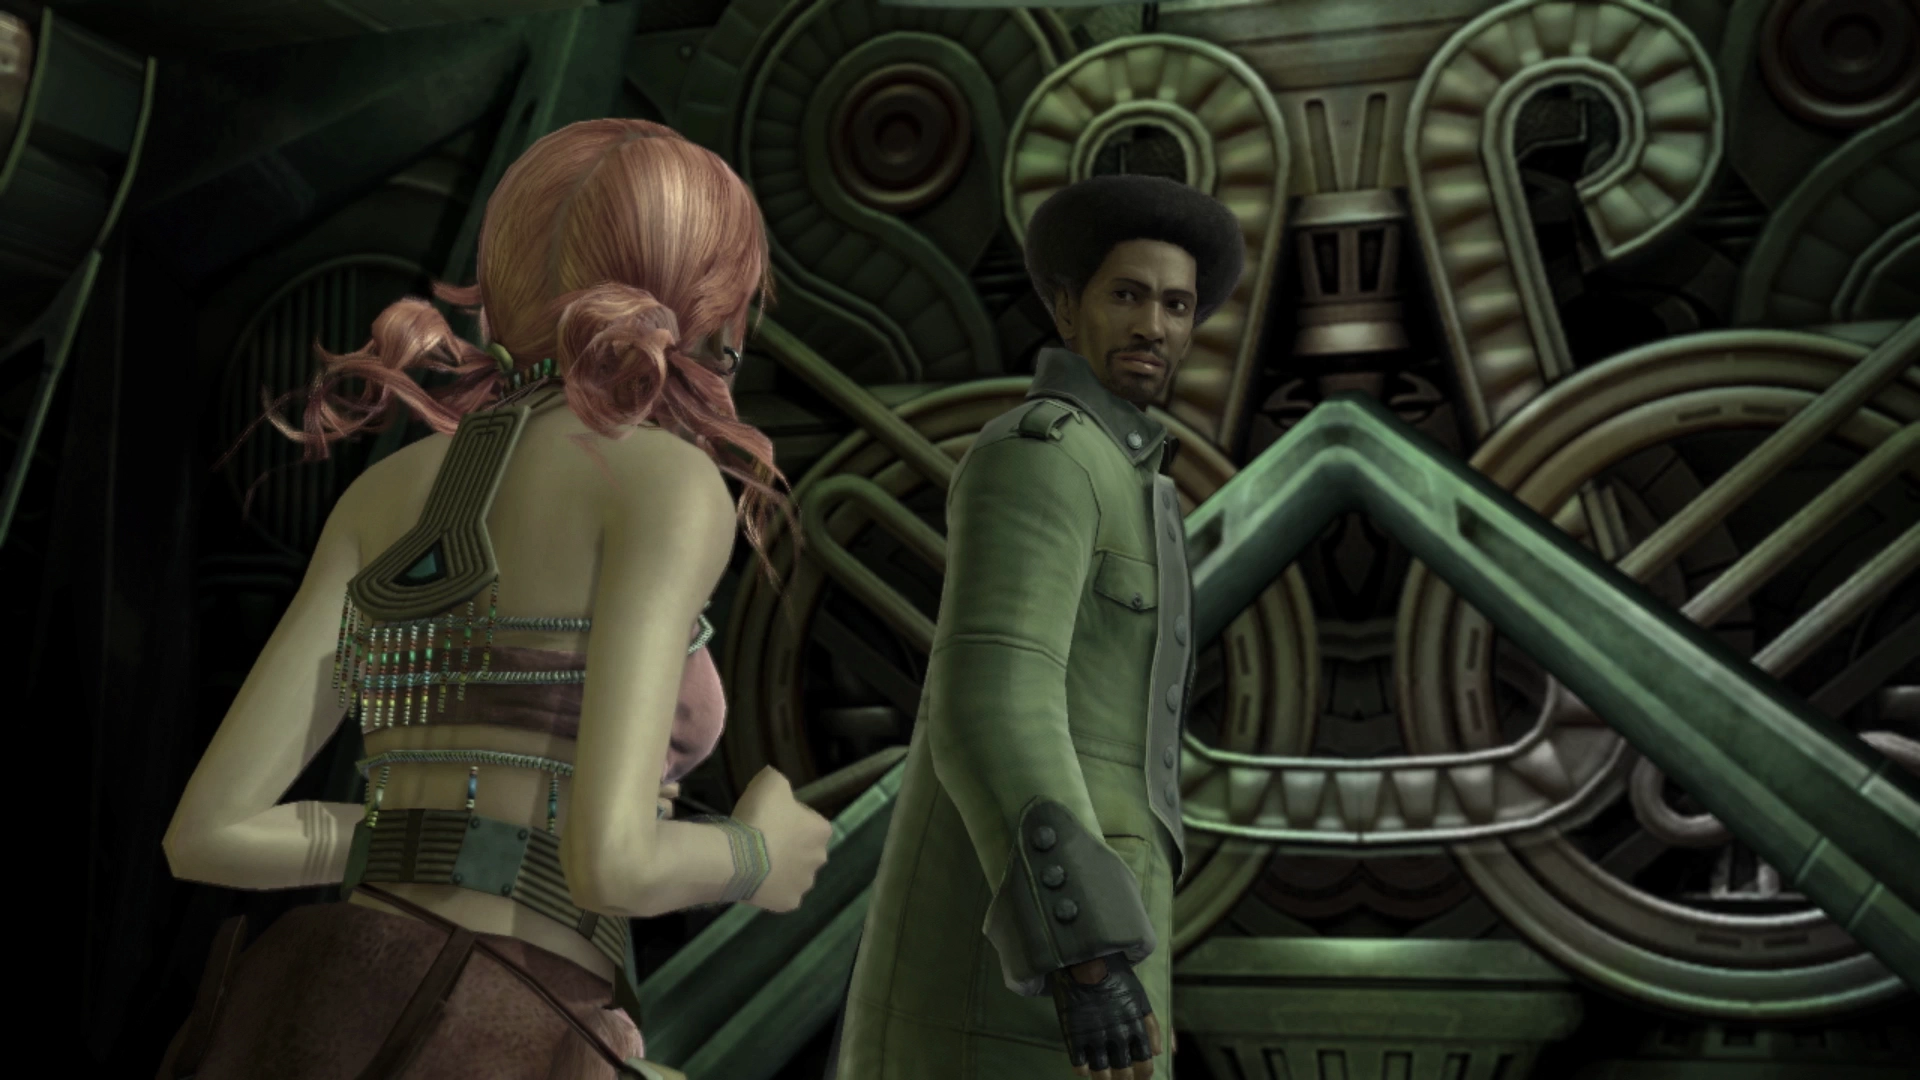
There are more cutscenes after the fight before it’s back over to the other team.
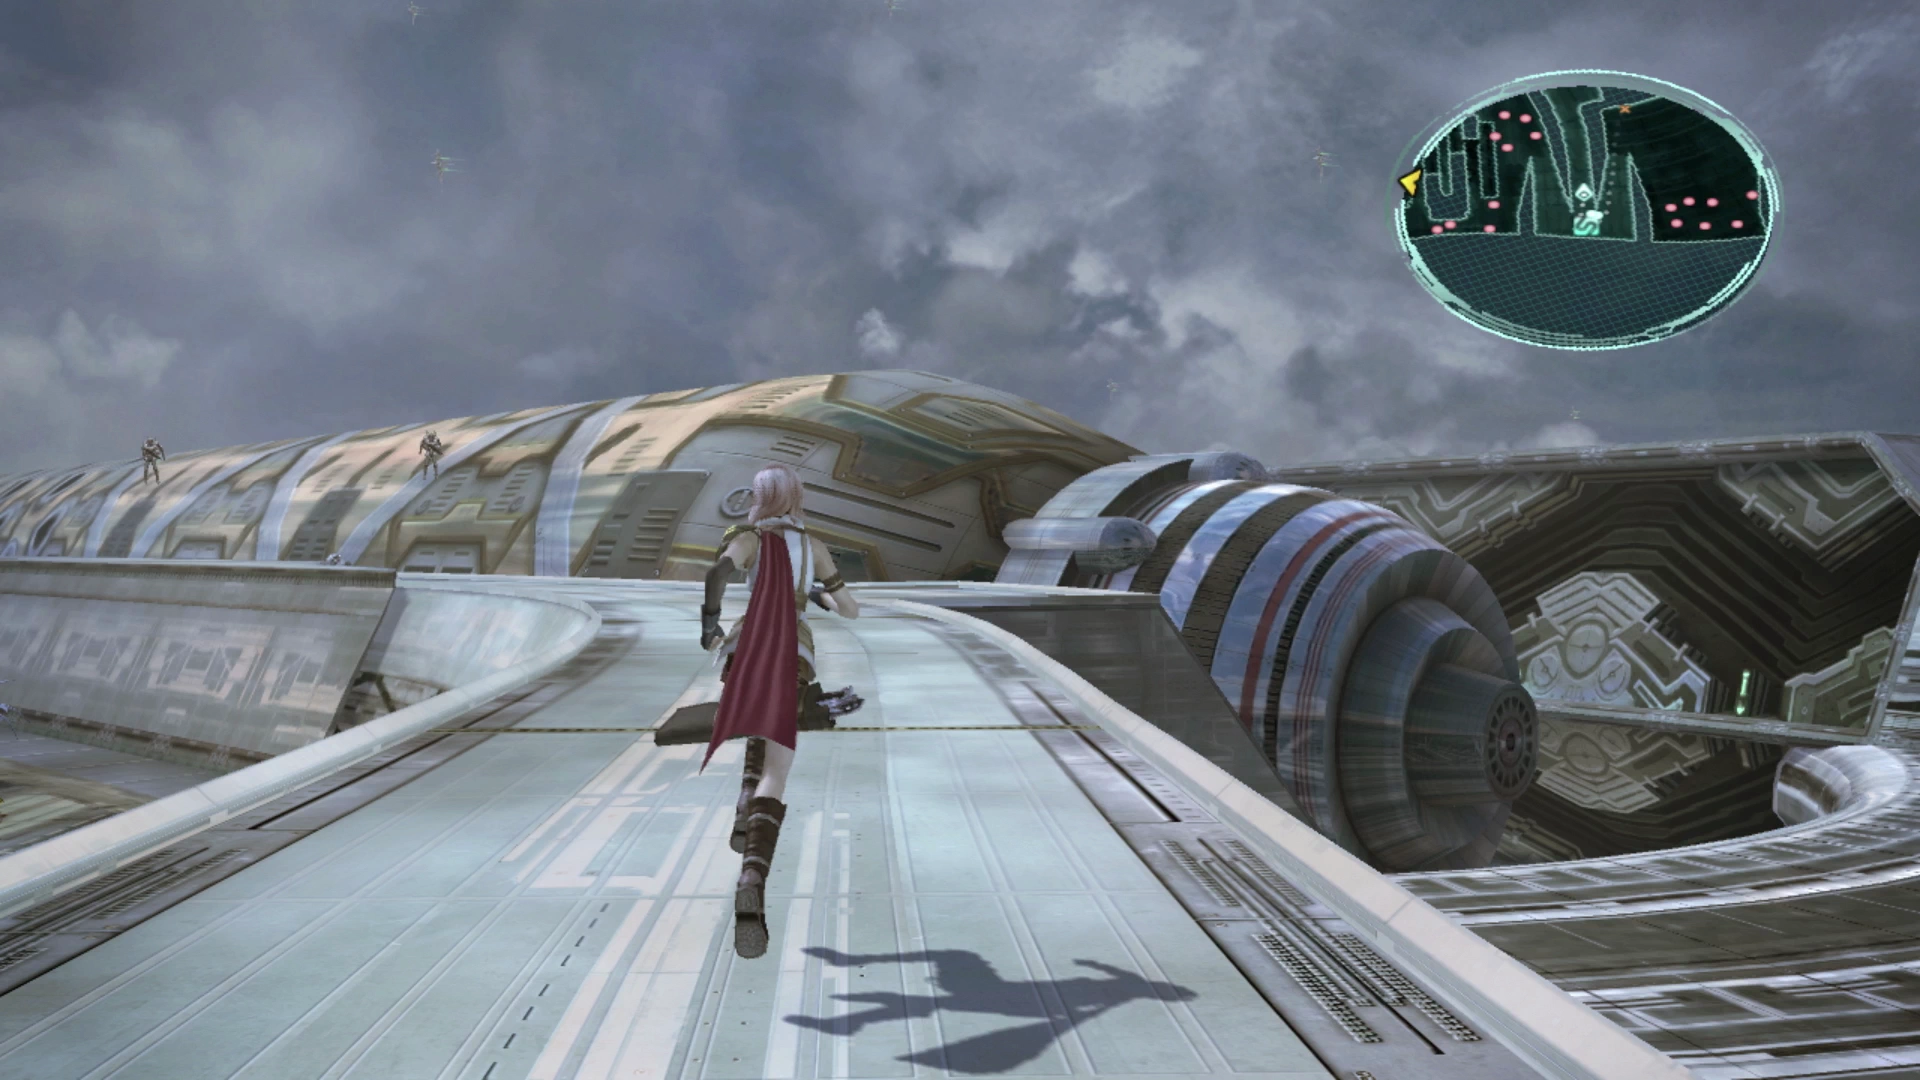
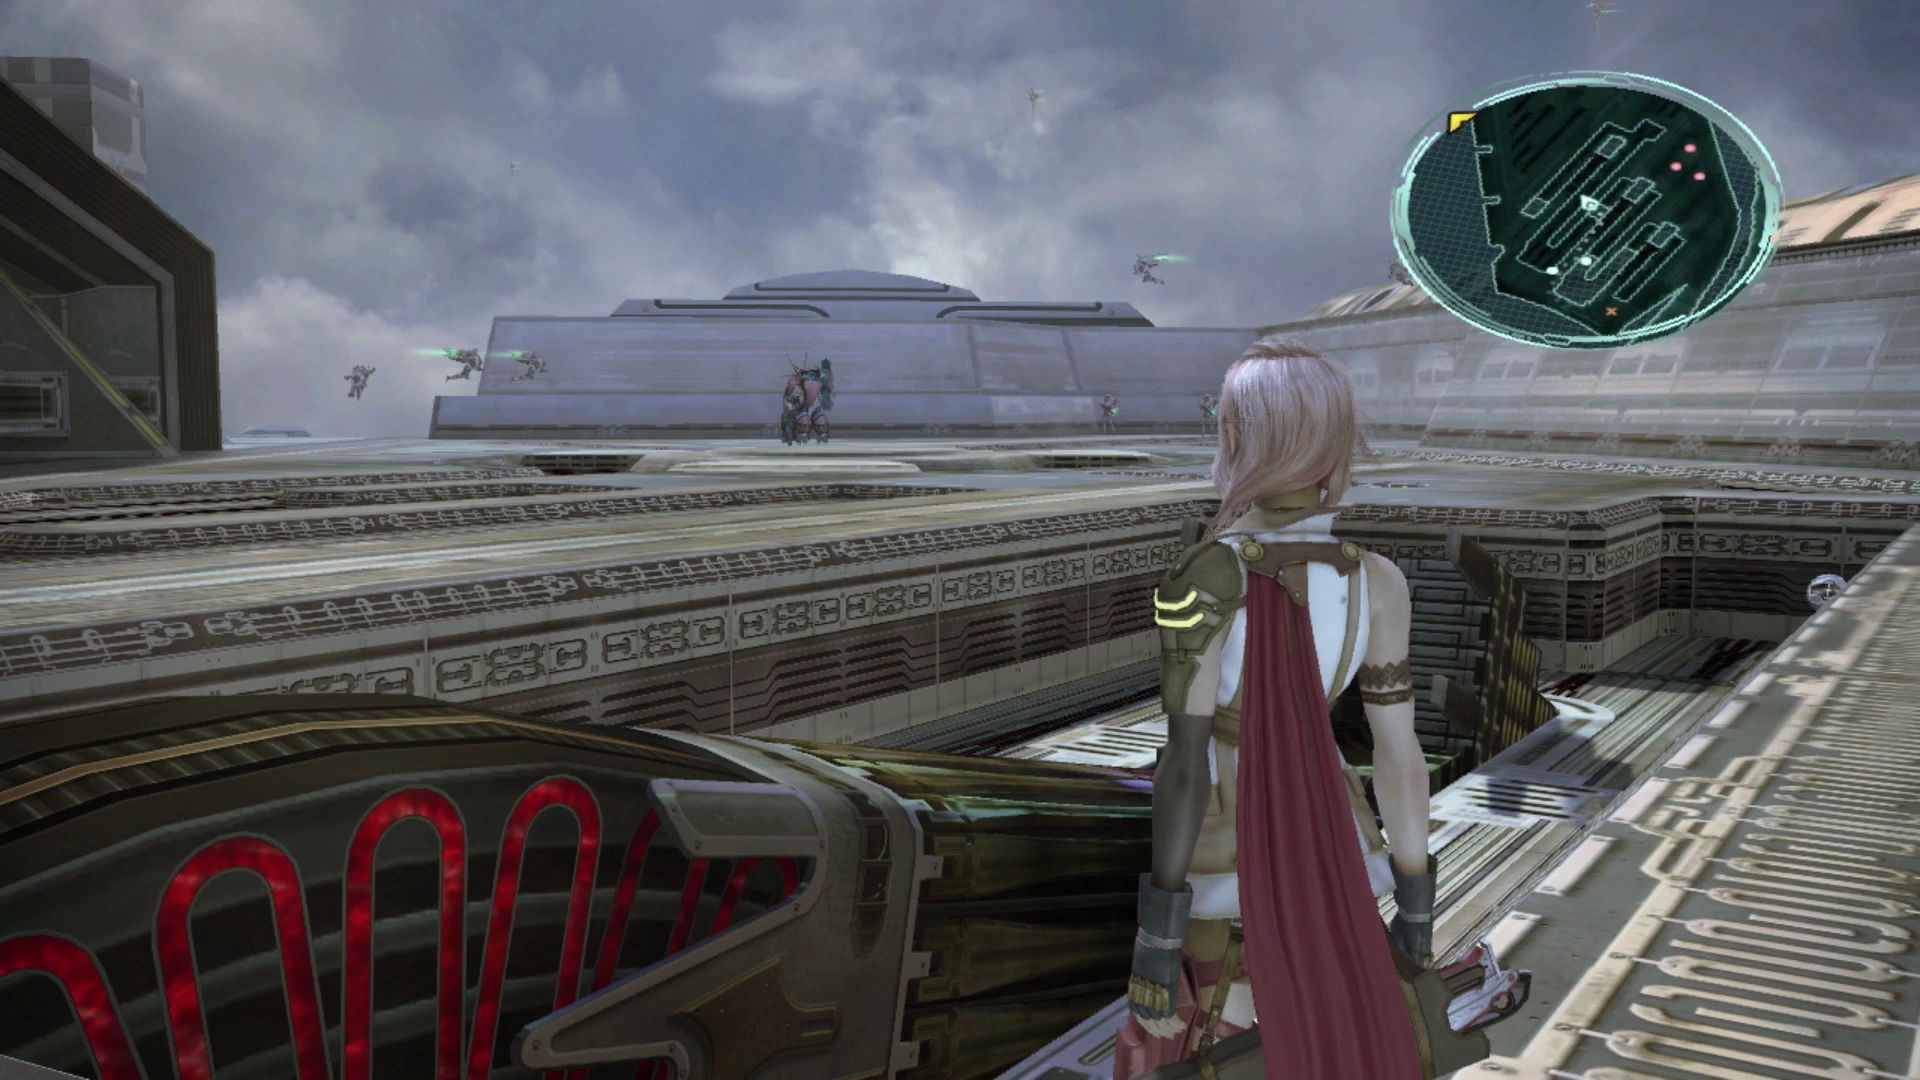
Starboard Weather Deck
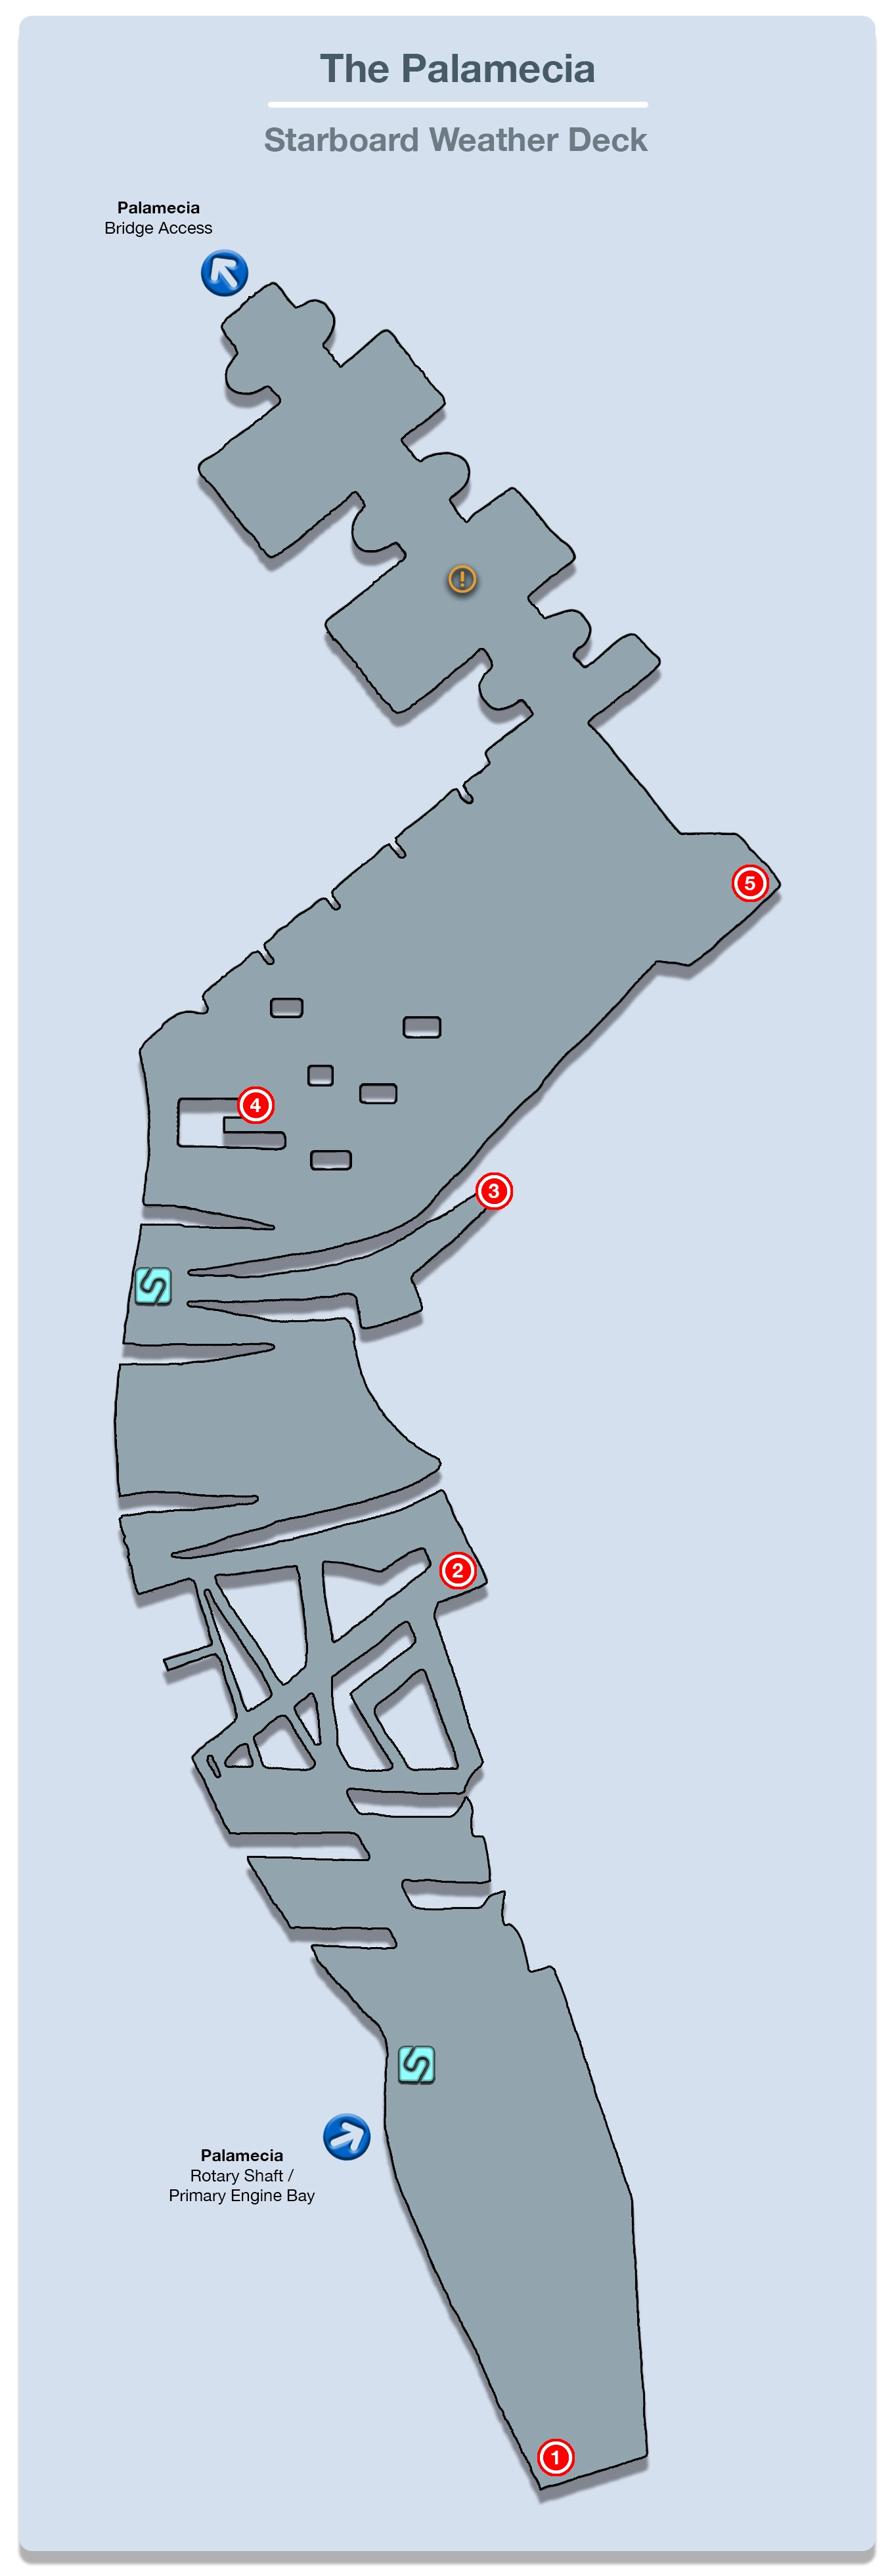
Don’t forget to spend your stored-up Crystogen Points (CP)! This team hasn’t gained that many since you were last playing them, but every extra bit of stats makes each battle faster and more efficient, so keep spending them whenever you can.
The team starts next to a ![]() Save Station, so save your game, but then immediately turn around and fight the group of three Vespid Soldiers. Keeping going even further back and defeat the group of two Vespid Soldiers accompanied by a Viking and remember to take out the Vespid Soldiers first.
Save Station, so save your game, but then immediately turn around and fight the group of three Vespid Soldiers. Keeping going even further back and defeat the group of two Vespid Soldiers accompanied by a Viking and remember to take out the Vespid Soldiers first.
There is a Treasure Sphere behind these two groups that contains a ![]() Whistlewind Scarf. This accessory provides an
Whistlewind Scarf. This accessory provides an ![]() ATB Advantage passive ability. This sounds much better than it is; it provides the wearer with one charged ATB Gauge at the start of the battle. There are much better accessories on their own so it may not be worth equipping, but…
ATB Advantage passive ability. This sounds much better than it is; it provides the wearer with one charged ATB Gauge at the start of the battle. There are much better accessories on their own so it may not be worth equipping, but…
Helpful Hint
The ![]() Whistlewind Scarf is in the same Synthesis Group as Lightning’s current weapon, the
Whistlewind Scarf is in the same Synthesis Group as Lightning’s current weapon, the ![]() Axis Blade, so equipping this accessory to her will provide her with the
Axis Blade, so equipping this accessory to her will provide her with the ![]() ATB Rate: +10% synthesized ability. If you have the room, consider equipping this in one of Lightning’s accessory slots.
ATB Rate: +10% synthesized ability. If you have the room, consider equipping this in one of Lightning’s accessory slots.
This ATB Rate synthesized ability is not a “must have” though so don’t go for it if it’s too detrimental to Lightning’s current setup. If you would like more information on how these abilities work, check out the Synthesized Abilities section.
Proceed along the Starboard Weather Deck and defeat the two groups of Vespid Soldiers along the way. Try to get a preemptive strike in if you can.
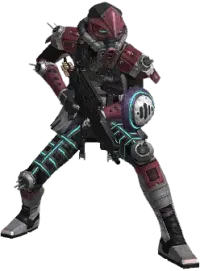
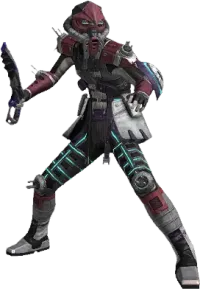
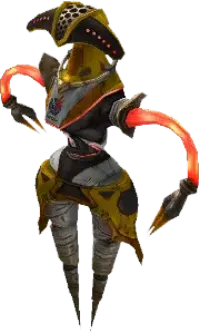
Eventually, you’ll reach an area with a bunch of pathways and a group of two PSICOM Dragoons and a Viking. Focus on the two Dragoons first. Grab the Treasure Sphere behind them which contains a ![]() Perfect Conductor.
Perfect Conductor.
Travel to the other side of the deck and defeat the next group of two PSICOM Dragoons with a Viking and then head down the ramp. There are several large groups of enemies in this area that include both Vespid Soldiers and Deckdrones.
Your regular strategies will work against these larger groups just like they did before but be prepared to be a bit more defensive once their more powerful attacks start charging (![]() Aeroga and Cyclone).
Aeroga and Cyclone).
Continue up the ramp on the far side to find a ![]() Save Station at the top where you can save your game.
Save Station at the top where you can save your game.
There are now two directions you can go: straight along the ledge or down the ramp. Take the ledge pathway which leads to a group of two PSICOM Dragoons to defeat that are blocking the way to a Treasure Sphere. The Treasure Sphere contains thirteen ![]() Barbed Tails.
Barbed Tails.
Head back to the ![]() Save Station and go down the ramp. There’s another large group of Deckdrones at the bottom that are easy to surprise with a preemptive strike.
Save Station and go down the ramp. There’s another large group of Deckdrones at the bottom that are easy to surprise with a preemptive strike.
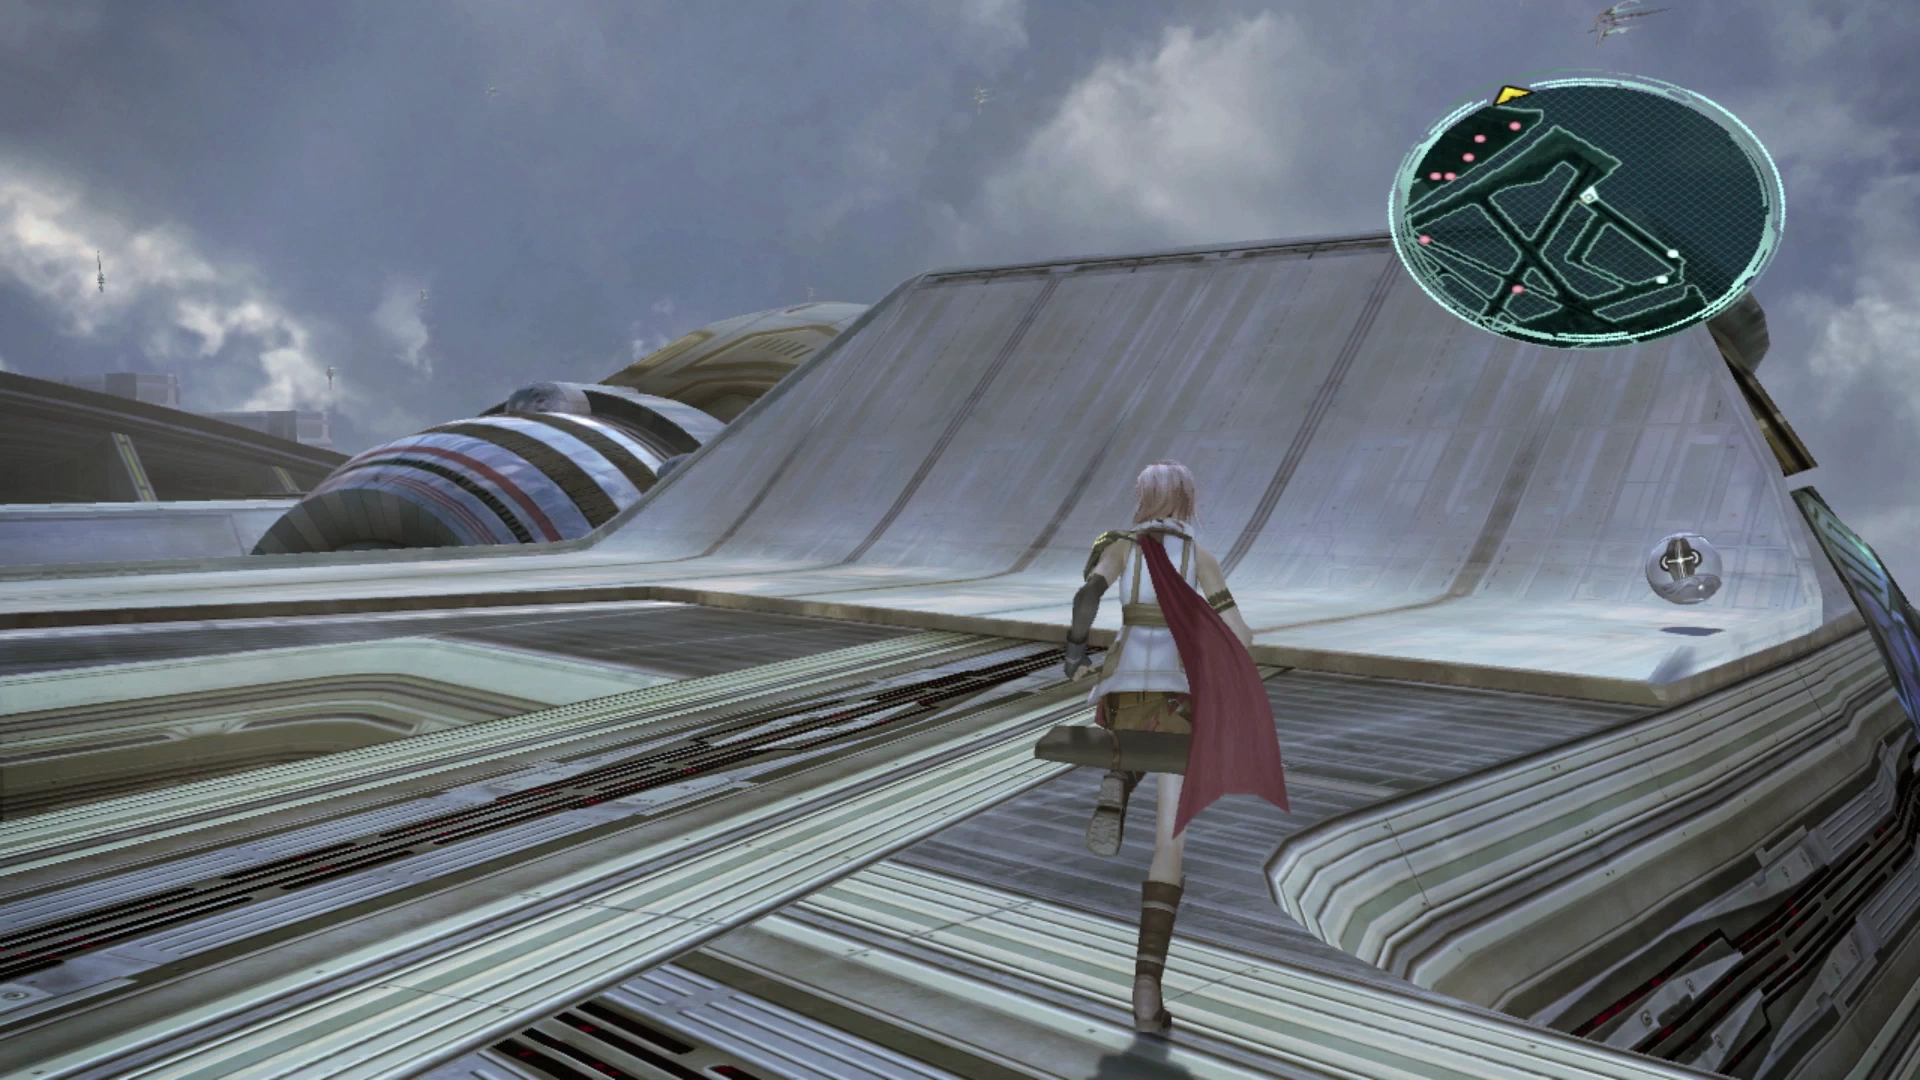
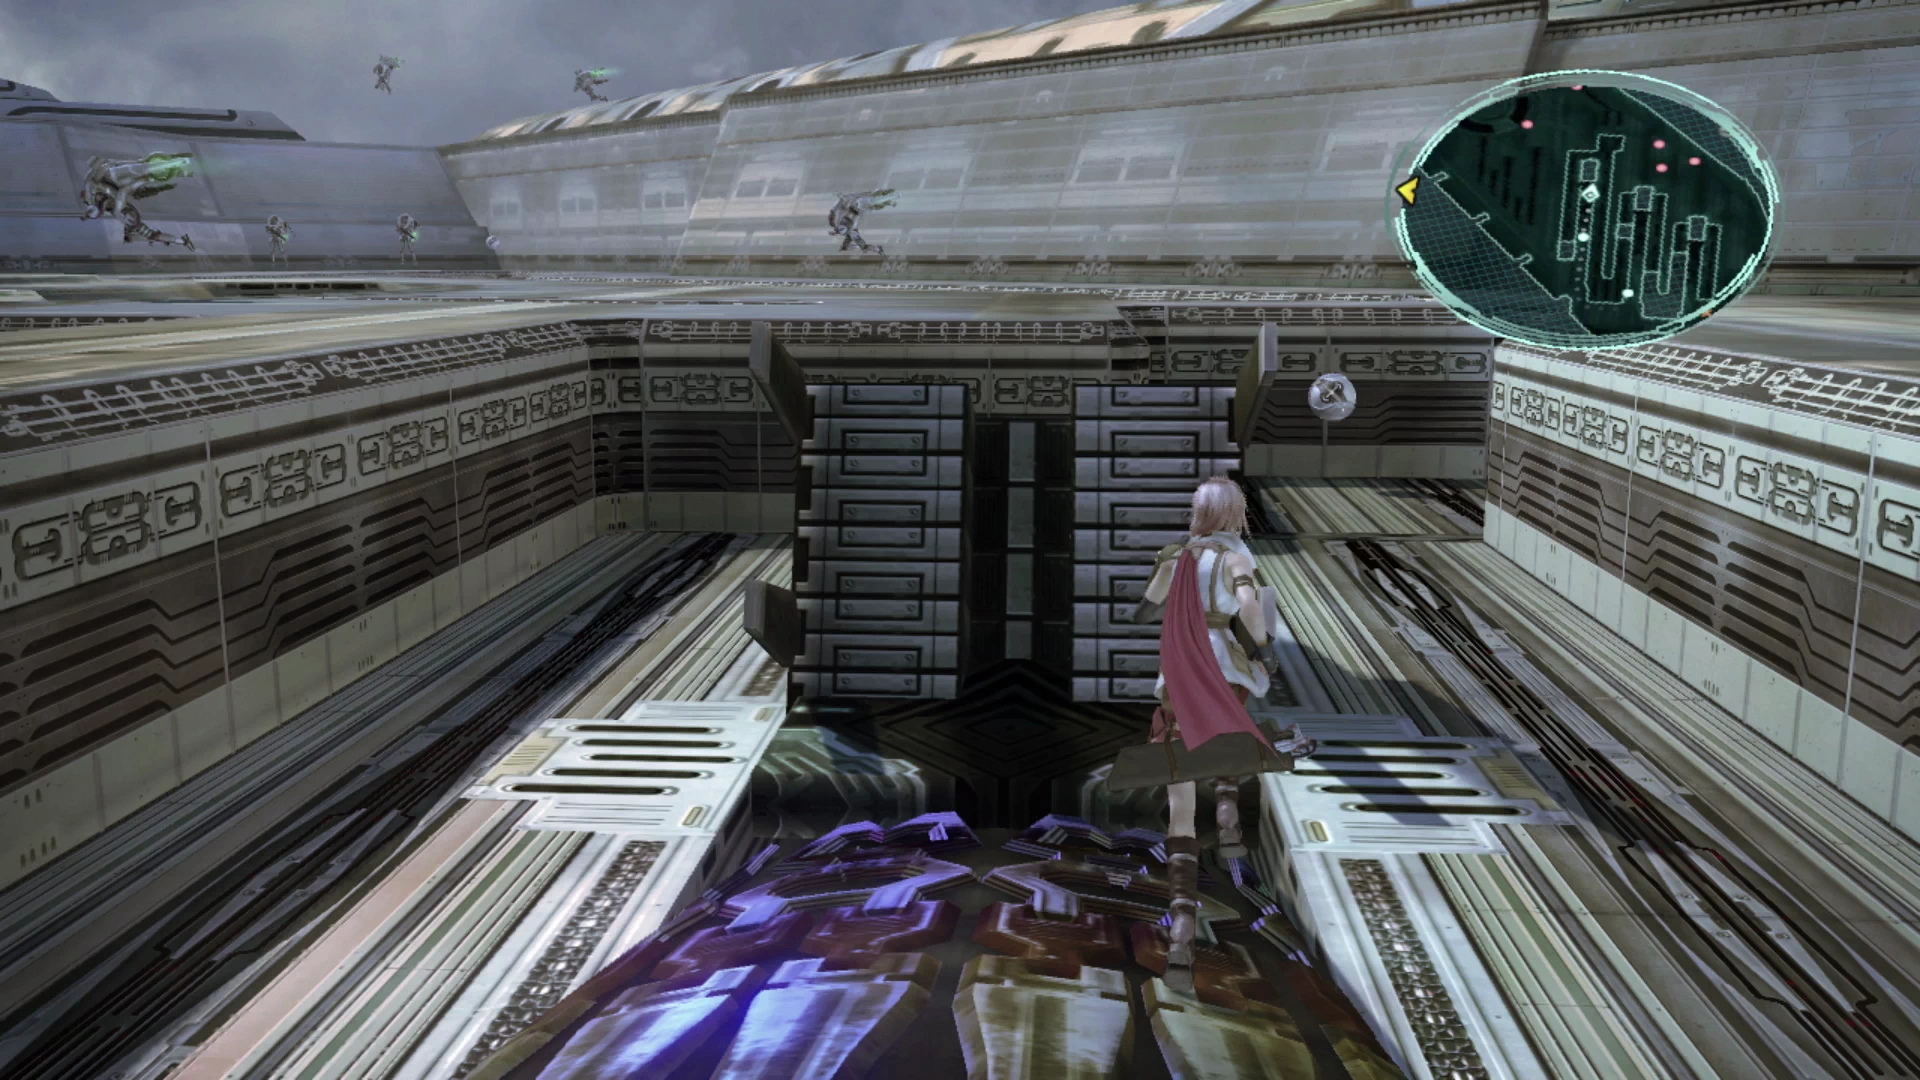
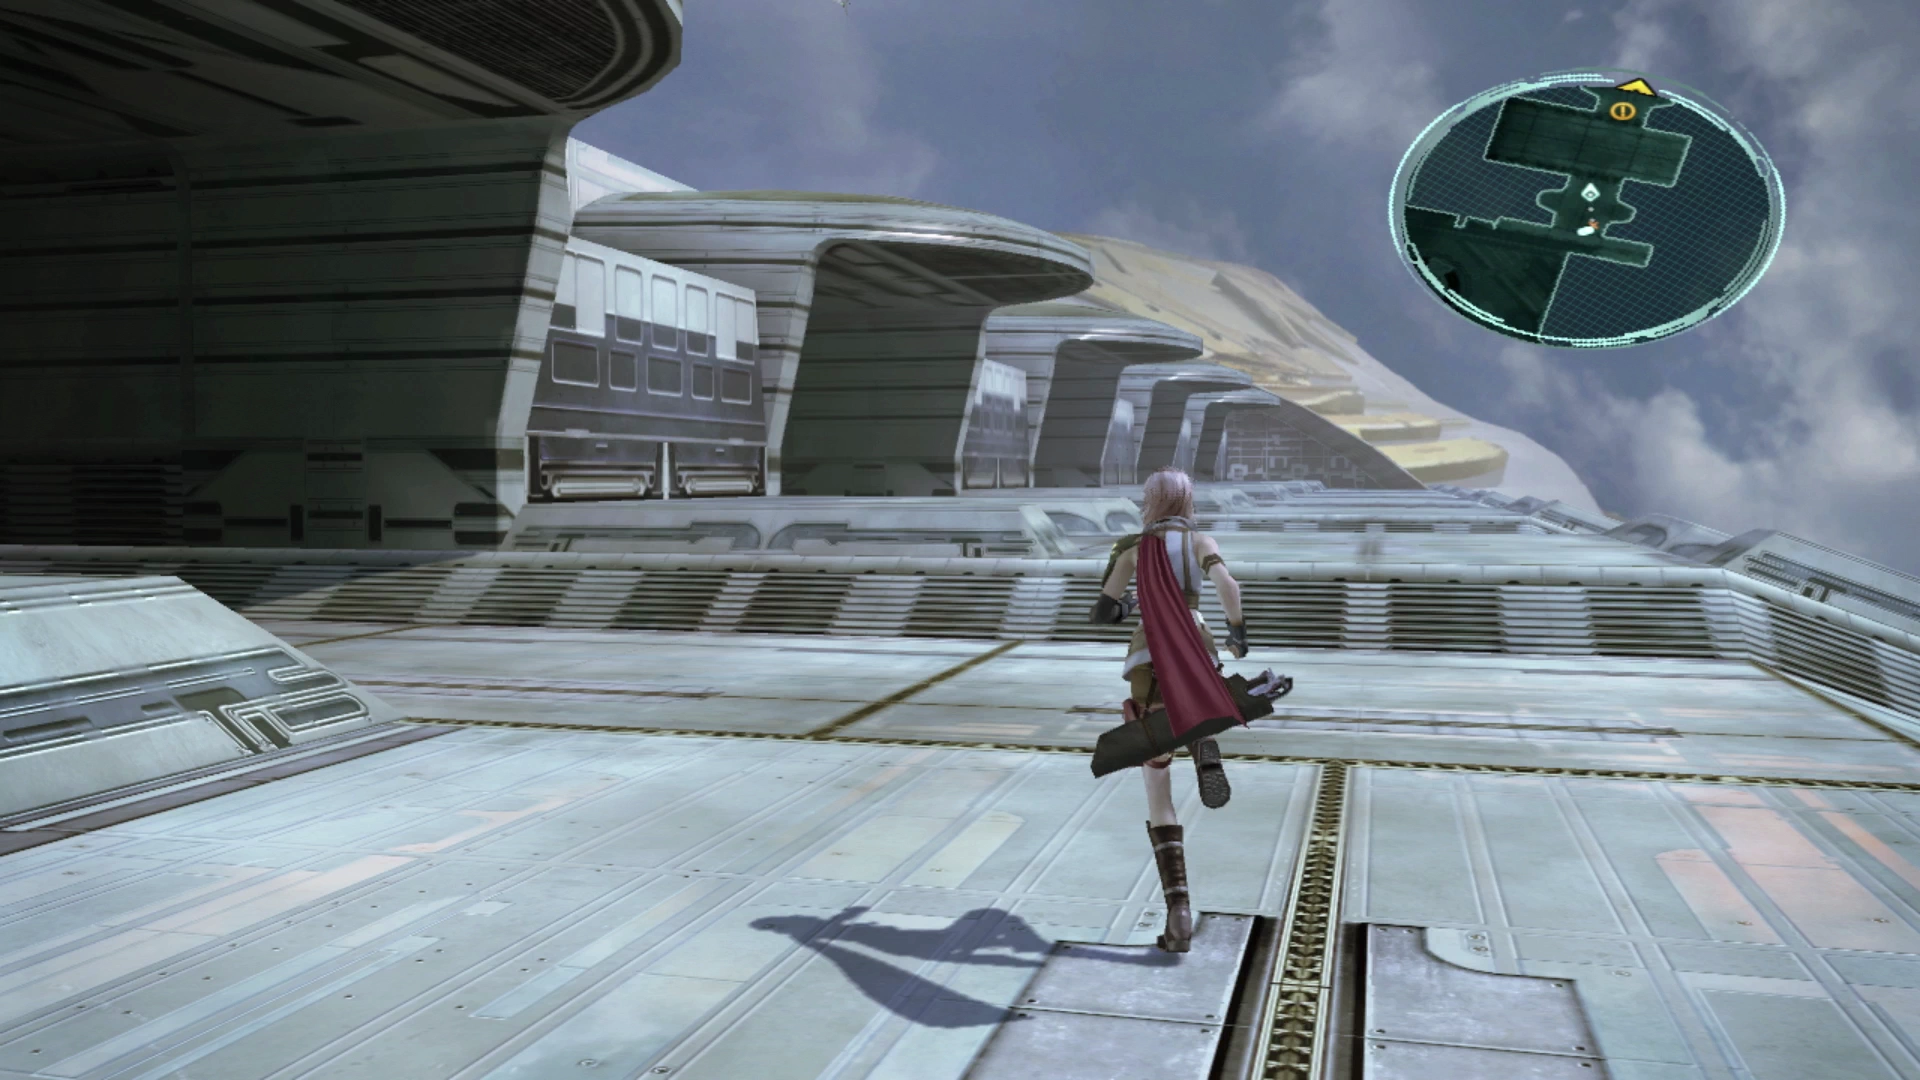
The area in front of the group has a few large mechanical jet-like structures that rise and fall out of the ground. Travel around to the one furthest away, defeating the groups of enemies that you come across on your way, and look for a Treasure Sphere on the lower level next to it.
All you have to do to get down to the lower level is time it so that Lightning runs down the mechanical structure when it is lowered. Use the screenshots below to help you identify the correct timing. Unfortunately, this Treasure Sphere only contains ![]() 300 Gil so it’s barely worth the effort.
300 Gil so it’s barely worth the effort.
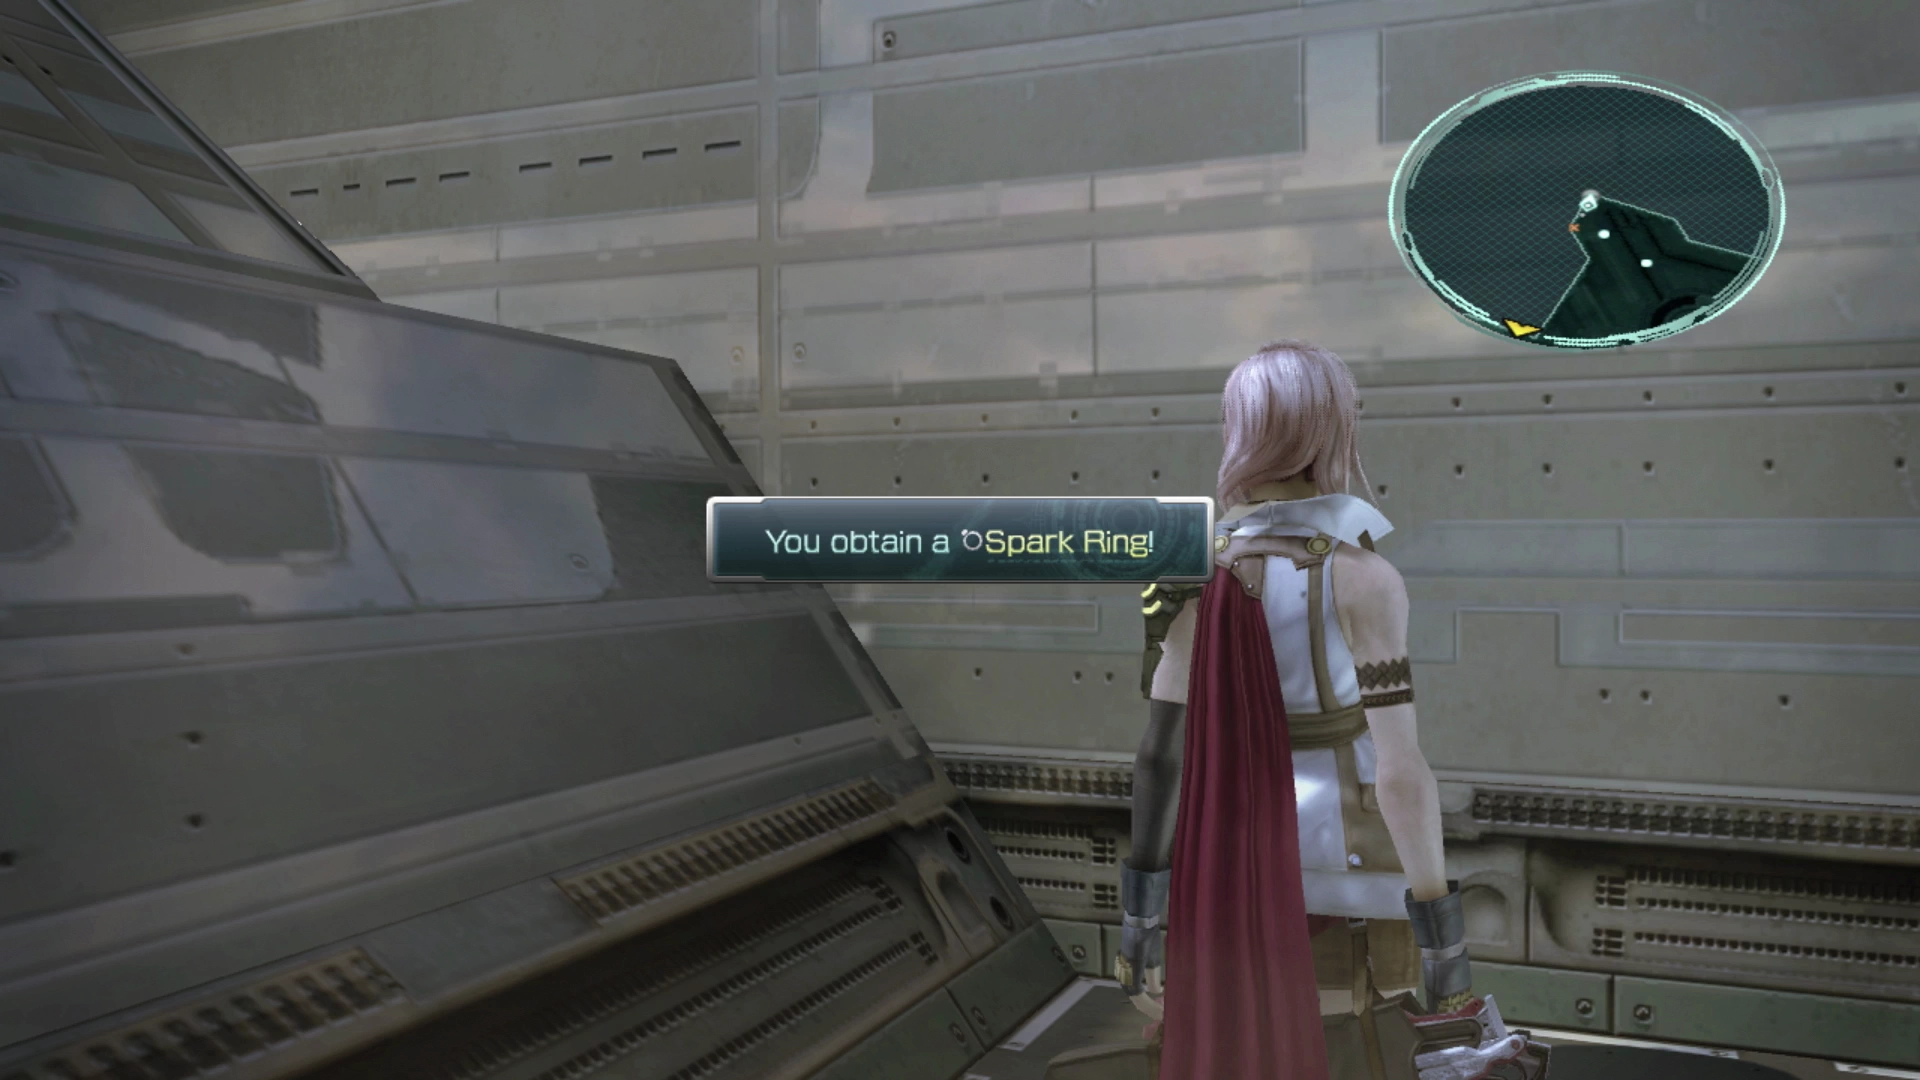
Walk back up the mechanical structure when it is lowered again and continue towards the map marker. The last piece of treasure for you to pick up is in a Treasure Sphere on the far-right side of the deck. You’ll have to defeat a few packs of enemies to get there, but it’s worth it to pick up the last ![]() Spark Ring.
Spark Ring.
Missable Content
This is the final ![]() Spark Ring that you can pick up.
Spark Ring that you can pick up.
Refer to the Missable Content page for more information on specific items and ![]() Datalog Enemy Intel entries you should keep an eye out for.
Datalog Enemy Intel entries you should keep an eye out for.
Keep running towards the map marker. The last fight will be against a pair of PSICOM Dragoons before an upcoming boss battle. Equip your ![]() Spark Rings in preparation for this battle.
Spark Rings in preparation for this battle.
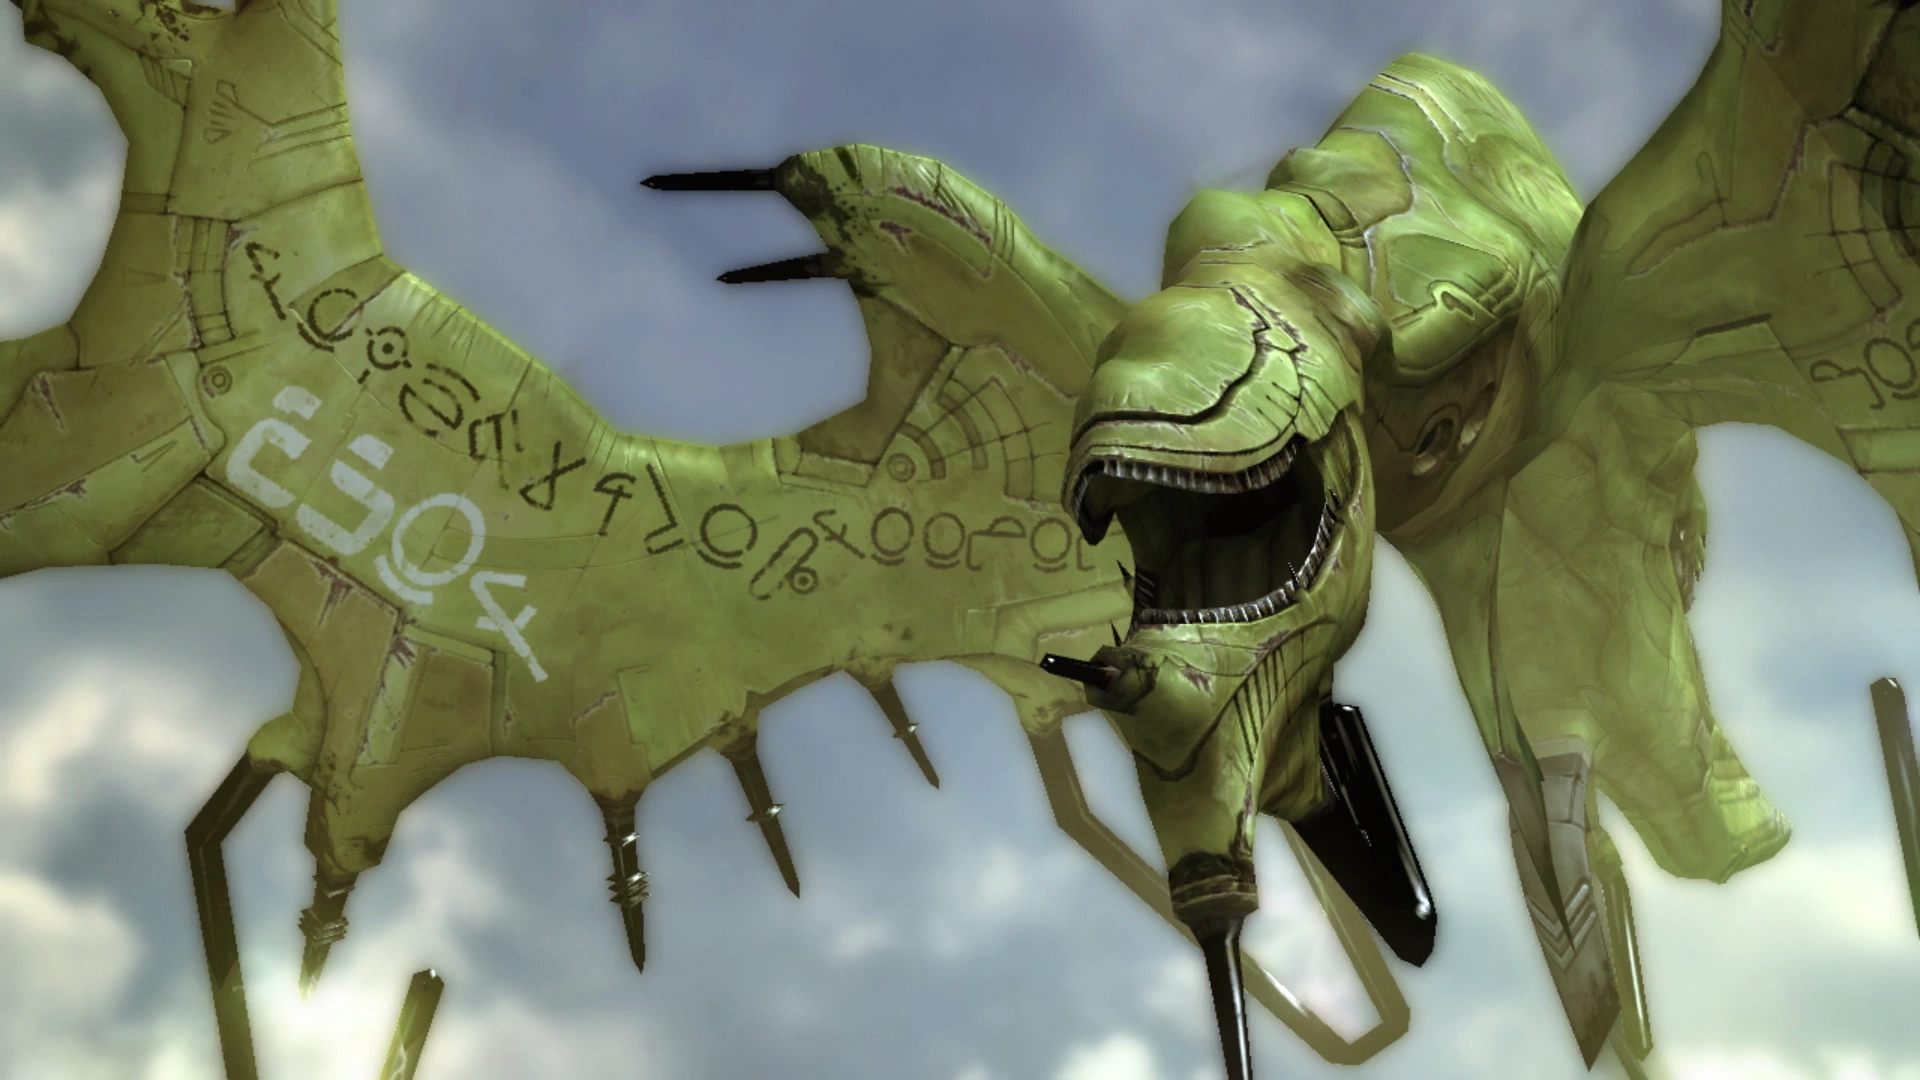
Boss Battle
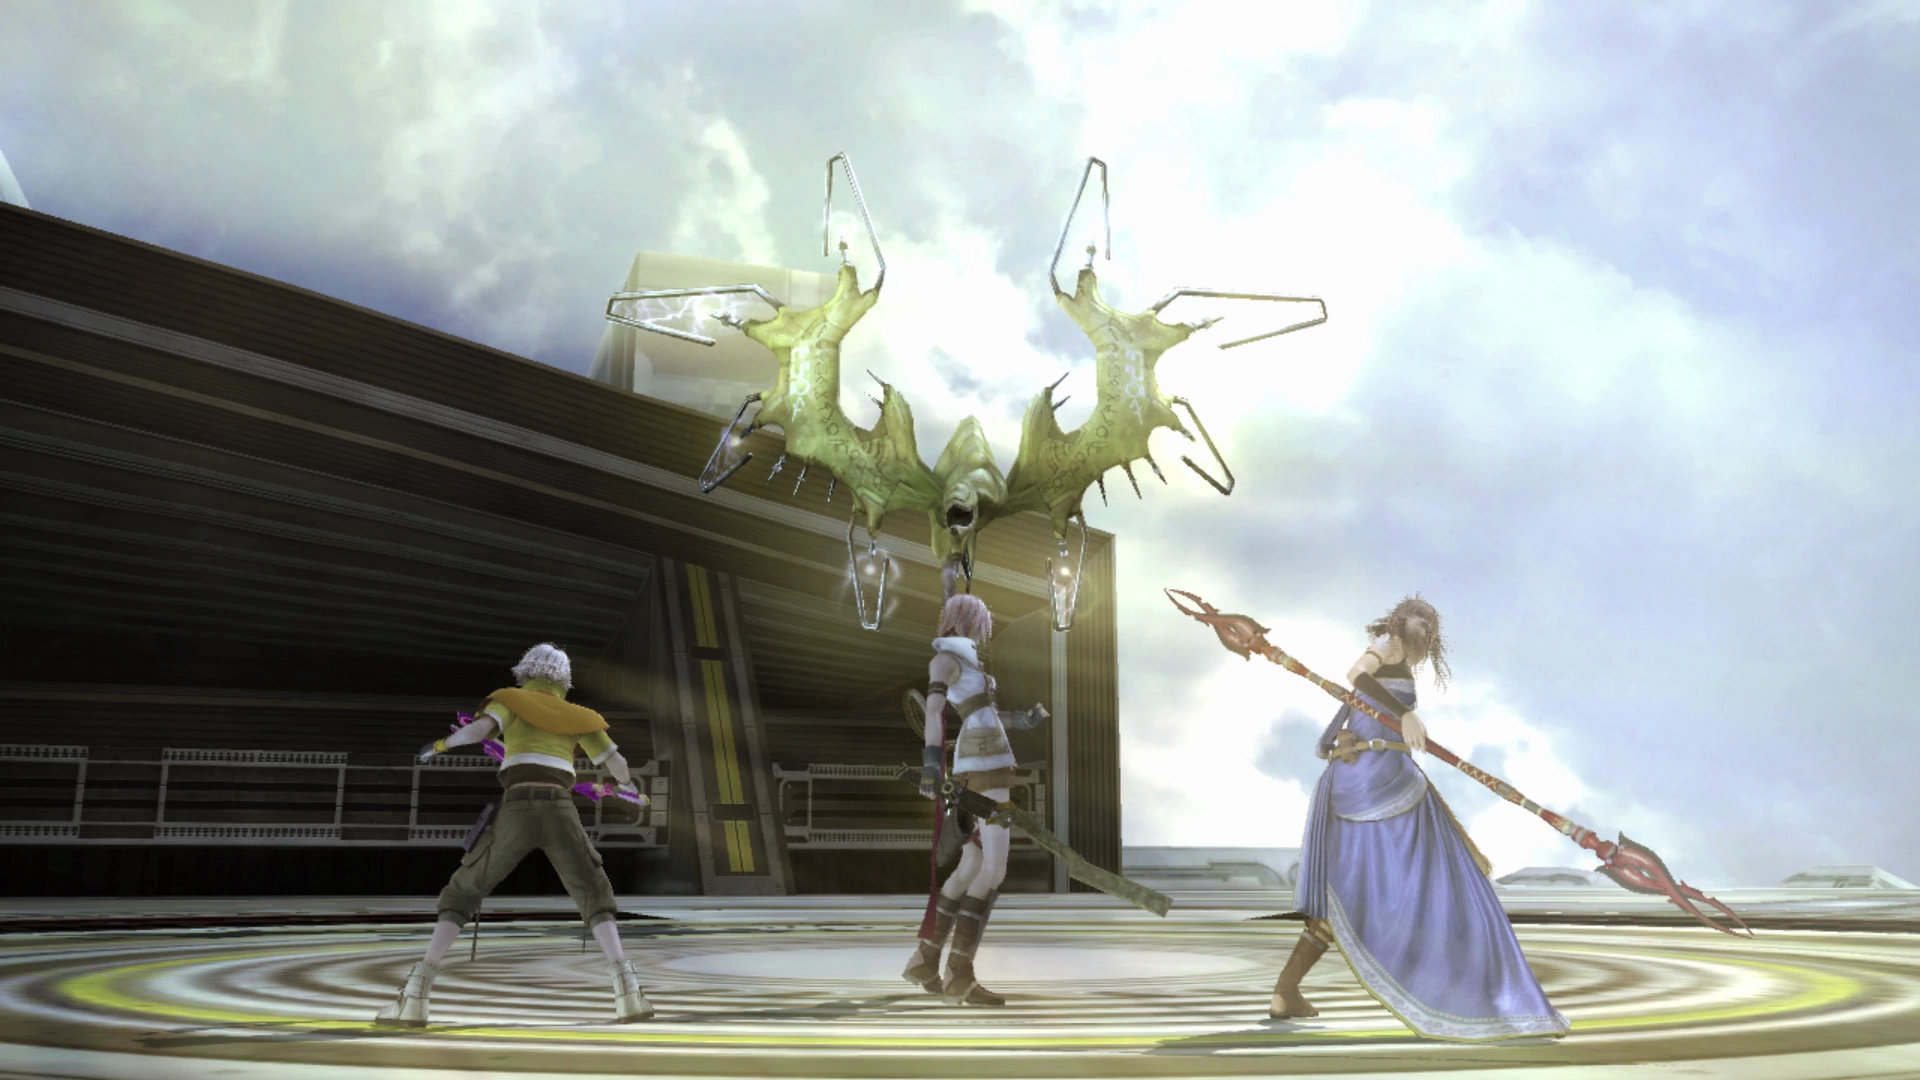
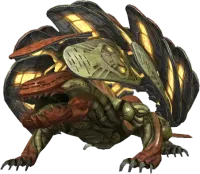
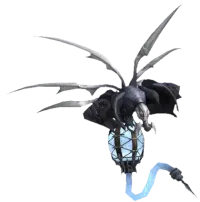
The Kalavinka Striker relies on hard-hitting ramming attacks and lightning-based strikes, but it is susceptible to both Slow and Curse, so a Saboteur can blunt most of its offense before it gets going. Use ![]() Libra at the start of the fight and then switch to a Paradigm that puts Fang into her
Libra at the start of the fight and then switch to a Paradigm that puts Fang into her ![]() Saboteur role. This will allow her to get both the
Saboteur role. This will allow her to get both the ![]() Slow debuff and the
Slow debuff and the ![]() Curse debuff active, assuming she has both.
Curse debuff active, assuming she has both.
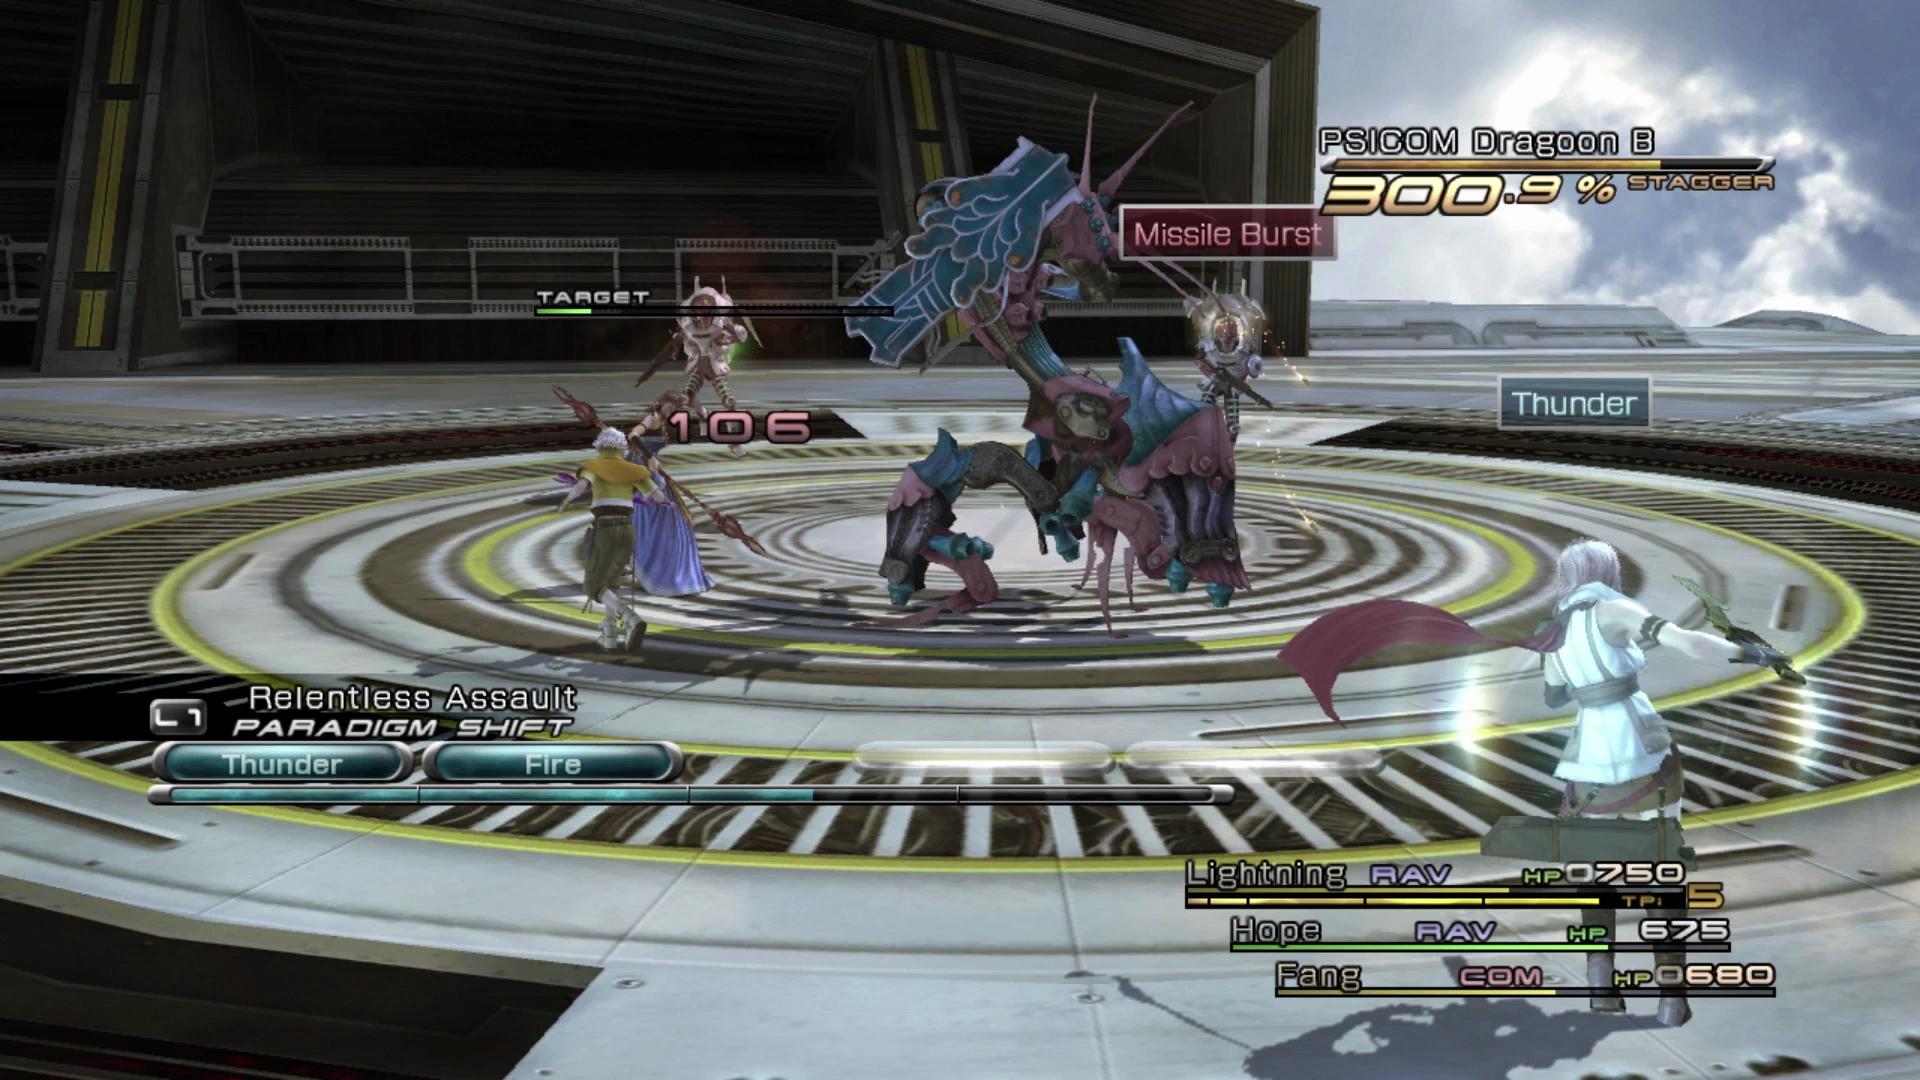
After that, move into a rotation of Relentless Assault to inflict maximum damage and Diversity when your party members need healing. You will very likely be able to defeat this boss within a single Stagger.
You will receive a ![]() Soulfont Talisman at the end of the fight, but it’s not over just yet…
Soulfont Talisman at the end of the fight, but it’s not over just yet…
The team will finally have their much-anticipated reunion, but it’s time for another fight.
Boss Battle
The strategy for this second battle against the Kalavinka Striker does not change at all from the strategy you used to defeat it during the first battle. Rotate between Relentless Assault and Diversity as needed until you deplete all its HP.
There are a few more cutscenes as the two teams get reacquainted and then it’s time to move on to the last section of chapter 9 aboard the Palamecia.