
Chapter 9: The Palamecia (Part 1)
The walkthrough for the Palamecia is broken up into three parts. The first part covers the first section of the ship with Lightning, Hope, Fang, and Snow before you have control of Sazh and Vanille in the Cargo Access area. If you are already in control of Sazh and Vanille continue to Part 2 using the links.

The Lindblum
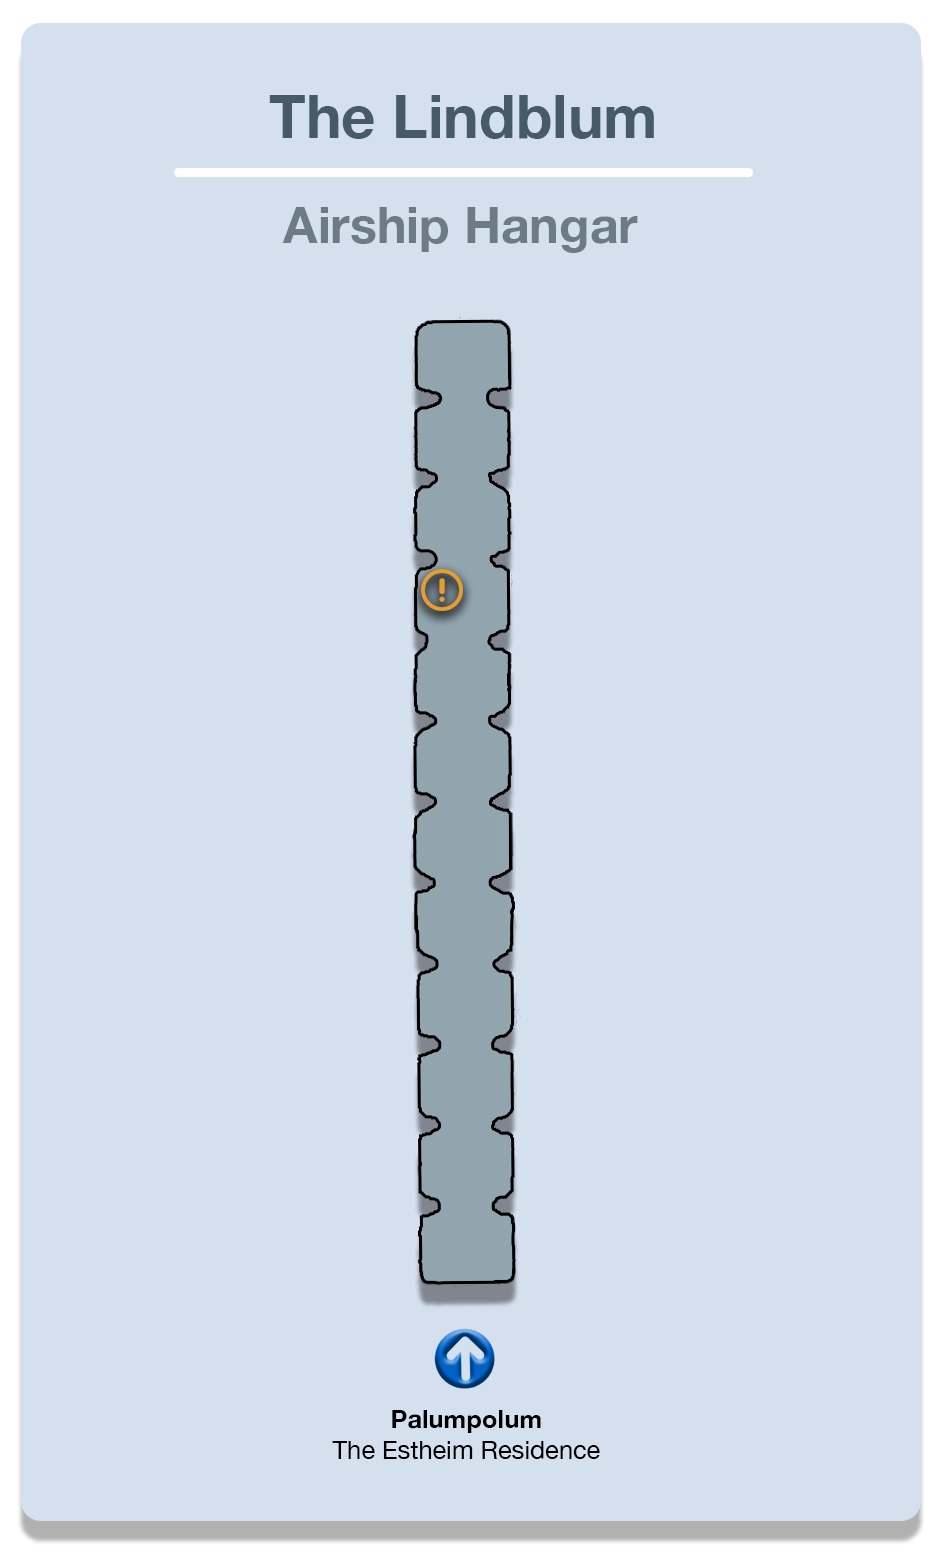
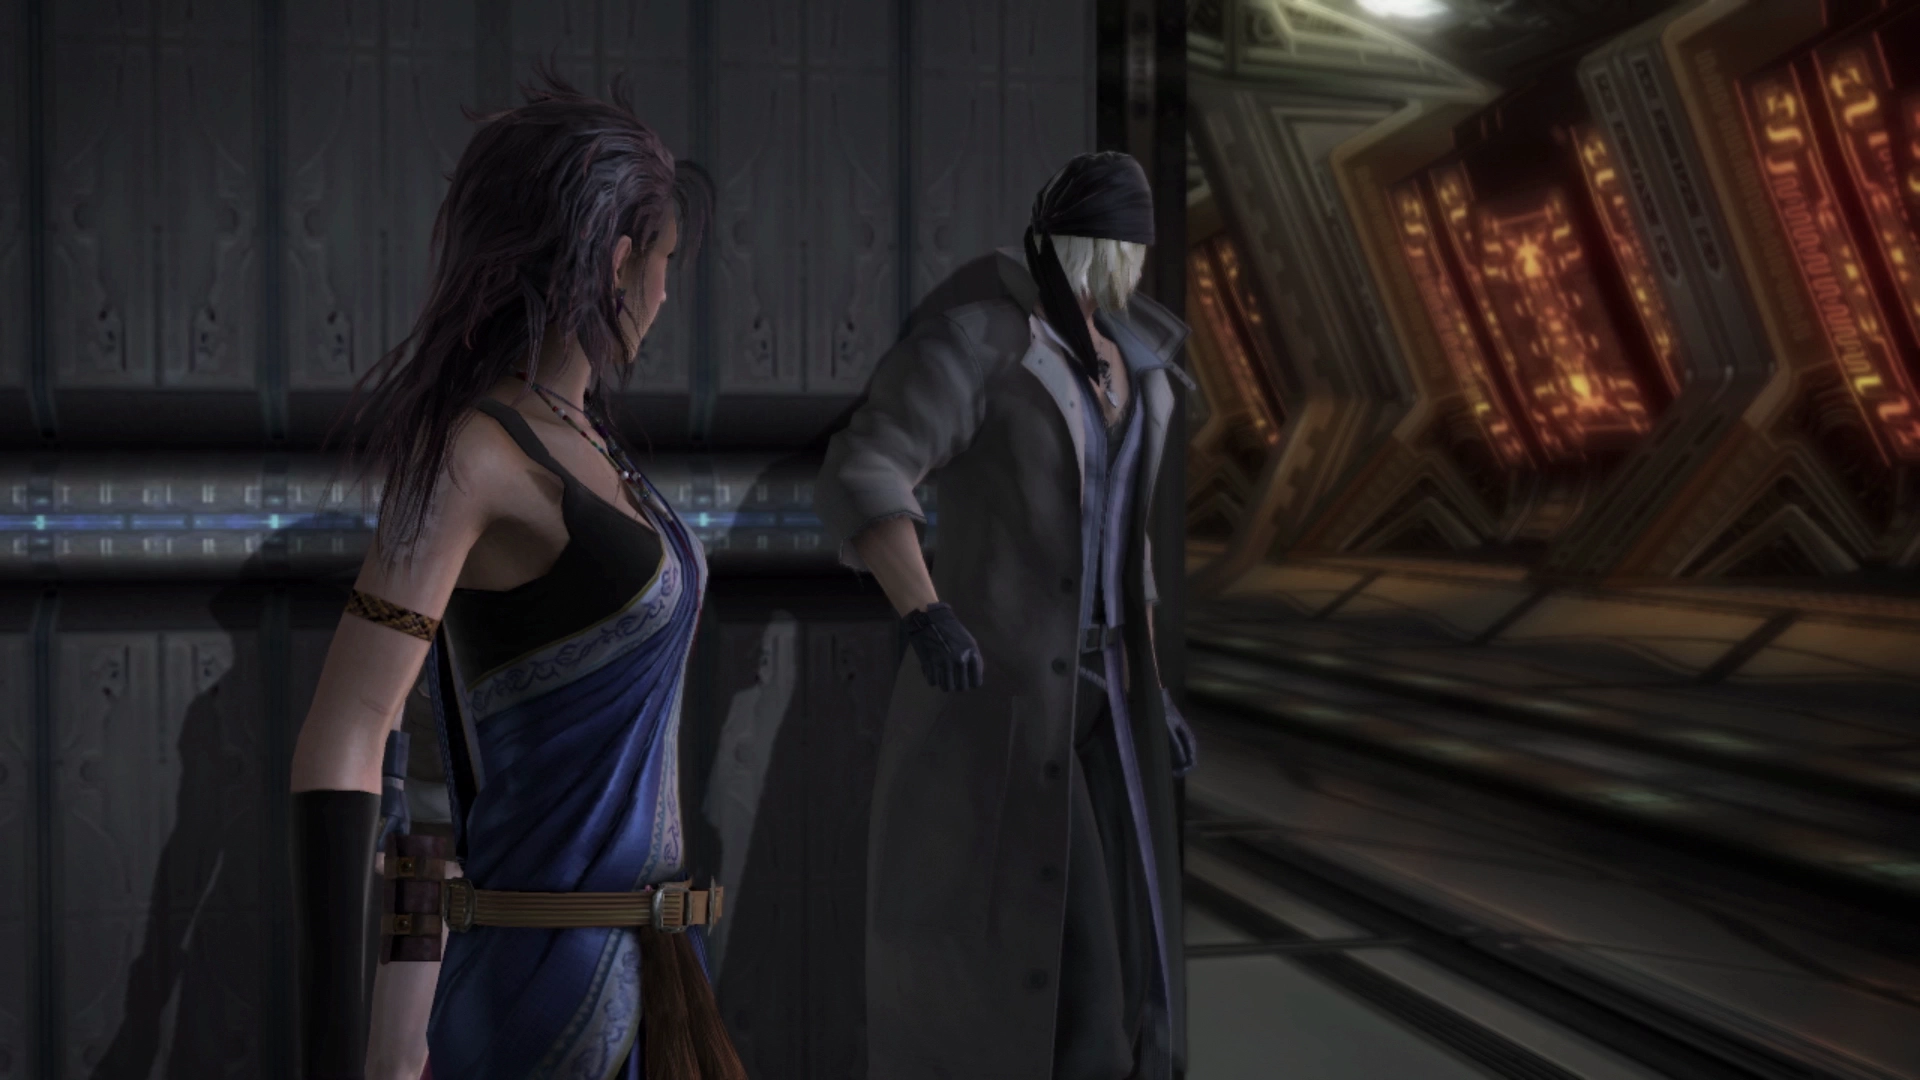
The next chapter of the game begins and takes place aboard the Palamecia airship a bit later, but your team starts off aboard the Lindblum airship which is named after the largest town in Final Fantasy IX.
You will start controlling just Lightning, but you will have the opportunity to set up each of the four characters in your party with equipment and spend their Crystogen Points (CP).
Warning
Even though Snow will be following the party around and appearing in all the cinematics throughout this next chapter, you will not have the option of playing him until towards the end of the chapter. There’s no harm in spending his Crystogen Points (CP) any time you want, but you can save time by saving this until later when it matters.
So where should you spend each character’s Crystogen Points?
- Lightning: Have her focus on her
 Ravager Crystarium first as she will be spending most of her time in this chapter, and most likely the rest of the game, in this role. The
  Aero and Watera spells are worth seeking out. Once completed, she can begin focusing on her
  Medic role where she can learn the
  Renew ability.
 - Hope: Fang is going to be your
 Commando so, like Lightning, you should have Hope focus on completing his Ravager Crystarium as well. At the same time, though, you should have him also work towards his Boon and
  Veil abilities in the
  Synergist Crystarium because, for the more difficult bosses, Hope will be spending some time buffing the party first.
 - Fang: Her focus should be on the Commando role but she does gain access to the
 Dispel ability in her
  Saboteur Crystarium so make sure you unlock that ability as well.
 - Snow: As mentioned in the note above, there’s no need to spend Snow’s CP yet, but if you want to complete his Crystariums as you move along, he should focus on his
 Sentinel and Commando roles.
With your Crystogen Points spent, your characters properly equipped with accessories, and with your Paradigms properly configured, you are ready to proceed to the Palamecia. Proceed forward to the end of the walkway aboard the Lindblum and speak to Rygdea to let him know that you are ready to depart.
There are a few cutscenes that take place before the team finds themselves aboard the Palamecia.
Short-field Landing Deck (Palamecia)


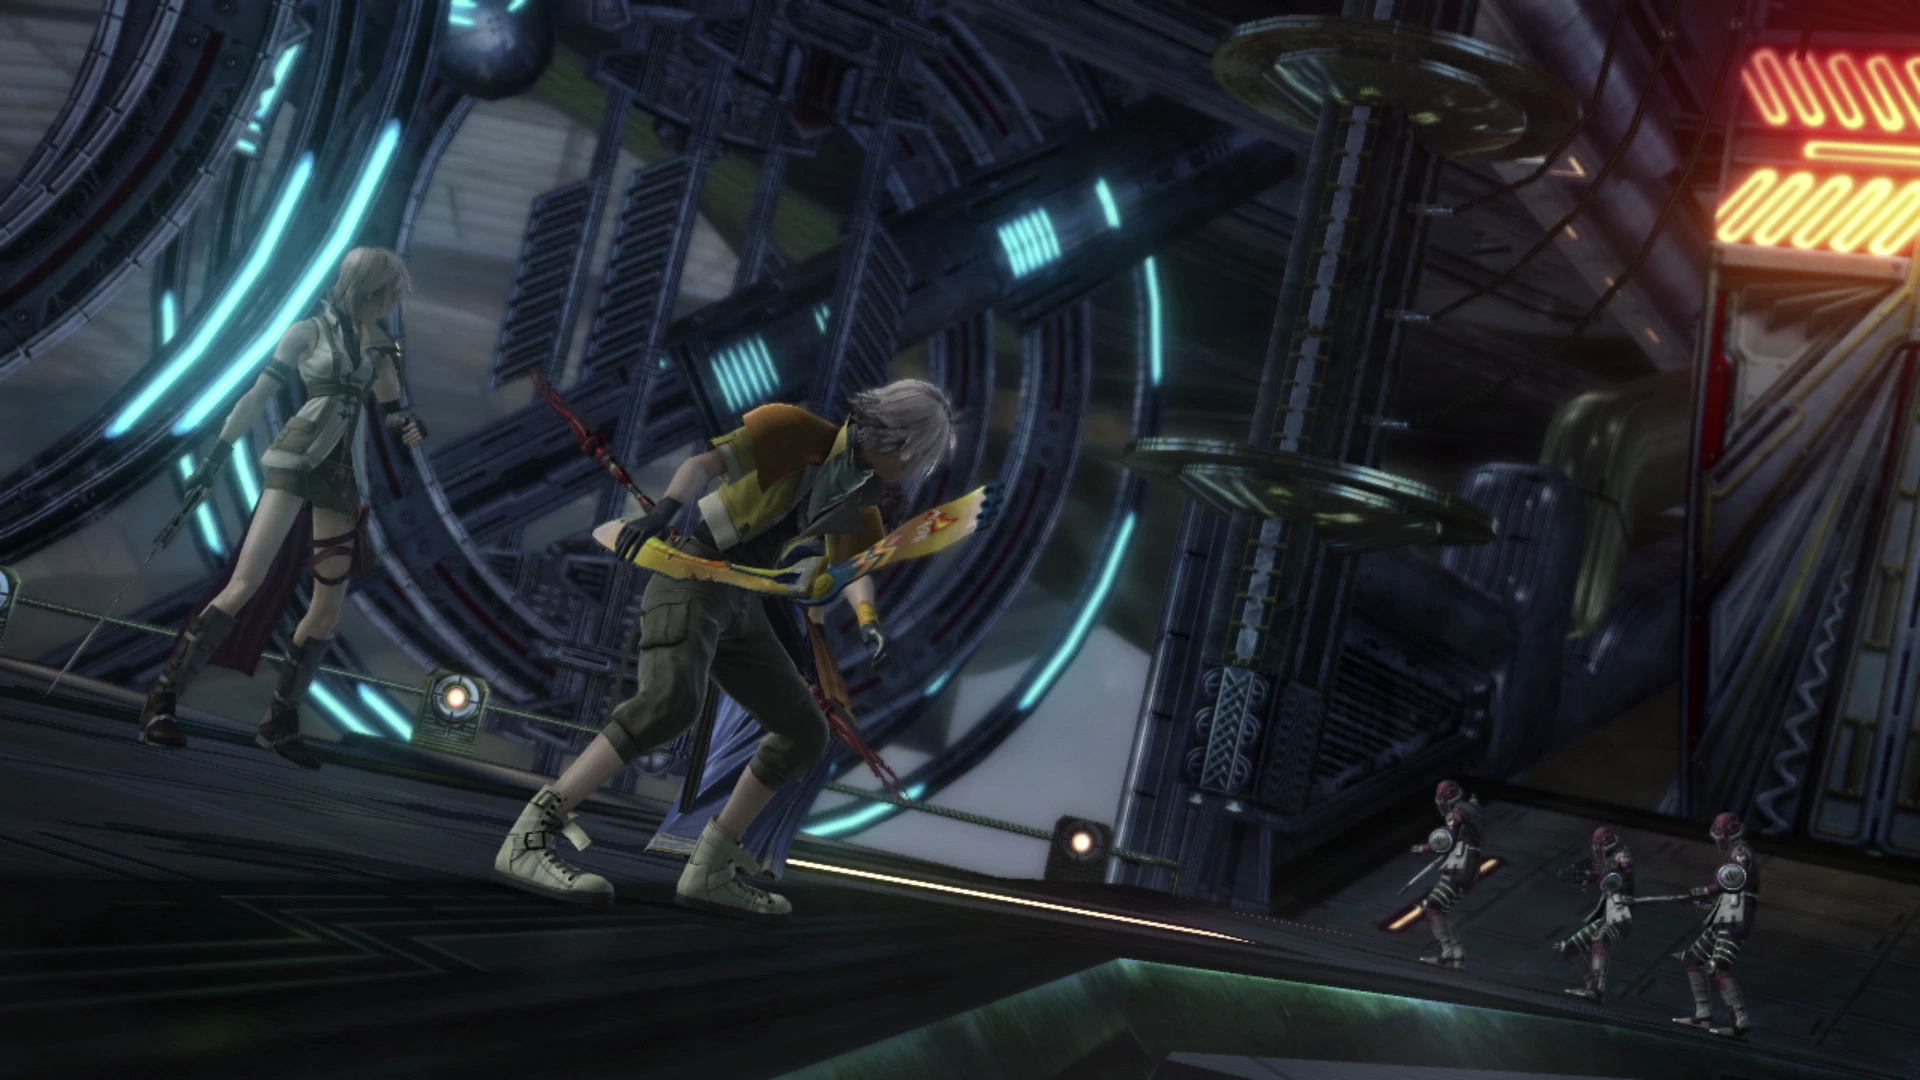
The team will immediately be thrown into battle as soon as they hit the Landing Deck. This battle is easy, and you should have no trouble defeating the PSICOM Infiltrator and two PSICOM Raiders even with the default Paradigms that the game provides if you forgot to switch them up.
Don’t forget to use ![]() Libra on both enemies as this is the first time you will have faced either of them.
Libra on both enemies as this is the first time you will have faced either of them.
Helpful Hint
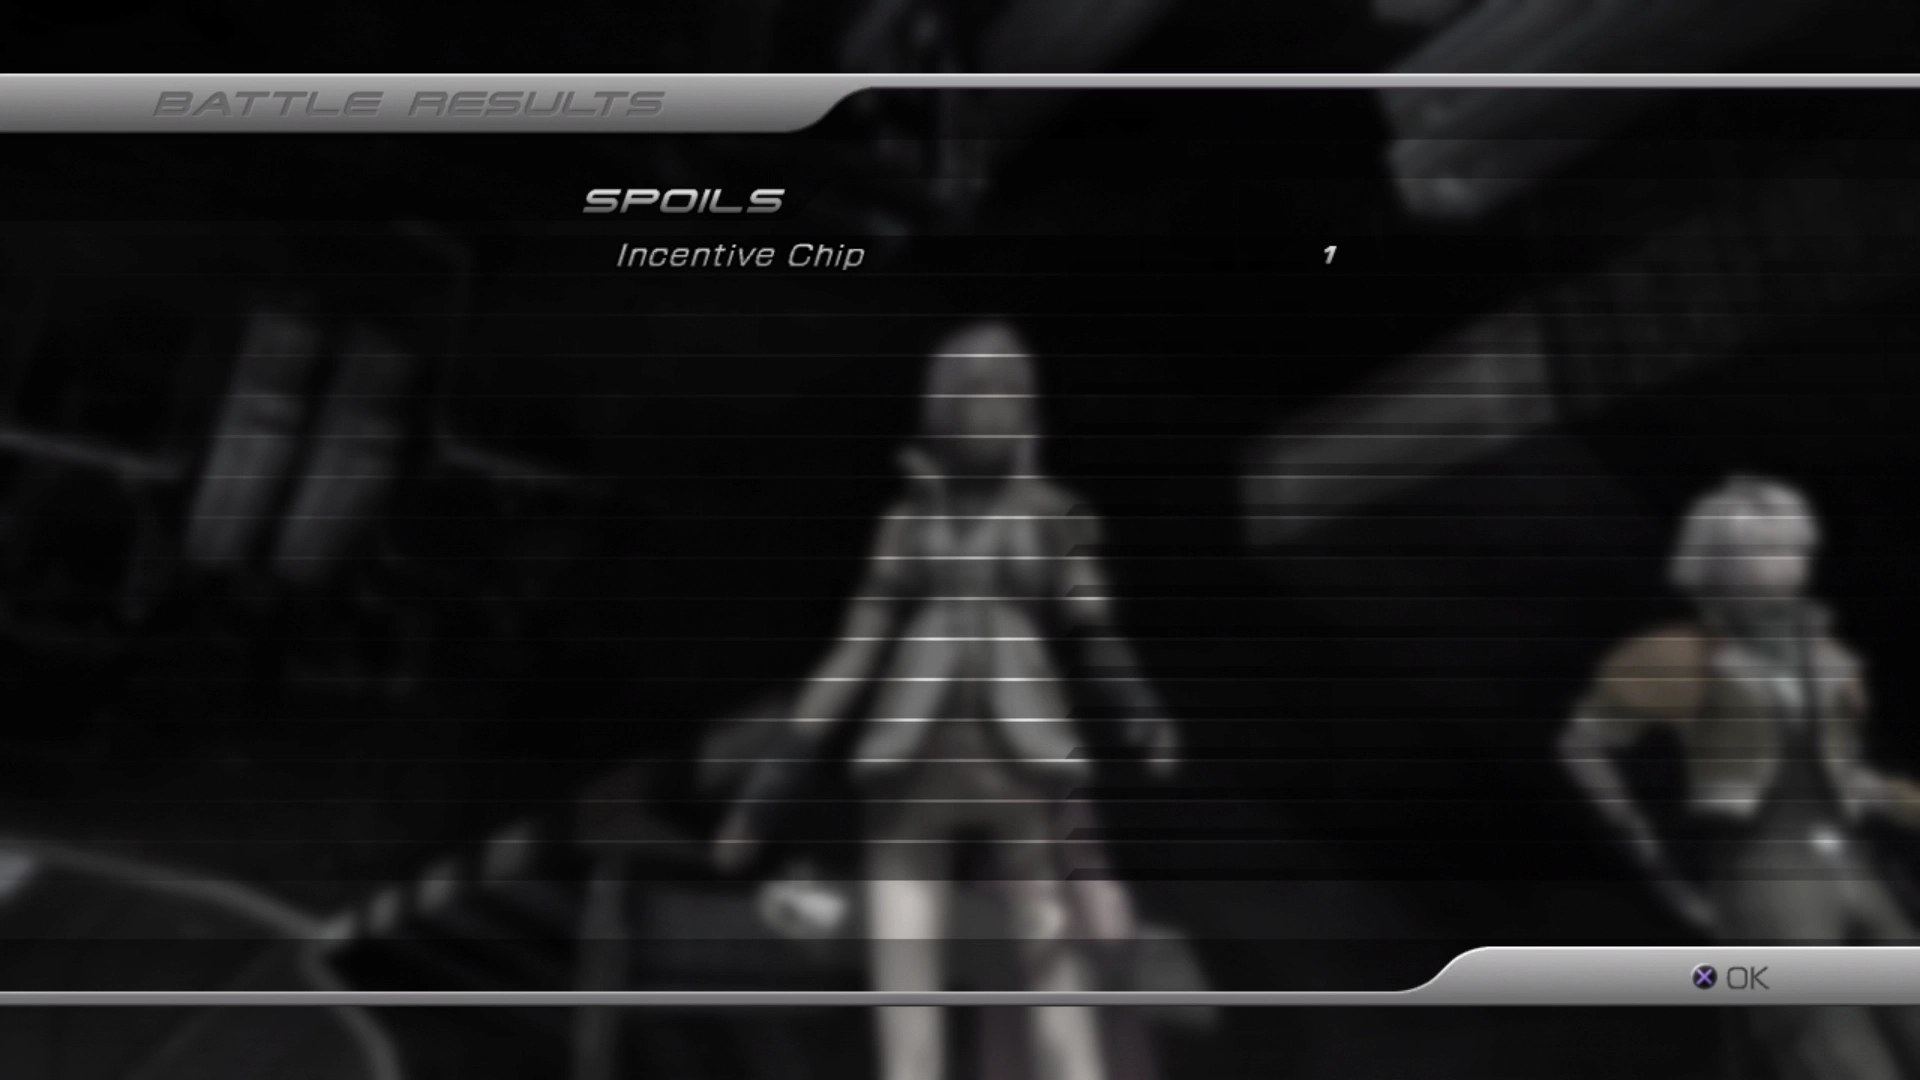
The enemies you face in the Palamecia have a high probability of dropping ![]() Incentive Chips and
Incentive Chips and ![]() Credit Chips as part of their spoils when you defeat them in battle. Keep an eye on your inventory to make sure that you don’t exceed having more than 99 of them at any time otherwise the loot will automatically be discarded.
Credit Chips as part of their spoils when you defeat them in battle. Keep an eye on your inventory to make sure that you don’t exceed having more than 99 of them at any time otherwise the loot will automatically be discarded.
This shouldn’t happen to you yet but make sure you get into the habit of selling them often at the shops that you can find by accessing the ![]() Save Stations just to be on the safe side.
Save Stations just to be on the safe side.
After the first battle, you can use the nearby ![]() Save Station to save your game if you need to. Proceed up the Landing Deck towards the next group of soldiers which includes two PSICOM Infiltrators and a PSICOM Raider. Lightning will automatically begin climbing the structure after this group of enemies has been defeated.
Save Station to save your game if you need to. Proceed up the Landing Deck towards the next group of soldiers which includes two PSICOM Infiltrators and a PSICOM Raider. Lightning will automatically begin climbing the structure after this group of enemies has been defeated.

Look for the illuminated red circle on the ground and press ![]()
![]()
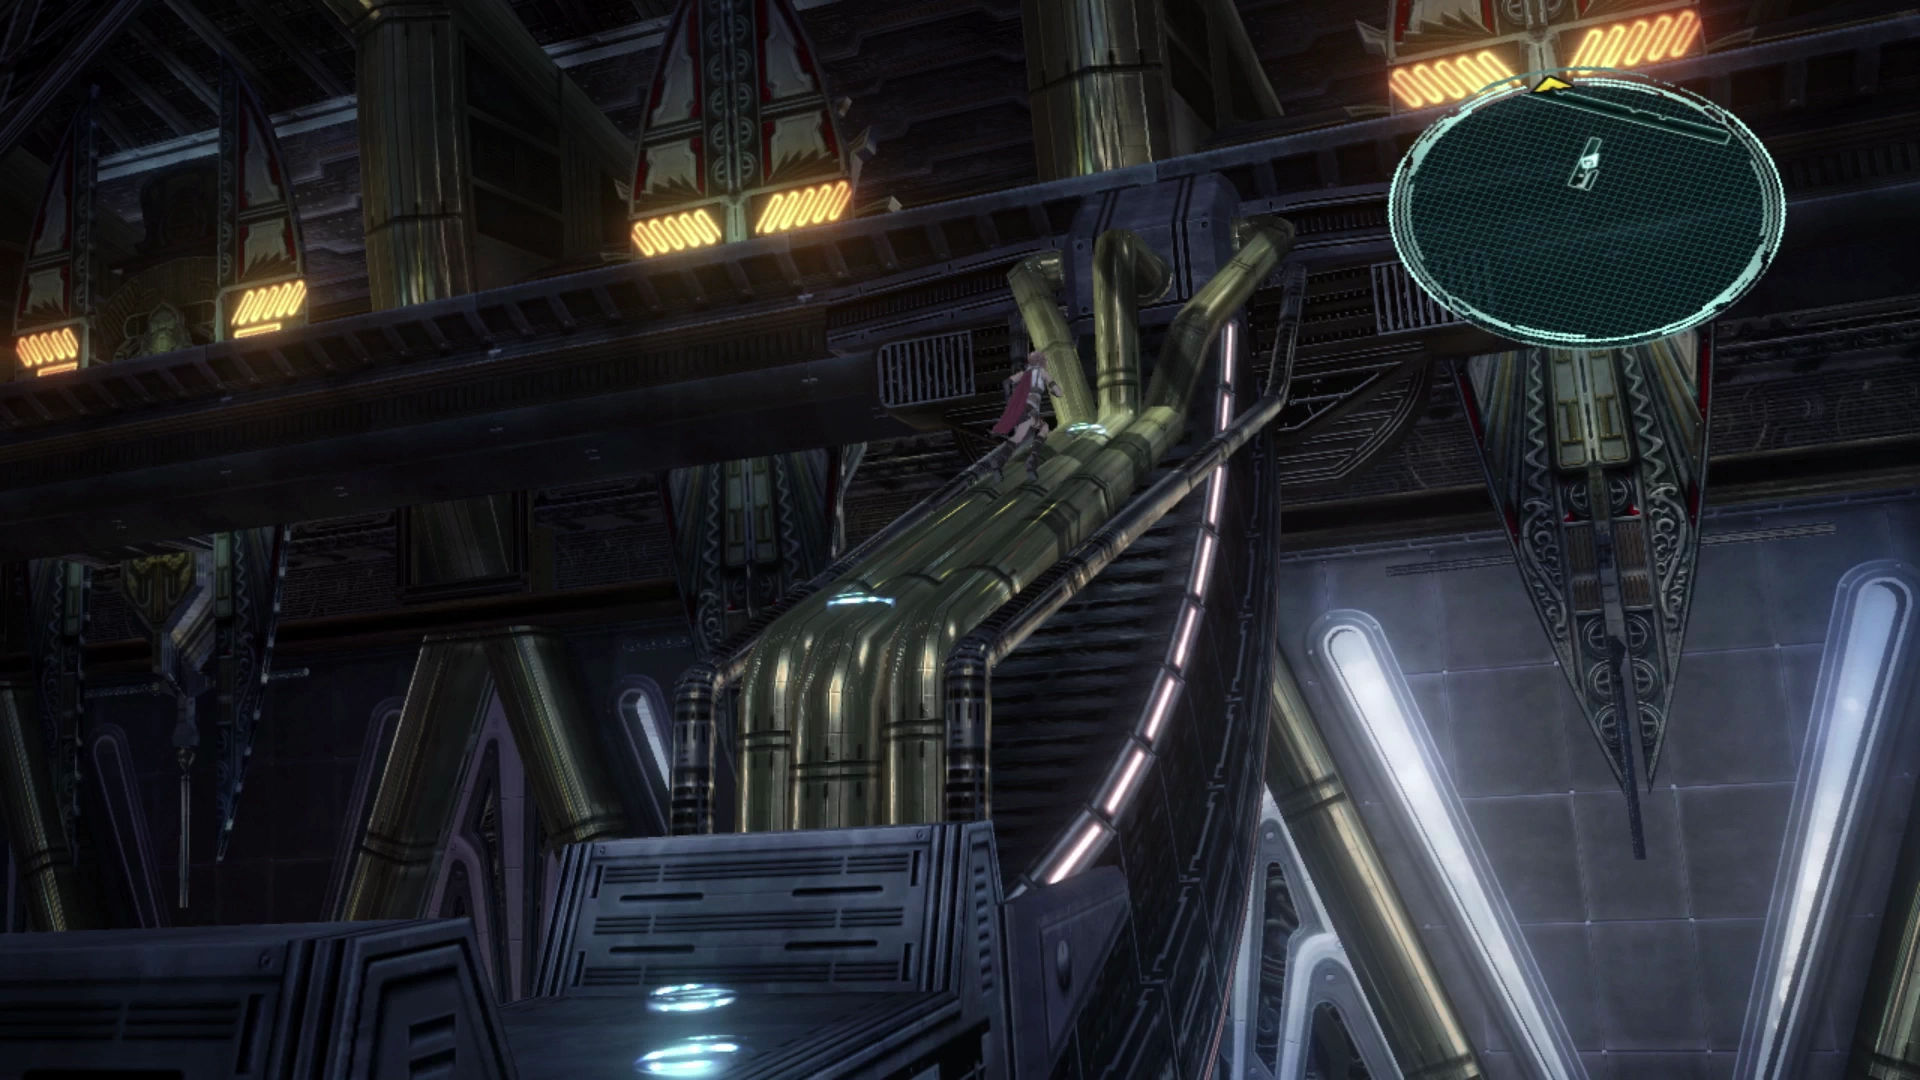
![]() to activate the device. This will cause the platform above to lower down. Direct Lightning over to the illuminated blue circle to jump up onto the platform which will move up to the next level automatically. Keep following the blue circles until you reach the next platform level.
to activate the device. This will cause the platform above to lower down. Direct Lightning over to the illuminated blue circle to jump up onto the platform which will move up to the next level automatically. Keep following the blue circles until you reach the next platform level.
Take a right when you reach the top and open the Treasure Sphere on the far side of the platform to pick up four ![]() Digital Circuits. Follow the platform on the opposite side through the doorway to reach the next area of the airship.
Digital Circuits. Follow the platform on the opposite side through the doorway to reach the next area of the airship.
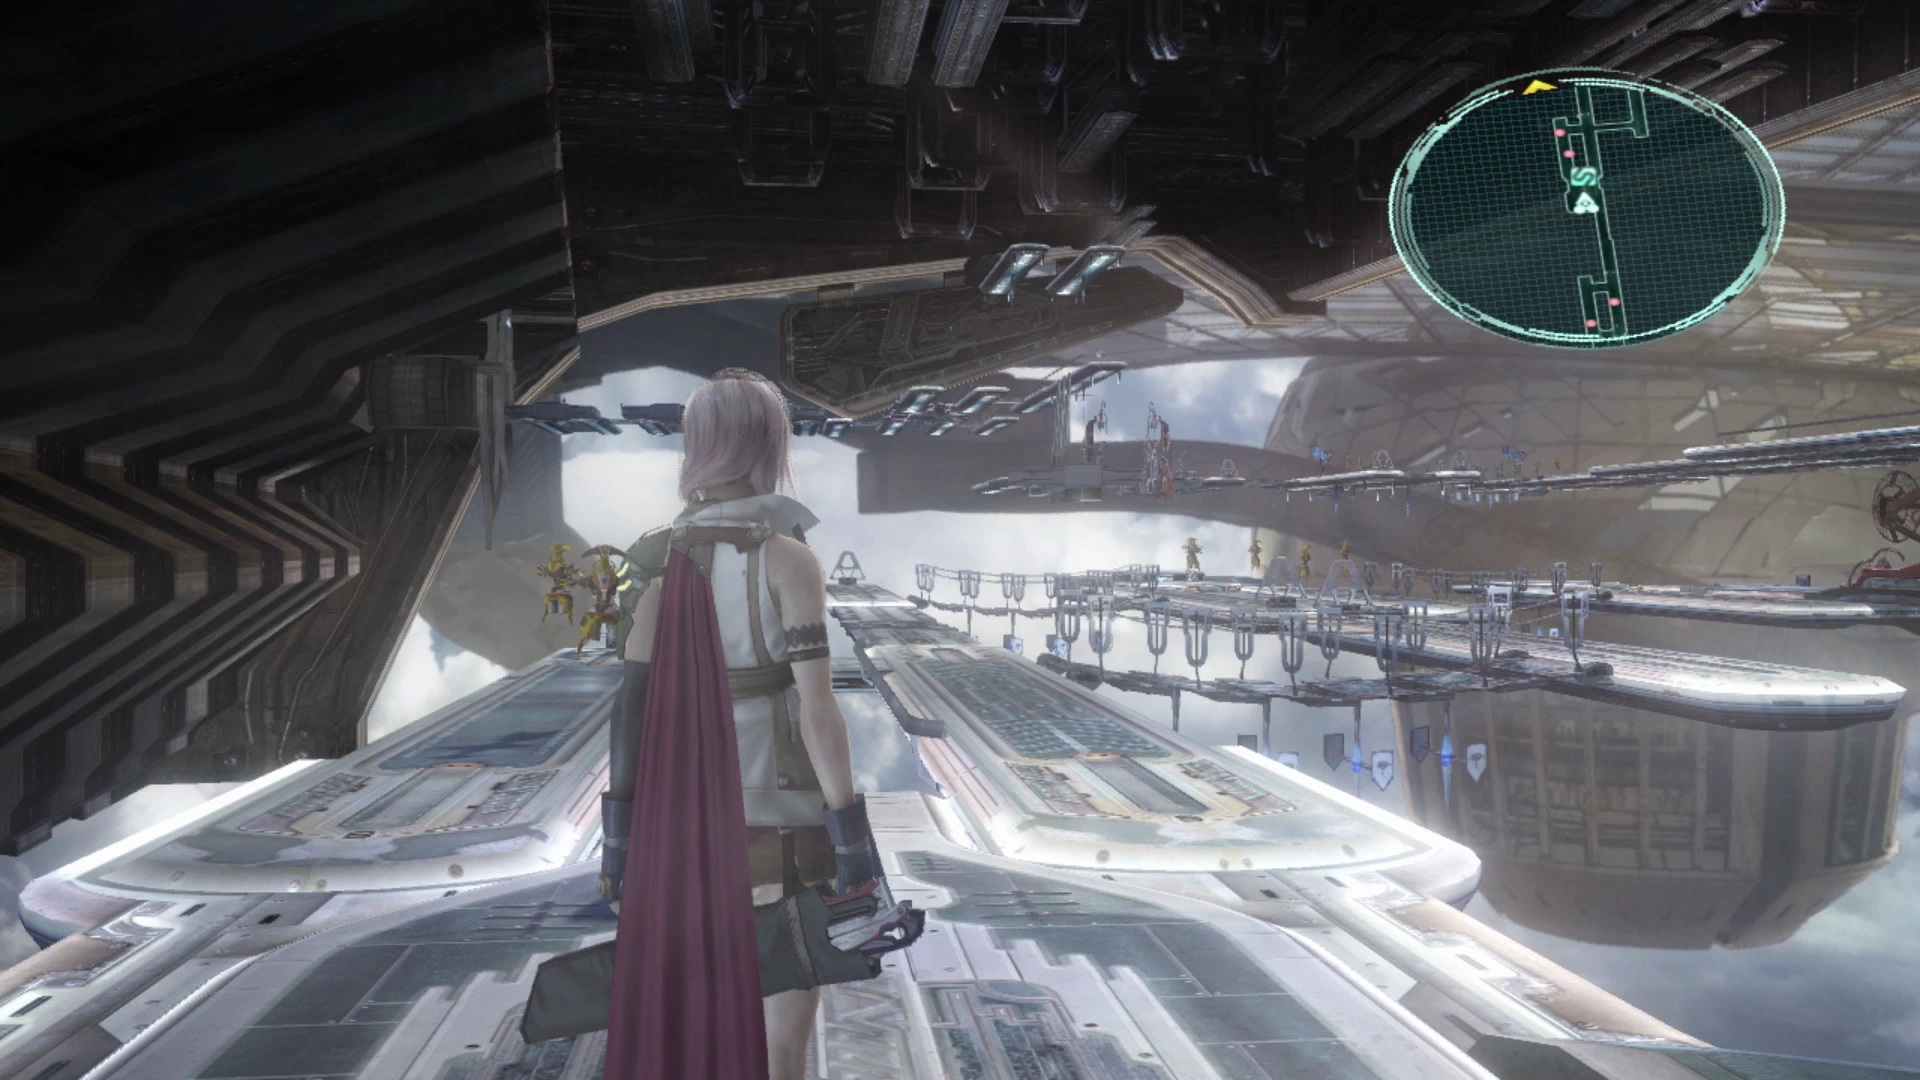
External Berths
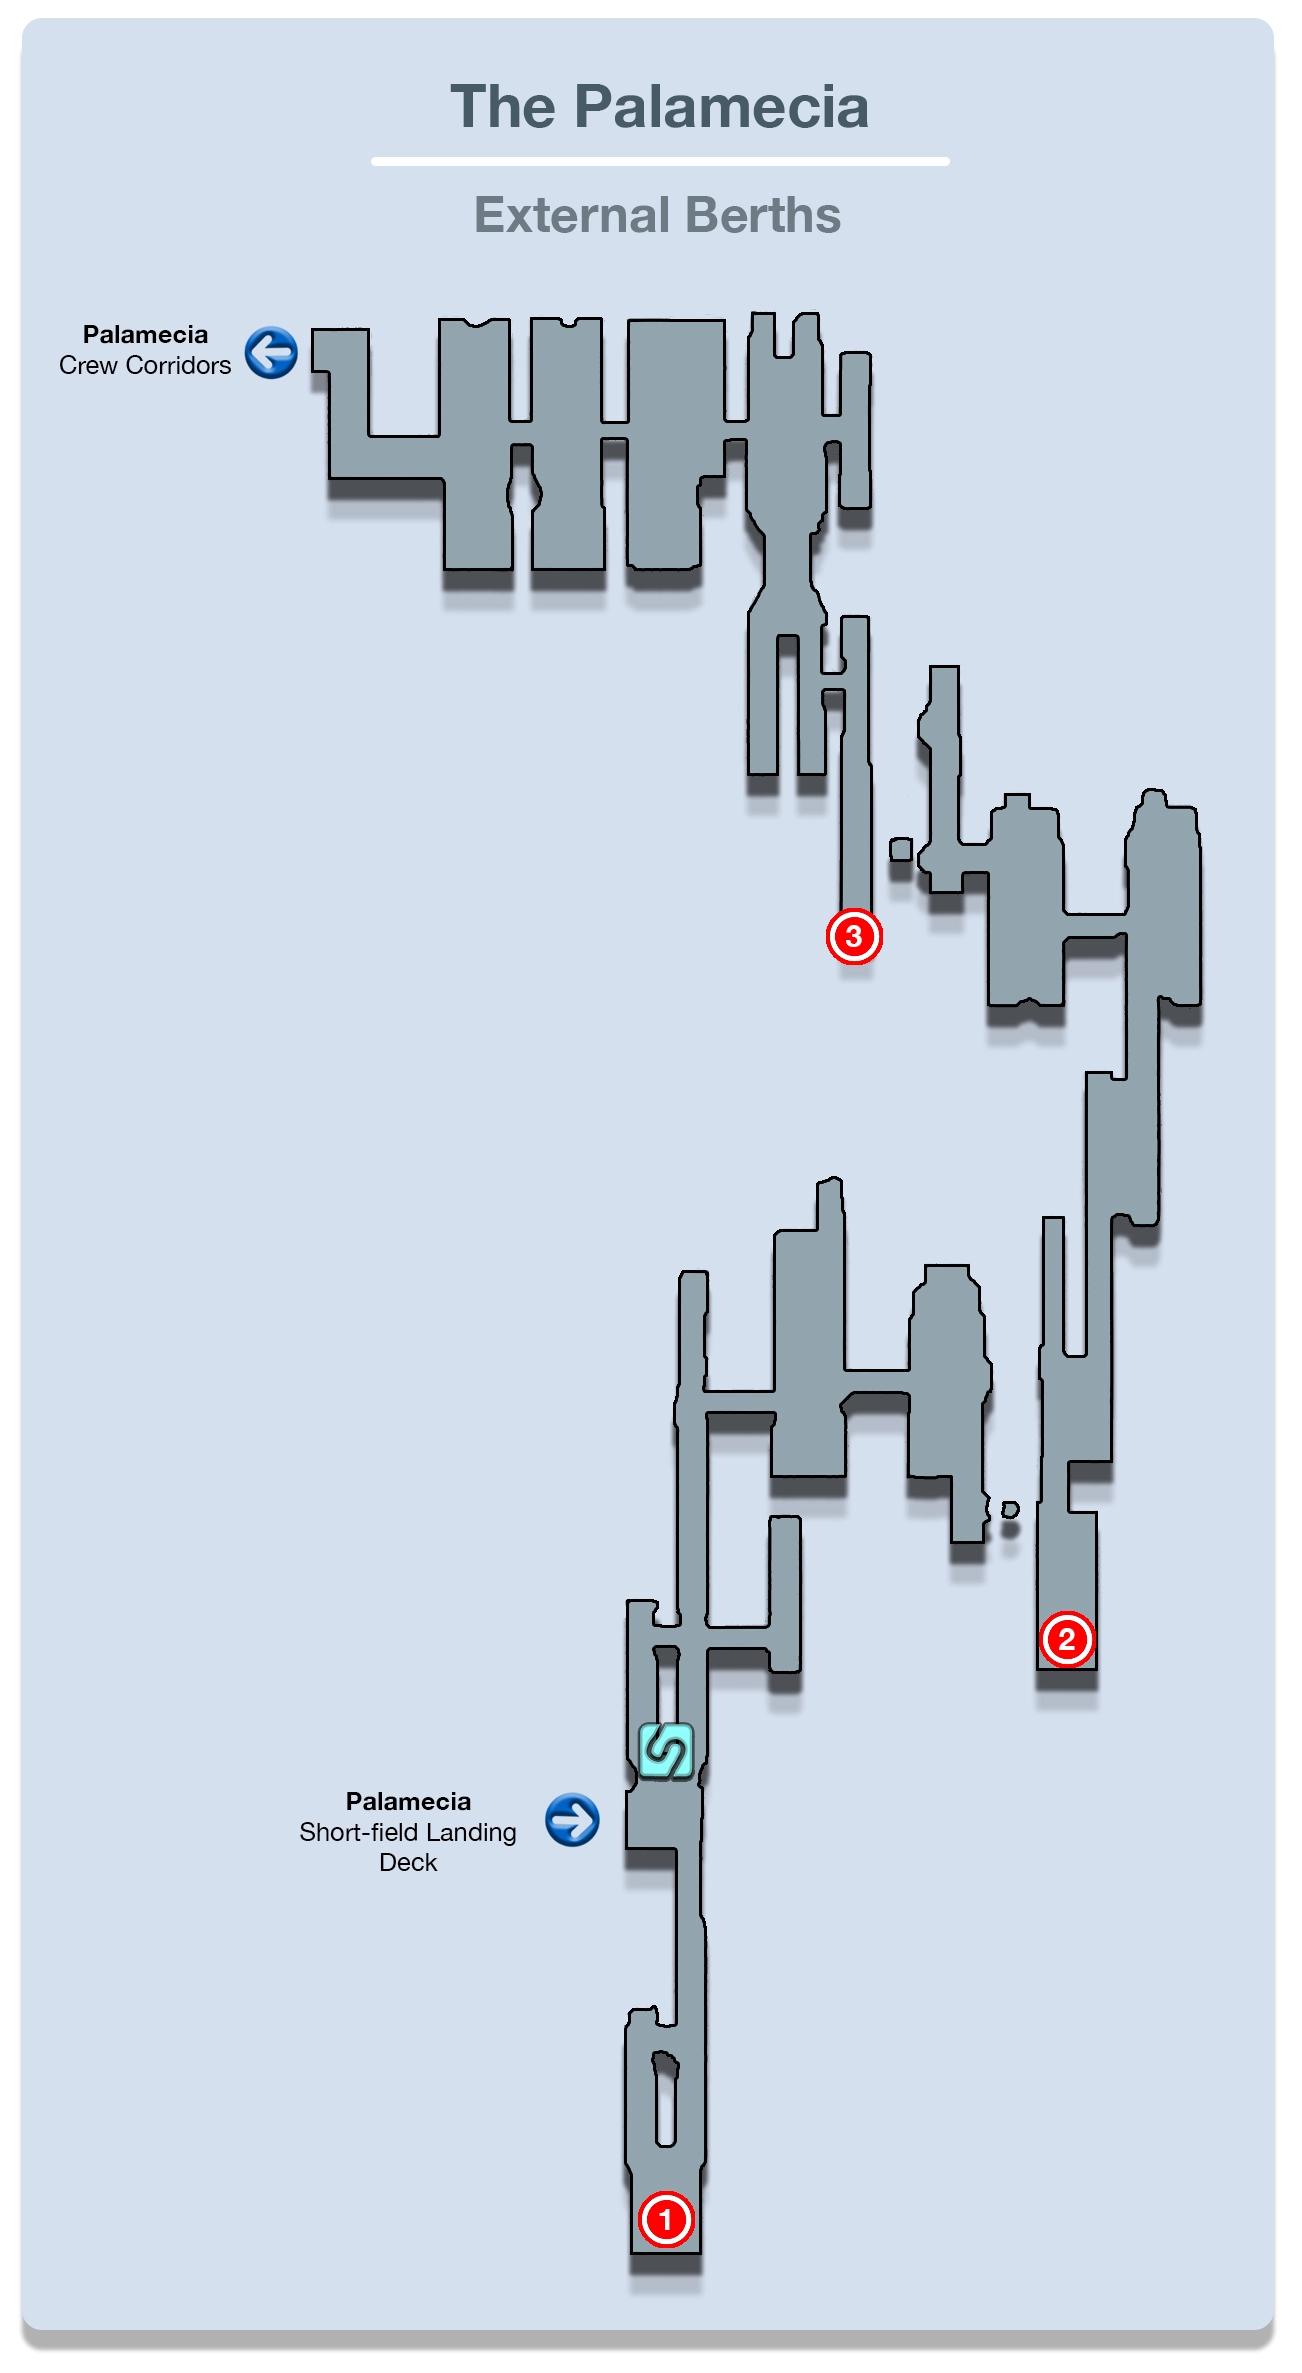
Instead of going forward, do a complete U-turn at the start and approach the group of two Deckdrones standing in the way of a Treasure Sphere. Use ![]() Libra on them, take them down, and then open the Treasure Sphere to pick up a
Libra on them, take them down, and then open the Treasure Sphere to pick up a ![]() Millerite. This item can be used later as a catalyst to upgrade your weapons but no need to worry about it now.
Millerite. This item can be used later as a catalyst to upgrade your weapons but no need to worry about it now.
These Deckdrone enemies are easy to defeat but they can output a fairly high amount of damage when you have to fight them in large enough groups. You may be tempted, for large battles at least, to start your characters off in a Paradigm that places Hope in his ![]() Synergist role and Fang in her
Synergist role and Fang in her ![]() Saboteur role at the start to make the fights easier.
Saboteur role at the start to make the fights easier.
Unfortunately, Fang only has access to ![]() Slow,
Slow, ![]() Dispel and
Dispel and ![]() Curse in her
Curse in her ![]() Saboteur role and the Deckdrones are immune to
Saboteur role and the Deckdrones are immune to ![]() Slow, so you may be better off keeping Fang in her
Slow, so you may be better off keeping Fang in her ![]() Commando role, at least against large groups of Deckdrones, given the limited utility that her
Commando role, at least against large groups of Deckdrones, given the limited utility that her ![]() Saboteur role will have.
Saboteur role will have.
Use the nearby ![]() Save Station to save your game and then continue working your way along the pathway. The next group of enemies will include a PSICOM Dragoon, and then the upcoming groups of enemies will just include random pairings of Deckdrones and PSICOM Dragoons.
Save Station to save your game and then continue working your way along the pathway. The next group of enemies will include a PSICOM Dragoon, and then the upcoming groups of enemies will just include random pairings of Deckdrones and PSICOM Dragoons.

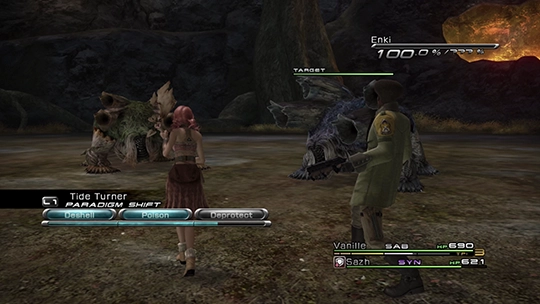
The strategy for defeating them will be the same for each group other than the fact that you may need to switch to the Diversity Paradigm (Fang as ![]() Commando, Lightning as
Commando, Lightning as ![]() Ravager and Hope as
Ravager and Hope as ![]() Medic) for larger groups or if your party members take too much damage.
Medic) for larger groups or if your party members take too much damage.
The only other tip that you should keep in mind as you work your way through this area is that the slow-moving Deckdrones are susceptible to ![]() preemptive strikes if you sneak up on them while they are looking away.
preemptive strikes if you sneak up on them while they are looking away.
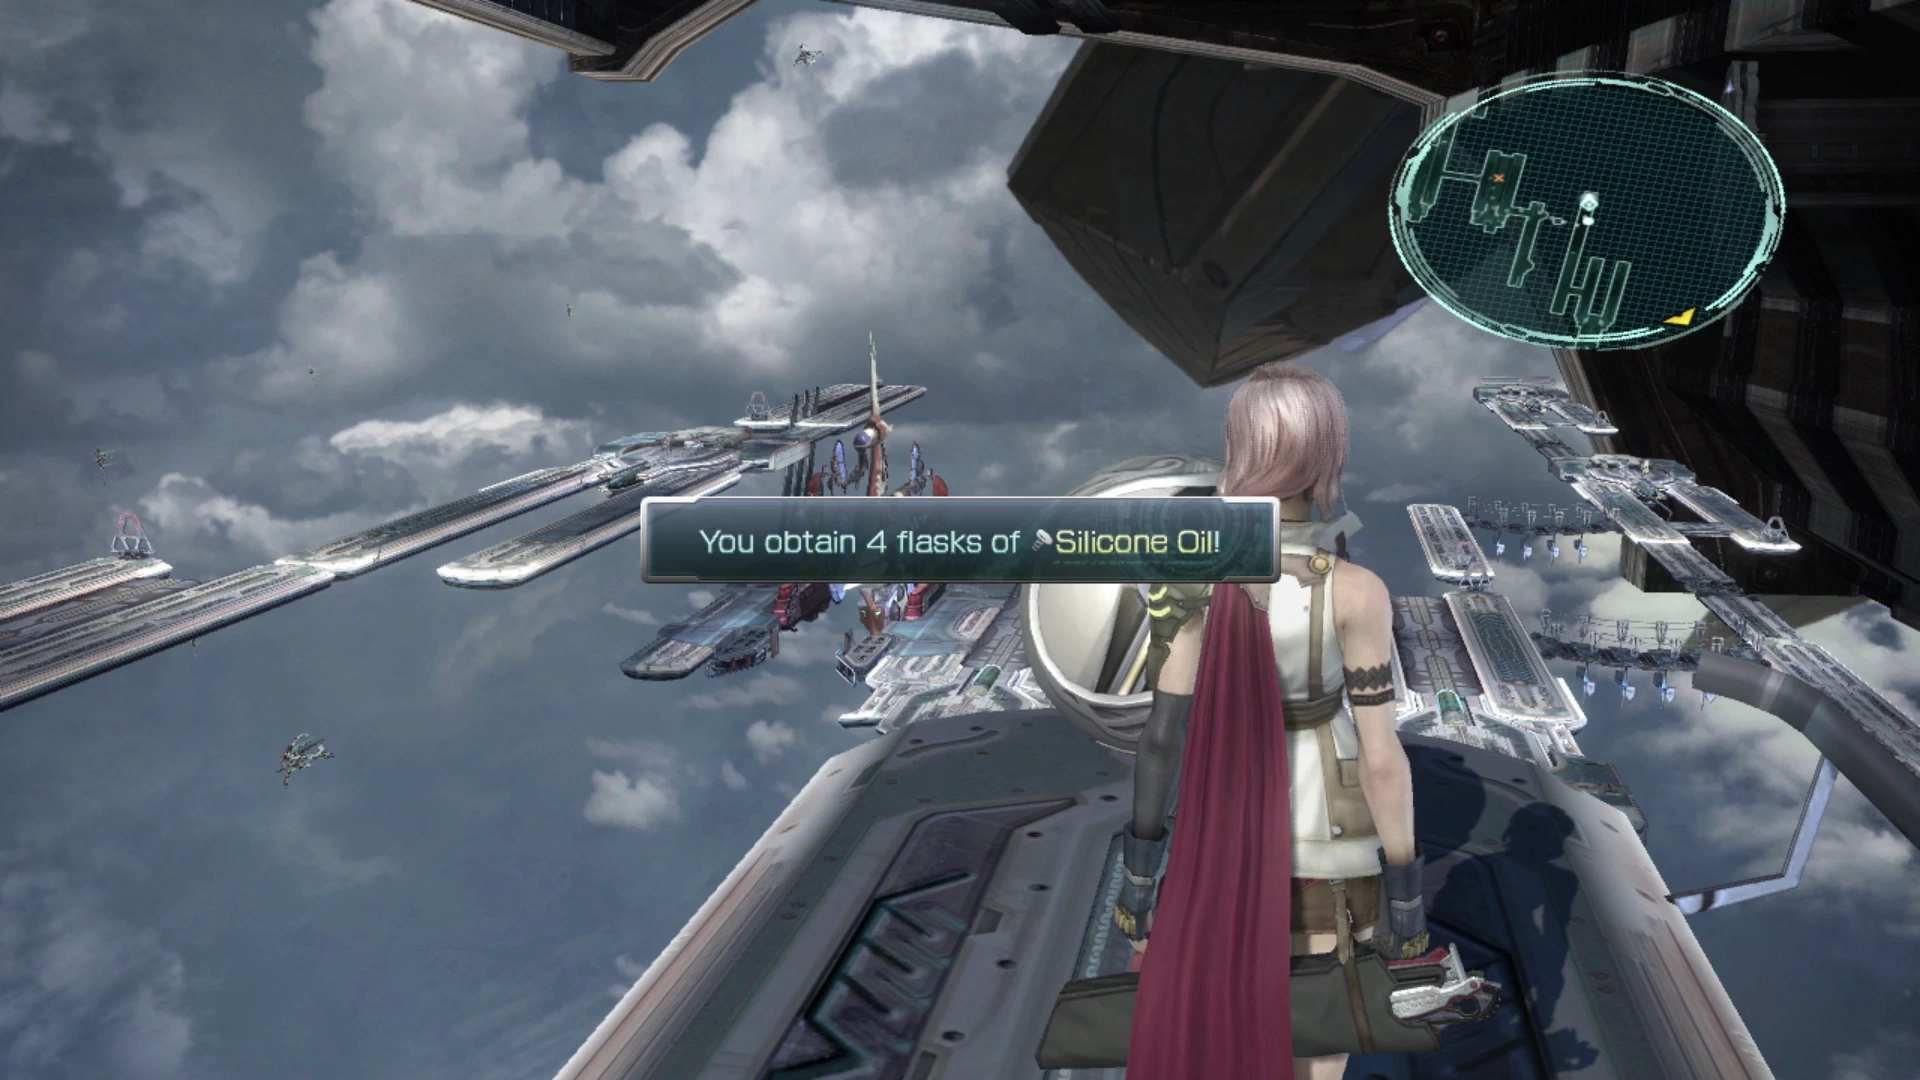
As you progress through the External Berths you will find a Treasure Sphere that contains three ![]() Incentive Chips and another Treasure Sphere further along that contains four flasks of
Incentive Chips and another Treasure Sphere further along that contains four flasks of ![]() Silicone Oil.
Silicone Oil.
There is a group of two Deckdrones off to the right side of the stage that you can easily sneak around but it’s worth fighting them for the extra CP and a shot at loot. The last group of enemies, which includes two PSICOM Dragoons and three Deckdrones, is easy to get a preemptive strike on. Just lure them into chasing you, run away quickly, and then touch the PSICOM Dragoons as soon as they look away from you. This will make the last fight much easier.
Helpful Hint
As a reminder, when you are spending Crystogen Points in each of your team member’s Crystarium, you should continue to target the “Role Level” crystals that are available.
Each Role Level that your characters gain provides an overall “bonus” for the function that the role is meant to perform. For example, increasing the Role Level of a ![]() Commando, from level 1 to level 2, increases the damage done by that character when in the
Commando, from level 1 to level 2, increases the damage done by that character when in the ![]() Commando role and provides a slight damage bonus to other ally characters. Here is a quick overview of the bonuses that Role Levels provide:
Commando role and provides a slight damage bonus to other ally characters. Here is a quick overview of the bonuses that Role Levels provide:
- Medic: Increases the amount healed on self and party members
- Ravager: Increases the chain boost given by each attack for self and party
- Saboteur: Increases the likelihood of a debuff being applied
- Sentinel: Reduces incoming damage to self and party
- Synergist: Increases the duration of buffs applied to self and party
Check out the Roles section for more information.
Approach the destination marker to continue into the next area. There is a lengthy cutscene that involves Vanille, Sazh and the Thirteen Days before you regain control of your team in the…
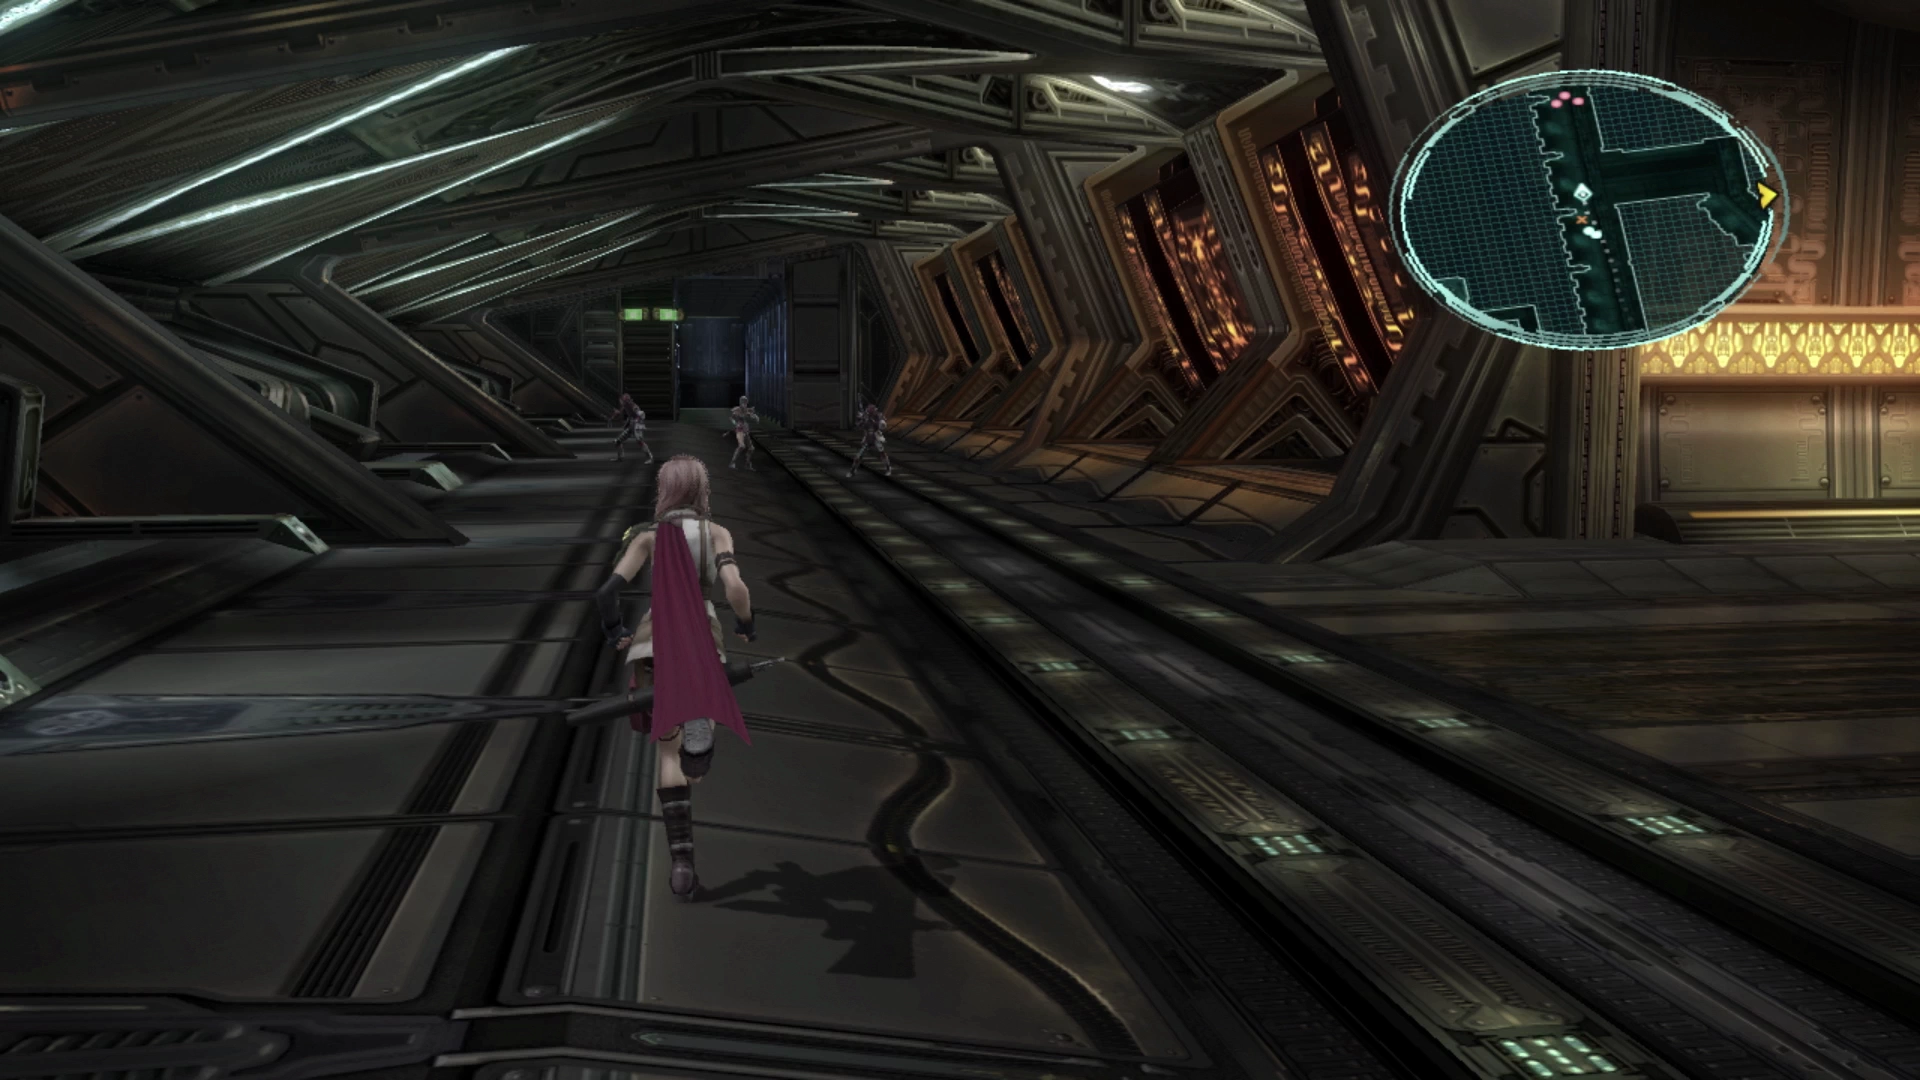
Crew Corridors
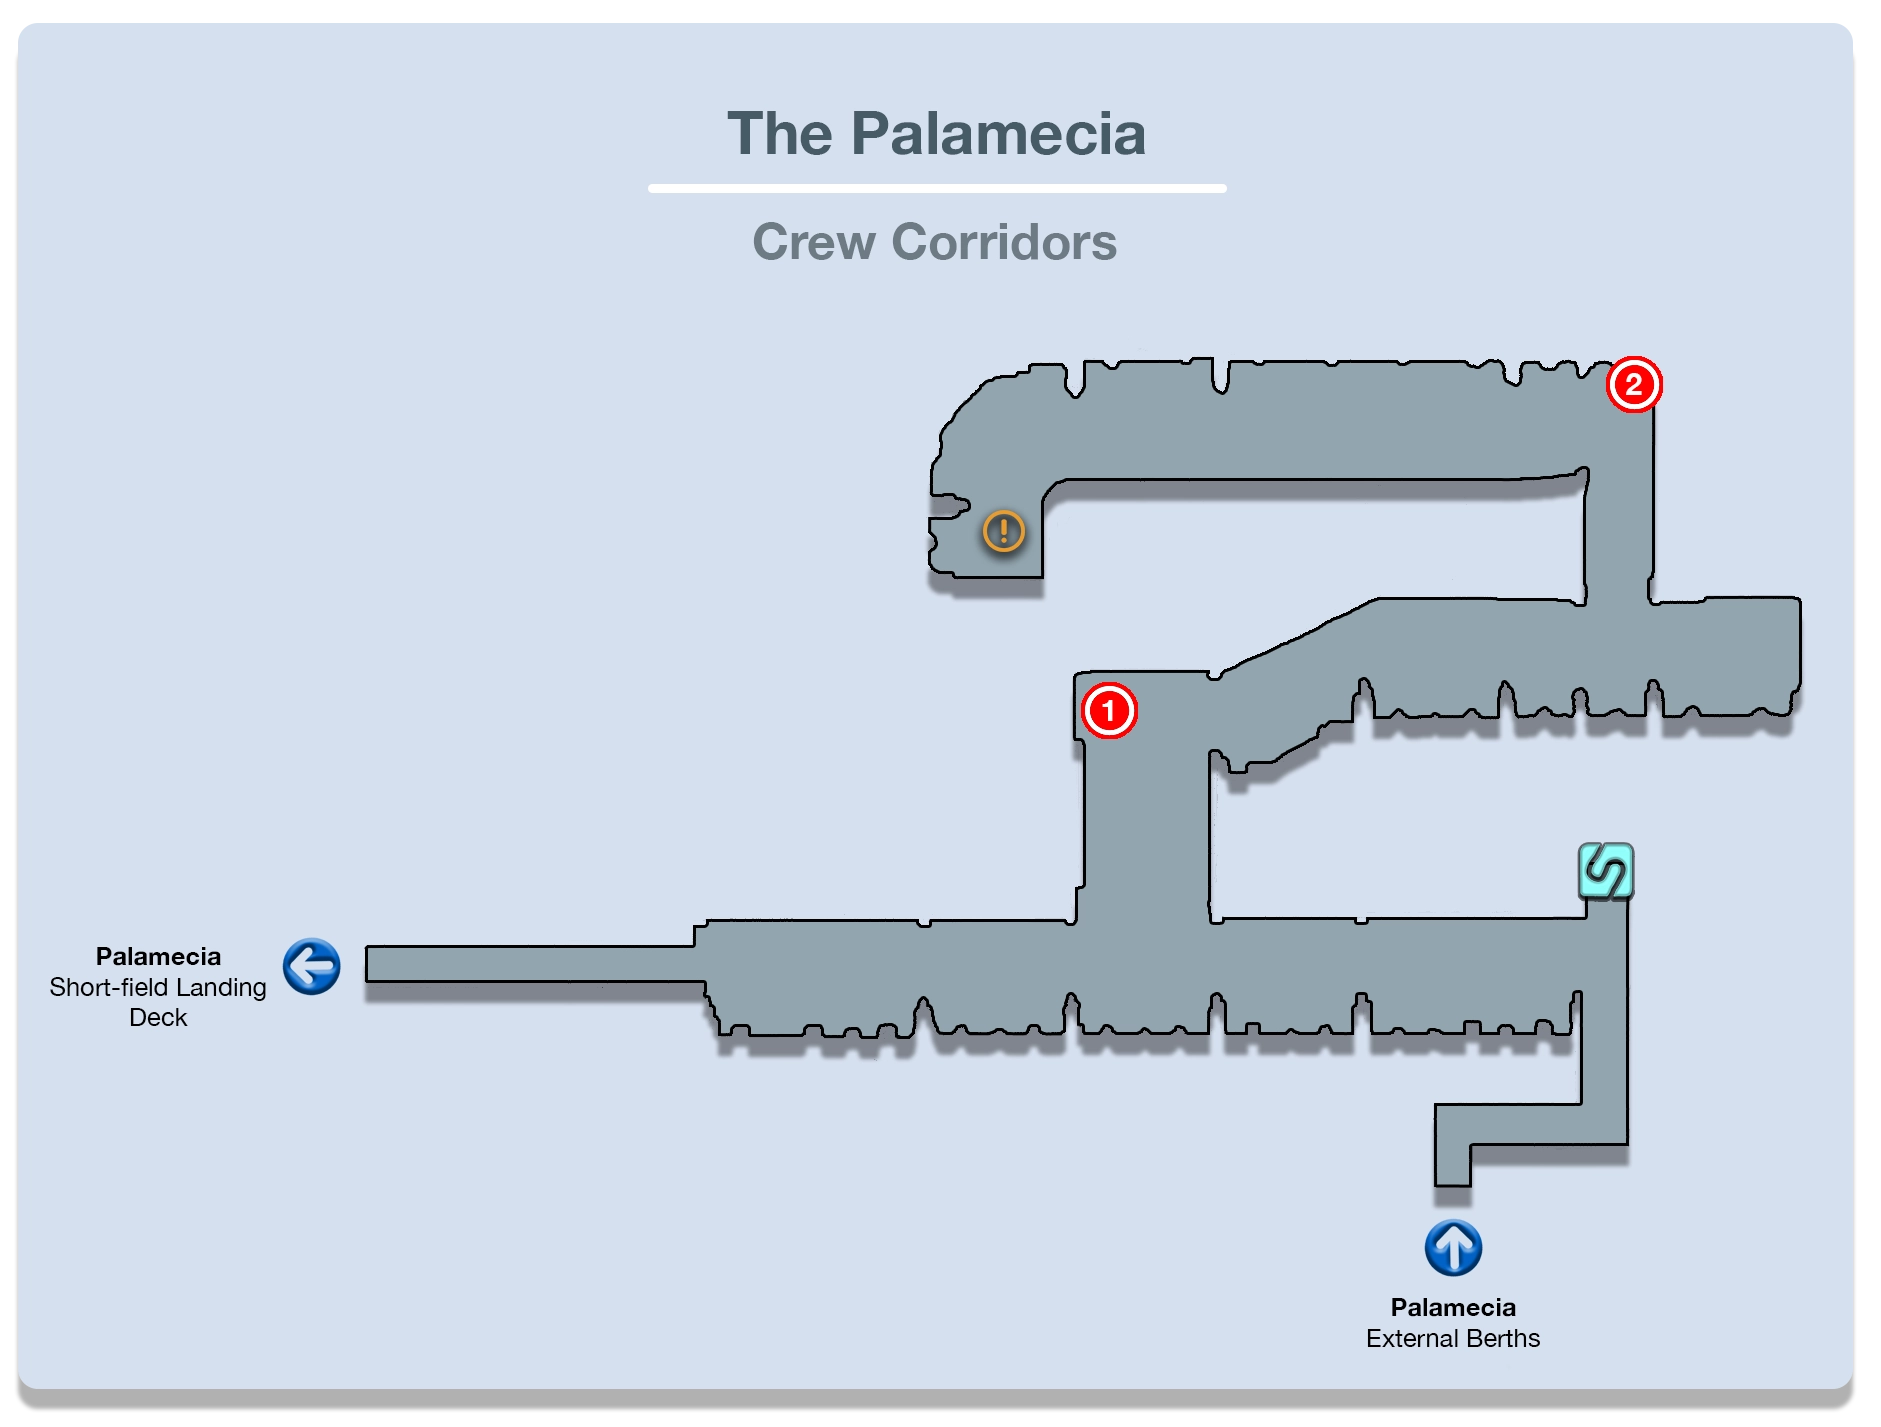


Use the ![]() Save Station just up ahead to save your game and sell your
Save Station just up ahead to save your game and sell your ![]() Incentive Chips and
Incentive Chips and ![]() Credit Chips. At this point, the game will flag a new
Credit Chips. At this point, the game will flag a new ![]() Datalog entry under the “Primers: Battle” section which provides a brief overview of how to neutralize status effects.
Datalog entry under the “Primers: Battle” section which provides a brief overview of how to neutralize status effects.
It’s worth reading this in-game explanation and, while it may not be completely related, this may be a good time to read up on the different Status Effects and how they work. Check out the Status Effects page in the Tips and Tricks section for more information (linked below):
Tips and Tricks
An overview of the various status effects you will encounter during your travels through Cocoon and Gran Pulse.
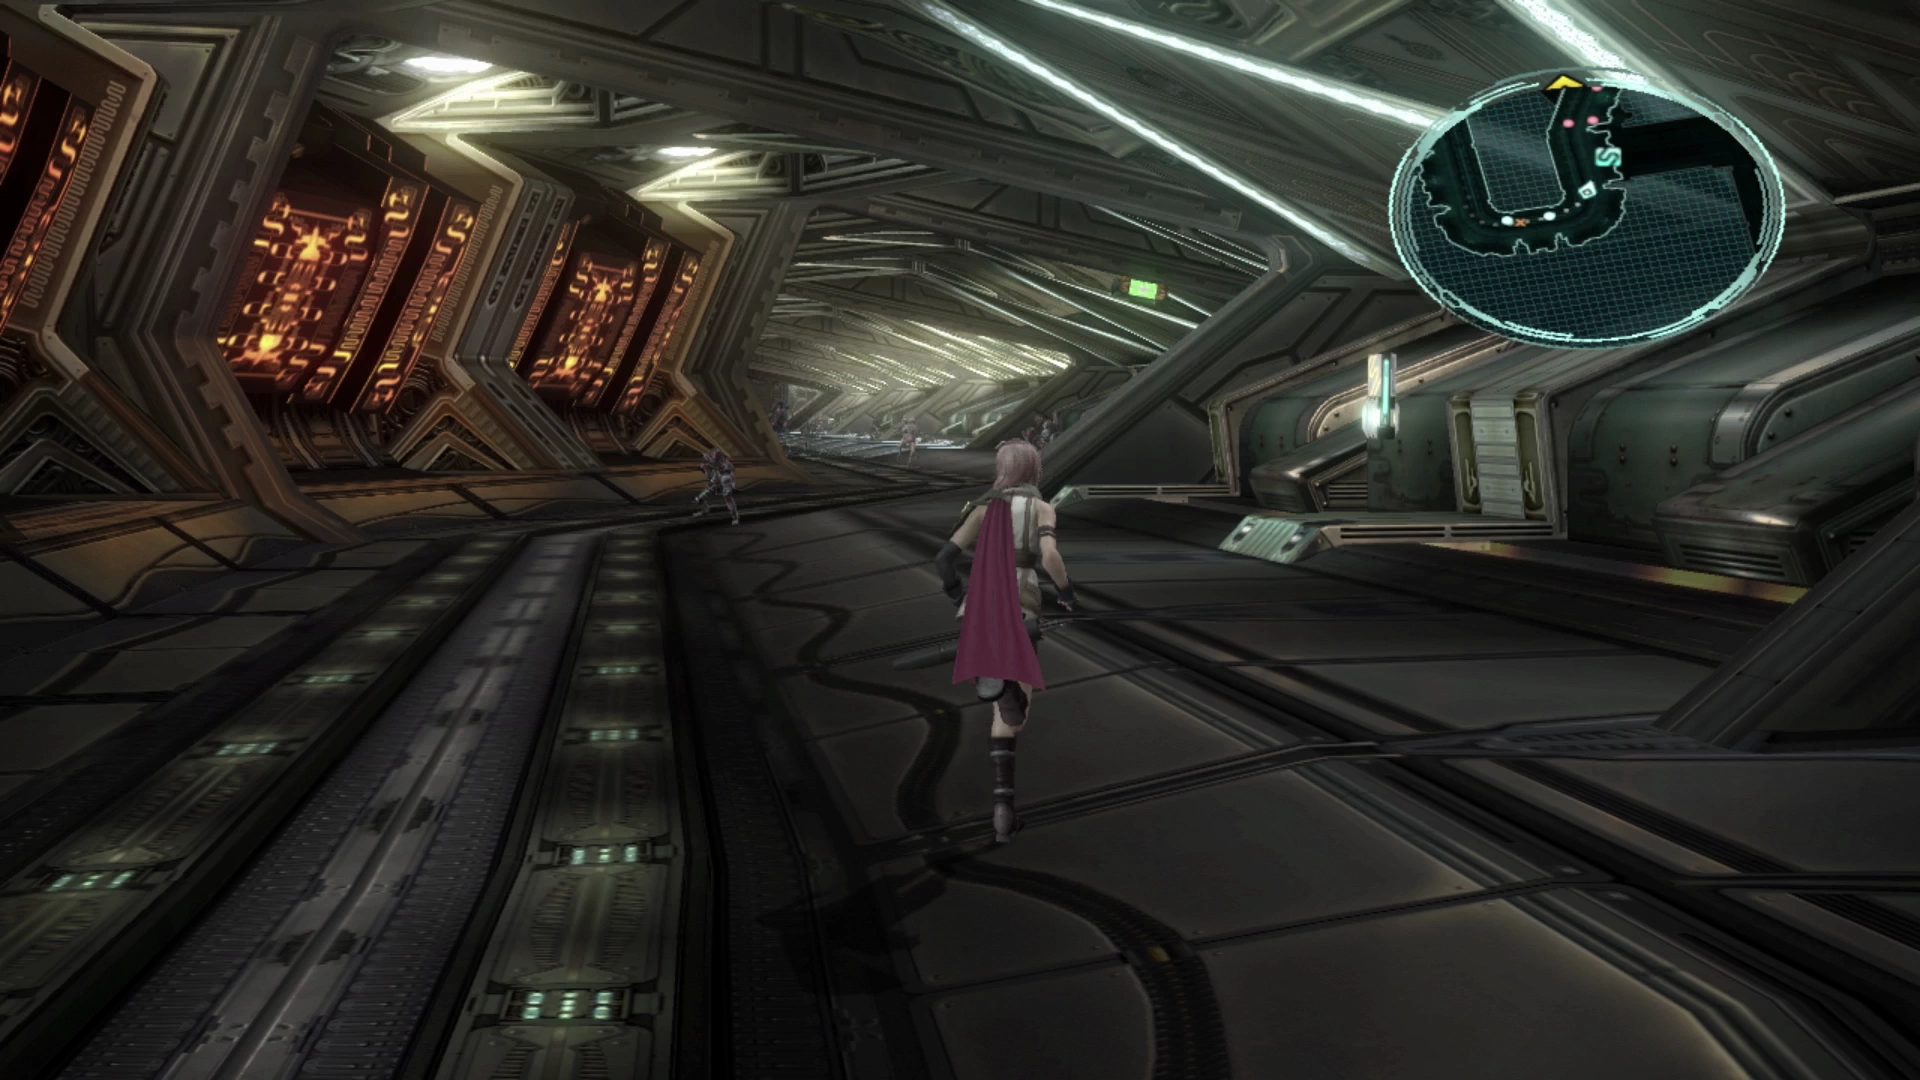
Step forward and to the right into the Crew Corridors and you will be confronted by a few groups of PSICOM soldiers. The first group includes two PSICOM Infiltrators with two PSICOM Raiders. Neither of these enemies is new and you should be able to make relatively quick work of them.
In the second battle, however, you will face your first PSICOM Huntress. The Huntress is a lot more difficult to defeat. Focus your attacks on the three PSICOM Infiltrators first and be prepared to switch your Paradigm to Diversity to allow for some healing as these enemies deal quite a bit of damage.
You are going to encounter quite a few PSICOM Huntress enemies as you progress through the Palamecia. They get easier and easier as your characters’ stats improve, but the general strategy should be to take them out last.
They do a fair bit of damage and, because they can quickly buff themselves, they end up being quite difficult to take down. Fang can use her ![]() Dispel ability to remove the positive status effects that they cast on themselves, but they tend to refresh these buffs fairly quickly.
Dispel ability to remove the positive status effects that they cast on themselves, but they tend to refresh these buffs fairly quickly.

There is a split pathway up ahead where you can choose to go either left or right. As shown on the map, the left pathway will take you straight back to the Short-field Landing Deck area where you started. The only things out there are a group of enemies and a ![]() Save Station so take the right pathway and continue along to the next group of enemies.
Save Station so take the right pathway and continue along to the next group of enemies.
There is a Treasure Sphere around the corner that contains a ![]() Lifesaber weapon for Lightning. This weapon’s effect is that it increases the effectiveness of her
Lifesaber weapon for Lightning. This weapon’s effect is that it increases the effectiveness of her ![]() Raise spell, which she would use to revive a fallen comrade, but you may have noted above that it was not recommended that you unlock this ability in her
Raise spell, which she would use to revive a fallen comrade, but you may have noted above that it was not recommended that you unlock this ability in her ![]() Medic Crystarium.
Medic Crystarium.
To put it bluntly, Lightning should only be serving as a ![]() Medic very rarely, and she should never be casting
Medic very rarely, and she should never be casting ![]() Raise unless something has gone horribly wrong, in which case you should just reset the battle and try again. In other words, press the
Raise unless something has gone horribly wrong, in which case you should just reset the battle and try again. In other words, press the ![]()
![]()
![]() button and select the “Retry” option. Still though, despite its uselessness right now, you will want to collect all the weapons for completionist purposes.
button and select the “Retry” option. Still though, despite its uselessness right now, you will want to collect all the weapons for completionist purposes.
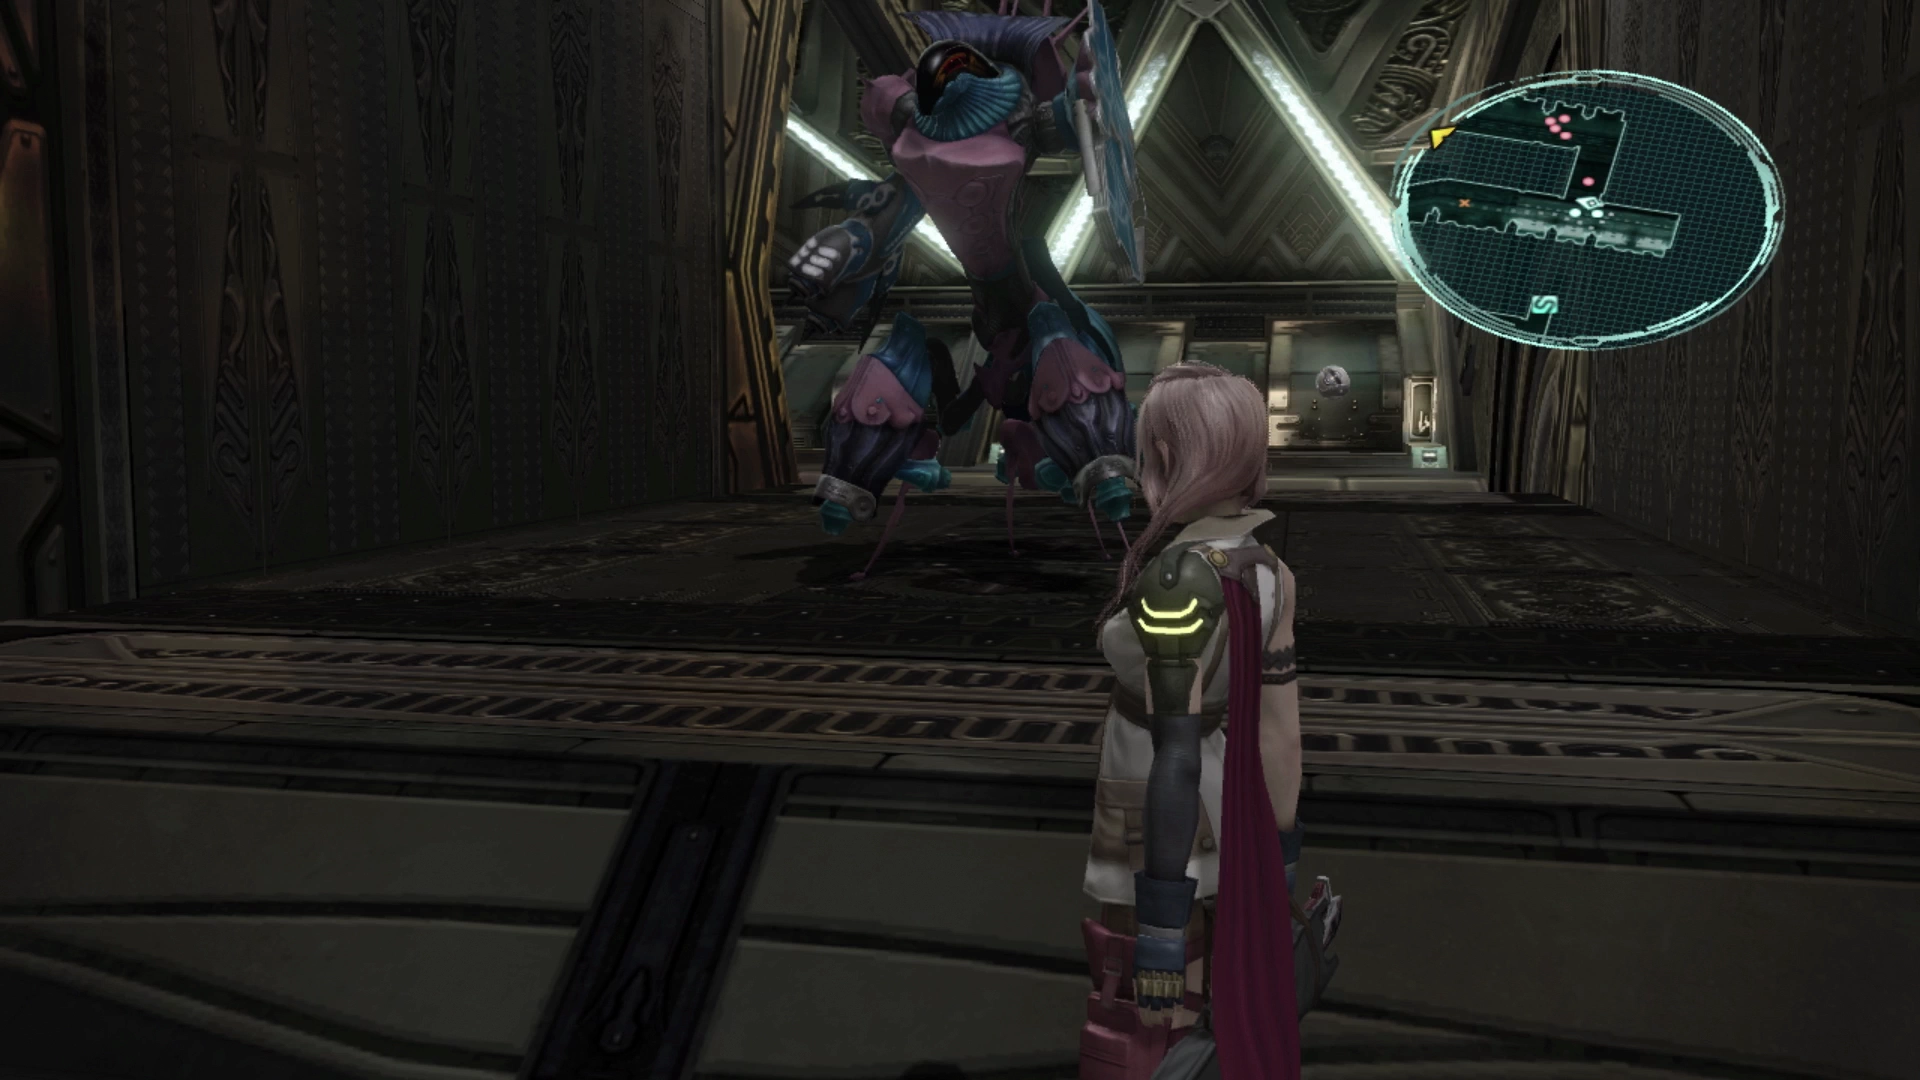
Up ahead is another group of soldiers that includes one PSICOM Infiltrator and two PSICOM Huntress. Defeat the Infiltrator first and then focus on the two Huntresses. After that, you will face your first Viking enemy.
These large, imposing enemies don’t hit that hard, but they have a ton of HP and require a great deal of damage to defeat. They will need to be Staggered at least once, and potentially twice, so always make sure to focus them down last when you fight them in a group later.
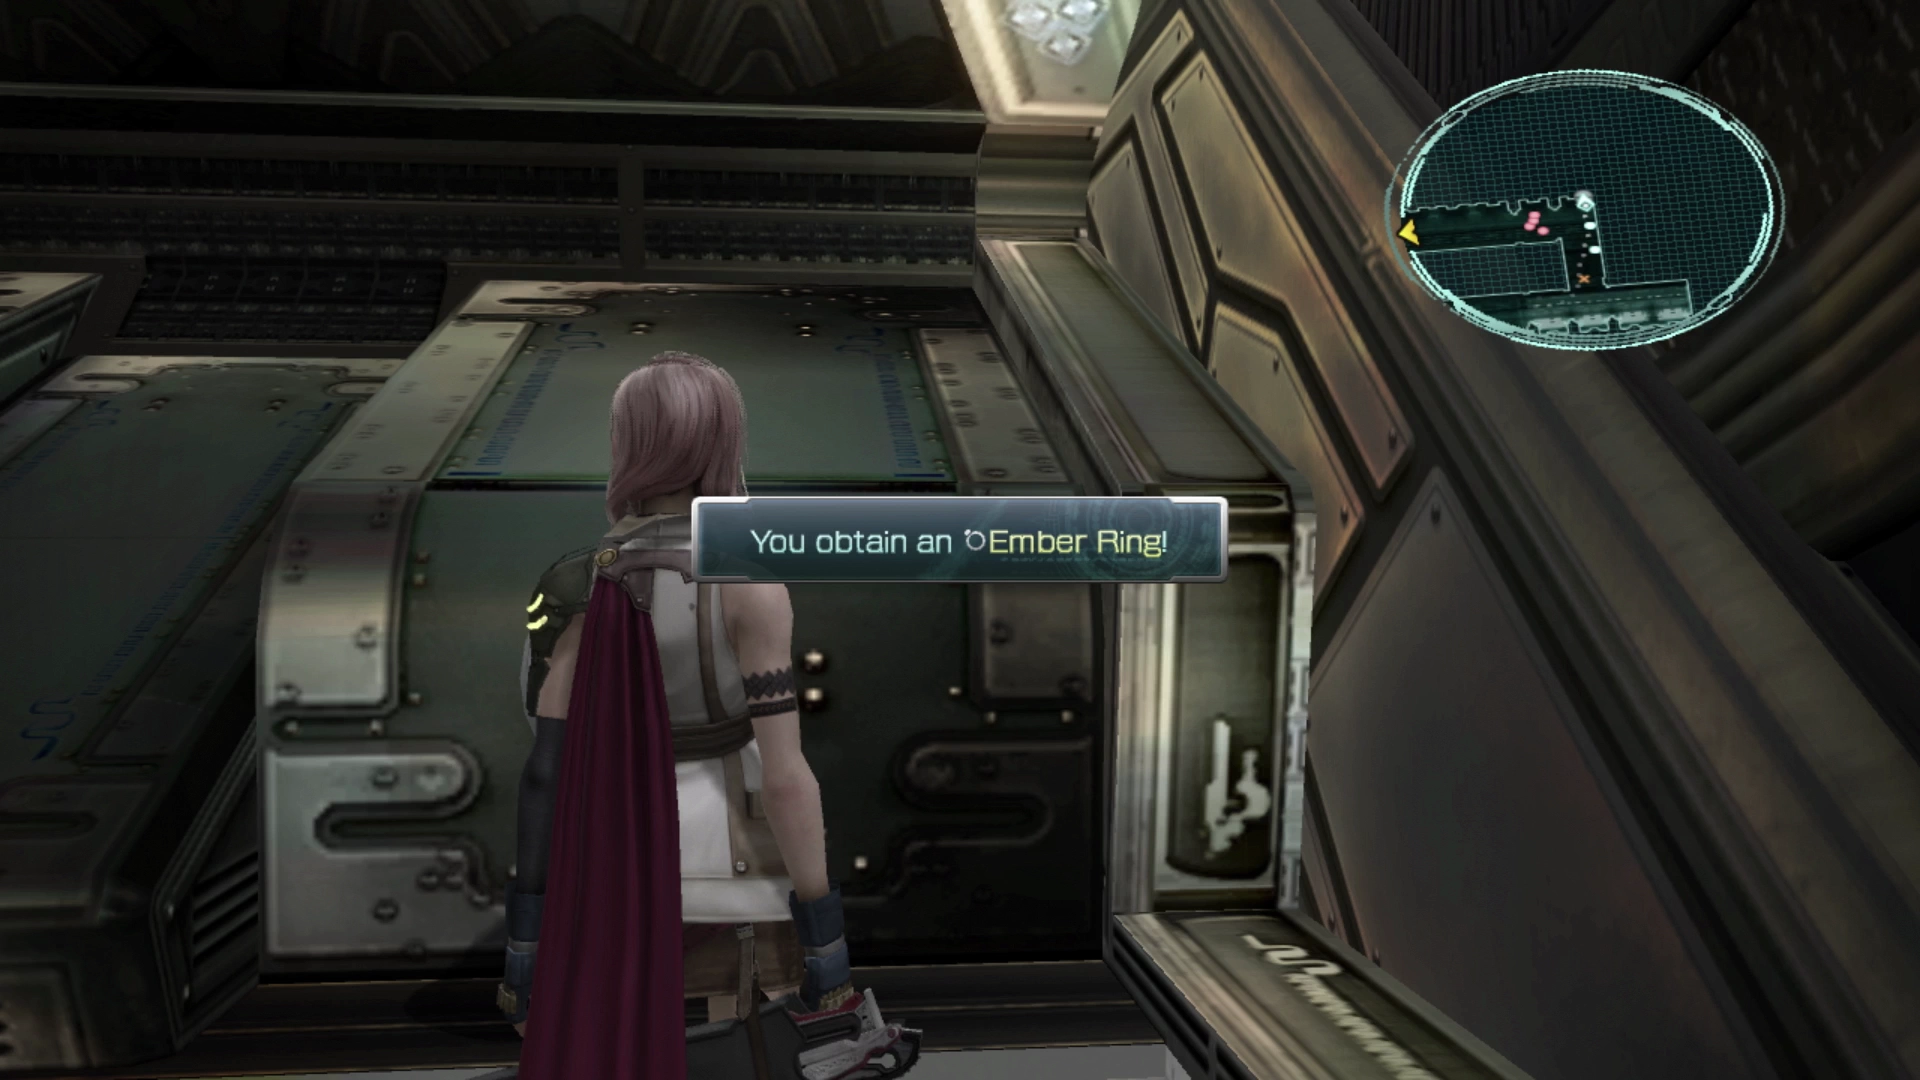
There is a Treasure Sphere behind the Viking that contains an ![]() Ember Ring.
Ember Ring.
Missable Content
This is the third and final opportunity to obtain an ![]() Ember Ring. Because there aren’t many of them in the game, and they are difficult to obtain once you reach the later chapters, they are considered missable content.
Ember Ring. Because there aren’t many of them in the game, and they are difficult to obtain once you reach the later chapters, they are considered missable content.
Refer to the Missable Content page for more information on specific items you should keep an eye out for.
The last group of soldiers includes two PSICOM Raiders and two PSICOM Huntresses. They will output a heavy amount of damage so be ready to go defensive with the Diversity Paradigm or kick off the fight by having Hope buff the party in his ![]() Synergist role.
Synergist role.
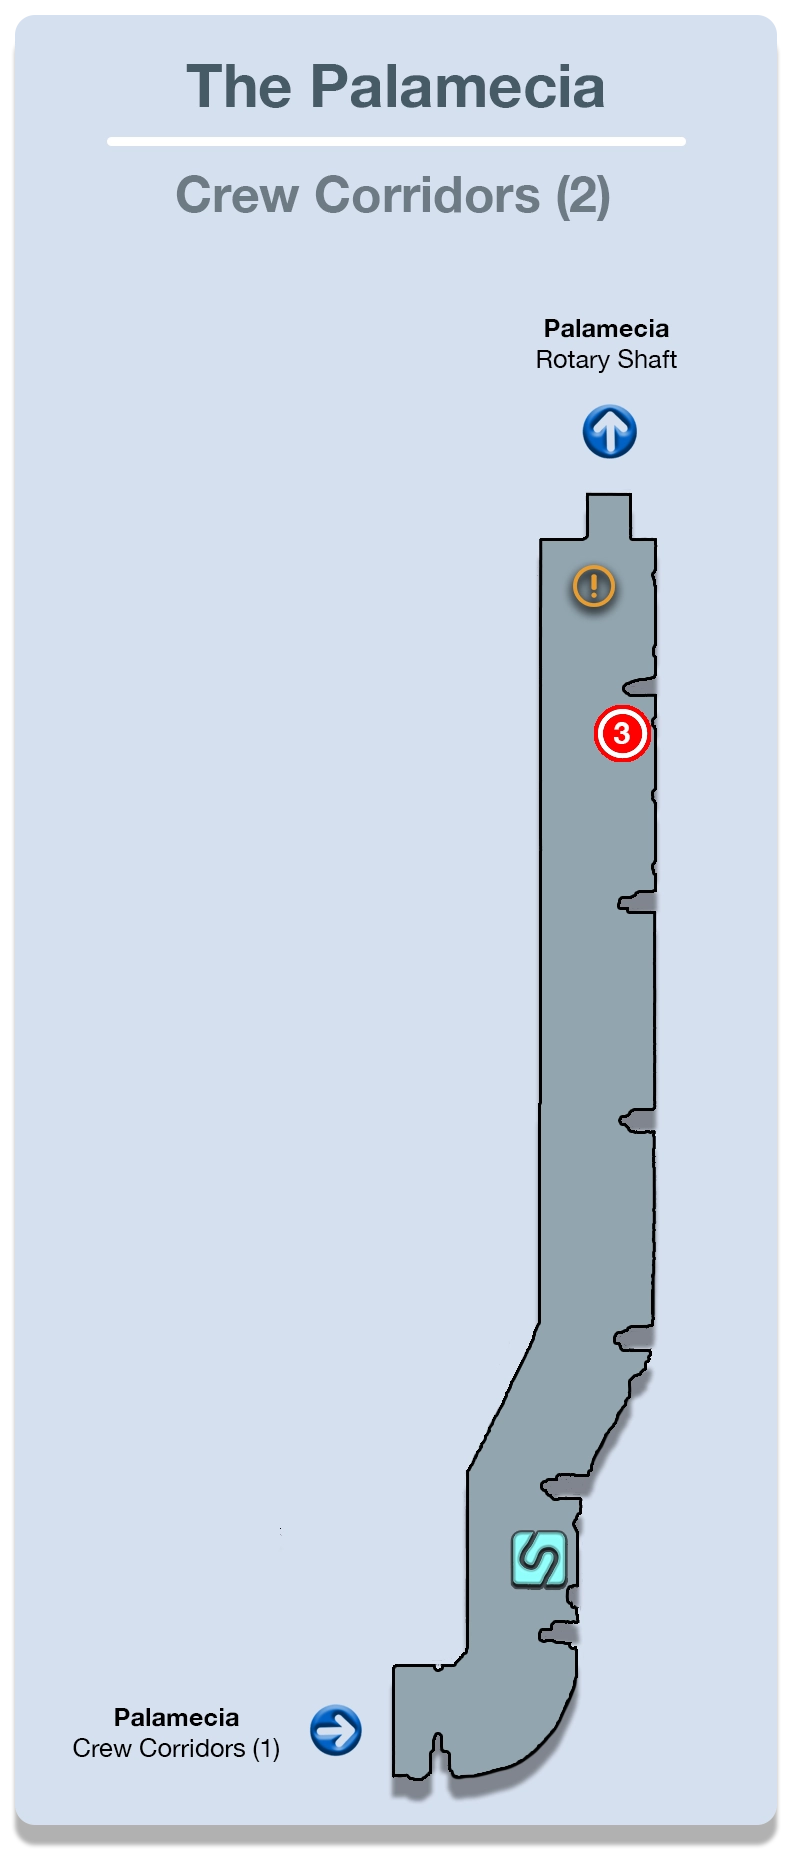
The activation marker on the map will just lead you to the second level of the Crew Corridor. You have a few more groups of enemies to defeat including this next one which includes two PSICOM Raiders and a Viking (focus on the Raiders first). Save your game at the ![]() Save Station just up ahead.
Save Station just up ahead.
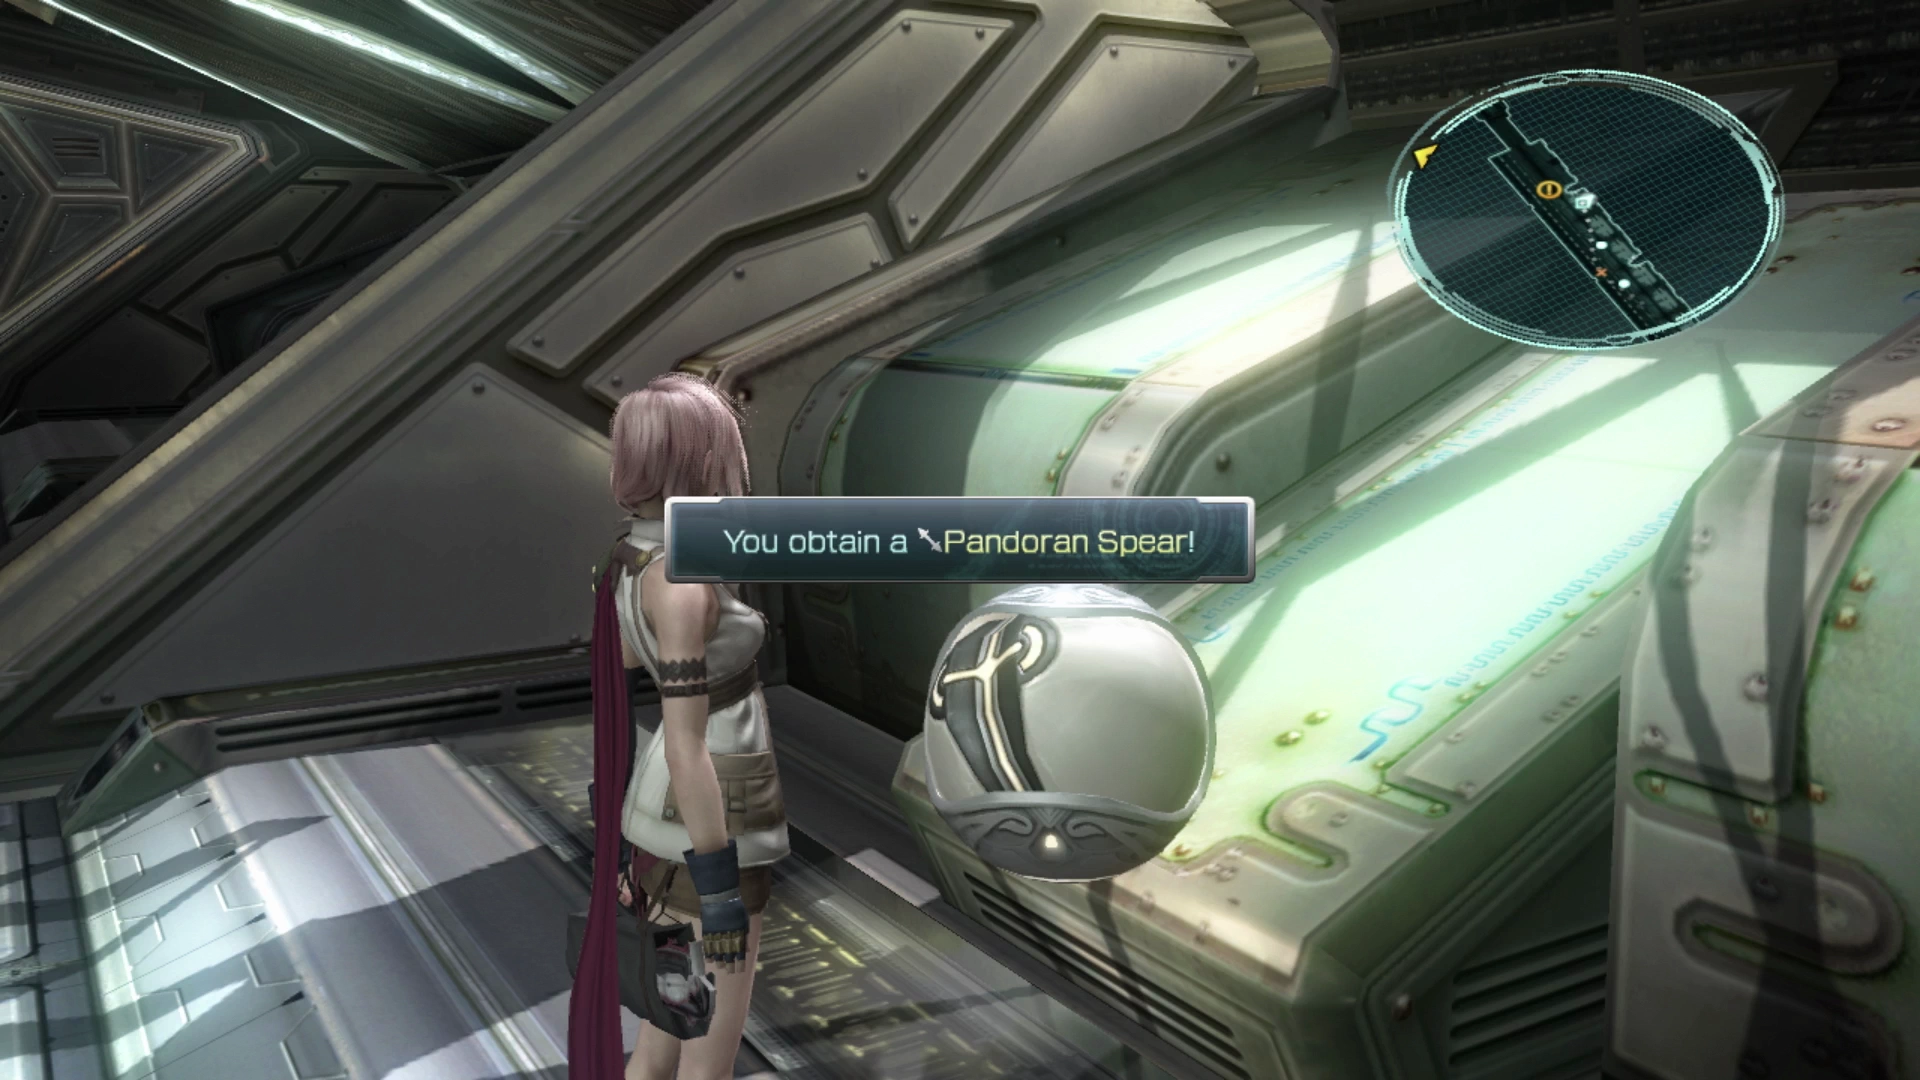
Continue along the pathway defeating the enemies that you come across. There is a Treasure Sphere on the right side of the room that contains a ![]() Pandoran Spear. This weapon for Fang increases the likelihood of the magic she casts as a
Pandoran Spear. This weapon for Fang increases the likelihood of the magic she casts as a ![]() Saboteur taking effect. It has minimal utility at this point in the game (or ever for that matter) so don’t equip her with it.
Saboteur taking effect. It has minimal utility at this point in the game (or ever for that matter) so don’t equip her with it.
Step forward towards the map marker to continue with the next set of cutscenes. A short cutscene will take place once you reach the end of the Crew Corridor before the game swaps back over to Sazh and Vanille which is continued on the next page of the walkthrough.