
Chapter 8: Nautilus
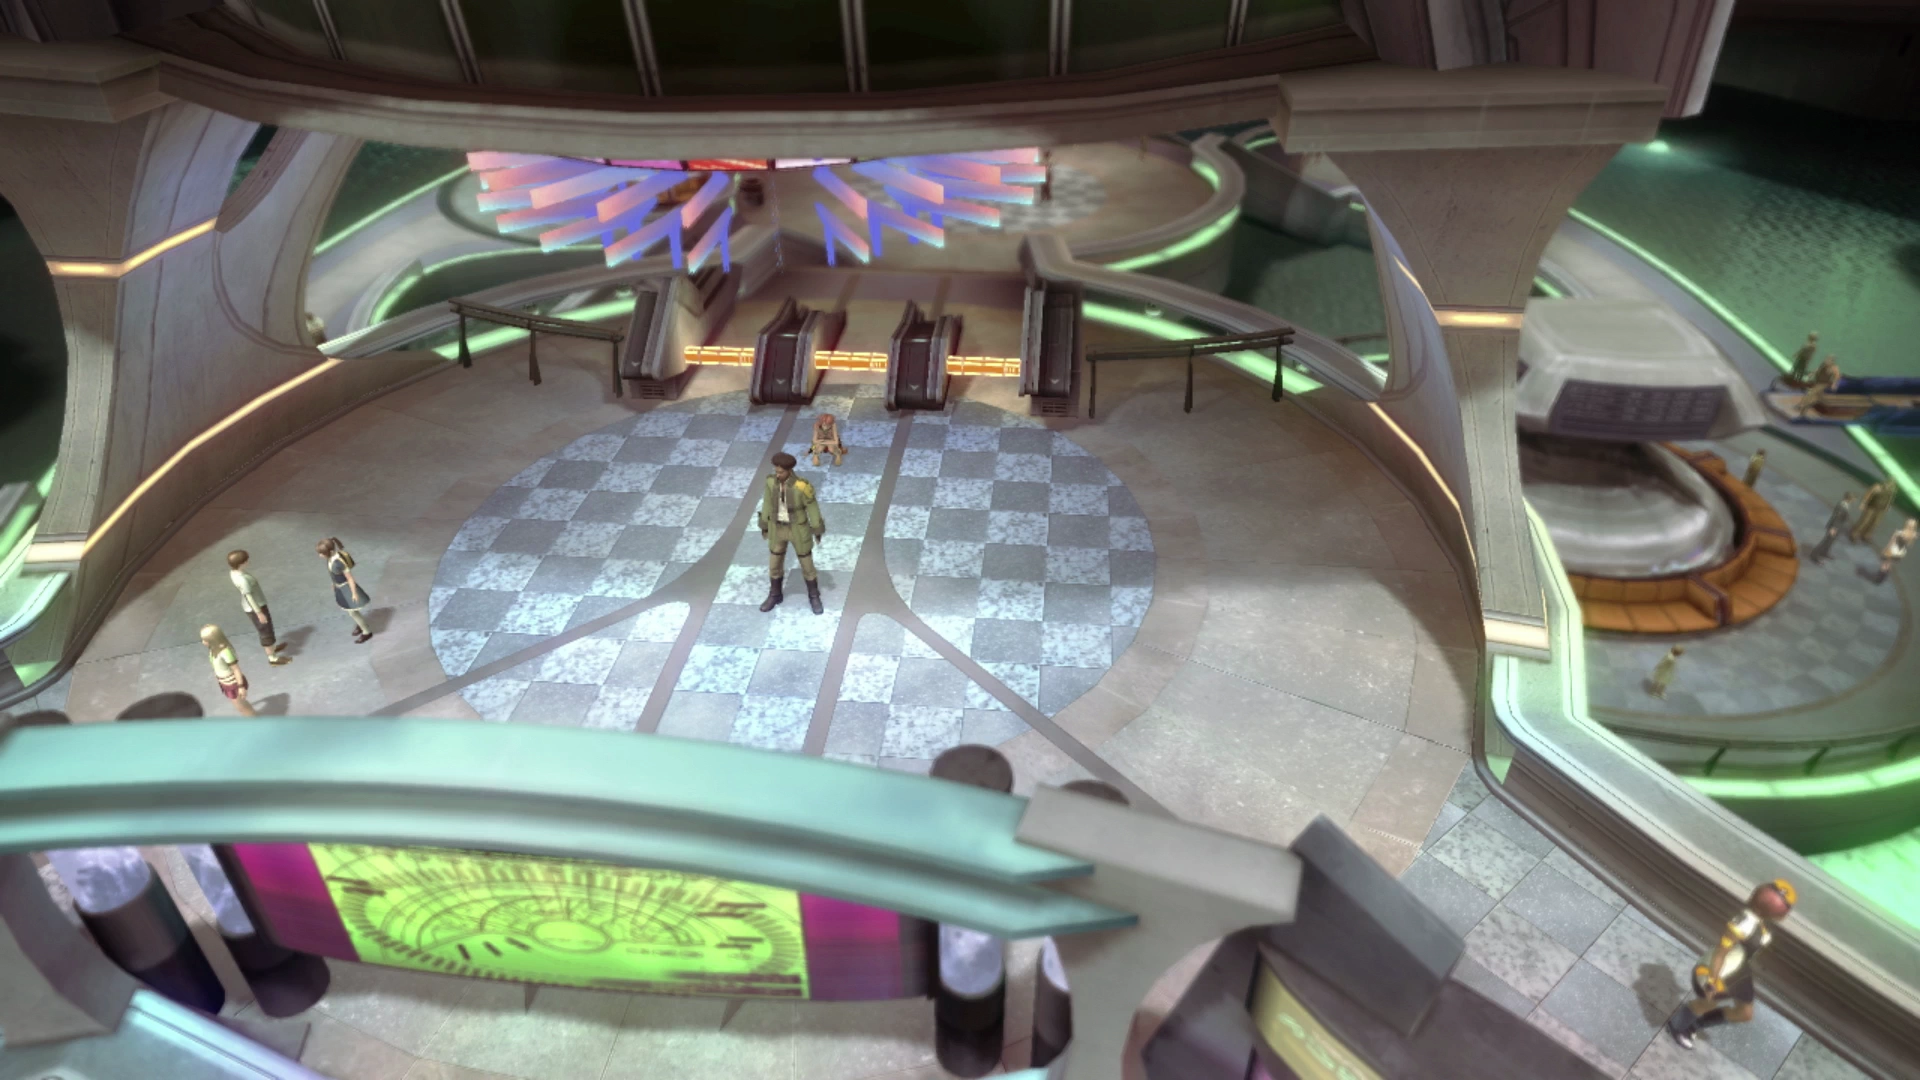
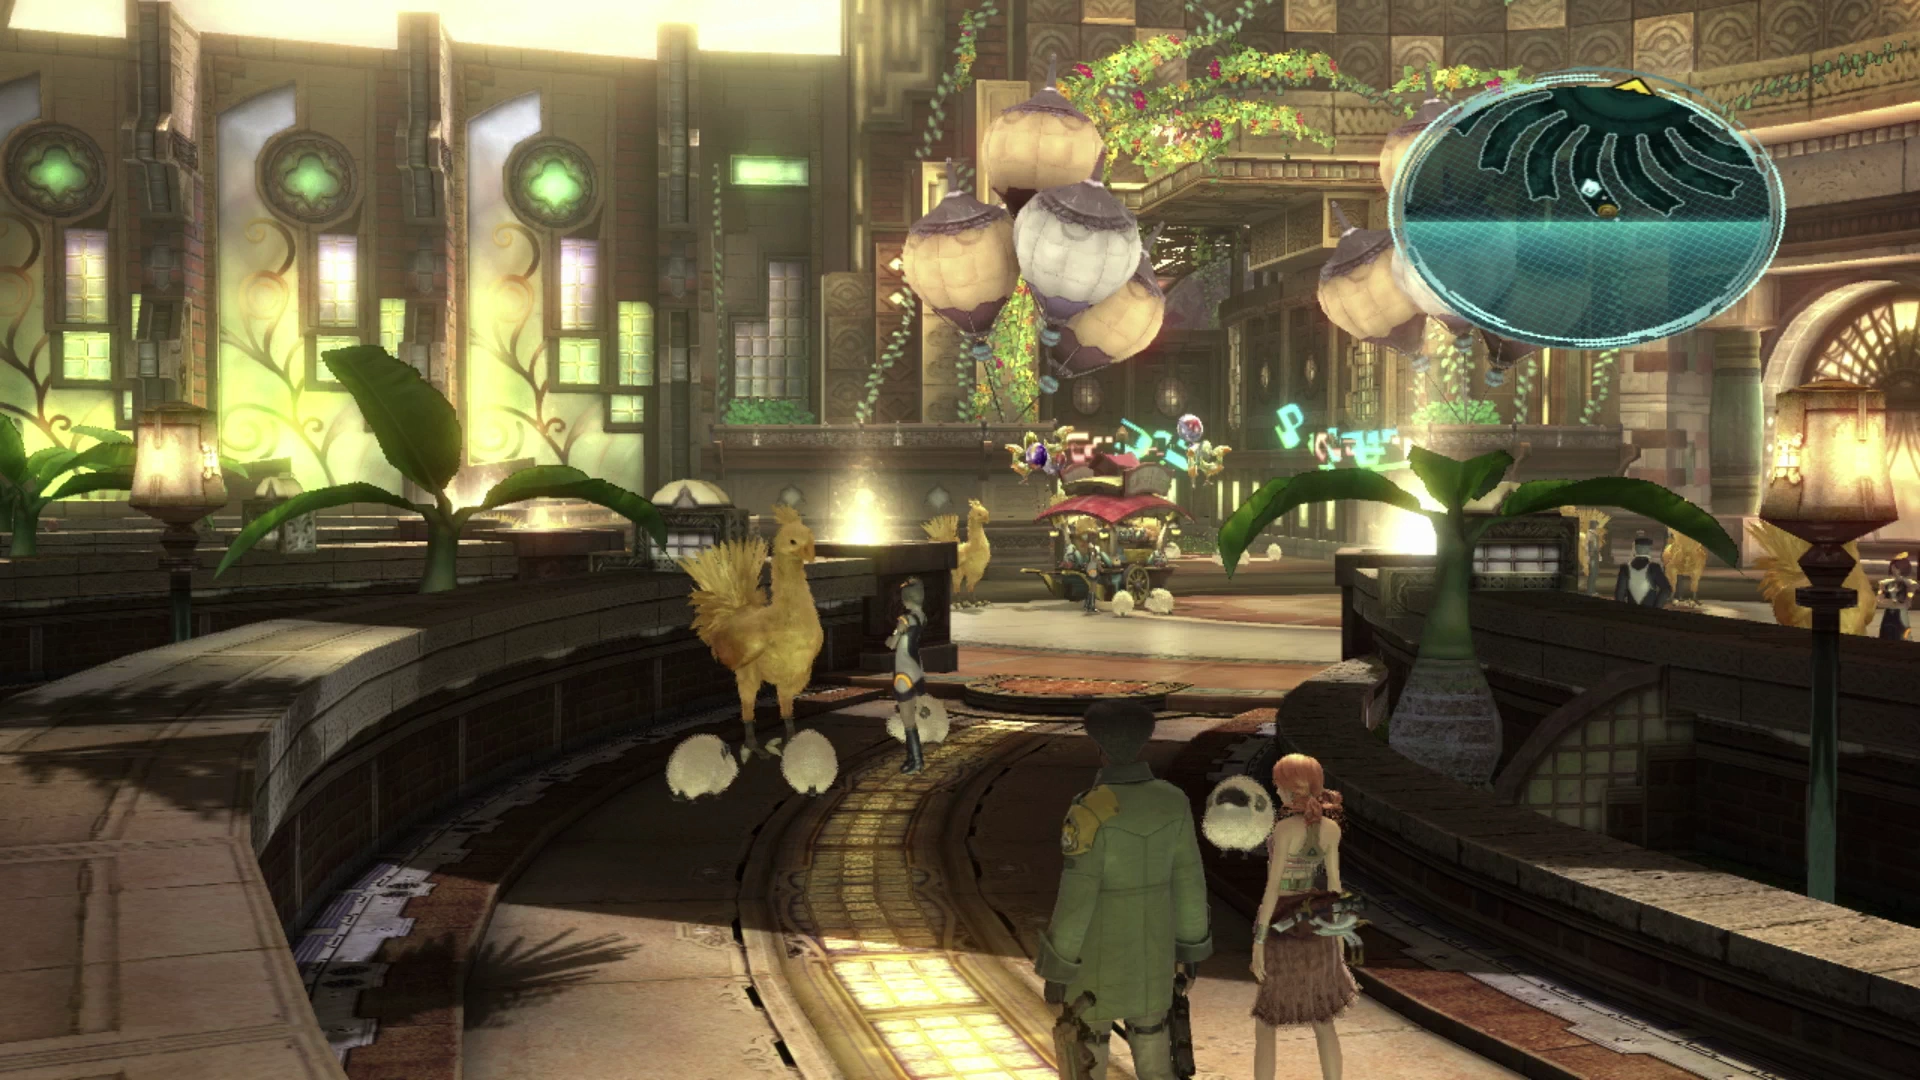
This chapter of the game begins with Sazh and Vanille arriving in the fantastic city of Nautilus. It’s very similar to Gold Saucer in Final Fantasy VII, Esthar in Final Fantasy VIII and Luca in Final Fantasy X.
You have a lot of Crystogen Points (CP) that can be spent in both Sazh’s and Vanille’s Crystariums, but before spending them, consider the helpful hint noted below:
Helpful Hint
In the chapters leading up to this point, it has been easy to fully complete each character’s available Crystariums and completely (or nearly completely) fill out some or all their roles. At this point though, and moving forward, that is going to be much more difficult to do.
From now on it is recommended that you be strategic about how you spend your Crystogen Points. The most important thing to remember is that you should spend each character’s CP to get to specific abilities on the Crystarium first rather than deviating off the main pathways and trying to fill out the Crystarium. This will allow each character to get important abilities as quickly as possible before focusing on minor stat increases. Keep that in mind as you follow the steps outlined below.
There are a couple of important abilities that you should target in each character’s available Crystariums.
Starting with Vanille, make sure that you obtain her ![]() Dispel ability in the
Dispel ability in the ![]() Saboteur Crystarium and pick up the
Saboteur Crystarium and pick up the ![]() Blizzard spell from her
Blizzard spell from her ![]() Ravager role. She can also gain access to
Ravager role. She can also gain access to ![]() Renew and
Renew and ![]() Raise which can prove helpful for upcoming fights depending on how defensive you go with your play style. She will spend more and more of her time in her role as a
Raise which can prove helpful for upcoming fights depending on how defensive you go with your play style. She will spend more and more of her time in her role as a ![]() Saboteur though so consider filling out this and the
Saboteur though so consider filling out this and the ![]() Ravager Crystarium first.
Ravager Crystarium first.
Sazh, on the other hand, will be operating as a jack-of-all-trades so there’s no definitive strategy to follow when spending his CP. For now, he will be your group’s only ![]() Commando, so there is value in working your way through that Crystarium, but there are a lot of beneficial spells and abilities in his
Commando, so there is value in working your way through that Crystarium, but there are a lot of beneficial spells and abilities in his ![]() Synergist tree which are worth obtaining. Two worth noting are
Synergist tree which are worth obtaining. Two worth noting are ![]() Haste, which reduces the time it takes for each character’s ATB Gauge to fill, and
Haste, which reduces the time it takes for each character’s ATB Gauge to fill, and ![]() Boon, which extends the duration of positive status effects.
Boon, which extends the duration of positive status effects.
Nautilus Station
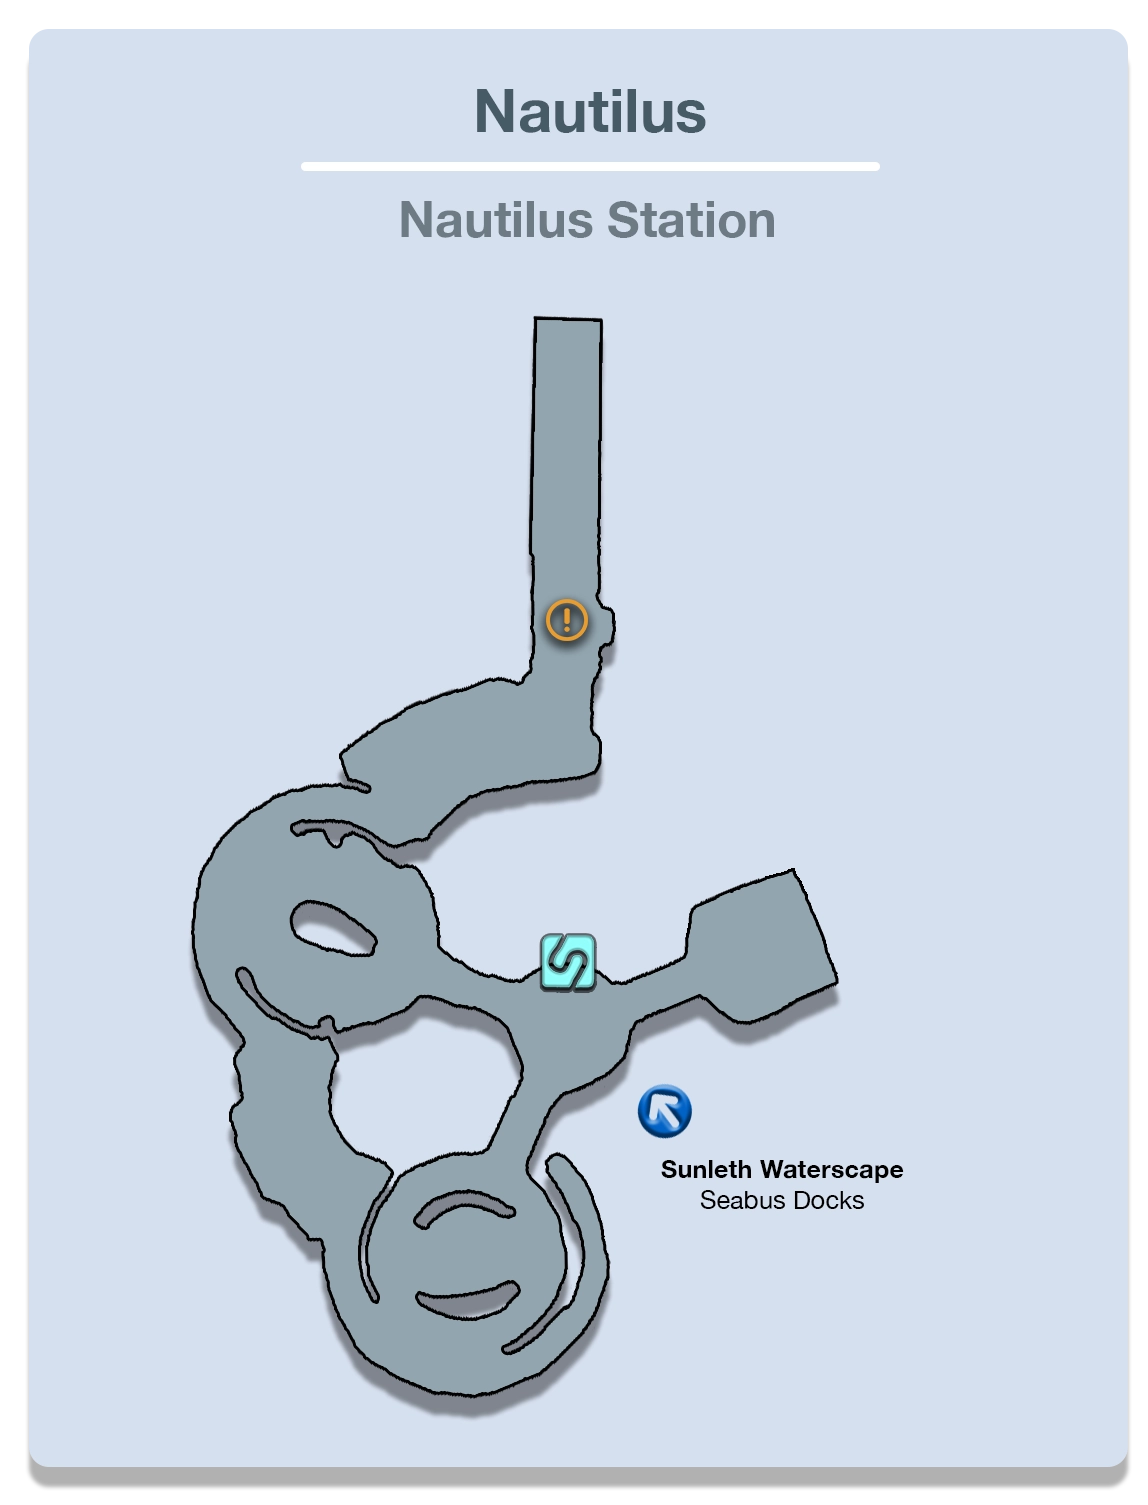
There is a ![]() Save Station nearby which you can use to save your game or purchase items. As a quick reminder though, you should minimize the spending of any Gil unless it is absolutely necessary, as fights in these earlier chapters of the game are not challenging enough to warrant needing to spend Gil or needing to replenish your inventory of items.
Save Station nearby which you can use to save your game or purchase items. As a quick reminder though, you should minimize the spending of any Gil unless it is absolutely necessary, as fights in these earlier chapters of the game are not challenging enough to warrant needing to spend Gil or needing to replenish your inventory of items.
Warning
It has been reported by many Final Fantasy XIII players, that the game has a high likelihood of crashing in this area. If this happens, try switching your game to windowed mode rather than playing in full screen while in Nautilus.
Your destination is marked on the mini-map. Move towards it for a short bit of dialog between Vanille and Sazh as they watch the other team members on the television screens.
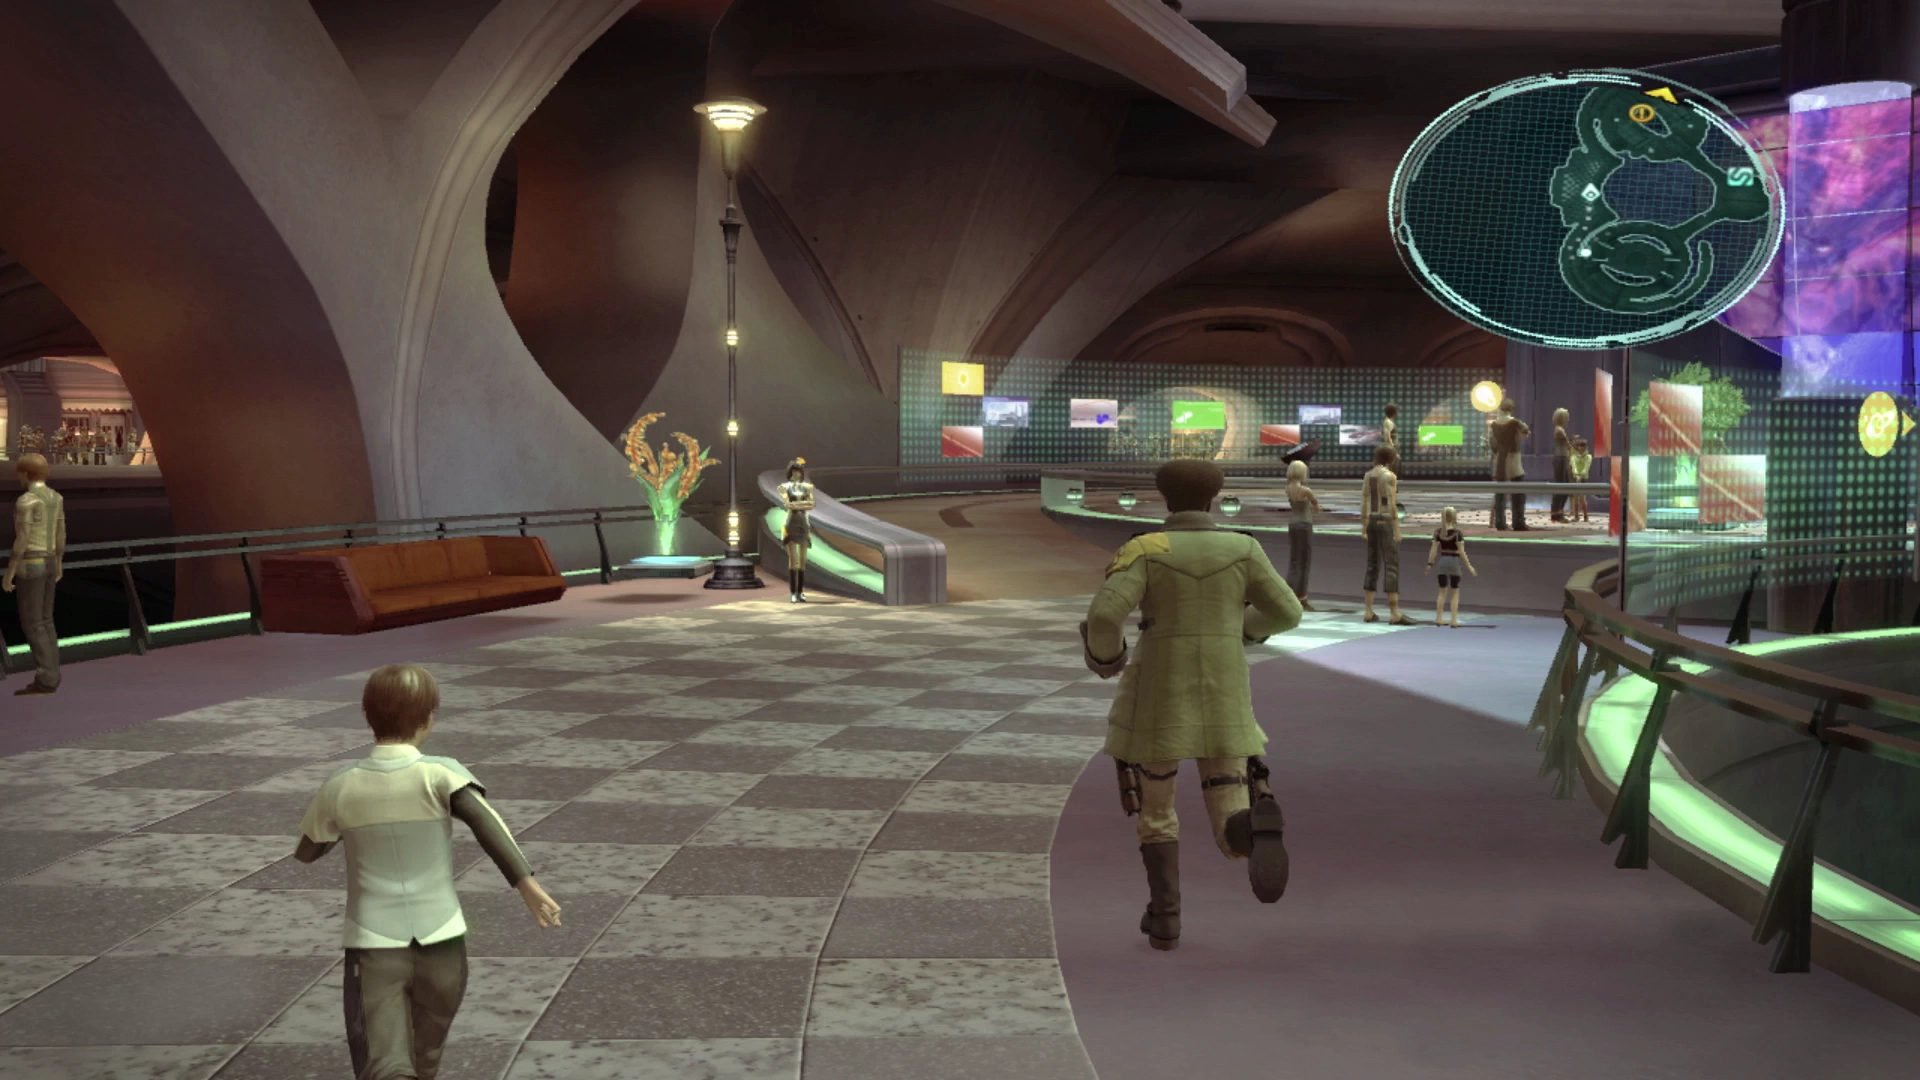
You will regain control of the two of them in the same spot and you will just need to move forward a bit further to kick off another cutscene as they exit this first starting area of Nautilus.
Festival Road
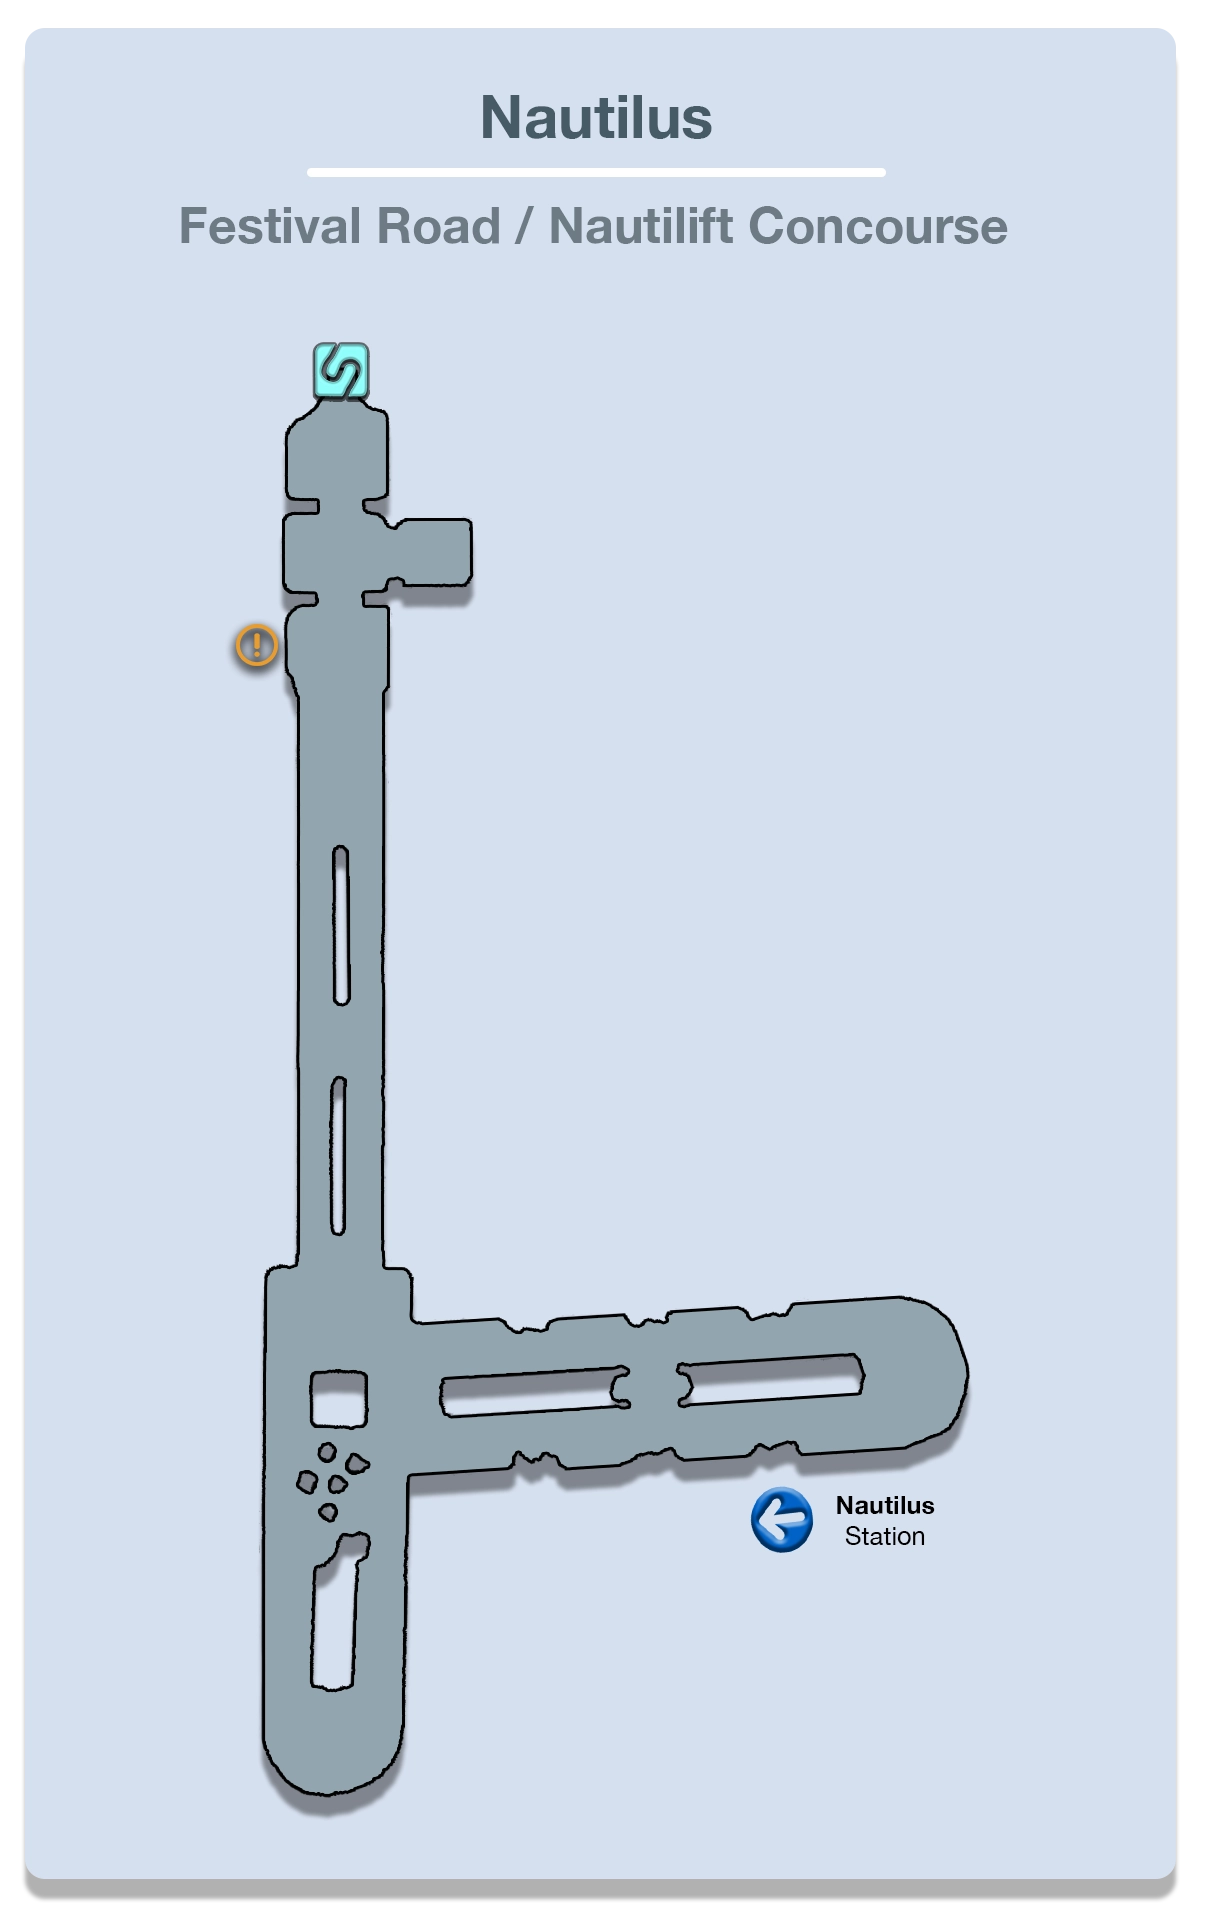
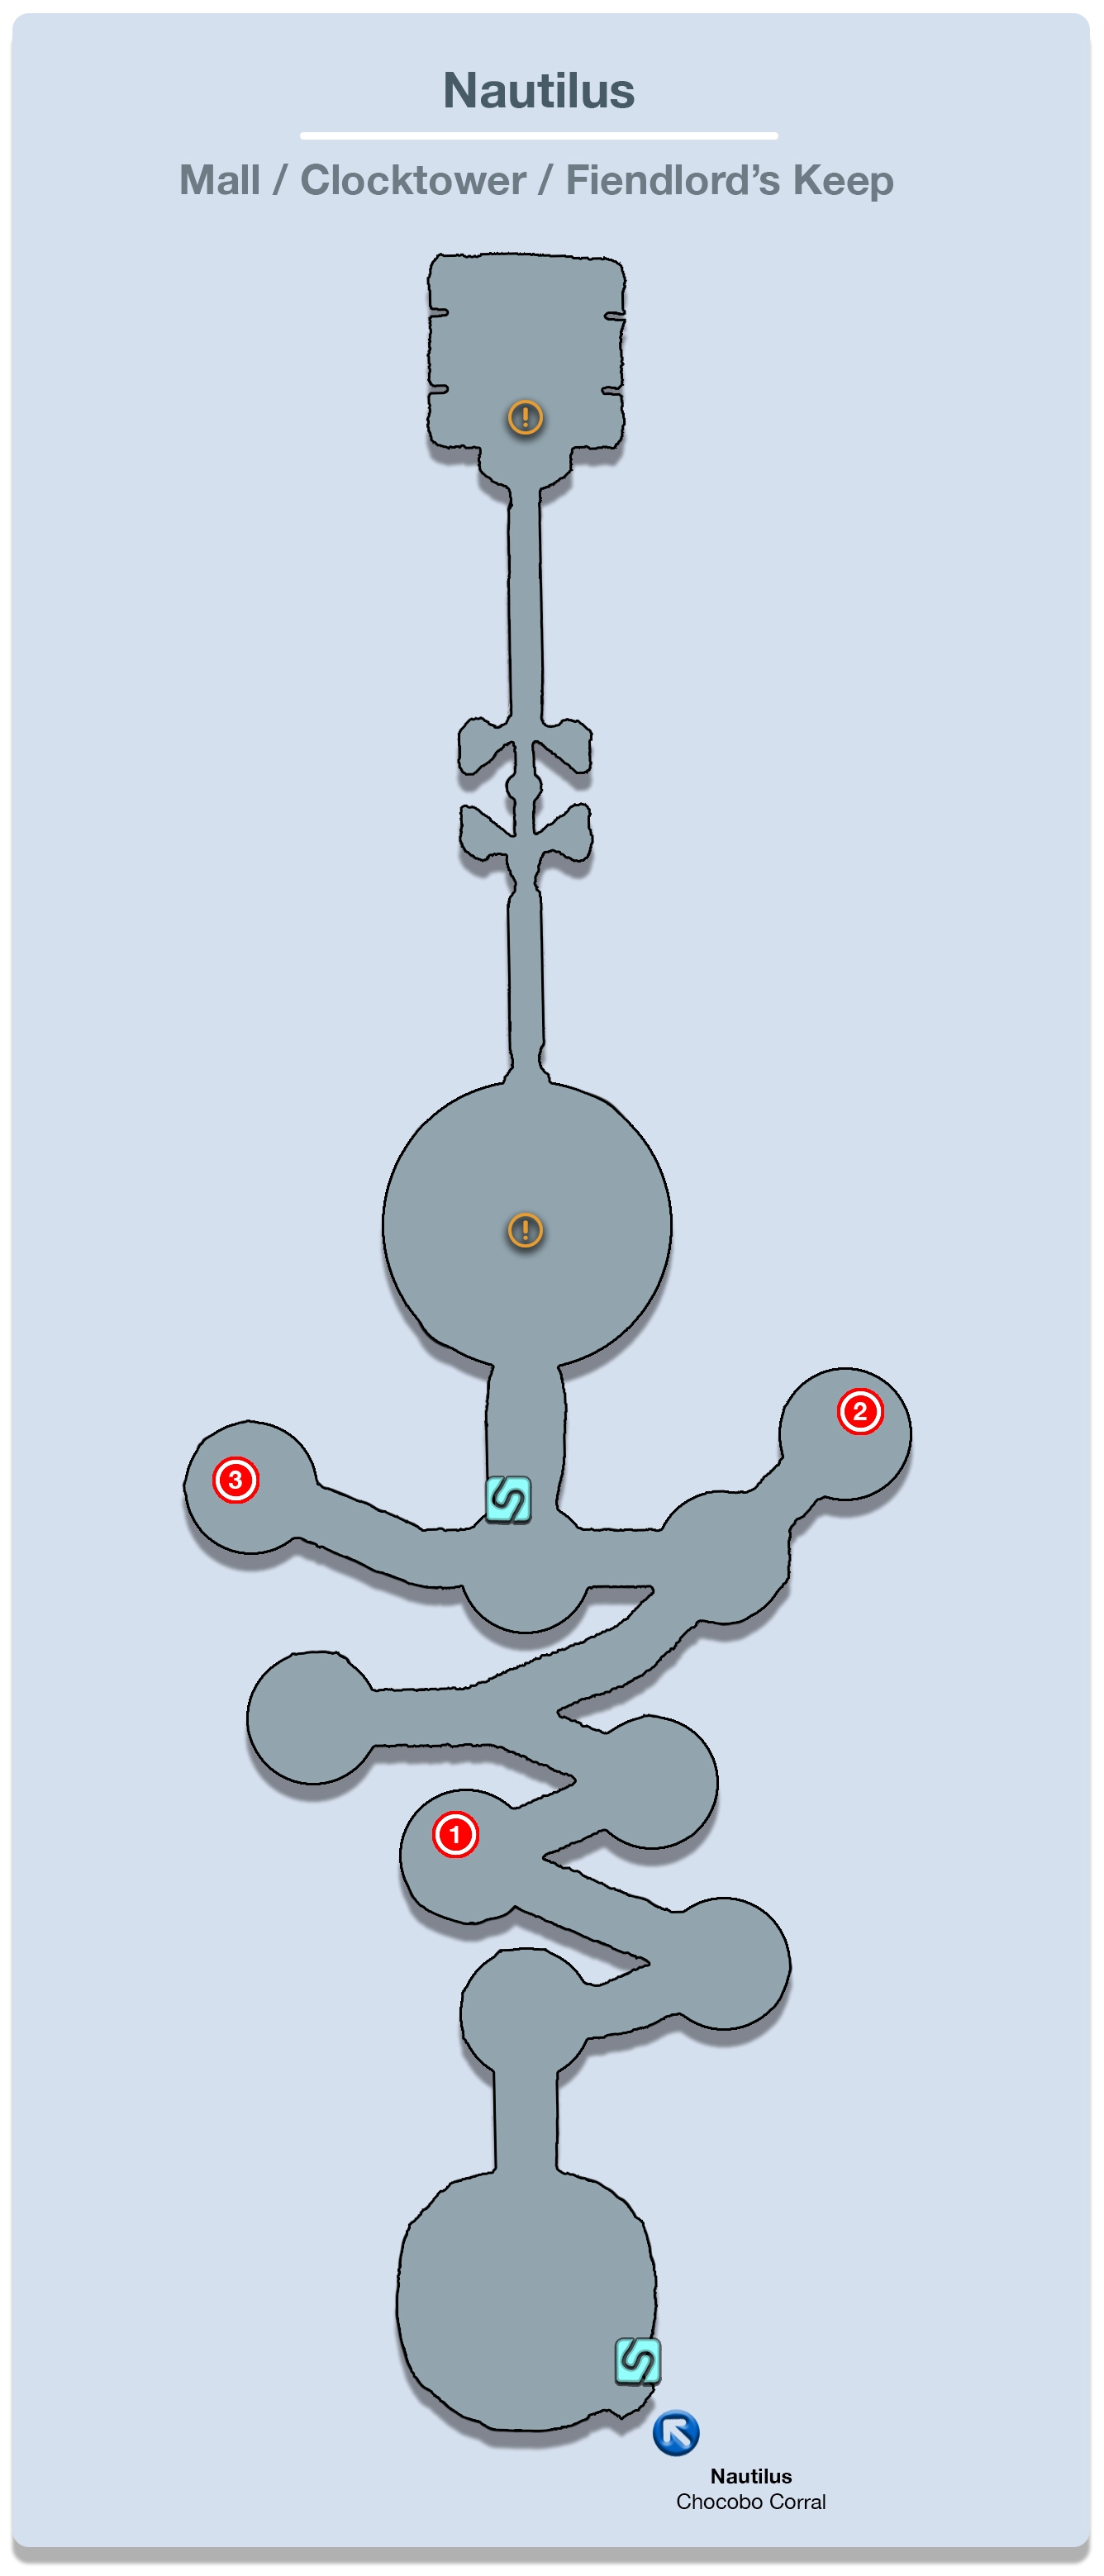
The map of this area is very straightforward. Just walk forward until you reach the next map marker along the Festival Road as there is nothing else to do in this first area.

Move forward towards the end of the pathway which has another ![]() Save Station up against the wall that you can use. The nearby map marker points out a transport that you can use to reach the next area of Nautilus. Press
Save Station up against the wall that you can use. The nearby map marker points out a transport that you can use to reach the next area of Nautilus. Press ![]()
![]()
![]() when you’re near the transport vehicle to “Board.”
when you’re near the transport vehicle to “Board.”

Park Square

Your first interactions with full-sized Chocobos in Final Fantasy XIII! There’s another short cutscene as the two enter. Turn around as soon as you can control your characters and follow the pathway on the left side, past the Chocobo, to find a Treasure Sphere that contains a tuft of ![]() Phoenix Down. Head down the hallway and into the next area when you are ready.
Phoenix Down. Head down the hallway and into the next area when you are ready.
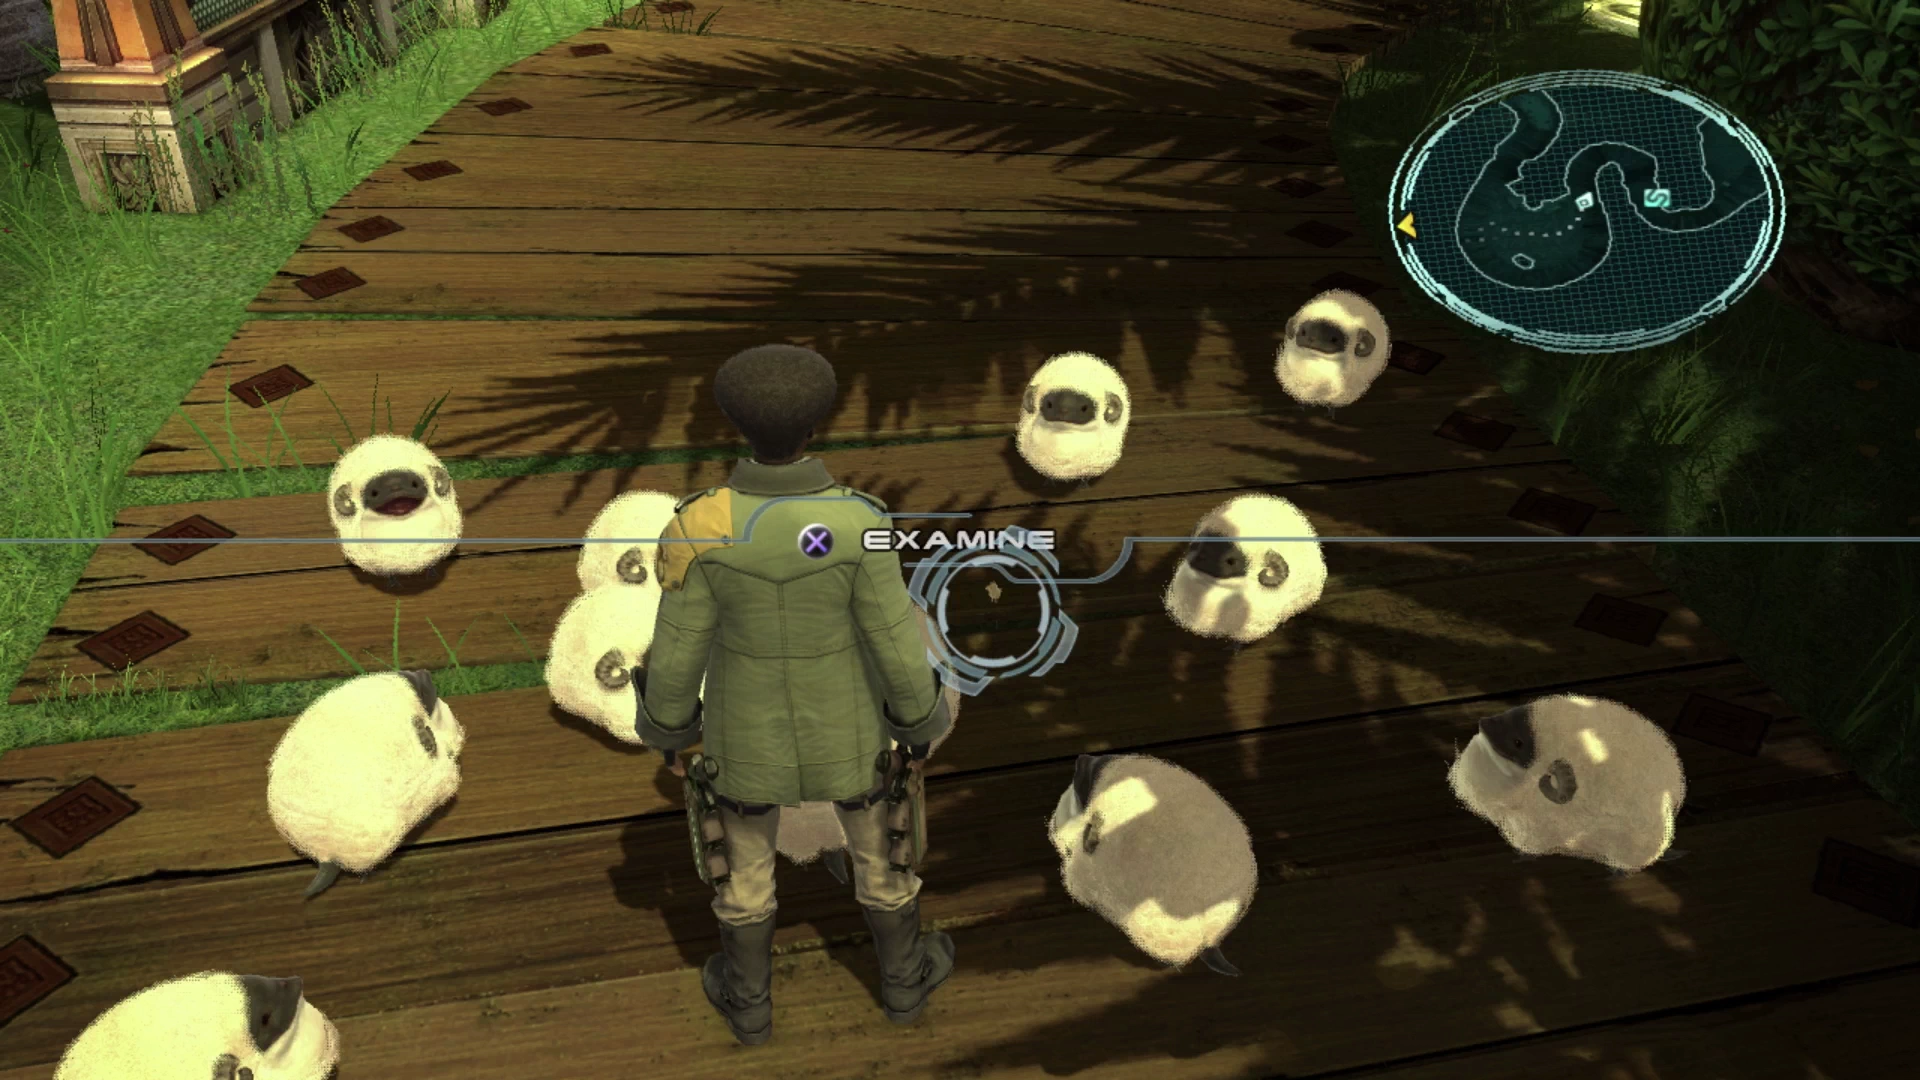
Chocobo Corral
There is yet another short cutscene when you reach this area as Sazh’s Chocobo Chick flies off. This is a short, easy mini-game called “Flight of the Chocobo” where you need to track down the Chocobo Chick in a few areas around the Chocobo Corral. It’s very easy to find it and it’s unlikely that you need help with the locations, but they are listed below just in case:
- Search the large flock of sheep near the exit.
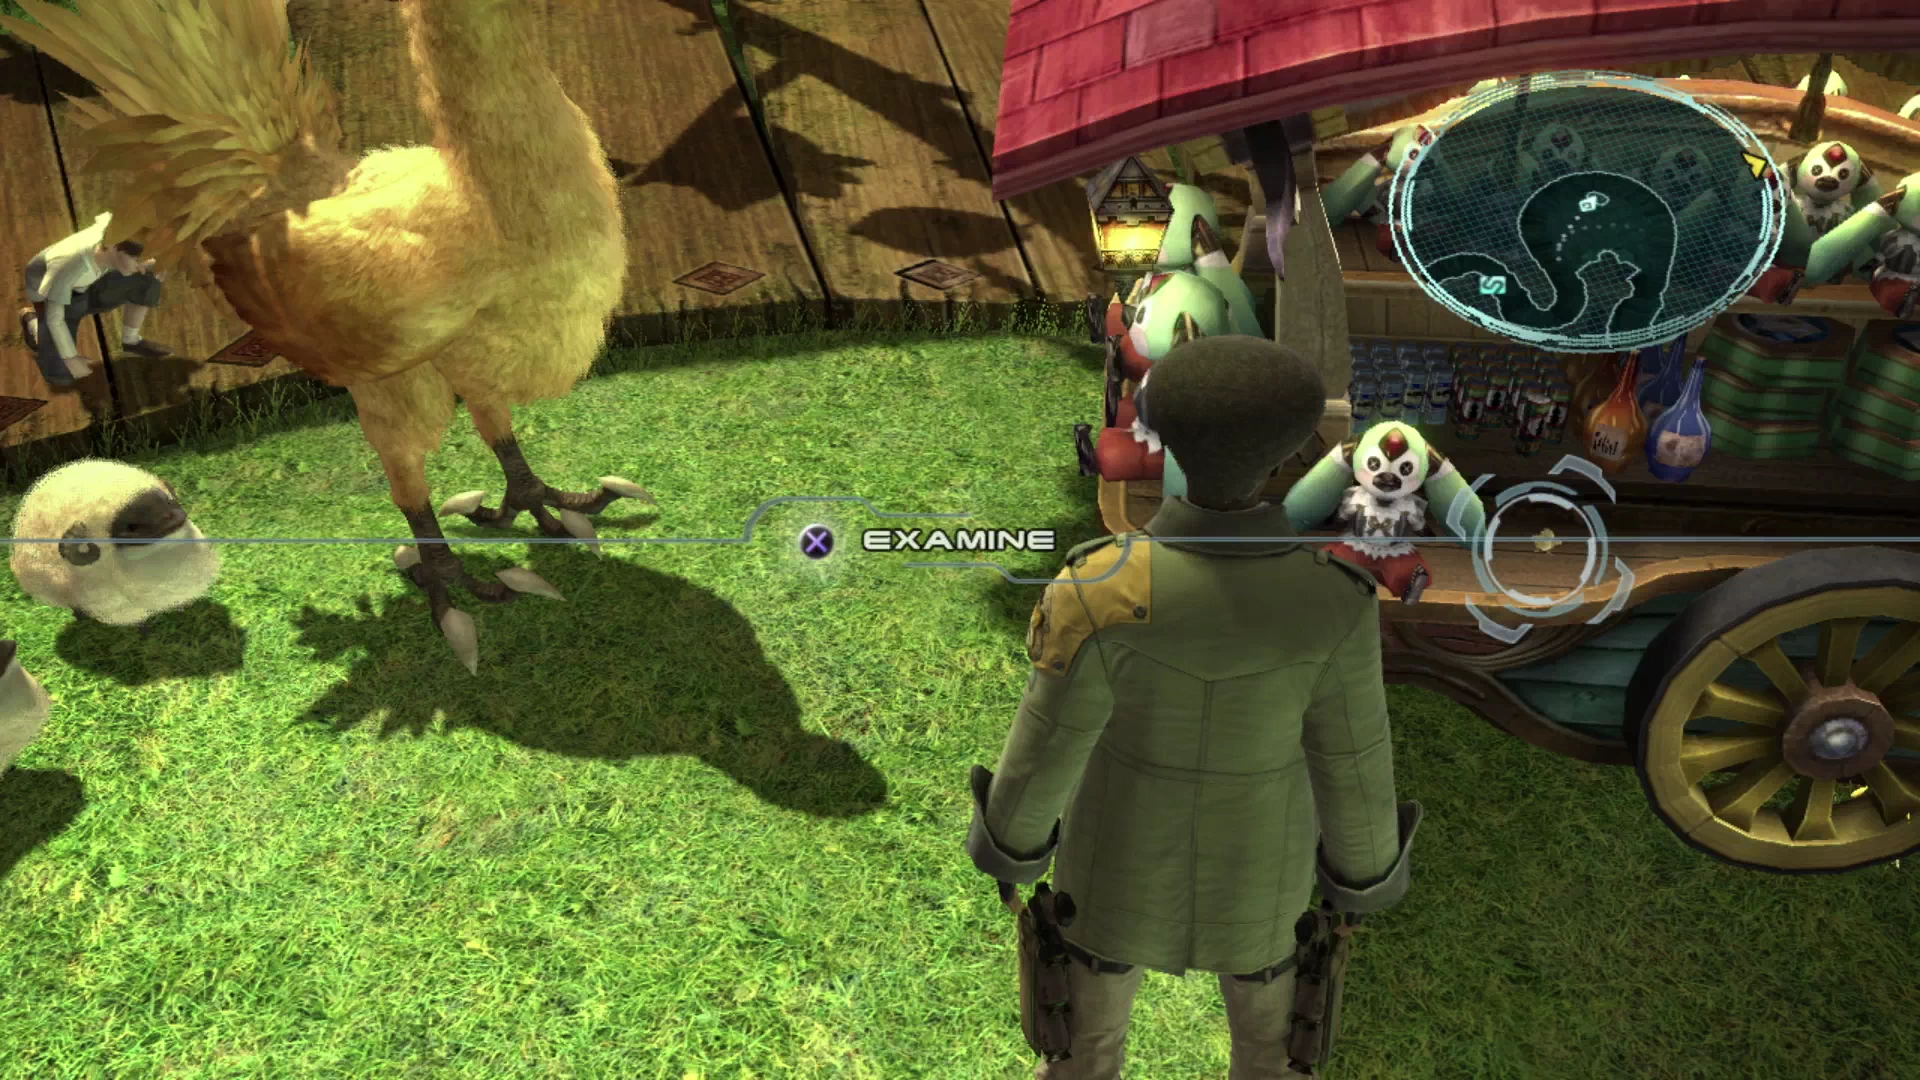
- Press


 near the souvenir cart in the middle of the corral.
 - Look at the top of the water fountain.
- The last spot that the Chocobo chick flies to is near a group of full-sized Chocobos.

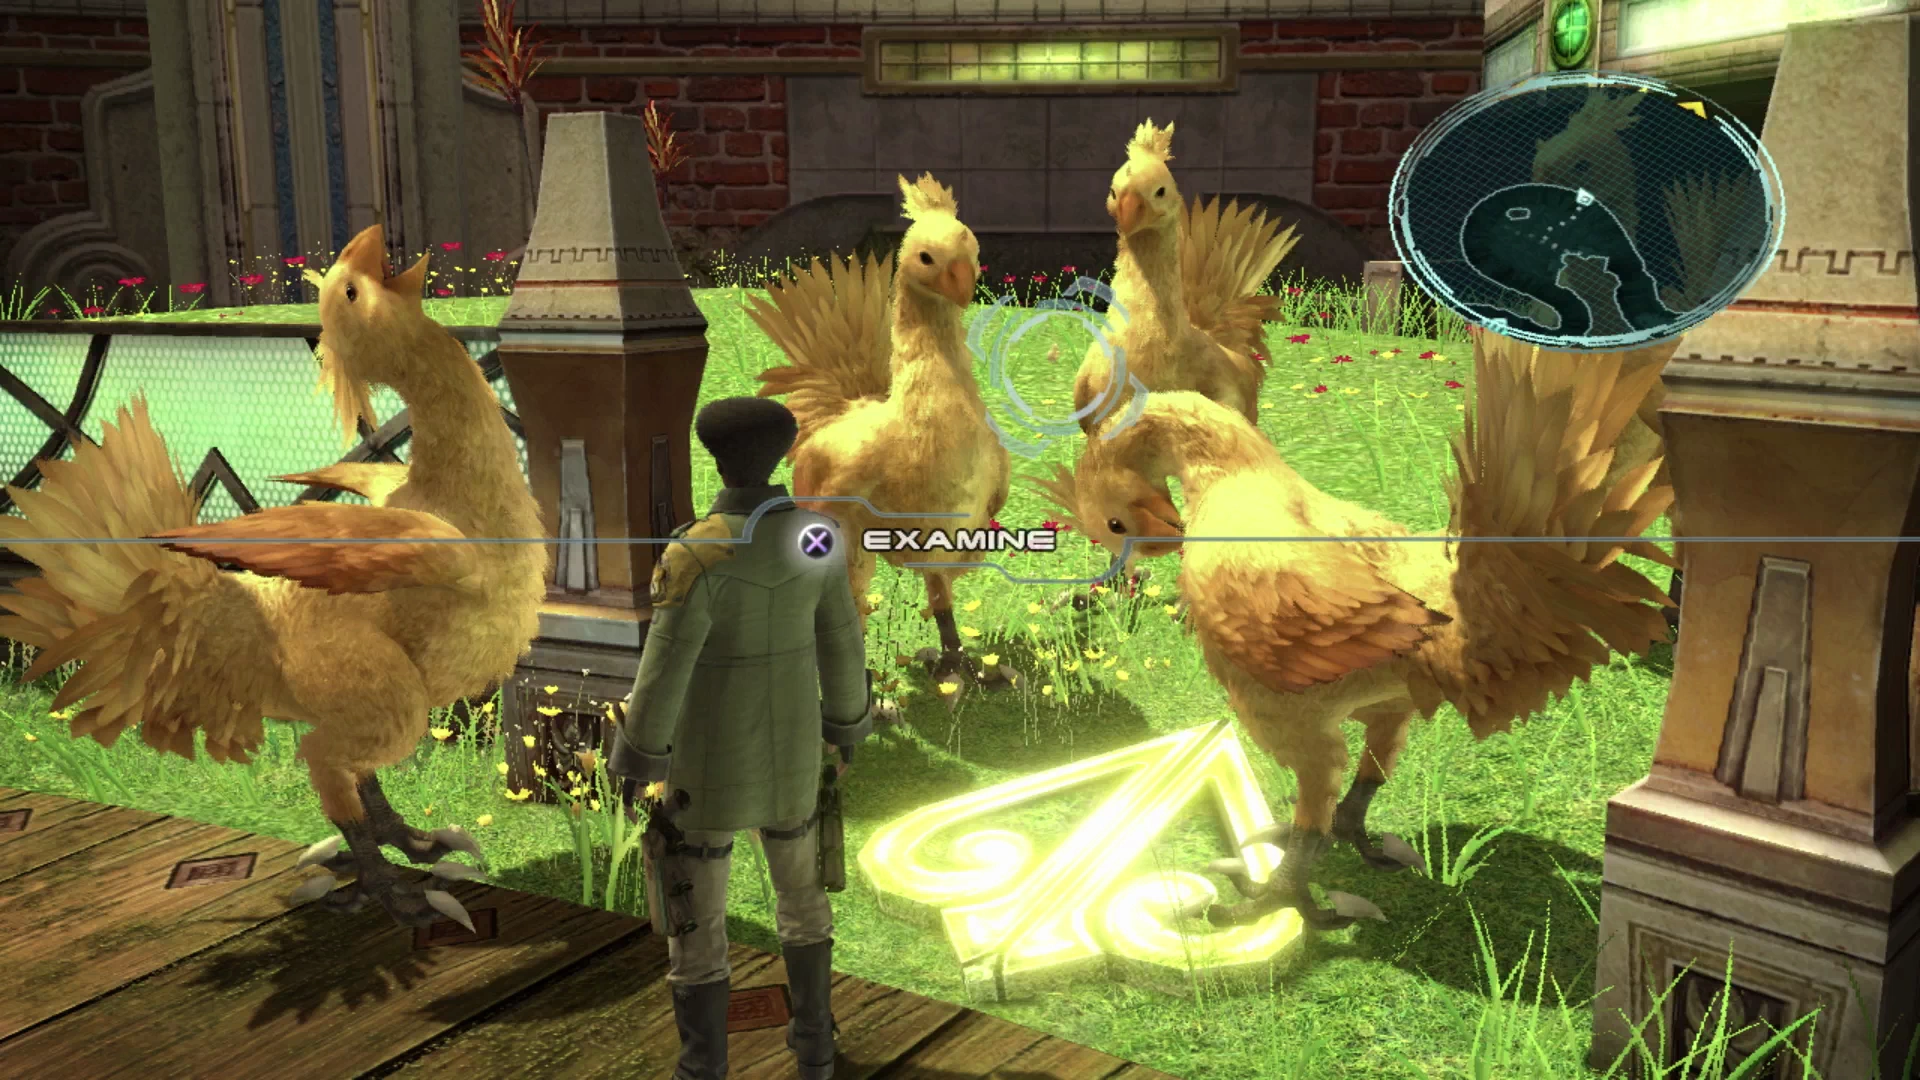
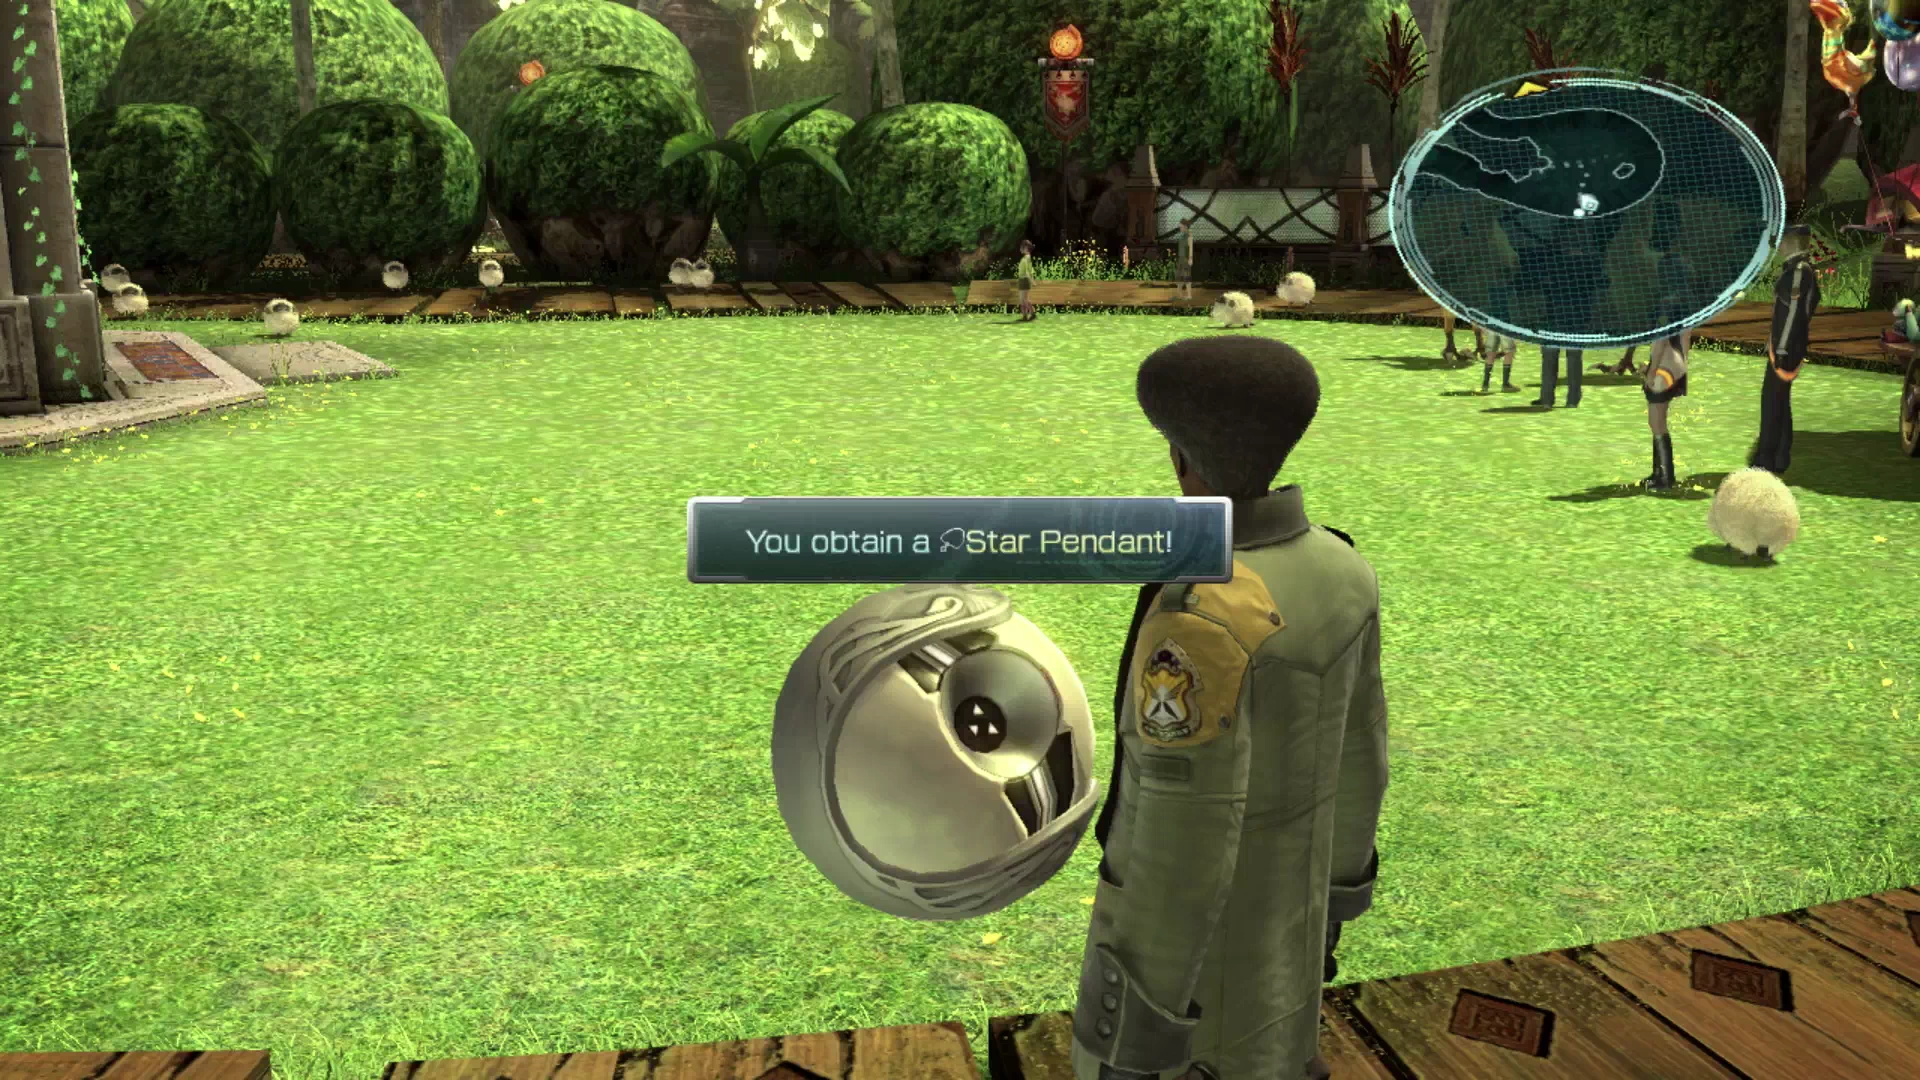
The herd of Chocobos will leave after you “examine” the Chocobo chick for the last time and a Treasure Sphere will float down from the sky. Open it to pick up a free ![]() Star Pendant. This accessory increases a character’s resistance to
Star Pendant. This accessory increases a character’s resistance to ![]() Poison so no need to equip it just yet.
Poison so no need to equip it just yet.
Exit the Chocobo Corral area by going through the area where the flock of sheep had previously been standing. There is a ![]() Save Station you can use to save and, once you’re ready, move forward to the next map marker for a cutscene before you reach the next area. It’s an ambush!
Save Station you can use to save and, once you’re ready, move forward to the next map marker for a cutscene before you reach the next area. It’s an ambush!
The Mall


Despite the guards seemingly running up to and engaging Sazh and Vanille in the cinematic, you’ll have a chance to revisit the menu screen and set your characters up one last time before running up to engage the PSICOM Soldiers yourself. Do any last upgrades, equipment swaps or CP spending that you need to and then kick off the first fight.

These enemies are difficult to ambush with a preemptive strike due to their numbers and their patrol patterns, so don’t waste too much time before engaging each of them. The first group includes six Corps Gunners which are enemies that you have already faced many times. There’s no need to use ![]() Libra as their
Libra as their ![]() Datalog Intel Entry is likely already complete, and they are extremely easy to defeat.
Datalog Intel Entry is likely already complete, and they are extremely easy to defeat.
Have Sazh stay in his ![]() Commando role while Vanille deals damage as a
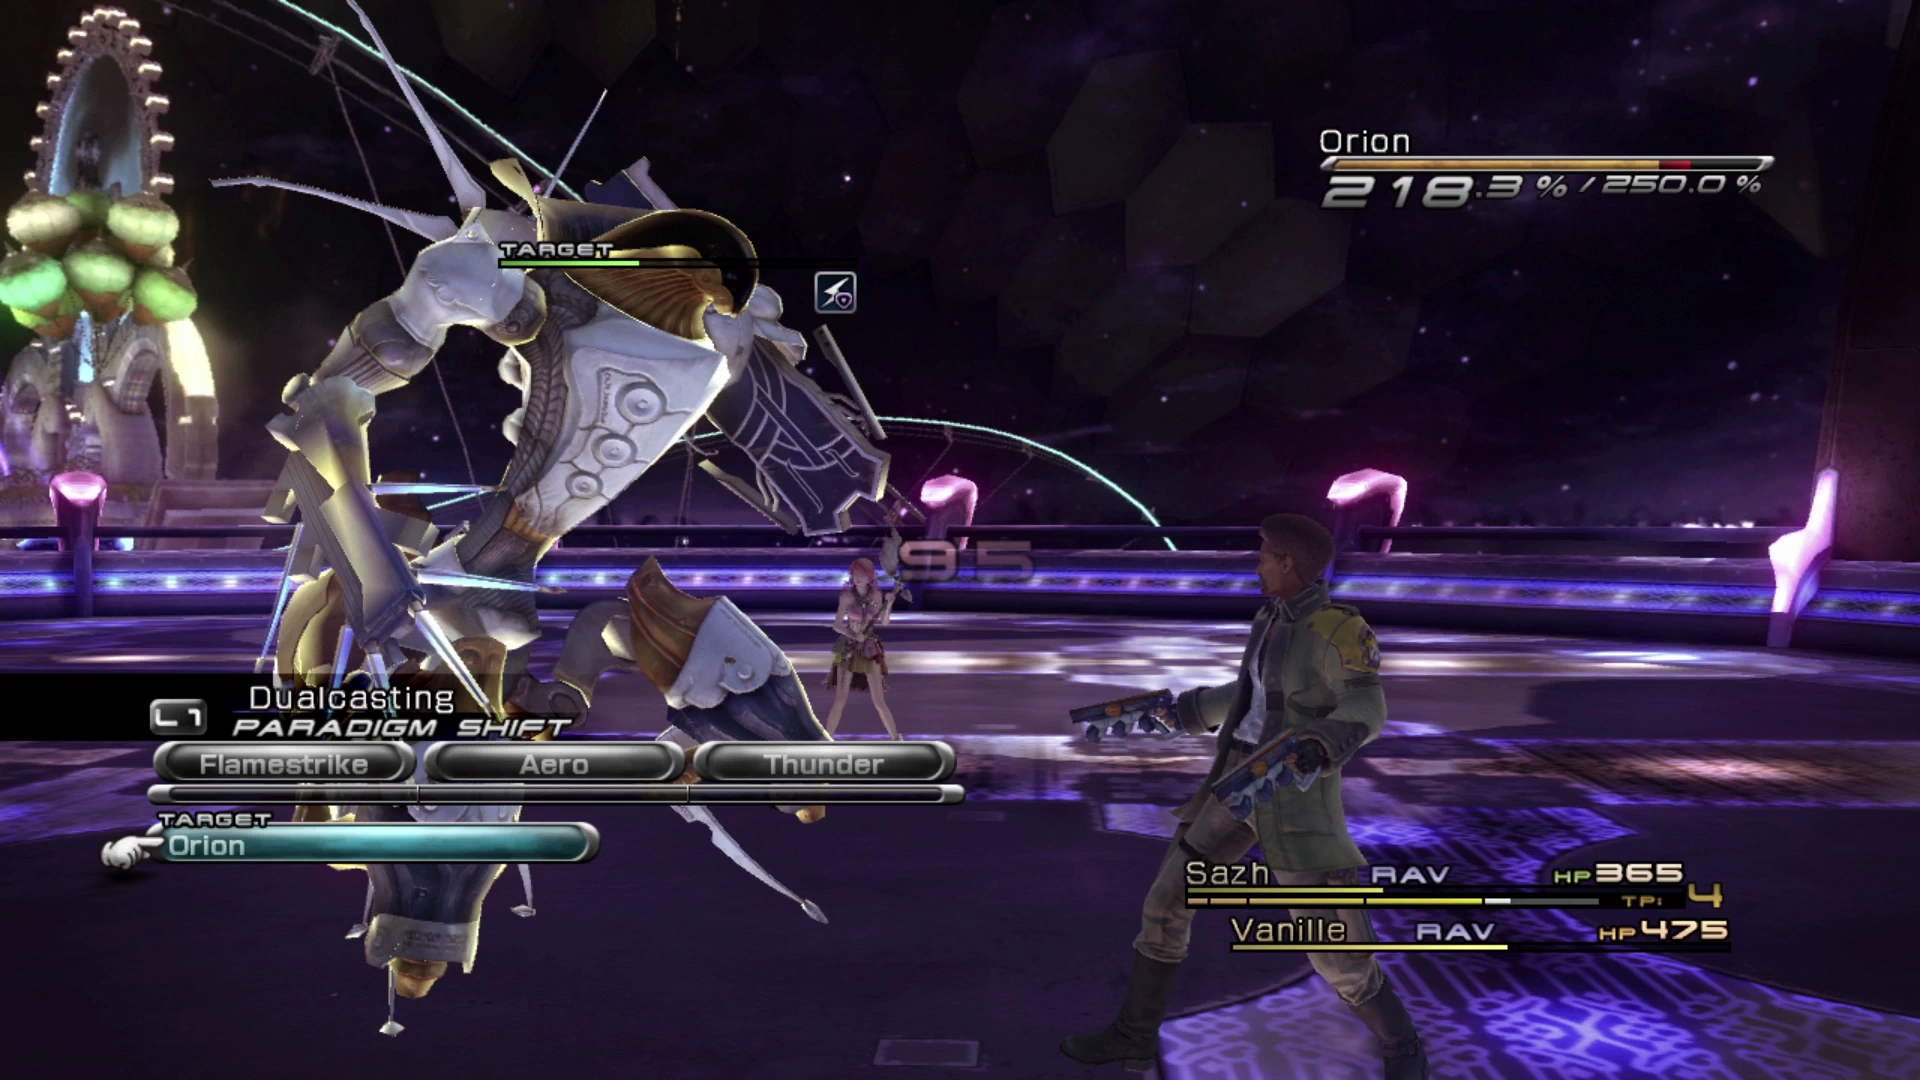
Commando role while Vanille deals damage as a ![]() Ravager (Slash & Burn) only switching to War & Peace if either of your character’s HP gets too low. The next group of enemies after this first one includes an Orion which makes it a bit more difficult than the first. Focus on taking out the Corps Gunners first and then focus attacks on the Orion.
Ravager (Slash & Burn) only switching to War & Peace if either of your character’s HP gets too low. The next group of enemies after this first one includes an Orion which makes it a bit more difficult than the first. Focus on taking out the Corps Gunners first and then focus attacks on the Orion.
The next wave includes a group of two Zwerg Metrodroids which, despite looking like enemies that you have faced previously, are brand-new. They are easy to defeat but make sure to use ![]() Libra on them to complete the Datalog Enemy Intel entries and reveal the droid’s weaknesses (fire and earth).
Libra on them to complete the Datalog Enemy Intel entries and reveal the droid’s weaknesses (fire and earth).
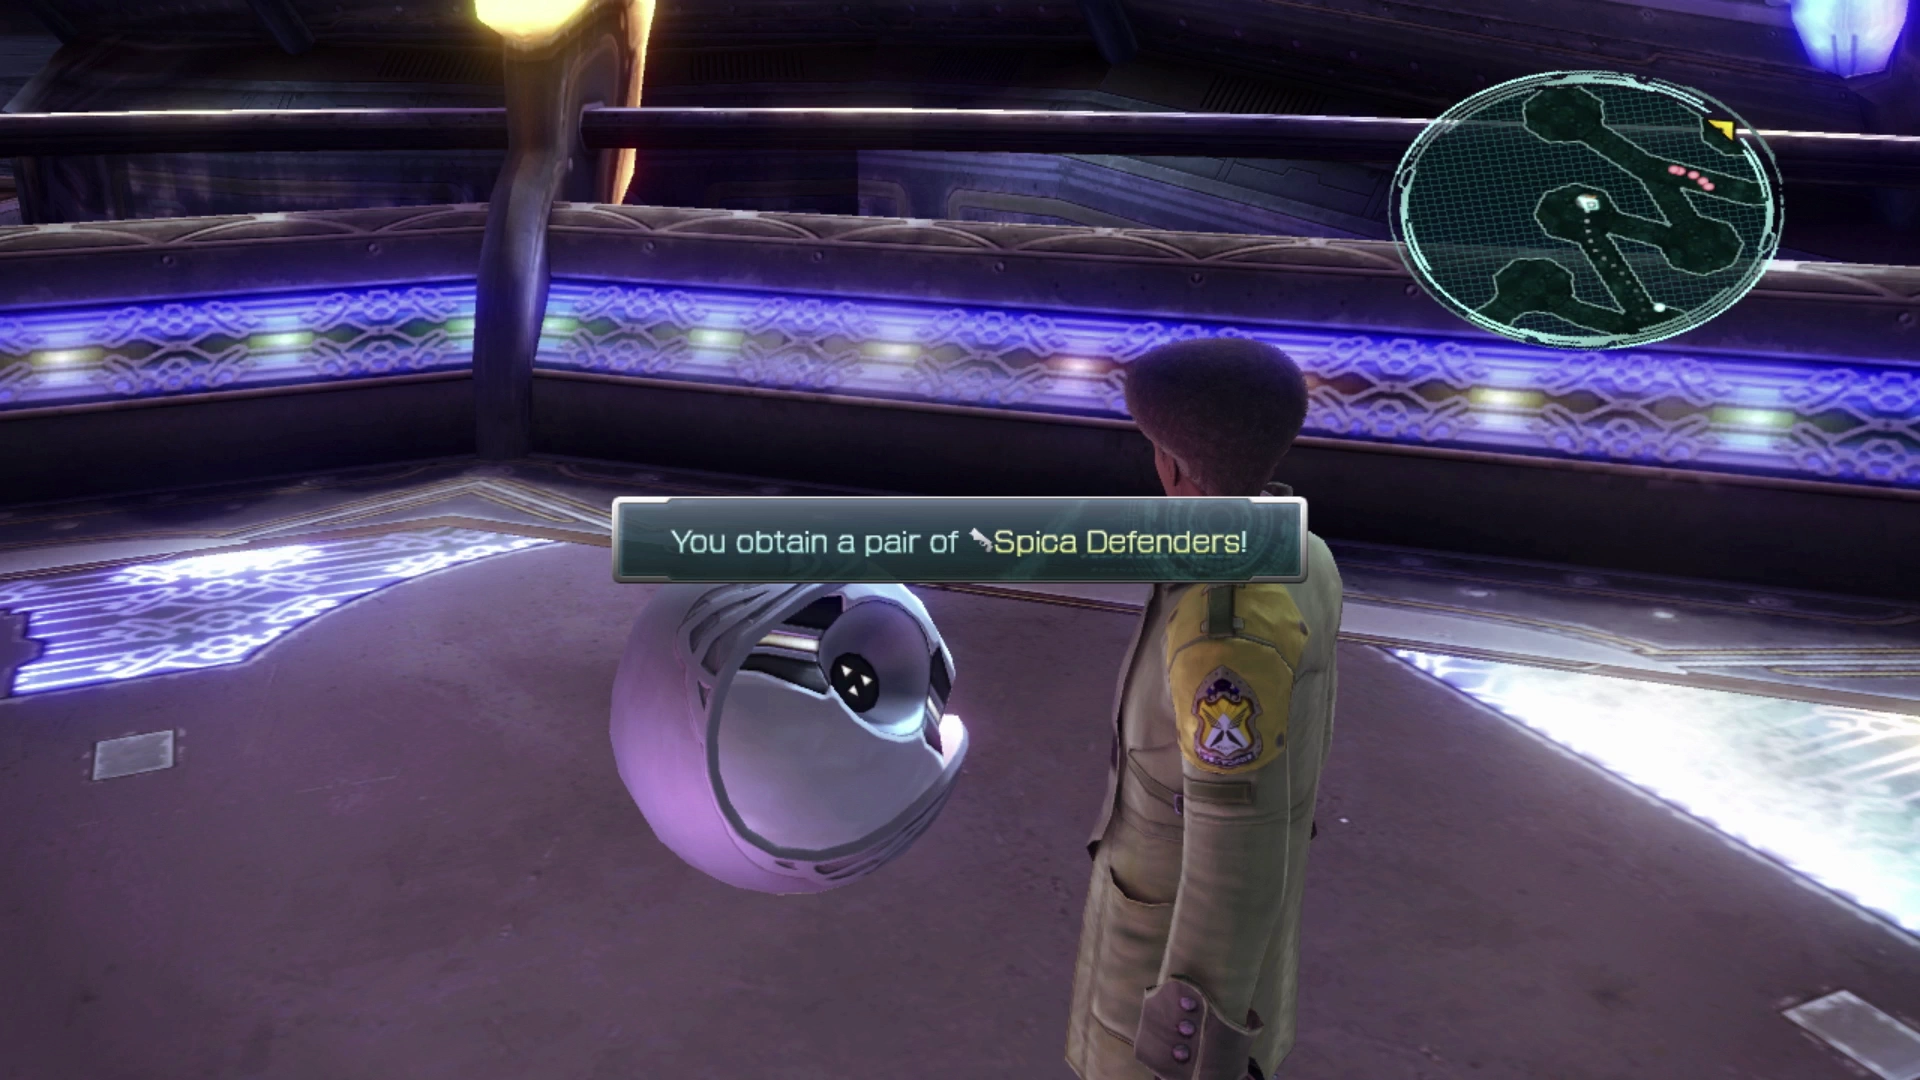
Walk up to the next ledge and defeat the solo Zwerg Metrodroid standing there. The Treasure Sphere next to it contains a pair of ![]() Spica Defenders which are a new weapon for Sazh.
Spica Defenders which are a new weapon for Sazh.
This weapon provides high Magic and the ![]() Augment Maintenance ability which increases the duration of positive status effects (
Augment Maintenance ability which increases the duration of positive status effects (![]() Bravery,
Bravery, ![]() Faith,
Faith, ![]() Haste,
Haste, ![]() Vigilance, etc.). This is normally a great weapon for Sazh but because he will be spending most of his time in this chapter as a
Vigilance, etc.). This is normally a great weapon for Sazh but because he will be spending most of his time in this chapter as a ![]() Commando you should leave his
Commando you should leave his ![]() Procyons equipped.
Procyons equipped.
The next group of enemies includes two Zwerg Metrodroids and three Corps Gunners. The next area of Nautilus, called “The Clock Tower,” begins halfway up the ramp.
The Clock Tower
The final “mandatory” group of enemies to fight, as you continue up the ramp, includes three Zwerg Metrodroids and an Orion. Take out the Metrodroids first and then focus on the Orion.
Behind this group is one more Orion enemy that you can defeat to gain access to a Treasure Sphere. This one is a bit easier to get a preemptive strike on because you can bait the Orion into charging at you and then attack it when it turns around to return to its previous spot.
The Treasure Sphere behind it contains a ![]() Guardian Amulet. While this accessory provides a fair bit of defensive protection, it’s not worth equipping to either of your characters right now.
Guardian Amulet. While this accessory provides a fair bit of defensive protection, it’s not worth equipping to either of your characters right now.
Follow the platform up towards the ![]() Save Station. There is another group of Zwerg Metrodroids just up ahead guarding the last Treasure Sphere in this area. Defeat the Metrodroids, which will probably require swapping to War & Peace for some healing given how many of them there are. Then grab the
Save Station. There is another group of Zwerg Metrodroids just up ahead guarding the last Treasure Sphere in this area. Defeat the Metrodroids, which will probably require swapping to War & Peace for some healing given how many of them there are. Then grab the ![]() Healer’s Staff out of the Treasure Sphere .
Healer’s Staff out of the Treasure Sphere .
This is a great weapon when Vanille is relegated to being a ![]() Medic which is not often and not right now.
Medic which is not often and not right now.
Save your game before proceeding as there is a boss fight coming up. Make sure you’ve set up the Tide Turner Paradigm (Sazh as ![]() Synergist and Vanille as
Synergist and Vanille as ![]() Saboteur) and set this up as the default Paradigm. Also, set up a Symbiosis Paradigm (Sazh as
Saboteur) and set this up as the default Paradigm. Also, set up a Symbiosis Paradigm (Sazh as ![]() Synergist and Vanille as
Synergist and Vanille as ![]() Medic).
Medic).
Boss Battle
Start by using ![]() Libra on Midlight Reaper to identify its weaknesses and then have both Sazh and Vanille get to work applying their buffs and debuffs respectively. Sazh should apply
Libra on Midlight Reaper to identify its weaknesses and then have both Sazh and Vanille get to work applying their buffs and debuffs respectively. Sazh should apply ![]() Haste,
Haste, ![]() Bravery, and
Bravery, and ![]() Faith to both characters, and he can also apply
Faith to both characters, and he can also apply ![]() Enfire to himself to exploit the boss’s vulnerability to fire and increase the damage that he does as a
Enfire to himself to exploit the boss’s vulnerability to fire and increase the damage that he does as a ![]() Commando.
Commando.
Vanille will, ideally, be able to apply ![]() Imperil quickly, which will increase the damage Midlight Reaper takes. This is the only really important debuff for her to apply, so swap to Symbiosis so that she can keep the team healed up and use
Imperil quickly, which will increase the damage Midlight Reaper takes. This is the only really important debuff for her to apply, so swap to Symbiosis so that she can keep the team healed up and use ![]() Dispel to remove the
Dispel to remove the ![]() Poison status effects while Sazh continues applying all the buffs listed above.
Poison status effects while Sazh continues applying all the buffs listed above.
Move into an all-out attack once Sazh’s buffs have been applied. Start with Slash & Burn and rotate into Dualcasting when you can to pump up the chain bonuses. This boss is easy to Stagger, but make sure that you make every effort to inflict as much damage as possible while it is Staggered and increasing the Stagger Gauge as high as you can, because you will need more than one Stagger to defeat this boss. Ideally, though, you will only have to Stagger it twice.
Be prepared to move into War & Peace if the damage gets too heavy, especially after the first Stagger phase, and don’t forget to swap Vanille back to her ![]() Saboteur role when the
Saboteur role when the ![]() Imperil debuff falls off the boss.
Imperil debuff falls off the boss.
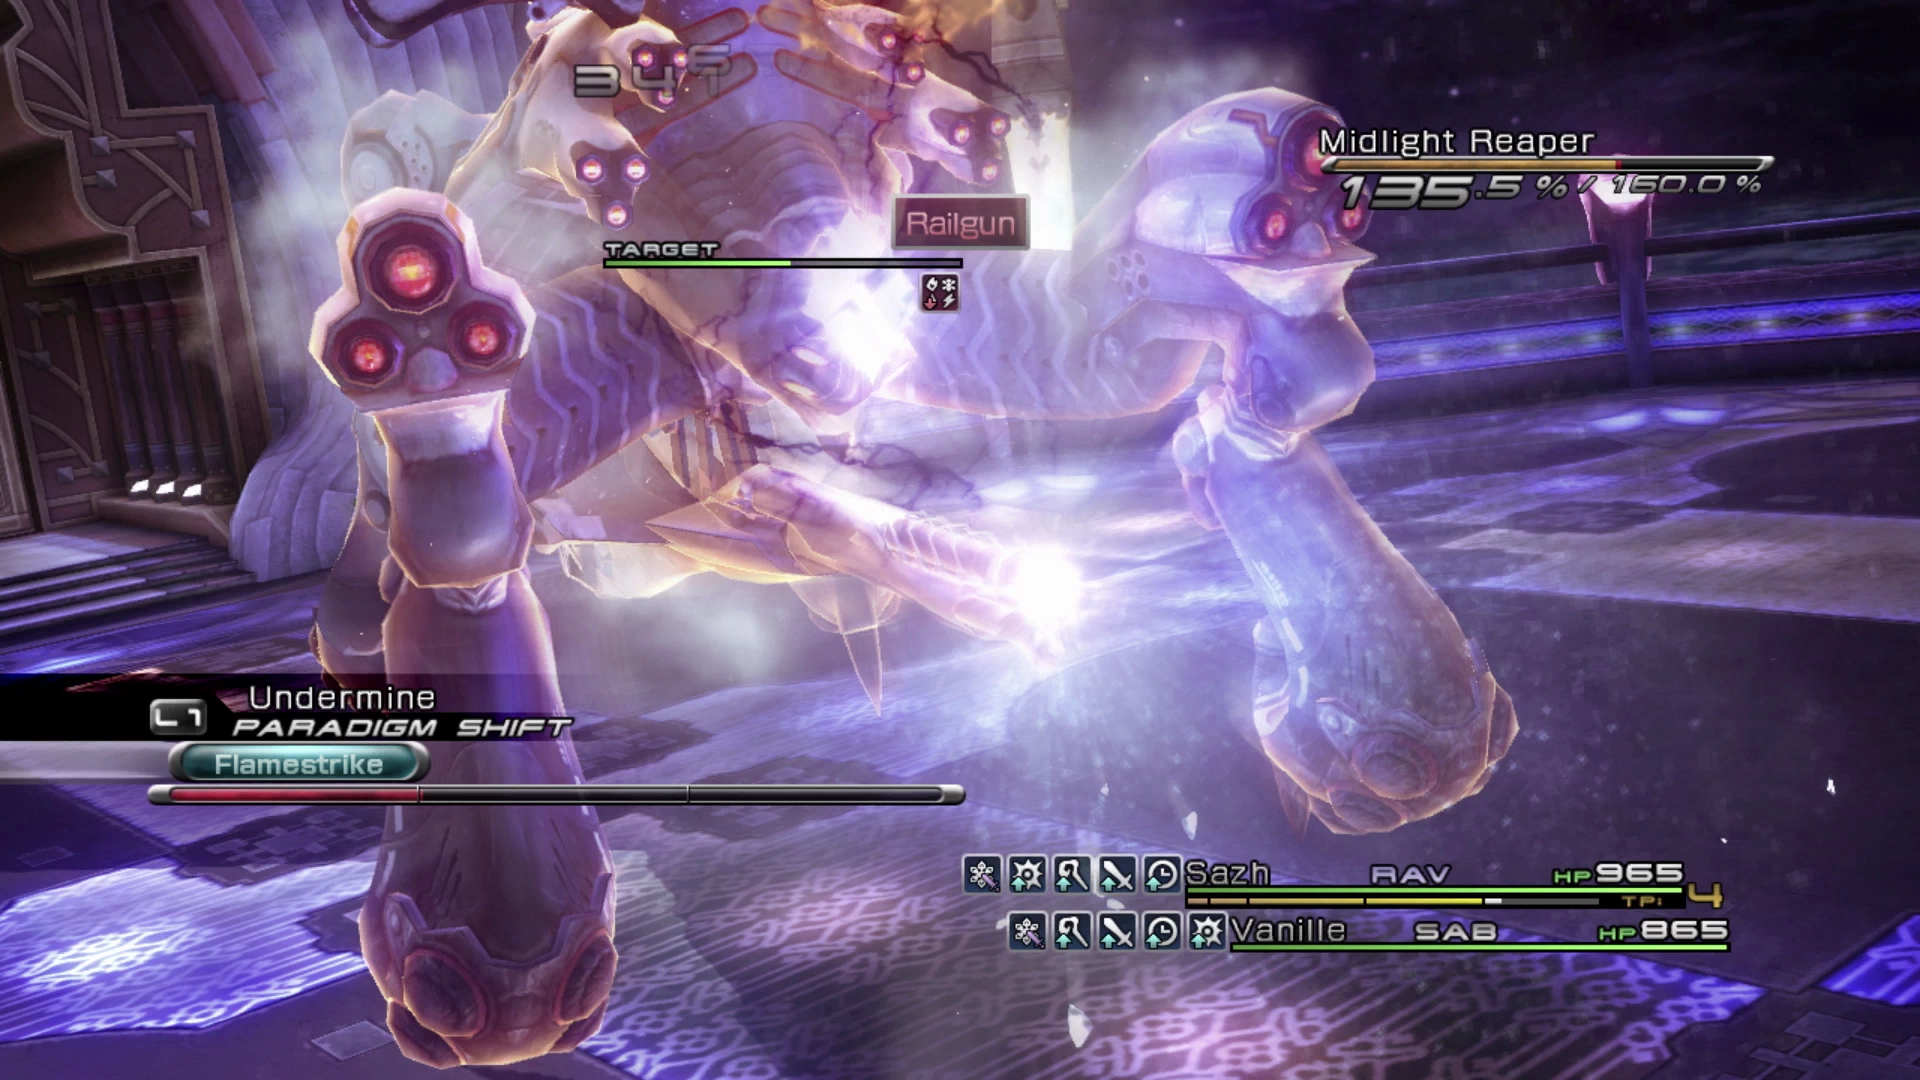
A message will flash above Midlight Reaper after the first Stagger that indicates: “Main Cannon Primed.” This means that an attack dealing heavy damage is coming, so make sure that your party members are healed up and ready to recover quickly. If you’re lucky you may be able to Stagger the boss a second time and defeat it before it uses this attack.
This boss will drop a key item called ![]() The Motherlode which will allow you to access “The Motherlode Retail Network,” a new shop accessible at Save Stations that sells weapon catalysts.
The Motherlode which will allow you to access “The Motherlode Retail Network,” a new shop accessible at Save Stations that sells weapon catalysts.
A lengthy set of cinematics will take place after the fight before you find yourself back in control of Sazh.
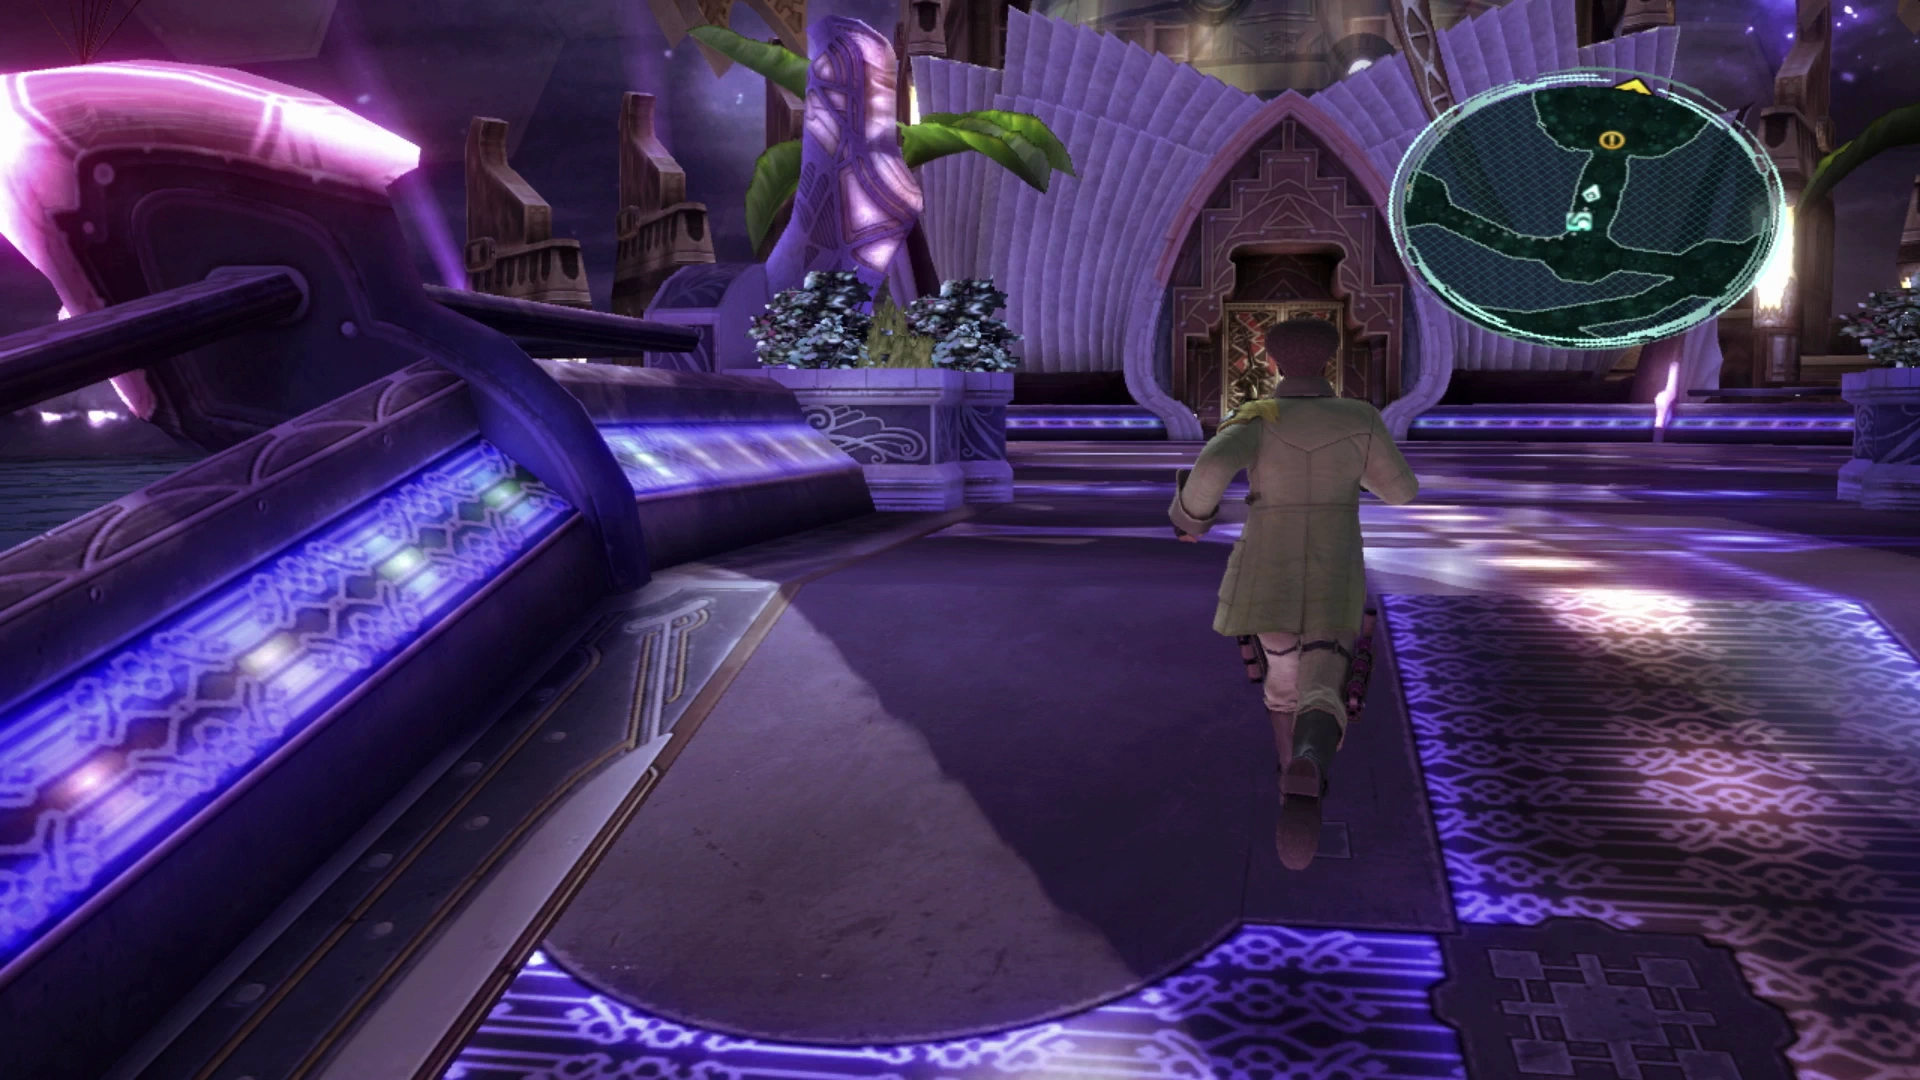
The Fiendlord’s Keep
Vanille will no longer be in your party, but the boss coming up will deal heavy fire damage to your party, so consider equipping Sazh with an ![]() Ember Ring which will help to reduce the damage.
Ember Ring which will help to reduce the damage.

Walk forward and up the stairs towards the map marker to initiate the next battle and don’t worry, Vanille will be rejoining you, so no need to mess around with the Paradigms.
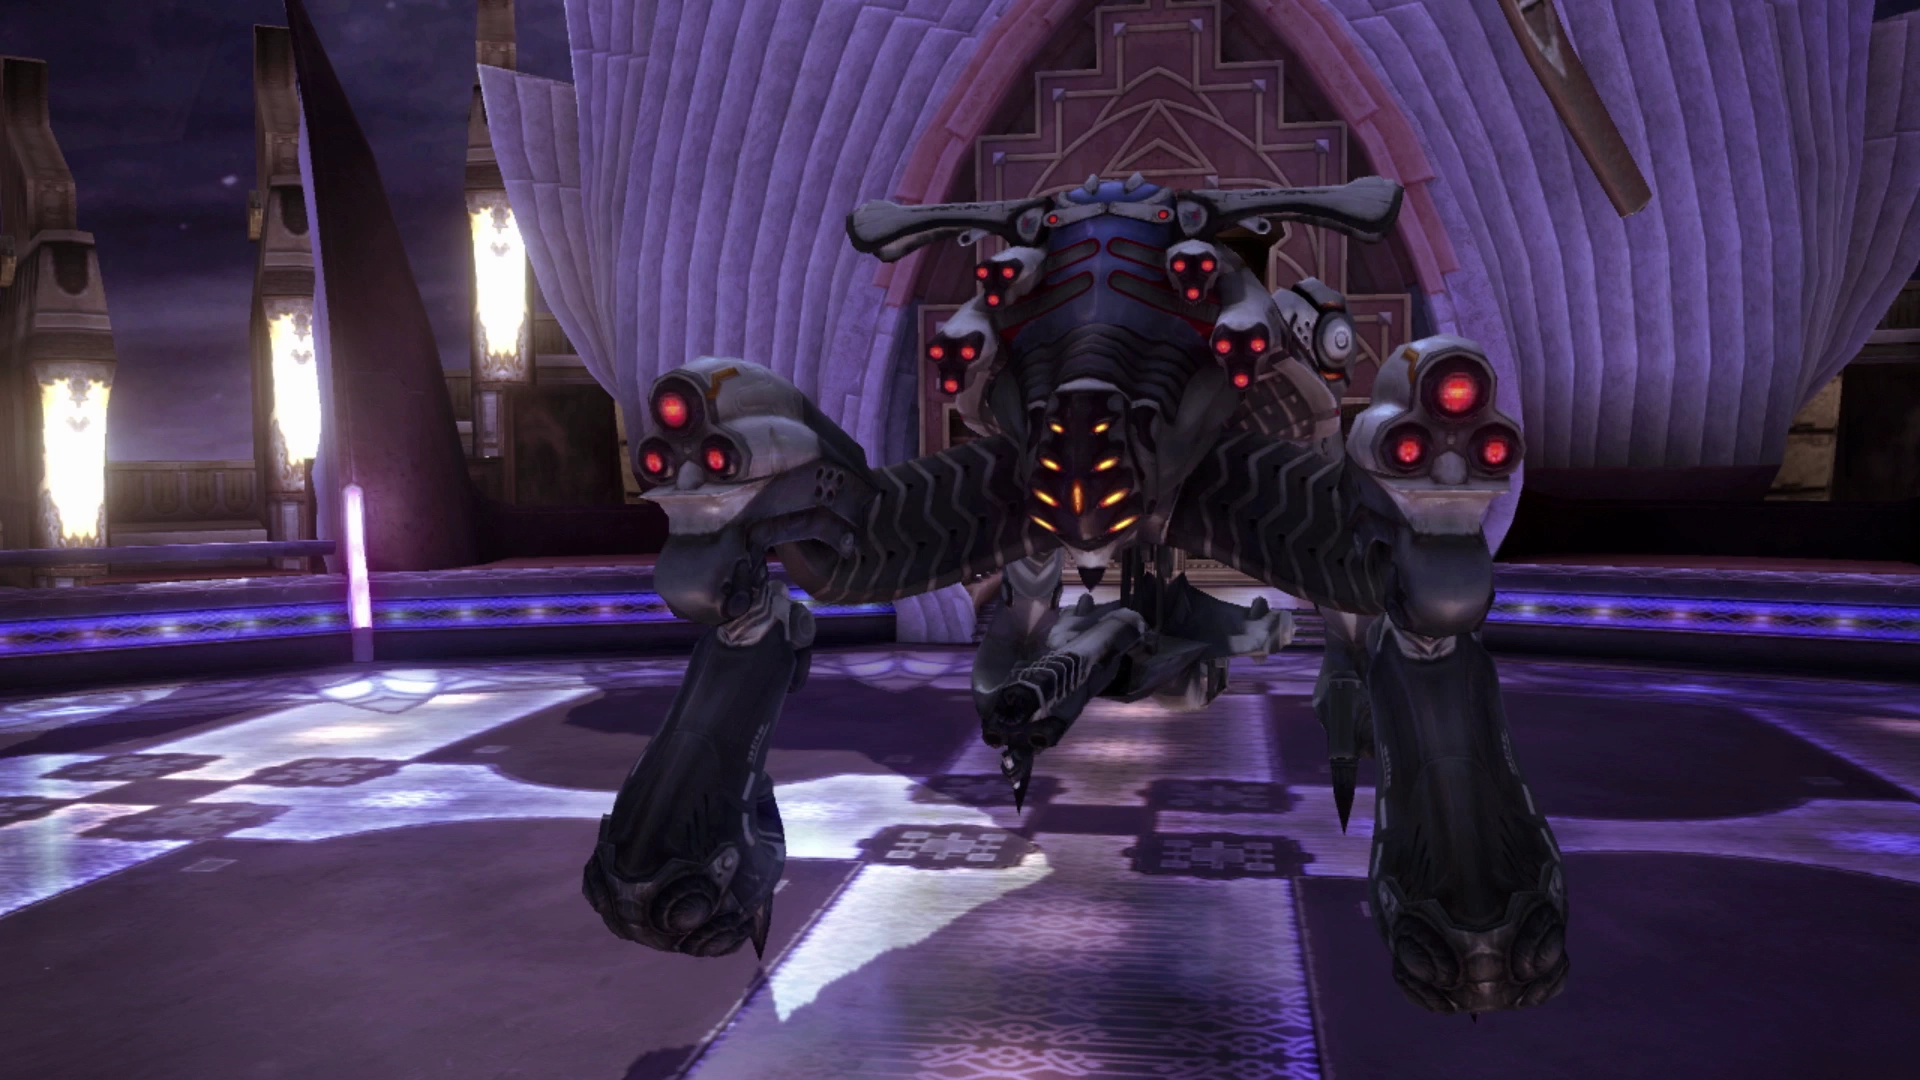
Boss Battle
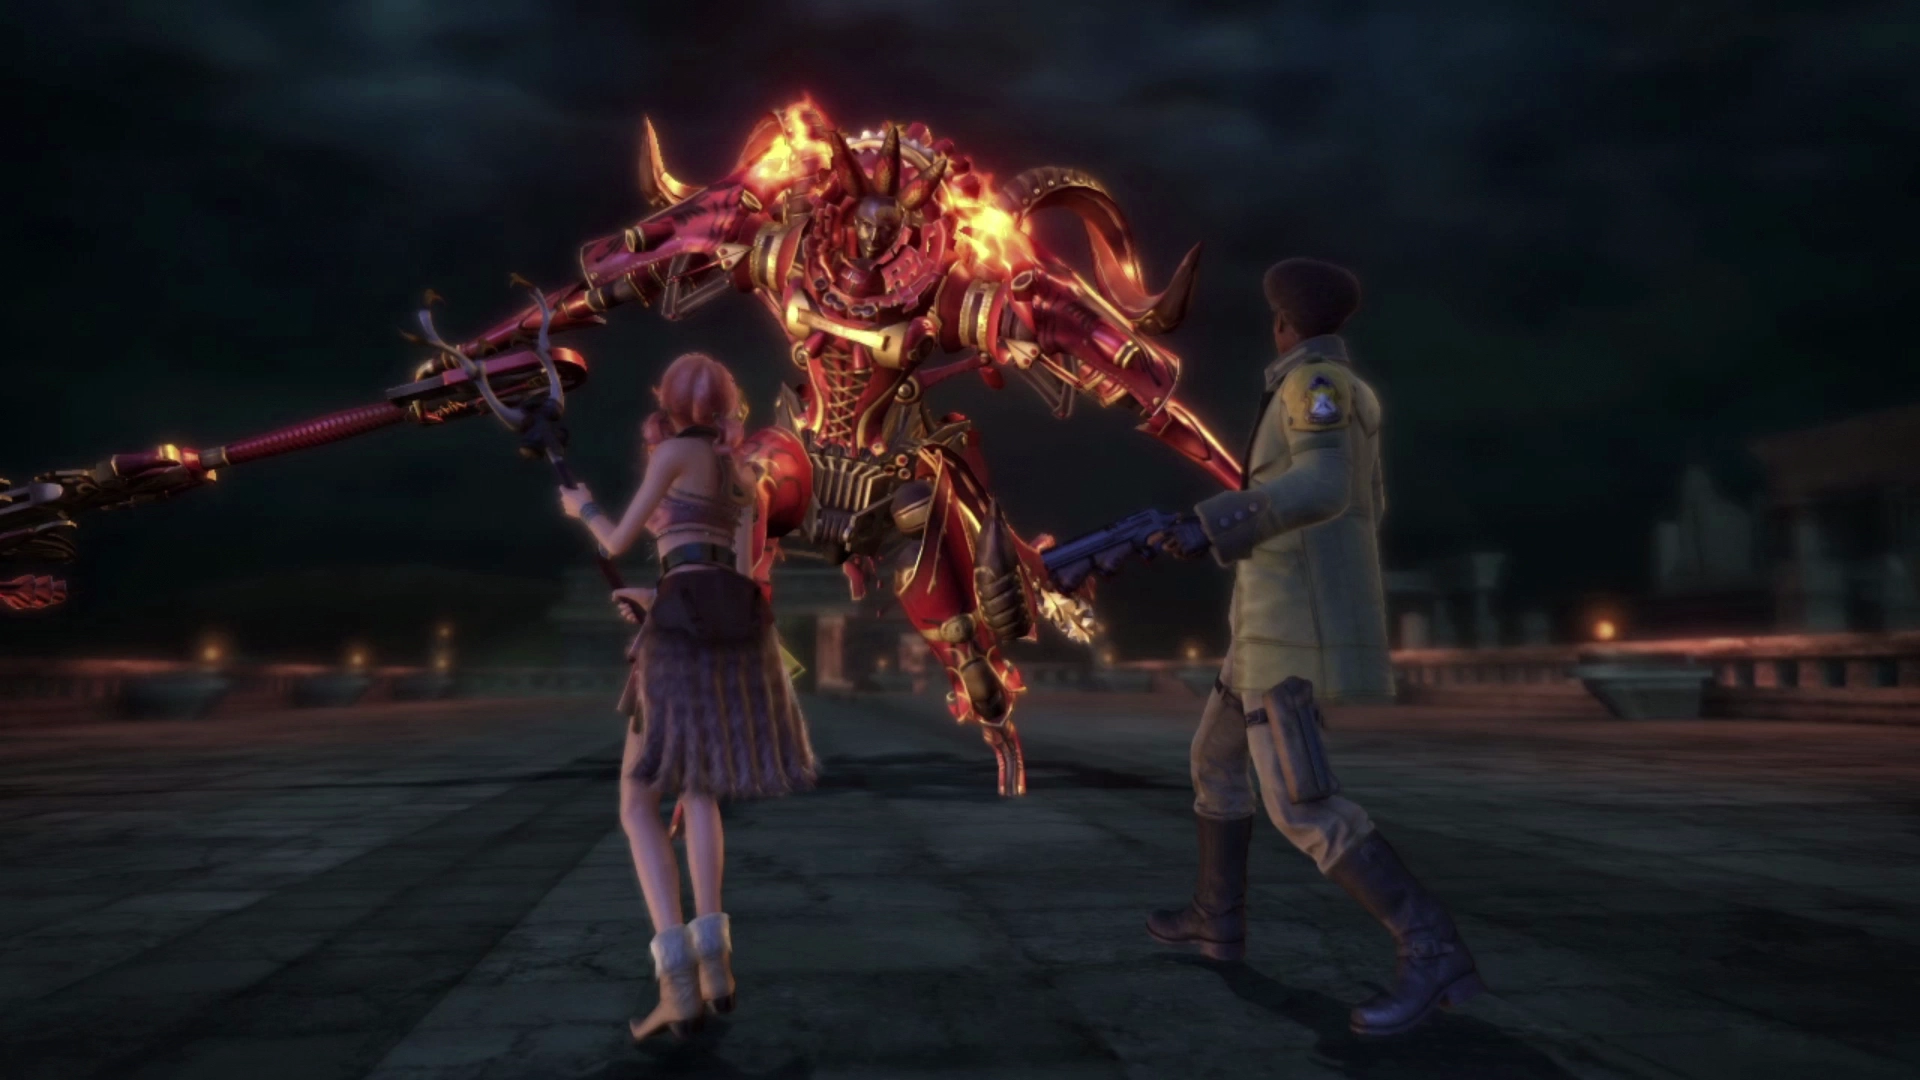
This is your third Eidolon battle following Lightning’s battle against Odin and similar principles from that fight carry forward. ![]() Doom will be cast on Sazh at the beginning of the fight initiating a countdown timer. The fight is over if the timer reaches zero. This Eidolon battle tends to not be as challenging as the last one.
Doom will be cast on Sazh at the beginning of the fight initiating a countdown timer. The fight is over if the timer reaches zero. This Eidolon battle tends to not be as challenging as the last one.
Brynhildr yields to those who amass chain bonuses and to those who strengthen their allies, according to the enemy intel report. Speaking of which, make sure to use ![]() Libra twice and early on in this fight. Because of how she yields and how her Gestalt Gauge charges, you can follow a regular battle strategy to win this fight.
Libra twice and early on in this fight. Because of how she yields and how her Gestalt Gauge charges, you can follow a regular battle strategy to win this fight.
Like the previous boss, have Vanille apply debuffs while Sazh provides buffs (![]() Haste,
Haste, ![]() Vigilance, etc.). Switch over to Symbiosis to have Vanille heal up the party while Sazh continues buffing the party.
Vigilance, etc.). Switch over to Symbiosis to have Vanille heal up the party while Sazh continues buffing the party.
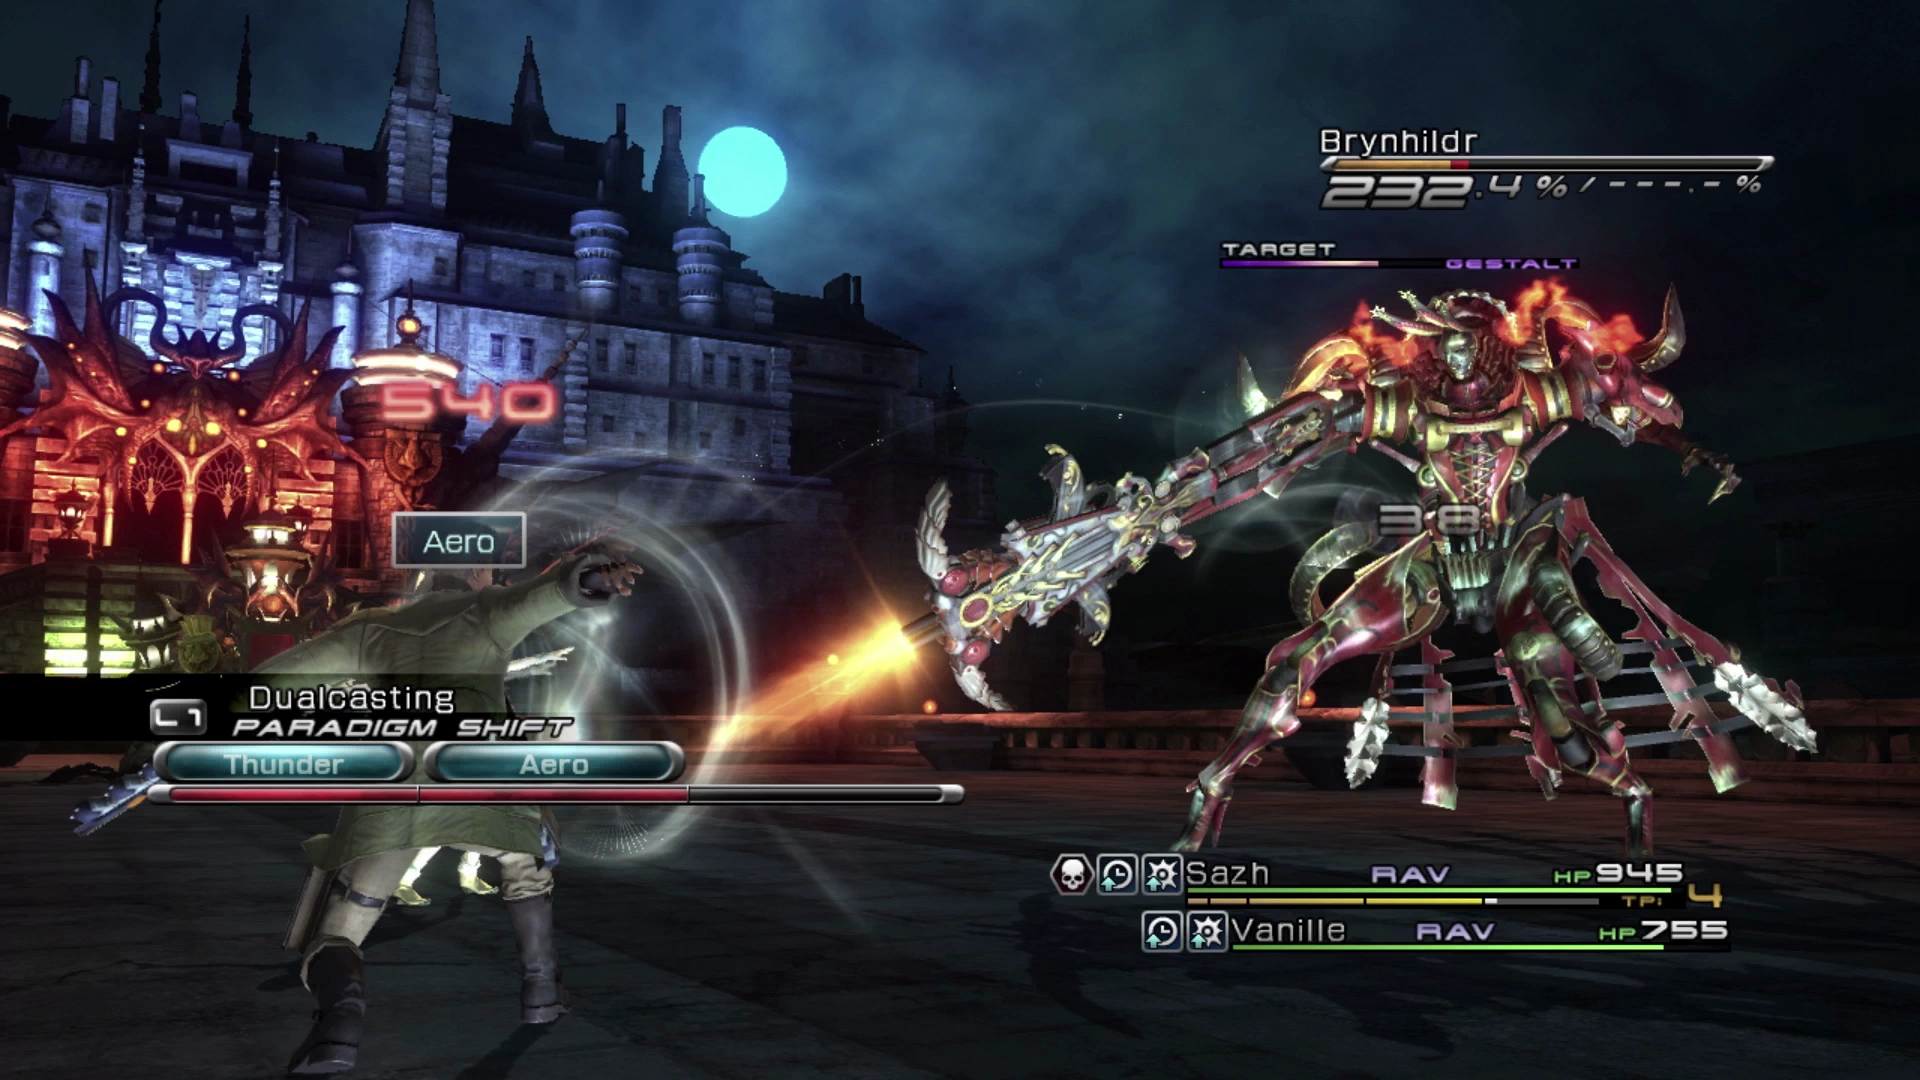
From there it’s just a matter of rotating between Slash & Burn (to keep the Chain Gauge bonus high), Dualcasting (to pump the Chain Gauge) and War & Peace if your party members need to be healed. Continue with this attack pattern until the Gestalt Gauge charges and then press ![]()
![]()
![]() .
.
There are a few more cinematics that take place after the battle has concluded before the game moves on to the next chapter.
Lore
Bodhum? Euride Gorge? It’s at this point in the story where things get a little bit more complicated if you haven’t been paying attention to the intermission scenes happening between each of the chapters. It is recommended that you review the “Events” section of the Datalog to keep up on the different elements of the story.
A copy of the Datalog entries can be found in the Datalog section of the guide.
Achievement/Trophy
You will automatically receive the  Instrument of Shame Achievement/Trophy at the end of Chapter 8.