
Chapter 7: Palumpolum (Part 2)


The walkthrough for Palumpolum is broken up into two parts. The first part covers everything up to the battle against the Ushumgal Subjugator. If you have not completed this first boss battle with Snow and Hope, use the link to return to Part 1 of the Palumpolum guide.
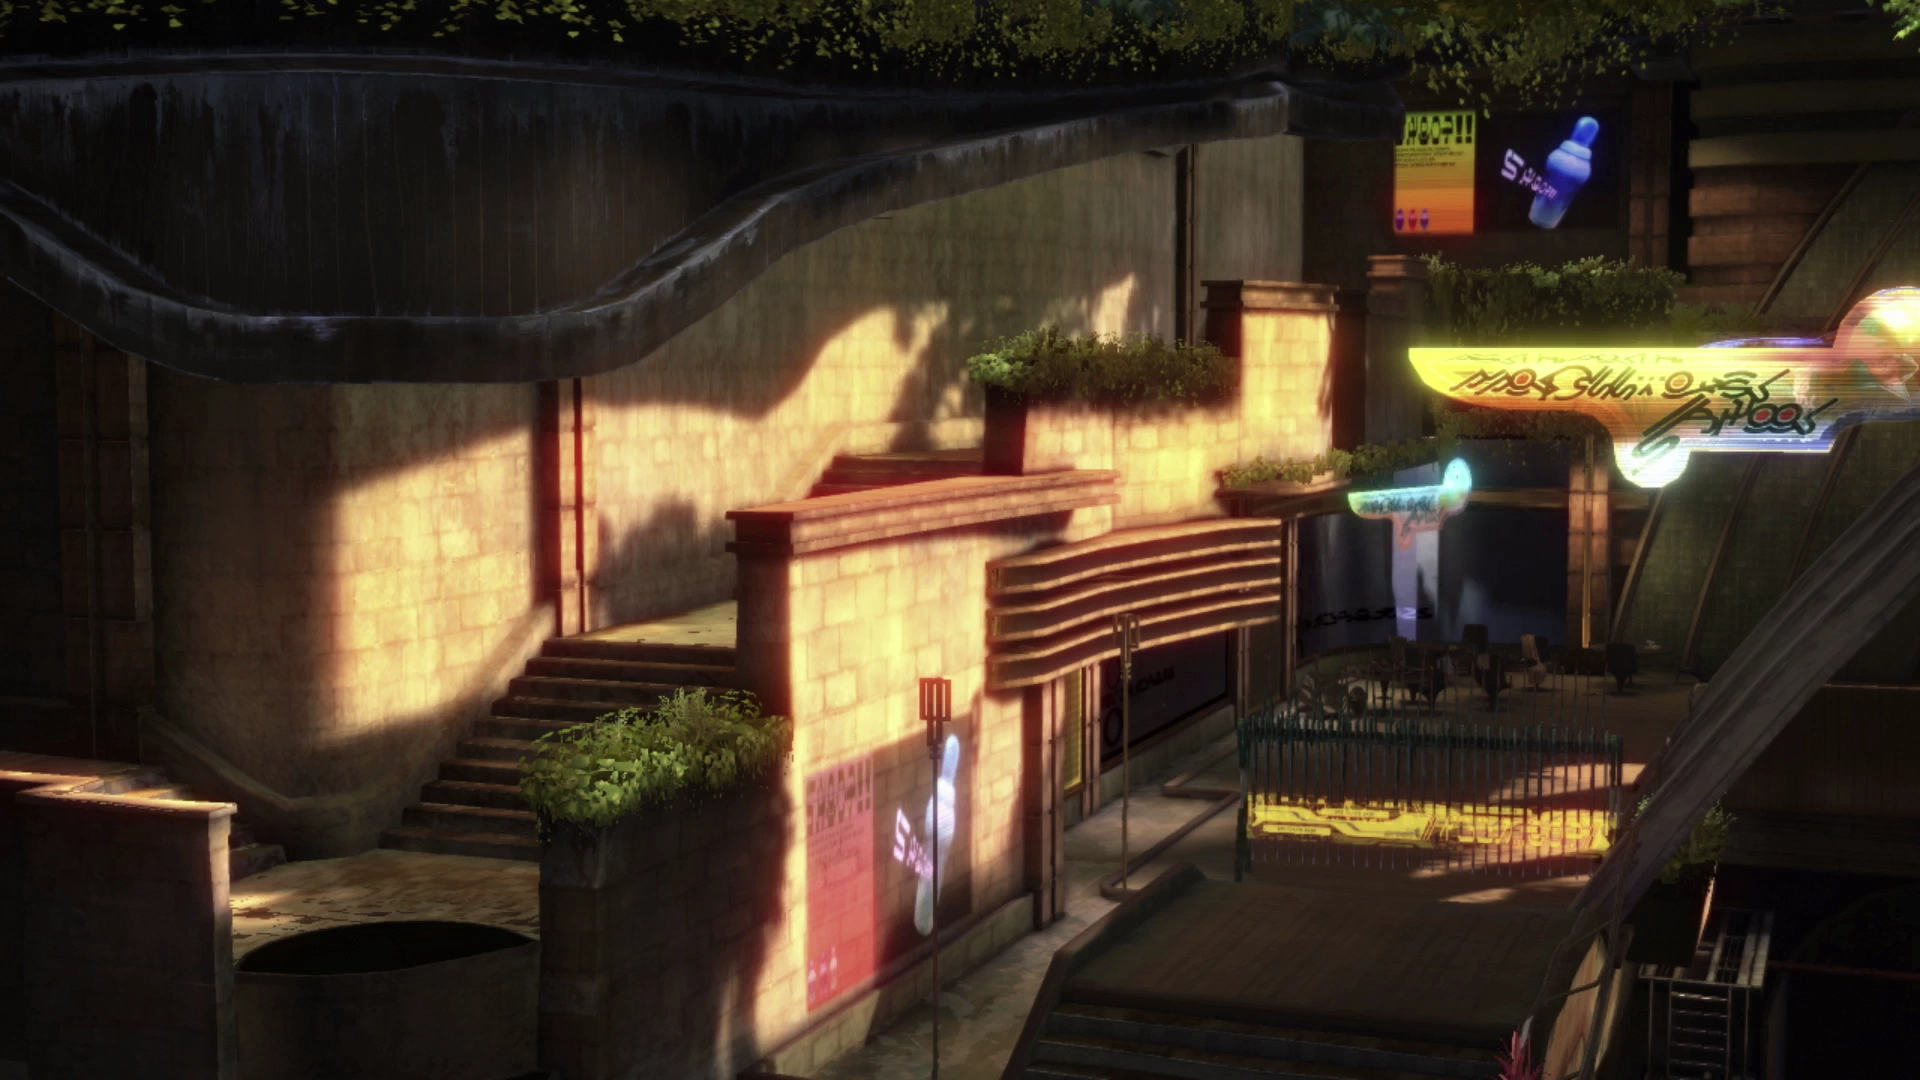
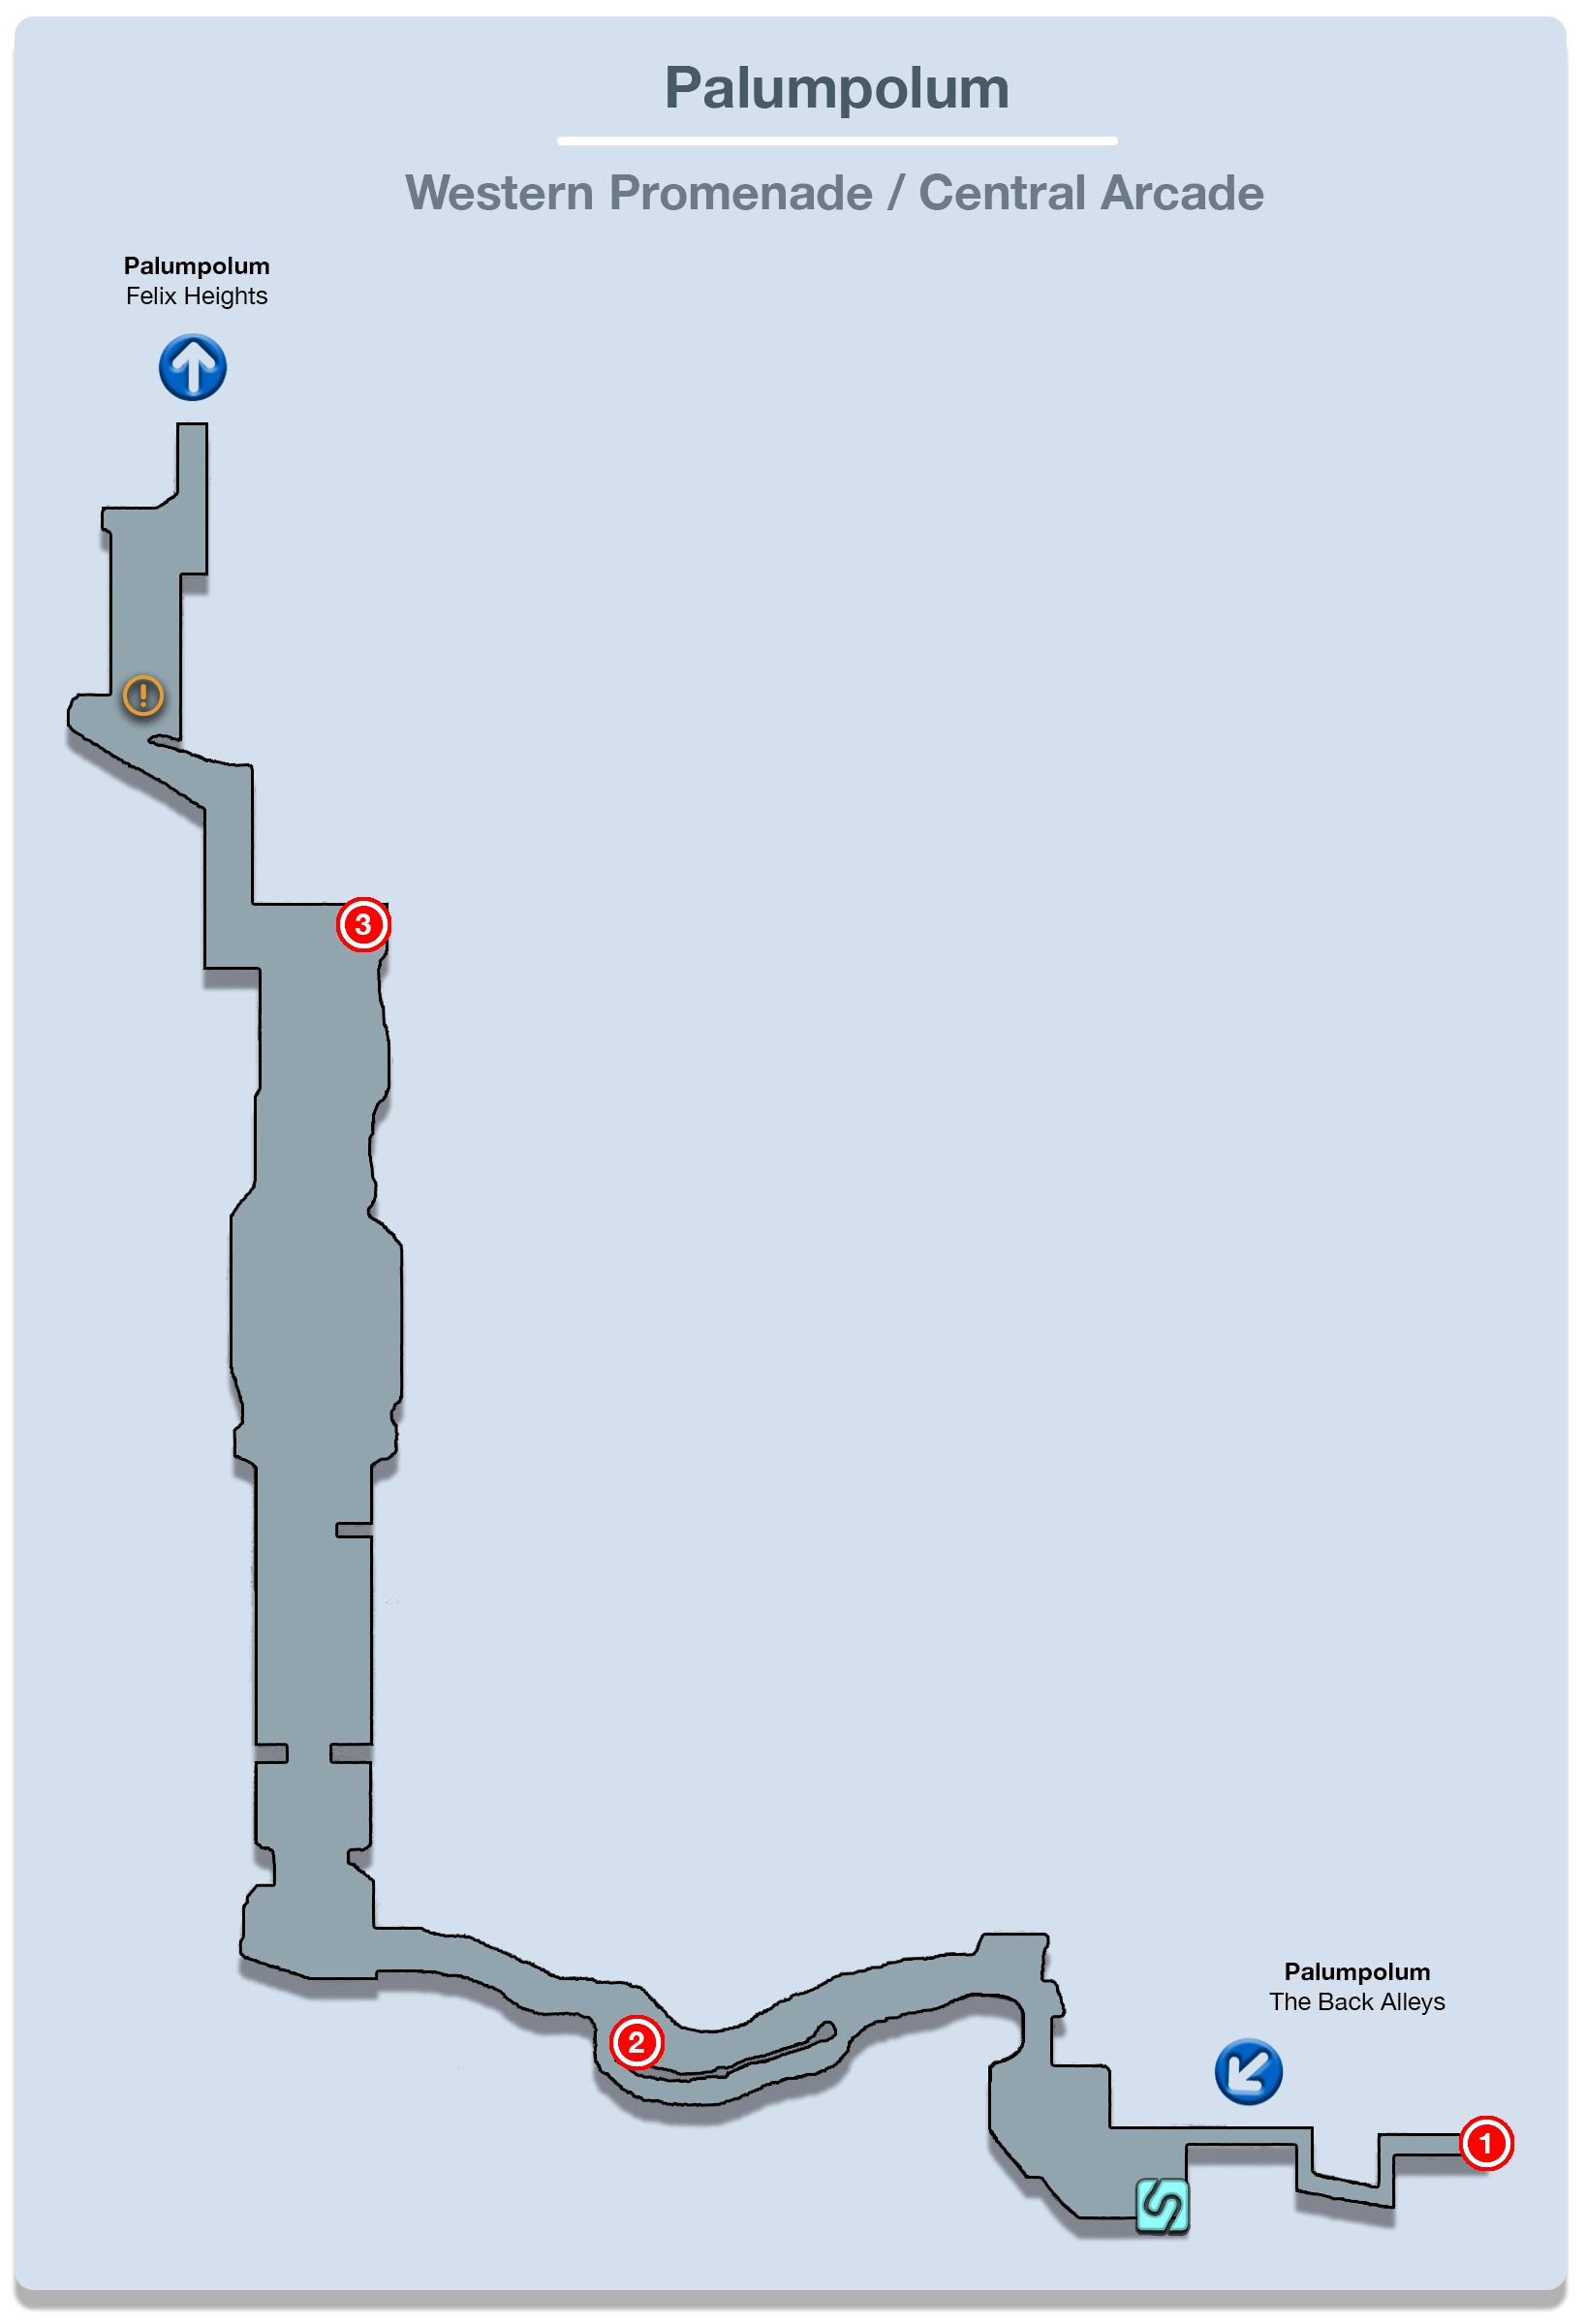
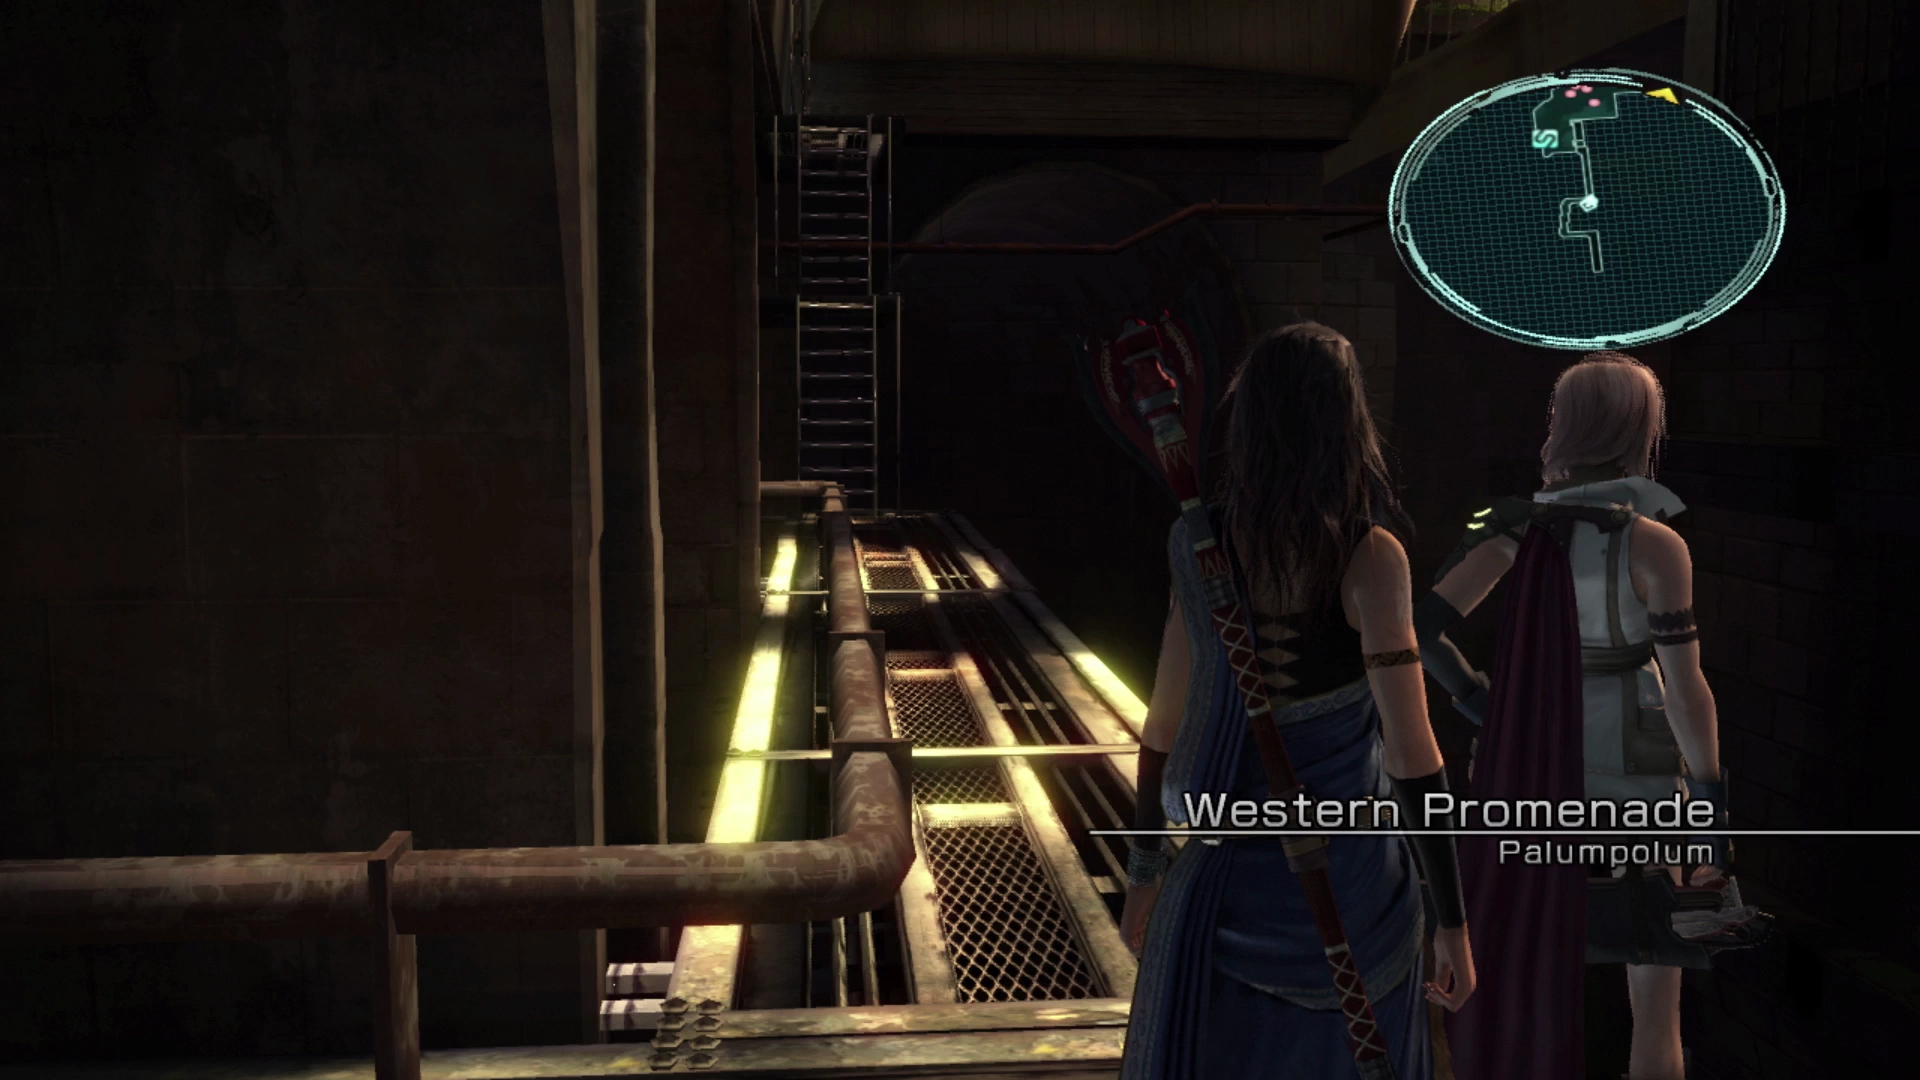
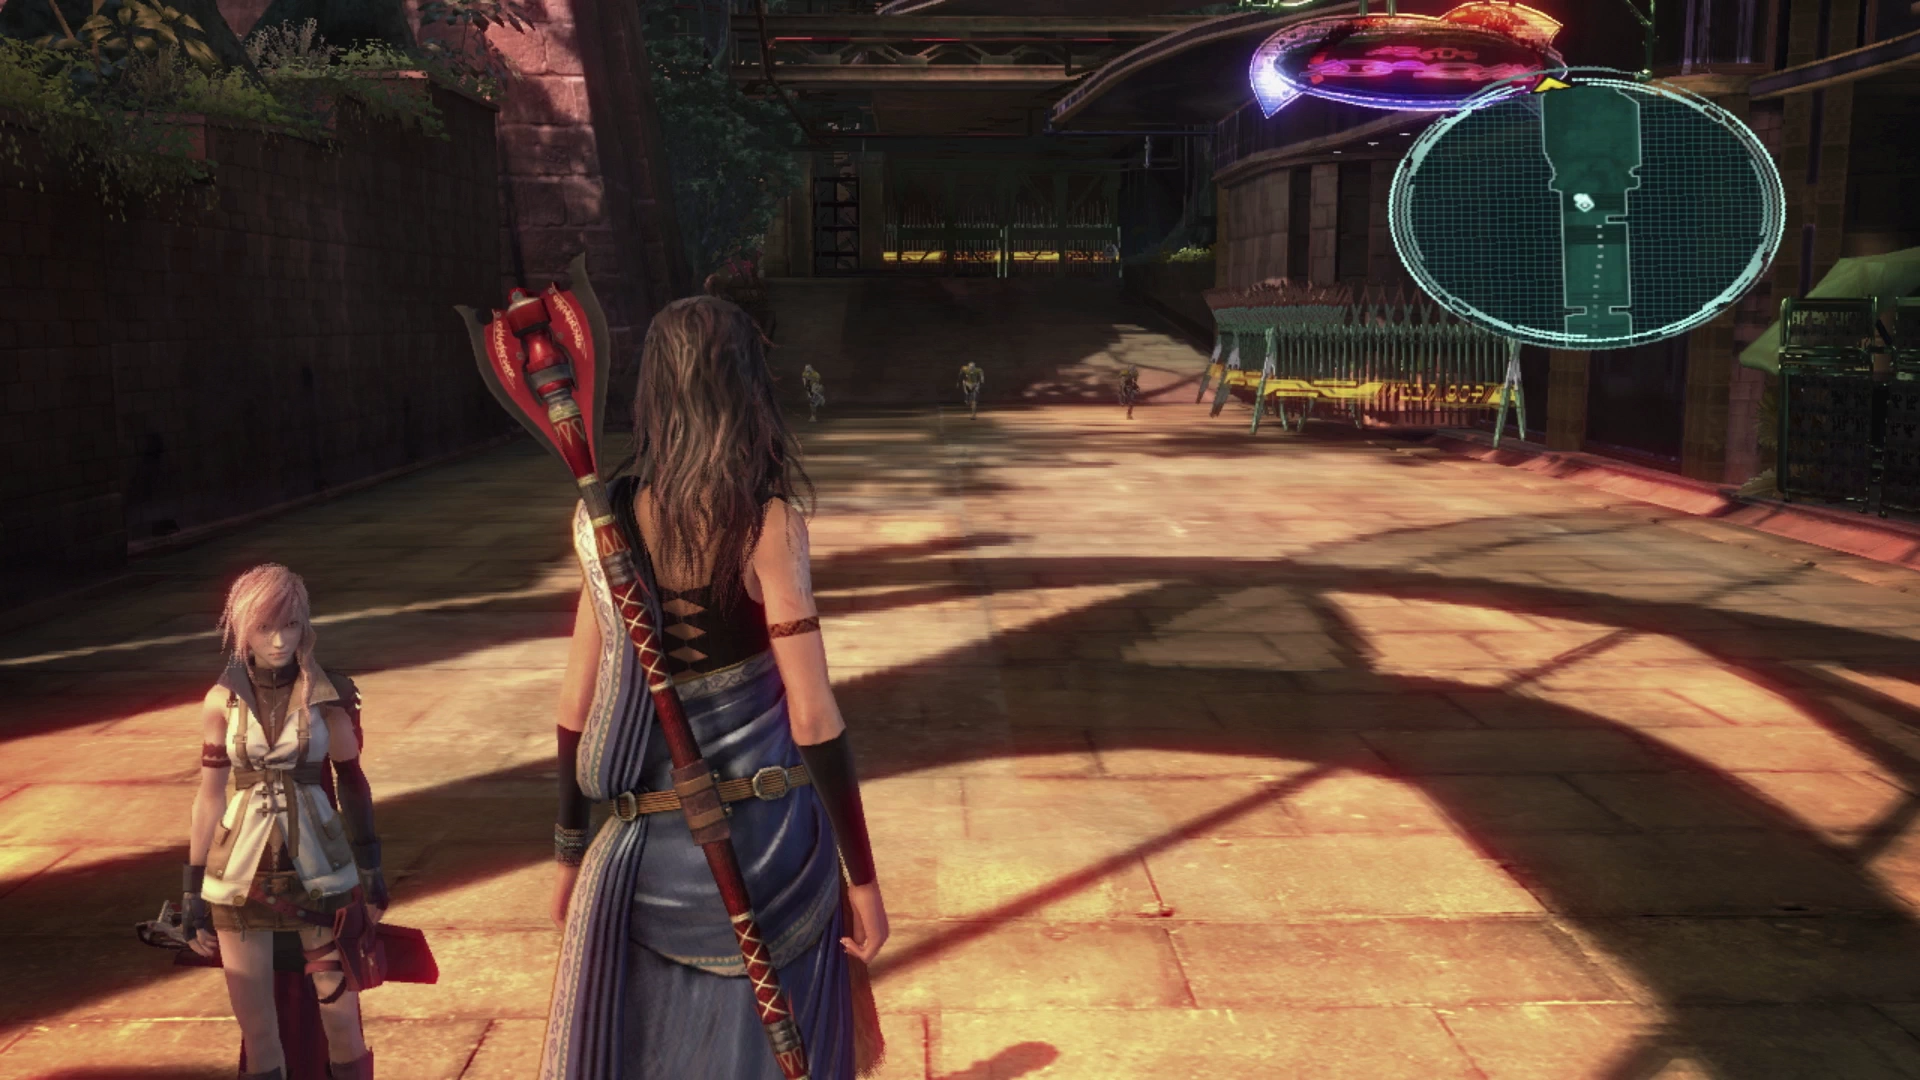
Western Promenade
Don’t forget to spend the Crystogen Points (CP) that Lightning and Fang have stored up. The Paradigms should already be sorted out from the last time you played them, but you should recheck their equipment as well to make sure they are fitted with the proper accessories.
Turn around and backtrack from the area that Lightning and Fang first start in and grab the Treasure Sphere behind them. It contains 15 ![]() Bestial Claws. Climb the ladder up and out of this first area to find a
Bestial Claws. Climb the ladder up and out of this first area to find a ![]() Save Station up ahead on the left that you can use to save your game.
Save Station up ahead on the left that you can use to save your game.
Just up ahead is a group of three Corps Tranquifex and one PSICOM Bombardier. Use the Slash & Burn Paradigm and make sure to take the Bombardier down first. The next enemy up ahead is a single Orion which you are also already familiar with.

When the pathway splits, take the right side, defeat the Orion and the accompanying PSICOM Scavenger, and then open the Treasure Sphere to obtain a ![]() Gae Bolg weapon for Fang. This weapon comes with the
Gae Bolg weapon for Fang. This weapon comes with the ![]() Improved Counter ability which increases the amount of damage done while Counterattacking. Fang doesn’t have access to the Counterattack ability yet so there’s no sense in equipping this item now.
Improved Counter ability which increases the amount of damage done while Counterattacking. Fang doesn’t have access to the Counterattack ability yet so there’s no sense in equipping this item now.
Central Arcade
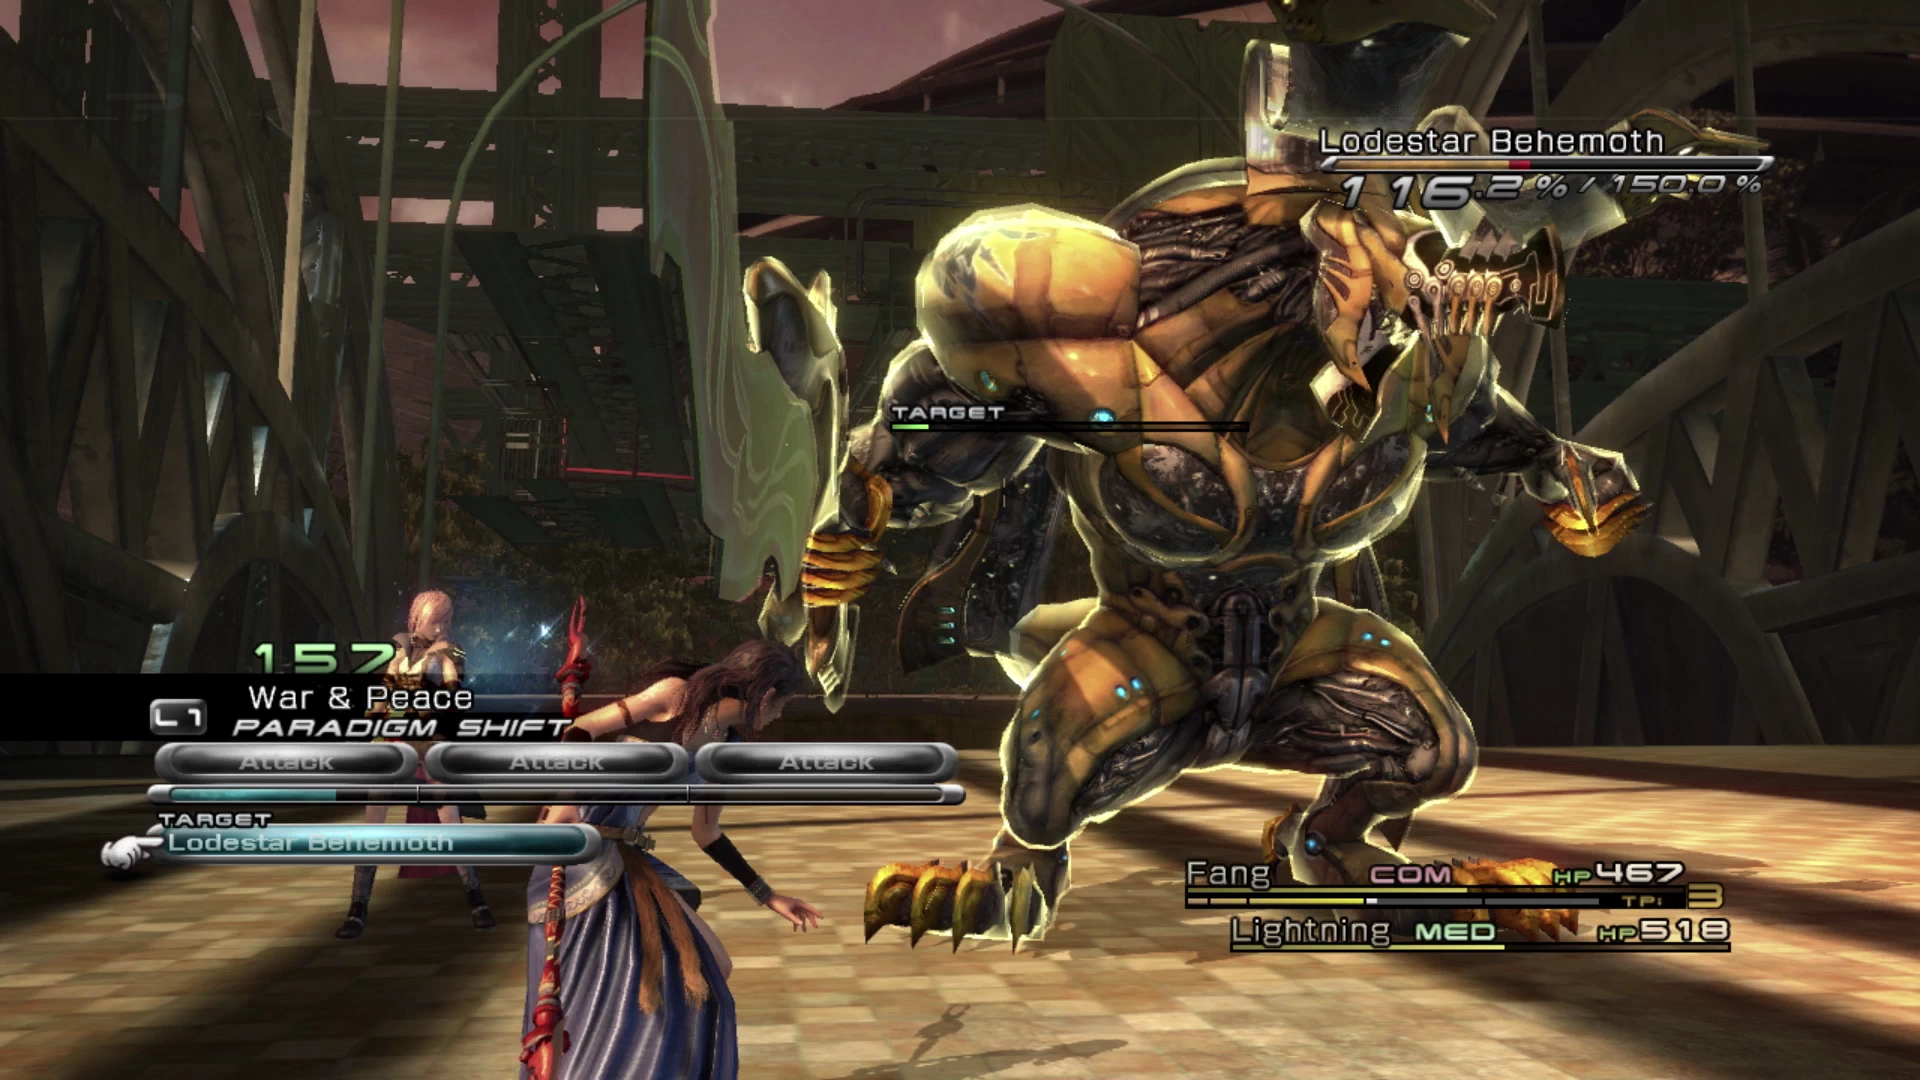
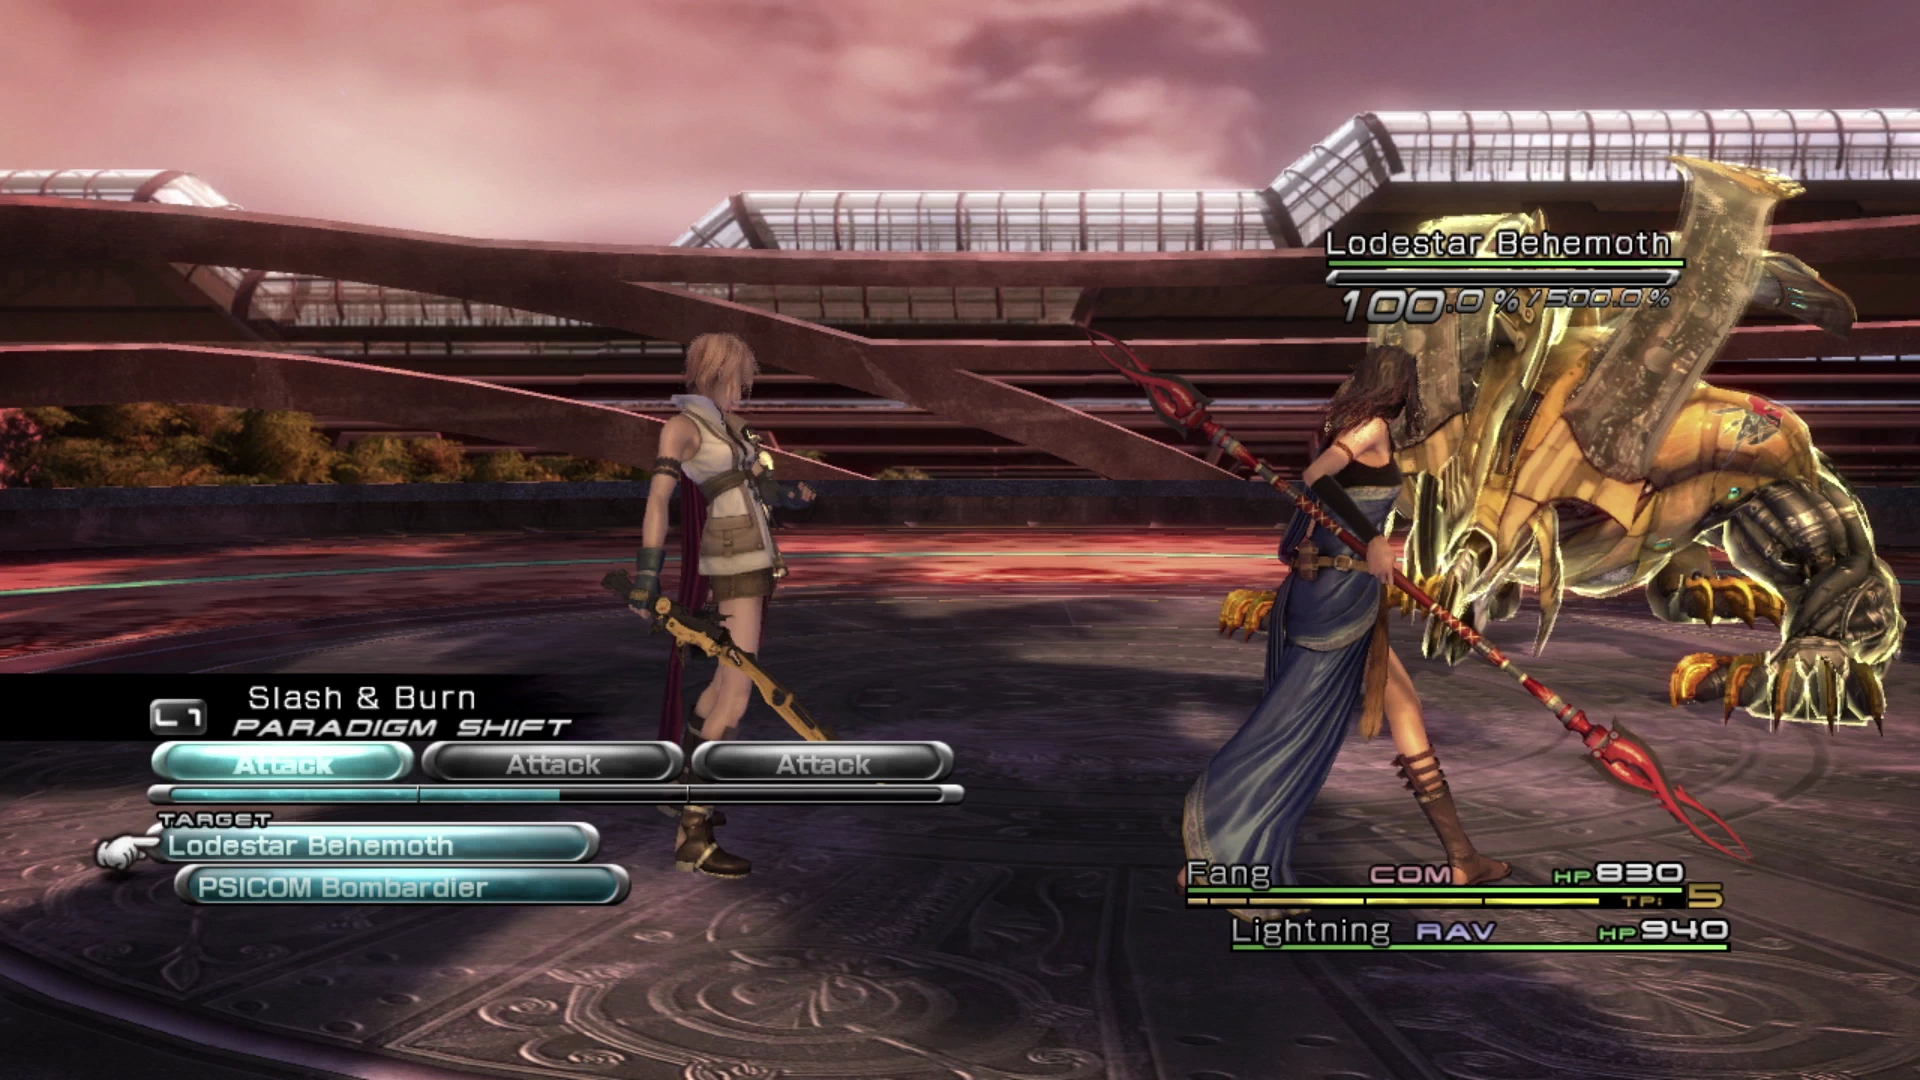
Your next battle is just up ahead against a Lodestar Behemoth. This enemy is technically not a boss, but it is incredibly strong and warrants a bit of preparation.
Start with Fang in her ![]() Saboteur role (either Sap & Salve or Undermine Paradigm) until she has an opportunity to cast
Saboteur role (either Sap & Salve or Undermine Paradigm) until she has an opportunity to cast ![]() Slow on the enemy (Note: read the Helpful Hint about this below). Don’t forget to use
Slow on the enemy (Note: read the Helpful Hint about this below). Don’t forget to use ![]() Libra twice early in the fight to fully complete the Enemy Intel entry in the
Libra twice early in the fight to fully complete the Enemy Intel entry in the ![]() Datalog and expose this enemy’s weaknesses.
Datalog and expose this enemy’s weaknesses.
From there, jump back and forth between Slash & Burn for damage and War & Peace for healing and, should the need arise, switch Fang over to her ![]() Sentinel role if the damage gets to be too much. Lodestar Behemoth has many powerful attacks in its arsenal, including Heave, which deals heavy damage to any party members that it hits.
Sentinel role if the damage gets to be too much. Lodestar Behemoth has many powerful attacks in its arsenal, including Heave, which deals heavy damage to any party members that it hits.
Helpful Hint
You may have noticed this already during your playthrough, but it’s important to note that any character that casts a debuff on the enemy has a good chance that it will be resisted. This includes ![]() Saboteurs using
Saboteurs using ![]() Slow (as Fang should when facing a Lodestar Behemoth) or other spells like
Slow (as Fang should when facing a Lodestar Behemoth) or other spells like ![]() Deprotect,
Deprotect, ![]() Deshell, etc. It also includes
Deshell, etc. It also includes ![]() Sentinels when they use
Sentinels when they use ![]() Provoke.
Provoke.
Because of this, whenever you select the “Auto” option while in these roles, i.e. selecting “Auto-hinder” when playing a ![]() Saboteur, you will see Fang use all three of her ATB bars to cast
Saboteur, you will see Fang use all three of her ATB bars to cast ![]() Slow. This is because there is a good chance that at least one of them will be resisted and there’s a significant chance that all three attempts to cast
Slow. This is because there is a good chance that at least one of them will be resisted and there’s a significant chance that all three attempts to cast ![]() Slow on an enemy will fail and the spell will need to be recast. You will be able to see the debuff next to the enemy’s HP bar on the screen once it has been successfully applied.
Slow on an enemy will fail and the spell will need to be recast. You will be able to see the debuff next to the enemy’s HP bar on the screen once it has been successfully applied.
The important lesson from this is to not transition out of the associated role too quickly. In other words, while Fang is in her ![]() Saboteur role, don’t Paradigm shift her into another role until you know
Saboteur role, don’t Paradigm shift her into another role until you know ![]() Slow has been successfully cast AND applied.
Slow has been successfully cast AND applied.
Remember to switch the starting Paradigm back to Slash & Burn ahead of the next fight. Follow the pathway along the Central Arcade towards the map marker for another short cutscene and then engage in the next battle against two Corps Tranquifex and a Corps Pacifex.
The battle after that will be against two Orions, which is a pretty tough fight, so consider switching the default Paradigm once again back to either Sap & Salve or Undermine to put Fang in her ![]() Saboteur role and have her cast slow on both enemies.
Saboteur role and have her cast slow on both enemies.
There is a Treasure Sphere at the top of the stairs that contains an ![]() Axis Blade for Lightning. This weapon can be good in certain situations, as it allows Lightning to trigger more actions in combat, but it has some pretty weak stats in terms of its Strength and its Magic, and overall, it’s not considered to be one of her best weapons. It can be fun to play around with, though, to trigger “Synthesized Abilities” as noted below, but her other weapons are considered stronger overall.
Axis Blade for Lightning. This weapon can be good in certain situations, as it allows Lightning to trigger more actions in combat, but it has some pretty weak stats in terms of its Strength and its Magic, and overall, it’s not considered to be one of her best weapons. It can be fun to play around with, though, to trigger “Synthesized Abilities” as noted below, but her other weapons are considered stronger overall.
Another cutscene involving Snow and Hope takes place, but we will continue controlling Fang and Lightning in the next area.
Helpful Hint
The ![]() Axis Blade for Lightning already provides the
Axis Blade for Lightning already provides the ![]() Attack: ATB Charge weapon ability, but you can enhance this ability even further by equipping Lightning with another item that is in the same “Boost” synthesis group if you have room. This includes the following items:
Attack: ATB Charge weapon ability, but you can enhance this ability even further by equipping Lightning with another item that is in the same “Boost” synthesis group if you have room. This includes the following items:
None of these items are great, but the synthesized ability is definitely nice to have. If you would like more information on how these abilities work, check out the Synthesized Abilities section.
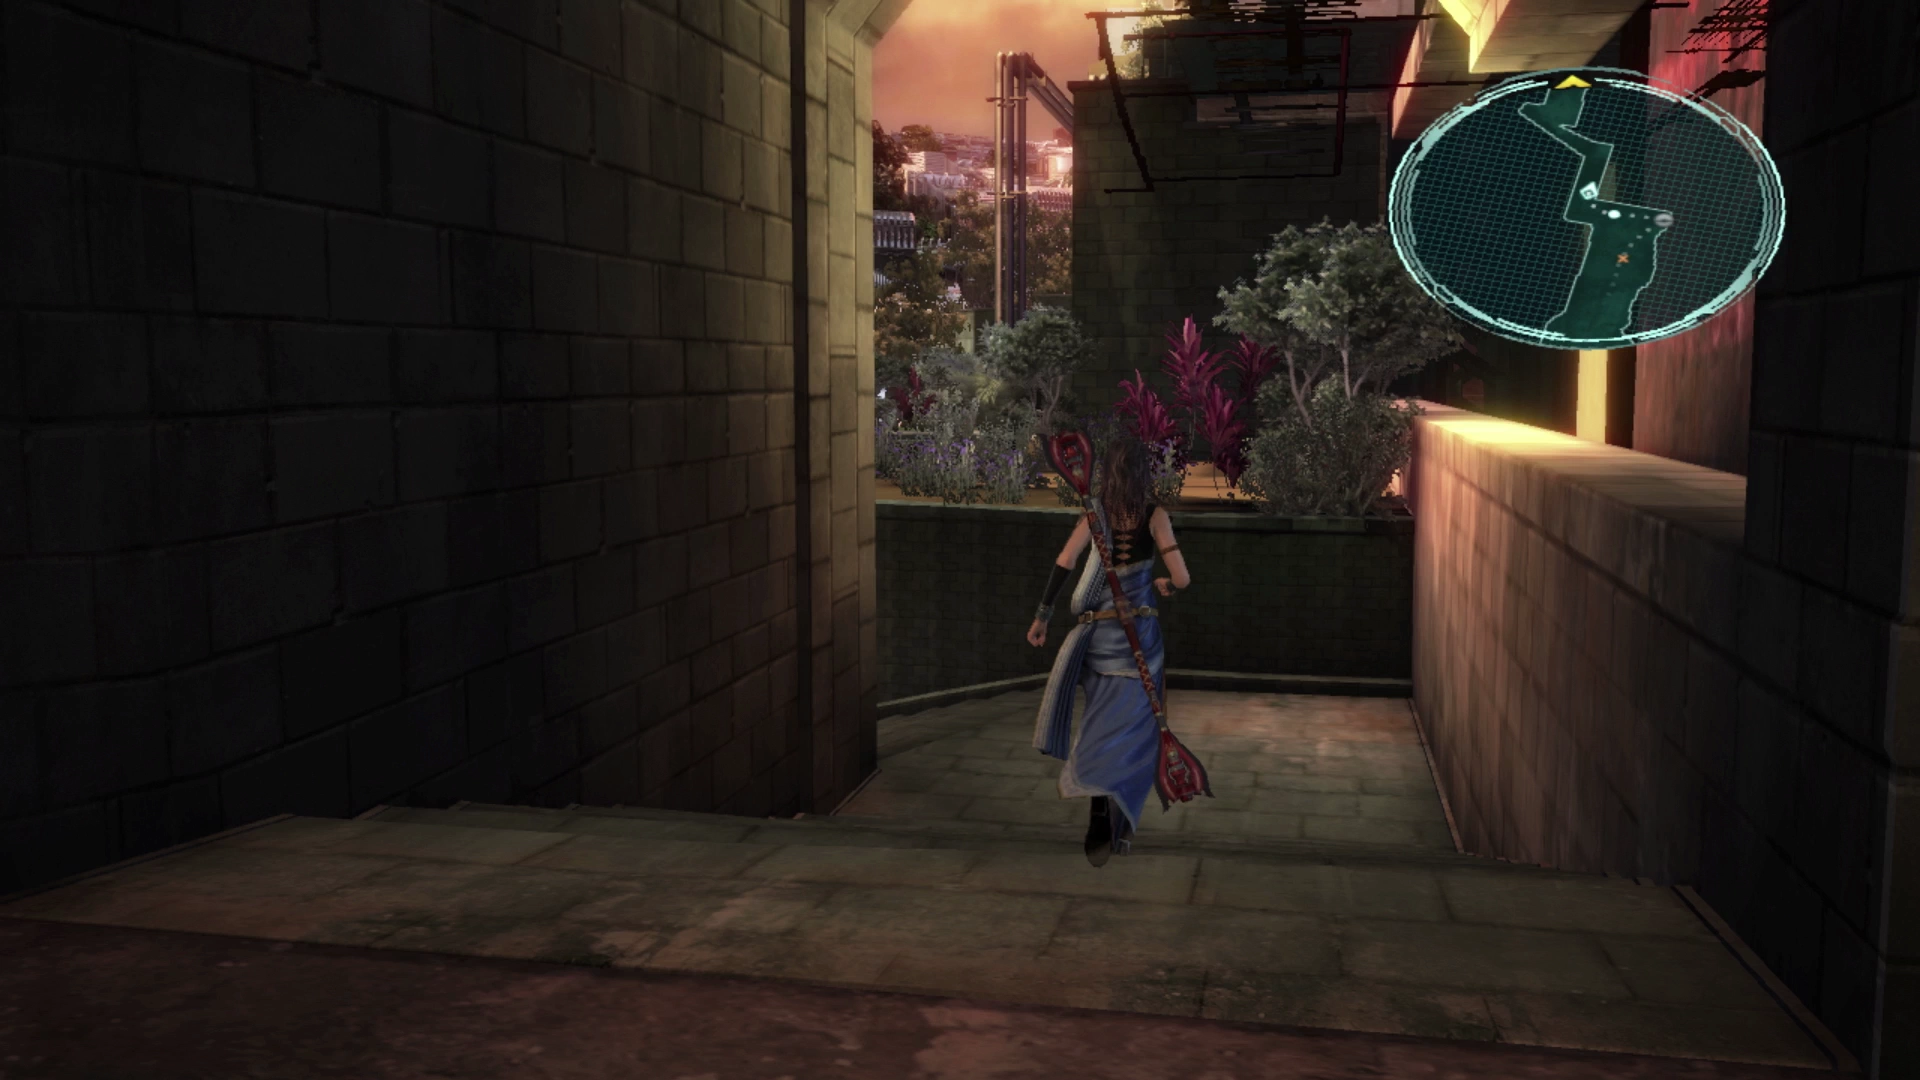
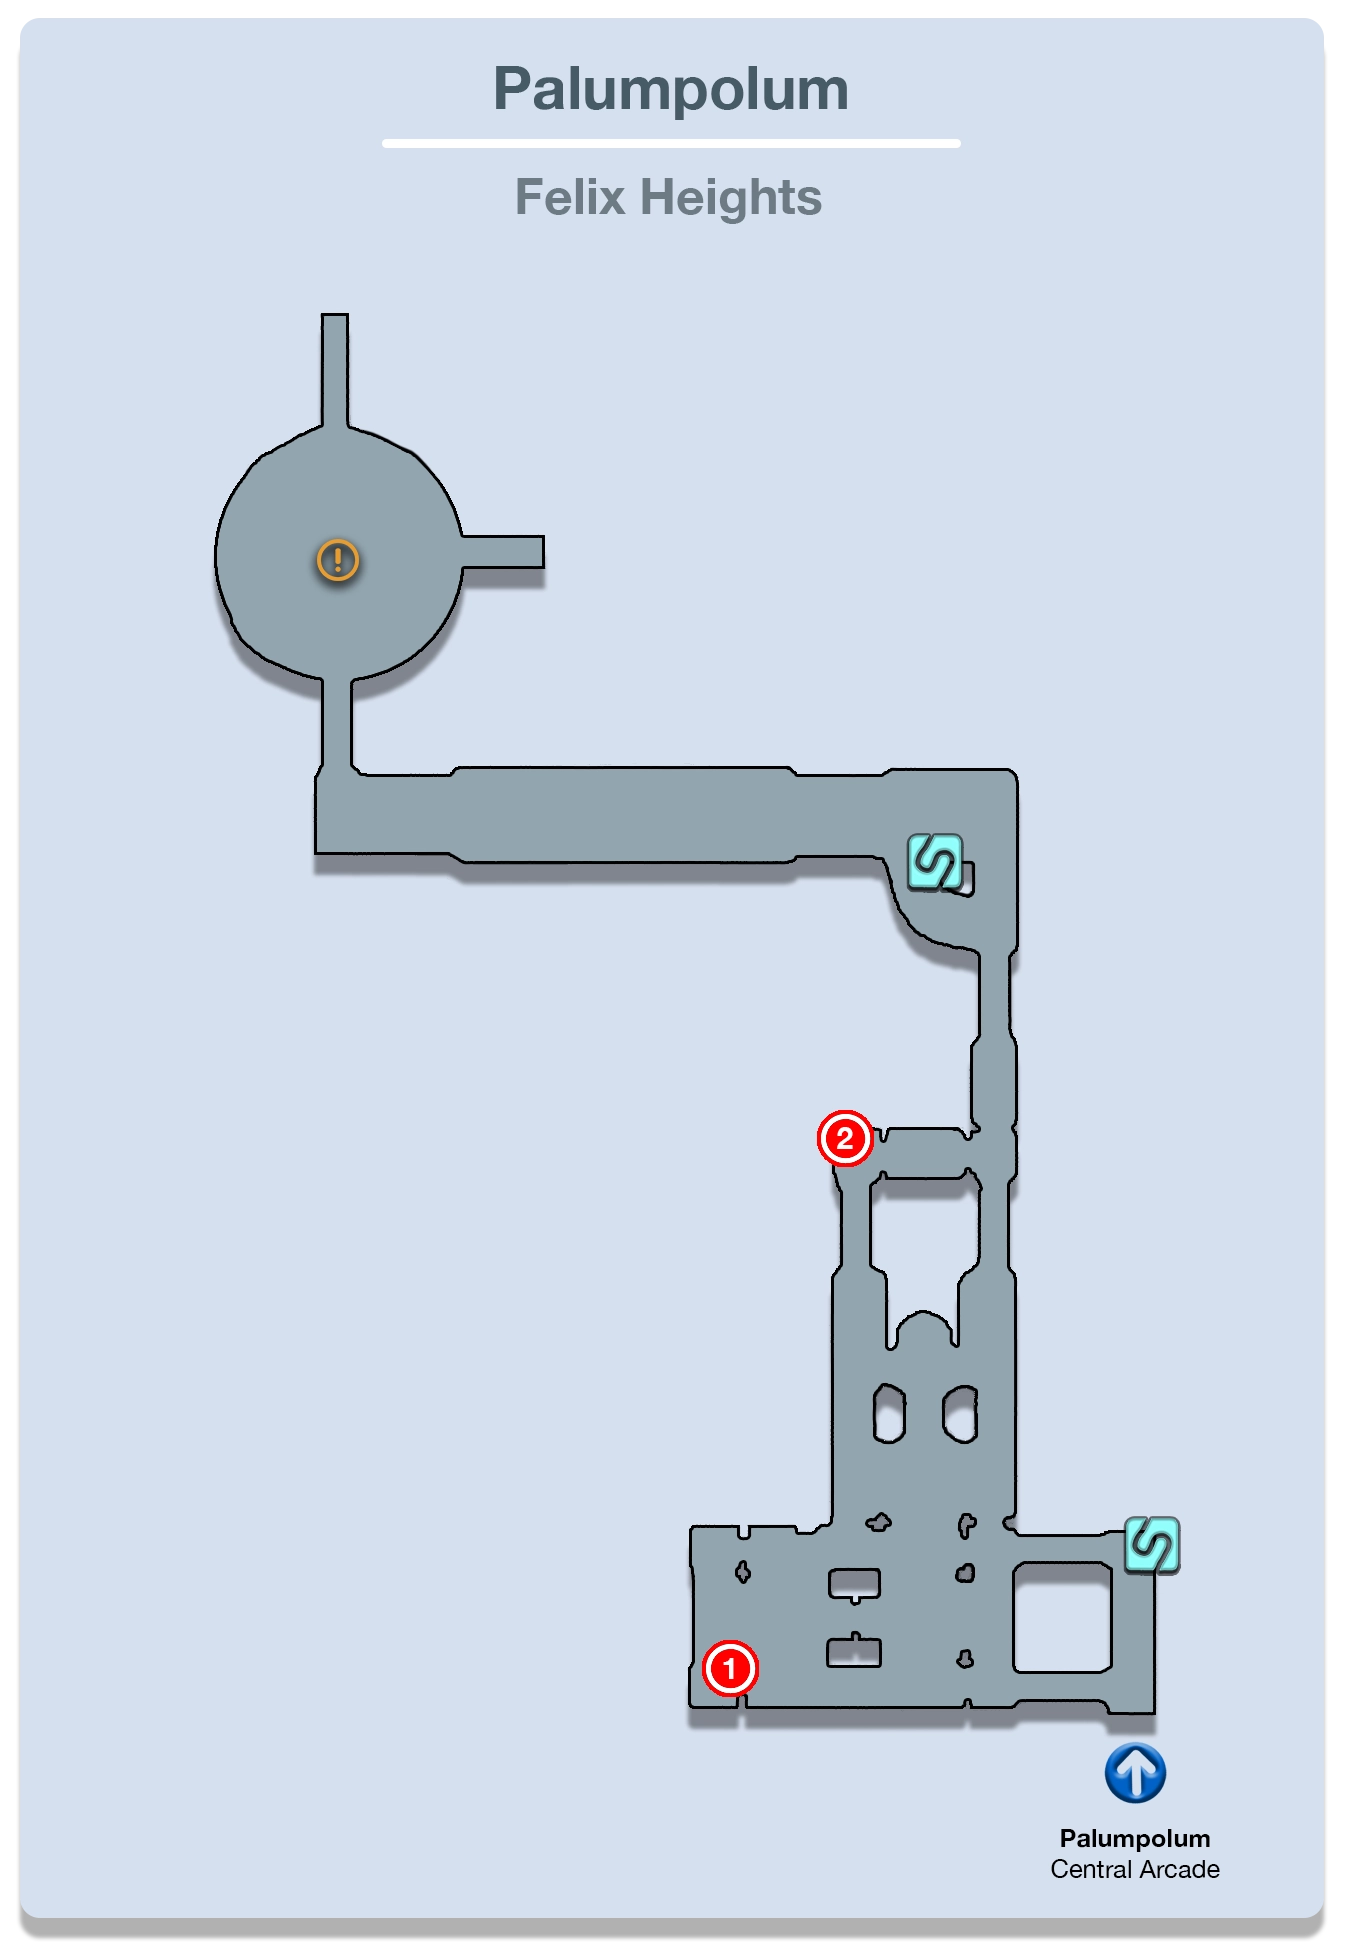
Felix Heights
Start by saving your game at the ![]() Save Station just up ahead. Once again, make sure that you’ve switched the default Paradigm back to Slash & Burn.
Save Station just up ahead. Once again, make sure that you’ve switched the default Paradigm back to Slash & Burn.
Head up the stairs and attack the group of three Corps Pacifex and one PSICOM Scavenger, focusing on taking the Scavenger out first. Open the Treasure Sphere behind them to pick up a ![]() Tungsten Bangle. This is a helpful accessory that boosts the wearer’s HP, so consider equipping it to Fang or Lightning right now.
Tungsten Bangle. This is a helpful accessory that boosts the wearer’s HP, so consider equipping it to Fang or Lightning right now.
Engage the Orion and the two PSICOM Predators, ideally with a preemptive strike, that are patrolling nearby. There are two sets of stairs leading away from this area with the one on the left hiding a Treasure Sphere . You’ll need to defeat the two Corps Pacifex nearby to open it but, once you do, you’ll receive a ![]() Black Belt accessory. Head around the corner and use the
Black Belt accessory. Head around the corner and use the ![]() Save Station to save your game one more time.
Save Station to save your game one more time.
Just up ahead is one last battle against a Lodestar Behemoth and a PSICOM Bombardier. Switch your default Paradigm back to Sap & Salve so that Fang can apply ![]() Slow to the Behemoth early. Play this fight defensively as it’s one of the more challenging battles you’ll have had to deal with up to this point.
Slow to the Behemoth early. Play this fight defensively as it’s one of the more challenging battles you’ll have had to deal with up to this point.
Don’t be afraid to switch to a much more defensive Paradigm that switches Fang over to her ![]() Sentinel role if the damage gets to be too much, especially after the Behemoth stands up. When it stands it will immediately lose any chain bonuses that you’ve amassed making it next to impossible to Stagger it, so just hack away in Slash & Burn once you’ve recovered from its attacks.
Sentinel role if the damage gets to be too much, especially after the Behemoth stands up. When it stands it will immediately lose any chain bonuses that you’ve amassed making it next to impossible to Stagger it, so just hack away in Slash & Burn once you’ve recovered from its attacks.
Just up ahead is a lengthy cutscene involving Hope and Snow before Hope is thrown into battle against a boss we’ve seen before.
Boss Battle
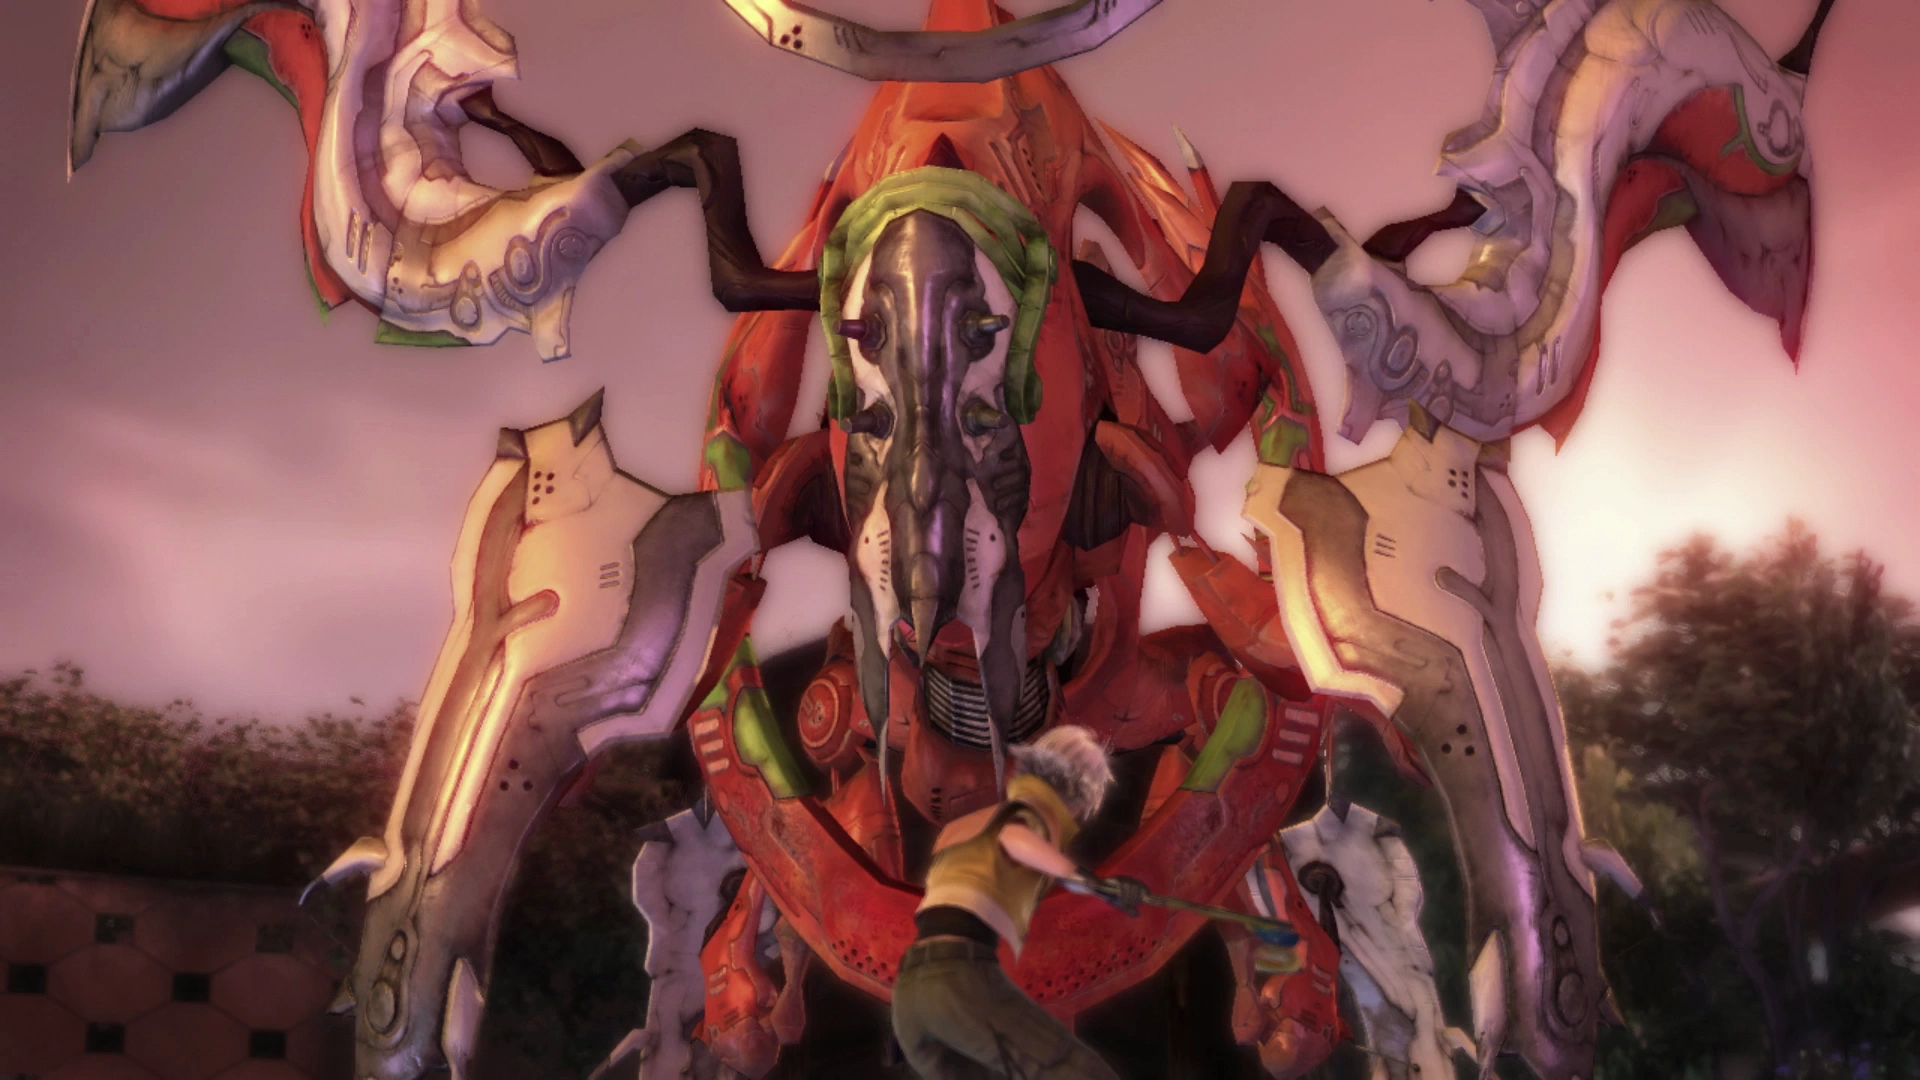
Hope will begin this battle all by himself. There isn’t much he can do on his own during this fight other than to make sure he gets a ![]() Libra in and attacks a few times as a
Libra in and attacks a few times as a ![]() Ravager. Don’t worry about having him heal himself as the fight will transition to the next phase as soon as his HP drops to zero where he will be joined by Fang and Lightning.
Ravager. Don’t worry about having him heal himself as the fight will transition to the next phase as soon as his HP drops to zero where he will be joined by Fang and Lightning.
The game will set you up with a few default Paradigms that should be enough to get you through this boss battle. If you prefer to customize the Paradigms you can press the ![]()
![]()
![]() button and select the “Retry” option and you’ll have the opportunity to adjust the Paradigms among other things (but this shouldn’t be required).
button and select the “Retry” option and you’ll have the opportunity to adjust the Paradigms among other things (but this shouldn’t be required).
Begin by switching to the Evened Odds Paradigm (Fang as a ![]() Saboteur, Lightning as a
Saboteur, Lightning as a ![]() Medic, and Hope as a
Medic, and Hope as a ![]() Synergist). Most importantly, we want Hope to get
Synergist). Most importantly, we want Hope to get ![]() Protect cast on everyone and for Fang to get
Protect cast on everyone and for Fang to get ![]() Slow cast on Ushumgal Subjugator while Lightning keeps the party healed up and alive.
Slow cast on Ushumgal Subjugator while Lightning keeps the party healed up and alive.
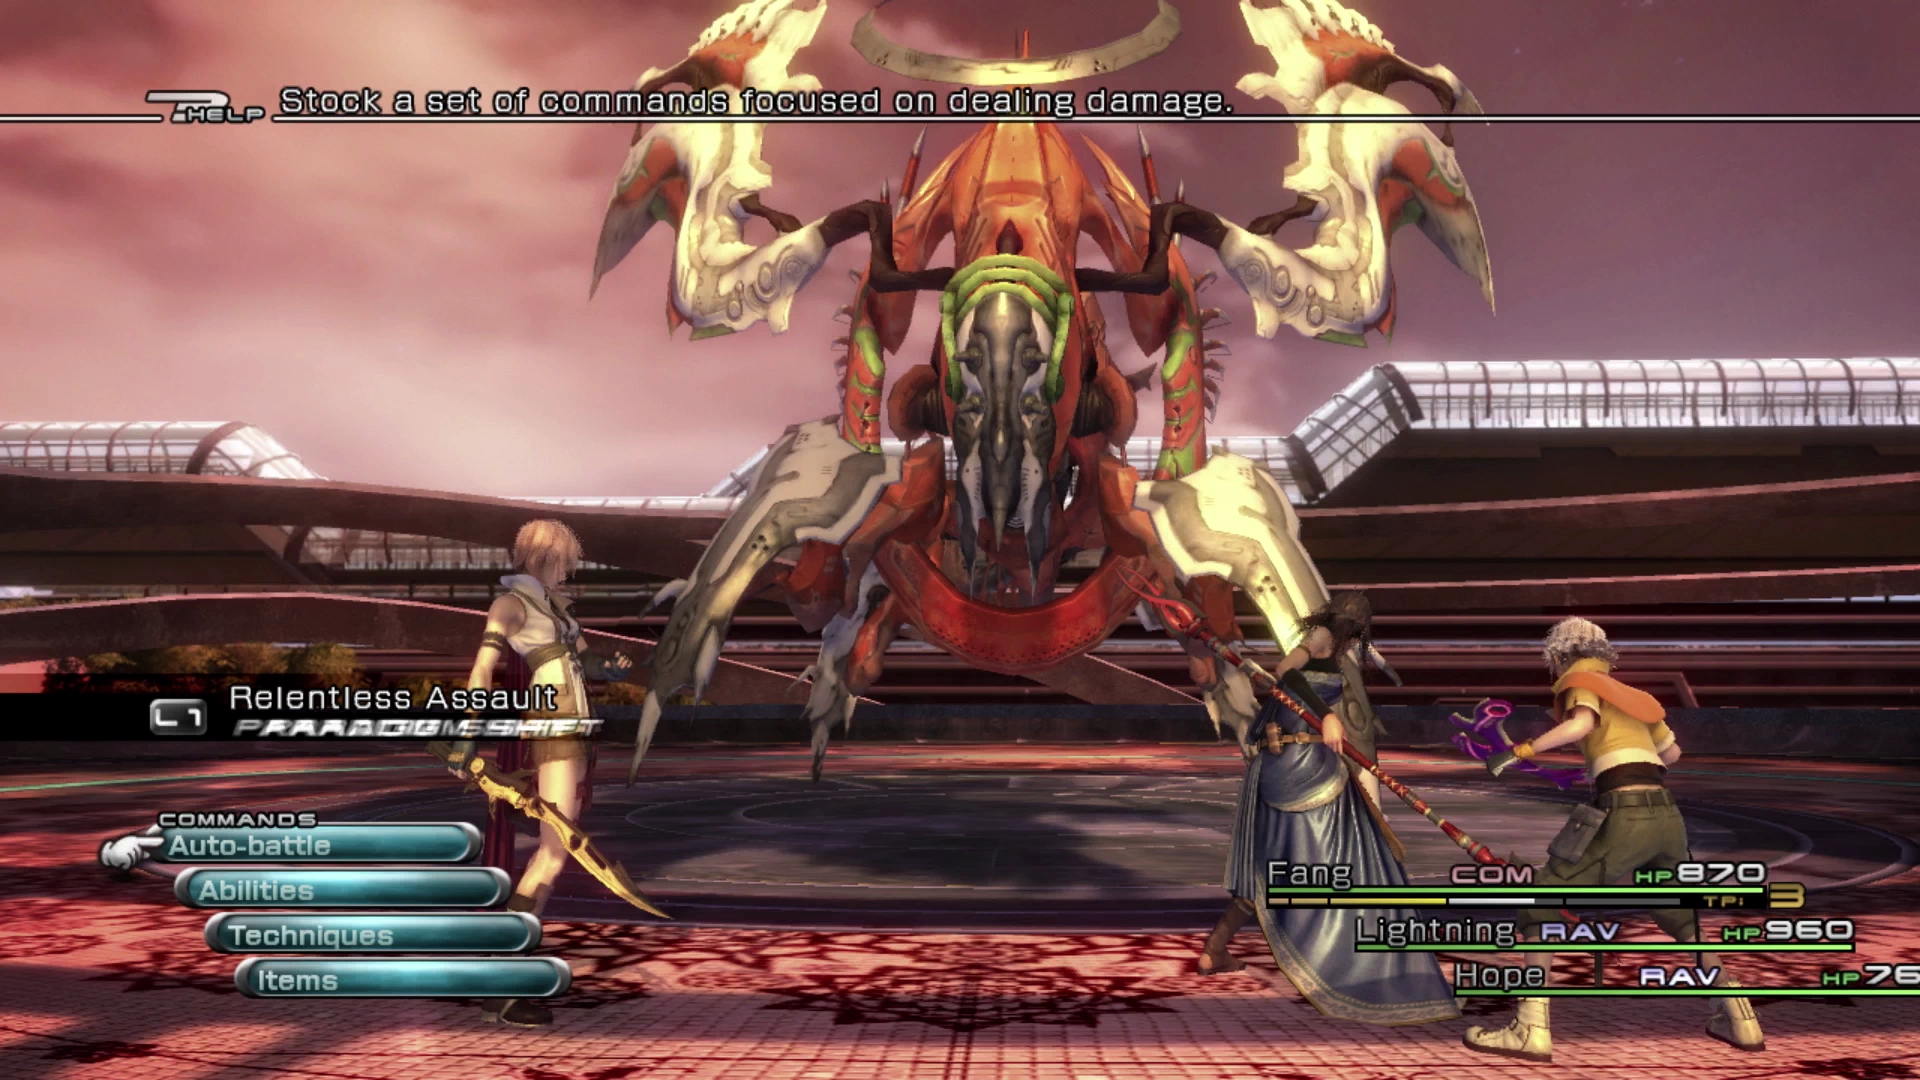
Then swap over to Relentless Assault to pump damage into the boss. Its standard attack is called Laser Rain, which will hit all party members, so from time to time you will need to switch over to Diversity which will get Hope to throw some heals out on the team when their HP gets low.
The other important ability to watch out for is Pinpoint Beam which it will use on one character 5 times in a row dealing heavy damage. Swap to a Paradigm that puts Fang in her ![]() Sentinel role and she can absorb and reduce most of the damage done by this attack.
Sentinel role and she can absorb and reduce most of the damage done by this attack.
Lastly, it will sometimes use Photon Blaster which is just another heavy-hitting attack that hits all your party members. It will probably take two full Staggers before you can bring Ushumgal Subjugator down so be prepared for a lengthy fight.
There are some cutscenes at the end of the fight before the team finds their way to Hope’s house.
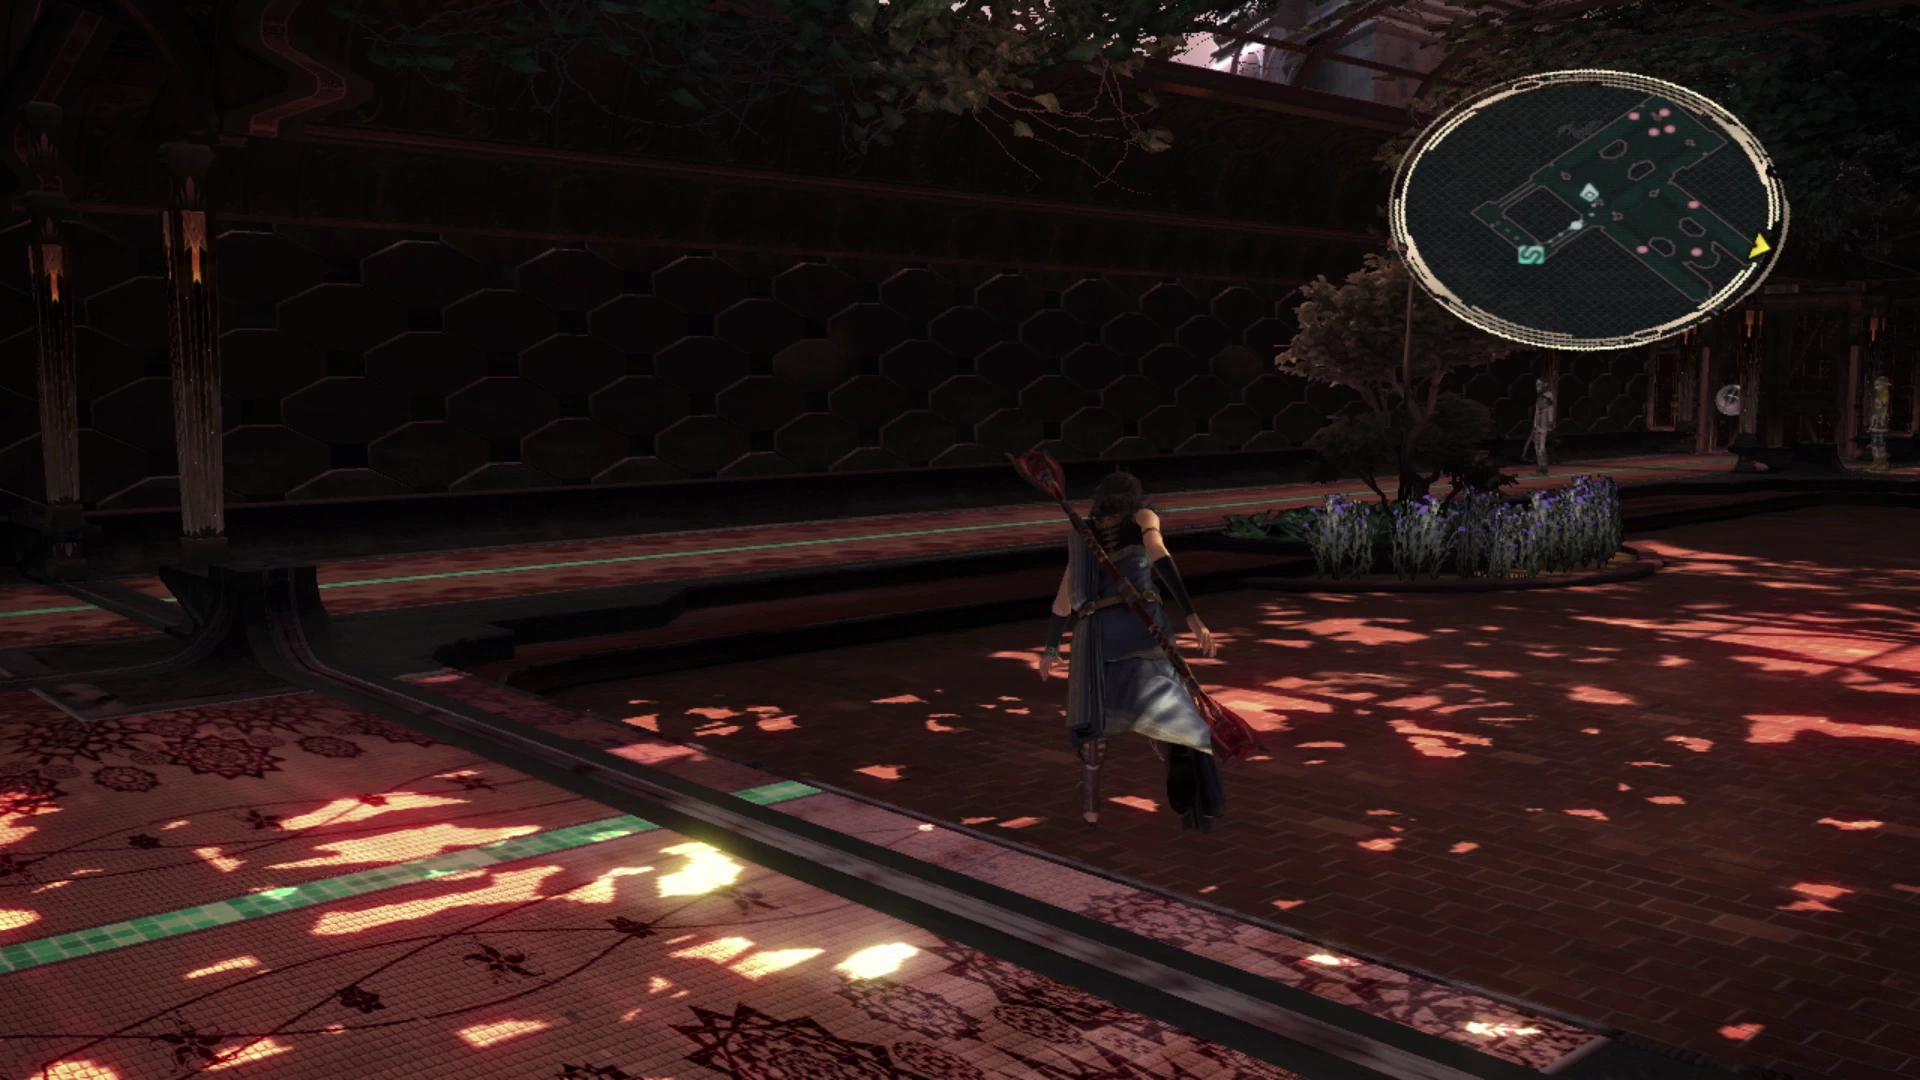
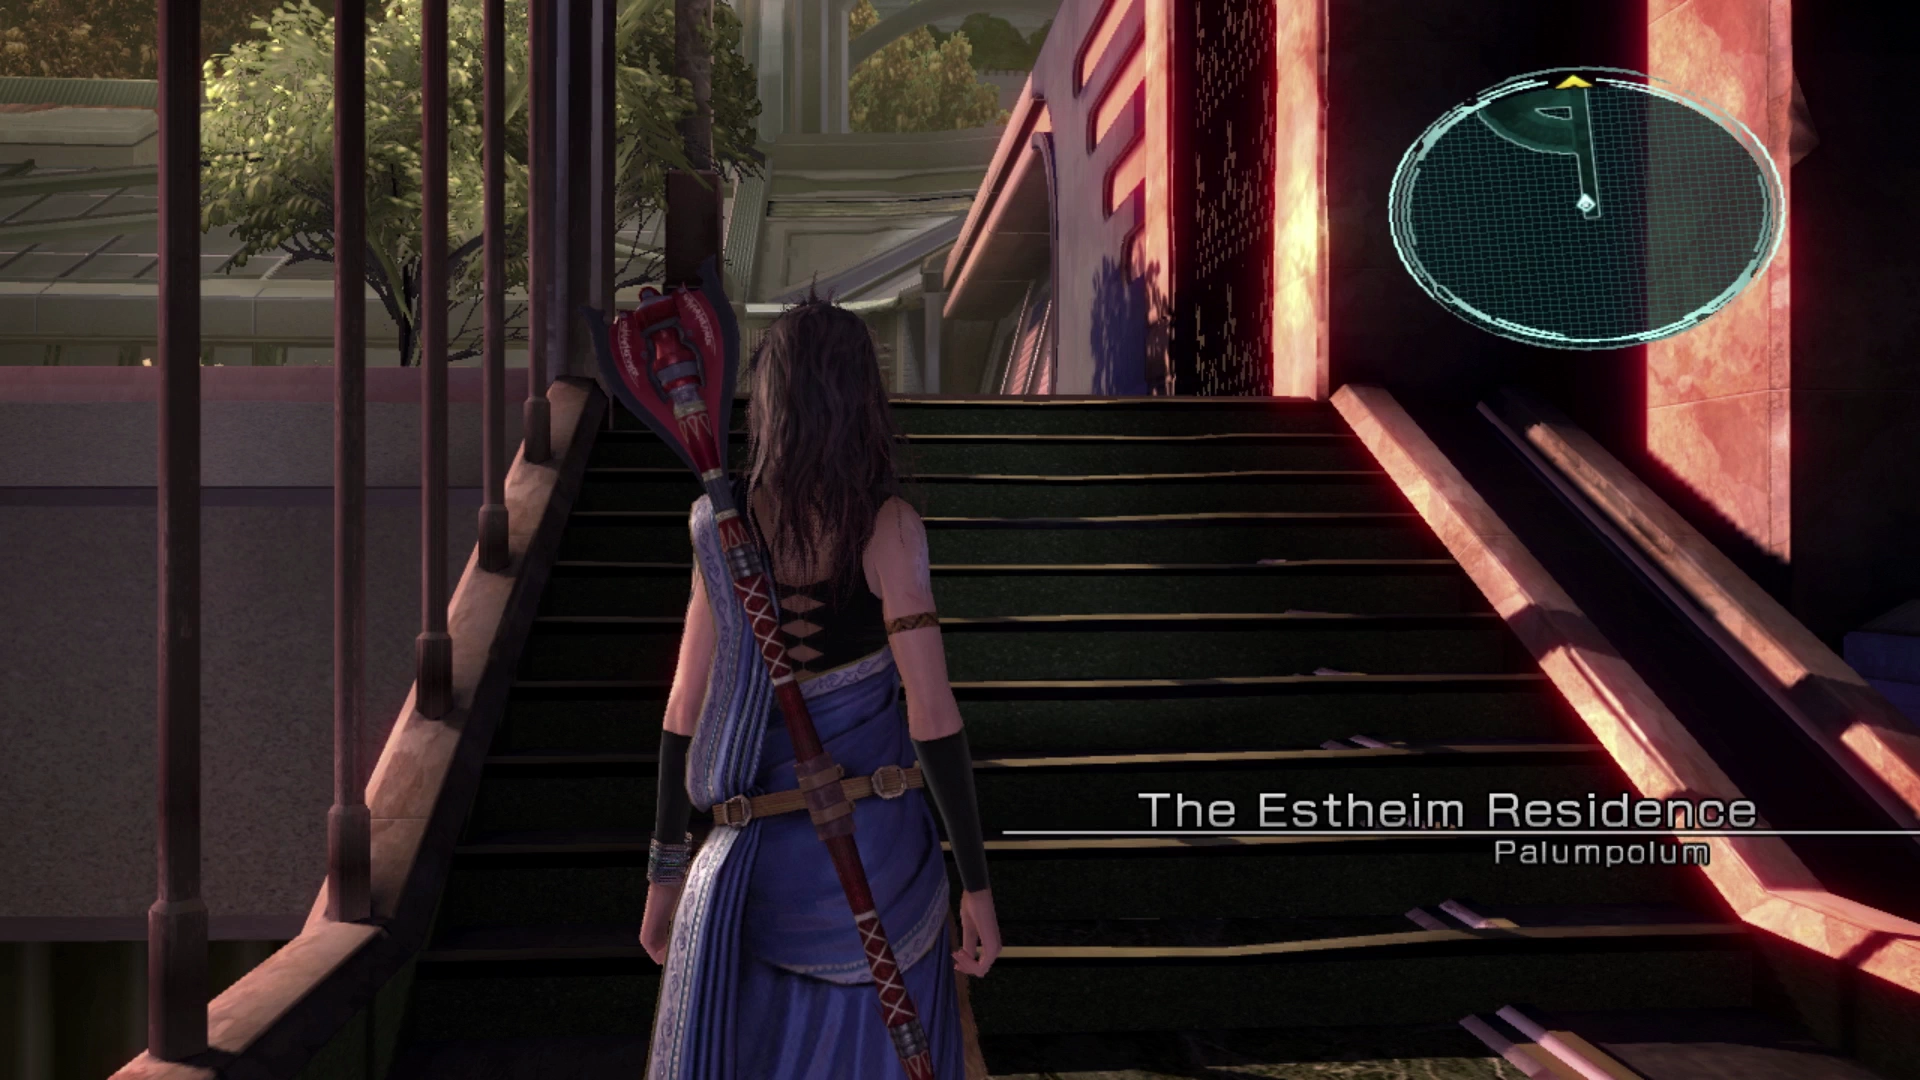
The Estheim Residence
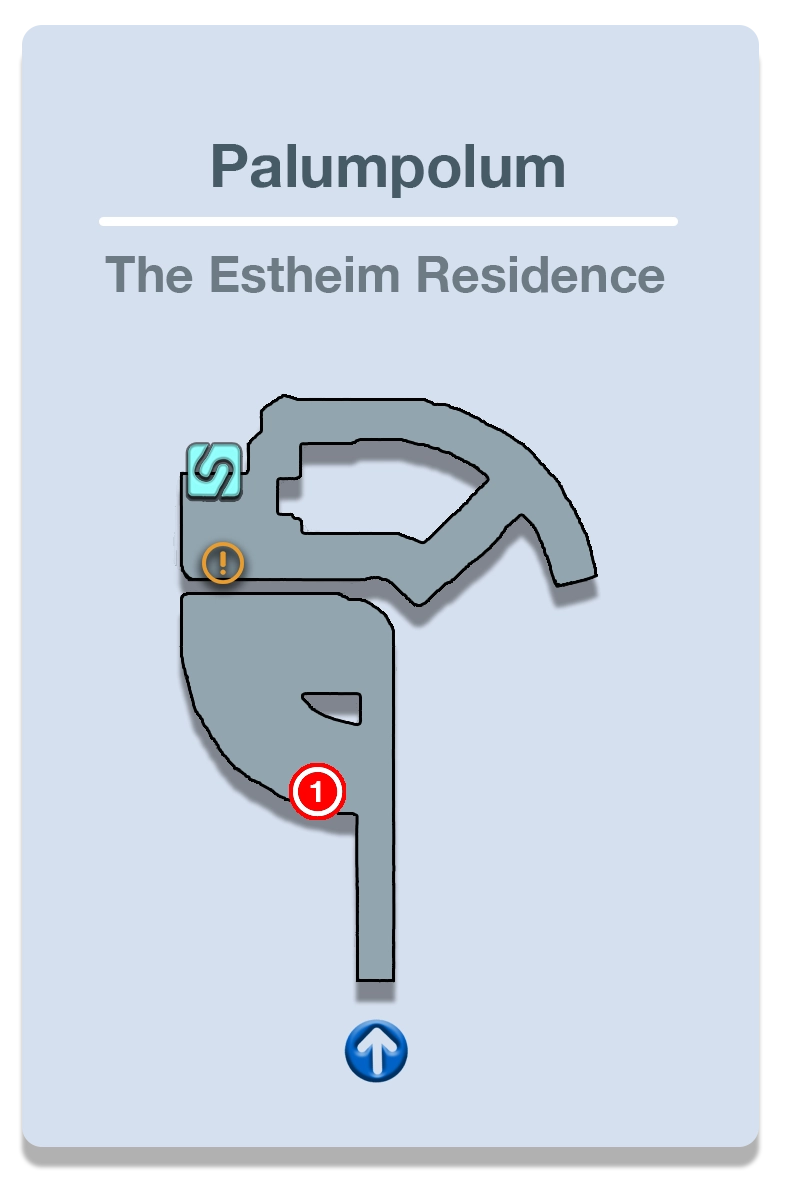

Walk forward and grab the Treasure Sphere on the left side of the garden walkway which contains a tuft of ![]() Phoenix Down. Go speak to Hope to continue the story.
Phoenix Down. Go speak to Hope to continue the story.
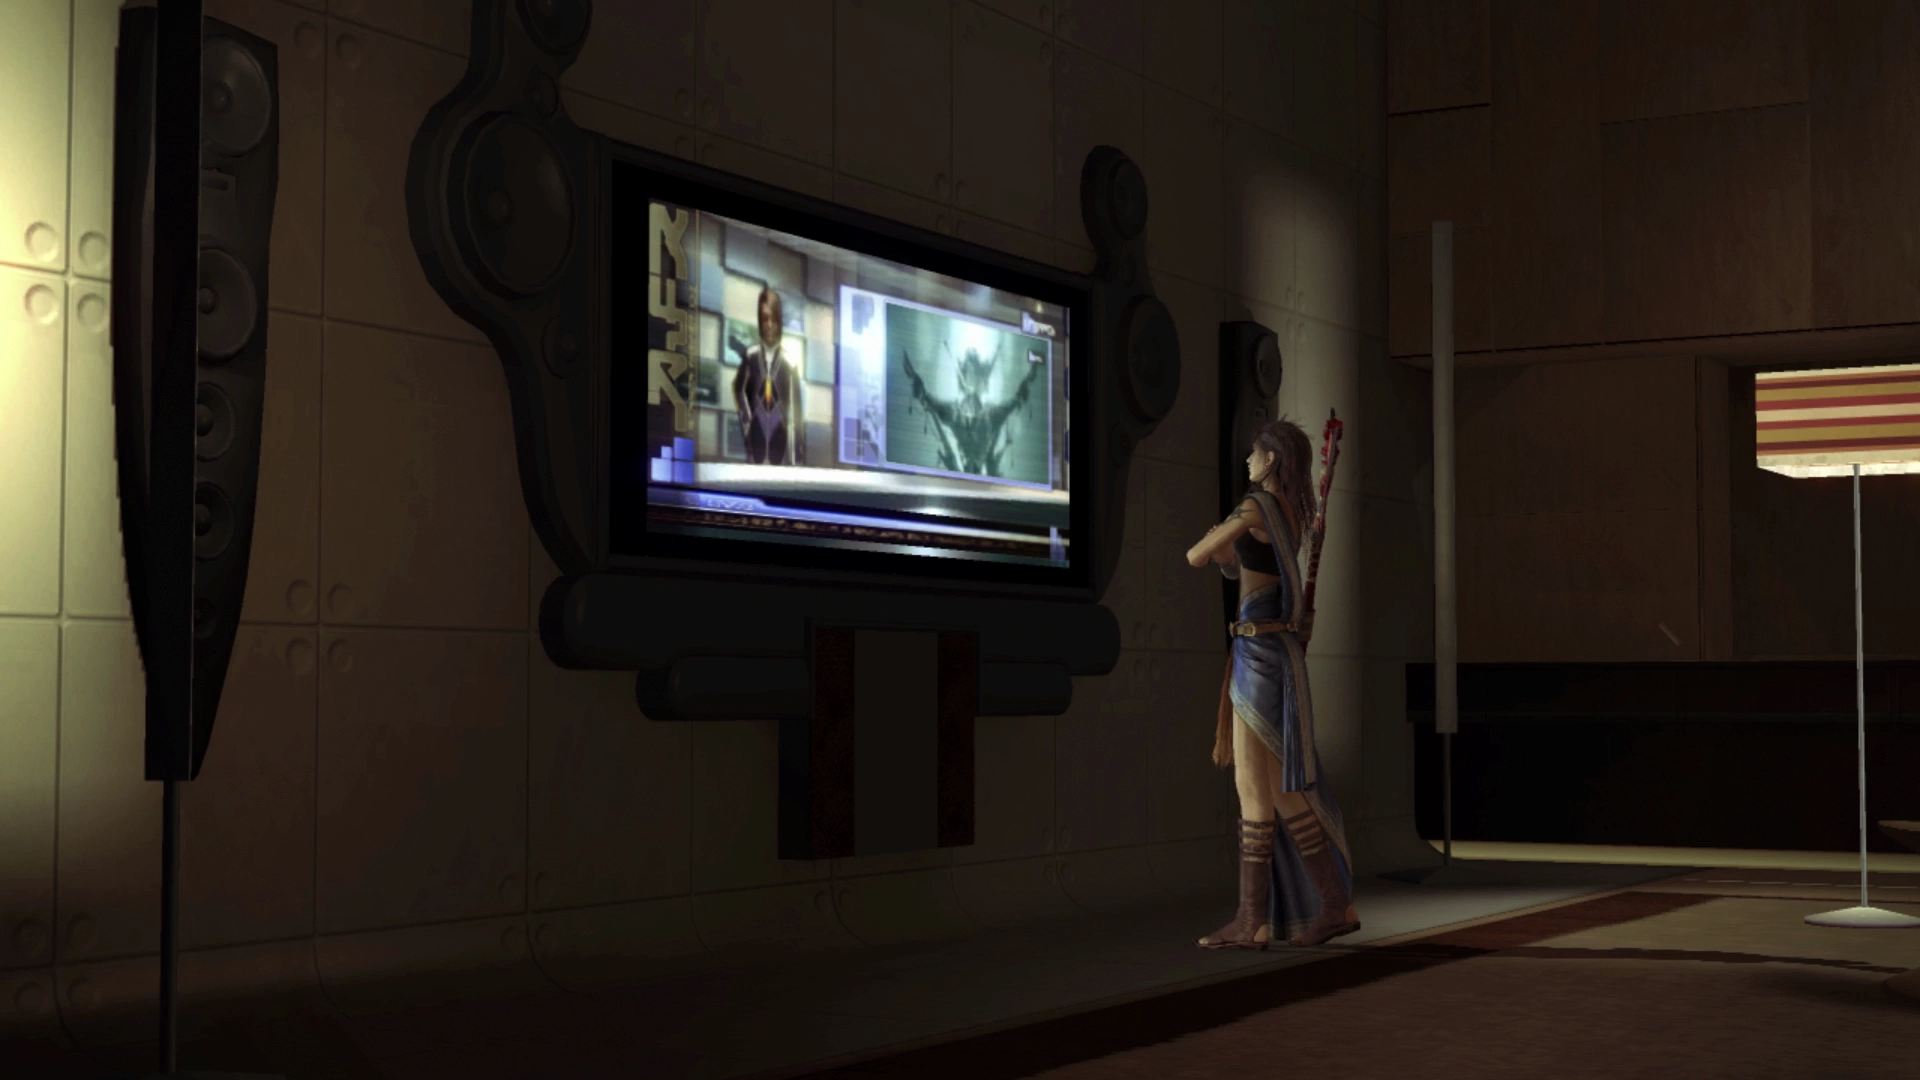
There is a lengthy cutscene that takes place before you regain control of Fang inside the Estheim Residence. There is a ![]() Save Station nearby where you can save your game and then you can wander through the house but the only thing you can do at this point is turn on the TV when near it by pressing
Save Station nearby where you can save your game and then you can wander through the house but the only thing you can do at this point is turn on the TV when near it by pressing ![]()
![]()
![]() to activate it. There are another few cutscenes to watch afterwards.
to activate it. There are another few cutscenes to watch afterwards.
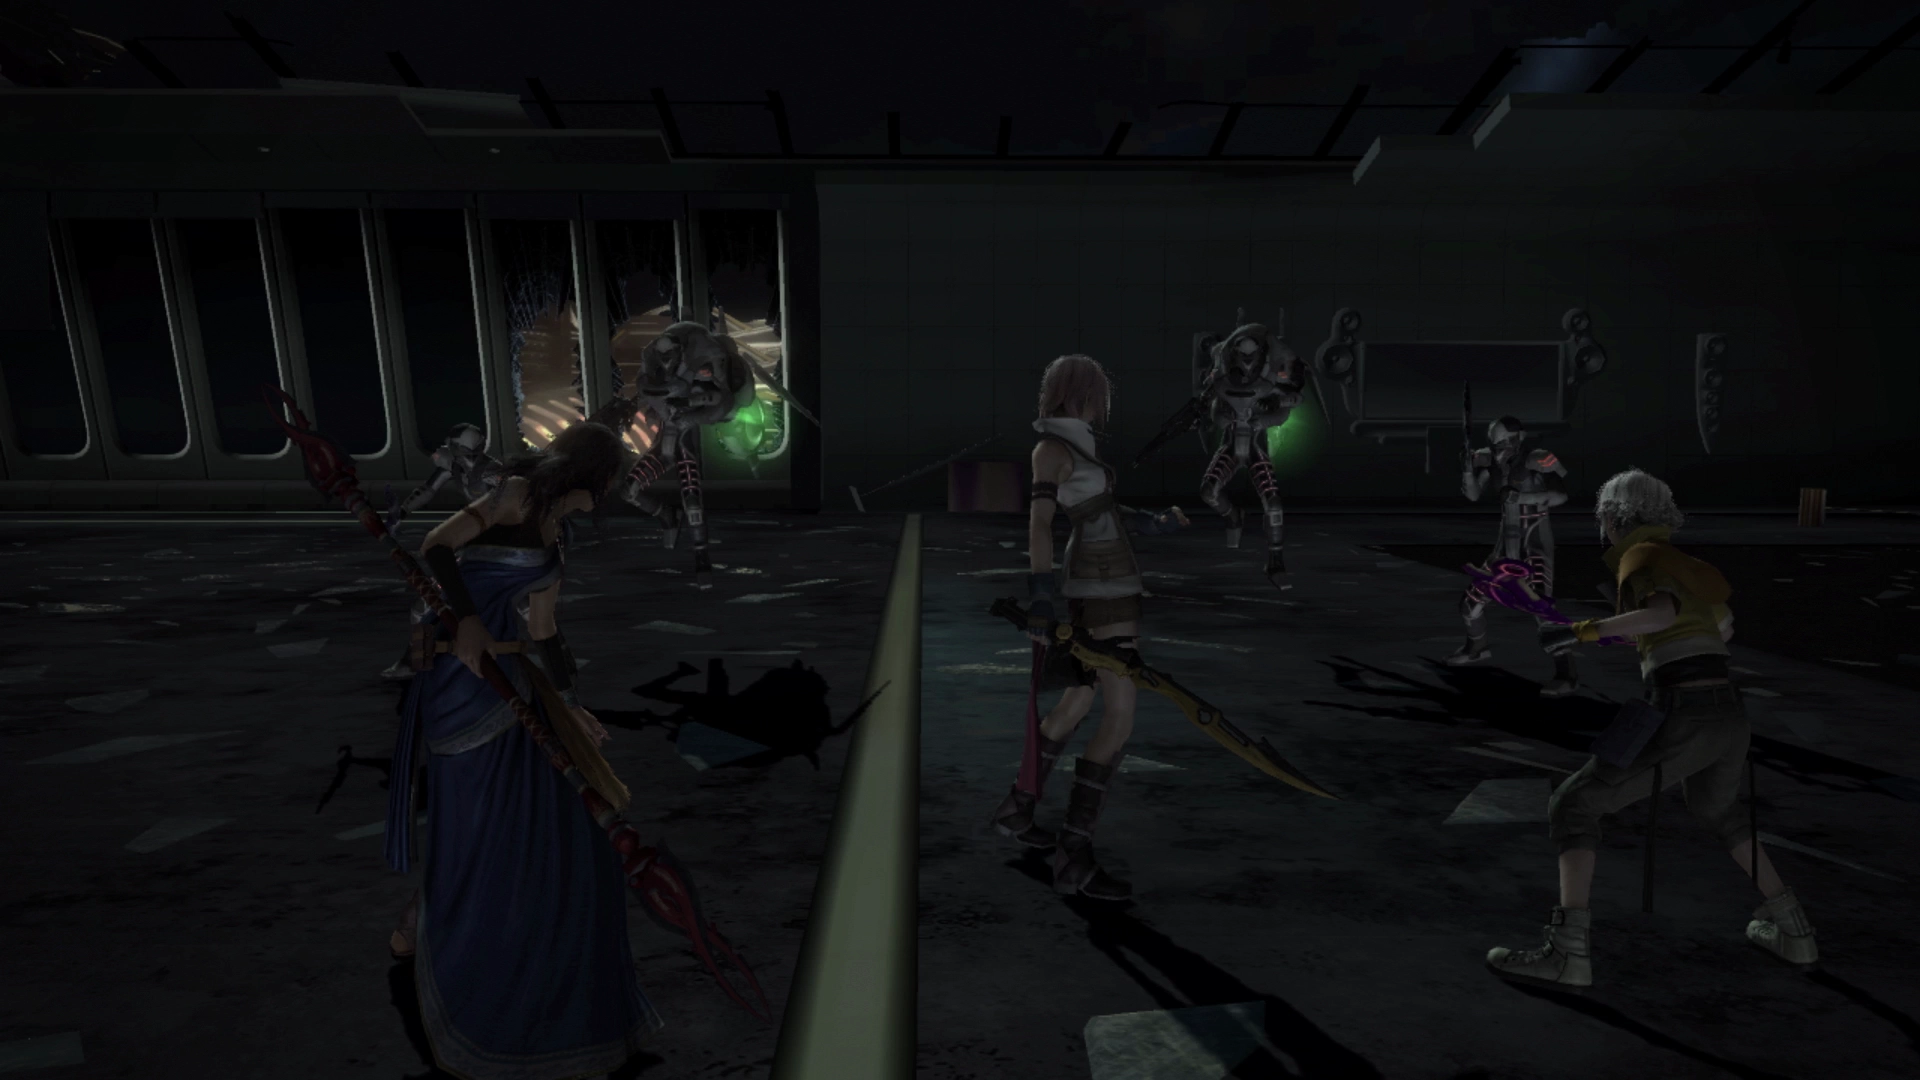
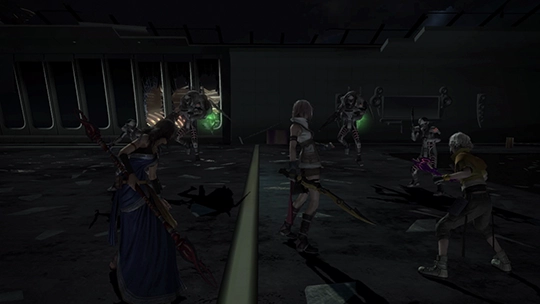
You will regain control of your characters and immediately be thrust into battle with Lightning, Fang, and Hope as your party members. They start in Relentless Assault but consider switching them over to Evened Odds. This will allow Fang to cast ![]() Slow on a few of the enemies while Hope provides some helpful party buffs. After that, you can switch between Relentless Assault and Diversity when you need healing to bring these enemy soldiers down.
Slow on a few of the enemies while Hope provides some helpful party buffs. After that, you can switch between Relentless Assault and Diversity when you need healing to bring these enemy soldiers down.
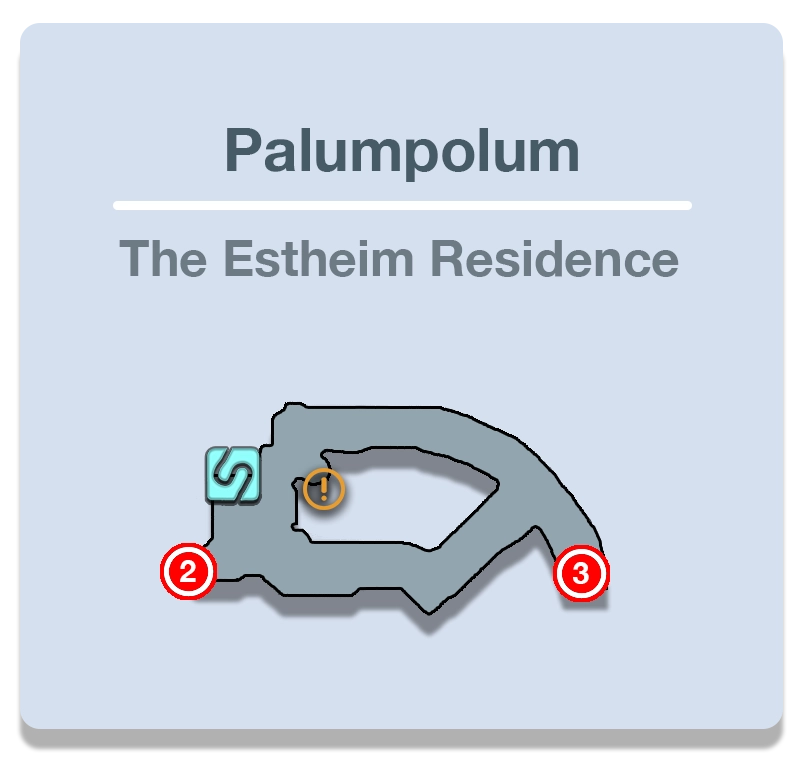
Once you can wander around the Estheim Residence again there will be two Treasure Sphere that you can open in this area. The nearby one contains a vial of ![]() Ethersol, but you’ll have to defeat the group of soldiers close to it.
Ethersol, but you’ll have to defeat the group of soldiers close to it.
Same thing with the Treasure Sphere on the opposite side of the residence. You’ll have to defeat the group of soldiers close by to open it, but it’s worth it to pick up the ![]() Brawler’s Wristband.
Brawler’s Wristband.
This is one of the first areas that you can effectively farm in Final Fantasy XIII. There are a few areas you’ll come across through your travels that are useful for farming Gil, Crystogen Points (CP), or even specific catalysts and components. Typically, the idea behind a farming spot is that you’ll face an easy-to-kill enemy that respawns quickly and provides good rewards in one of those three categories.
Warning
The enemies in this area respawn as you circle the Estheim Residence, they are easy to defeat, and the soldiers have a chance to drop ![]() Incentive Chips which can be sold for Gil. There are much more efficient sections of the game where you can farm Gil, CP and catalysts/components, so it is recommended that you skip over this farming opportunity and take advantage of others that will come up later.
Incentive Chips which can be sold for Gil. There are much more efficient sections of the game where you can farm Gil, CP and catalysts/components, so it is recommended that you skip over this farming opportunity and take advantage of others that will come up later.
Check out the Farming page of the Tips and Tricks section for more information, but these farming spots will be highlighted as they become available throughout this guide (linked below):
Tips and Tricks
A list of the locations that offer the most benefit for farming items, CP or Gil throughout the game.
Tips and Tricks
Defeating the soldiers that quickly respawn in Hope’s parents’ house during the Palumpolum ambush.
The next boss fight begins when you defeat the group of soldiers near the map marker and open the door to try to escape. Before you do though, there’s some preparation we should take care of.
Customize your Paradigms so that you have the following options available:
- Decimation: ** Start **
- Diversity
- Relentless Assault
- Solidarity
- Combat Clinic
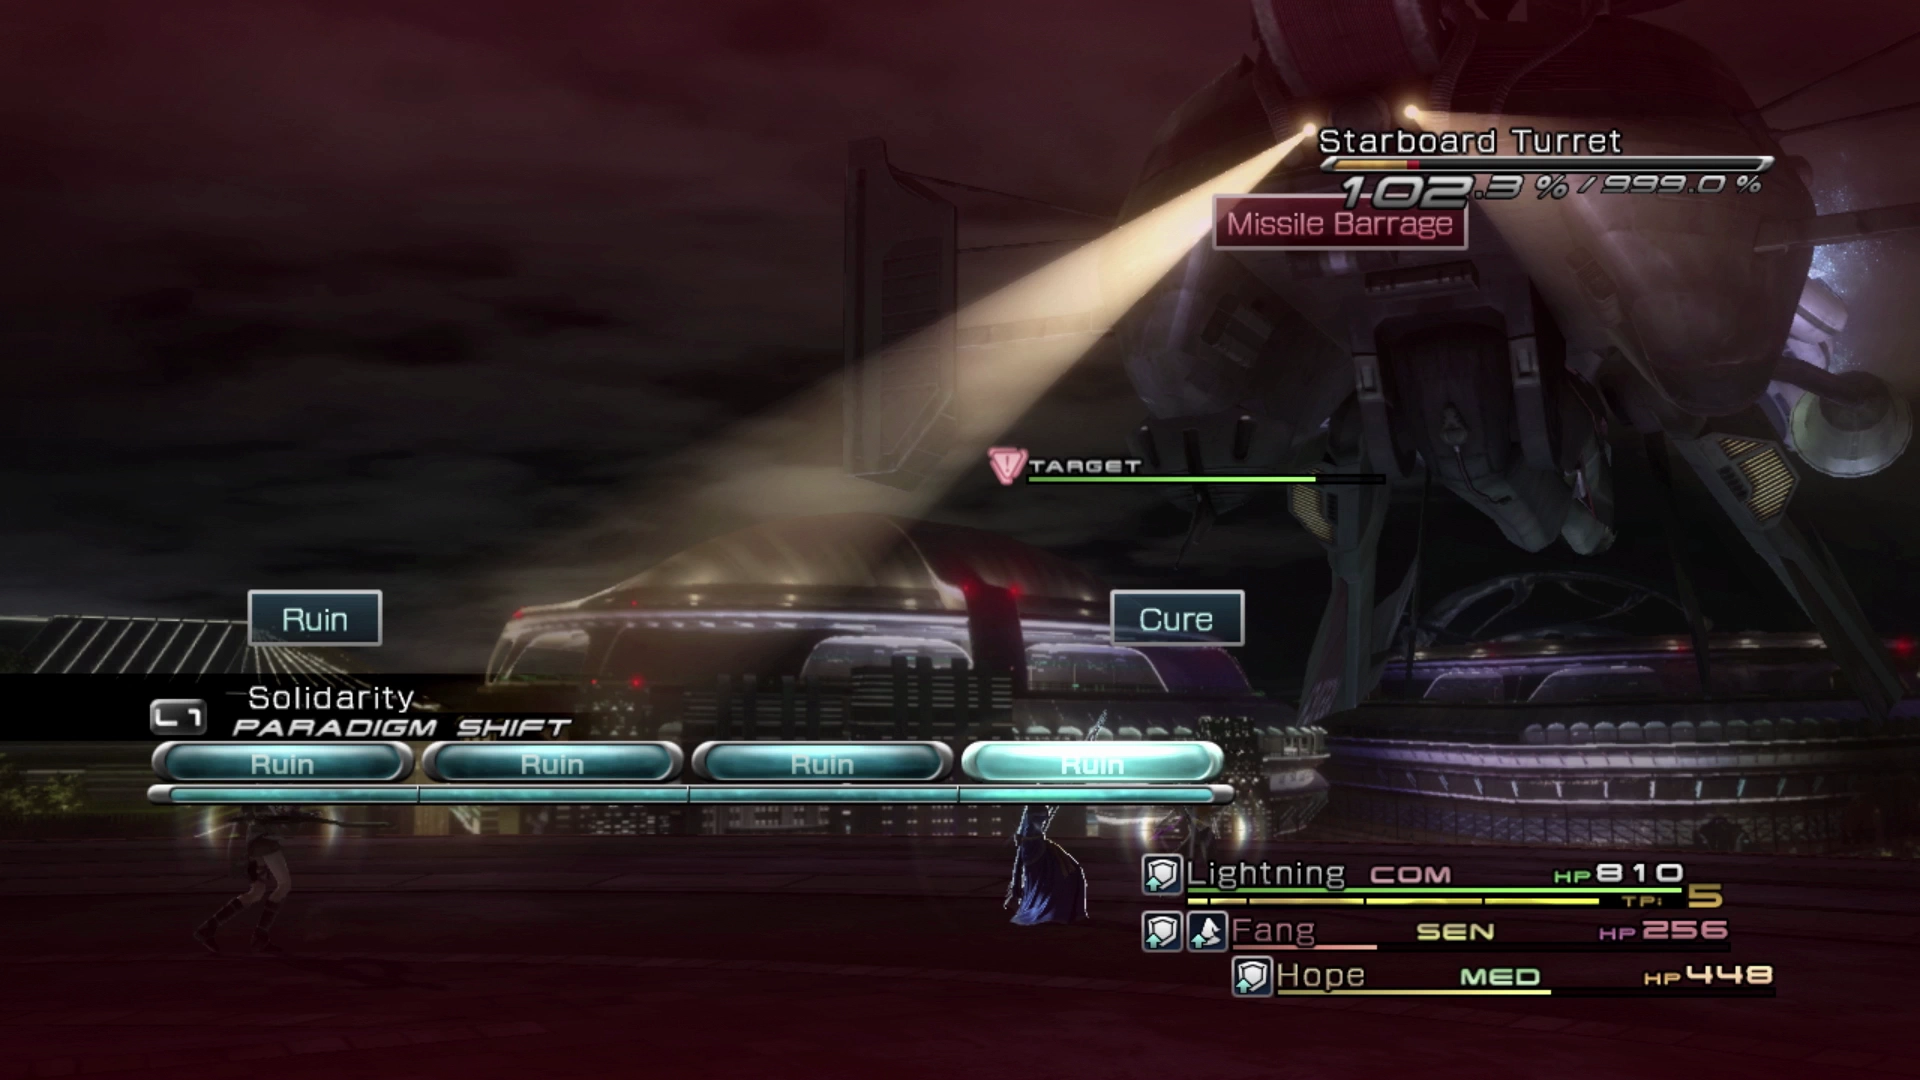
Boss Battle
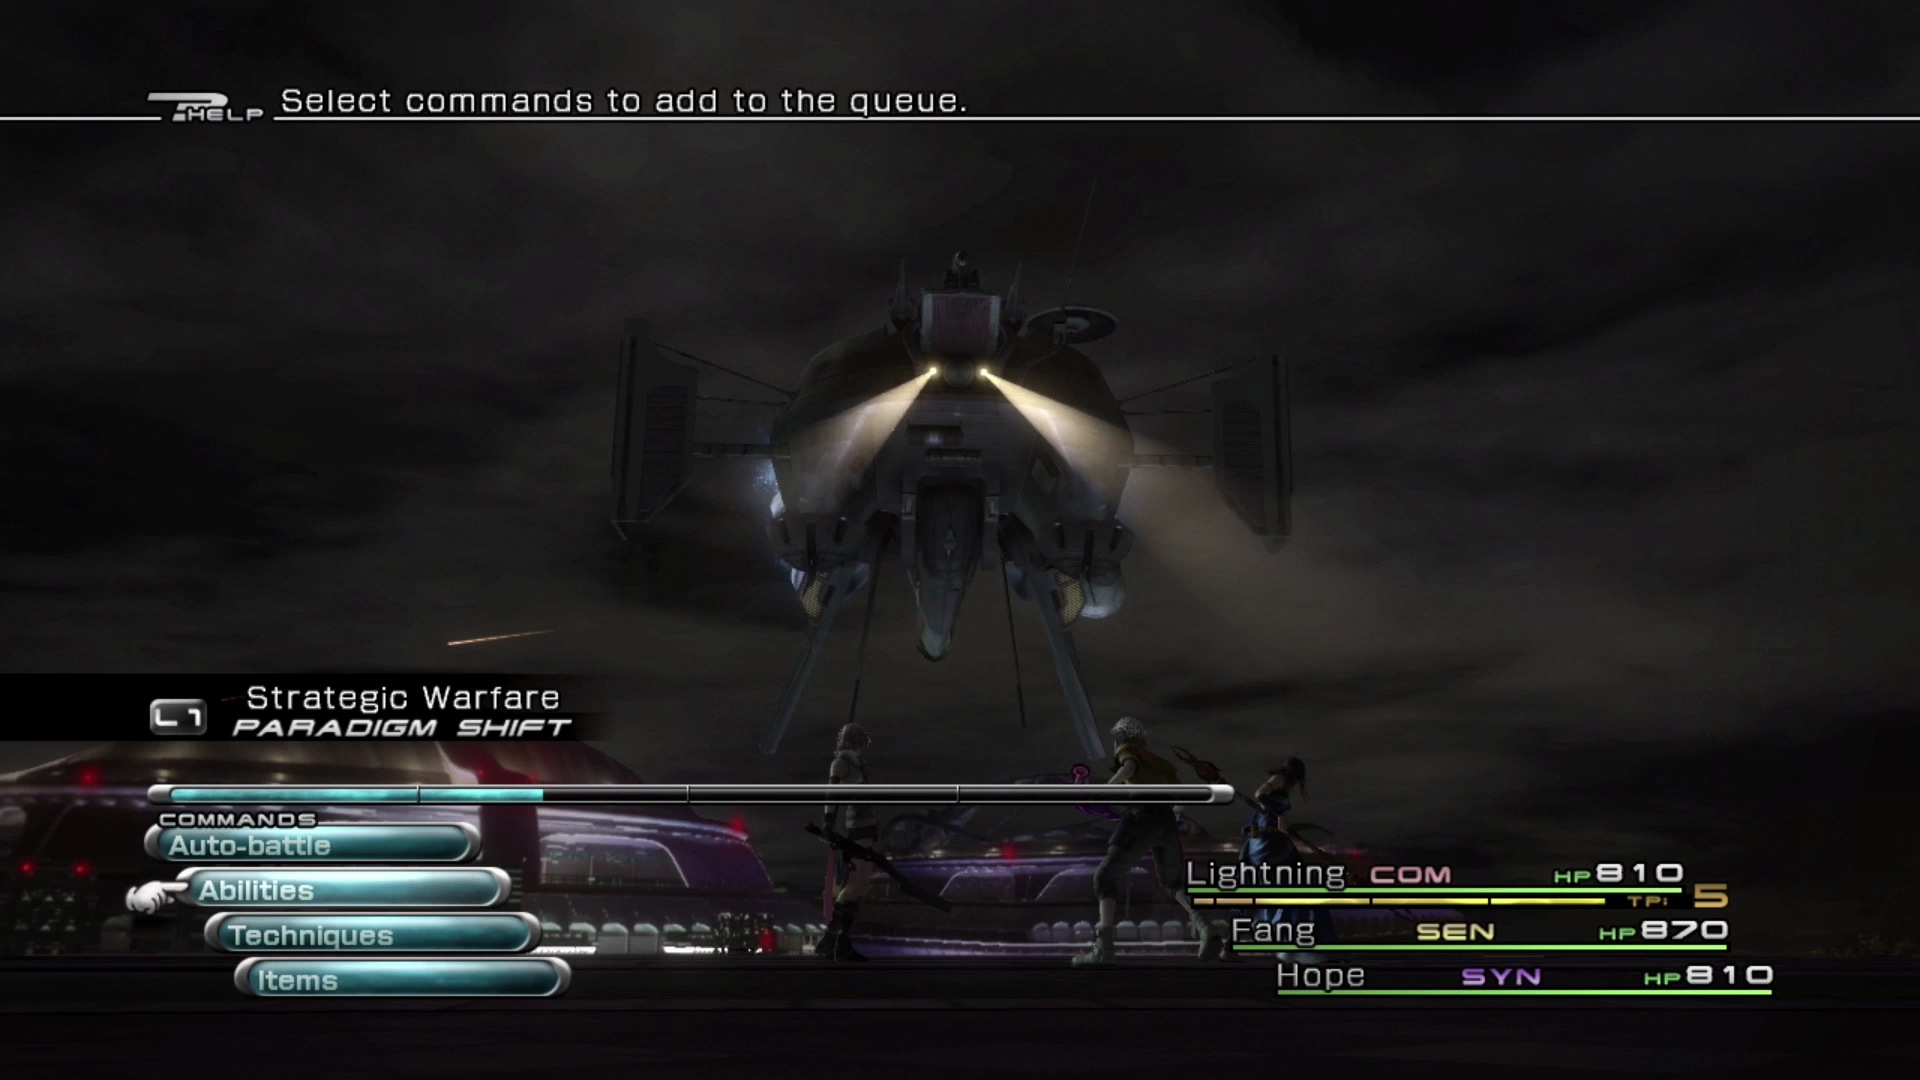
This boss is made up of five separate components and more than one component is capable of inflicting damage on your party members. Your party members are going to take a lot of damage so be prepared to move into defensive Paradigms quickly when they need healing.
First and foremost, start off the battle by having one of your party members use a ![]() Librascope item. Typically, we would use the
Librascope item. Typically, we would use the ![]() Libra Technique but the benefit of using a
Libra Technique but the benefit of using a ![]() Librascope is that it will scan all the available enemies (in this case there are 5).
Librascope is that it will scan all the available enemies (in this case there are 5).
The general order that you will want to use for attacking each of the available boss targets is to take out the Portside Turret and the Starboard Turret first. These turrets cause additional damage while they are active and have the lowest HP of all the targets available. Each one you defeat will take a dent out of the main boss’s HP.
Once those two are defeated, focus on the Portside Hull and the Starboard Hull. You won’t be able to trigger a Stagger on any of these targets, and not on the Havoc Skytank until it morphs into its final form.
Finally, let’s review the Paradigms that we set up. For starters, it’s worth noting that Fang does not use her ![]() Saboteur role in any of these Paradigms. This is because the boss is immune to
Saboteur role in any of these Paradigms. This is because the boss is immune to ![]() Slow which is the only thing she is capable of casting.
Slow which is the only thing she is capable of casting.
Having Hope start in his ![]() Synergist role is important though as it will give him time to cast
Synergist role is important though as it will give him time to cast ![]() Protect on each of your party members to ward off some of the heavy damage that will be coming their way.
Protect on each of your party members to ward off some of the heavy damage that will be coming their way.
Switch to Diversity when your party members’ HP gets low, switch to Relentless Assault if your party members all have high HP and you want to go on the all-out offensive but don’t stay in this Paradigm for long. Lastly, you’ll only need to switch to the last two Paradigms, Solidarity and Combat Clinic, if things get really bad.
Solidarity will keep Lightning as a ![]() Commando to keep any chain bonuses active while Hope heals and Fang absorbs damage, whilst Combat Clinic is available if things get really bad and Hope is overwhelmed. Don’t forget to switch back to Decimation if
Commando to keep any chain bonuses active while Hope heals and Fang absorbs damage, whilst Combat Clinic is available if things get really bad and Hope is overwhelmed. Don’t forget to switch back to Decimation if ![]() Protect wears off during the fight.
Protect wears off during the fight.
Check out the video below for a demonstration of how to complete this fight:
You will be rewarded with a ![]() Uraninite as well as the
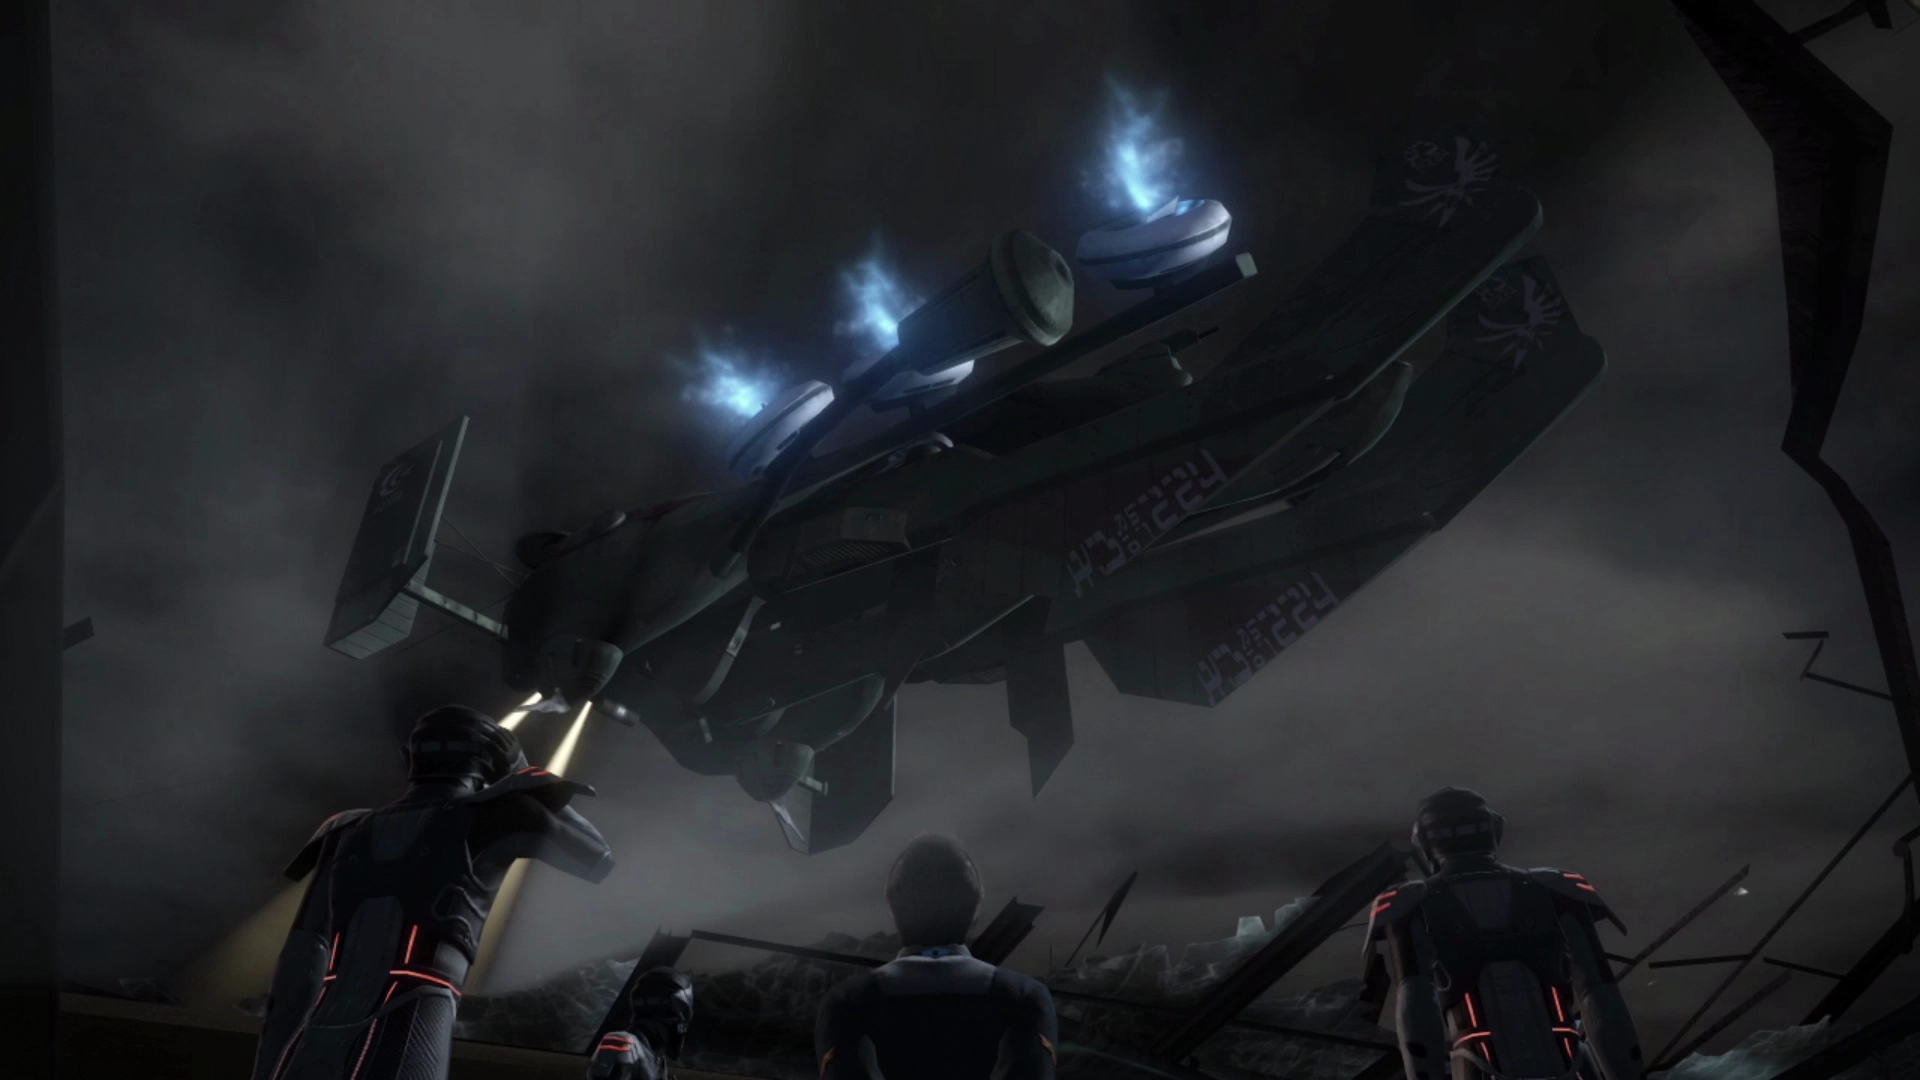
Uraninite as well as the ![]() Plautus’s Workshop key item which will allow you to purchase weapons from a brand-new shop. There’s a lengthy set of cutscenes that take place after you defeat the boss before you can move on to the next chapter of the game.
Plautus’s Workshop key item which will allow you to purchase weapons from a brand-new shop. There’s a lengthy set of cutscenes that take place after you defeat the boss before you can move on to the next chapter of the game.
Achievement/Trophy
You will automatically receive the  Instrument of Rebellion Achievement/Trophy at the end of Chapter 7.