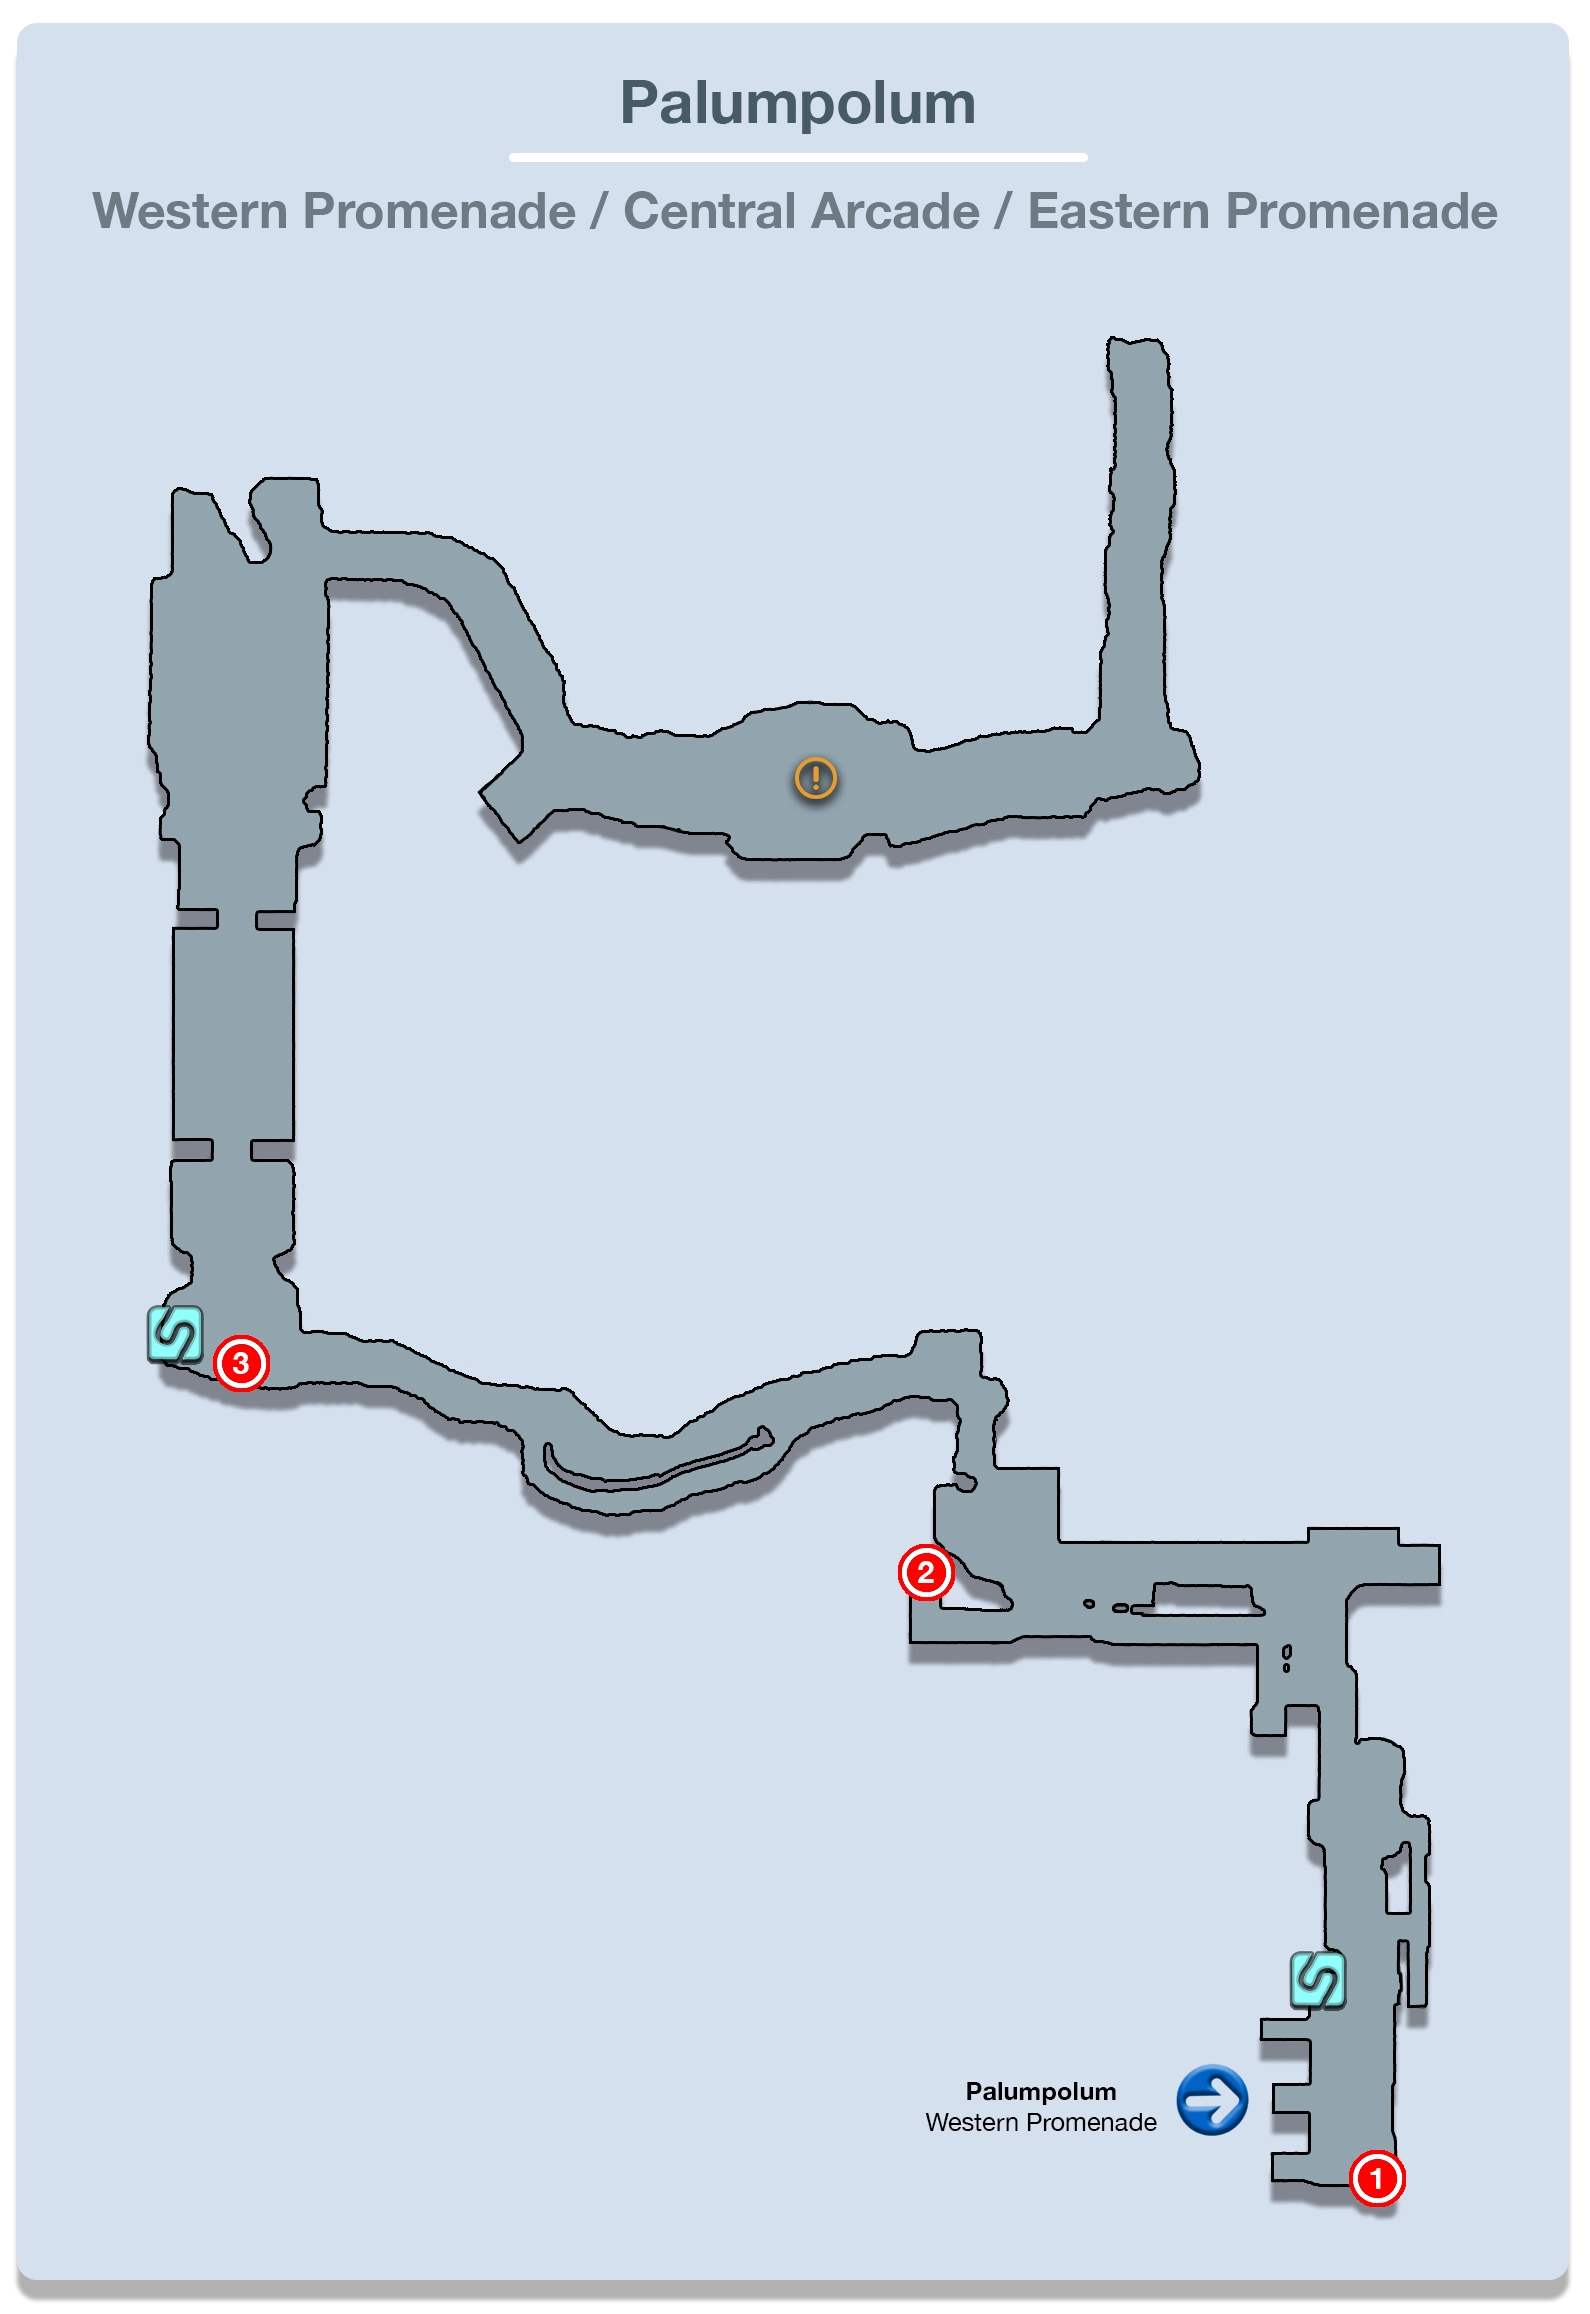
Chapter 7: Palumpolum (Part 1)


The Capital of Commerce
The walkthrough for Palumpolum is broken up into two parts. The first part covers everything up to the battle against the Ushumgal Subjugator. If you are past this first boss battle with Snow and Hope, use the link to move forward to Chapter 7: Palumpolum (Part 2) of the Walkthrough.
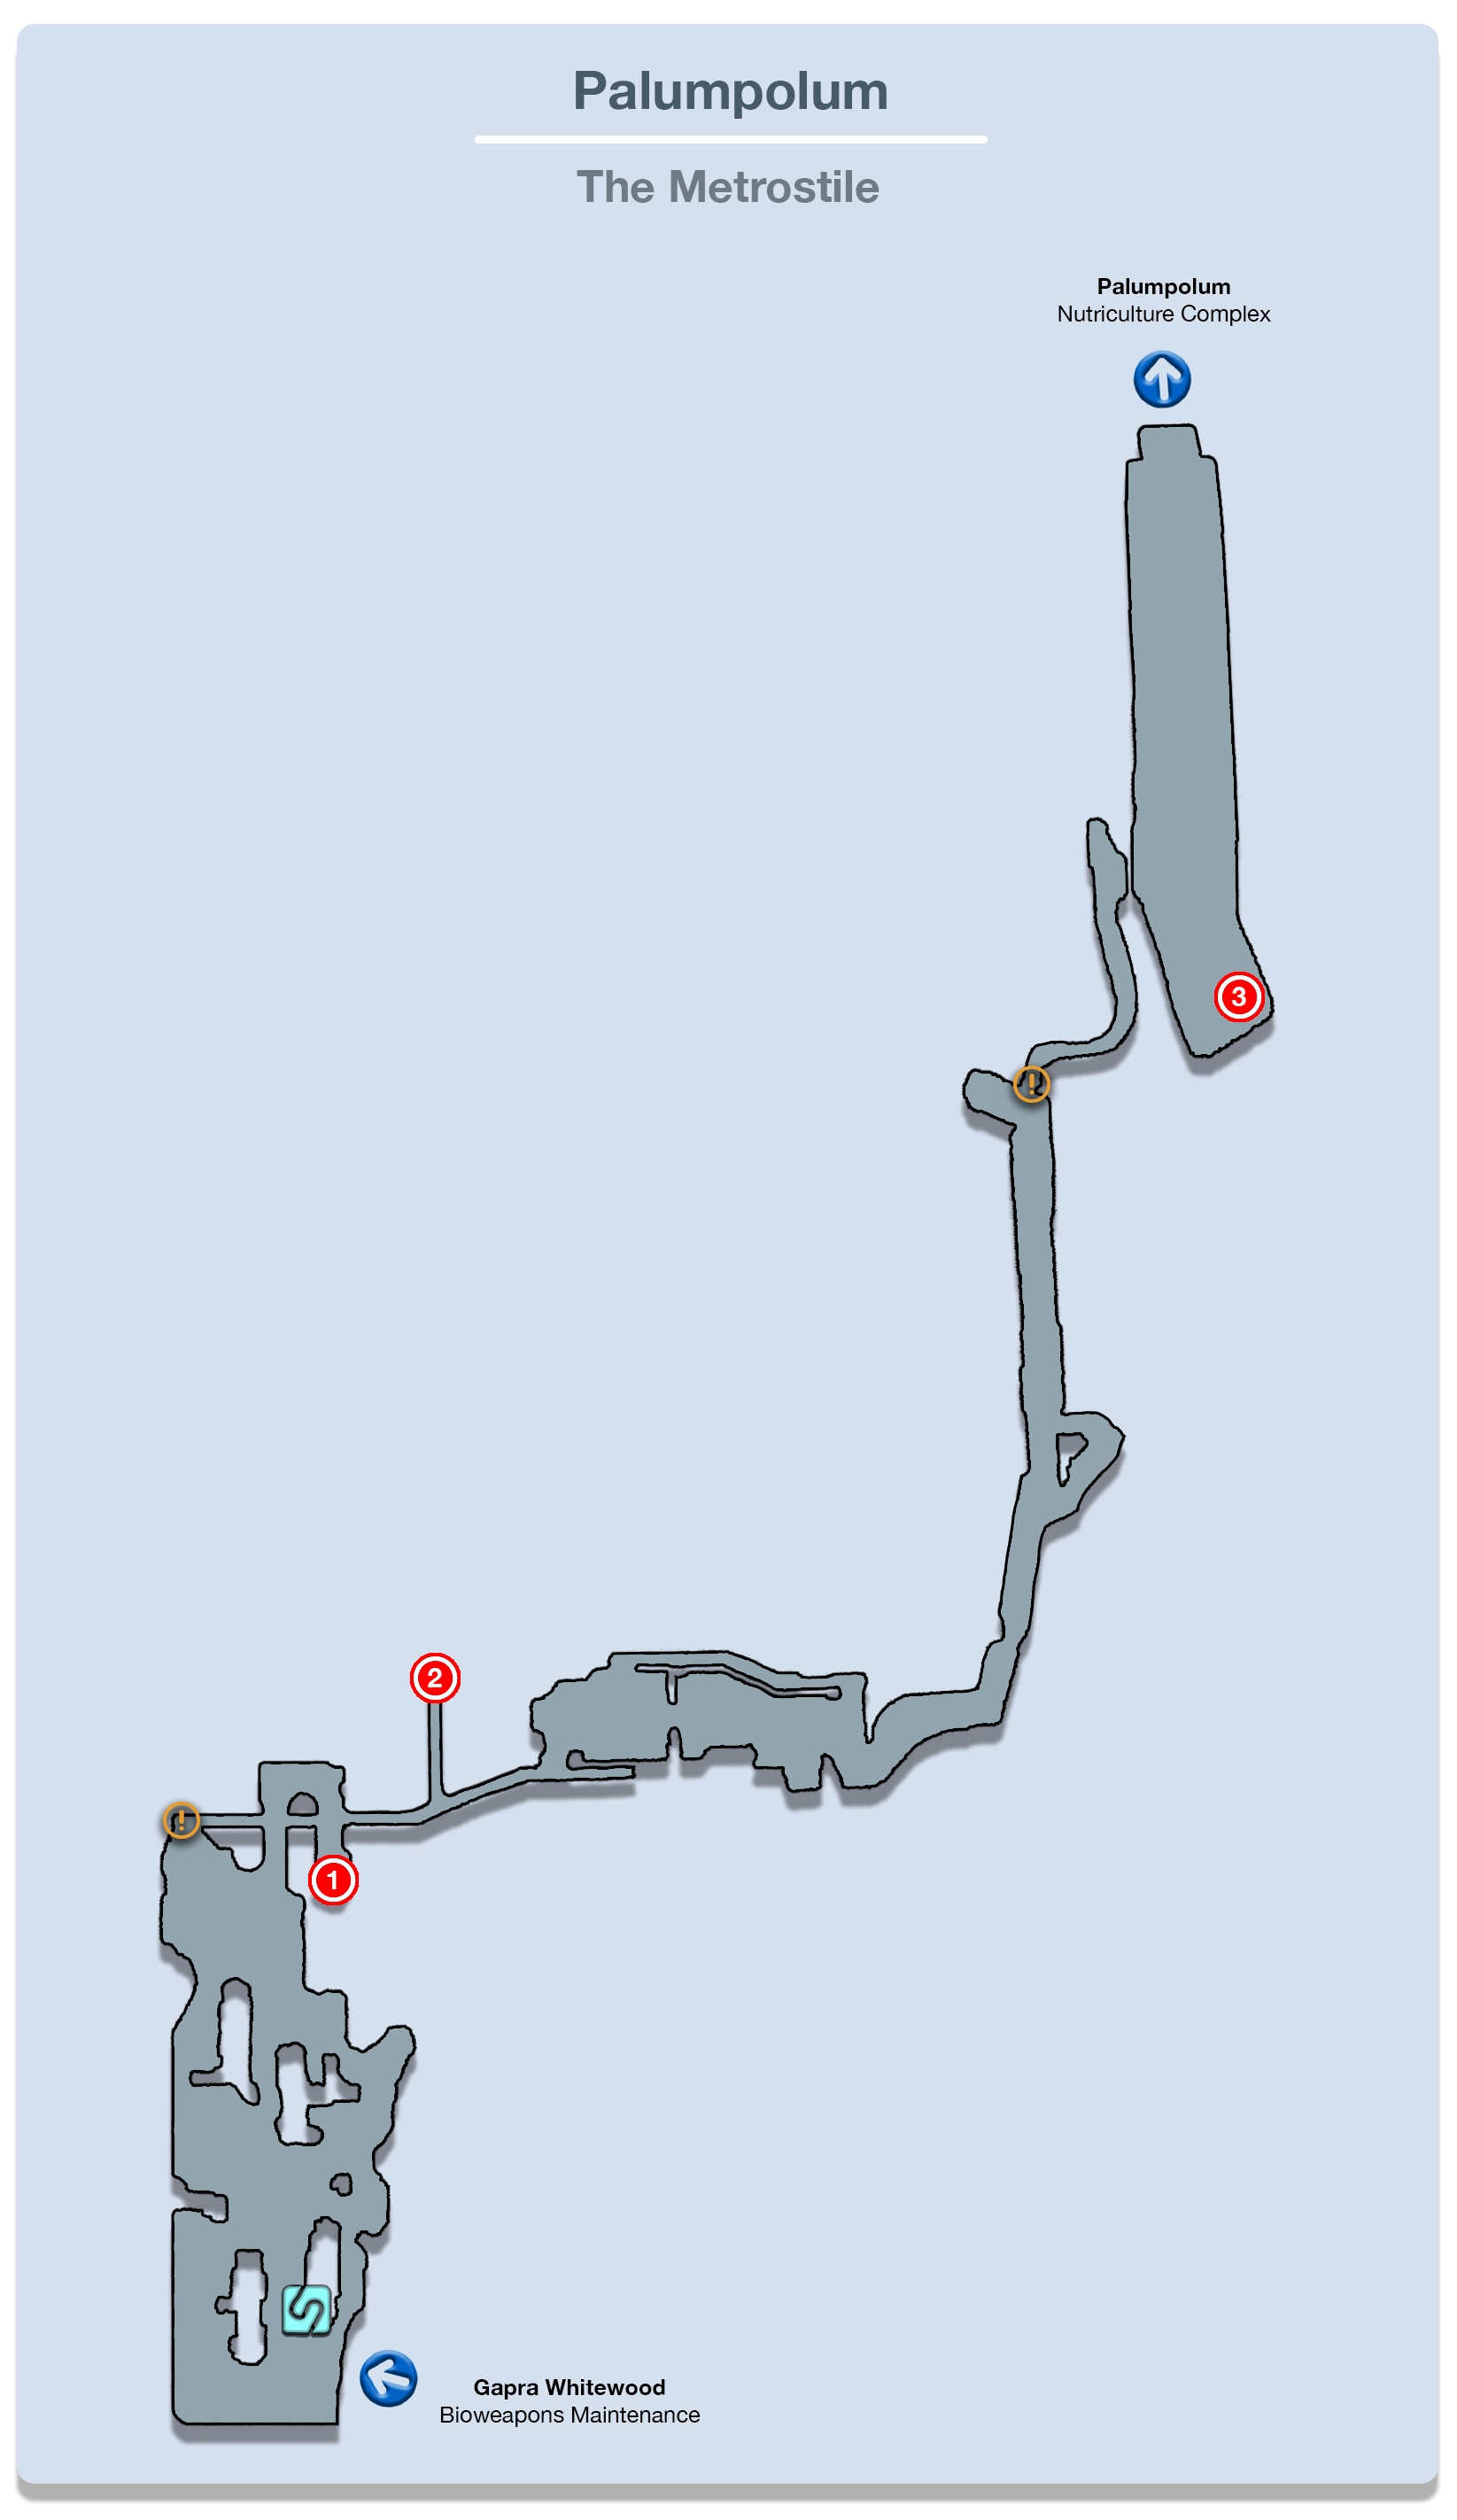
The Metrostile
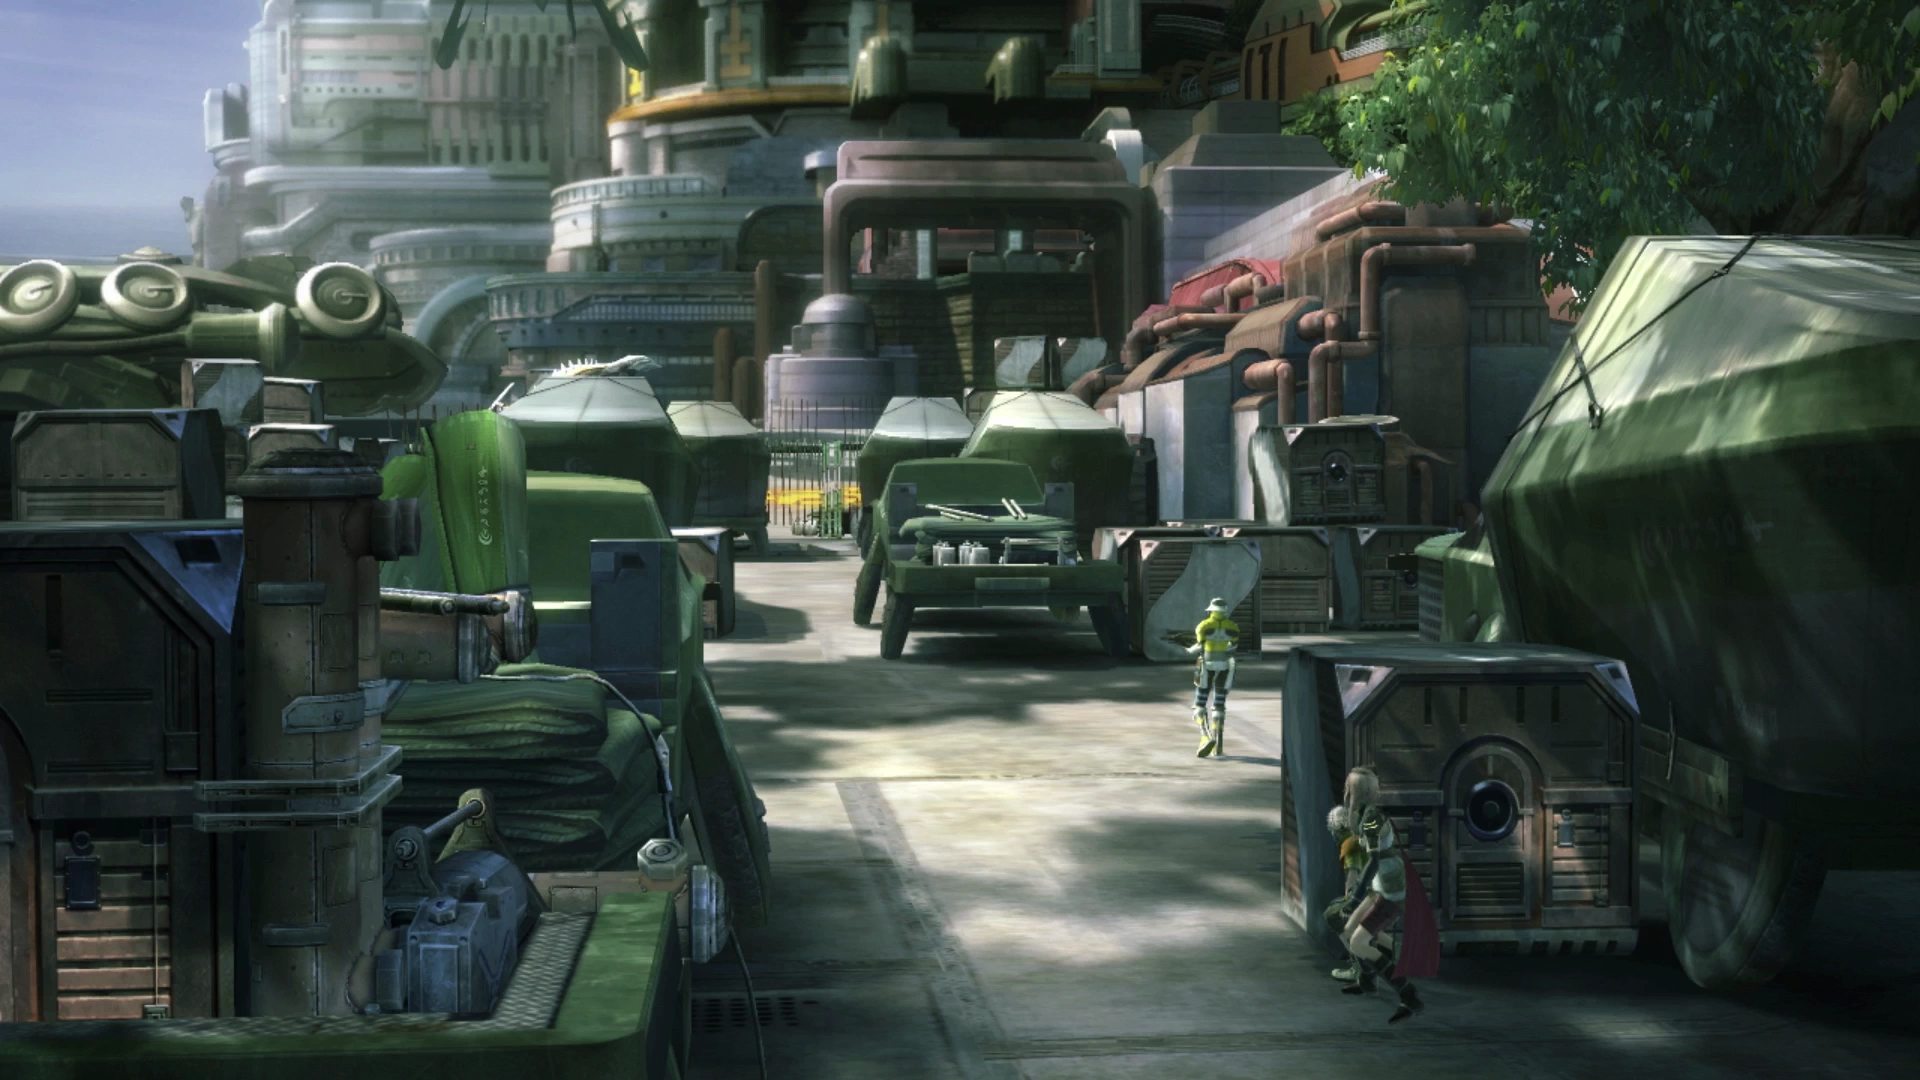
The game switches us back to Lightning and Hope at the entrance to the city of Palumpolum. Start by equipping them both with some accessories and spending their Crystogen Points (CP).
Lightning will be functioning as a ![]() Commando for many of the upcoming fights, but you can deviate over to her
Commando for many of the upcoming fights, but you can deviate over to her ![]() Ravager Crystarium once you have put enough points into
Ravager Crystarium once you have put enough points into ![]() Commando as Lightning is going to begin spending more time in her Ravager role in the future.
Commando as Lightning is going to begin spending more time in her Ravager role in the future.
Hope should spend his Crystogen Points (CP) in the ![]() Ravager role followed by the
Ravager role followed by the ![]() Medic role. There are no specific nodes that you need to unlock but working your way through these roles will unlock important abilities including
Medic role. There are no specific nodes that you need to unlock but working your way through these roles will unlock important abilities including ![]() Thundara,
Thundara, ![]() Watera and
Watera and ![]() Smite. Later in this chapter, it will be helpful to have the
Smite. Later in this chapter, it will be helpful to have the ![]() Barfire out of Hope’s
Barfire out of Hope’s ![]() Synergist Crystarium, so you should eventually make your way through to those spells.
Synergist Crystarium, so you should eventually make your way through to those spells.
The game will imply that subterfuge is the appropriate strategy for working your way through the town of Palumpolum (i.e. sneaking through instead of engaging enemies), but these enemies are incredibly easy to defeat, and more CP is always helpful.
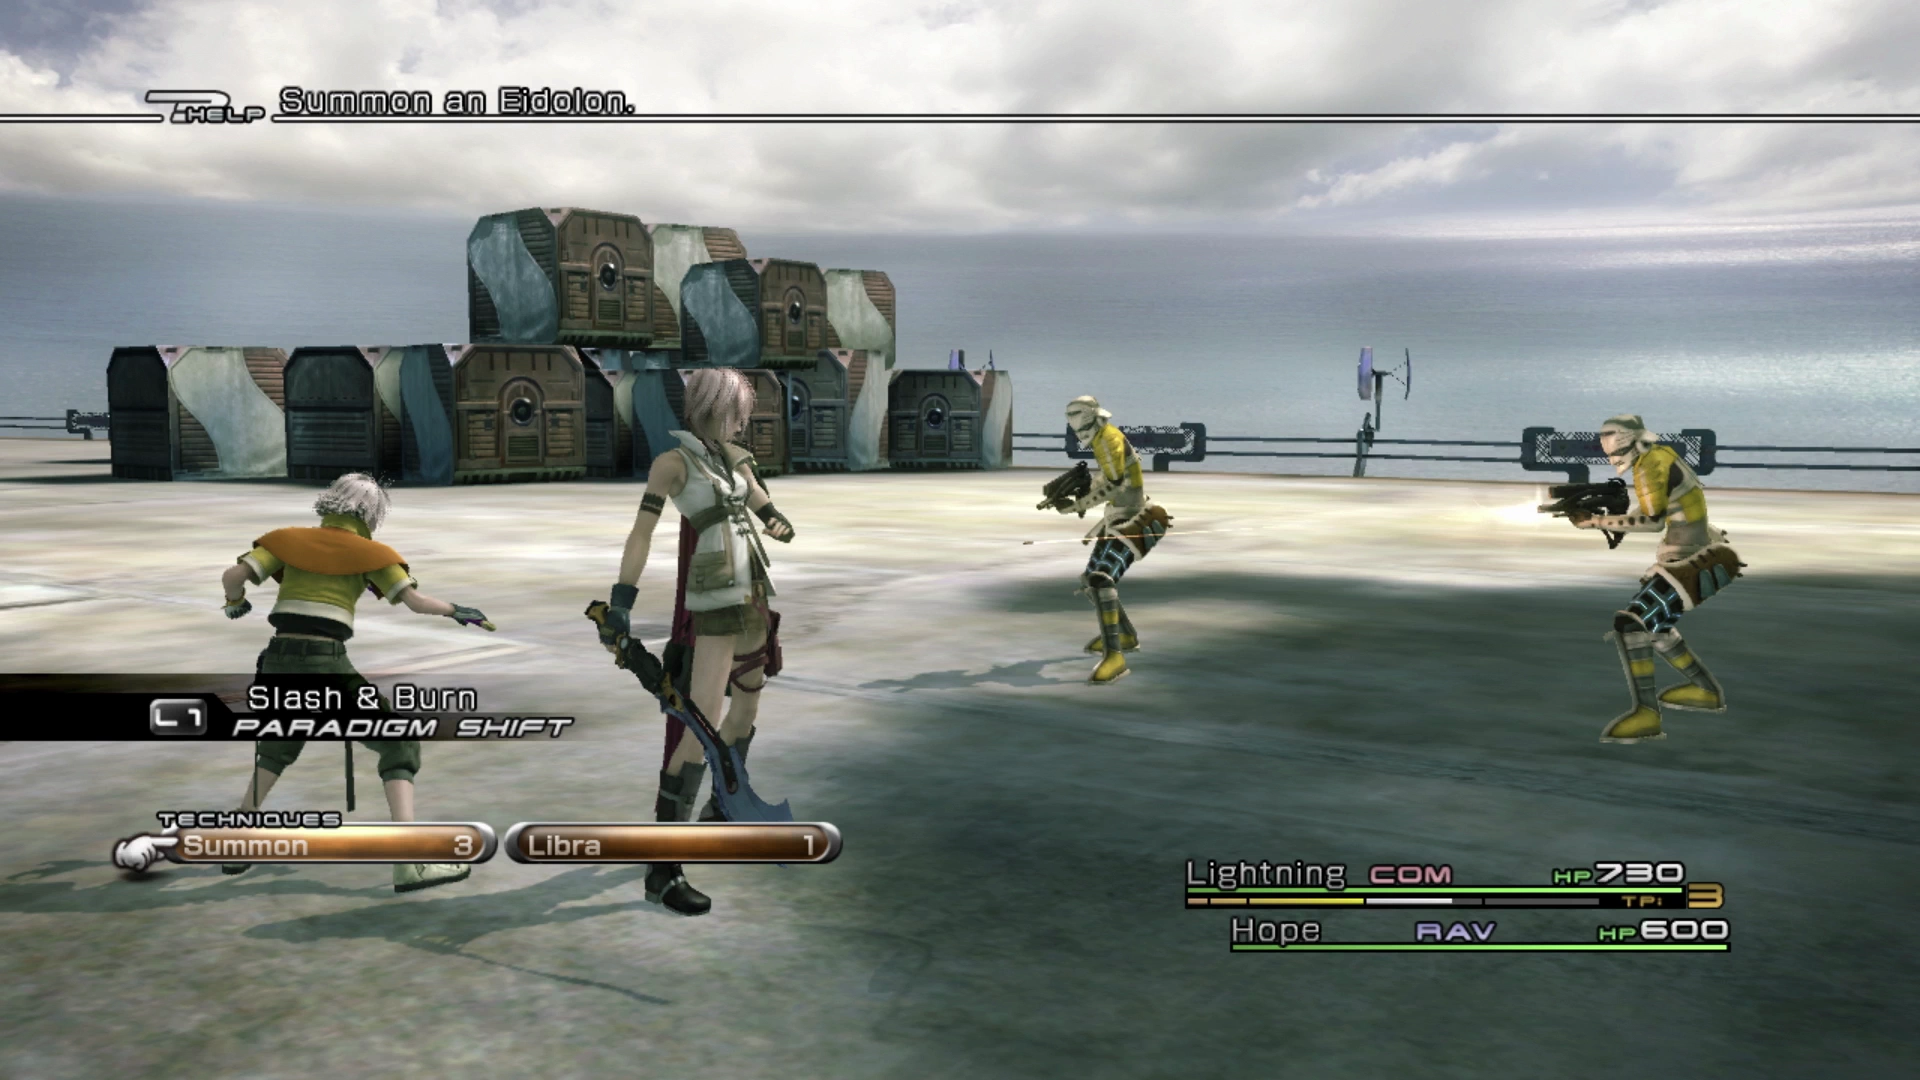
You shouldn’t need to adjust your Paradigms from the last time you were in control of Lightning and Hope. They should start in Slash & Burn and be ready to switch into War & Peace if either of their HP gets low, but that shouldn’t happen during these first few battles near the entrance.
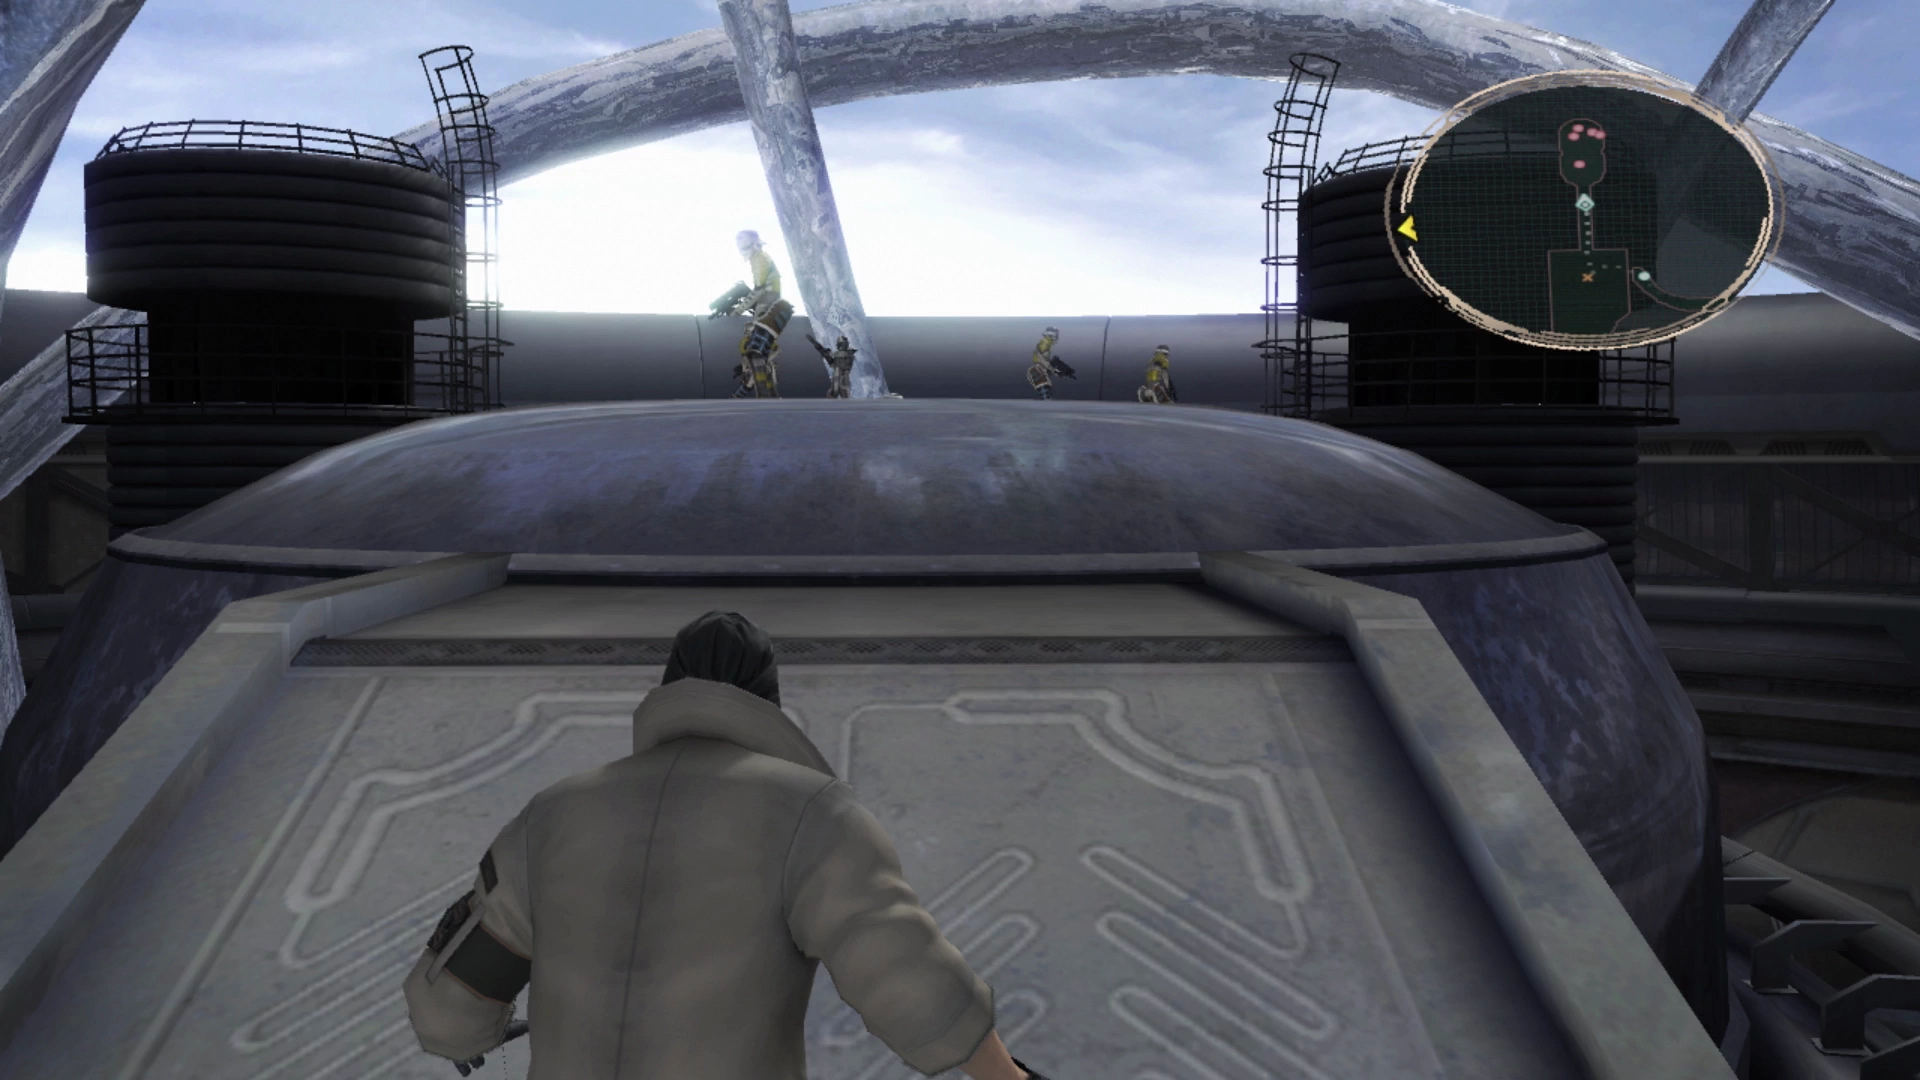
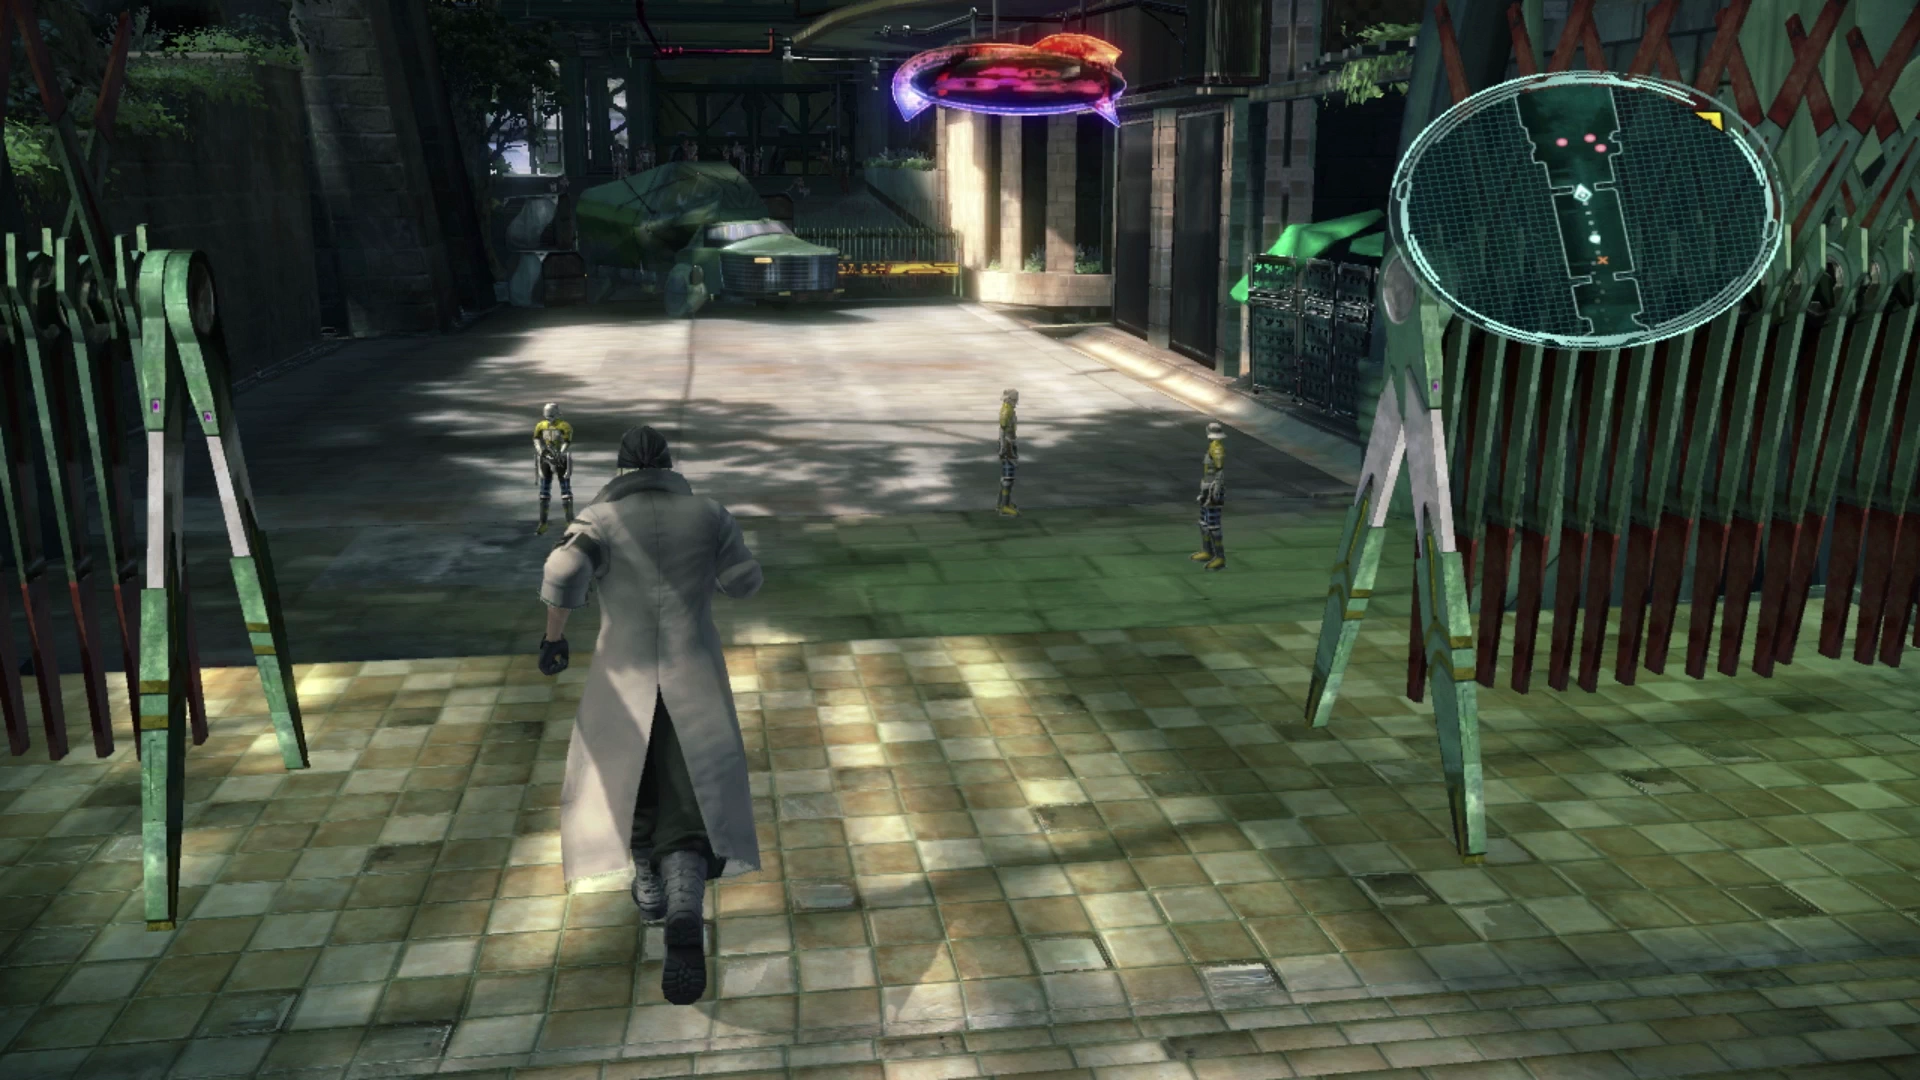
Start by running forward and engaging the two patrolling Corps Tranquifex while they are turned away for a ![]() preemptive strike. There is a group of three more just a bit further up beyond the first group.
preemptive strike. There is a group of three more just a bit further up beyond the first group.
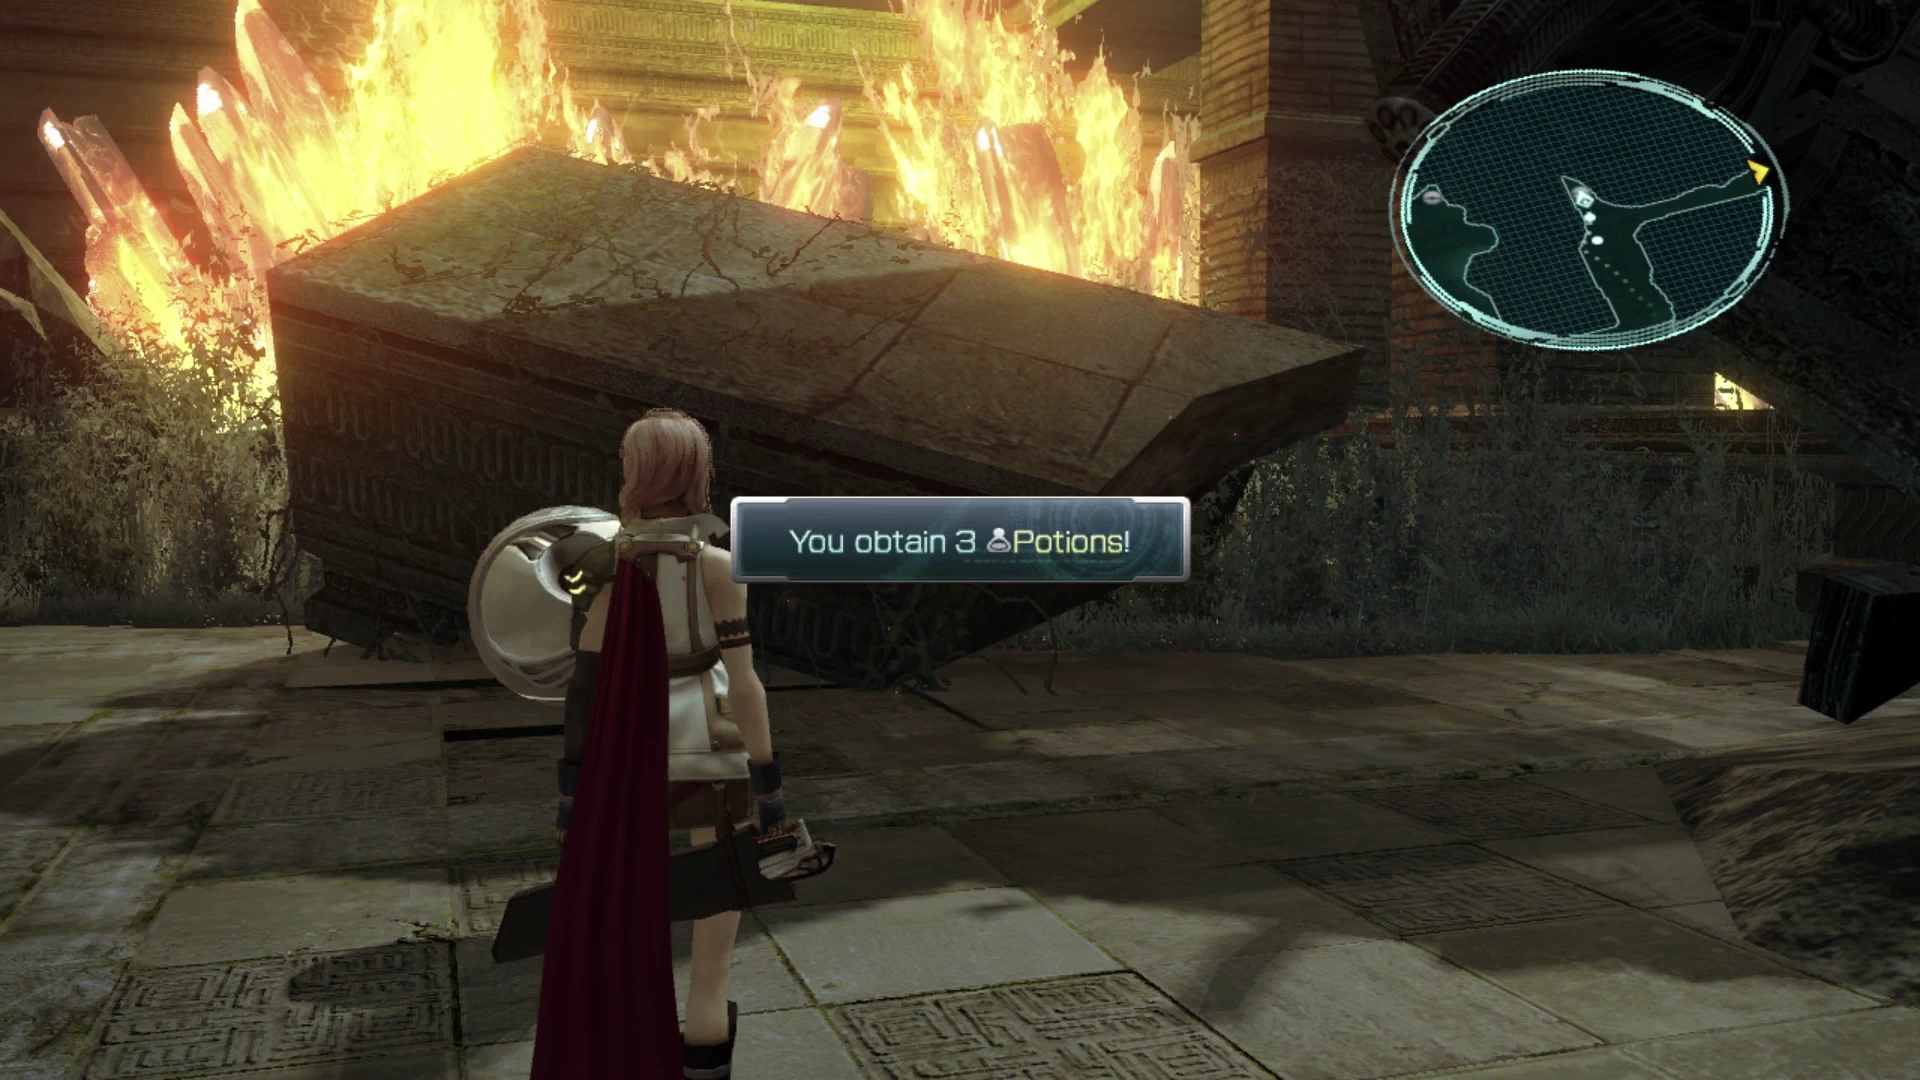
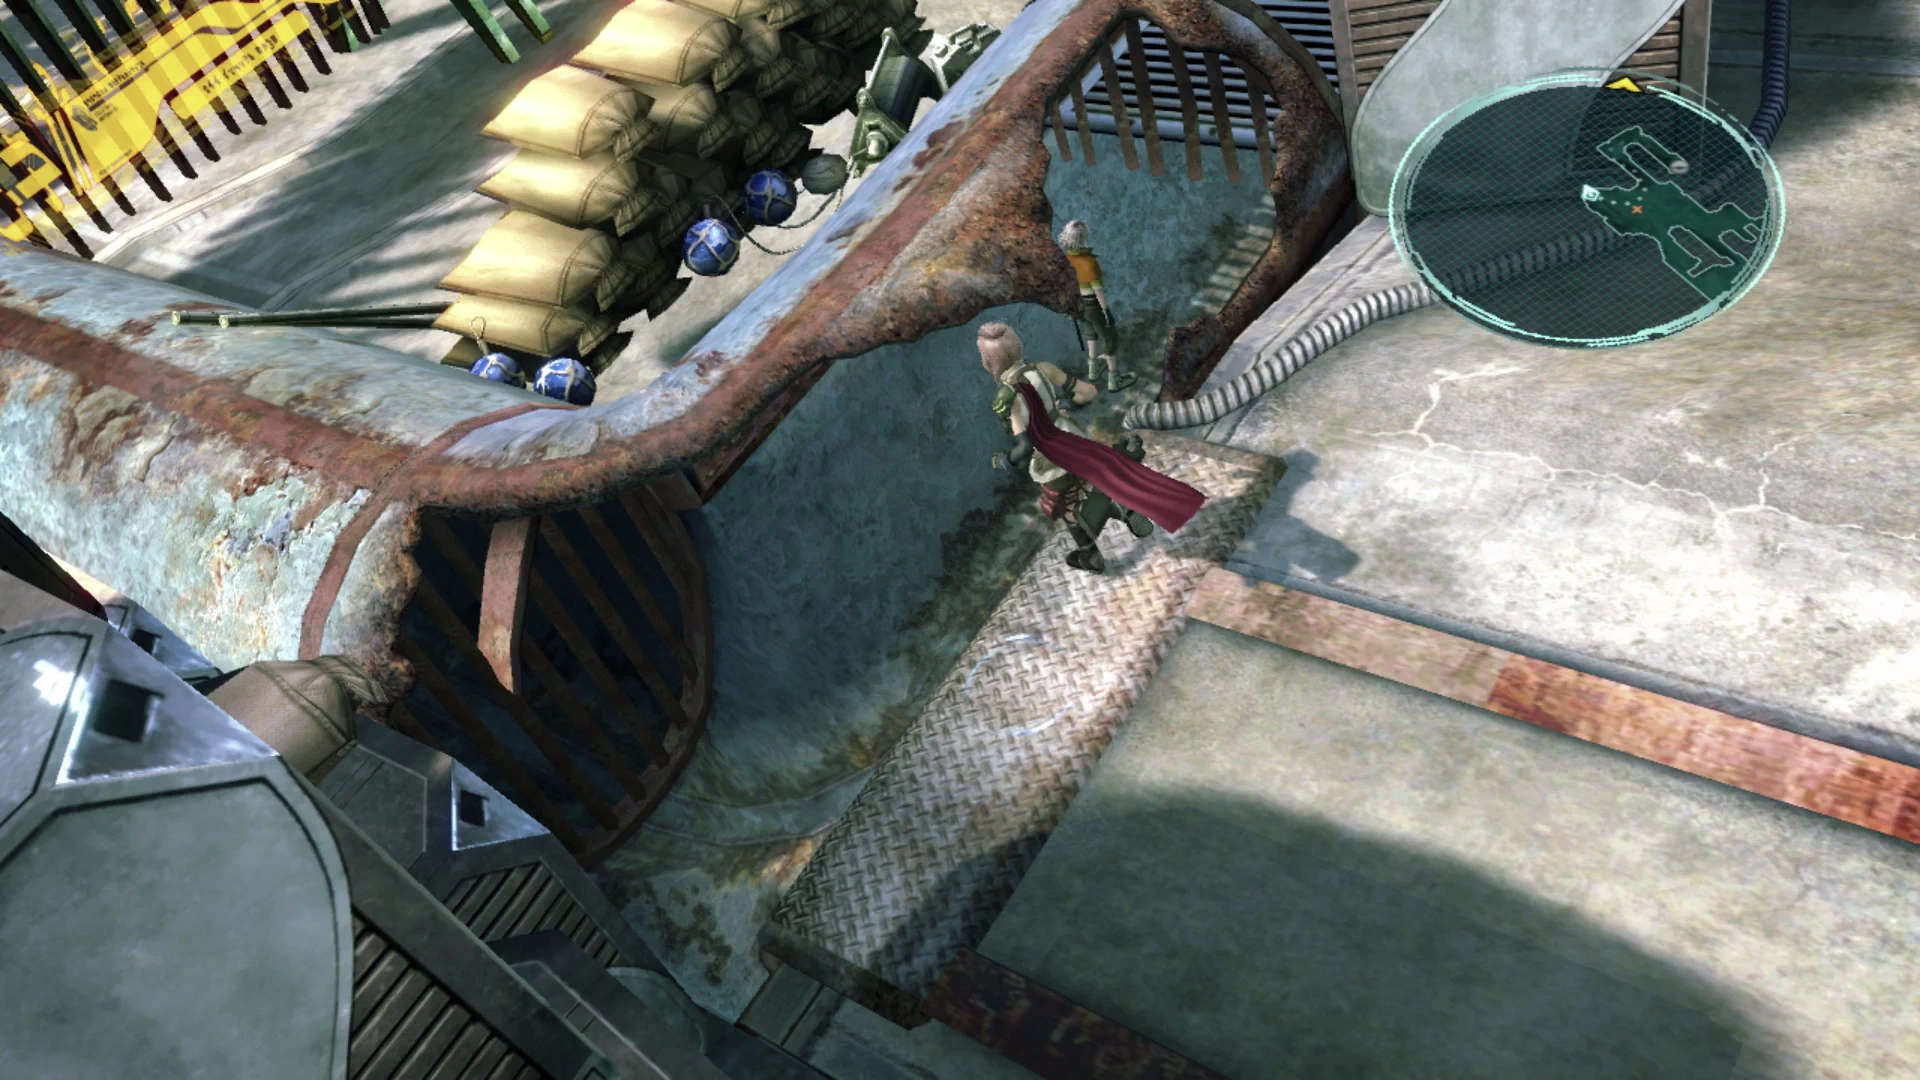
Follow the pathway around the back of the vehicle to find a Treasure Sphere that contains three ![]() Fiber-optic Cable and then search for the pipe near where the three PSICOM Soldiers were standing. Lightning and Hope will drop down into it and you can use it to navigate to the next area.
Fiber-optic Cable and then search for the pipe near where the three PSICOM Soldiers were standing. Lightning and Hope will drop down into it and you can use it to navigate to the next area.
Helpful Hint
Clearing out the flashing exclamation points in the menu can be a real pain. Every new Chapter entry, every new event, every new piece of inventory (even if you already have it!) will show a flashing inventory icon when you open the menu.
While this frustrating menu functionality can’t be turned off, something you should get in the habit of now that you have quite a bit more inventory is categorizing it. When accessing an Inventory menu option, press ![]()
![]()
![]() and the game will automatically sort your items for you, making them much easier to find.
and the game will automatically sort your items for you, making them much easier to find.
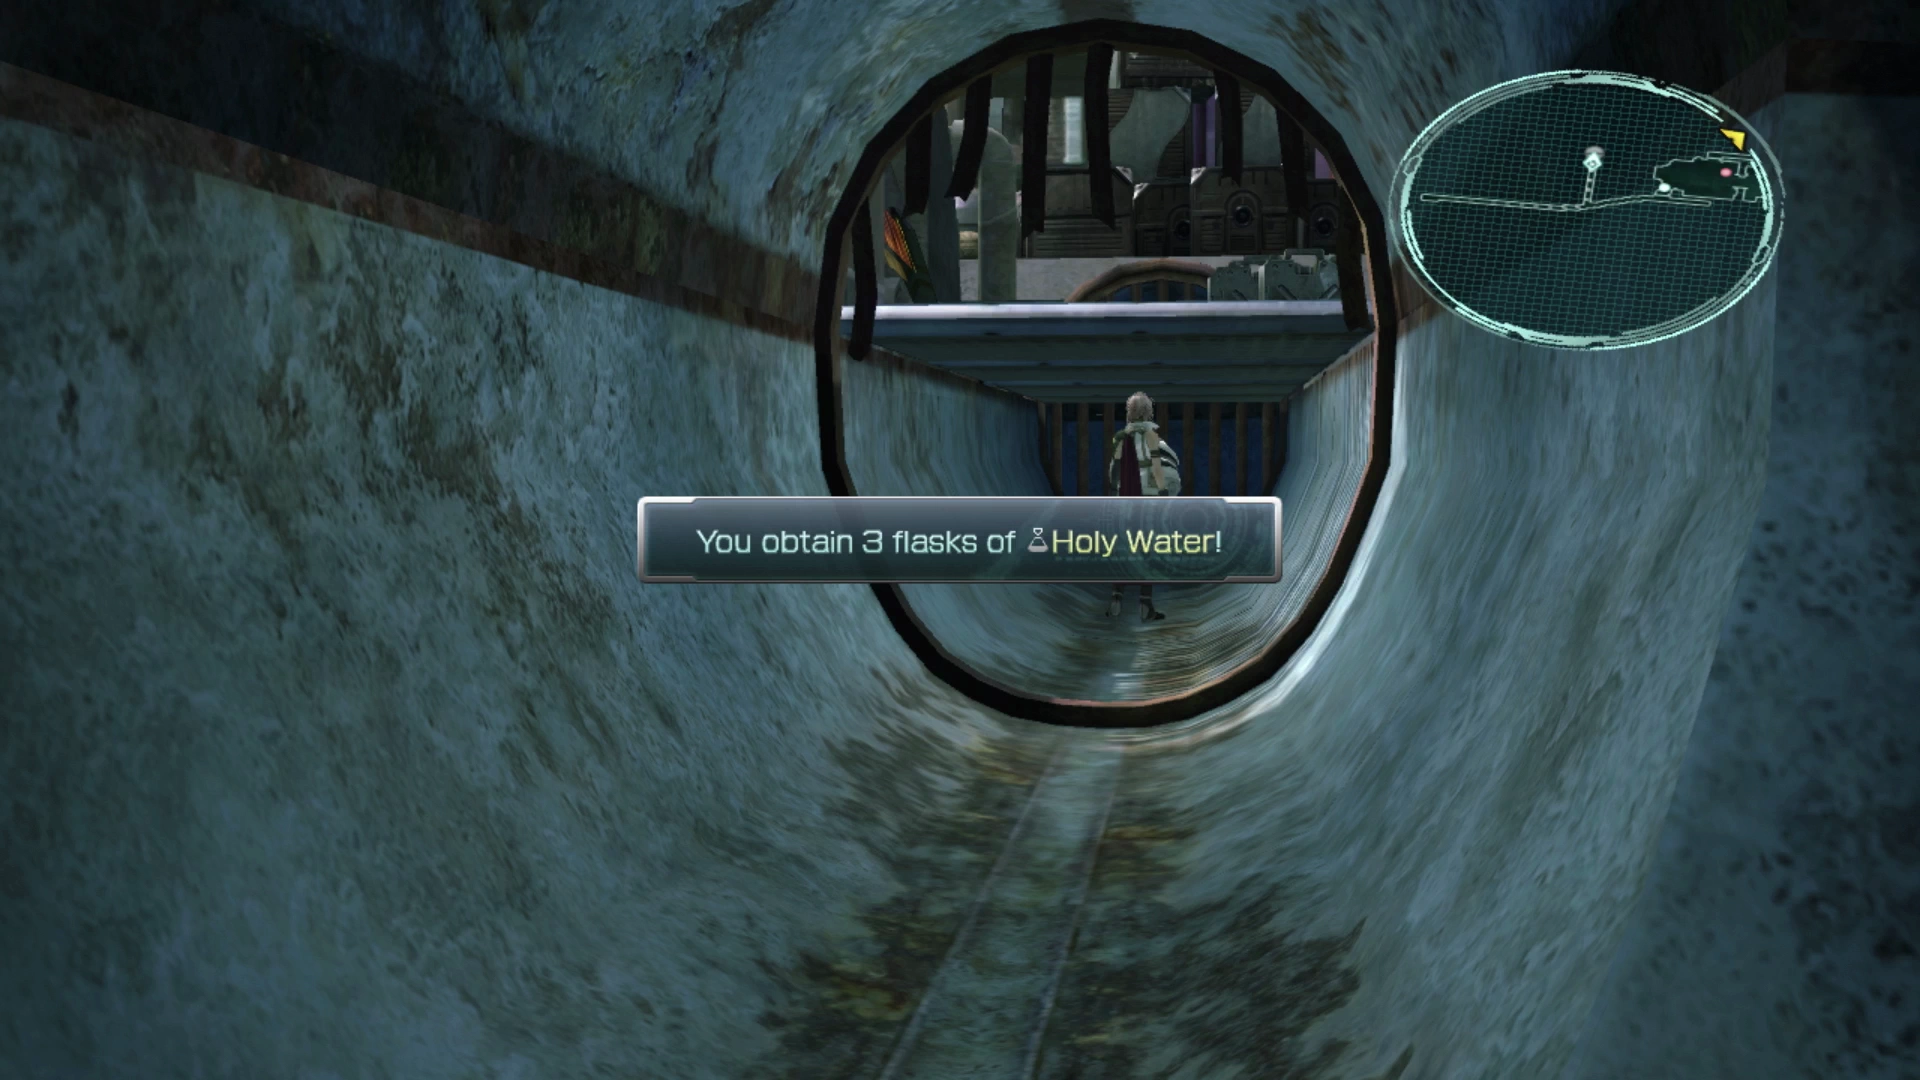
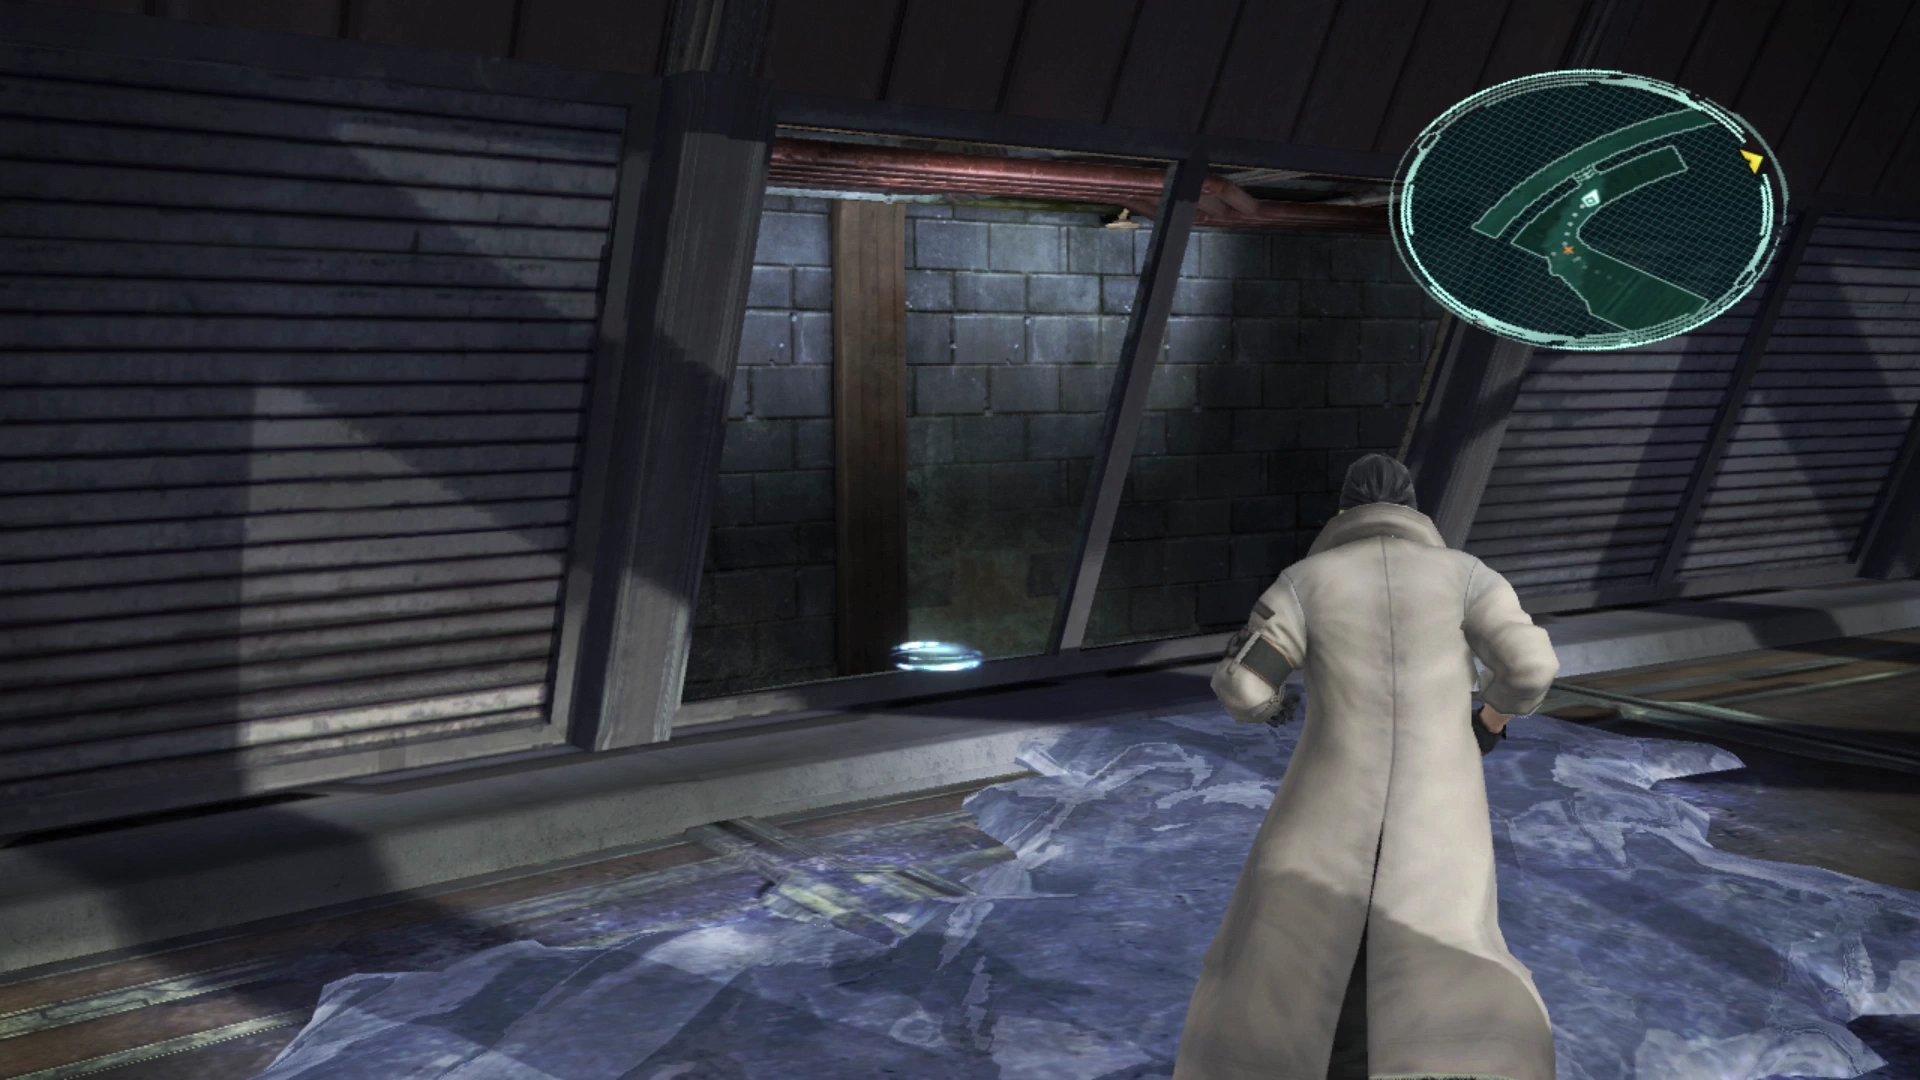
While traveling through the pipe, follow the pipe that leads off to the left to find a Treasure Sphere that contains 3 flasks of ![]() Holy Water. Continue along the pipe and jump back out on the far side. There’s a single Corps Pacifex here for you to defeat. Since this is the first one you have faced, consider using
Holy Water. Continue along the pipe and jump back out on the far side. There’s a single Corps Pacifex here for you to defeat. Since this is the first one you have faced, consider using ![]() Libra on it.
Libra on it.
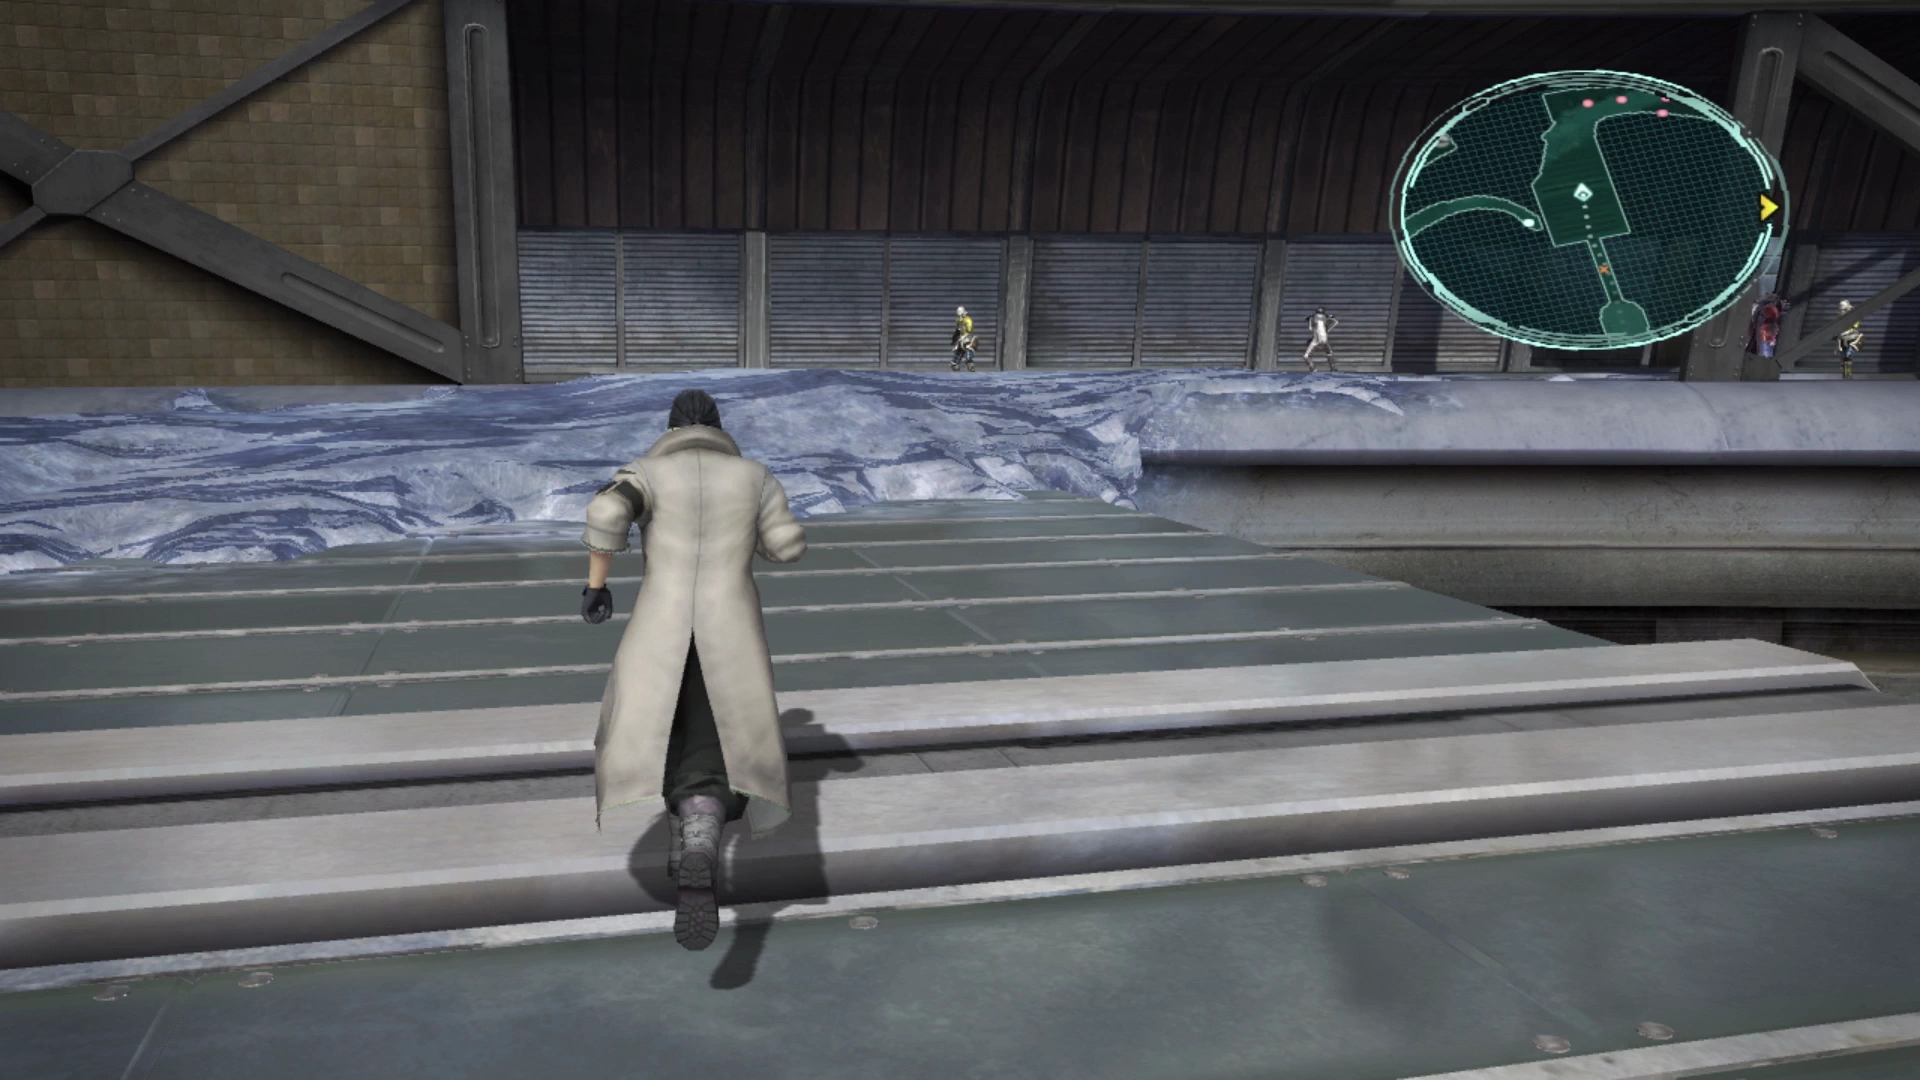
You can either run through the gates just up ahead or take the pipe on the left side to sneak in behind the next group of PSICOM Soldiers. This is to allow you to potentially sneak past; unfortunately, it won’t help much with trying to get a preemptive strike. Defeat the group of soldiers and then follow the pathway as it leads up the stairs.
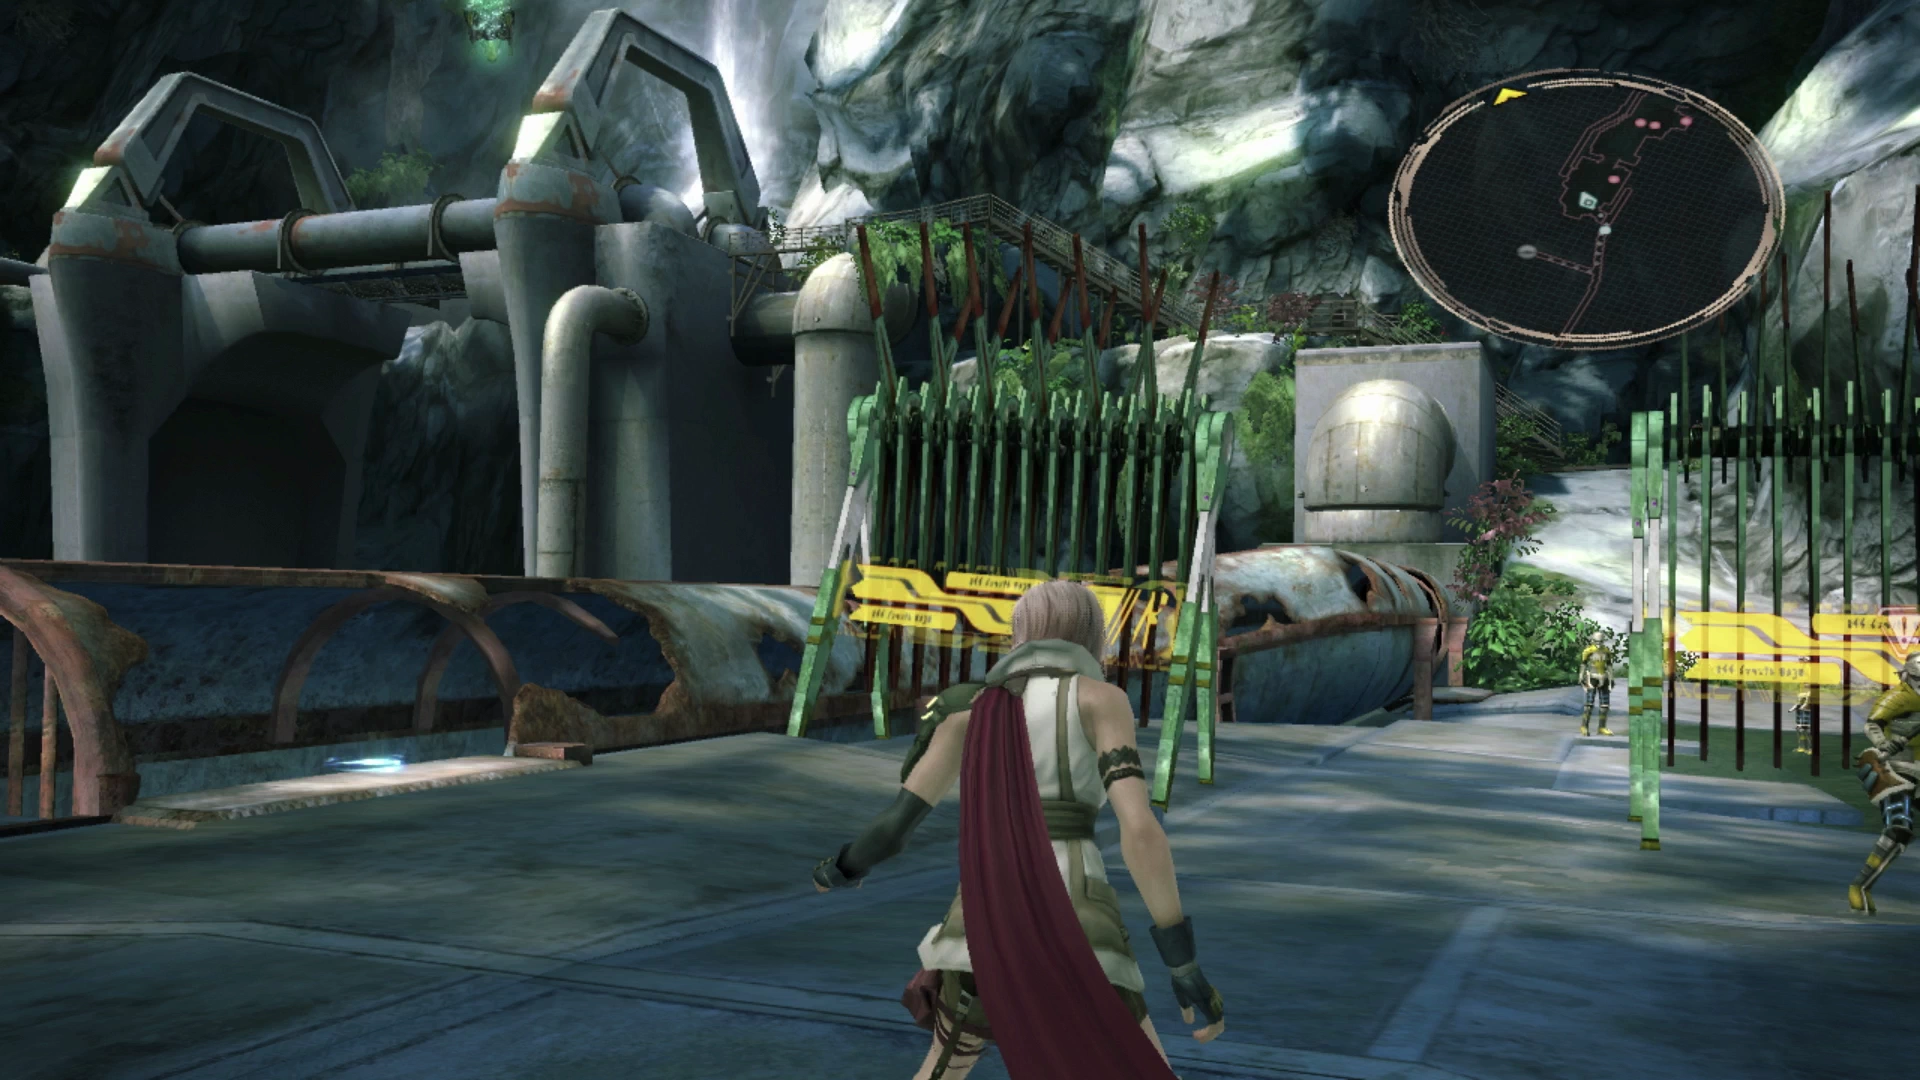
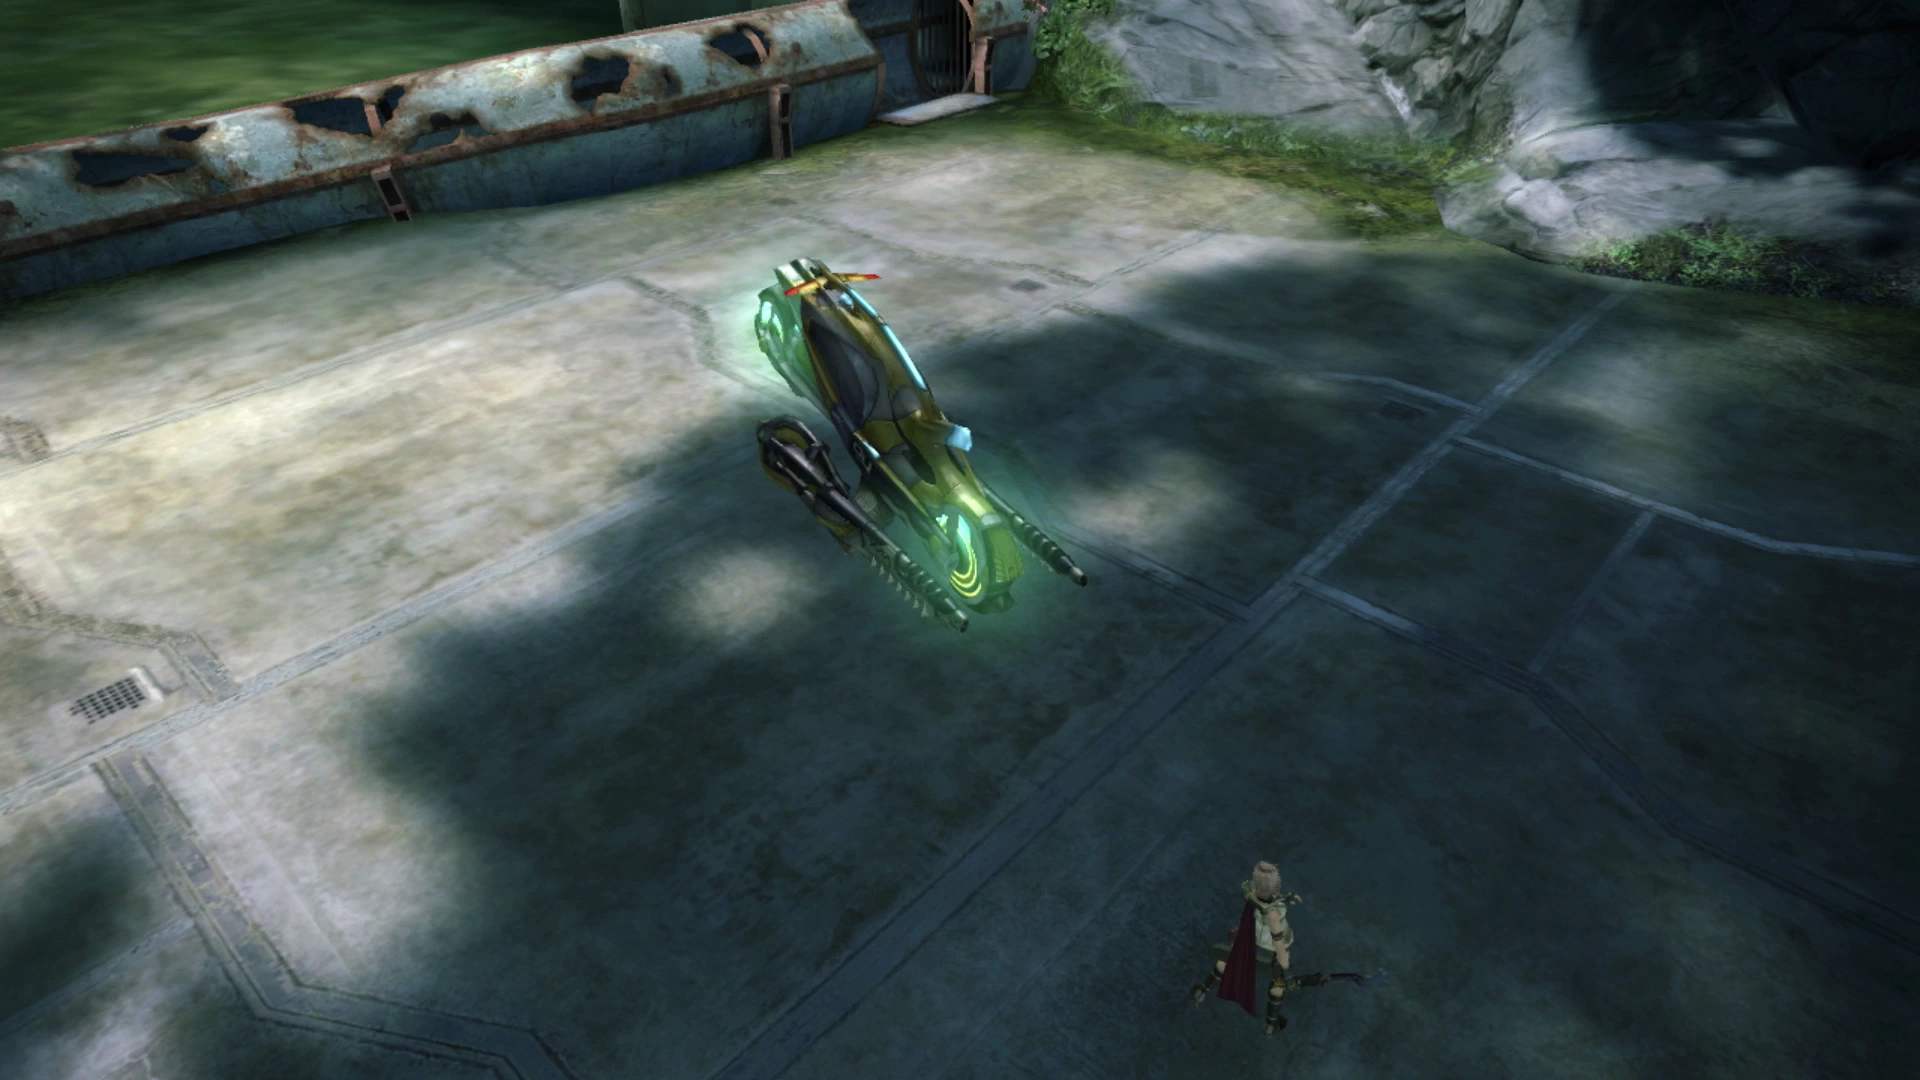
Along the stairway, you will be thrown into a battle against a Falco Velocycle. Like the previous Velocycles you have faced, this enemy has the potential to do quite a bit more damage, so be prepared to heal by switching to War & Peace as needed. Make sure to use ![]() Libra on it as well as you will be facing a few more of these along the way.
Libra on it as well as you will be facing a few more of these along the way.
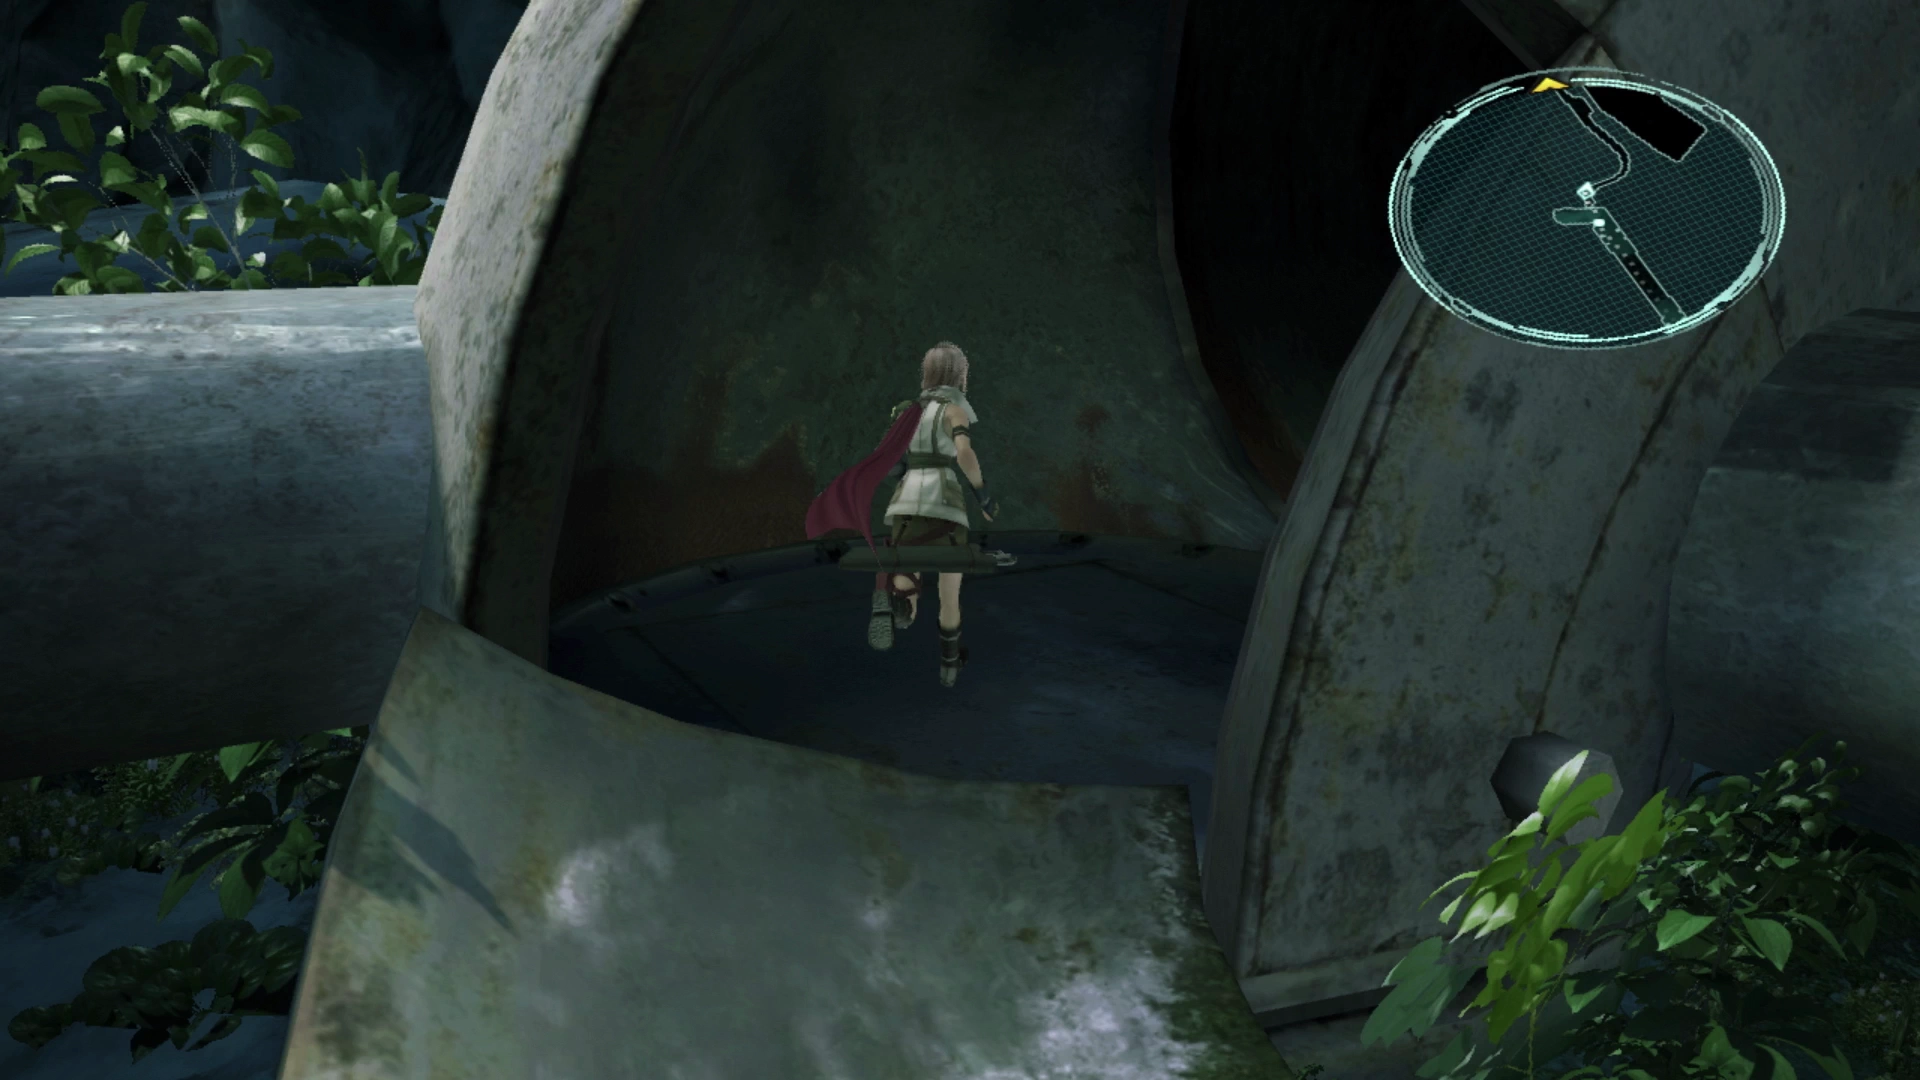
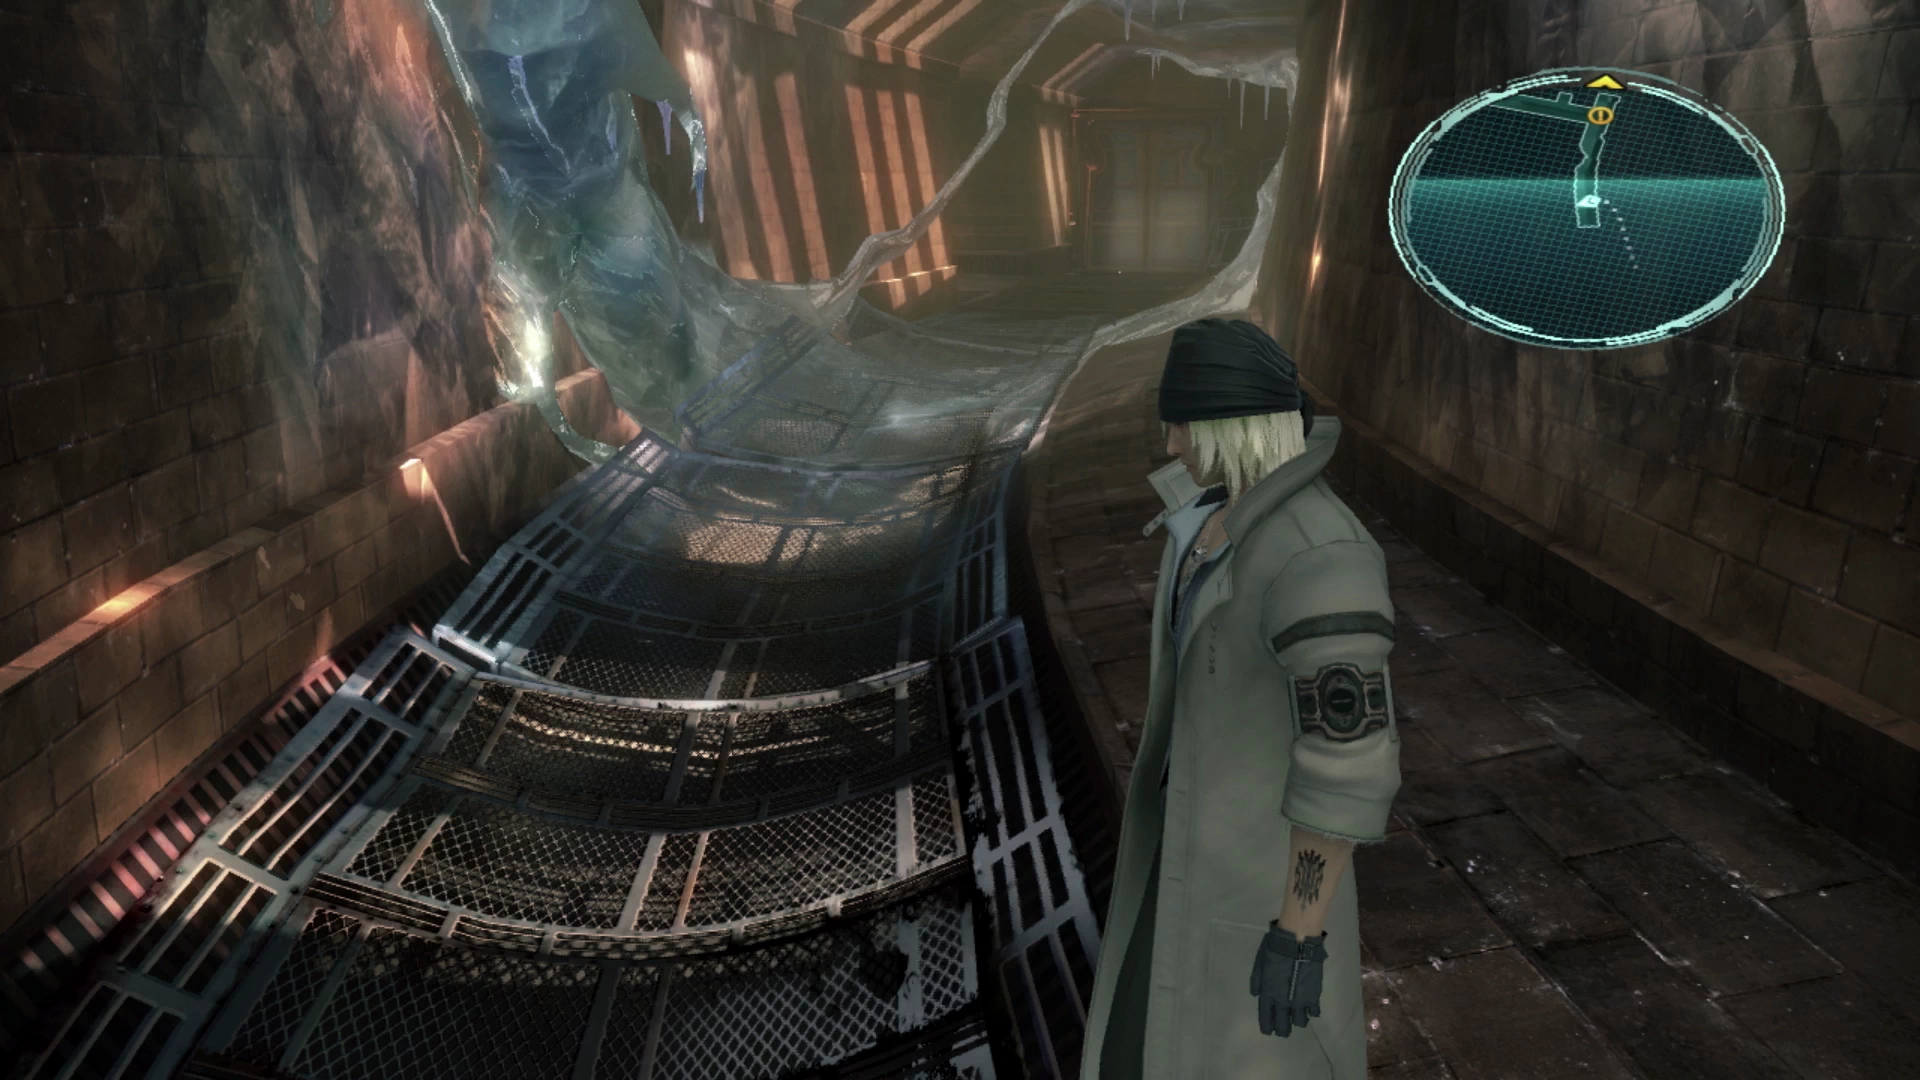
Further on up ahead both Lightning and Hope can jump into the pipe that Hope was talking about (the spot is marked on the mini-map). Travel through the pipe and turn to your right to find a Treasure Sphere that contains a ![]() Librascope and then turn around to head up the ramp. Drop down into the next area.
Librascope and then turn around to head up the ramp. Drop down into the next area.
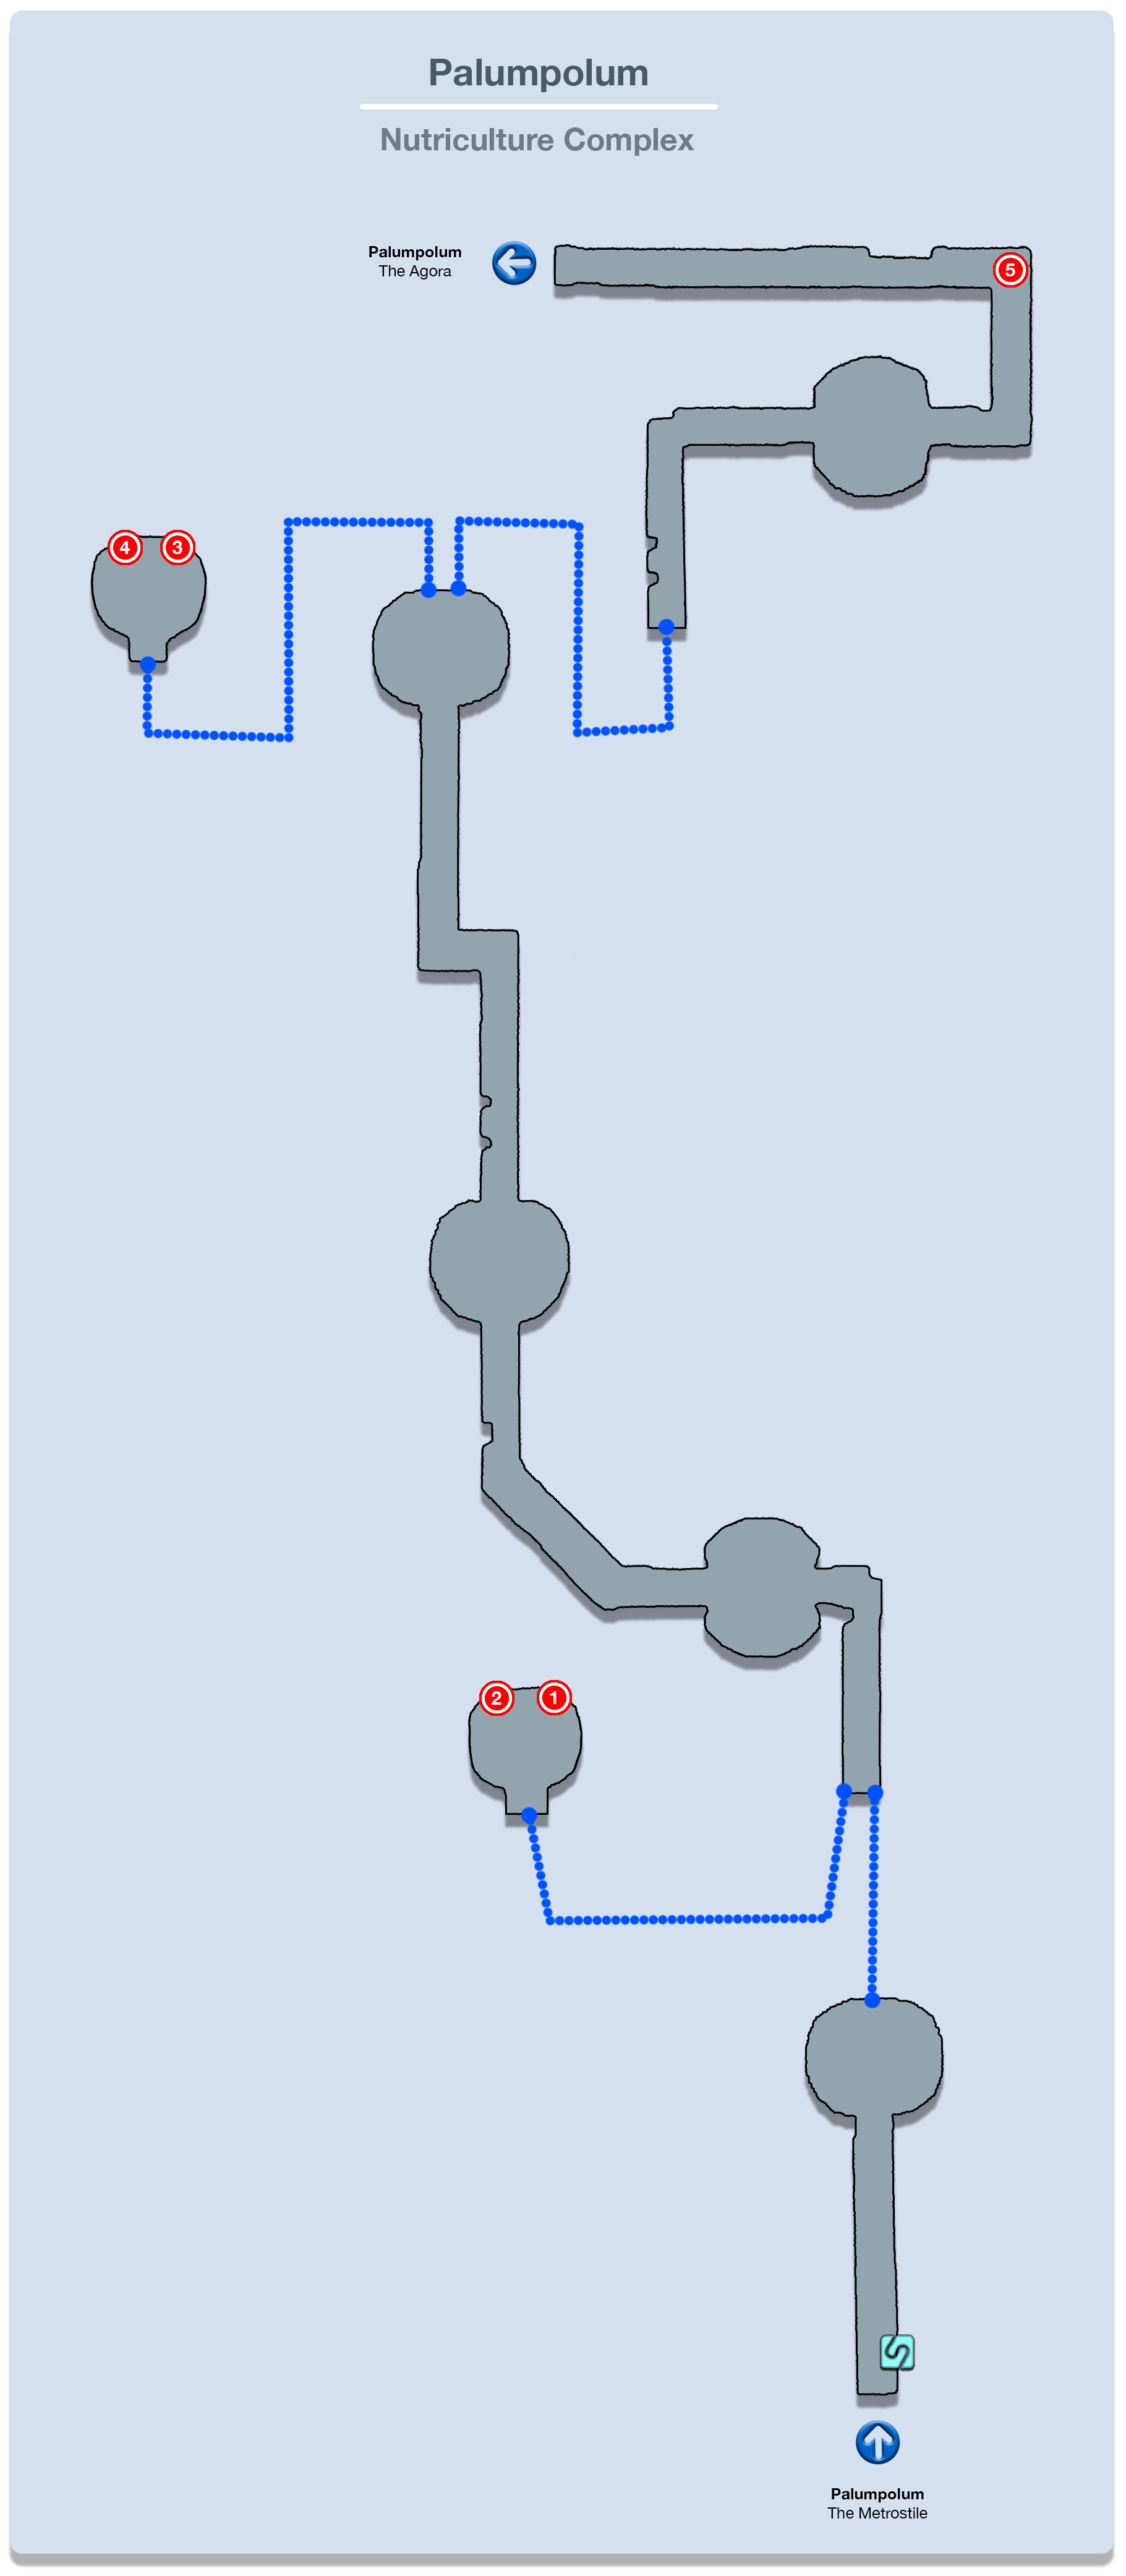
Nutriculture Complex


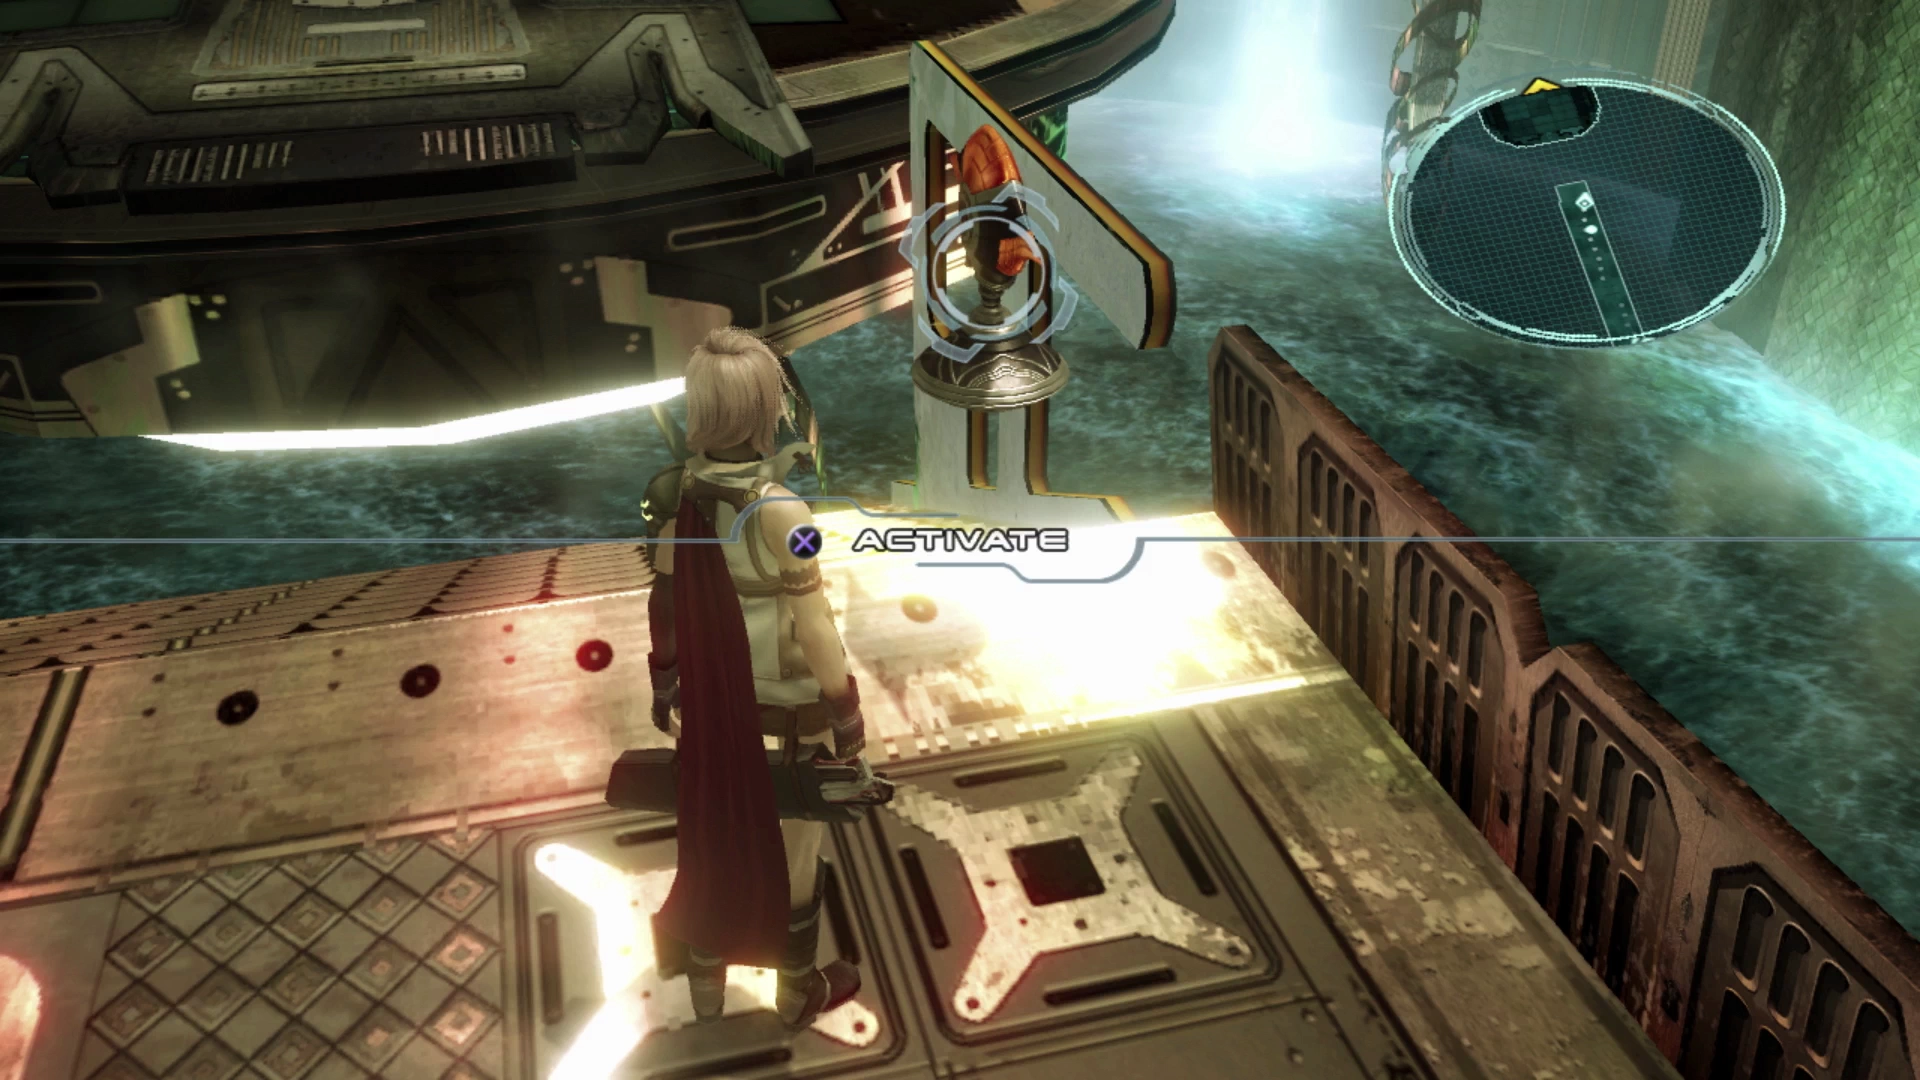
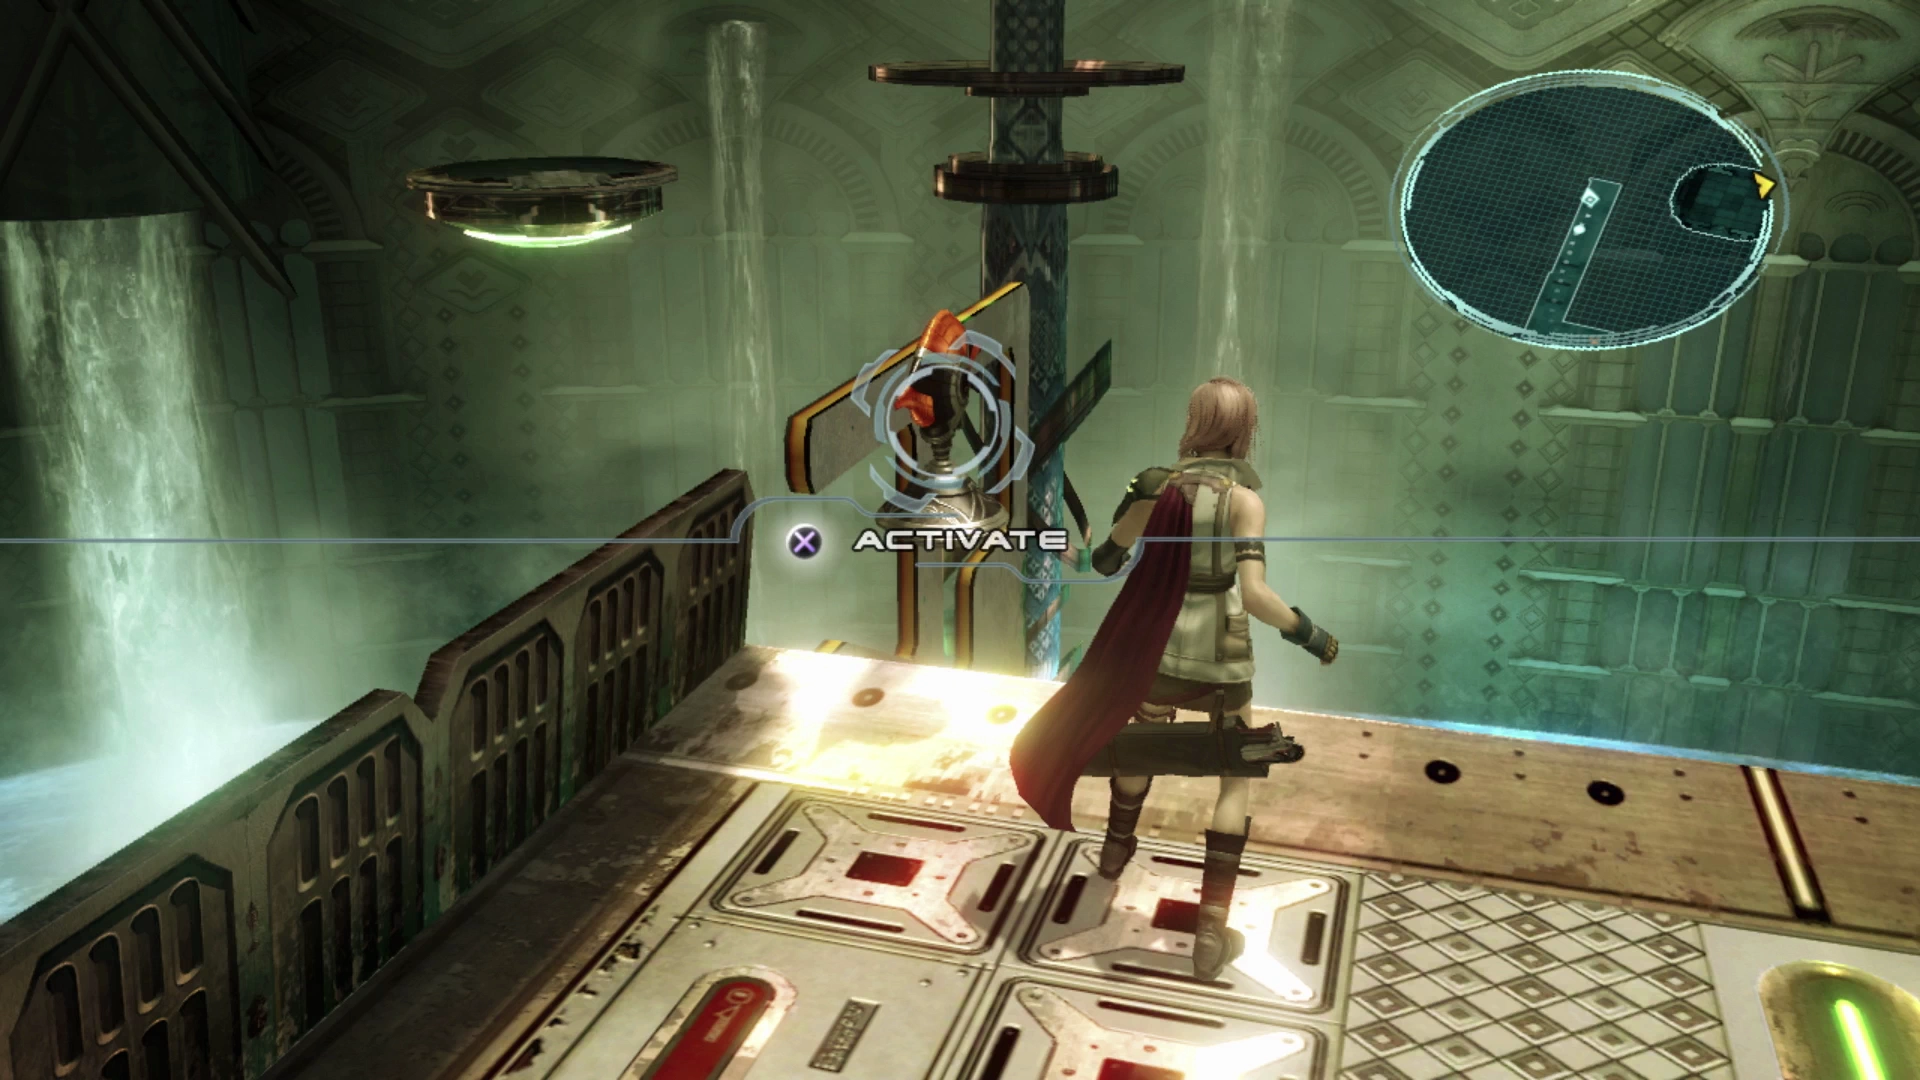
Turn around and use the ![]() Save Station to save your game. A short cutscene will take place as Lightning and Hope first enter this area. Walk forward and activate the device on the right side of the walkway to activate the nearby floating platform. Step onto the platform and it will automatically begin taking you to the next area.
Save Station to save your game. A short cutscene will take place as Lightning and Hope first enter this area. Walk forward and activate the device on the right side of the walkway to activate the nearby floating platform. Step onto the platform and it will automatically begin taking you to the next area.
Once the floating platform arrives at the next area look for two activation devices at the top of the stairs. Activate the device on the left by pressing ![]()
![]()
![]() and then get back on the floating platform.
and then get back on the floating platform.
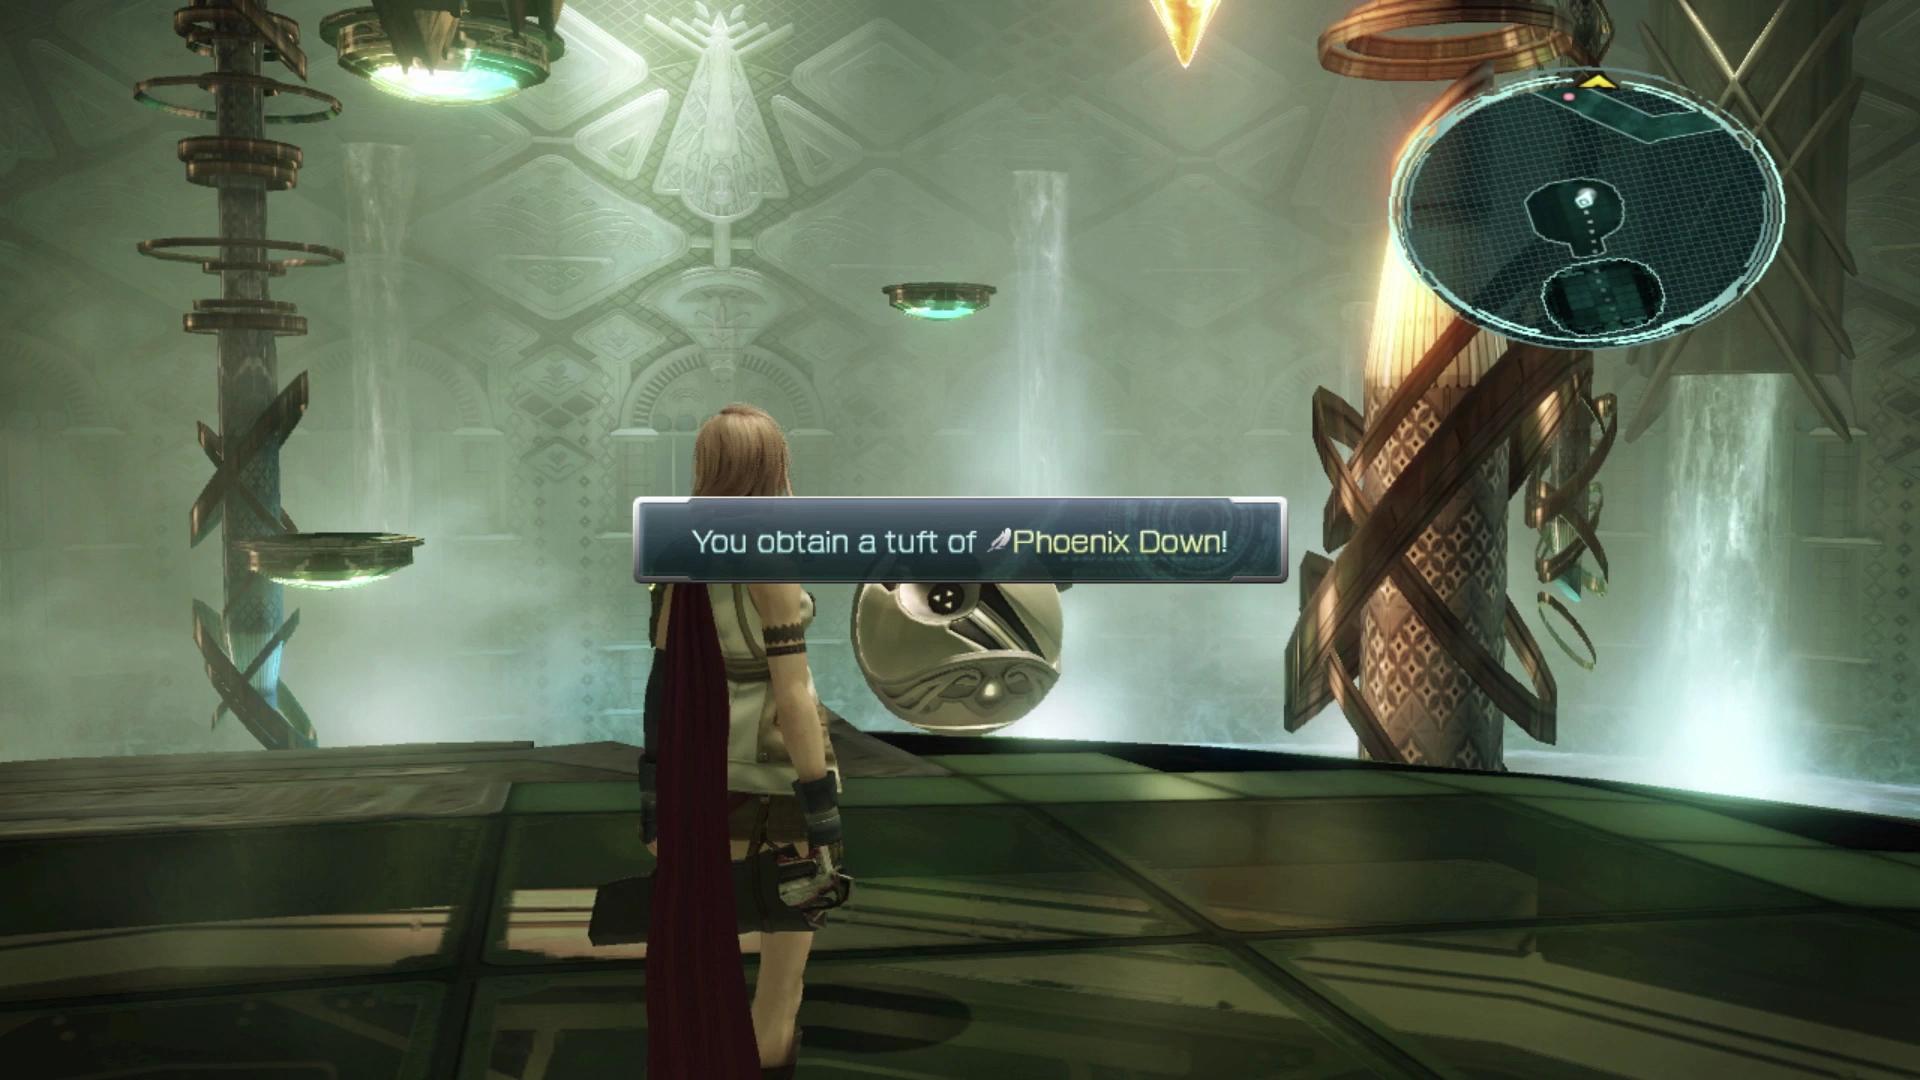
This time it will take you to a new area that has two Treasure Spheres —one contains a tuft of ![]() Phoenix Down while the other contains 4 flasks of
Phoenix Down while the other contains 4 flasks of ![]() Holy Water. Ride the platform back to the stairwell once you’ve picked up both sets of items.
Holy Water. Ride the platform back to the stairwell once you’ve picked up both sets of items.
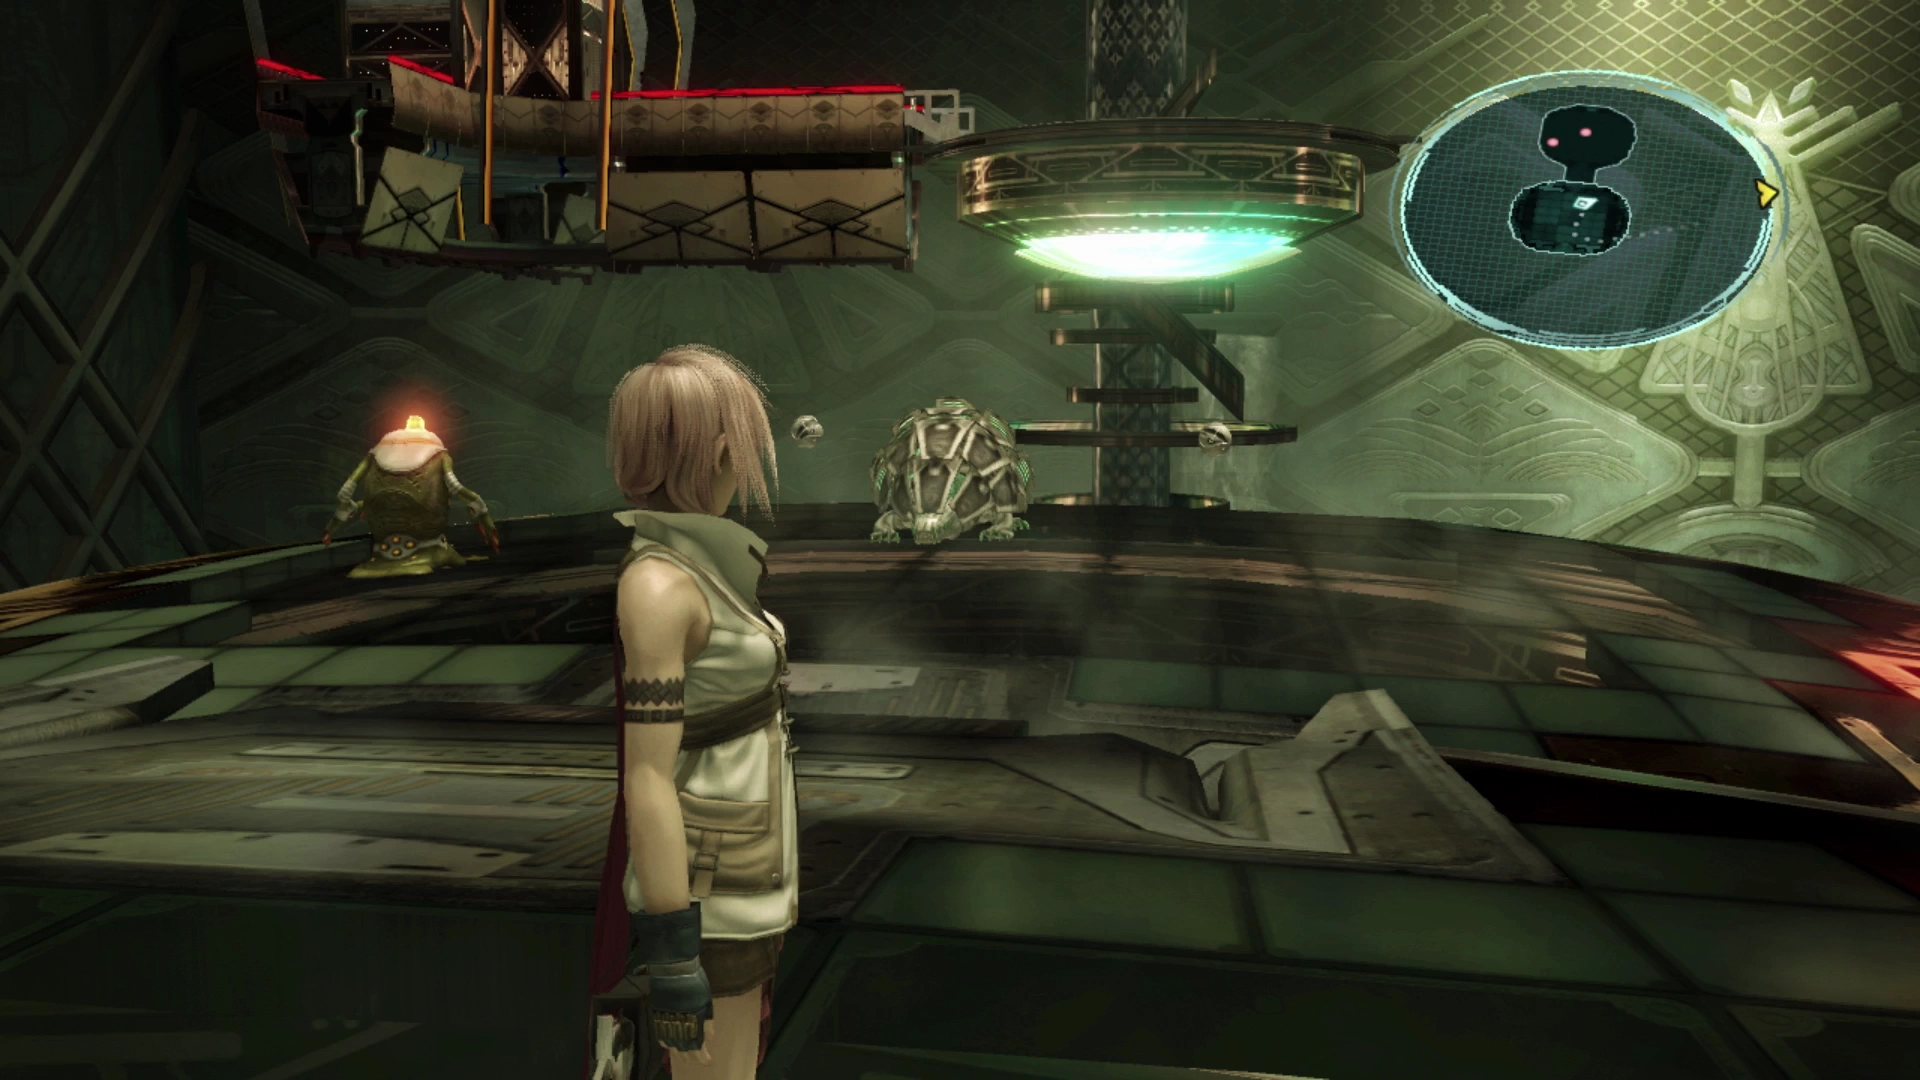
Follow the walkway down and around the corner and you will come across two new enemies called Flanitors. These enemies are easy to sneak up on, allowing you to get a ![]() preemptive strike, but they will heal each other once one of them gets low on health.
preemptive strike, but they will heal each other once one of them gets low on health.
There isn’t much that you can do to prevent this so just focus on an all-out offensive against any Flanitor that has low HP until you do enough damage to overcome the healing and defeat it.
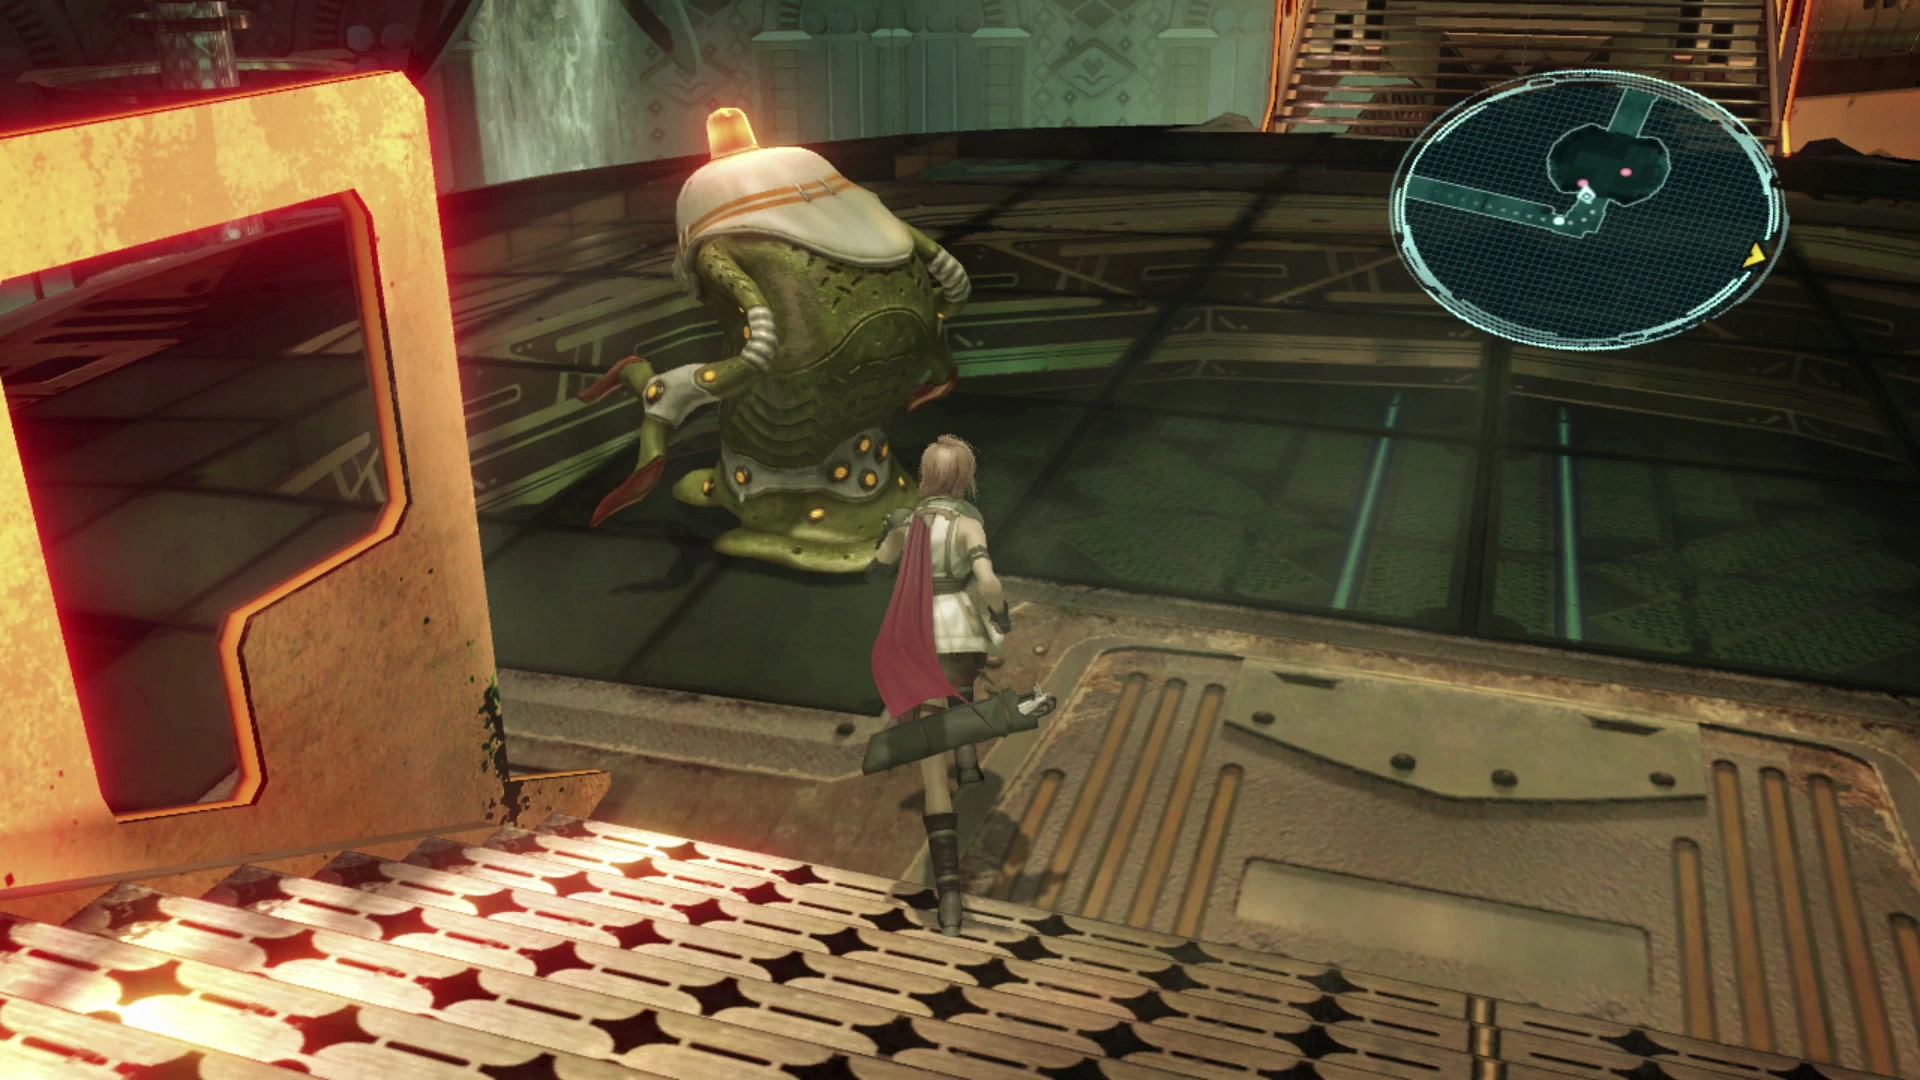
A bit further ahead you will come across a Lucidon which looks very similar to a Scalebeast. Get close enough for it to charge towards Lightning and then run away quickly. After it is done charging it will turn around which will allow you to get a preemptive strike. Focus on Staggering the enemy and unloading a flurry of attacks to bring it down quickly.

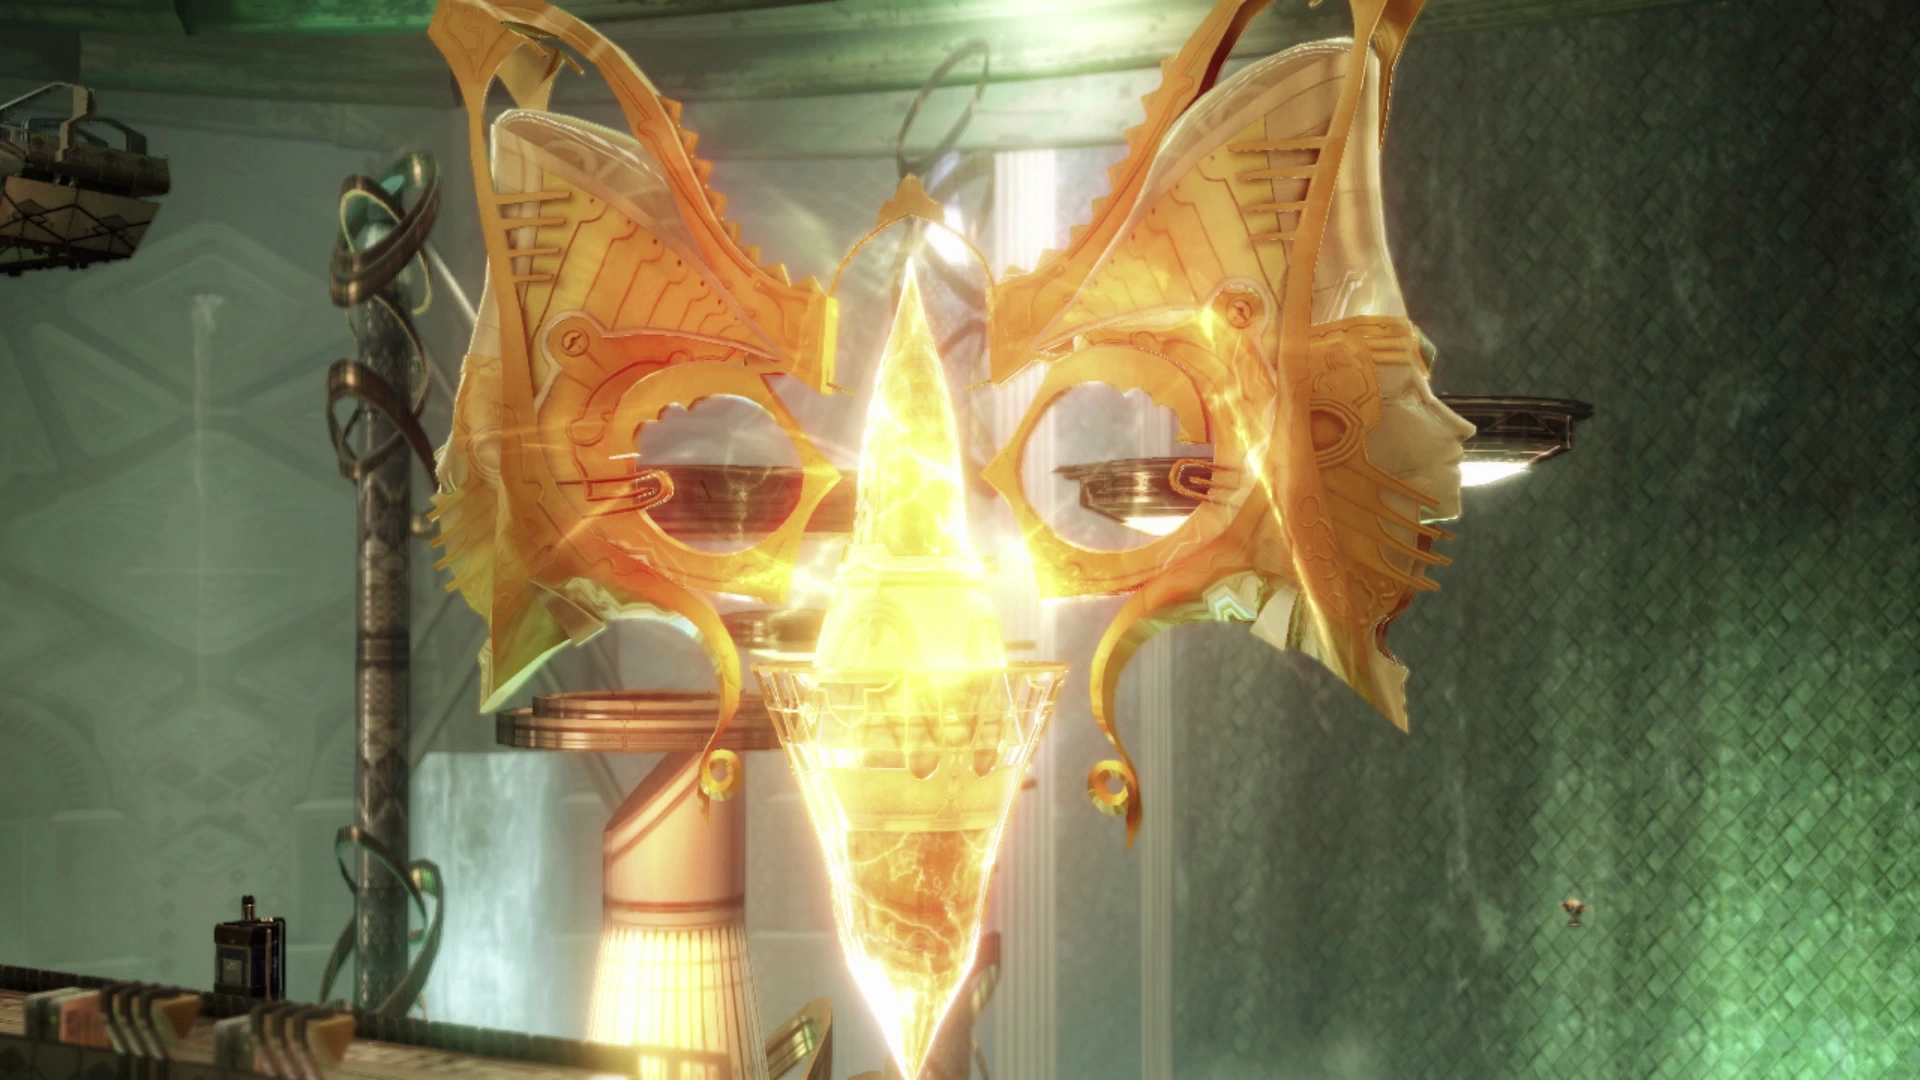
Keep following the walkway and there will be another short cutscene. Hope will explain that the name of the large Fal’Cie under Palumpolum is “Carbuncle.” At the top of the steps is another group of two Flanitors.
Finally, just a bit further up the steps, is another set of two activation devices, one on the left and one on the right. Activate the one on the left and jump on the floating platform.
The platform will take you to the second secret area that has another two Treasure Spheres for you to open, but first, you will have to defeat a Flanitor partnered with a Lucidon.
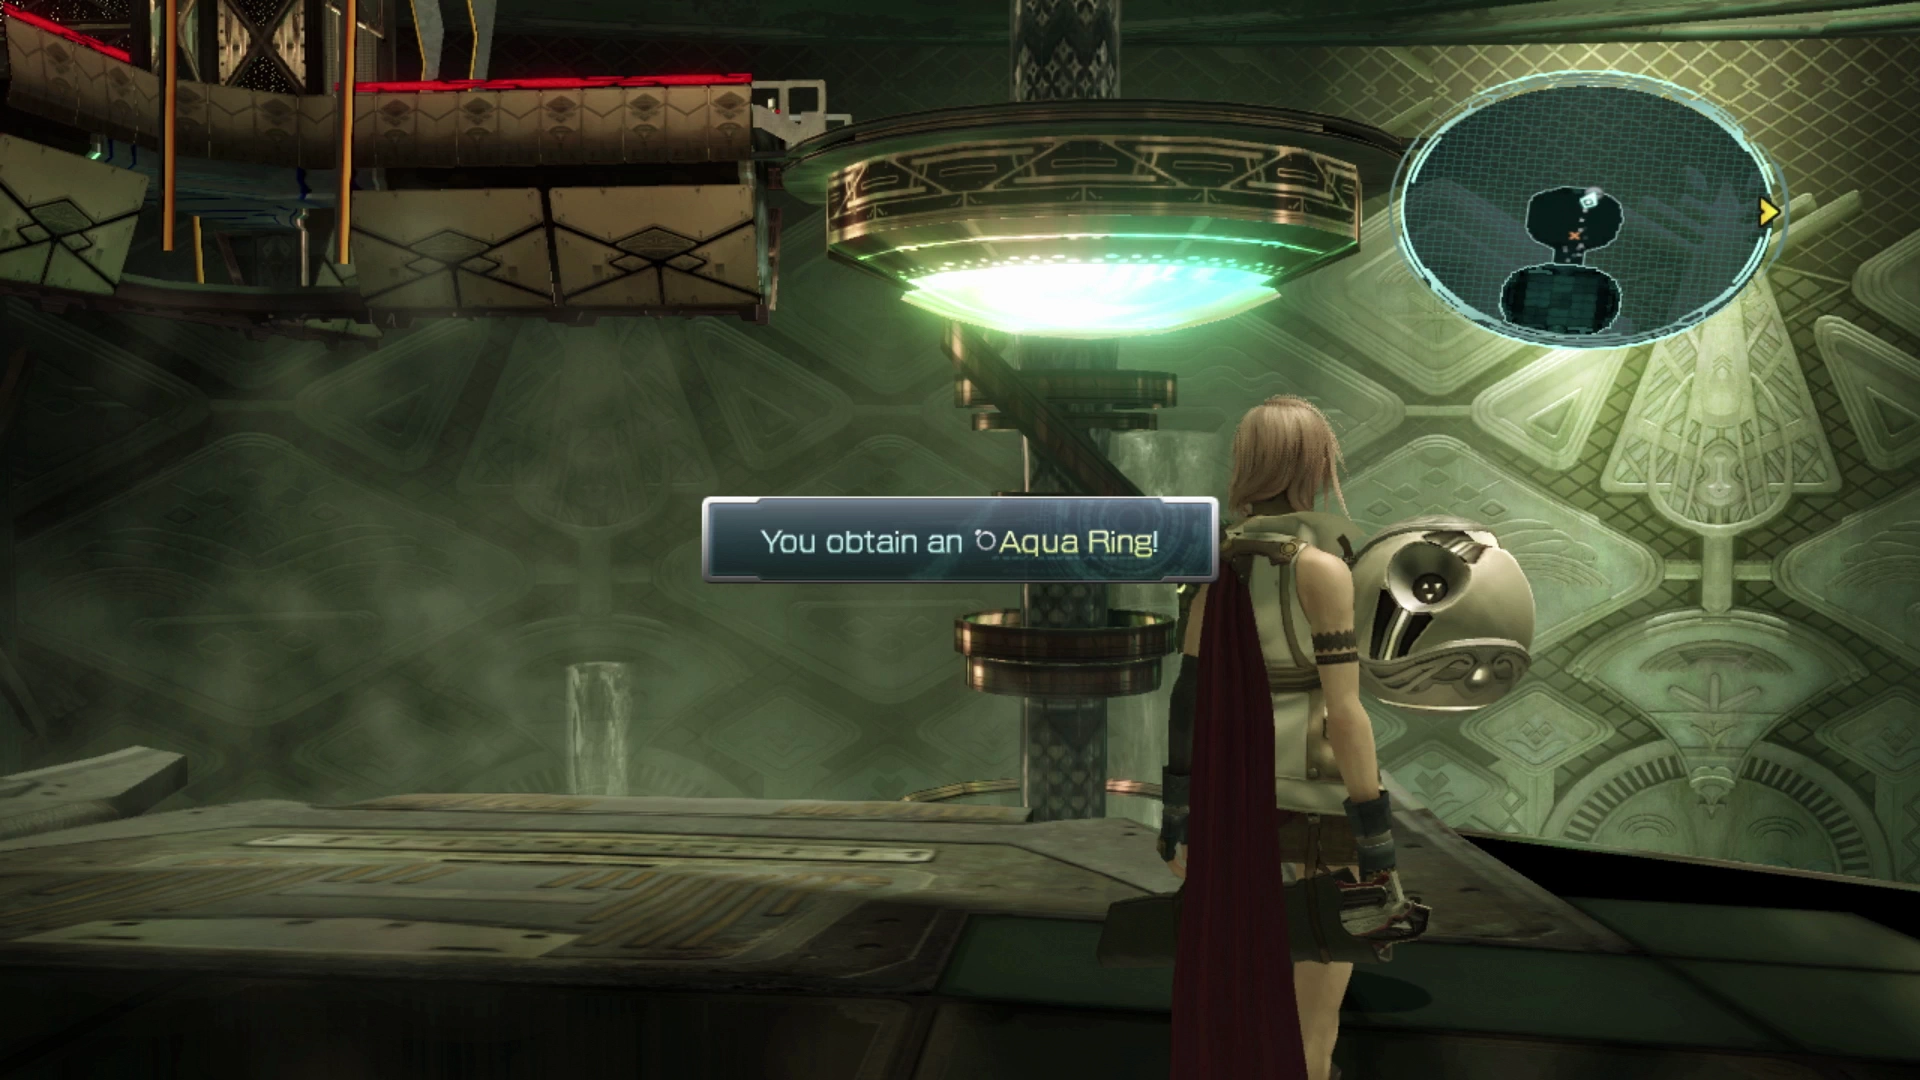
Defeat the Flanitor first so that it doesn’t heal the Lucidon and then grab the two Treasure Spheres . The first one contains an ![]() Aqua Ring, and the second one contains two
Aqua Ring, and the second one contains two ![]() Mobius Coils.
Mobius Coils.
Jump back onto the floating platform to ride it back and then activate the other device to have the elevator take you onward to the next walkway.
Missable Content
This is the second of two ![]() Aqua Rings that can be obtained in the game. Due to its exceptional rarity, it’s important to make sure you grab it on your way through.
Aqua Rings that can be obtained in the game. Due to its exceptional rarity, it’s important to make sure you grab it on your way through.
Refer to the Missable Content page for more information on specific items and ![]() Datalog Enemy Intel entries you should keep an eye out for.
Datalog Enemy Intel entries you should keep an eye out for.
This next walkway has another Lucidon for you to defeat. Another short cutscene will take place once Lightning and Hope reach the open section of the walkway up ahead. Continue along the pathway to find a group of three Flanitors.
This group is nearly impossible to ambush because of the direction they are facing, and unfortunately, two of them will end up healing the one you focus your attacks on. This fight can be very painful but just keep hacking away until you bring them down.
Missable Content
This is the last Lucidon enemy in this area that you will fight against. Make sure to use ![]() Libra to complete the Enemy Intel page. Refer to the Missable Content page for more information on specific items and Datalog Enemy Intel entries you should keep an eye out for.
Libra to complete the Enemy Intel page. Refer to the Missable Content page for more information on specific items and Datalog Enemy Intel entries you should keep an eye out for.
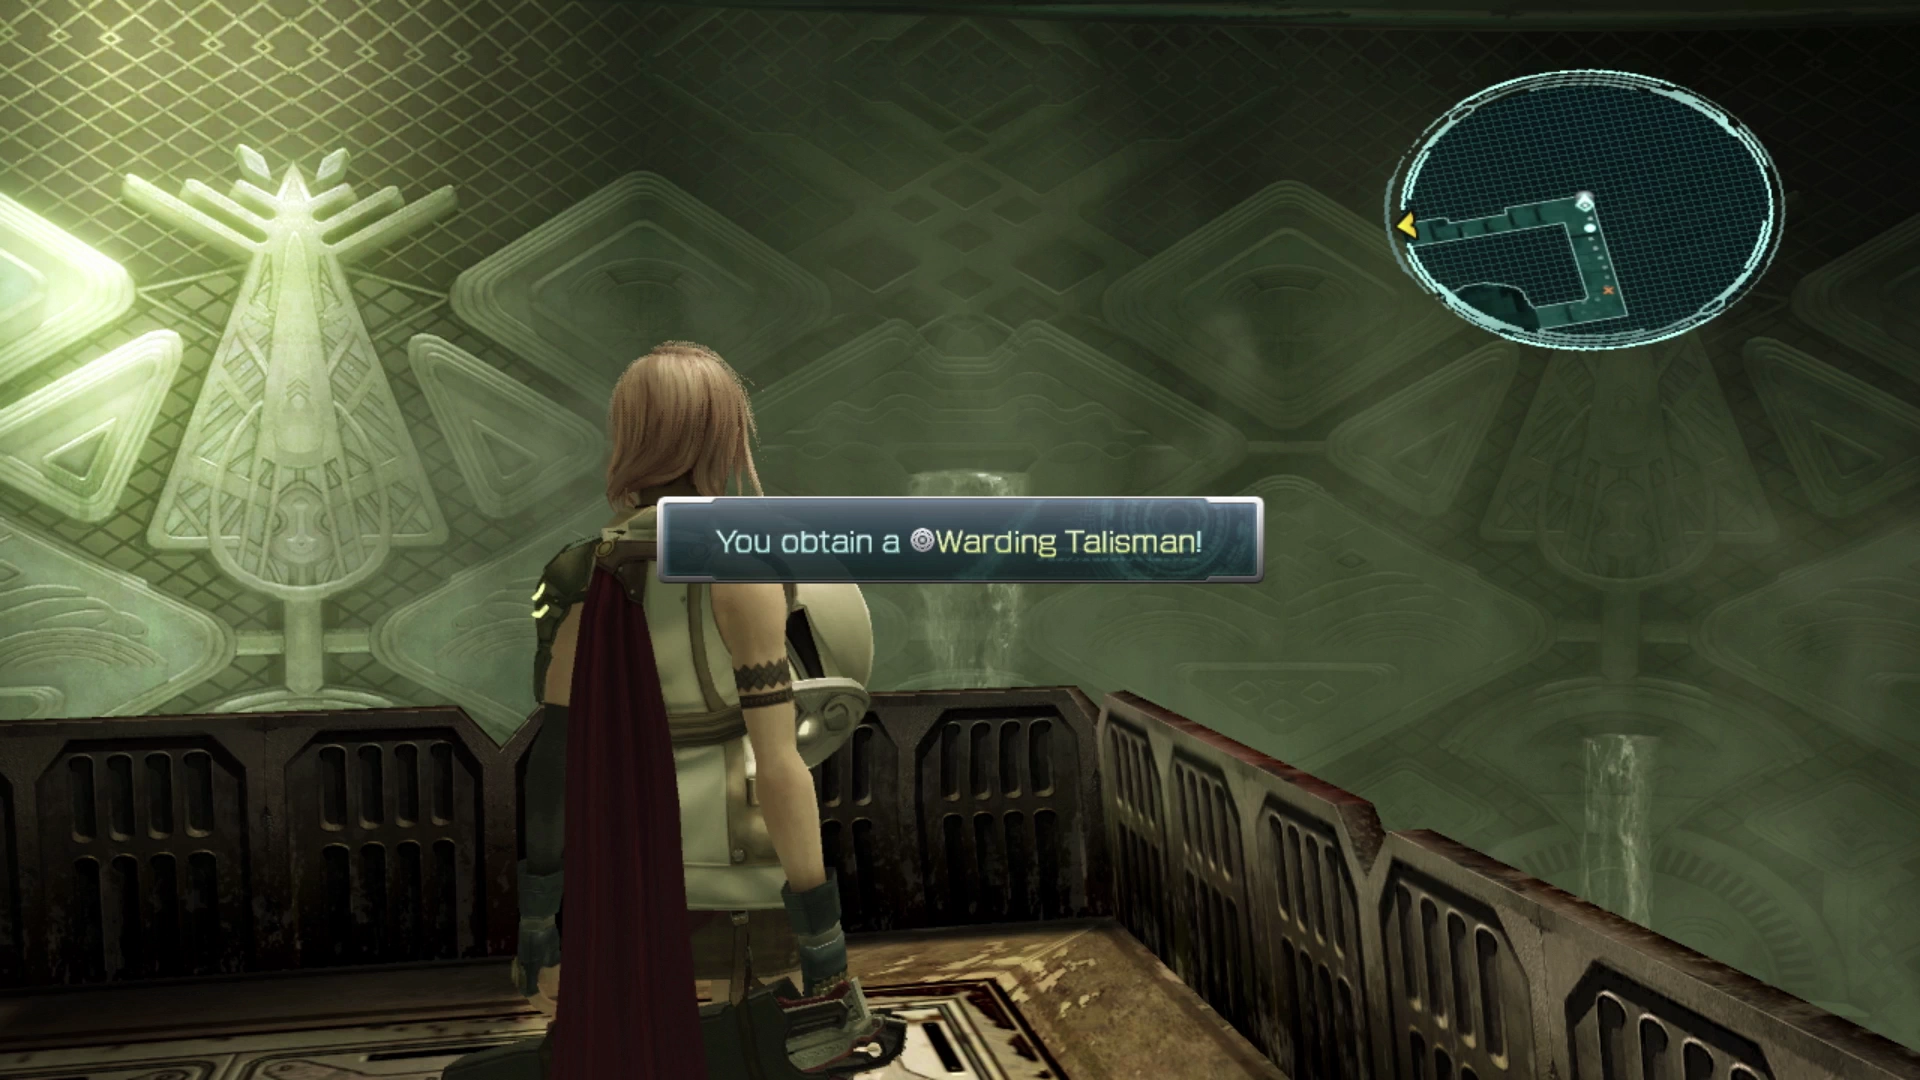
The Treasure Sphere behind the group of Flanitors contains a ![]() Warding Talisman. This accessory only improves a character’s resistance to
Warding Talisman. This accessory only improves a character’s resistance to ![]() Curse, so there’s no rush to equip it right now.
Curse, so there’s no rush to equip it right now.
Keep moving forward for another quick cutscene and then proceed up the stairs to defeat the next group of two Flanitors. Activate the device at the end of the walkway to call over the floating platform and ride it to the other side.
This last platform has a ![]() Save Station that you can use to save your game before you move on to the next area. What follows from here is a huge group of cutscenes and cinematics where Lightning and Hope will reunite with Snow and Fang.
Save Station that you can use to save your game before you move on to the next area. What follows from here is a huge group of cutscenes and cinematics where Lightning and Hope will reunite with Snow and Fang.
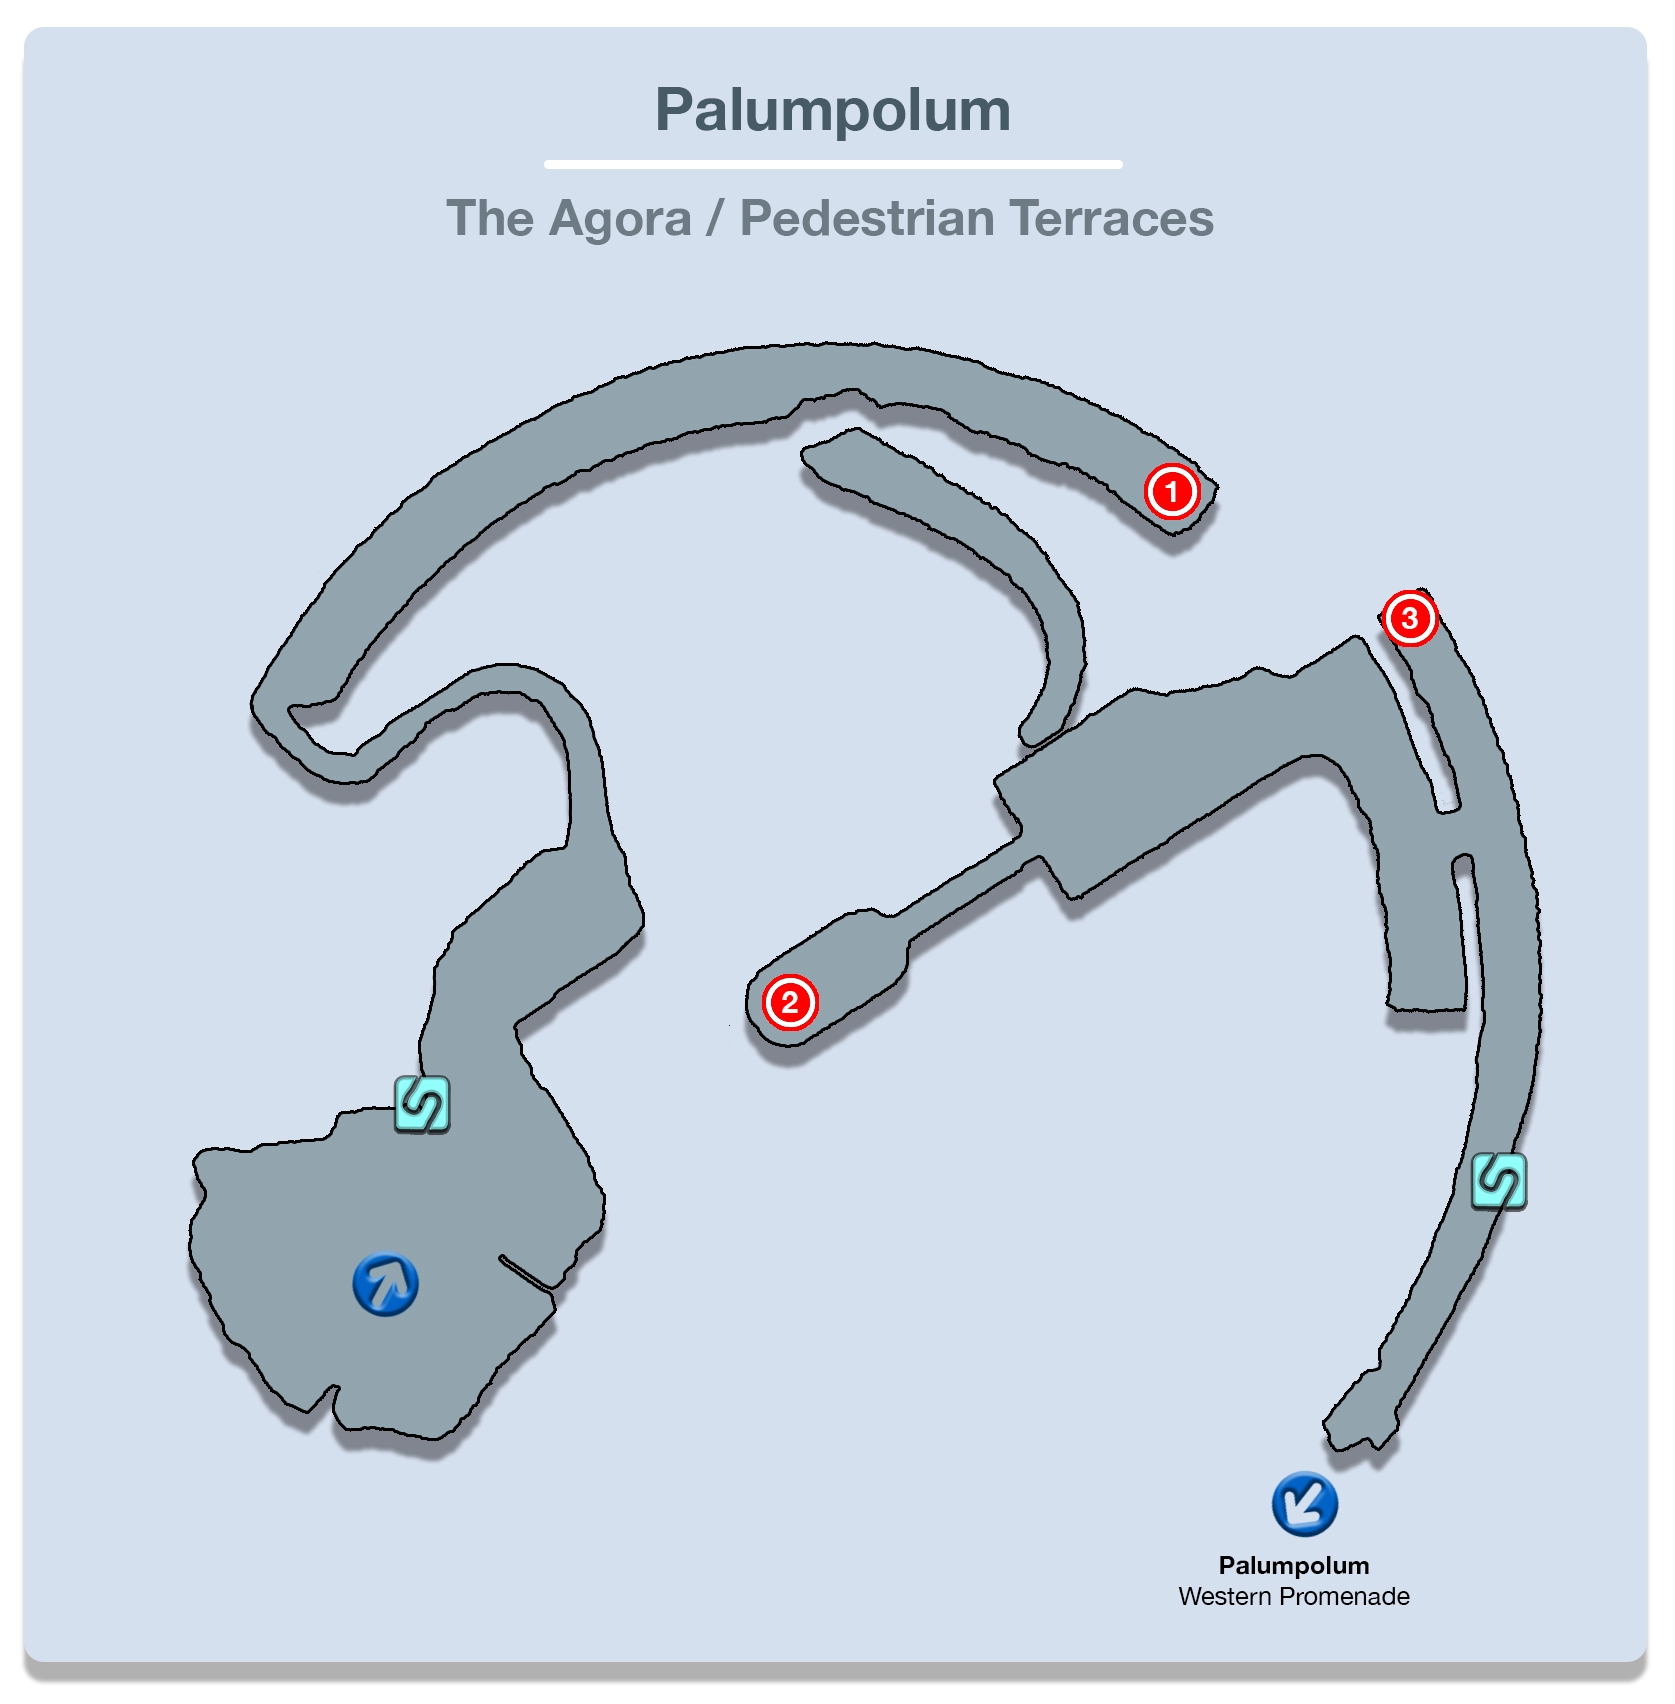
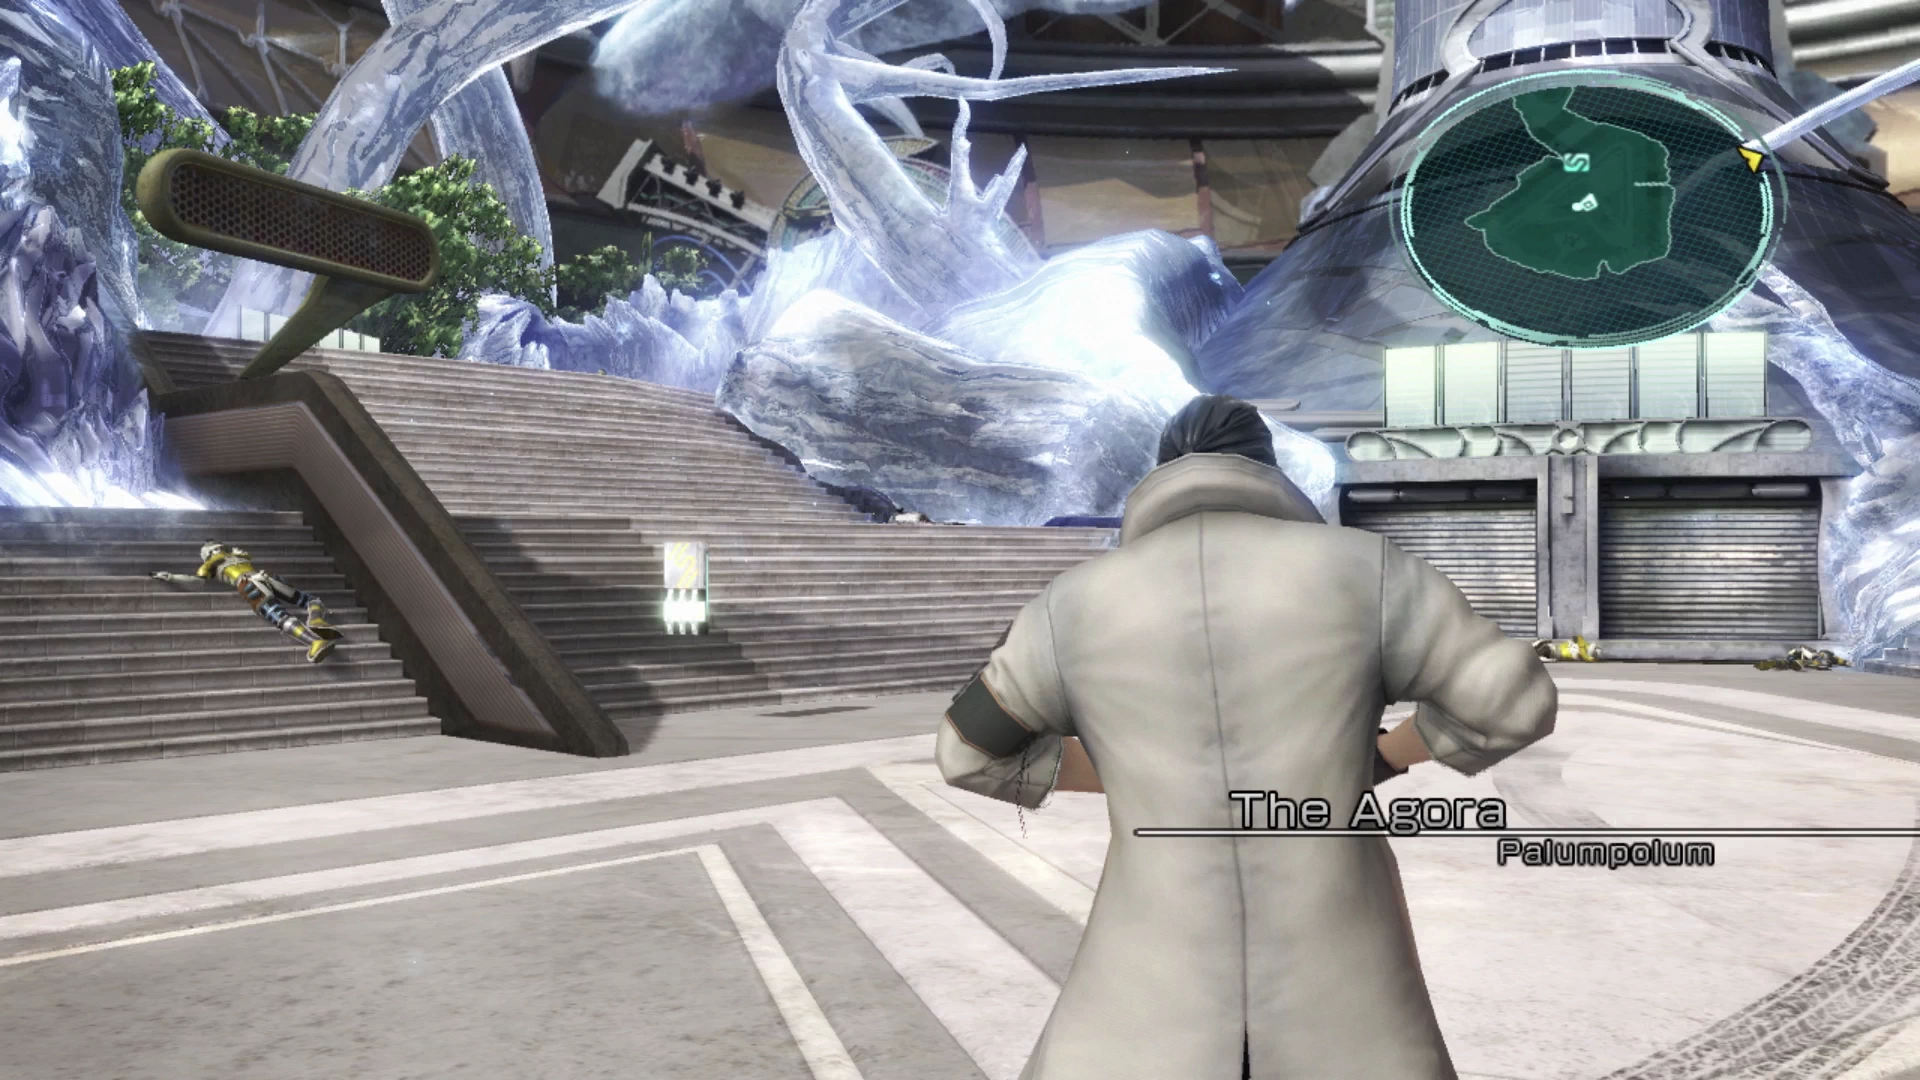
The Agora


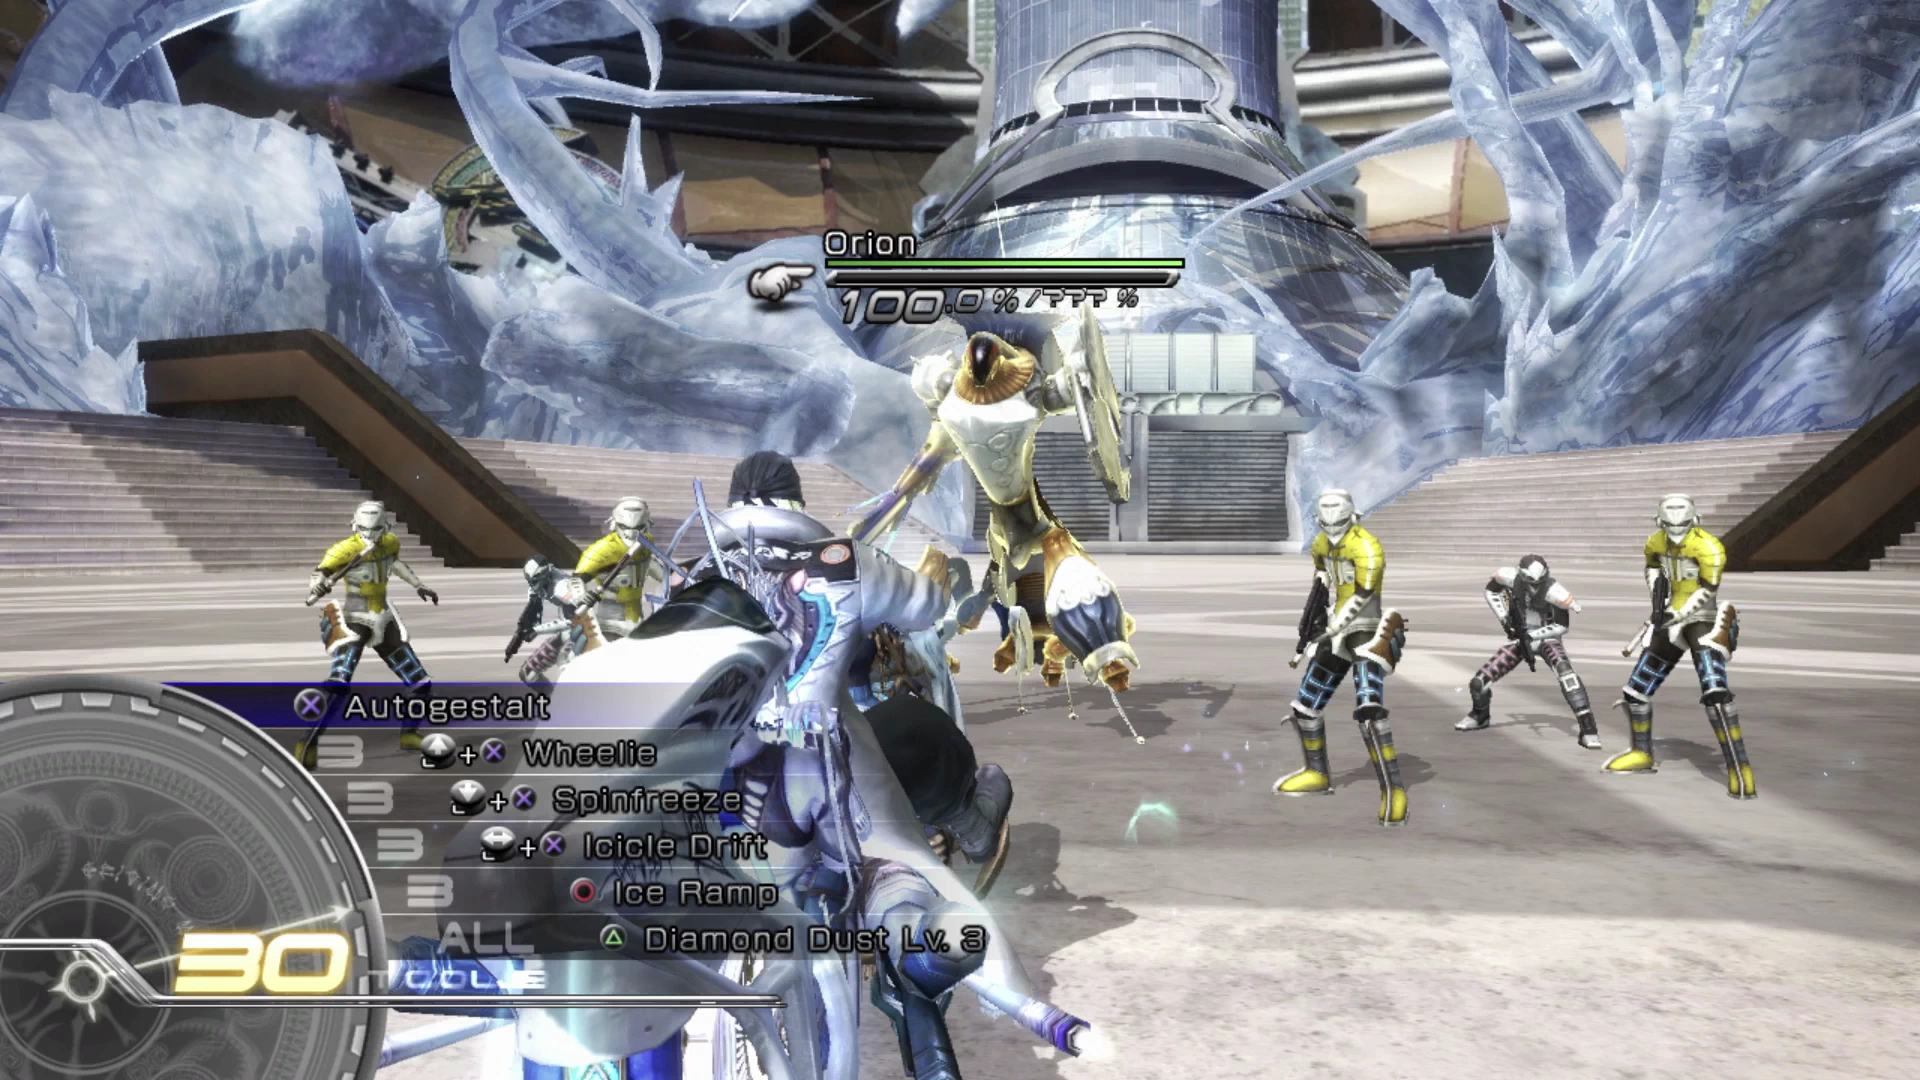
At the end of the scenes, Snow will be trying to save Hope from a group of PSICOM Soldiers and an Orion. The battle begins with Snow using Shiva in Gestalt Mode which means you can use any of the Gestalt attacks or just press the ![]()
![]()
![]() button to have the game select the best attack for you.
button to have the game select the best attack for you.
Don’t worry about pressing ![]()
![]()
![]() button to activate Diamond Dust as this attack will initiate automatically once the Gestalt Gauge reaches 0. Have Snow use regular attacks if the Orion is still alive after Shiva’s attack sequence is over.
button to activate Diamond Dust as this attack will initiate automatically once the Gestalt Gauge reaches 0. Have Snow use regular attacks if the Orion is still alive after Shiva’s attack sequence is over.
Snow has a ton of Crystogen Points (CP) that he needs to use up. Focus on using his CP in the ![]() Commando Role, as he will be acting in this role quite a bit in this chapter, followed by the
Commando Role, as he will be acting in this role quite a bit in this chapter, followed by the ![]() Sentinel role. Snow will rarely be functioning as a
Sentinel role. Snow will rarely be functioning as a ![]() Ravager because he is not very well suited to this role.
Ravager because he is not very well suited to this role.
Helpful Hint
This is one of the few sections of the game where you will need to make some use of the ![]() Sentinel role. The idea behind this role is that you start by using
Sentinel role. The idea behind this role is that you start by using ![]() Provoke which will have the enemy focus its attack on you.
Provoke which will have the enemy focus its attack on you. ![]() Sentinels always take reduced damage from attacks, but this incoming damage can be reduced even further by having them then use their
Sentinels always take reduced damage from attacks, but this incoming damage can be reduced even further by having them then use their ![]() Steelguard ability.
Steelguard ability.
There are two challenges to be aware of when it comes to using this role effectively:
 Provoke can sometimes fail. You will know when it works successfully because a red exclamation point will flash above an enemy’s head indicating that they are now focused on the
  Sentinel.
But because it can sometimes fail, selecting the “Auto-cover” will usually have that character useProvoke up to four times which will help to ensure that it works, so don’t be concerned about using it a bunch of times in succession.- Characters in the Sentinel role take less damage overall, but their true ability to mitigate damage comes from using
 Steelguard (or Mediguard).
Why is this important? This means that if you want your ![]() Sentinel to properly function as a sponge for heavy damage you need to be quick in switching over to the right Paradigm, having your Sentinel
Sentinel to properly function as a sponge for heavy damage you need to be quick in switching over to the right Paradigm, having your Sentinel ![]() Provoke the right enemy, and then trying to get
Provoke the right enemy, and then trying to get ![]() Steelguard up before a heavy-damage attack hits. It can be challenging to get the timing right so don’t get discouraged if it takes a few tries.
Steelguard up before a heavy-damage attack hits. It can be challenging to get the timing right so don’t get discouraged if it takes a few tries.
Use the ![]() Save Station to save your game and then engage the group of three Corps Tranquifex with the PSICOM Bombardier at the top of the stairs. You can stick to the Slash & Burn Paradigm for these fights against soldiers as they are easy to defeat. Just switch to War & Peace if either Snow or Hope’s HP gets low. Follow the walkway up through the makeshift ice platforms and into the next area.
Save Station to save your game and then engage the group of three Corps Tranquifex with the PSICOM Bombardier at the top of the stairs. You can stick to the Slash & Burn Paradigm for these fights against soldiers as they are easy to defeat. Just switch to War & Peace if either Snow or Hope’s HP gets low. Follow the walkway up through the makeshift ice platforms and into the next area.
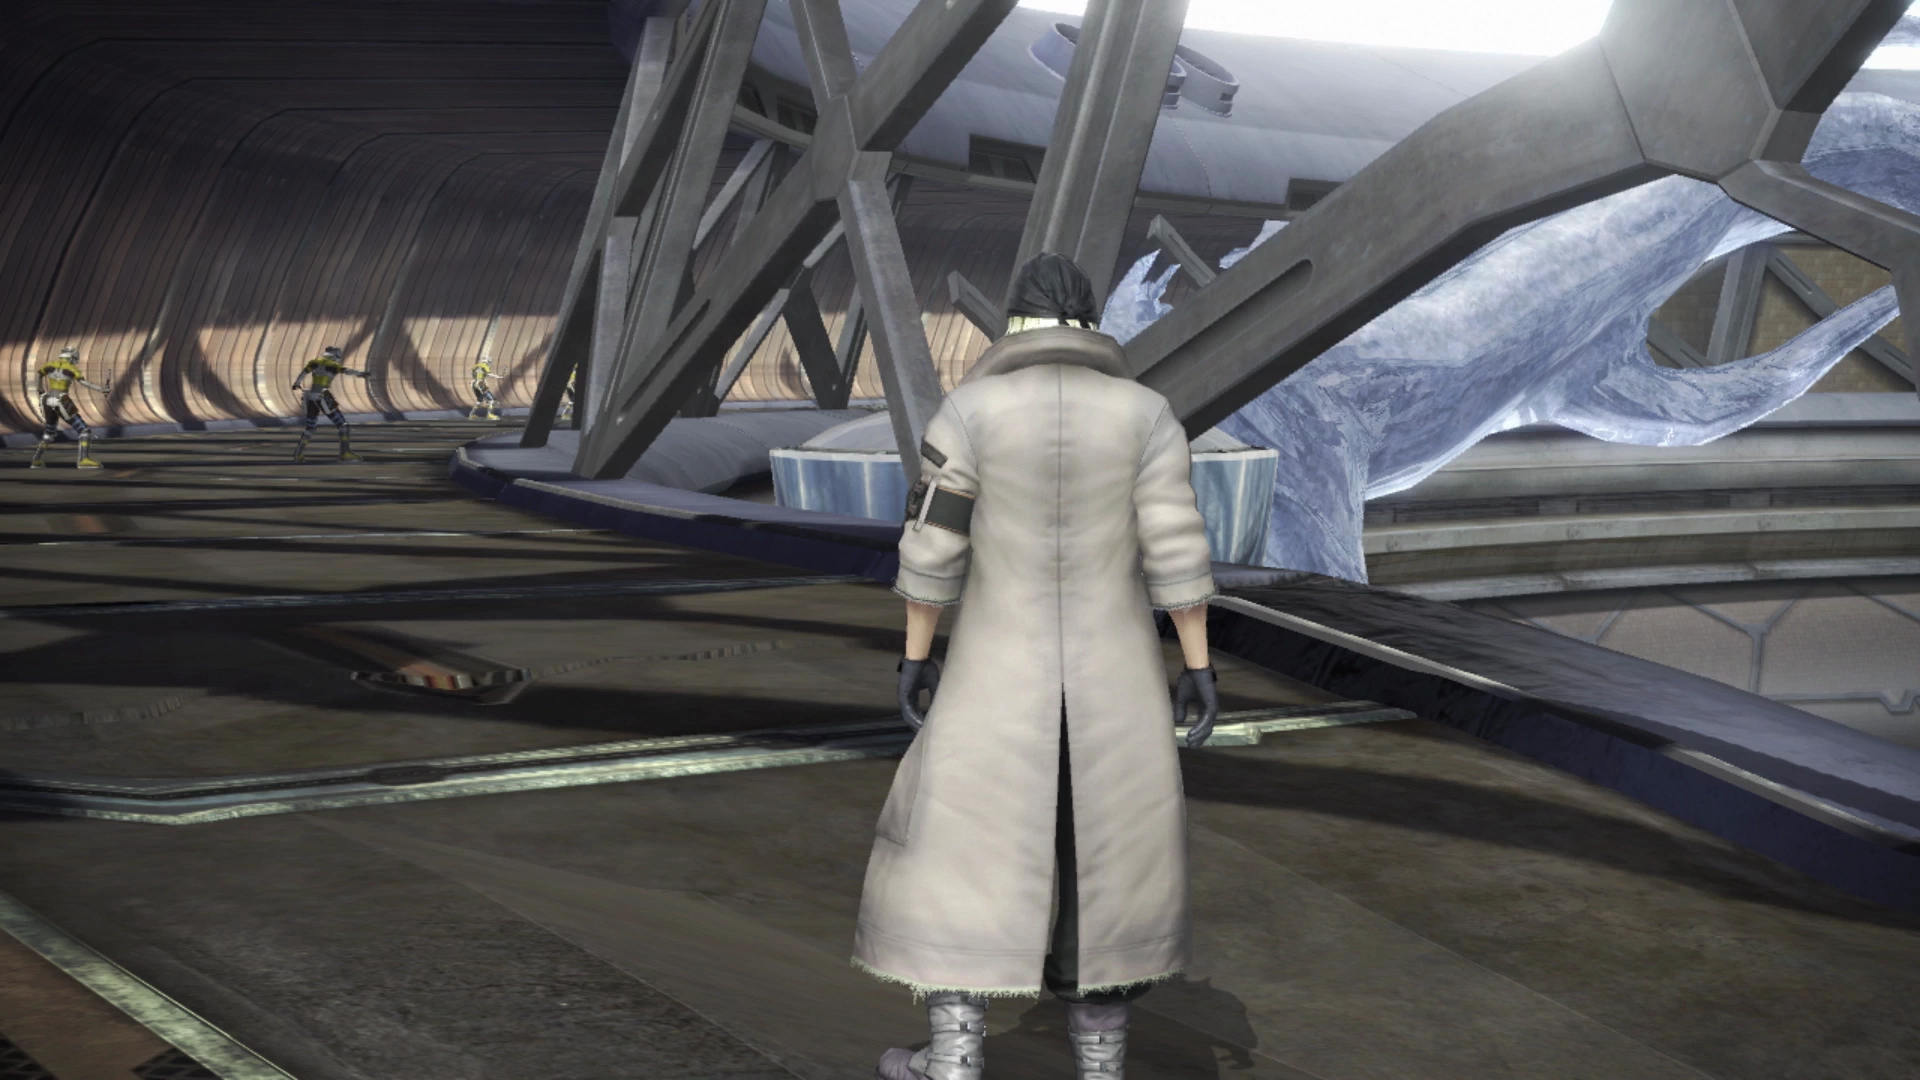
Pedestrian Terraces
Just up ahead you will have to fight a group of two Corps Pacifex and a new enemy called a PSICOM Scavenger (remember to use ![]() Libra on it). Make sure to defeat the PSICOM Scavenger first as it will cast buffs on the other soldiers.
Libra on it). Make sure to defeat the PSICOM Scavenger first as it will cast buffs on the other soldiers.
Following that is a group of four Corps Pacifex and a PSICOM Scavenger; again, take down the PSICOM Scavenger first.
Helpful Hint
This is a reminder that reaching the “Role Level” node in your character’s Crystariums provides an overall “bonus” for the function that the role is meant to perform.
For example, increasing the Role Level of a ![]() Sentinel, from level 1 to level 2, increases the amount of damage reduction in play when that character is in their Sentinel role, and this impacts party members as well. As another reminder, here is a quick overview of the bonuses that Role Levels provide:
Sentinel, from level 1 to level 2, increases the amount of damage reduction in play when that character is in their Sentinel role, and this impacts party members as well. As another reminder, here is a quick overview of the bonuses that Role Levels provide:
 Commando: Increases the damage dealt by self and party members.
 Medic: Increases the amount healed on self and party members.
 Ravager: Increases the chain boost given by each attack for self and party.
 Saboteur: Increases the likelihood of a debuff being applied.
 Synergist: Increases the duration of buffs applied to self and party.
Check out the Roles section for more information.
Continue walking past the illuminated blue circle on the ground and towards the next set of enemies which includes two Corps Pacifex and a PSICOM Warlord. In preparation for this battle, you should do two things:
- Set up a Building Block Paradigm (Snow as a Sentinel and Hope as a Synergist).
- Set the starting Paradigm to Building Block.
The PSICOM Warlord is more powerful and reminiscent of the PSICOM Marauder and PSICOM Executioners that you’ve faced previously. Starting in the Building Block Paradigm will reduce the incoming damage from these enemies while Hope sets himself and Snow up with ![]() Protect and
Protect and ![]() Shell to start the fight. Once both party members are buffed (
Shell to start the fight. Once both party members are buffed (![]() Protect,
Protect, ![]() Shell and
Shell and ![]() Barwater), switch back over to the Slash & Burn Paradigm and focus on taking out the two Corps Pacifex first.
Barwater), switch back over to the Slash & Burn Paradigm and focus on taking out the two Corps Pacifex first.

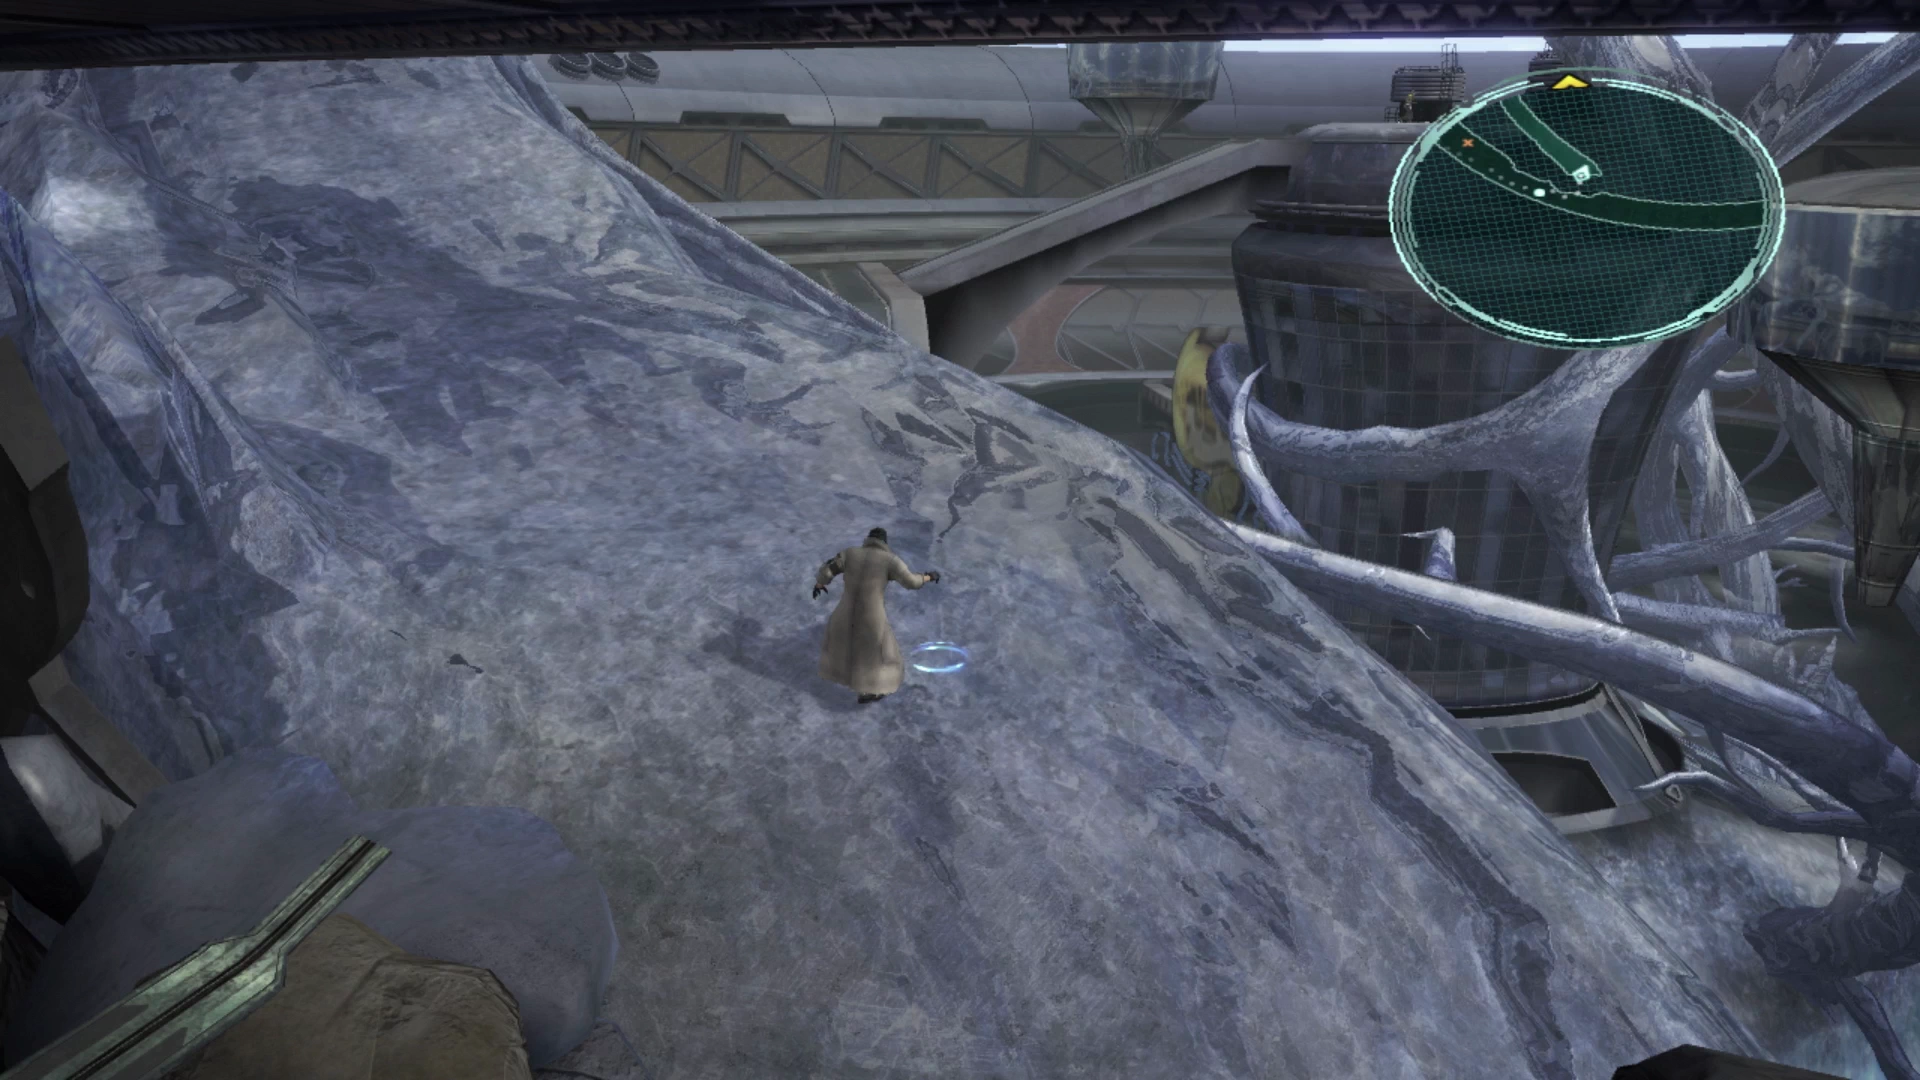
Grab the Treasure Sphere behind where the group of enemies were standing which contains a vial of ![]() Fortisol, then turn around and go back to the illuminated blue circle and drop down to the ice below. Don’t forget to switch your default Paradigm back to Slash & Burn and then follow the ice pathway onto the platform on the other side.
Fortisol, then turn around and go back to the illuminated blue circle and drop down to the ice below. Don’t forget to switch your default Paradigm back to Slash & Burn and then follow the ice pathway onto the platform on the other side.
There’s a group of two Corps Tranquifex and a PSICOM Scavenger here. Like before, focus your attacks on the PSICOM Scavenger first.
Take the pathway leading off to the right that goes up to the center area to find another group of soldiers. Given the number of soldiers in this group you may want to start in the Building Block Paradigm to set up some defense buffs first before attacking the group which includes four Corps Tranquifex and a PSICOM Bombardier.
Take out the Bombardier first and then, once the group has been defeated, open the Treasure Sphere which contains a ![]() Paladin weapon for Snow. This weapon is defensively focused and works well for a
Paladin weapon for Snow. This weapon is defensively focused and works well for a ![]() Sentinel, but we need offense and damage during these chapters of the game, so leave Snow’s
Sentinel, but we need offense and damage during these chapters of the game, so leave Snow’s ![]() Power Circle equipped for now.
Power Circle equipped for now.
Set the default Paradigm back to Building Block and then head over to the opposite side of this central platform to find yet another group of soldiers. This one includes two Corps Tranquifex, one PSICOM Predator and a PSICOM Warlord. The order of enemies that you should focus your attacks on goes Predator, Tranquifex and then Warlord last.
Follow the terrace pathway up ahead and look for the illuminated blue circle which shows you where you can drop down onto the lower level. Turn left and you will find a Treasure Sphere that contains four lengths of ![]() Insulated Cabling.
Insulated Cabling.
There are no more battles at this point so, once again, consider removing any accessories from Snow and Hope so that they can be used by the other group of characters that you will oversee shortly.
Move forward until you find the next ![]() Save Station and use it to save your game. Then proceed along the terrace until you reach another area where you can drop down through the ice. Just walk a few steps forward to trigger another cutscene.
Save Station and use it to save your game. Then proceed along the terrace until you reach another area where you can drop down through the ice. Just walk a few steps forward to trigger another cutscene.
The Back Alleys
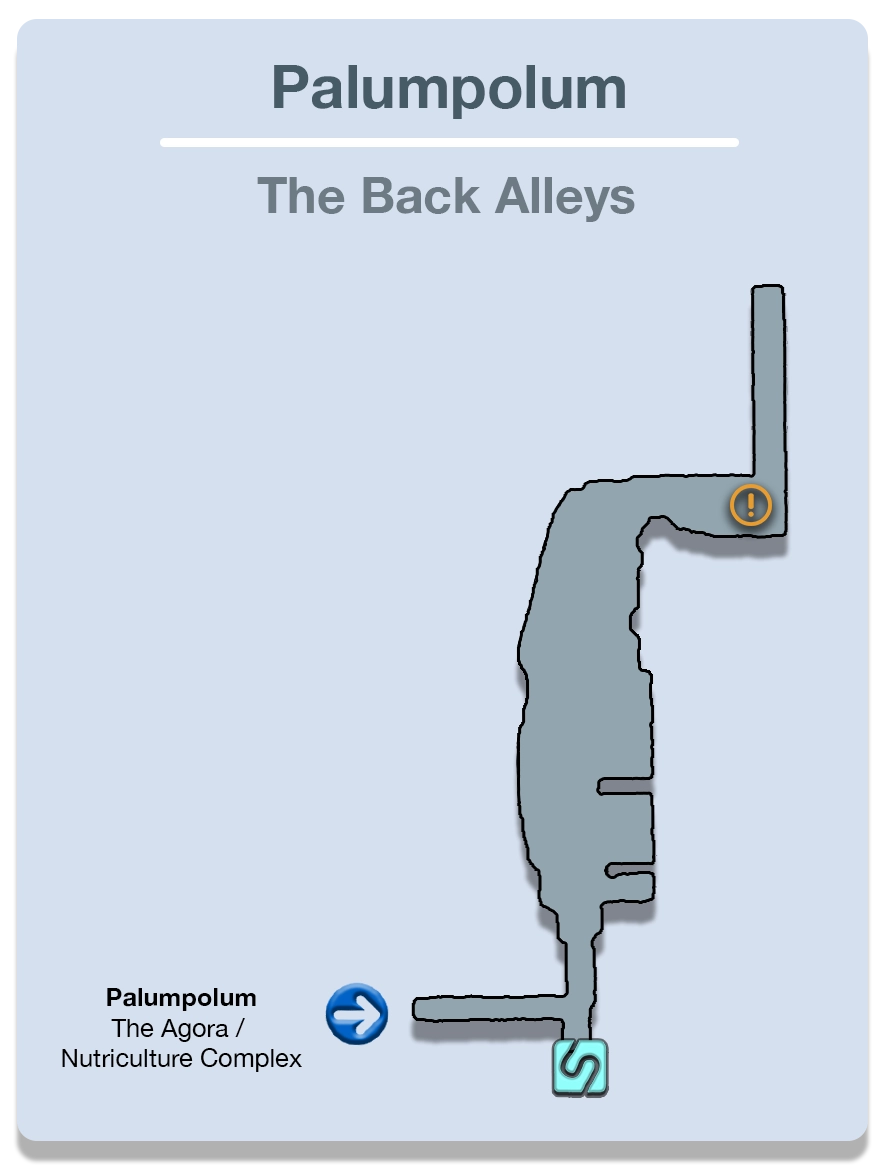
The game will switch control over to Lightning and a new character named Fang who are also in the Western Promenade. Fang joins your team with 2,800 Crystogen Points (CP) to spend in her roles as either a ![]() Commando,
Commando, ![]() Sentinel or
Sentinel or ![]() Saboteur. So, which one should you focus on?
Saboteur. So, which one should you focus on?
Helpful Hint
It’s at this point in the game that you should begin formally transitioning Lightning from her temporary role as a ![]() Commando to having her primary role be a
Commando to having her primary role be a ![]() Ravager. Make no mistake though, for most of the rest of the chapters your party options will be limited, so this choice doesn’t mean much now, but it’s important to note that, while Lightning makes a great Commando, she makes a much better Ravager.
Ravager. Make no mistake though, for most of the rest of the chapters your party options will be limited, so this choice doesn’t mean much now, but it’s important to note that, while Lightning makes a great Commando, she makes a much better Ravager.
Also, important to note, though, is that Fang also makes a great ![]() Commando. In fact, she’s just as strong or stronger than Lightning, meaning that Fang should be your primary
Commando. In fact, she’s just as strong or stronger than Lightning, meaning that Fang should be your primary ![]() Commando with Lightning as a
Commando with Lightning as a ![]() Ravager.
Ravager.
Especially during these early chapters of the game, you should be filling out the Crystarium of multiple roles for each character just given the stat boosts that this provides to them, but it’s a good idea to start thinking about mastering each character in one or two specific roles.
Check out the Best Party section for more information about which characters fit which roles most effectively and, when you eventually have the option, which characters you should include in your main party.
You can learn more about Fang in the Character section using the link below:
Characters

Check out this section for more information about the newest character to join your team, Fang.
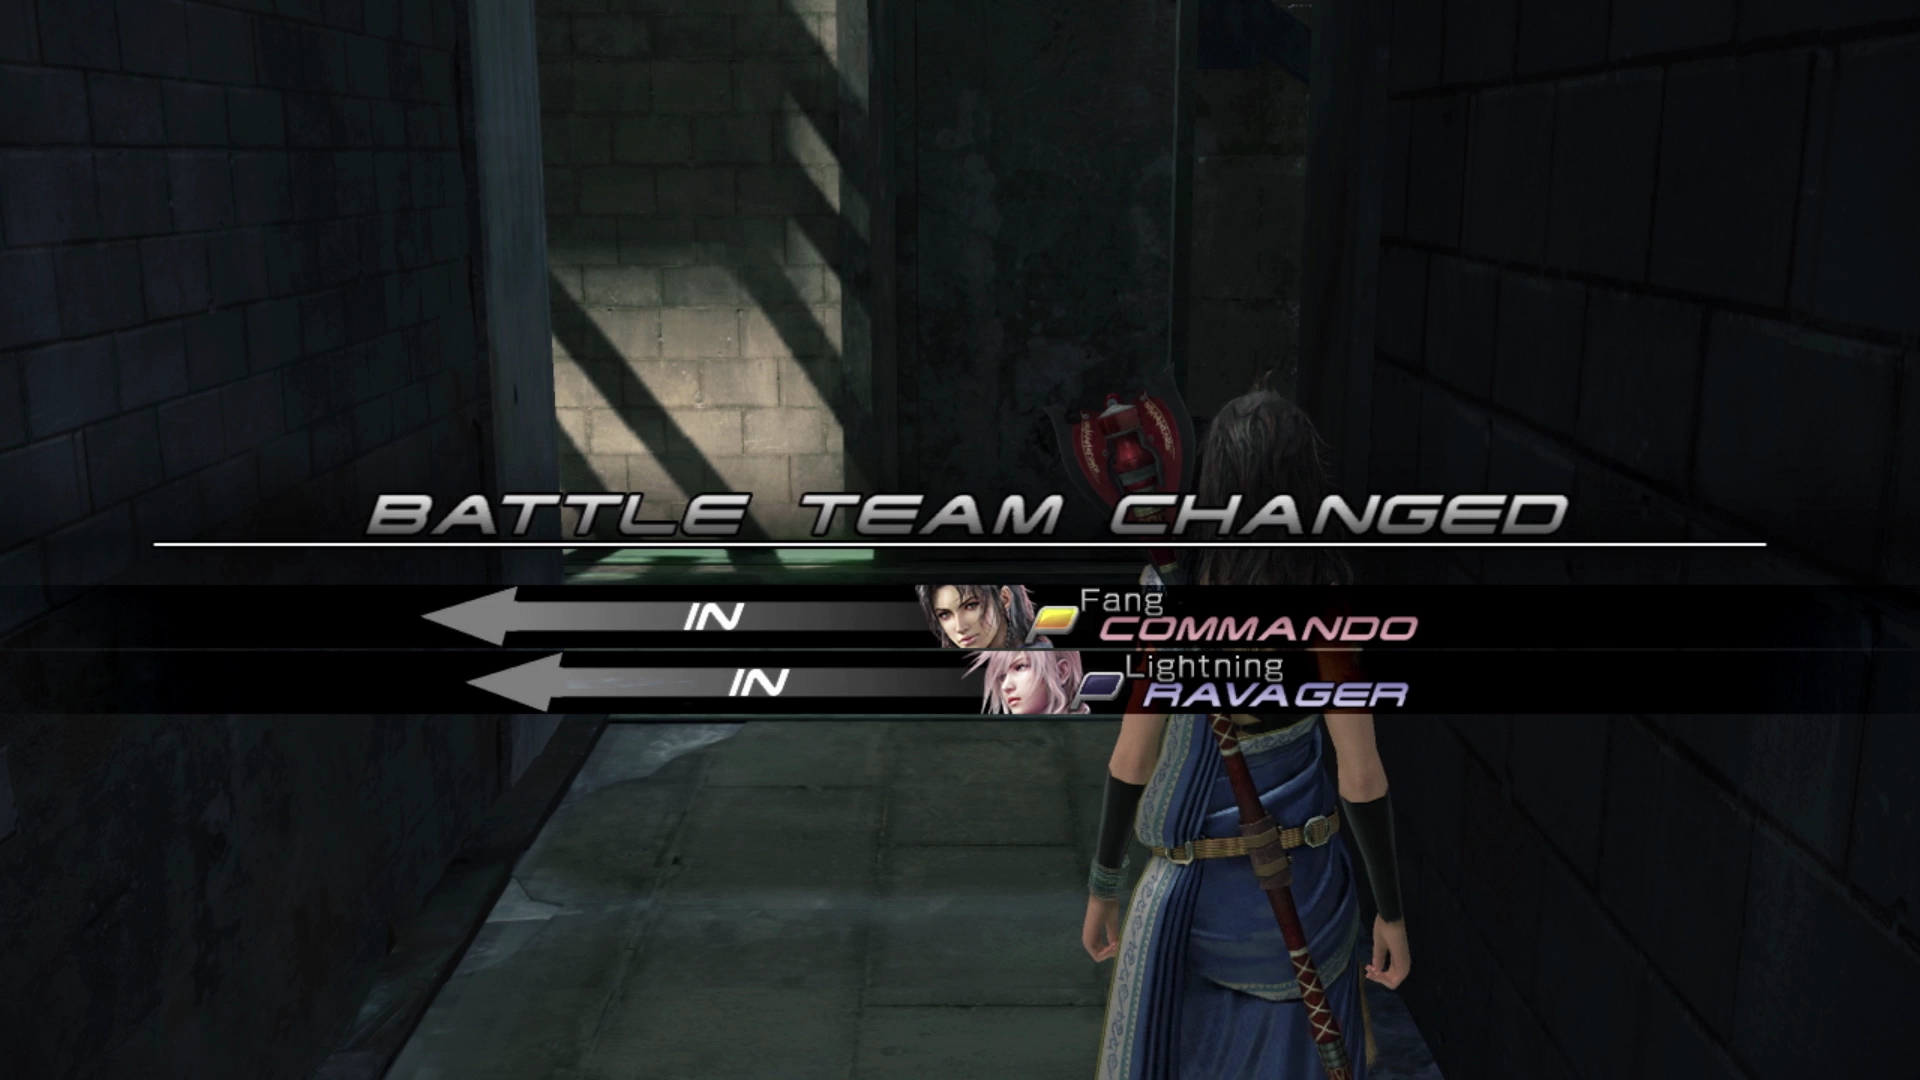
As noted in the “Helpful Hint” section above, use any stored-up points that Lightning has in the ![]() Ravager Crystarium, and because she will be utilizing this role more often, consider equipping her with the
Ravager Crystarium, and because she will be utilizing this role more often, consider equipping her with the ![]() Edged Carbine weapon instead of
Edged Carbine weapon instead of ![]() Gladius. This weapon provides her with more Magic power.
Gladius. This weapon provides her with more Magic power.
Also, make sure to equip accessories to both Fang and Lightning before proceeding forward and use the ![]() Save Station to save your game on the way past. Make use of the Slash & Burn Paradigm (Fang as
Save Station to save your game on the way past. Make use of the Slash & Burn Paradigm (Fang as ![]() Commando and Lightning as
Commando and Lightning as ![]() Ravager) and switch to the War & Peace Paradigm if your party members need healing.
Ravager) and switch to the War & Peace Paradigm if your party members need healing.
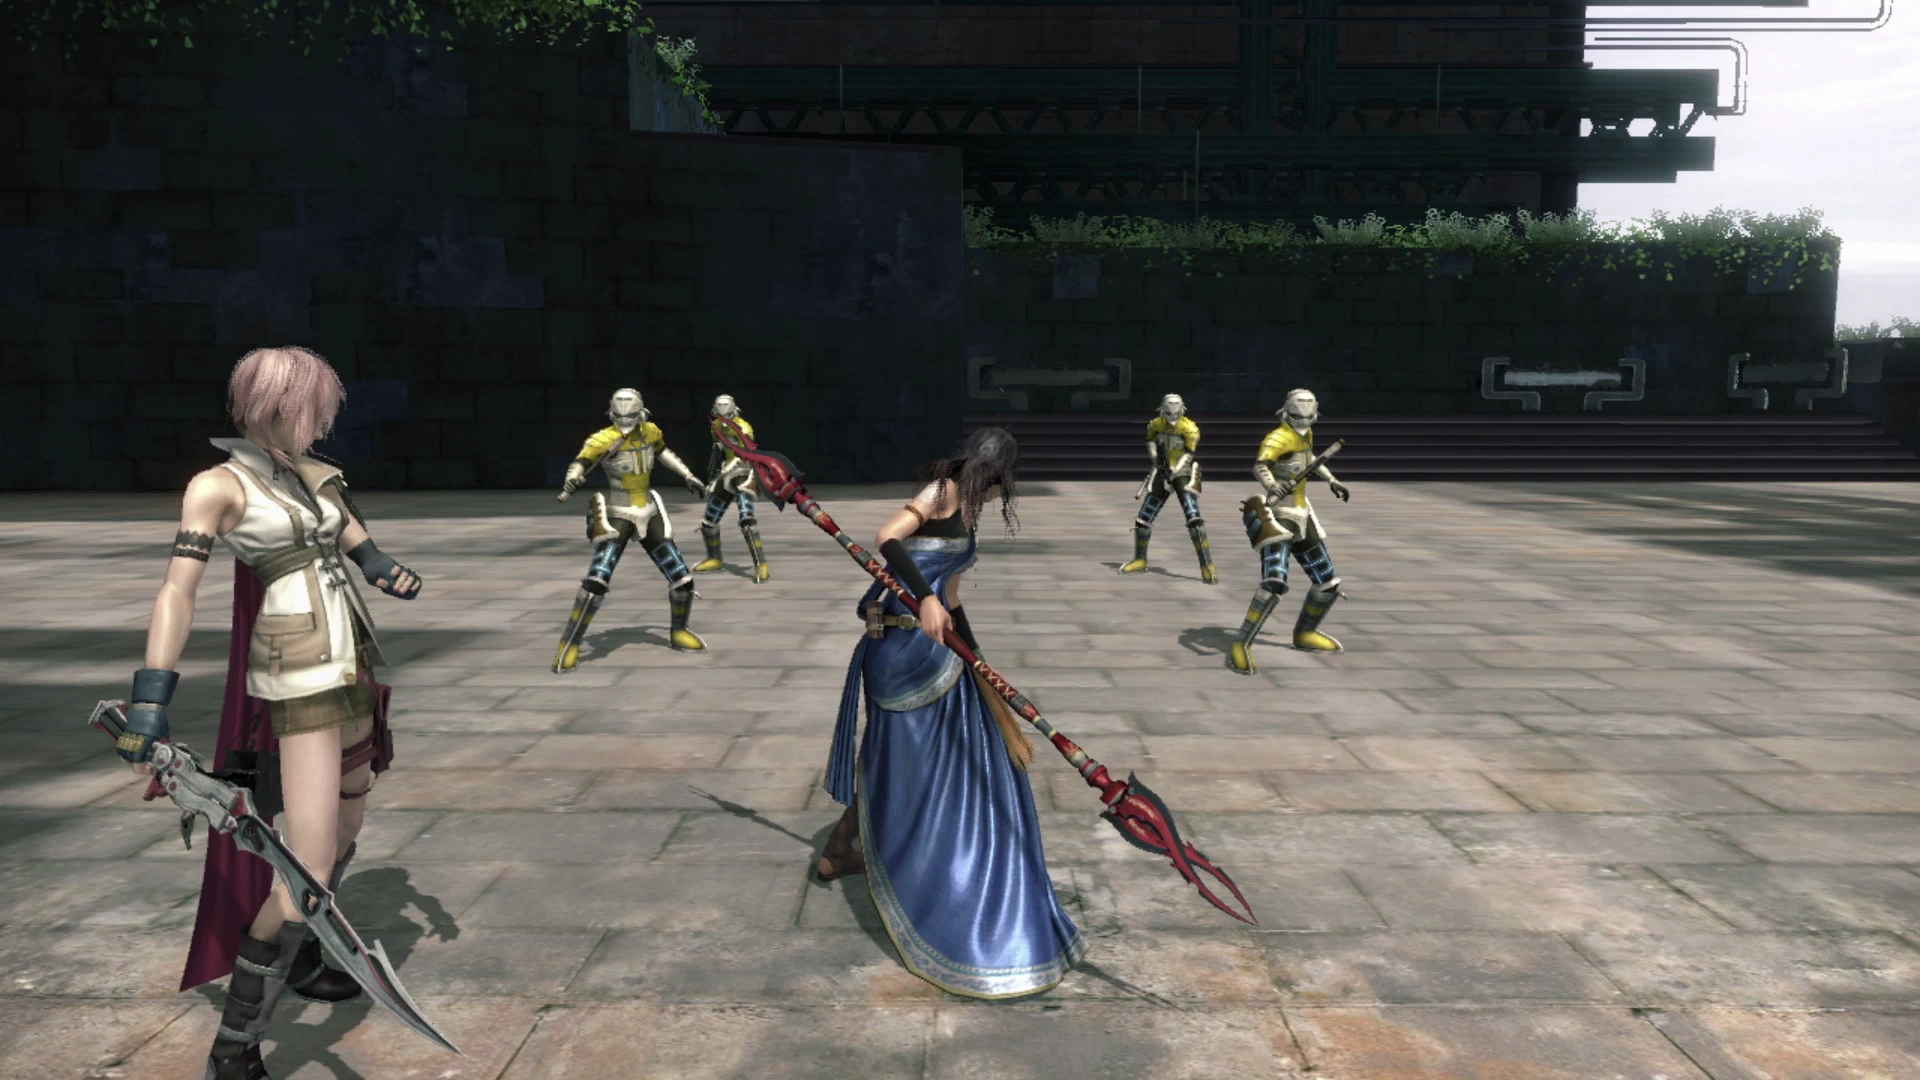
The groups of enemies that you will face include:
- A group of two Corps Tranquifex and two Corps Pacifex
- A single Orion enemy on its own
- A group of three Corps Pacifex and a PSICOM Predator (focus on the Predator first)
None of these enemies are difficult and you should be able to plow through them relatively easily. Remove Lightning and Fang’s accessories after all three enemy groups are defeated. Continue towards the end of this area near the map marker for another short cutscene before we swap back to Snow and Hope.
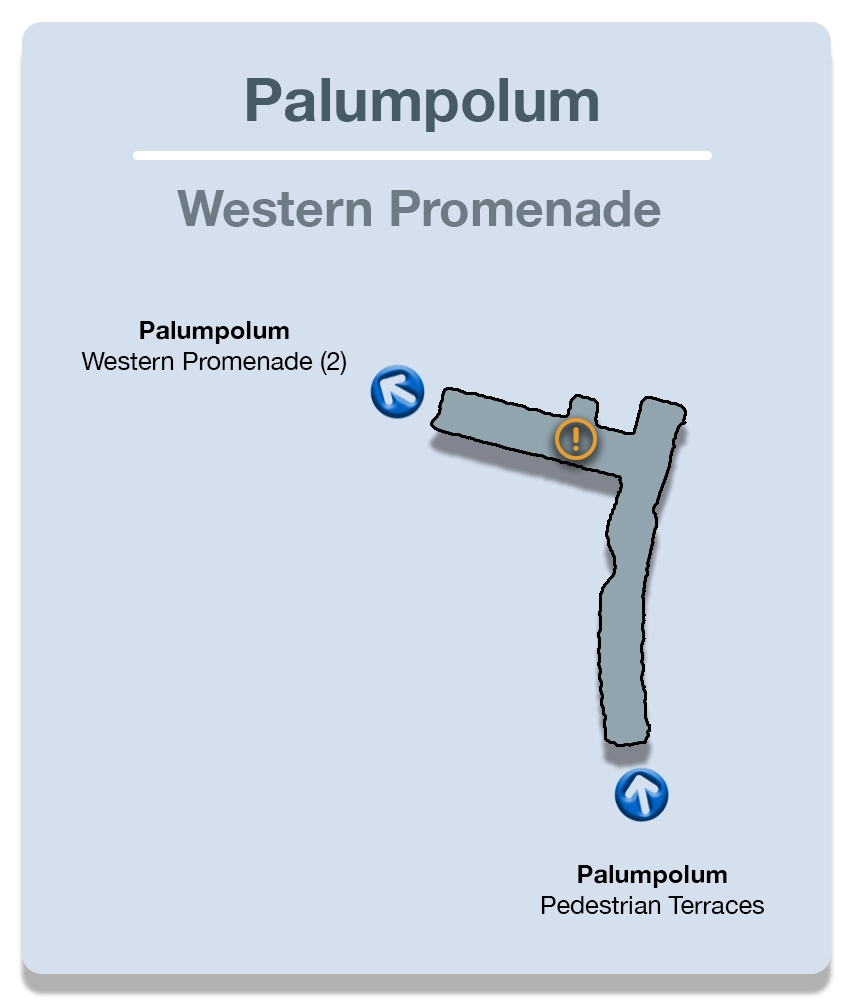
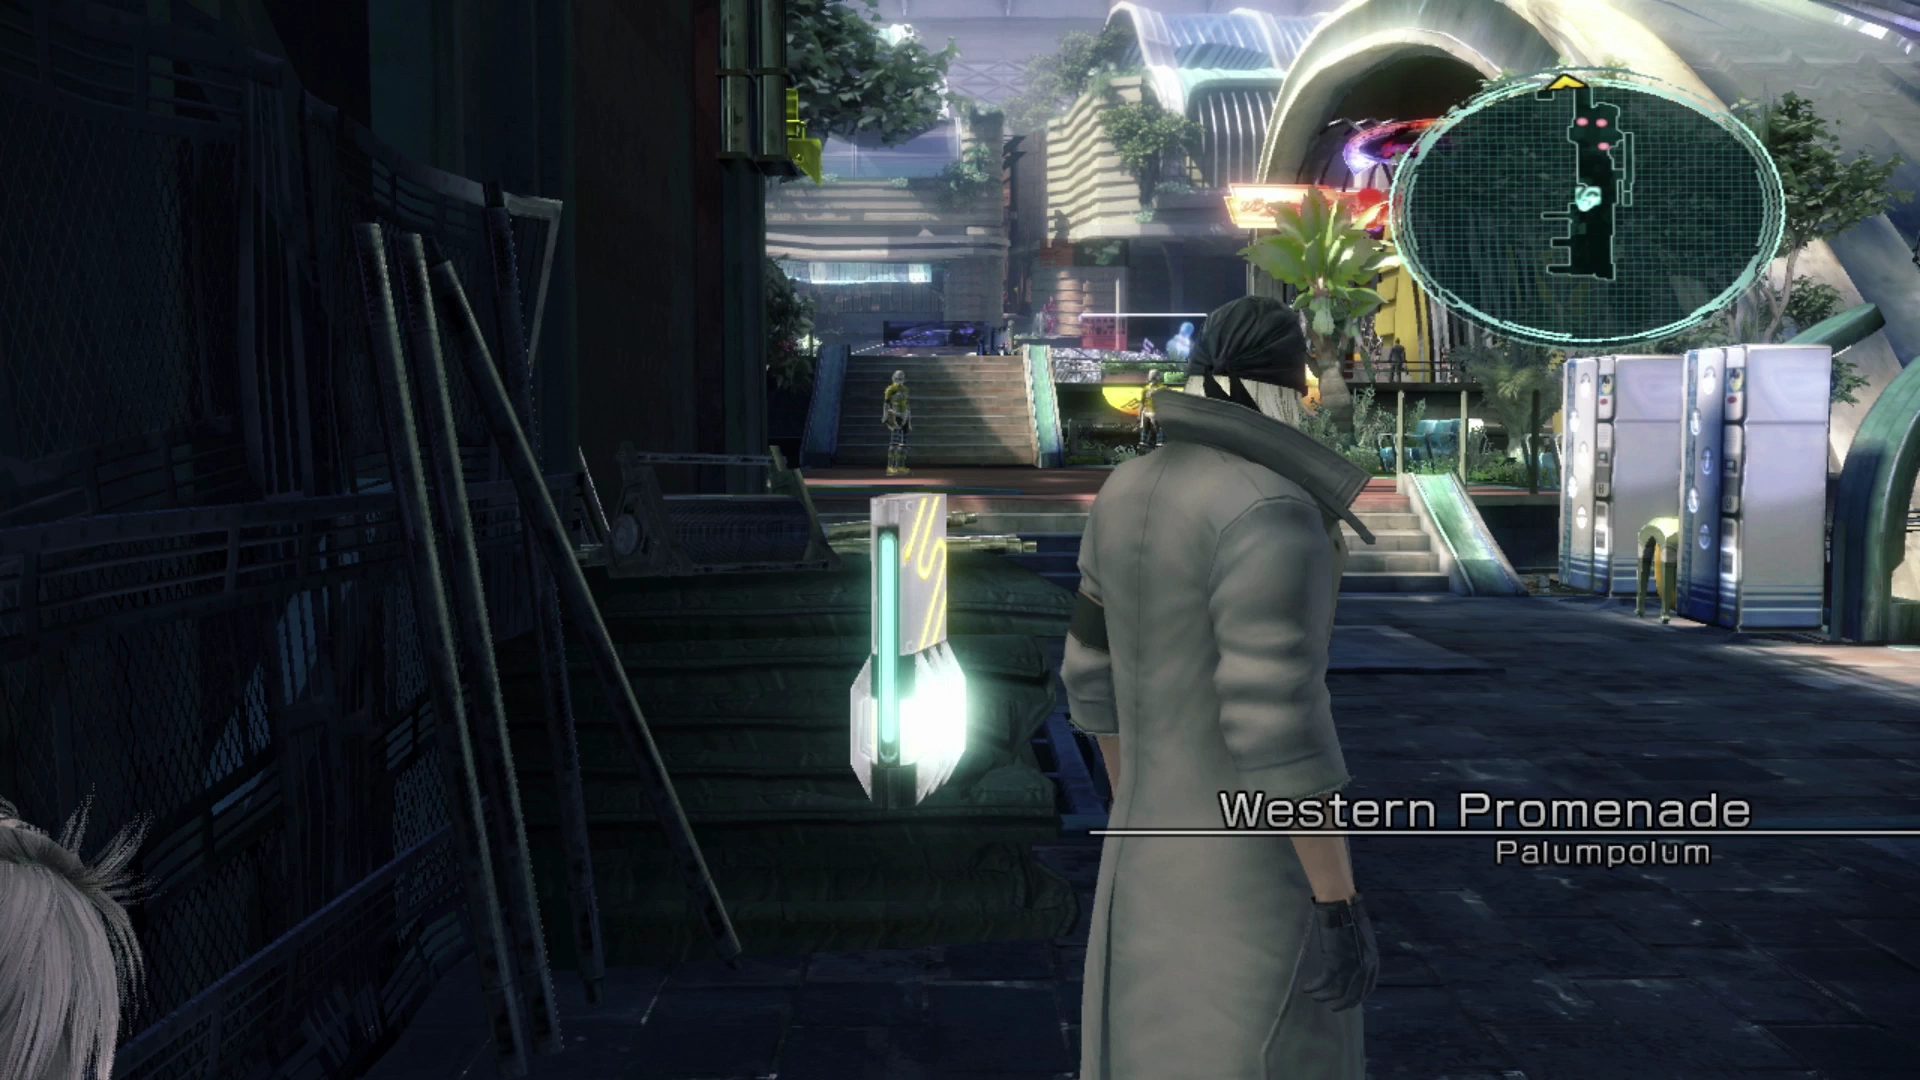
Western Promenade
Equip Snow and Hope with accessories again once you’re back in control of them. Turn around and grab the Treasure Sphere behind them as it contains four flasks of ![]() Holy Water. Defeat the next group of soldiers at the top of the stairs.
Holy Water. Defeat the next group of soldiers at the top of the stairs.
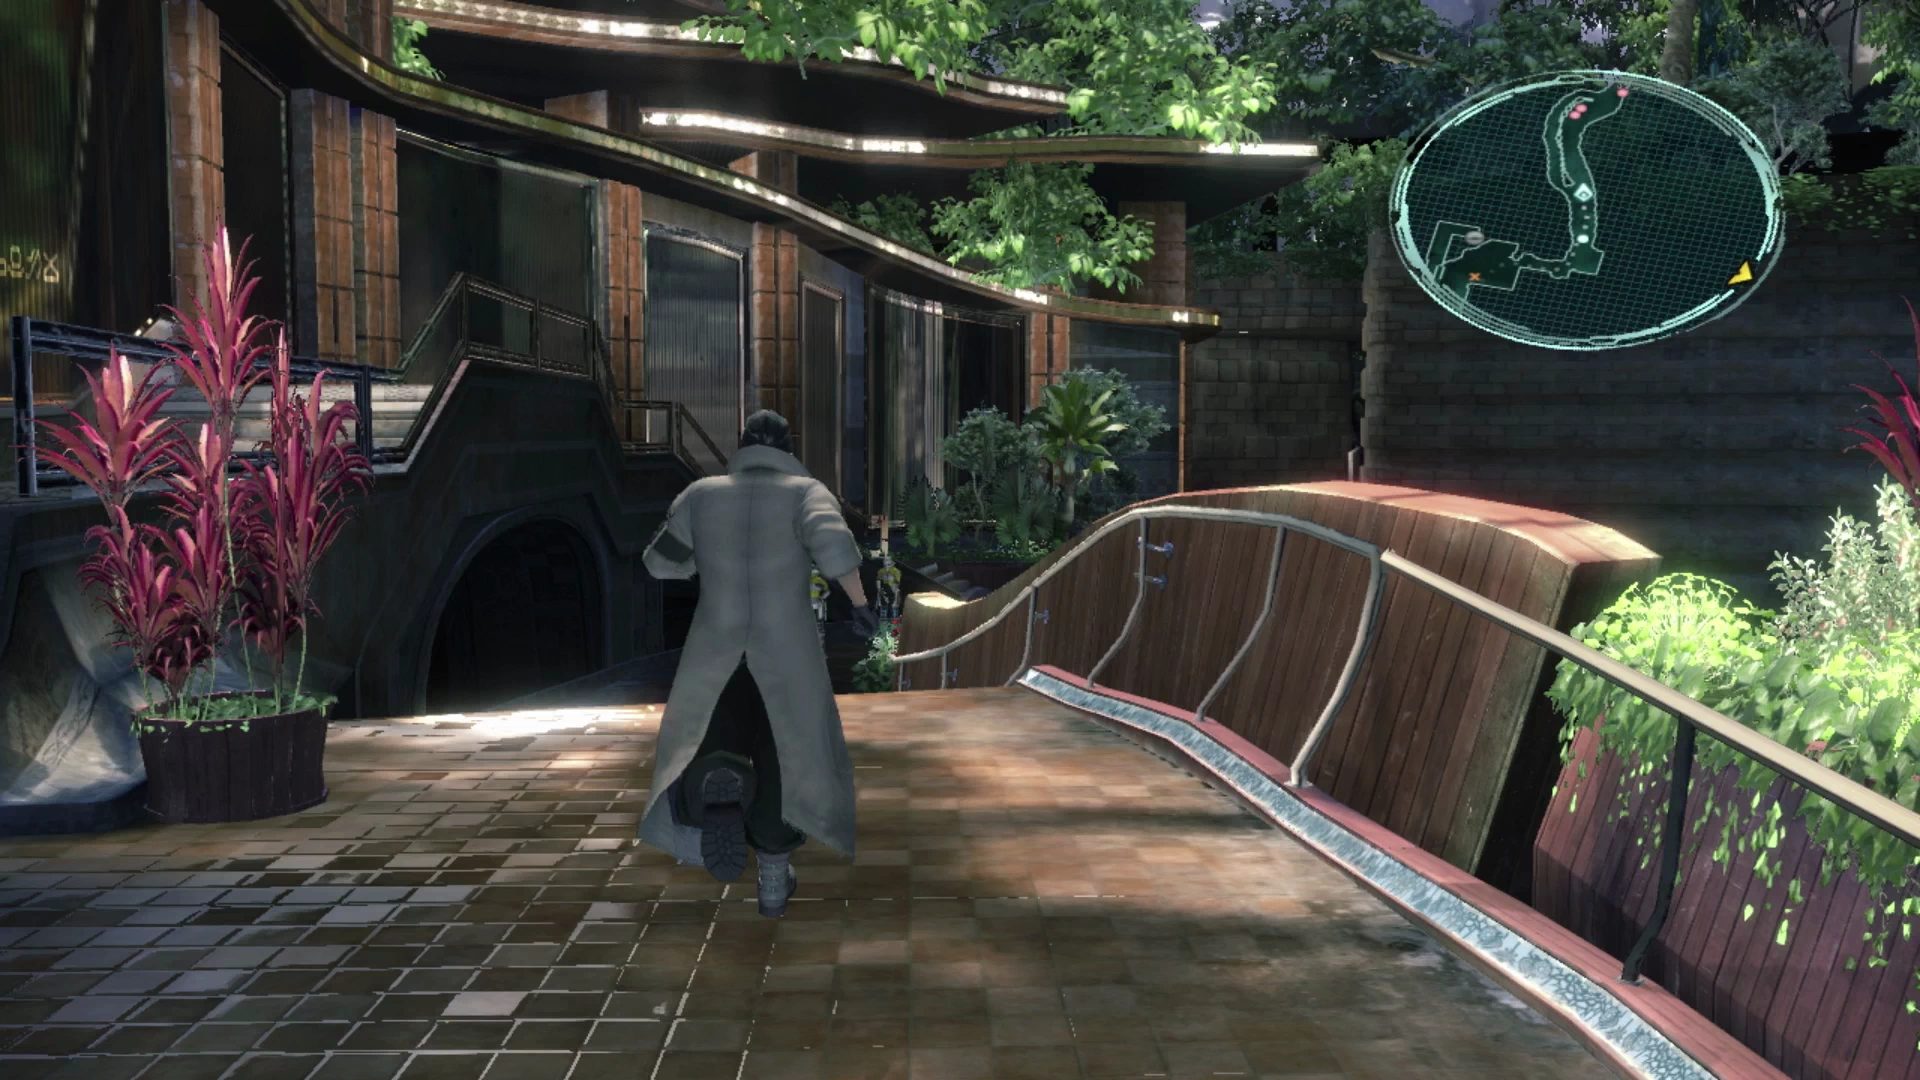
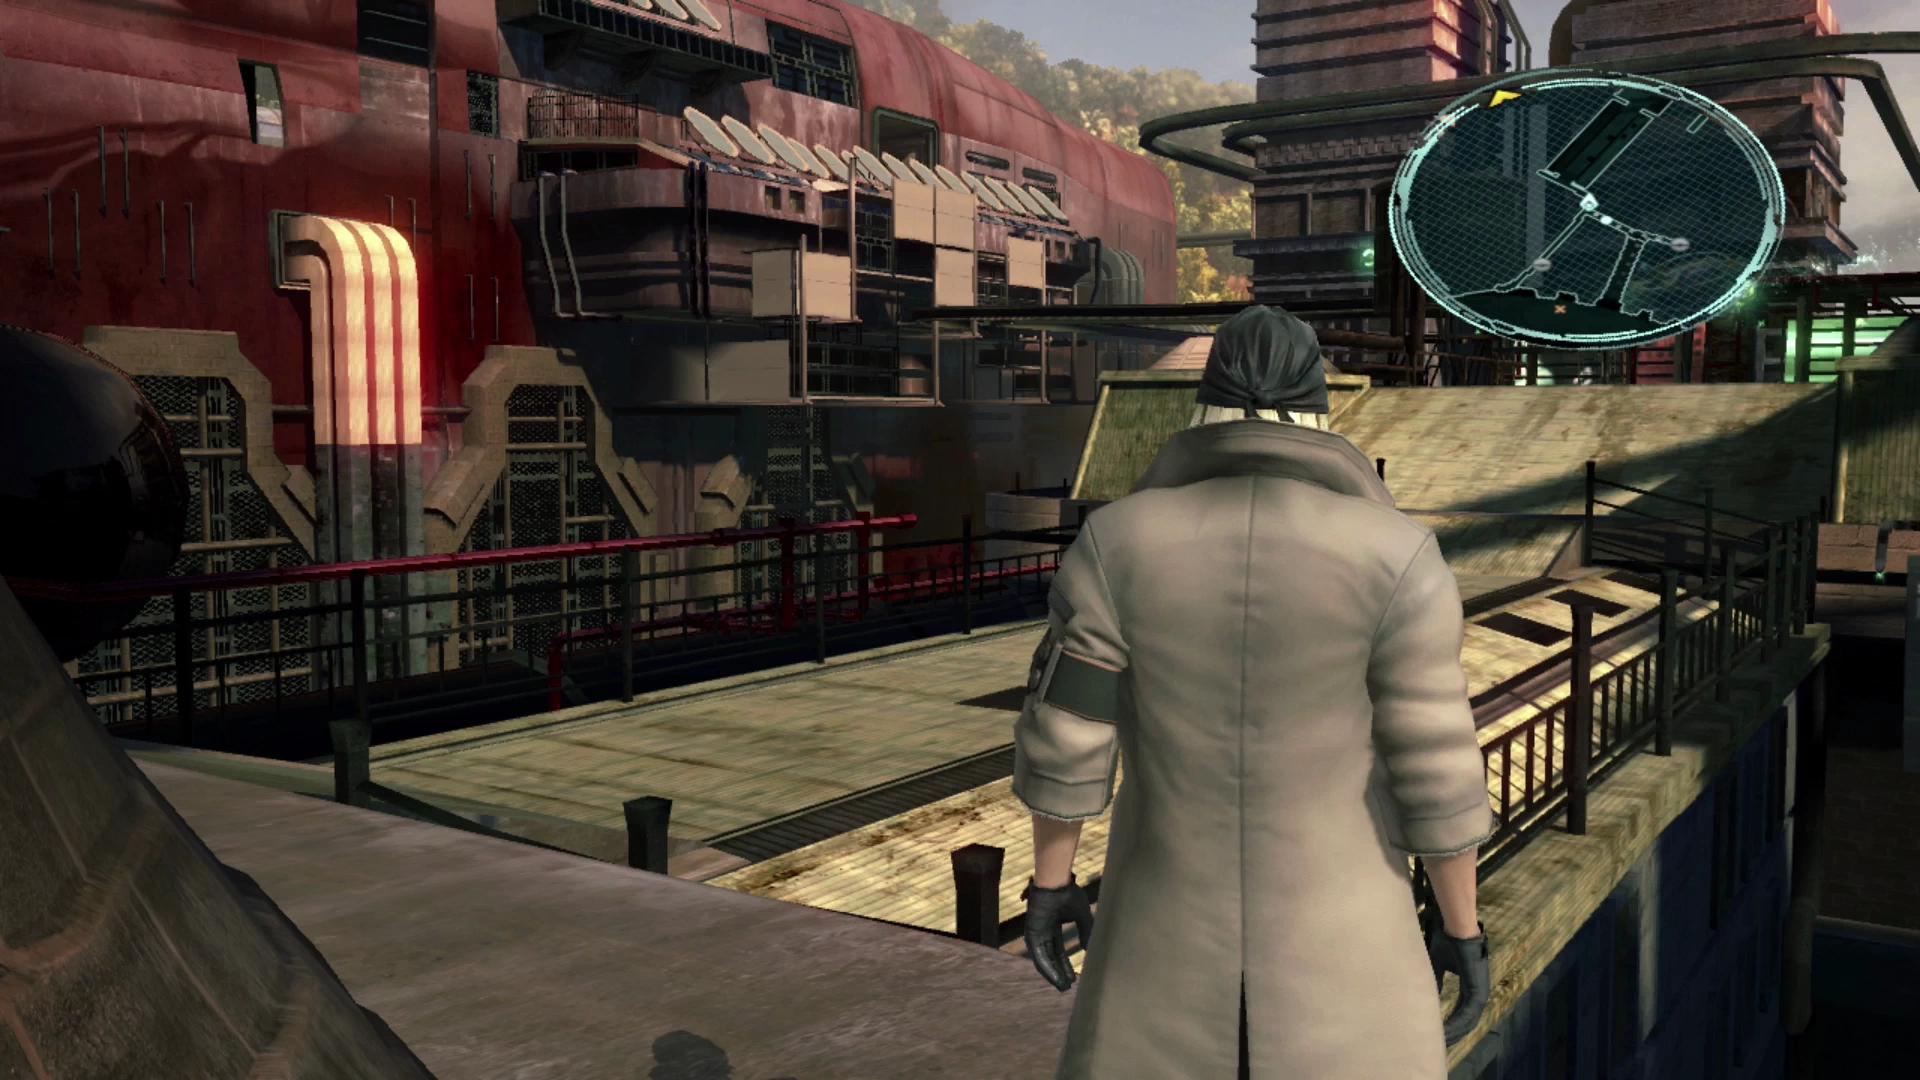
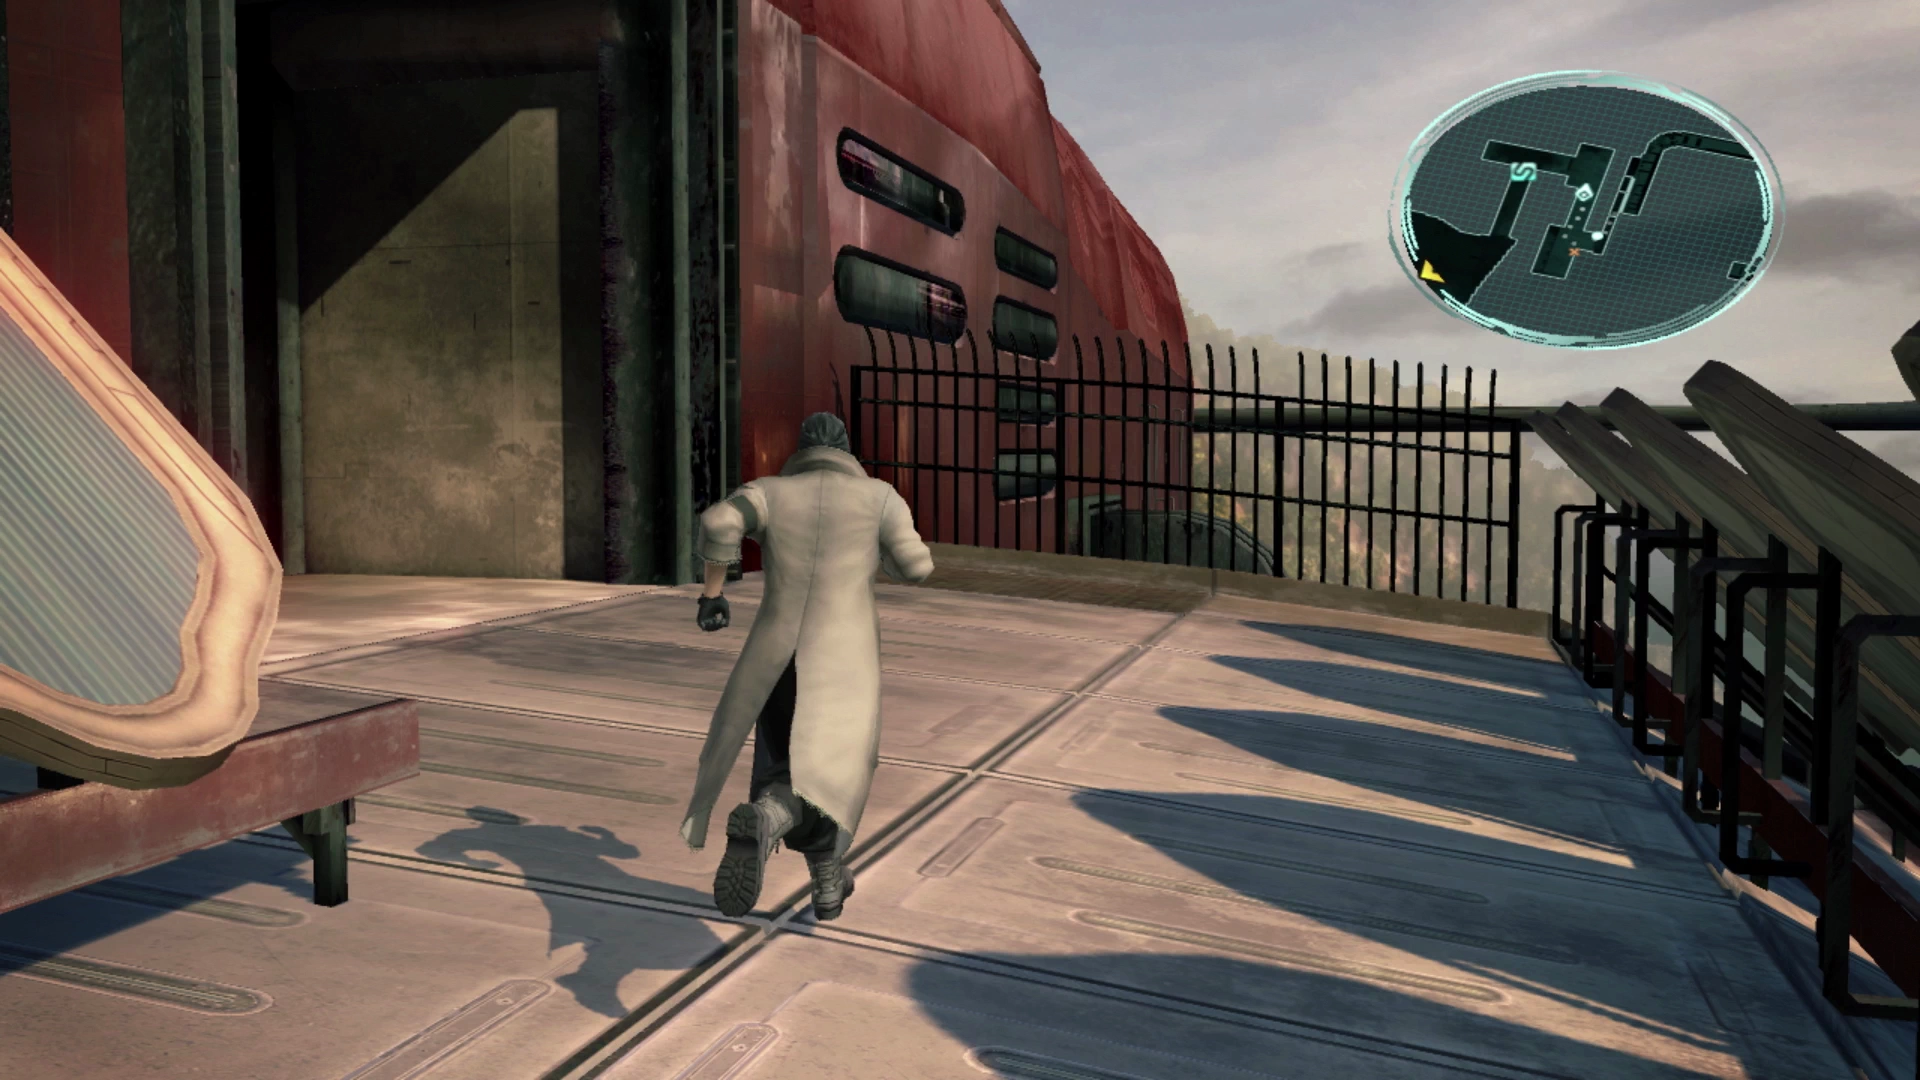
Look for a set of steps that you can use to jump to the upper level of the Promenade (shown in the screenshot below) and jump up onto it.
Follow the pathway forward and around the corner to find a Treasure Sphere that contains two ![]() Incentive Chips. Walk back to the opening in the upper ledge and use it to drop down to the level below and engage the next group of soldiers (three Corps Tranquifex).
Incentive Chips. Walk back to the opening in the upper ledge and use it to drop down to the level below and engage the next group of soldiers (three Corps Tranquifex).

Keep following the pathway up ahead which splits into an upper and lower level. It does not matter which you take as you can’t use the upper level to sneak up on the guards, unfortunately. Engage the group of two Corps Tranquifex and a Corps Pacifex and defeat them on your way through.
Central Arcade
Grab the Treasure Sphere on the left which contains a ![]() Guardian Amulet. This accessory will cast
Guardian Amulet. This accessory will cast ![]() Protect when the HP of the character wearing it goes critical making it an okay item but probably not worth replacing what Snow and Hope are already wearing. Use the
Protect when the HP of the character wearing it goes critical making it an okay item but probably not worth replacing what Snow and Hope are already wearing. Use the ![]() Save Station to save your game and continue along the Central Arcade.
Save Station to save your game and continue along the Central Arcade.
The next group of soldiers you will face includes two Corps Tranquifex and two Corps Pacifex. Further ahead is yet another group of soldiers that is easy to sneak up on for a preemptive strike. This group only has two Corps Pacifex and one Corps Tranquifex. Follow the pathway forward until it veers off downward to the right.
Eastern Promenade
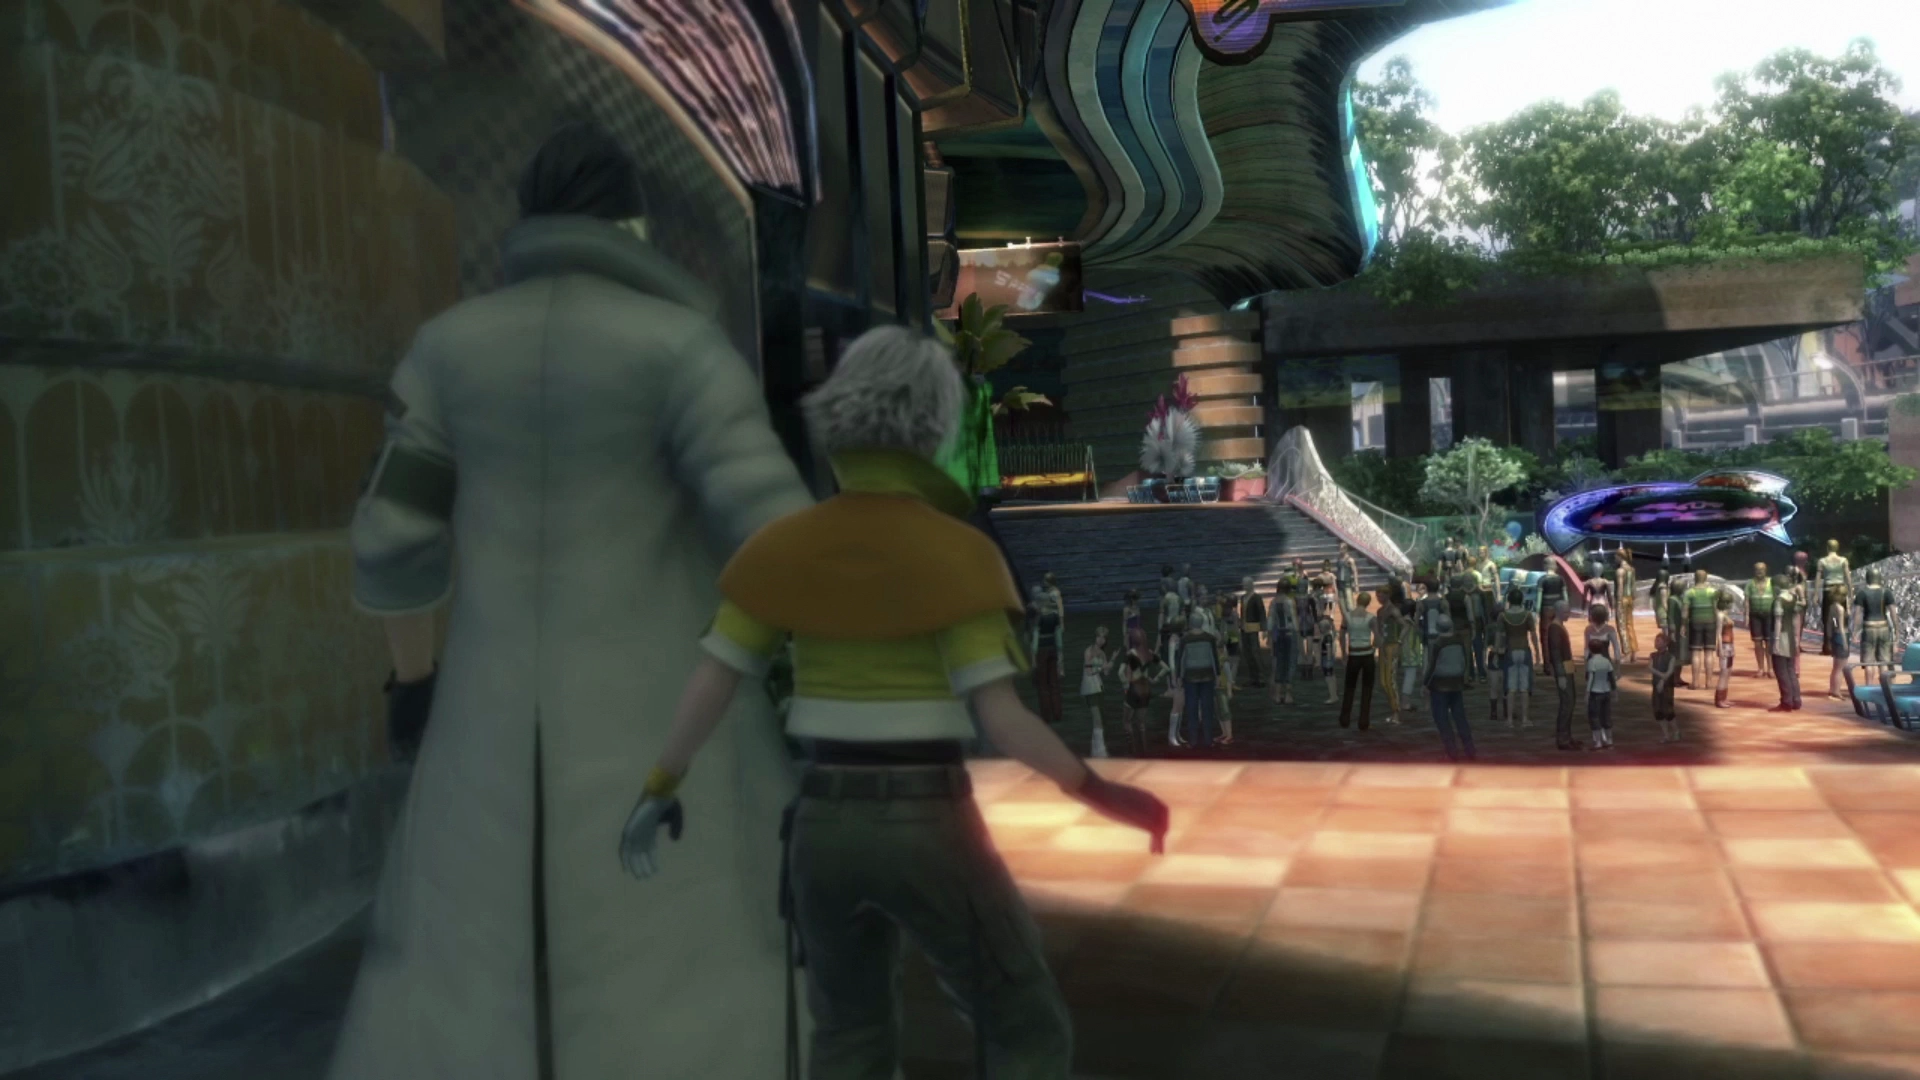
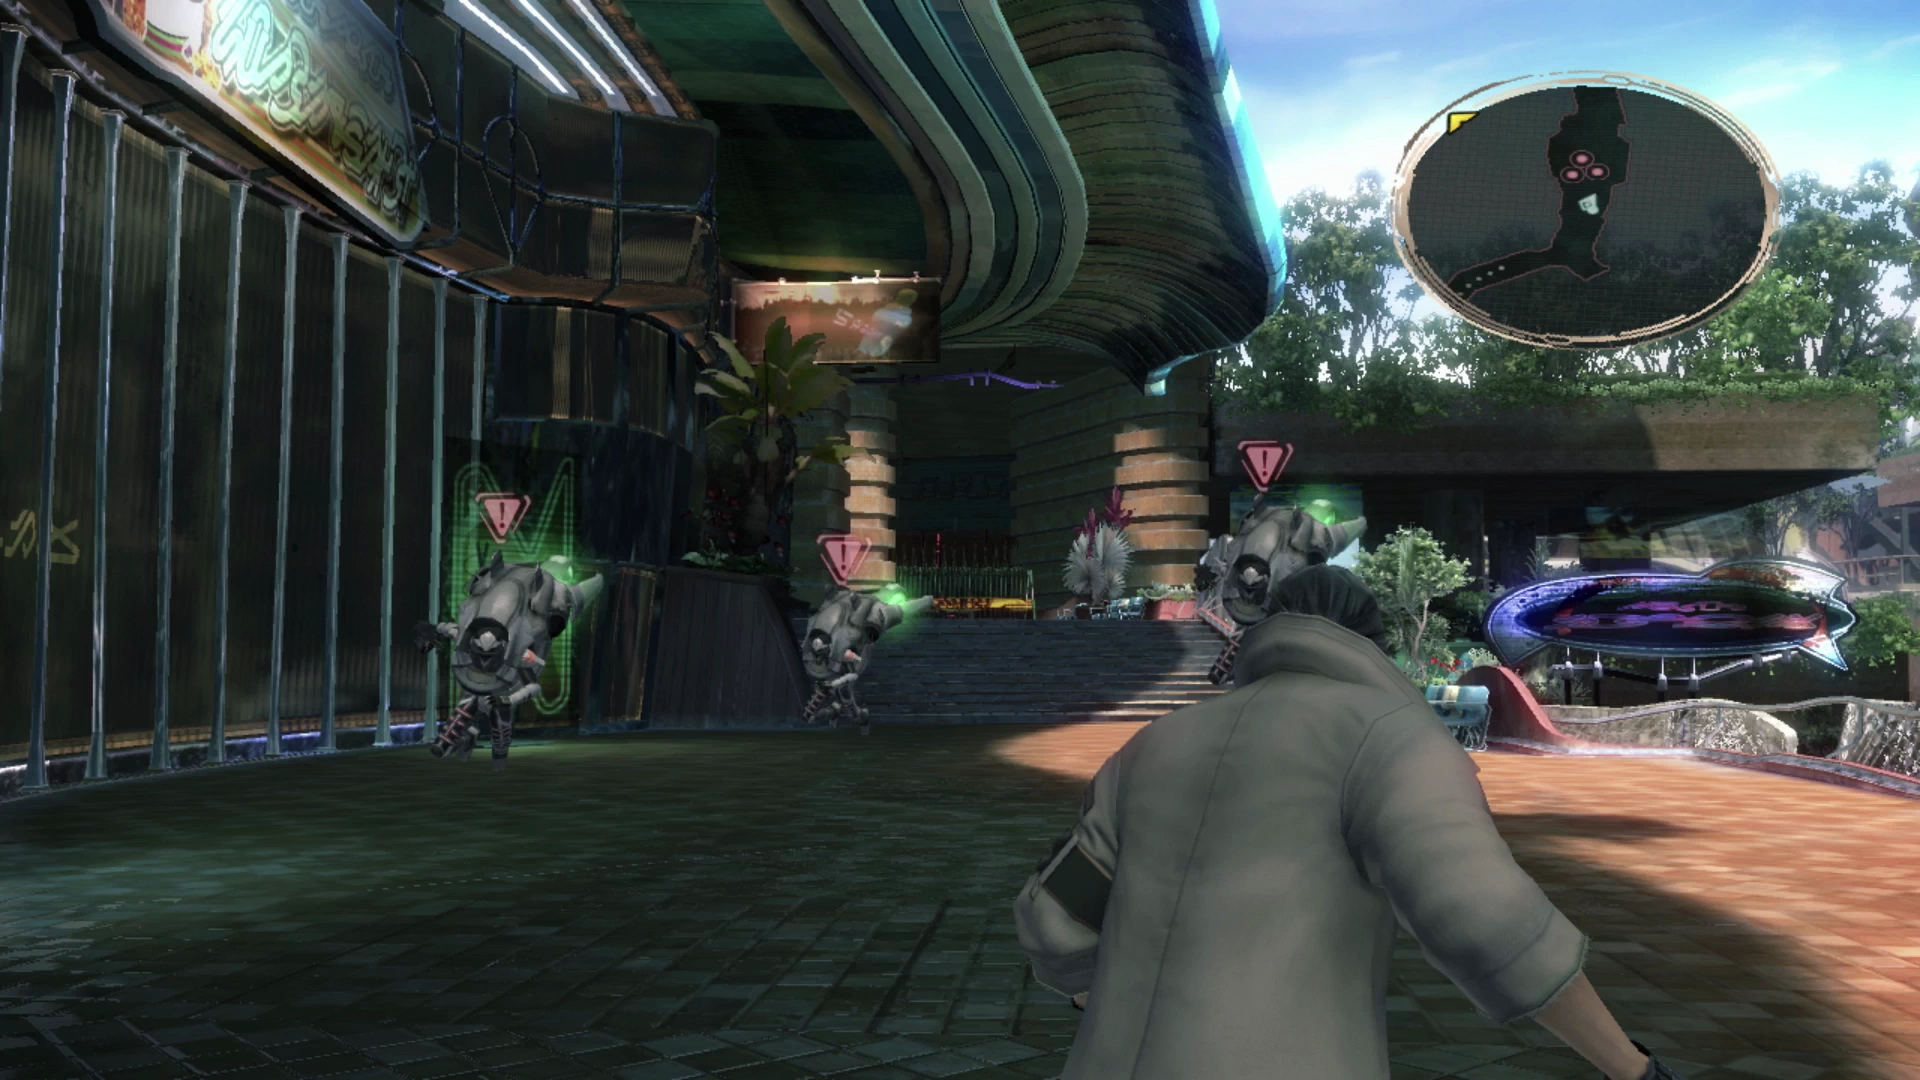
A short cutscene will take place as you enter this next area of the promenade. Snow will chase away all the citizens of Palumpolum before him and Hope are ambushed by three PSICOM Aerial Snipers.
These enemies take quite a bit more damage to defeat and deal quite a bit more damage with their regular attacks so be cautious. They’re new as well so don’t forget to use ![]() Libra early in the fight.
Libra early in the fight.
Helpful Hint
You may have noticed it in the previous chapters but there are instances where enemies have tended to focus their attacks on one specific party member during certain battles. Specifically, from this section onward, you will definitely notice that the enemies you are facing tend to focus their attacks on Hope.
Hope is the weaker of your two characters and the idea behind this mechanic is to encourage you to make use of the ![]() Sentinel role to protect him and recover from enemy onslaughts. This doesn’t necessarily mean that you have to always keep Snow in this role, but it does mean that you need to be cognizant of when enemies are tunnelling their attacks on a single person and be ready to switch Paradigms (i.e. to one with the
Sentinel role to protect him and recover from enemy onslaughts. This doesn’t necessarily mean that you have to always keep Snow in this role, but it does mean that you need to be cognizant of when enemies are tunnelling their attacks on a single person and be ready to switch Paradigms (i.e. to one with the ![]() Medic or
Medic or ![]() Sentinel) to prevail through the attack.
Sentinel) to prevail through the attack.
Keep walking forward and you will be ambushed by one more lone PSICOM Aerial Sniper and then a second group of two PSICOM Aerial Snipers. Once you go around the corner another cutscene will occur involving the citizens of Palumpolum.
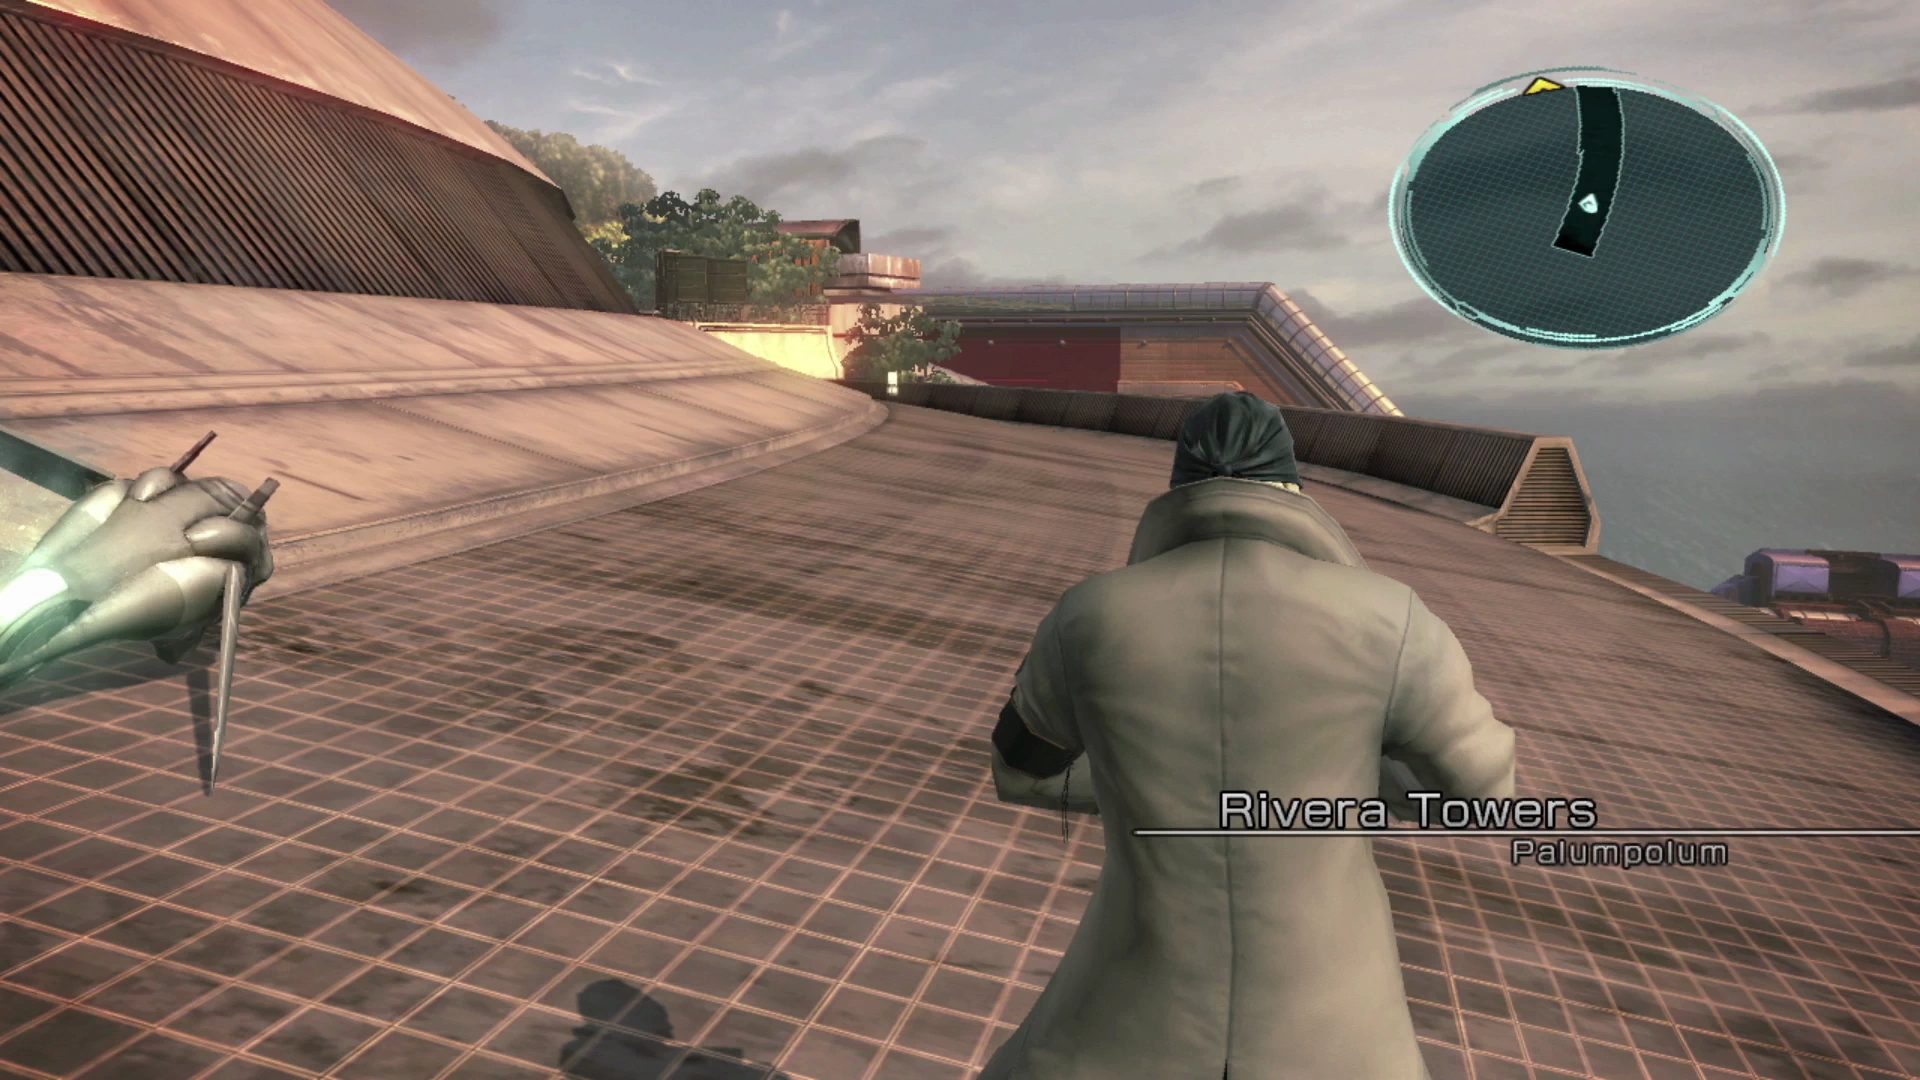
Rivera Towers

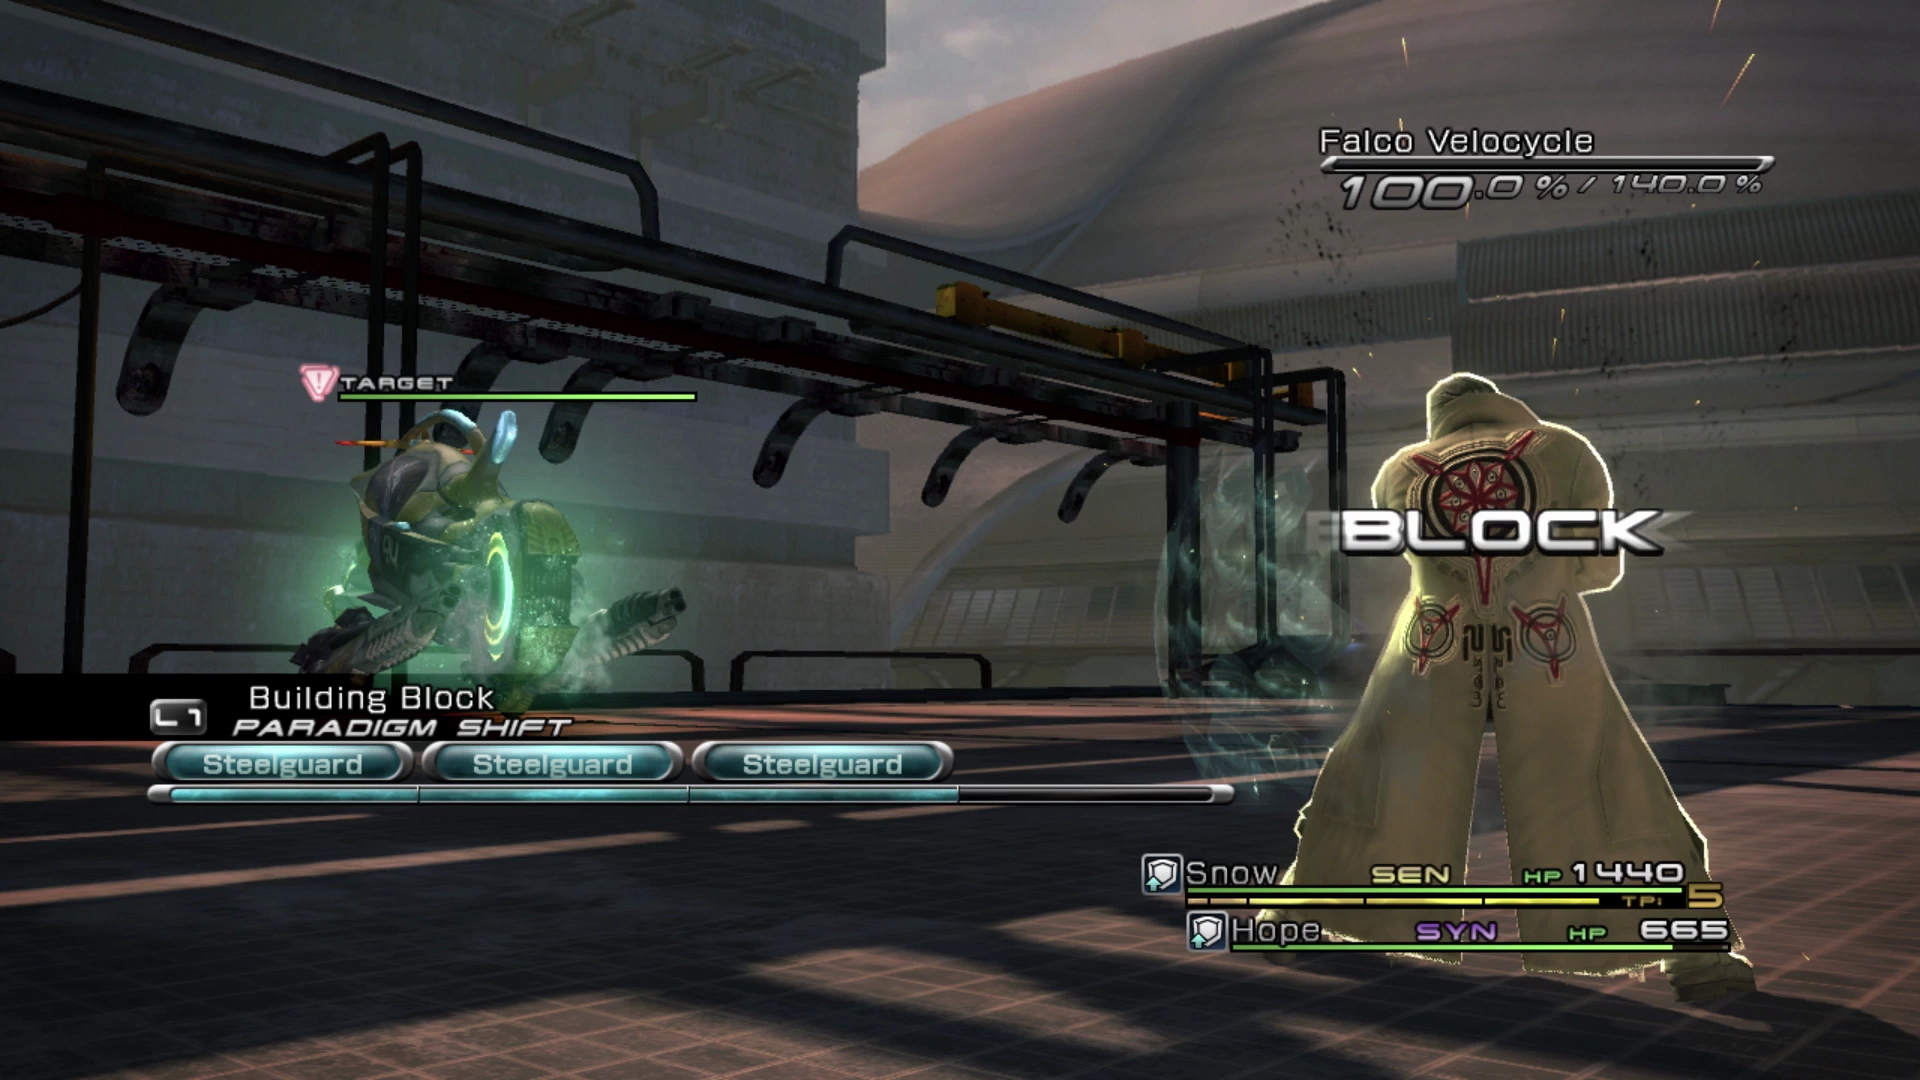
Snow and Hope will find themselves on the roofs of Palumpolum. Use the ![]() Save Station just up ahead and then walk forward for another cutscene. Before the enemies engage you in battle, quickly swap to having Building Block be your default Paradigm. Given some of the difficulty of these upcoming battles, it can be quite helpful to have Hope buff both himself and Snow at the start of the fight.
Save Station just up ahead and then walk forward for another cutscene. Before the enemies engage you in battle, quickly swap to having Building Block be your default Paradigm. Given some of the difficulty of these upcoming battles, it can be quite helpful to have Hope buff both himself and Snow at the start of the fight.
The two will be ambushed by a group of three more PSICOM Aerial Snipers. Drop to the level below and immediately turn around to find a Treasure Sphere that contains a ![]() Shaman’s Mark. This is a strong accessory that you should consider equipping to Hope right now as it will increase his magic stat which will increase the amount of damage he deals as a
Shaman’s Mark. This is a strong accessory that you should consider equipping to Hope right now as it will increase his magic stat which will increase the amount of damage he deals as a ![]() Ravager.
Ravager.
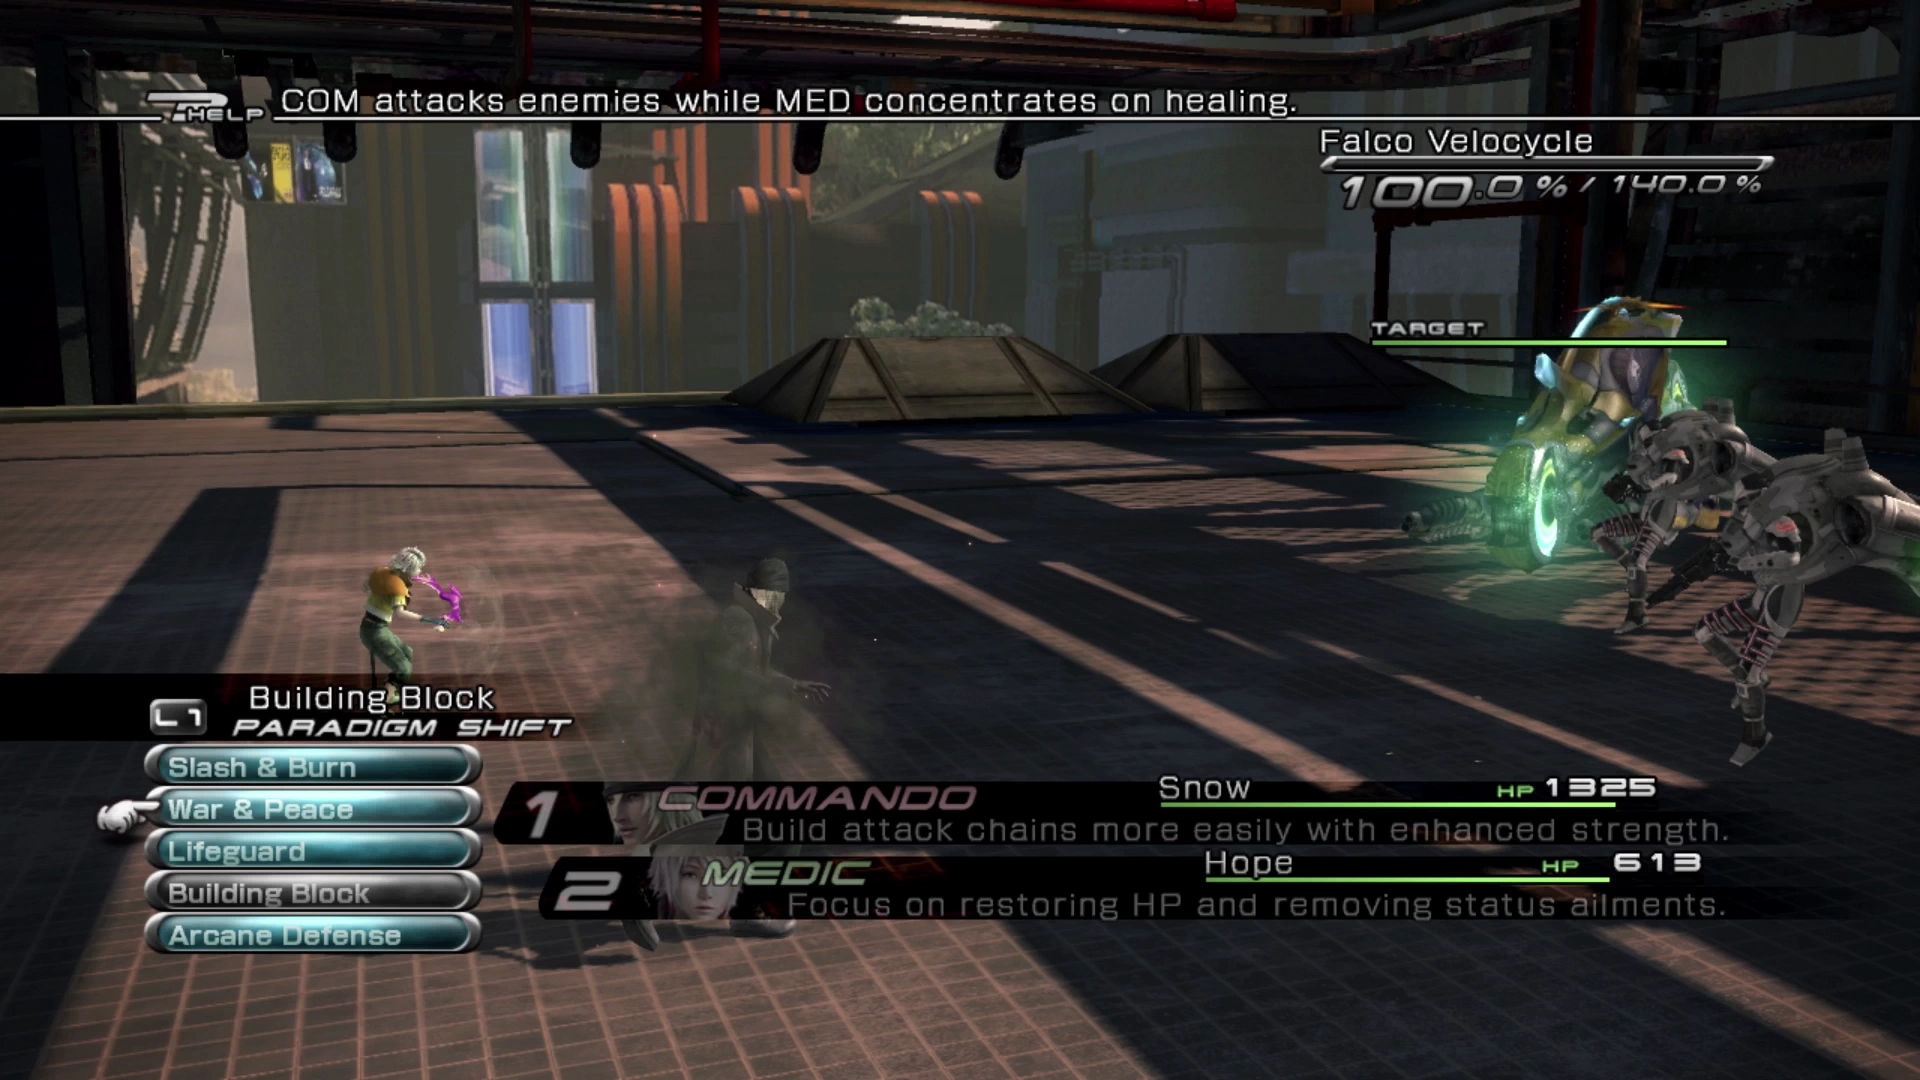
As you move forward through this area you will be ambushed by a Falco Velocycle. This can be a particularly challenging fight due to the Velocycle’s “Gatling Gun” attack. When you see “Gatling Gun” being used you will have a few seconds to react before the bullets are fired, so you should immediately switch to having Snow in his ![]() Sentinel role, use
Sentinel role, use ![]() Provoke on the enemy, and lastly, if there’s time, use
Provoke on the enemy, and lastly, if there’s time, use ![]() Steelguard.
Steelguard.
“Gatling Gun” deals an incredibly high amount of damage to unprotected party members and, as mentioned above, these enemies tend to focus on Hope unless ![]() Provoke is used on them by a
Provoke is used on them by a ![]() Sentinel. Just make sure you survive the “Gatling Gun” assault and then switch to Slash & Burn to go back to dealing damage. You can also start off the battle in Building Block to have Hope cast
Sentinel. Just make sure you survive the “Gatling Gun” assault and then switch to Slash & Burn to go back to dealing damage. You can also start off the battle in Building Block to have Hope cast ![]() Protect on himself and Snow but swap him out of
Protect on himself and Snow but swap him out of ![]() Synergist as soon as
Synergist as soon as ![]() Protect is cast; none of his other party buffs are helpful for this fight.
Protect is cast; none of his other party buffs are helpful for this fight.
Check out this video below for a demonstration of how to quickly defeat the Falco Velocycles as there are quite a few of them along the way:
Keep working your way down the platform and you will end up fighting two separate groups of PSICOM Aerial Snipers. Remember the Helpful Hint from above as both groups will tend to focus their attacks on Hope. At the very end of the path is a set of two walkways and two Treasure Spheres in this area to pick up. One of them contains 3 ![]() Thrust Bearings while the other contains a
Thrust Bearings while the other contains a ![]() Vidofnir weapon for Hope.
Vidofnir weapon for Hope.
This weapon comes with ![]() Defense Maintenance which causes buffs placed on party members to last longer. This is a nice effect but of limited value right now, so leave Hope with his
Defense Maintenance which causes buffs placed on party members to last longer. This is a nice effect but of limited value right now, so leave Hope with his ![]() Hawkeye equipped.
Hawkeye equipped.
There’s another Falco Velocycle to defeat just up ahead (refer to the video for a demonstration on how to take these out effectively). There is a Treasure Sphere up ahead on the right side of the platform that contains a vial of ![]() Deceptisol.
Deceptisol.
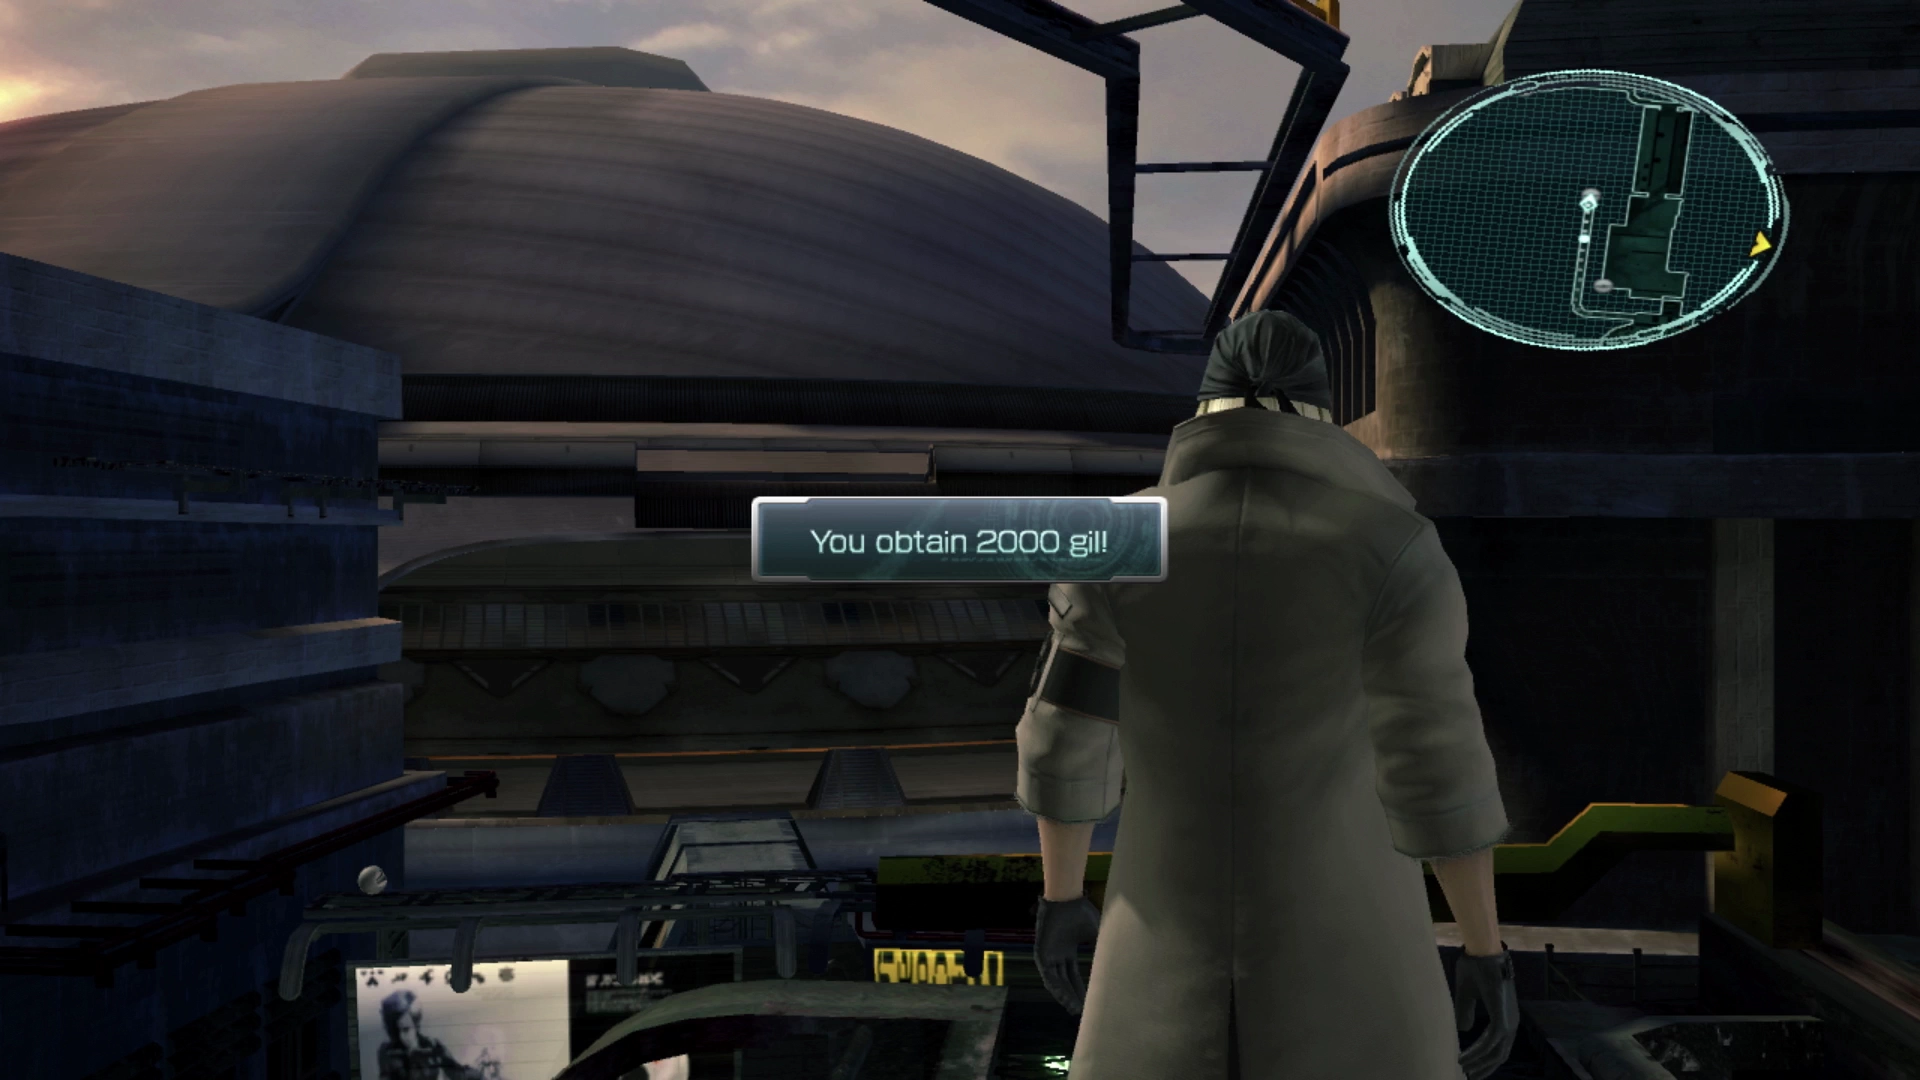
Jump up to the next platform, defeat the Falco Velocycle and PSICOM Aerial Sniper (focusing on the sniper first), and then follow the catwalk around to the right to open a Treasure Sphere that contains ![]() 2,000 Gil.
2,000 Gil.
Continue up and around the corner to fight another group of three PSICOM Aerial Snipers. Jump up the side of the roof and you’ll come across probably the most difficult group of non-boss enemies, which includes a Falco Velocycle and two PSICOM Aerial Snipers. Be prepared to play this fight from an extremely defensive angle. Having Hope get ![]() Protect cast on himself and Snow is practically mandatory.
Protect cast on himself and Snow is practically mandatory.
Use the ![]() Save Station just up ahead and prepare for your next boss battle. There isn’t much in the way of preparation required for this next fight though other than making sure that Building Block is set up as your starting Paradigm (which may already be the case). Walk up into the next area for some cutscenes.
Save Station just up ahead and prepare for your next boss battle. There isn’t much in the way of preparation required for this next fight though other than making sure that Building Block is set up as your starting Paradigm (which may already be the case). Walk up into the next area for some cutscenes.
Boss Battle
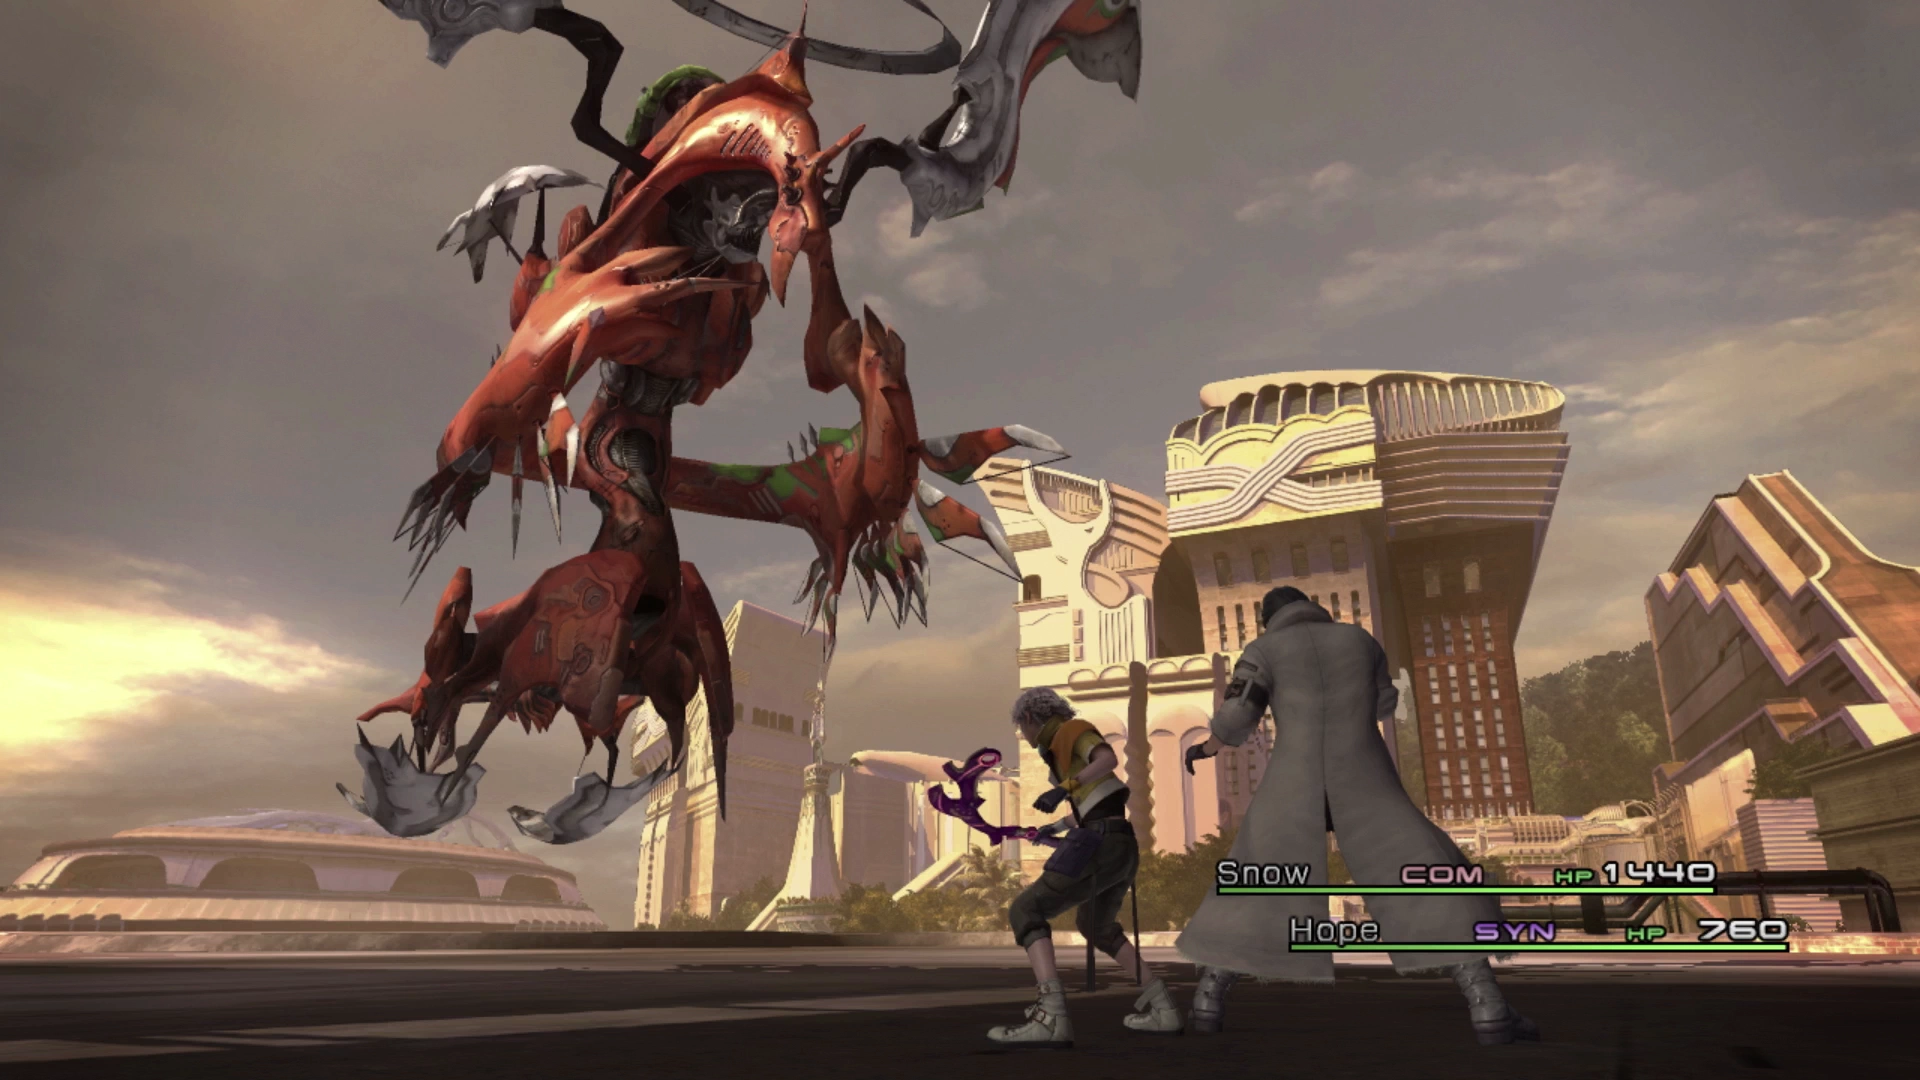
Start the battle by using ![]() Libra on the Ushumgal Subjugator which will reveal that it has a weakness to thunder-based magic and has a propensity to attack with fire-based attacks. Learning this, the first order of business is for Hope to buff both himself and Snow with
Libra on the Ushumgal Subjugator which will reveal that it has a weakness to thunder-based magic and has a propensity to attack with fire-based attacks. Learning this, the first order of business is for Hope to buff both himself and Snow with ![]() Protect,
Protect, ![]() Shell and
Shell and ![]() Barfire. Snow can stay in his
Barfire. Snow can stay in his ![]() Sentinel role as part of the Building Block Paradigm until this is complete.
Sentinel role as part of the Building Block Paradigm until this is complete.
This boss has two primary attacks: Napalm, the fire-based attack listed on the Enemy Intel page, and Tail Hammer which hits for a heavy amount of physical damage. Swap back and forth between Slash & Burn for damage and War & Peace when your party members get to 50% of their HP or lower.
As a reminder, you should be switching between Paradigms regularly, even if your party members’ roles don’t need to change, to refresh their ATB Gauges. Check out the ATB Refresh page in the Tips and Tricks section for a quick refresher on why this is important (linked below):
You may need to swap back to the Building Block Paradigm at some point to have Hope reapply the party buffs once they expire.
Tips and Tricks
An overview of how to time your Paradigm shifts to maximize your character’s ATB Gauge to maximize their output.
There is a lengthy set of cutscenes that takes place involving the ![]() Survival Knife, including an interlude of the Thirteen Days (Day 5 at the Euride Gorge Energy Plant), after this fight before we switch back over to Lightning and Fang.
Survival Knife, including an interlude of the Thirteen Days (Day 5 at the Euride Gorge Energy Plant), after this fight before we switch back over to Lightning and Fang.