
Chapter 6: The Sunleth Waterscape (Part 2)


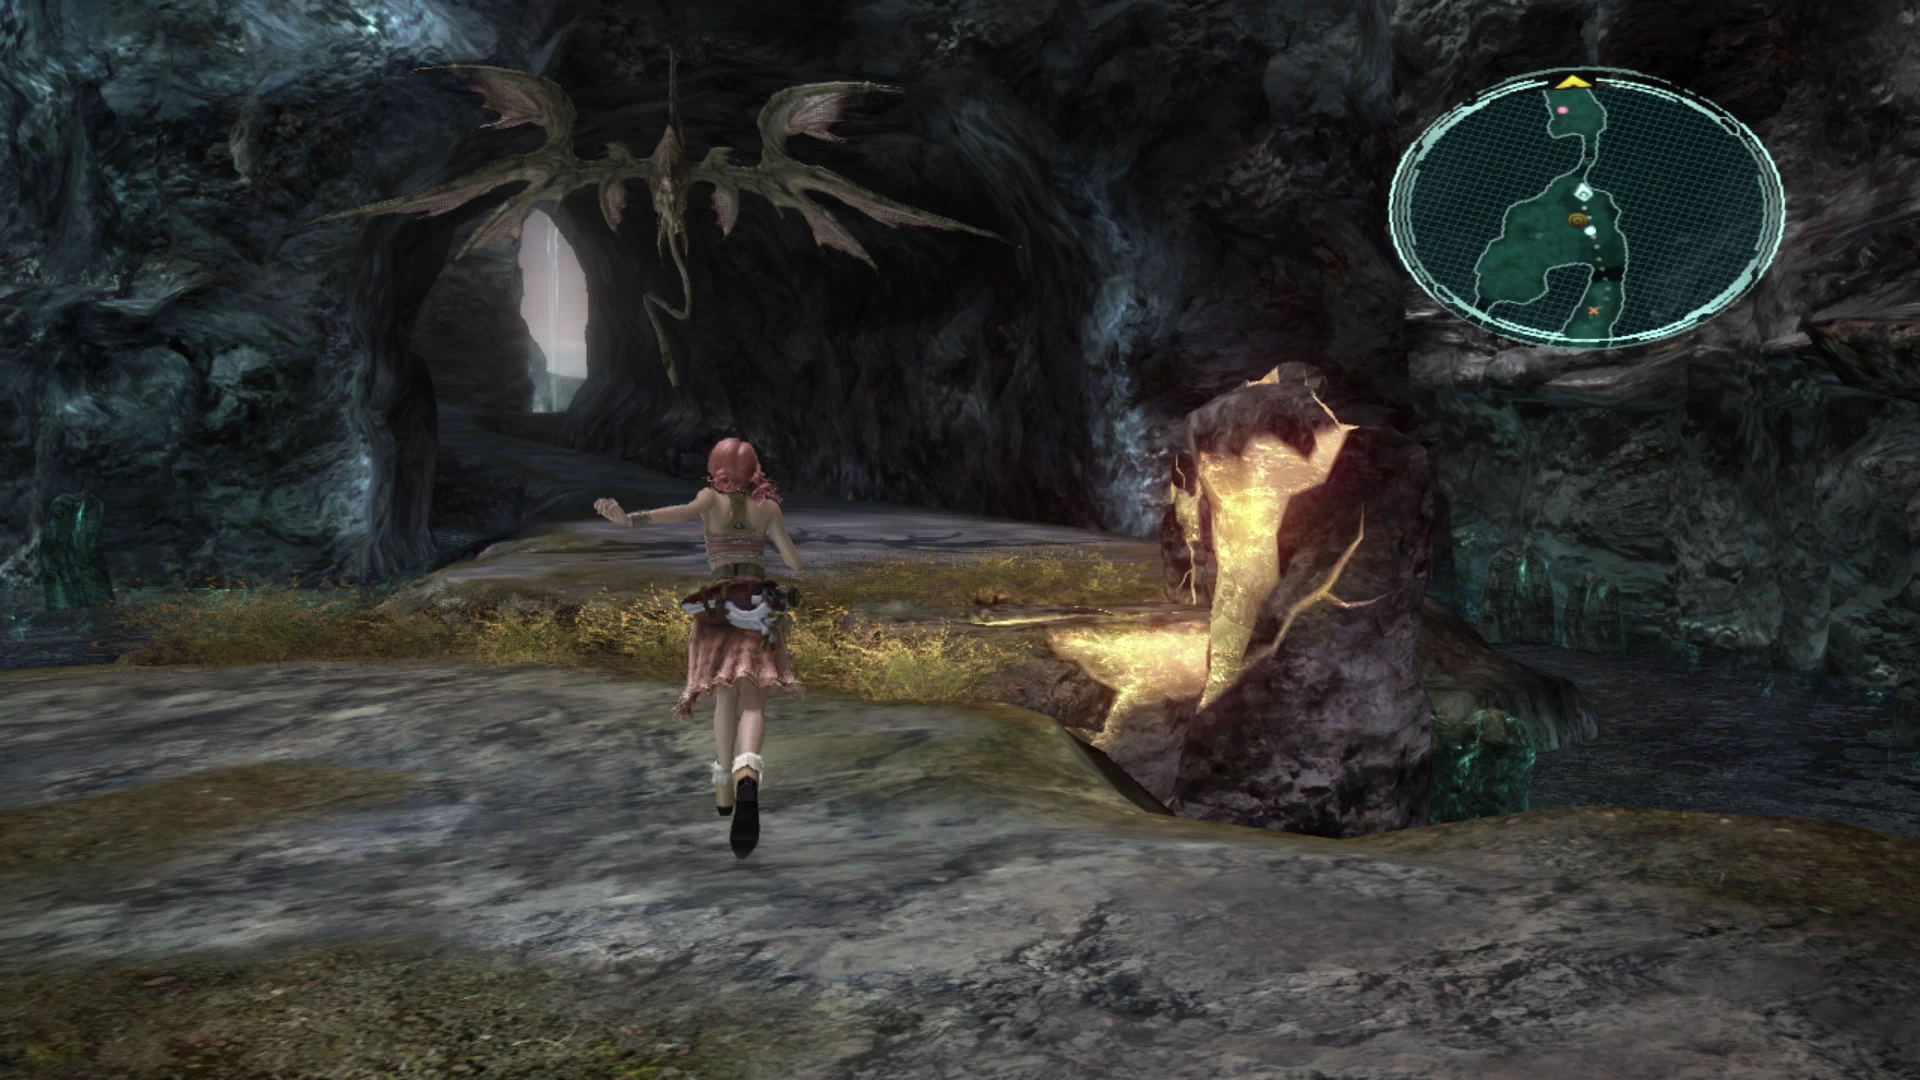
Riparian Corridor
The walkthrough for the Sunleth Waterscape is broken up into two parts. The first part covers everything up to the cutscenes at Lake Shayra before the weather switches are available. If you have not yet reached the weather switches in the Sunleth Waterscape, use the link to move back to Part 1 of the Sunleth Waterscape.
Rain-spotted Vale
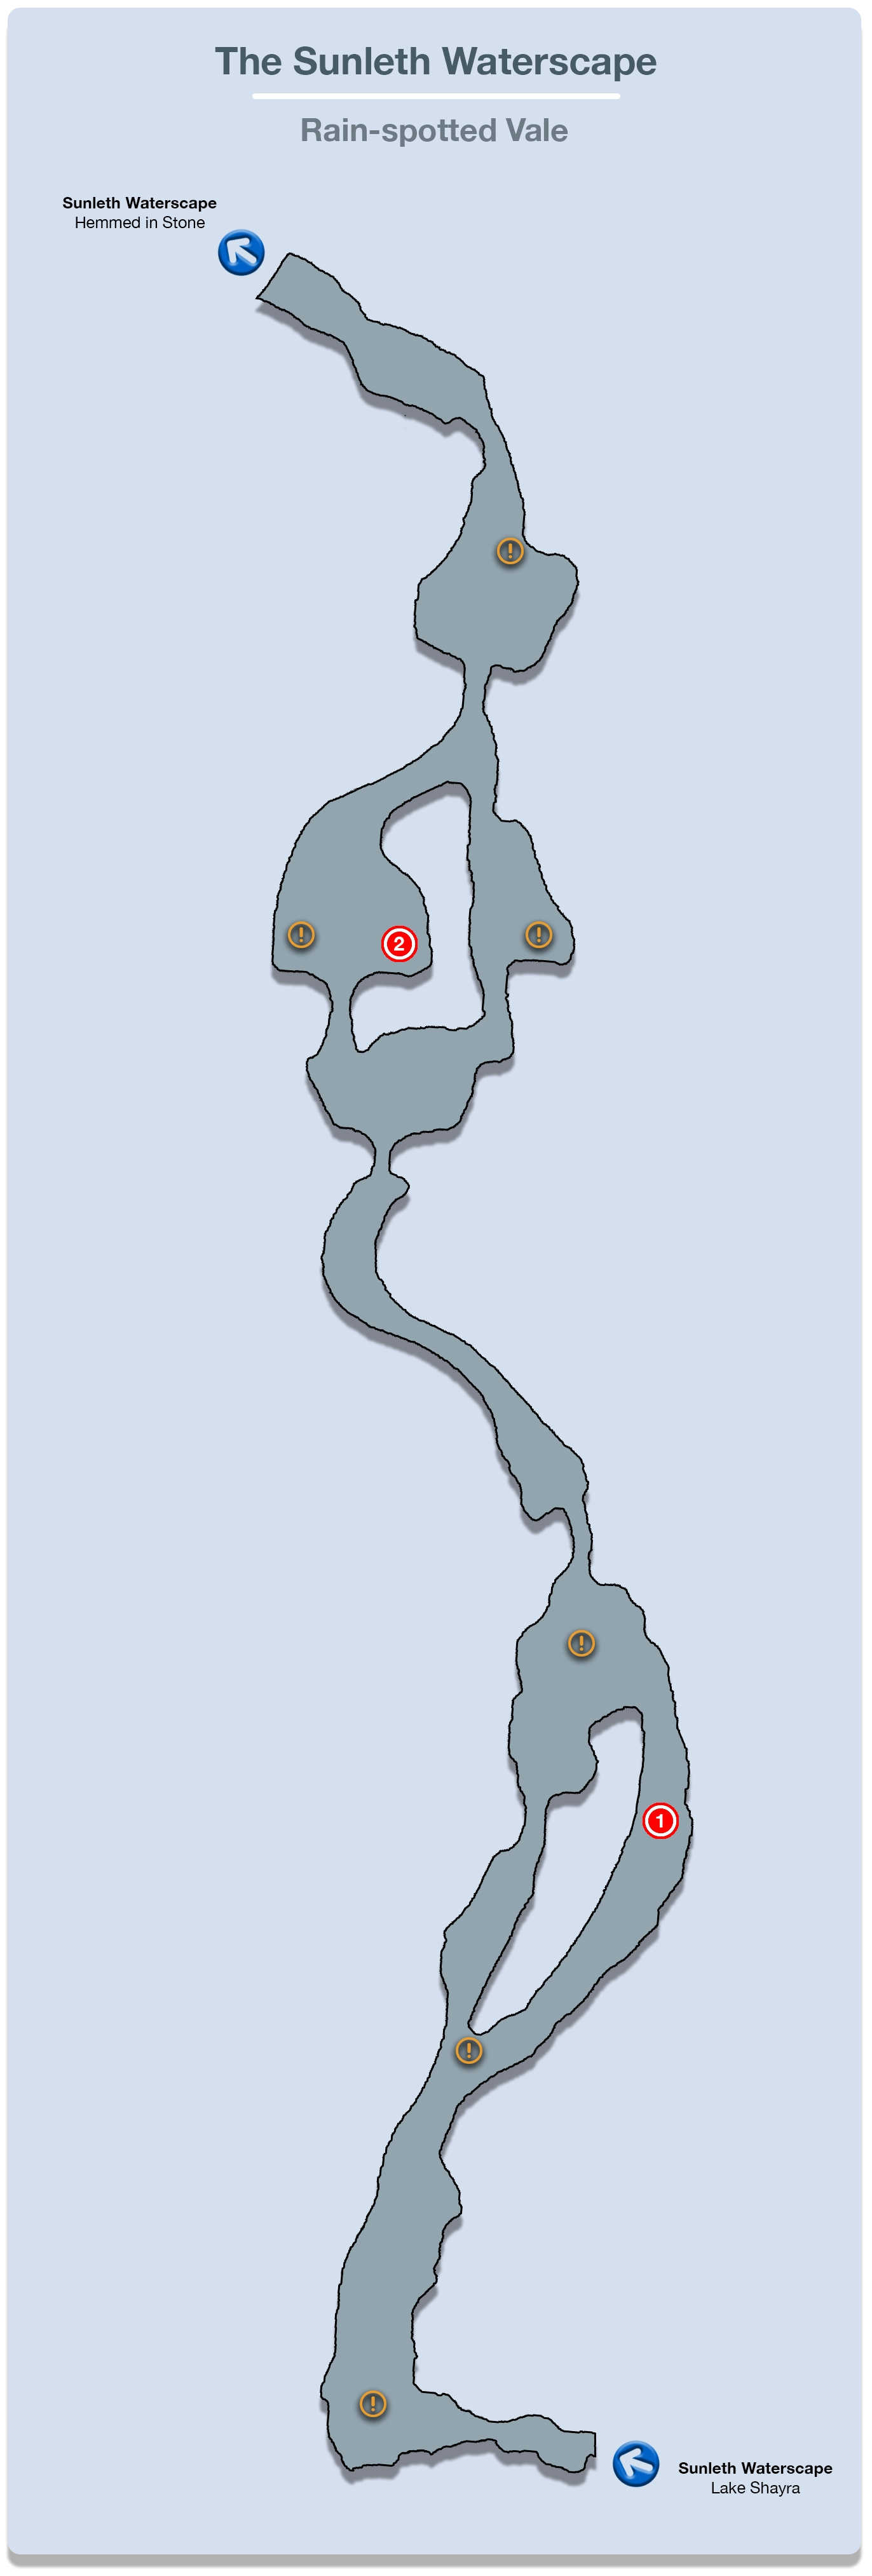
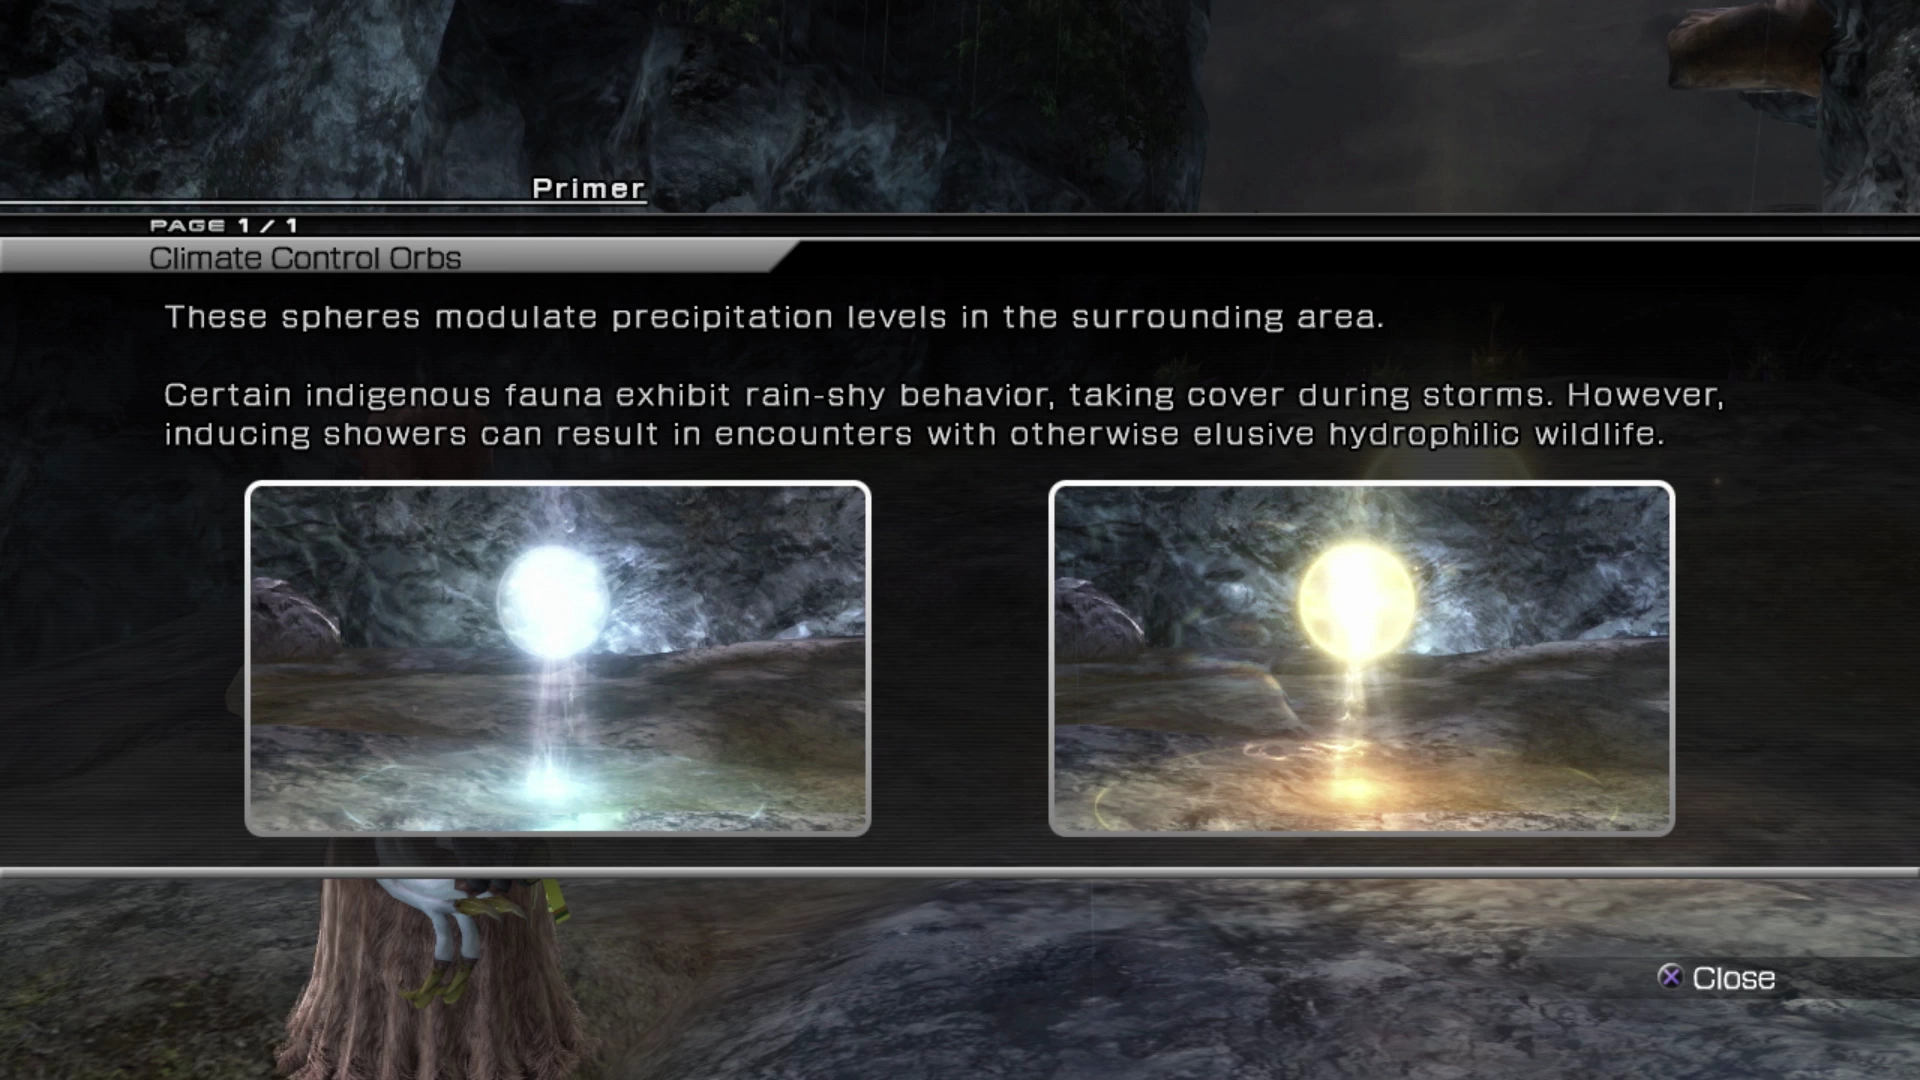
As Sazh and Vanille enter this next area a quick cinematic will play demonstrating how the “Climate Control Orbs” in the Rain-spotted Vale area work. This gimmick is straightforward though because the enemies that you will face will change depending on whether it is sunny or stormy out and pressing the ![]()
![]()
![]() button near the orbs will modulate the precipitation.
button near the orbs will modulate the precipitation.

In some areas, you will face easier enemies in the sun, while in other areas, you will face easier enemies in the rain, but this strategy guide will present a path that makes sure you encounter all the different enemy types. This will ensure that you not only collect all the available treasure and spoils, but you can complete the ![]() Datalog with all the Enemy Intel entries. There are a few enemies that can only be found in this area so it’s important not to speed through this area too quickly.
Datalog with all the Enemy Intel entries. There are a few enemies that can only be found in this area so it’s important not to speed through this area too quickly.
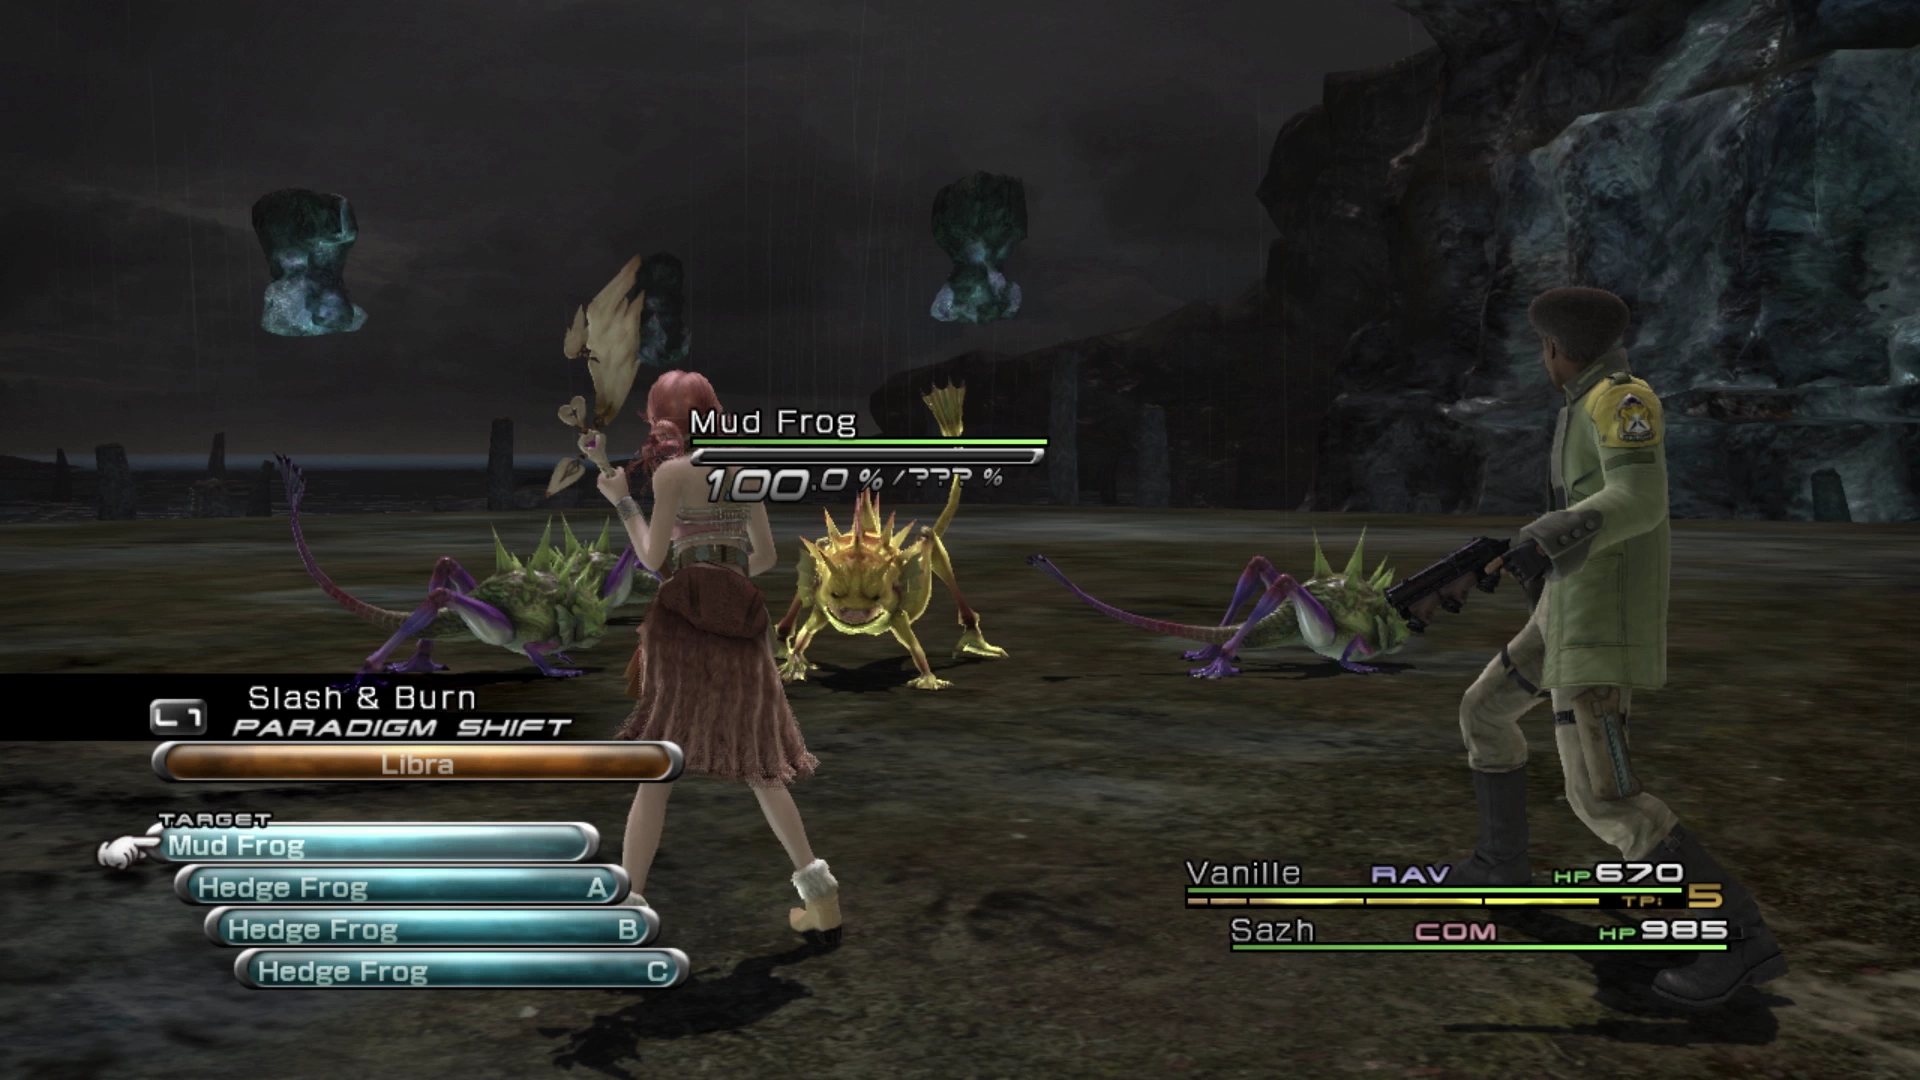
Leave the weather set to rain, which it should already be set to following the cinematic, and confront the group of enemies just up ahead. This is the first new enemy that you’ll face in this area called a Mud Frog that you will want to use ![]() Libra on to complete the Enemy Intel section.
Libra on to complete the Enemy Intel section.
Mud Frogs are similar to Hedge Frogs except that they can summon more Hedge Frogs to join them in battle when they use an attack called “Courtship Dance.” Focus your attacks on them first and ignore any Hedge Frogs that join the battle.
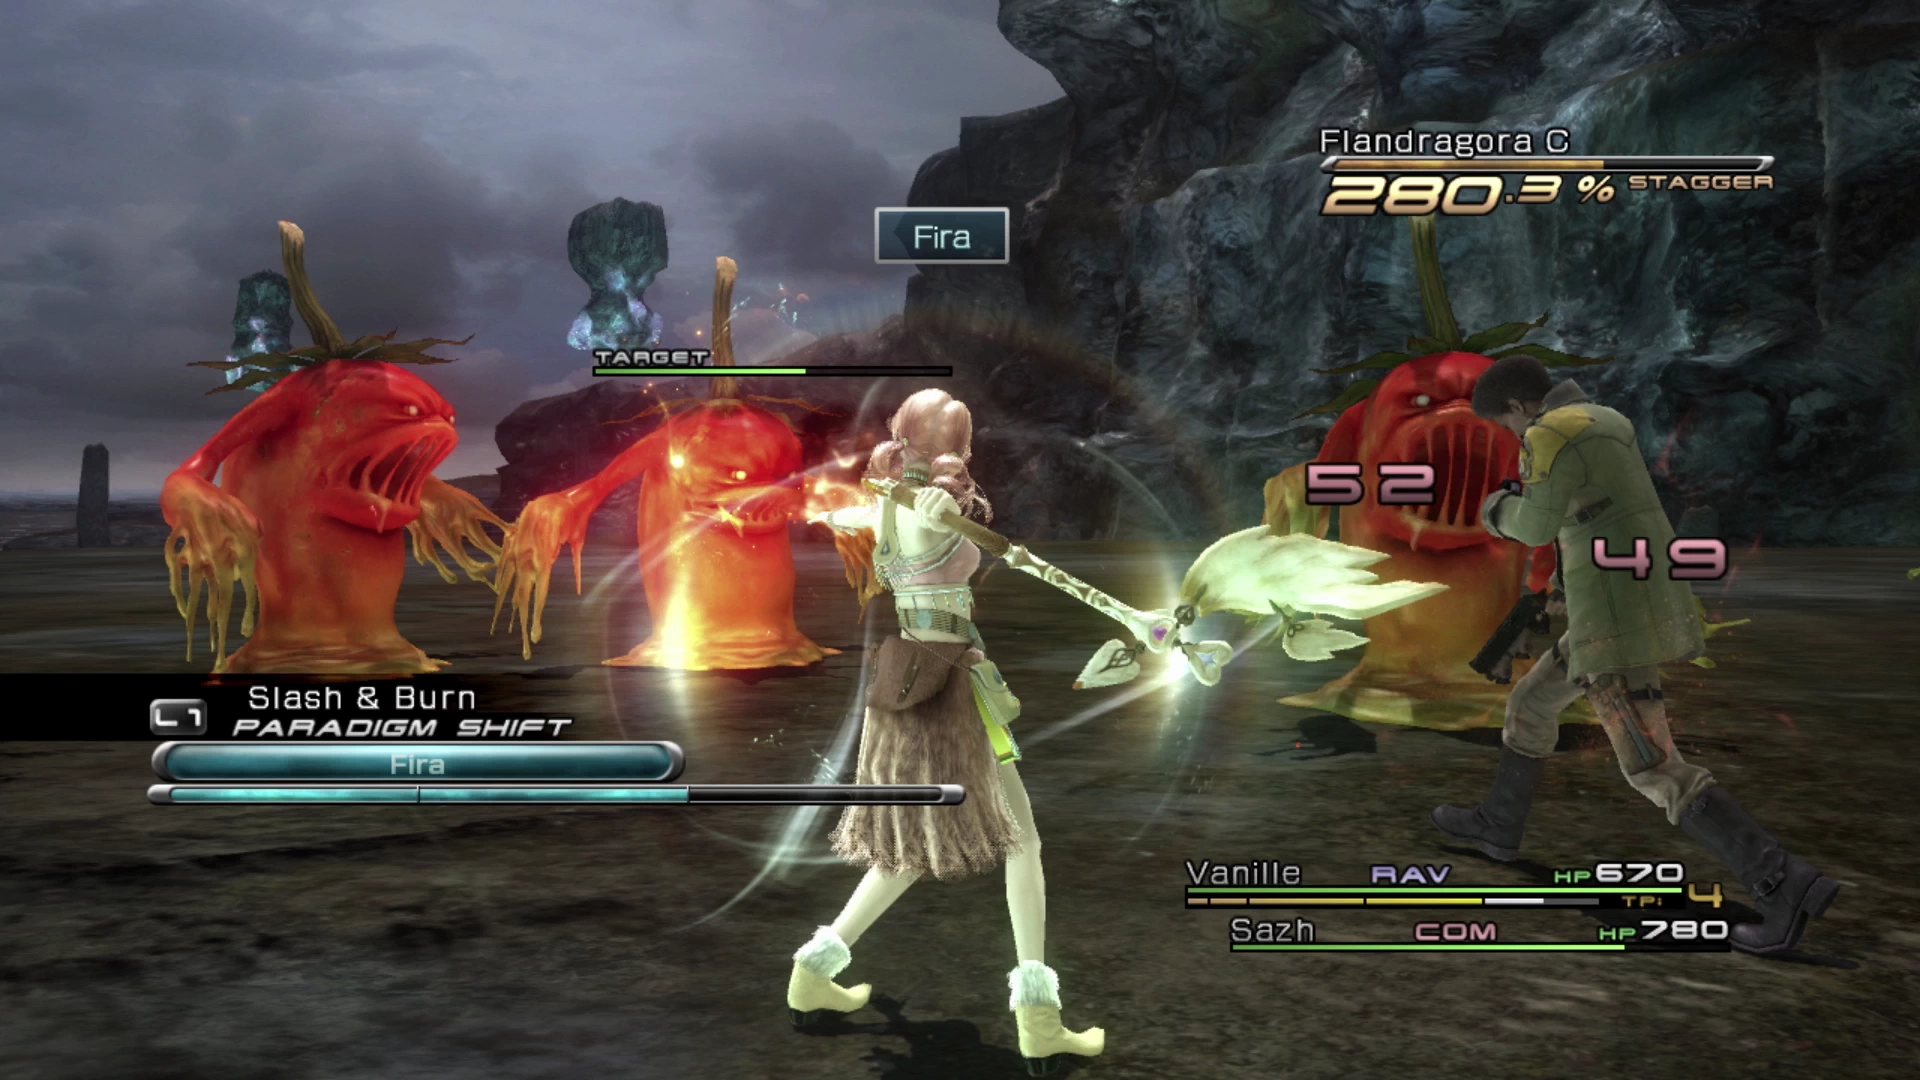
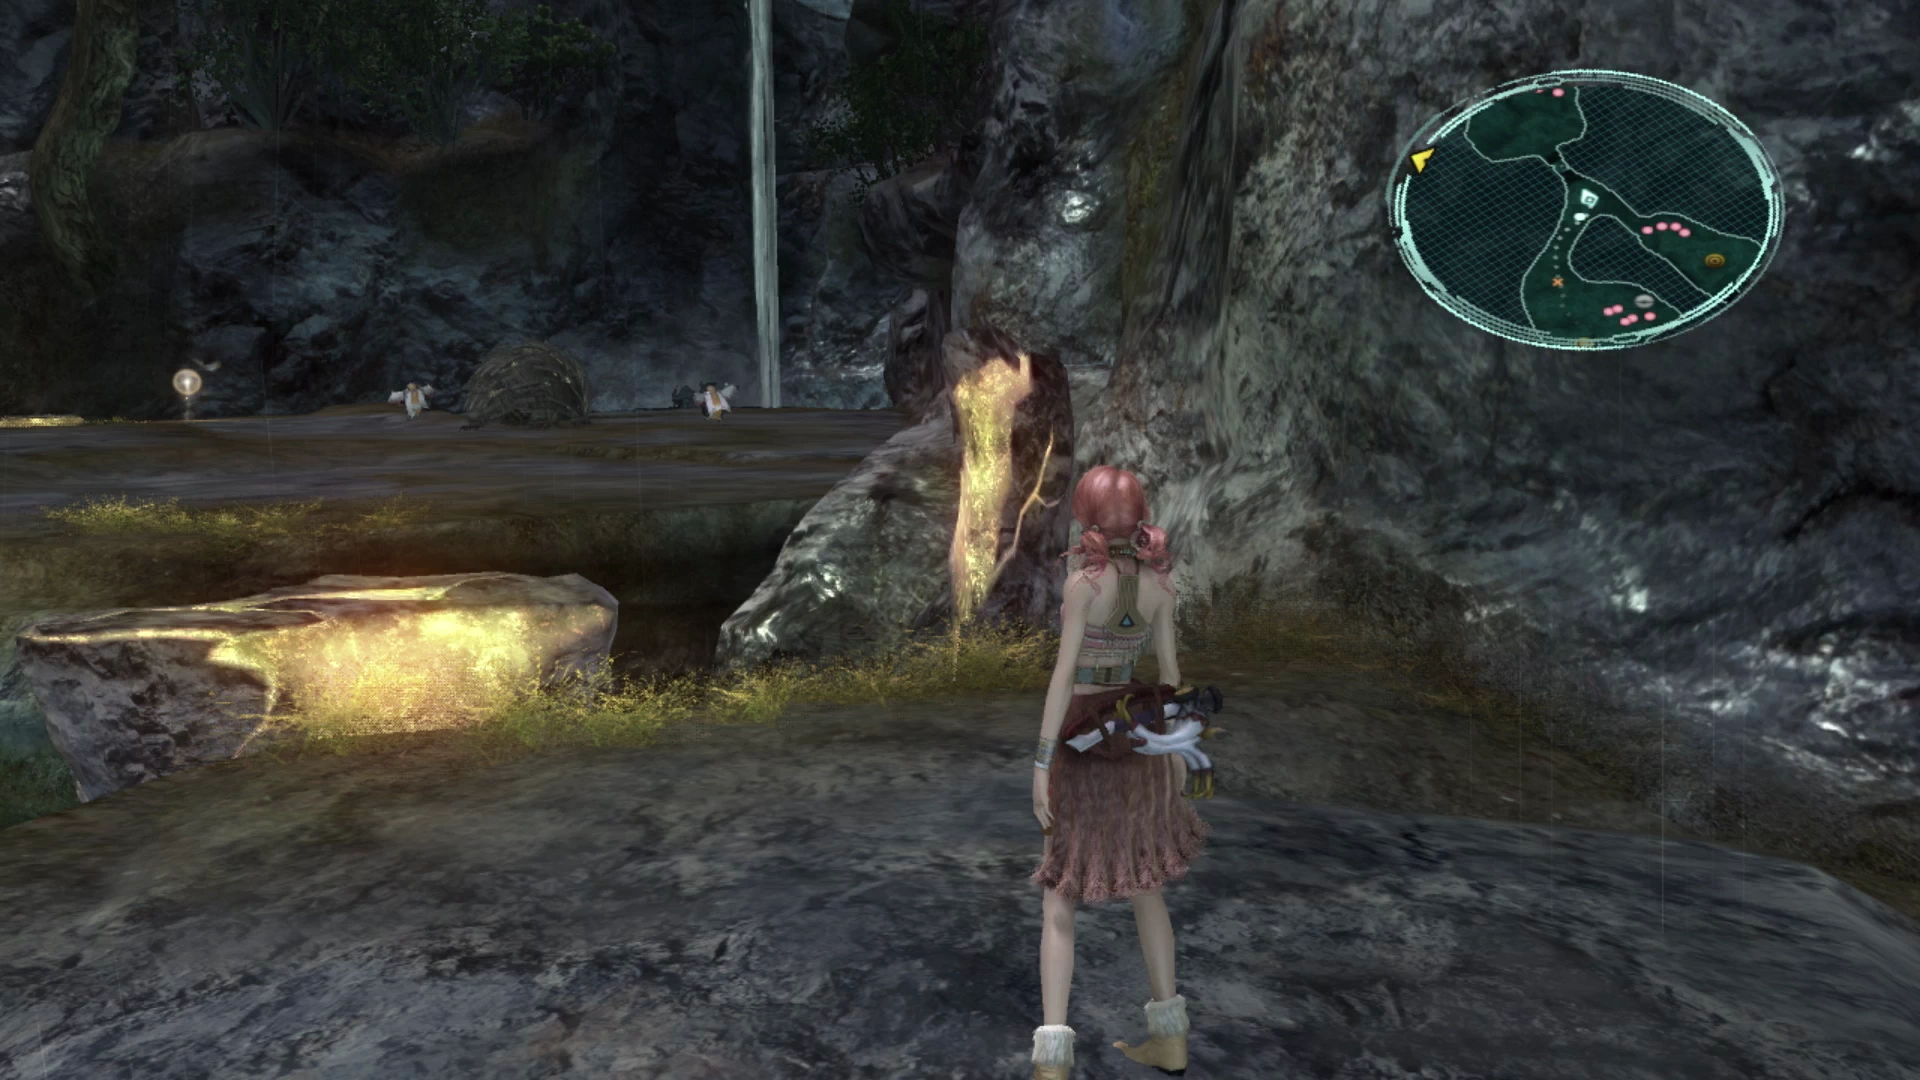
Proceed to the next “Climate Control Orb,” and switch the weather to sunny, then take the pathway leading to the right at the fork in the road. There will be a group of Flandragoras up here that you can easily get a ![]() preemptive strike on, and you are already familiar with these enemies. Open the Treasure Sphere to pick up a
preemptive strike on, and you are already familiar with these enemies. Open the Treasure Sphere to pick up a ![]() Metal Armband and then defeat the next group of Flandragoras just up ahead.
Metal Armband and then defeat the next group of Flandragoras just up ahead.
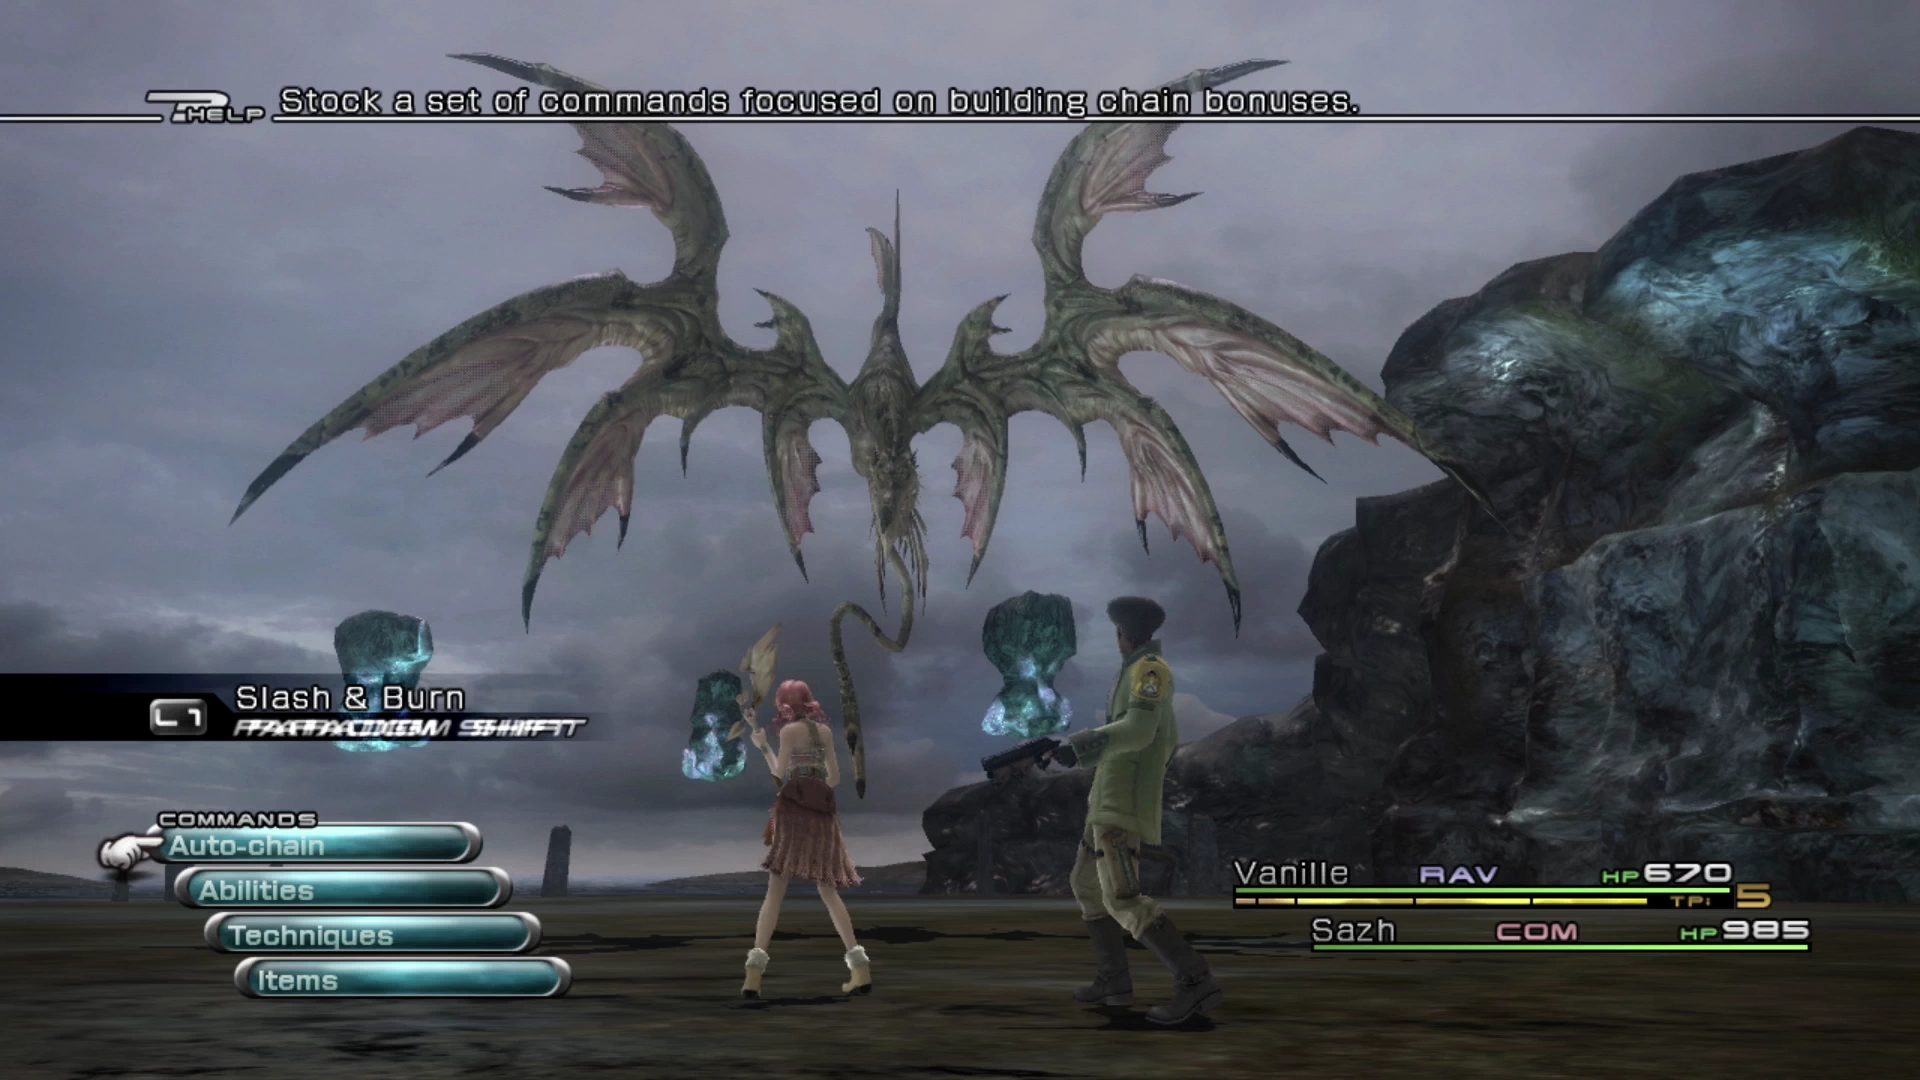
As you continue along the path you will see a gigantic enemy up ahead called a Wyvern. The general idea behind the “Climate Control Orbs” is that, rather than facing off against a large and challenging foe, you would just switch the weather to make an easier enemy appear. To fill out the Enemy Intel screen though, let’s work our way down and engage the Wyvern in a battle (using the tips below).
The battle against the Wyvern can be made much easier by starting the battle in the Tide Turner Paradigm (Vanille as a ![]() Saboteur and Sazh as a
Saboteur and Sazh as a ![]() Synergist). While Sazh is casting his buffs, use the
Synergist). While Sazh is casting his buffs, use the ![]() Libra technique on the Wyvern twice to fully complete the Enemy Intel entry in the
Libra technique on the Wyvern twice to fully complete the Enemy Intel entry in the ![]() Datalog, and then have Vanille cast some debuffs on the Wyvern (
Datalog, and then have Vanille cast some debuffs on the Wyvern (![]() Poison,
Poison, ![]() Deprotect and
Deprotect and ![]() Deshell). Switch to War & Peace if you need to heal and then shift between Slash & Burn and Dualcasting until you’re able to Stagger the Wyvern and defeat it.
Deshell). Switch to War & Peace if you need to heal and then shift between Slash & Burn and Dualcasting until you’re able to Stagger the Wyvern and defeat it.
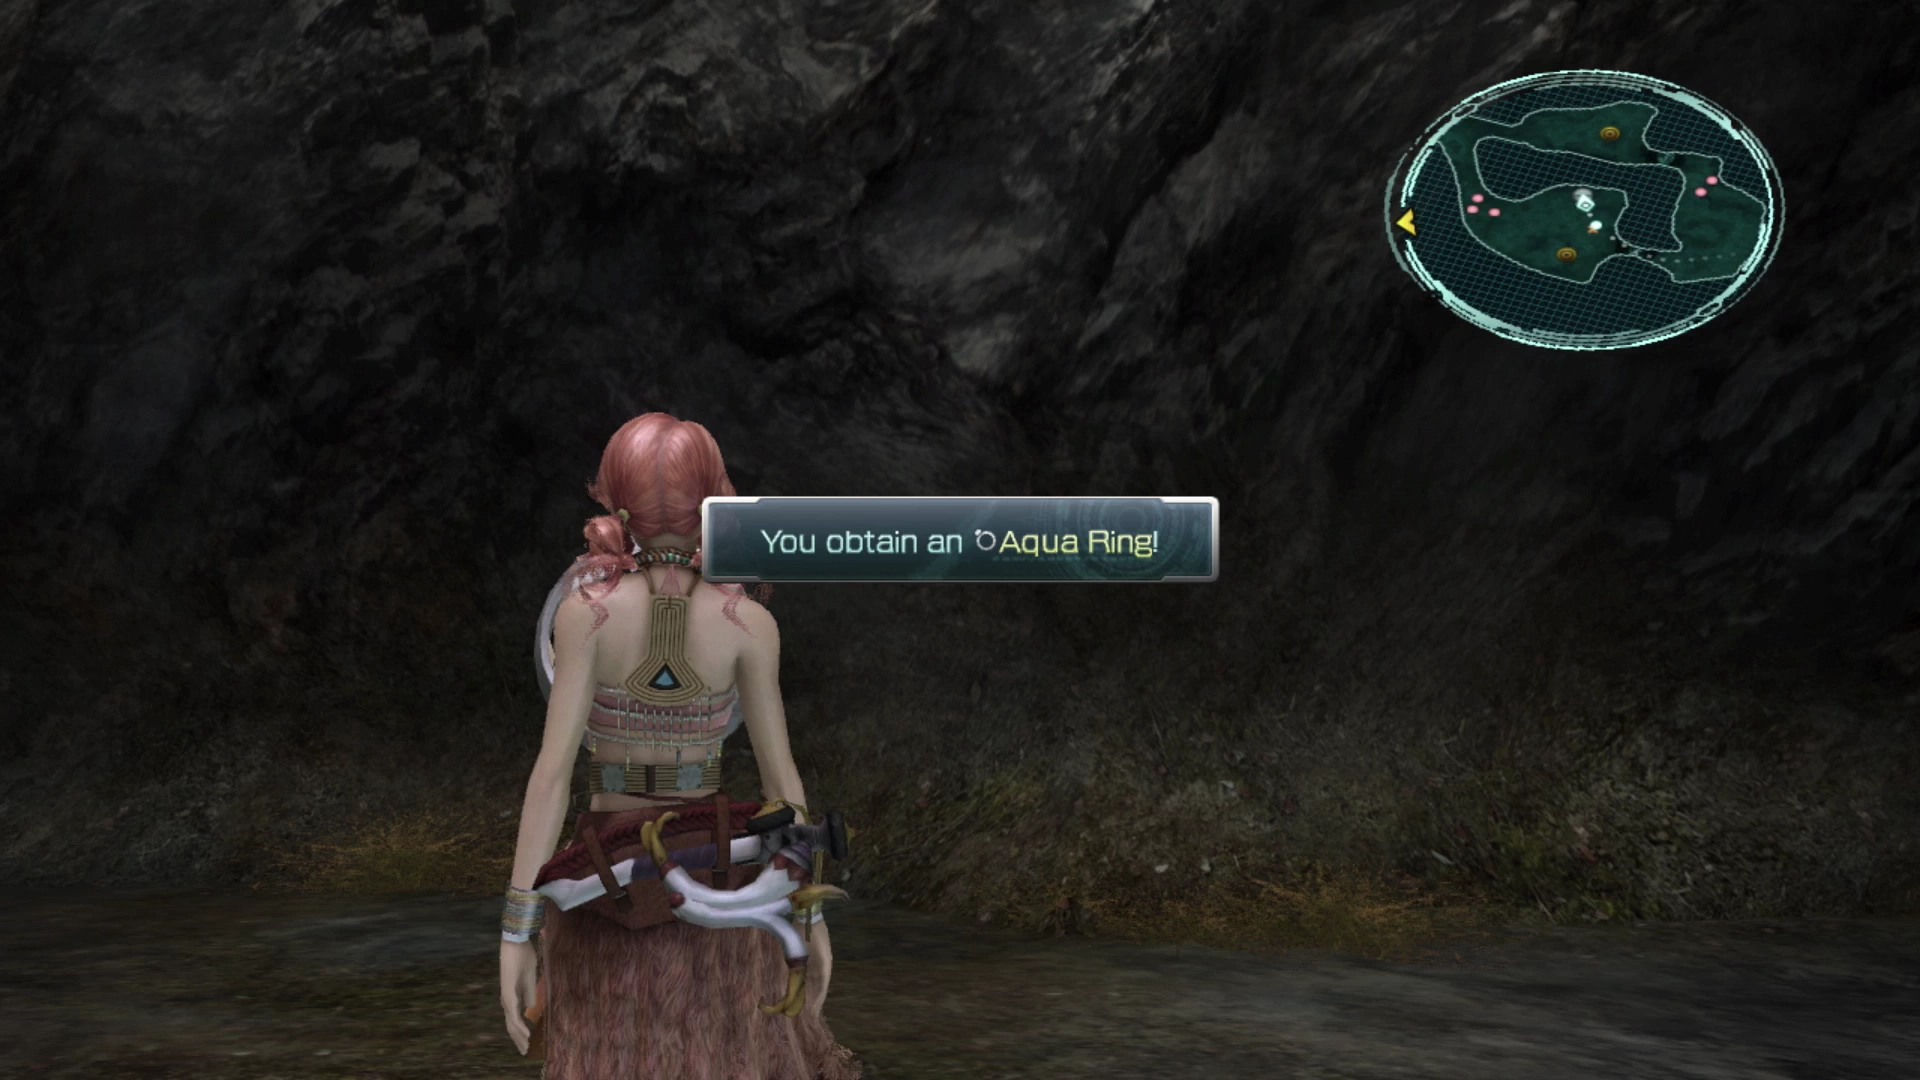
There is another split pathway just up ahead. Take the left pathway and defeat the group of three Flandragoras blocking the way to a Treasure Sphere. Open the Treasure Sphere after you’ve defeated them to pick up an ![]() Aqua Ring.
Aqua Ring.
Missable Content
This is the first of two ![]() Aqua Rings that can be obtained in the game. Due to its exceptional rarity, it’s important to make sure you grab it on your way through.
Aqua Rings that can be obtained in the game. Due to its exceptional rarity, it’s important to make sure you grab it on your way through.
Refer to the Missable Content page for more information on specific items and ![]() Datalog Enemy Intel entries you should keep an eye out for.
Datalog Enemy Intel entries you should keep an eye out for.
The next group of enemies up ahead looks like a group of Gremlins, which you are already familiar with, but it’s a mixed group of Gremlins and Garchimacera. Make sure you use the ![]() Libra technique on a Garchimacera two times to complete the Enemy Intel entry in the
Libra technique on a Garchimacera two times to complete the Enemy Intel entry in the ![]() Datalog and, with that, you should have a fully complete Enemy Intel section.
Datalog and, with that, you should have a fully complete Enemy Intel section.

Missable Content
The four enemies to make sure you’ve completed the Enemy Intel entries for in the Datalog include the Mud Frog, Garchimacera, Wyvern and the Scalebeasts from earlier on in the Sunleth Waterscape.
Double-check the ![]() Datalog to make sure you have completed all their entries (they should have a white checkmark next to them).
Datalog to make sure you have completed all their entries (they should have a white checkmark next to them).
Now backtrack to the “Climate Control Orb” and switch the weather back to rainy so that you don’t have to face off against a second Wyvern which is located just up ahead. Jump across the platform, running past the group of Garchimacera with a Scalebeast, and jump down to the other side to face off against a group of Gremlins with one Garchimacera.
There’s one last group of Mud Frogs to defeat before you can climb the cliff towards the ![]() Save Station.
Save Station.
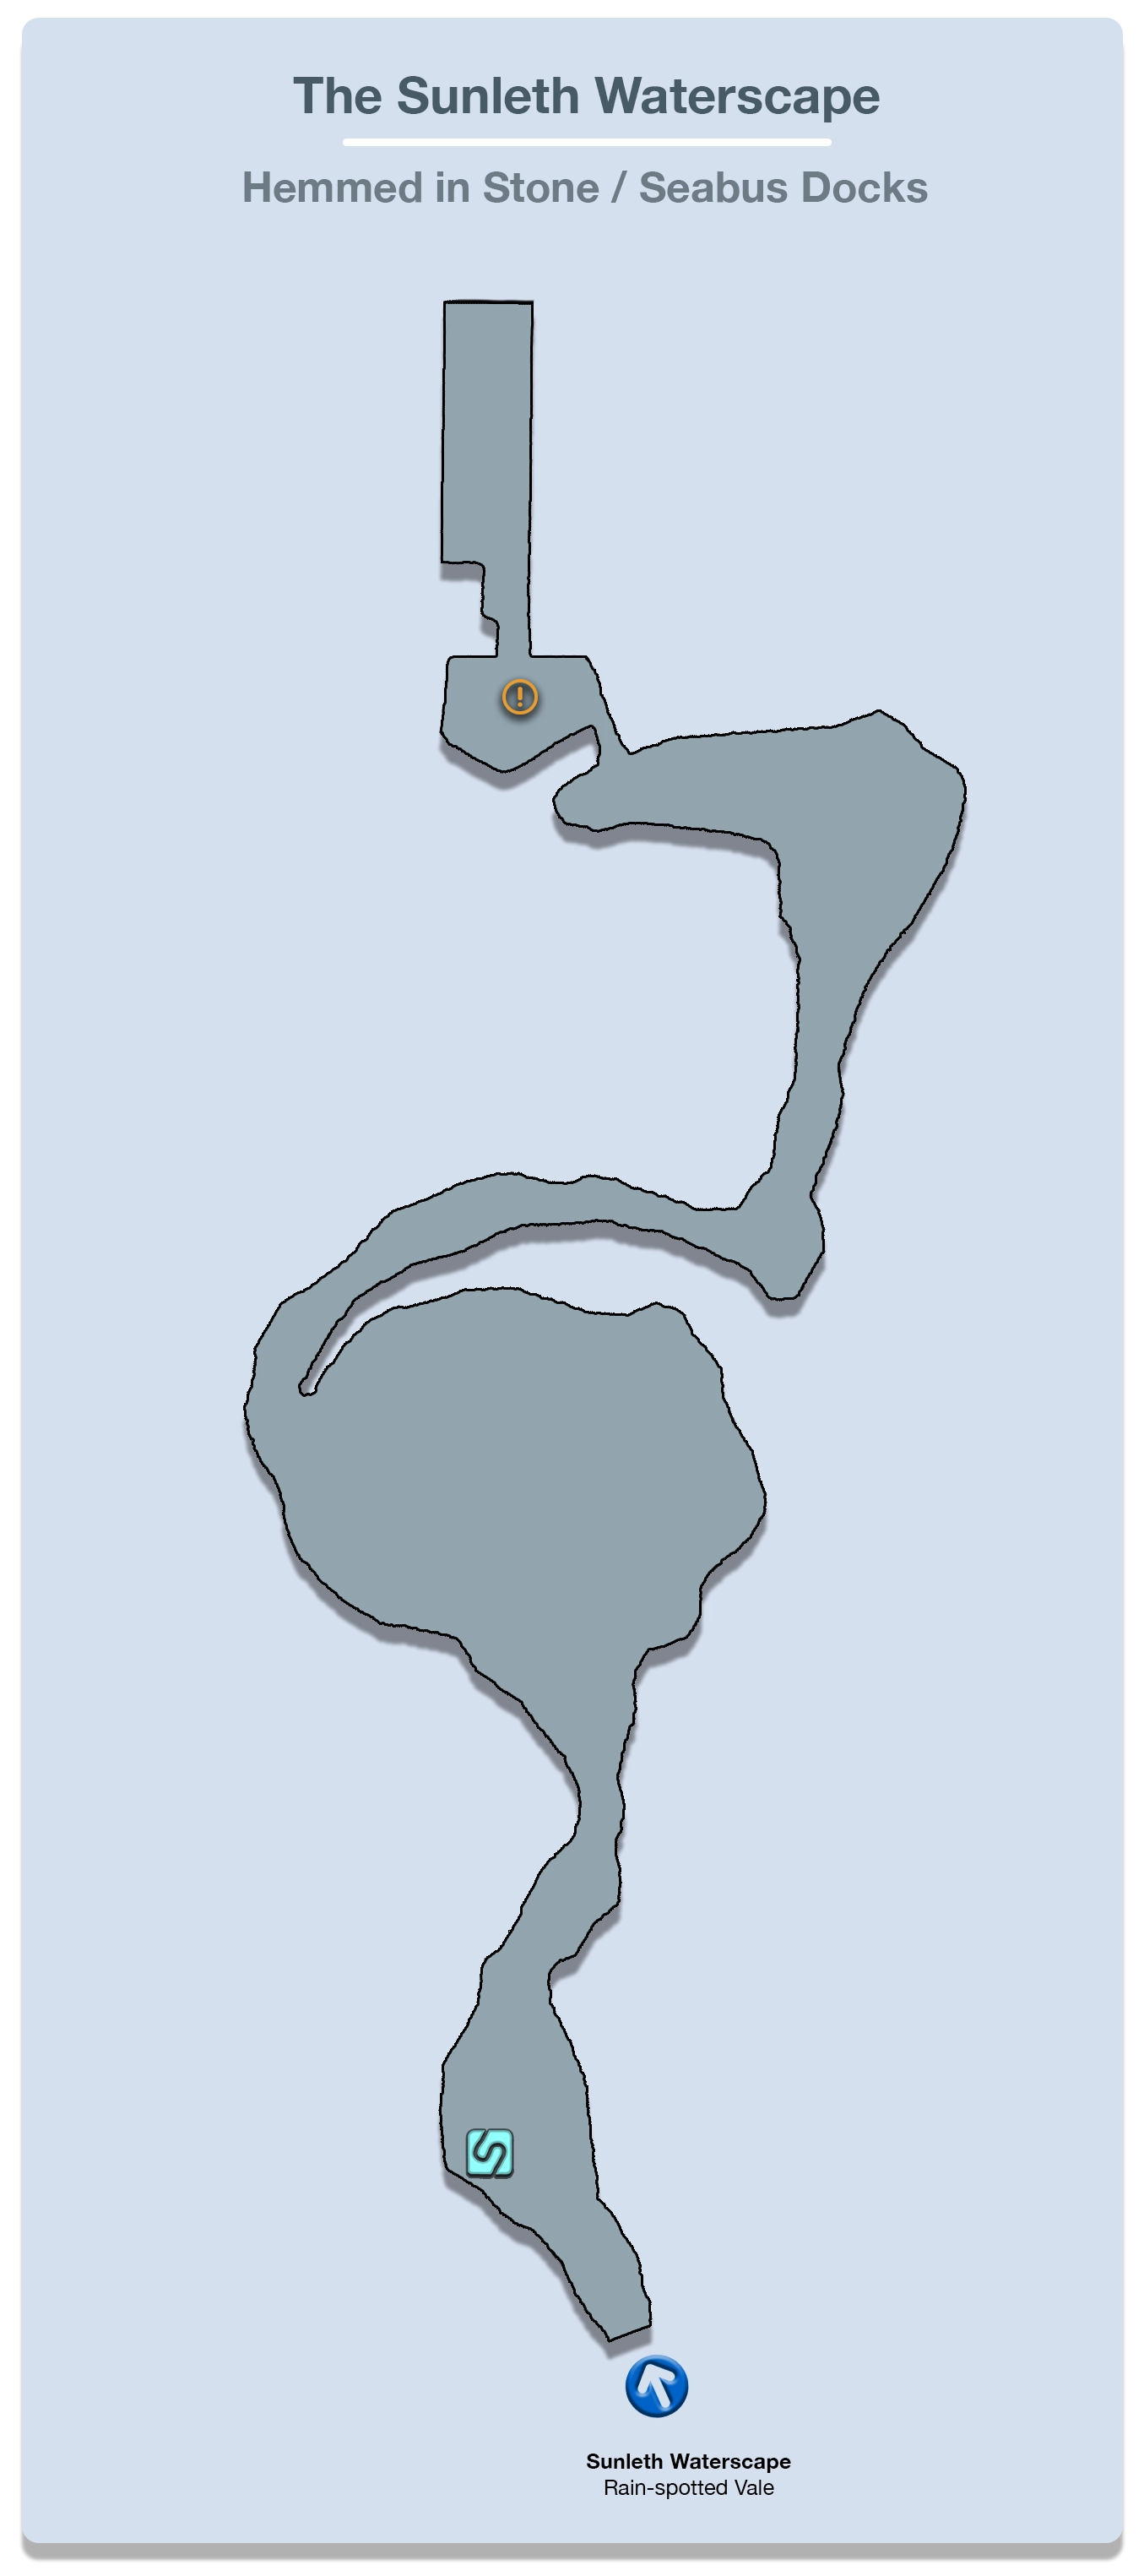
Hemmed in Stone
Make sure to save your game in preparation for an upcoming boss battle and take the following steps to prepare:
- Switch your active Paradigm to Tide Turner (Vanille as a
 Saboteur and Sazh as a
  Synergist).
 - Equip both Sazh and Vanille with accessories that resist lightning and water-based magic. Vanille can only equip one accessory, so have her equip a
 Spark Ring, while Sazh can equip two, so have him equip a Spark Ring and an Aqua Ring.
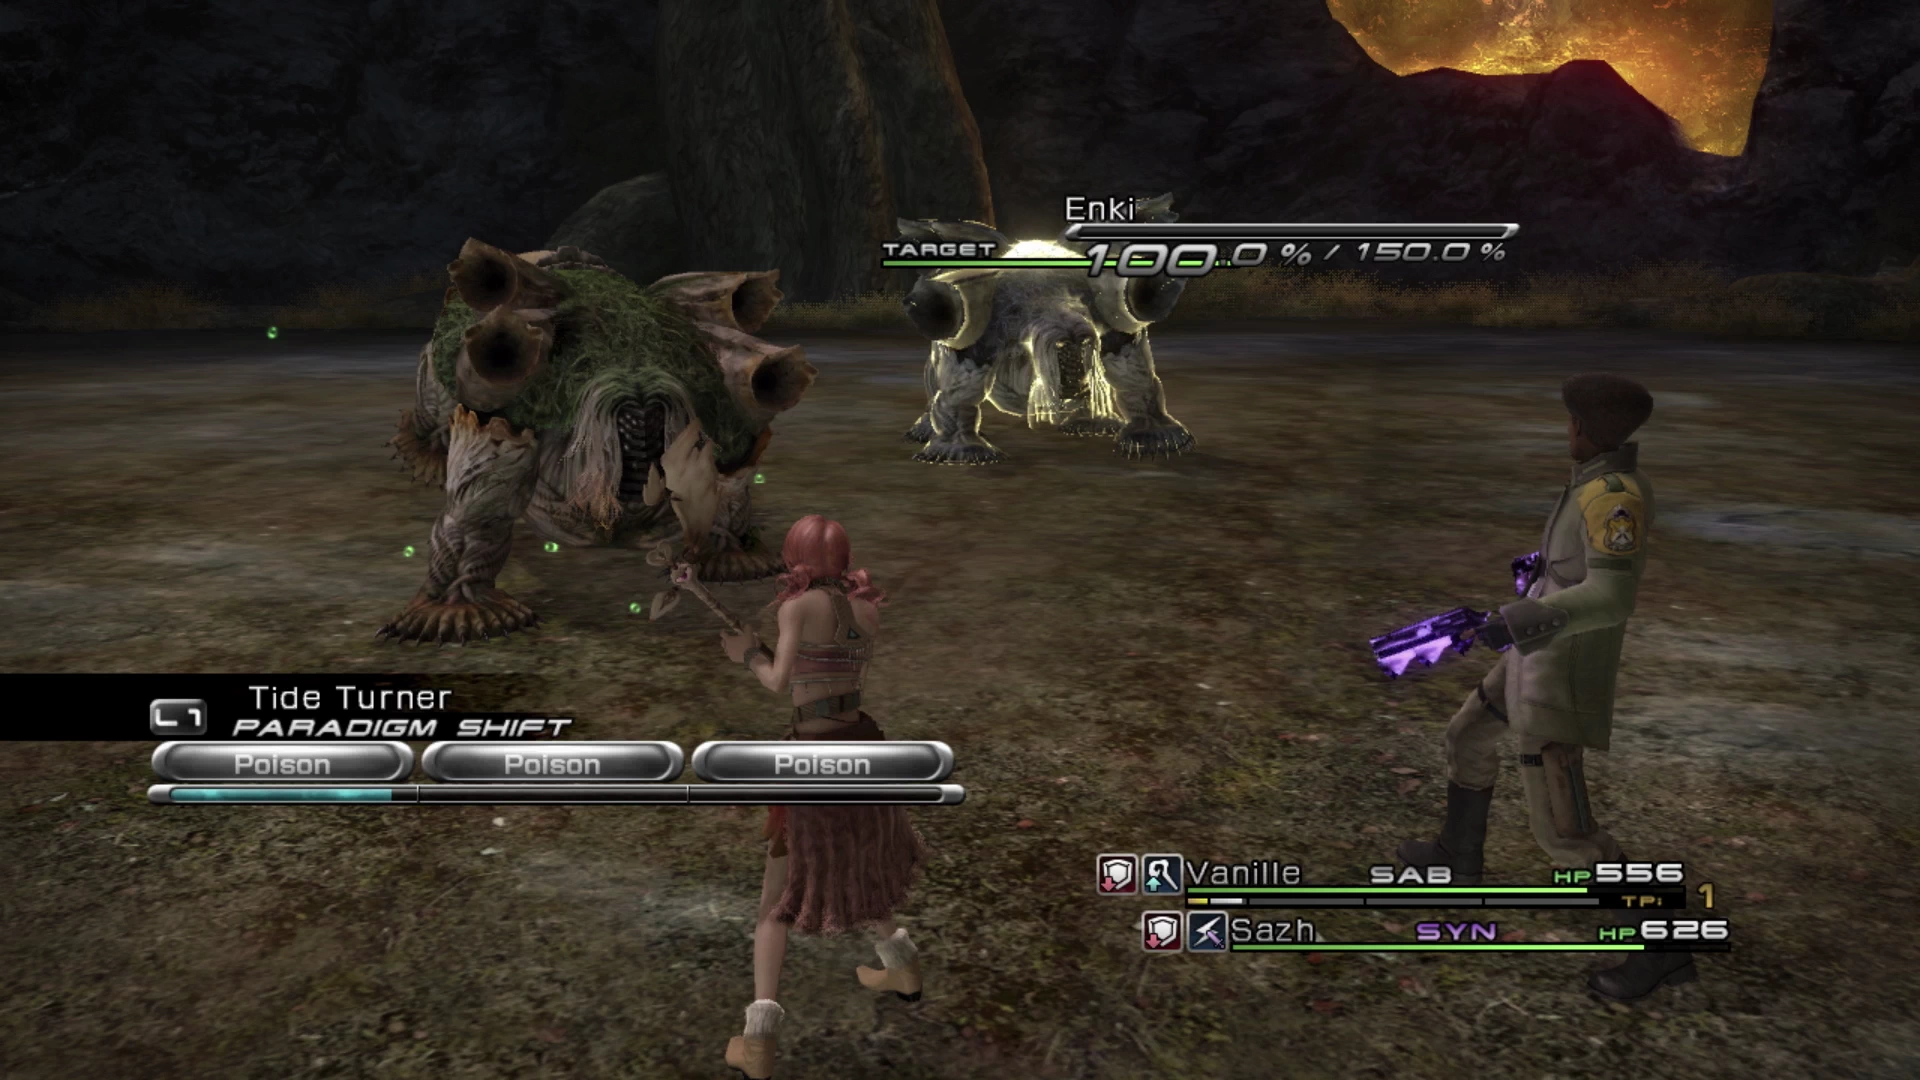
Boss Battle

These two bosses can pump out a heavy amount of damage so be ready to heal by swapping to the War & Peace Paradigm at a moment’s notice. Use ![]() Libra on both Enki and Enlil as soon as the battle begins, and this will identify that both are susceptible to
Libra on both Enki and Enlil as soon as the battle begins, and this will identify that both are susceptible to ![]() Poison.
Poison.
Starting the battle in the Tide Turner Paradigm will allow Sazh to load up beneficial buffs on Vanille and himself. After using ![]() Libra, and identifying the weakness to
Libra, and identifying the weakness to ![]() Poison, use “Auto-hinder” as Vanille and she will begin throwing
Poison, use “Auto-hinder” as Vanille and she will begin throwing ![]() Poison spells at both Enki and Enlil until they stick. Getting these debuffs up and active early will help deal an incredibly high amount of damage to the two creatures throughout the fight.
Poison spells at both Enki and Enlil until they stick. Getting these debuffs up and active early will help deal an incredibly high amount of damage to the two creatures throughout the fight.
After inflicting ![]() Poison, Vanille should move over to casting
Poison, Vanille should move over to casting ![]() Deprotect and
Deprotect and ![]() Deshell on your main target which should be Enlil. Enlil has less HP compared to Enki which will make it easier to take down. Don’t worry about having Vanille cast
Deshell on your main target which should be Enlil. Enlil has less HP compared to Enki which will make it easier to take down. Don’t worry about having Vanille cast ![]() Deprotect or
Deprotect or ![]() Deshell on Enki just yet as, by the time you switch the focus of your attacks from Enlil to Enki, you will need to recast these debuffs anyway.
Deshell on Enki just yet as, by the time you switch the focus of your attacks from Enlil to Enki, you will need to recast these debuffs anyway.
Once the buffs and debuffs have been applied it’s just a matter of rotating between Slash & Burn, Dualcasting and, when you run low on health, War & Peace. Note that using the “Auto-heal” command as Vanille will quite often have her cast ![]() Cure on one party member repeatedly, but you can manually select the
Cure on one party member repeatedly, but you can manually select the ![]() Cura spell which will provide a strong heal effect to both Vanille and Sazh at the same time.
Cura spell which will provide a strong heal effect to both Vanille and Sazh at the same time.
The key moves to watch out for are “Bellow,” which clears the caster’s debuffs and grants it several buffs, causing it to do quite a bit more damage, and “Trample,” a charging physical attack that hits hard, especially once “Bellow” is active. The bosses also become “Enraged” from time to time, which does no damage but makes them temporarily resistant to new debuffs, so you will need to reapply them once it wears off. Expect to go on the defensive from time to time, even if one of the bosses is currently Staggered.
Once one of the bosses has been defeated switch back to the Tide Turner Paradigm to reapply buffs and debuffs and then work on achieving a chain bonus and Stagger again. Use the video below for reference if you are having trouble. Good luck!
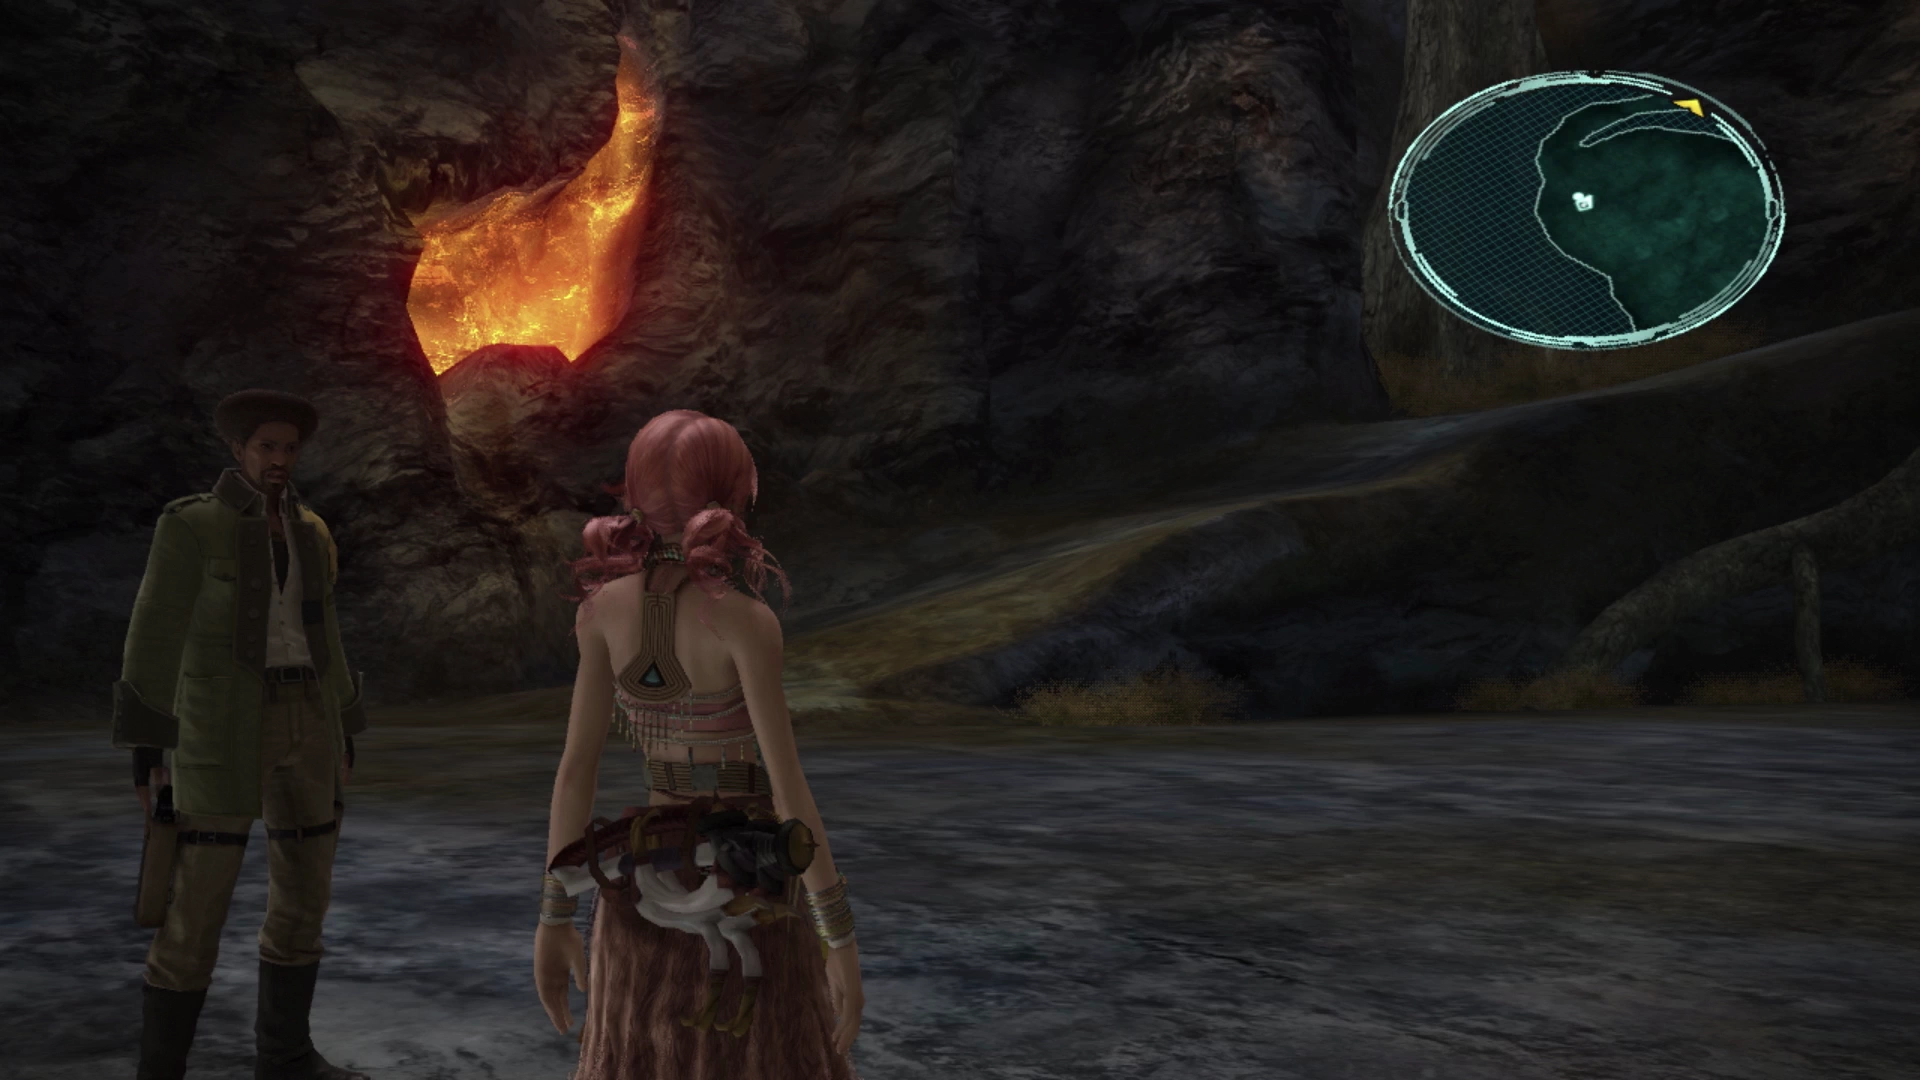
Travel up the pathway out of the gorge and consider removing any of the accessories that Sazh and Vanille currently have equipped.
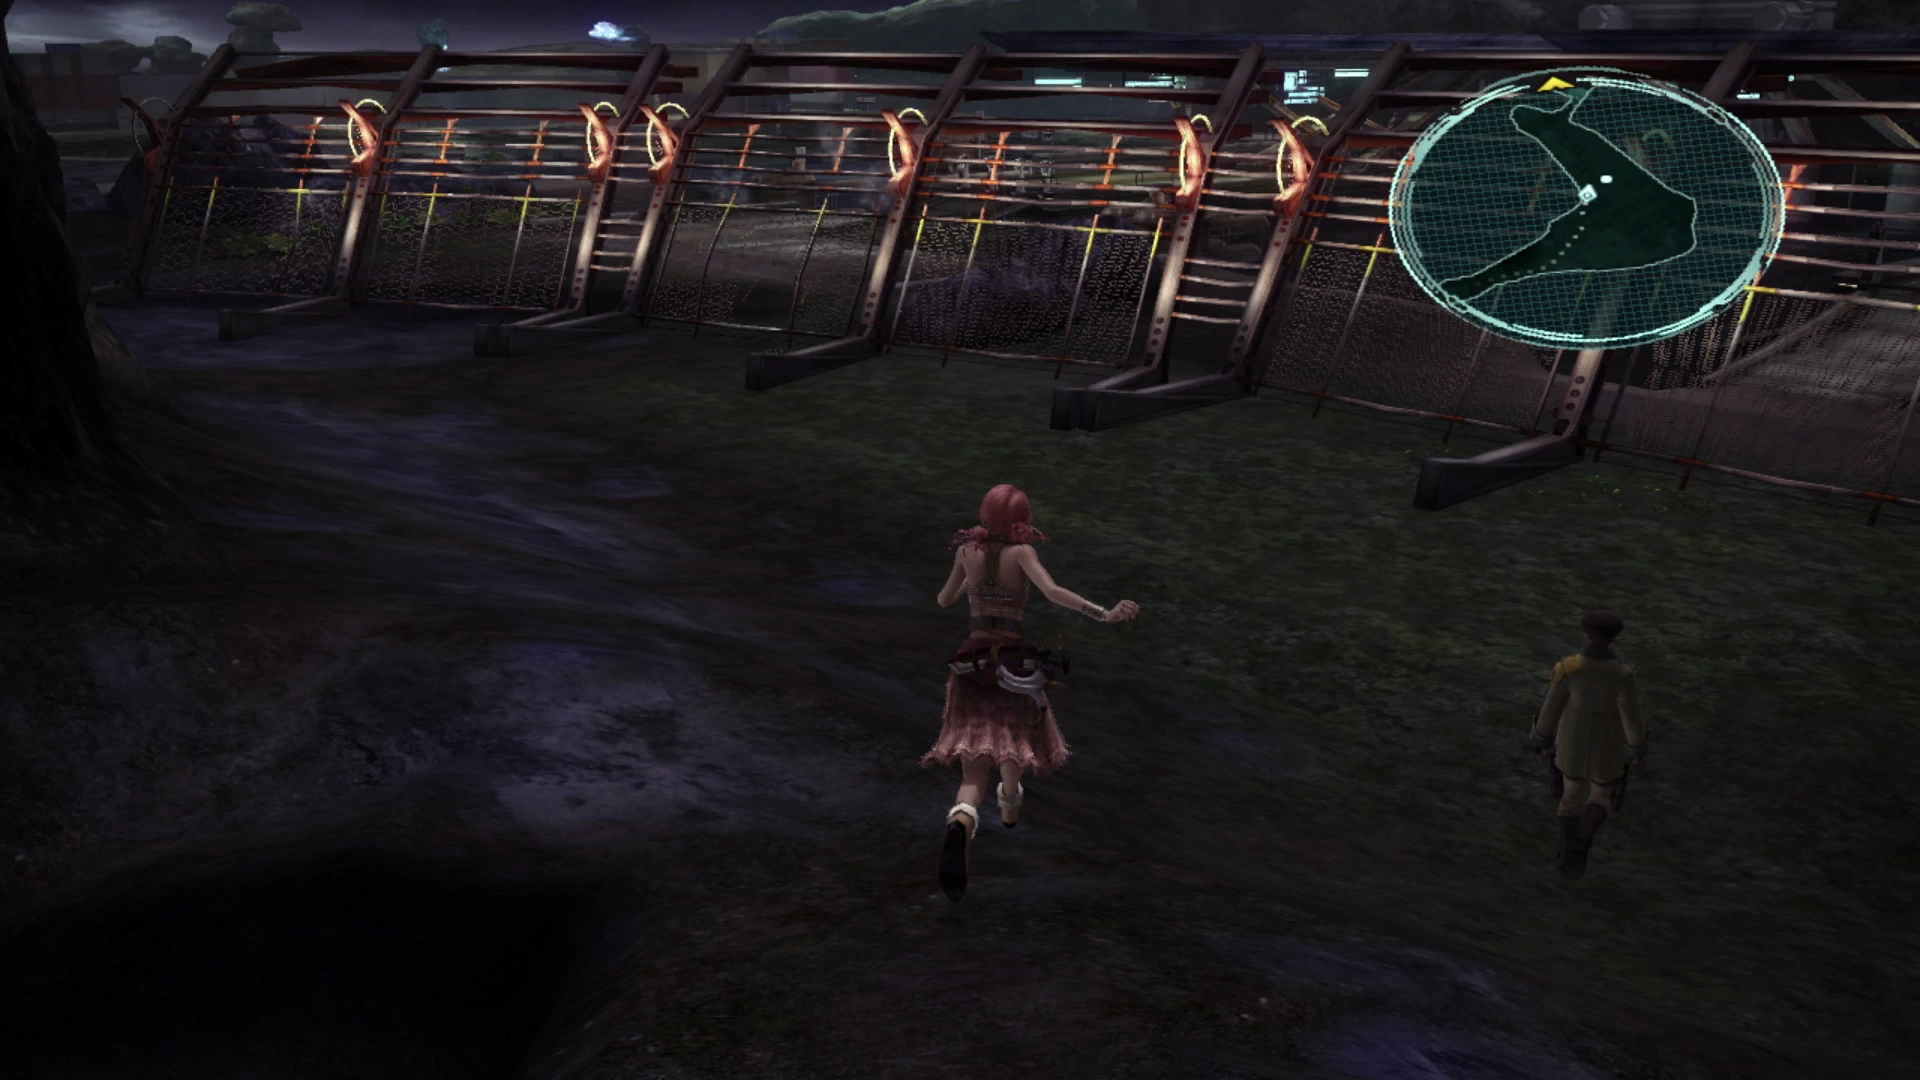
Seabus Docks
There’s nothing to do in this area or the last area other than continue running forward. You are in for another lengthy set of cutscenes once you reach the docks before we return to Lightning and Hope who are about to enter Palumpolum.
Achievement/Trophy
You will automatically receive the  Instrument of Survival Achievement/Trophy at the end of Chapter 6.