Chapter 6: The Sunleth Waterscape (Part 1)
Riparian Corridor
The walkthrough for the Sunleth Waterscape is broken up into two parts. The first part covers everything up to the cutscenes at Lake Shayra before the weather switches are available. If you have reached the weather switches in the Sunleth Waterscape, use the link to move to Part 2 of the Sunleth Waterscape.
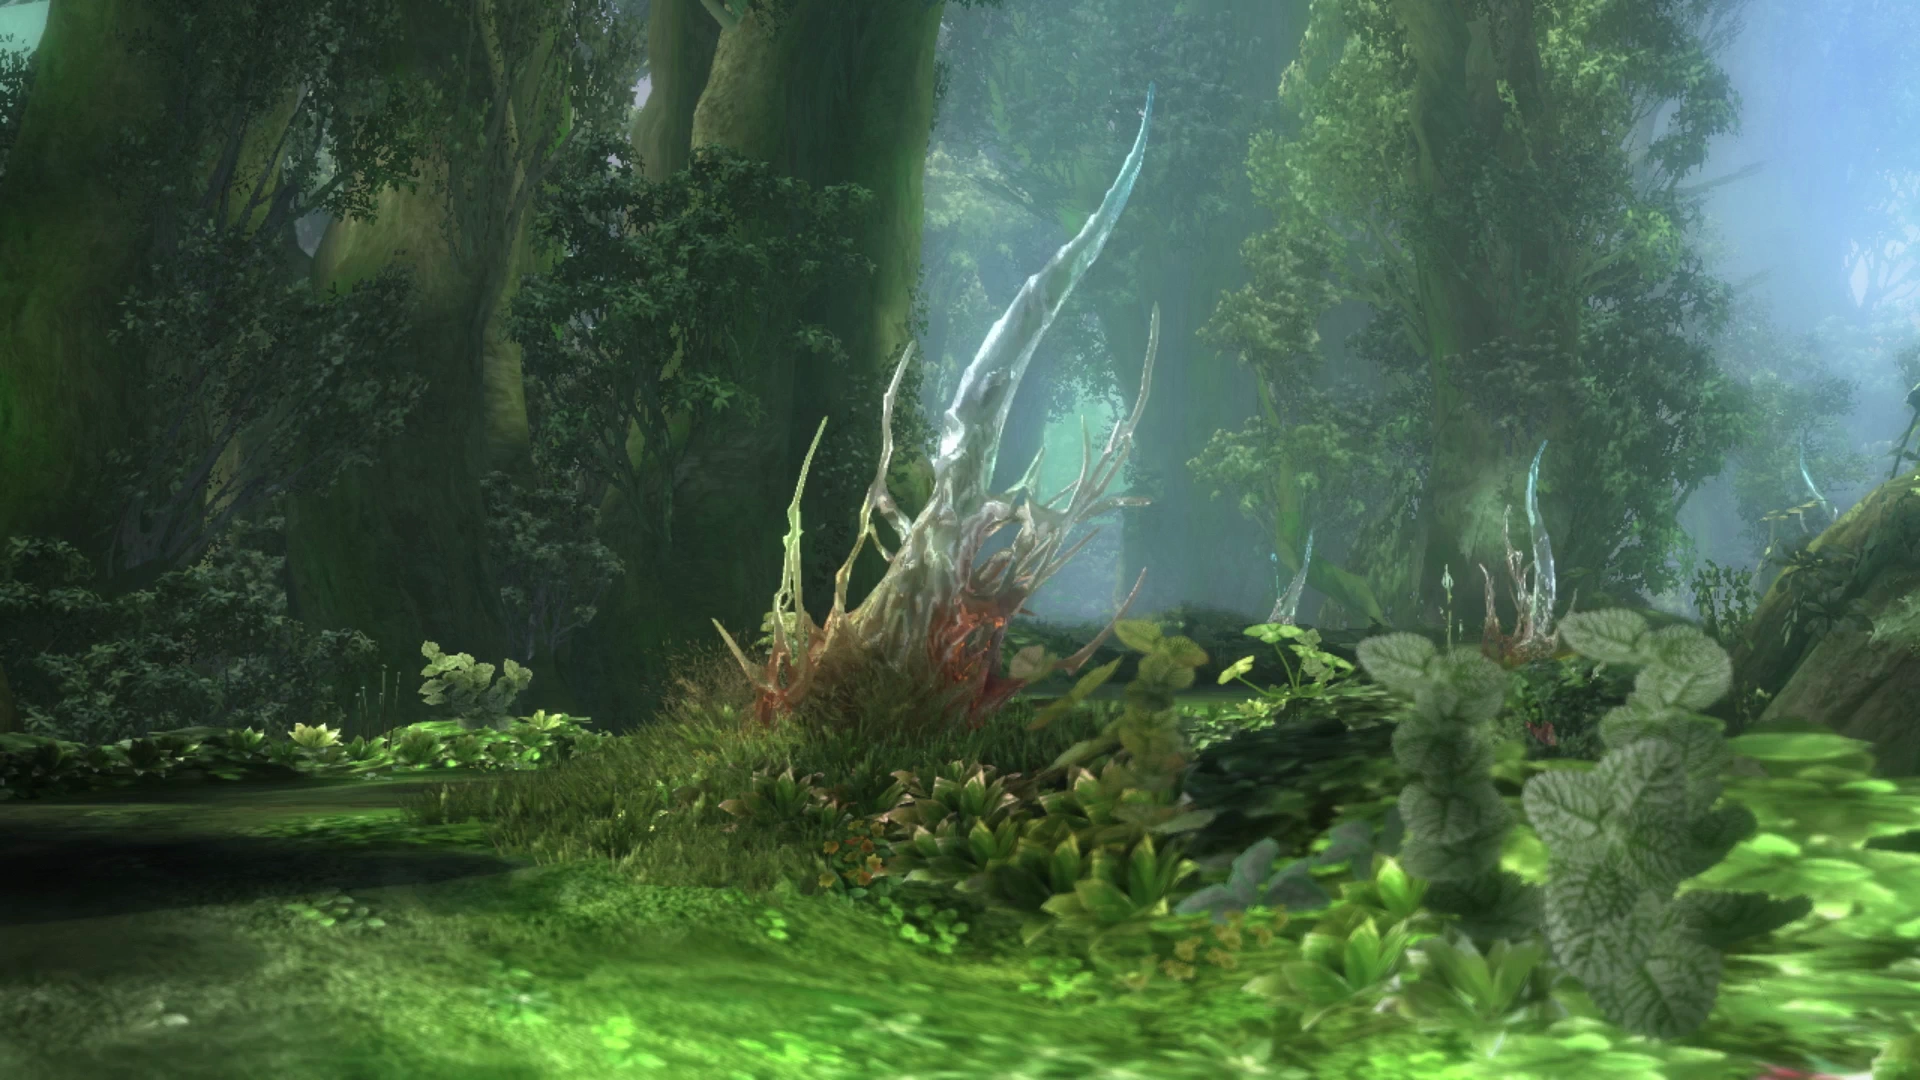
The Old Growth
We are back over to Sazh and Vanille who have completed their escape from the Vile Peaks. They both have an abundance of Crystogen Points to use. While Vanille does not yet have access to a second Accessory (as she doesn’t have a node to unlock in her Crystarium), Sazh does have access to one which can be found in the ![]() Synergist Crystarium, so start by having Sazh unlock most of that tree.
Synergist Crystarium, so start by having Sazh unlock most of that tree.
Sazh and Vanille both have a ton of points stored up though so you can practically complete the fully available nodes of one of their Crystariums before moving on to a second. After completing Sazh’s ![]() Synergist role it may be a good idea to have him focus on his
Synergist role it may be a good idea to have him focus on his ![]() Commando role given that he will need to be in that role quite regularly to allow him and Vanille to build chain bonuses and Stagger enemies. Have Vanille focus on spending her points in the
Commando role given that he will need to be in that role quite regularly to allow him and Vanille to build chain bonuses and Stagger enemies. Have Vanille focus on spending her points in the ![]() Ravager Crystarium which will greatly increase the amount of damage she can do.
Ravager Crystarium which will greatly increase the amount of damage she can do.
Next, before you set off, give their equipment a review and equip some accessories to both (and two accessories to Sazh now). Good options include the new ![]() Tungsten Bangle that you received after defeating Aster Protoflorian at the end of Chapter 5. You may also want to swap Sazh’s weapon from the
Tungsten Bangle that you received after defeating Aster Protoflorian at the end of Chapter 5. You may also want to swap Sazh’s weapon from the ![]() Deneb Duellers, if you had them equipped, over to the
Deneb Duellers, if you had them equipped, over to the ![]() Vega 42s, which are more focused on Sazh’s strength attribute.
Vega 42s, which are more focused on Sazh’s strength attribute.
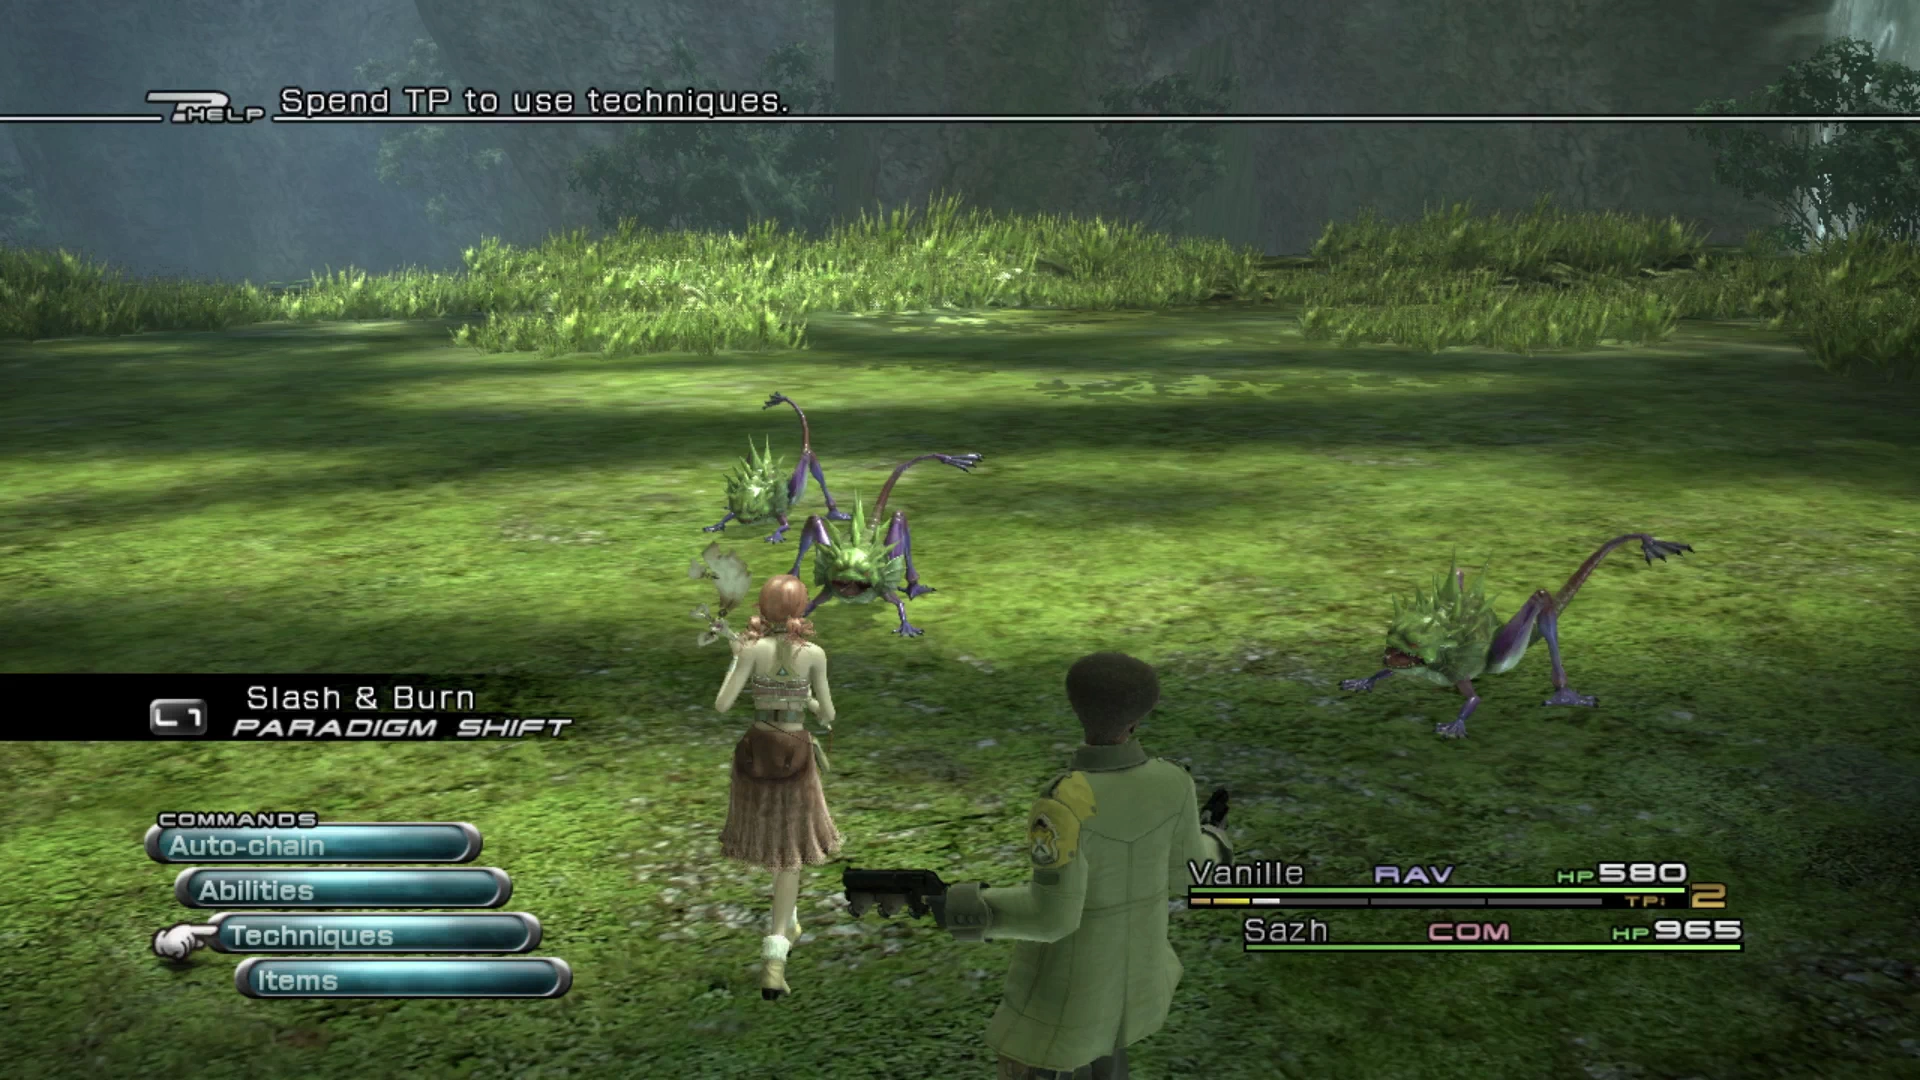
Lastly, make sure you have the appropriate Paradigms created. The enemies in this area are easy to defeat so you can continue to rotate between Slash & Burn and Dualcasting to bring them down quickly. Use the ![]() Save Station to save your game and then move forward down the pathway.
Save Station to save your game and then move forward down the pathway.
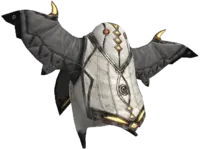
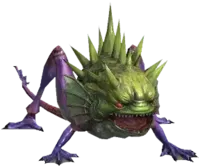
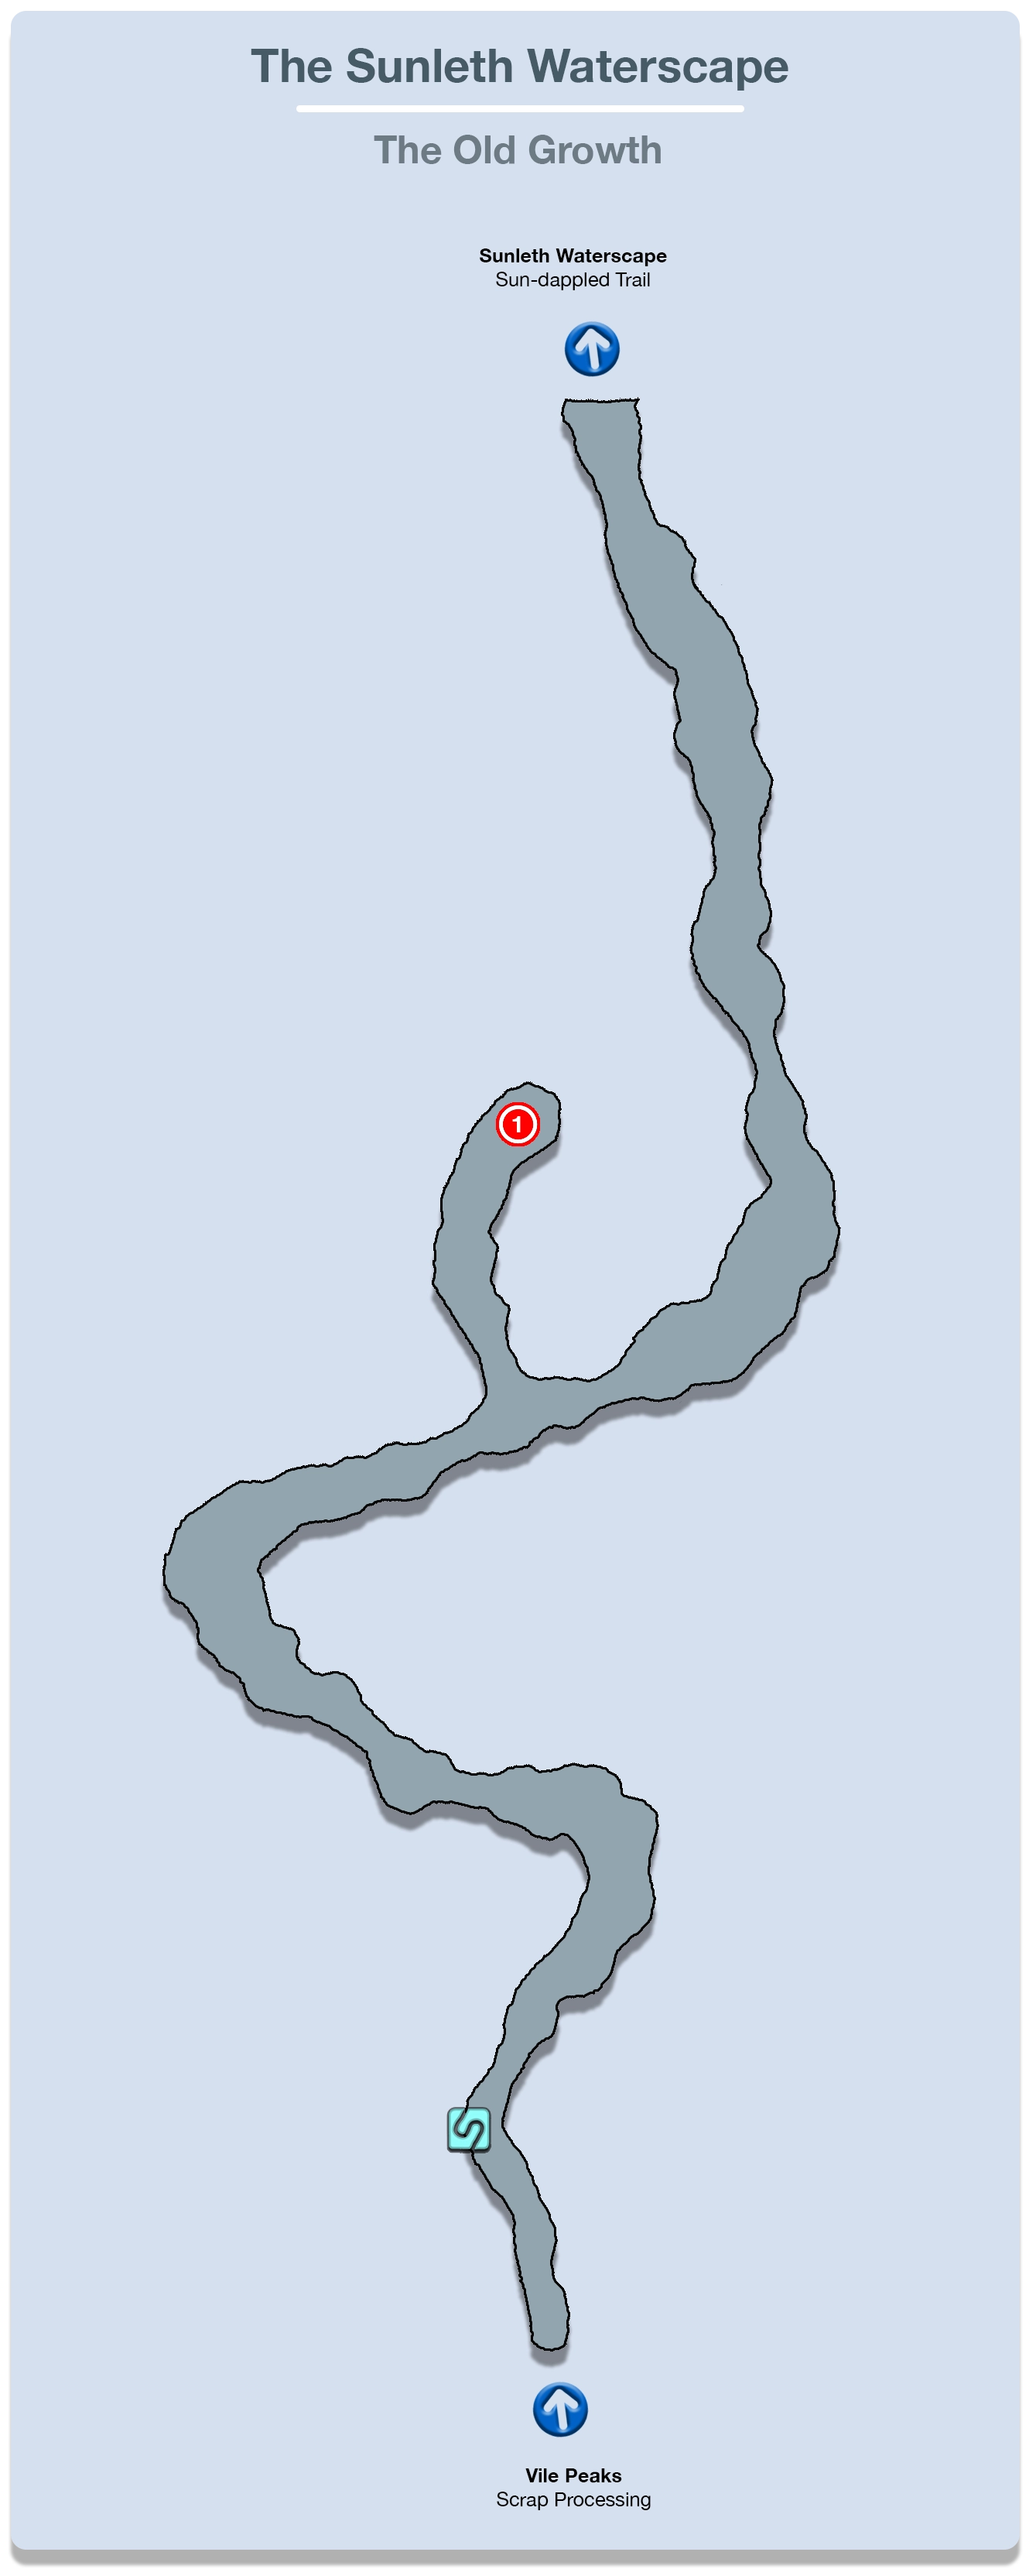
The trail through the Sunleth Waterscape is very linear and the enemies you face in this area are very easy. The first two enemies you face are called Flandragoras.

Use ![]() Libra on them to reveal that they have a weakness to fire magic and, with this knowledge in hand, your two party members will be able to bring them down quite easily. Further down the trail, you will find a group of Hedge Frogs which do not require any complex strategy to defeat.
Libra on them to reveal that they have a weakness to fire magic and, with this knowledge in hand, your two party members will be able to bring them down quite easily. Further down the trail, you will find a group of Hedge Frogs which do not require any complex strategy to defeat.
You will arrive at a fork in the road partway down the trail. Traveling to the left side of it will require you to defeat two more Flandragoras (easy) to gain access to a Treasure Sphere that contains eight ![]() Mysterious Fluid. Continue along the path, defeating each of the groups of enemies you come across until you reach a
Mysterious Fluid. Continue along the path, defeating each of the groups of enemies you come across until you reach a ![]() Save Station.
Save Station.
Sun-dappled Trail
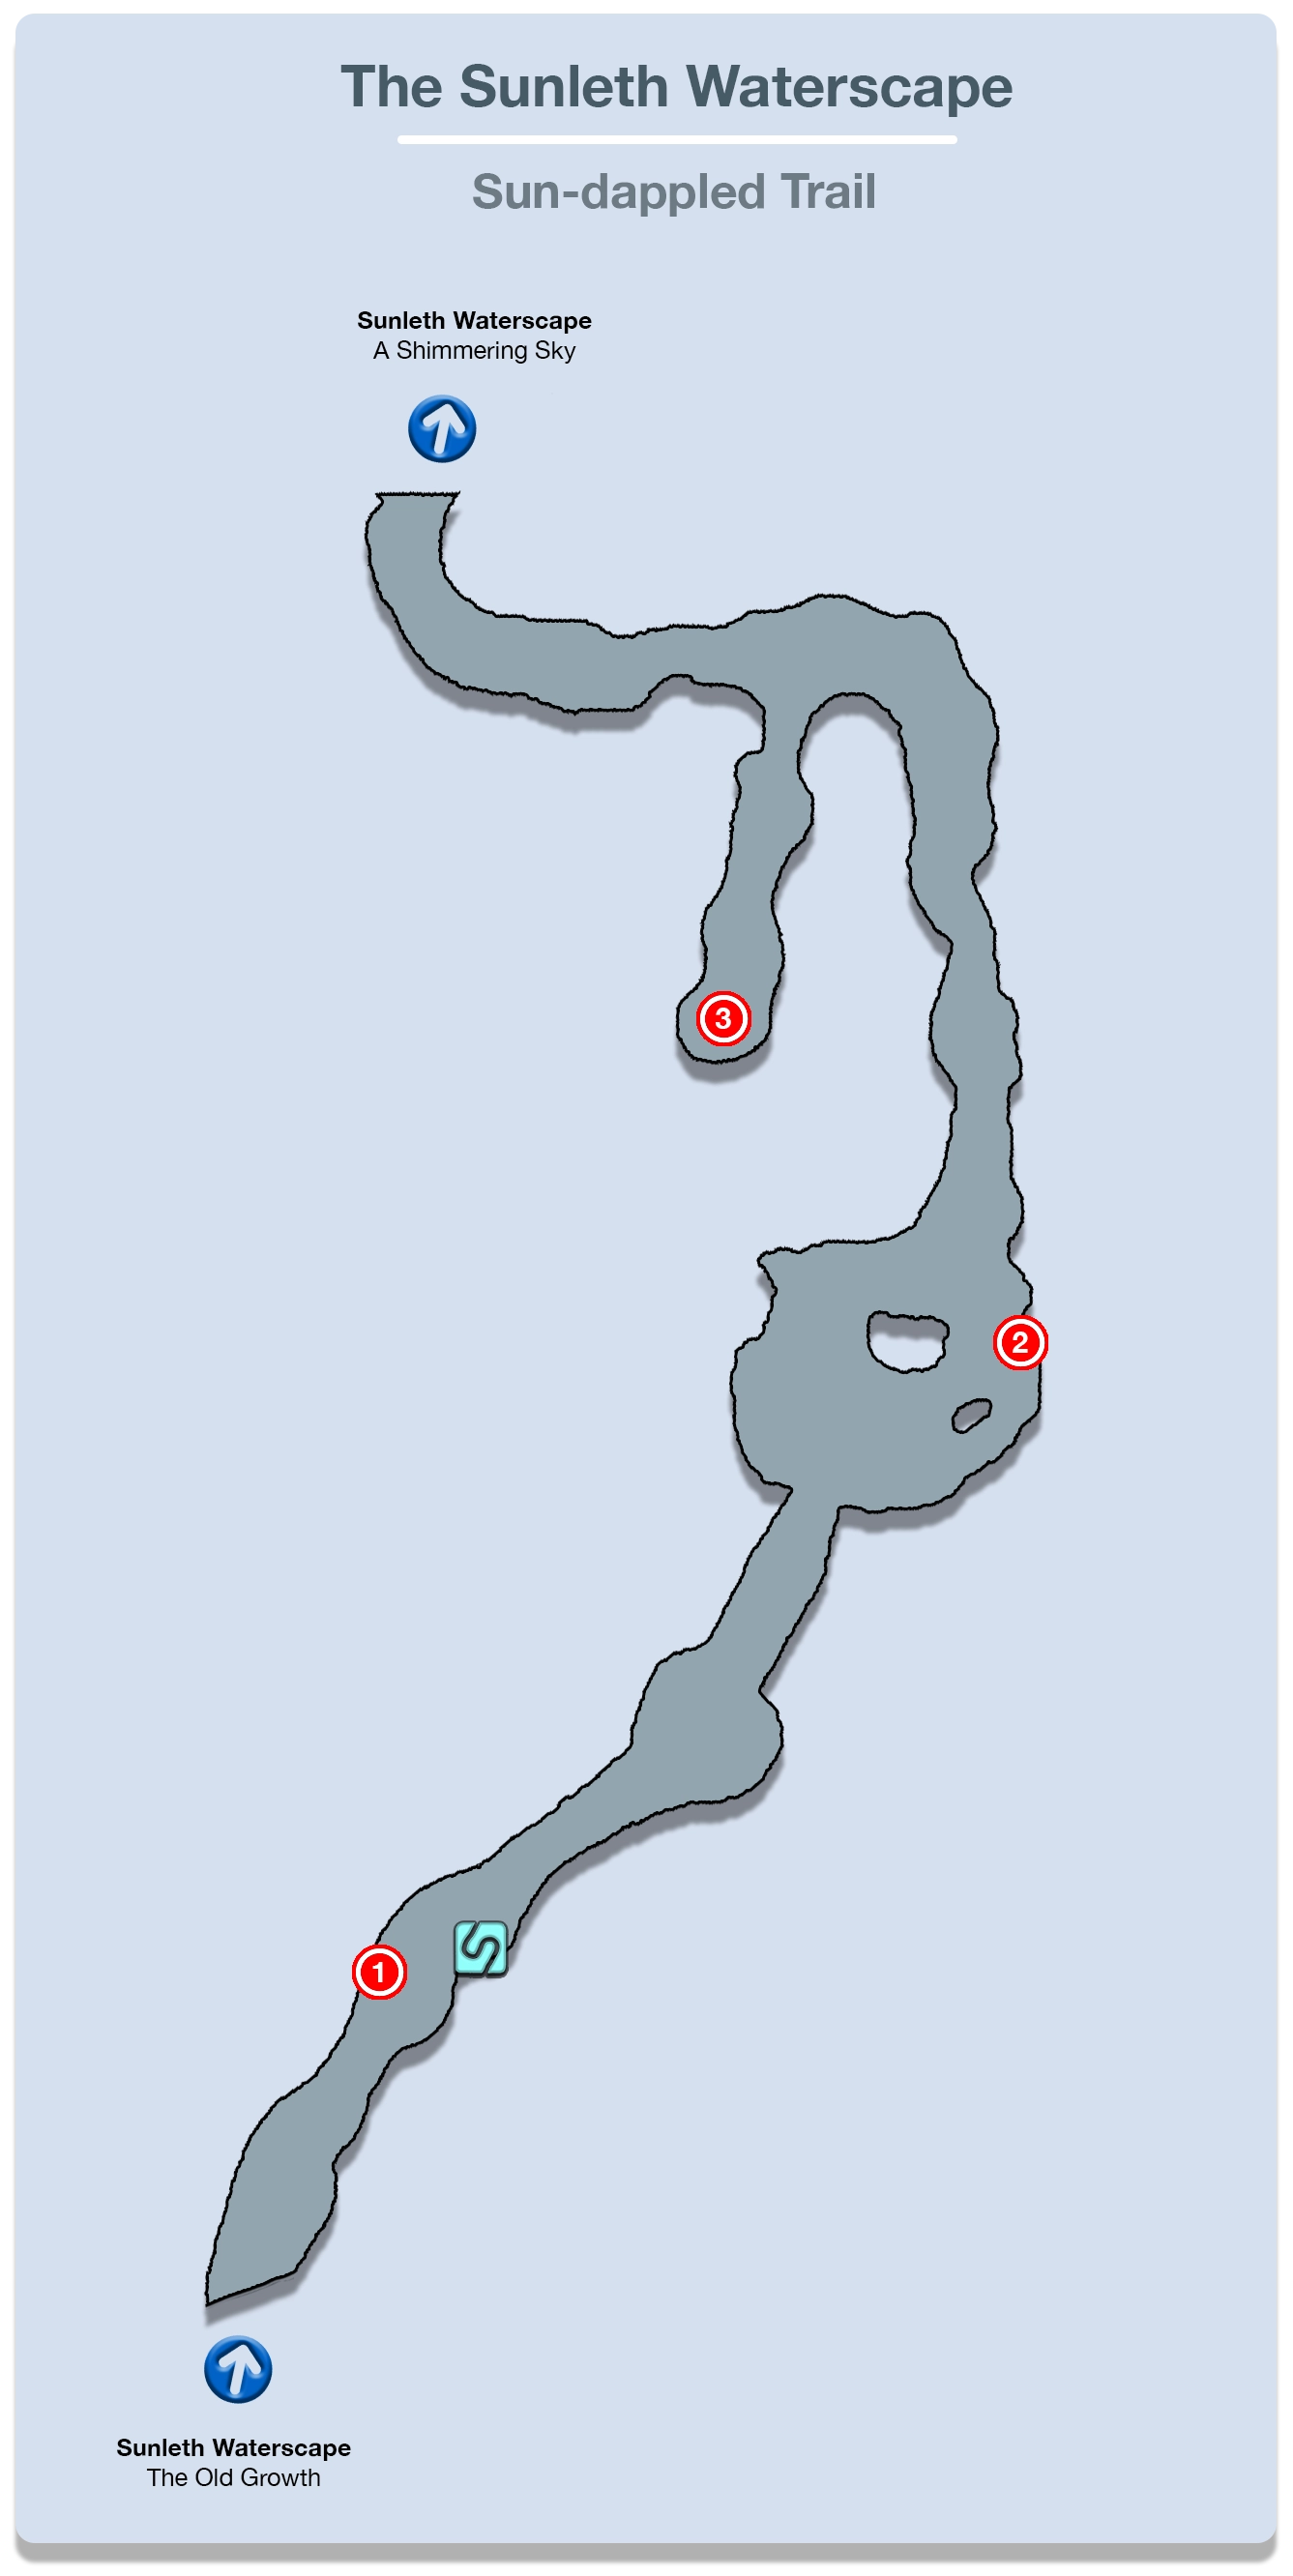
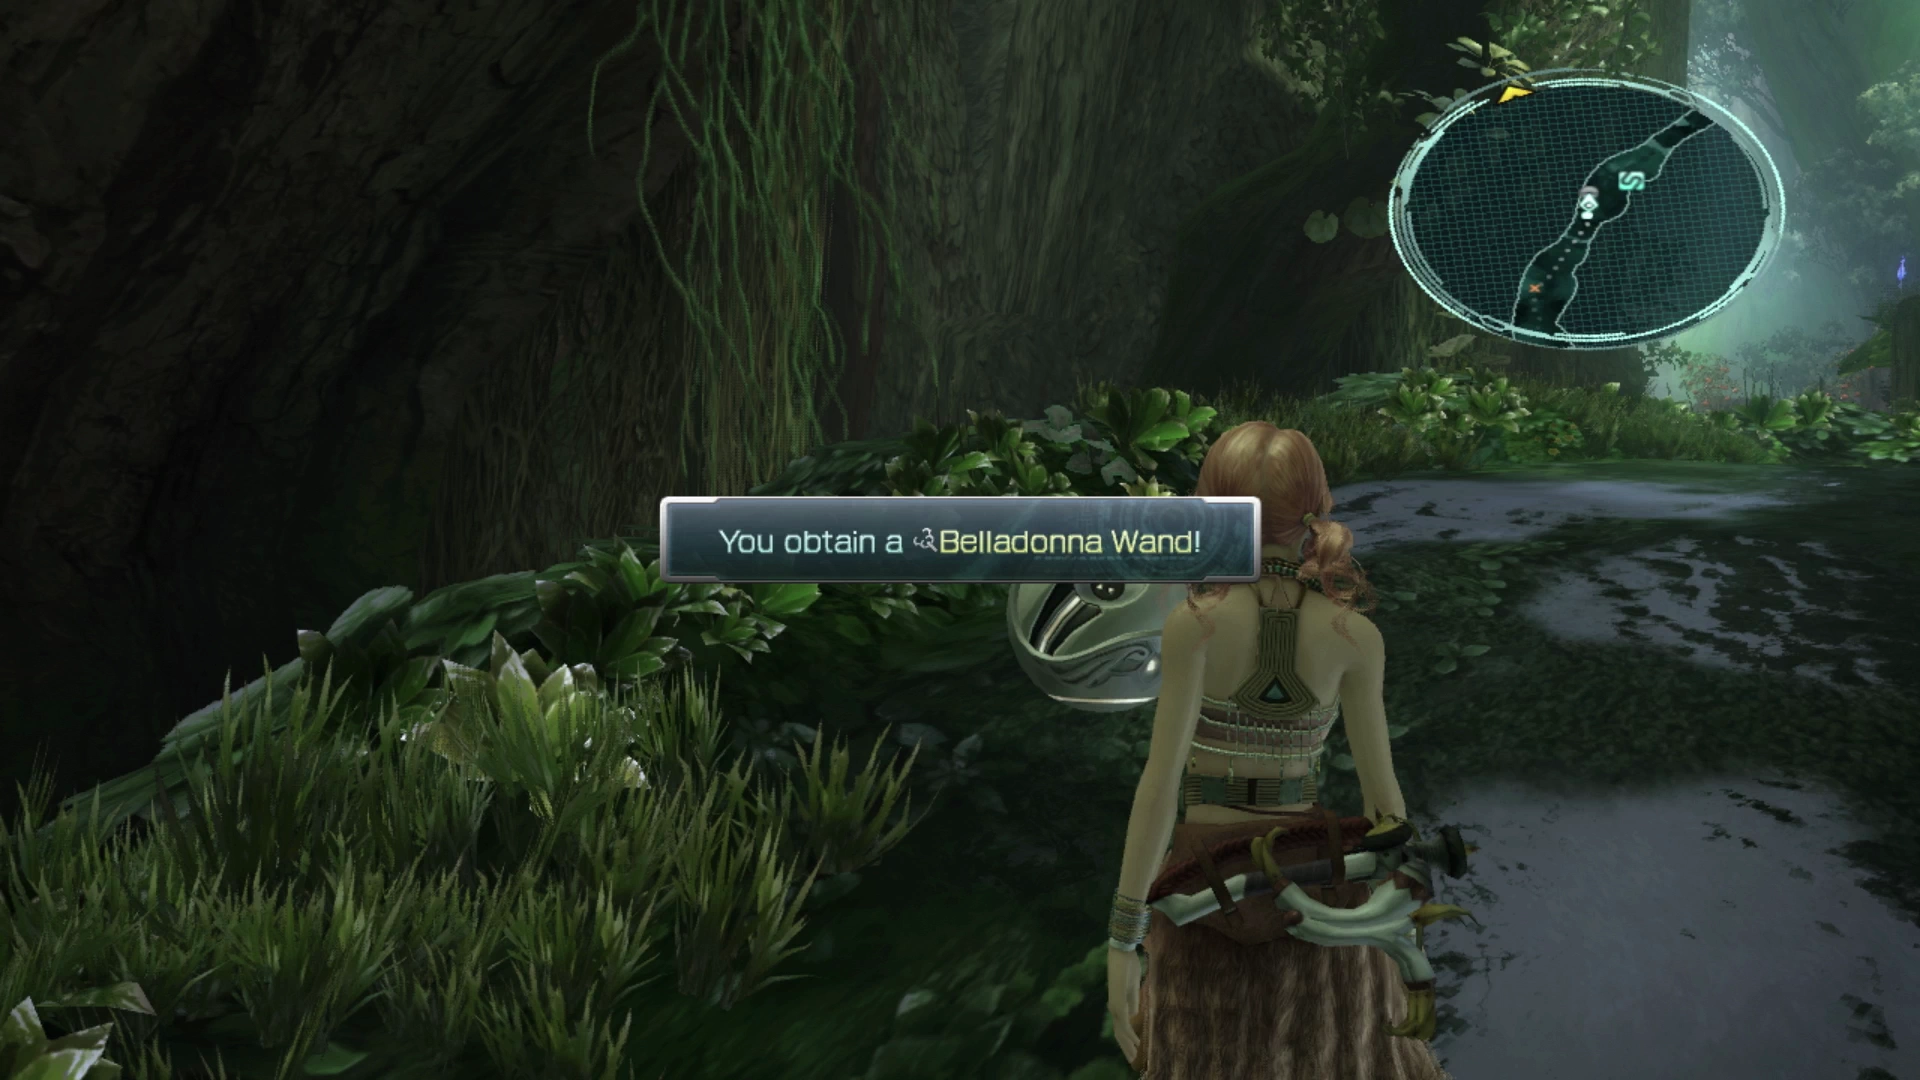
Just off to the left, before you reach the ![]() Save Station, is a Treasure Sphere that contains the
Save Station, is a Treasure Sphere that contains the ![]() Belladonna Wand. This is an incredibly powerful weapon for Vanille which will allow her to apply debuffs much more effectively, but its applications and usefulness only matter much later in the game. For now, equipping it is not recommended; instead, keep her
Belladonna Wand. This is an incredibly powerful weapon for Vanille which will allow her to apply debuffs much more effectively, but its applications and usefulness only matter much later in the game. For now, equipping it is not recommended; instead, keep her ![]() Pearlwing Staff equipped.
Pearlwing Staff equipped.
After jumping across the platform, you will encounter a group of five Gremlins. These enemies are just as easy as the last time you faced them other than the fact that they tend to come in larger groups now.
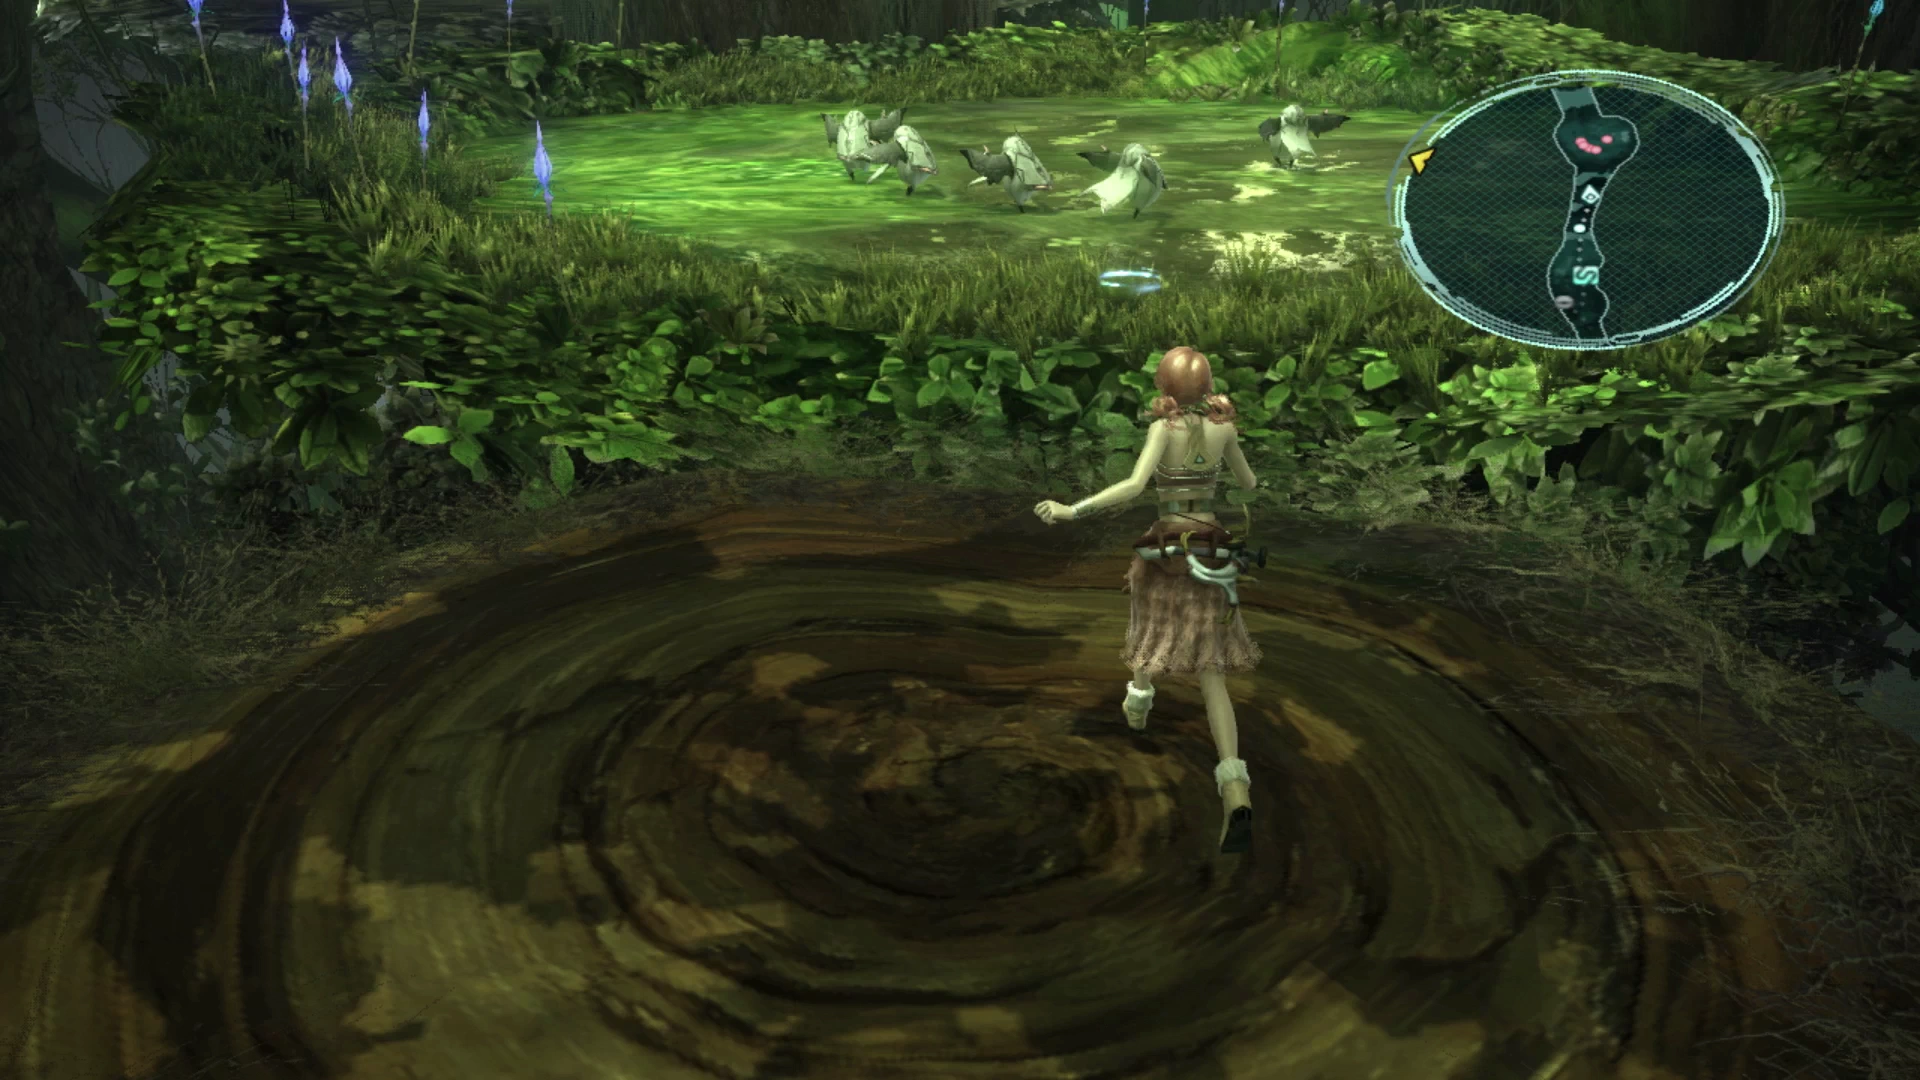
You will eventually reach a large open area with many Flandragoras roaming around. There is a Treasure Sphere near the back that contains a new weapon for Sazh, the ![]() Procyons. It causes enemies that are Staggered to stay that way for 10% longer but because Sazh will be spending most of his time as a
Procyons. It causes enemies that are Staggered to stay that way for 10% longer but because Sazh will be spending most of his time as a ![]() Commando and, therefore, not triggering as many Staggers on enemies, this weapon is of limited value.
Commando and, therefore, not triggering as many Staggers on enemies, this weapon is of limited value.
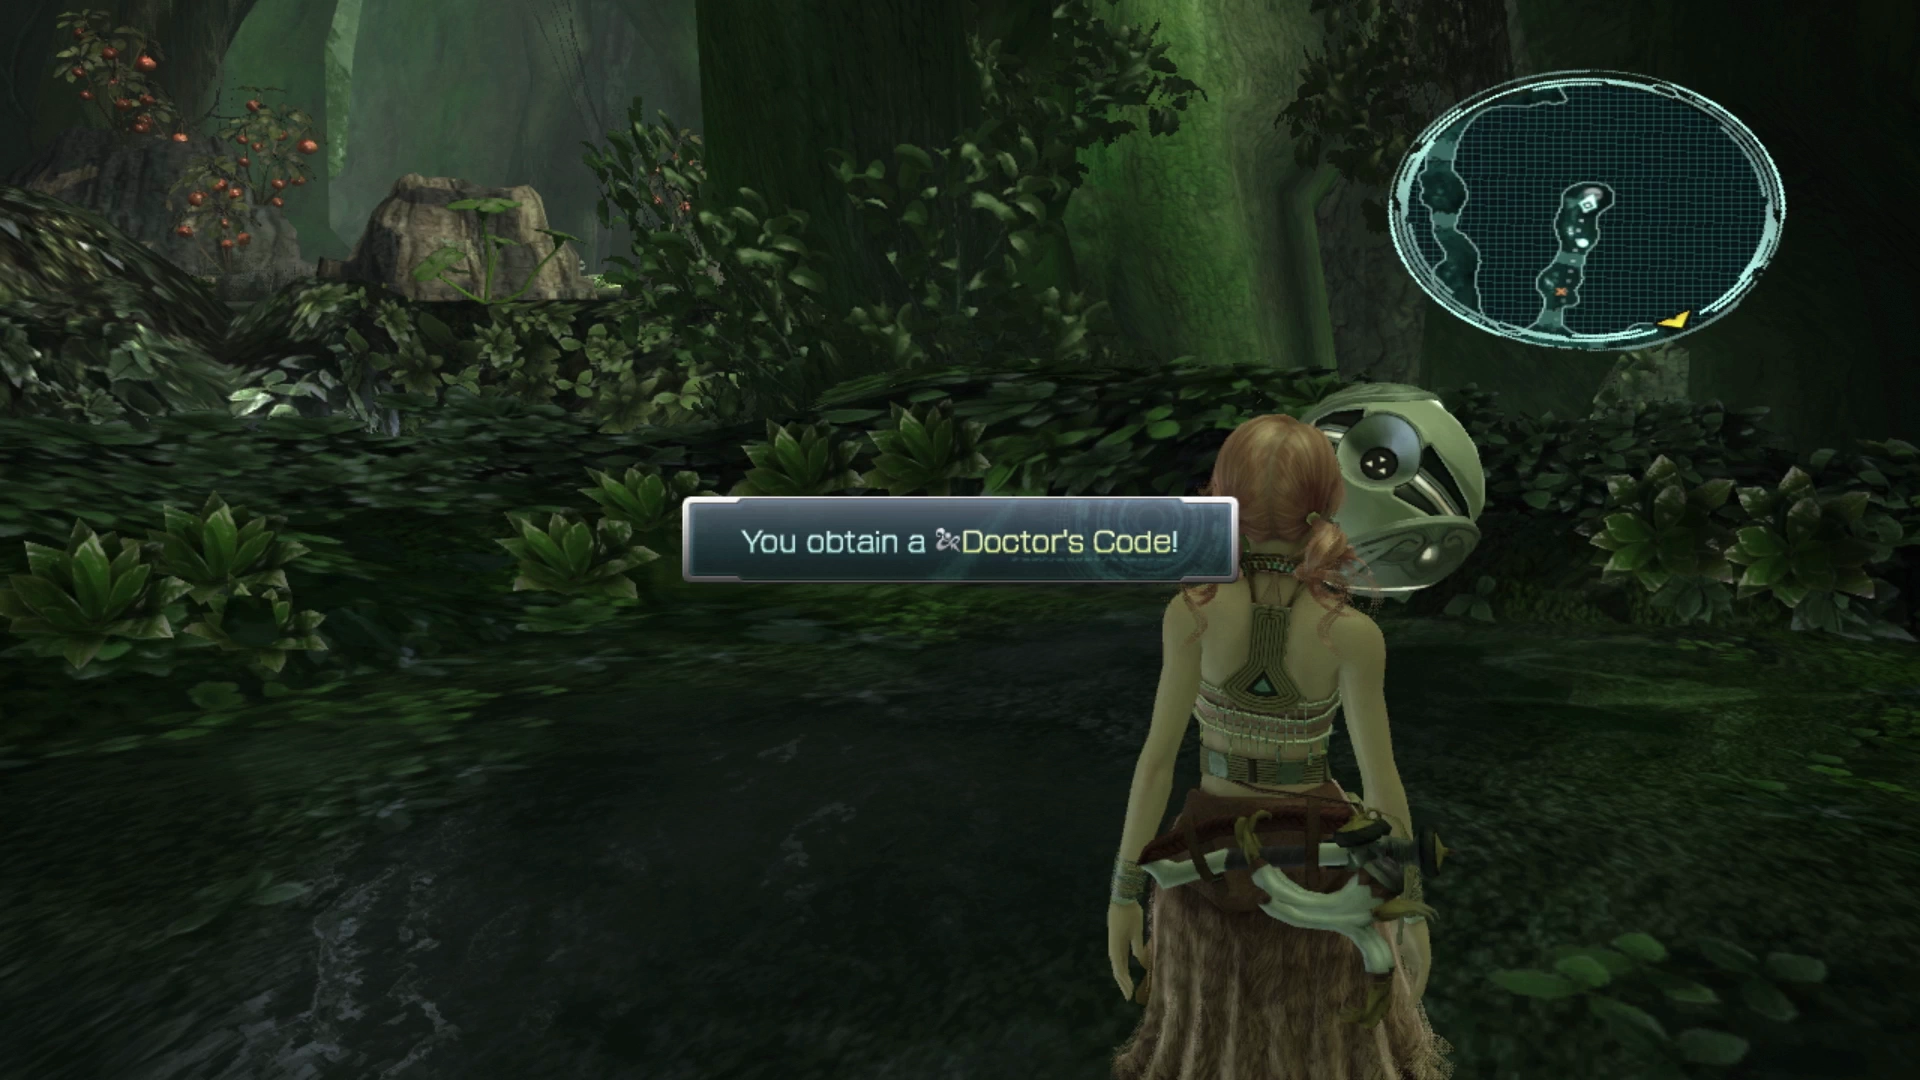
There will be another point up ahead where the trail splits left and right. The left side has a group of Gremlins for you to defeat and a Treasure Sphere behind the group that contains another ![]() Doctor’s Code.
Doctor’s Code.
Missable Content
You already have one ![]() Doctor’s Code from early in the game when you defeated Anima, but these items are exceedingly rare (this is the second of three that are available), so this additional copy is an important item to pick up.
Doctor’s Code from early in the game when you defeated Anima, but these items are exceedingly rare (this is the second of three that are available), so this additional copy is an important item to pick up.
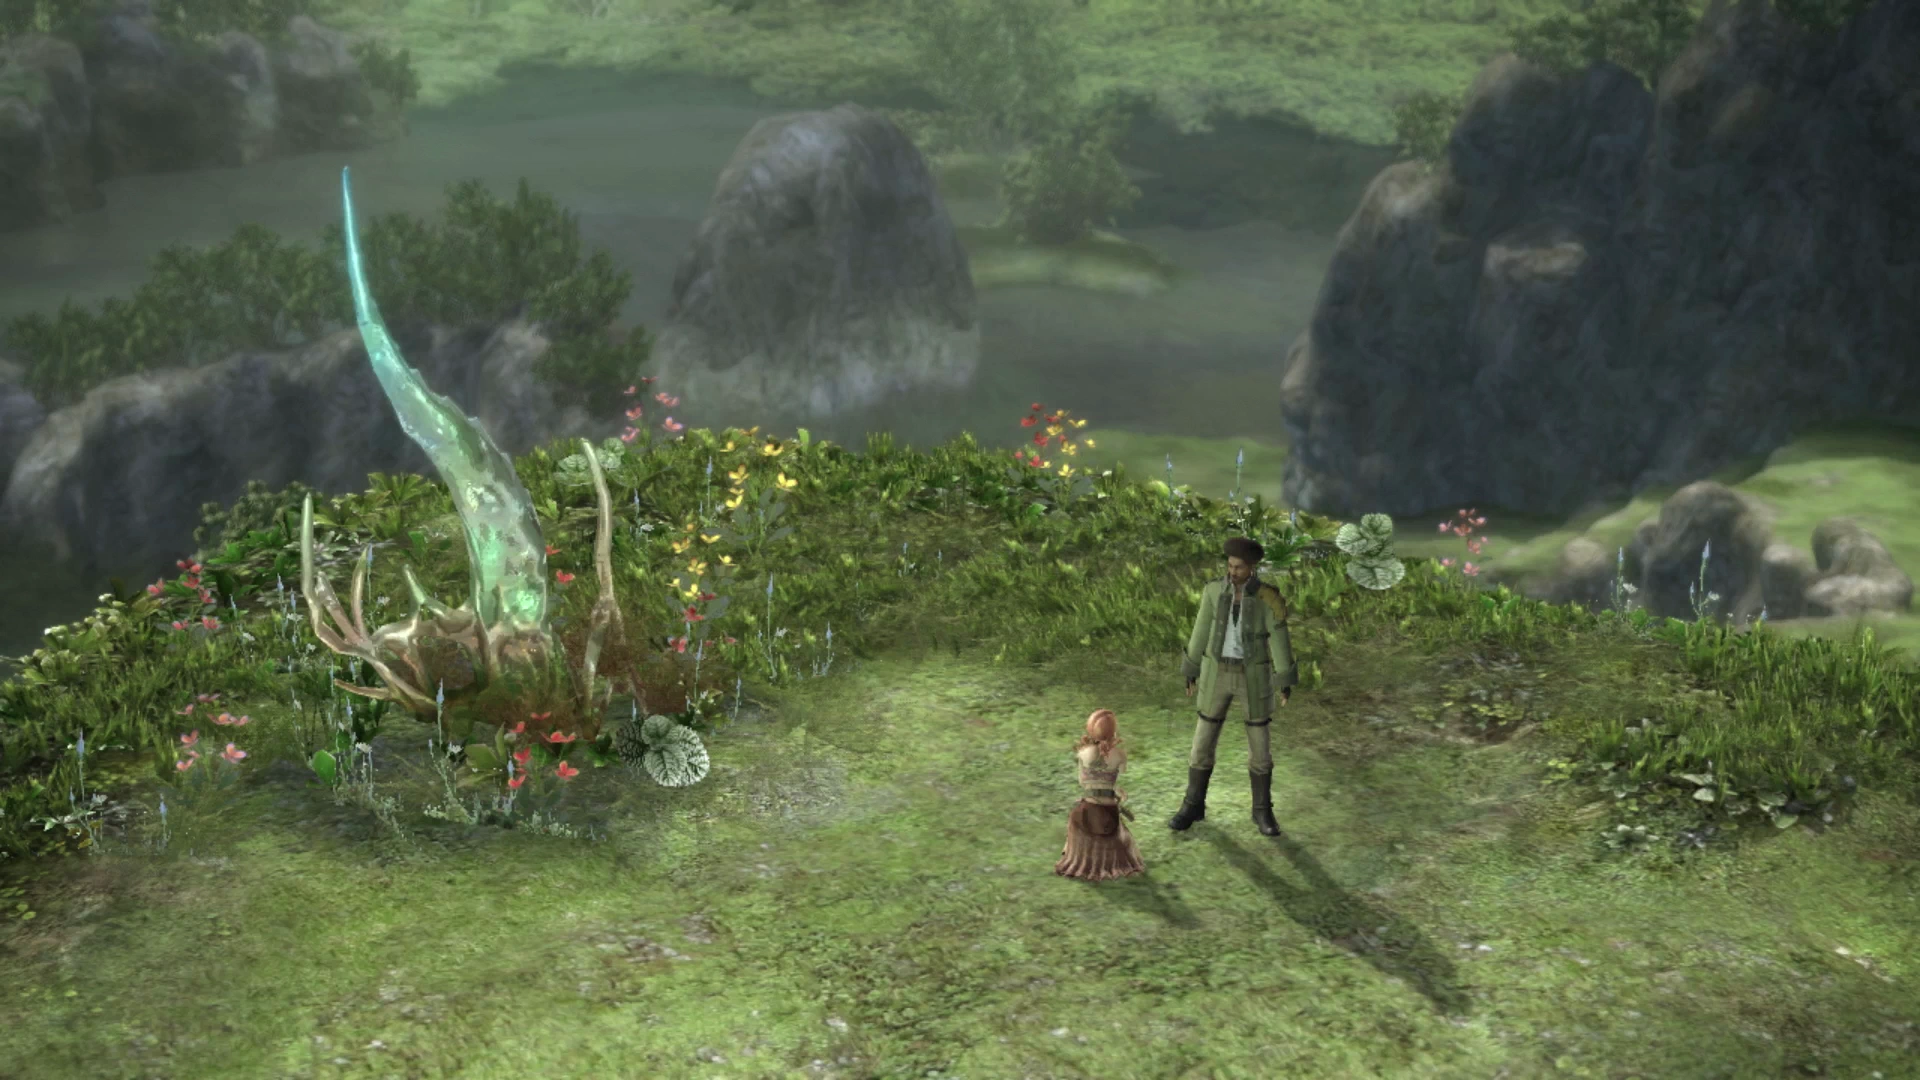
Jump back over to the main pathway after you have defeated the Gremlins and picked up the treasure and continue around the corner to trigger a cutscene between Sazh and Vanille and a flashback to the Thirteen Days in Bodhum (Day 11). Continue onward once the cinematic is over.
A Shimmering Sky
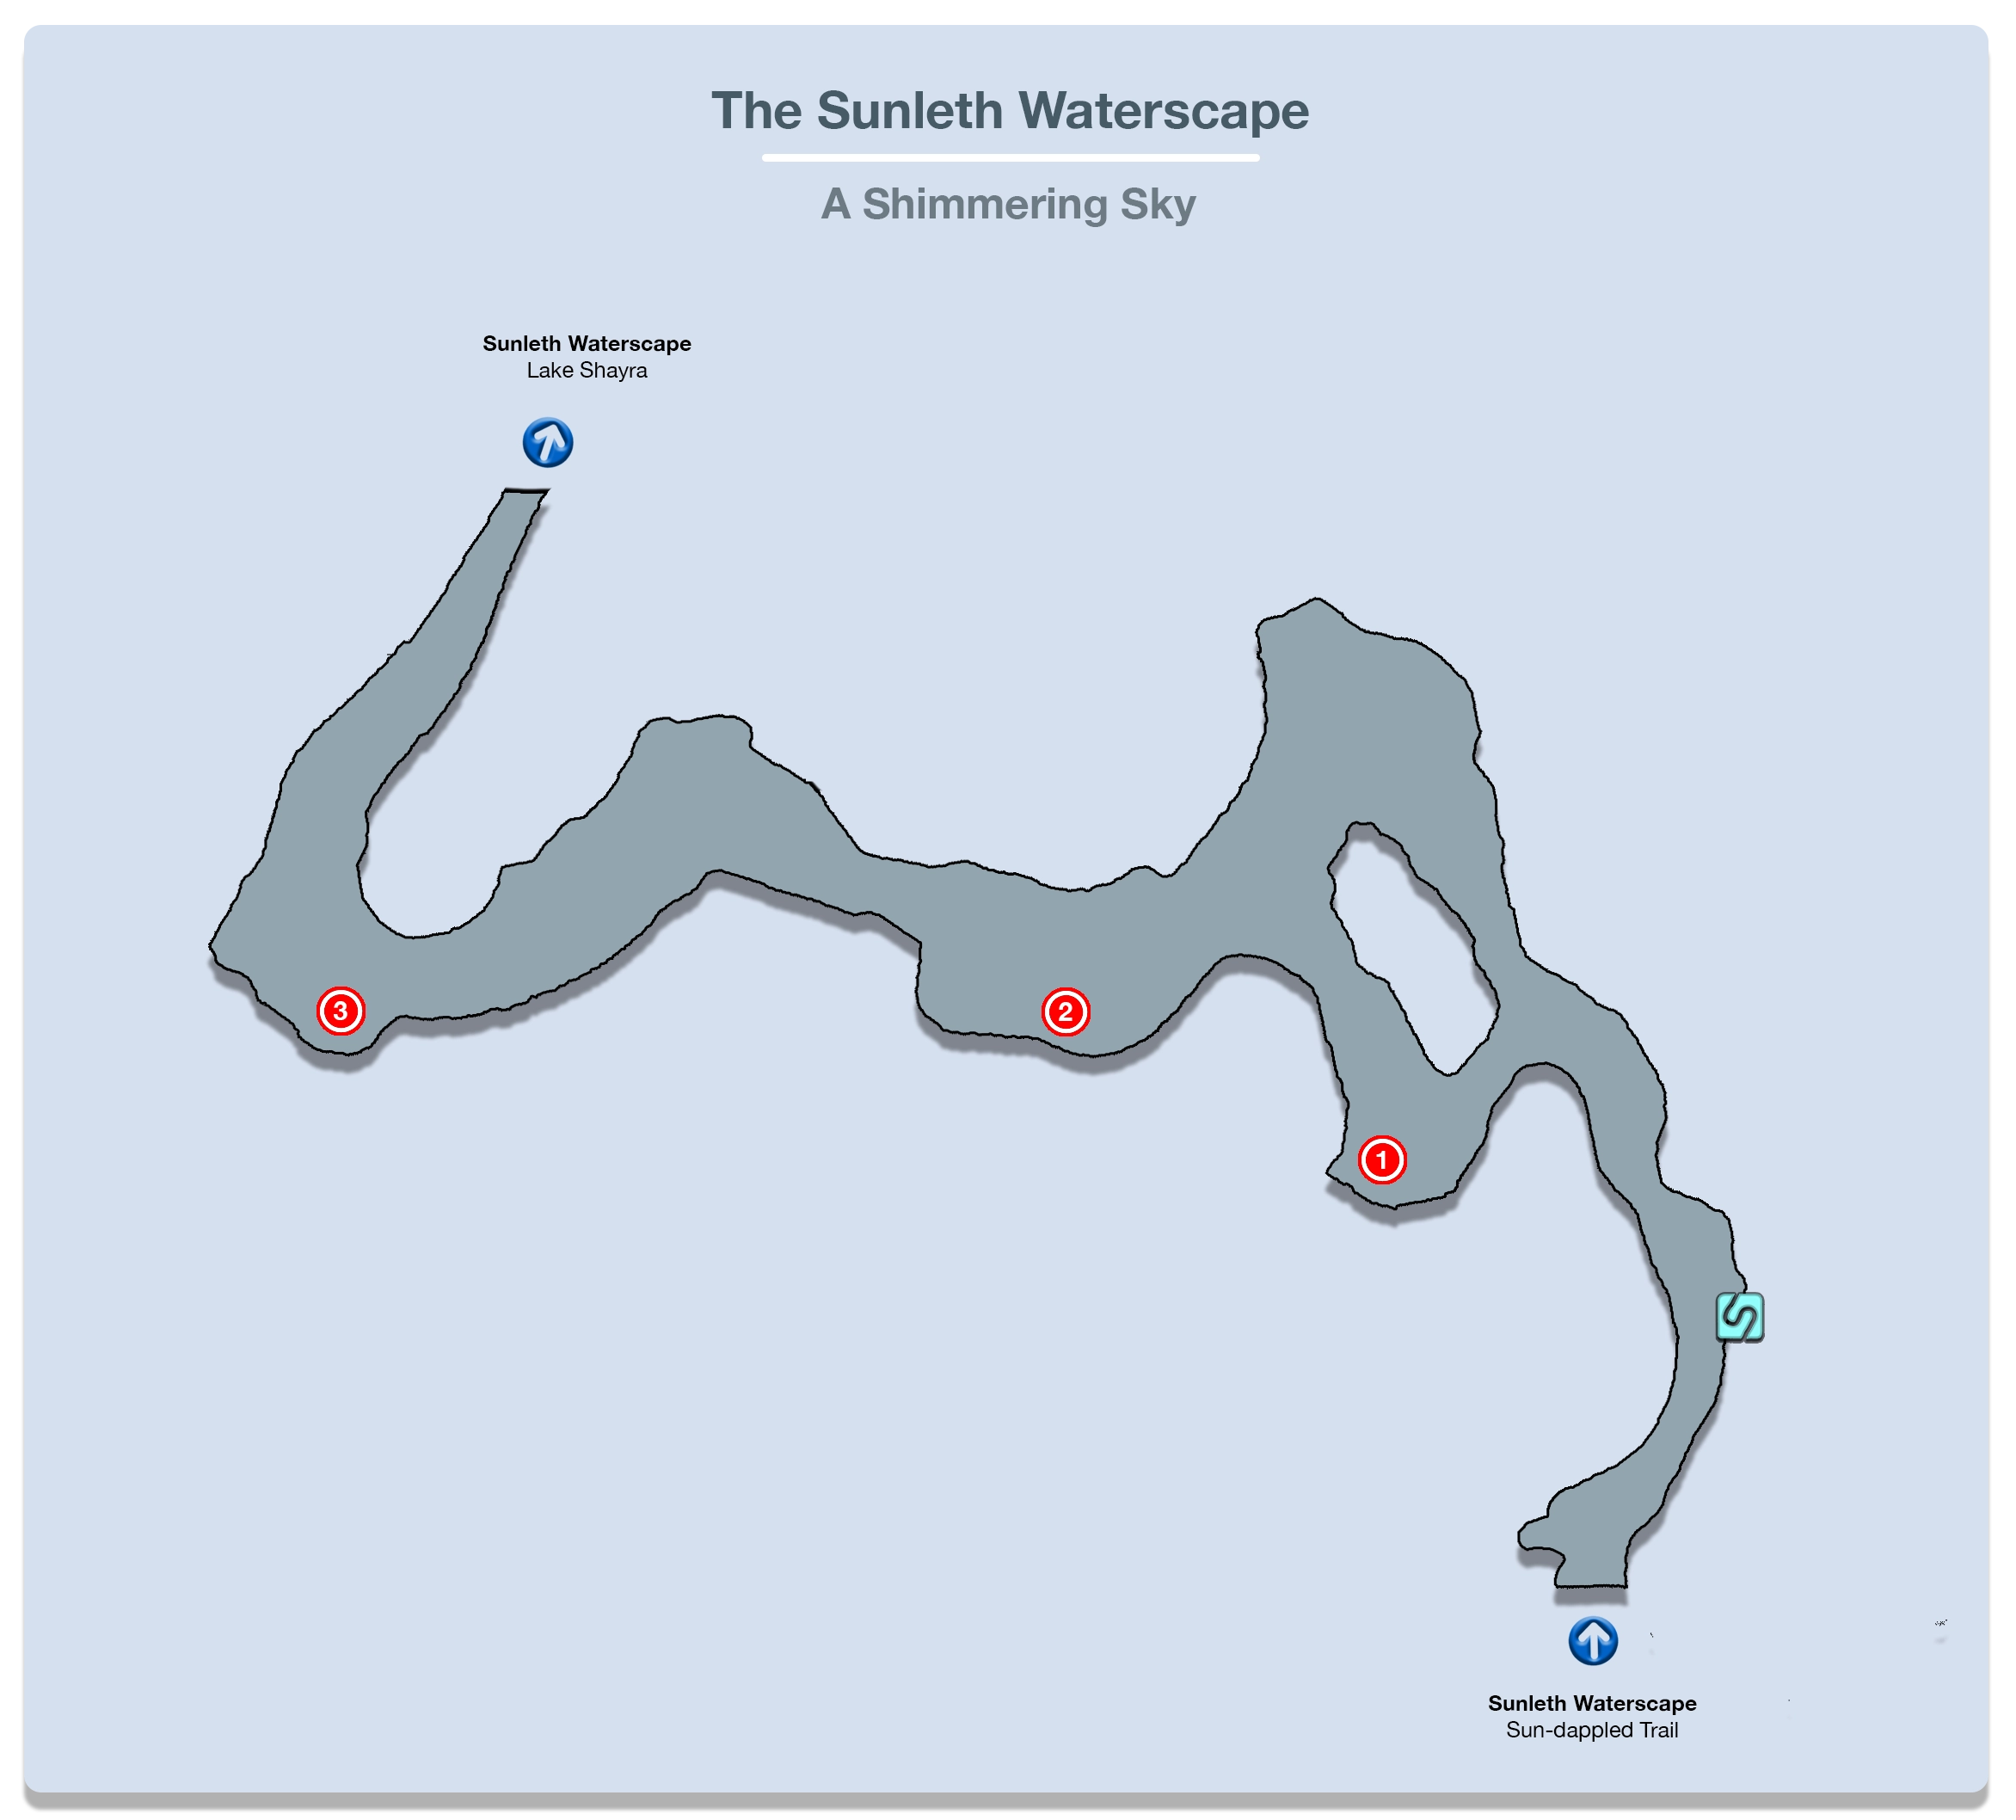
The first thing you will see as you enter the Shimmering Sky area is a ![]() Save Station; use it to save your game. Just before you enter this area though you will get a warning about a powerful enemy that roams around these areas called a Scalebeast.
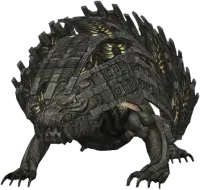
Save Station; use it to save your game. Just before you enter this area though you will get a warning about a powerful enemy that roams around these areas called a Scalebeast.

In theory, you can just run past these enemies considering how slow they are, but with some properly applied strategy, they are easy to defeat. Read through the helpful hint section below for some tips. Make sure on your first attempt that you use ![]() Libra at the beginning of the fight.
Libra at the beginning of the fight.
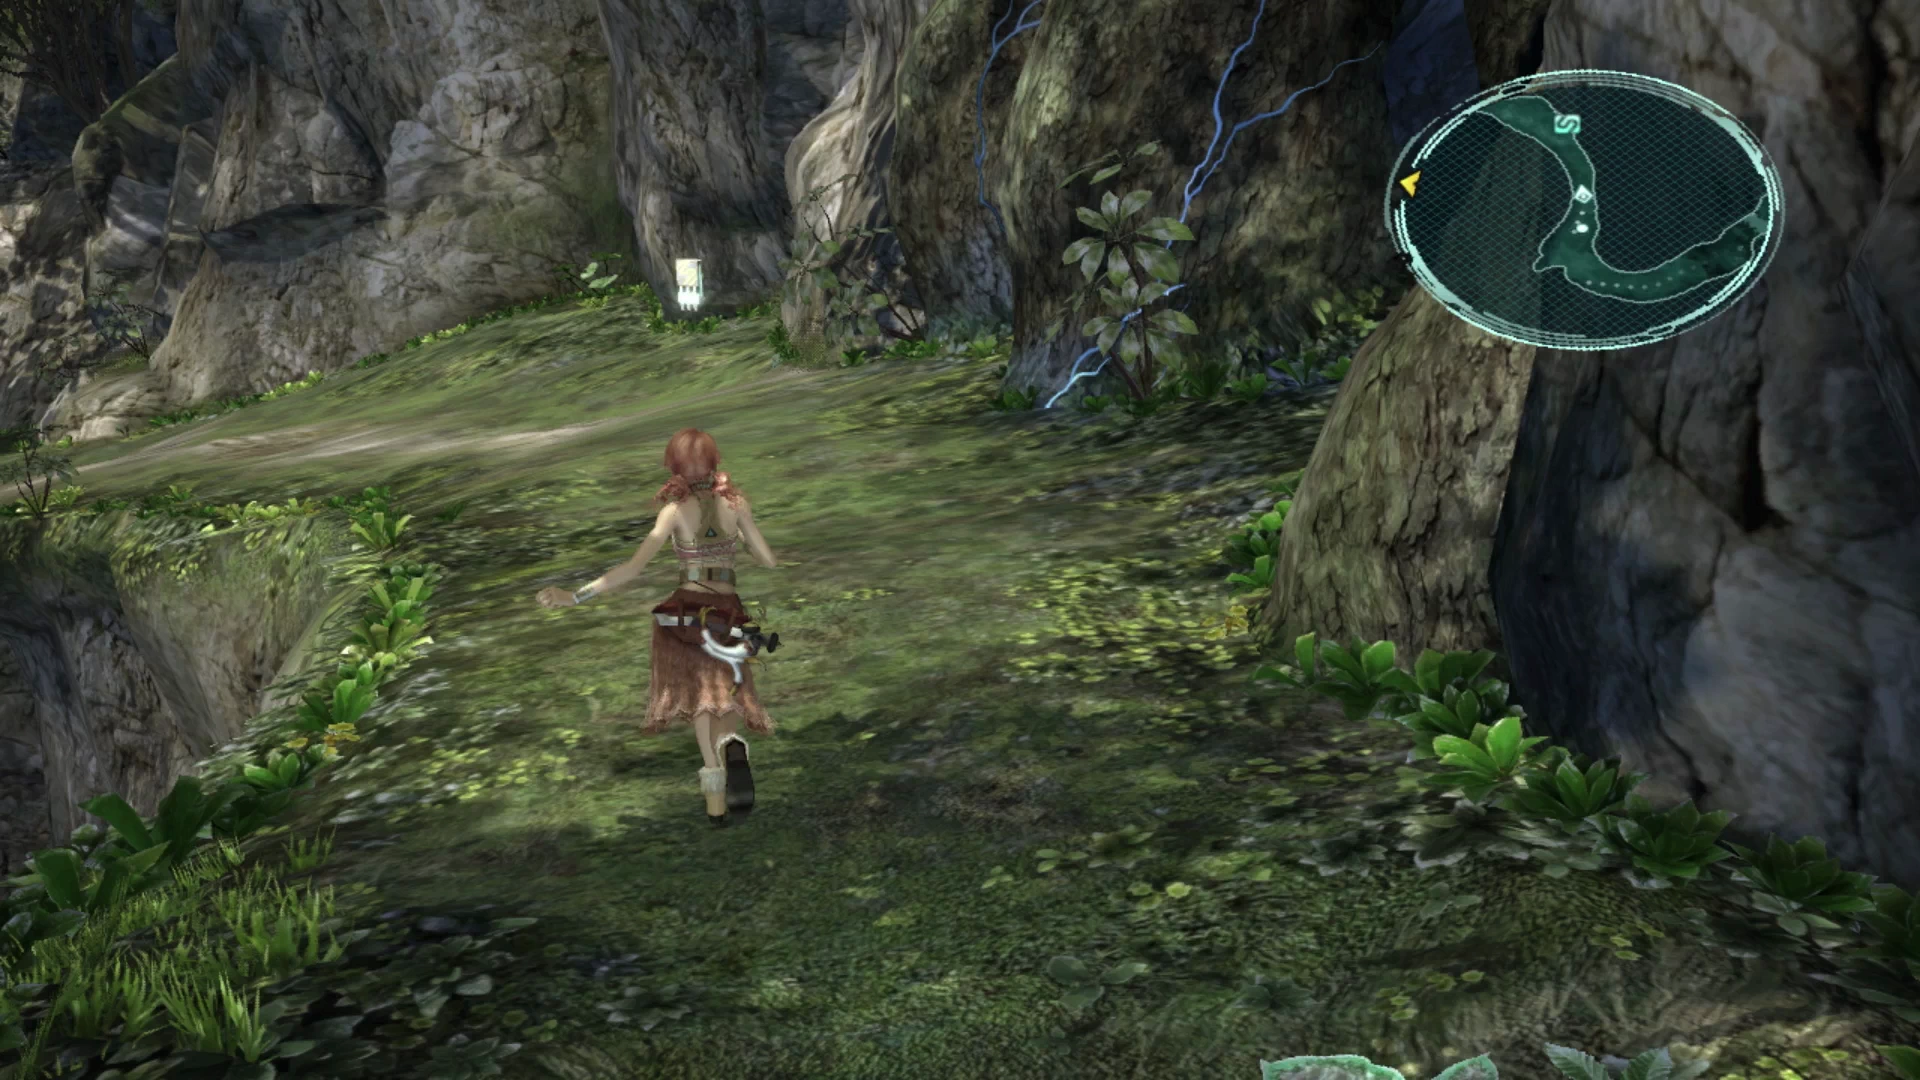
Helpful Hint
First and foremost, make sure you are continuing to spend your party members’ Crystogen Points (CP) in the Crystarium to increase their stats. The more damage they can do during these fights the quicker and more efficiently you can take down each Scalebeast.
Tip 1) Always engage a Scalebeast from behind to trigger a preemptive strike and trigger an early Stagger. Scalebeasts move very slowly so you should be able to sneak up on them very easily.
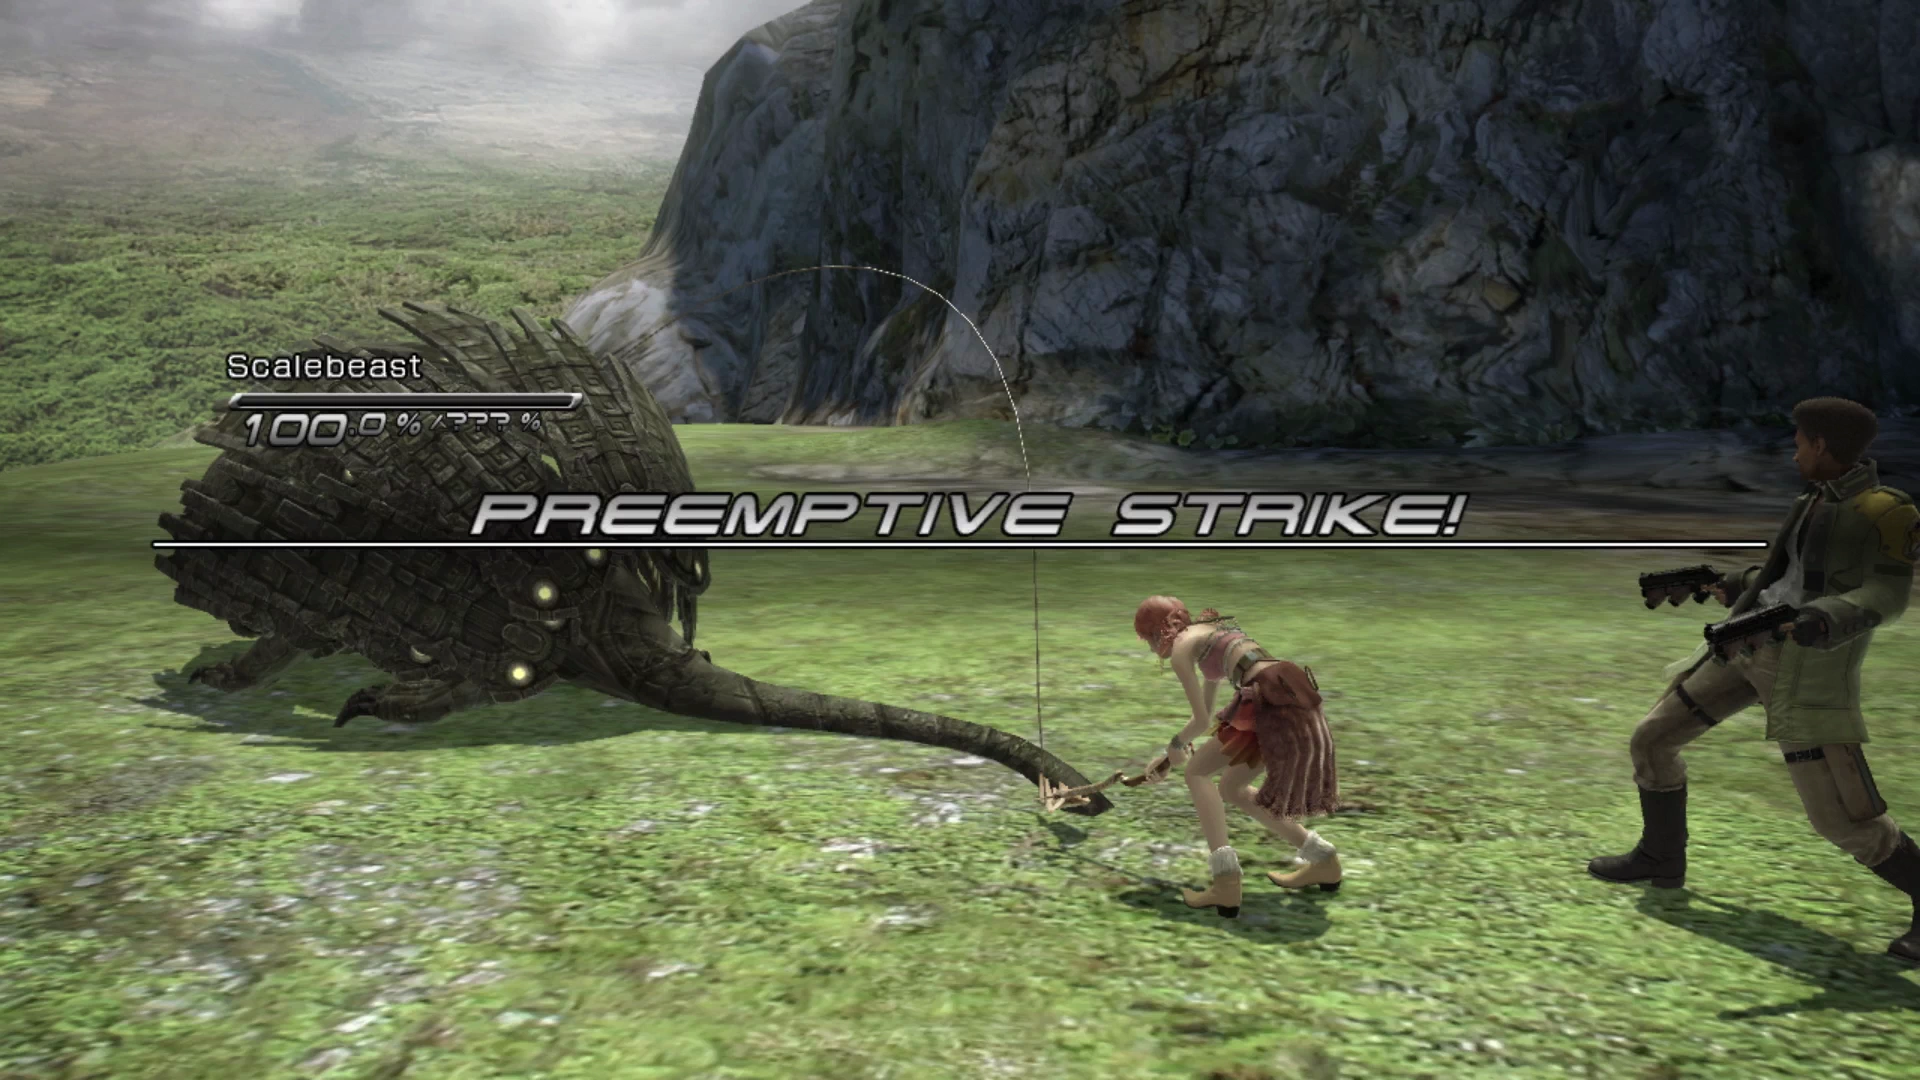
Tip 2) Start the battle off in the Undermine Paradigm (Vanille as a ![]() Saboteur and Sazh as a
Saboteur and Sazh as a ![]() Ravager). Let Sazh get the first attack in as a Ravager, which should immediately trigger a Stagger, and then Vanille can very easily apply her negative status effects to the Scalebeast as it’s more susceptible to debuffs when its spikes are gone. Vanille should be able to quickly get
Ravager). Let Sazh get the first attack in as a Ravager, which should immediately trigger a Stagger, and then Vanille can very easily apply her negative status effects to the Scalebeast as it’s more susceptible to debuffs when its spikes are gone. Vanille should be able to quickly get ![]() Poison,
Poison, ![]() Deprotect and
Deprotect and ![]() Deshell magic applied.
Deshell magic applied.
Tip 3) Switch to Slash & Burn and/or Dualcasting to quickly burn through the Scalebeast’s HP while it is Staggered. Stick to these two Paradigms to put it back into a Stagger again after it regrows its shell, only switching to War & Peace if either of your party member’s health gets low.
Utilizing this strategy, you should be able to defeat a Scalebeast in two Staggers. Use the video below as a demonstration:
Continue following the pathway on the left side until you come across a Treasure Sphere that contains 8 ![]() Iron Shells. There is another Treasure Sphere on the lower level of the left pathway that contains a
Iron Shells. There is another Treasure Sphere on the lower level of the left pathway that contains a ![]() Librascope.
Librascope.
Continue along the pathway and you will reach some Gremlins after you have made it past the Scalebeasts. There is another group of Gremlins just a bit further ahead with a Treasure Sphere right beside them that contains 10 ![]() Scaled Wings.
Scaled Wings.
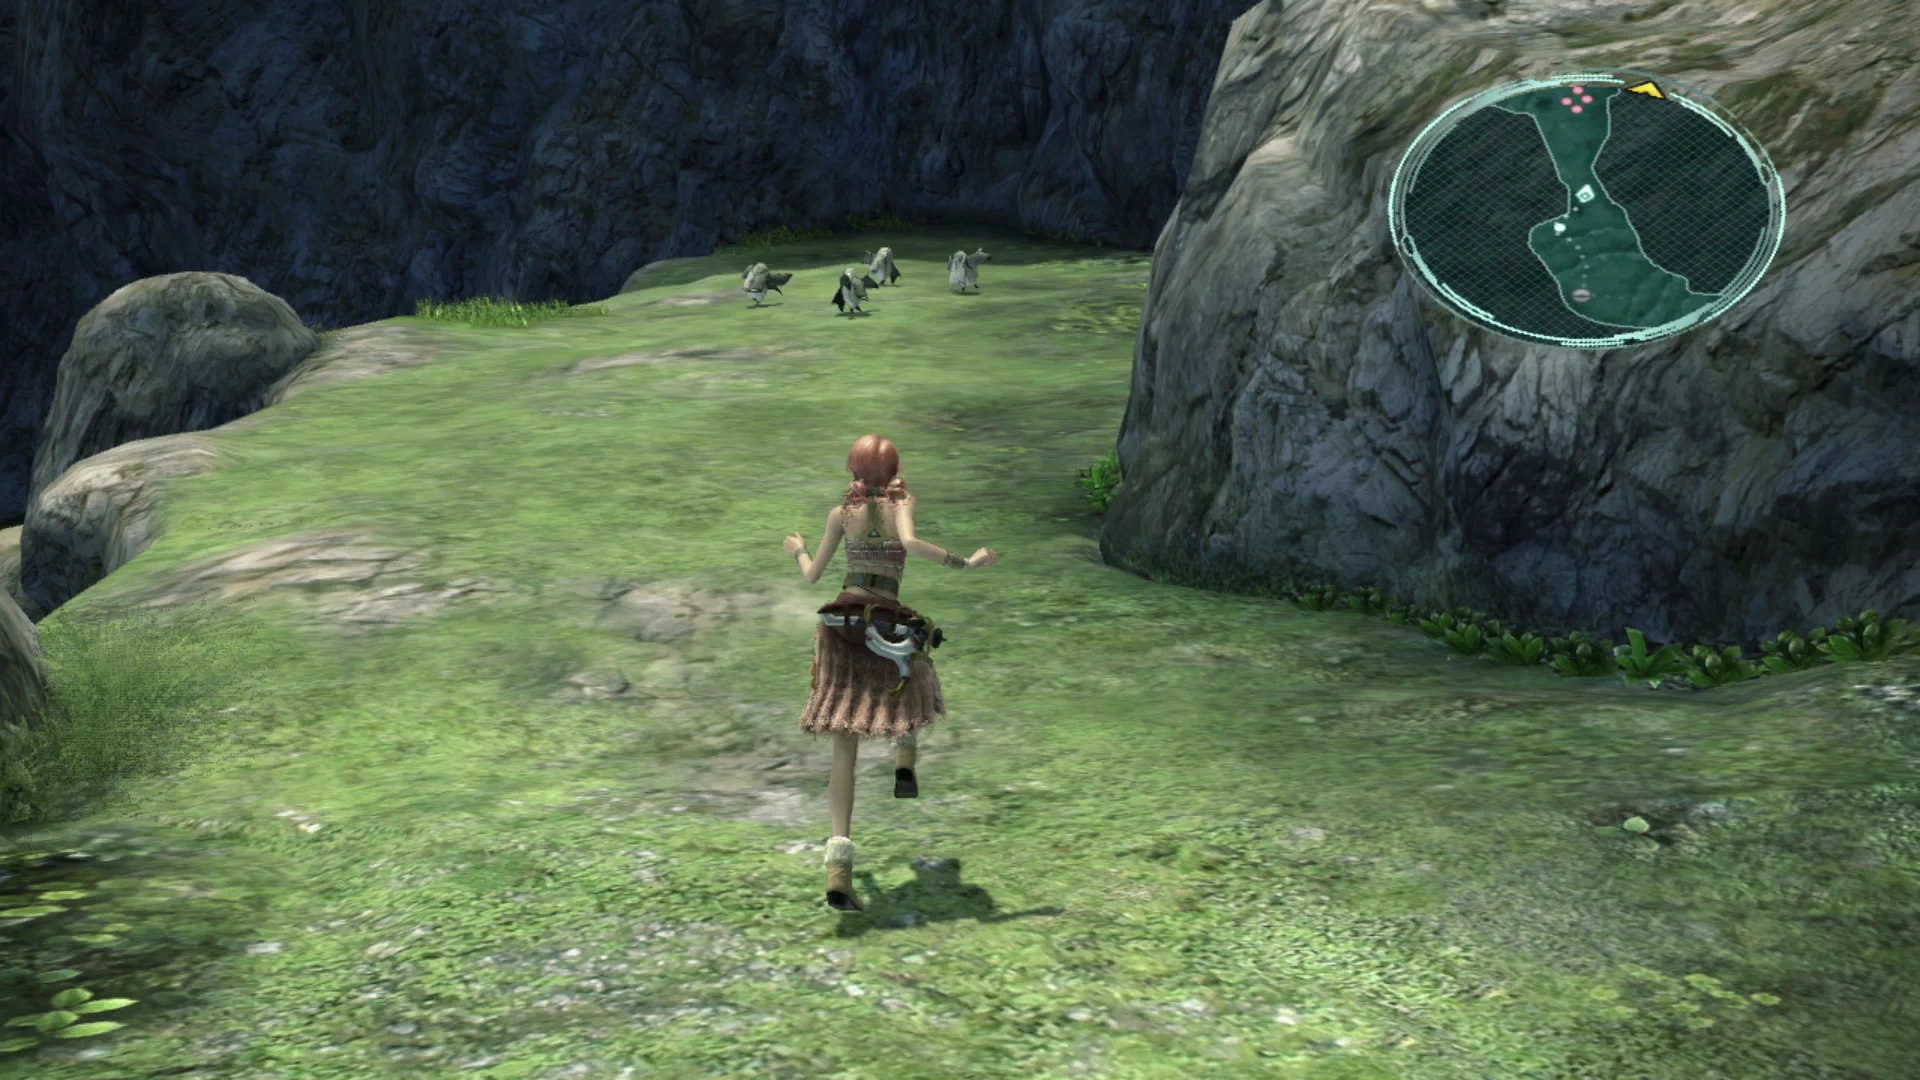
Defeat the last group of six Gremlins and you’ve reached the end of this area and are nearing the end of Part 1 of the Sunleth Waterscape guide.
Lake Shayra
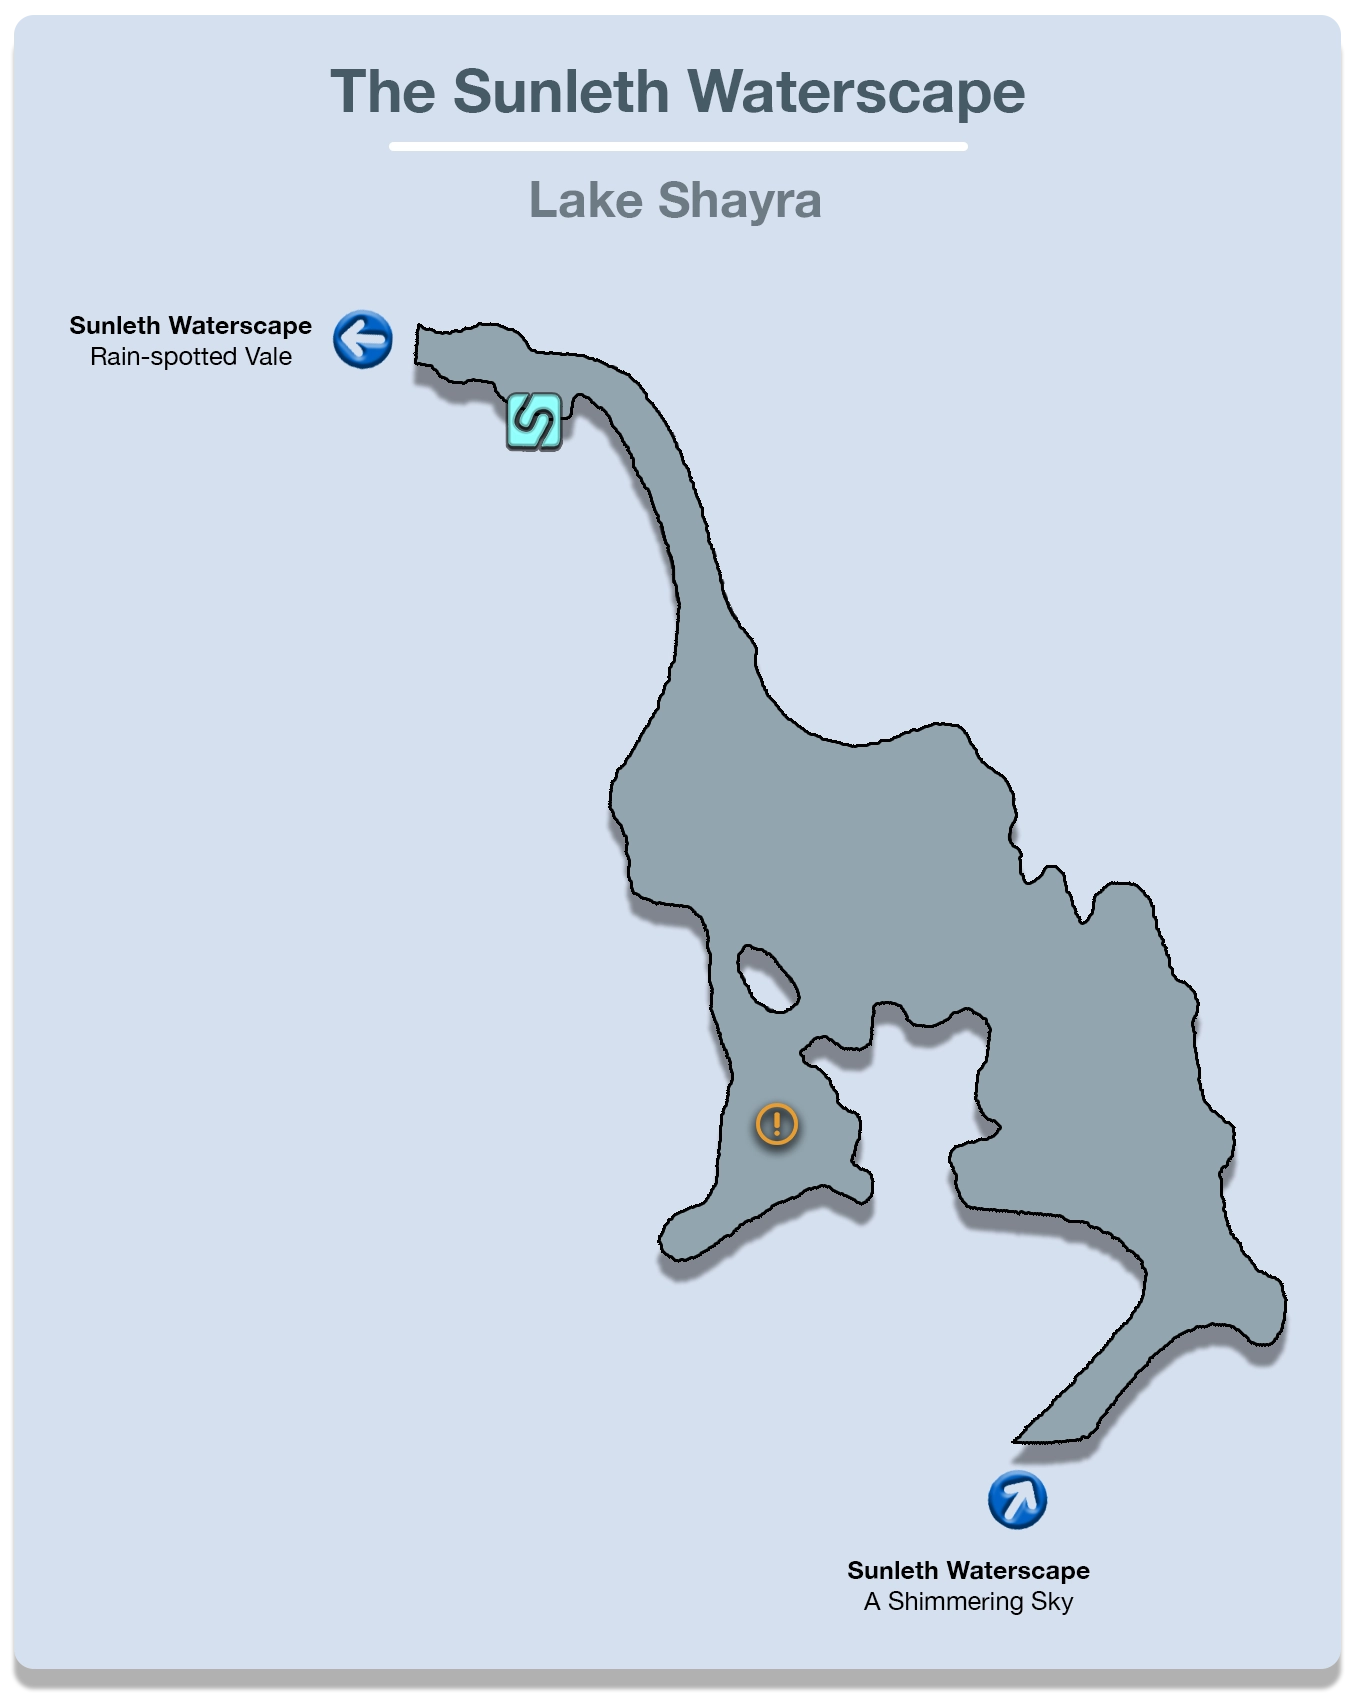
Jump across the little islands in the water and as Sazh and Vanille get close to the waterfall another cutscene will kick up. Once you’re back in control of Vanille, follow Sazh down toward the shore of Lake Shayra for another set of scenes about the Thirteen Days. This one follows part of the events of Day 5 at the Euride Gorge.
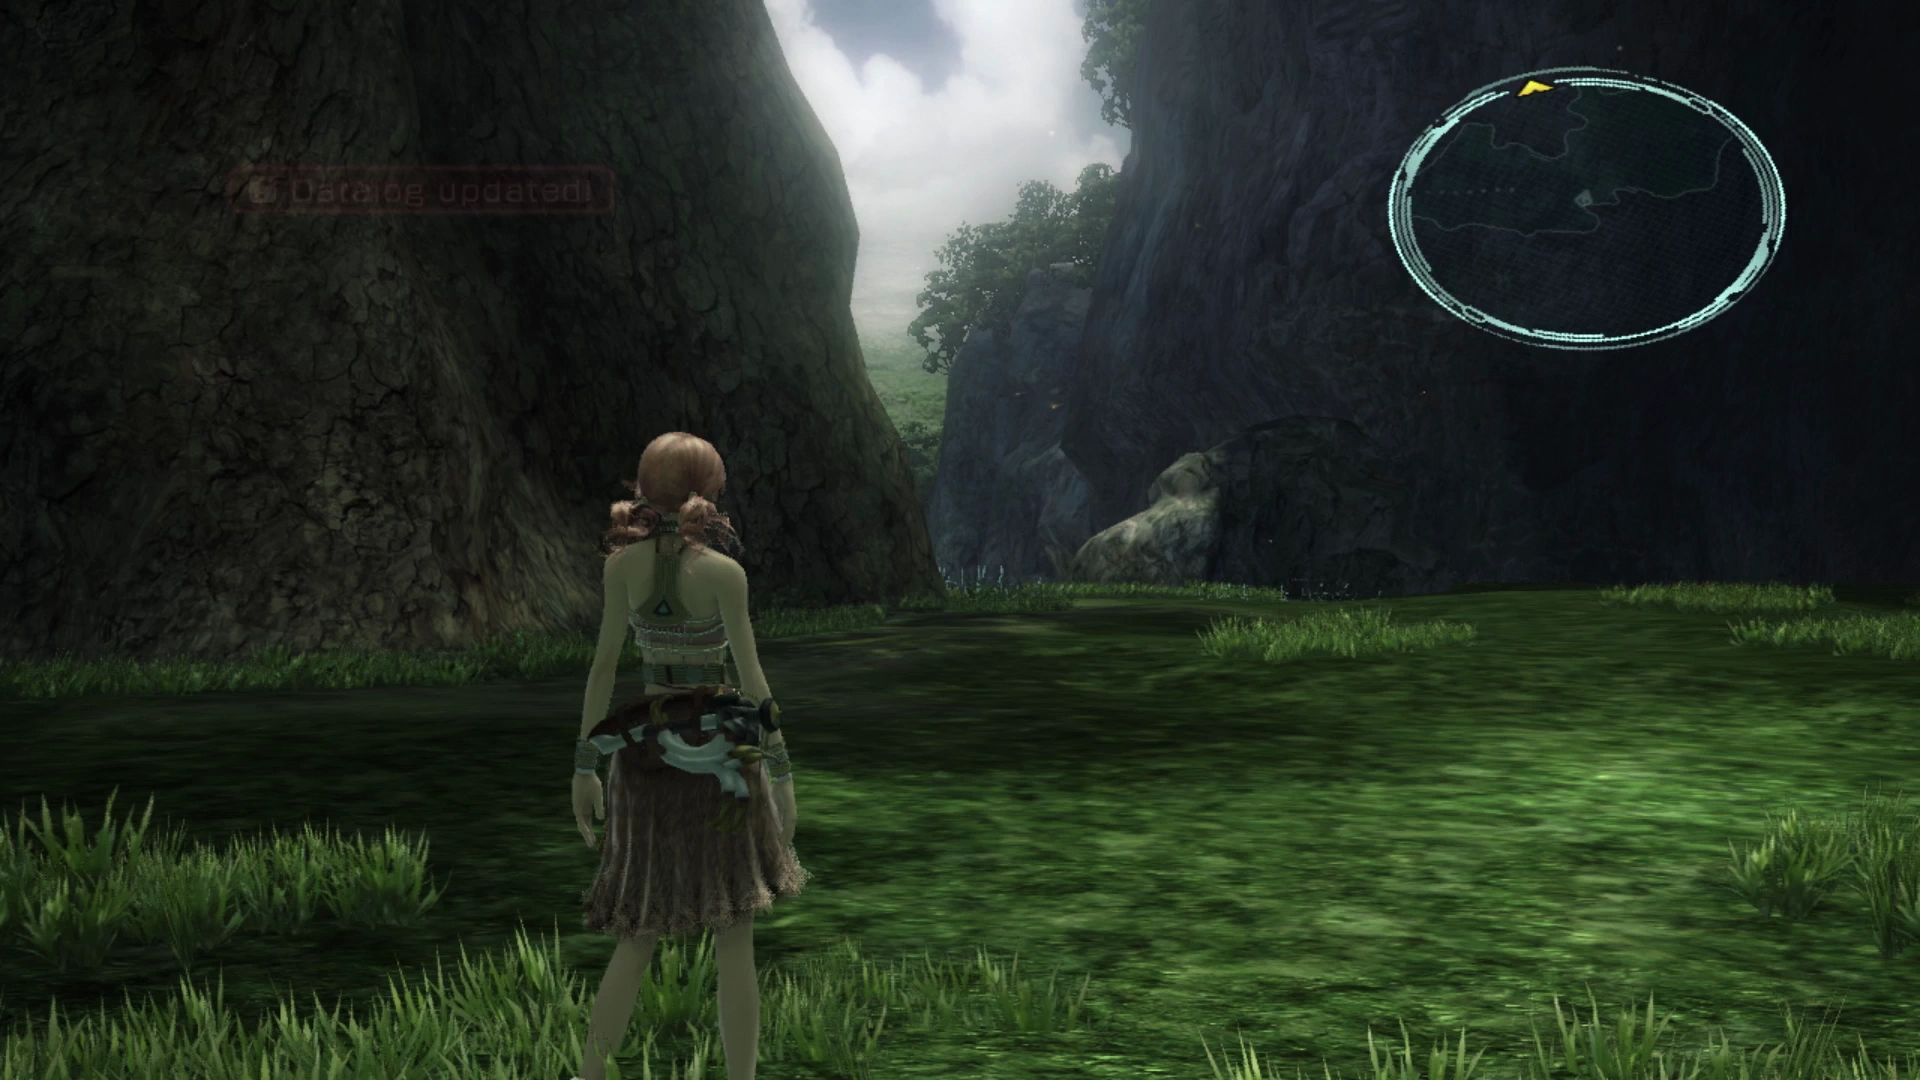
Head up to the ![]() Save Station after the scenes, save your game, and then move on to the next area which continues in Part 2.
Save Station after the scenes, save your game, and then move on to the next area which continues in Part 2.


