Chapter 5: The Gapra Whitewood (Part 2)
Just like the previous sections for Lake Bresha and the Vile Peaks, the Gapra Whitewood is broken up into multiple parts. Part 1 includes everything up to Bioweapon Research Site D and the fight against the first Feral Behemoth.
This section begins after Lightning and Hope jump up using the bent-over trees/leaves to get up to the next level (shown in the screenshot below).
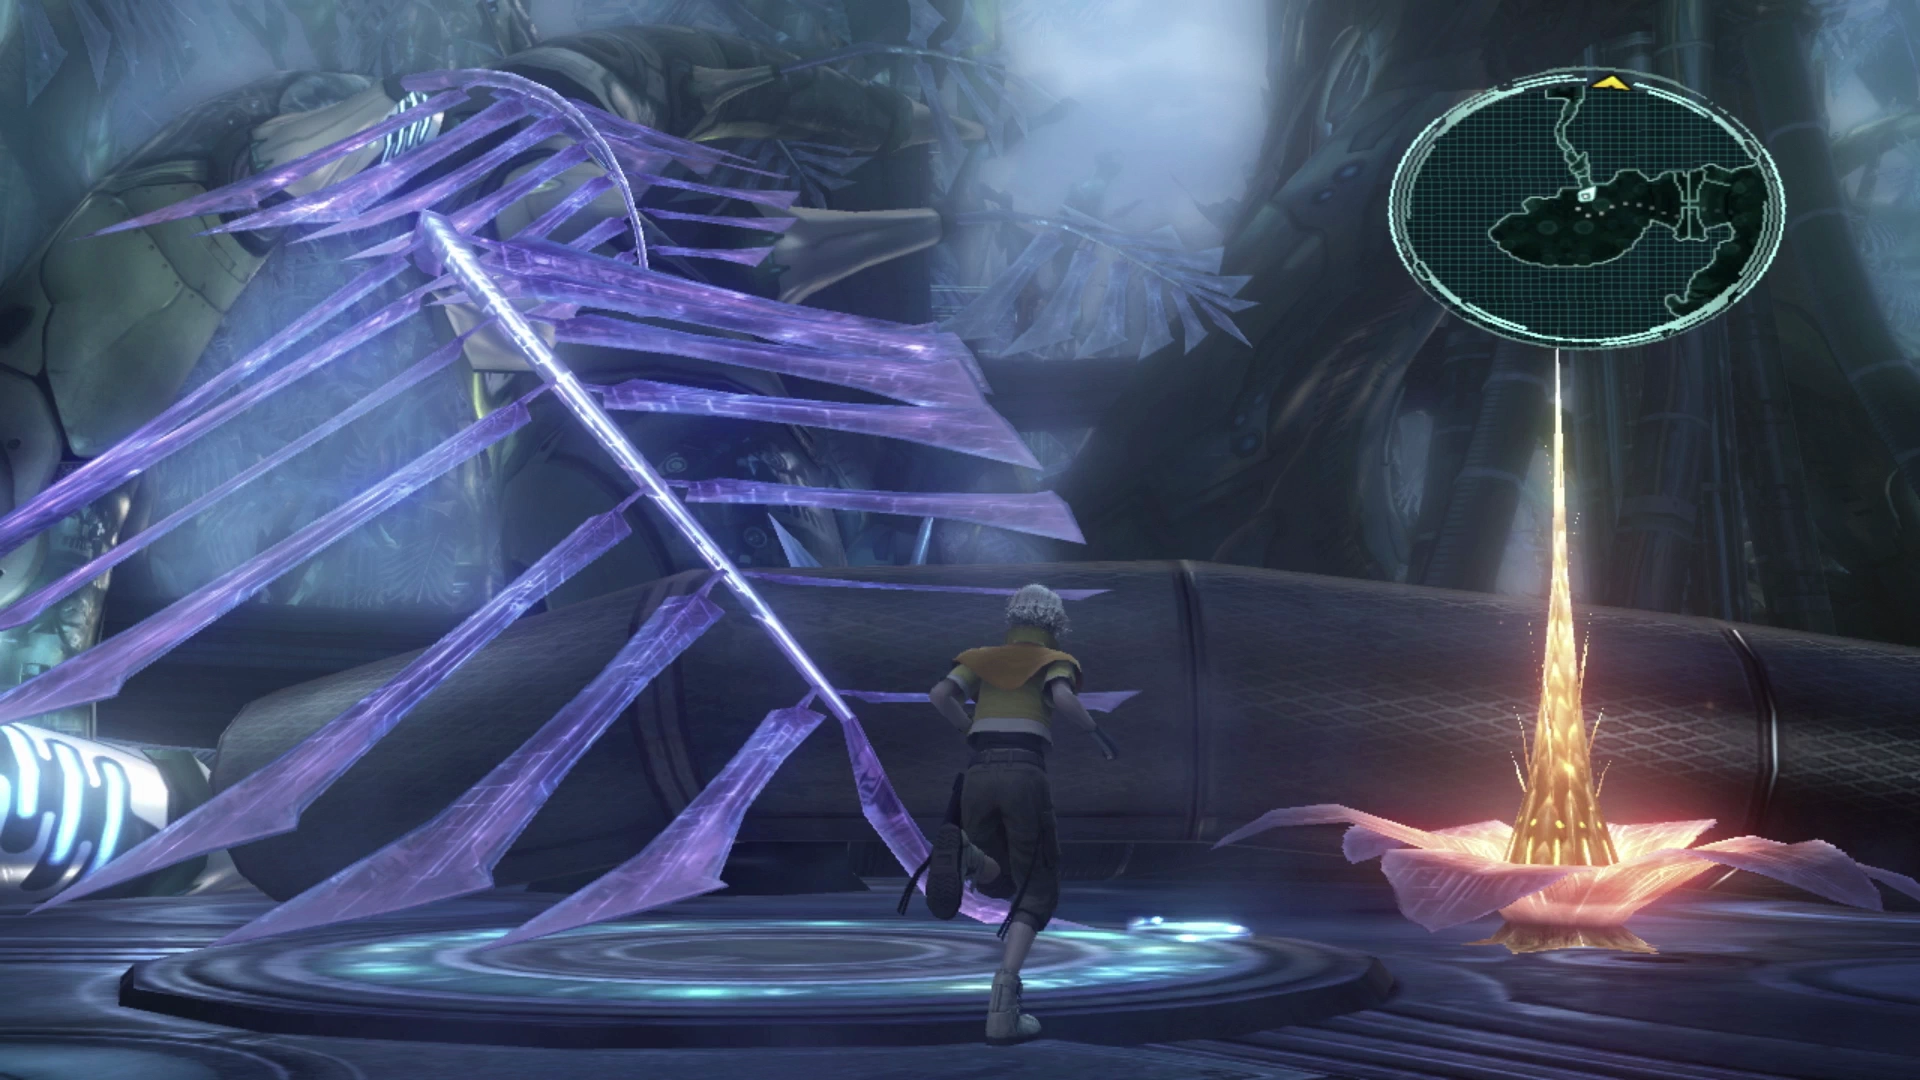
Bioweapon Research Site K
At the top of the climb from the level below you will find a large group of ten Crawlers, one of the largest groups of enemies you’ve faced so far. This fight can be made significantly easier by opening it with a preemptive strike. Just approach one of the closest Crawlers when it has its back turned and if you’re unsuccessful you can always try again by pressing the button and selecting the “Retry” option.
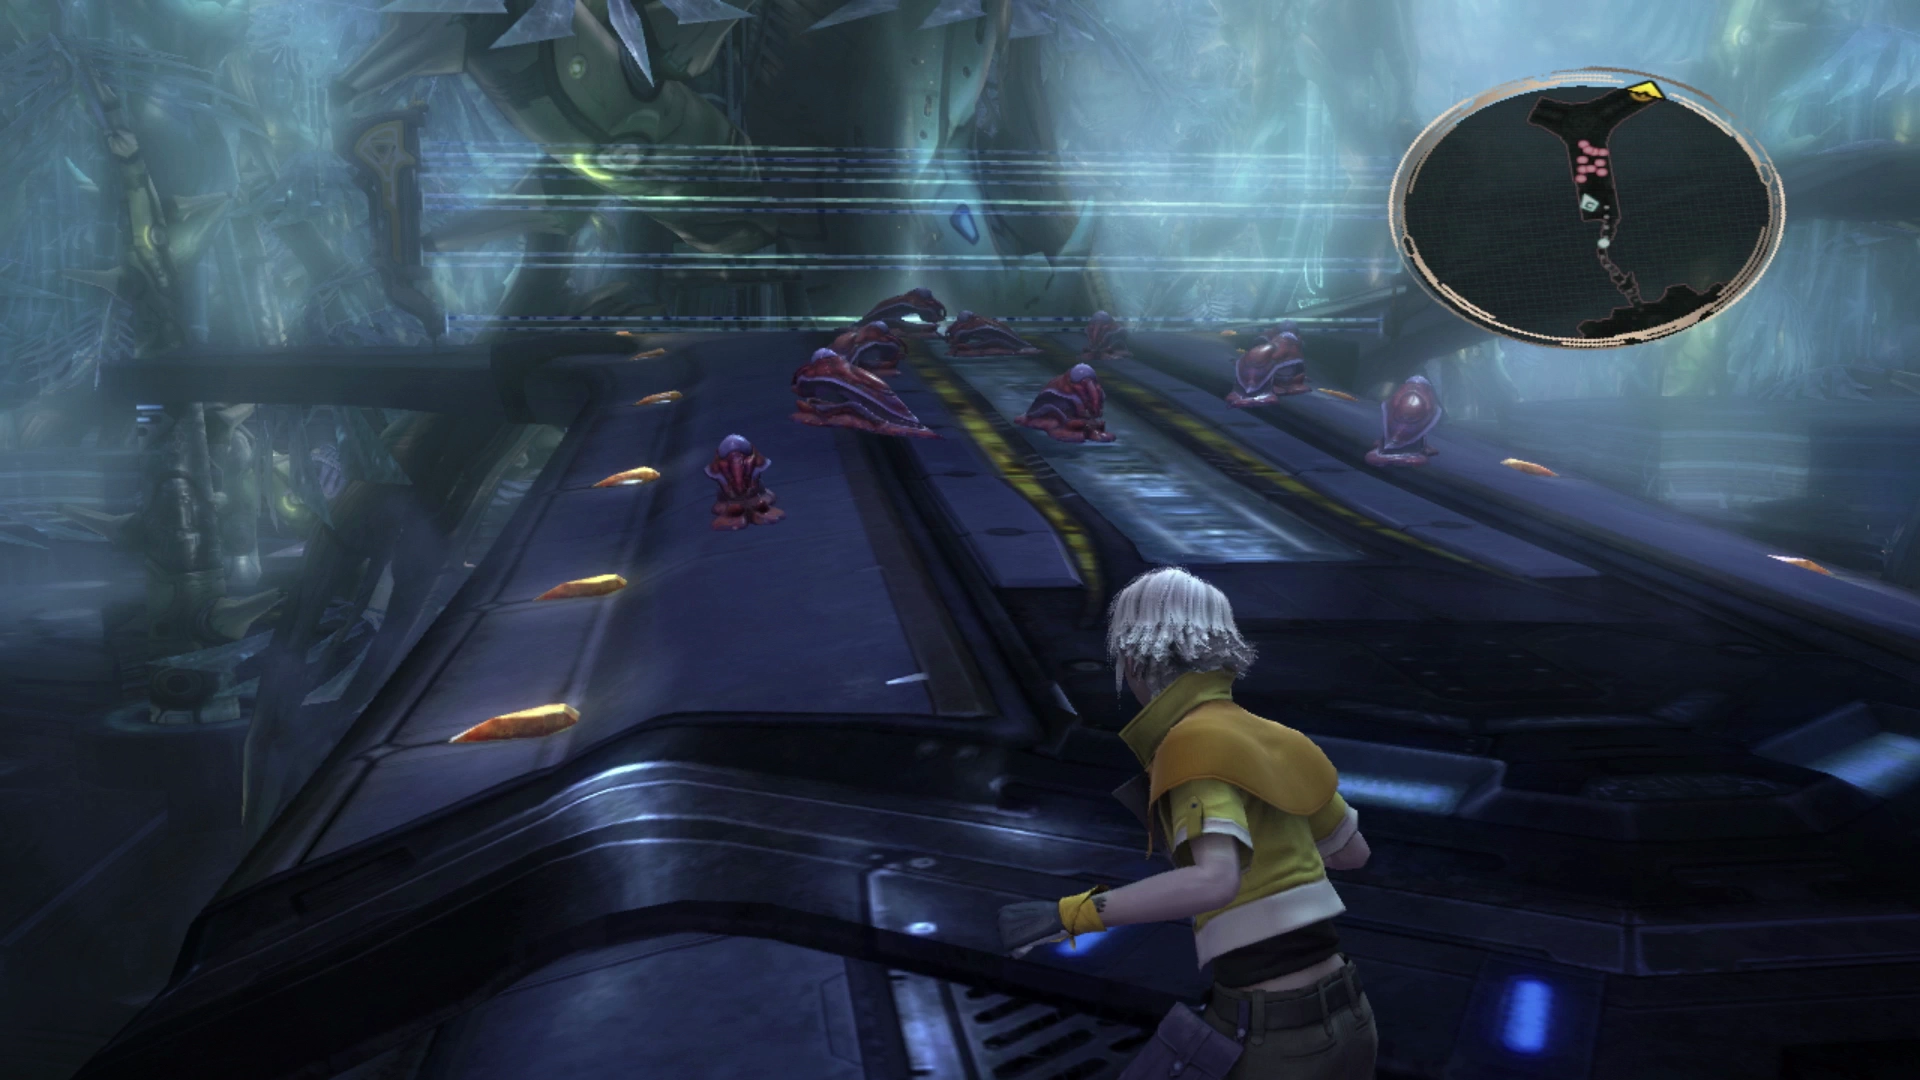
Once the fight begins, select “Abilities,” and use Hope’s ![]() Fira attack if you have access to it, as this will hit a large group of enemies all at the same time. Walk forward after the fight for another short cutscene which will see Lightning take over as the party leader, changing the character that you control.
Fira attack if you have access to it, as this will hit a large group of enemies all at the same time. Walk forward after the fight for another short cutscene which will see Lightning take over as the party leader, changing the character that you control.
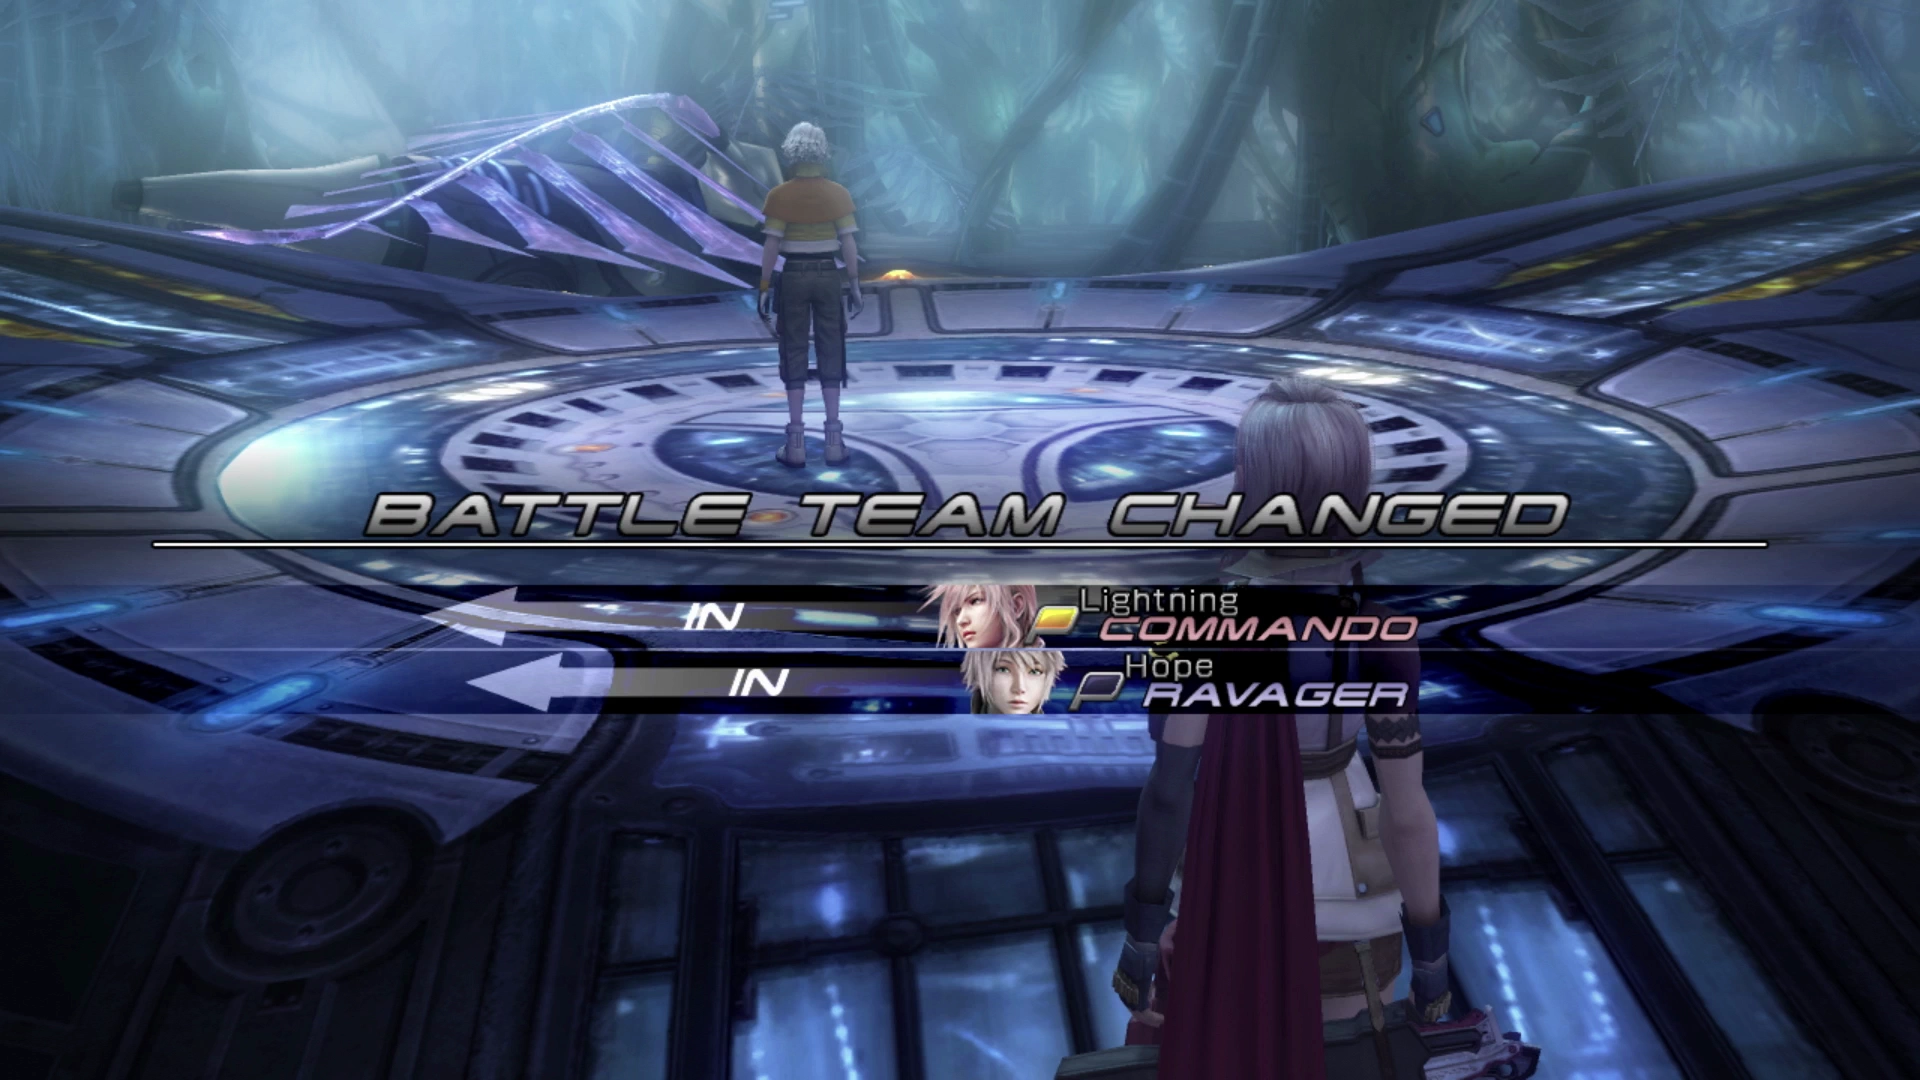
Jump down the plants on the opposite side of the platform and save your game at the ![]() Save Station.
Save Station.
Helpful Hint
While spending Crystogen Points in each of your team members’ Crystariums, you may have noticed nodes called “Role Level,” and you may have been wondering what these do.
Each Role Level that your characters gain provides an overall “bonus” for the function that the role is meant to perform. For example, increasing the Role Level of a ![]() Commando, from level 1 to level 2, increases the damage done by that character when in the
Commando, from level 1 to level 2, increases the damage done by that character when in the ![]() Commando role and provides a slight damage bonus to other ally characters. Here is a quick overview of the bonuses that Role Levels provide:
Commando role and provides a slight damage bonus to other ally characters. Here is a quick overview of the bonuses that Role Levels provide:
 Medic: Increases the amount healed on self and party members.
 Ravager: Increases the chain boost given by each attack for self and party.
 Saboteur: Increases the likelihood of a debuff being applied.
 Sentinel: Reduces incoming damage to self and party.
 Synergist: Increases the duration of buffs applied to self and party.
Check out the Roles section for more information.
Field Trial Range S
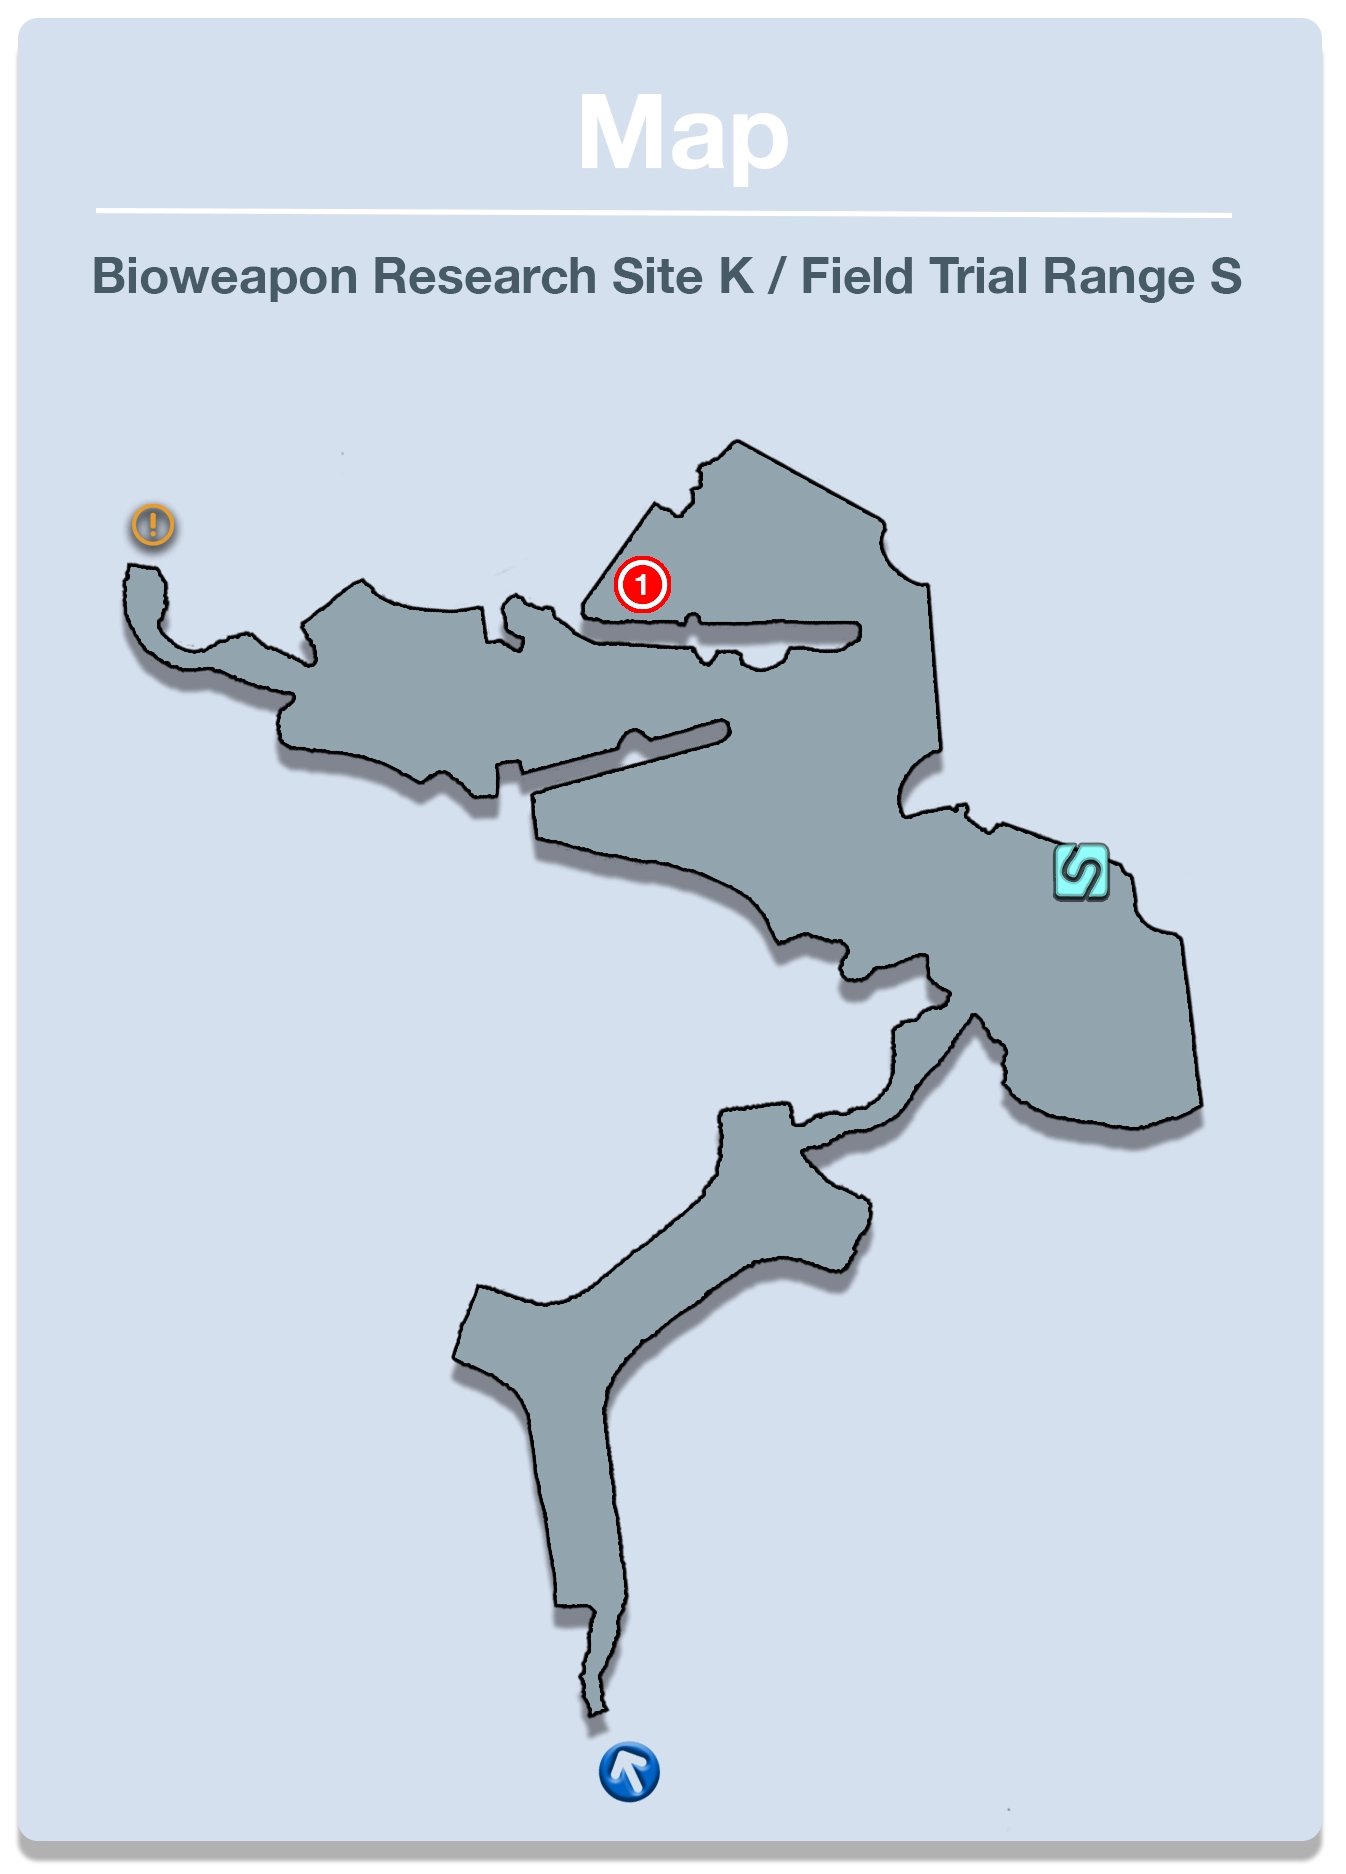
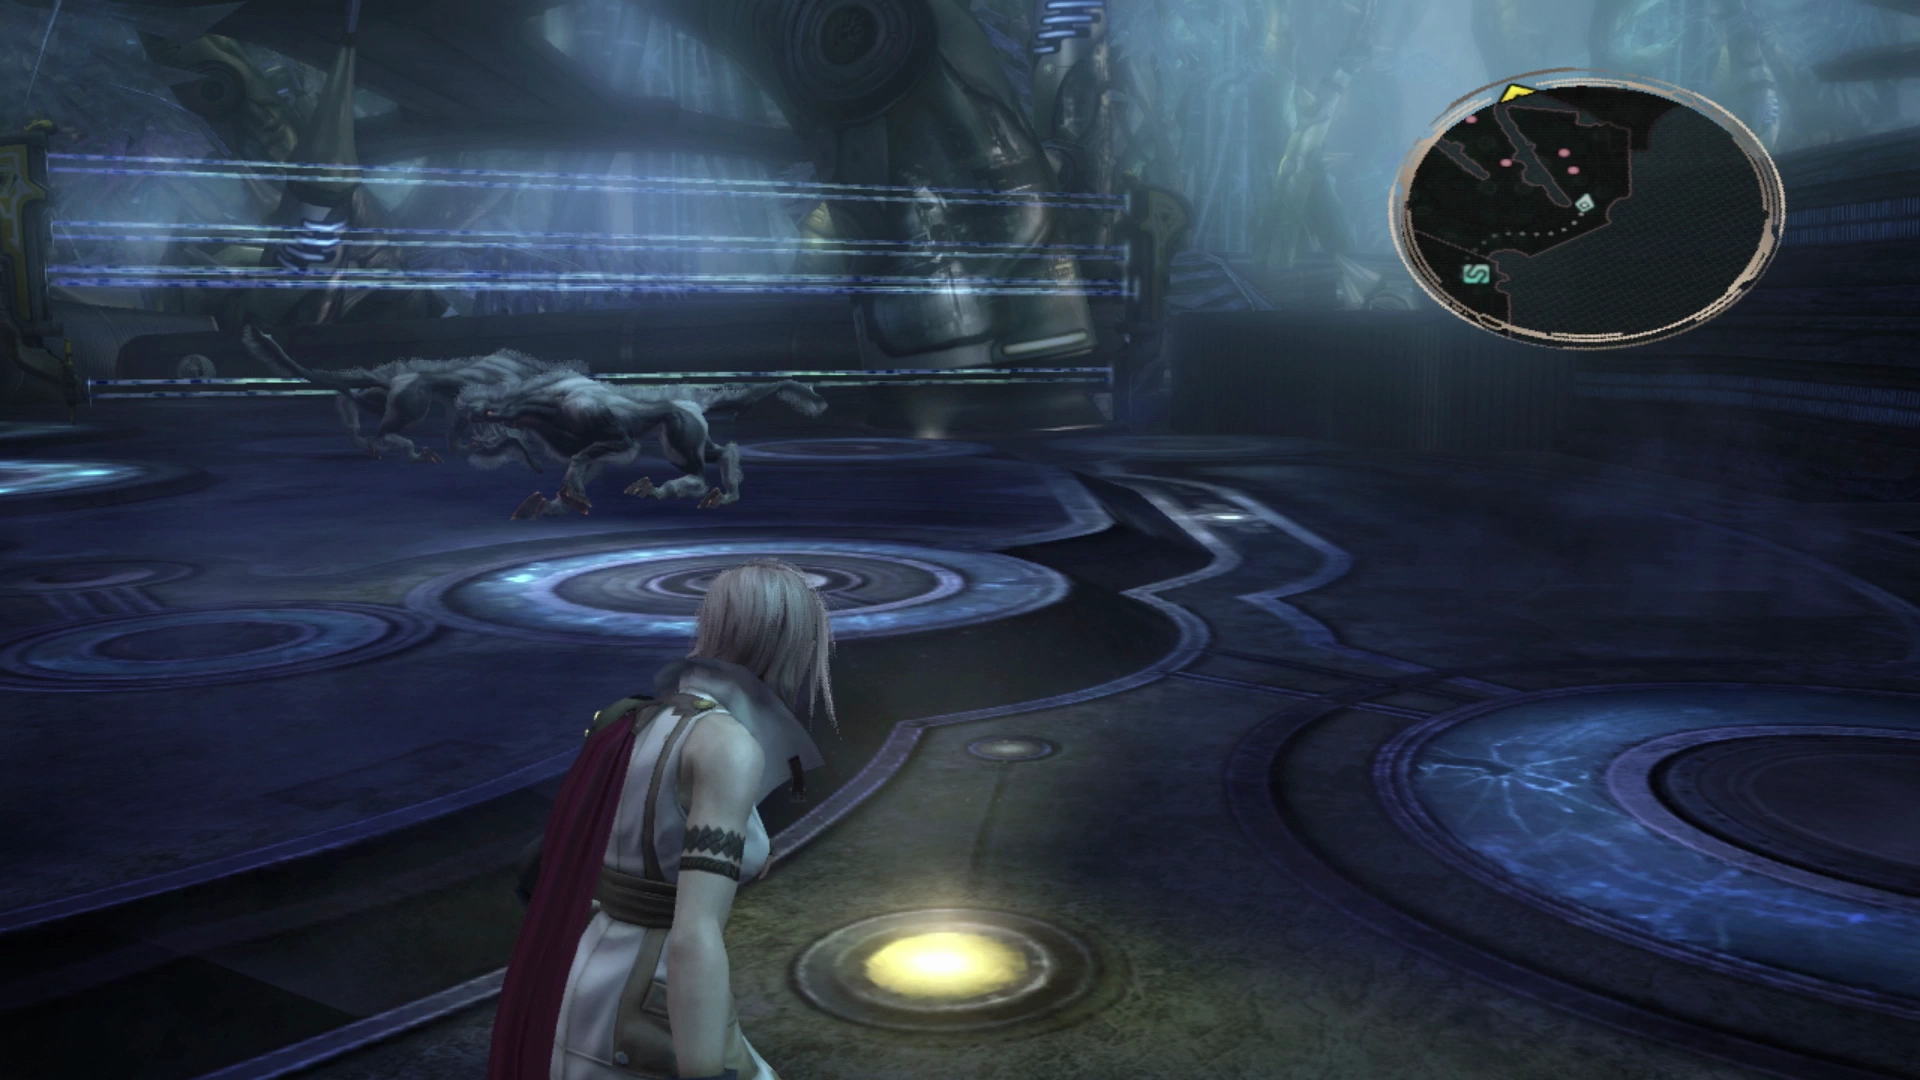
There is an alcove off to the right side of the screen with two Silver Lobos guarding one of the open-air fences. The gate will disappear after you defeat the two of them revealing a Treasure Sphere that contains a ![]() Star Pendant.
Star Pendant.
This item provides resistance to the ![]() Poison status effect so you should equip it to one of your party members right now. They should both have access to accessory slots allowing you to customize them as you see fit.
Poison status effect so you should equip it to one of your party members right now. They should both have access to accessory slots allowing you to customize them as you see fit.
Around the corner are two more Silver Lobos to defeat. These two are easy to get a preemptive strike on. Continue forward and climb the purple leaf/tree structure hanging over the edge of the pens to move up to the next area.
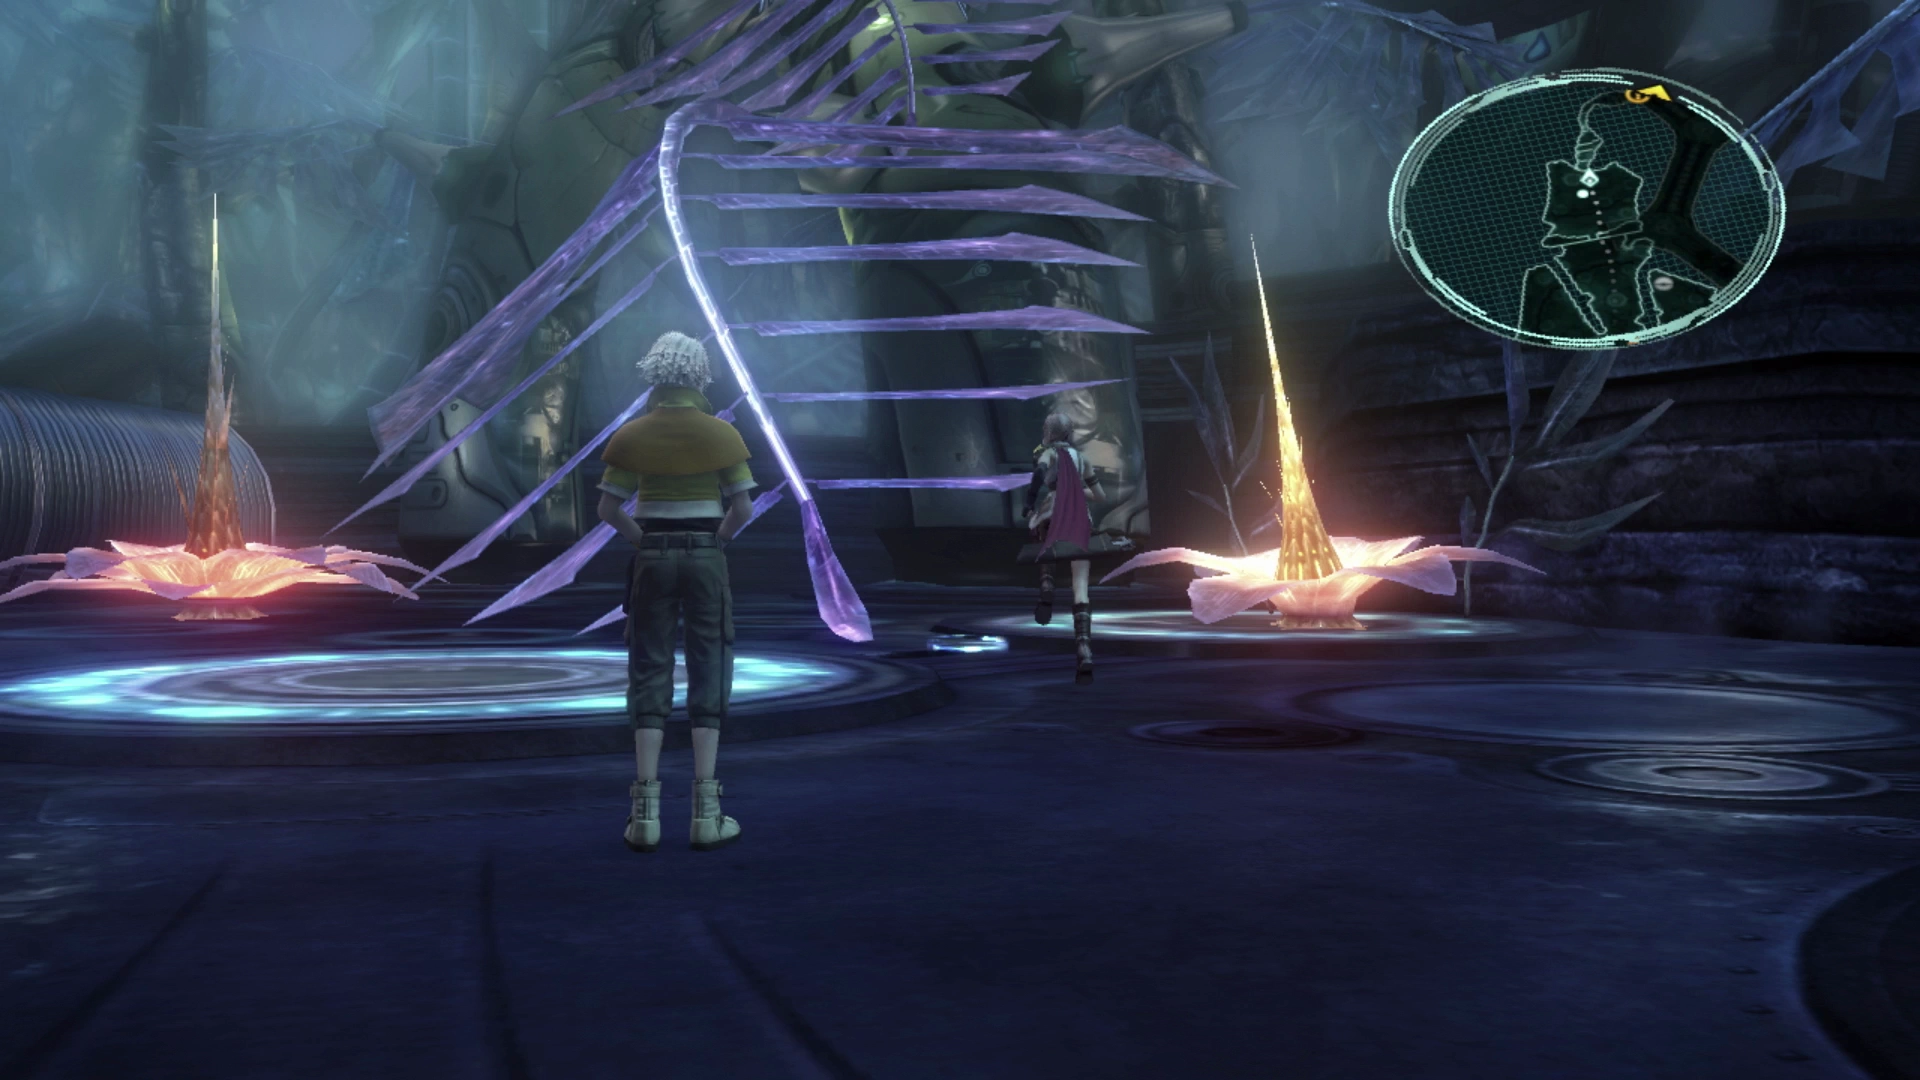
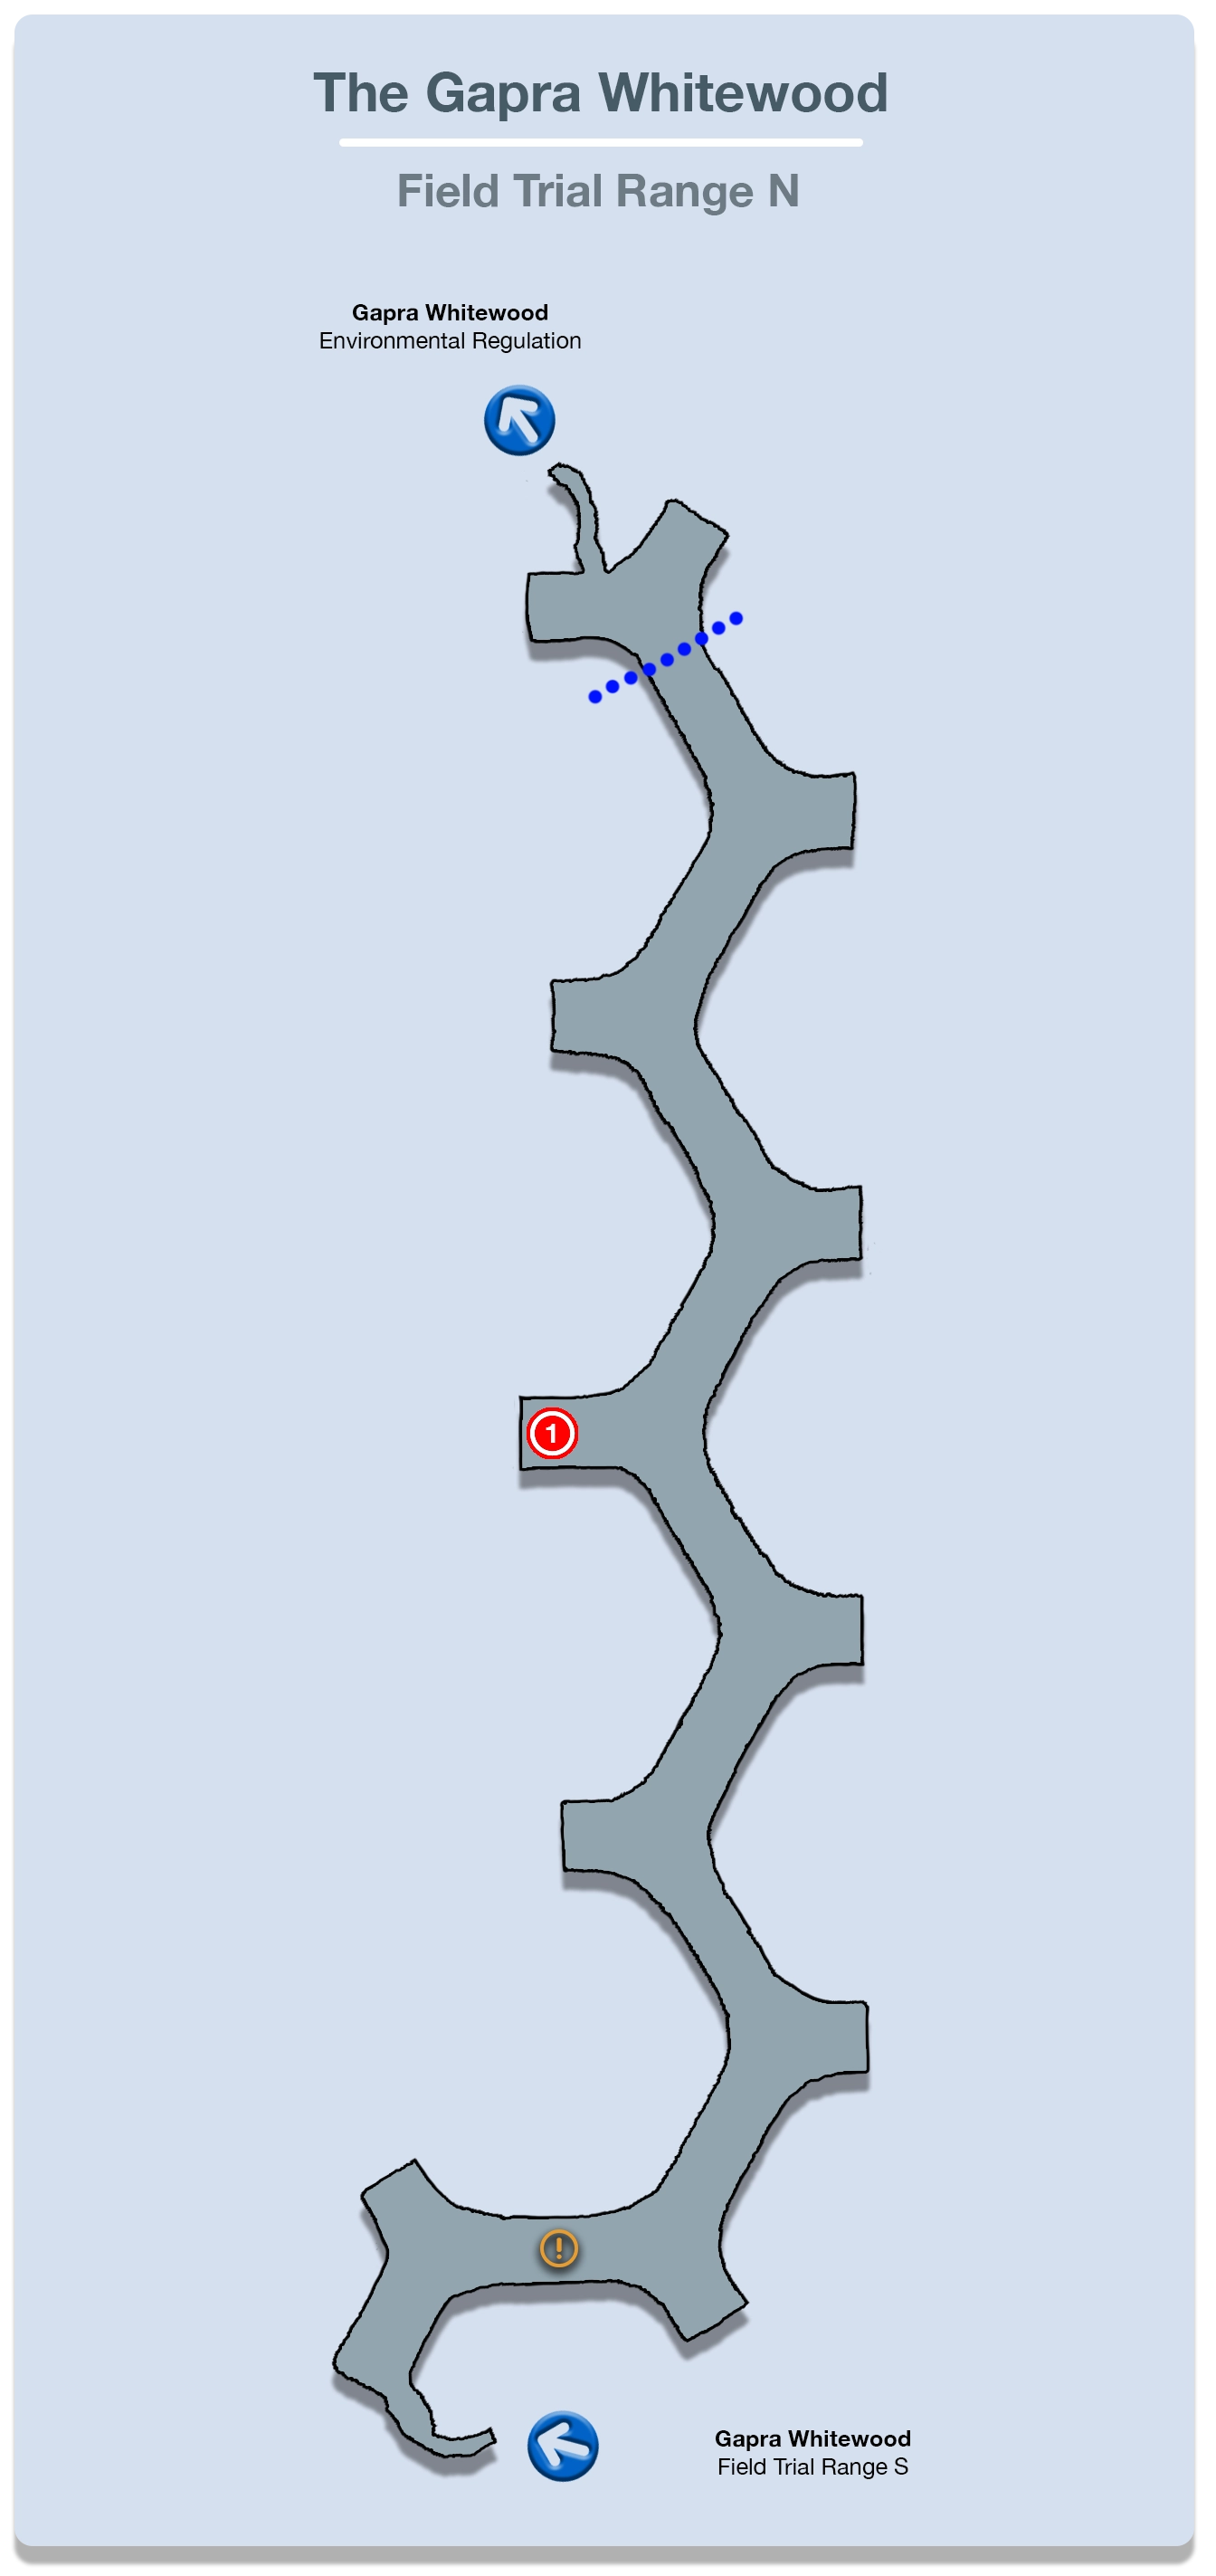
Field Trial Range N
Walk a short distance forward to initiate another short cutscene between Lightning and Hope followed by a longer cutscene involving the Thirteen Days in Bodhum.
There’s a group of two Silver Lobos with three Crawlers further down the walkway and then just a little further on you will face your first Barbed Specter. Just like against the Vespids, these enemies have a ton of HP but can be brought down through a proper Stagger if you string together enough chain bonuses.
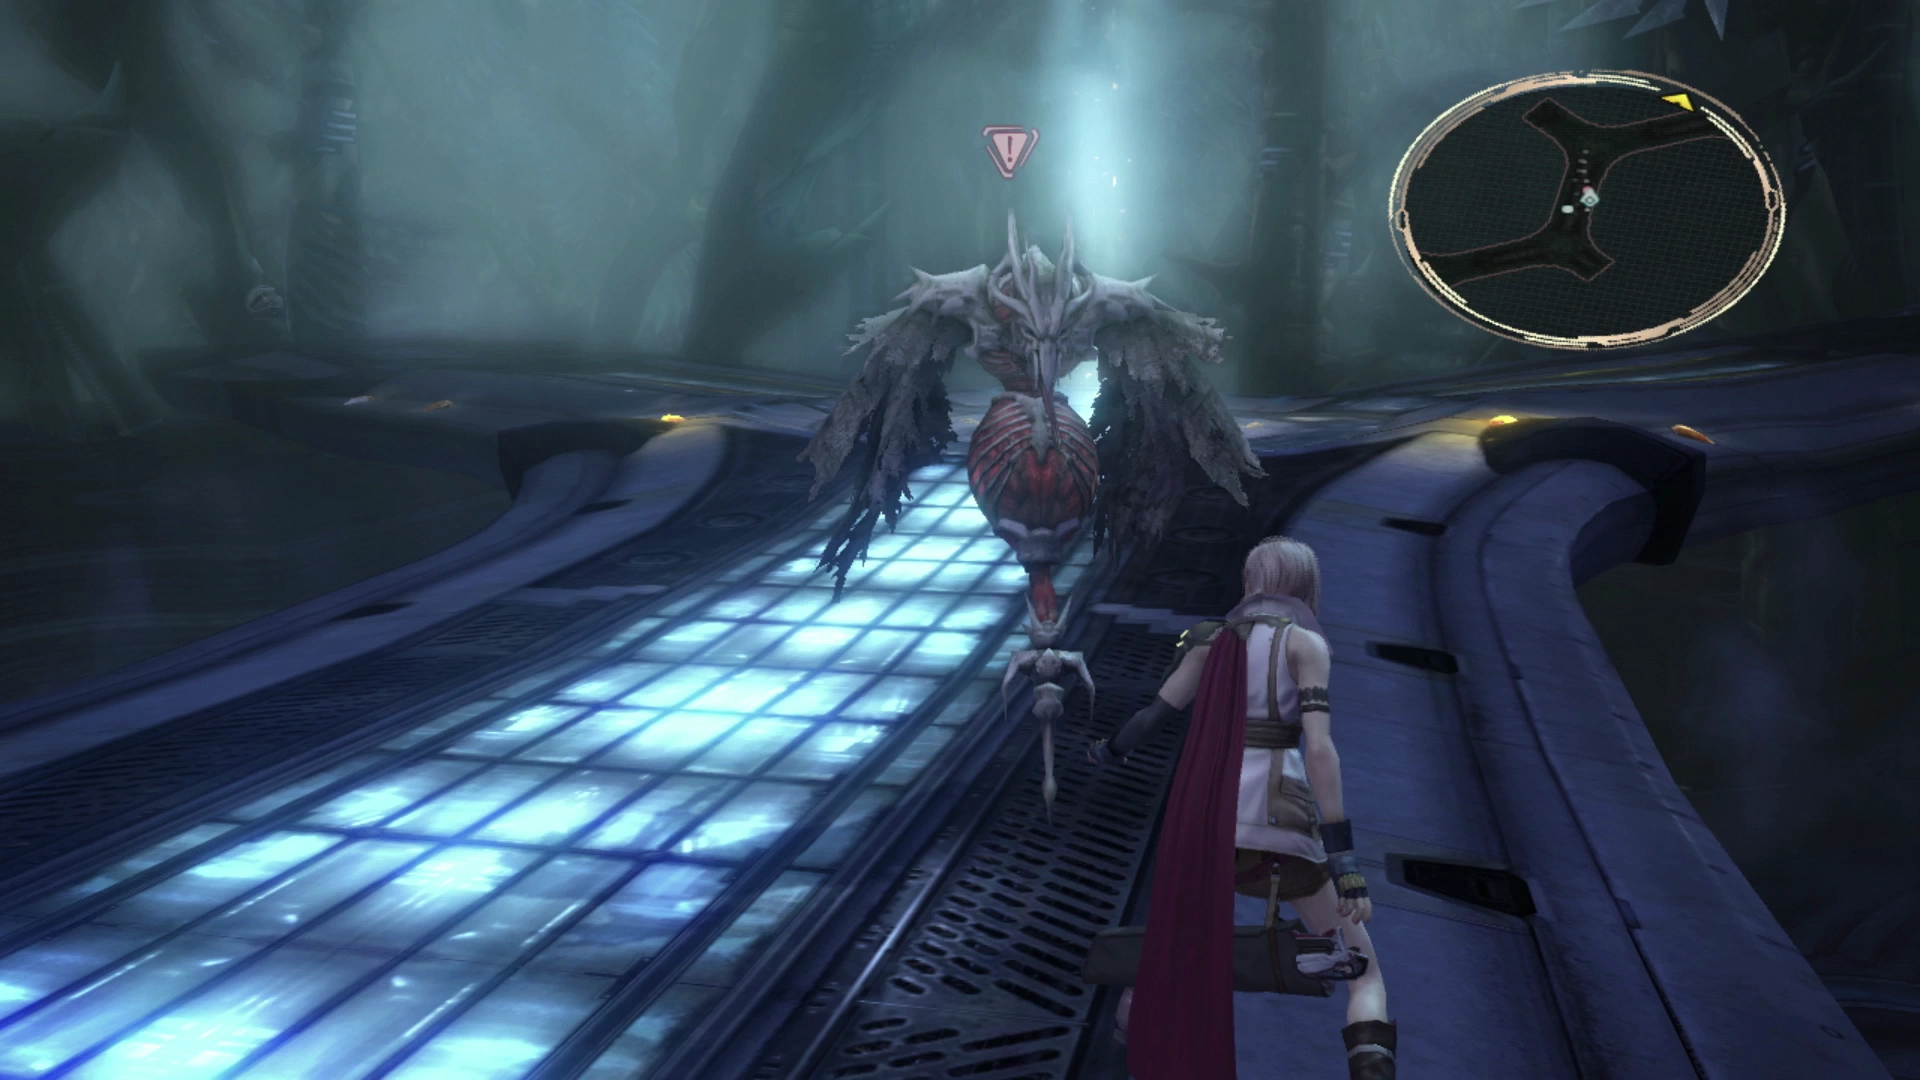
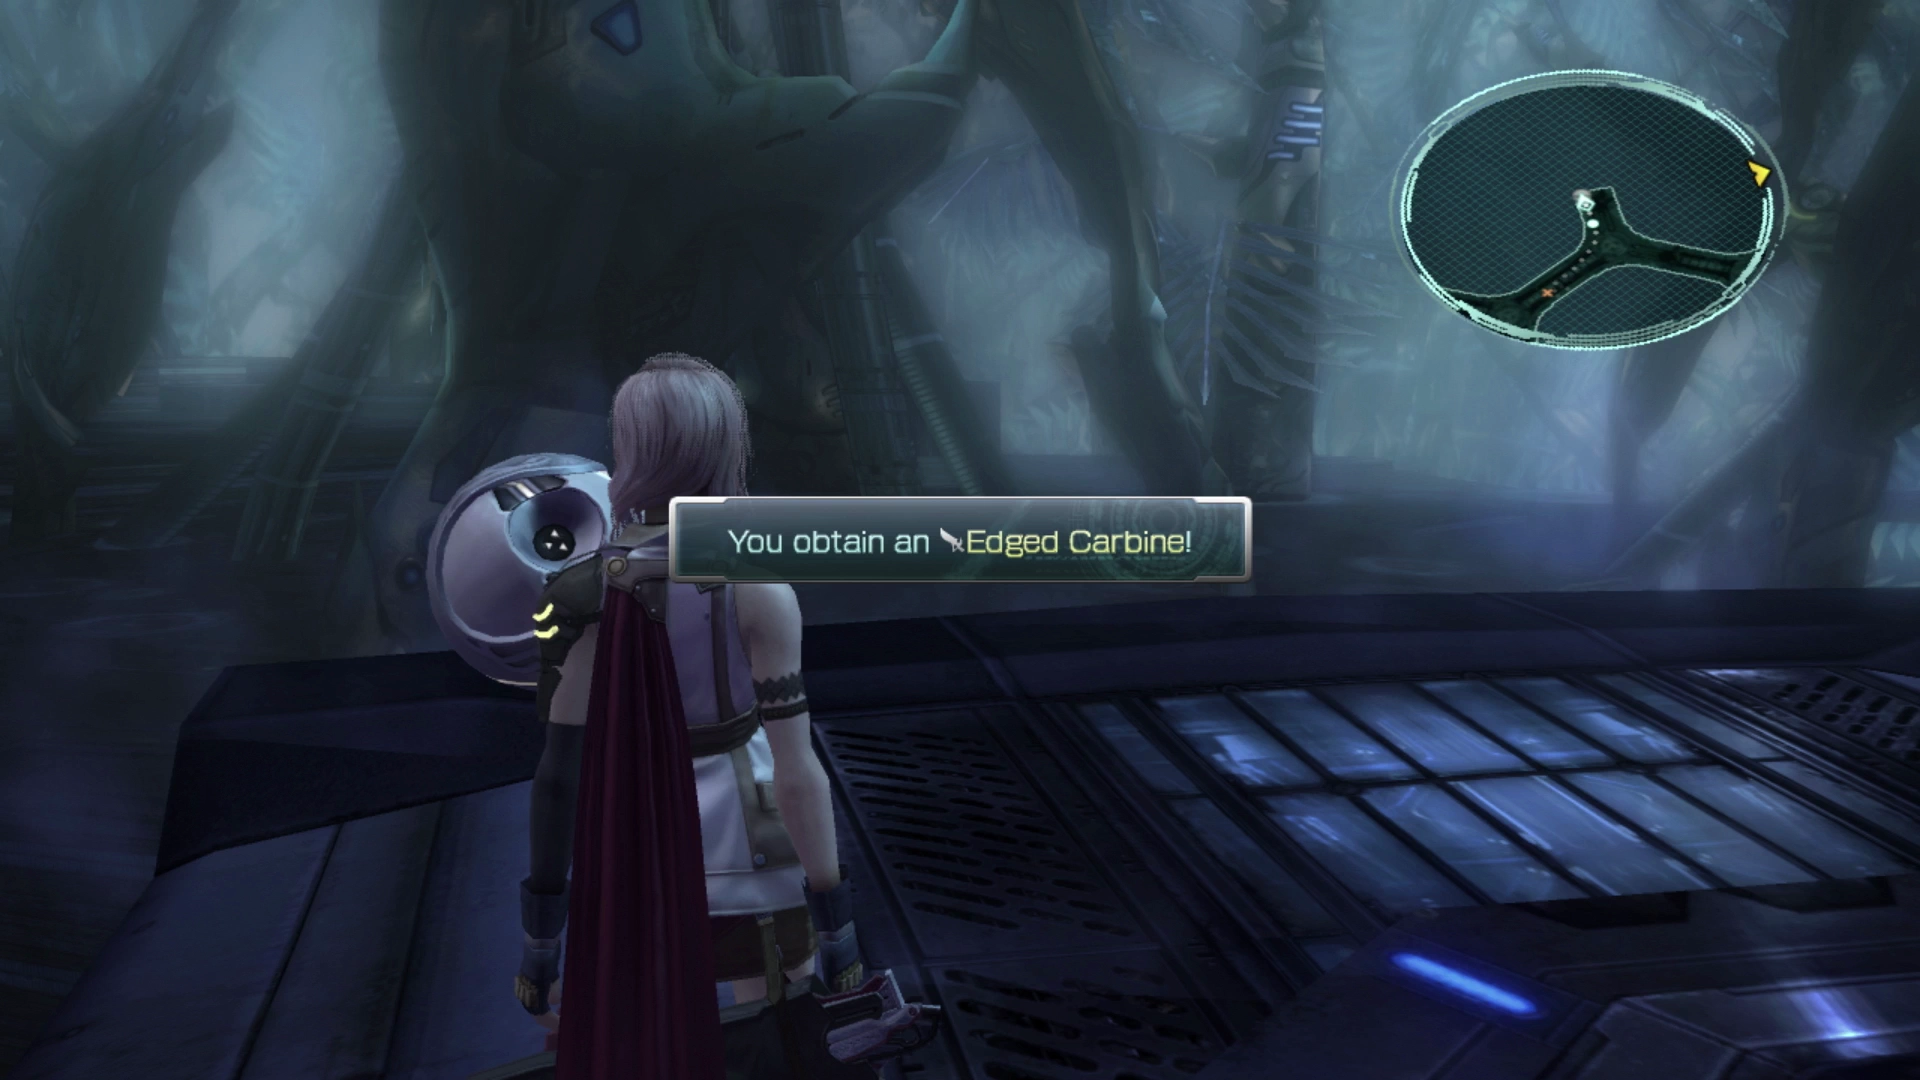
There is a Treasure Sphere on the left side of the walkway that contains an ![]() Edged Carbine weapon for Lightning. This weapon focuses on improving magic stats so it’s of limited value right now given how much time Lightning will be spending in her
Edged Carbine weapon for Lightning. This weapon focuses on improving magic stats so it’s of limited value right now given how much time Lightning will be spending in her ![]() Commando role, so it’s recommended that you not equip this sword and leave her
Commando role, so it’s recommended that you not equip this sword and leave her ![]() Gladius equipped.
Gladius equipped.
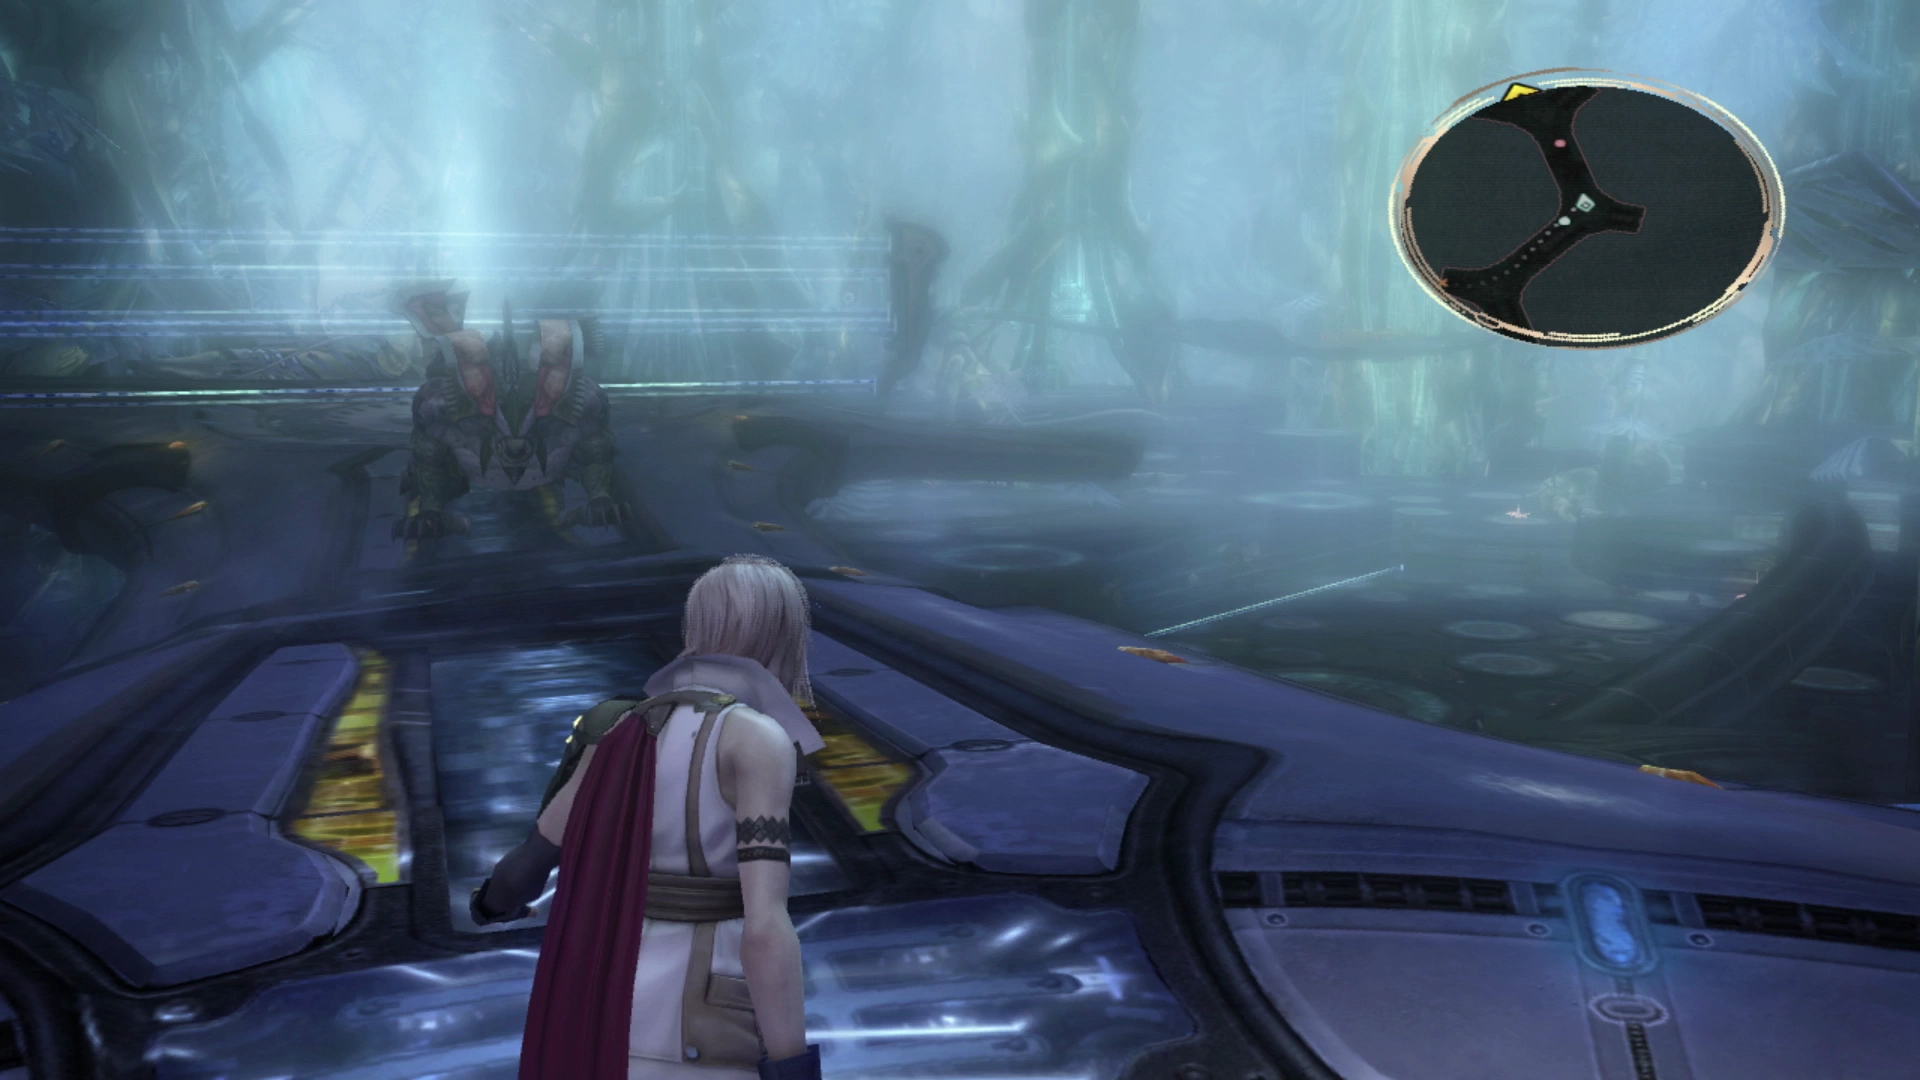
Just a bit further down is another Barbed Specter with two Crawlers. These are difficult to get a preemptive strike on because the Barbed Specter always faces forward. The last battle you face will be against another Feral Behemoth. Swap between Slash & Burn and Dualcasting to get a quick Stagger going which should bring it down quickly. The fence behind the Feral Behemoth will disappear after you defeat it.
Climb down the purple tree and use the ![]() Save Station to save your game in the next area. You will have received the
Save Station to save your game in the next area. You will have received the ![]() Magical Moments key item from this last fight which will allow you to access the “Magical Moments Retail Network” but, as mentioned previously, you should hold off on buying or selling any of your spoils from battle until later in the game.
Magical Moments key item from this last fight which will allow you to access the “Magical Moments Retail Network” but, as mentioned previously, you should hold off on buying or selling any of your spoils from battle until later in the game.
Environmental Regulation
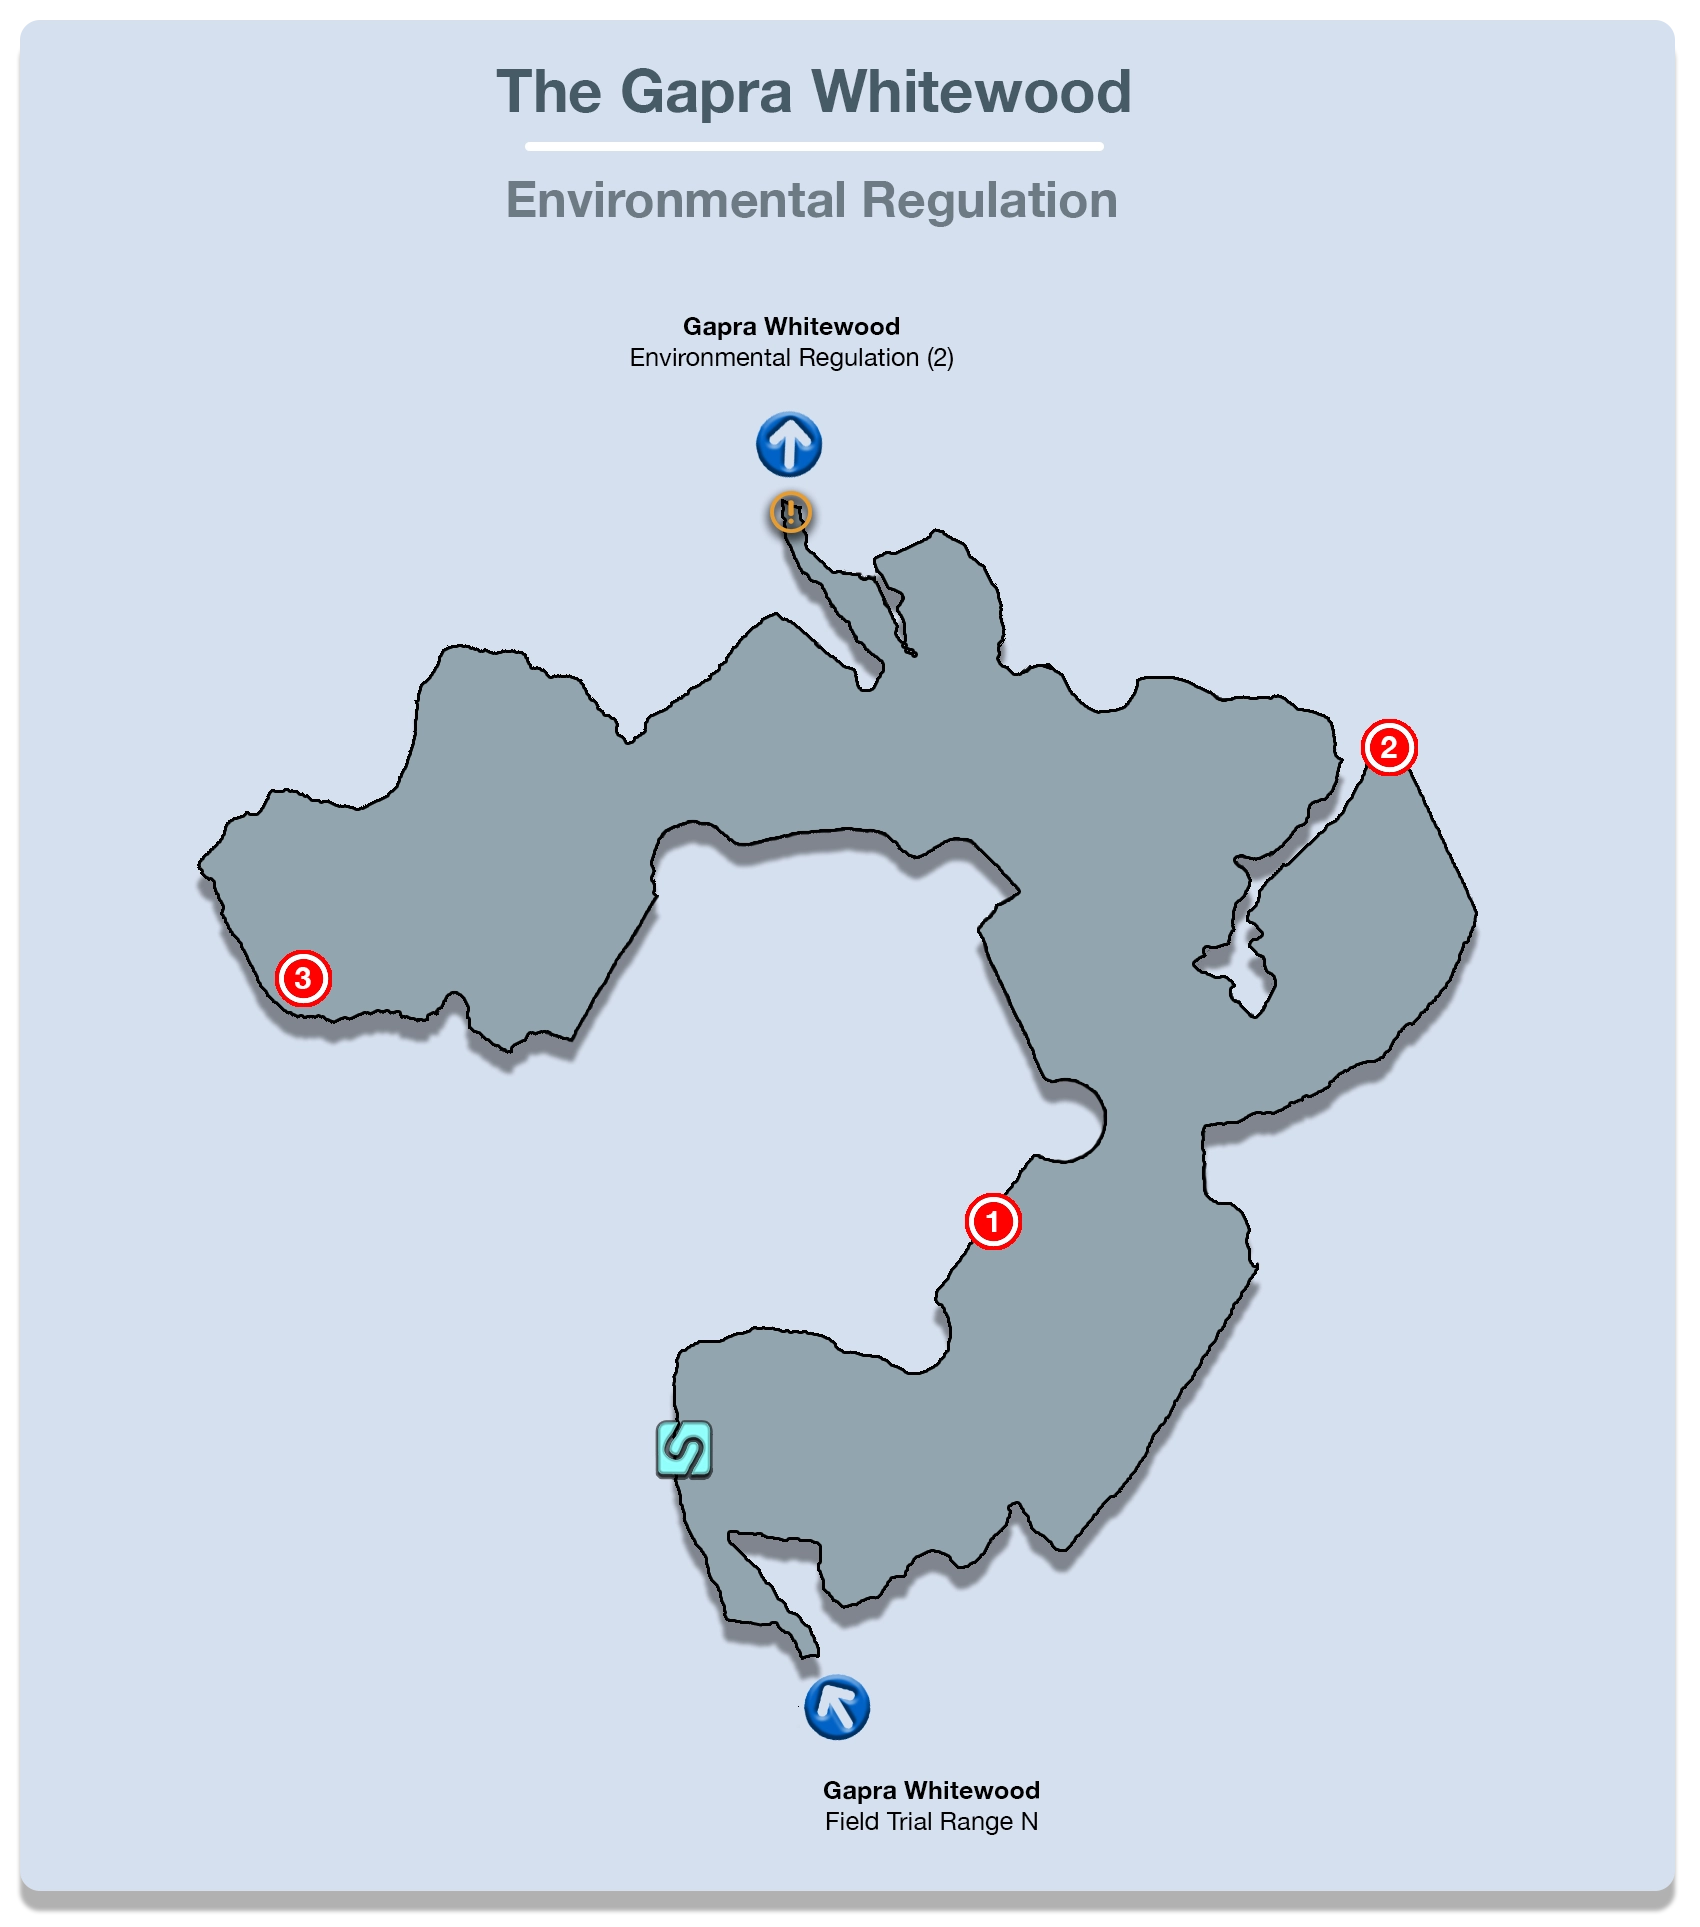
The name of this part of the zone is a little strange… The first thing you will notice up ahead on the left side is a Feral Behemoth trapped behind a barrier, but you can squeeze through the little opening on the closest side.
Slide through and ambush the Feral Behemoth while it is facing away. This will lower the barrier and give you access to the Treasure Sphere which contains ![]() 1,500 Gil.
1,500 Gil.
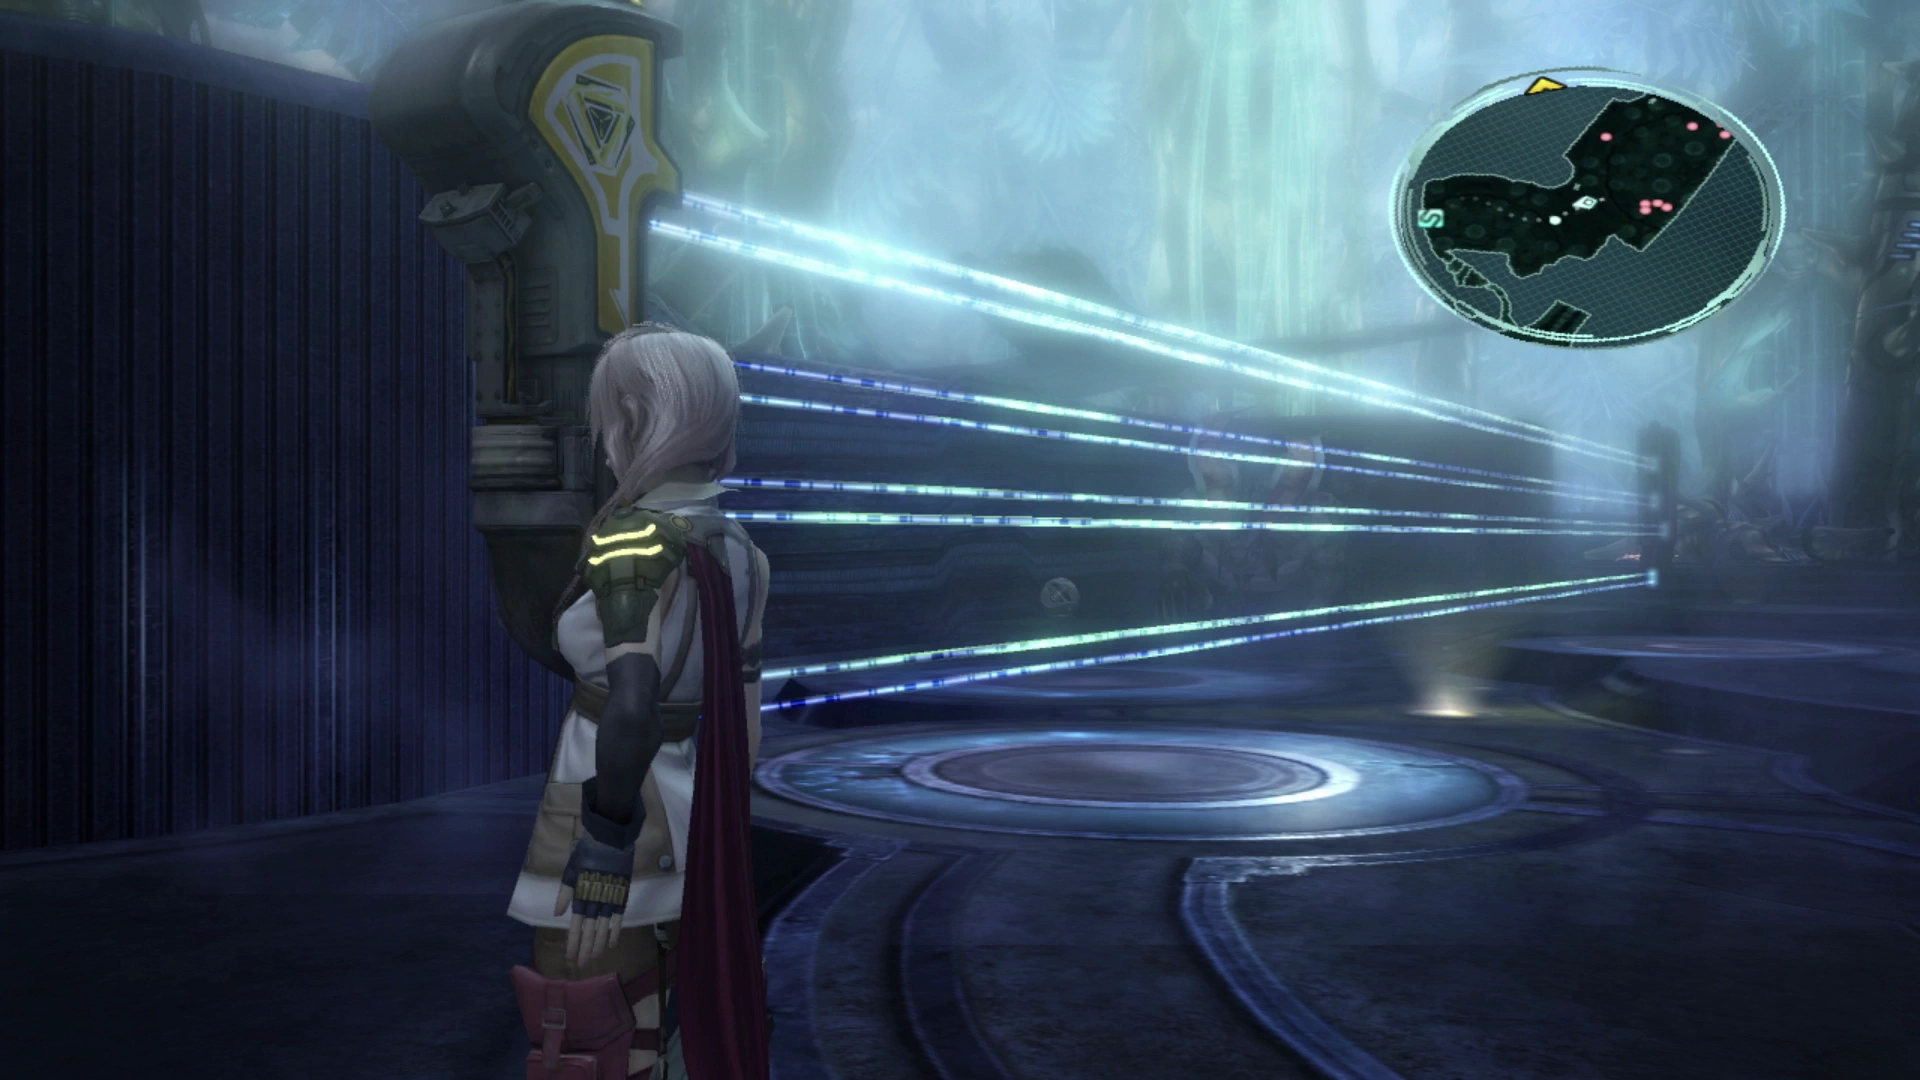
The right side of this area has four Crawlers for you to defeat as well as another group that has two Crawlers and a Barbed Specter. Try to get a preemptive strike to take out the two Crawlers early and then focus on the Barbed Specter.
The next area up ahead has three Barbed Specters roaming around. Getting a preemptive strike on these enemies is challenging, but either way, focus your attacks on them one by one and swap to War & Peace to have Hope provide some healing if either of your party members’ HP gets low.

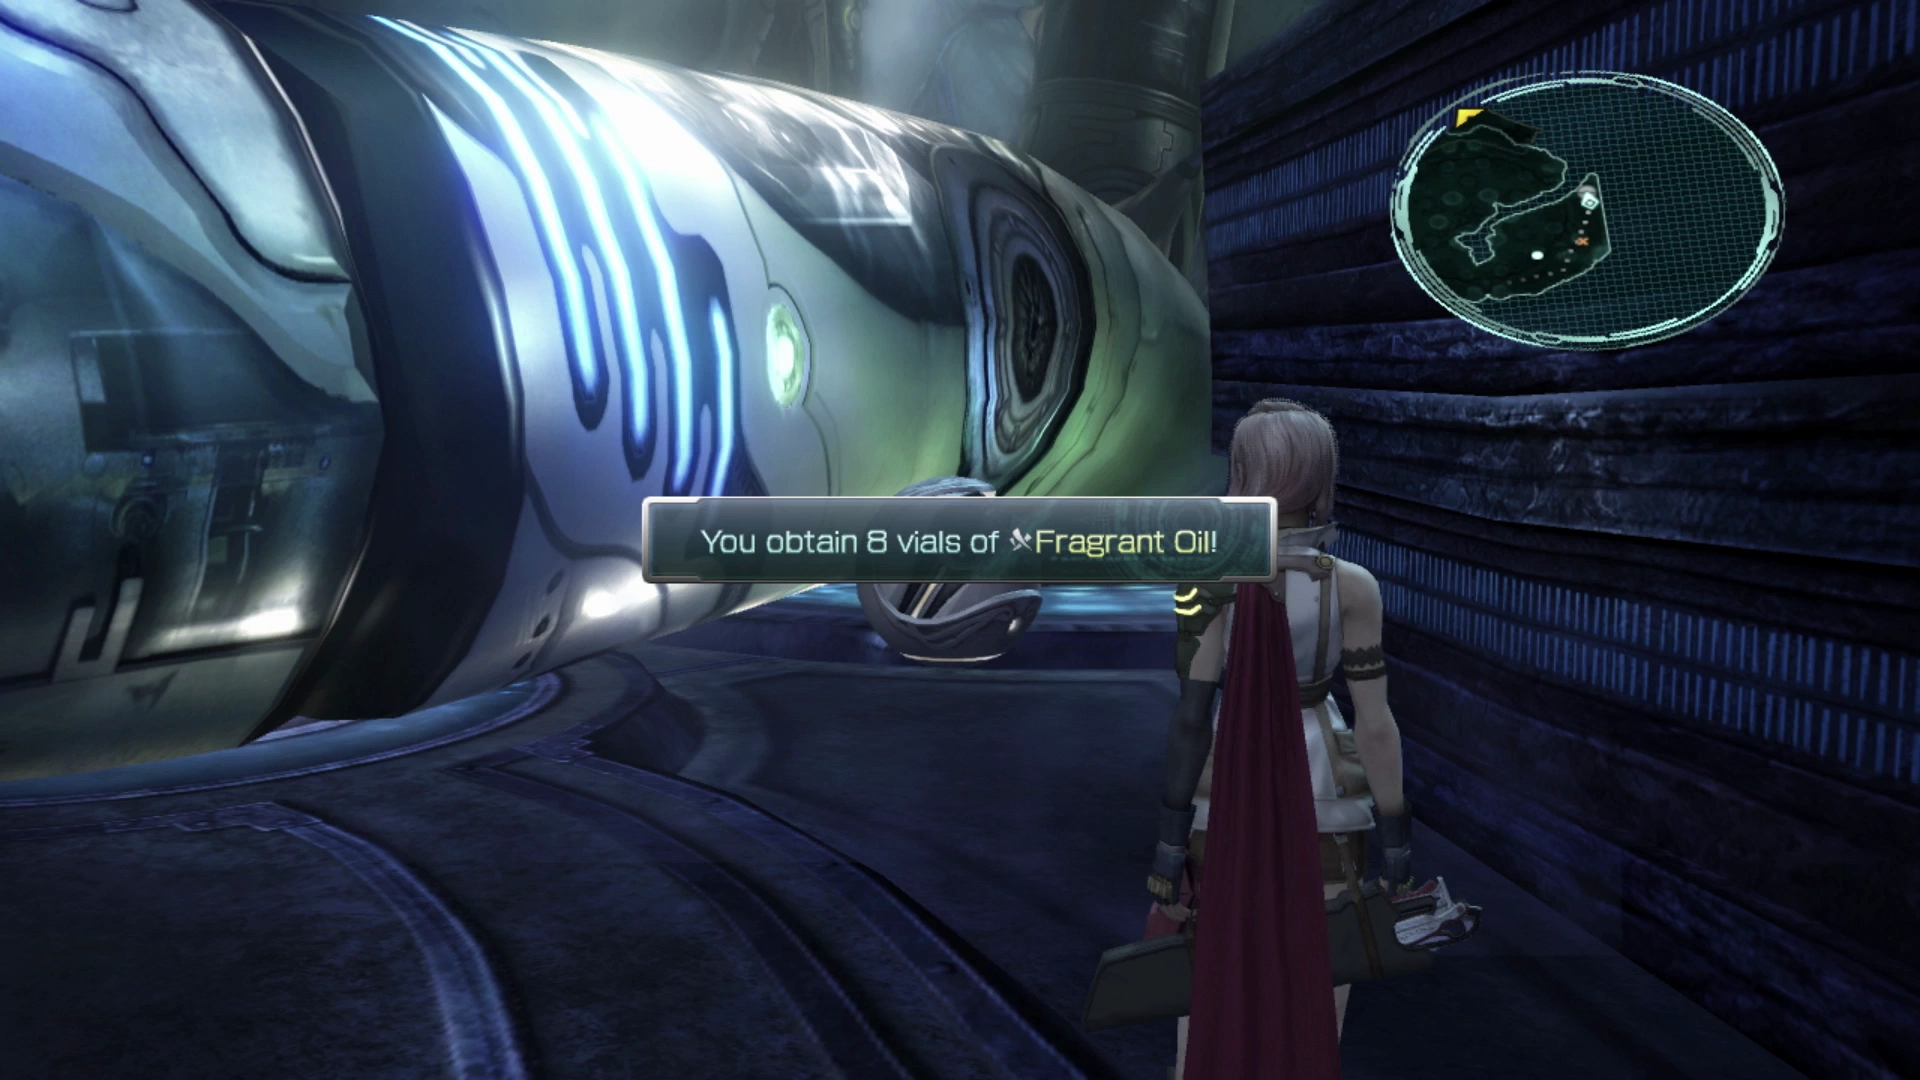
Travel over to the alcove to the right of where you fought the three Barbed Specters. This will immediately throw you into a trap with a group of Crawlers and a Feral Behemoth that will immediately attack. This is a difficult battle so consider using a ![]() Deceptisol shroud to force a preemptive strike.
Deceptisol shroud to force a preemptive strike.
A couple of ![]() Blitz attacks with assistance from Hope’s
Blitz attacks with assistance from Hope’s ![]() Fira spell will Stagger enough of the Crawlers to make the fight significantly easier to deal with. Once the Feral Behemoth is all alone and Staggered Lightning can use her
Fira spell will Stagger enough of the Crawlers to make the fight significantly easier to deal with. Once the Feral Behemoth is all alone and Staggered Lightning can use her ![]() Launch ability to keep it in the air and prevent it from inflicting damage. Open the Treasure Sphere behind the group to grab eight vials of
Launch ability to keep it in the air and prevent it from inflicting damage. Open the Treasure Sphere behind the group to grab eight vials of ![]() Fragrant Oil.
Fragrant Oil.
Run around the corner and you will come across a three-way battle between three Silver Lobos and a Feral Behemoth. This battle isn’t too difficult, so you could probably focus on either the Behemoth or the Lobos, but the recommended approach is to defeat the three Silver Lobos with a preemptive strike and some Area of Effect attacks (![]() Blitz /
Blitz / ![]() Fira) and then switch over to the Feral Behemoth which you can keep stunned once Staggered.
Fira) and then switch over to the Feral Behemoth which you can keep stunned once Staggered.
You will see the map marker just up ahead but continue following the open-air pens through to the left to find a Barbed Specter and a Feral Behemoth. Defeating these two enemies will allow you to access a Treasure Sphere that contains a ![]() Watchmen’s Amulet.
Watchmen’s Amulet.

Climb the purple tree leaves just a little ways back to move to the upper level and then walk forward to find an elevator that you can activate to go to the next zone.
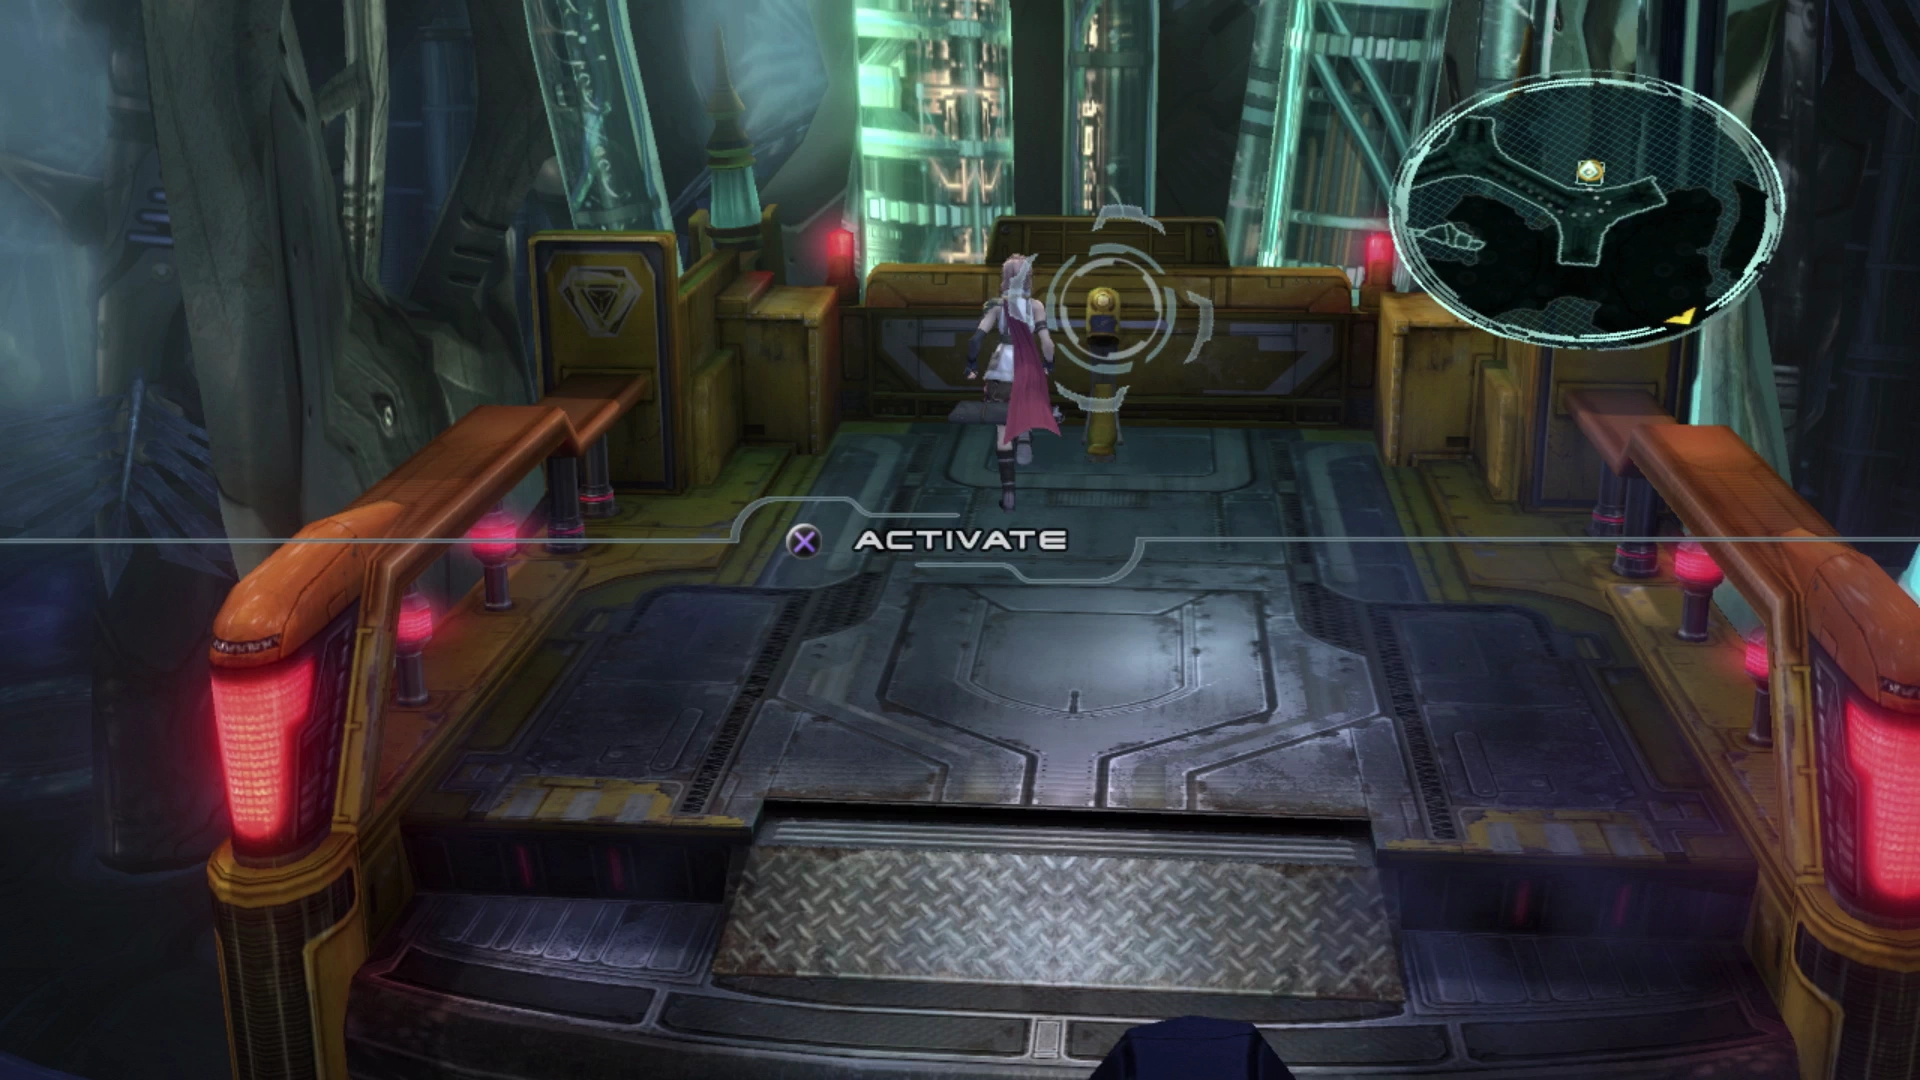
Bioweapons Maintenance
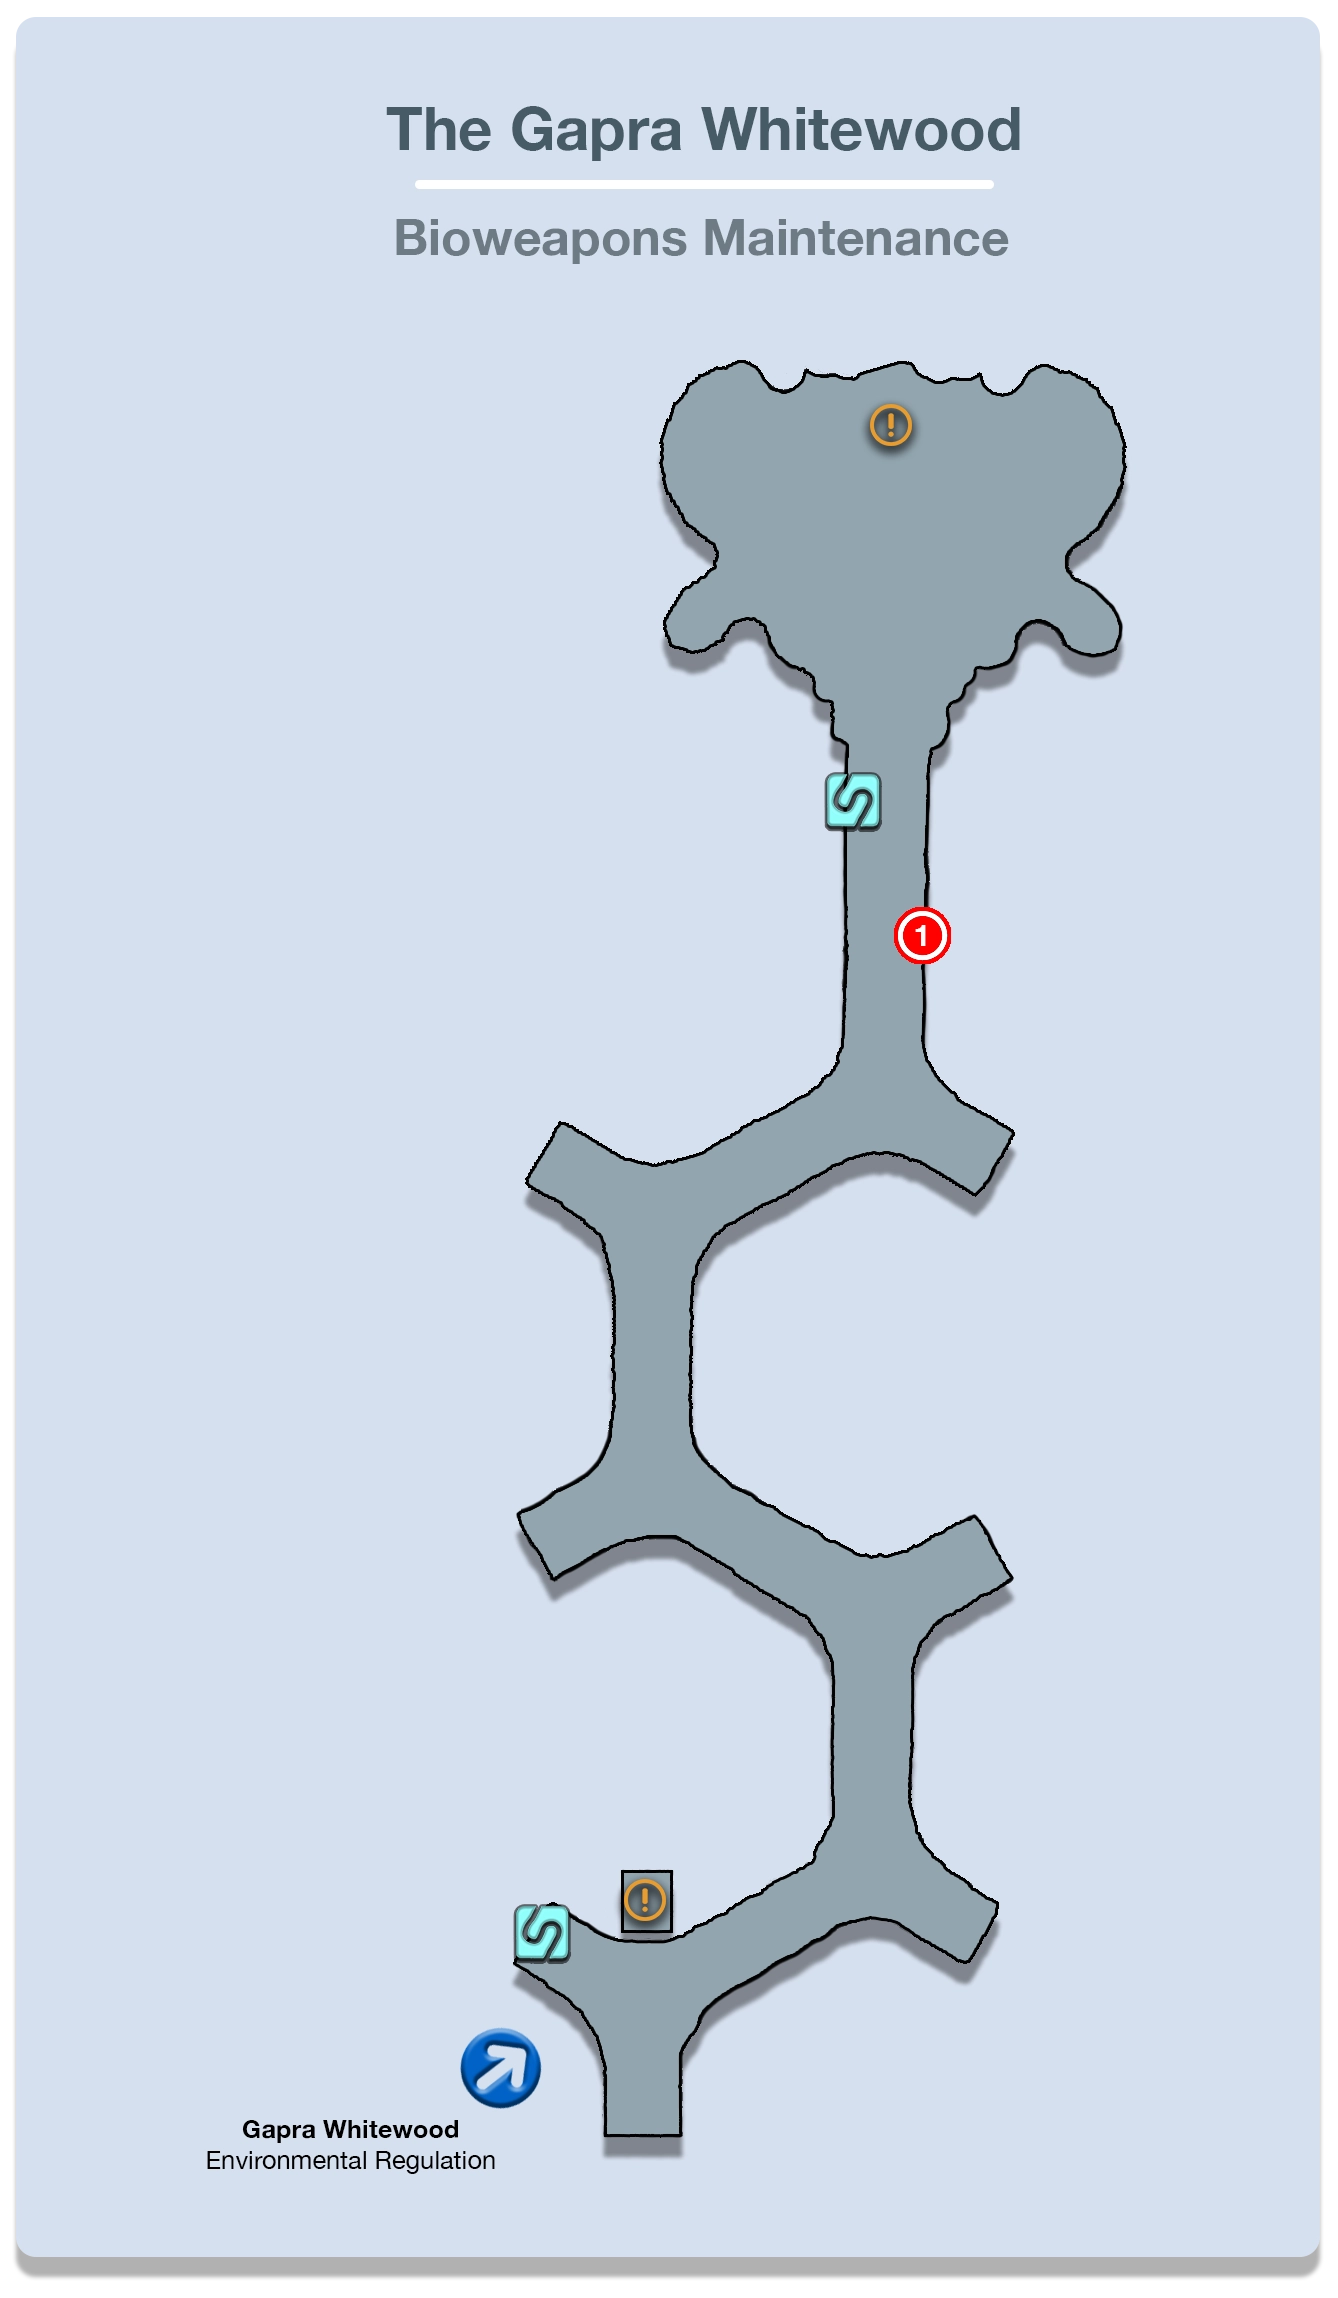
Use the ![]() Save Station when you first arrive. Then turn around and charge into the group of four Silver Lobos nearby. This group faces you so there’s no way to approach and attack them from behind. They can put out a high amount of damage so be ready to switch to War & Peace Paradigm ahead of time before either of your party members’ HP gets so low that it’s difficult to recover from.
Save Station when you first arrive. Then turn around and charge into the group of four Silver Lobos nearby. This group faces you so there’s no way to approach and attack them from behind. They can put out a high amount of damage so be ready to switch to War & Peace Paradigm ahead of time before either of your party members’ HP gets so low that it’s difficult to recover from.
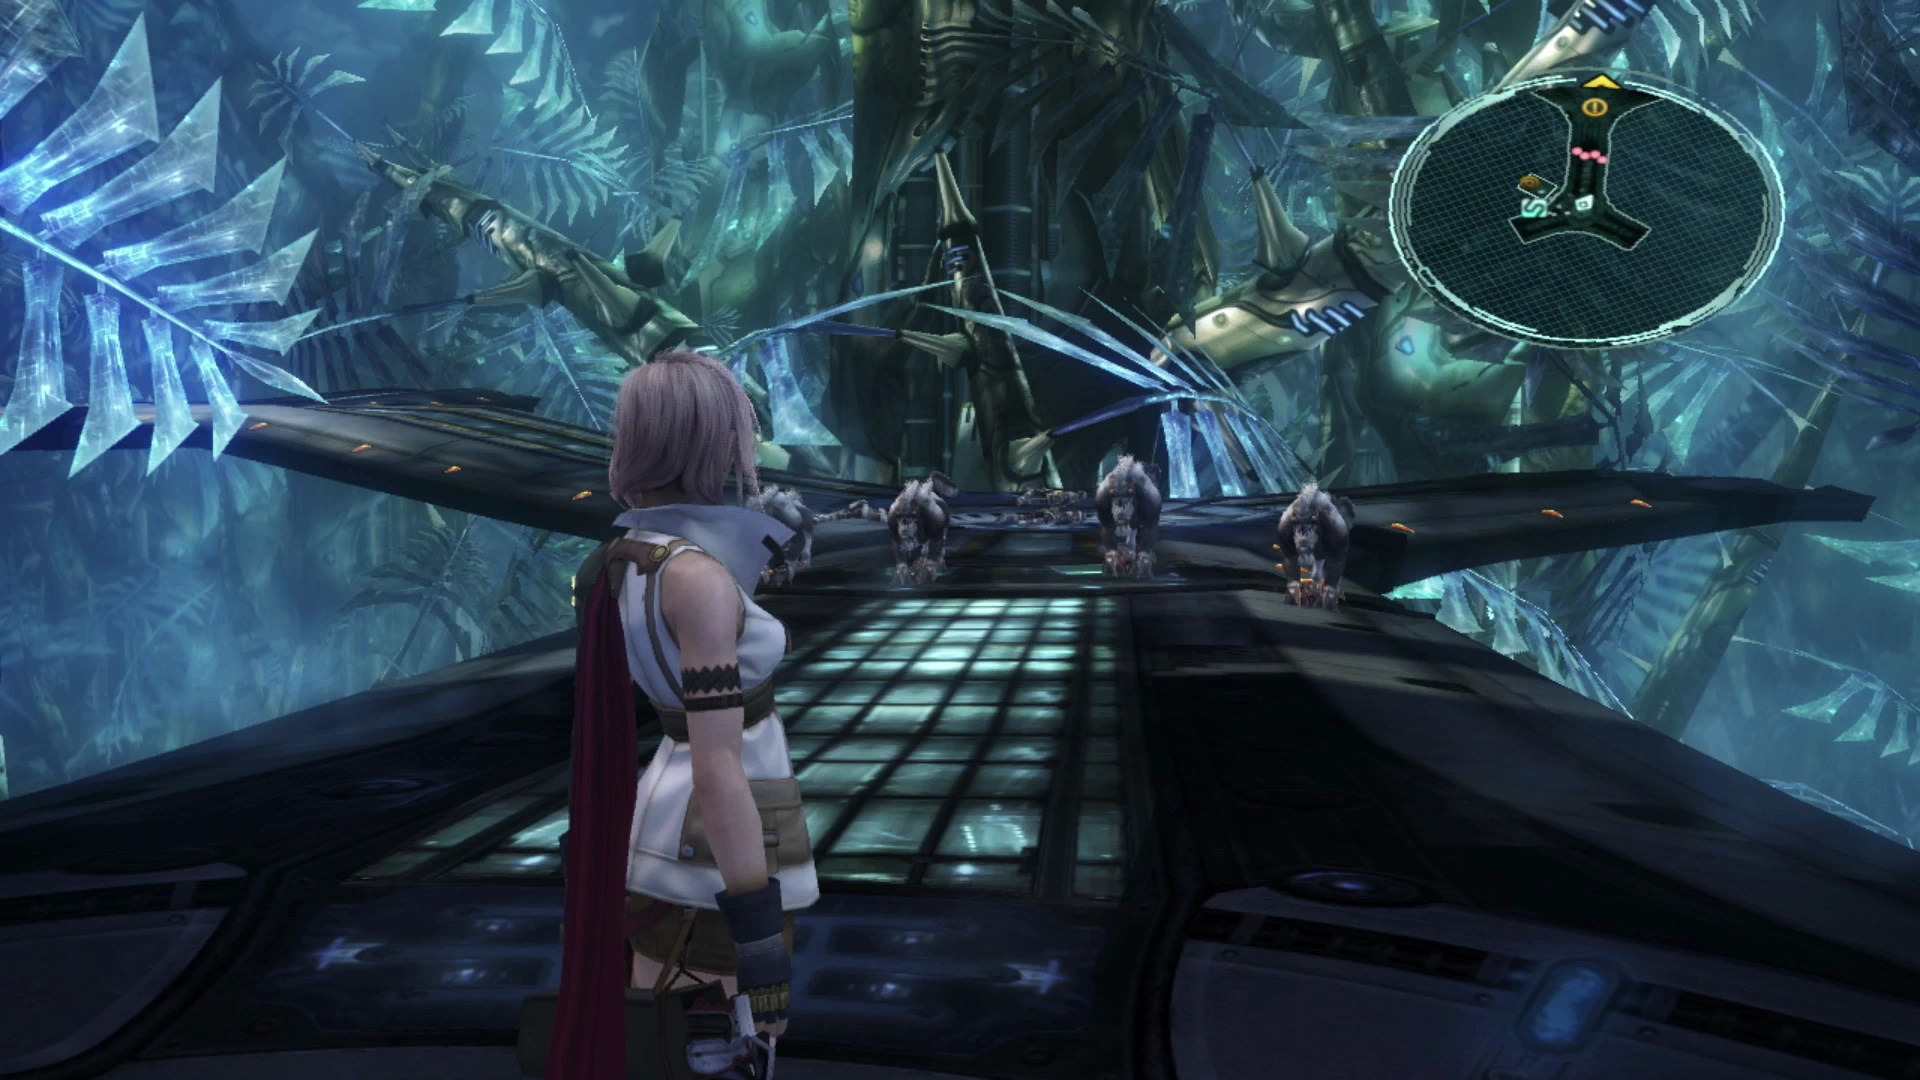
There’s a short cutscene that takes place just up ahead when Lightning and Hope come across a group of PSICOM Soldiers that have been eradicated. Follow the walkway and you will encounter a group of two Corps Watchman and a Corps Marksman. These are new enemies so take the opportunity to use ![]() Libra on them, but they are not difficult to defeat. Focus on the Corps Marksman first.
Libra on them, but they are not difficult to defeat. Focus on the Corps Marksman first.
Just up ahead is a Milvus Velocycle which is like the Ciconia Velocycle that you’ve faced before. It can output a high amount of damage, but it doesn’t require any specialized strategies to defeat. Further down the walkway is a group of three Corps Watchman and a Corps Marksman.
Grab the Treasure Sphere nearby which contains a vial of ![]() Ethersol and then use the nearby
Ethersol and then use the nearby ![]() Save Station to save your game ahead of an upcoming boss fight.
Save Station to save your game ahead of an upcoming boss fight.
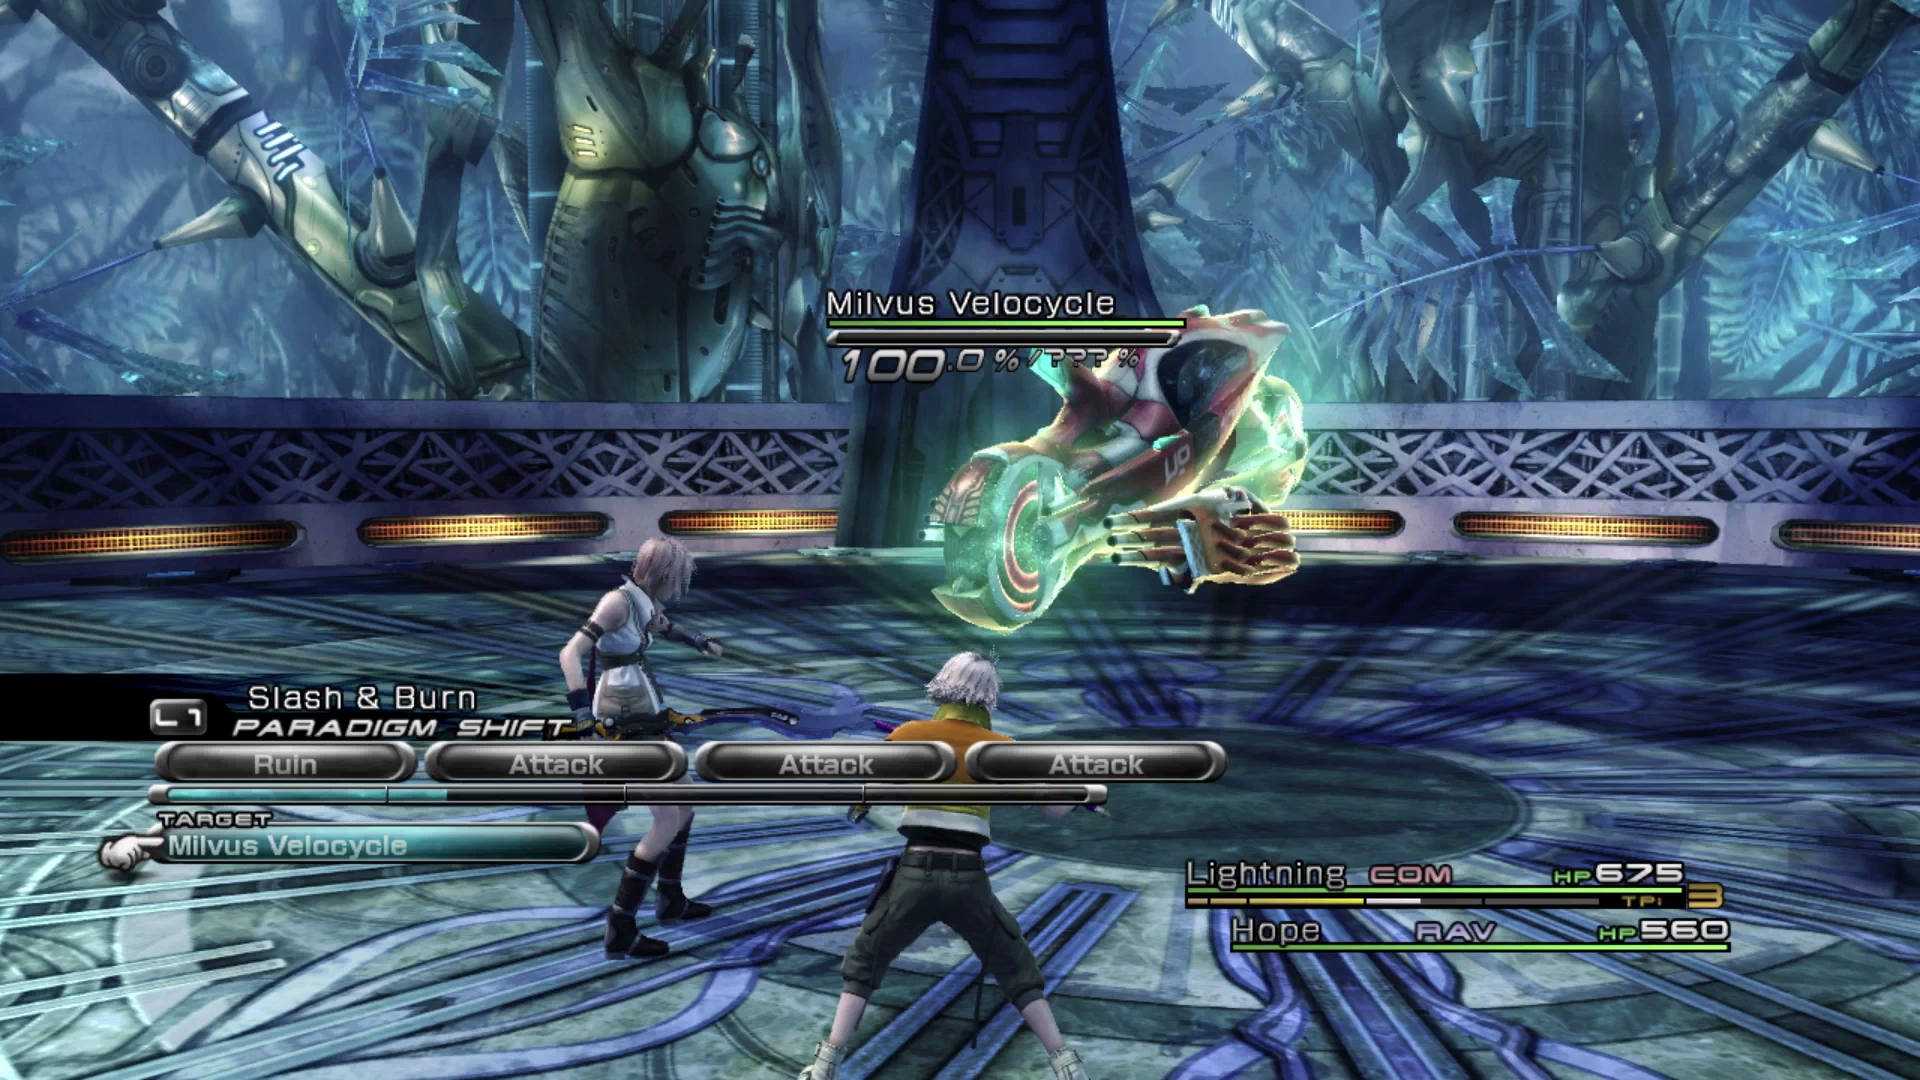
There is one more fight that includes a Milvus Velocycle and two accompanying Corps Marksman. Make sure that you’ve used ![]() Libra on both the Velocycle and Corps Marksman. You should already have a completed
Libra on both the Velocycle and Corps Marksman. You should already have a completed ![]() Datalog entry, but this is the last opportunity to do so. This battle is also tougher than some of the previous ones you’ve dealt with so be prepared to switch to a Paradigm that puts Hope in his
Datalog entry, but this is the last opportunity to do so. This battle is also tougher than some of the previous ones you’ve dealt with so be prepared to switch to a Paradigm that puts Hope in his ![]() Medic role.
Medic role.
The boss fight will begin as soon as you activate the device on the far wall using the button. Here are a few tips to prepare for the fight:
- Equip your party members with accessories that prevent elemental damage (
 Spark Ring and
  Ember Ring, for example) which will help reduce incoming damage.
 - Set up a Symbiosis Paradigm (Lightning as
 Medic and Hope as
  Synergist). You should already have War & Peace and Dualcasting Paradigms created.
 - Switch your active Paradigm to Supersoldier (Lightning as
 Commando and Hope as
  Synergist).
 - Spend any of the remaining Crystogen Points (CP) you have stored up to build up both characters’ stats.
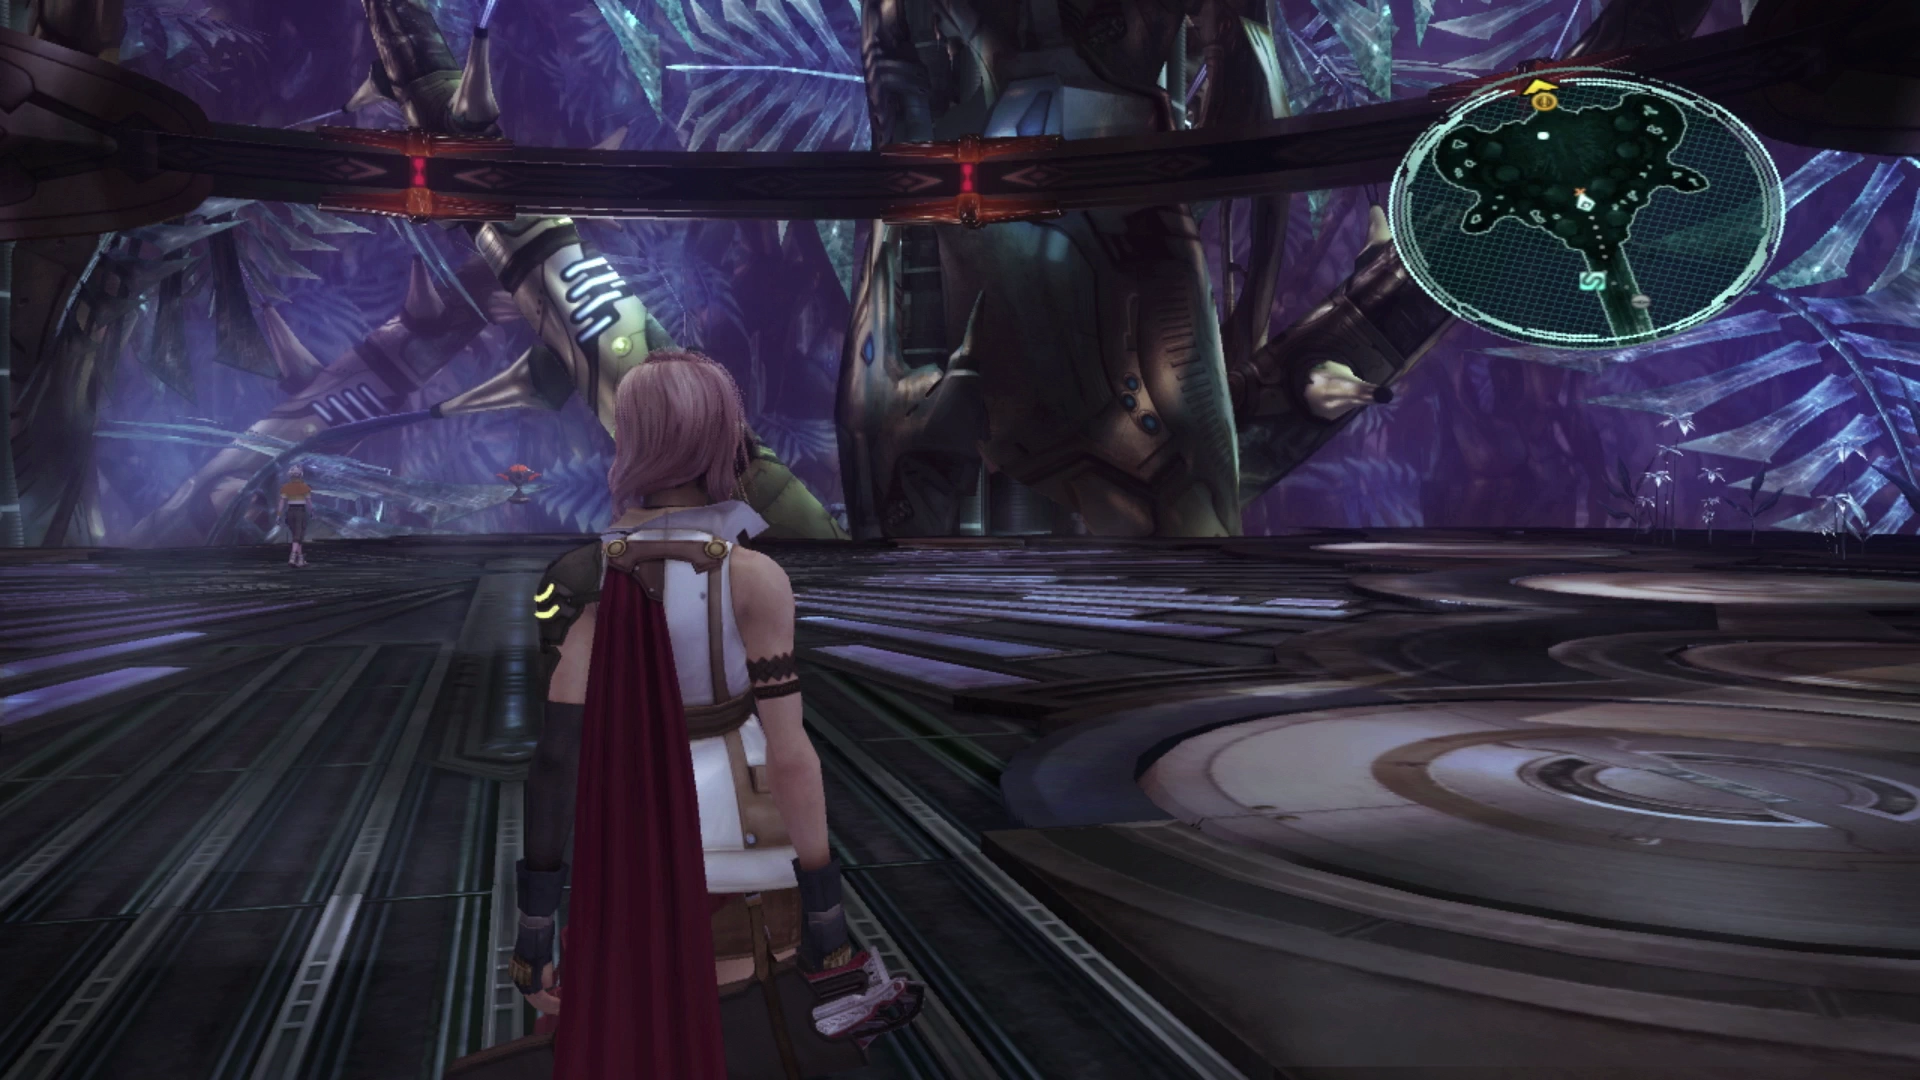
Move forward to the edge of the platform and activate the elevator when you are ready to begin the fight. The elevator will rise to the top and Lightning and Hope will be ambushed by the Aster Protoflorian.
Boss Battle
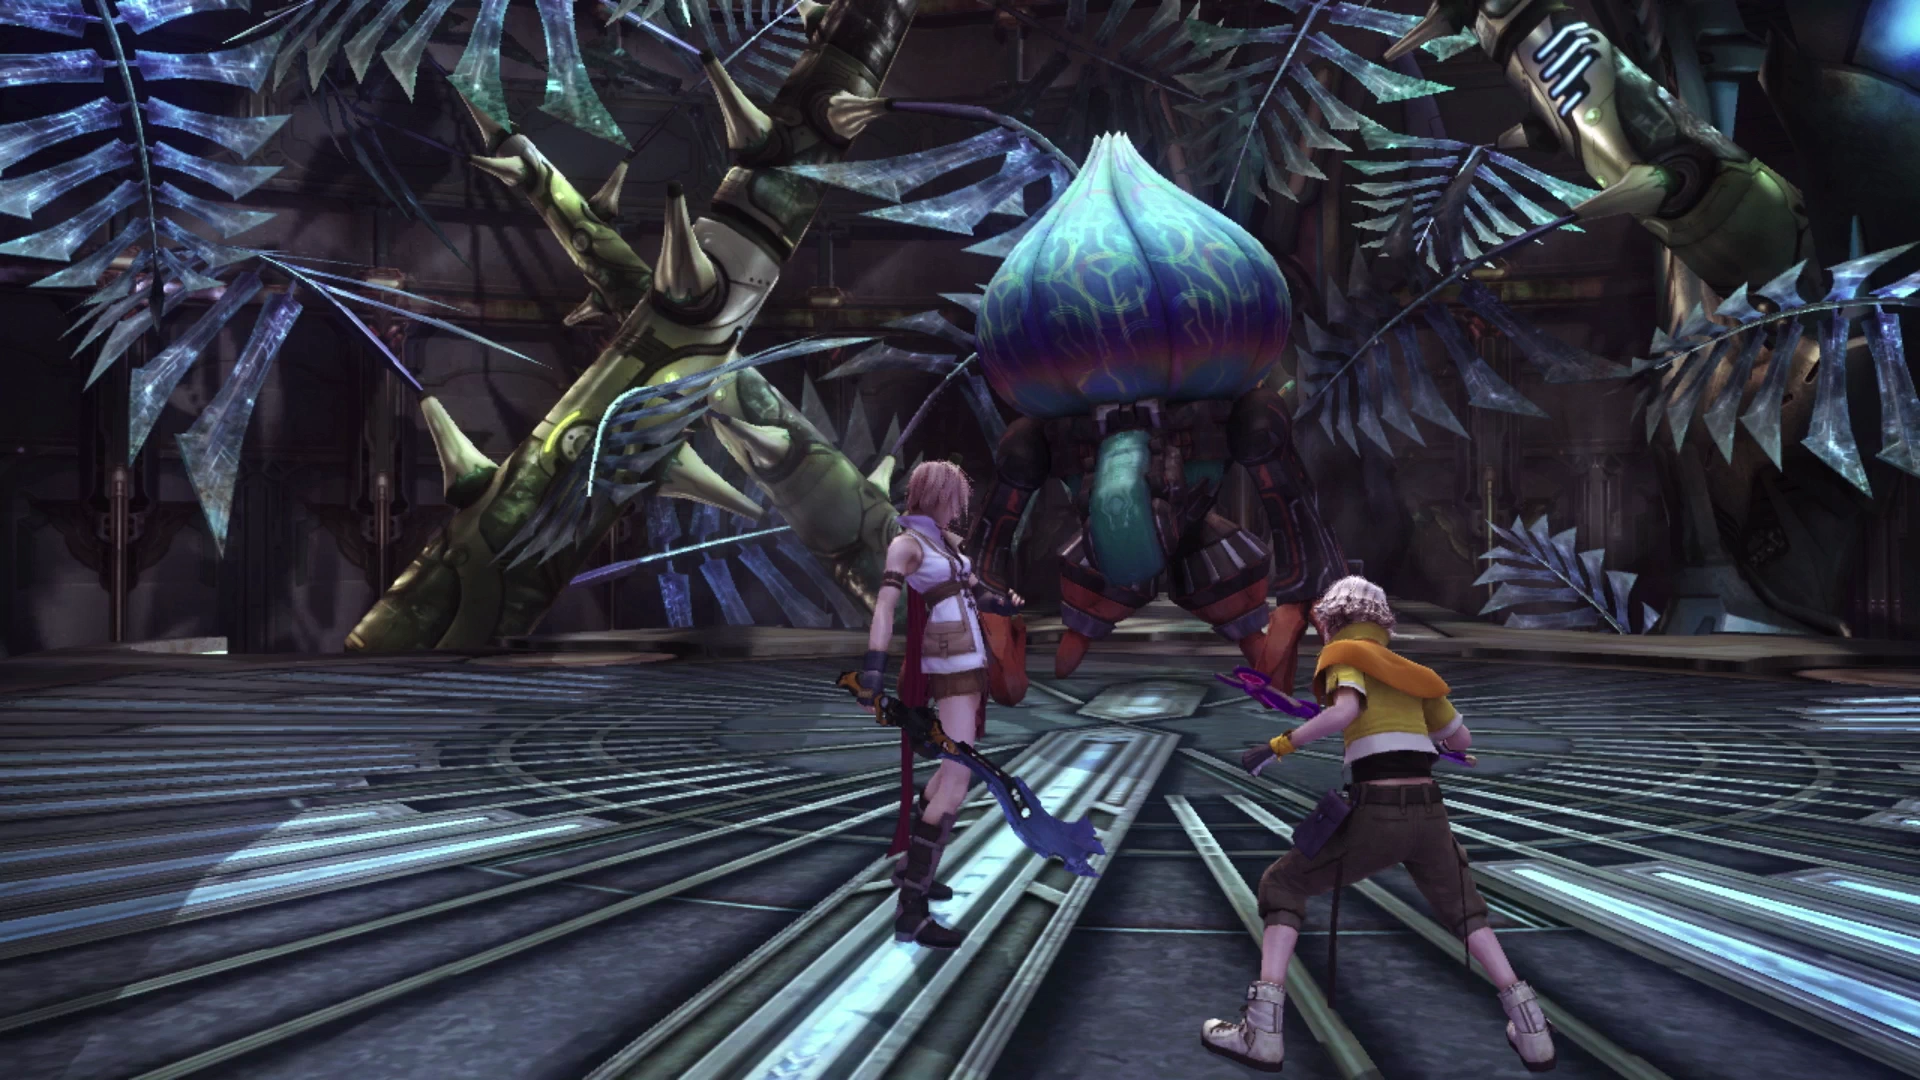
This boss can inflict a ton of damage in a short amount of time so starting with the Supersoldier Paradigm will allow Hope to get some helpful buffs put on your party member. You should leave him as a ![]() Synergist until he gets both
Synergist until he gets both ![]() Protect and
Protect and ![]() Shell up on both Lightning and Hope. If you find yourself low on HP while Hope is still buffing the party, you can switch to the Symbiosis Paradigm, but that Paradigm is just there in case things get really messy.
Shell up on both Lightning and Hope. If you find yourself low on HP while Hope is still buffing the party, you can switch to the Symbiosis Paradigm, but that Paradigm is just there in case things get really messy.
In the meantime, Lightning should be using ![]() Libra twice on Aster Protoflorian to fully complete the
Libra twice on Aster Protoflorian to fully complete the ![]() Datalog entry for this boss and allow both characters to focus on the most powerful attacks. Aster Protoflorian will rotate between various elemental statuses which will change whether attacks hit for regular amounts of damage, bonus damage or, if you accidentally hit it with an attack that is the same as its current elemental status, it will heal the boss. For this reason, you need to be ready to immediately stop casting spells using
Datalog entry for this boss and allow both characters to focus on the most powerful attacks. Aster Protoflorian will rotate between various elemental statuses which will change whether attacks hit for regular amounts of damage, bonus damage or, if you accidentally hit it with an attack that is the same as its current elemental status, it will heal the boss. For this reason, you need to be ready to immediately stop casting spells using if you find yourself healing instead of damaging.
Keep an eye on the buff icons next to Lightning and Hope’s names in the bottom right corner of the screen. If they drop off, immediately have Hope switch back to his ![]() Synergist role and reapply both.
Synergist role and reapply both.
Aside from that, bounce back and forth between Slash & Burn and Dualcasting to drive chain bonuses and Stagger the boss, with the odd War & Peace thrown in as needed. Keep Lightning in her ![]() Commando role when the boss is Staggered as it’s susceptible to the
Commando role when the boss is Staggered as it’s susceptible to the ![]() Launch attack which will prevent it from damaging your party members during this time.
Launch attack which will prevent it from damaging your party members during this time.
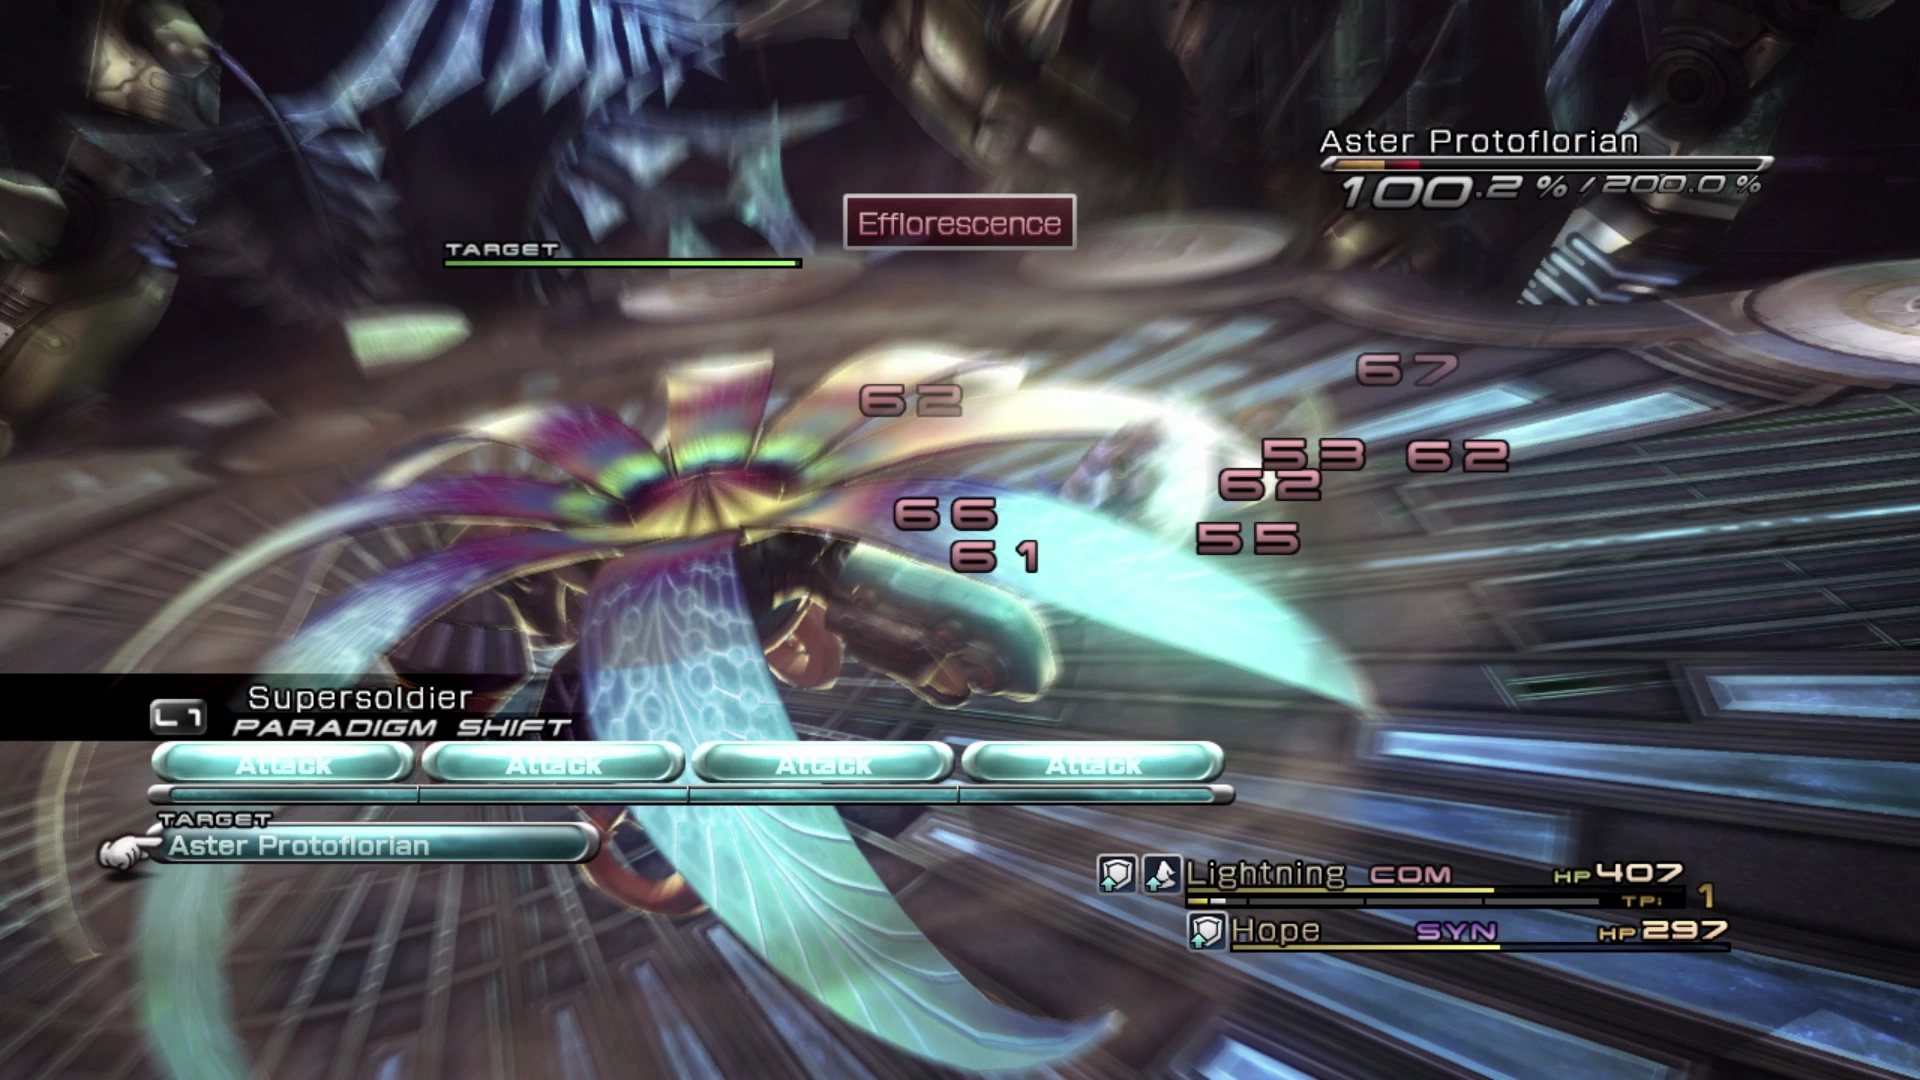
This is a long fight, and you will need to Stagger the boss at least twice (hopefully not three times) to get its HP down.
There is a short cutscene that takes place after the fight as Lightning and Hope enter the last area of the Gapra Whitewood.
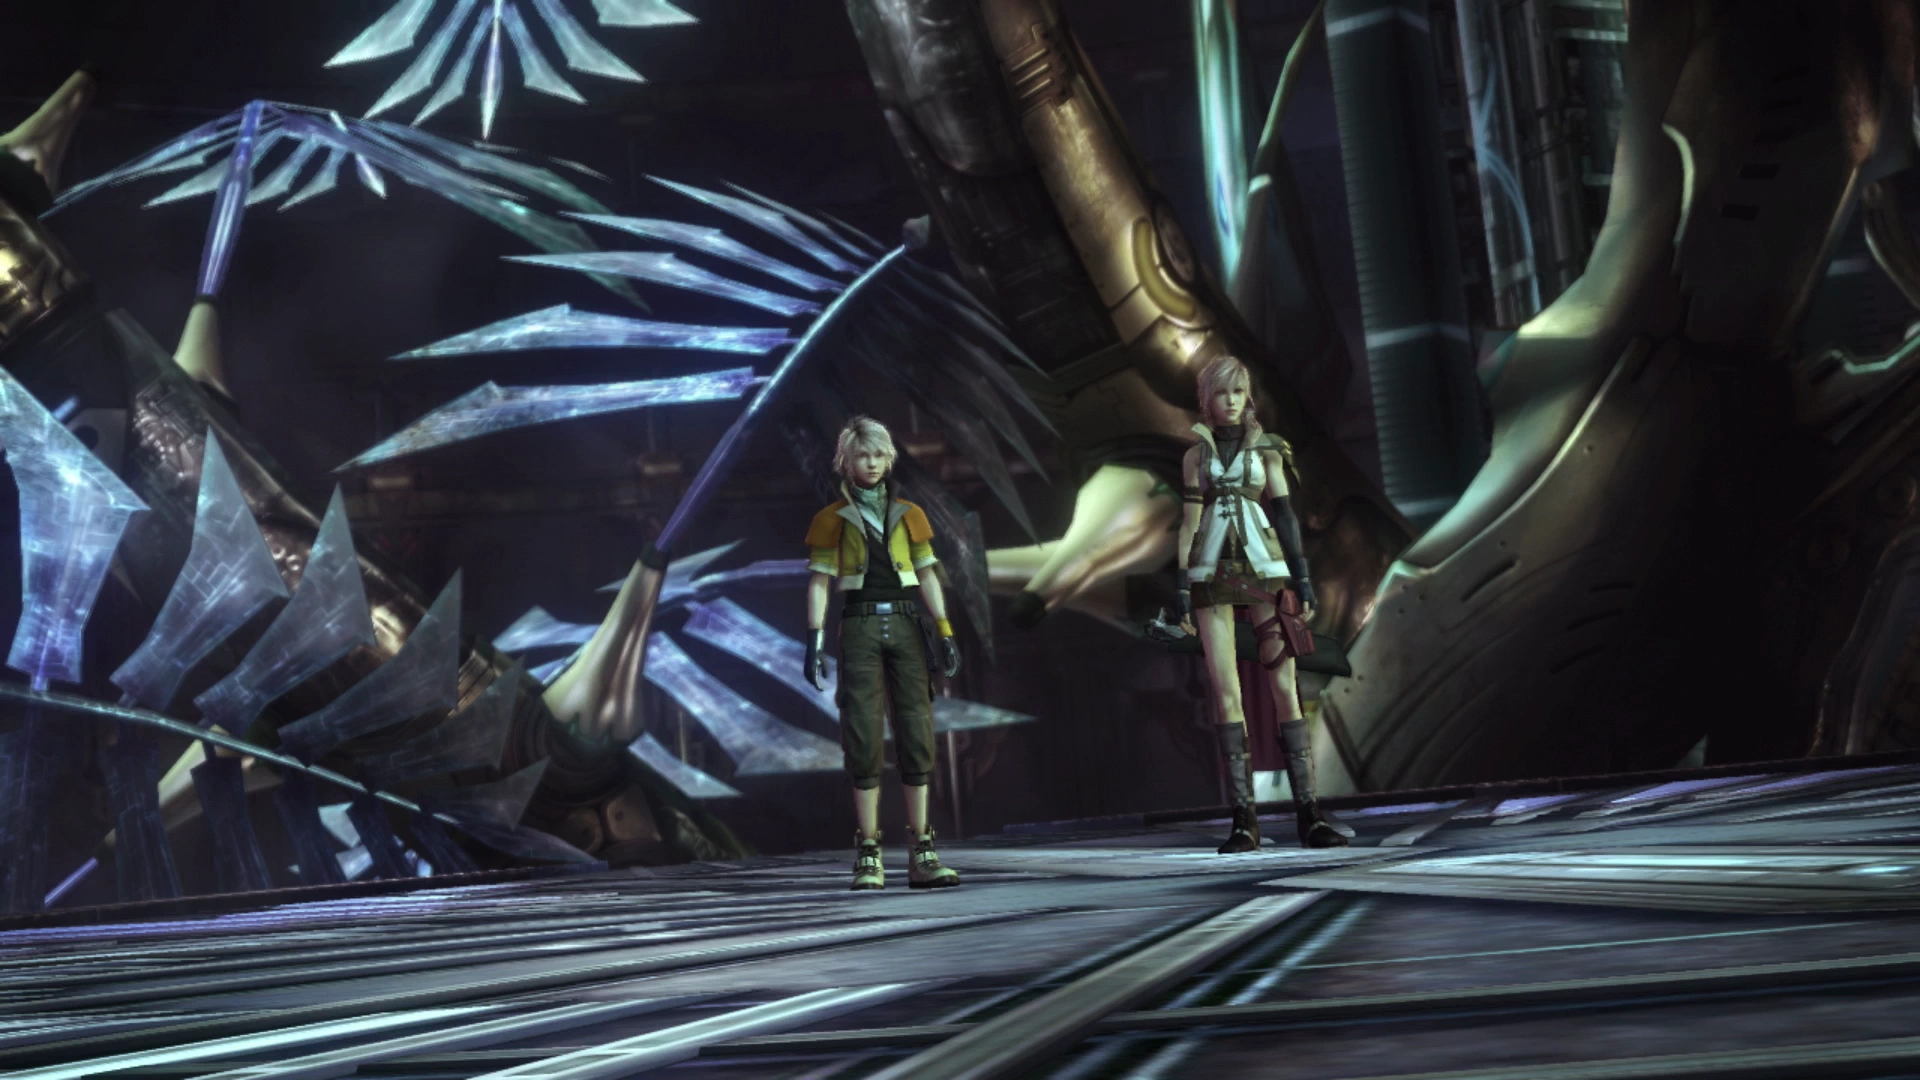
Maintenance Exit
Use the ![]() Save Station to save your game and proceed along the platform. Consider removing Lightning and Hope’s accessories so that your other party members can use them in the upcoming chapter.
Save Station to save your game and proceed along the platform. Consider removing Lightning and Hope’s accessories so that your other party members can use them in the upcoming chapter.
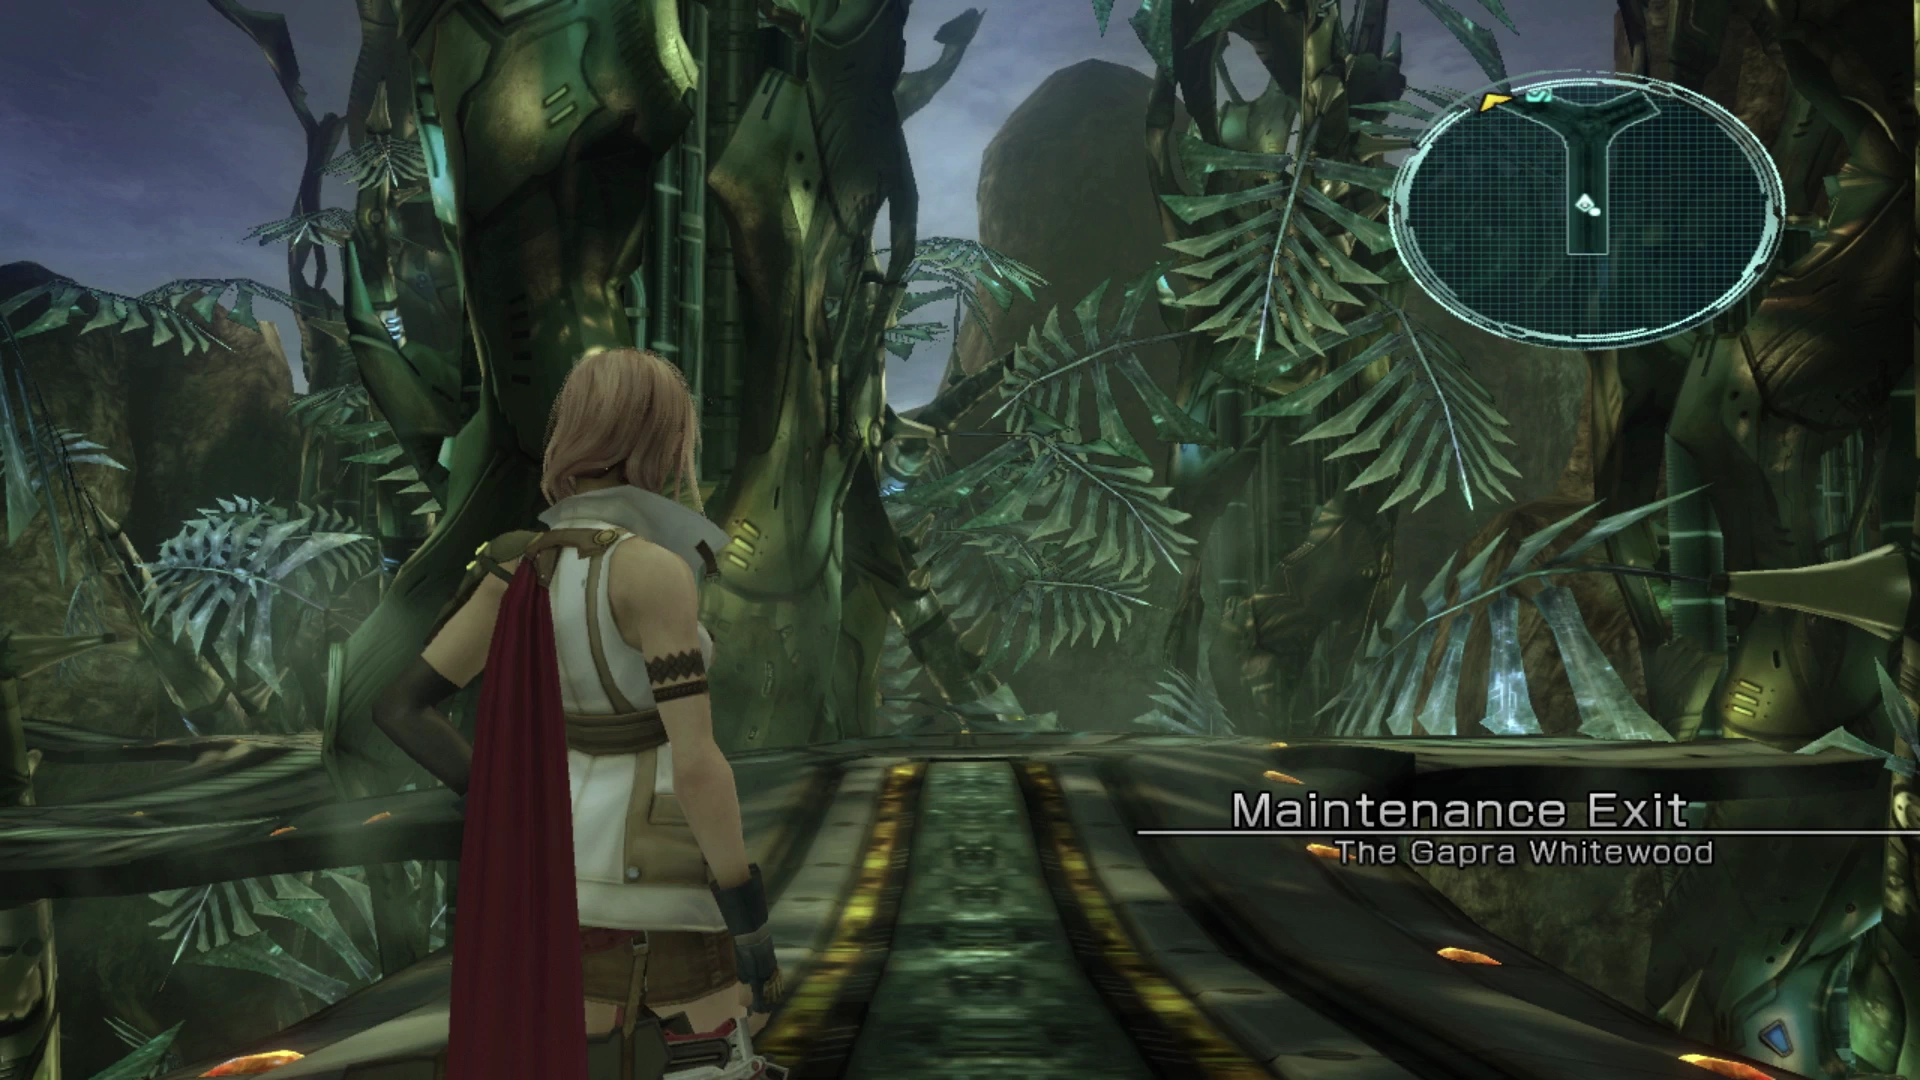
The walkway leads up and out of the Gapra Whitewood and once you walk far enough along it another cutscene will kick in with Lightning and Hope looking onward towards Palumpolum.
Achievement/Trophy
You will automatically receive the  Instrument of Vengeance Achievement/Trophy at the end of Chapter 5.


