Chapter 5: The Gapra Whitewood (Part 1)


Proto-ecology Belt
Just like the previous sections for Lake Bresha and the Vile Peaks, the Gapra Whitewood is broken up into multiple parts. Part 1 includes everything up to Bioweapon Research Site D and the fight against the first Feral Behemoth; once Lightning and Hope jump up using the bent-over trees/leaves to get out of the research area the guide moves over to Part 2.
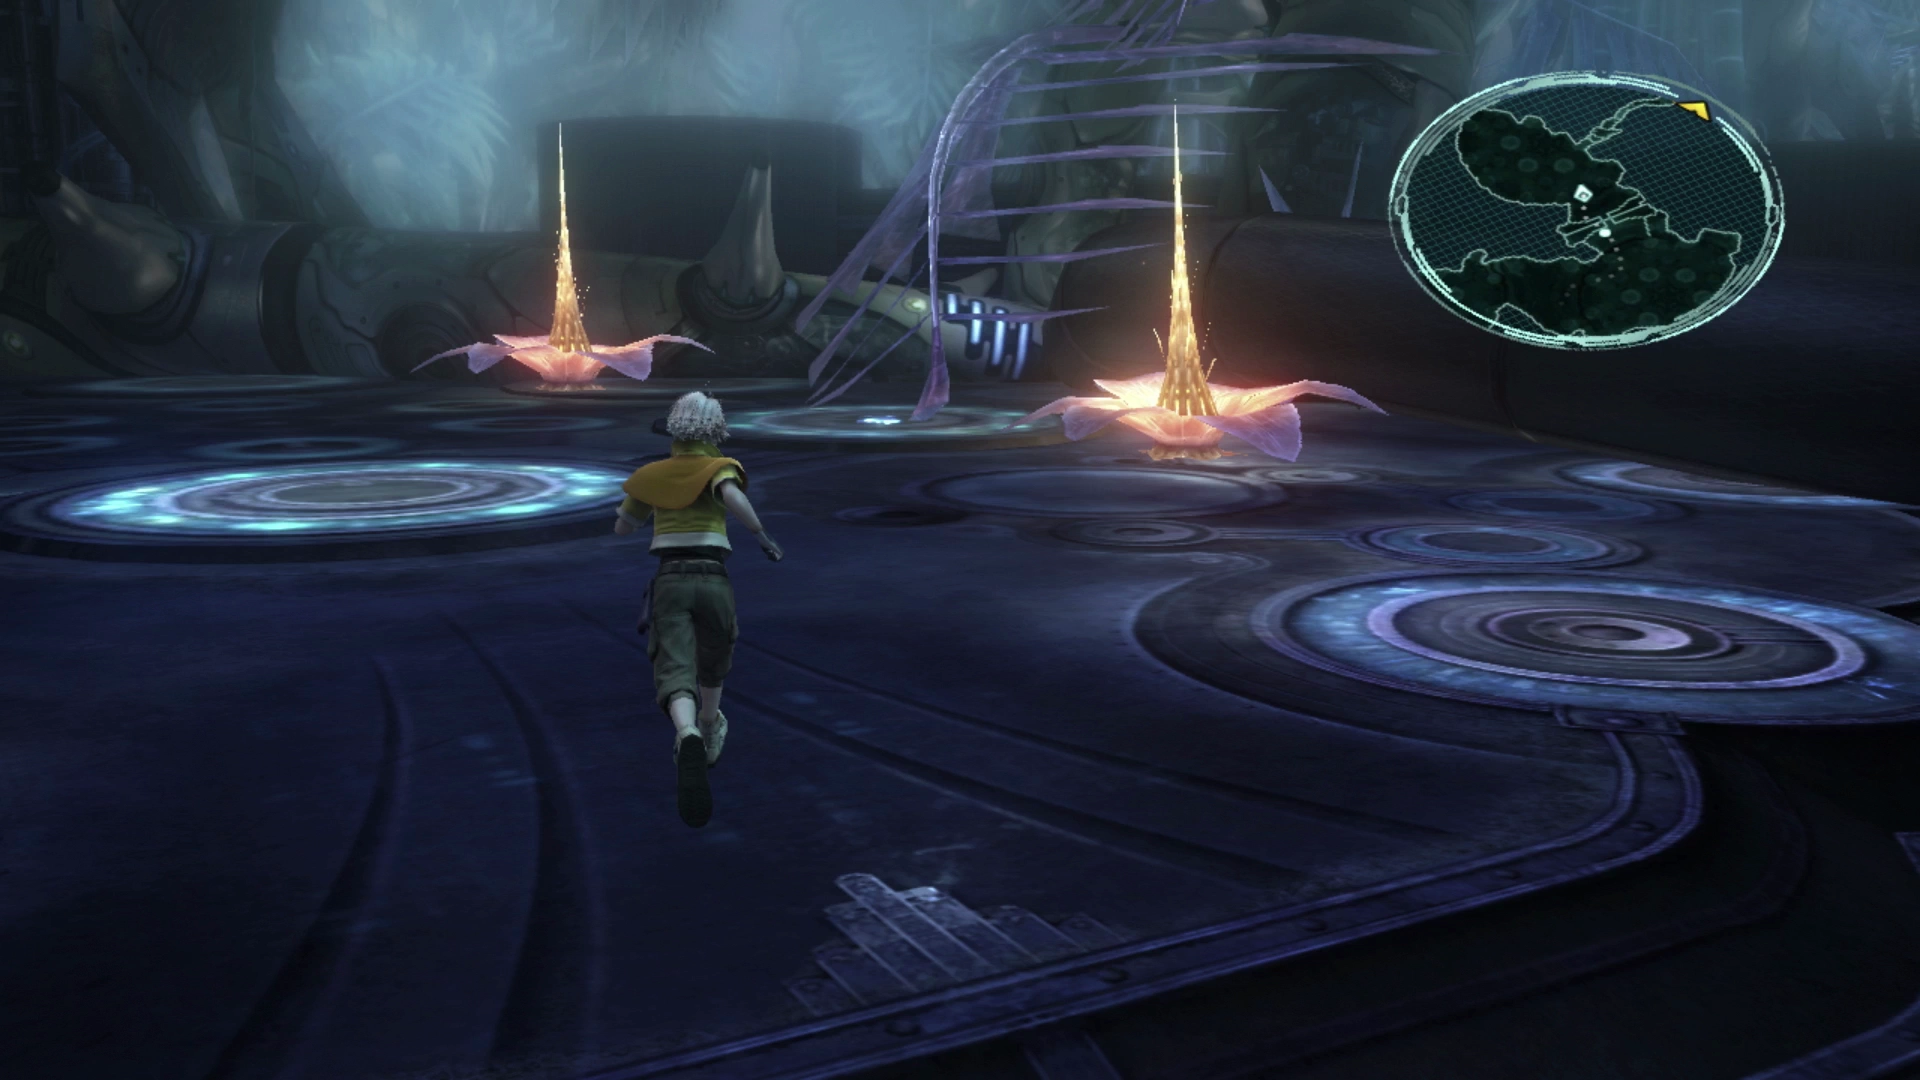
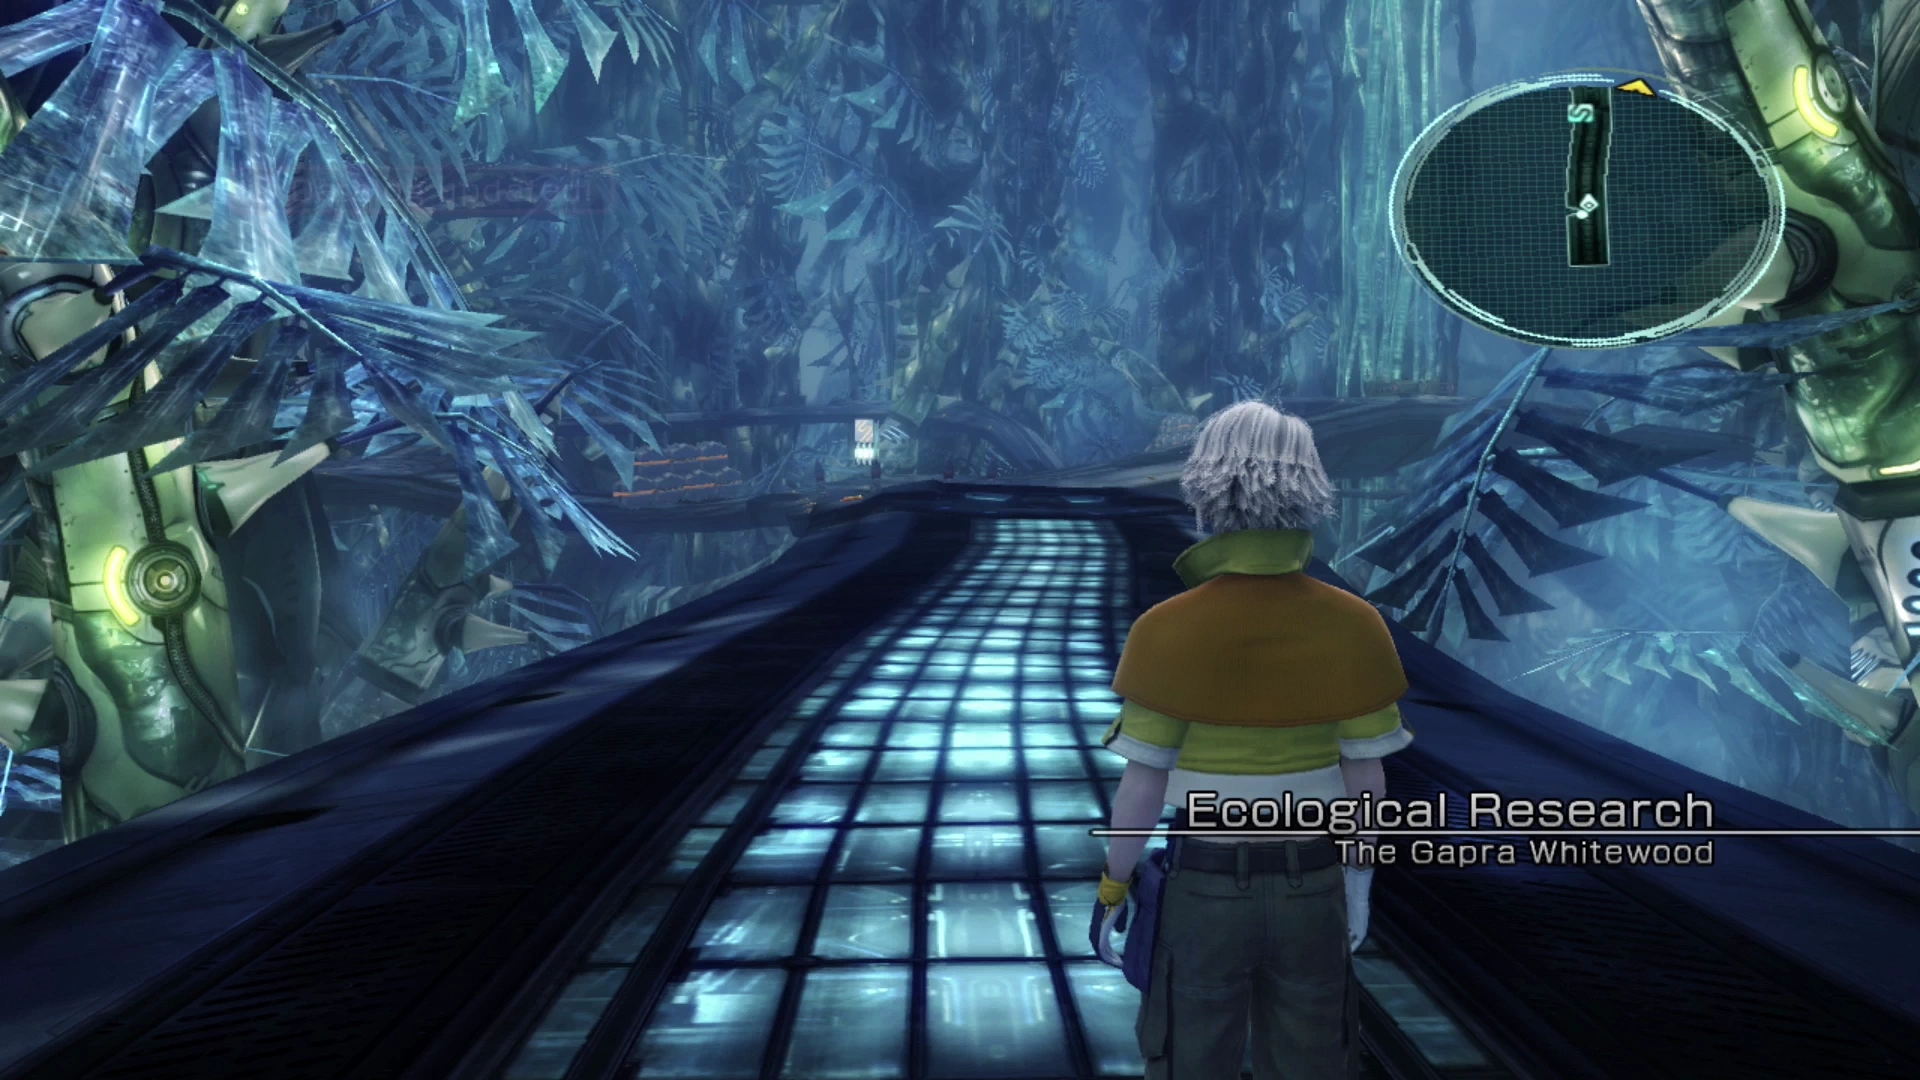
Ecological Research

It’s mentioned during the cutscene lead-in to the Gapra Whitewood, but just to reiterate, Hope will be functioning as your party leader for these first few sections. In the future, you will have the option to select your party leader and, in effect, select which party member you want to control.
Helpful Hint
Lightning and Hope both have a ton of stored-up Crystogen Points (CP) that they can spend in the newly opened sections of the Crystarium. Conventional wisdom would suggest spending these points in the roles that each of them would spend the most time in (i.e., ![]() Commando for Lightning and
Commando for Lightning and ![]() Ravager for Hope) but instead, you should focus on unlocking the “Accessory” node for each of them.
Ravager for Hope) but instead, you should focus on unlocking the “Accessory” node for each of them.
Both Lightning and Hope can equip a second accessory, and this applies to them no matter what role they are in, if you unlock an Accessory node in their Crystarium. Lightning’s second Accessory can be found in her ![]() Medic role while Hope’s can be found in the
Medic role while Hope’s can be found in the ![]() Synergist role.
Synergist role.

Lightning will spend very little time in her ![]() Medic role, but even still, the value of unlocking the second Accessory slot far outweighs the value of anything else you can unlock in this section of the game. Spend Lightning’s CP in the
Medic role, but even still, the value of unlocking the second Accessory slot far outweighs the value of anything else you can unlock in this section of the game. Spend Lightning’s CP in the ![]() Medic role at least up until the point of her getting to the Accessory node. This same logic applies to Hope in his
Medic role at least up until the point of her getting to the Accessory node. This same logic applies to Hope in his ![]() Synergist role.
Synergist role.
After following the advice mentioned in the “Helpful Hint” section above, feel free to spend Crystogen Points (CP) in any of the available roles. Both Lightning and Hope will earn enough CP in these next few areas to complete the available Crystarium sections for most of their available roles if you completed the optional areas with Sazh and Vanille in the Vile Peaks.
Also don’t forget to revisit your Paradigms before you move ahead. The main challenge that you will have to deal with in the Gapra Whitewood is enemies that inflict the ![]() Poison status effect on your party members. A few of the enemies in this area can inflict it, so set up the War & Peace Paradigm in case you need to heal or buy
Poison status effect on your party members. A few of the enemies in this area can inflict it, so set up the War & Peace Paradigm in case you need to heal or buy ![]() Antidotes at the closest
Antidotes at the closest ![]() Save Station if you want to be extra cautious, but you don’t need to and buying them isn’t recommended. You’ll get some for free shortly.
Save Station if you want to be extra cautious, but you don’t need to and buying them isn’t recommended. You’ll get some for free shortly.
You should generally focus on taking down enemies as quickly as possible before ![]() Poison becomes a problem rather than trying to heal your party members or use restorative items and spells. The
Poison becomes a problem rather than trying to heal your party members or use restorative items and spells. The ![]() Poison status will just automatically go away once the battle ends.
Poison status will just automatically go away once the battle ends.
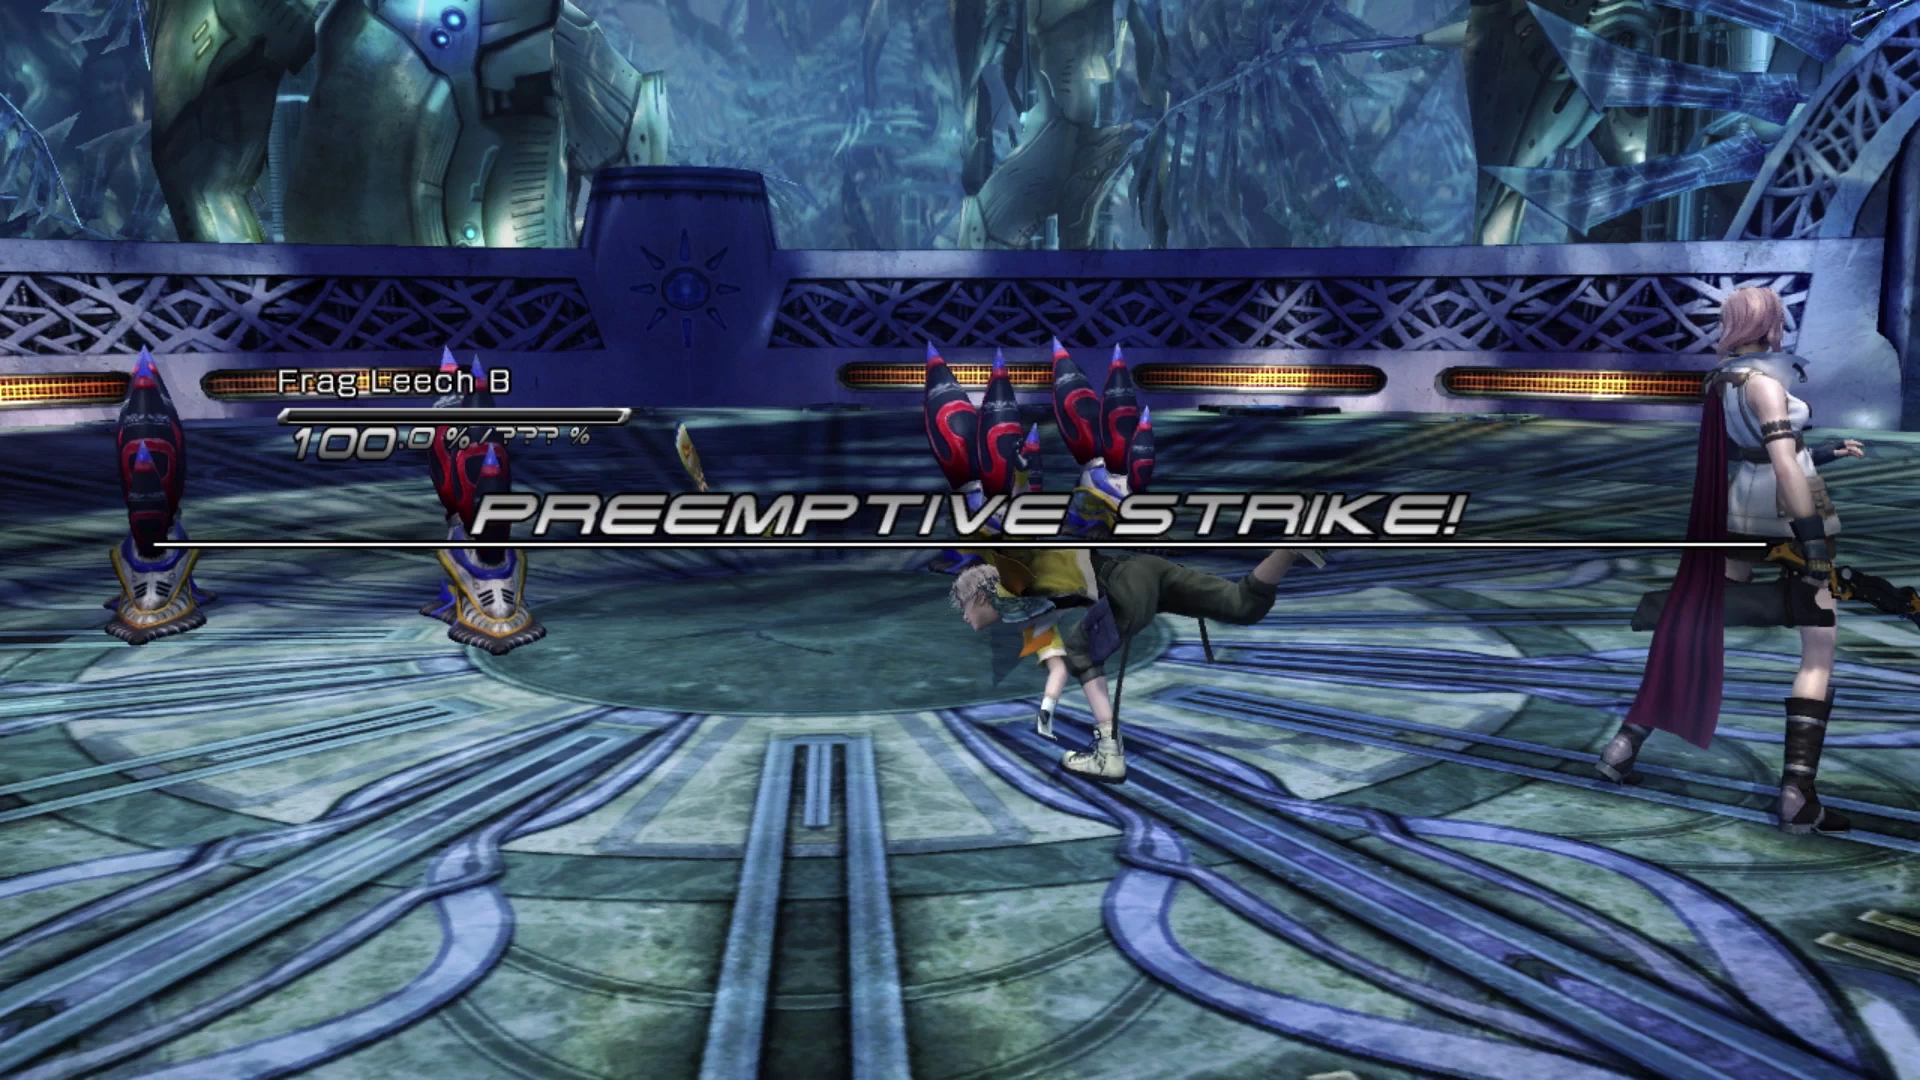
Up ahead you will encounter a group of four Frag Leeches. They are easy to ambush with a preemptive strike; just watch for when they patrol away from you or, if they see you, run away and then charge in once they start moving back to their starting location. Don’t forget to use ![]() Libra on all the new enemies you encounter in the Gapra Whitewood.
Libra on all the new enemies you encounter in the Gapra Whitewood.
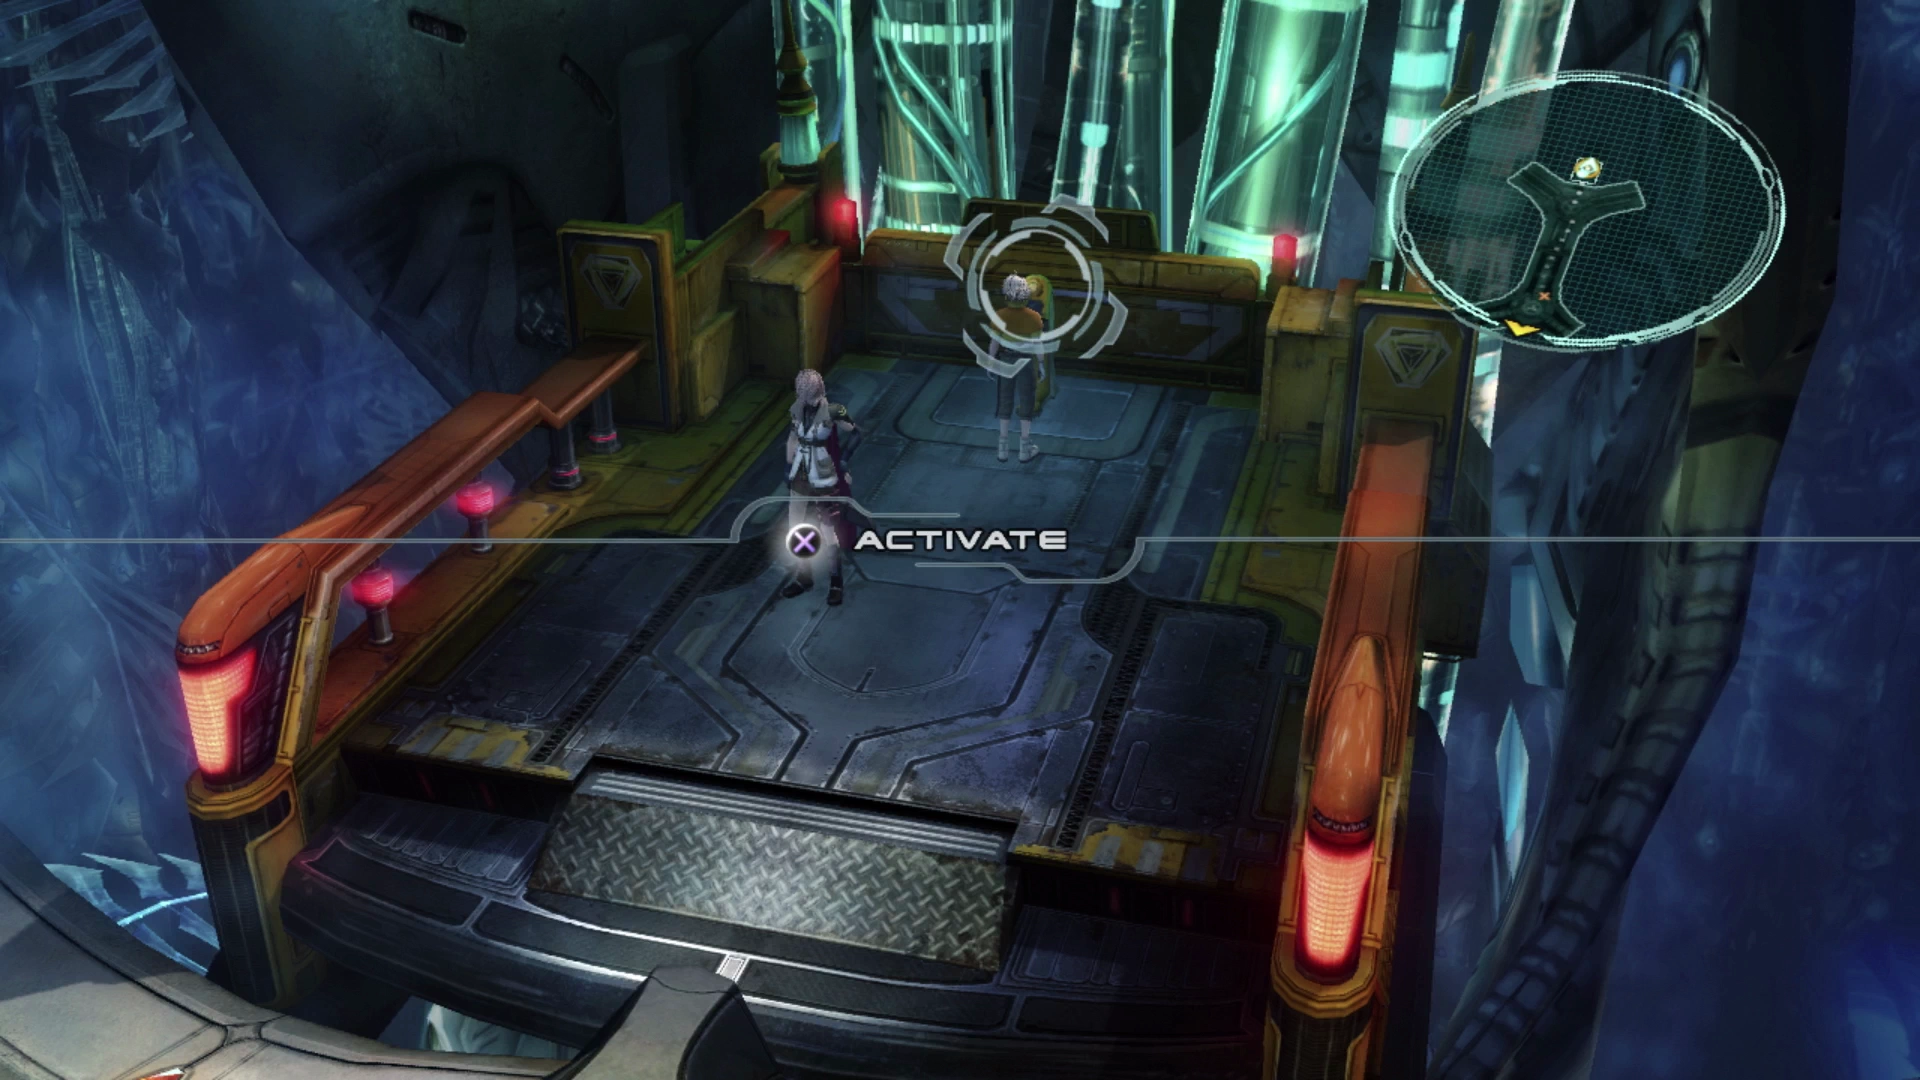
The next group of enemies will include a Thexteron, making them a little bit more difficult to ambush, and then after that, you will come across a group of two Thexteron. A cutscene will start up as Lightning and Hope approach the device at the end of the walkway where Lightning will present Hope with a new dagger. Press the ![]()
![]()
![]() button to activate the elevator to the next area.
button to activate the elevator to the next area.
Canopy Wardwalks
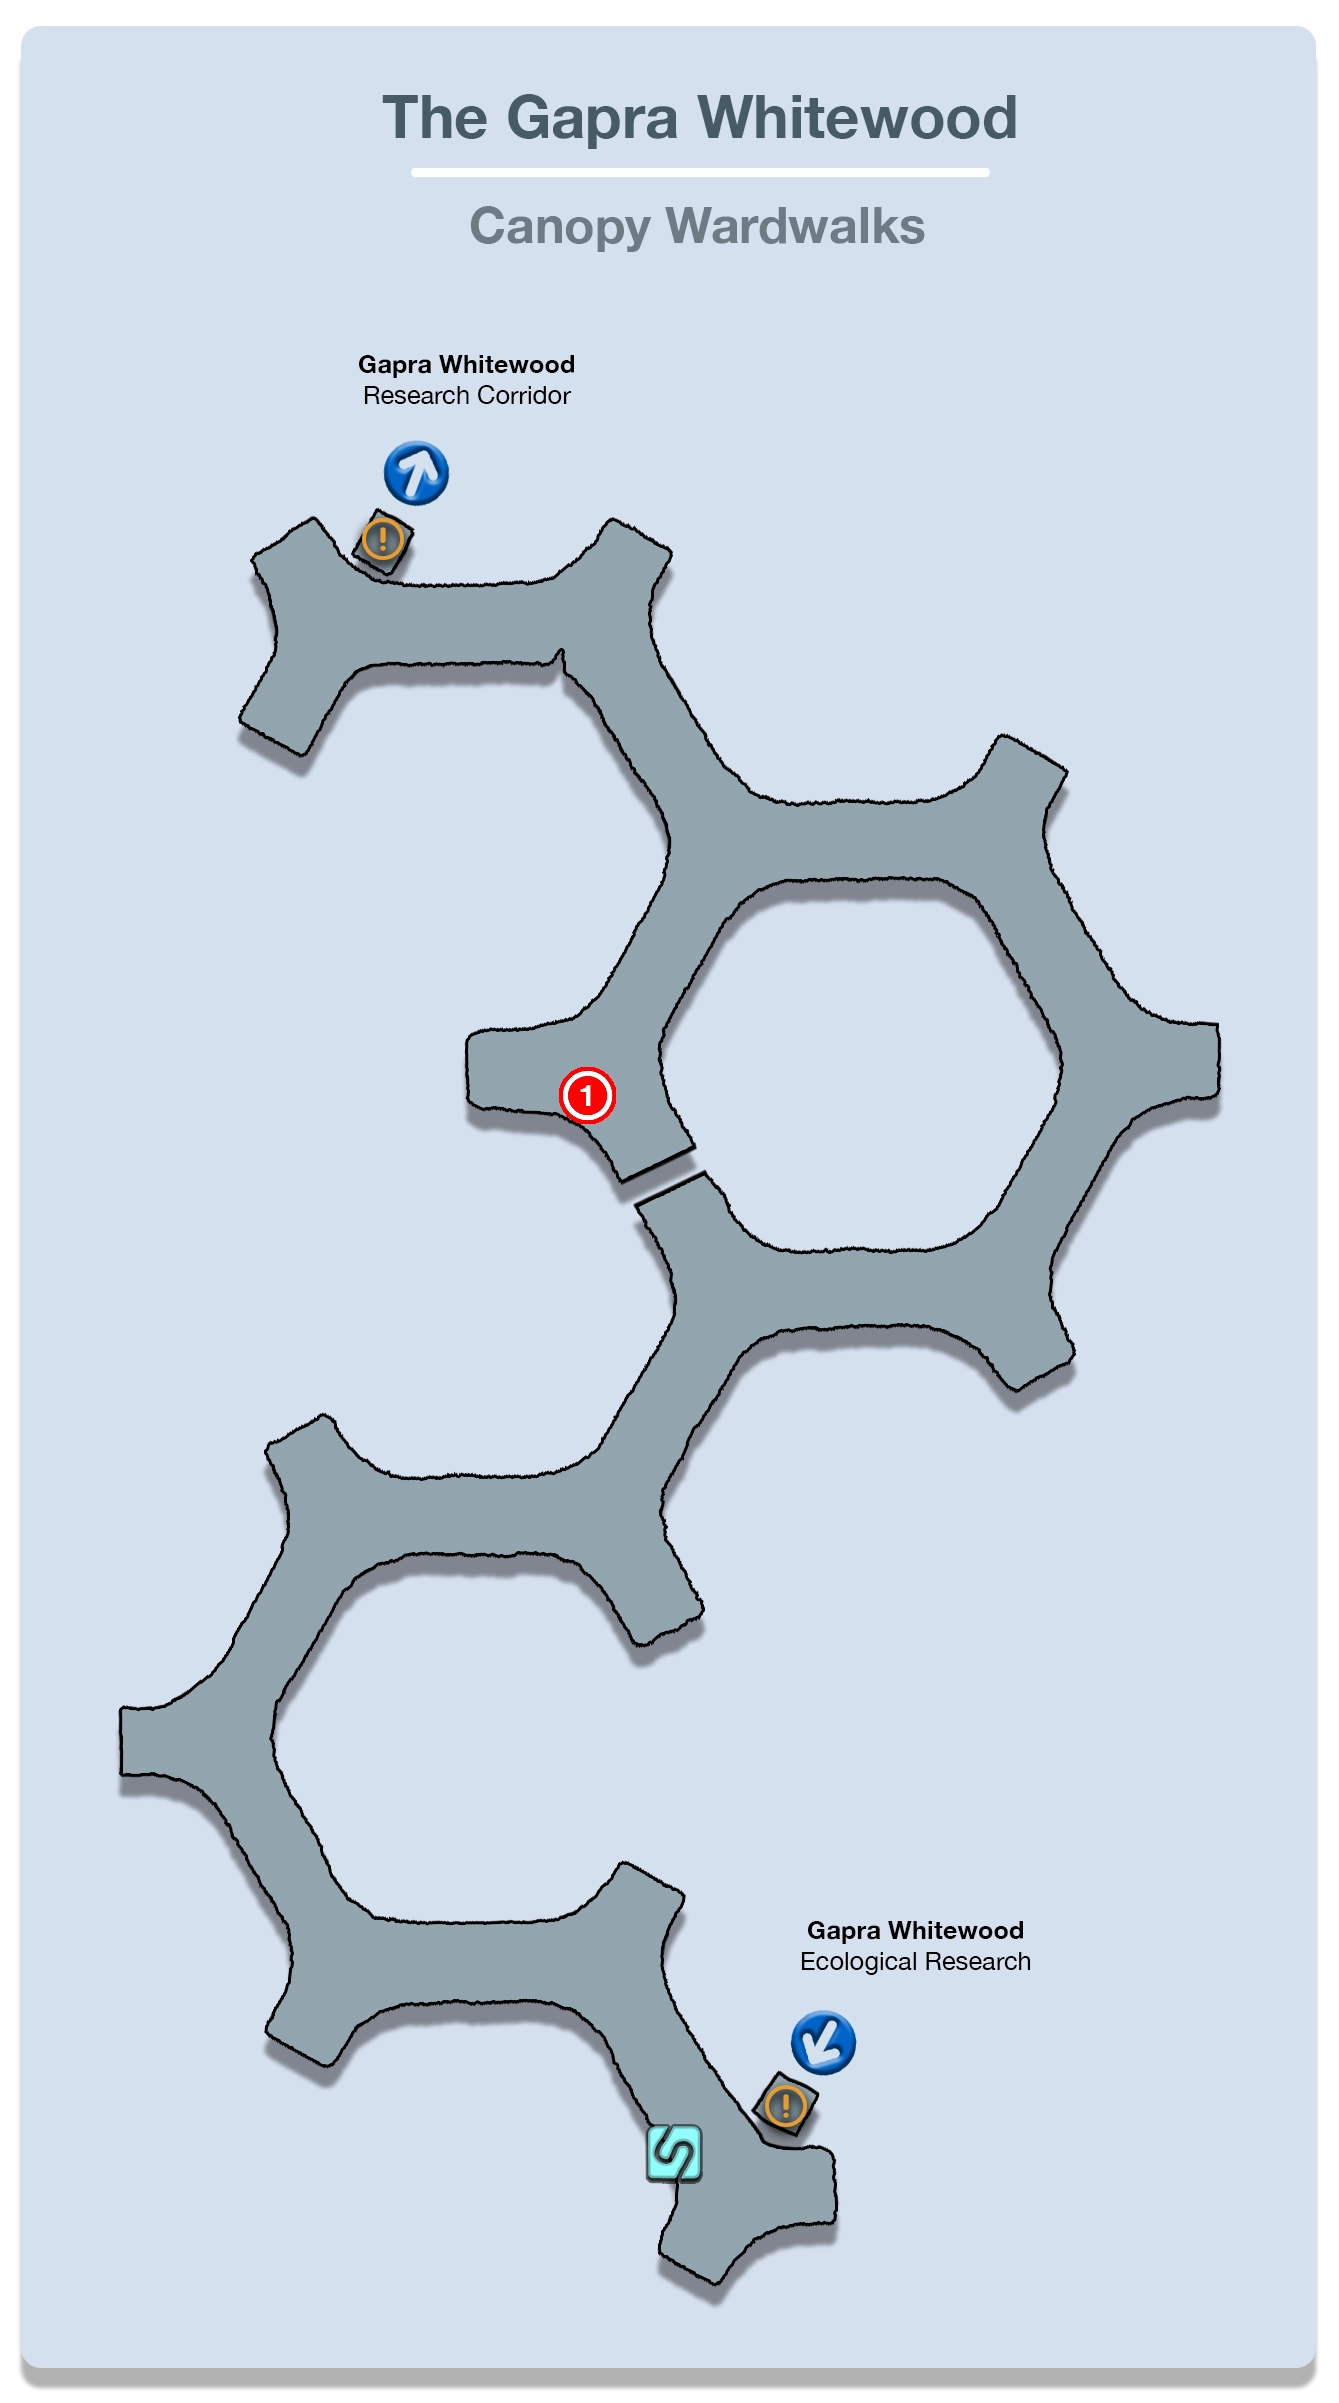
Continue along the pathway, following the lights on each of the platforms, until you encounter the next group of Thexteron. There’s a group of four Frag Leeches after that and then a combined group of two Frag Leeches and two Thexteron. Focus on the Thexteron first as they tend to output more damage than the leeches.
The next enemy group you will face includes a Vespid. These enemies have some strong fire-based attacks and take quite a bit of damage to defeat. The most effective strategy is usually to defeat the enemies accompanying the Vespid and then to take it out last. For this group focus on the two leeches first.
Keep going along the pathway defeating the groups of Frag Leeches and Vespids until you reach the fork in the pathway where you will see a large Alpha Behemoth patrolling back and forth. You will face a few of these Alpha Behemoths in the next few areas but they are easy to defeat. Once you can amass a chain bonus, or if you can get a preemptive strike, Lightning will use her ![]() Launch attack to throw the Behemoth up in the air. They are unable to attack while they are in the air, so if you time your attacks properly and can keep them in the air for an extended amount of time, Lightning and Hope will take very little damage from them.
Launch attack to throw the Behemoth up in the air. They are unable to attack while they are in the air, so if you time your attacks properly and can keep them in the air for an extended amount of time, Lightning and Hope will take very little damage from them.
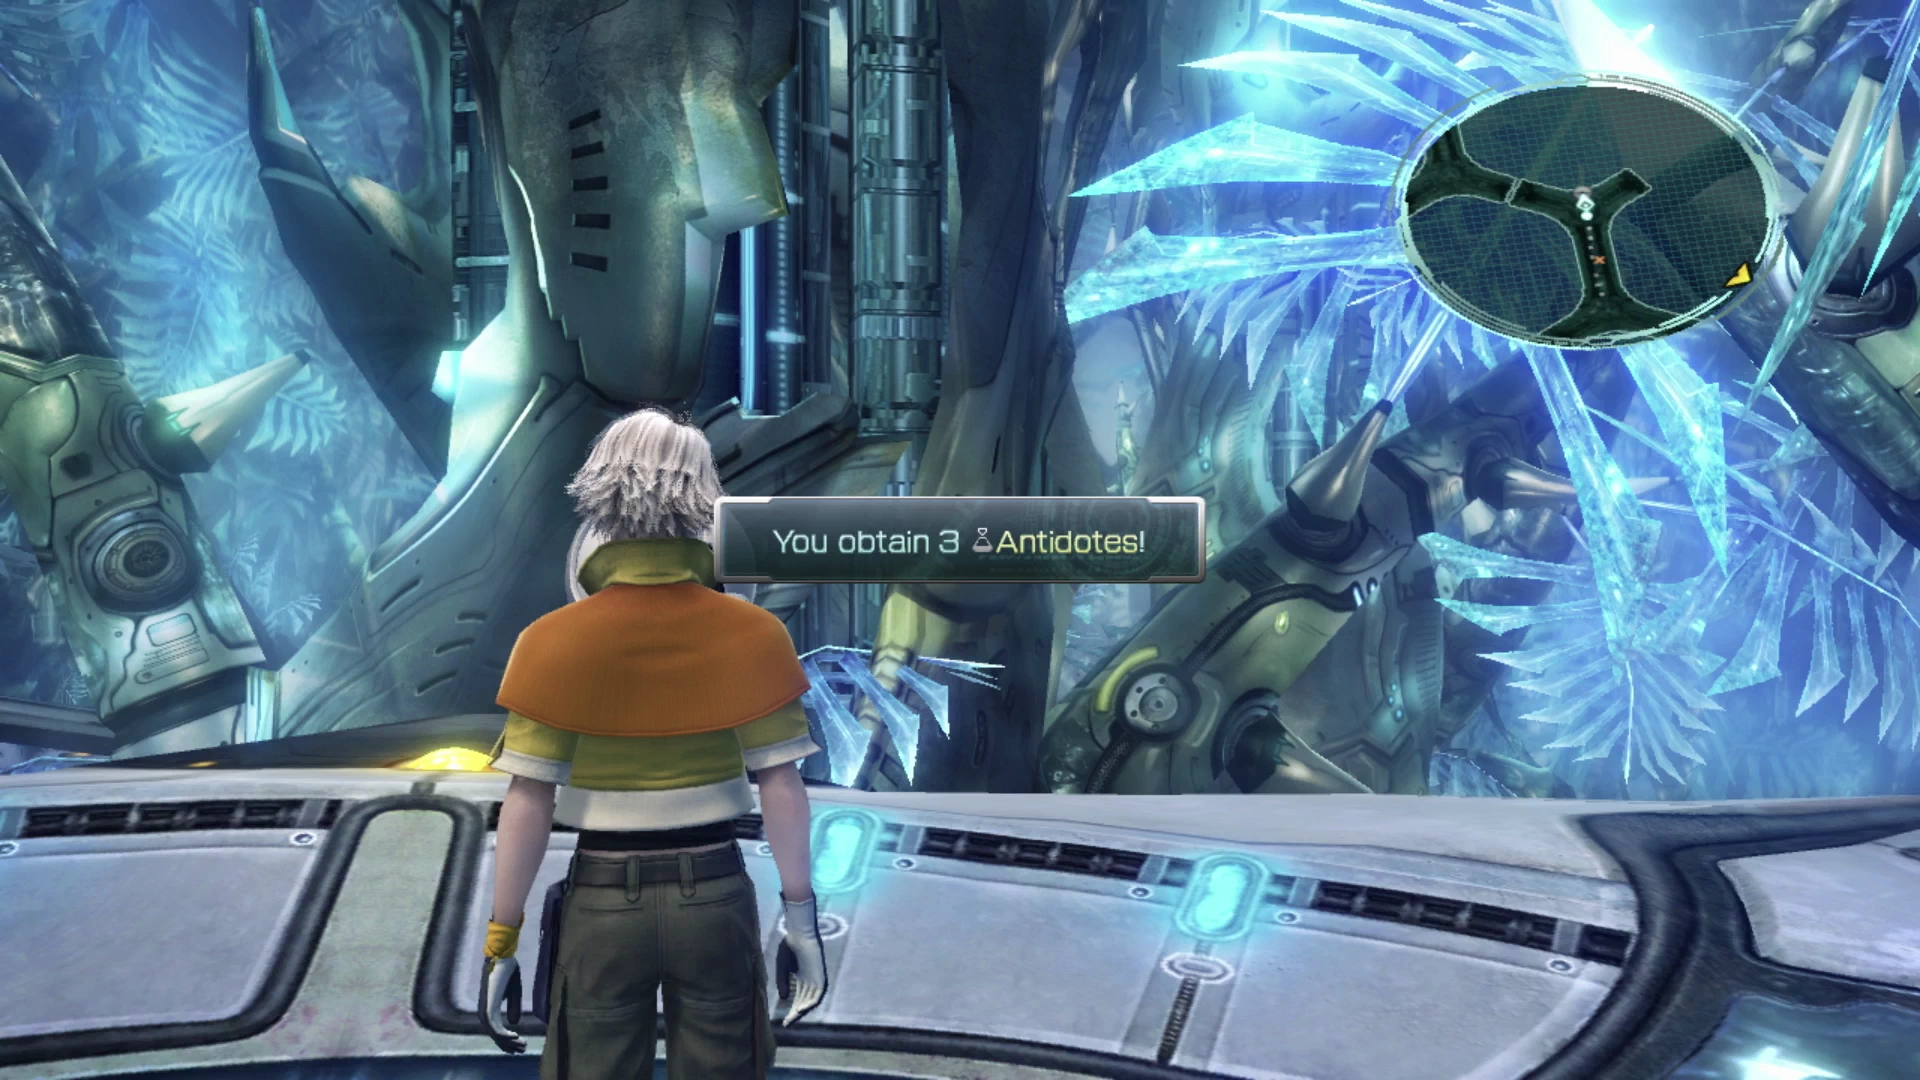
Open the Treasure Sphere behind where the Alpha Behemoth was patrolling to retrieve six ![]() Antidotes. Walk down the pathway and another cutscene will trigger where Lightning and Hope will hide from some PSICOM soldiers.
Antidotes. Walk down the pathway and another cutscene will trigger where Lightning and Hope will hide from some PSICOM soldiers.
Walk towards the elevator once the scene has concluded and press the ![]()
![]()
![]() button to activate it and move to the next area.
button to activate it and move to the next area.
Research Corridor
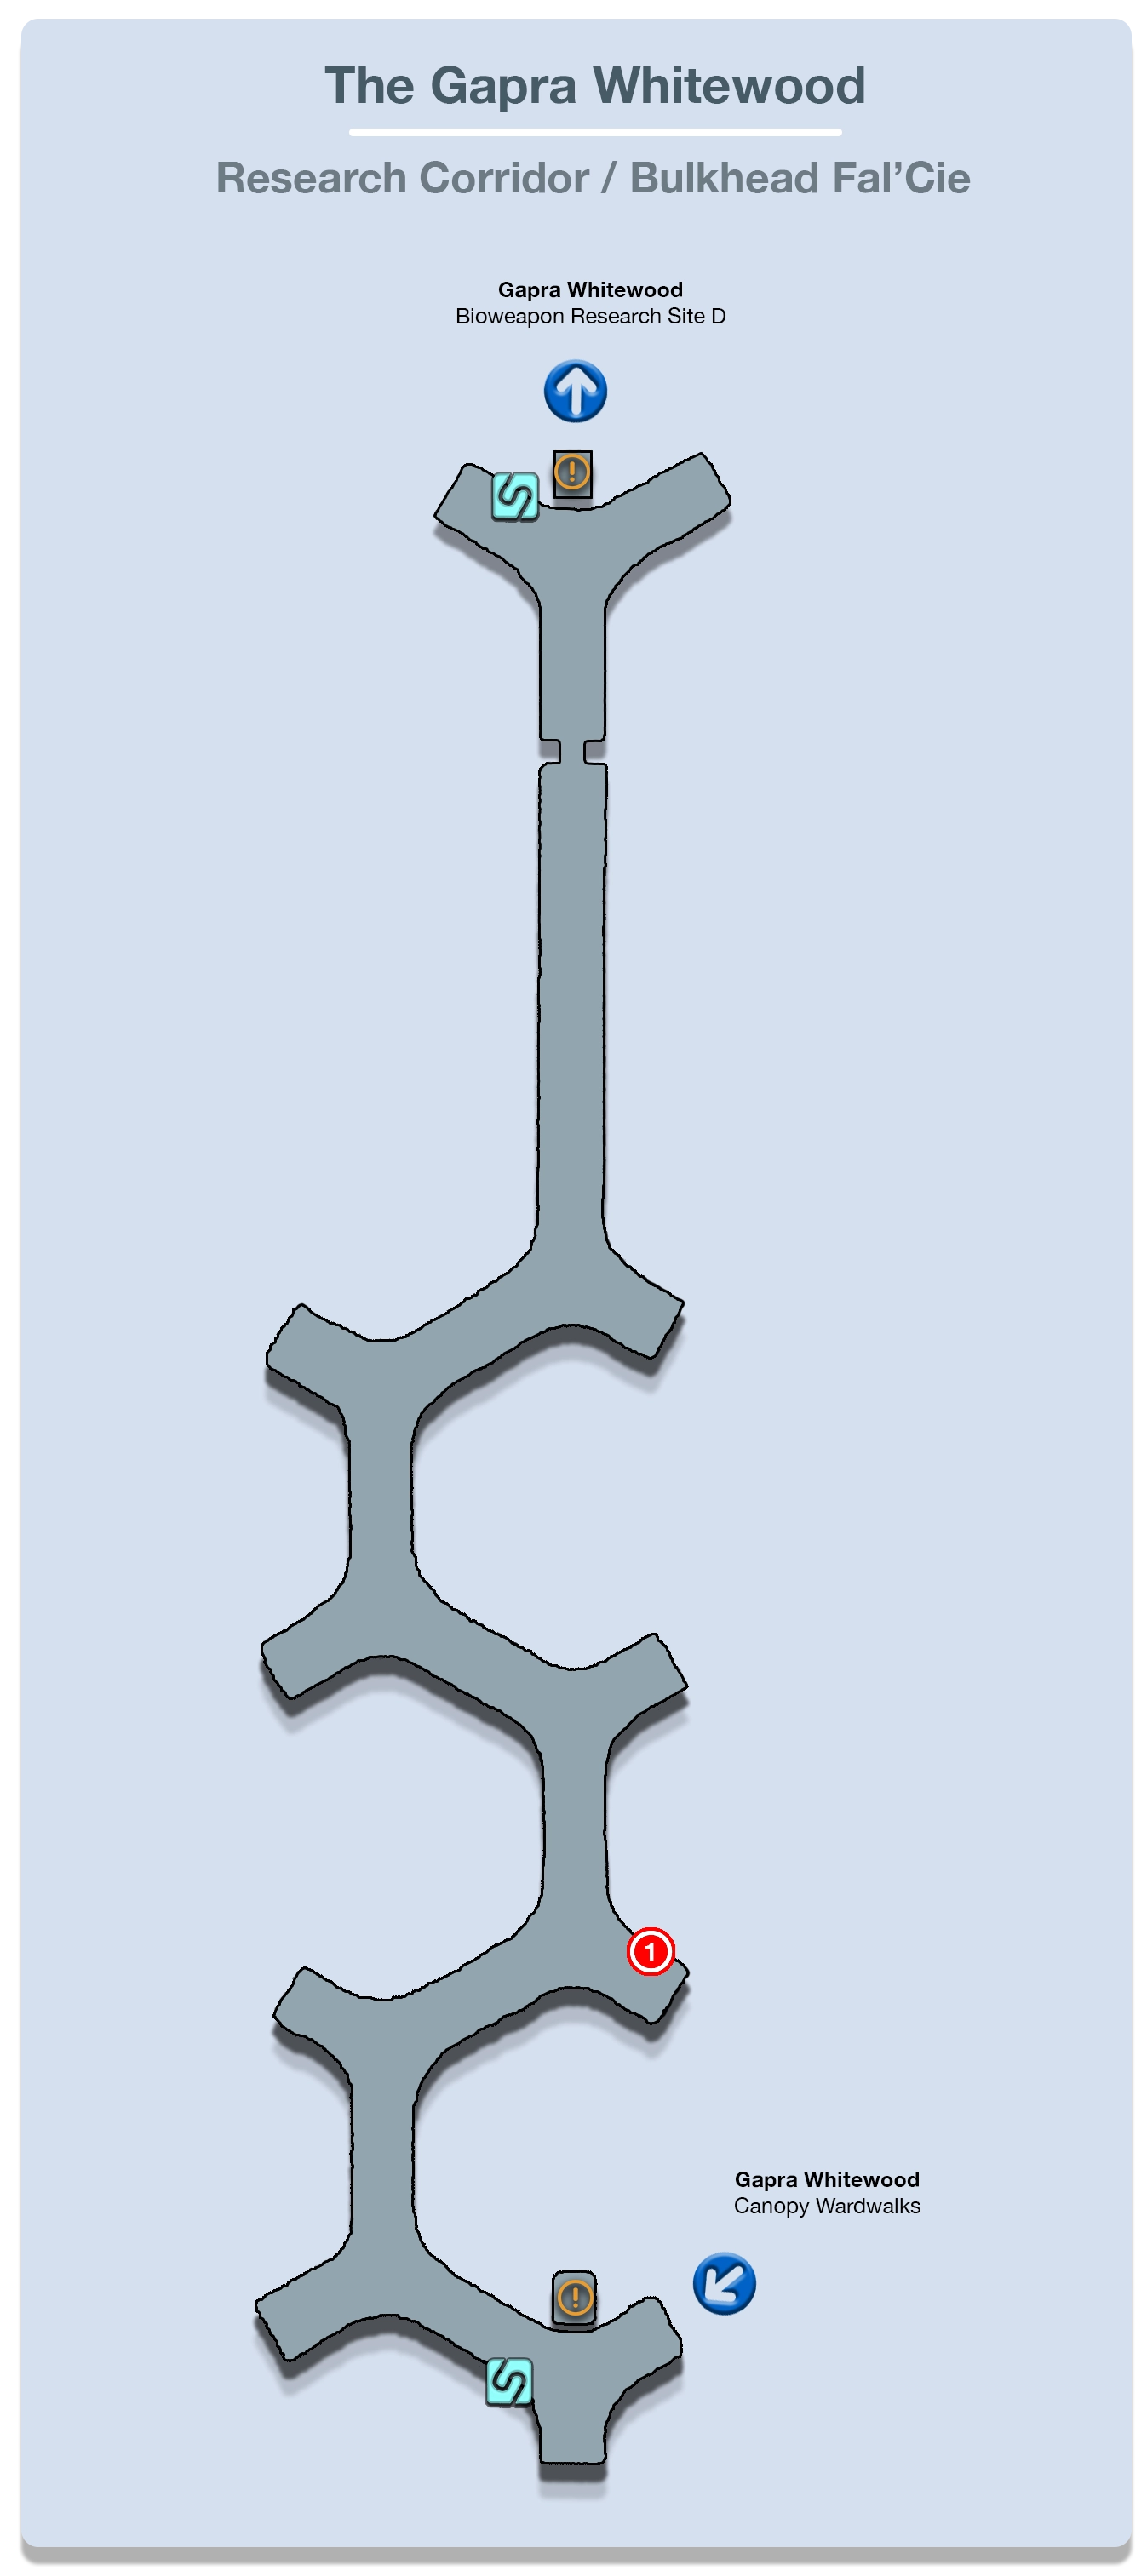
Save your game at the ![]() Save Station and then continue along the walkway. The next group of enemies that you will face includes a large group of six Frag Leeches. This group patrols back and forth along the pathway though, so they are easy to ambush with a preemptive strike. Past the group of leeches is another Alpha Behemoth.
Save Station and then continue along the walkway. The next group of enemies that you will face includes a large group of six Frag Leeches. This group patrols back and forth along the pathway though, so they are easy to ambush with a preemptive strike. Past the group of leeches is another Alpha Behemoth.
Finally, you will run into two Vespids guarding a Treasure Sphere that contains a ![]() Hawkeye. This weapon increases Hope’s magic stats which is very beneficial given that all his roles are magic and support-based roles that heavily rely on magic. Equip the Hawkeye right away!
Hawkeye. This weapon increases Hope’s magic stats which is very beneficial given that all his roles are magic and support-based roles that heavily rely on magic. Equip the Hawkeye right away!
The last group of enemies you will face includes two Thexteron. There are no visual indicators on the screen or map but halfway along this platform, you will move from the “Research Corridor” into the next area called the “Bulkhead Fal’Cie.”
Bulkhead Fal’Cie
There is a group of two Thexteron and a Vespid guarding the way when you first reach this next area of the Gapra Whitewood. Defeat them and then move forward and you will come across a group of enemies guarding the door at the end of the path.
This group includes two Thexteron and an Alpha Behemoth. The patrol pattern of these enemies makes it difficult (if not impossible) to get a preemptive strike, so just run up and attack them. Start by taking out the Thexterons before switching to the Alpha Behemoth. Just be prepared to have to heal up your party members if the Alpha Behemoth’s charge gauge reaches 100% and it enters “Extermination Mode.” This just means that it will do quite a bit more damage with every attack.
There is a cutscene that takes place as Lightning and Hope approach the Bulkhead Fal’Cie before reaching the walkway on the other side. Save your game at the ![]() Save Station and then activate the elevator to move to the next area.
Save Station and then activate the elevator to move to the next area.
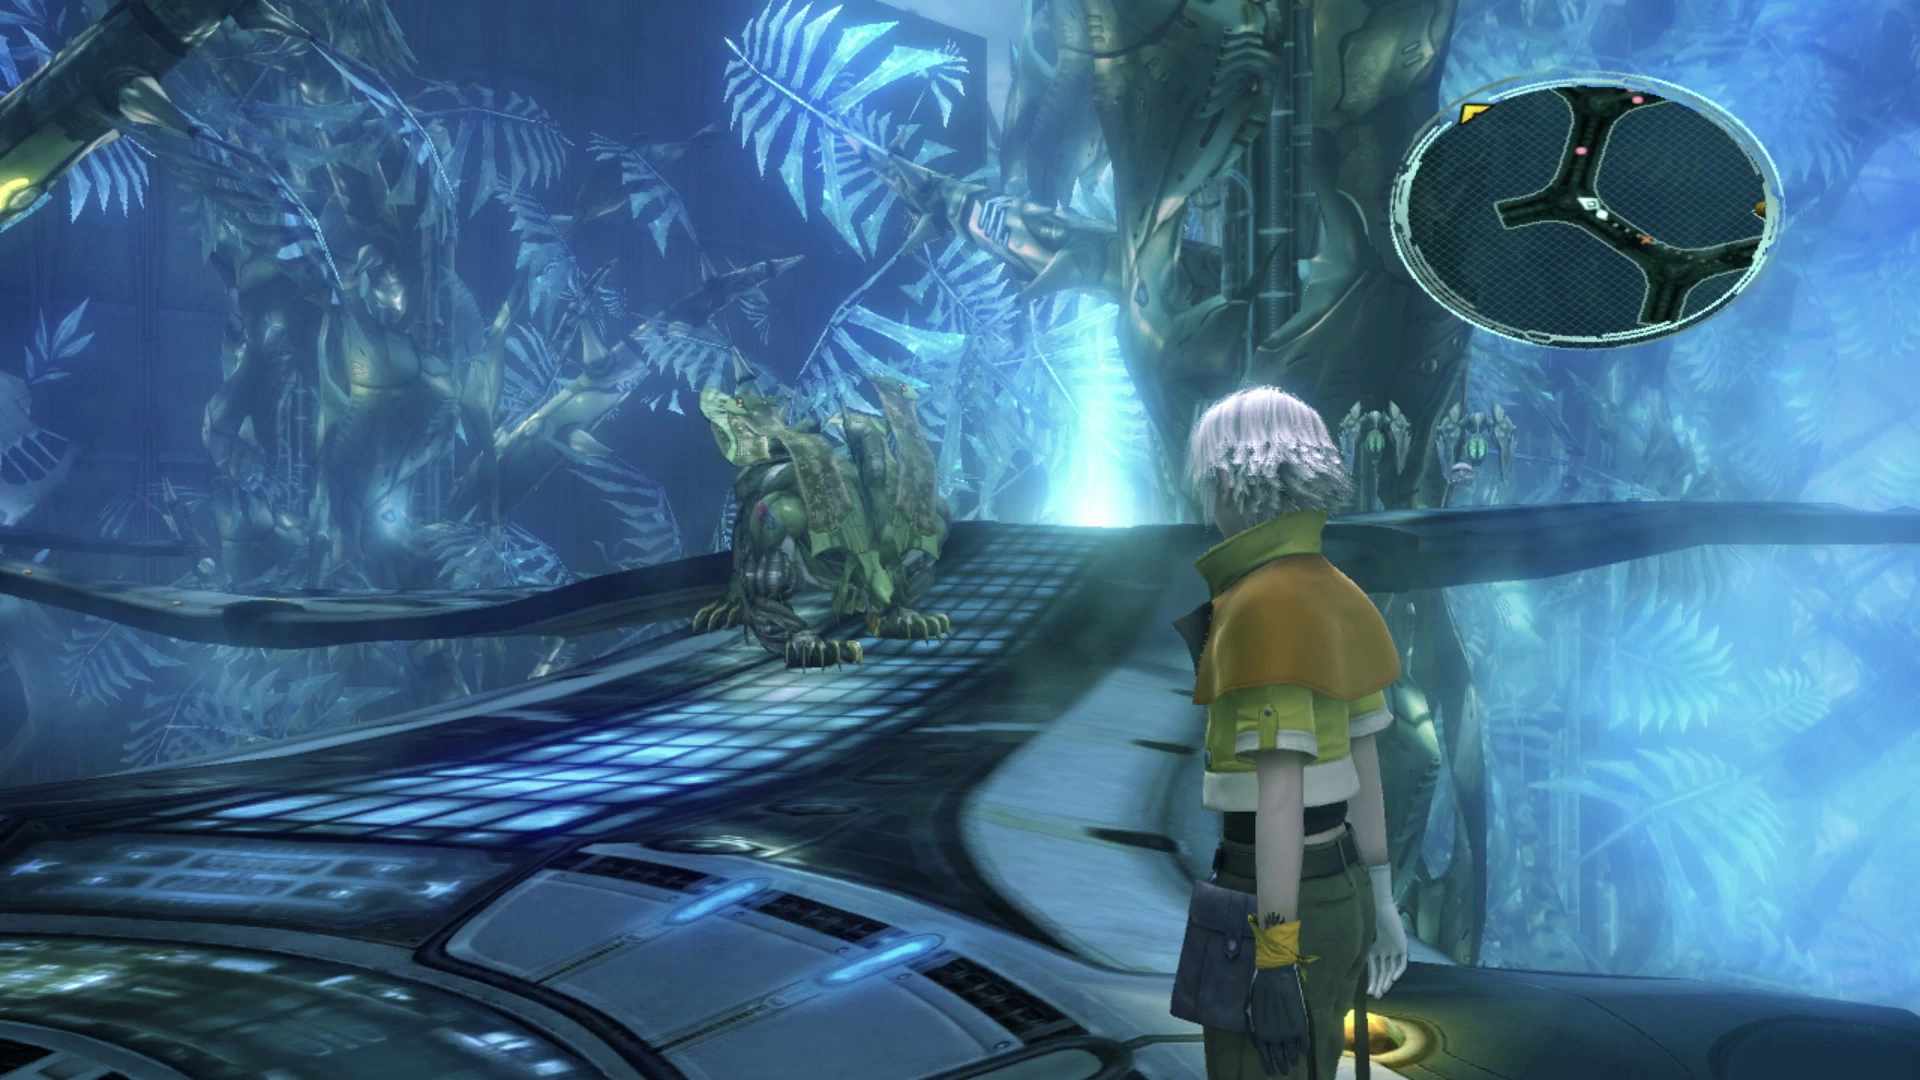
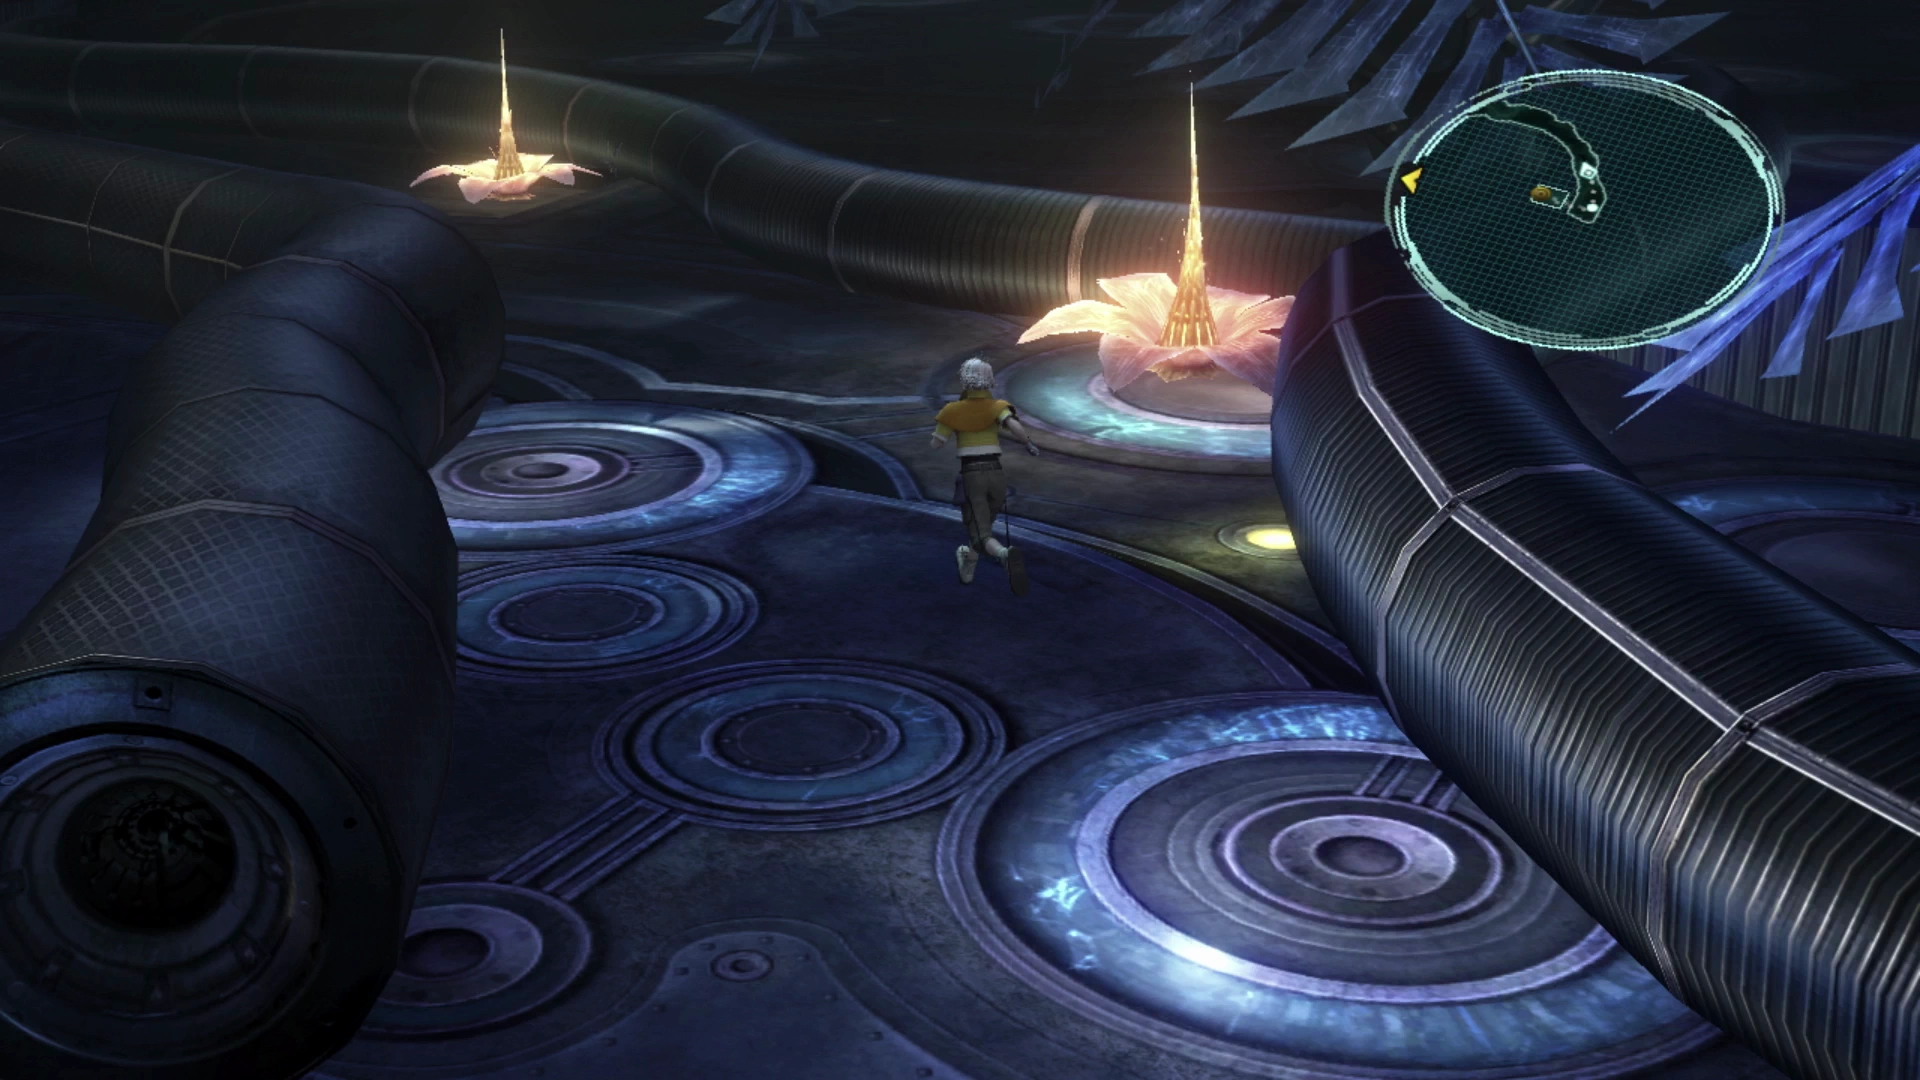
Bioweapon Research Site D
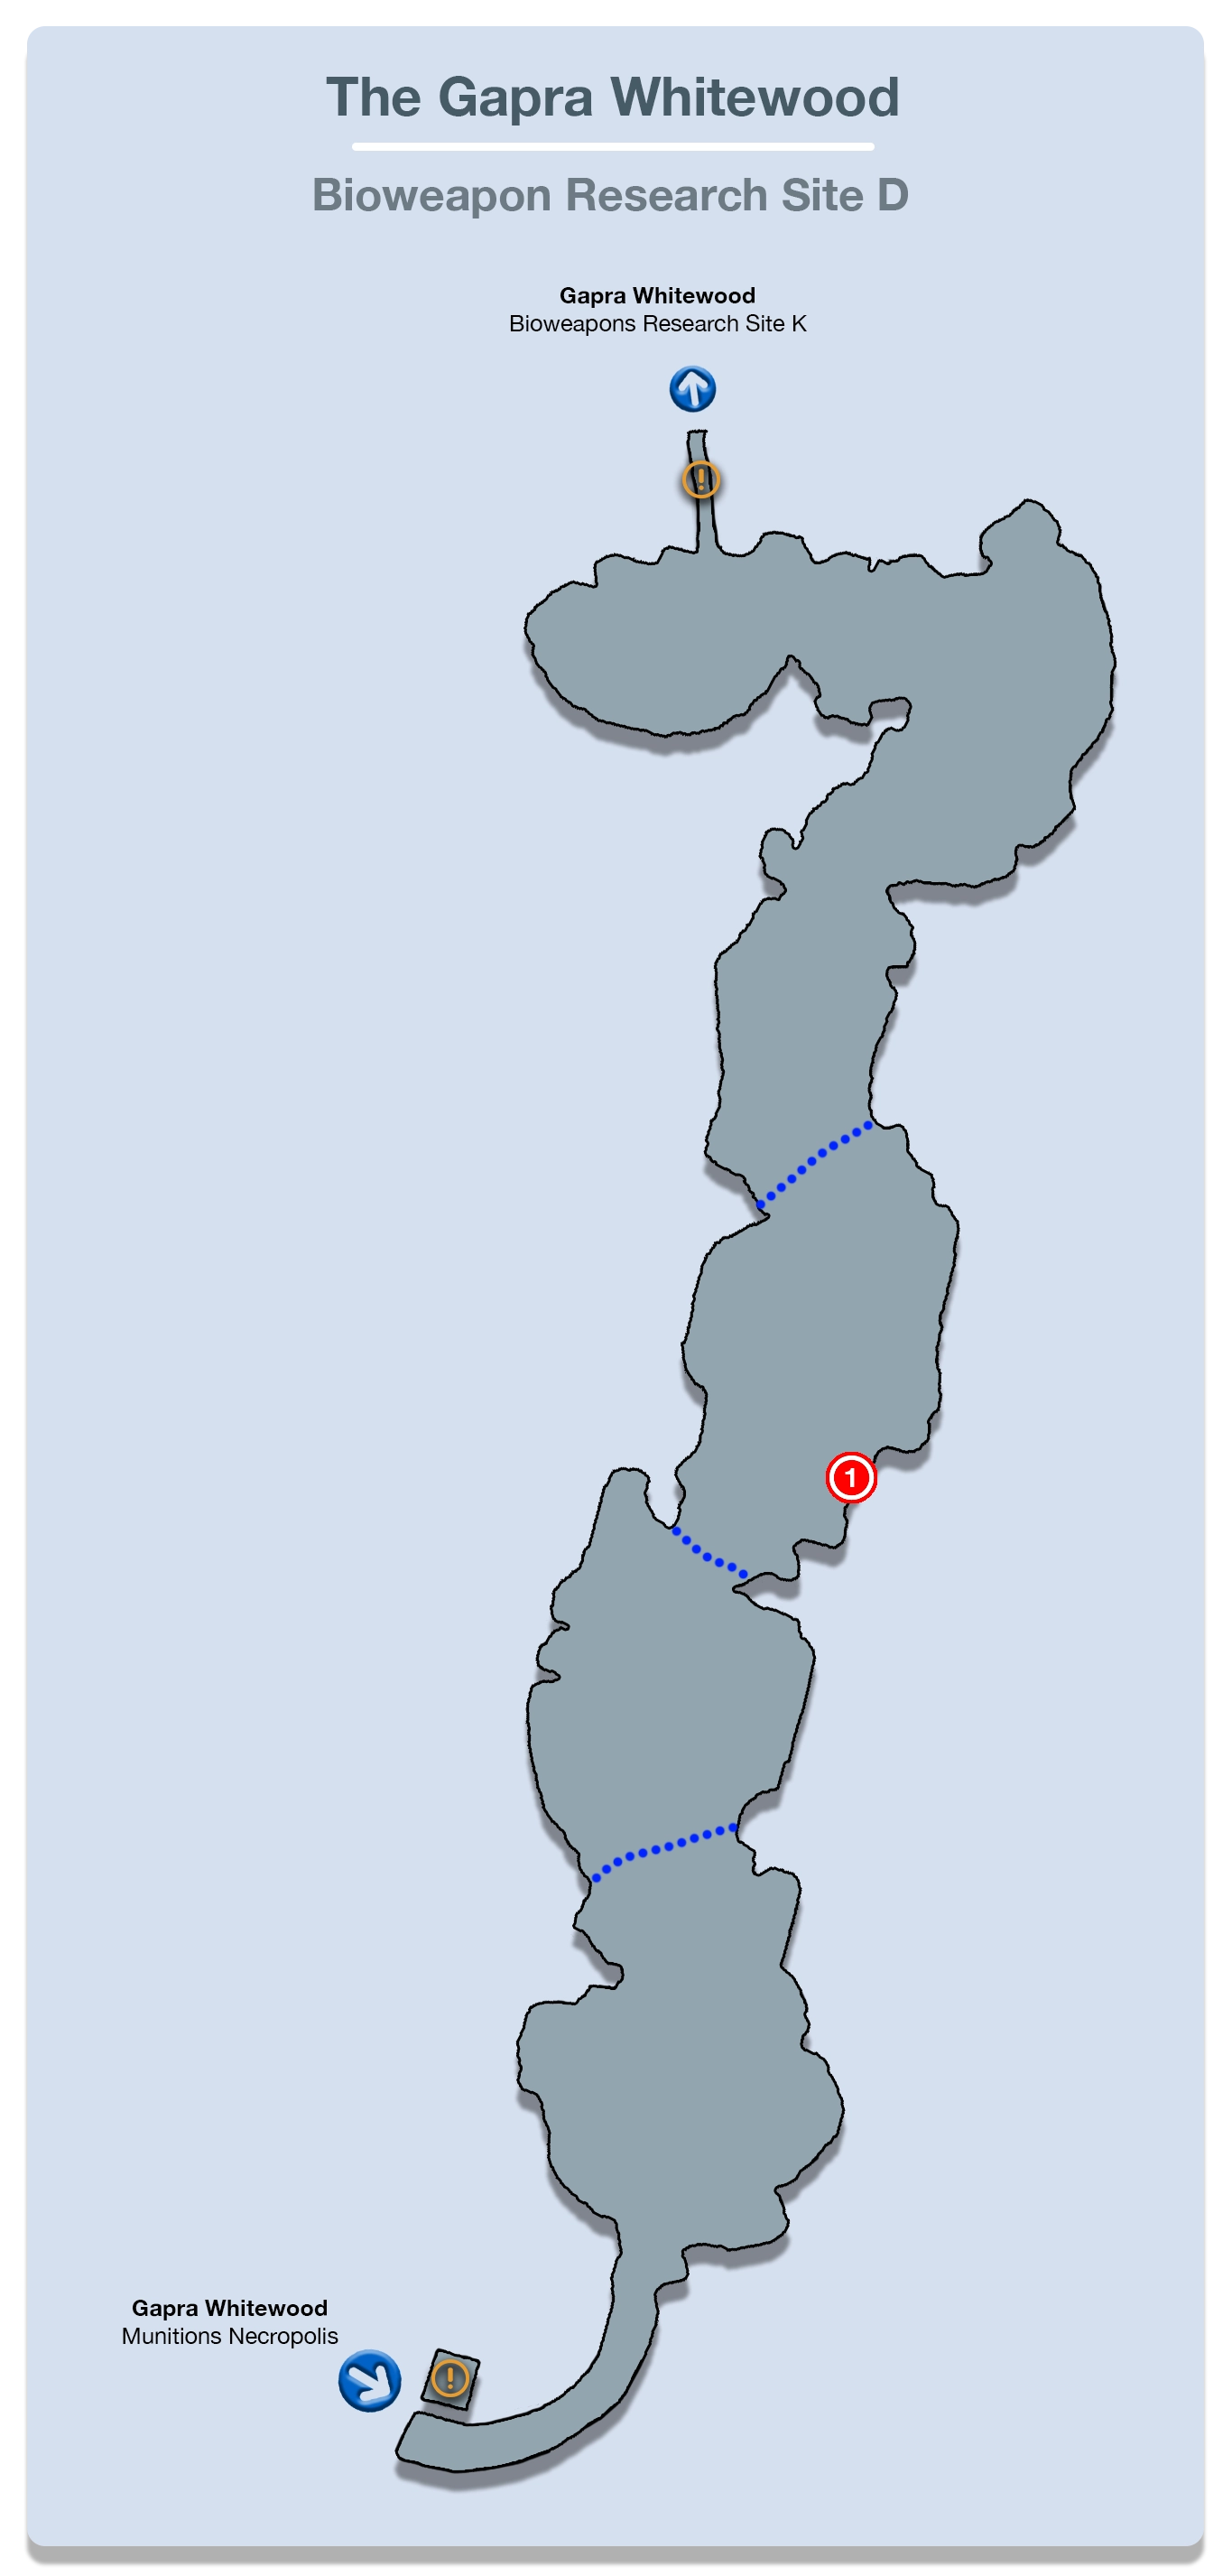
A short cutscene will kick off when you enter the next area where Lightning will explain that this next area is an army facility for turning wildlife into weapons. The idea behind this area is straightforward. All you need to do to deactivate the fences in each of the open-air pens is defeat the “experimental bioweapons” nearby. There is no sneaking past enemies!
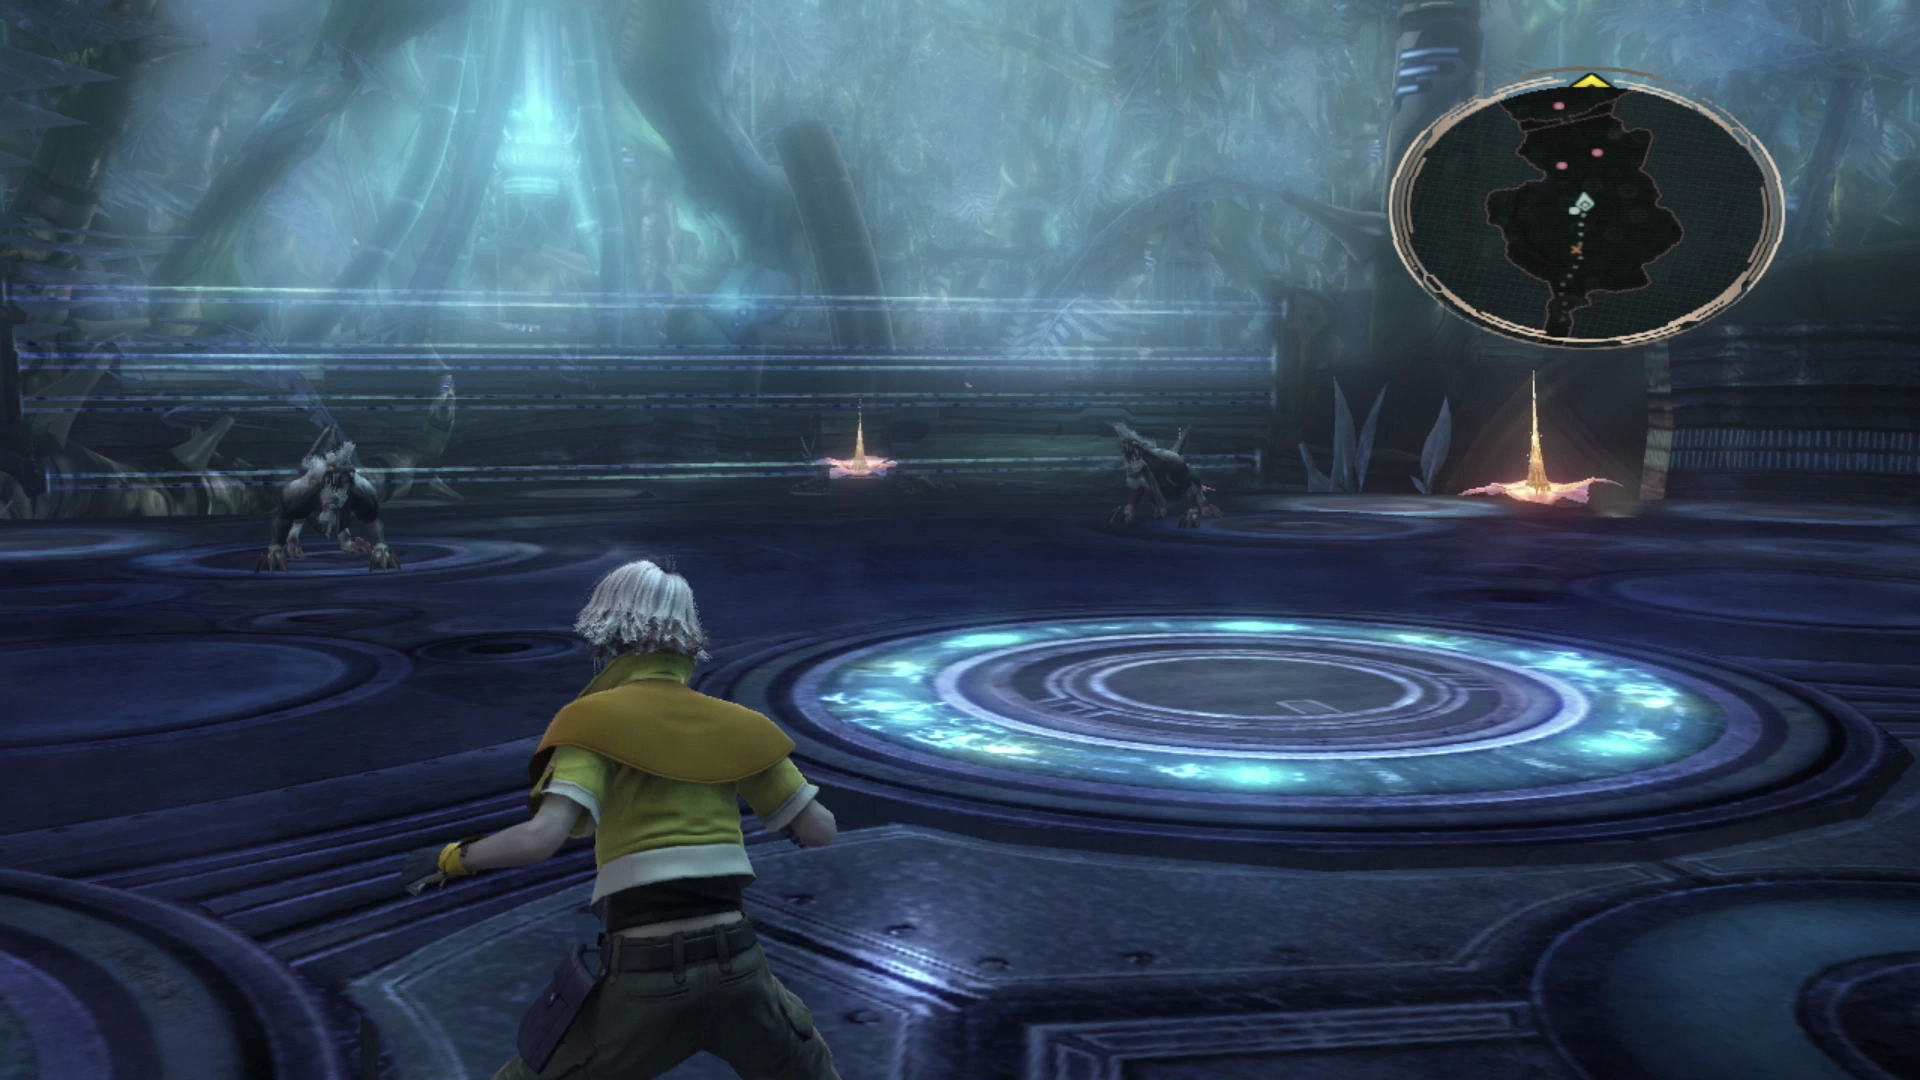
The first enemy you will face is a new type of enemy called a Silver Lobo. These are similar to Pantherons and Thexterons, but like some of the enemies in the previous areas, they can cause the ![]() Poison status effect on your party members.
Poison status effect on your party members.
Use ![]() Libra on this first one to quickly reveal that they are weak to fire magic. There’s a group of two Silver Lobos behind this first one that, once they have been killed, will open the containment fence just up ahead.
Libra on this first one to quickly reveal that they are weak to fire magic. There’s a group of two Silver Lobos behind this first one that, once they have been killed, will open the containment fence just up ahead.
You will have to drop down into the next area which has a group of three Silver Lobos followed by another group of two after that. Just up the wall on the far side of the pen is a group of Crawlers that you can attack next. These Crawlers are very similar to the Frag Leeches you just faced but are just a little bit stronger. There’s a Treasure Sphere where these Crawlers were hanging out that contains six more ![]() Antidotes.
Antidotes.
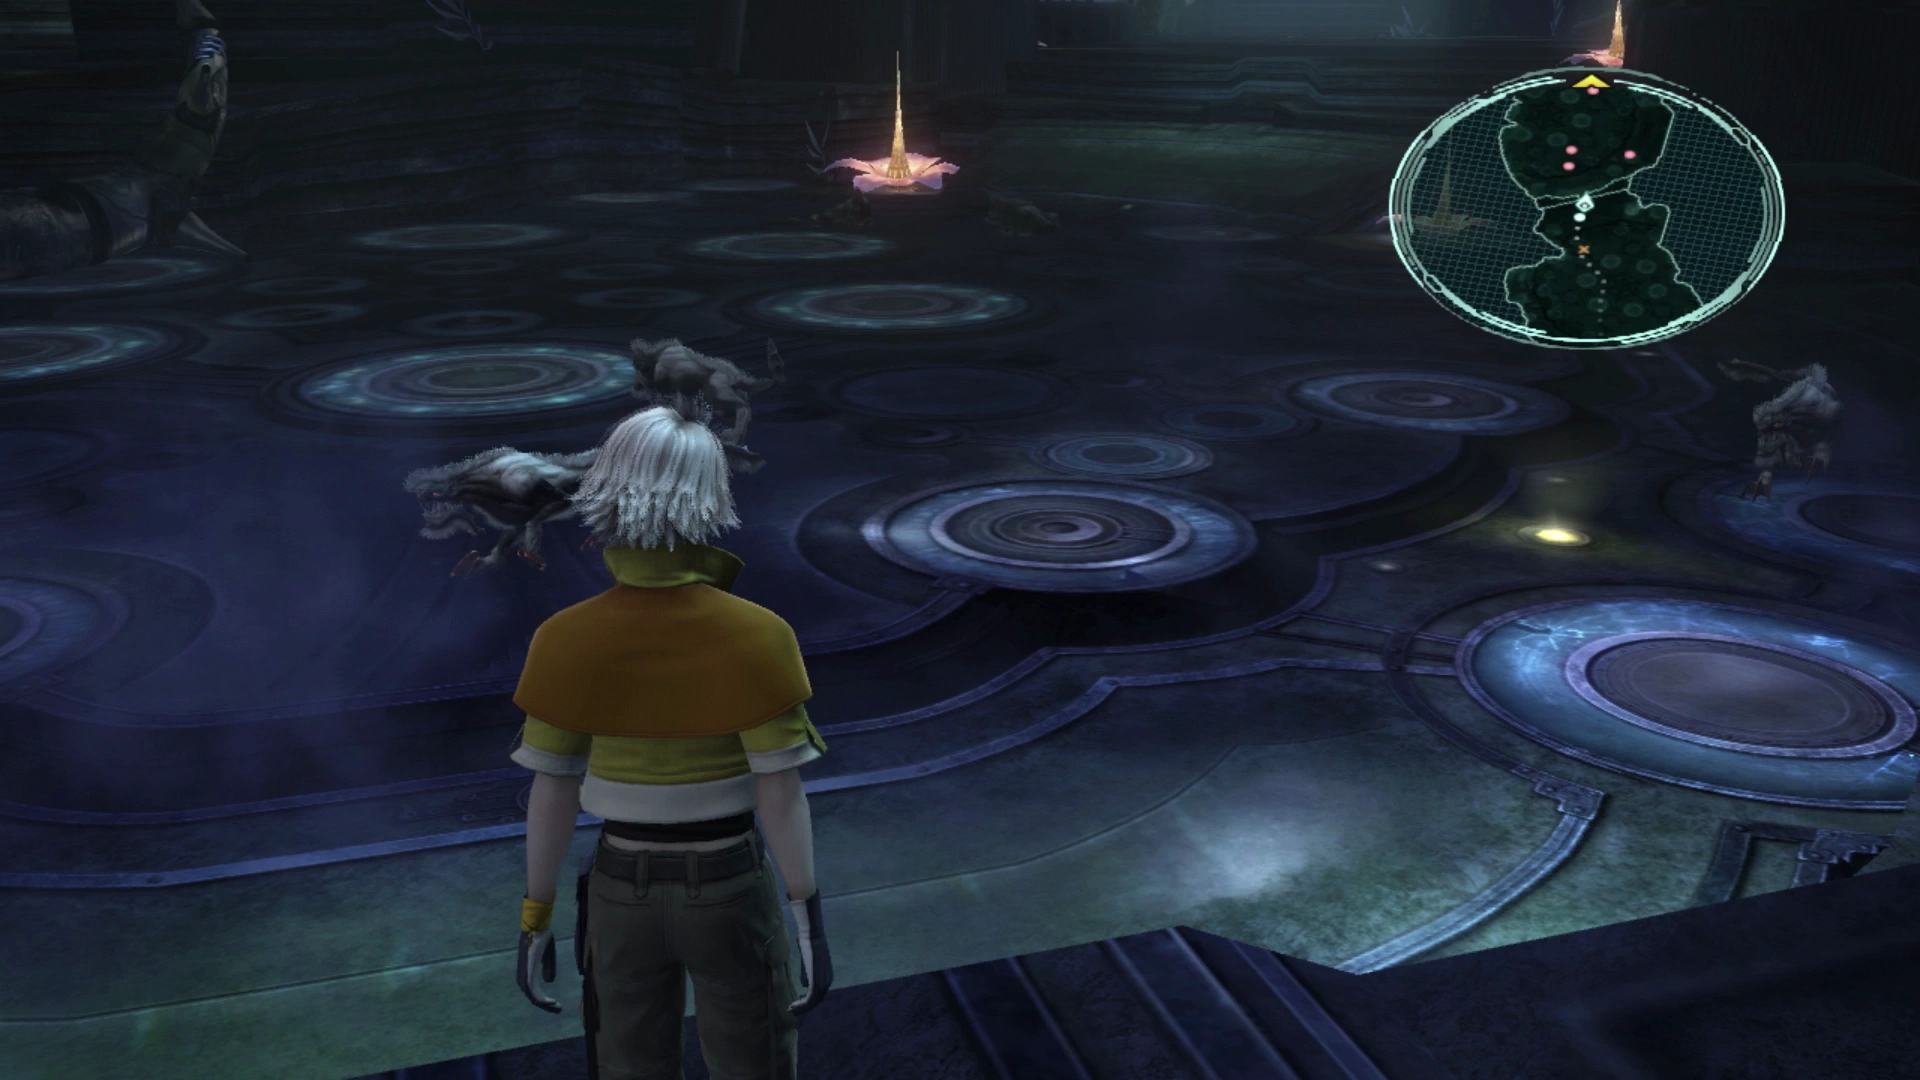
Drop down into the next area to fight a group of three Crawlers and one Silver Lobo.
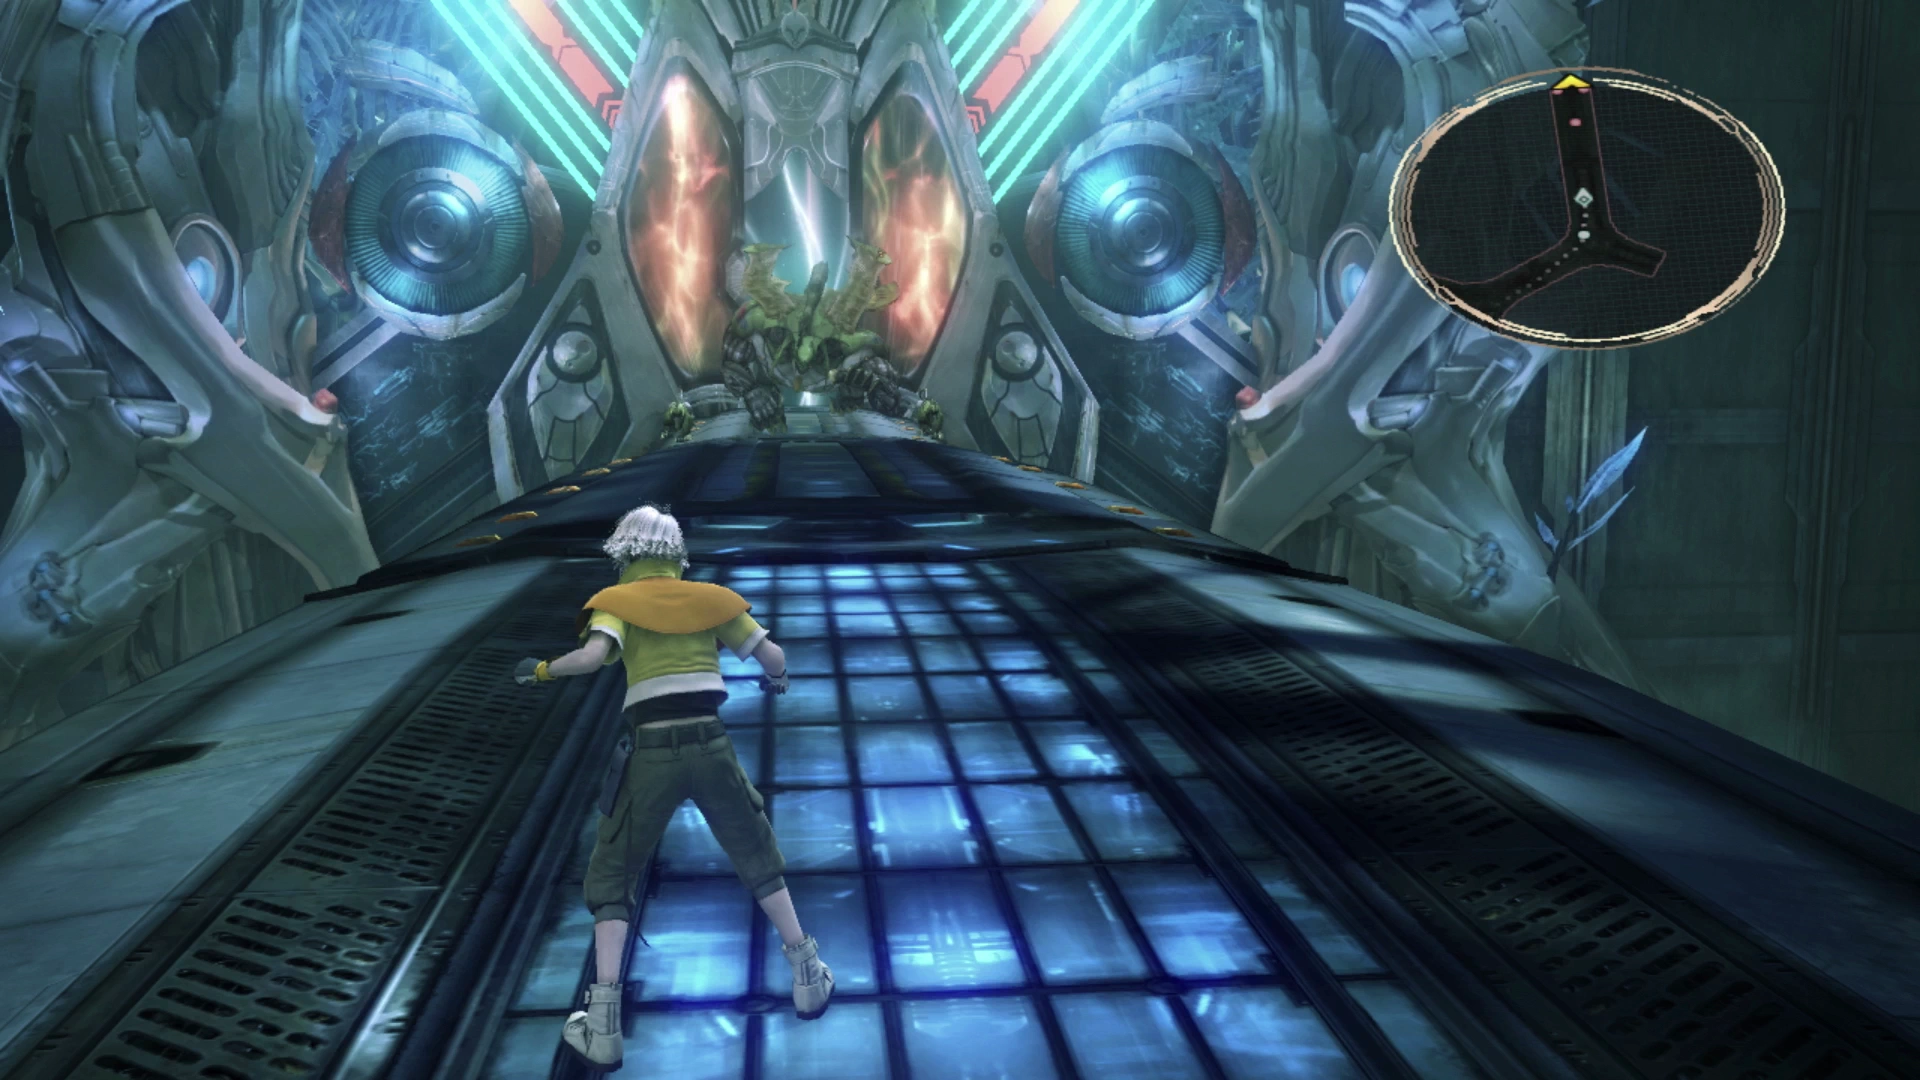
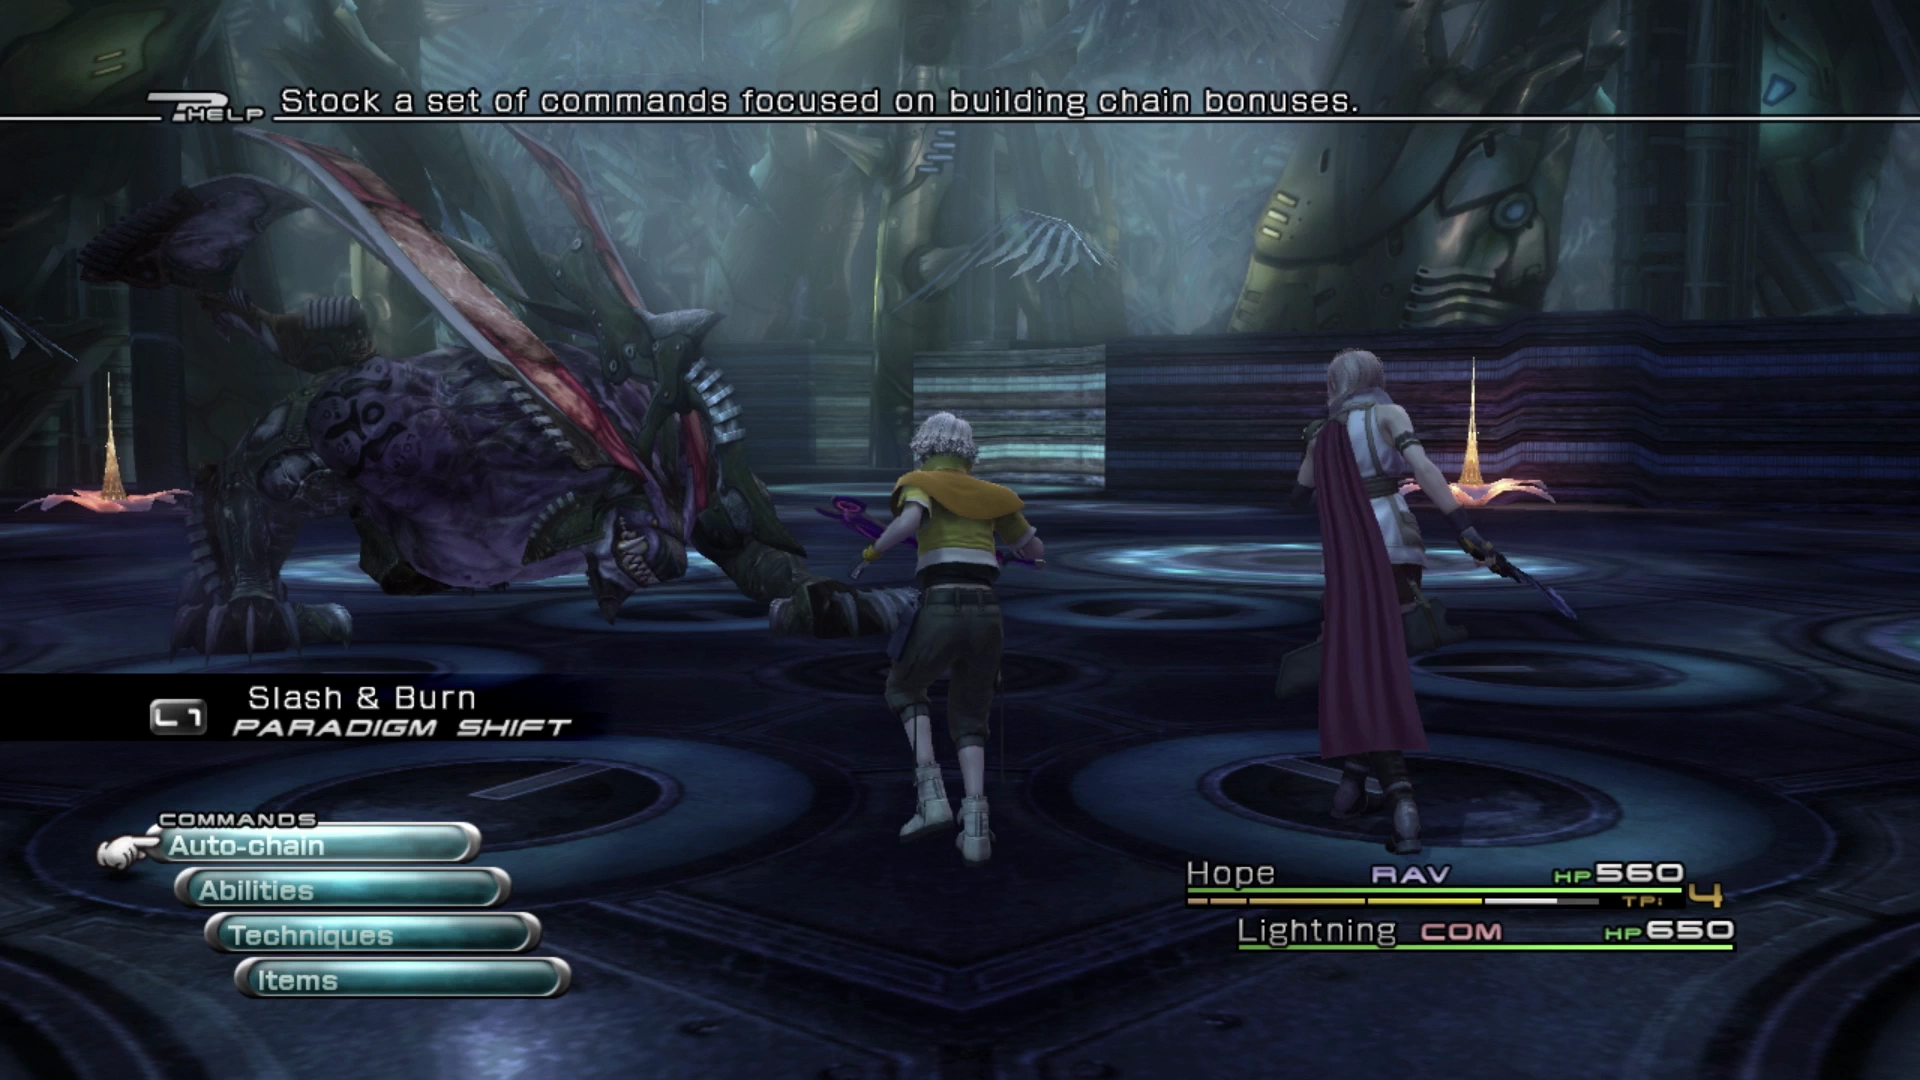
Enter the next area and you will be automatically thrown into battle against a Feral Behemoth. This enemy is a bit more difficult to take down. Focus on switching between Slash & Burn and Dualcasting to get the chain bonus up and get it Staggered.
Once it’s been Staggered Lightning can use ![]() Launch to get it in the air and you can time your attacks to keep it constantly floating and prevent it from doing any damage, just like the fights against Alpha Behemoths.
Launch to get it in the air and you can time your attacks to keep it constantly floating and prevent it from doing any damage, just like the fights against Alpha Behemoths.
Jump up to the next level and approach the branches and leaves hanging over the edge of the open-air pen to jump up to the next level and into the next area which is Bioweapons Research Site K. This section is continued in Part 2 of the Gapra Whitewood Chapter 5 guide.