
Chapter 4: The Vile Peaks (Part 3)
The Vile Peaks section of the guide is broken up into Part 1, Part 2, and Part 3. Use the navigation arrows to navigate between the various sections.


This section continues after the battle against Odin the Eidolon after you are back in control of Sazh and Vanille, and it continues through to the end of the Vile Peaks.
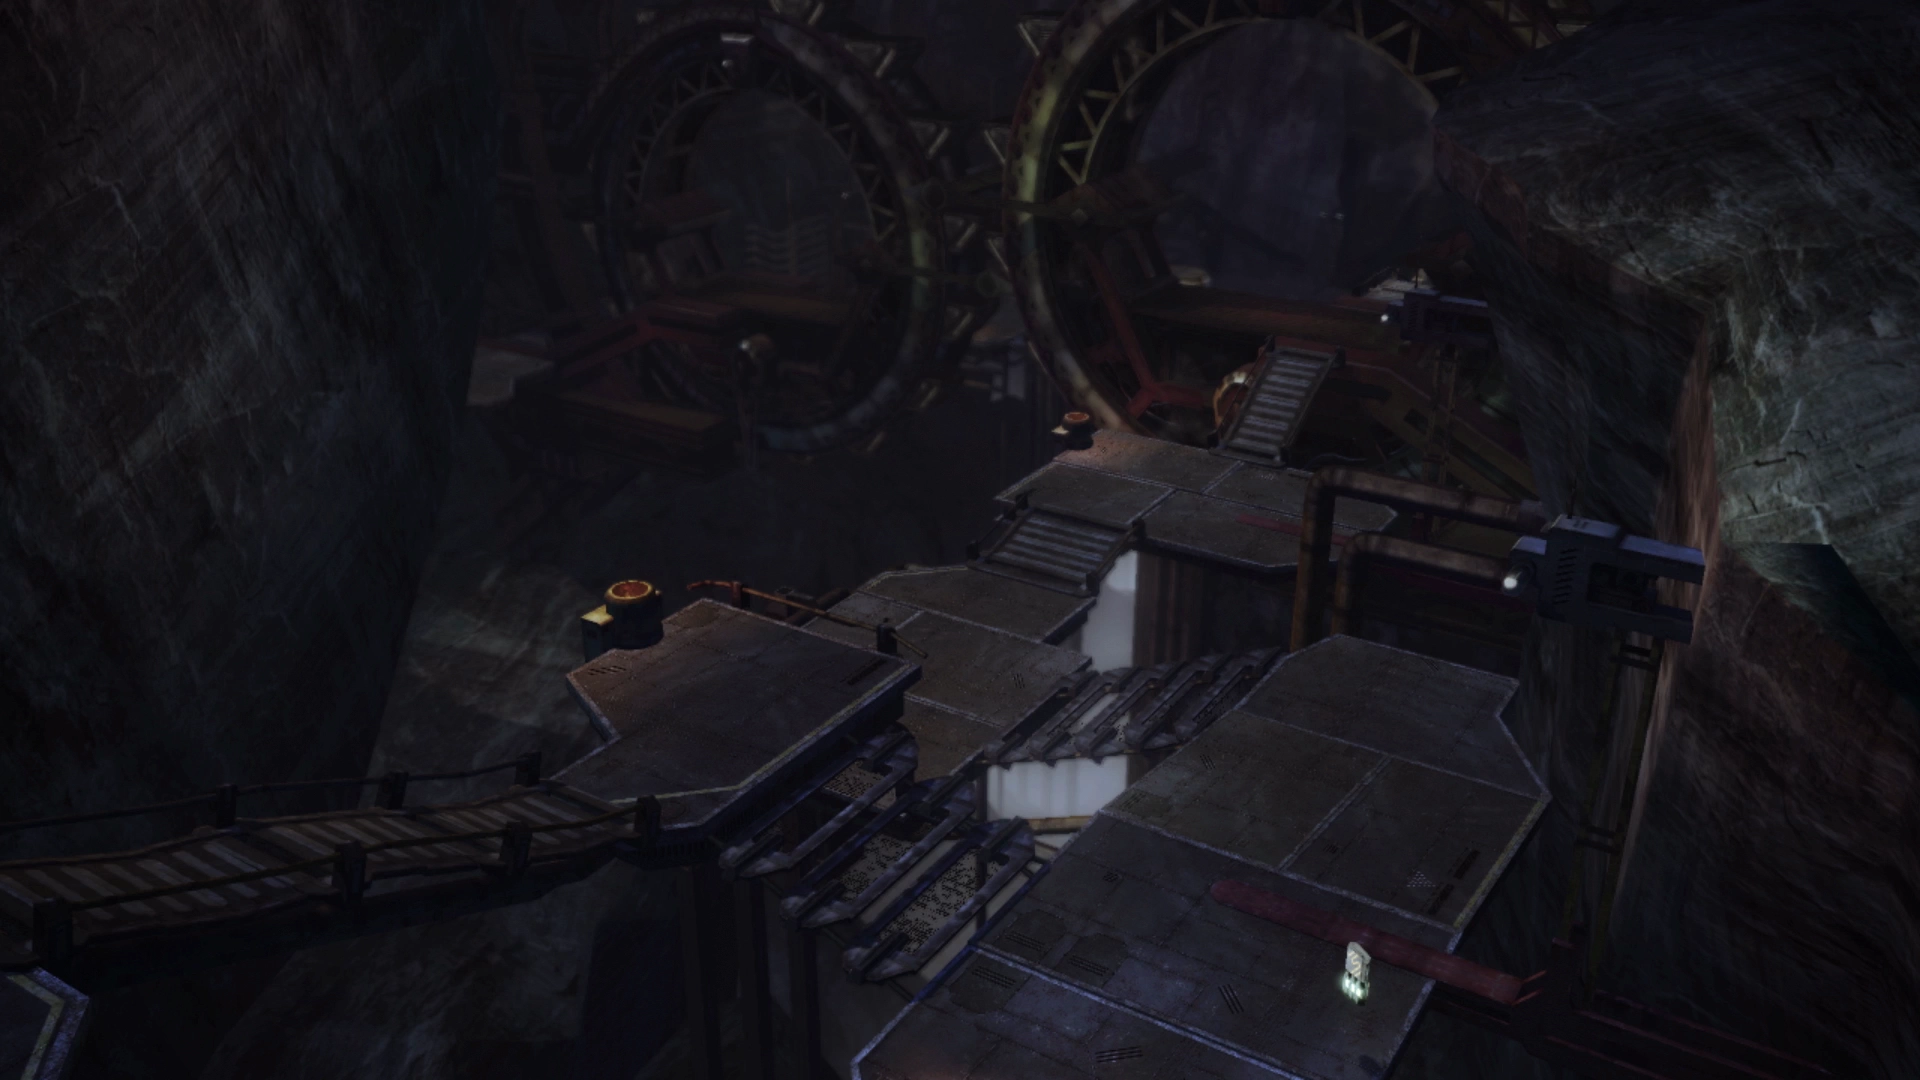
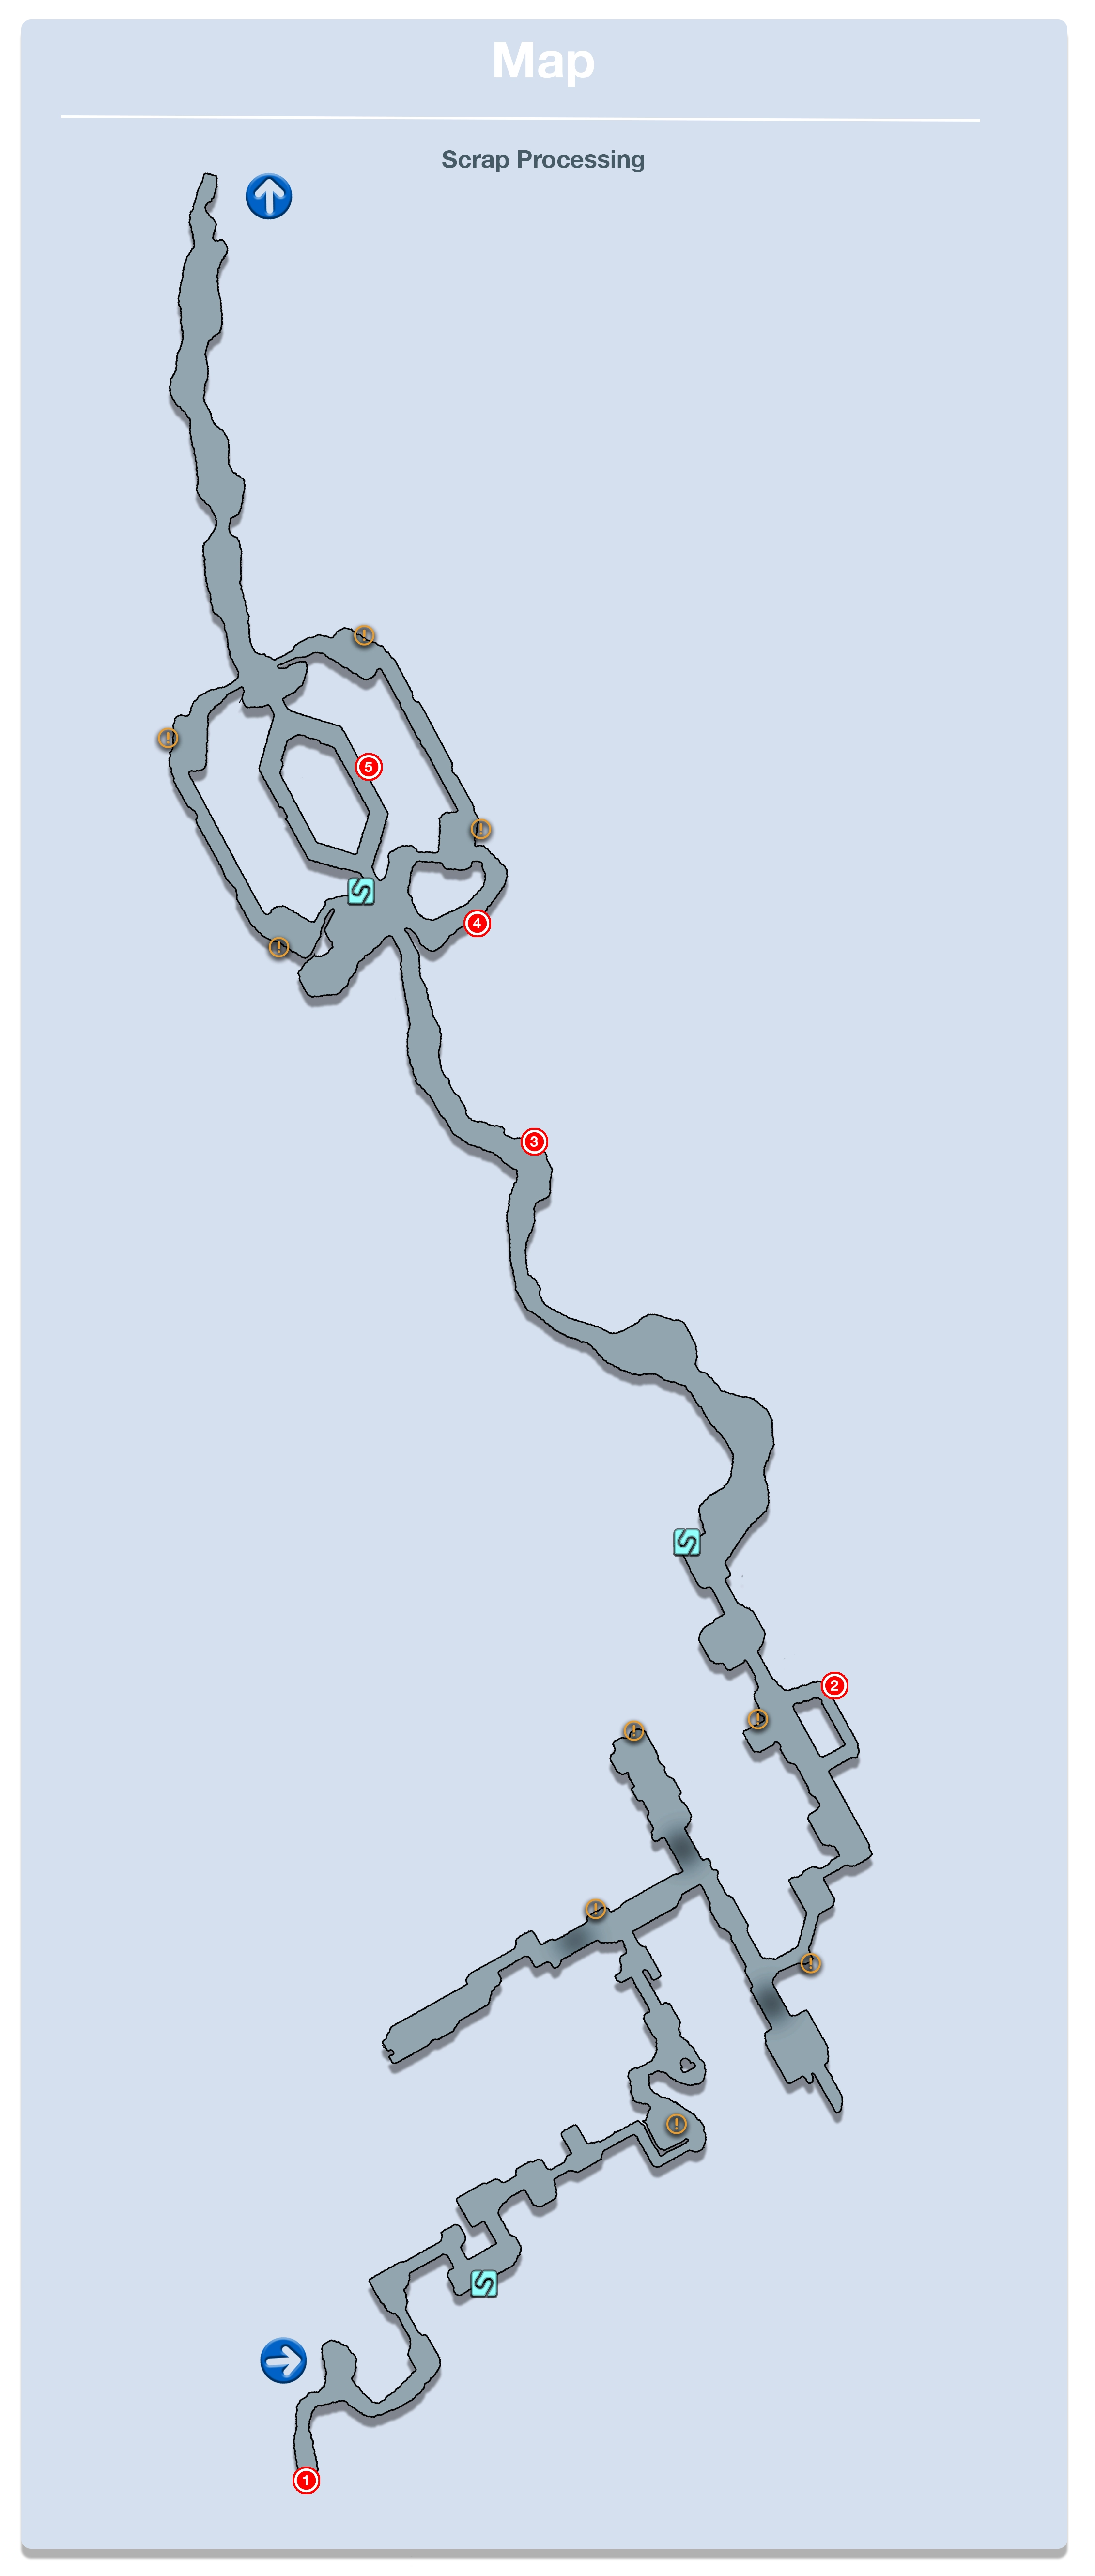
Scrap Processing
Head back up to where Sazh and Vanille came in from to find a Treasure Sphere that contains a tuft of ![]() Phoenix Down. Then, before you engage in any battles with your two new party members, take some time to revisit the Crystarium for each of them and spend the Crystogen Points (CP) that they have stored up.
Phoenix Down. Then, before you engage in any battles with your two new party members, take some time to revisit the Crystarium for each of them and spend the Crystogen Points (CP) that they have stored up.

Sazh should spend his in the ![]() Commando role since he will temporarily be filling in and acting in this role while you are missing Lightning, and Vanille should focus on either her
Commando role since he will temporarily be filling in and acting in this role while you are missing Lightning, and Vanille should focus on either her ![]() Ravager or
Ravager or ![]() Saboteur roles. Finally, make sure that you have the proper Paradigms set up by creating a new one called Undermine (Sazh as a
Saboteur roles. Finally, make sure that you have the proper Paradigms set up by creating a new one called Undermine (Sazh as a ![]() Ravager and Vanille as a Saboteur).
Ravager and Vanille as a Saboteur).
As a reminder, the ![]() Saboteur role is similar to the
Saboteur role is similar to the ![]() Commando role in that debuffs that Vanille casts will prevent the Chain Gauge from falling as fast. This Paradigm is a good option to start in against difficult opponents.
Commando role in that debuffs that Vanille casts will prevent the Chain Gauge from falling as fast. This Paradigm is a good option to start in against difficult opponents.
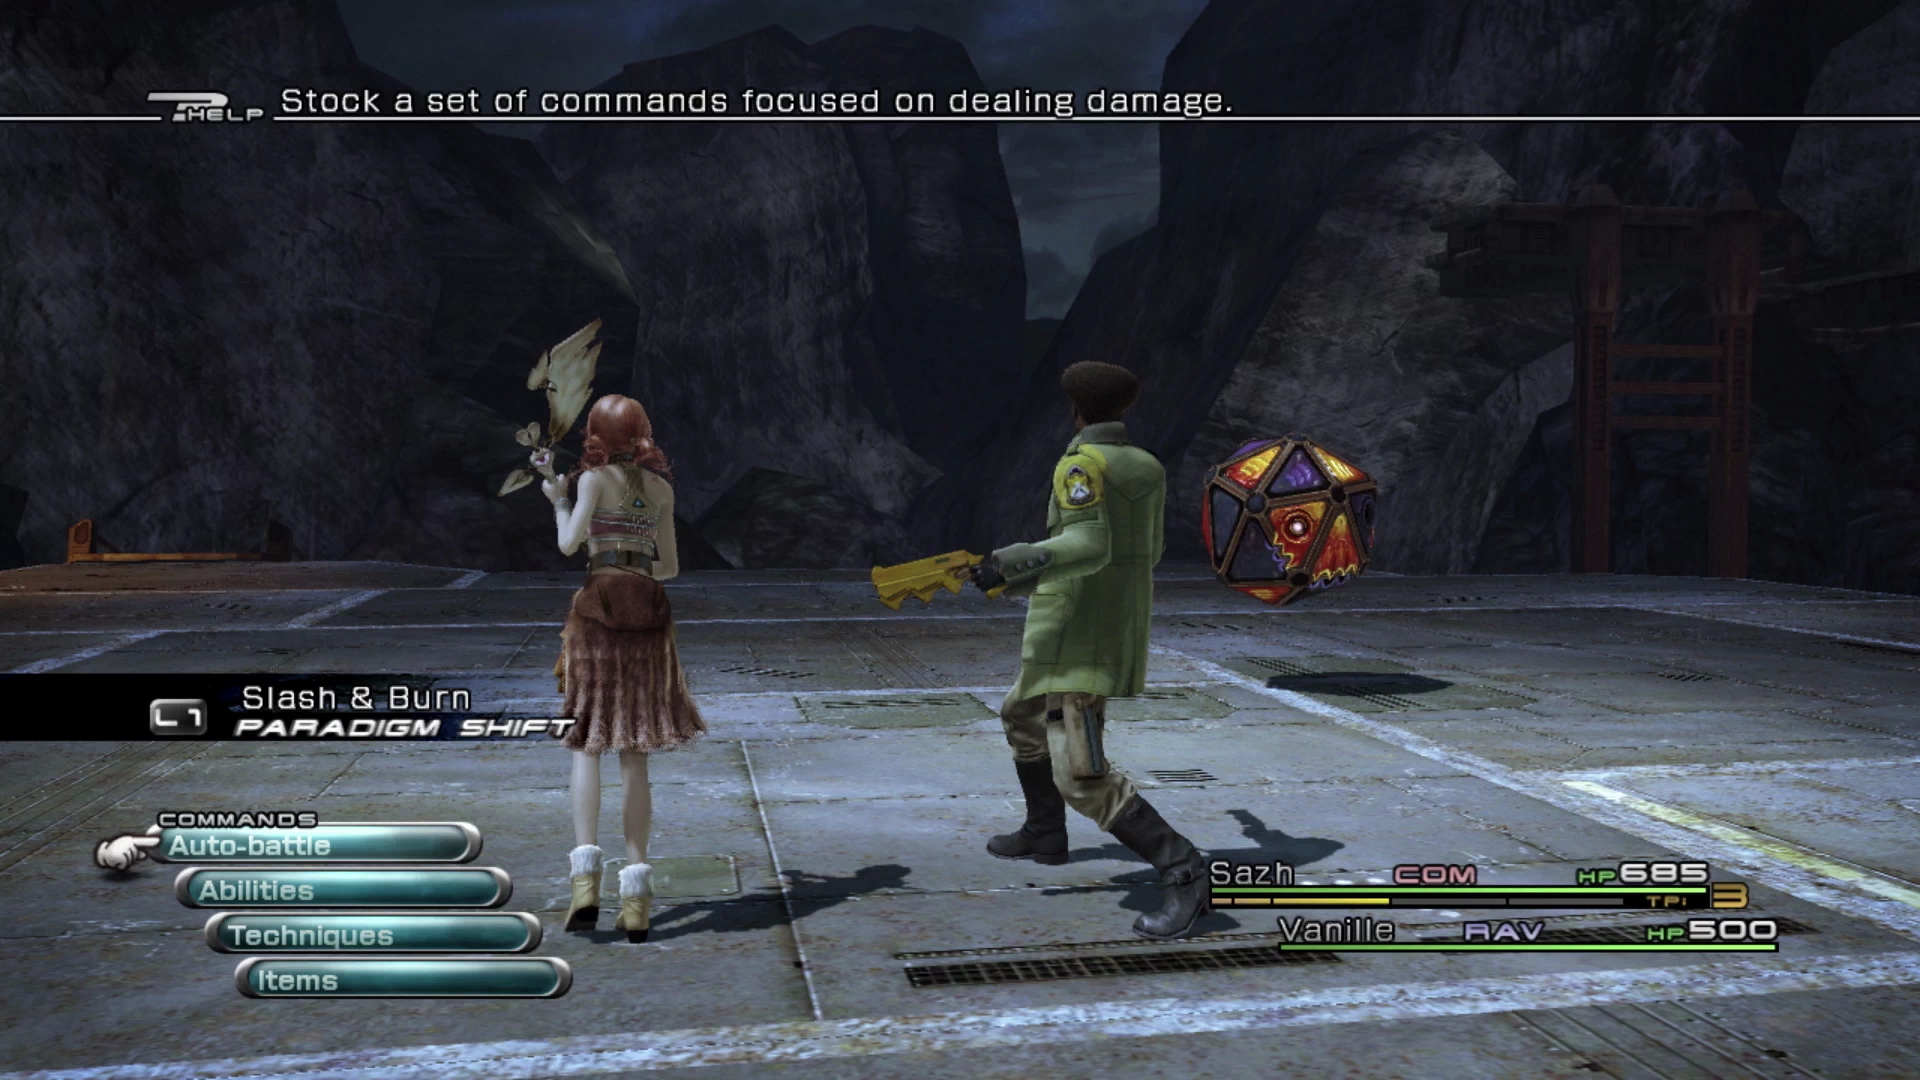
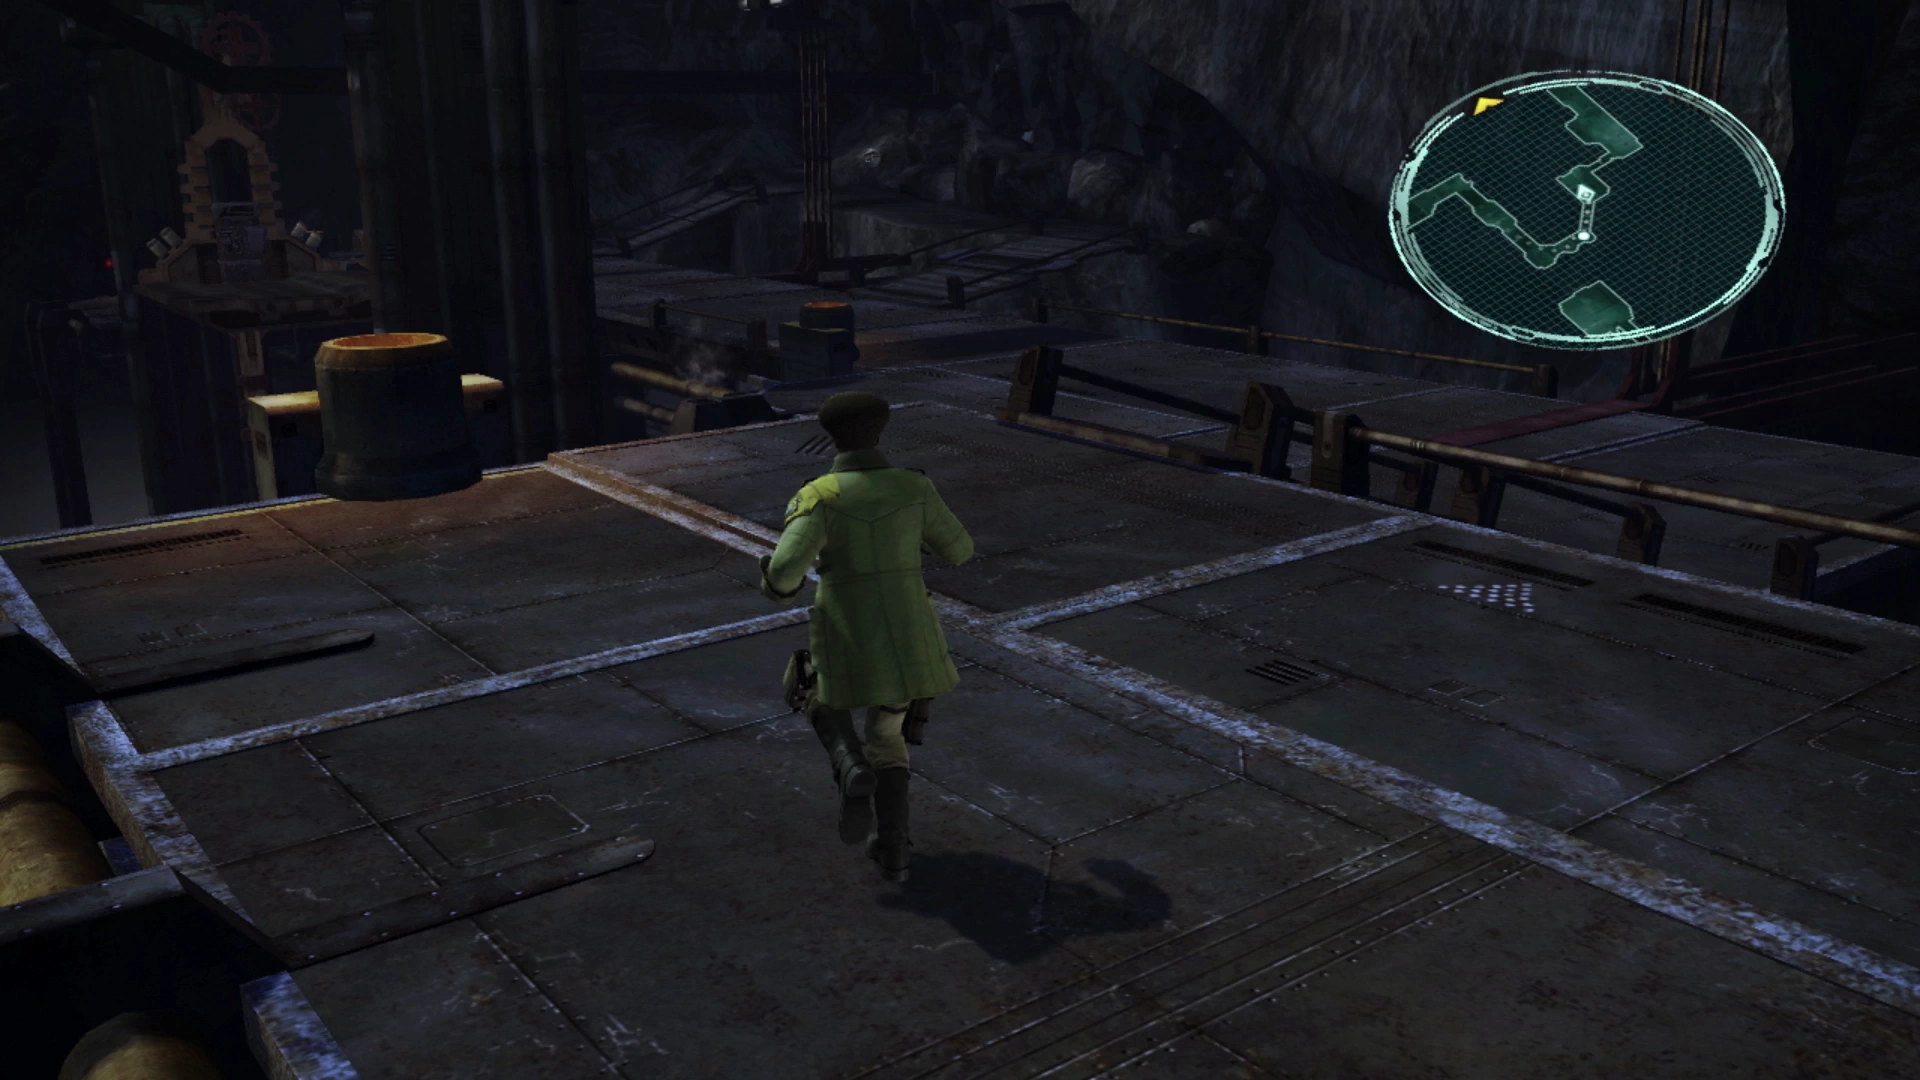
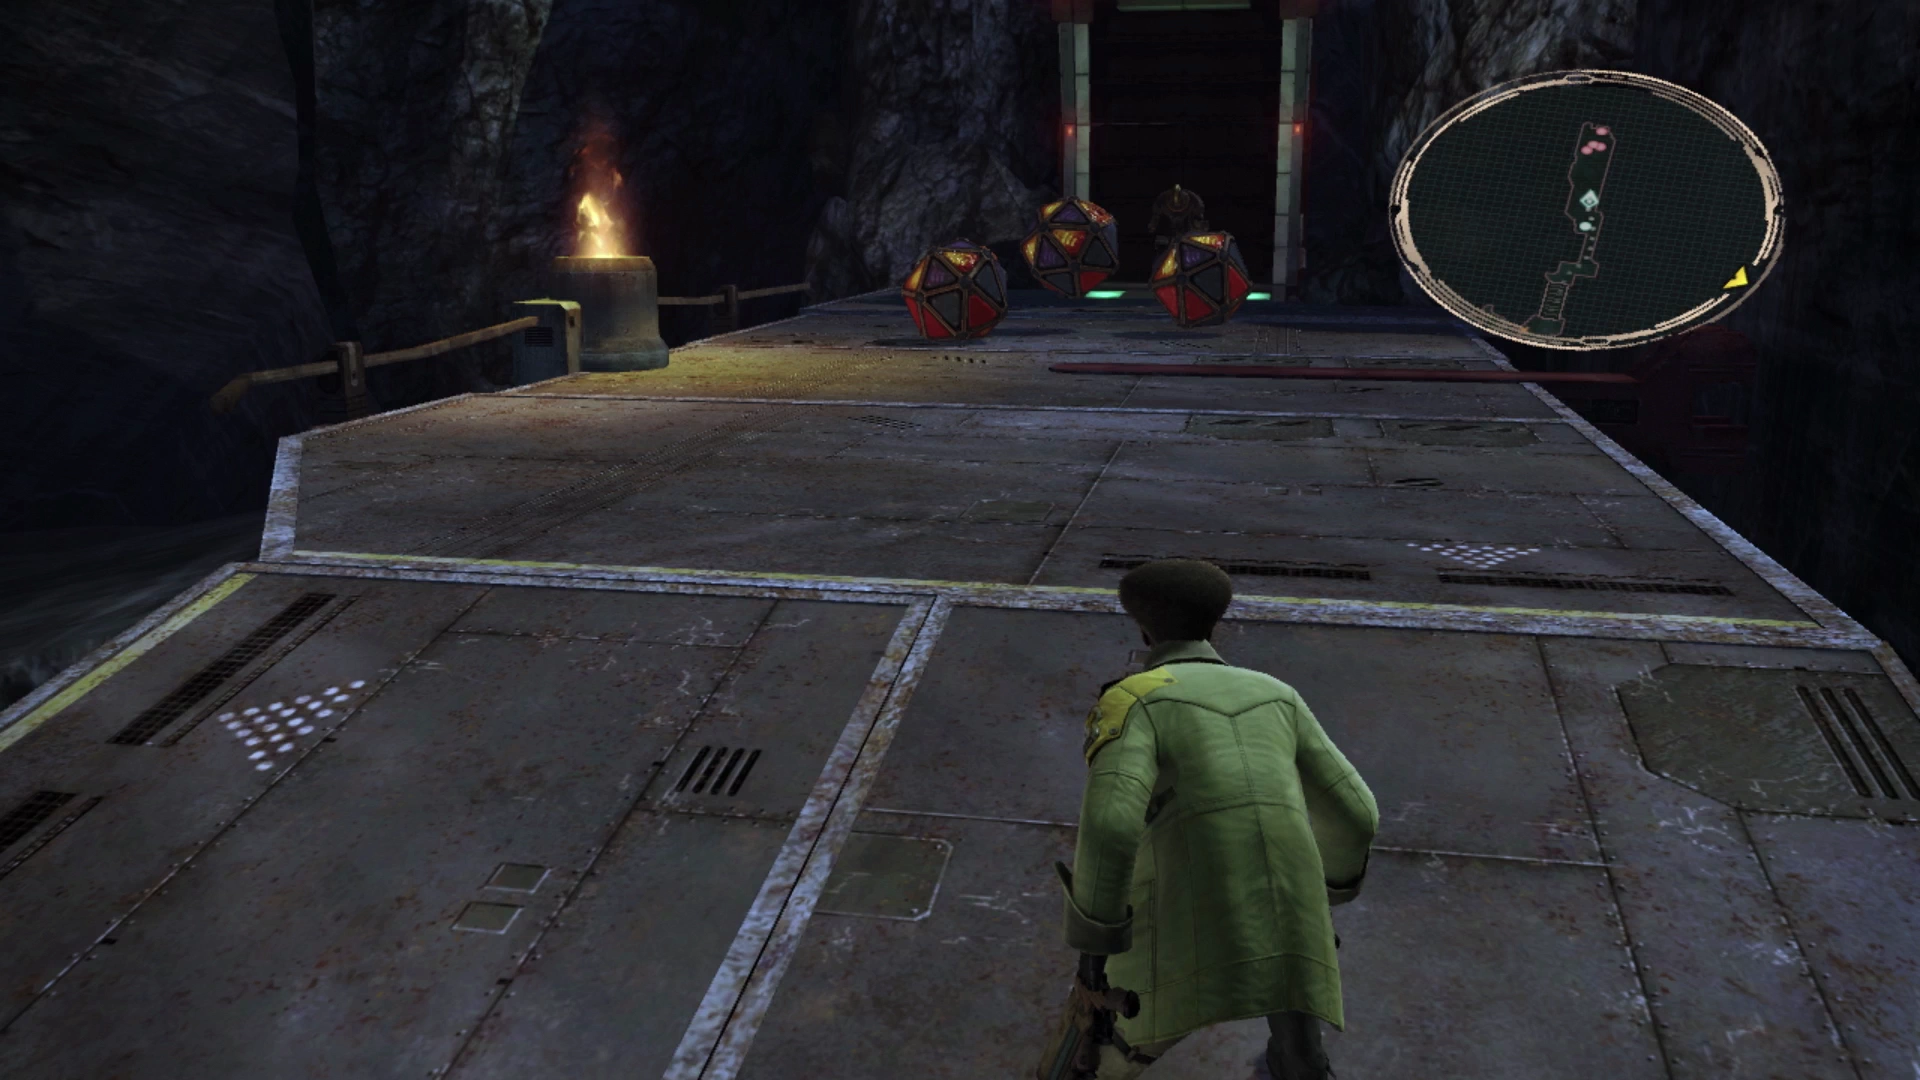
Travel down to the ![]() Save Station. You can save your game, but you likely already did this after the battle against Odin on the previous page. Just a bit further up the platform, you will run into your first Bomb enemy. It is possible to trigger a preemptive strike by sneaking up on a Bomb, but their shape and movement patterns make this a bit more difficult to do than it was against previous enemies you’ve faced.
Save Station. You can save your game, but you likely already did this after the battle against Odin on the previous page. Just a bit further up the platform, you will run into your first Bomb enemy. It is possible to trigger a preemptive strike by sneaking up on a Bomb, but their shape and movement patterns make this a bit more difficult to do than it was against previous enemies you’ve faced.
Bombs will use an attack called “Self-Destruct” early in the battle so your goal, whenever you are fighting any Bombs, not just this one, should be to kill them as quickly as possible. They can also heal themselves up before they self-destruct making it difficult to defeat them before they explode on your party members, so be quick!
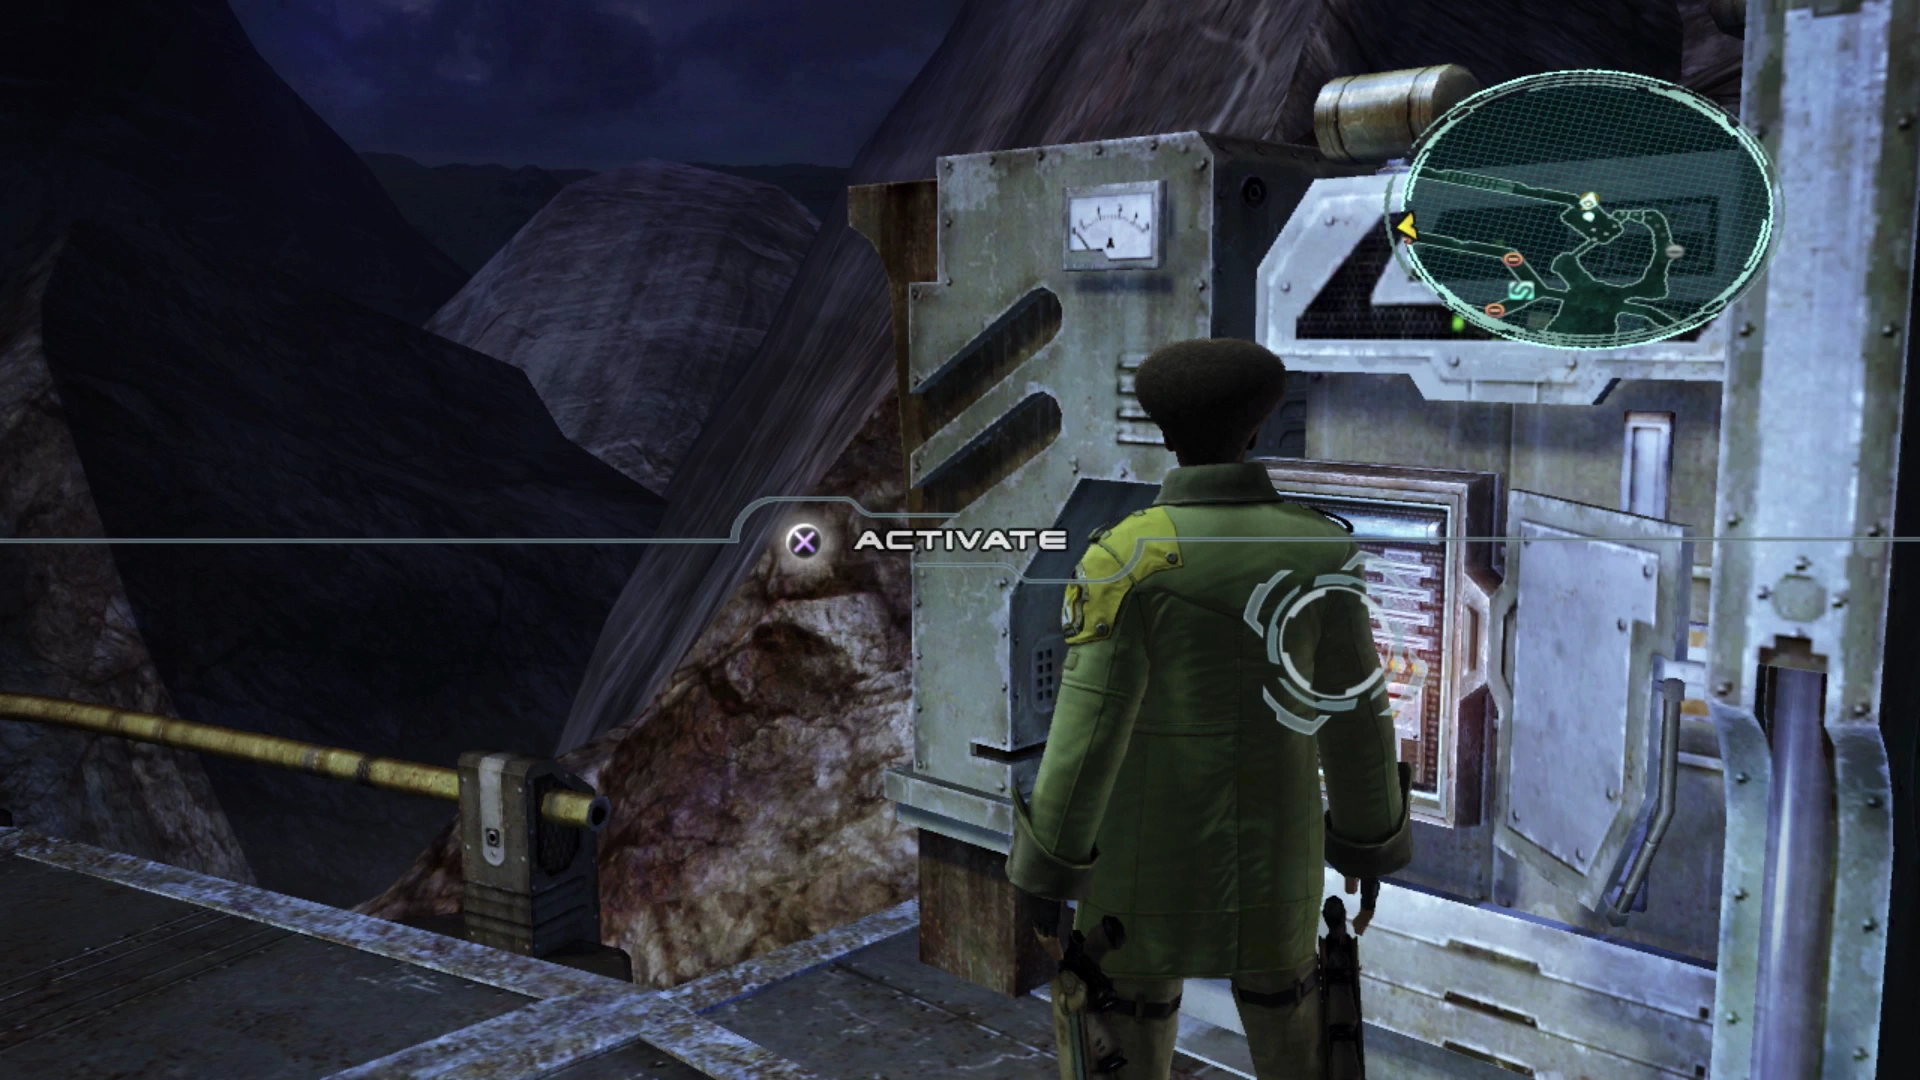
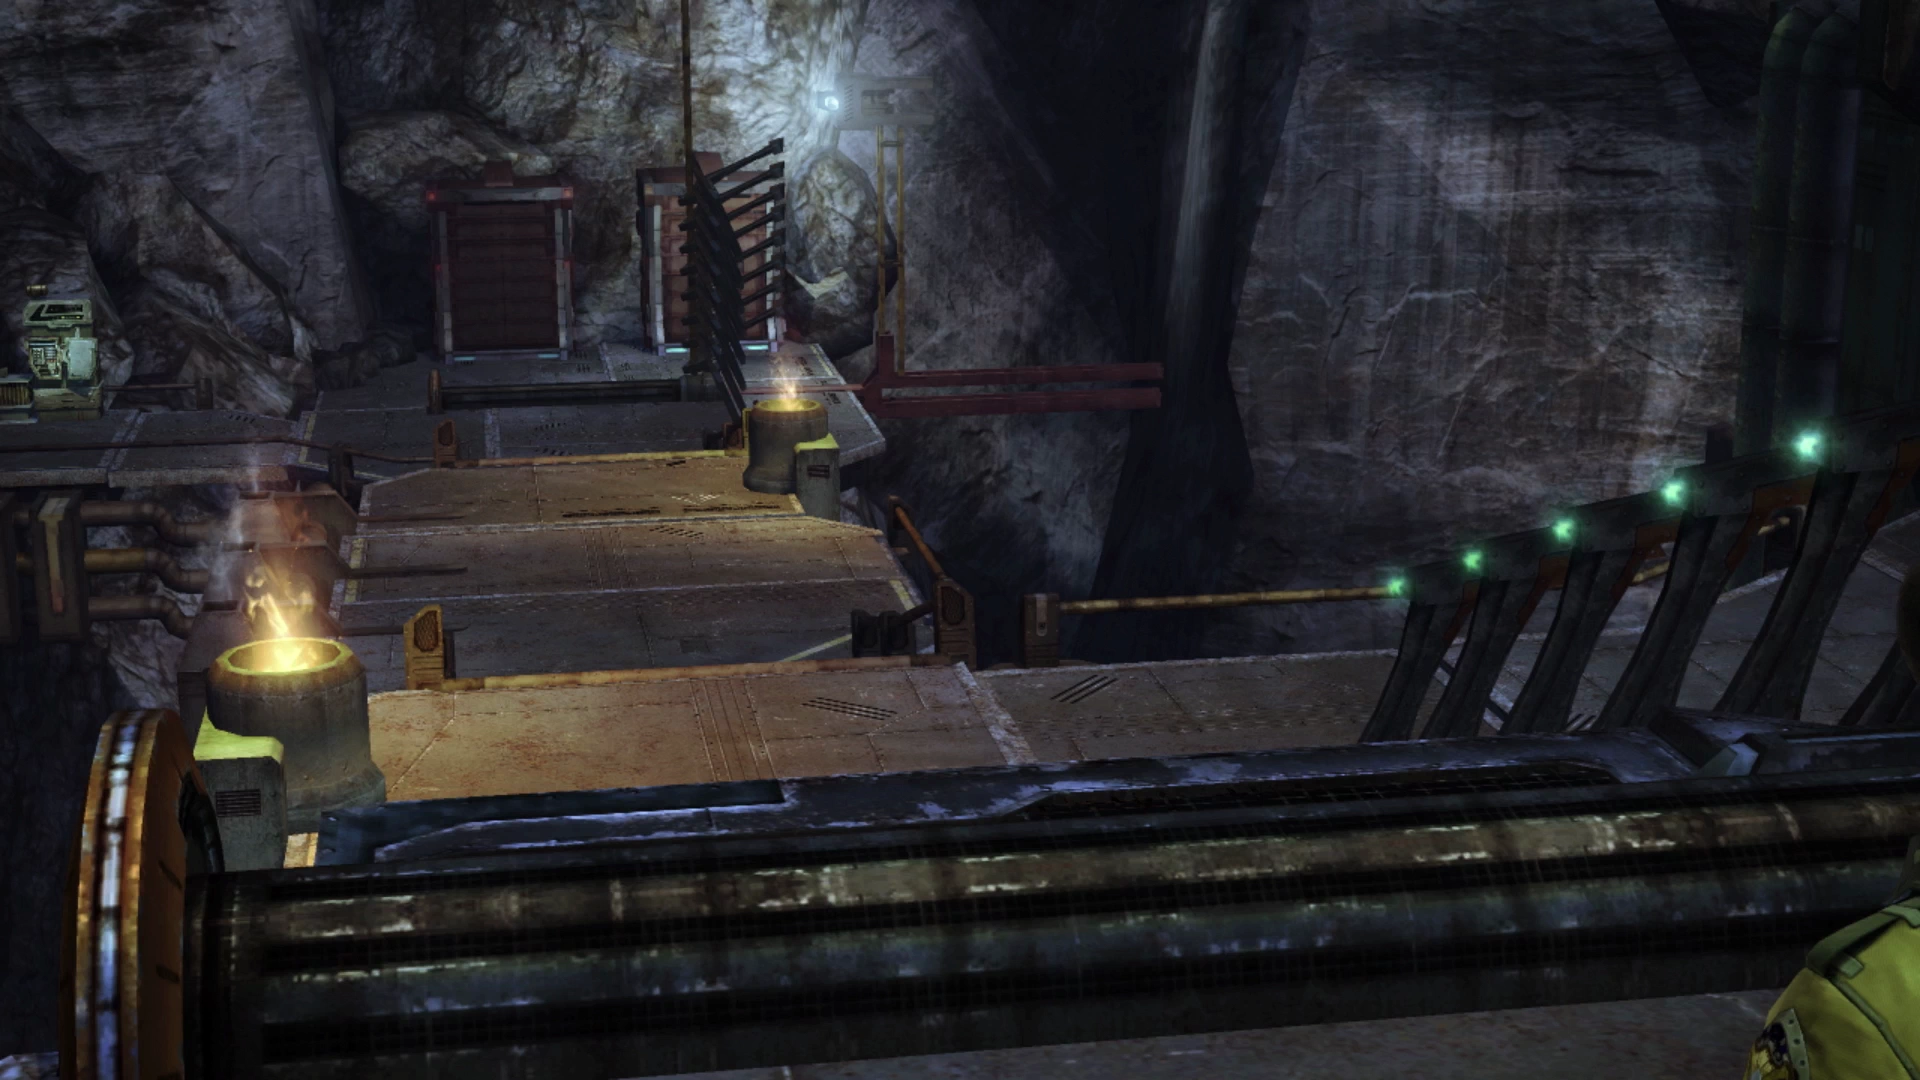
Continue along the pathway, defeating the two Bombs you encounter along the way, until you reach a device like the one Sazh activated earlier in Vile Peaks. Activating the device will draw the metal bridge across the causeway allowing you to cross to the other side. Cross over and defeat the Bomb and Pulsework Soldier.
Helpful Hint
You will notice that the mini-map shows several areas that you can’t reach yet, and Vanille will point out the devices that you’ve probably already noticed along these walkways that can’t be activated because they don’t have any power. You can return to this area later in the game to activate these devices and reach some of the areas that you can’t get to right now.
Keep following the platforms until you reach a group of enemies that includes two Bombs and a Pulsework Soldier. Off to the right of this group is a Treasure Sphere that contains an ![]() Auric Amulet, and you can circle around this platform where the sphere is located to try to ambush the group of enemies.
Auric Amulet, and you can circle around this platform where the sphere is located to try to ambush the group of enemies.
It’s difficult to do but a battle against two Bombs that can explode for heavy damage makes it worth it to try and get a preemptive strike in. Travel down the pathway behind them to find a ![]() Save Station.
Save Station.
Keep following the trail as it leads down a narrow path between two cliffs and you will come across a new enemy in this area called a Gremlin. These little enemies are extremely easy to defeat. You should defeat these two as you run past (and use ![]() Libra on them to complete your
Libra on them to complete your ![]() Datalog) but if you choose to come back through this area to pick up the optional items you can easily run past these enemies. They don’t give high-level spoils and the CP gain is quite low.
Datalog) but if you choose to come back through this area to pick up the optional items you can easily run past these enemies. They don’t give high-level spoils and the CP gain is quite low.
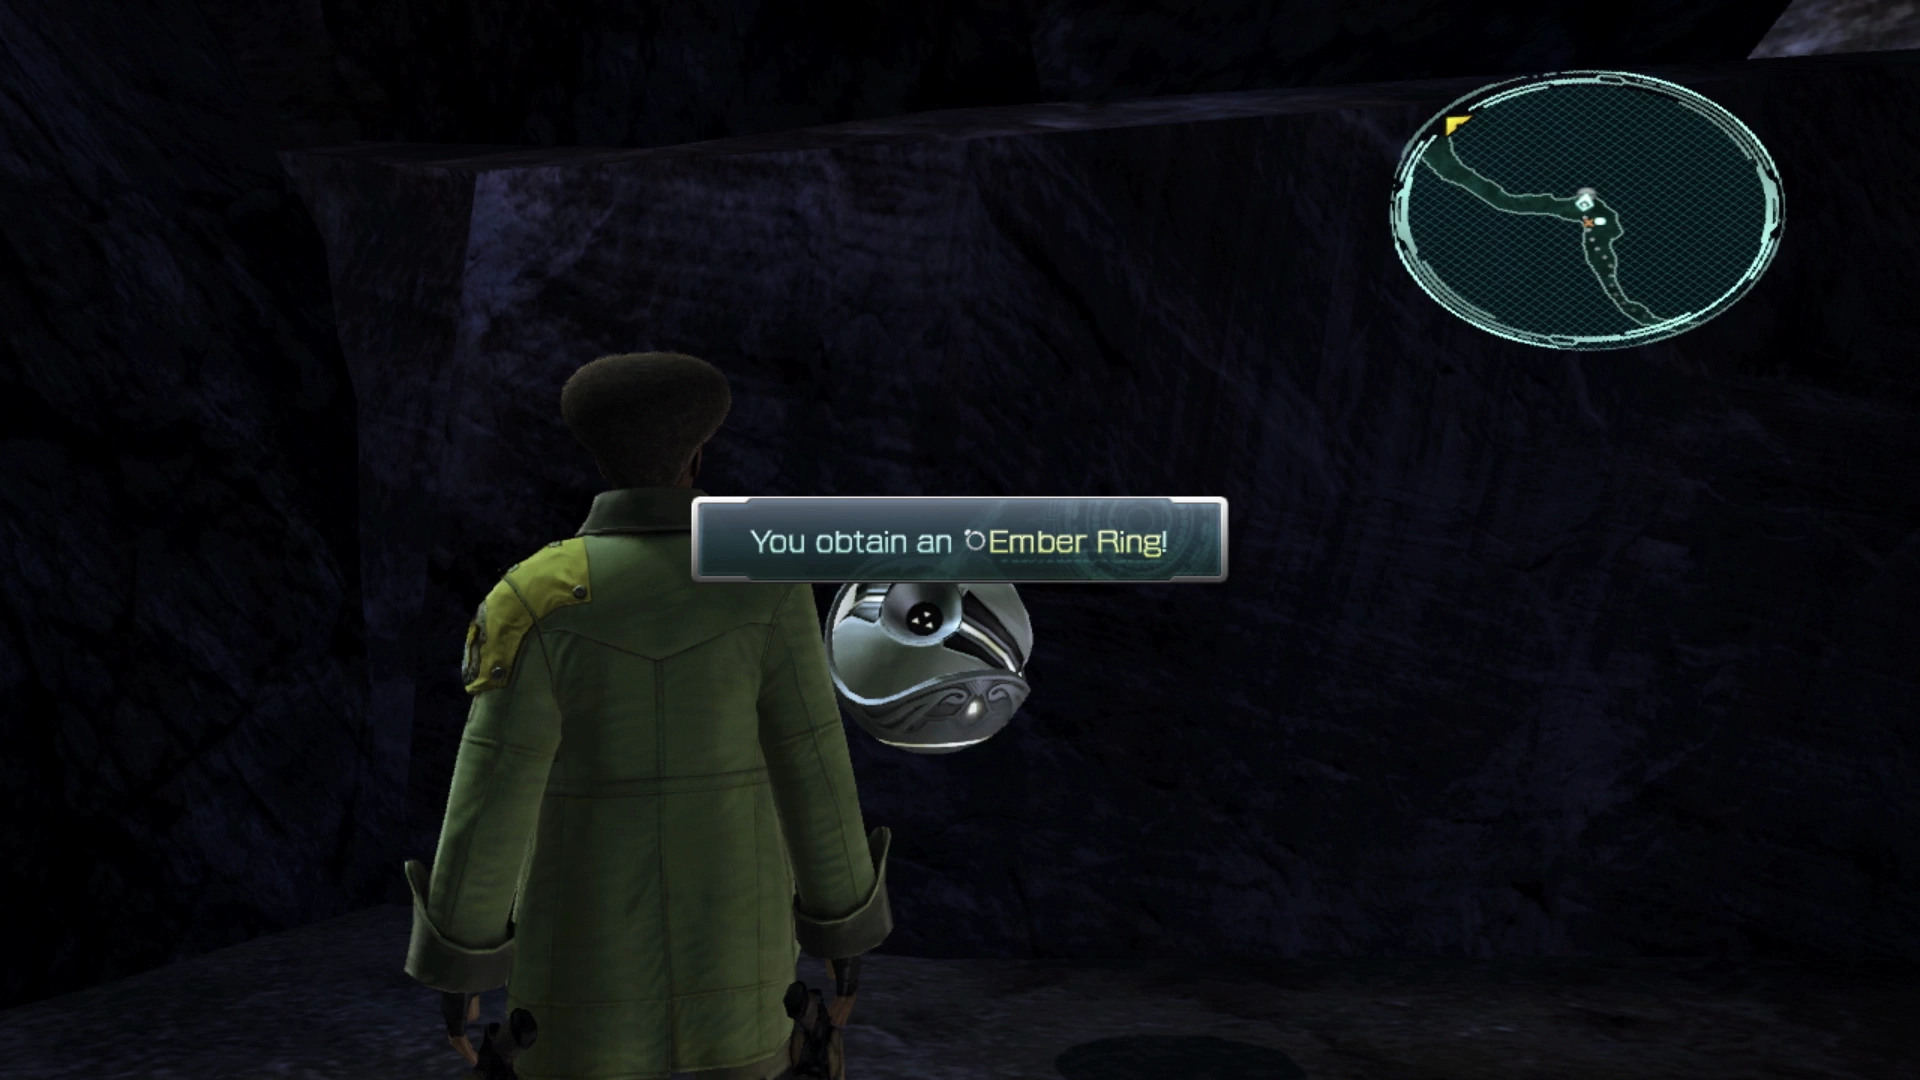
The group of Gremlins just a bit further up the trail are guarding a Treasure Sphere that contains an ![]() Ember Ring.
Ember Ring.
Missable Content
This is the second opportunity to obtain an ![]() Ember Ring. Because there aren’t many of them in the game, and they are difficult to obtain once you reach the later chapters, they are considered missable content.
Ember Ring. Because there aren’t many of them in the game, and they are difficult to obtain once you reach the later chapters, they are considered missable content.
Refer to the Missable Content page for more information on specific items you should keep an eye out for.
Restoring Power
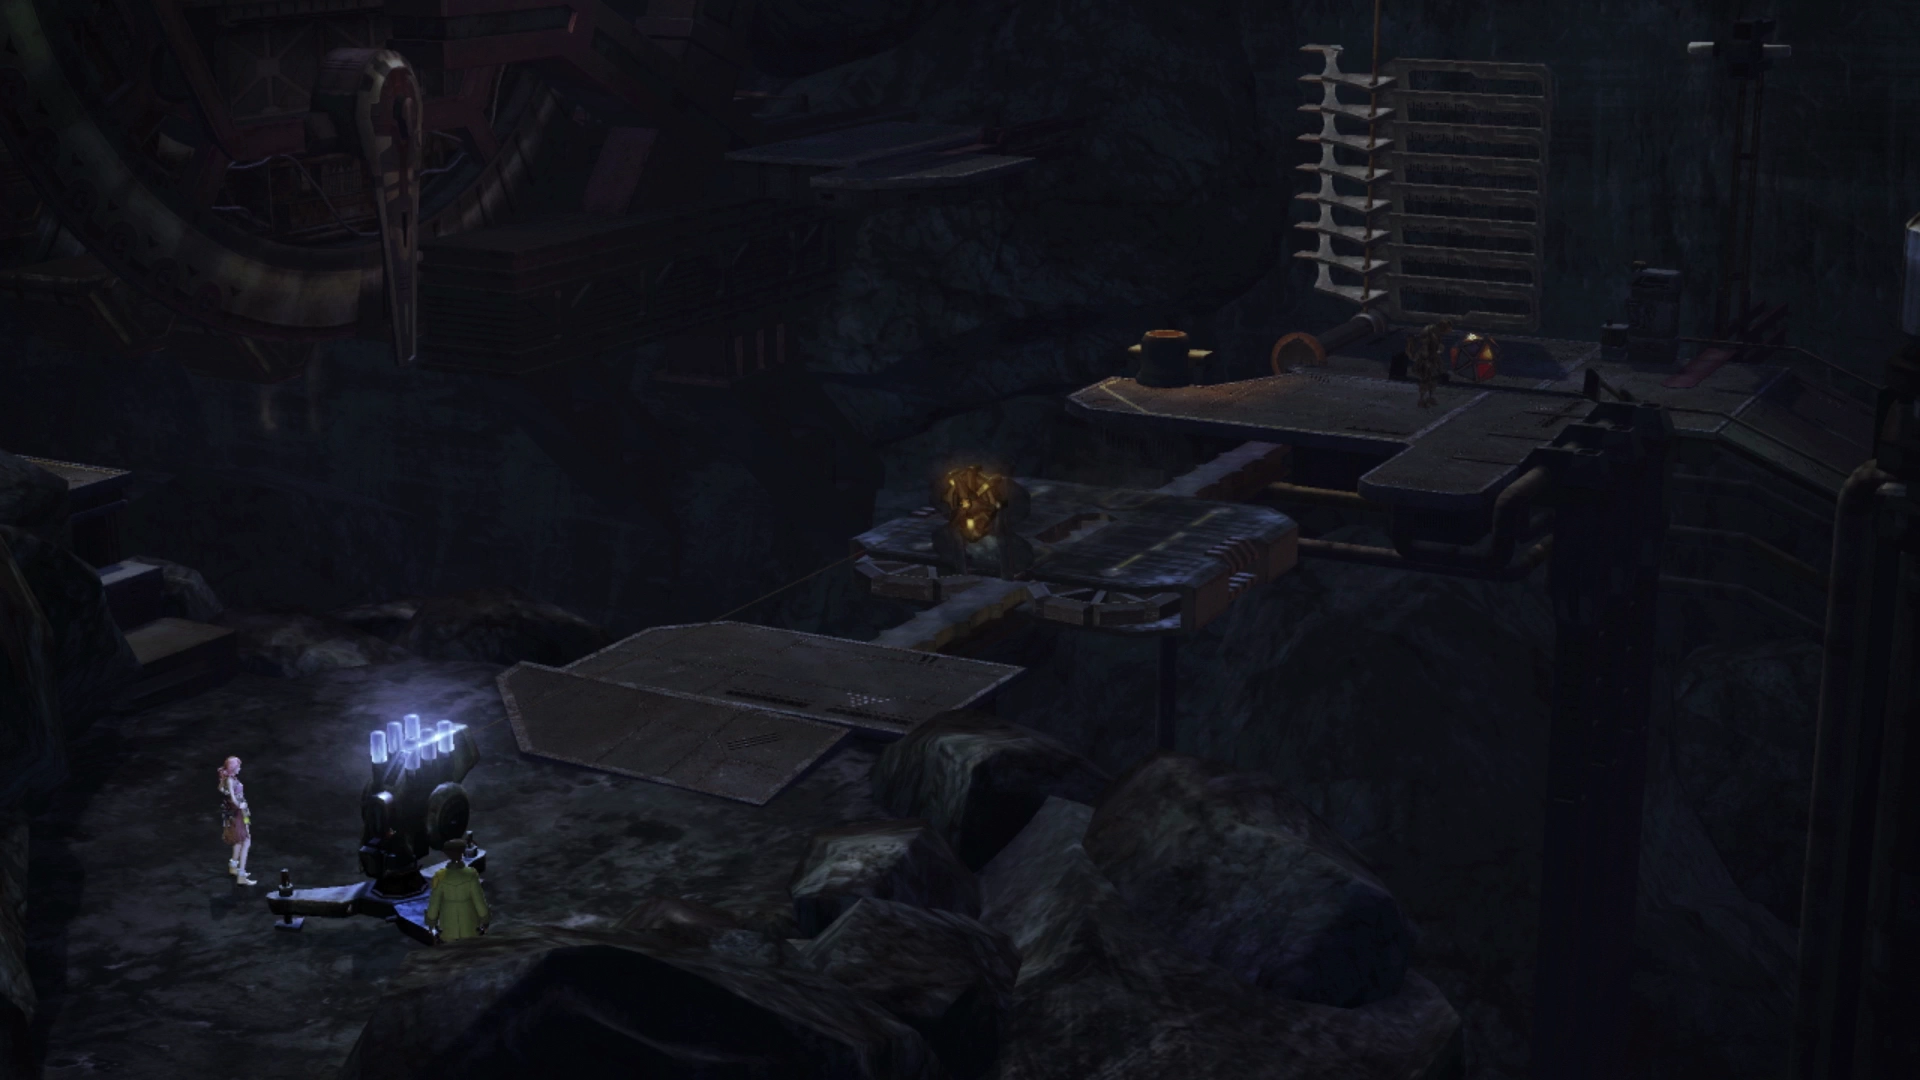
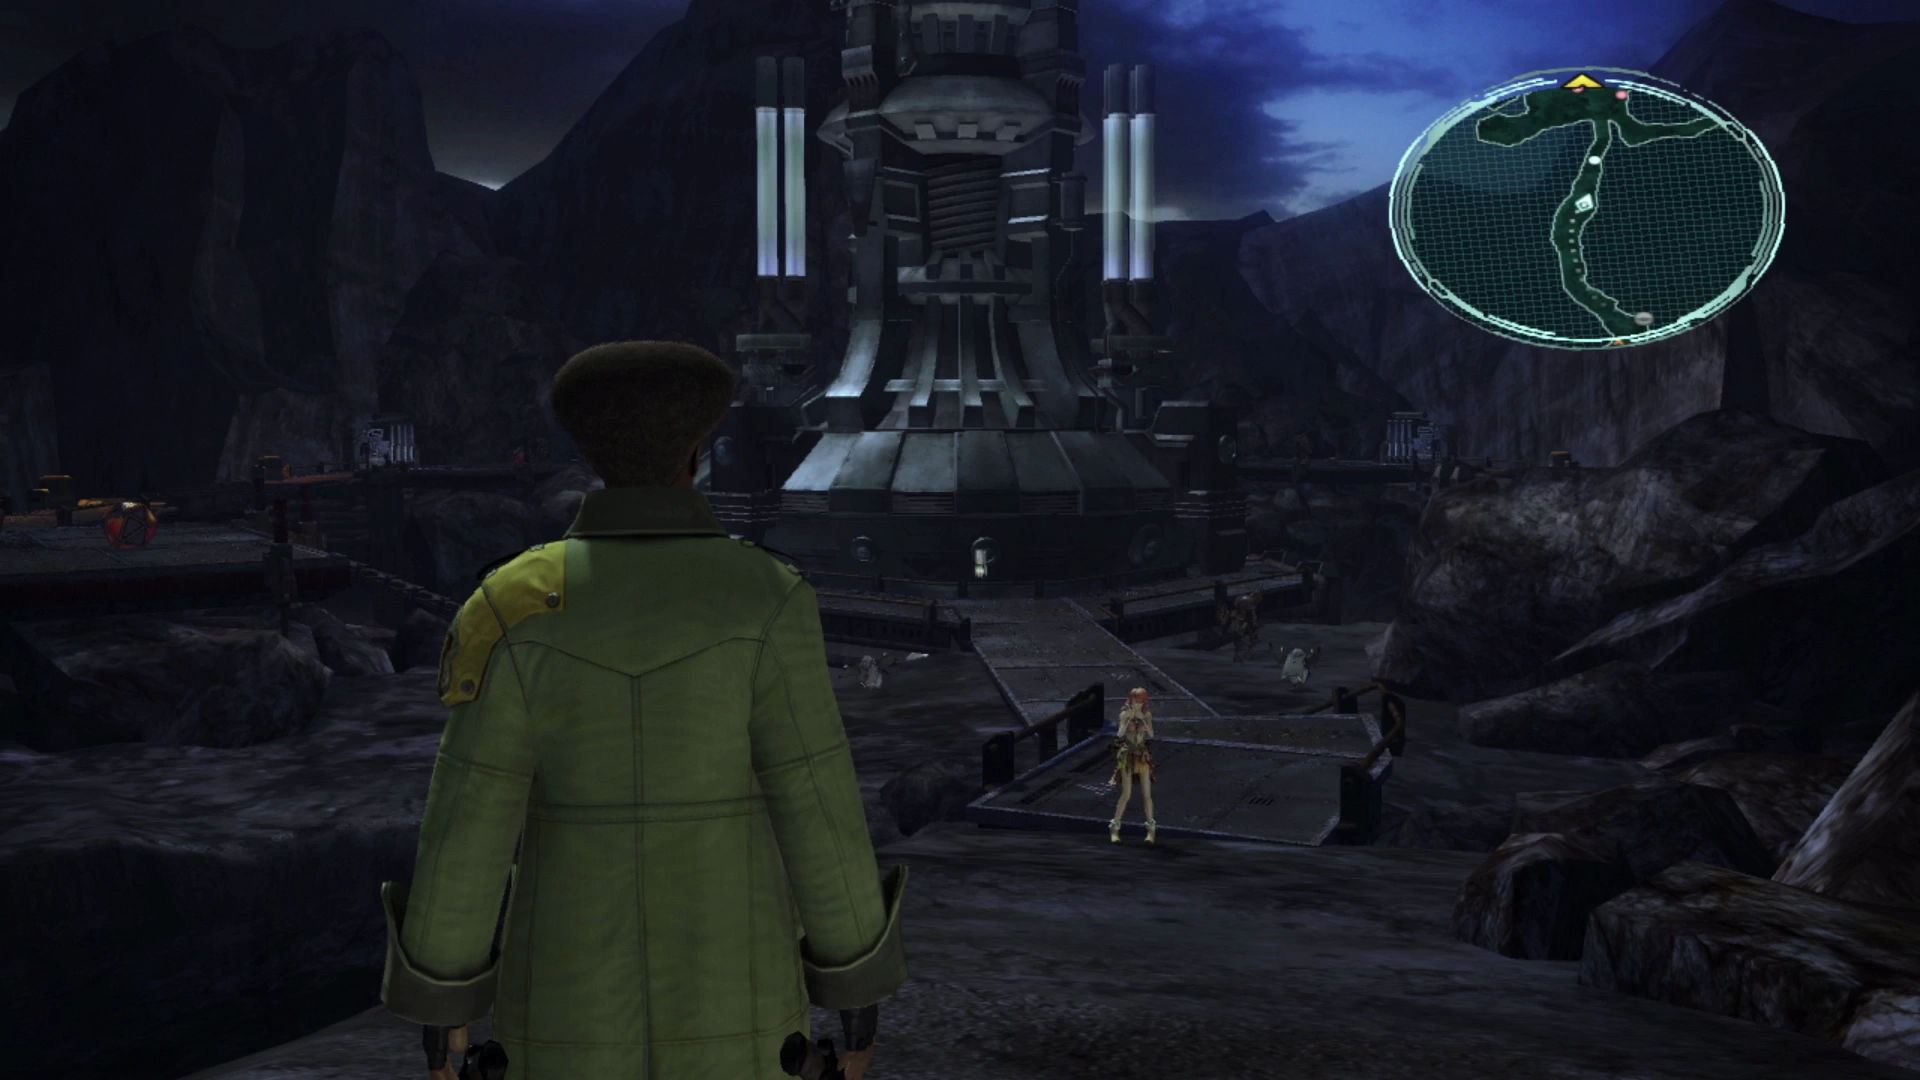
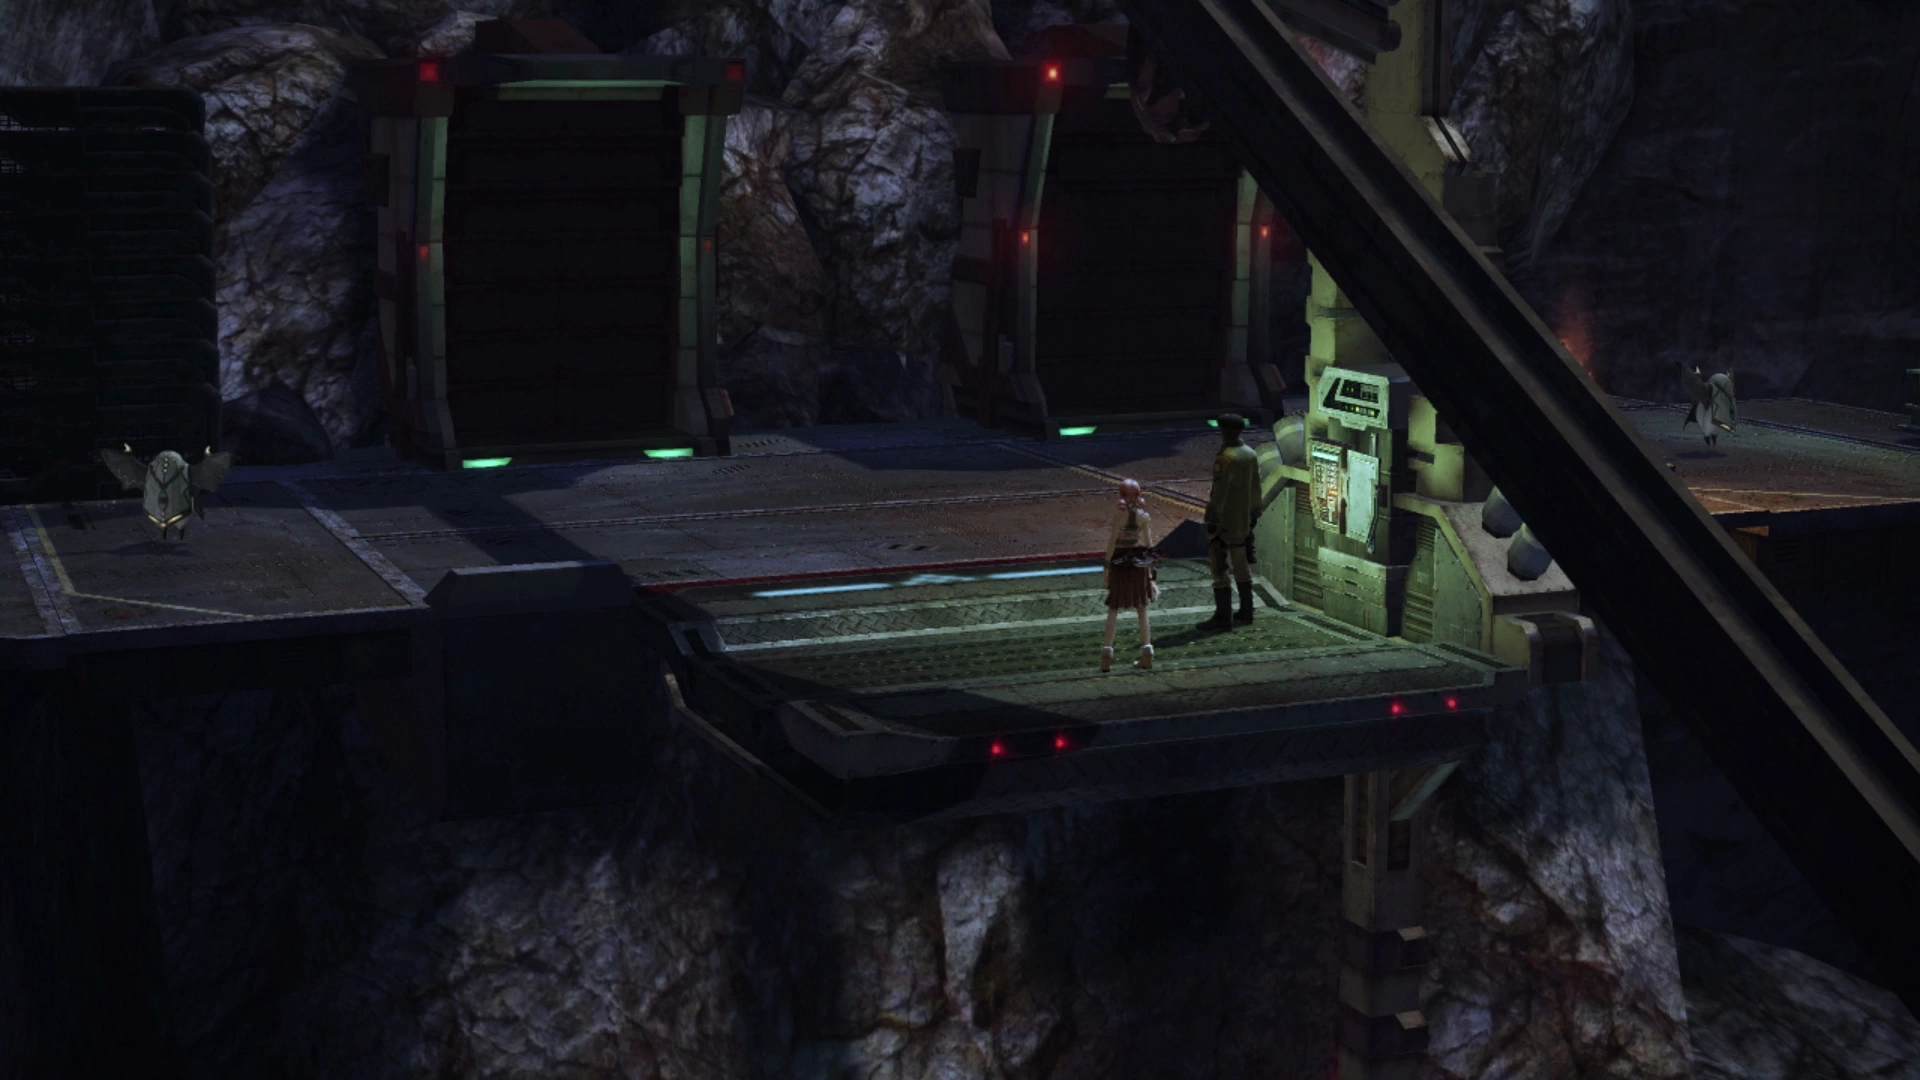
Just up ahead you will find a large mechanical structure with walkways on all sides. Power can be restored to this structure by activating the four control panels surrounding it.
Defeat the Pulsework Soldier that is accompanied by two Gremlins to reach the ![]() Save Station near the center of the mechanical structure, but then turn around and take the pathway that leads off to the right. Behind the rocks, you will find a Treasure Sphere that contains a tuft of
Save Station near the center of the mechanical structure, but then turn around and take the pathway that leads off to the right. Behind the rocks, you will find a Treasure Sphere that contains a tuft of ![]() Phoenix Down (use the map to help you find it). Jump up the rocks and defeat the Pulsework Soldier and Bomb to reach and activate the first control panel.
Phoenix Down (use the map to help you find it). Jump up the rocks and defeat the Pulsework Soldier and Bomb to reach and activate the first control panel.
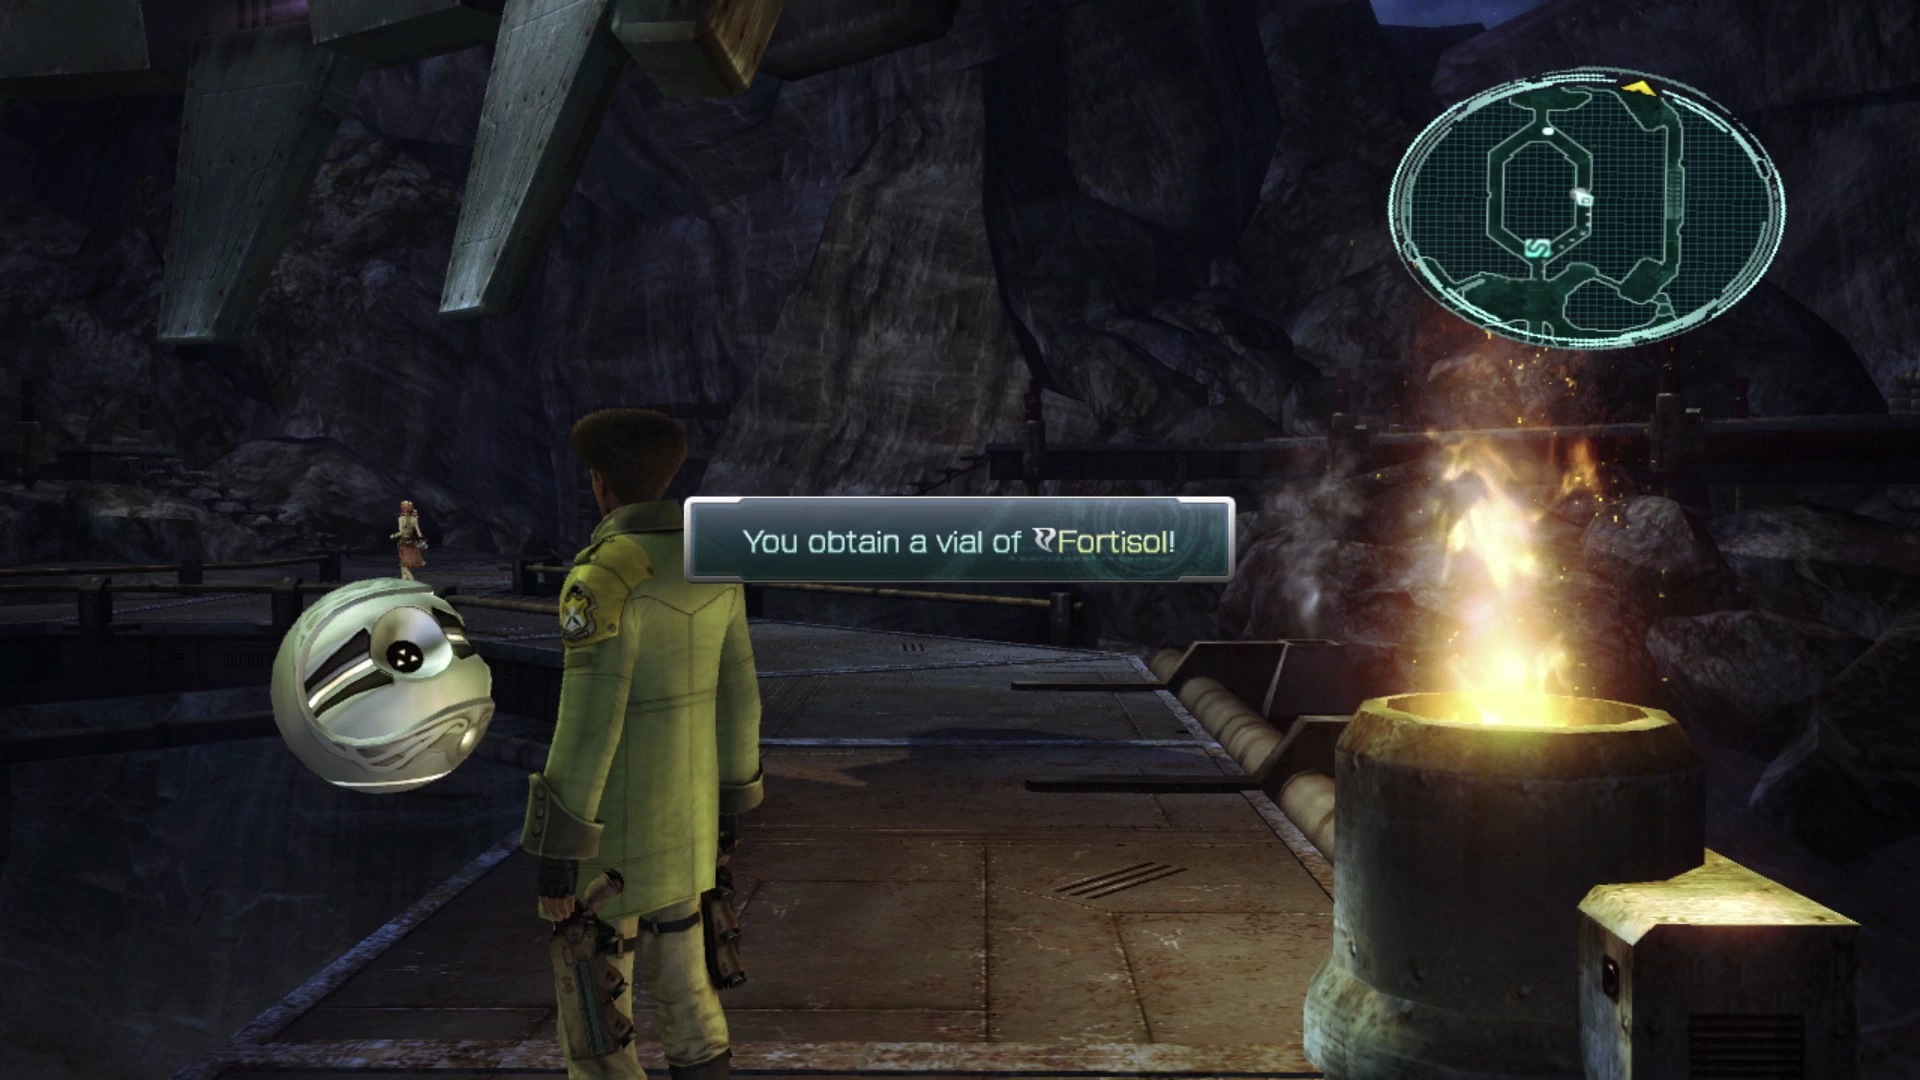
Complete the circle around the large mechanical structure, defeating each of the groups of enemies along the route, until you have activated all four control panels. This will cause the large mechanical structure to power up and lift away from the lower catwalks in the center of the gorge. This will reveal a new Treasure Sphere in the center area, behind the ![]() Save Station, that contains a vial of
Save Station, that contains a vial of ![]() Fortisol.
Fortisol.
Optional Backtracking
This next section of the guide is optional, as you can continue straight through to the final area of “Scrap Processing” to move on to the next chapter of the game. Alternatively, though, you can head back to the previously inaccessible areas and inoperable control panels that Sazh and Vanille passed on their way here to activate them and pick up some rewards. The choice is yours, but it is recommended that you work your way back, both for the items, but also the Crystogen Points (CP) that you will earn along the way.
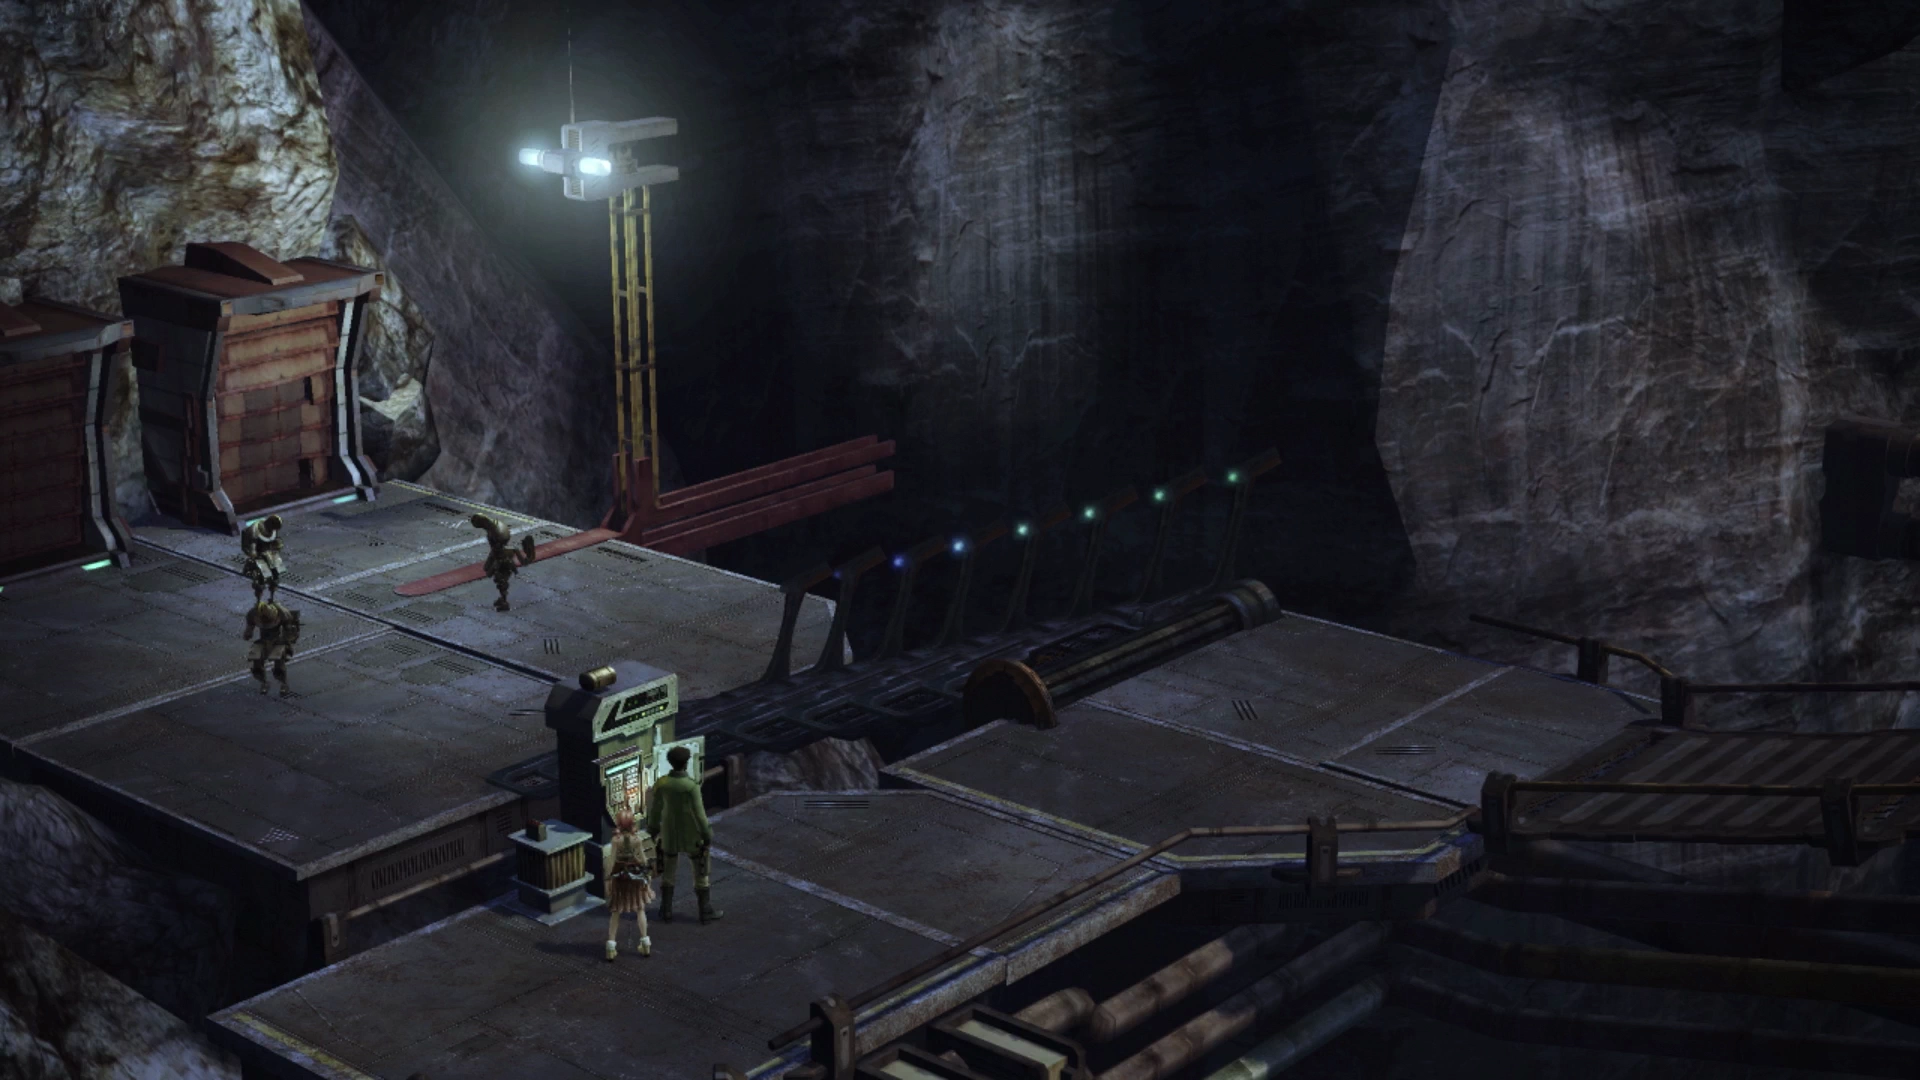
Run back to the last area, past all the Gremlins which you can avoid fighting by running past them quickly. The enemies in this area will have respawned. Once you reach the group of two Bombs with a Pulsework Soldier, defeat them, and then turn right and look for a control panel that you can activate. Use the control panel to activate the elevator which will take you over to a new section of the map.
The first thing you’ll have to do is face off against another large group of enemies that contains two Pulsework Soldiers and three Gremlins. Try to get a ![]() preemptive strike on them by only jumping off the elevator when none of the enemies are looking in your direction. There’s another control panel to activate on this platform which, once powered up, will lower a new set of stairs that you can go down.
preemptive strike on them by only jumping off the elevator when none of the enemies are looking in your direction. There’s another control panel to activate on this platform which, once powered up, will lower a new set of stairs that you can go down.
The path at the bottom of the stairs splits with one path going left and one going right. Take the pathway on the left to find another control panel just up ahead. Activate it to lower another set of stairs which leads to a platform with three Pulsework Soldiers roaming around on it. Try to get a preemptive strike against these slow-moving enemies and then, once they have been defeated, open the Treasure Sphere behind them to obtain six vials of ![]() Vibrant Ooze.
Vibrant Ooze.
Travel back up the stairs and take the pathway that leads up to the right this time. You will have to defeat a Bomb and a Pulsework Soldier. Continue following the path up to the final group of three Bombs and a Pulsework Soldier.
It’s difficult to get a preemptive strike against these enemies and getting hit by multiple “Self-destruct” attacks means one of your party members may be KO’d, so this is an instance where you may want to consider using ![]() Deceptisol to force a preemptive strike. After the group has been defeated open the Treasure Sphere behind them to obtain 8
Deceptisol to force a preemptive strike. After the group has been defeated open the Treasure Sphere behind them to obtain 8 ![]() Iron Shells.
Iron Shells.
That’s everything that you can do as part of this optional backtracking portion of the Scrap Processing area. You will need to ride the elevator back down to the lower platform by activating the control panel again, and then consider saving your game at one of the nearby ![]() Save Stations on your way back to the large mechanical reactor.
Save Stations on your way back to the large mechanical reactor.
Scrap Processing (Mechanical Reactor)
A group of Pulsework Soldiers and Bombs will be guarding the doorway on the opposite side of the mechanical reactor when it opens. This is another challenging battle, but you can slowly drag the Bombs away from the group by getting close and then running away when they charge towards you, and then ambush them when they start to walk back to where they were standing before to initiate a preemptive strike.
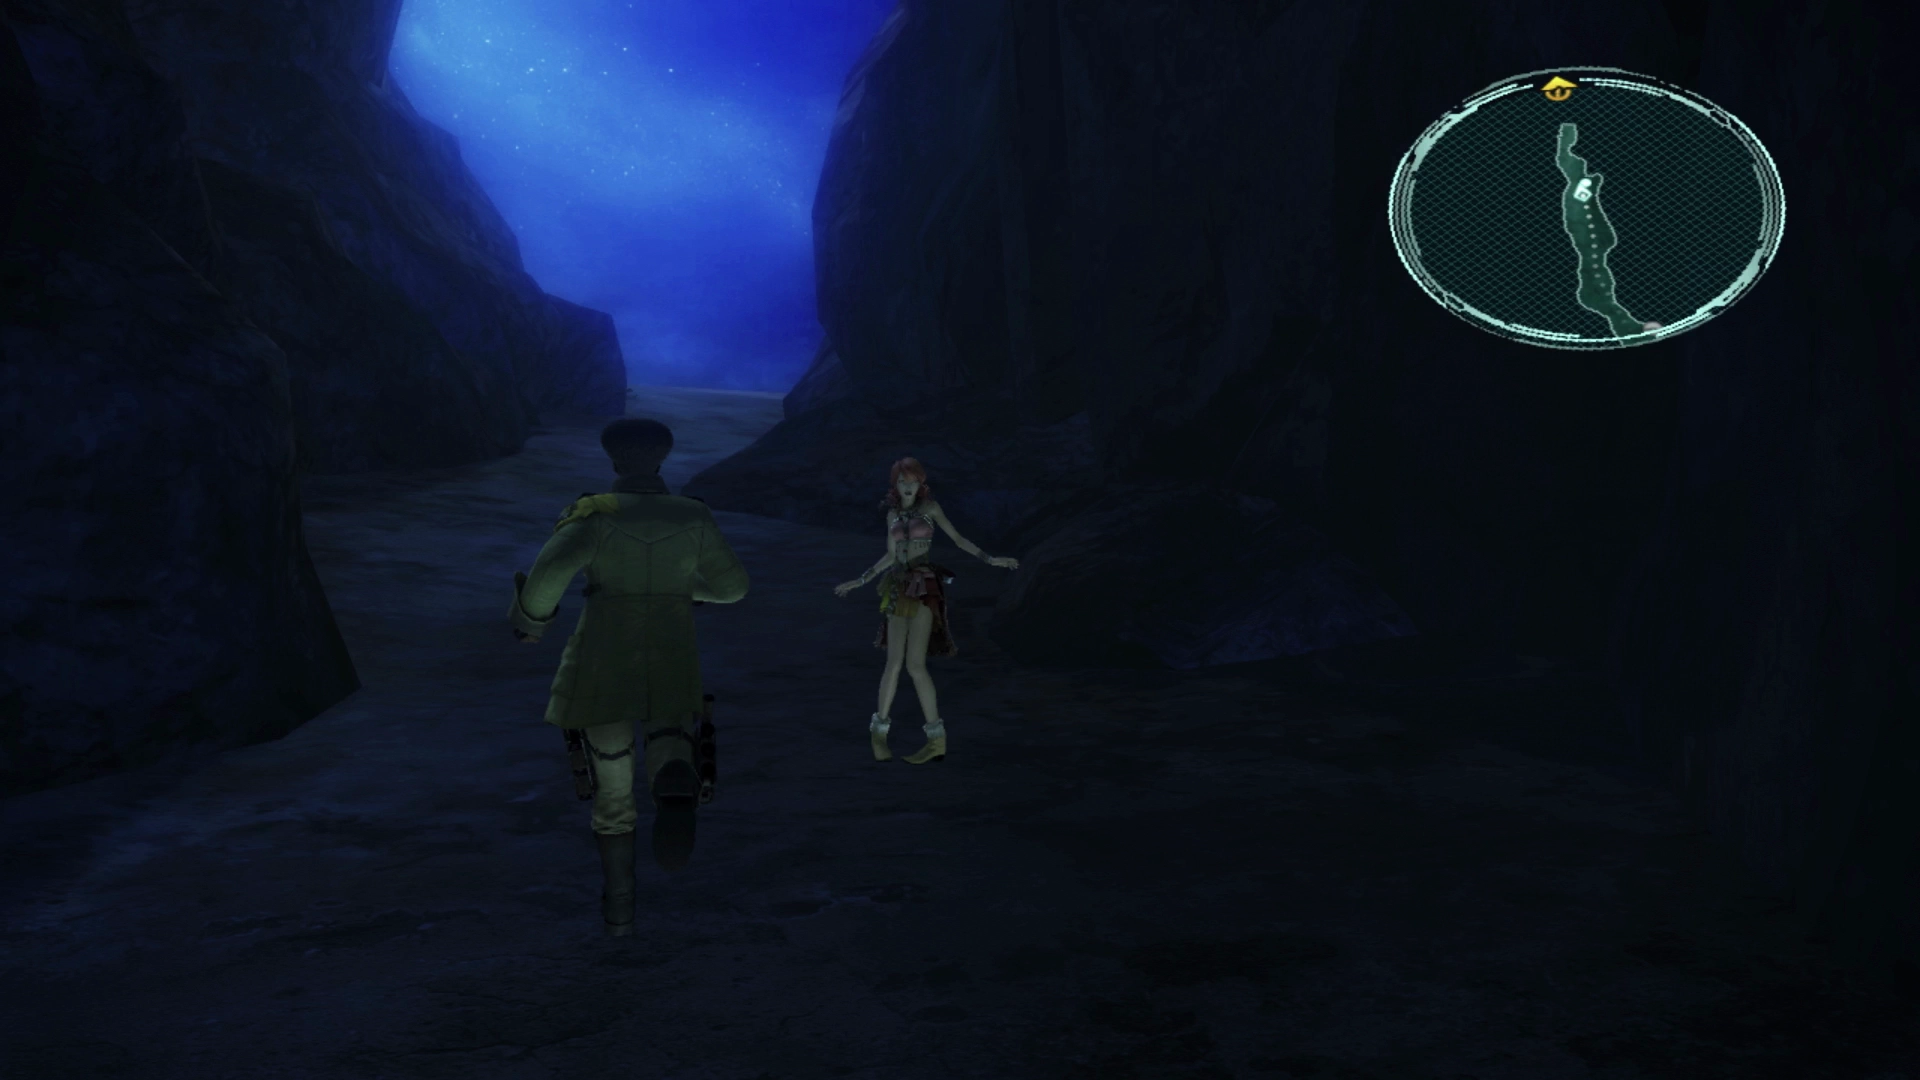
After you defeat these enemies continue walking along the passage to find one more Treasure Sphere that contains ![]() 300 Gil. Keep walking towards the blue sky at the end of the pathway to kick up another set of cutscenes that signify the end of Chapter 4.
300 Gil. Keep walking towards the blue sky at the end of the pathway to kick up another set of cutscenes that signify the end of Chapter 4.
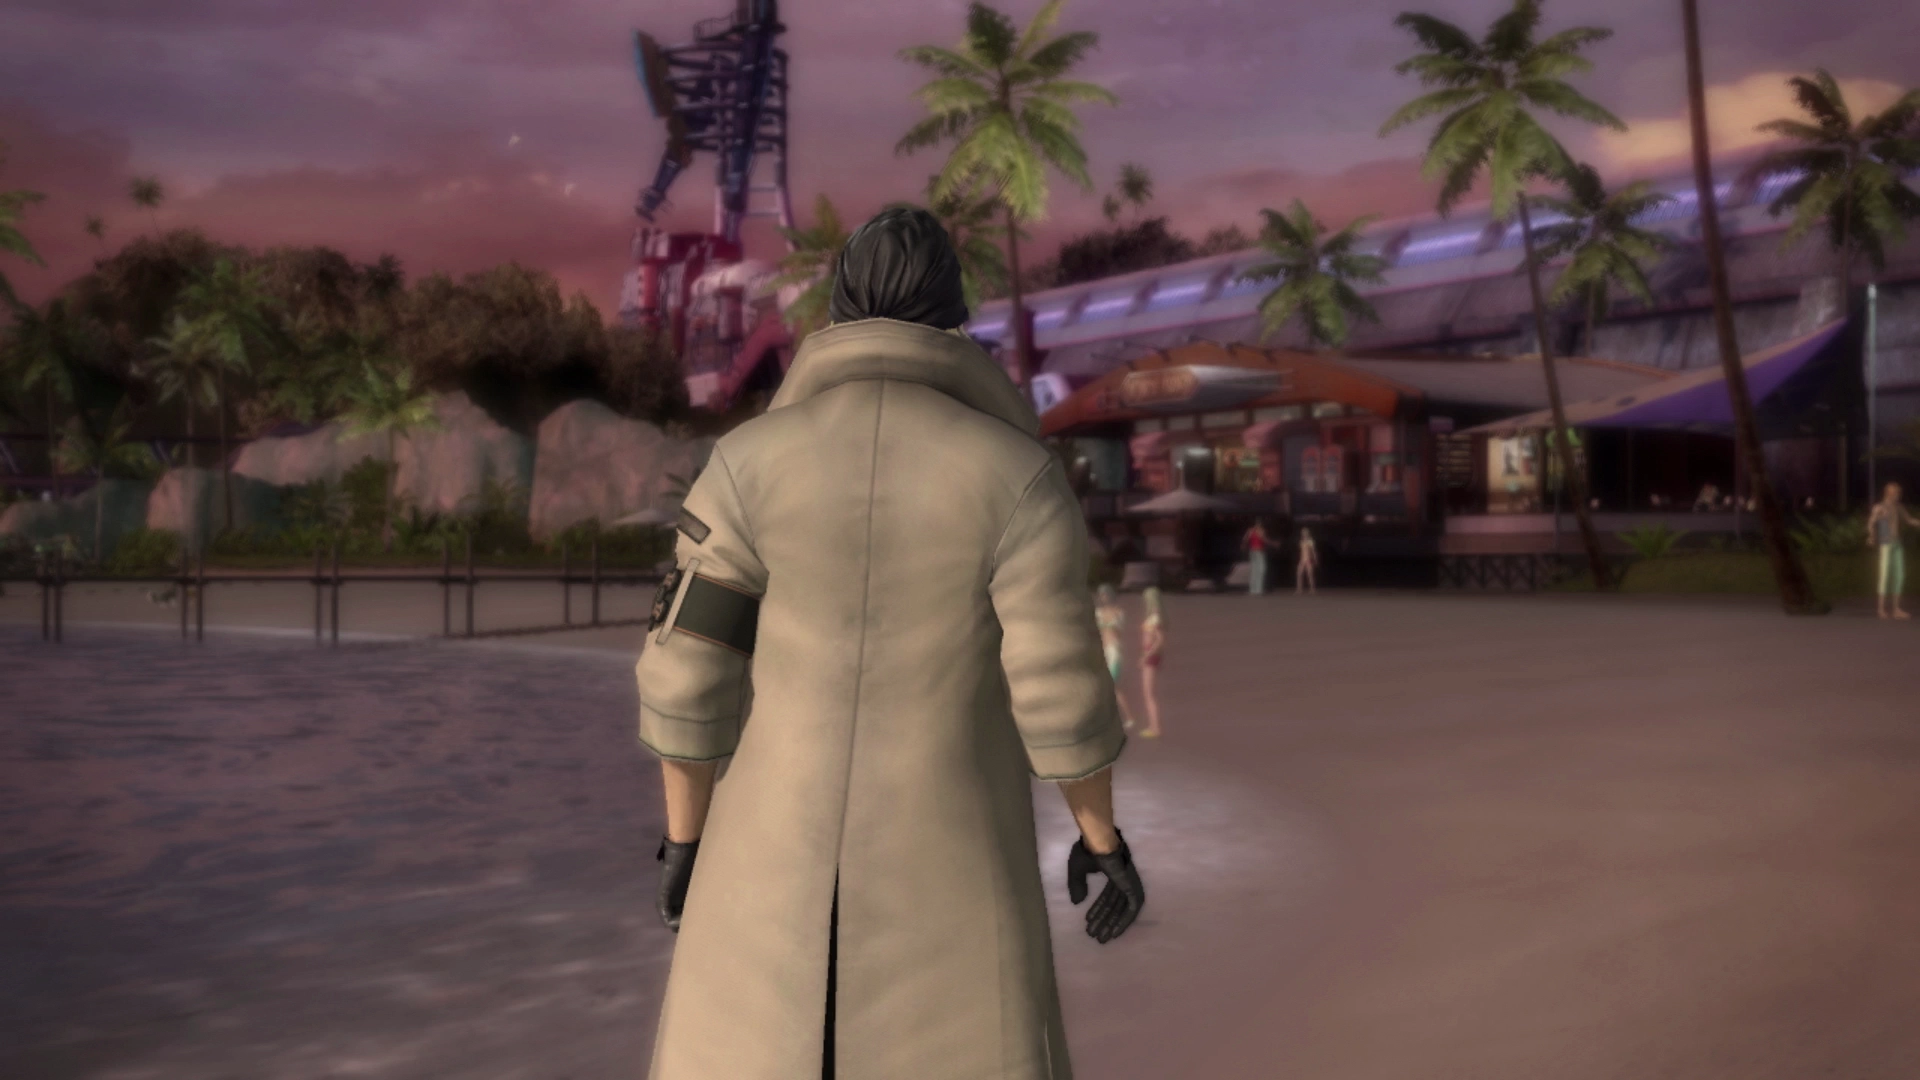
Bodhum Interlude
There’s a short interlude of cutscenes that take place during the Thirteen Days involving Snow and Serah in the town of Bodhum. There isn’t anything to do in this area (no items to pick up) other than to walk towards the map marker , speak to the bartender, and then turn around and meet with Serah on the docks.
On to the next chapter!
Achievement/Trophy
You will automatically receive the  Instrument of Flight Achievement/Trophy at the end of Chapter 4.