
Chapter 4: The Vile Peaks (Part 2)
Devastated Dreams
The Vile Peaks section of the guide is broken up into Part 1, Part 2, and Part 3. Use the navigation arrows to navigate between the various sections. This section continues from the battle against the Dreadnought to the upcoming Eidolon battle.
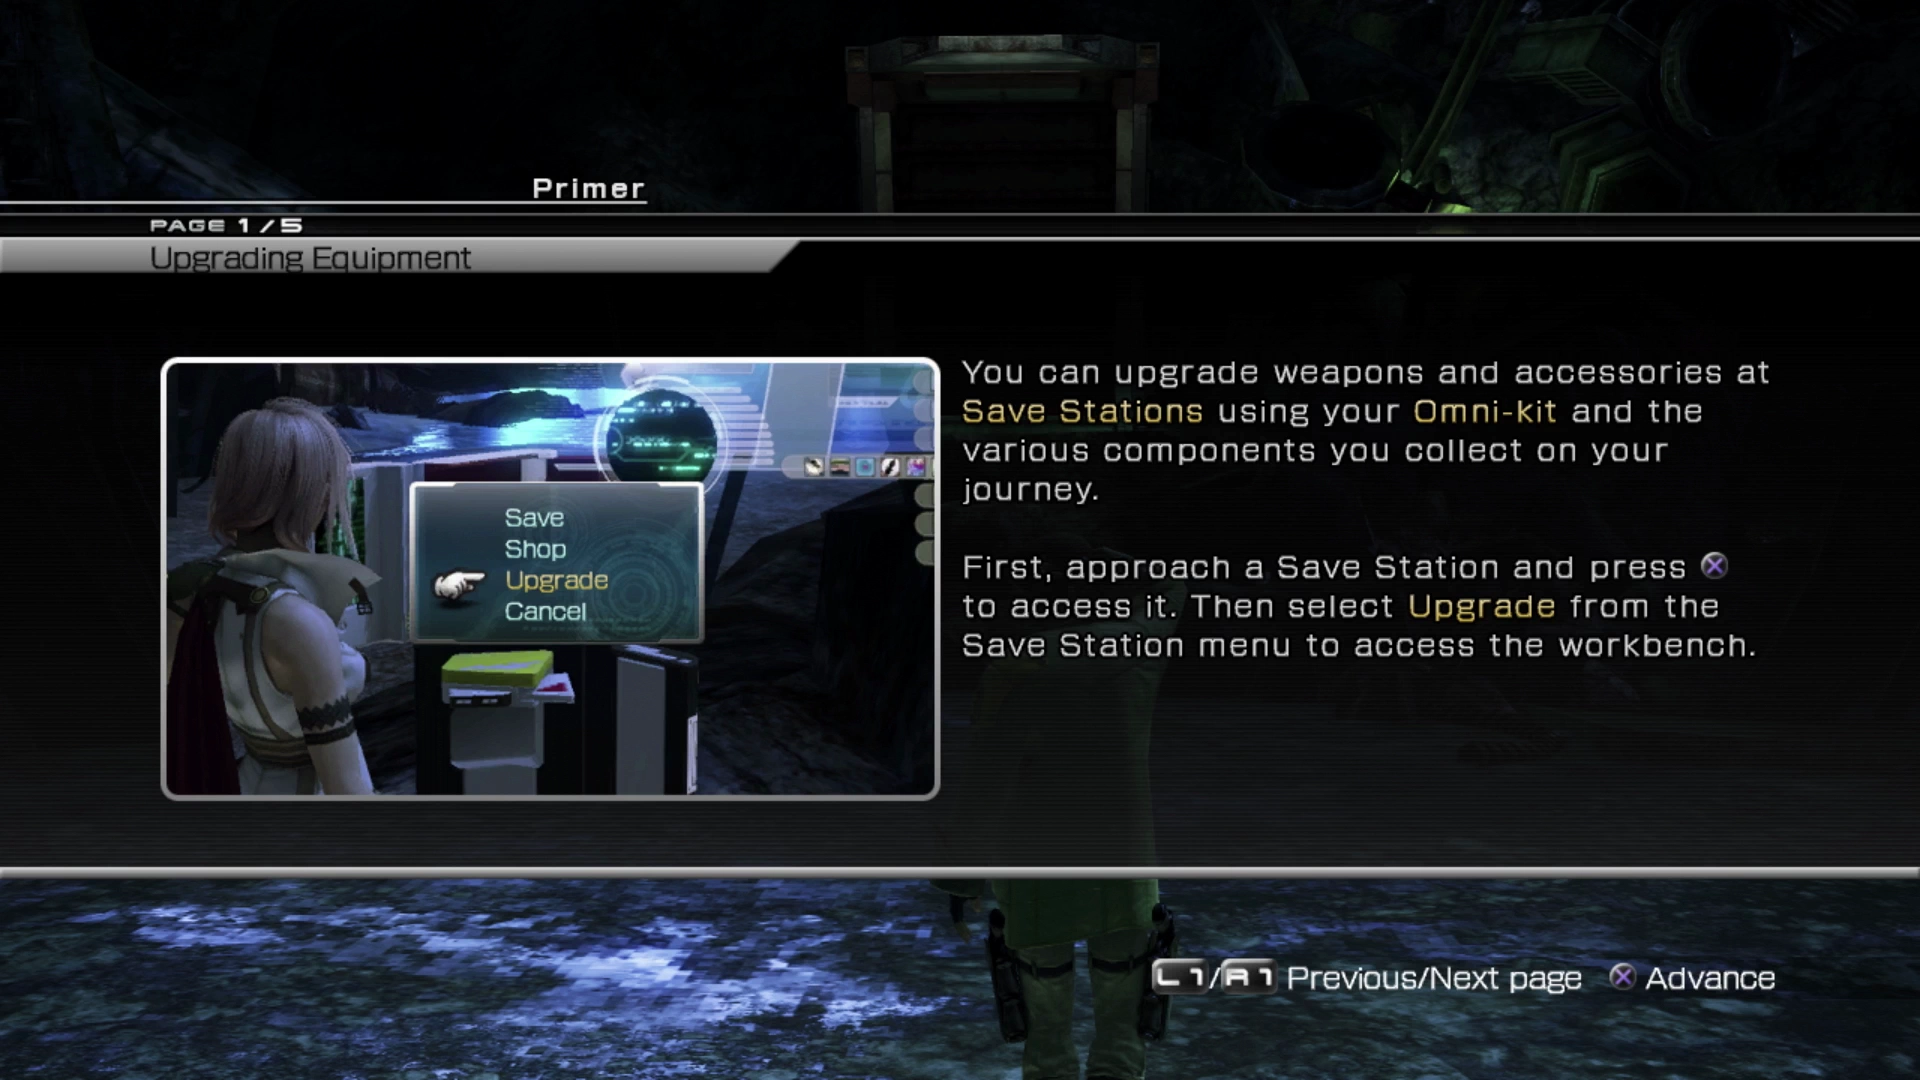
The game starts this next section by providing you with a brief overview and tutorial on how to upgrade your weapons. But before you do that, read the helpful hint section below.
Helpful Hint
By this point in the game, you have begun to amass a fairly large number of components. These components are used to upgrade your character’s weapons and accessories. Following the in-game tutorial, you can now start the upgrading process, but it is worth mentioning that you may want to hold off on upgrading your equipment entirely, until the end of the game, for two reasons:
- The early items that you obtain provide very little in the way of upgrade value to your party members’ equipment. They will quickly be outclassed by items that drop in later chapters, meaning it may be better to just sell them, and…
- The content in these early stages of the game is easy enough and doesn’t require you to spend time upgrading your equipment.
Therefore, it is recommended to hold off on upgrading equipment for now… But even with those two points aside, some players may want to begin the process of upgrading their equipment, just so that they can get the most out of their characters even in these early chapters and early battles. If that’s you, consider reading up on how upgrading equipment works using the link to review the Tips and Tricks section on equipment upgrades.
There is only one direction to go and that’s the platform / walkway just in front of where you regain control of Sazh. Climb the stairs into the next area of the Vile Peaks.
Mounds of Naught
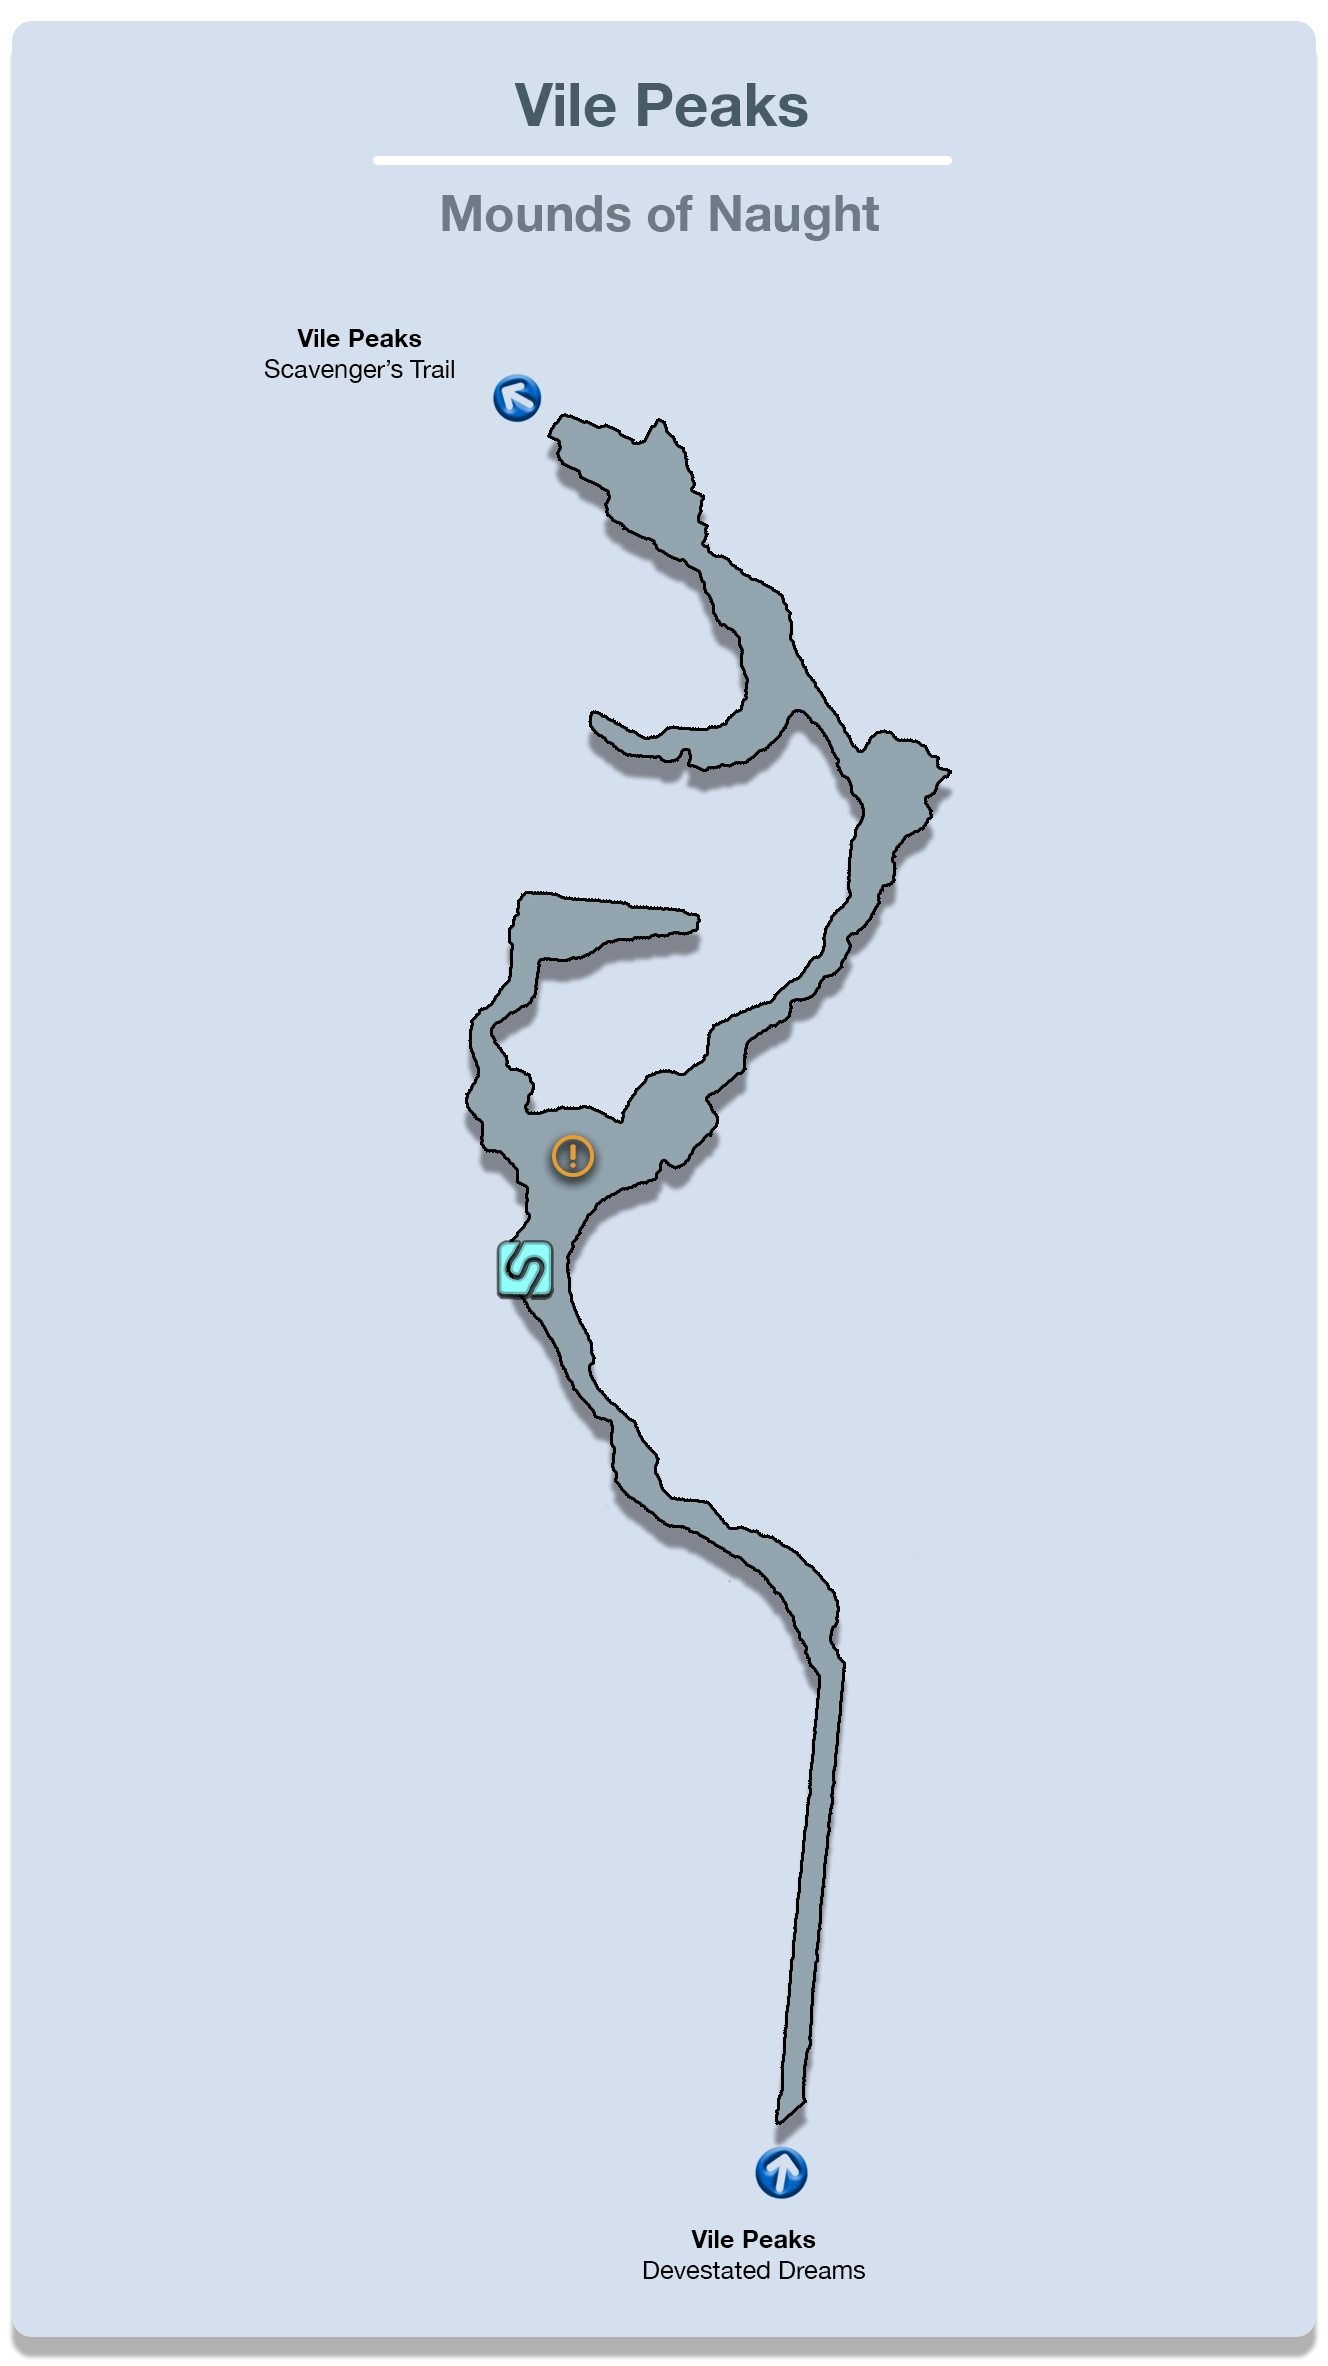
Use the ![]() Save Station along the pathway to save your game. Another cutscene will initiate once you walk a few steps forward from the Save Station where Lightning will explain to Sazh what her plans are going forward. This is where your four party members will split up once again.
Save Station along the pathway to save your game. Another cutscene will initiate once you walk a few steps forward from the Save Station where Lightning will explain to Sazh what her plans are going forward. This is where your four party members will split up once again.
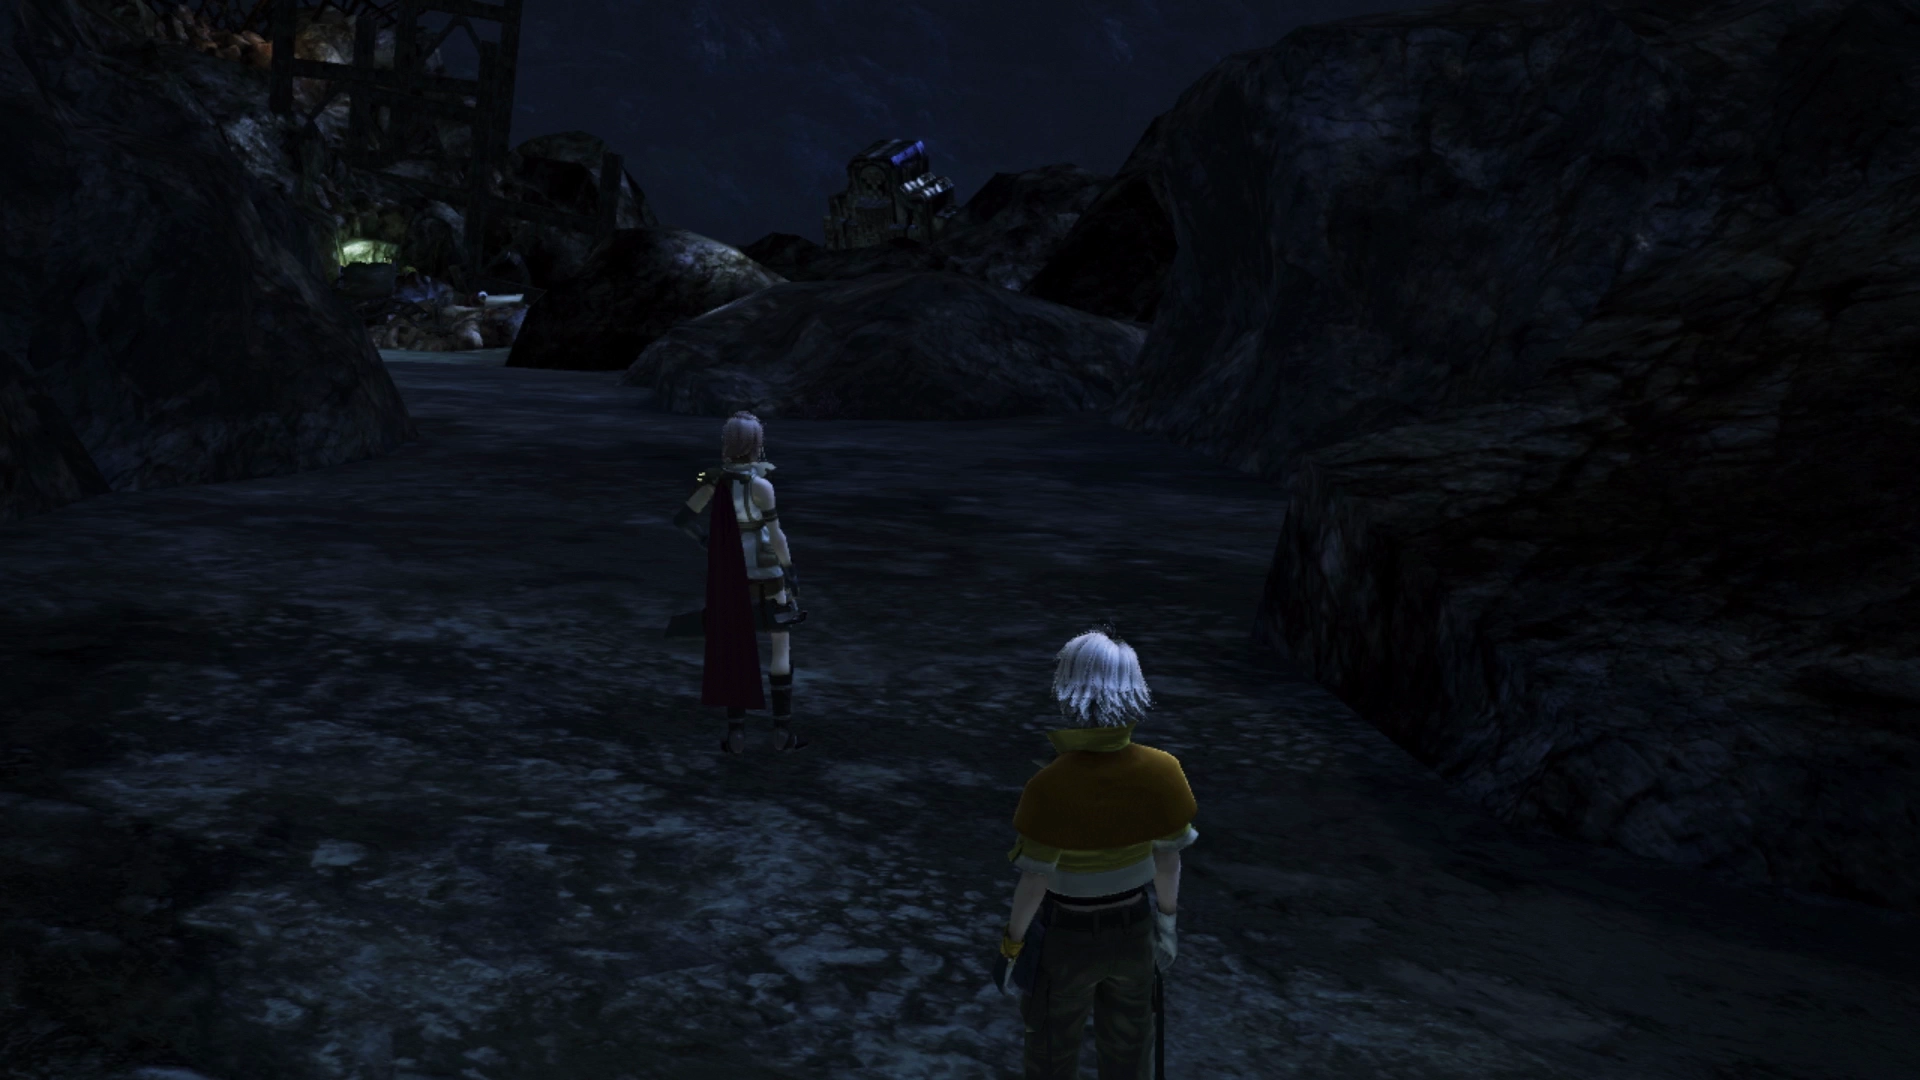
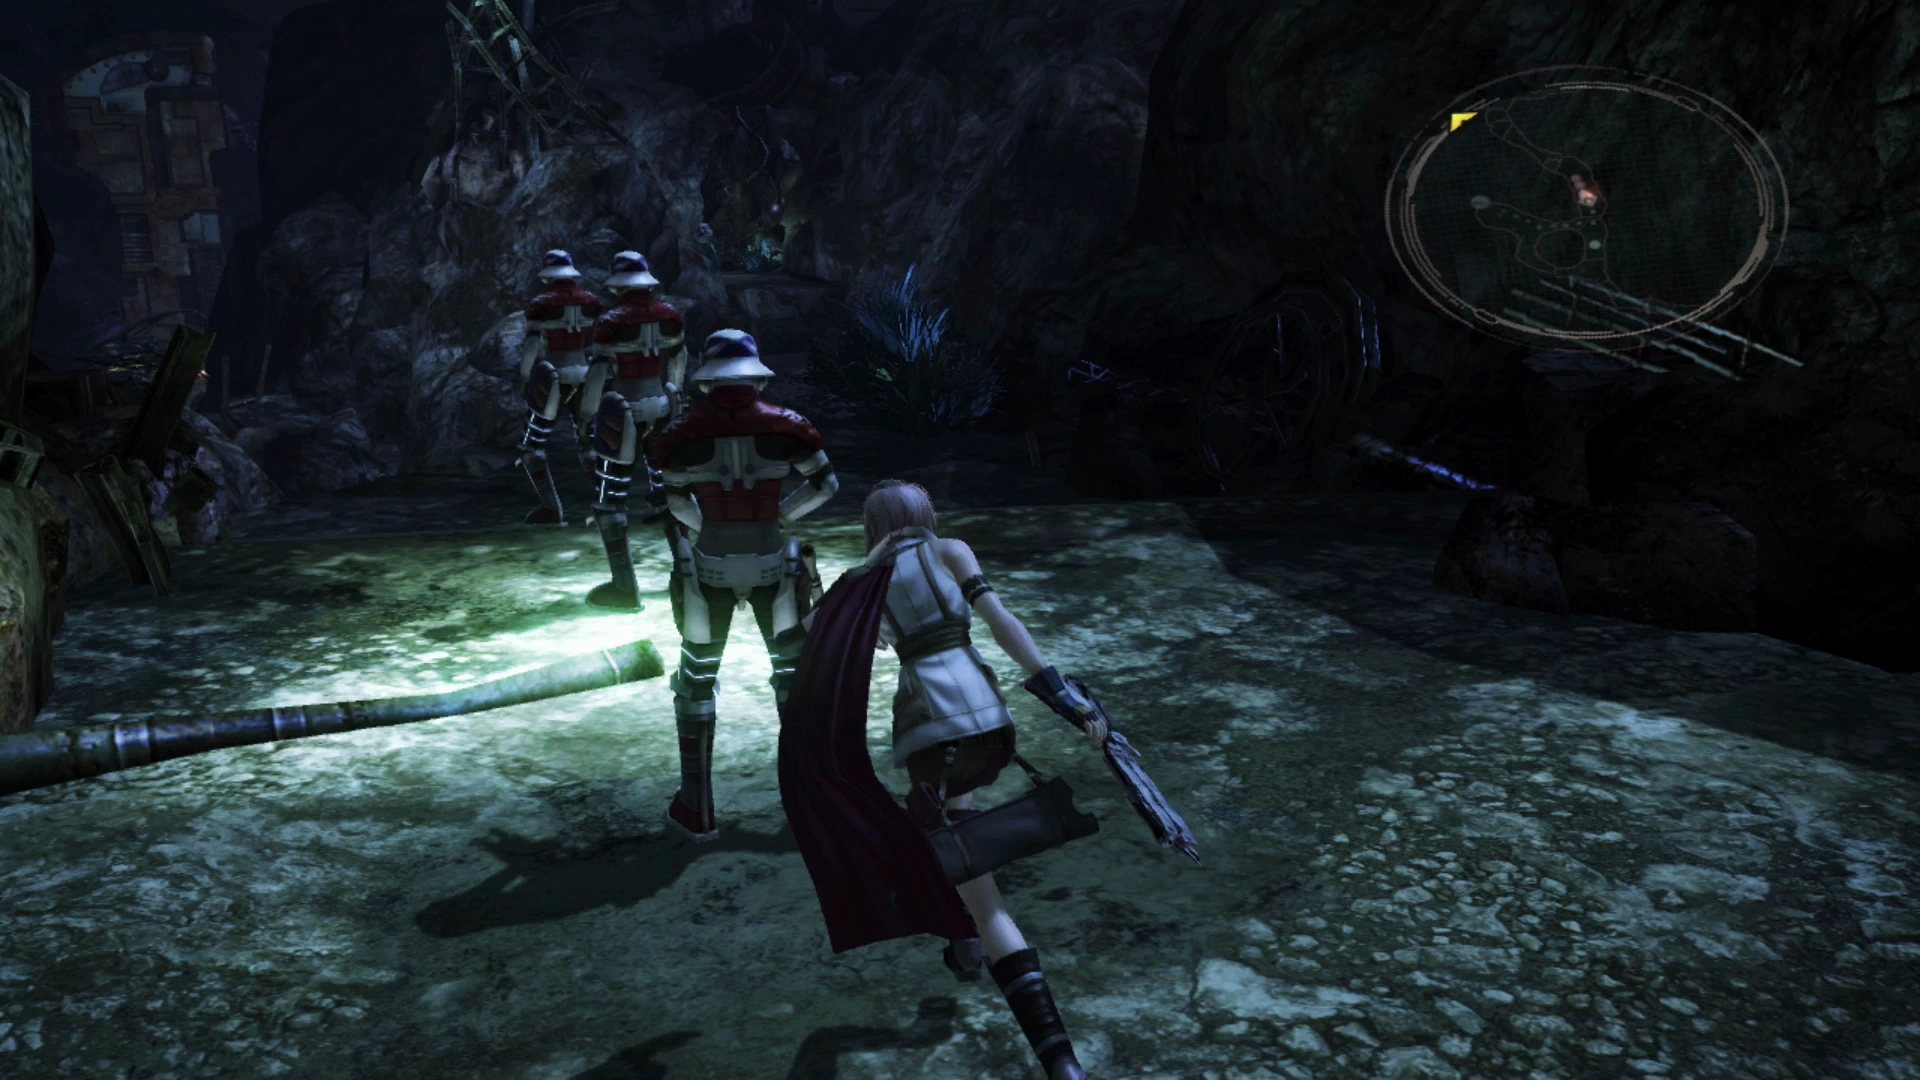
You’ll start in control of Lightning and Hope after Hope convinces Lightning to let him tag along. A large group of Corps Gunner enemies will ambush the two of them. Make sure to use ![]() Libra on these enemies and continue to use it on new enemies that you face to increase your team members’ effectiveness at taking enemies down quickly and efficiently.
Libra on these enemies and continue to use it on new enemies that you face to increase your team members’ effectiveness at taking enemies down quickly and efficiently.

There’s another cutscene involving both teams after the battle after which you will have control of Lightning and Hope in the next zone.
Scavenger’s Trail
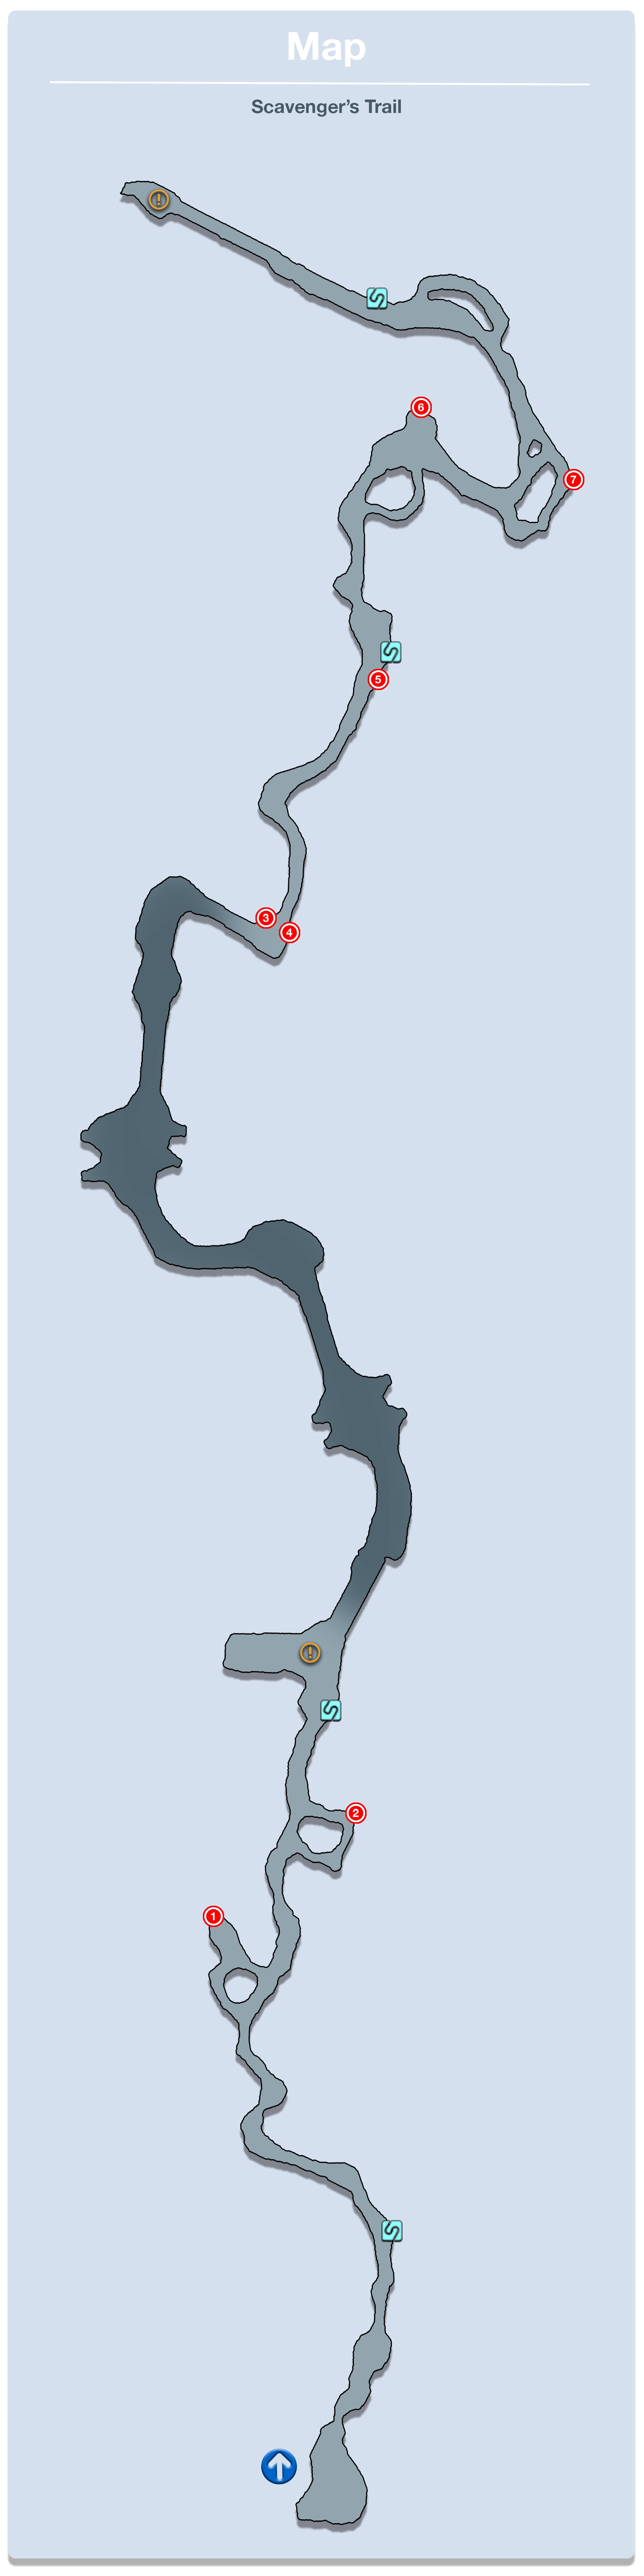
There’s yet another ![]() Save Station just up ahead along the trail. Continue past it and you will encounter a group of PSICOM that includes one Corps Regular and one Corps Gunner. These two enemies are difficult to get a preemptive attack on as they don’t patrol around the area, but they are still quite easy to defeat, nevertheless.
Save Station just up ahead along the trail. Continue past it and you will encounter a group of PSICOM that includes one Corps Regular and one Corps Gunner. These two enemies are difficult to get a preemptive attack on as they don’t patrol around the area, but they are still quite easy to defeat, nevertheless.
Take a left up ahead where the path splits off. The left side contains a group of two Corps Regular enemies and a Treasure Sphere that contains three ![]() Fiber-optic Cables. Jump back over to the main trail and challenge the group of three PSICOM soldiers. It’s very easy to get a
Fiber-optic Cables. Jump back over to the main trail and challenge the group of three PSICOM soldiers. It’s very easy to get a ![]() preemptive strike on this group as they turn around and face away from you when they reach the end of their patrol.
preemptive strike on this group as they turn around and face away from you when they reach the end of their patrol.
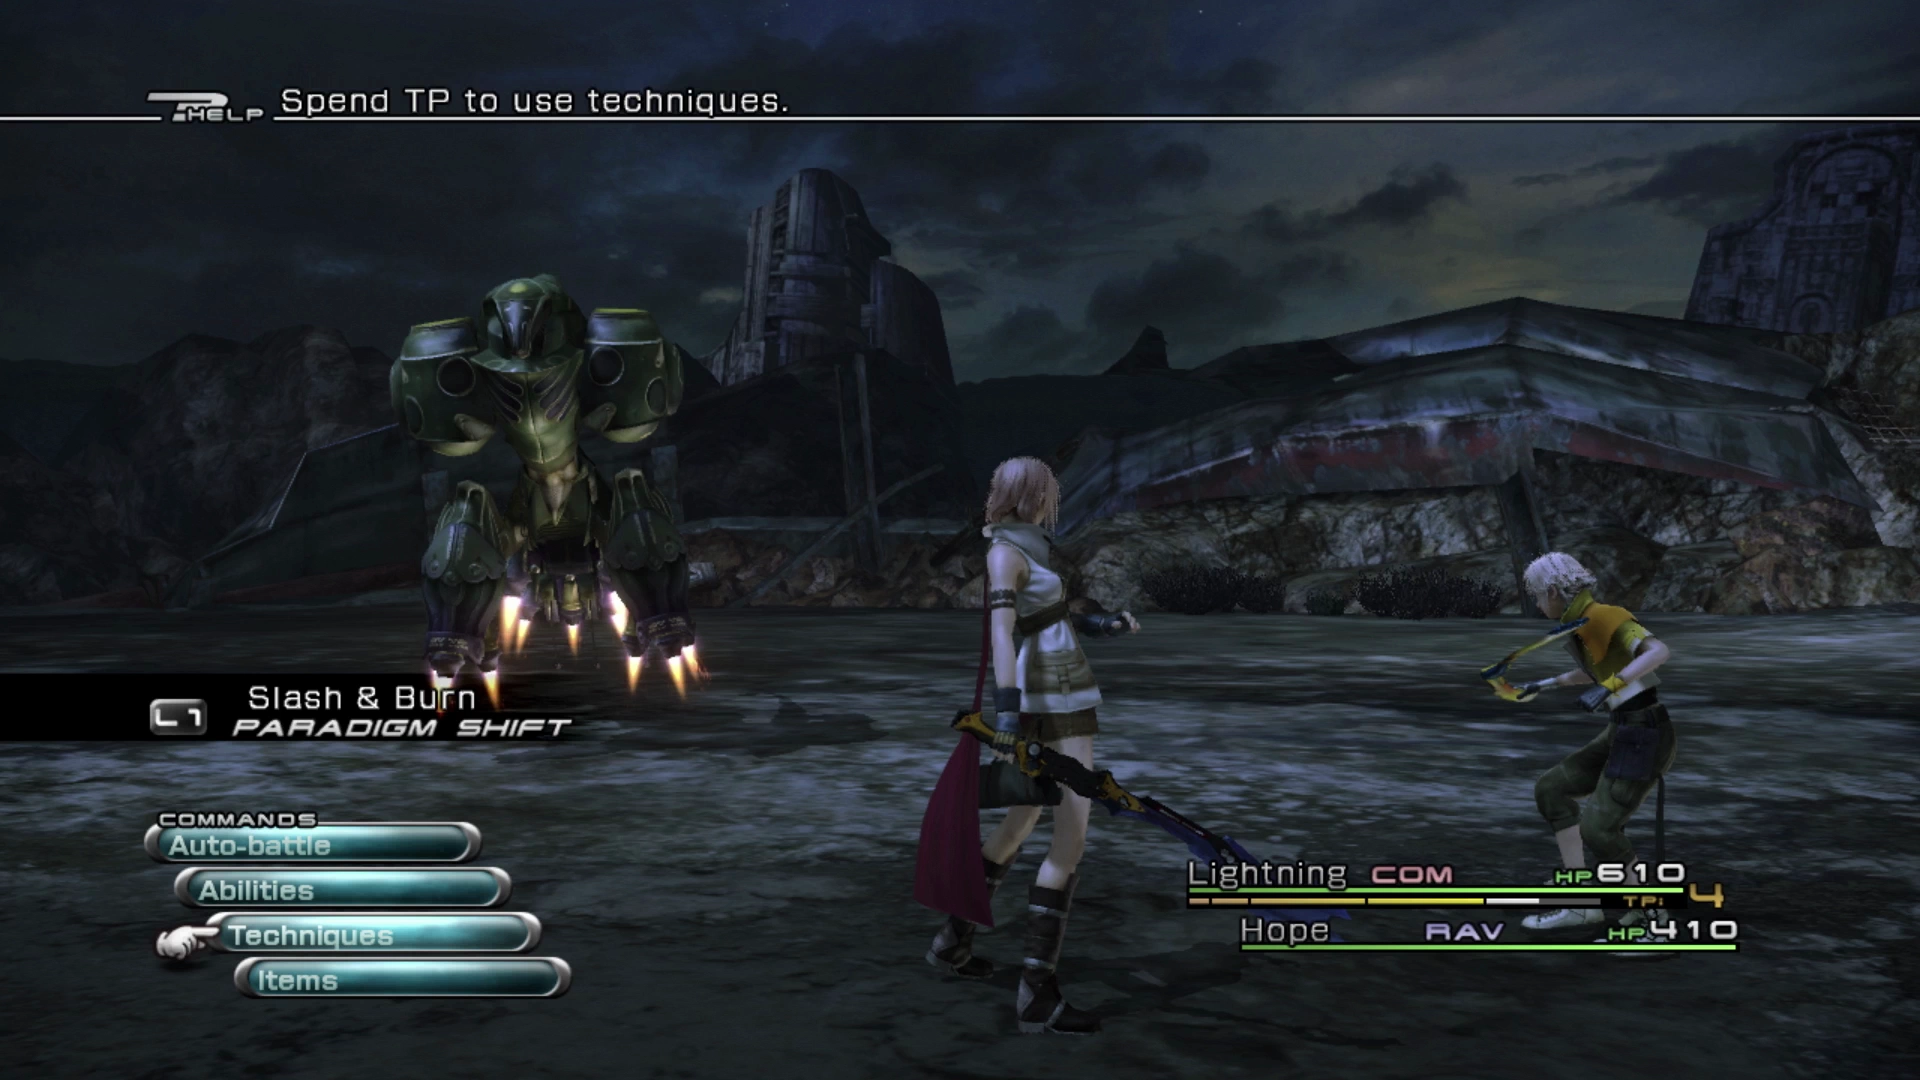
There’s another split pathway just up ahead with a Treasure Sphere that contains a ![]() Librascope. On your way past you may be ambushed by the large Uhlan floating around. Even with some of these tougher enemies, like the Uhlan, it’s quite often easiest to stick to your Slash & Burn or Dualcasting Paradigms to defeat the enemy quickly. Make sure you use
Librascope. On your way past you may be ambushed by the large Uhlan floating around. Even with some of these tougher enemies, like the Uhlan, it’s quite often easiest to stick to your Slash & Burn or Dualcasting Paradigms to defeat the enemy quickly. Make sure you use ![]() Libra on it early as you will be facing quite a few more of them (they are vulnerable to thunder and water-based magic).
Libra on it early as you will be facing quite a few more of them (they are vulnerable to thunder and water-based magic).
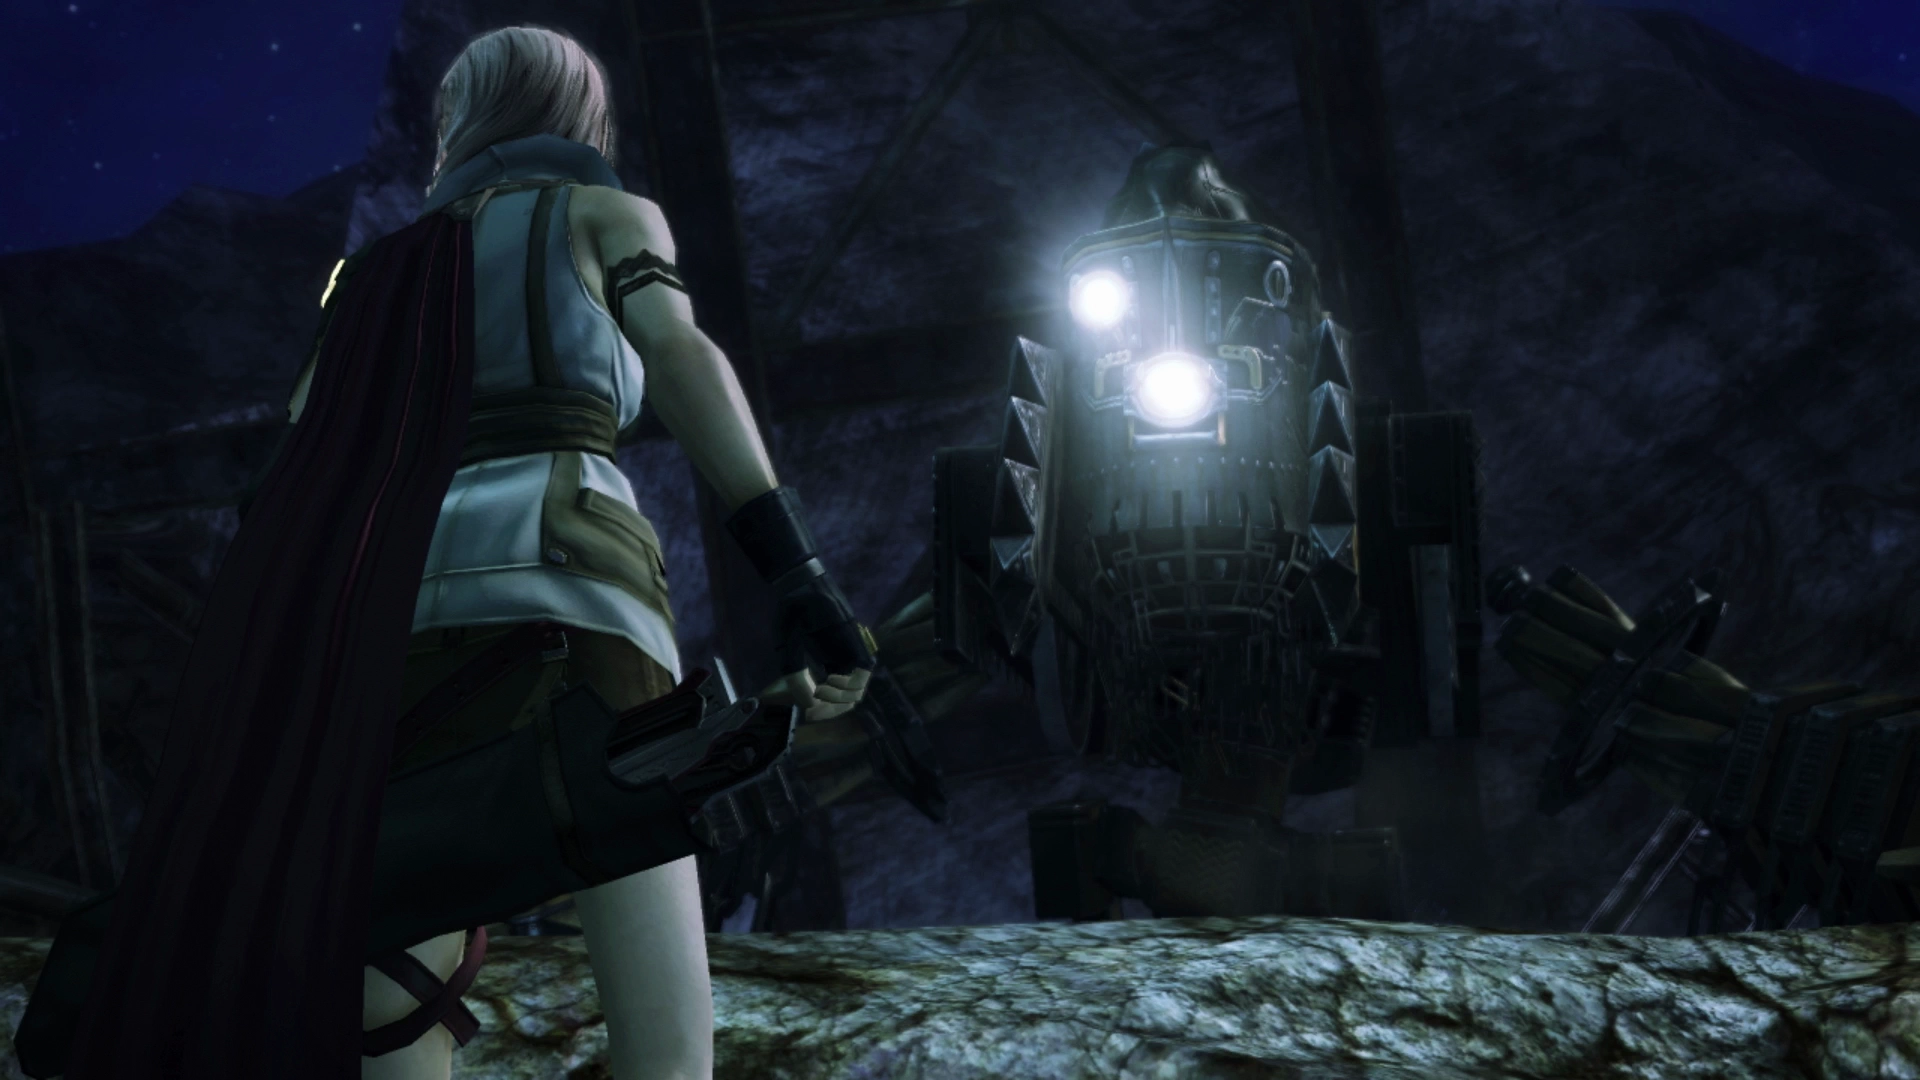
Make sure that you use the ![]() Save Station to save your game in case you want to retry the upcoming mini-game more than once. Drop into the next area to kick off a cutscene involving the PSICOM soldiers near the Dreadnought when you are ready. Defeat the two PSICOM Trackers to kick off a short cinematic where Hope will jump on the Dreadnought machine. It’s time for a little mini-game!
Save Station to save your game in case you want to retry the upcoming mini-game more than once. Drop into the next area to kick off a cutscene involving the PSICOM soldiers near the Dreadnought when you are ready. Defeat the two PSICOM Trackers to kick off a short cinematic where Hope will jump on the Dreadnought machine. It’s time for a little mini-game!
Mini-Game: Pulse Armament (Dreadnought) Gauntlet
This is a short mini-game that you get to complete that involves having Hope pilot the large Dreadnought machine through a large section of the “Scavenger’s Trail” area that you are in and using it to smash all the Pulsework Soldiers along the way. First, what are the rewards?
Rewards
Once Hope and Lightning reach the end of the gauntlet pathway there will be two Treasure Spheres and the contents will change depending on how many enemies you defeated while controlling the Dreadnought (in total) and how many you defeated specifically using its “Sweeping Blow” attack.
| Total Kills | Sweeping Blow Kills |
|---|---|
| 0 to 24 = |
0 to 24 = 100 Gil |
| 25 to 34 = |
25 to 39 = 300 Gil |
| 35 to 43 = |
40 to 43 = 999 Gil |
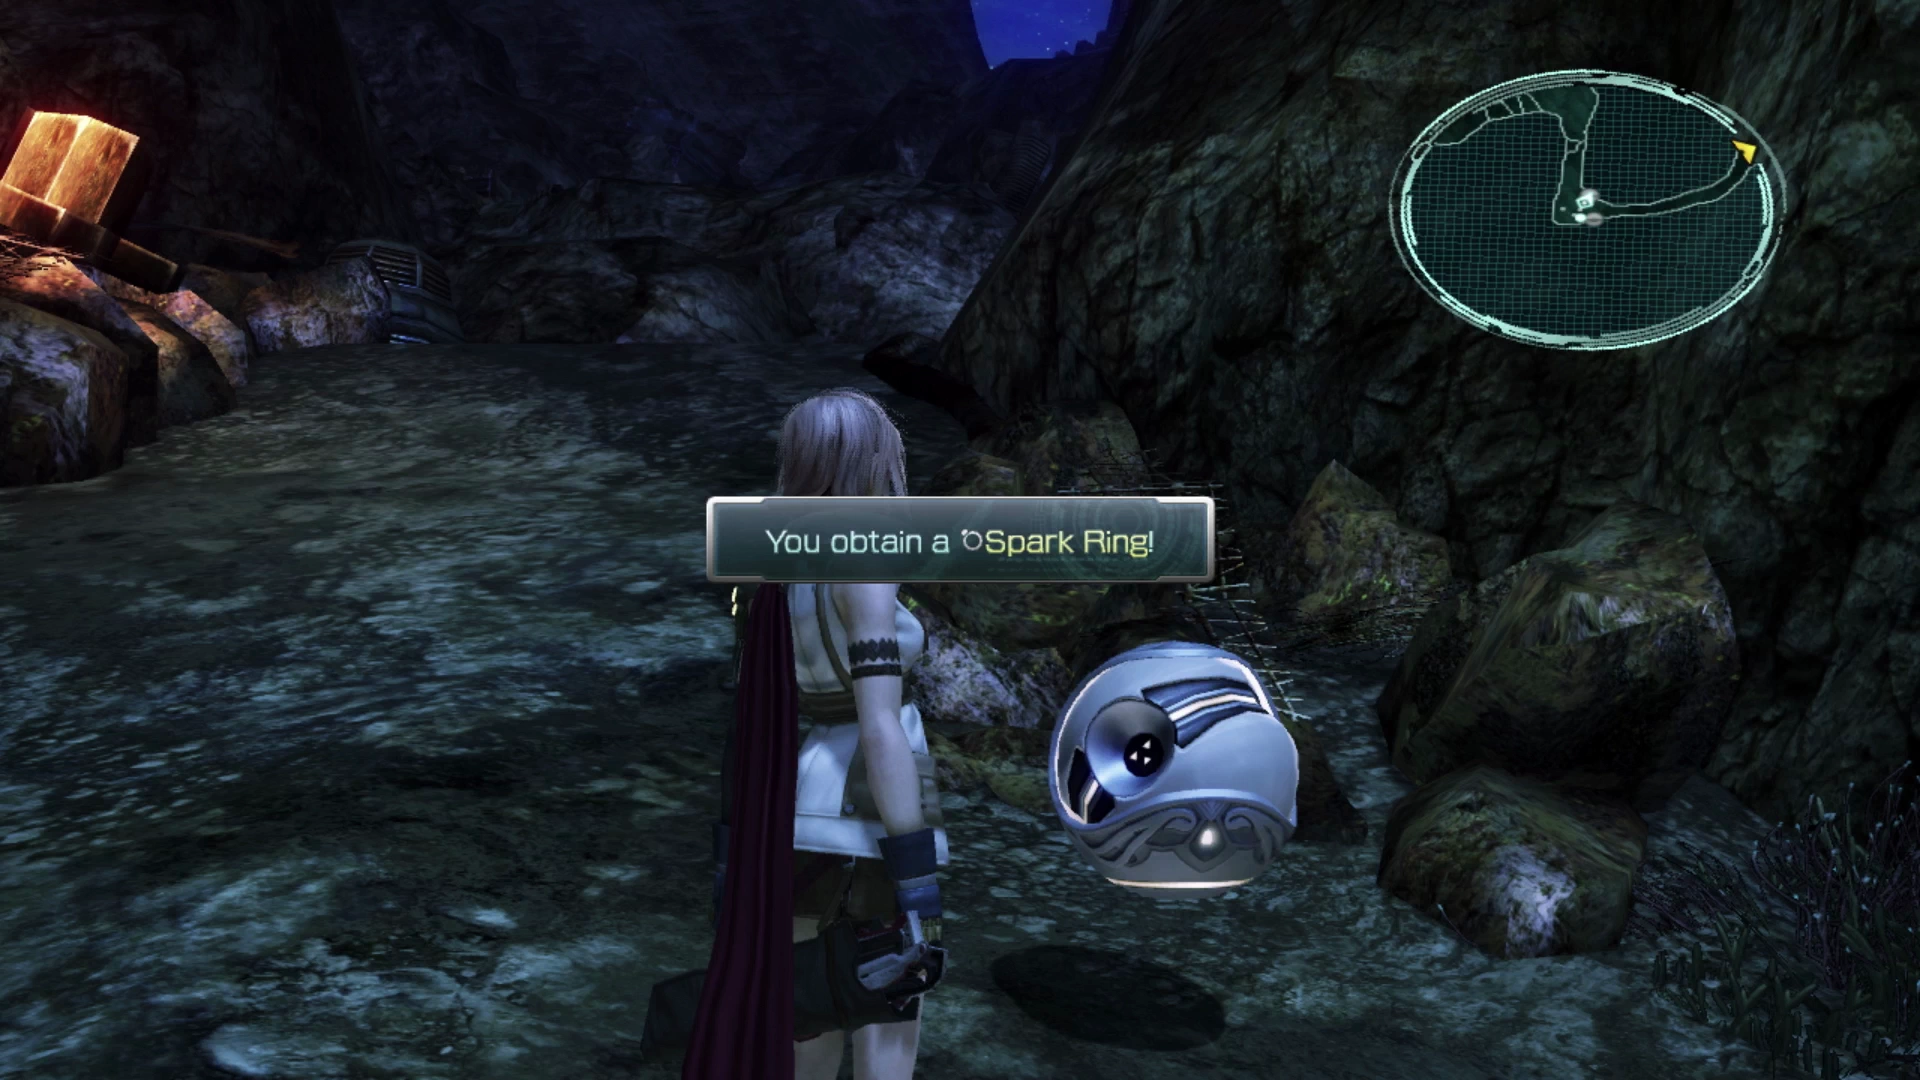
The important takeaways from the two tables above are 1) you want to defeat as many enemies or, more ideally, all the enemies, to obtain a ![]() Spark Ring, and 2) your goal should be to kill as many of them as you can using the Sweeping Blow attack. So, how can you go about achieving this?
Spark Ring, and 2) your goal should be to kill as many of them as you can using the Sweeping Blow attack. So, how can you go about achieving this?
There are two ways to kill the 43 total Pulsework Soldiers that can be found throughout the gauntlet; you can either walk over them, which will kill them, or press the ![]()
![]()
![]() button to initiate a Sweeping Blow attack.
button to initiate a Sweeping Blow attack.
As described in the Pulse Armament primer, you will gain up to three energy when you smash through a fence, and each Sweeping Blow attack you use will consume one of these energy ticks. You will easily be able to see how many you have at the bottom of the screen, and you can never have more than three.
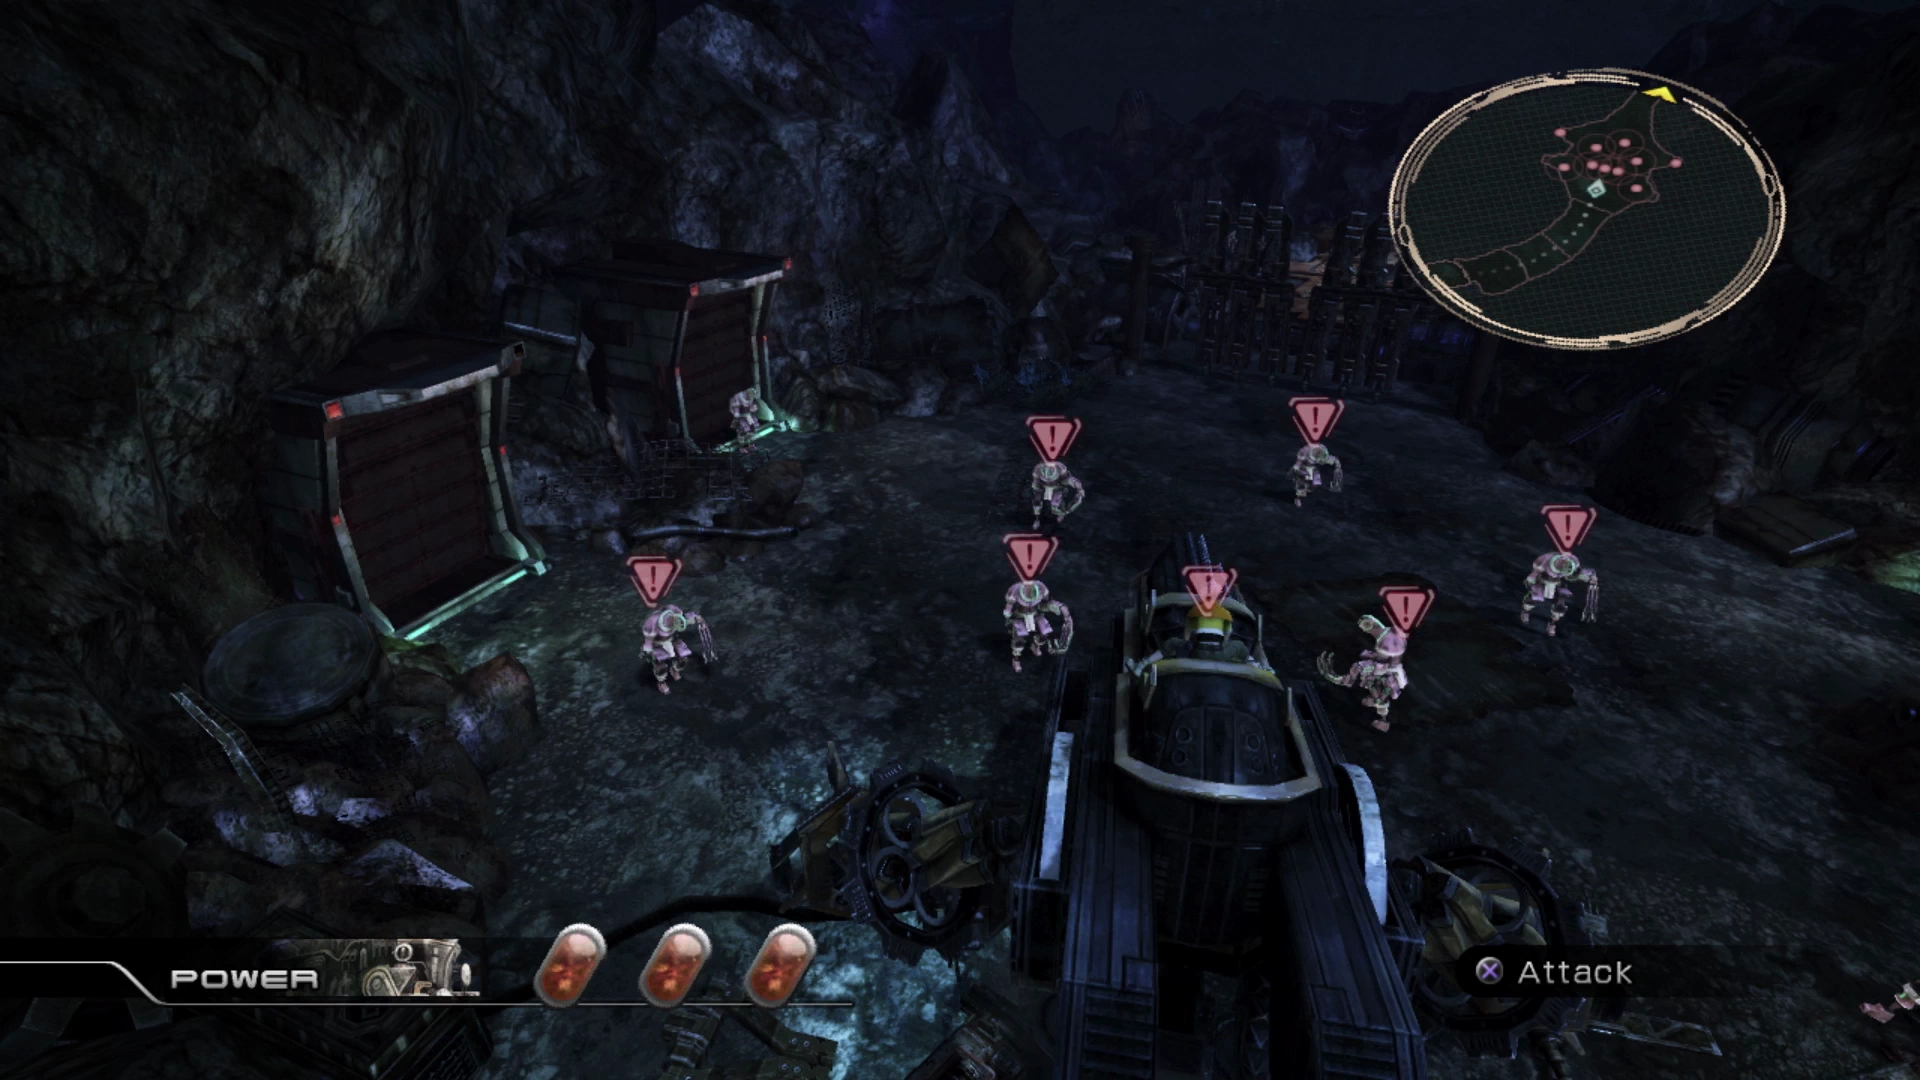
So, in theory, the goal would be to avoid killing the enemies by walking over them and just use Sweeping Blows, but this is a lot harder than it would seem. The enemies are quite dumb—some of them will walk toward you while others won’t approach until you get close enough. It proves very difficult to efficiently use your Sweeping Blow attacks to get over 40 enemies and receive the best reward…
But your reward for using Sweeping Blow on all these enemies is just 999 Gil (instead of 300 Gil), really nothing worth spending all that much time on. Make sure that you defeat enough enemies to get the ![]() Spark Ring reward (i.e. 35+) and get through the gauntlet as quickly as possible.
Spark Ring reward (i.e. 35+) and get through the gauntlet as quickly as possible.
Helpful Hint
Despite the low-value reward, do you still want to try to go for the 999 Gil reward? If so, here are some tips to help you.
Allow the mobs in the first group to surround the Dreadnought while you keep it stationary and then hit them all with a Sweeping Blow. For the second group run up and you can hit them all with a single Blow if you’re lucky, but the third group is the most challenging. You need to run around them to clump them up without running over more than three of them.
Make sure you only use two Sweeping Blows as you need the third one for the last group of enemies on the bridge. As you approach the last group on the bridge, they will start to group up to make them easier to hit.
Missable Content
There are only a few opportunities to obtain a ![]() Spark Ring during a playthrough, with this being one of them, but because you cannot obtain them once you reach the later stages of the game, this ring (along with two more that you can obtain later) are considered missable content.
Spark Ring during a playthrough, with this being one of them, but because you cannot obtain them once you reach the later stages of the game, this ring (along with two more that you can obtain later) are considered missable content.
Refer to the Missable Content page for more information on specific items and ![]() Datalog Enemy Intel entries you should keep an eye out for.
Datalog Enemy Intel entries you should keep an eye out for.
Don’t forget to open the two Treasure Sphere at the end of the pathway to grab your rewards, and then continue down the pathway. There’s one more Treasure Sphere just up ahead that contains two ![]() Electrolytic Capacitor and then a
Electrolytic Capacitor and then a ![]() Save Station just beyond that.
Save Station just beyond that.
The next fight coming up includes two Corps Regular enemies that are accompanied by a PSICOM Ranger. The PSICOM Ranger is a new enemy so use ![]() Libra on it early in the fight, and after that, you should focus your attacks on this PSICOM Ranger and any of them that you see in upcoming battles as well.
Libra on it early in the fight, and after that, you should focus your attacks on this PSICOM Ranger and any of them that you see in upcoming battles as well.
These enemies stand in the back and will cast support spells on their teammates including ![]() Protect and
Protect and ![]() Shell and this has the potential to drag out the fights and make them much more difficult than they need to be.
Shell and this has the potential to drag out the fights and make them much more difficult than they need to be.
The next fight, just up ahead from this one, includes an Uhlan and a PSICOM Tracker. In this fight, and the next fight, the Uhlan will use an attack that summons a Targeting Beacon onto the battlefield. If you are looking to fully complete the game and the Datalog, you will need to use ![]() Libra on the Targeting Beacon once it is summoned to complete the
Libra on the Targeting Beacon once it is summoned to complete the ![]() Datalog.
Datalog.
Missable Content
As noted in the paragraph above, there are only two Targeting Beacon enemies that you face in the game. One will be summoned in this fight, and another will be summoned in a similar fight coming up. Completing the ![]() Datalog entry means that you will likely need to use
Datalog entry means that you will likely need to use ![]() Libra on it twice to fully complete the entry.
Libra on it twice to fully complete the entry.
You will know that you have done it successfully when you check the ![]() Datalog and see a white checkmark next to the Targeting Beacon entry.
Datalog and see a white checkmark next to the Targeting Beacon entry.
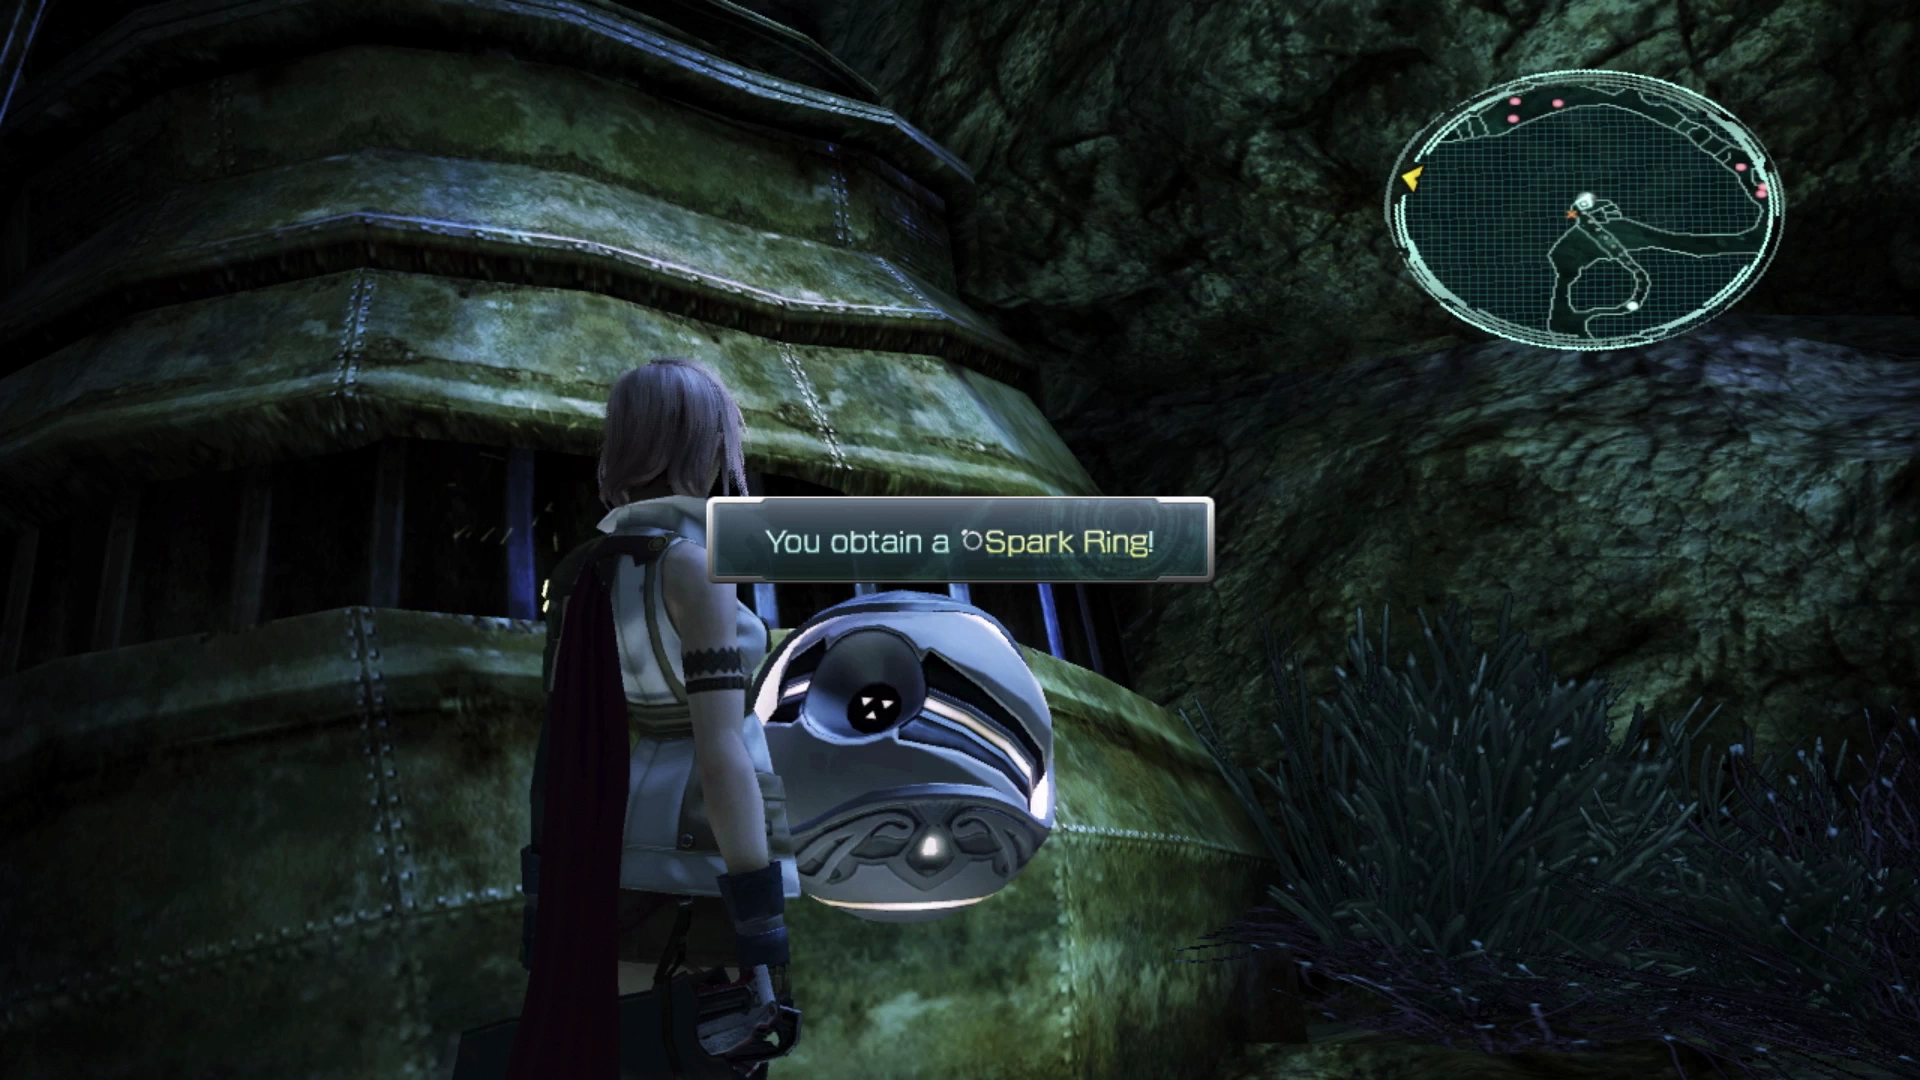
Now here’s the hard part: the Uhlan hits extremely hard and unleashes devastating attacks against Lightning and Hope while the Targeting Beacon is active. Take out the PSICOM Tracker quickly, use ![]() Libra on the Beacon and then brace for a heavy onslaught of damage. Open the Treasure Sphere on the upper level to grab another
Libra on the Beacon and then brace for a heavy onslaught of damage. Open the Treasure Sphere on the upper level to grab another ![]() Spark Ring.
Spark Ring.
Missable Content
This is the third ![]() Spark Ring and it’s the last one that you can obtain in the Vile Peaks. There is one more that you can obtain later if you happen to miss all three.
Spark Ring and it’s the last one that you can obtain in the Vile Peaks. There is one more that you can obtain later if you happen to miss all three.
Refer to the Missable Content page for more information on specific items and ![]() Datalog Enemy Intel entries you should keep an eye out for.
Datalog Enemy Intel entries you should keep an eye out for.
There is another group of soldiers to take out up ahead that includes three Corps Gunners and a PSICOM Ranger. Remember to take the PSICOM Ranger out first. Take the pathway to the right, up the steeper path with the illuminated blue circles on the ground, to find a Treasure Sphere that contains a tuft of ![]() Phoenix Down.
Phoenix Down.
Continue down the pathway and you will encounter another group of enemies that includes two PSICOM Trackers and an Uhlan. This Uhlan will also summon a Targeting Beacon that will inflict massive damage on Lightning and Hope. This is your last chance to use ![]() Libra on it if you need to complete your
Libra on it if you need to complete your ![]() Datalog entry!
Datalog entry!
Just a bit further down the pathway, you will find one last ![]() Save Station. There’s a pretty difficult fight coming up that you should make some preparations for so don’t venture up ahead to the bridge just yet. Here are some steps you can take to improve your odds of completing the next fight:
Save Station. There’s a pretty difficult fight coming up that you should make some preparations for so don’t venture up ahead to the bridge just yet. Here are some steps you can take to improve your odds of completing the next fight:
- Equip a
 Spark Ring to both Lightning and Hope.
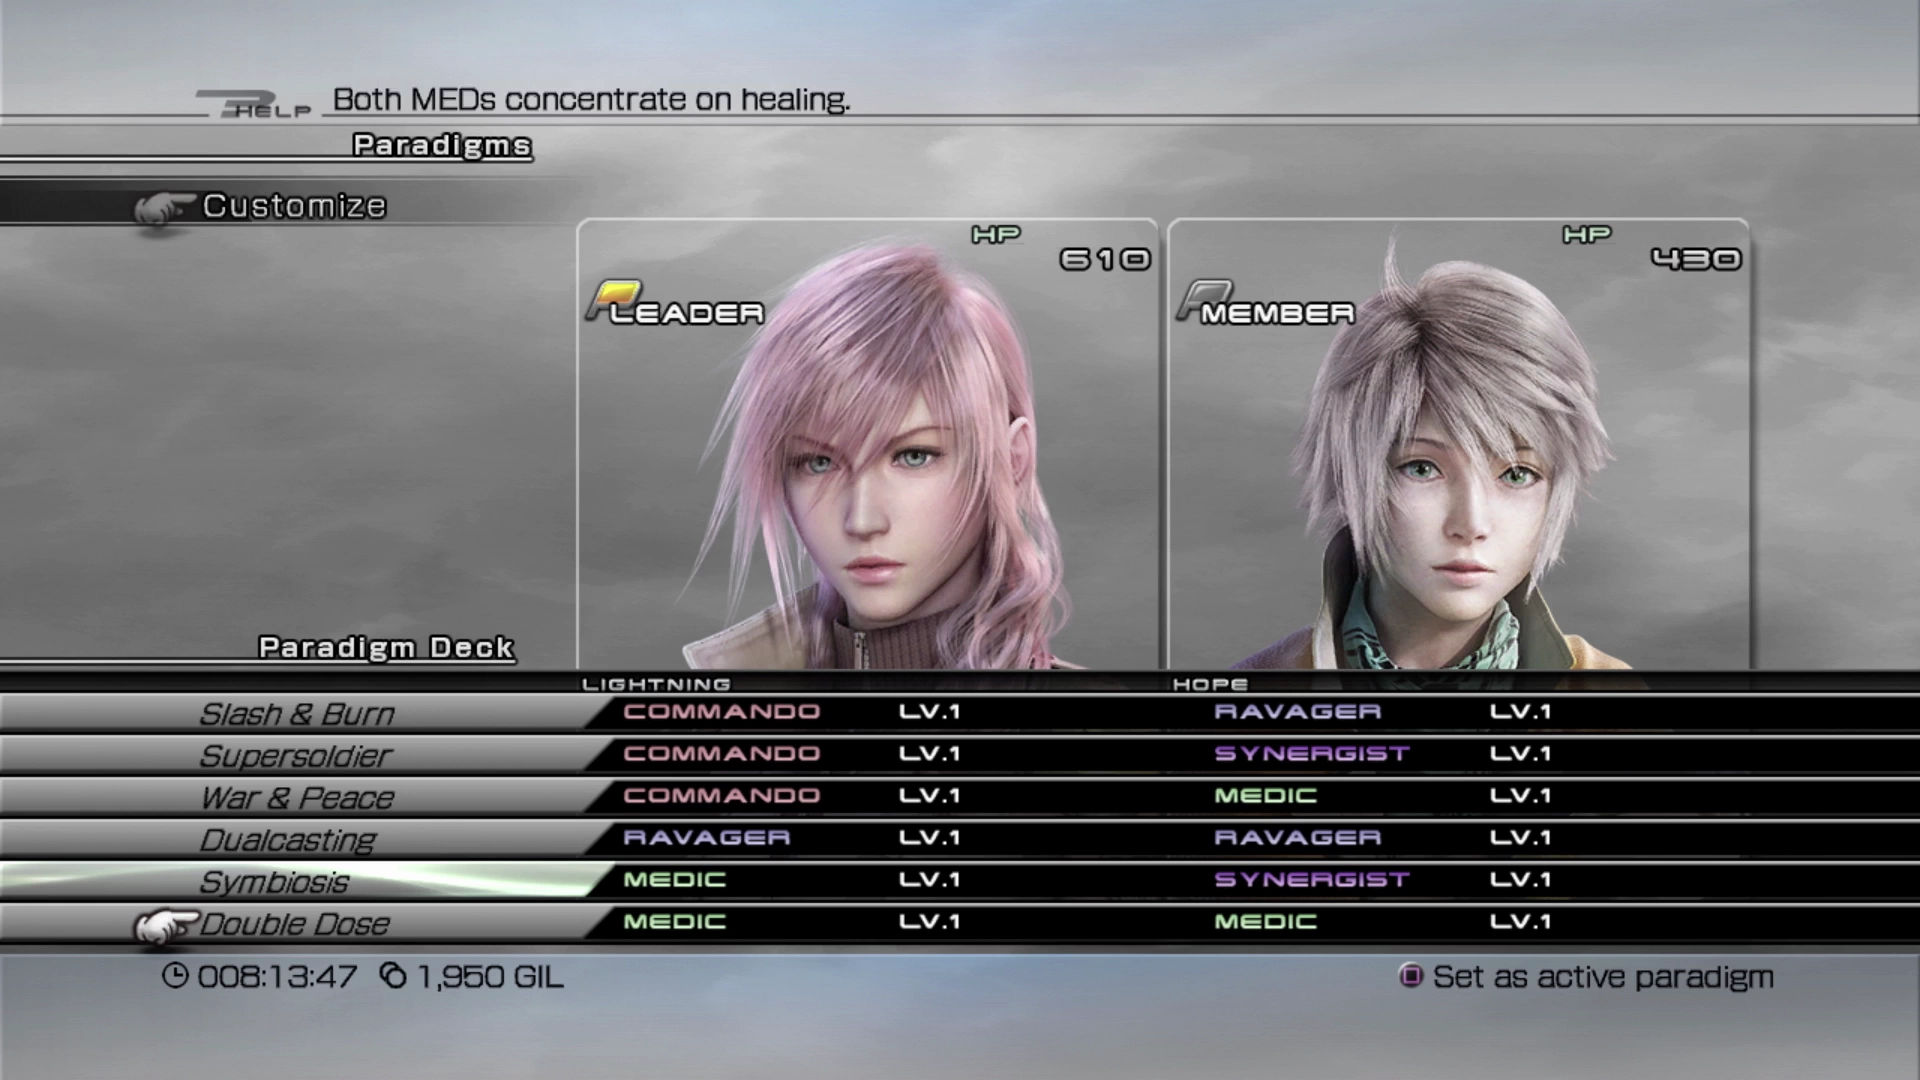
 - Create the Symbiosis Paradigm (Lightning as a
 Medic and Hope as a
  Synergist).
 - Set your starting Paradigm to Symbiosis*.
- Make sure you have the following additional Paradigms:
- War & Peace (Lightning as a
 Commando / Hope as a Medic)
 - Slash & Burn (Lightning as a Commando / Hope as a
 Ravager)
 - Dualcasting (Lightning and Hope both as Ravagers)
- War & Peace (Lightning as a
* You can set your default Paradigm using the ![]()
![]()
![]() button in the Paradigm menu.
button in the Paradigm menu.
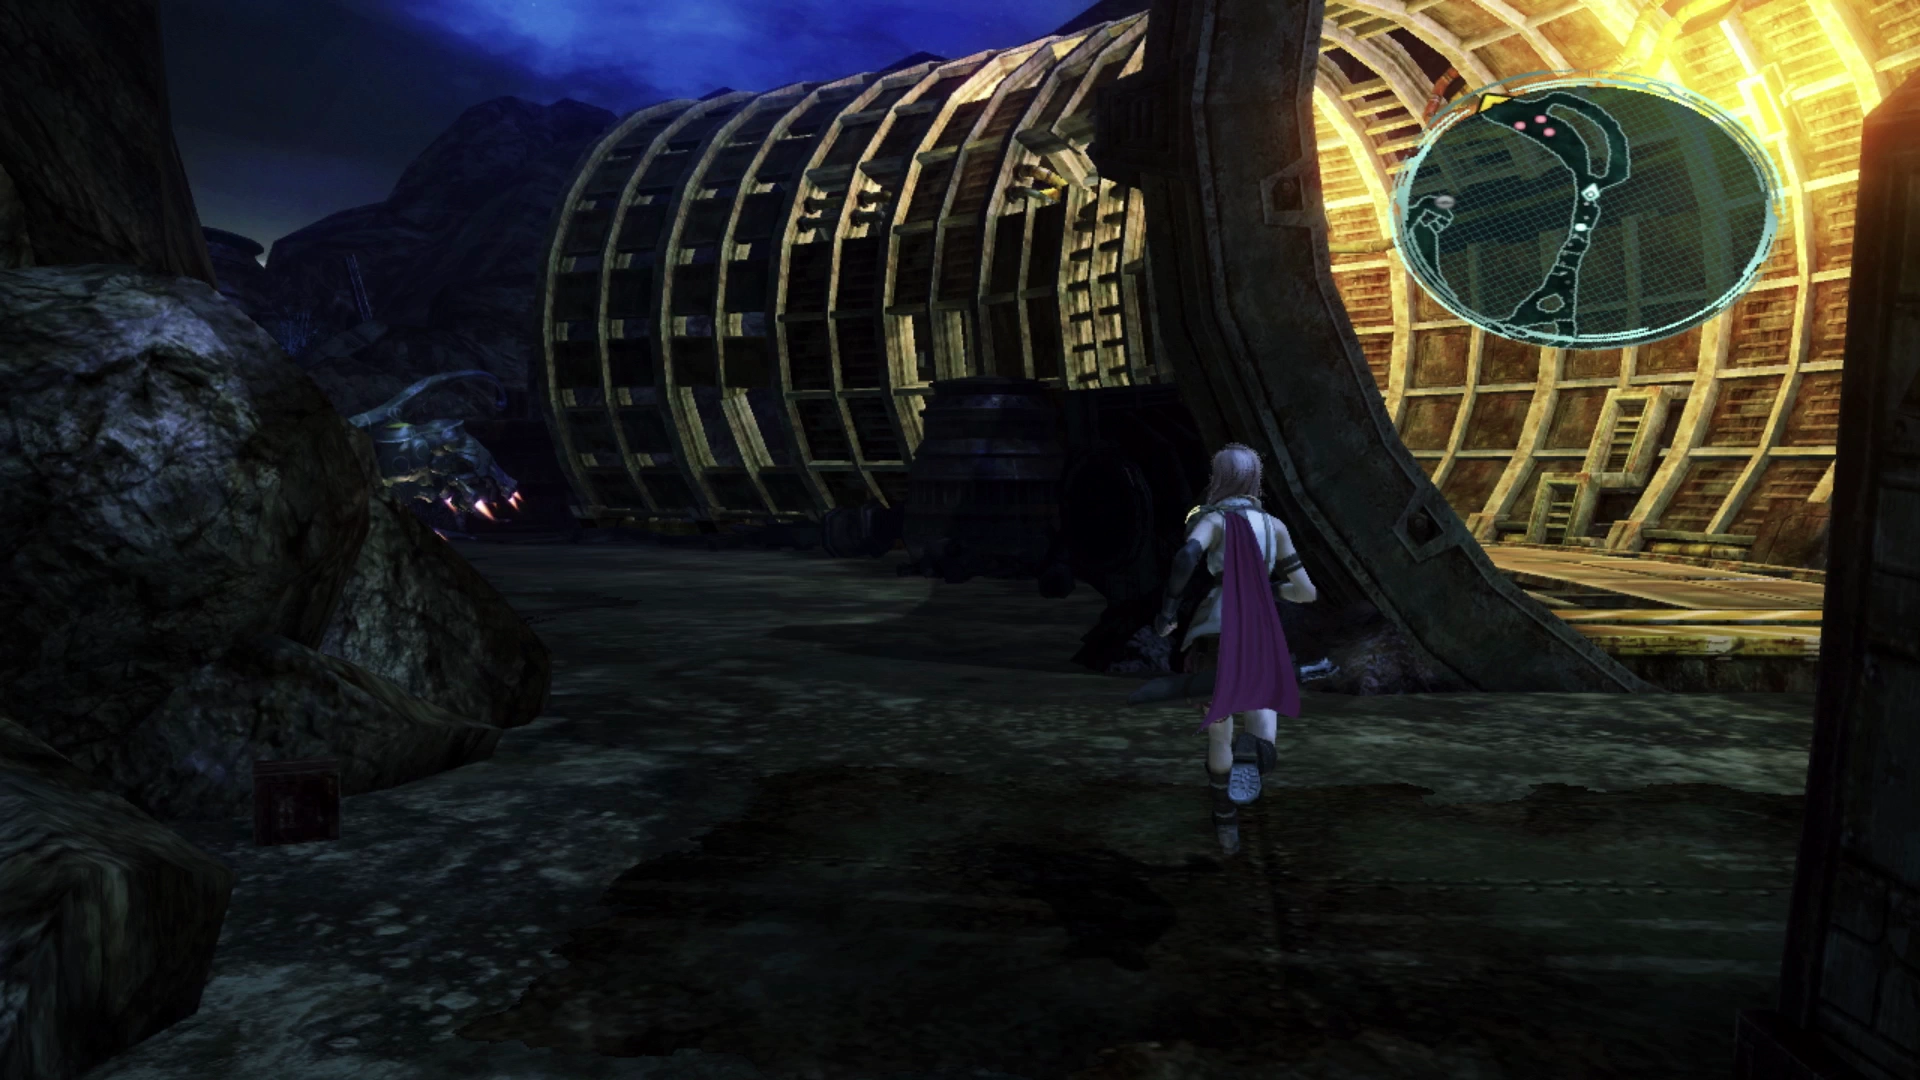
The next battle can wipe you out quickly so consider reading through the entire strategy section below before moving up to the bridge to begin the fight.
Eidolon Battle
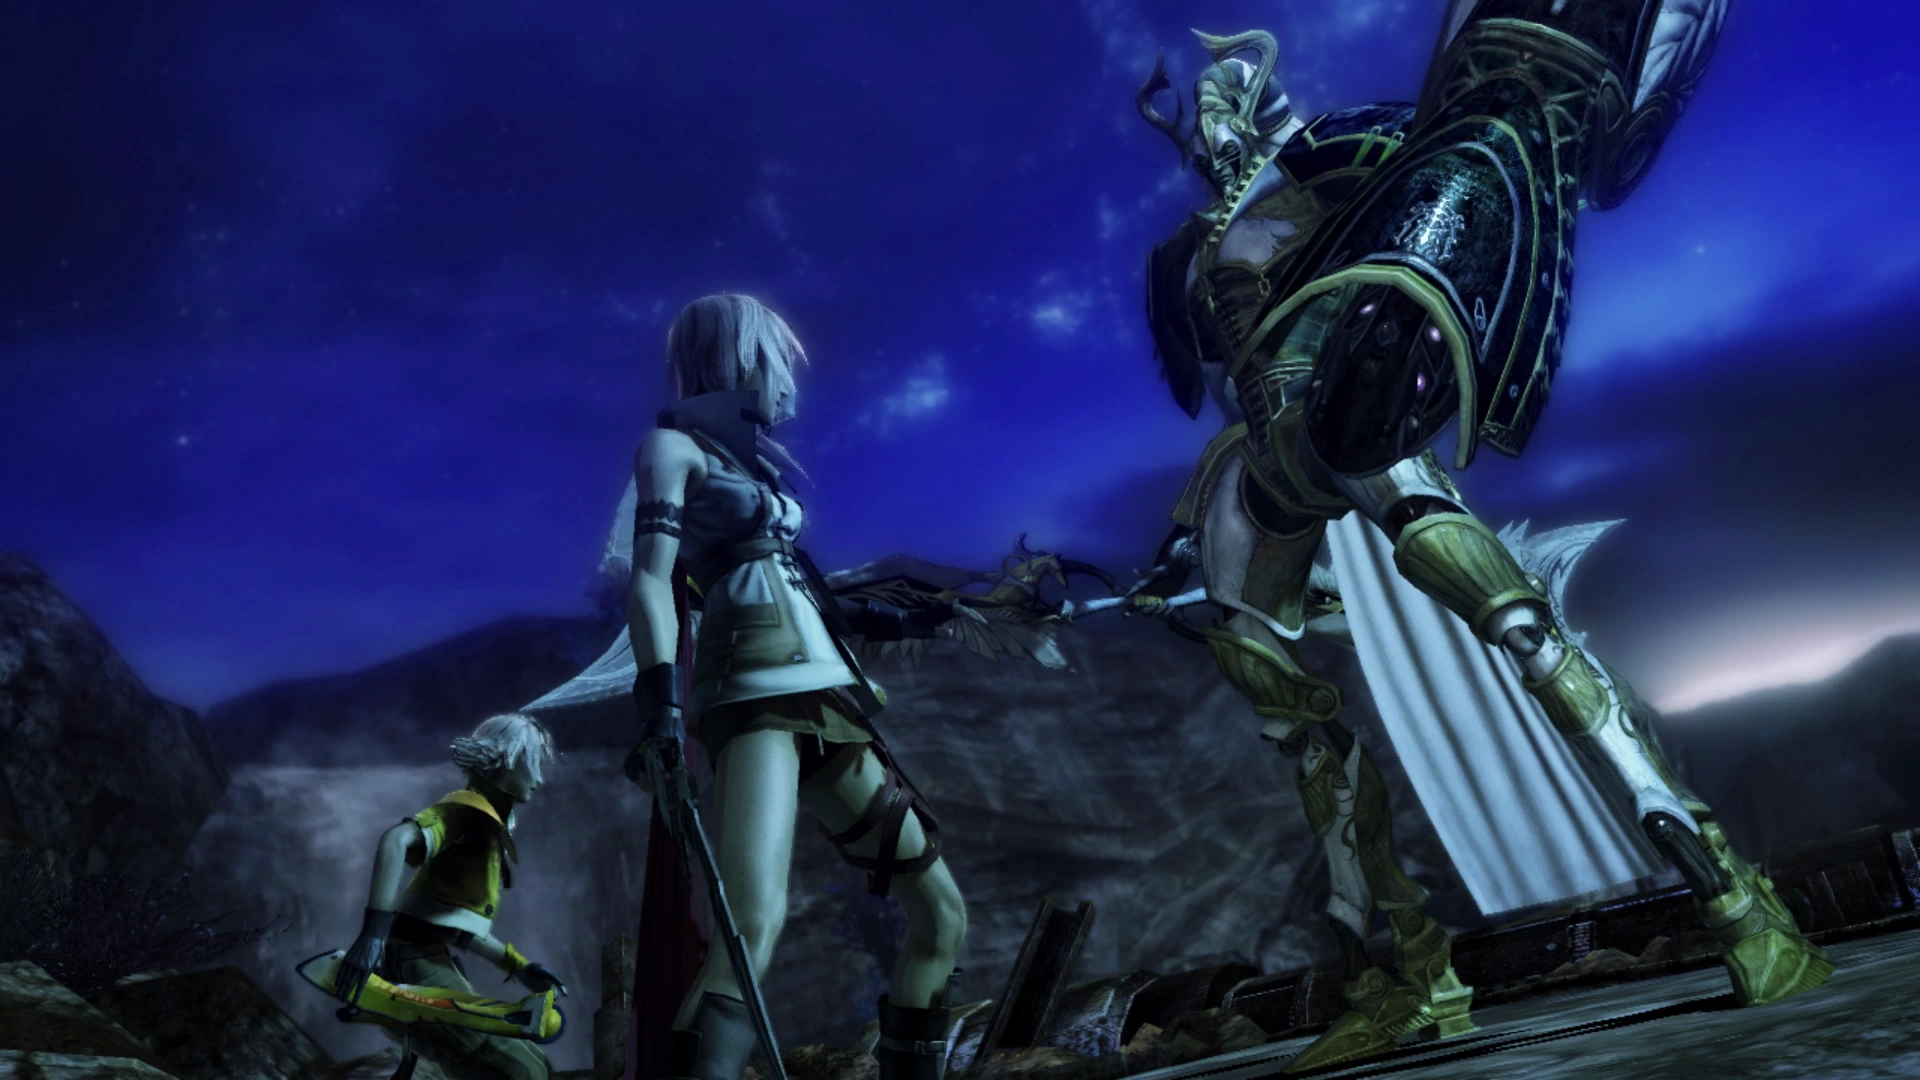
This is your second Eidolon battle following Snow’s battle against Shiva (Nix/Stiria) and similar principles from that fight carry forward. ![]() Doom will be cast on Lightning at the beginning of the fight giving a countdown timer. The fight is over if the timer reaches zero. This is the most difficult encounter you’ve faced so far so don’t get frustrated if it takes you a few attempts.
Doom will be cast on Lightning at the beginning of the fight giving a countdown timer. The fight is over if the timer reaches zero. This is the most difficult encounter you’ve faced so far so don’t get frustrated if it takes you a few attempts.
Instead of trying to defeat Odin, your goal is to fill up the Gestalt Gauge and then press the ![]()
![]()
![]() button to end the fight. Using
button to end the fight. Using ![]() Libra will reveal the strategy for filling the gauge and causing Odin to yield: “Yields to those who heal the wounded.” The Gestalt Gauge will also charge by building up chain bonuses (the
Libra will reveal the strategy for filling the gauge and causing Odin to yield: “Yields to those who heal the wounded.” The Gestalt Gauge will also charge by building up chain bonuses (the ![]() Datalog also reads “Yields to those who amass chain bonuses”) but it’s the first one that we want to focus on first and foremost as it fills the gauge the fastest by far. Odin does not have any vulnerabilities.
Datalog also reads “Yields to those who amass chain bonuses”) but it’s the first one that we want to focus on first and foremost as it fills the gauge the fastest by far. Odin does not have any vulnerabilities.
The name of the game for this fight is trying to survive. Odin is a heavy hitter that will throw large chains of attacks against your party members, dealing heavy damage, that you will need to heal through. But because healing fills the Gestalt Gauge quickly you should lean into playing this fight very defensively as that’s all you need to do to get Odin to yield.
The ![]() Spark Rings will help to reduce some of the damage from Odin’s
Spark Rings will help to reduce some of the damage from Odin’s ![]() Thundara spell. Odin will open with a flurry of regular attacks and Thundara magic which will hit both of your party members because they are standing so close to one another. Surviving this initial onslaught is the first difficult part of the fight.
Thundara spell. Odin will open with a flurry of regular attacks and Thundara magic which will hit both of your party members because they are standing so close to one another. Surviving this initial onslaught is the first difficult part of the fight.
As noted above, start the fight in the Symbiosis Paradigm. This will get Hope started on buffing your party members with Protect and ![]() Shell, which will help to greatly reduce the incoming damage. Lightning, whom you are controlling, needs to be prepared to heal with
Shell, which will help to greatly reduce the incoming damage. Lightning, whom you are controlling, needs to be prepared to heal with ![]() Cure spells as a
Cure spells as a ![]() Medic as soon as Odin begins his assault. Wait for the ATB Gauge to fill but don’t begin casting healing spells until you know which of your party members Odin is focusing on (it will usually be Hope) and until they have taken some damage from attacks so you’re not wasting any spell casts.
Medic as soon as Odin begins his assault. Wait for the ATB Gauge to fill but don’t begin casting healing spells until you know which of your party members Odin is focusing on (it will usually be Hope) and until they have taken some damage from attacks so you’re not wasting any spell casts.
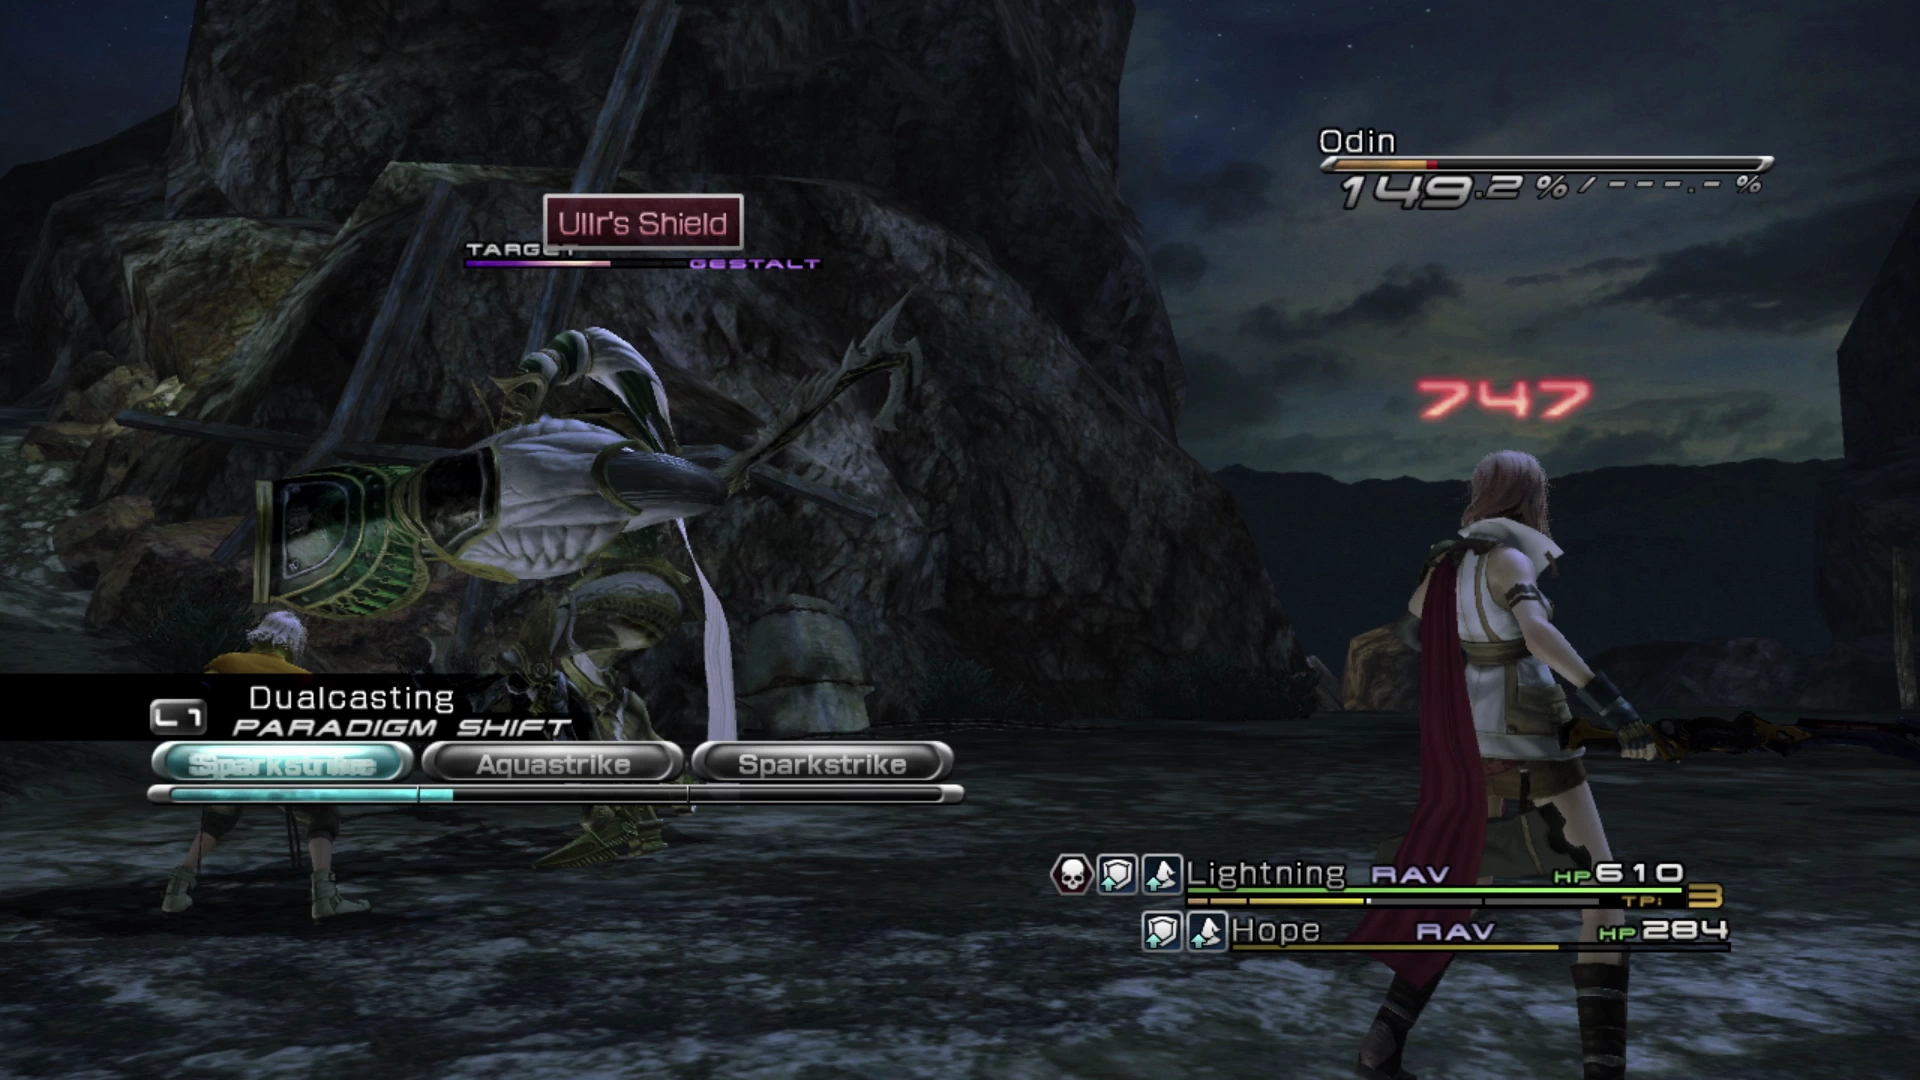
From there, move into War & Peace if Lightning or Hope needs healing, which will allow Lightning to start getting some attacks in. Switch to Dualcasting once Odin casts Thundara for the second time, as its next move will always be “Ullr’s Shield” which is when Odin goes fully defensive and stops attacking. This is your time to build up some chain bonuses and get some attacks in but be ready to swap back to War & Peace just before Odin starts attacking again so that Hope can get some ![]() Cure spells going while Lightning keeps the chain from dropping off.
Cure spells going while Lightning keeps the chain from dropping off.
Don’t be afraid to use a ![]() Potion if Hope is getting overwhelmed with healing. Remember that he can only heal one party member at a time. And if you’re really struggling you can always use an
Potion if Hope is getting overwhelmed with healing. Remember that he can only heal one party member at a time. And if you’re really struggling you can always use an ![]() Aegisol or
Aegisol or ![]() Fortisol shroud before initiating the fight by pressing the
Fortisol shroud before initiating the fight by pressing the ![]()
![]()
![]() button.
button.
Check out the video below for a demonstration of how to complete this battle:
After the fight you will want to remove the two ![]() Spark Rings from Lightning and Hope and re-equip whatever they had on before the fight. Consider returning to the
Spark Rings from Lightning and Hope and re-equip whatever they had on before the fight. Consider returning to the ![]() Save Station to save your game so that you don’t have to redo the Odin fight if your game is interrupted. Continue forward for another fight and your introduction to using an Eidolon and “Gestalt Mode.”
Save Station to save your game so that you don’t have to redo the Odin fight if your game is interrupted. Continue forward for another fight and your introduction to using an Eidolon and “Gestalt Mode.”
Follow along with the guide but the general idea is to press ![]()
![]()
![]() to switch Odin to “Gestalt Mode” just before its SP reaches zero and then pick and choose moves using the button combinations that show up on the screen.
to switch Odin to “Gestalt Mode” just before its SP reaches zero and then pick and choose moves using the button combinations that show up on the screen.
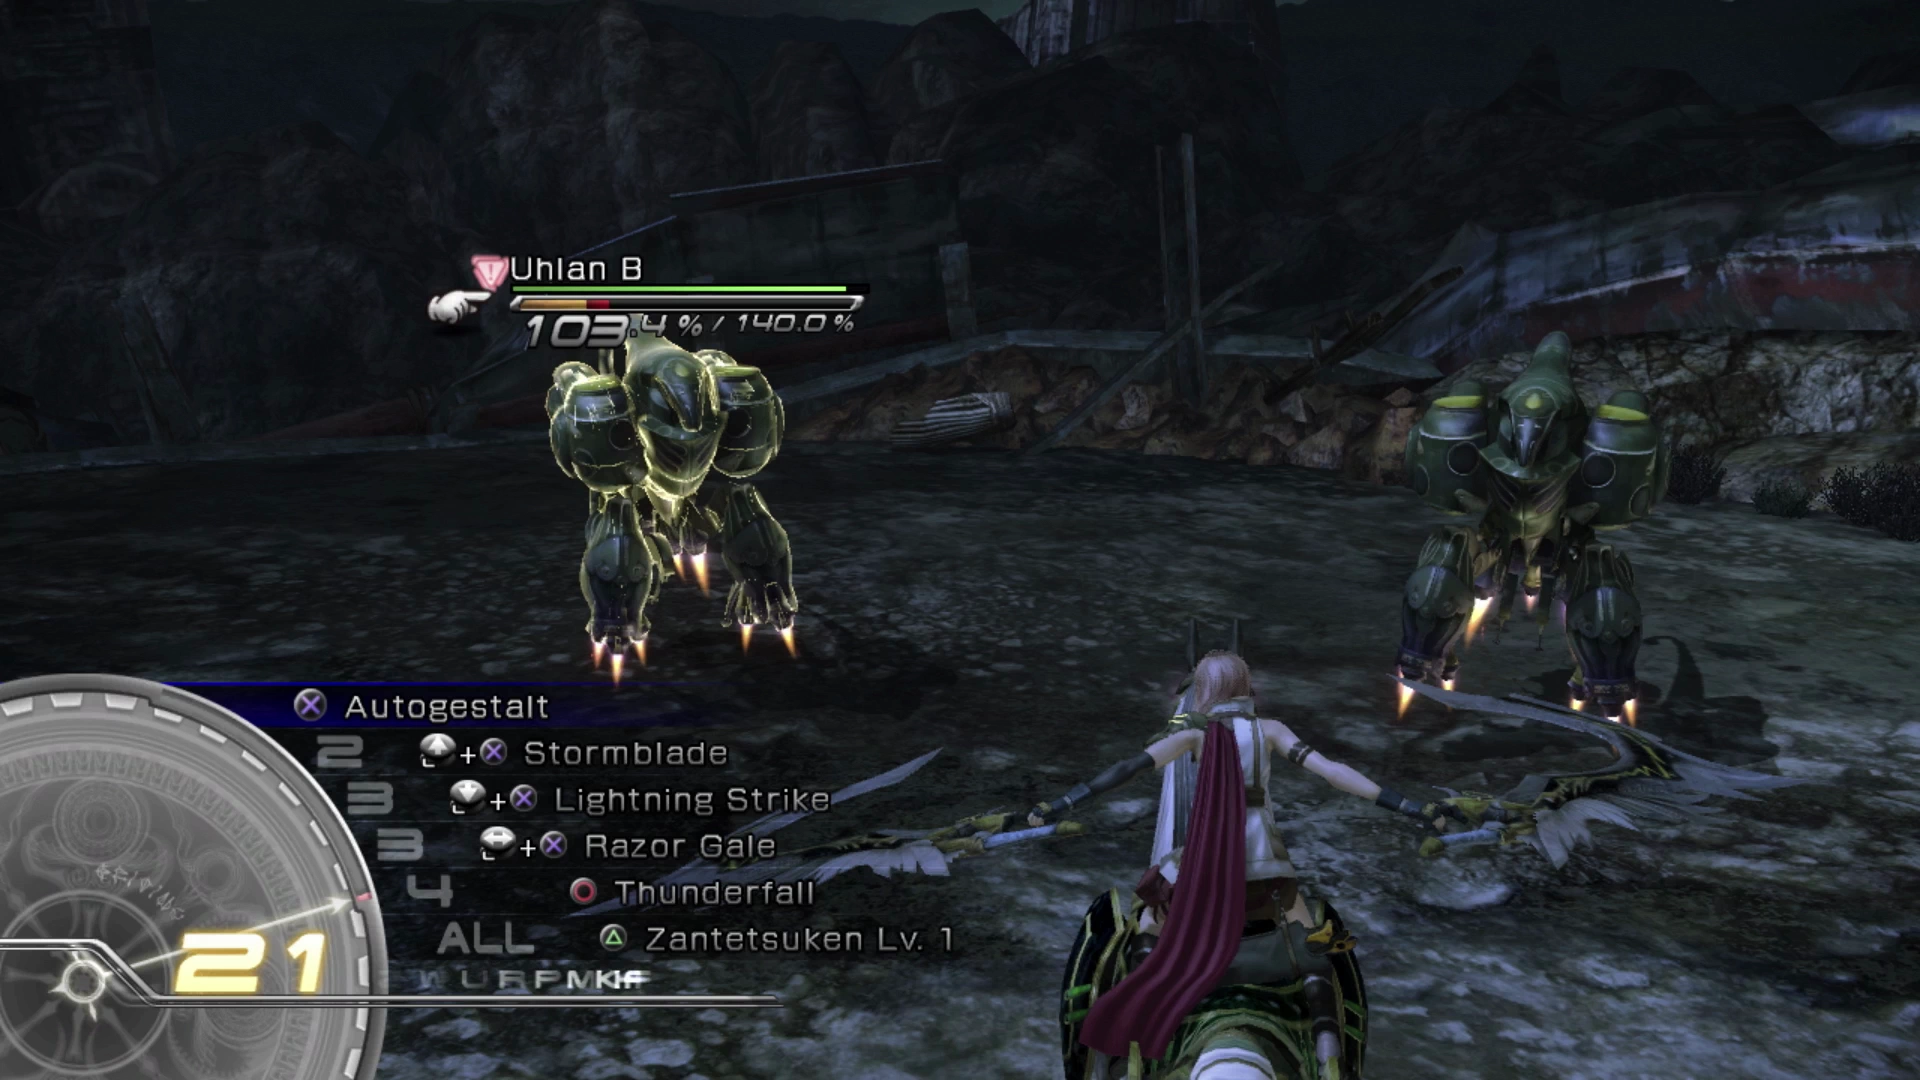
You can just press ![]()
![]()
![]() to use Autogestalt which functions the same way as “Auto-battle” so that the game chooses what it thinks the best attacks will be. Lastly, make sure that you choose the Eidolon’s final ability before the counter hits zero. Odin’s final ability is Zantetsuken Lv. 1, and it can be initiated by pressing the
to use Autogestalt which functions the same way as “Auto-battle” so that the game chooses what it thinks the best attacks will be. Lastly, make sure that you choose the Eidolon’s final ability before the counter hits zero. Odin’s final ability is Zantetsuken Lv. 1, and it can be initiated by pressing the ![]()
![]()
![]() button.
button.
The enemies may still be alive even after having Odin join your party so just use your regular tactics to bring them down and use War & Peace to heal up if the Uhlans do too much damage to either Lightning or Hope. The next section of the Vile Peaks takes us back over to Sazh and Vanille after some cutscenes. Navigate to the next page of the guide to continue.