
Chapter 4: The Vile Peaks (Part 1)


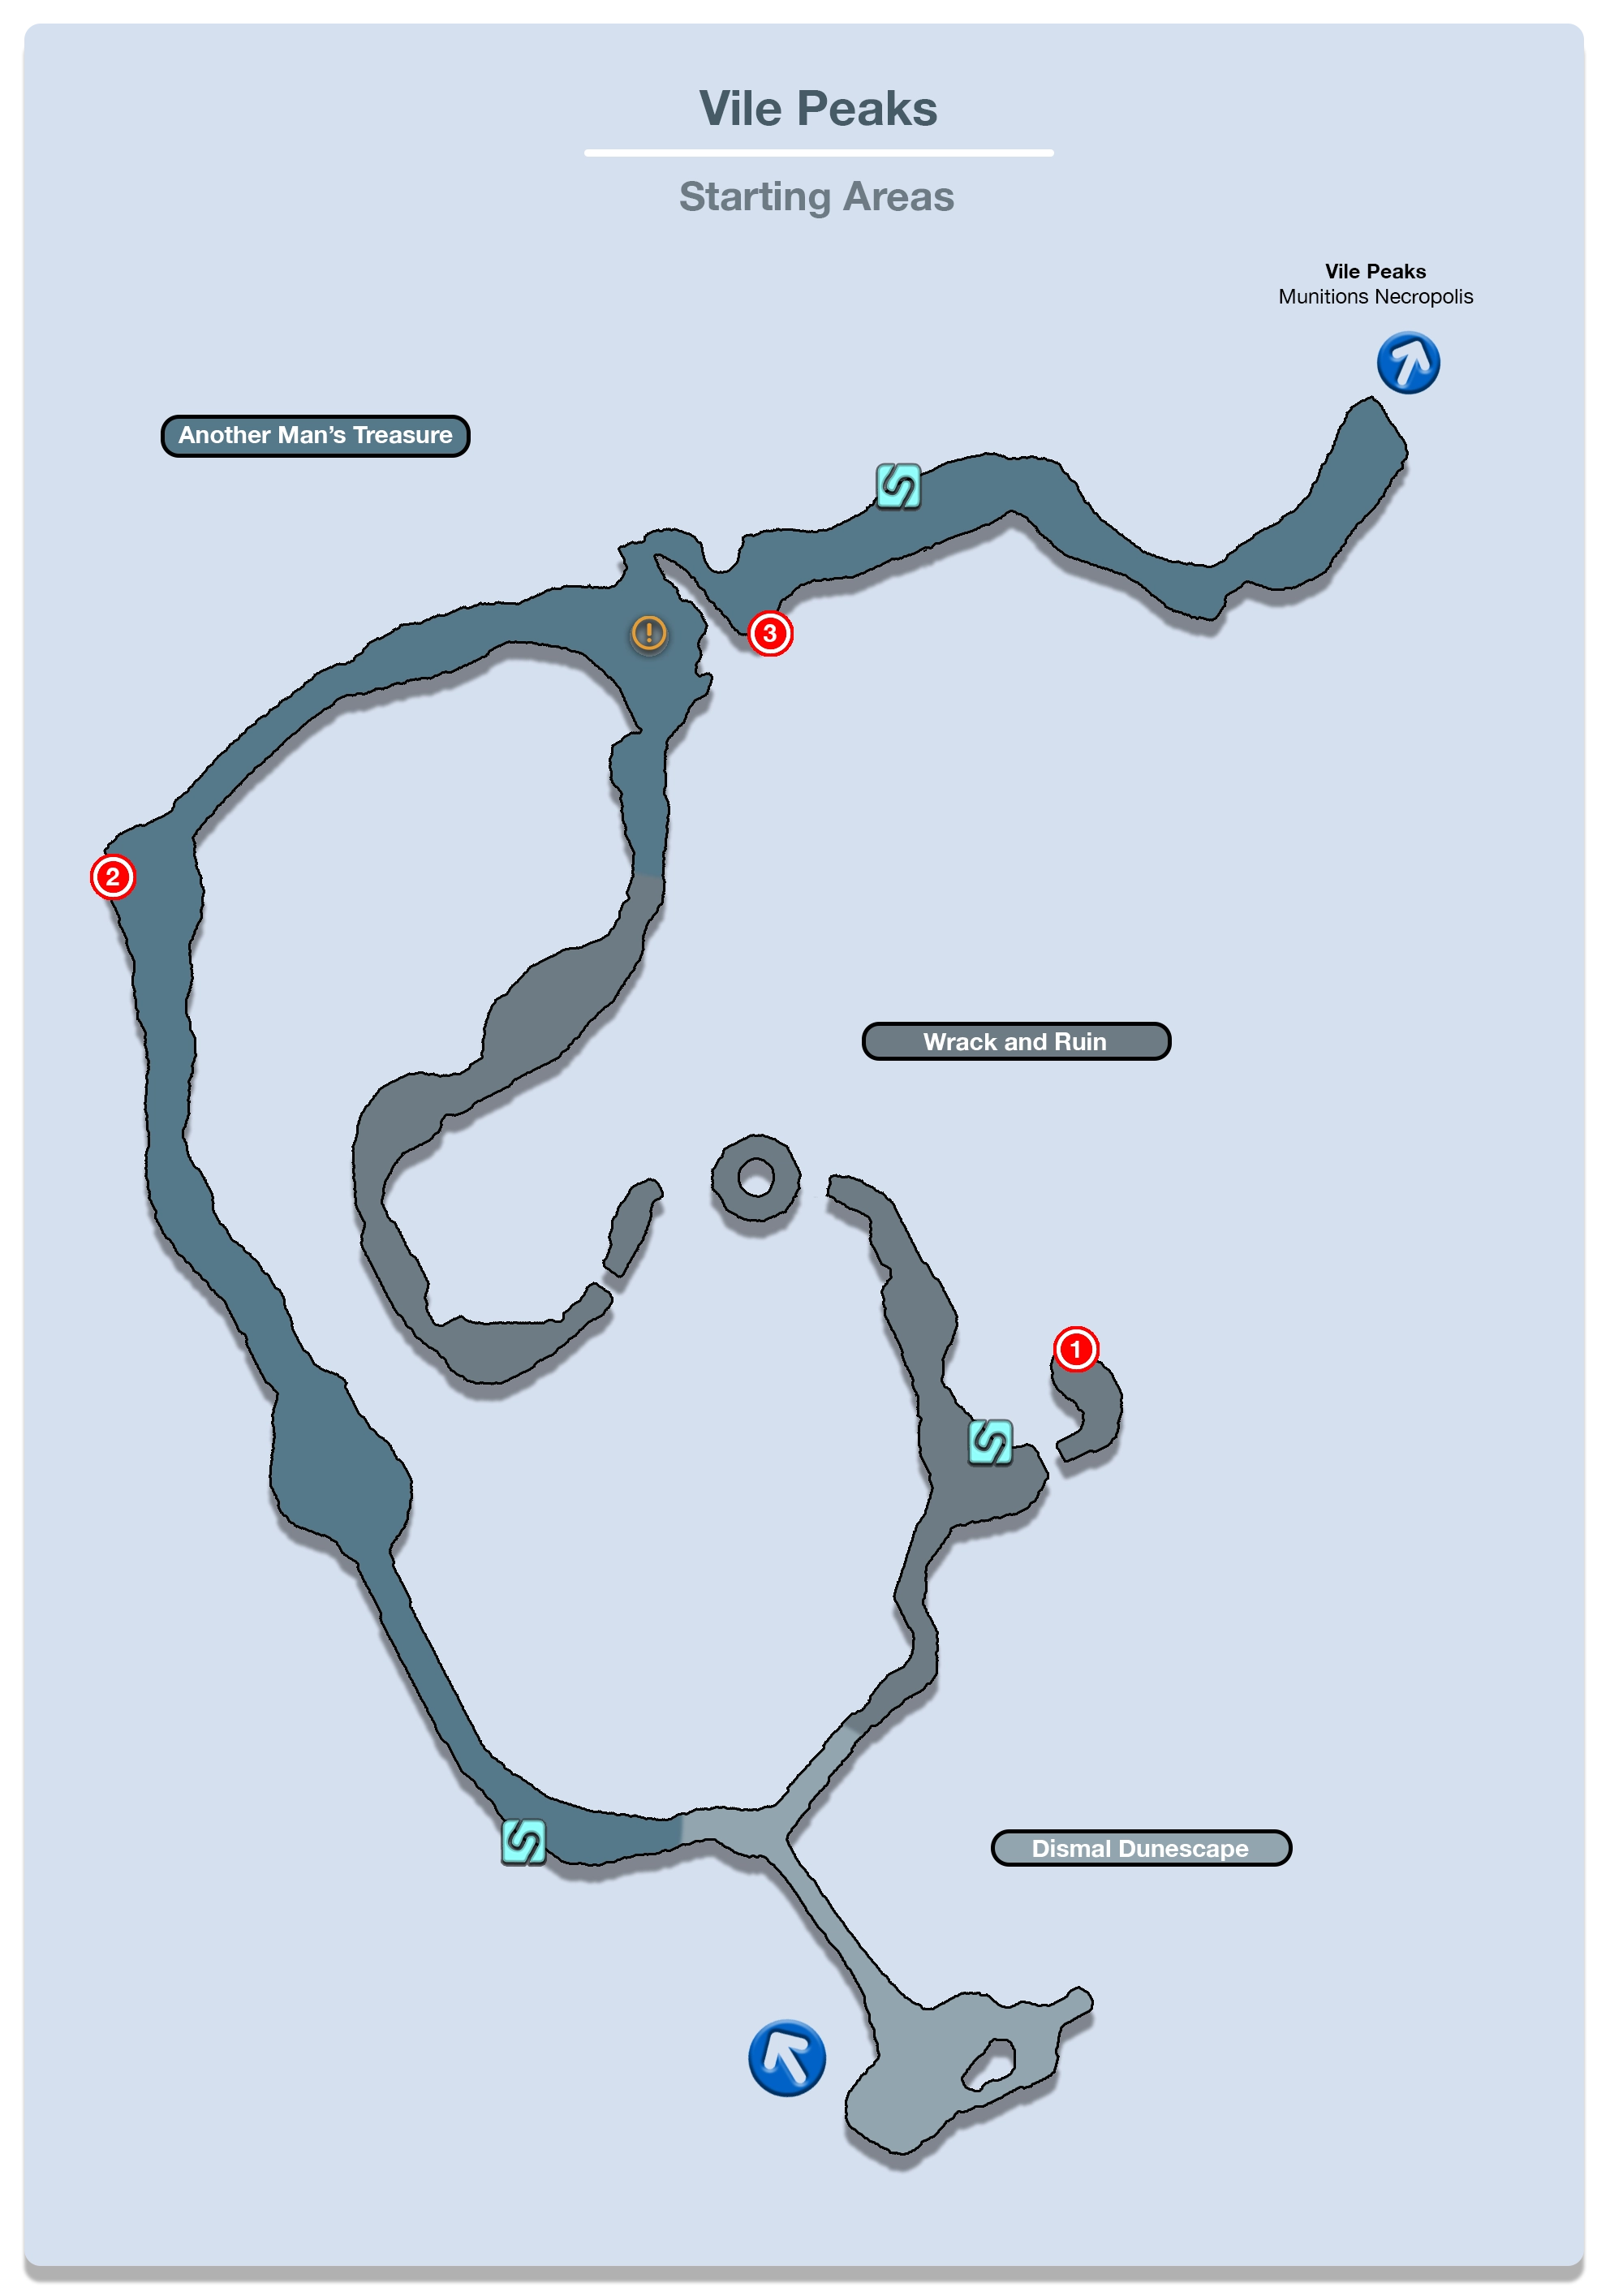
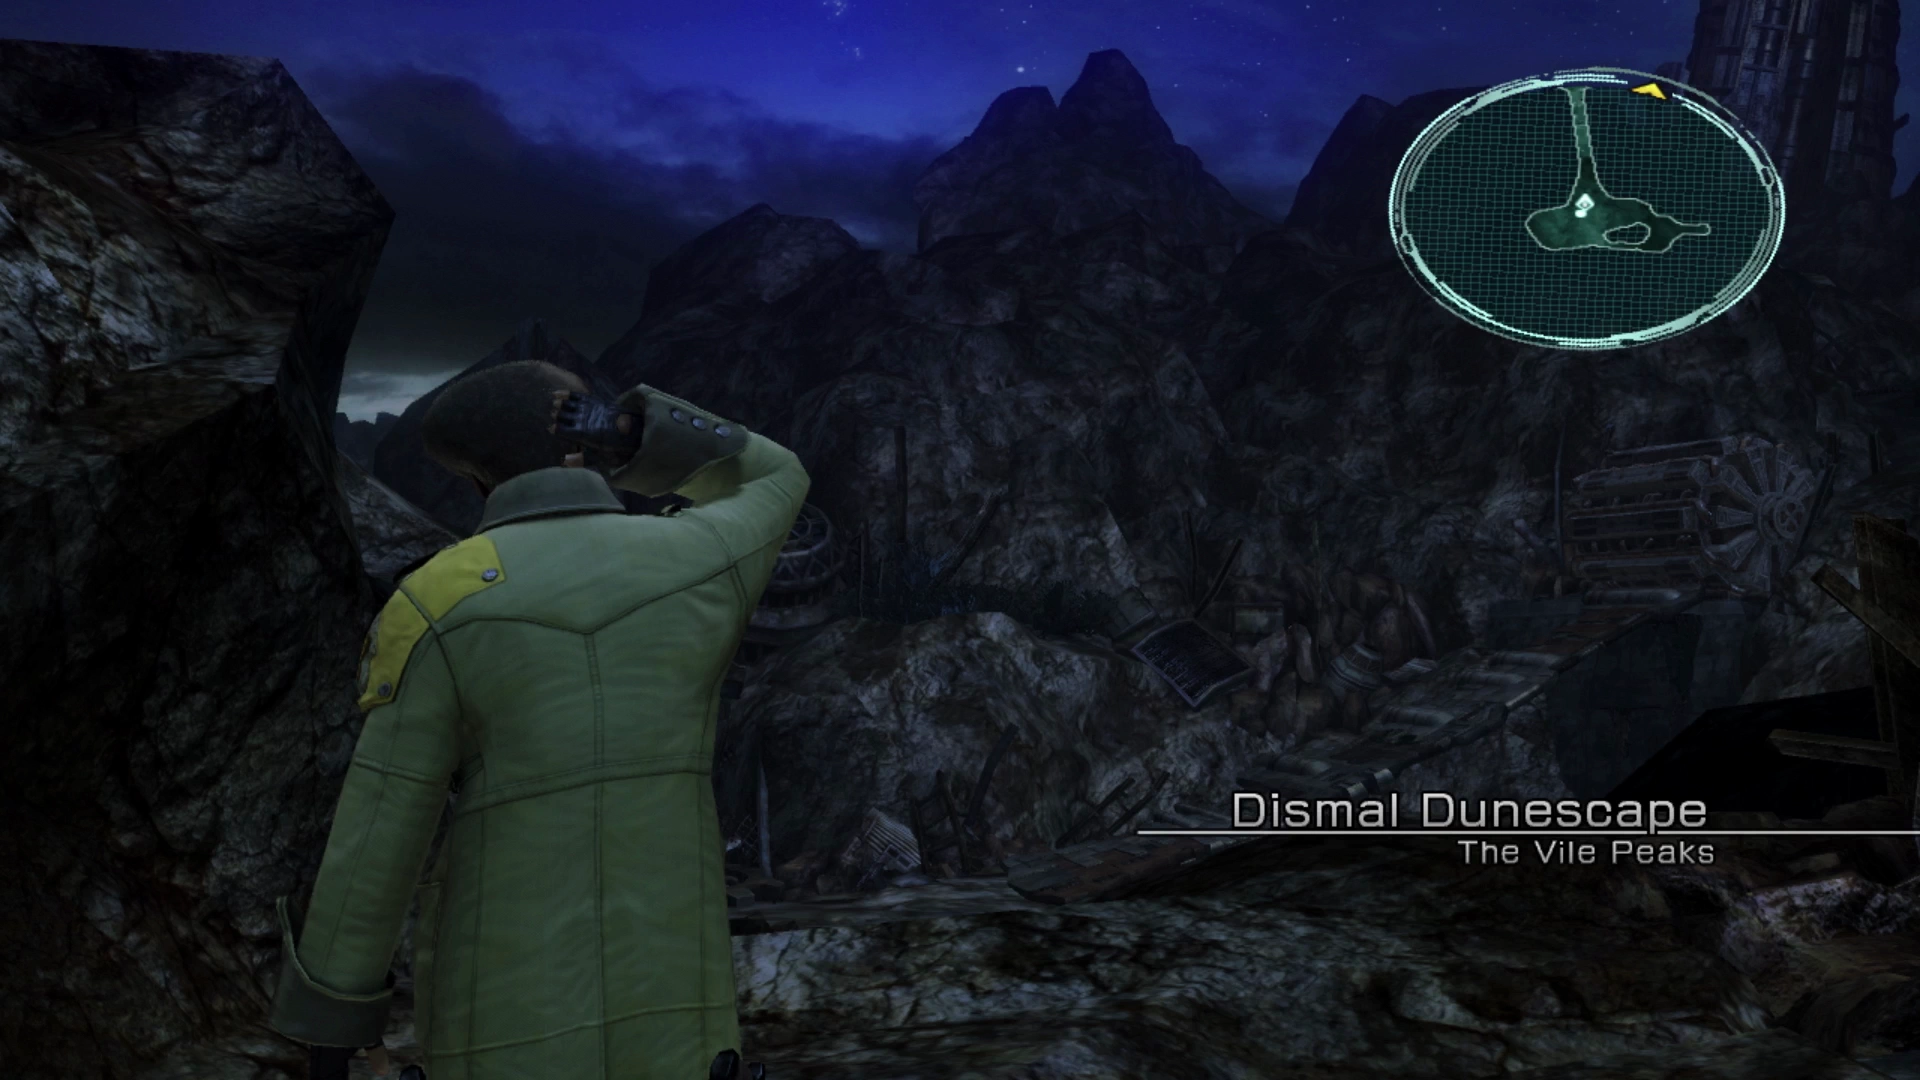
Dismal Dunescape
The Vile Peaks section of the guide is broken up into Part 1, Part 2, and Part 3. Use the navigation arrows to navigate between the various sections. This section includes everything up to the Dreadnought battle.
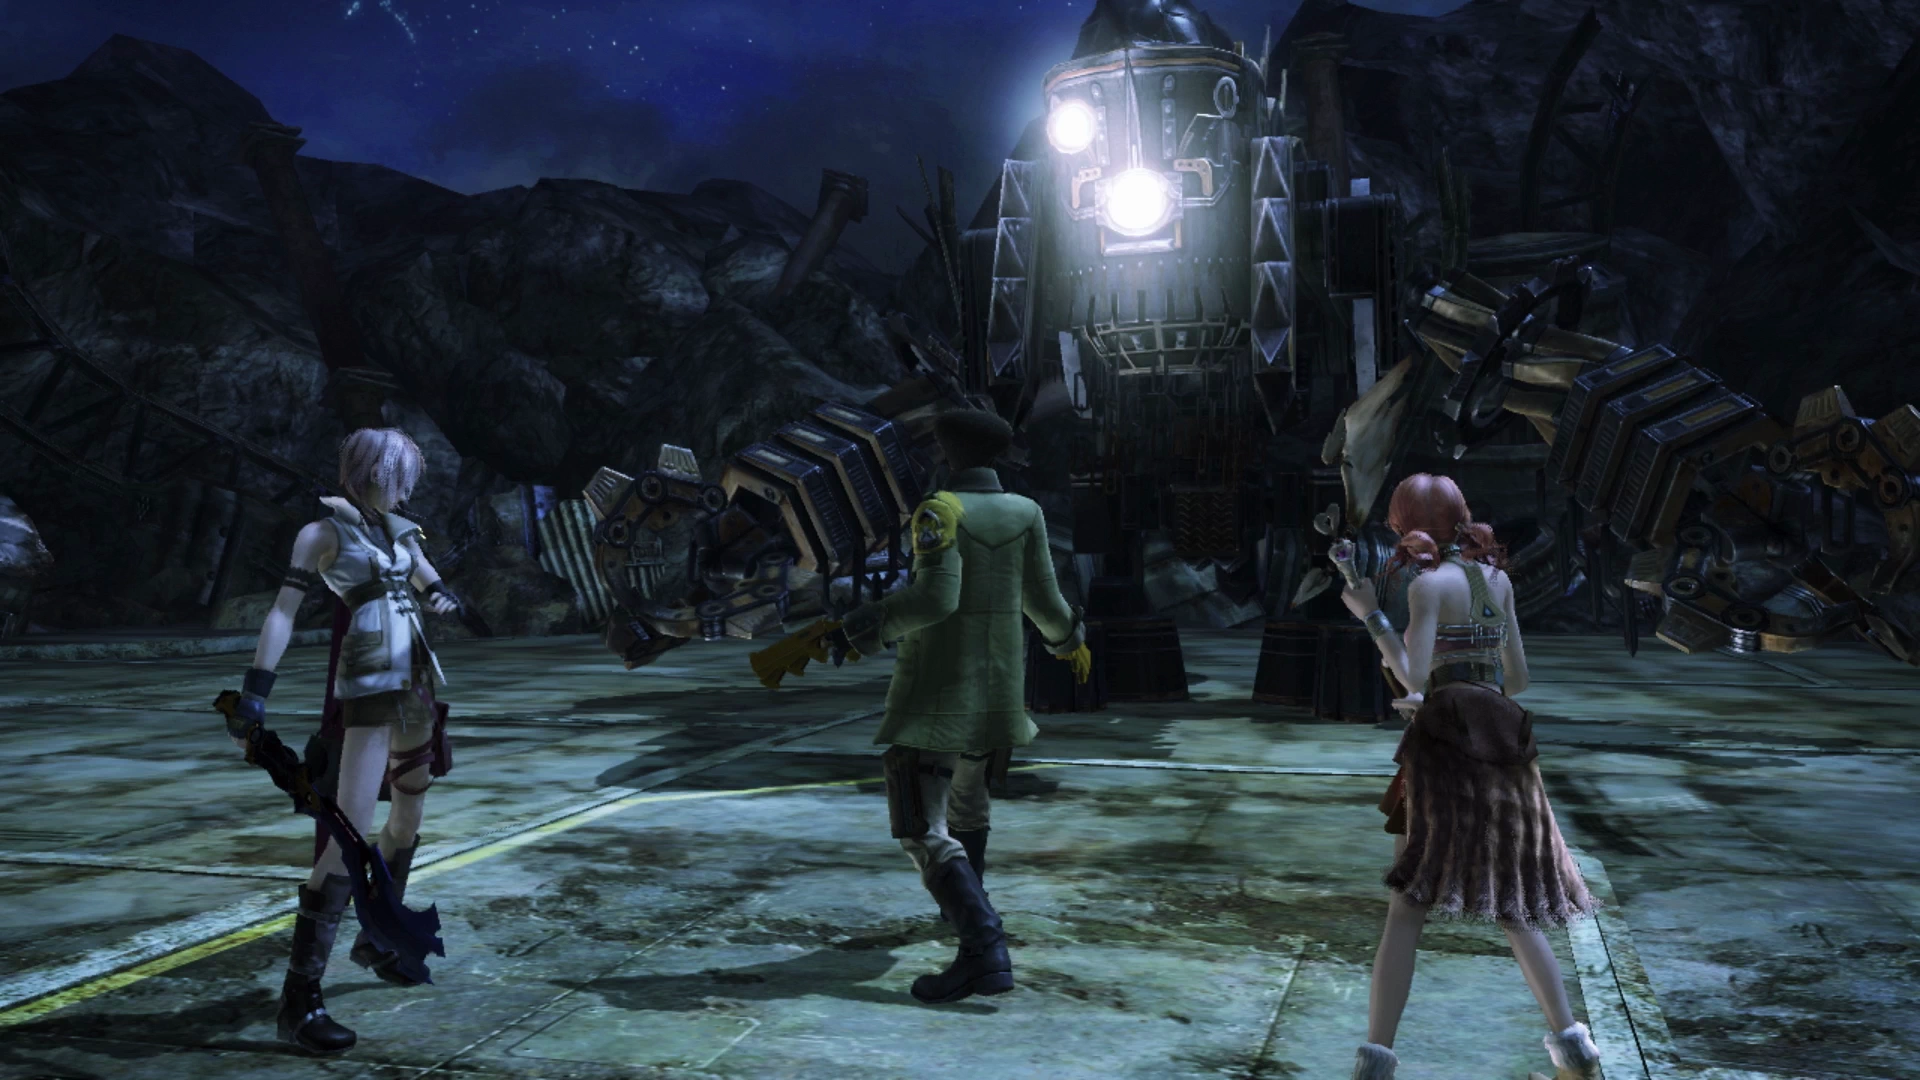
The game continues after Lightning, Sazh, Vanille and Hope crash-land their airship and you will be thrust straight into a battle against three Pantheron enemies. The battle will include Lightning, Sazh and Vanille, and, like the previous Pantherons that you have faced in the last zone, these ones are very easy to defeat.
Wrack and Ruin
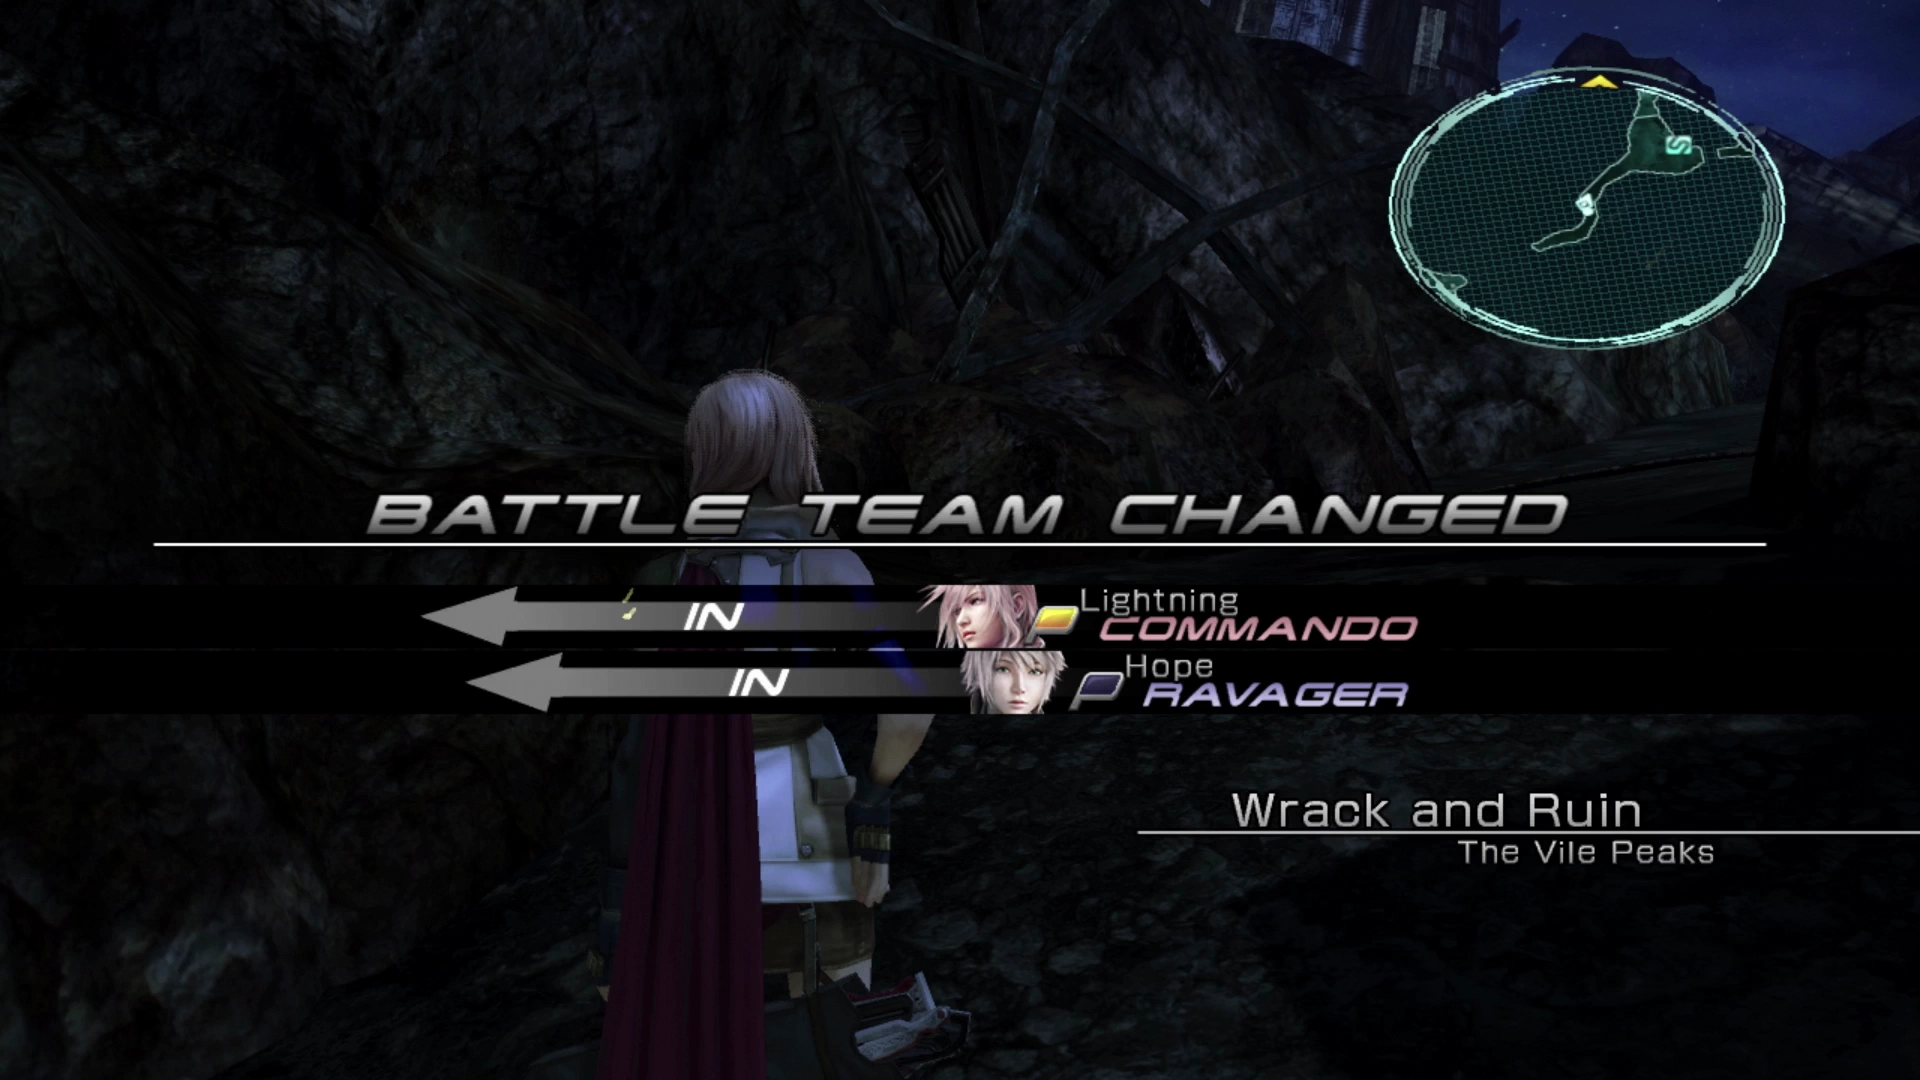
Lightning and Hope will take off over the ridge leaving you with Sazh and Vanille in your party. Take some time to spend some of Vanille’s Crystogen Points (CP) in the Crystarium, ideally spending most of them in her ![]() Ravager role, but don’t spend any of Sazh’s CP just yet as he will have access to a new role soon. There are a few more cutscenes that occur once you move far enough forward. These take place in the town of Bodhum.
Ravager role, but don’t spend any of Sazh’s CP just yet as he will have access to a new role soon. There are a few more cutscenes that occur once you move far enough forward. These take place in the town of Bodhum.
The story jumps back over to Lightning and Hope with a quick primer provided on the ![]() Synergist role that Hope has access to. Hope has access to both the
Synergist role that Hope has access to. Hope has access to both the ![]() Potion and
Potion and ![]() Shell spells, both of which will be very useful for some upcoming battles, but you will need to spend some of his Crystogen Points (CP) in the
Shell spells, both of which will be very useful for some upcoming battles, but you will need to spend some of his Crystogen Points (CP) in the ![]() Synergist Crystarium for him to gain access to
Synergist Crystarium for him to gain access to ![]() Shell. Do this as quickly as you can! Lightning will continue to function as your primary
Shell. Do this as quickly as you can! Lightning will continue to function as your primary ![]() Commando for now so spend your points enhancing this role.
Commando for now so spend your points enhancing this role.
There is a ![]() Save Station just up ahead that you can use to save your game. Take the pathway to the right of the Save Station, defeat the Thexteron wandering around on the platform, and open the nearby Treasure Sphere which contains a
Save Station just up ahead that you can use to save your game. Take the pathway to the right of the Save Station, defeat the Thexteron wandering around on the platform, and open the nearby Treasure Sphere which contains a ![]() Librascope. Jump back down towards the Save Station and defeat the nearby group of enemies (two Pantherons and a Thexteron) as you continue working your way through the peaks.
Librascope. Jump back down towards the Save Station and defeat the nearby group of enemies (two Pantherons and a Thexteron) as you continue working your way through the peaks.
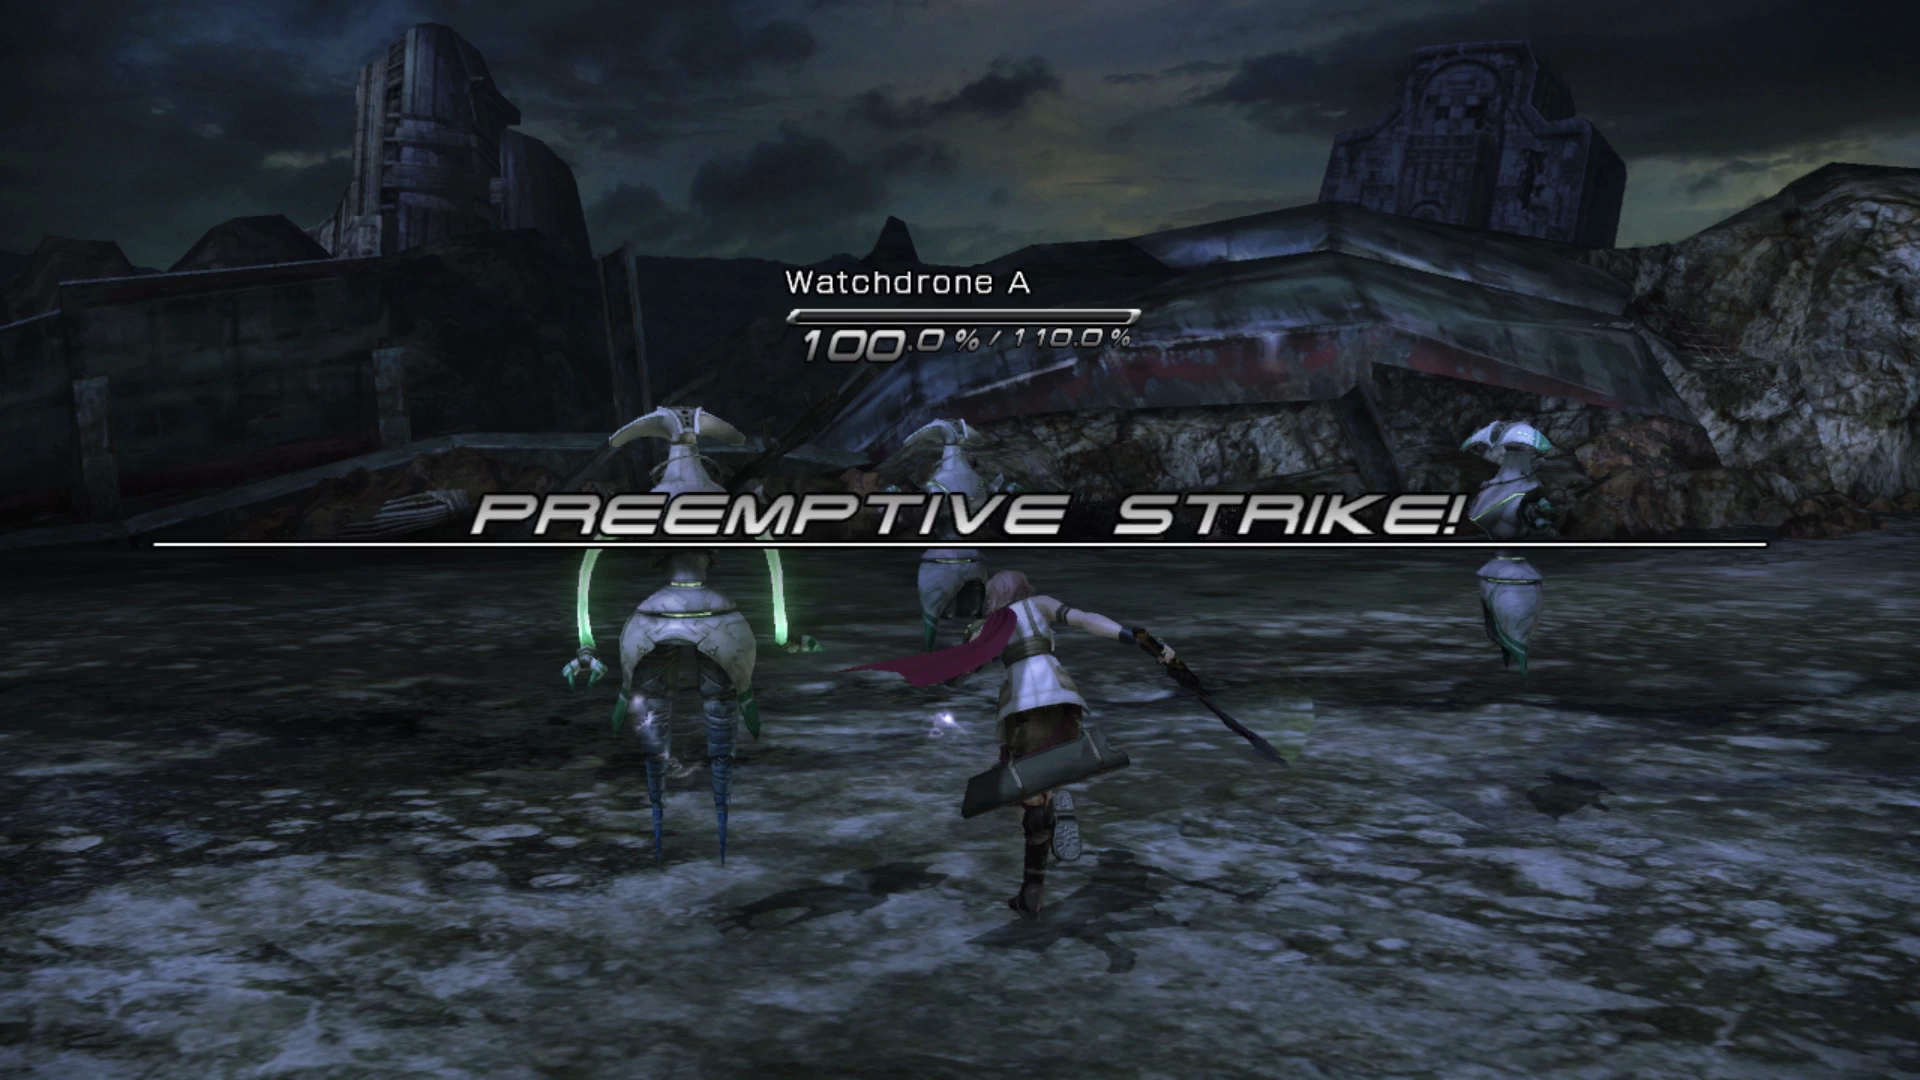
After you make your way jumping over the circular structure you will run into a group of three Watchdrones. As a quick reminder, these enemies can be snuck up on to initiate a ![]() preemptive strike. There is another group of enemies just up ahead from here that includes two Watchdrones and a Thexteron.
preemptive strike. There is another group of enemies just up ahead from here that includes two Watchdrones and a Thexteron.
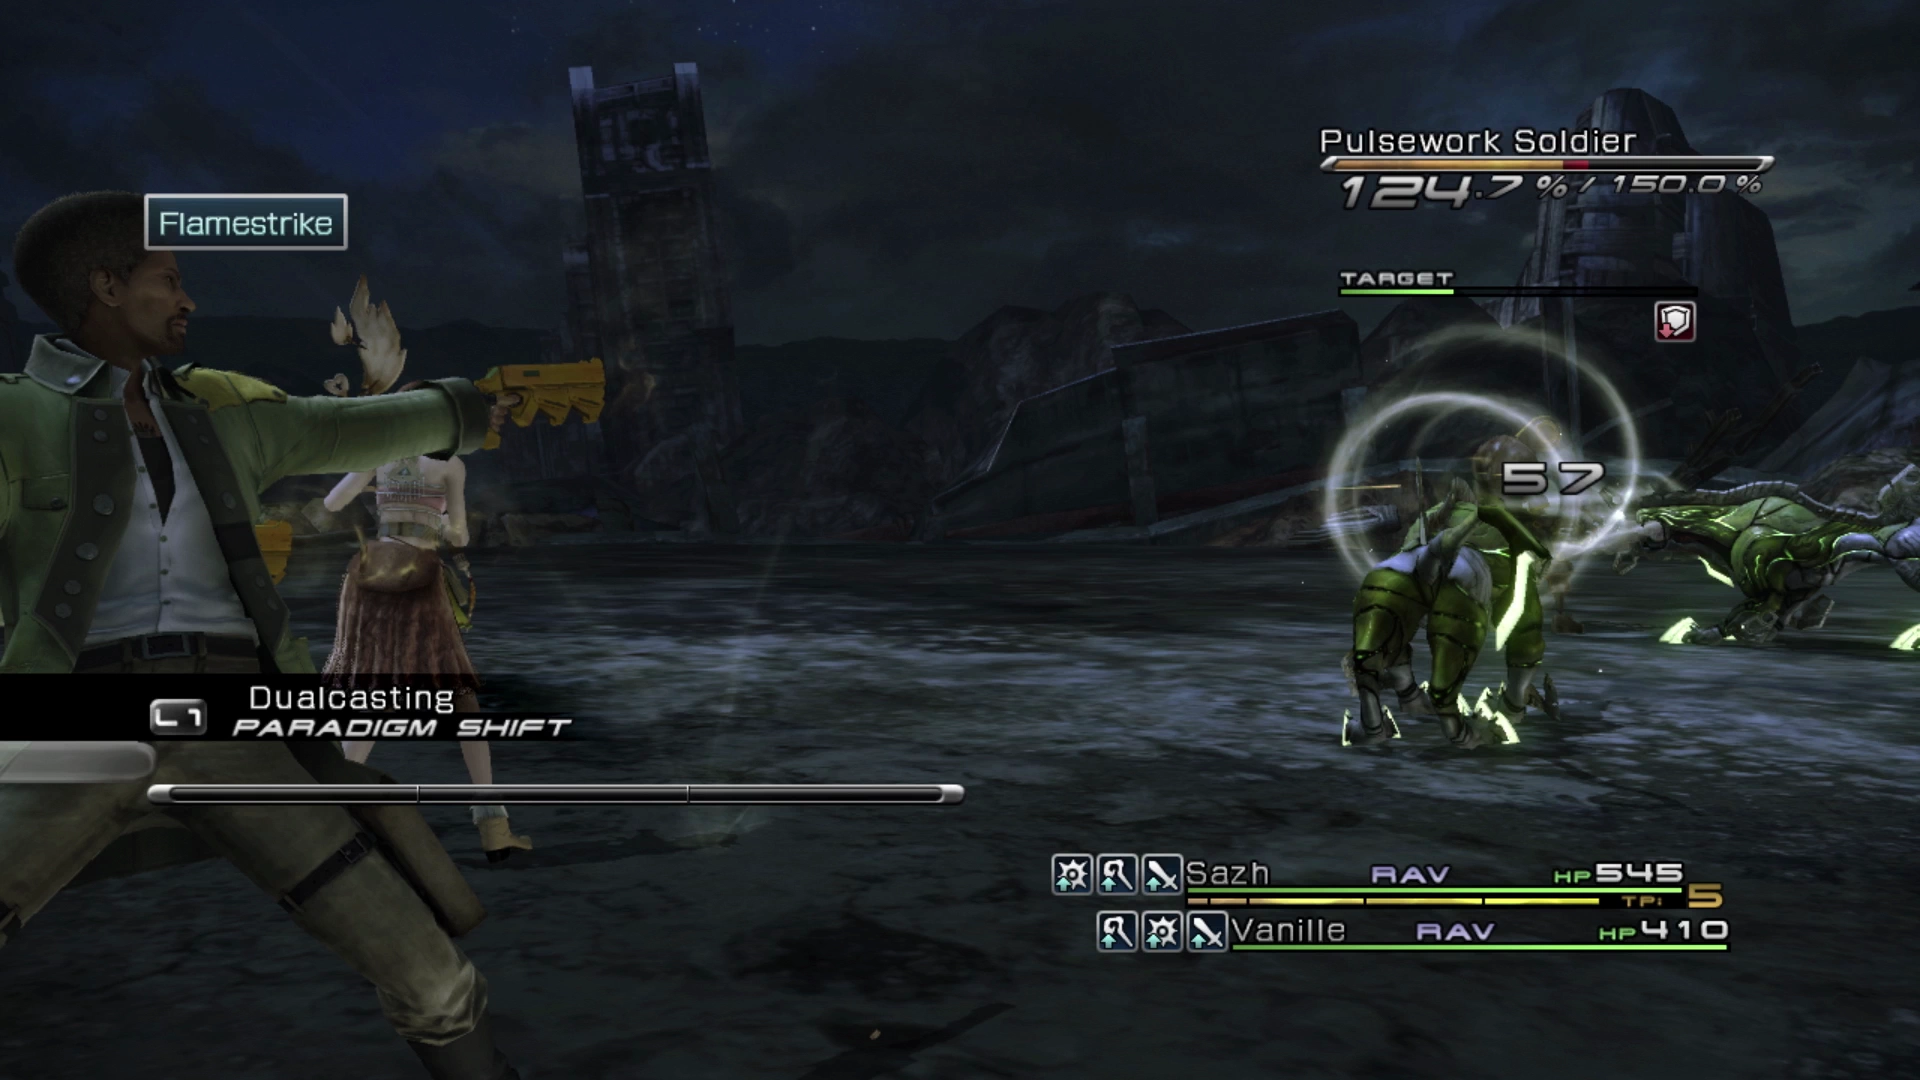
The next enemy that you will come across is called a Pulsework Soldier. While they don’t hit much harder than any of the other enemies you’ve faced, they have quite a bit of HP, and the most effective way to defeat them is to Chain and Stagger them to inflict heavy amounts of damage while their inner core is exposed. This is made much easier by the fact that Pulsework Soldiers are very slow, lumbering enemies that are easy to sneak up on, so try to surprise them with a preemptive strike whenever you can.
Continue down the cliffs until you reach the large open area. There’s an exclamation point marker on the map showing you where to go and once you touch that area near the cliff another set of cutscenes will start up. This one involves the thirteen days and the purge deportees (“Day Thirteen: Volunteering”). Lightning will take off going up and over the cliff and leaving poor Hope behind.
Helpful Hint
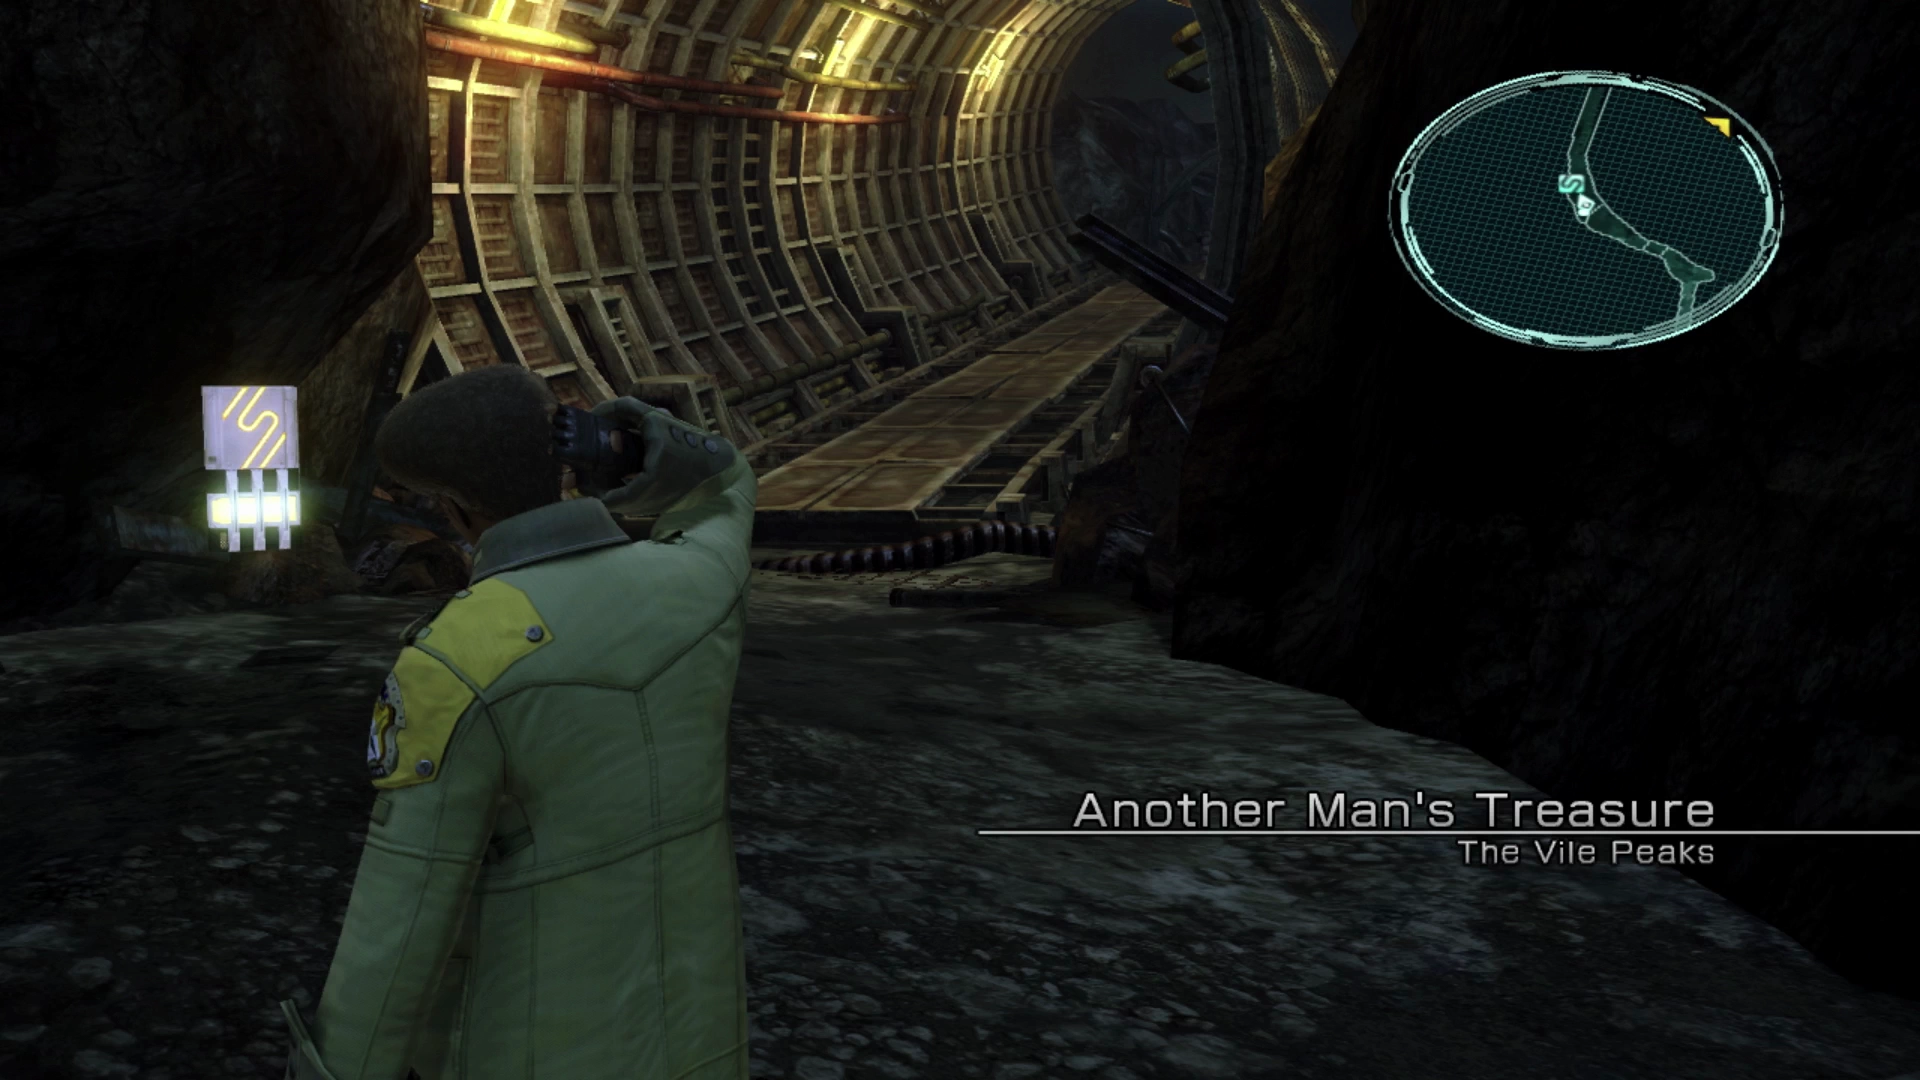
The headings that are used in this strategy guide are meant to align with the names of the different areas of the map. Despite how it appears to be a bit of an odd name for an area on the map, “Another Man’s Treasure” is technically what this next area of the Vile Peaks is called. This next area is where Sazh and Vanille start.
Another Man’s Treasure
The game returns us to Sazh and Vanille back near where they split up with Lightning and Hope, but they will climb the rubble leading into this new area of the map: “Another Man’s Treasure.” The game will provide you with two more primers:
- An overview of Sazh’s new
 Synergist role.
 - An overview of three-way battles.
To provide some additional guidance beyond what the game offers, this is the first section of the story where you can become a lot more strategic with your role and Paradigm combinations to progress through battles more efficiently. In short, three-way battles will have enemies that are focused on attacking one another.
Because they are not focusing their attacks on your party members, and your party members are therefore not taking damage, you can get good effective use out of the ![]() Synergist and
Synergist and ![]() Saboteur roles, which buff your party members or debuff enemies respectively.
Saboteur roles, which buff your party members or debuff enemies respectively.
Applying these buffs and debuffs during the fight will greatly increase the potency of your characters both from an offensive and a defensive perspective. This will help you take down enemies more quickly and then, once the remaining enemies in a three-way battle turn and fight your party members, you’ll have enhanced defenses that will protect your party members.
You will generally want to take down any Pulsework Soldiers you face during a three-way battle, but this guide will provide additional advice when it’s called for.
Helpful Hint
The ![]() Saboteur is a very important role, primarily for the debuffs that it will apply to the enemies you are facing, but what’s also important to note is that any spells effectively landed by the
Saboteur is a very important role, primarily for the debuffs that it will apply to the enemies you are facing, but what’s also important to note is that any spells effectively landed by the ![]() Saboteur operate like attacks made by a character in the
Saboteur operate like attacks made by a character in the ![]() Commando role.
Commando role.
More specifically, these spells will slow the Stagger bar from falling as quickly. This means that having a ![]() Ravager /
Ravager / ![]() Saboteur combo is the same as having
Saboteur combo is the same as having ![]() Ravager /
Ravager / ![]() Commando from a Chain Gauge and Stagger perspective.
Commando from a Chain Gauge and Stagger perspective.
Switching between various Paradigms will soon become second nature to you, but this is something you should always be watching for. Make sure that you get in an attack, ideally from a ![]() Commando, or now a
Commando, or now a ![]() Saboteur, to keep the Chain Gauge high. Two more important things to remember:
Saboteur, to keep the Chain Gauge high. Two more important things to remember:
- A
 Saboteur will not cast any more spells if the enemy you are facing already has each of the spells/debuffs already applied. In other words, if Vanille only has access to
  Deprotect and
  Deshell and both of those debuffs have already been applied to the enemy, she will not be able to do anything else and will just stand there doing nothing if she is still in the Saboteur role.
 - You may be tempted to try to stick to your most ‘powerful’ Paradigms, but keep in mind that because of the ATB Refresh mechanic, it’s more beneficial to jump back and forth between Paradigms during a fight.
Knowing which Paradigms to use, keeping your party members healed up enough to prevent KOs, and maximizing the Chain Gauge and Stagger uptime are the primary strategic elements of battles in Final Fantasy XIII. Practice makes perfect, so get into good habits now!
Vanille’s new ![]() Saboteur role comes preloaded with the main abilities that she will need to use in it (
Saboteur role comes preloaded with the main abilities that she will need to use in it (![]() Deprotect/
Deprotect/![]() Deshell) so you can focus on spending her Crystogen Points (CP) in the
Deshell) so you can focus on spending her Crystogen Points (CP) in the ![]() Ravager Crystarium to ramp up the damage she can do when an enemy is Staggered.
Ravager Crystarium to ramp up the damage she can do when an enemy is Staggered.
You may want to have Sazh spend a few of his points in the ![]() Synergist role to have him learn
Synergist role to have him learn ![]() Bravery but, after that, the
Bravery but, after that, the ![]() Ravager Crystarium may be your best bet for him as well.
Ravager Crystarium may be your best bet for him as well.
Lastly, before you get rolling, make sure that you have Paradigms set for your new two-person team that include the following:
- Slash & Burn (
 Commando /
  Ravager) is good to start with.
 - Dualcasting (Ravager / Ravager) is for when an enemy is already Staggered.
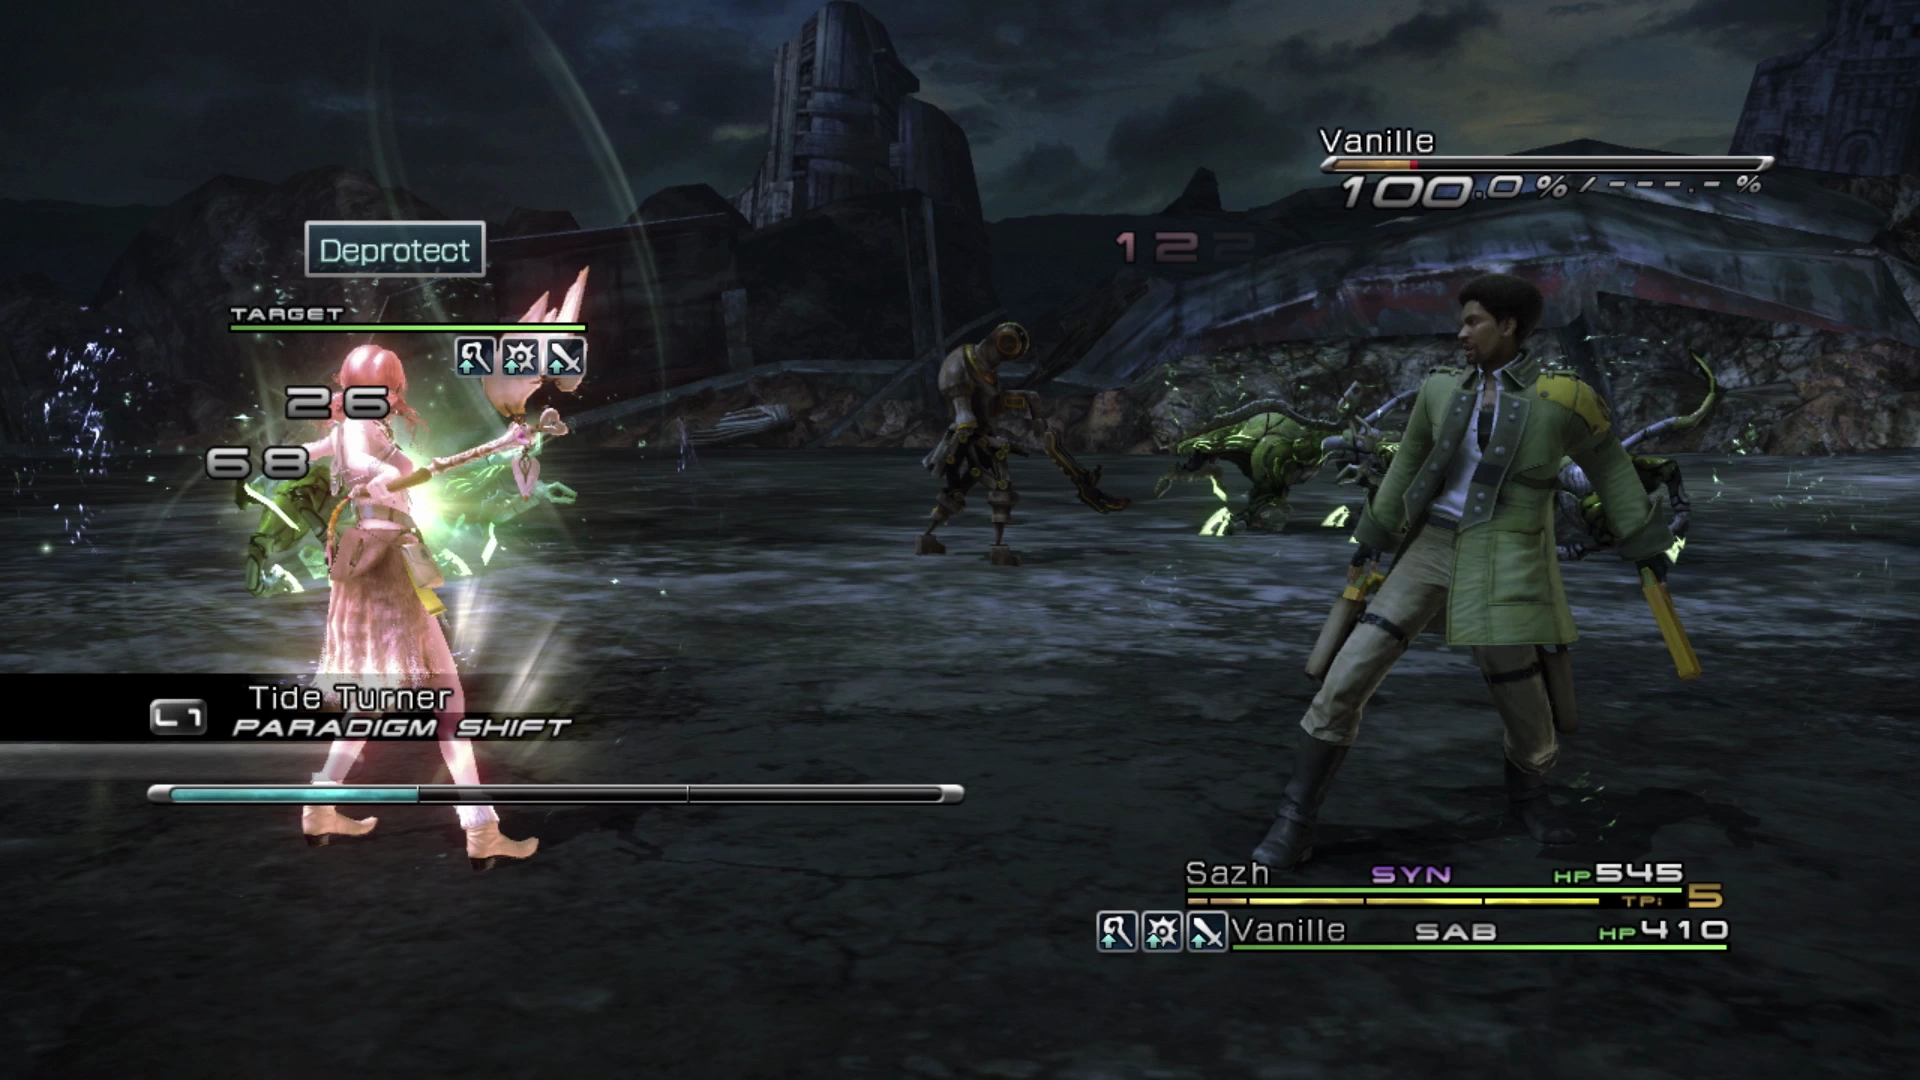
- Tide Turner (Synergist / Saboteur) is for the start of three-way battles.
- War & Peace (Commando /
 Medic) can be used in cases where your characters need healing.
 - Undermine (Ravager / Saboteur) is an alternative to Slash & Burn if debuffs can still be applied.
With that, you are ready to hit the trail! Use the ![]() Save Station just up ahead if you need to save your game. You will find your first group of enemies fighting a battle amongst themselves.
Save Station just up ahead if you need to save your game. You will find your first group of enemies fighting a battle amongst themselves.
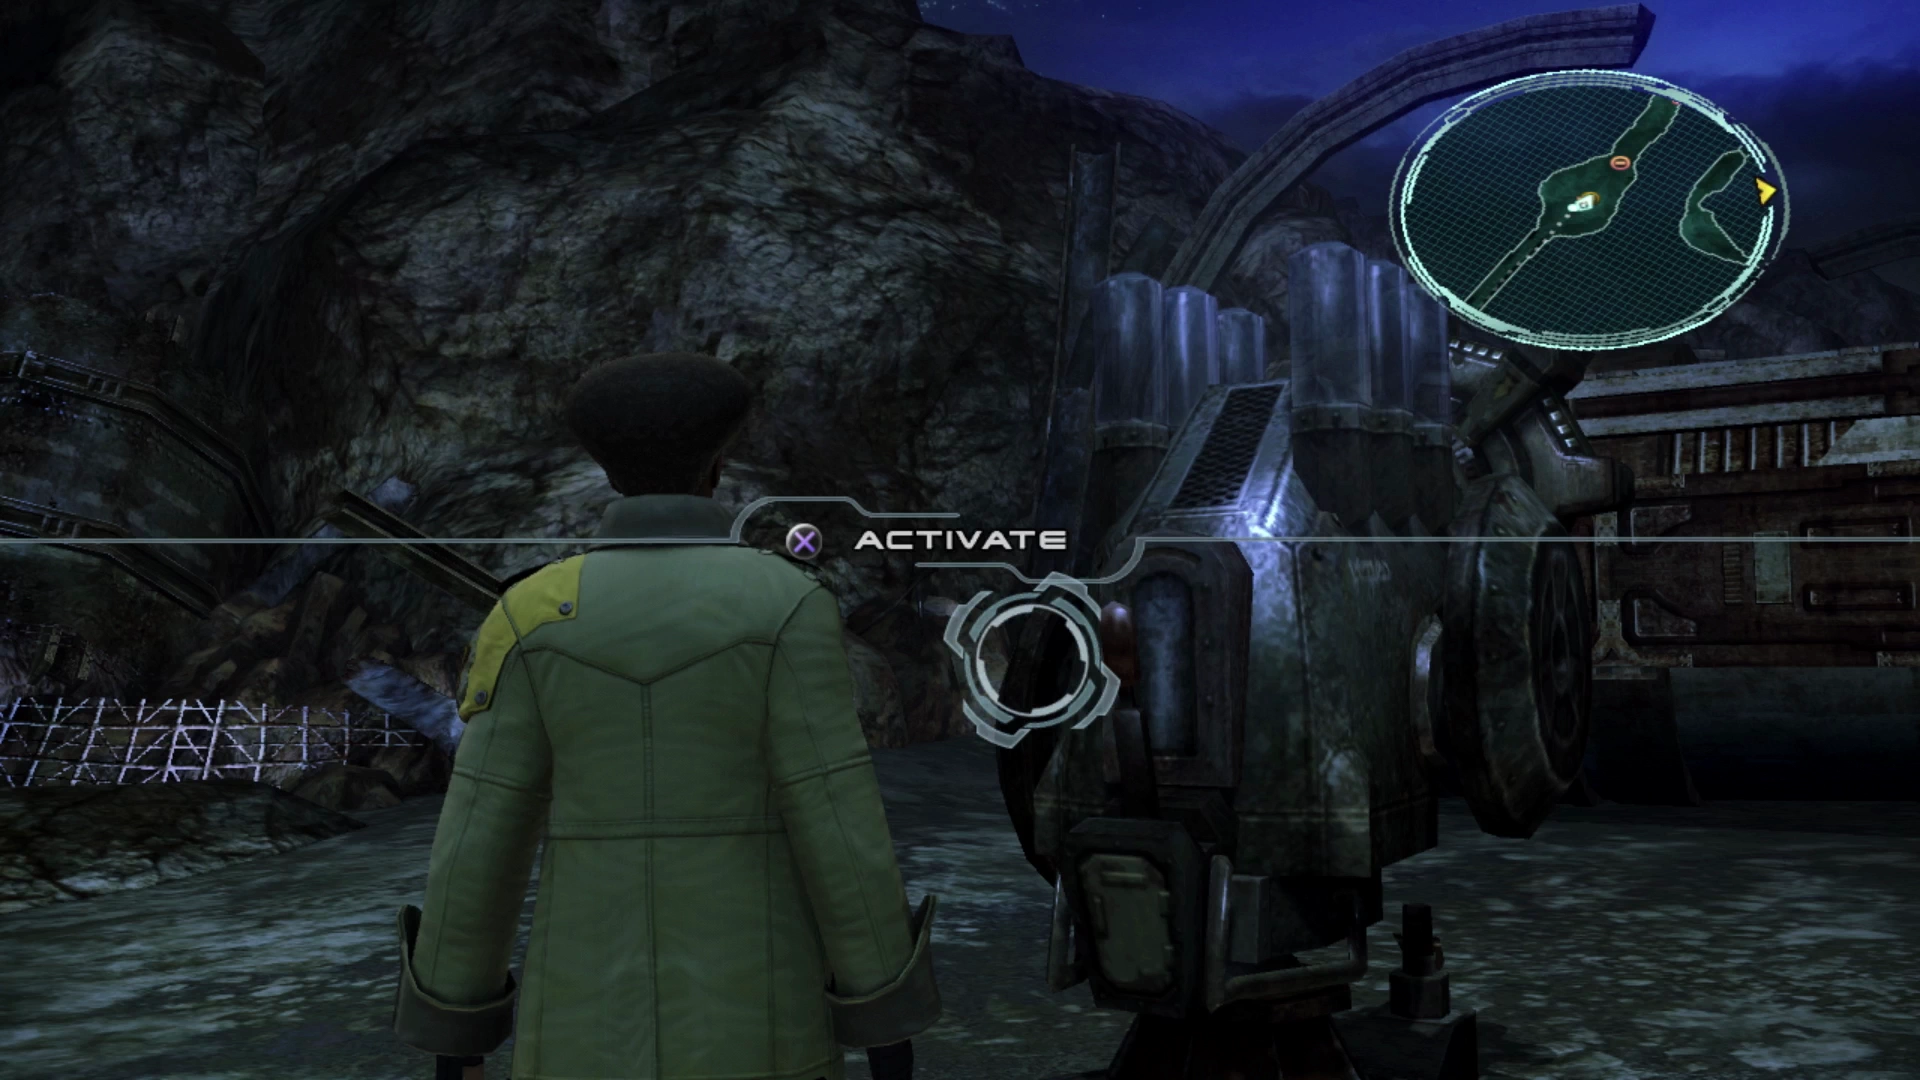
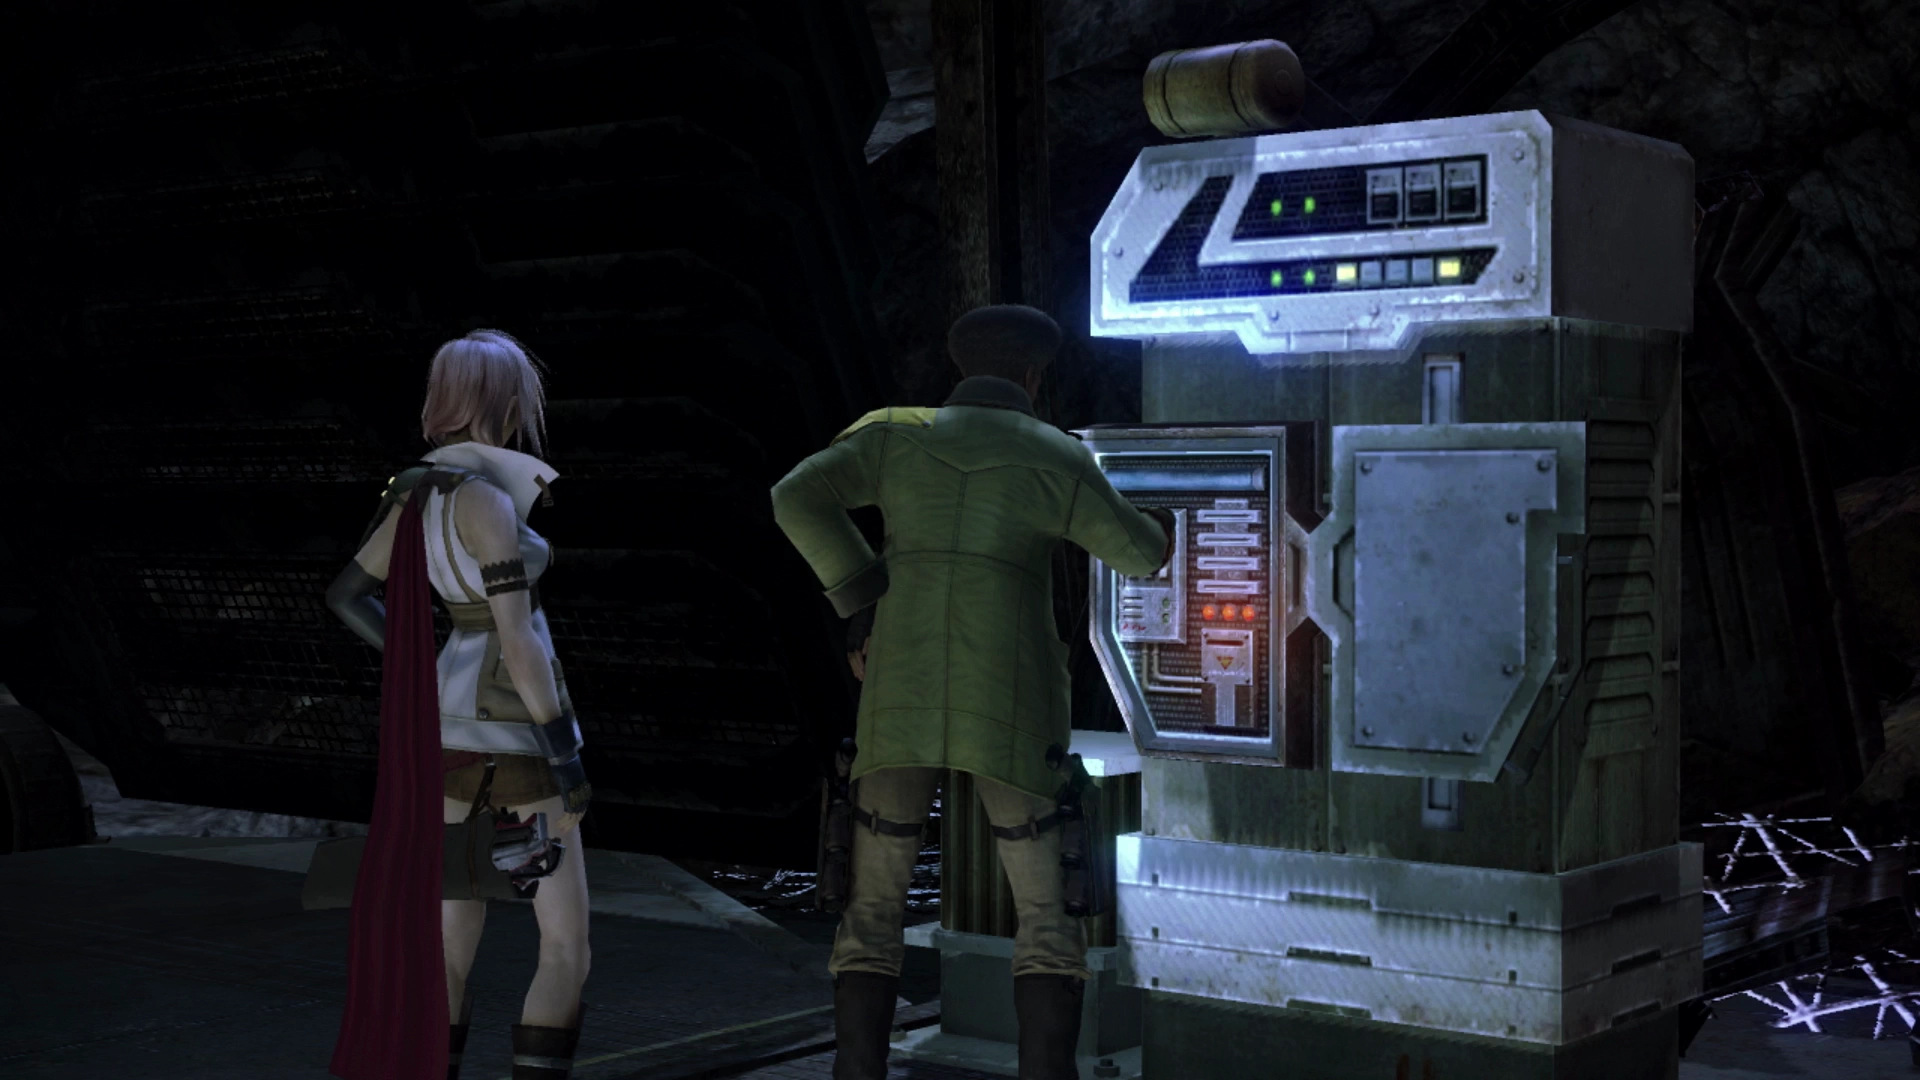
These enemies are very easy to sneak up on given that they are already preoccupied with fighting one another which will give you a nice Stagger to start the fight with. Focus your efforts on the Pulsework Soldier and then take out the three Watchdrones. Activate the nearby machine to open the pathway ahead.
Your second three-way battle is just up ahead, and it will involve fighting one Pulsework Soldier and two Thexteron. Again, take out the Pulsework Soldier first, and then defeat the two Thexteron. Right now, the enemies that remain after you’ve defeated the Pulsework Soldier are easy enough to defeat on their own after it goes down, but in the next fight, we will have to be a bit more strategic about which enemies we dispatch and in what order.
The next battle includes a whole swath of enemies. It includes two Thexteron enemies, three Watchdrones and a Pulsework Soldier. The issue in this battle is that if you focus all your efforts on the Pulsework Soldier first all the remaining enemies will turn and attack Sazh and Vanille. Instead, focus on taking out the two Thexteron enemies first, as they tend to inflict the most damage once they turn to attack your party members. Then defeat the Pulsework Soldier and, finally, defeat the remaining Watchdrones.
Don’t forget to grab the nearby Treasure Sphere once the battle has concluded! It contains a ![]() Black Belt accessory. This accessory merely provides resistance to physical attacks, so it isn’t much better than what your party members already have equipped.
Black Belt accessory. This accessory merely provides resistance to physical attacks, so it isn’t much better than what your party members already have equipped.
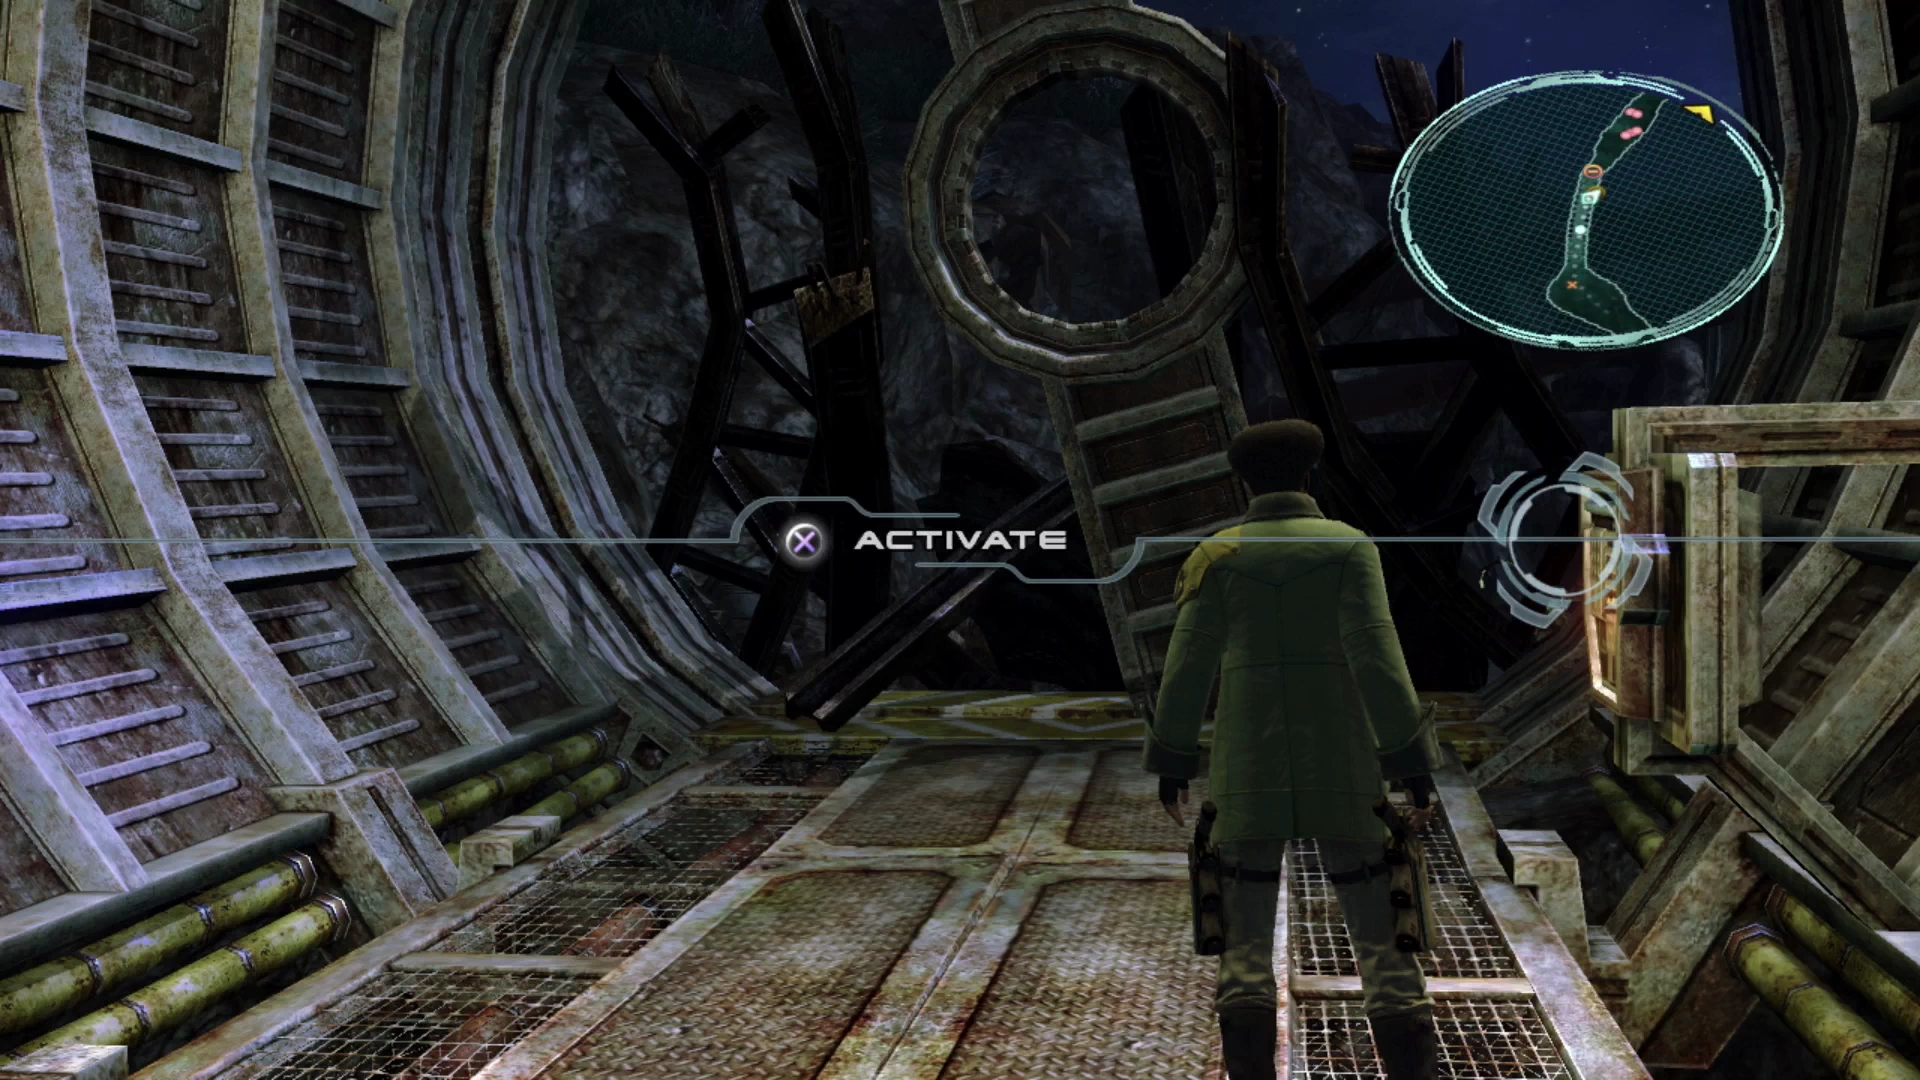
Walk to the end of the tube/tunnel after you’ve grabbed it and press ![]()
![]()
![]() to activate the control panel near the other side to have Sazh reconfigure the controls and clear the way out of the exit.
to activate the control panel near the other side to have Sazh reconfigure the controls and clear the way out of the exit.
The next battle includes two Pulsework Soldiers and three Thexteron. Try to get a ![]() preemptive strike in by sneaking up on them and Stagger one of the Pulsework Soldiers early in the fight.
preemptive strike in by sneaking up on them and Stagger one of the Pulsework Soldiers early in the fight.
The order of attack goes Pulsework Soldier, then defeat one of the three Thexteron, followed by defeating the second Pulsework Soldier. The last two Thexteron enemies, assuming one of them hasn’t already been killed by the other enemies, are easy enough to defeat on their own.
Move just a few steps forward from here and Sazh and Vanille will come across Hope still sitting on his lonely rock. There are a few more cutscenes that take place, including one for the Thirteen Days: Day 11 in Bodhum.
Hope will join your party and will have gained some additional Crystogen Points (CP) to spend. It’s recommended that you have him focus on filling out his ![]() Ravager role and make sure to create the Smart Bomb Paradigm which is made up of
Ravager role and make sure to create the Smart Bomb Paradigm which is made up of ![]() Ravager /
Ravager / ![]() Ravager /
Ravager / ![]() Saboteur. This Paradigm will be effective during three-way battles.
Saboteur. This Paradigm will be effective during three-way battles.
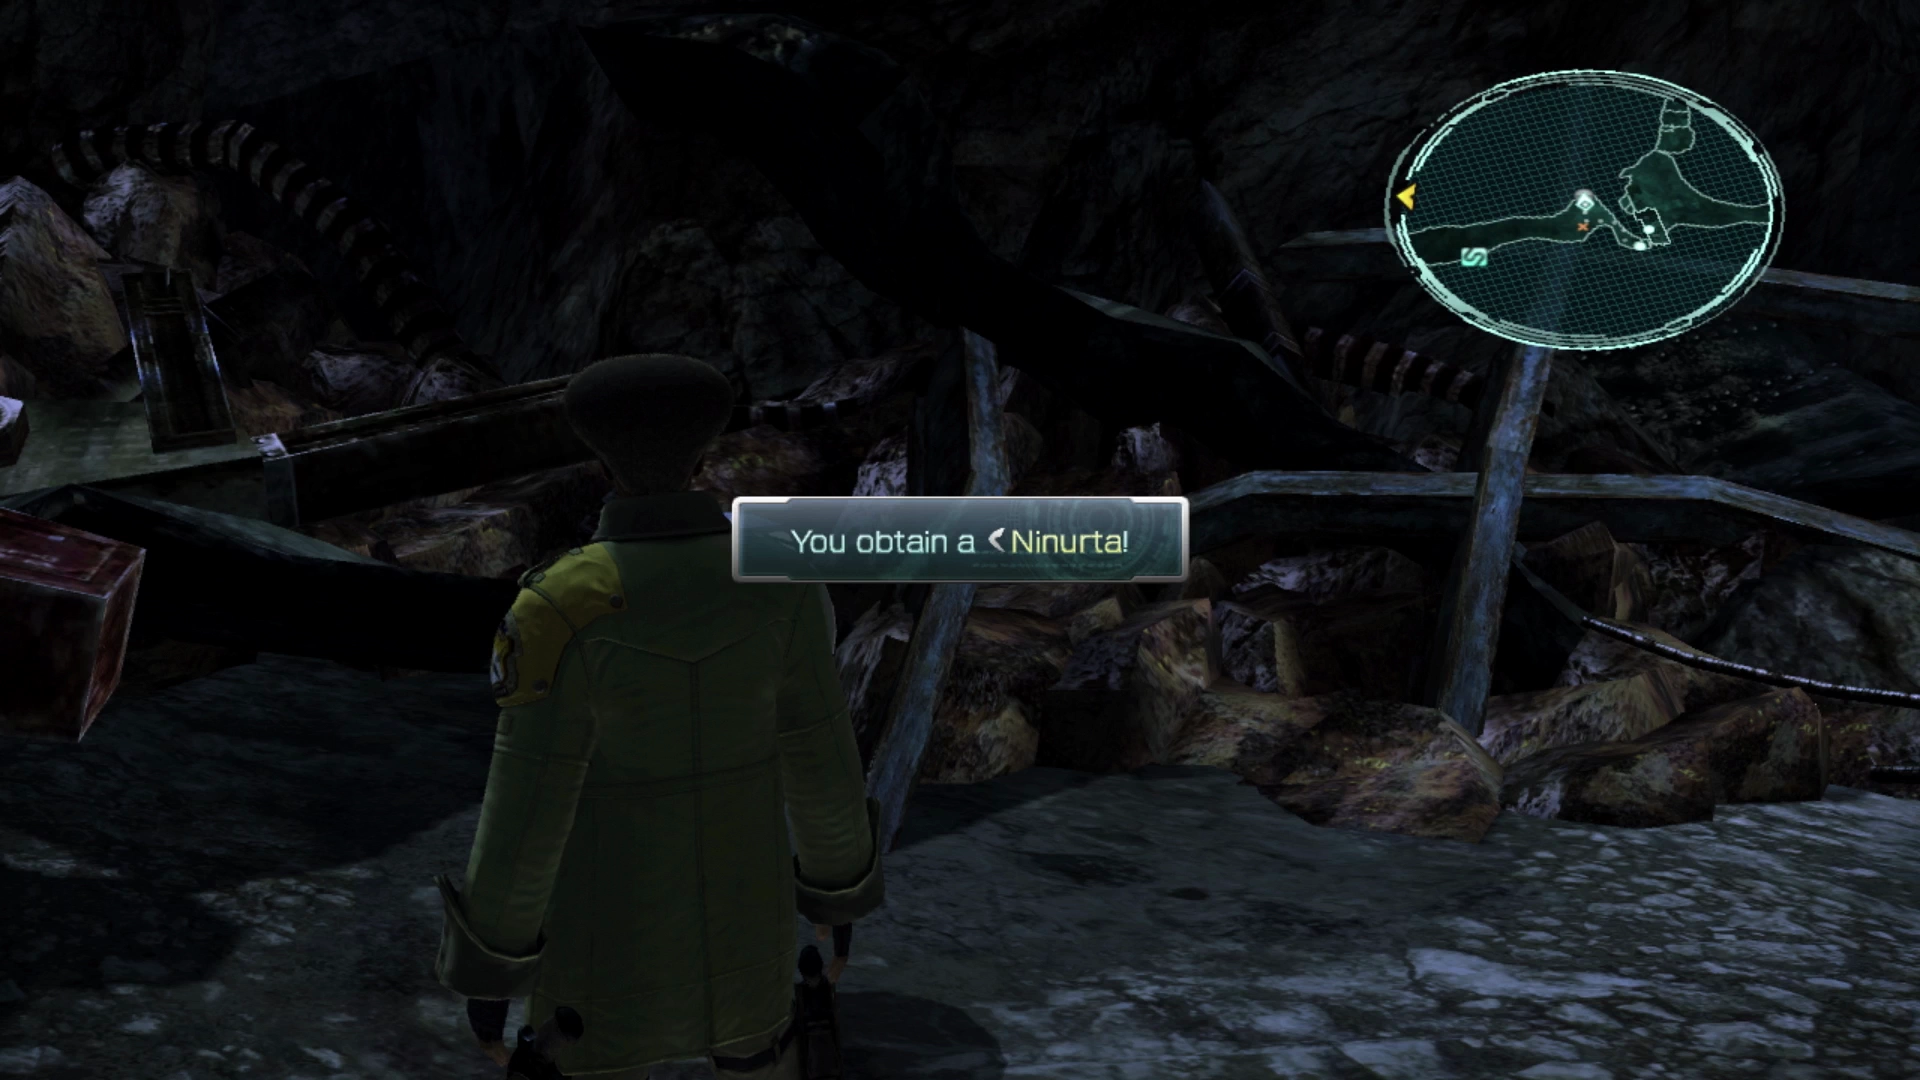
Climb the cliff when you’re back in control of Sazh and engage the Pulsework Soldier patrolling just in front of the Treasure Sphere. Note that Pulsework Soldiers are very easy to sneak up on, especially on their own but even sometimes when they are in a group of enemies.
Open the Treasure Sphere to pick up a ![]() Ninurta weapon for Hope. This weapon isn’t much better than what he already has equipped right now though so no need to swap it in.
Ninurta weapon for Hope. This weapon isn’t much better than what he already has equipped right now though so no need to swap it in.
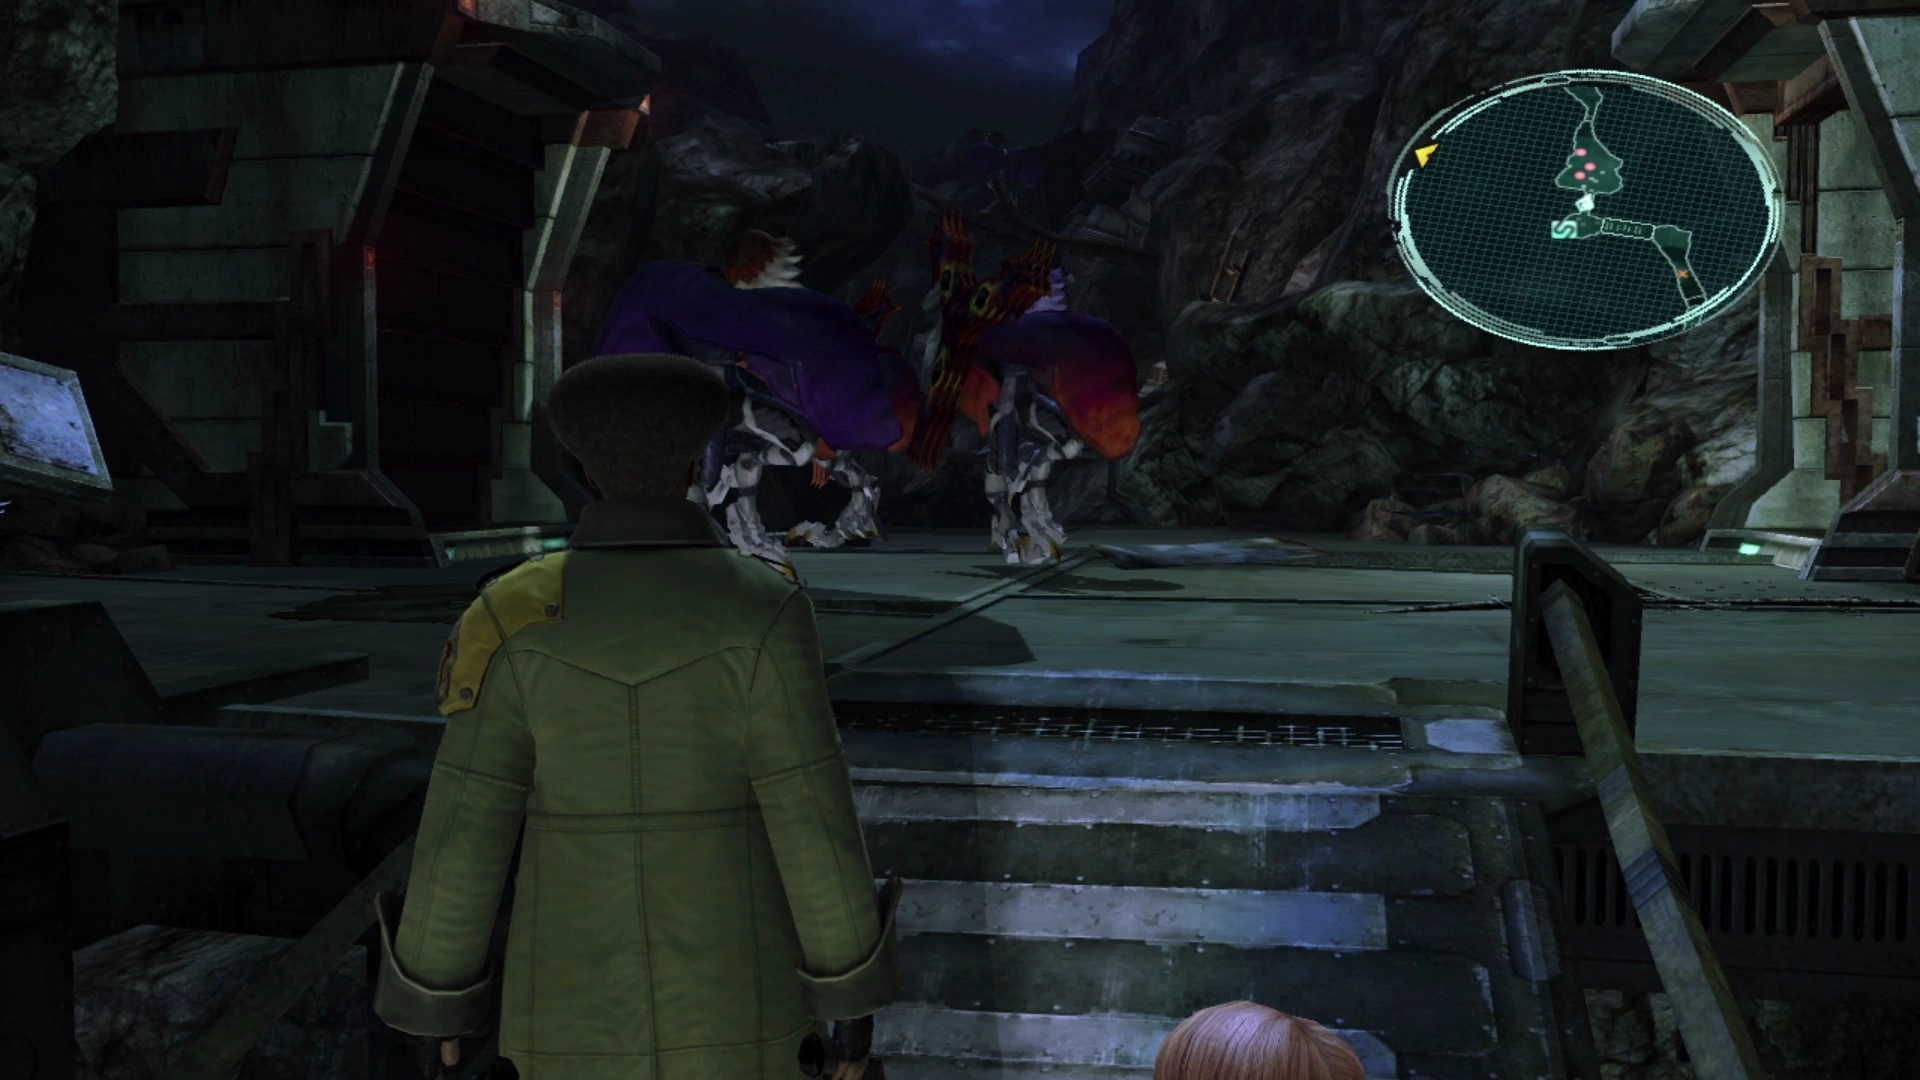
Save your game at the ![]() Save Station and then continue up ahead to a doorway that will open as you approach it and a Pulsework Soldier will emerge. As you walk forward into the next area Hope will yell “There’s something up there!” just before some enemies will drop down and attempt to ambush you from above.
Save Station and then continue up ahead to a doorway that will open as you approach it and a Pulsework Soldier will emerge. As you walk forward into the next area Hope will yell “There’s something up there!” just before some enemies will drop down and attempt to ambush you from above.
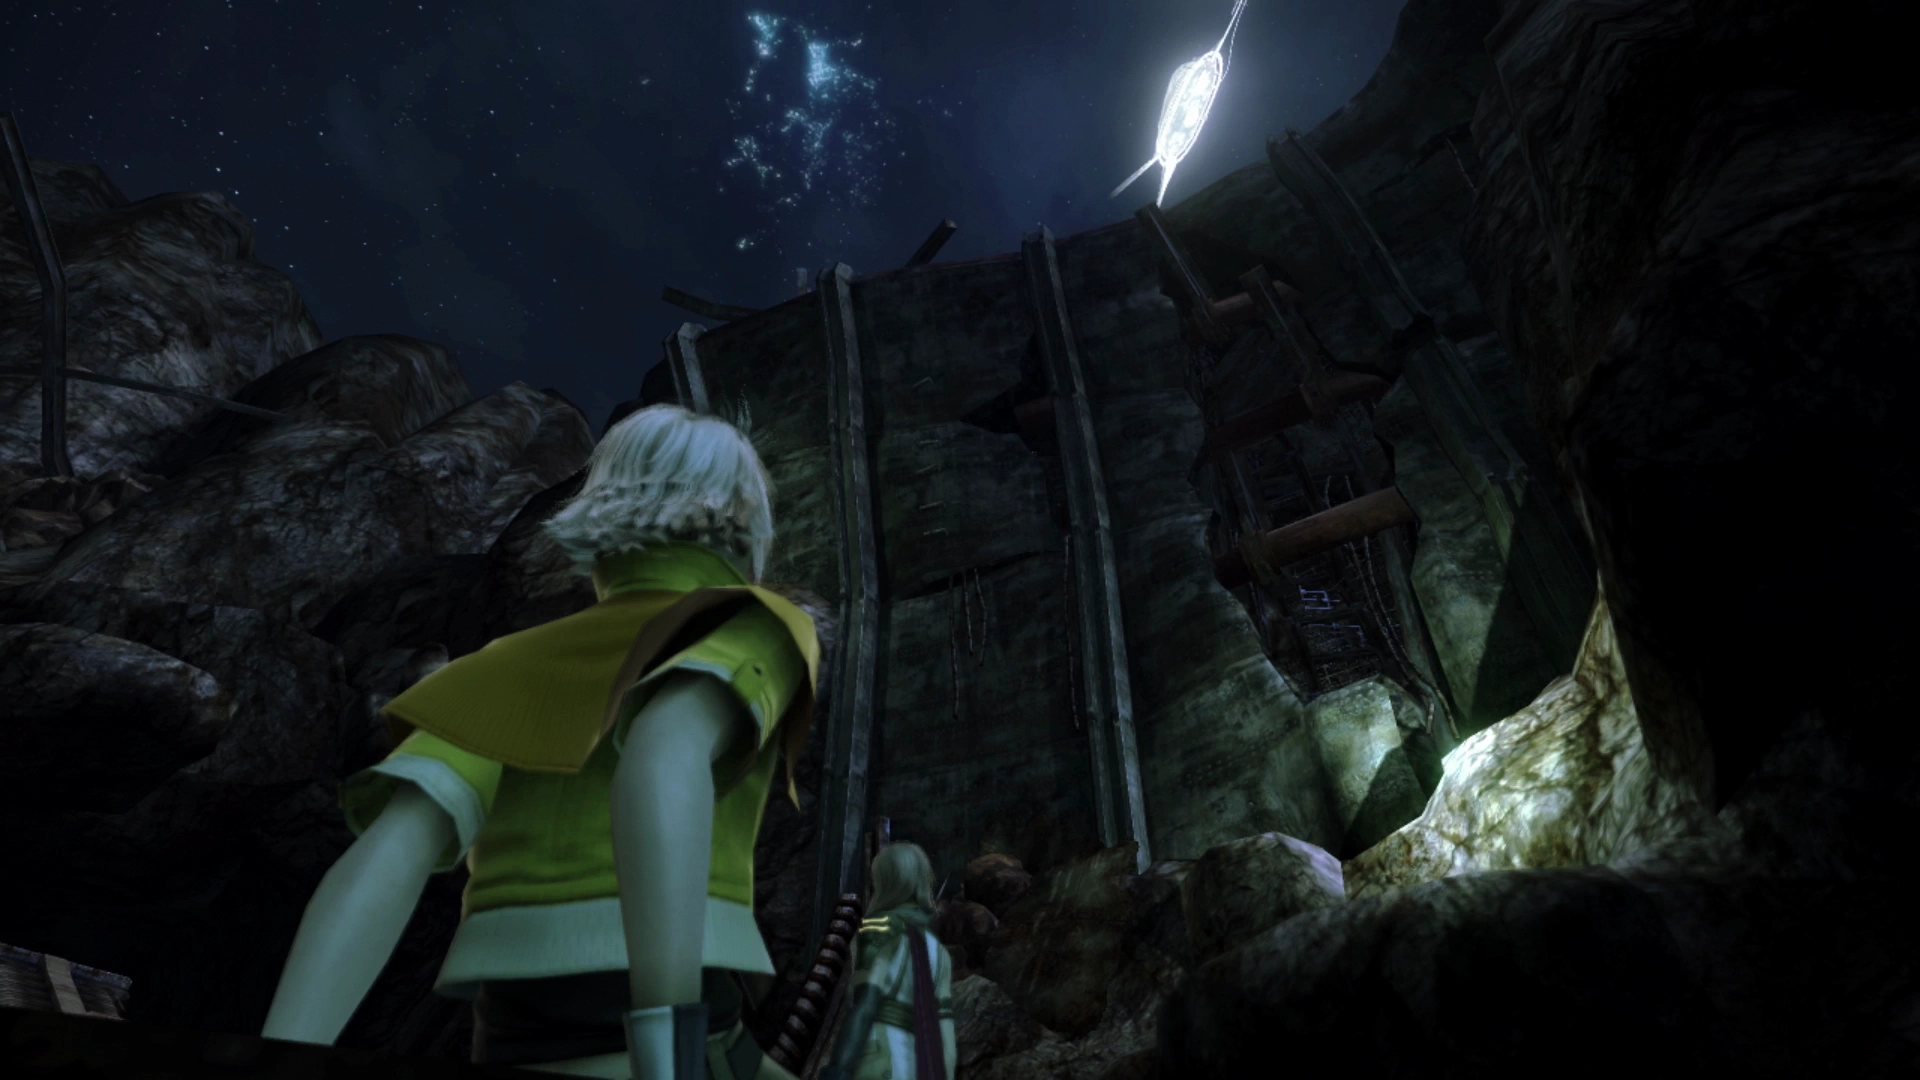
Use the mini-map to watch for enemies (indicated by red dots) that may be lurking on the cliffs in wait to ambush you. They will drop down as you approach them but, if you’re quick, you can run out, spin back around and get a preemptive strike on them. The two creatures that drop down are called Incubus; don’t forget to use ![]() Libra on them!
Libra on them!
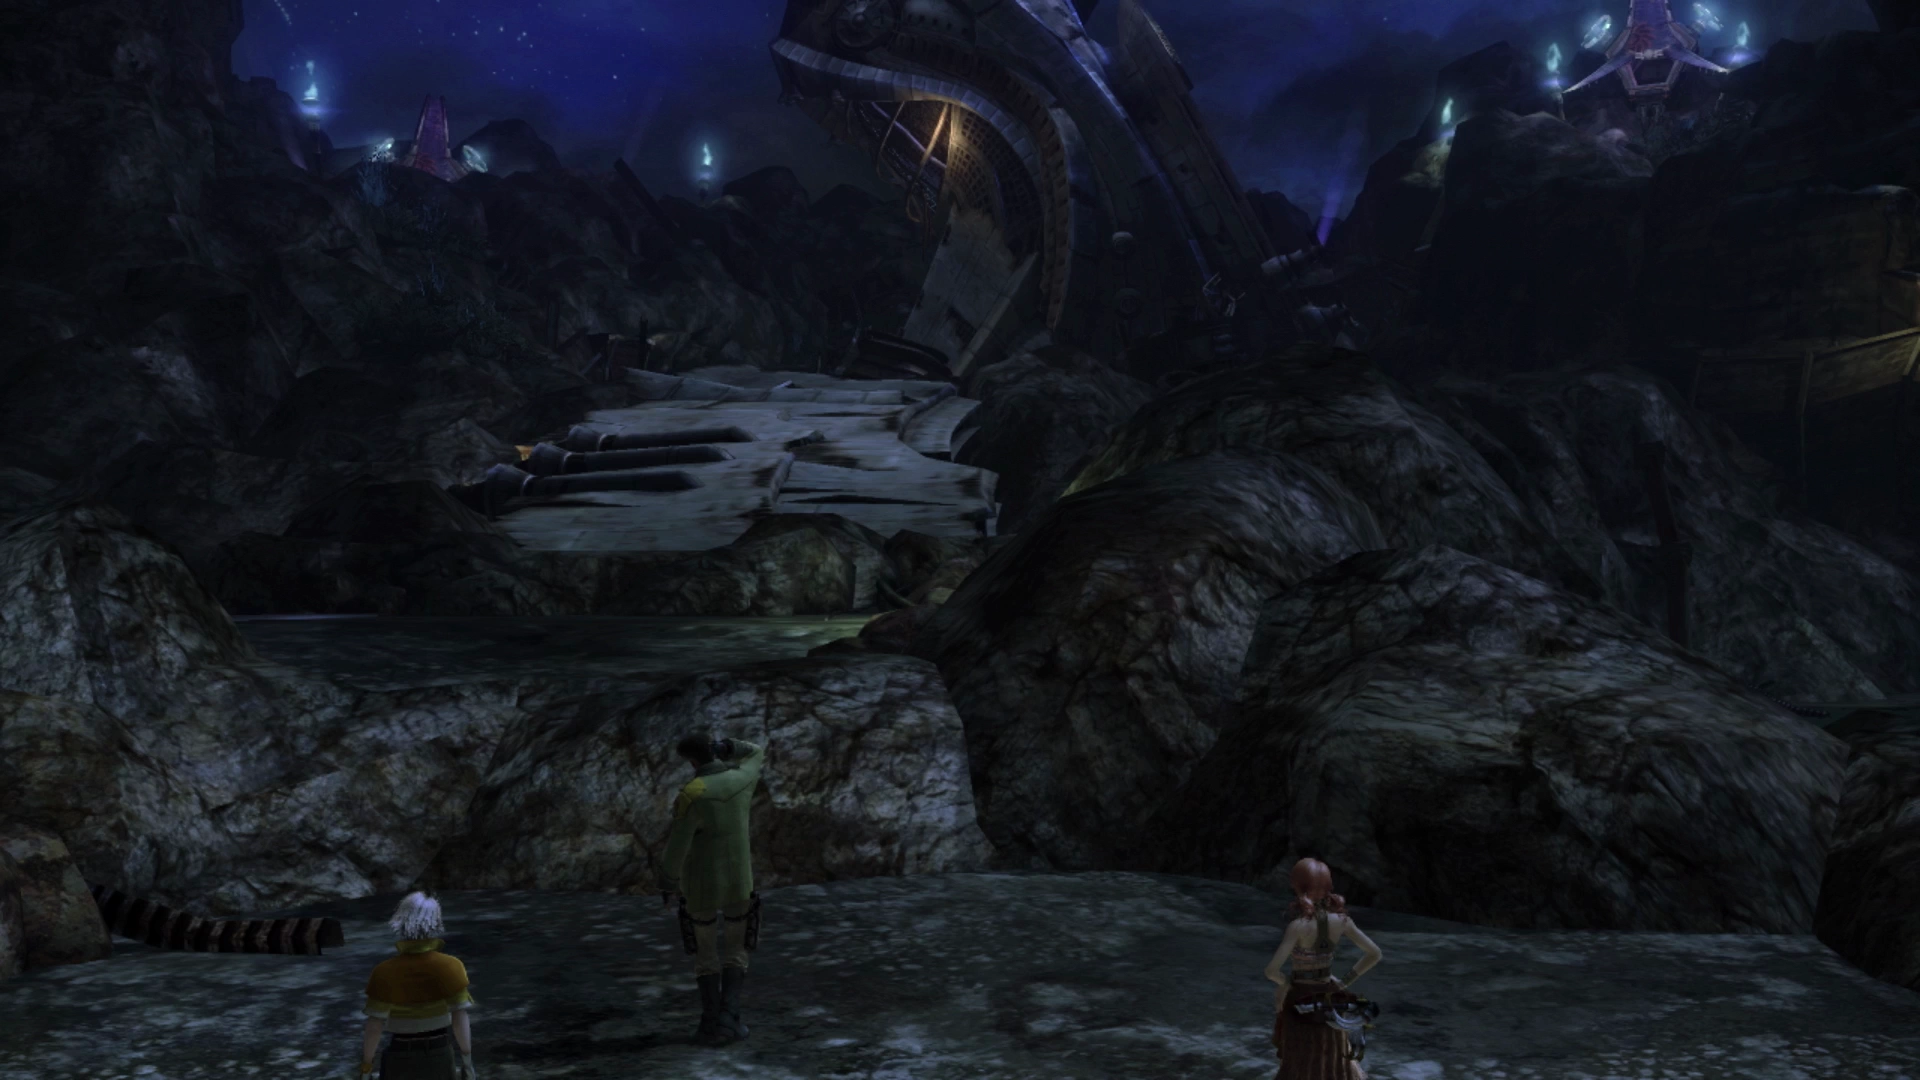
Munitions Necropolis
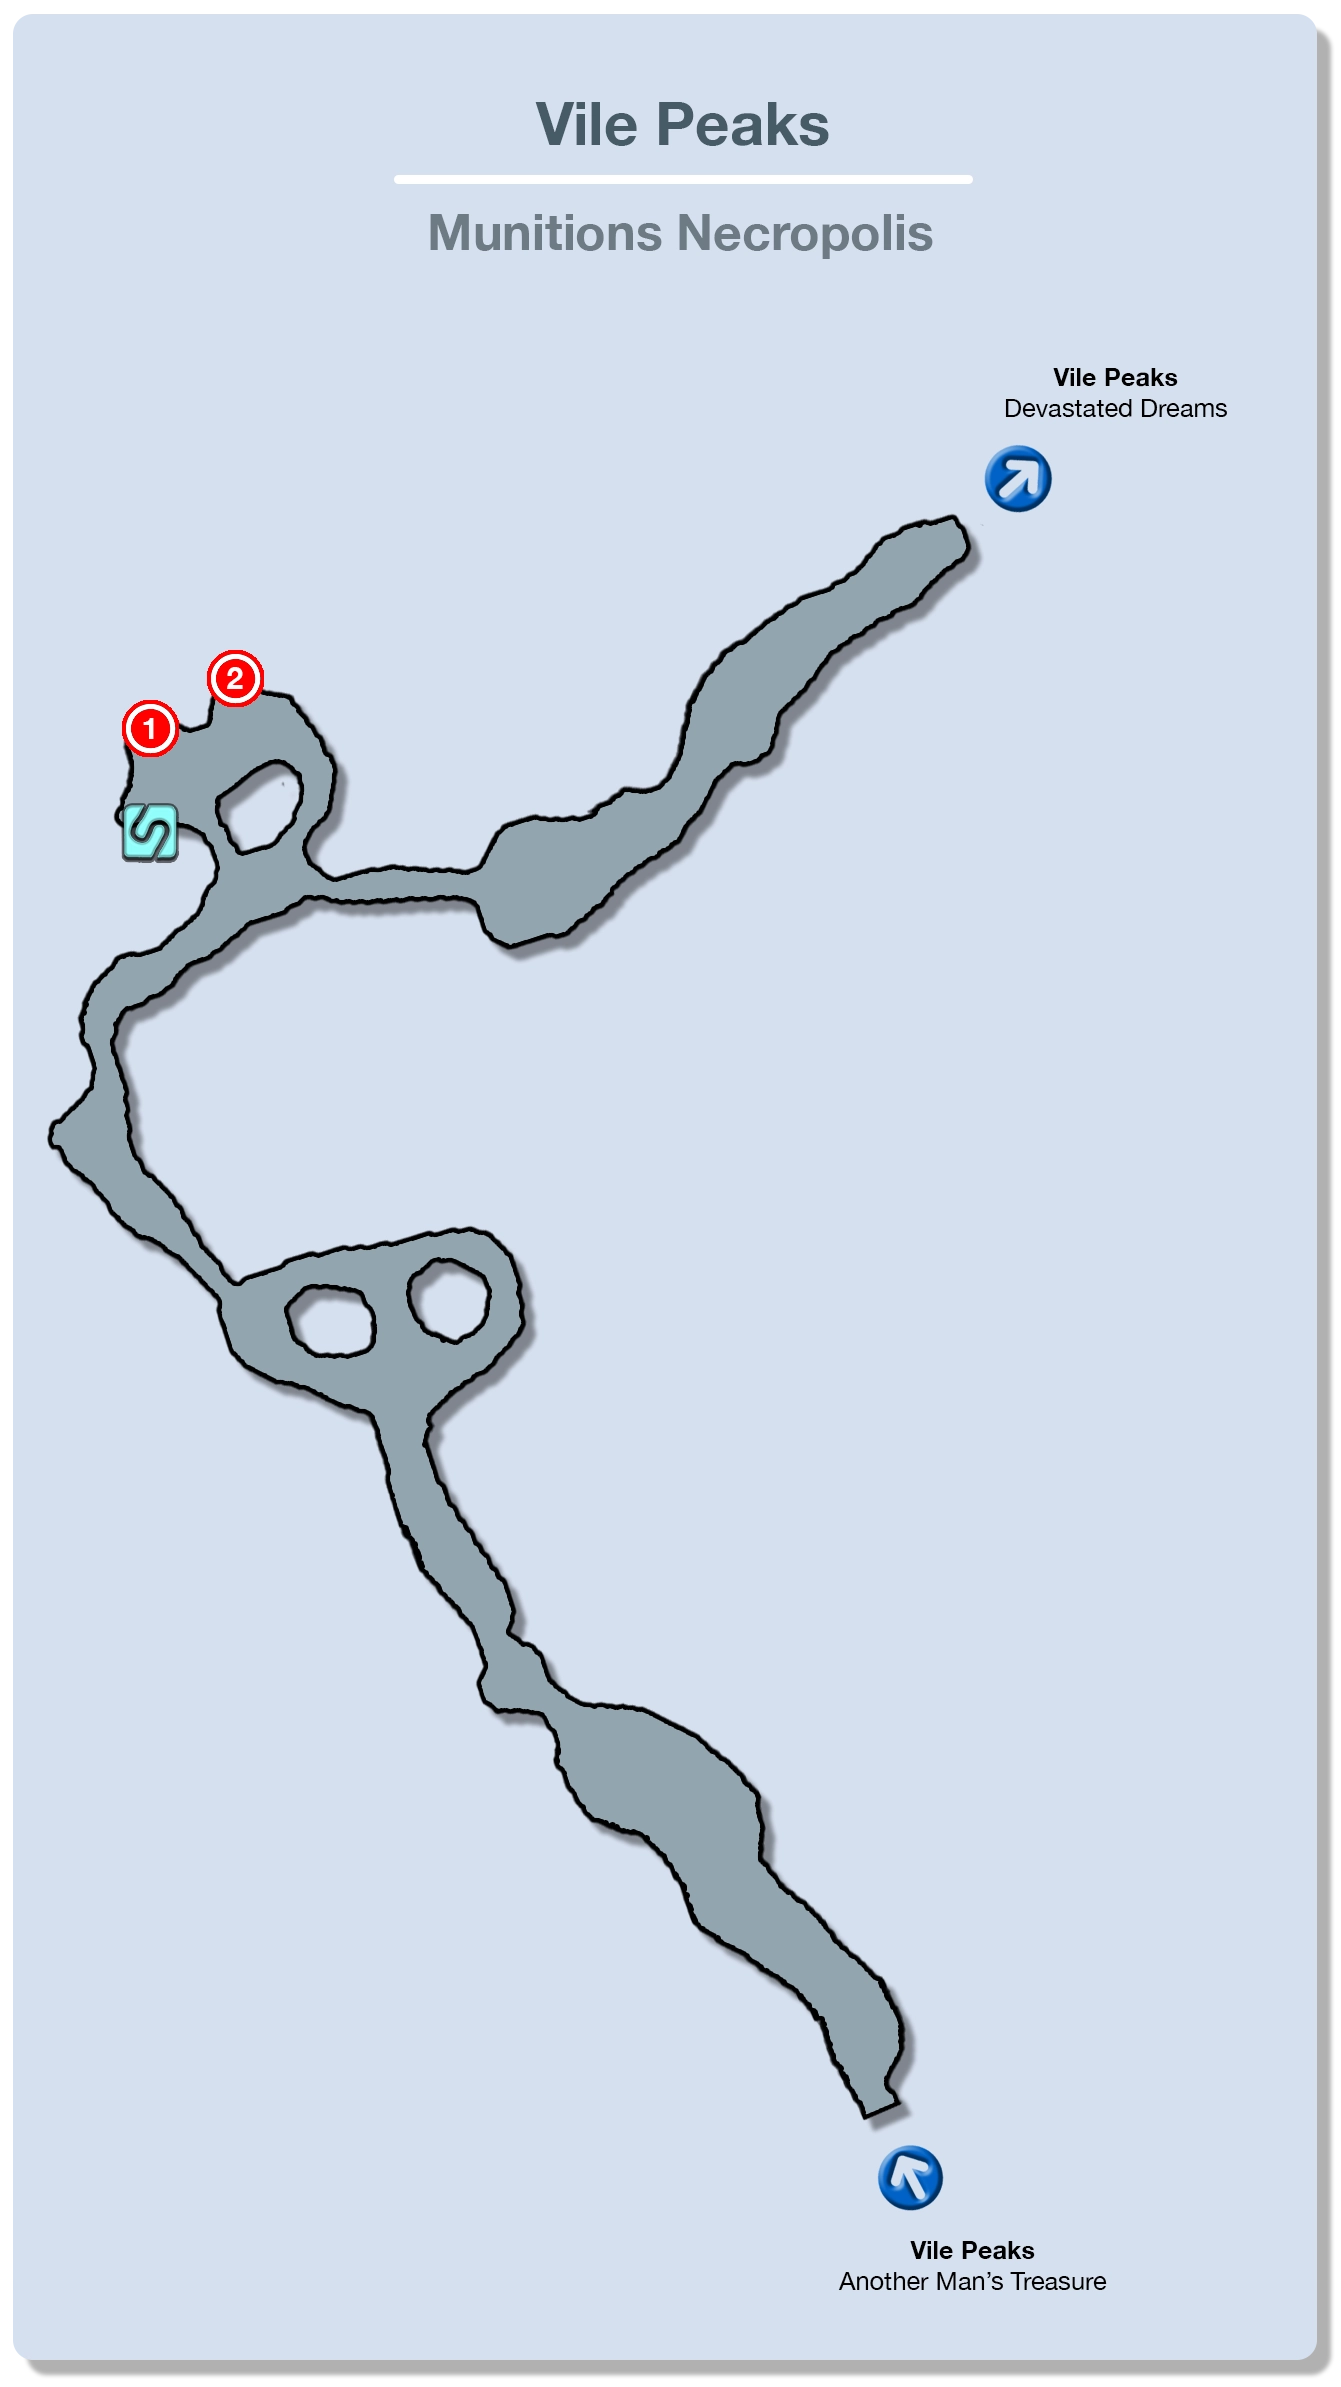
A short cutscene will take place as you enter the next area where Sazh will provide some backstory about the ships and ruins in this area (otherwise known as the Lowerworld Artifacts). Move forward until you reach a large open area with two large trash piles in the center. There are two more Incubi to fight in this area.
Keep moving forward from here, using the illuminated blue circles to jump up to the next level of the cliff, and you will come across another door where a Pulsework Soldier will emerge. This next battle will include both the Pulsework Soldier and an Incubus. Focus on defeating the Incubus first and then have your party members Stagger the Pulsework Soldier to bring it down quickly.
As you move forward into the next area you will notice two trails that veer off to the left on the mini-map and you will see a ![]() Save Station over in this area. Defeat the Pulsework Soldier / Incubus in this area and then follow the pathway leading off to the left.
Save Station over in this area. Defeat the Pulsework Soldier / Incubus in this area and then follow the pathway leading off to the left.
There are two Treasure Spheres on the upper ledge; one contains a tuft of ![]() Phoenix Down and the other contains a
Phoenix Down and the other contains a ![]() Metal Armband. This accessory merely reduces the likelihood of being affected by
Metal Armband. This accessory merely reduces the likelihood of being affected by ![]() Deprotect being cast on your party members, and since none of the enemies are casting that spell on your team right now, this accessory lacks any real value at this stage of the game.
Deprotect being cast on your party members, and since none of the enemies are casting that spell on your team right now, this accessory lacks any real value at this stage of the game.
Drop back down to the lower level and follow Hope across the ruined bridge. There is another group of enemies to face on the opposite side which includes two Incubus, which you have already faced, and a new enemy called a Succubus. Make sure to use ![]() Libra on the Succubus early in the fight and then defeat it first and as quickly as you can. Succubi are weak on their own, but they provide helpful buffs (like the
Libra on the Succubus early in the fight and then defeat it first and as quickly as you can. Succubi are weak on their own, but they provide helpful buffs (like the ![]() Synergist role) to the other enemies that you are facing.
Synergist role) to the other enemies that you are facing.
Follow the trail into the next area which will have you fighting a group that includes a Succubus, Incubus and Pulsework Soldier. The order for this fight should be as it was just listed (starting with the Succubus) but also try to make sure that you start this fight with a preemptive attack.
This will allow you to get an early and quick Stagger against at least the Succubus and maybe, if you’re quick, the Incubus too, and the Pulsework Soldier becomes much easier to defeat once it’s on its own.
Your last battle in this area will be against two Pulsework Soldiers.
Devastated Dreams


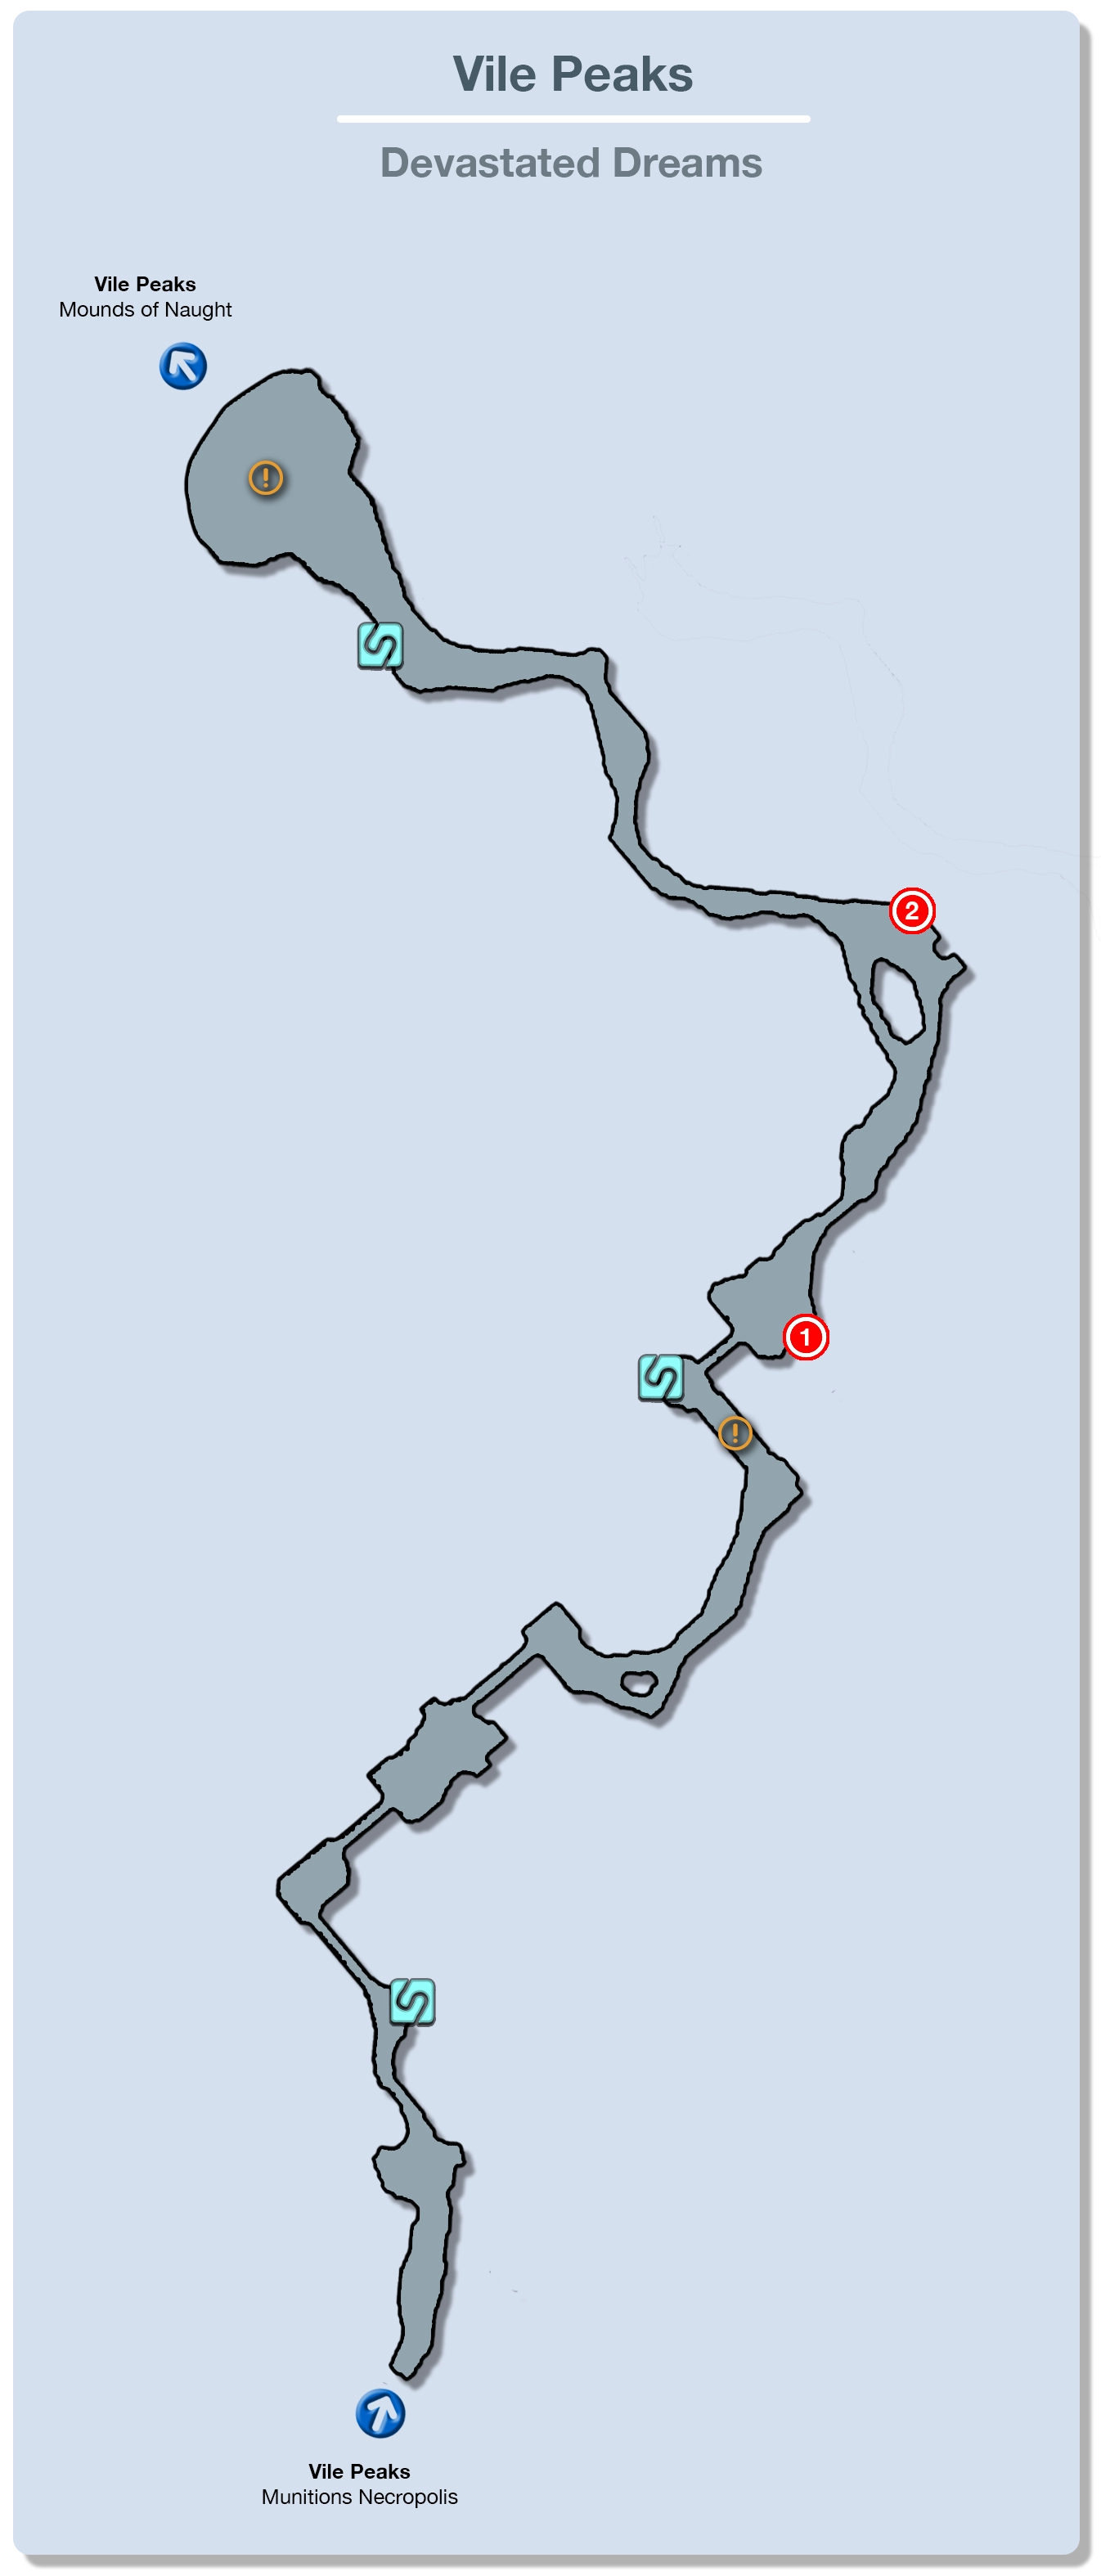
There is a ![]() Save Station right at the start of this next area where you can save your game. Walk forward a short ways and Lightning will rejoin the party during a very short cinematic.
Save Station right at the start of this next area where you can save your game. Walk forward a short ways and Lightning will rejoin the party during a very short cinematic.
She will have an abundance of Crystogen Points (CP) stored up so consider spending them. She will replace Hope in your party and there will be fewer three-way battles from this point onward so you may want to spend her points in her role as a ![]() Commando.
Commando.
Helpful Hint
You may have already noticed this but when party members rejoin your team at certain points in the story they will quite often come with a larger stock of Crystogen Points. This is because all your party members, regardless of whether they are in the battle or not, will earn CP at the end of each fight.
Make sure you take some time to revisit the Crystarium each time a party member rejoins your group. And yes, this means that when Snow rejoins quite some time from now, he will come with a huge stock of CP!
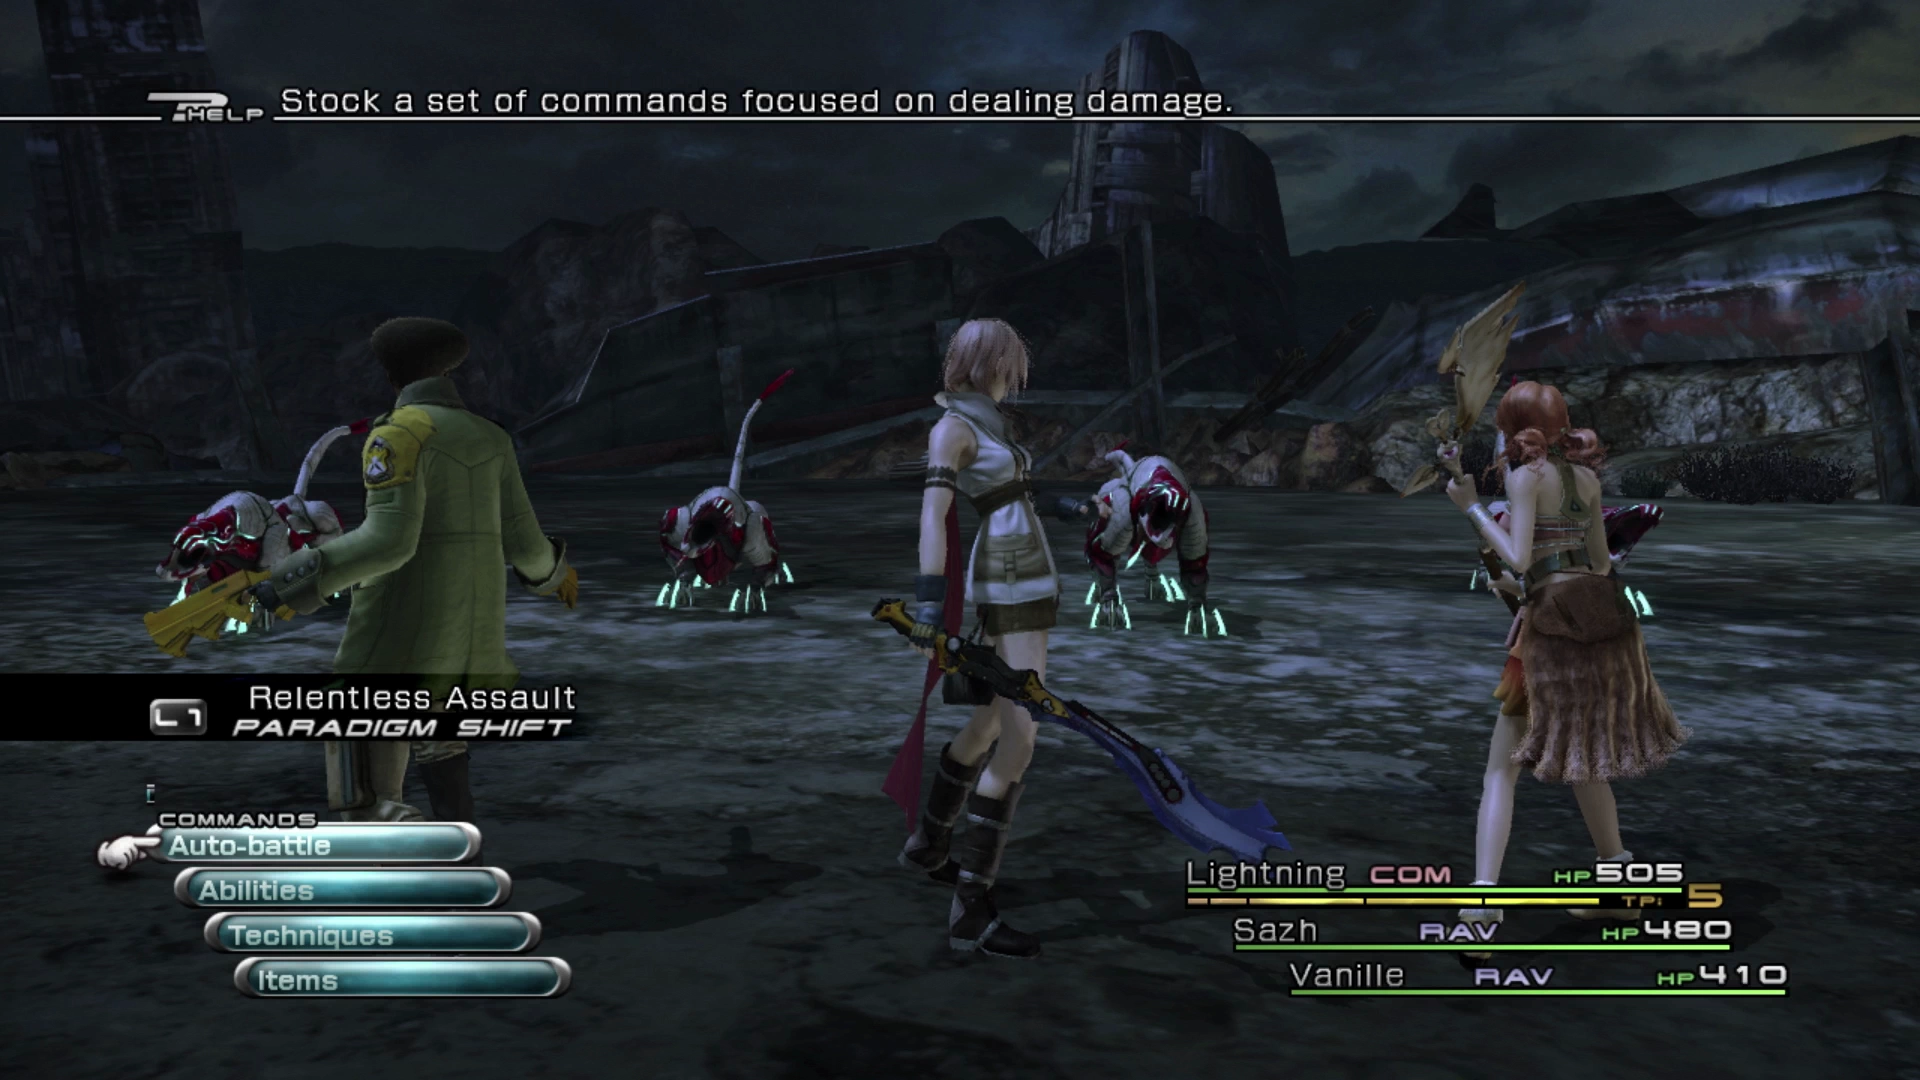
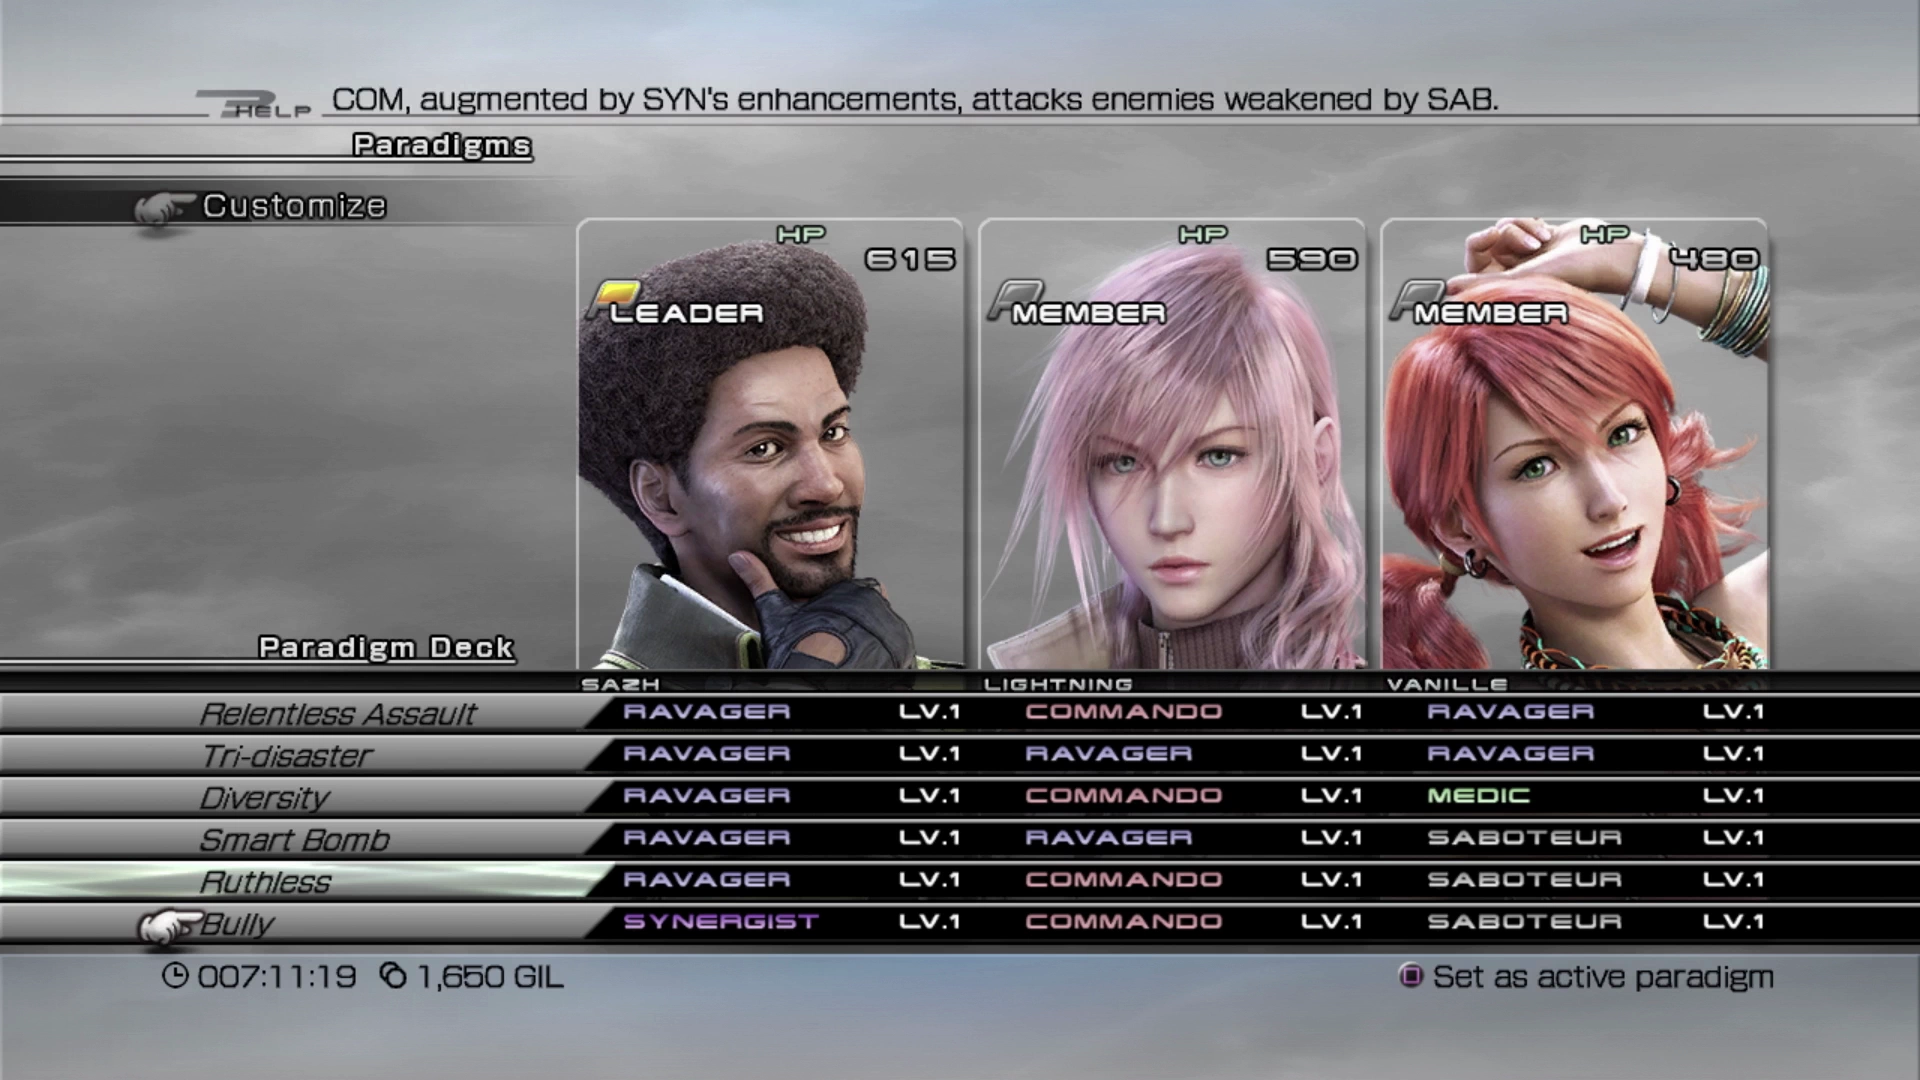
Your new default Paradigm will be Relentless Assault, and this is the one you should be making use of the most going forward. You will be in control of Sazh, who is a ![]() Ravager, instead of Lightning who is your
Ravager, instead of Lightning who is your ![]() Commando, but this doesn’t change the general strategy. Sazh and Vanille will pump up the Chain Gauge while Lightning’s
Commando, but this doesn’t change the general strategy. Sazh and Vanille will pump up the Chain Gauge while Lightning’s ![]() Commando attacks will prevent the gauge from depleting too quickly.
Commando attacks will prevent the gauge from depleting too quickly.
Just up ahead are two Pulsework Soldiers for you to face that emerge from the doors on either side of the platform. The next area up ahead has an Incubus / Succubus combo that are easy to defeat.
Finally, even further up ahead, is a group of two Incubus and a Succubus guarding the next control panel. Activate the controls to expand the bridge and open the pathway. There is a ![]() Save Station on the opposite side of the bridge.
Save Station on the opposite side of the bridge.
The platform up ahead has another group of Incubus and Succubus that will ambush your party. Look inside the doorway on the right side of the platform and you will spot a Treasure Sphere that contains a ![]() Librascope. Further down the trail, you will be ambushed by another group of two Incubus.
Librascope. Further down the trail, you will be ambushed by another group of two Incubus.
There is a fork in the pathway just up ahead with a path leading off to the left but follow Lightning and continue along the pathway to the right. You will have to fight two Pulsework Soldiers and a Succubus (take out the Succubus first), but your reward for defeating them is a Treasure Sphere which contains an ![]() Ember Ring.
Ember Ring.
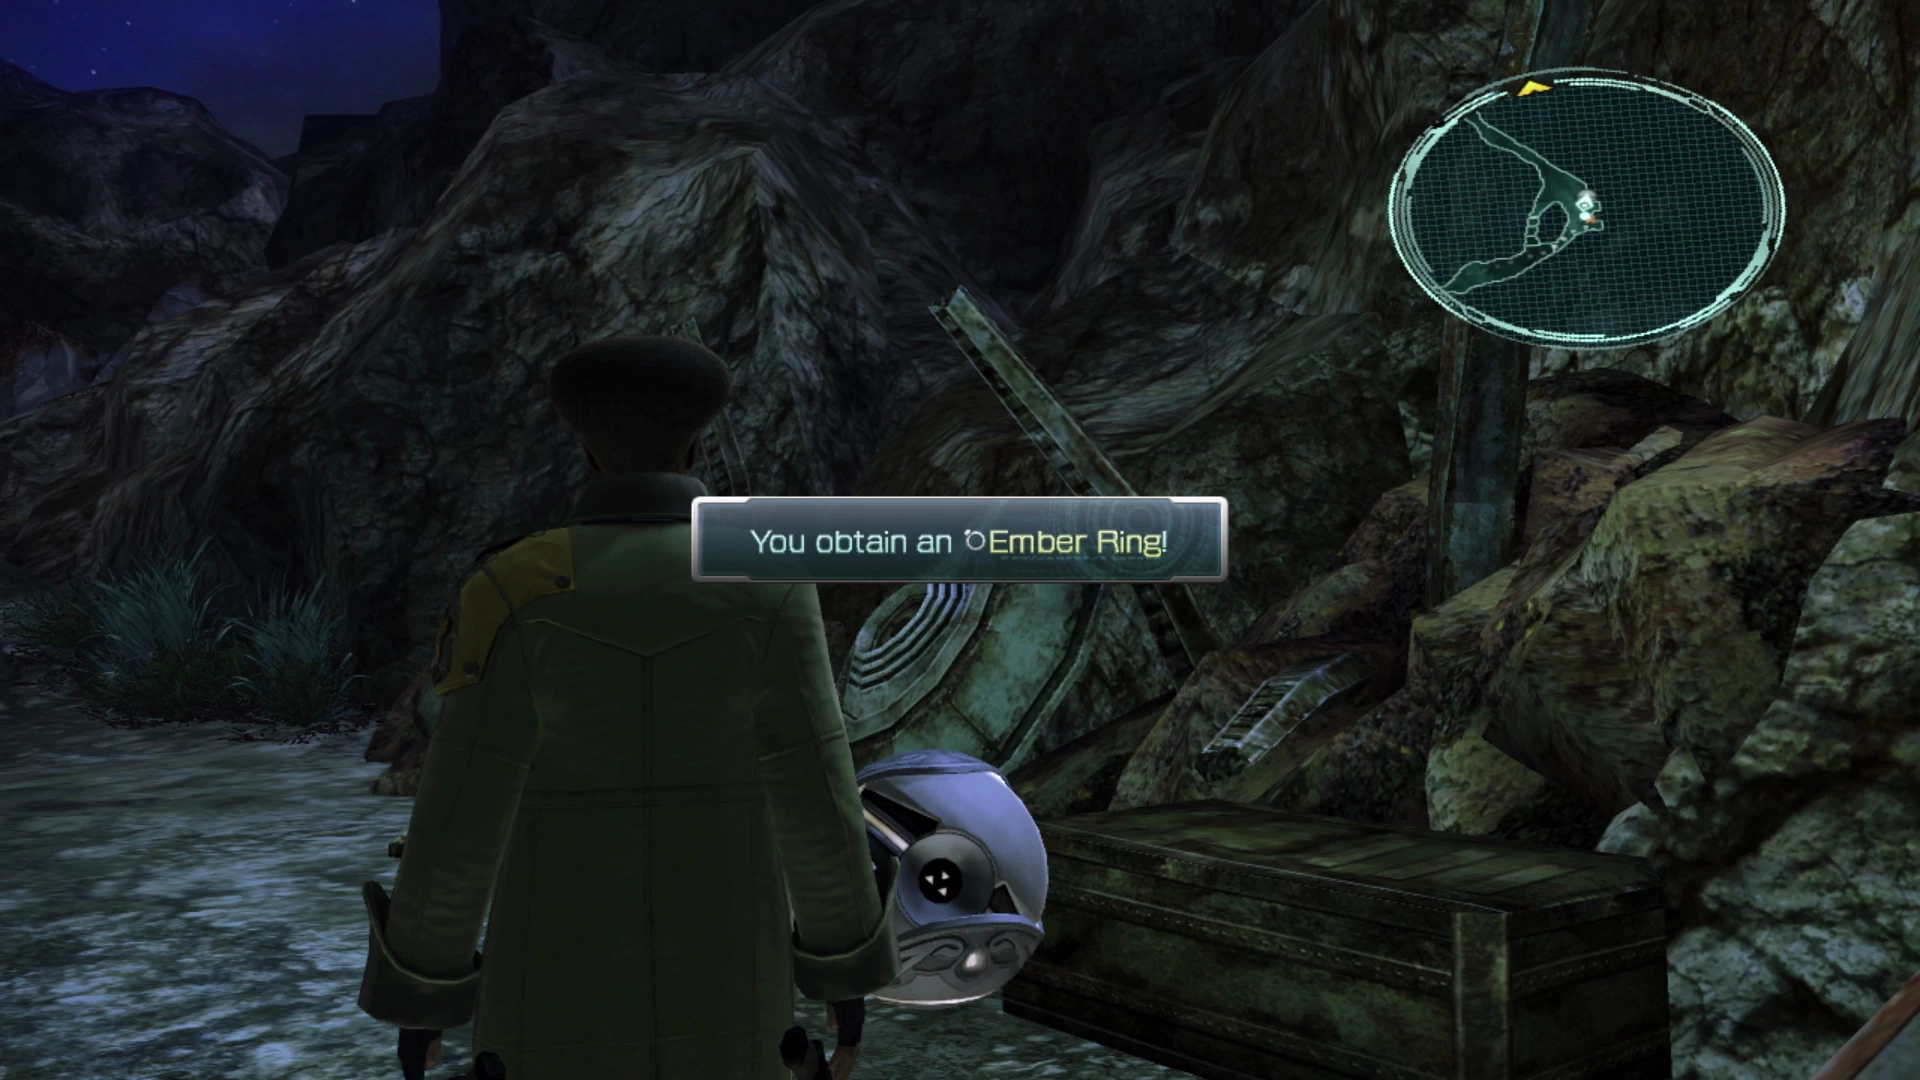
Missable Content
There are only a few opportunities to obtain an ![]() Ember Ring during a playthrough, with this being one of them, but because you cannot obtain them once you reach the later stages of the game, this ring (along with three others that you can obtain later) are considered missable content.
Ember Ring during a playthrough, with this being one of them, but because you cannot obtain them once you reach the later stages of the game, this ring (along with three others that you can obtain later) are considered missable content.
Refer to the Missable Content page for more information on specific items and ![]() Datalog Enemy Intel entries you should keep an eye out for.
Datalog Enemy Intel entries you should keep an eye out for.
Continue along the pathway until you reach the ![]() Save Station up ahead. Make sure you save your game as there is a somewhat difficult boss battle just up ahead and double-check to make sure that you have Smart Bomb set up as one of your Paradigms (
Save Station up ahead. Make sure you save your game as there is a somewhat difficult boss battle just up ahead and double-check to make sure that you have Smart Bomb set up as one of your Paradigms (![]() Ravager /
Ravager / ![]() Ravager /
Ravager / ![]() Saboteur).
Saboteur).
You can even set this up as your active Paradigm (using ![]()
![]()
![]() ) as you’ll want to start the upcoming battle with it active. You’ll also want to have the Bully Paradigm ready to go (
) as you’ll want to start the upcoming battle with it active. You’ll also want to have the Bully Paradigm ready to go (![]() Commando /
Commando / ![]() Saboteur /
Saboteur / ![]() Synergist).
Synergist).
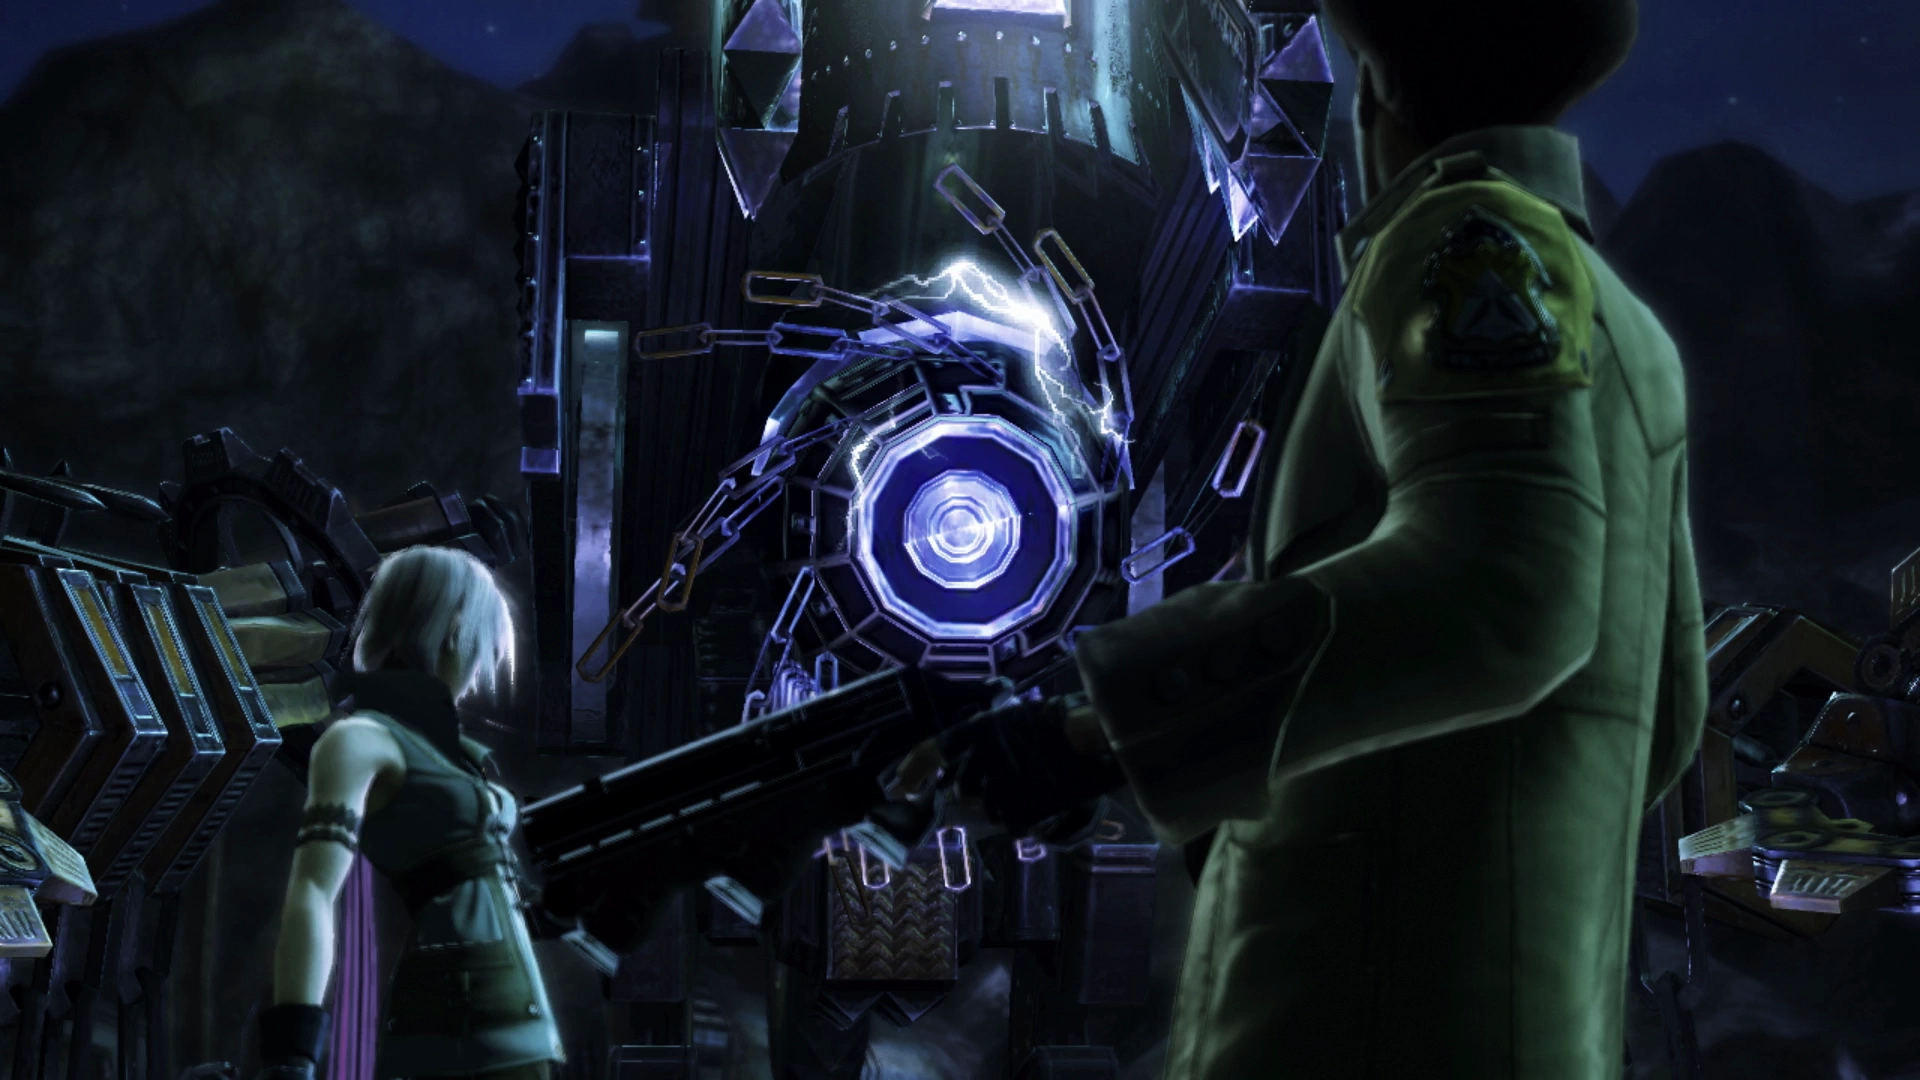
Boss Battle
This boss will be one of the more difficult fights that you have faced so far and will be one of the first ones that will require you to cycle through your Paradigms. Its armor will reduce physical and magical attacks by up to 50% so it’s important to have Vanille switch to her ![]() Saboteur role early and cast
Saboteur role early and cast ![]() Deprotect and Deshell as quickly as possible. Dreadnought will then use some of its turns on an attack called “Steam Clean,” which it uses to remove the debuffs that have been applied to it (randomly choosing either
Deprotect and Deshell as quickly as possible. Dreadnought will then use some of its turns on an attack called “Steam Clean,” which it uses to remove the debuffs that have been applied to it (randomly choosing either ![]() Deprotect or
Deprotect or ![]() Deshell).
Deshell).
Switch back to Smart Bomb to have Vanille reapply the debuffs as they are cleaned off. Having the debuffs remain active will increase the damage you deal to Dreadnought but also reduces the incoming damage from Dreadnought since it will use turns up trying to remove these negative statuses.
Dreadnought will take heavy damage once you get its Chain Gauge charged and trigger a Stagger. If you get its health low enough a quick cutscene will take place and then it’s on to phase 2!
Boss Battle
Your party members will all have their full health restored at the start of this second phase of the fight. Dreadnought’s HP is much higher for this second battle (44,840 HP total) so you should prepare for it by switching to the Bully Paradigm (![]() Commando /
Commando / ![]() Saboteur /
Saboteur / ![]() Synergist). This will allow Sazh to get some buffs up on your party members while Vanille reapplies her debuffs again.
Synergist). This will allow Sazh to get some buffs up on your party members while Vanille reapplies her debuffs again.
If your party members’ HP gets low, switch to a Paradigm which has Vanille in her ![]() Medic role or be ready to use a
Medic role or be ready to use a ![]() Potion in emergencies. Swap between Relentless Assault and Tri-disaster (when Stagger has been triggered) with the odd Diversity thrown in when you need heals, and you should have no problem taking Dreadnought down… for the second time.
Potion in emergencies. Swap between Relentless Assault and Tri-disaster (when Stagger has been triggered) with the odd Diversity thrown in when you need heals, and you should have no problem taking Dreadnought down… for the second time.
Helpful Hint
After the battle against the second phase of Dreadnought, you will receive the ![]() Omni-kit item which allows you to begin upgrading your weapons and accessories. You can learn more about how to do this by referring to the Upgrading Equipment page in the Tips and Tricks section, but it’s generally recommended not to do this until later in the game. You can read more about this recommendation on the next page.
Omni-kit item which allows you to begin upgrading your weapons and accessories. You can learn more about how to do this by referring to the Upgrading Equipment page in the Tips and Tricks section, but it’s generally recommended not to do this until later in the game. You can read more about this recommendation on the next page.
There is a short cutscene that takes place at the end of the battle. This concludes the first section of the Vile Peaks strategy guide. Use the navigation arrows to move to Part 2.