
Chapter 3: Lake Bresha (Part 2)
Note that the Lake Bresha section of the walkthrough is broken up into two separate parts. Part 1 covers the boss battle against Manasvin Warmech, Alpha Behemoth, and through to the Mirrored Morass area whereas Part 2 covers everything after you reach the Gates of Antiquity.
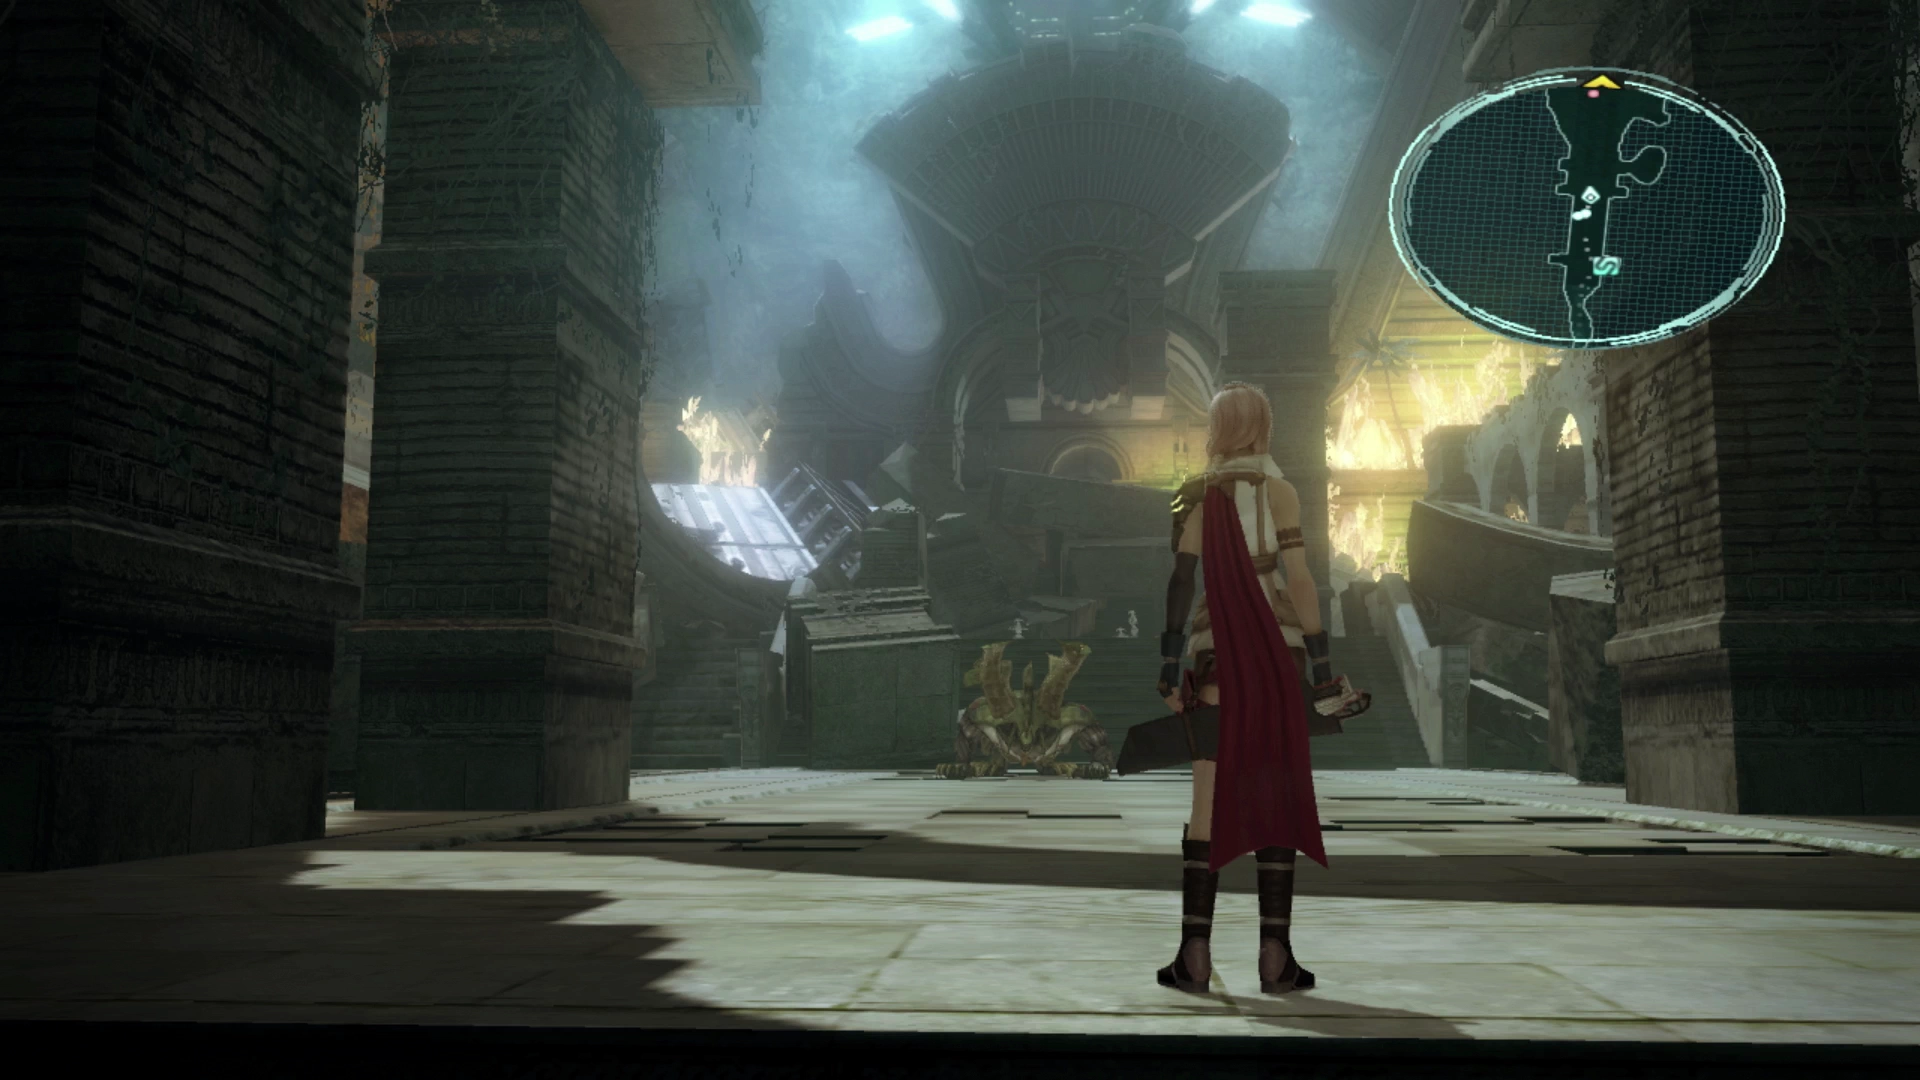
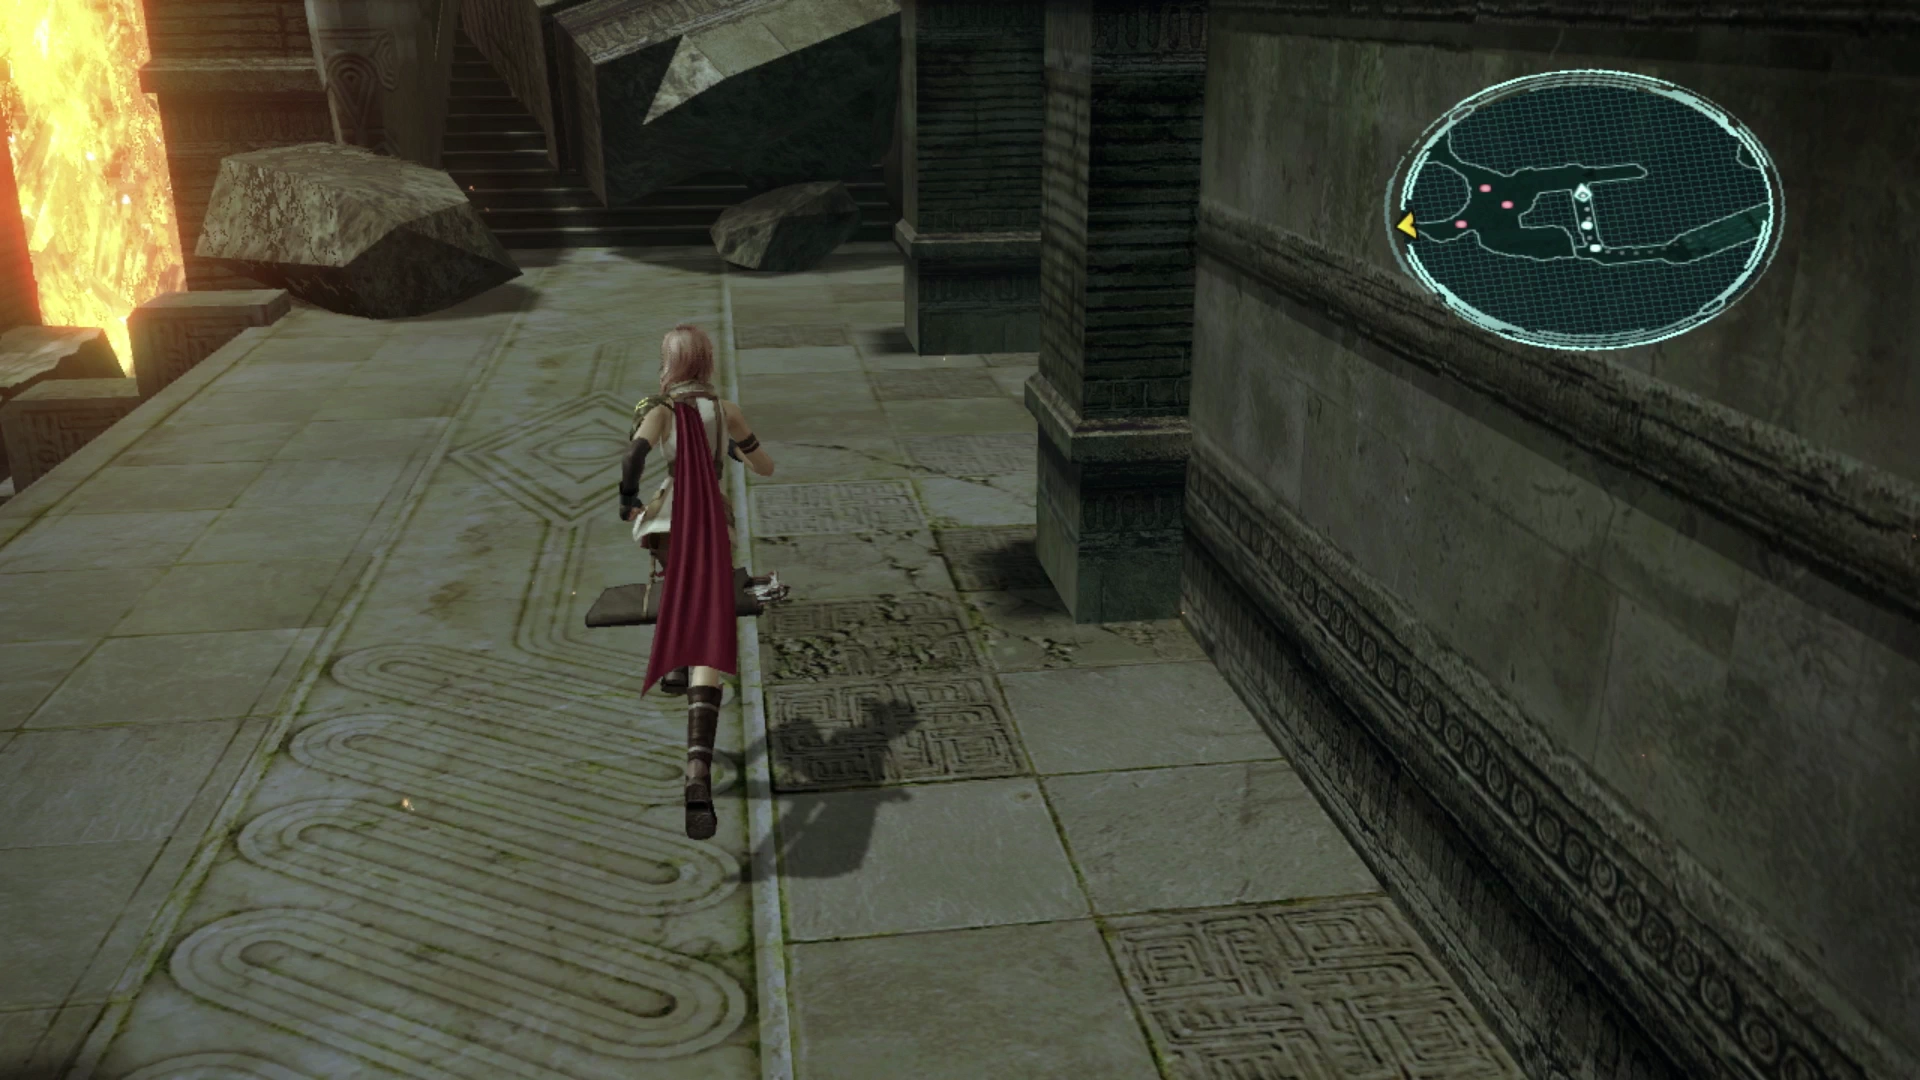
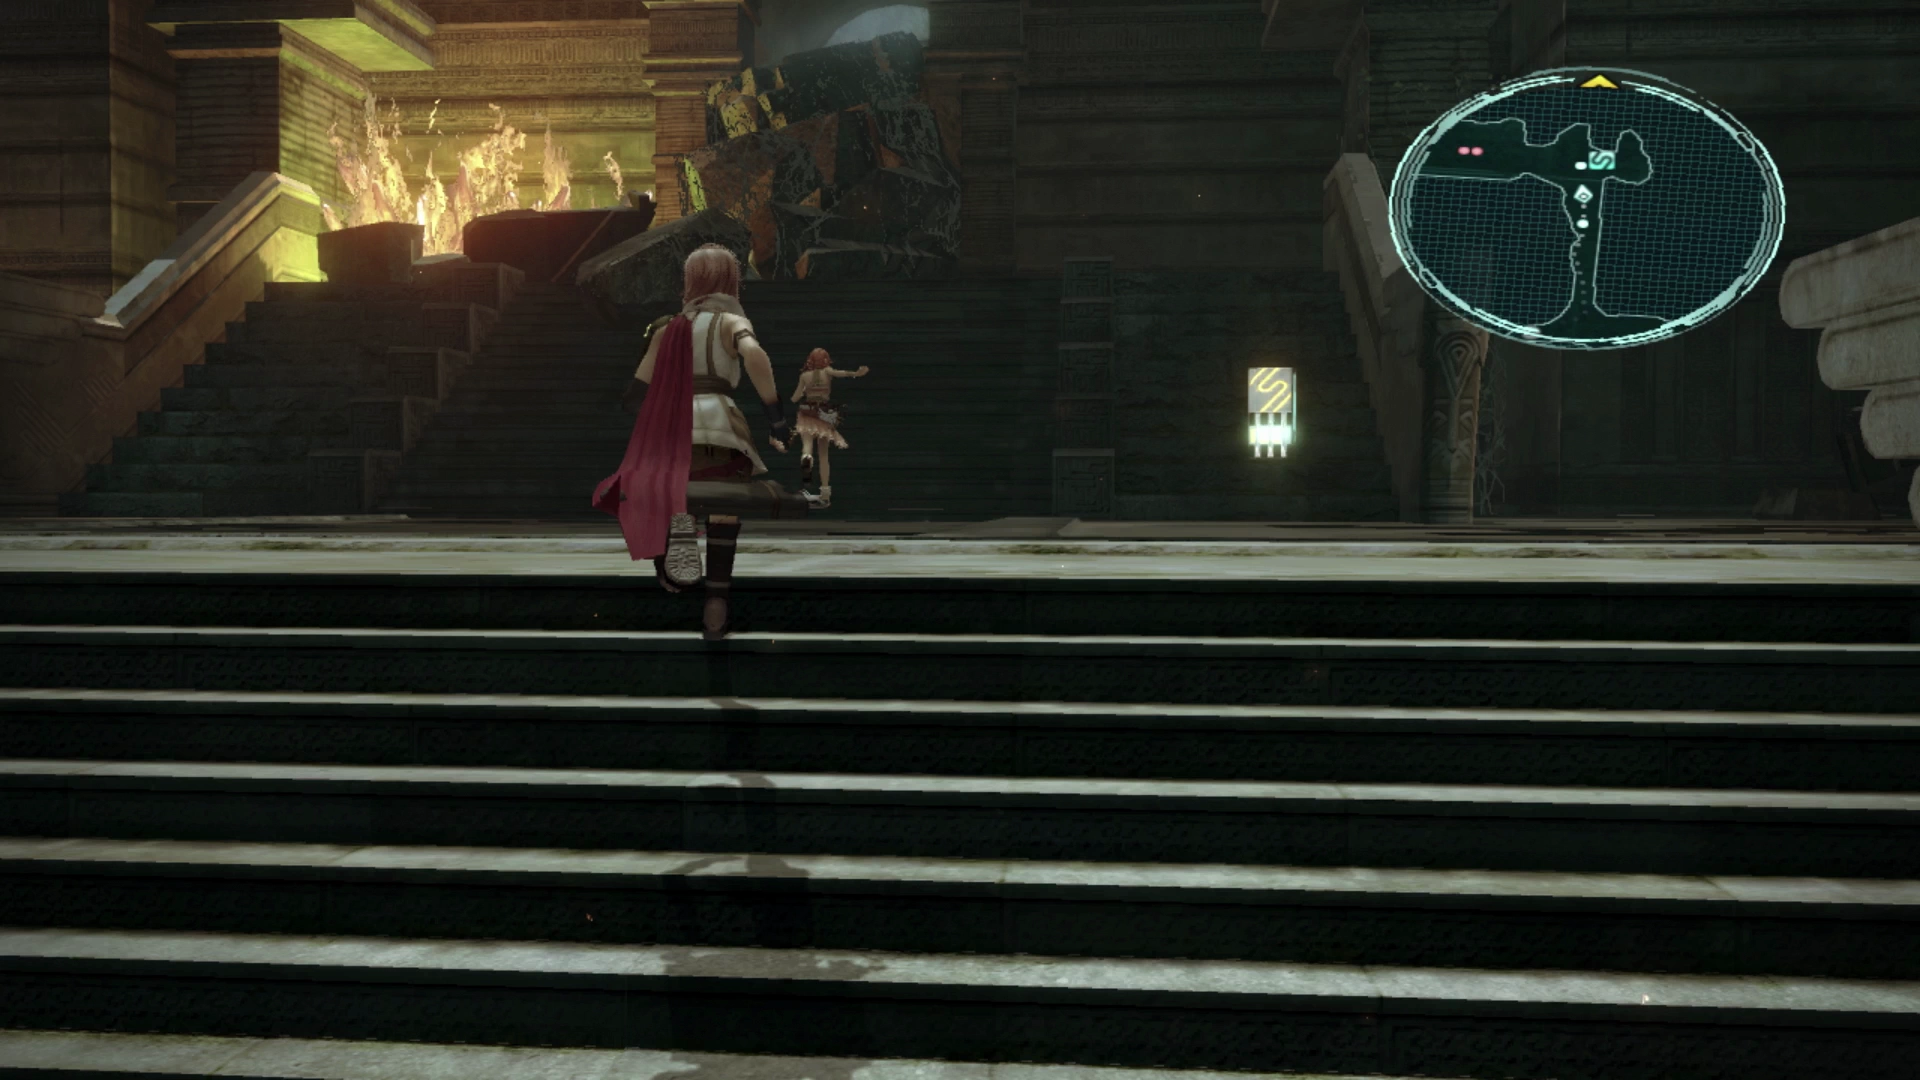
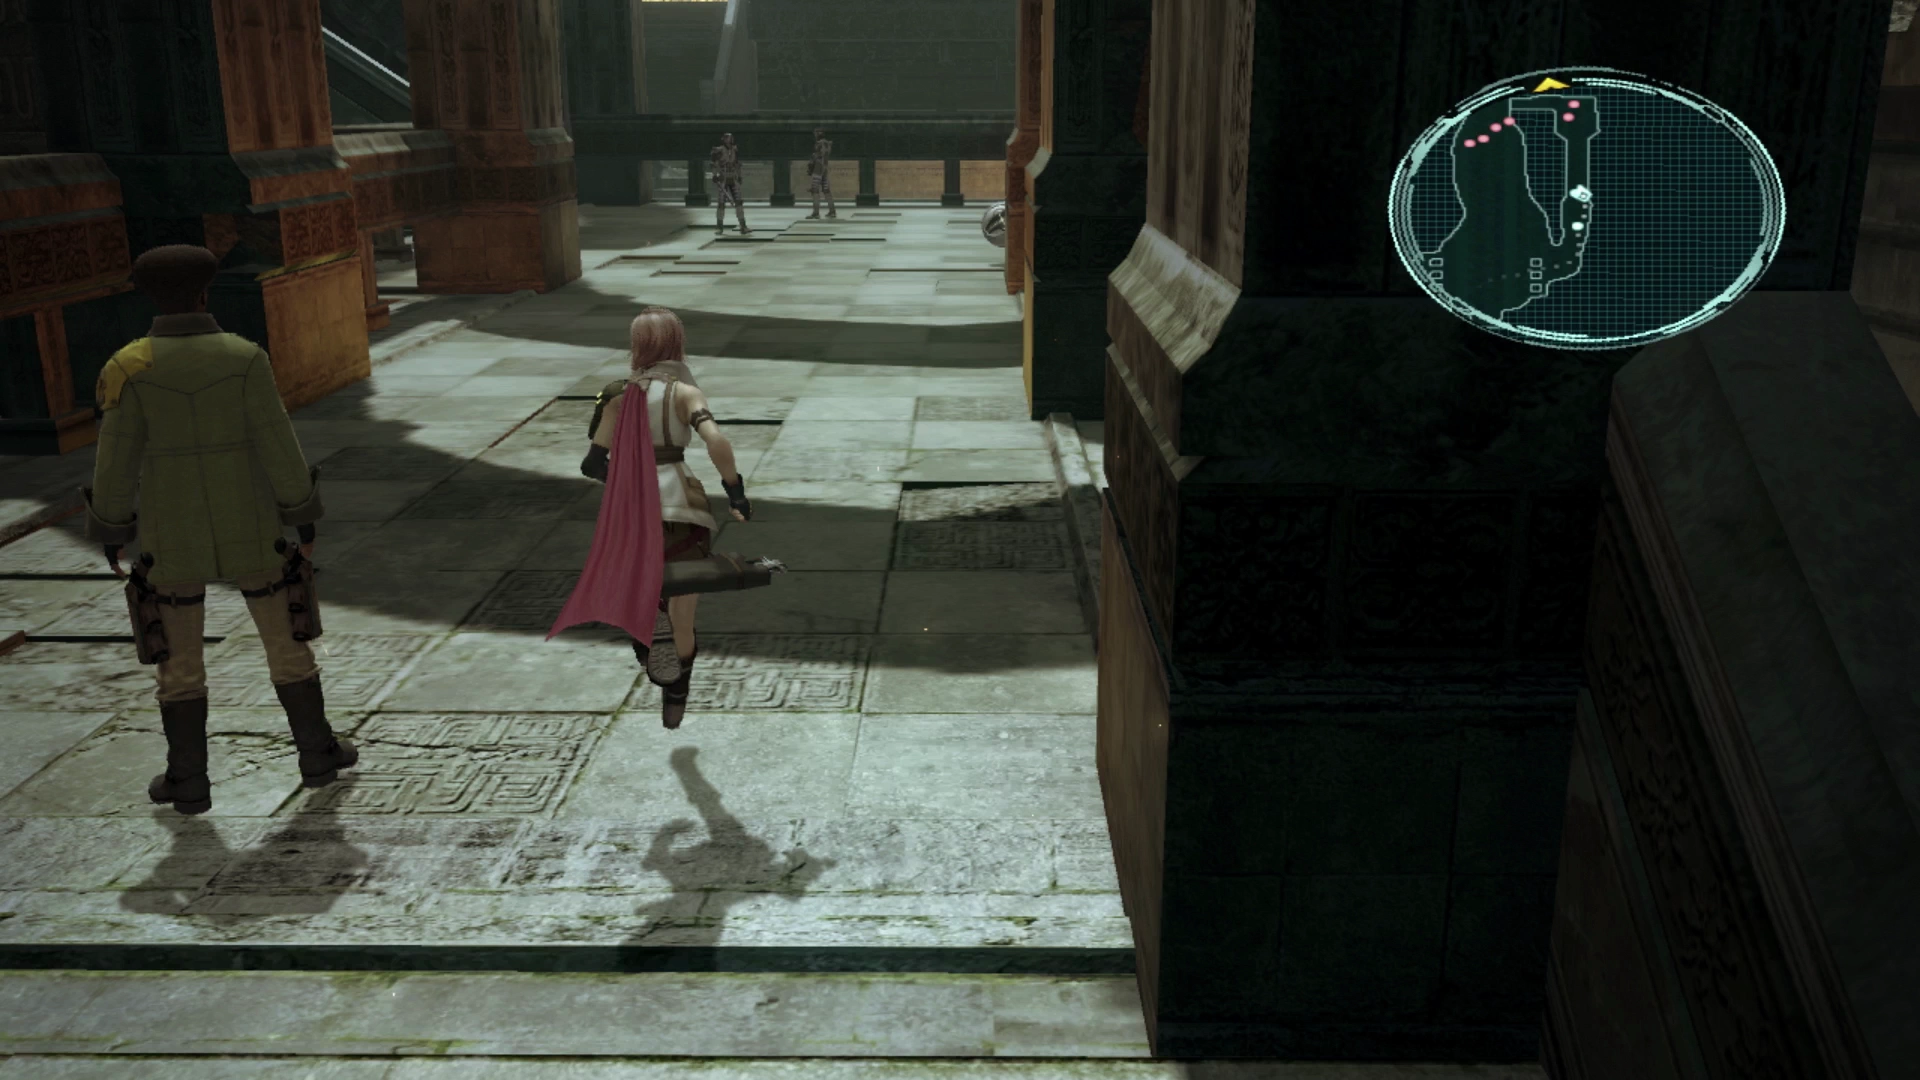
You will know once you’ve reached the Gates of Antiquity as the title text will flash in the middle of the screen to let you know that you’ve arrived (and is shown in the screenshot below).

Use the navigation arrows to move back to Part 1 if you are just getting started in Lake Bresha.
Gates of Antiquity
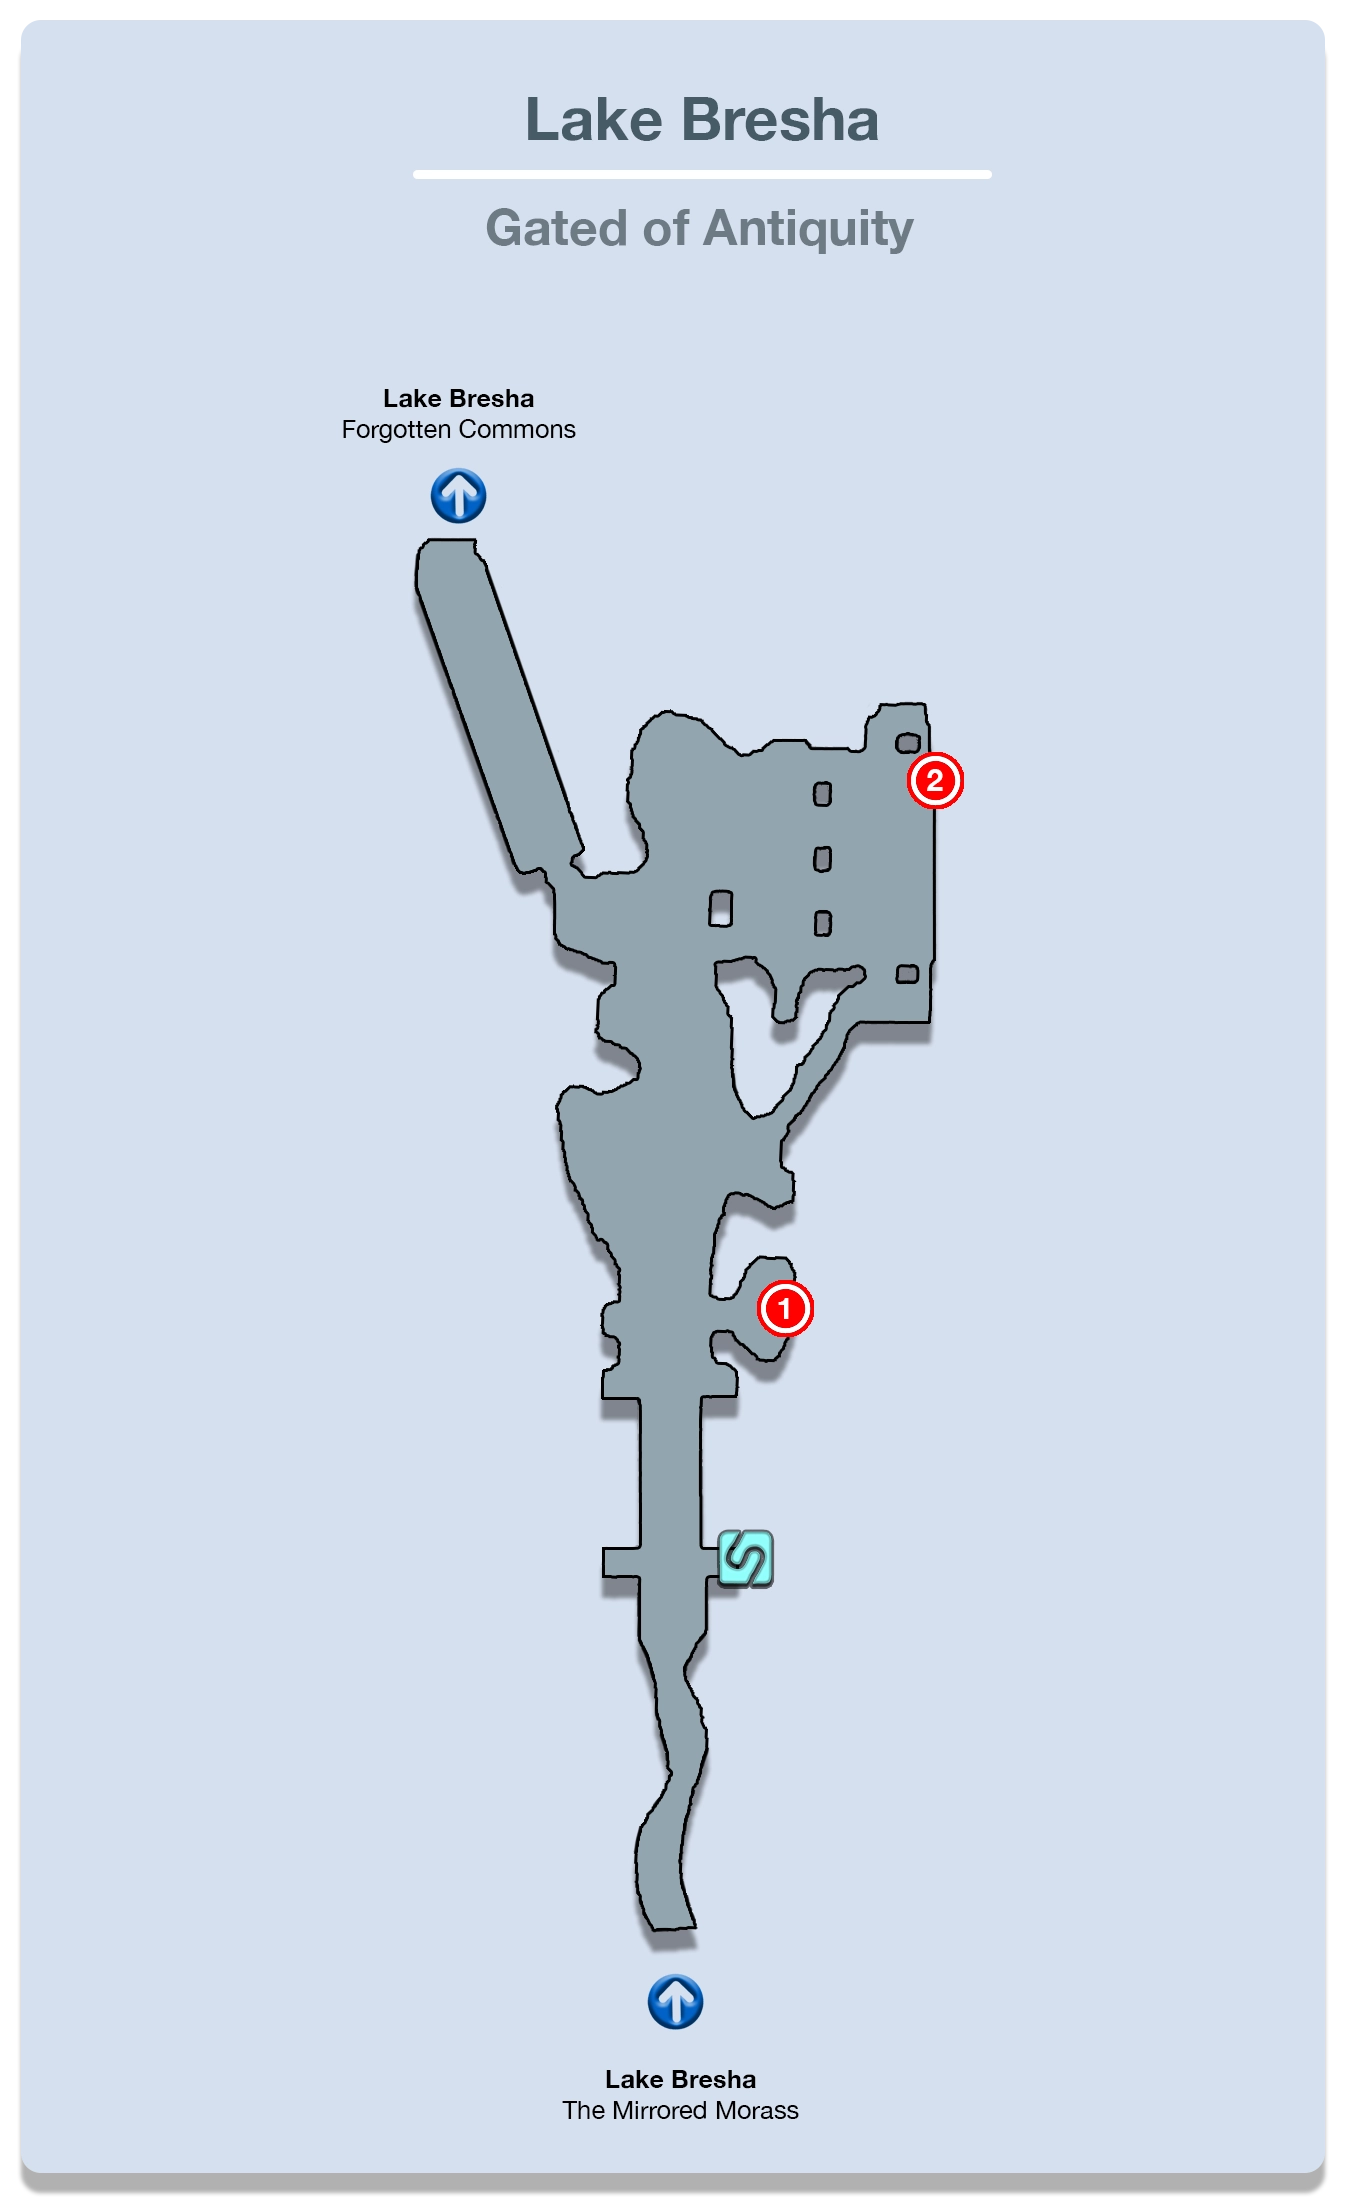
There is a ![]() Save Station on the right side of the pathway leading up to the ruins. Walk up the stairs and explore the room on the right side once you reach the top level. There is a Treasure Sphere in this area that contains
Save Station on the right side of the pathway leading up to the ruins. Walk up the stairs and explore the room on the right side once you reach the top level. There is a Treasure Sphere in this area that contains ![]() 600 Gil.
600 Gil.
Just up ahead you will see another Alpha Behemoth roaming around. You will notice though that this Behemoth patrols back and forth going up and down the open pathway. You can jump in and ambush the Behemoth for a ![]() preemptive strike if you time your approach correctly.
preemptive strike if you time your approach correctly.
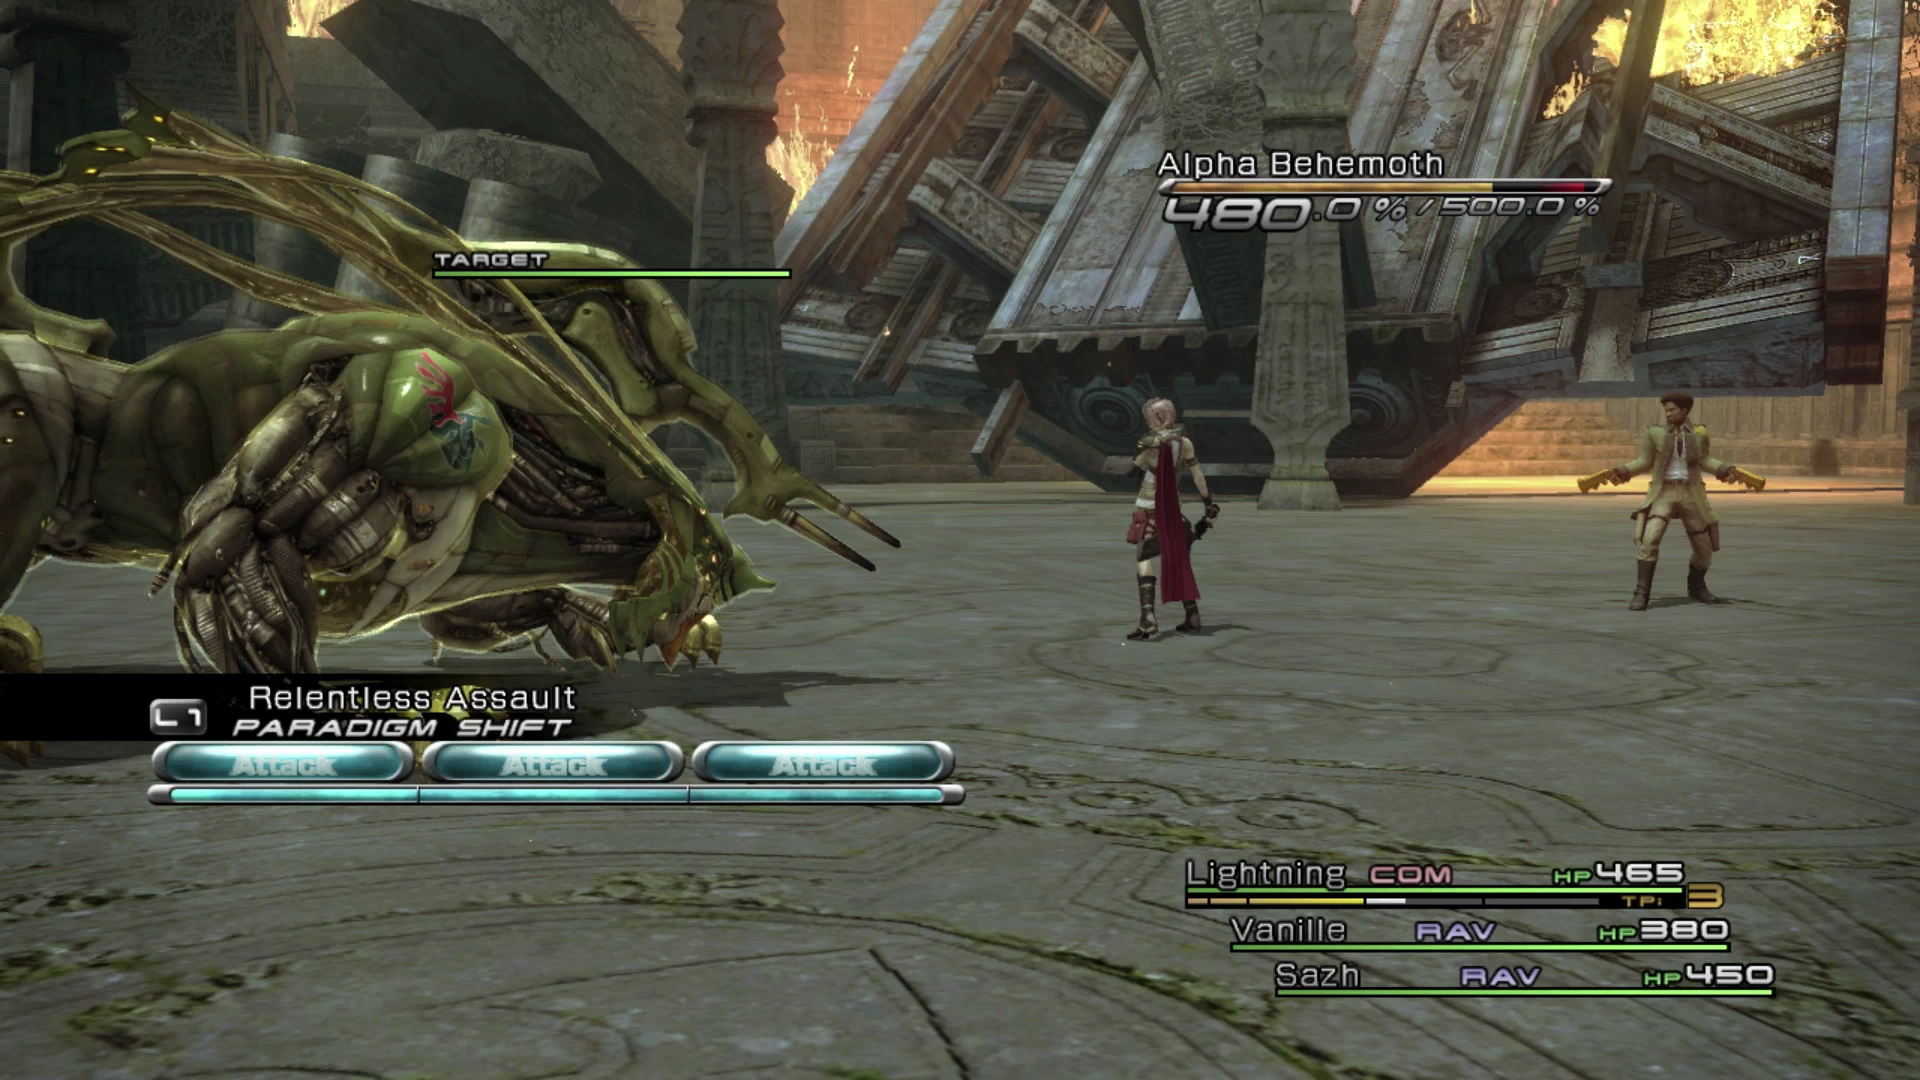
Also, note that because you have already used ![]() Libra on this enemy in the previous section of the guide, your party members will already be using their most powerful magic spells against it (fire and water spells). Keep an eye on its charge gauge and, if it gets close to using its charge attack, swap over to a more defensive Paradigm that includes having Vanille in her role as a
Libra on this enemy in the previous section of the guide, your party members will already be using their most powerful magic spells against it (fire and water spells). Keep an eye on its charge gauge and, if it gets close to using its charge attack, swap over to a more defensive Paradigm that includes having Vanille in her role as a ![]() Medic.
Medic.
Once you have defeated the Alpha Behemoth, look for a pathway on the mini-map on the right side of the staircase that Lightning can jump over. Follow the pathway up and to the right to find another Treasure Sphere that contains two ![]() Digital Circuits.
Digital Circuits.

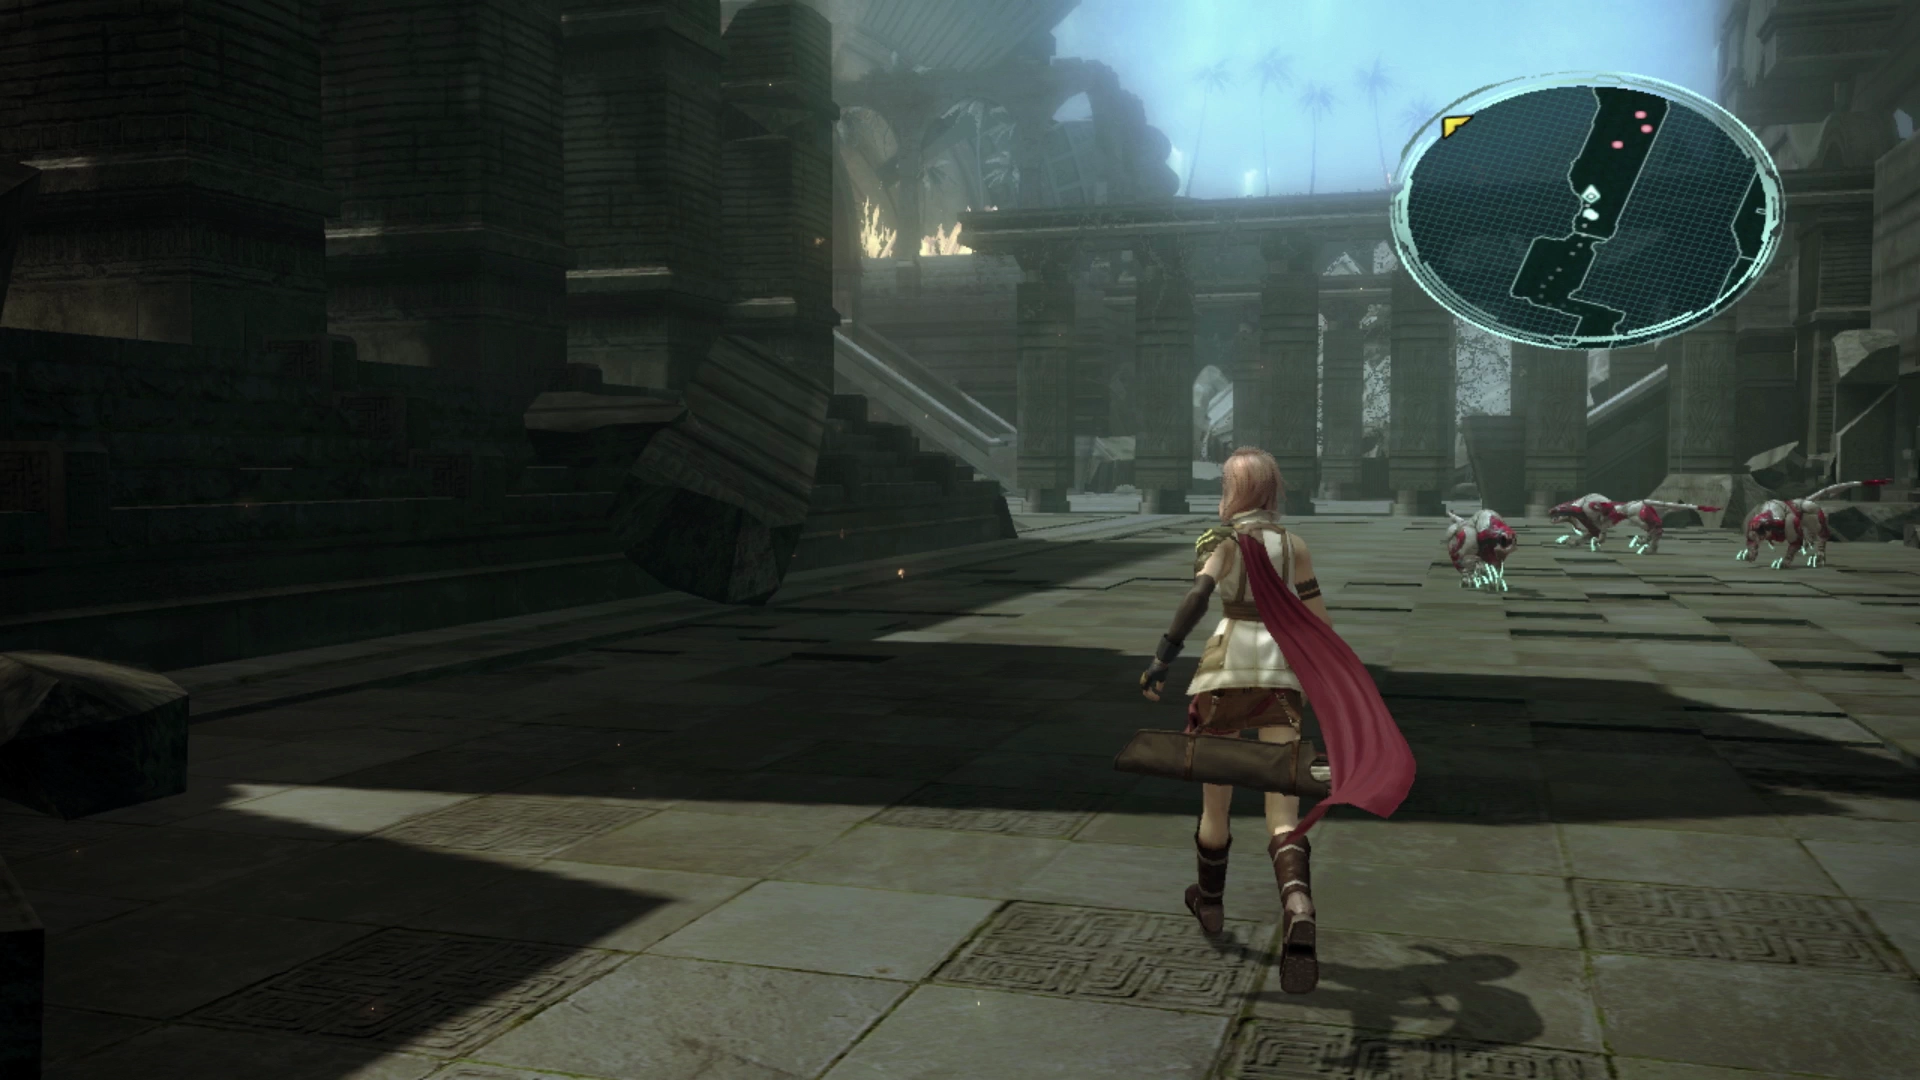
Looking back over to the middle of the room you will find a group of Watchdrones and a PSICOM Ranger. It’s possible to get a preemptive strike in on this group of enemies but quite a bit more challenging. Given how many enemies there are, there is a high likelihood that at least one of them will be looking in your general direction.
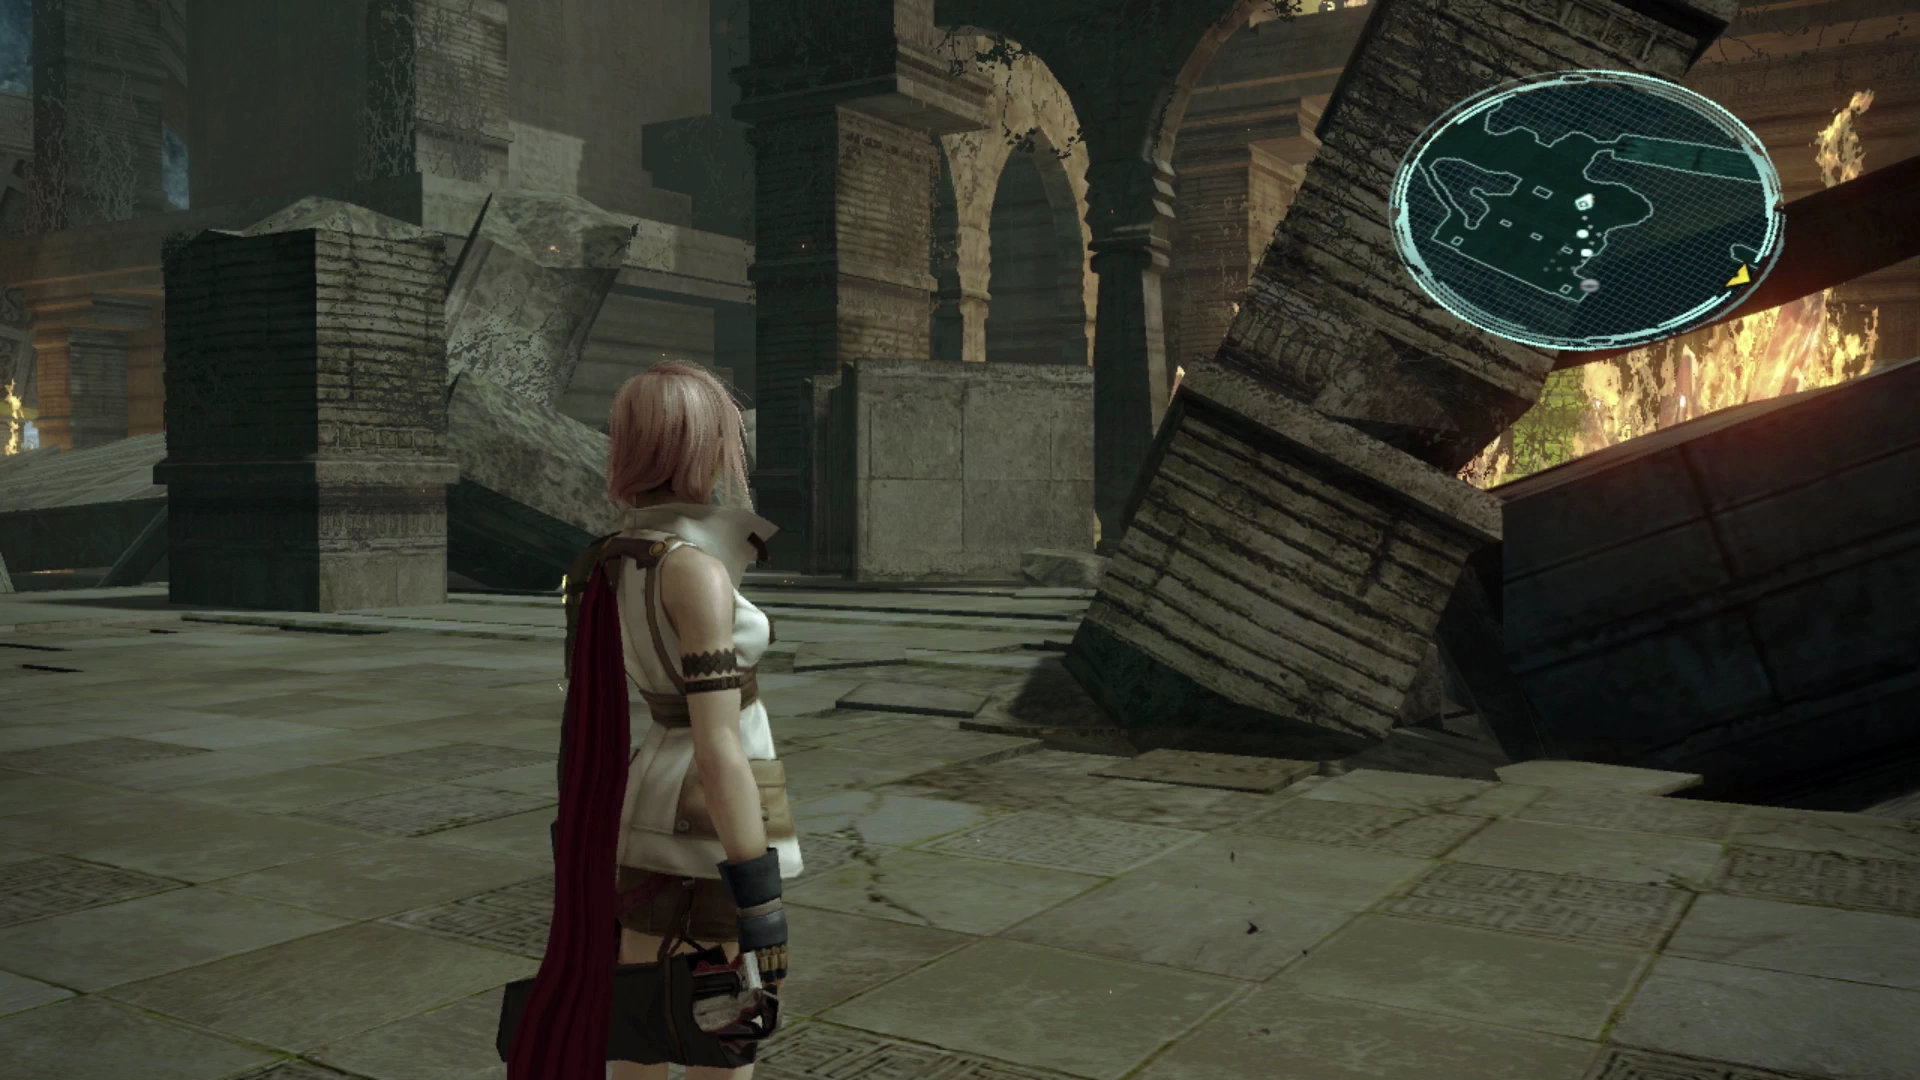
Follow the pathway on the left side of the room (behind where that last group of enemies was patrolling) and climb up the ramp/broken set of ruins into the next area.
Forgotten Commons

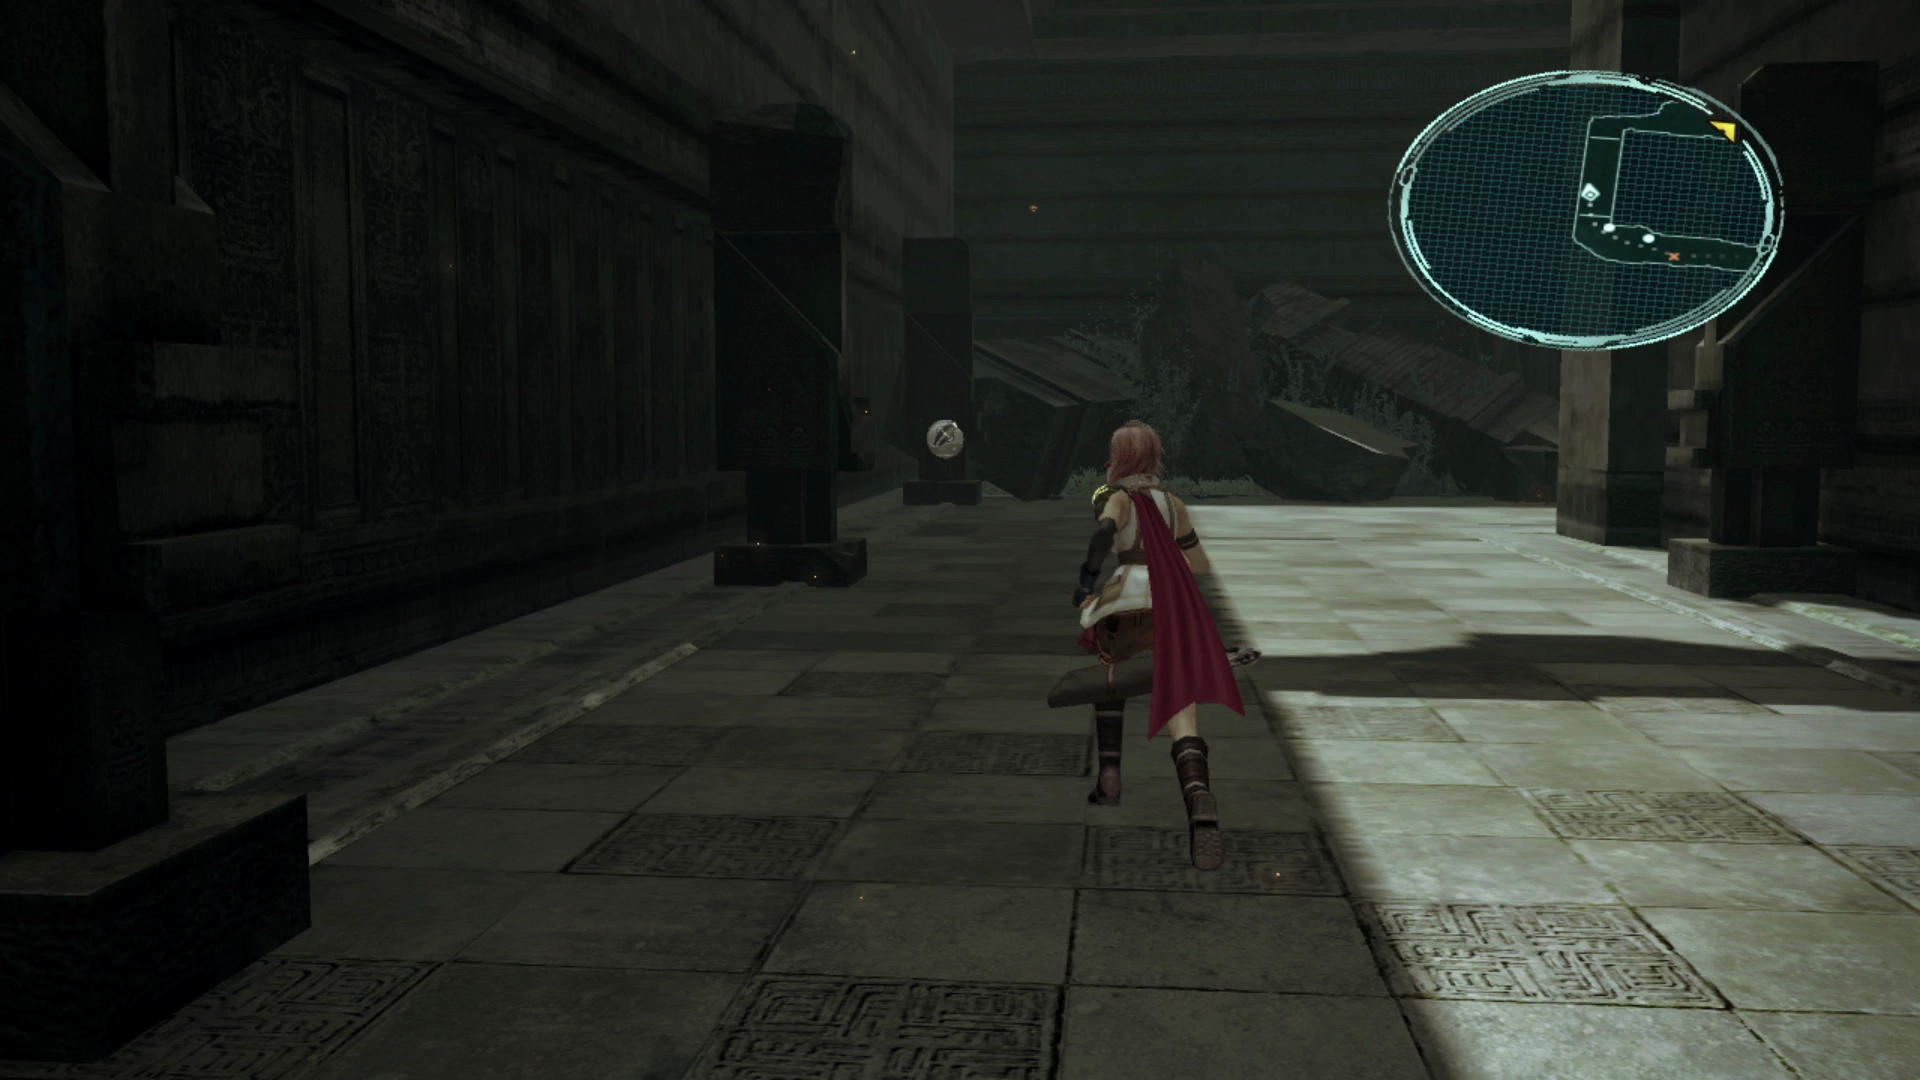
Immediately turn right when you see the illuminated blue circle on the ground and walk down the stairs. Turn right again to find another Treasure Sphere that contains seven ![]() Begrimed Claw.
Begrimed Claw.
Turn around and you will notice a couple of PSICOM Rangers patrolling around accompanied by a Crusader. The Crusader enemy will be tough to defeat, and it has no major weaknesses, but because it is a new enemy you should still make sure to use ![]() Libra on it early in the fight.
Libra on it early in the fight.
Helpful Hint
Note that this guide will identify and flag important items that are easy to miss during a playthrough of the game which will be highlighted in a “Missable Item” section as shown in the notes section below.
Players who are looking to fully complete their ![]() Datalog or who are looking to obtain the Treasure Hunter Achievement/Trophy so that they can obtain every Achievement/Trophy in the game (Ultimate Hero) should pay special attention to these sections to make sure that they don’t miss anything important.
Datalog or who are looking to obtain the Treasure Hunter Achievement/Trophy so that they can obtain every Achievement/Trophy in the game (Ultimate Hero) should pay special attention to these sections to make sure that they don’t miss anything important.
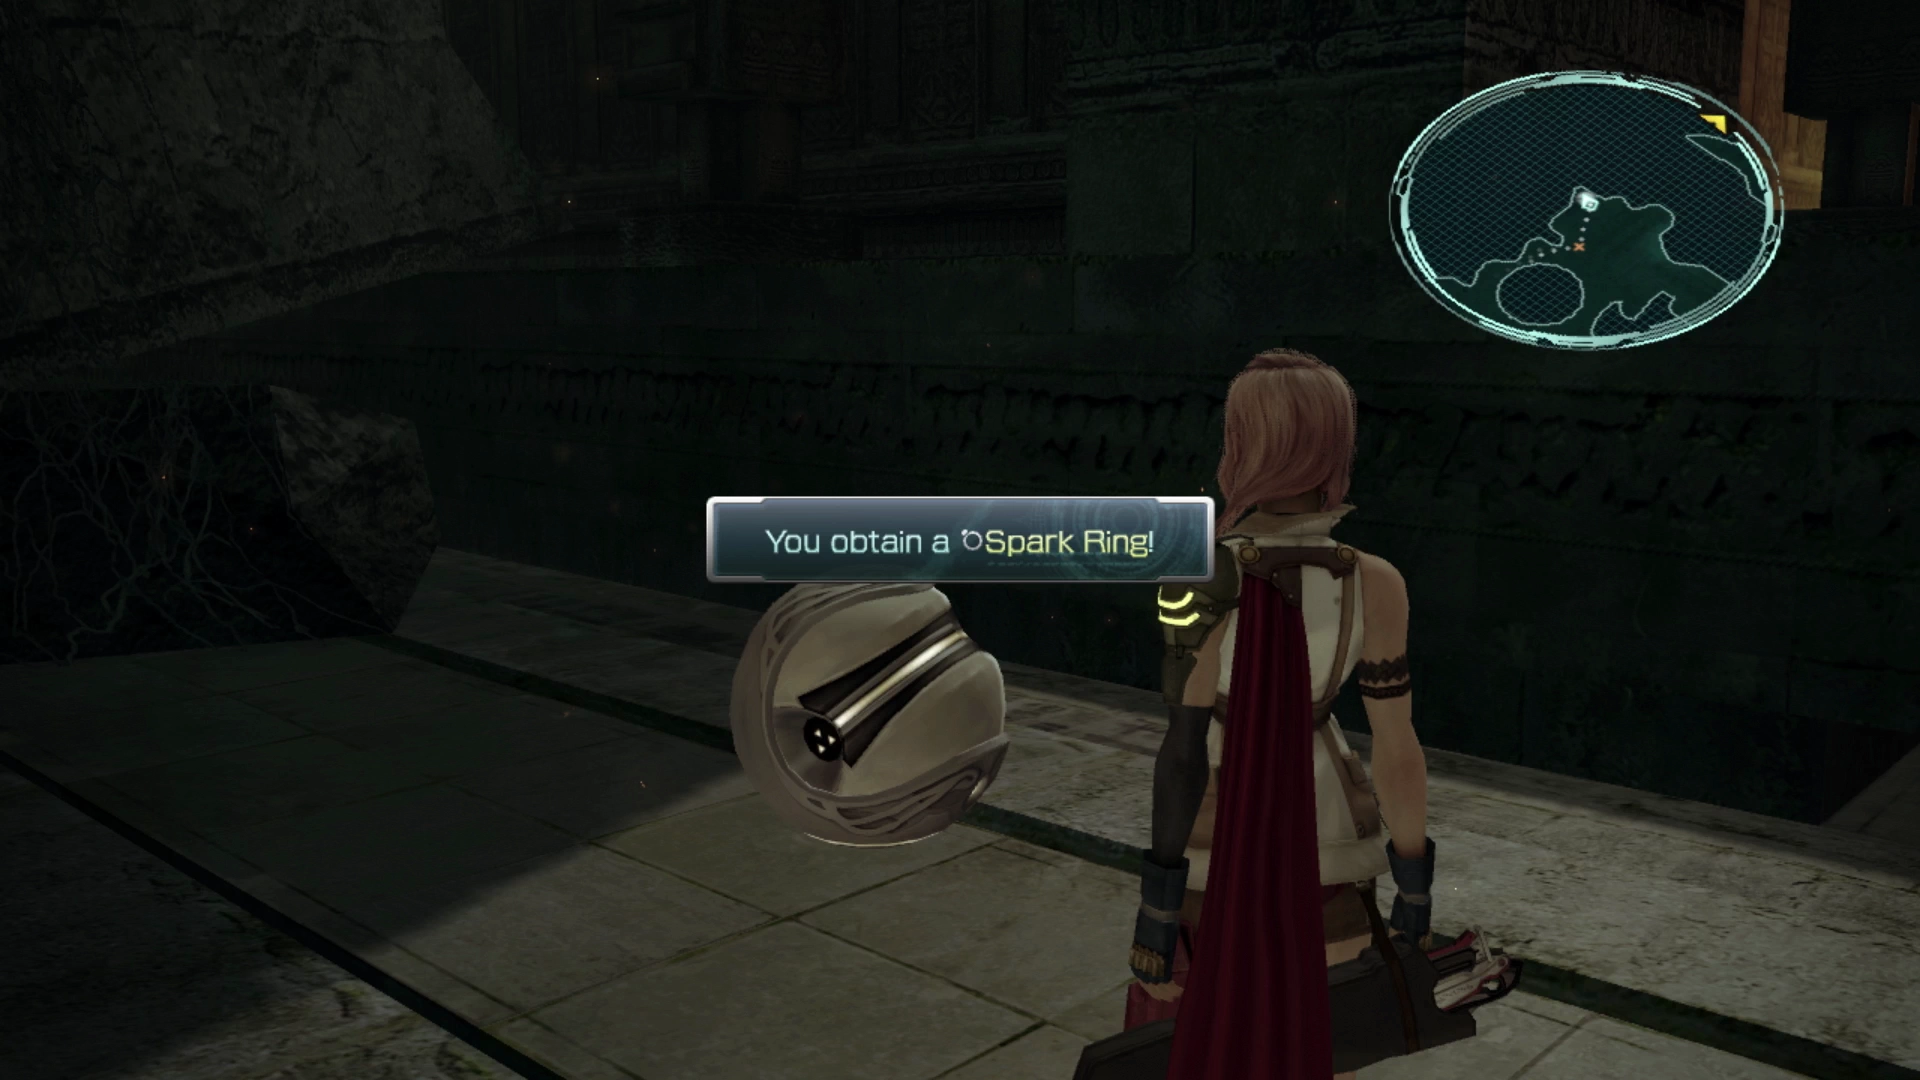
Defeat the next group of enemies which includes two PSICOM Rangers and a Crusader and then search the left side of this area for a Treasure Sphere that contains a ![]() Spark Ring.
Spark Ring.
Missable Content
There are only a few opportunities to obtain a ![]() Spark Ring during a playthrough, with this being one of them, but because you cannot obtain them once you reach the later stages of the game, this ring (along with three others that you can obtain later) are considered missable content.
Spark Ring during a playthrough, with this being one of them, but because you cannot obtain them once you reach the later stages of the game, this ring (along with three others that you can obtain later) are considered missable content.
Refer to the Missable Content page for more information on specific items and ![]() Datalog Enemy Intel entries you should keep an eye out for.
Datalog Enemy Intel entries you should keep an eye out for.
While this item is missable, it only provides resistance against thunder-based attacks, so there’s no rush to equip it to any of your characters at this point. Follow the pathway on the opposite side of the Treasure Sphere, running past Sazh and Vanille, and up the stairs.
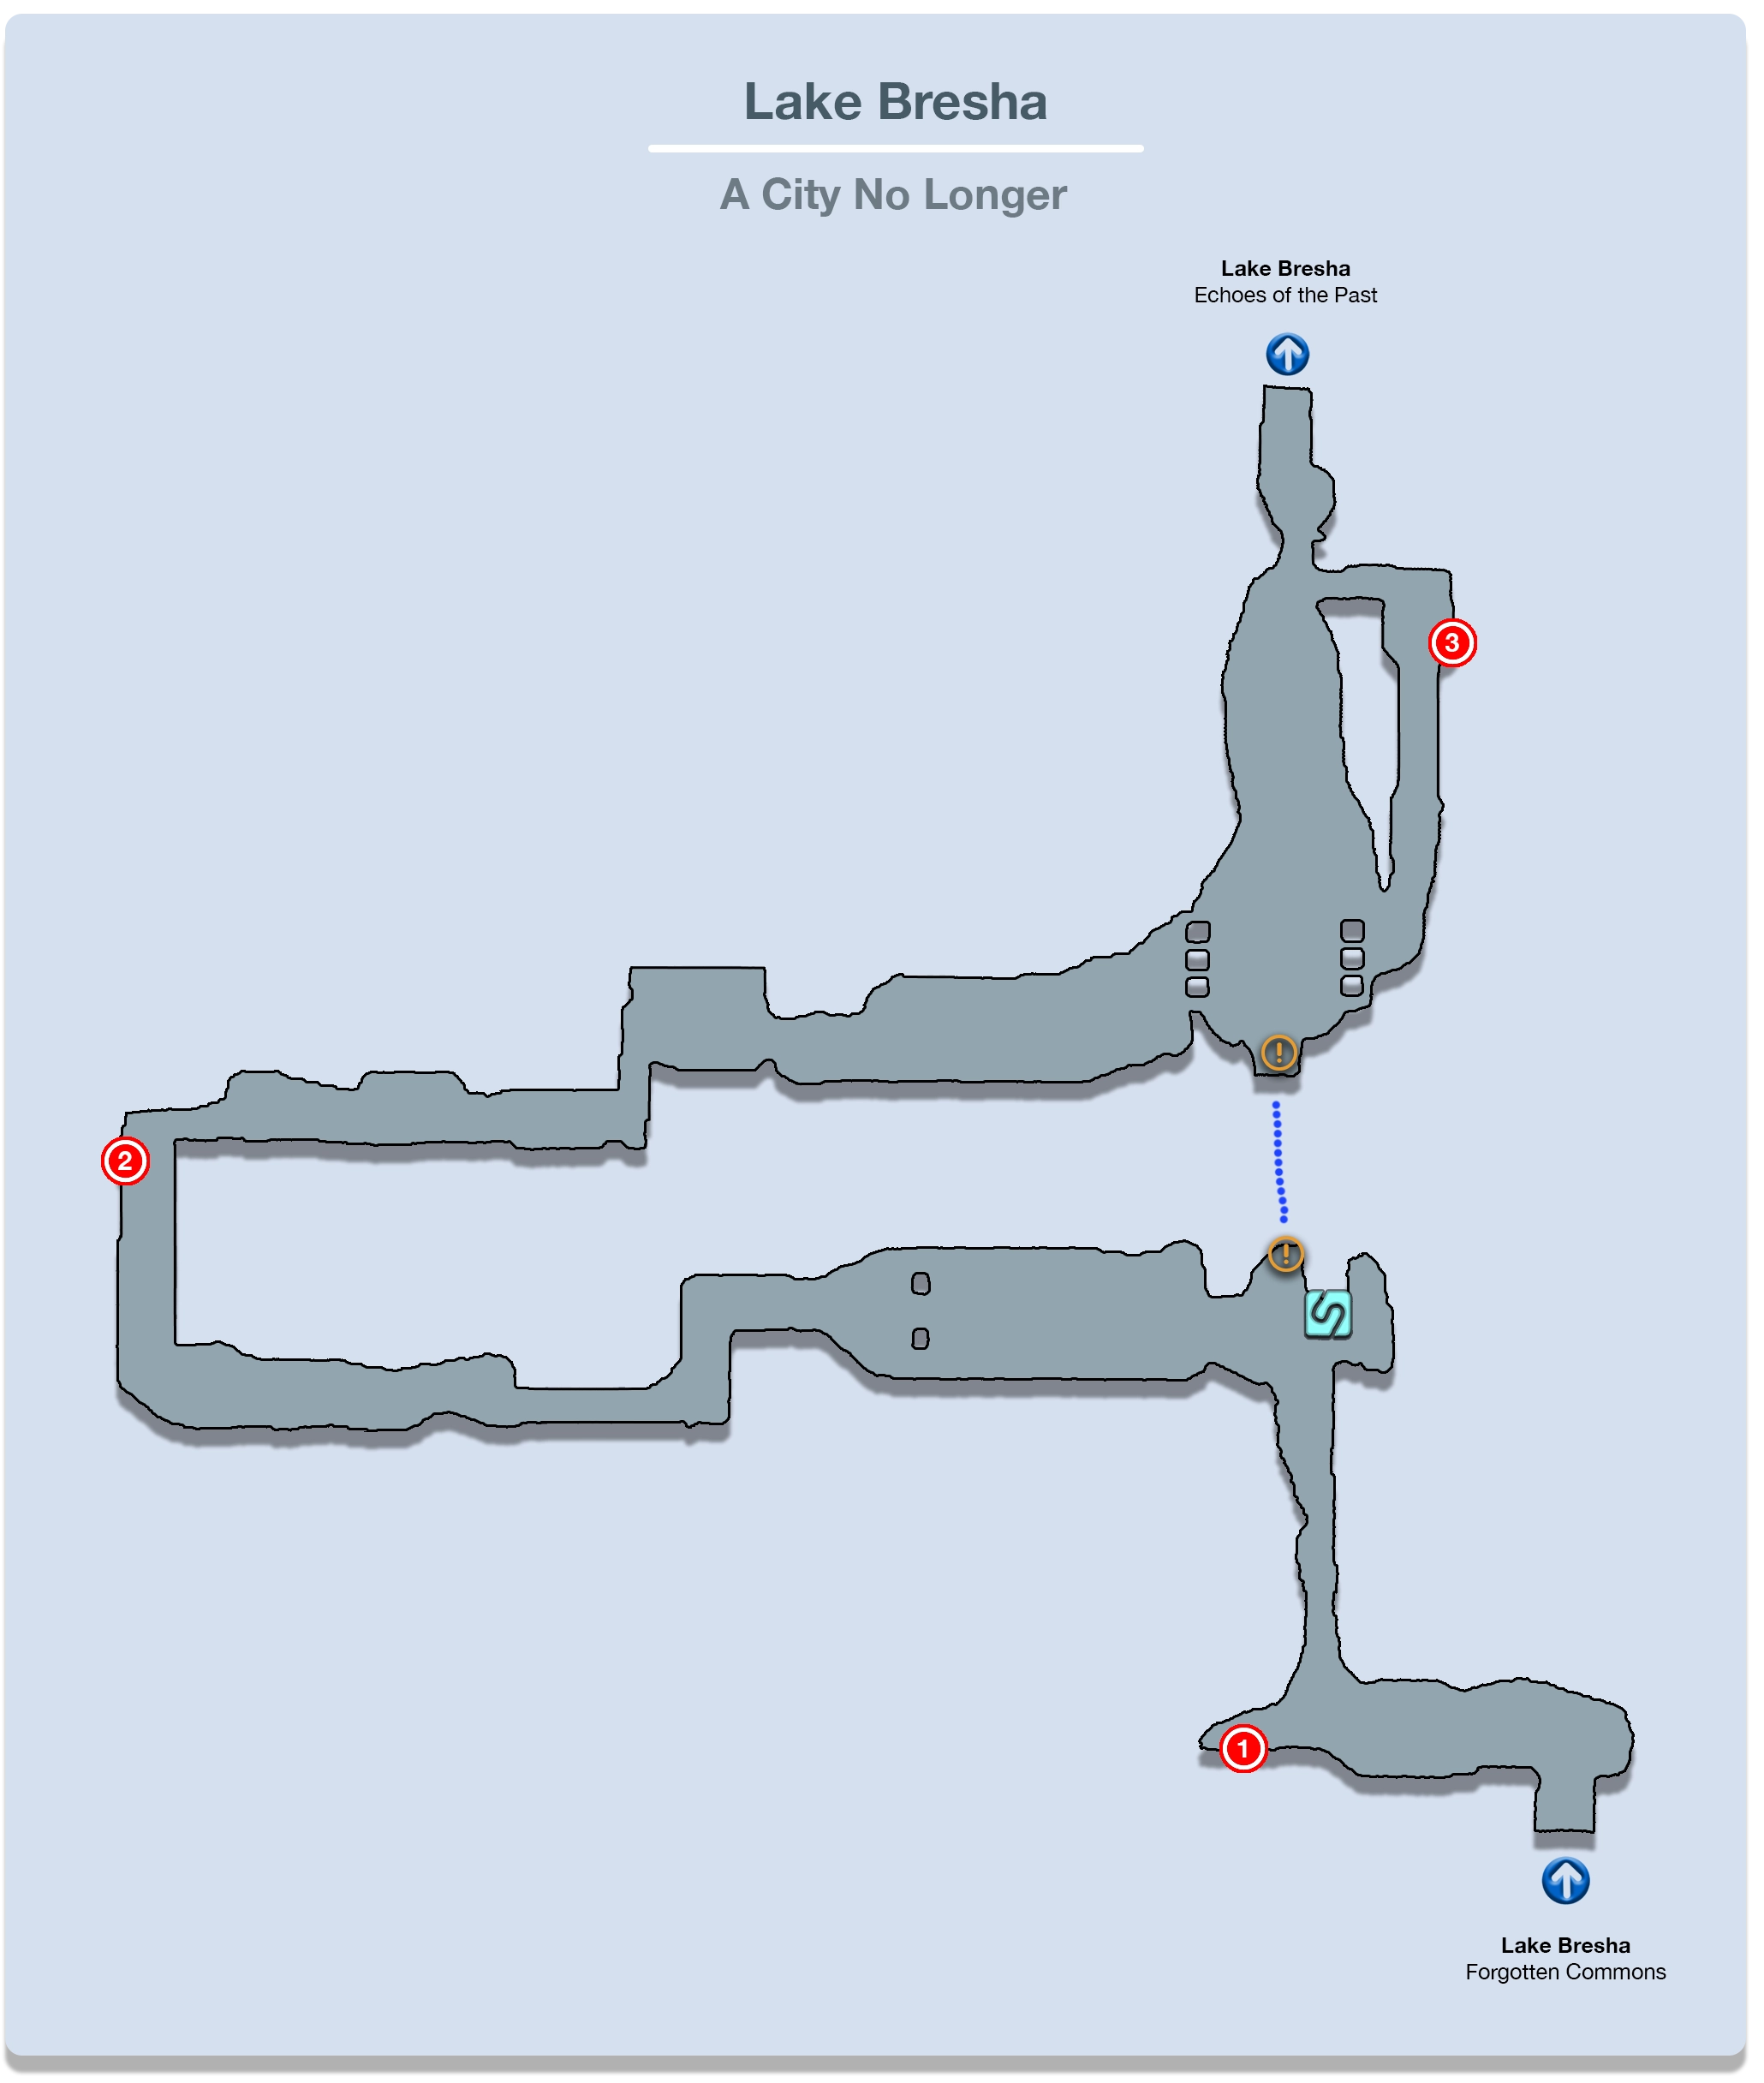
A City No Longer
Along the pathway is a Treasure Sphere that contains three ![]() Potions. Further down the pathway is a
Potions. Further down the pathway is a ![]() Save Station where you should save your game. If you haven’t done so yet, make sure that you unlock the
Save Station where you should save your game. If you haven’t done so yet, make sure that you unlock the ![]() Aero spell in Sazh’s
Aero spell in Sazh’s ![]() Ravager Crystarium as this will make an upcoming boss battle much easier.
Ravager Crystarium as this will make an upcoming boss battle much easier.
Helpful Hint
There is a tendency, especially for new players, to go in and spend Crystogen Points (CP) almost as quickly as they are earned. In some cases, spending them after every battle. And why not? Each new node that you hit increases your character’s stats and effectiveness in battle.
This is definitely true; that is, spending CP will generally increase your party member’s power, but there’s a really effective strategy that you can use to greatly power up your characters at the start of a chapter by saving up CP towards the end of a chapter and spending those points on newly opened sections of the Crystarium that you can access at the start of a brand-new chapter.
You should still work towards unlocking the ![]() Aero spell for Sazh either way. Check out the Crystarium: Development and Choosing Abilities section for more information.
Aero spell for Sazh either way. Check out the Crystarium: Development and Choosing Abilities section for more information.
Vanille will start shouting once you reach this area to identify that there’s a section of the ruins that you can examine to squeeze through and take a shortcut, but it’s better at this point in the game to continue through the hallways and take the long way around to build up experience and pick up some of the treasures along the way.
Just up ahead, assuming you choose to take the long way around, you will face two Pantheron enemies, followed by a group of two PSICOM Wardens and a PSICOM Executioner. The Executioner is a bit tougher as far as enemies go. Start by taking out each of the Wardens and then focus your attacks on the Executioner to trigger a Stagger.
There is another group of PSICOM Trackers and PSICOM Rangers that is easy to sneak up on. Just a little bit further down the path is another Treasure Sphere that contains a ![]() Millerite.
Millerite.
This Millerite is what’s referred to as a transformational catalyst component item which can be used to transform a maximum level item. It’s considered a low-level catalyst item that isn’t particularly useful, but it can be sold for 1,000 Gil, which is better than nothing!
The next group of enemies up ahead is large; it contains two Pantherons, two PSICOM Trackers and two PSICOM Rangers. This is followed up by a smaller enemy group that includes just three Pantherons. It’s at this point where the shortcut that you could have taken earlier and this pathway meet back up.
Venture to the far side of this large room and up the stairs on the right side to find a PSICOM Tracker and a PSICOM Ranger defending a Treasure Sphere. Open the Treasure Sphere after you defeat them to obtain a ![]() Ferroelectric Film.
Ferroelectric Film.
Just behind the Treasure Sphere is an illuminated blue circle on the stairs that Lightning can use to drop down to the level below which has three PSICOM soldiers and an Executioner in wait. Head into the next area after you defeat them.
Echoes of the Past

Travel up the stairs and make use of the ![]() Save Station at the top. There are two Treasure Spheres on the left and right side of this platform near the Save Station, one of them contains a tuft of
Save Station at the top. There are two Treasure Spheres on the left and right side of this platform near the Save Station, one of them contains a tuft of ![]() Phoenix Down while the other contains two
Phoenix Down while the other contains two ![]() Librascope.
Librascope.

Heading up the stairs from here will initiate the next boss battle and this will be your first real boss battle of the game (no more tutorials!).
Boss Battle
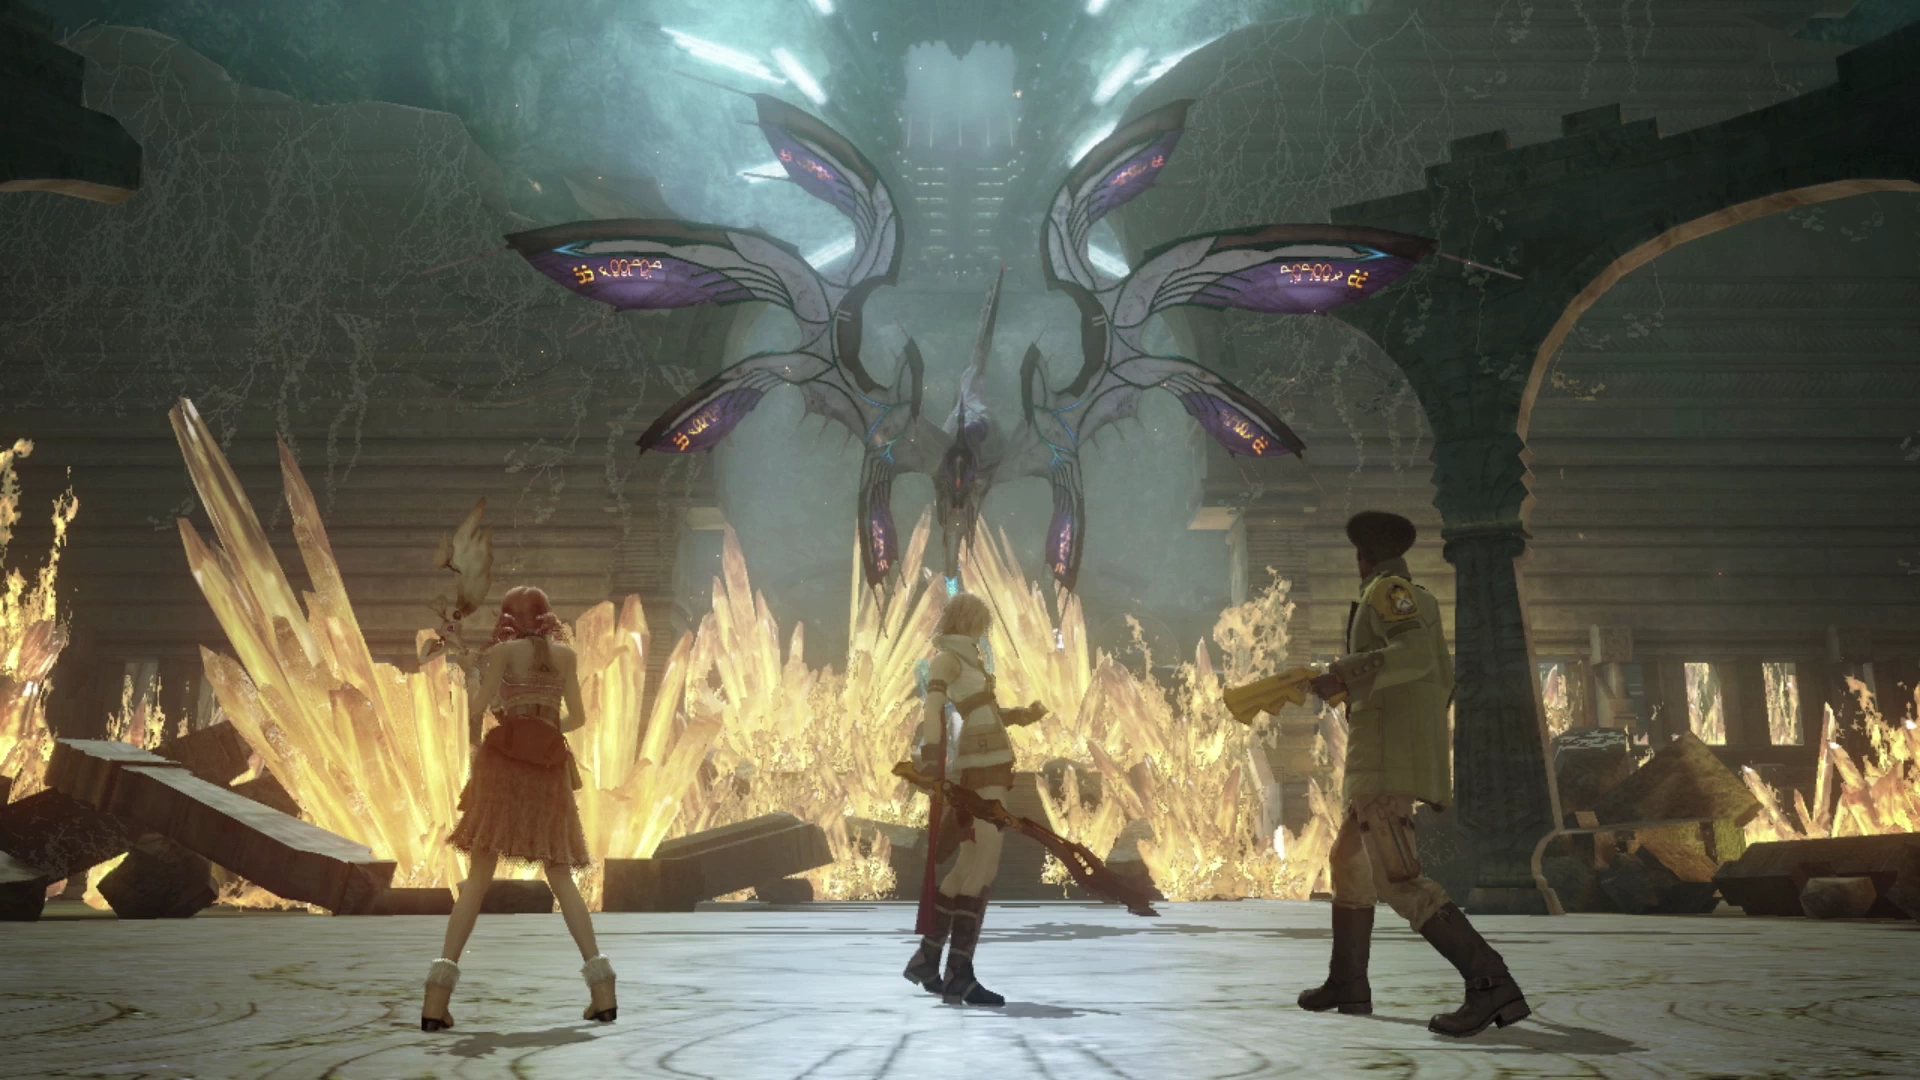
This boss battle is broken up into two individual phases. The first phase of the fight is the easiest portion, and it involves a standard list of attacks that the Garuda Interceptor will follow that won’t present too much of a challenge to your team.
Start by using ![]() Libra on it which will highlight its weakness to wind-based attacks. As a result, if Sazh has learned
Libra on it which will highlight its weakness to wind-based attacks. As a result, if Sazh has learned ![]() Aero through his
Aero through his ![]() Ravager Crystarium, his attacks against the Garuda Interceptor will do quite a bit more damage.
Ravager Crystarium, his attacks against the Garuda Interceptor will do quite a bit more damage.
Stick to Relentless Assault Paradigm with the odd ![]() Potion thrown in if your party member’s HP gets too low and you should be fine.
Potion thrown in if your party member’s HP gets too low and you should be fine.
Boss Battle

Phase 2 begins after the Garuda Interceptor pulls away. There’s a short cutscene that takes place where Lightning suggests that it’s “charging.”
The primary challenge for Phase 2 is that it will cast “Barrier” on itself which will heavily reduce the amount of damage done to it with regular attacks. You can get around this by Staggering the enemy which will allow all your attacks to do maximum damage, so stick to keeping your party in the Relentless Assault Paradigm.
Just be careful to keep your party members’ HP up for an attack called “Hellstorm Bolt,” a lightning blast that hits your entire party for heavy damage. You can see it coming: the Garuda Interceptor circles in the air a few times before firing, so use that window to top everyone up. Check out the video below to see how it’s done:
There are a few scenes that take place at the end of the battle before the story returns to Snow.
A Silent Maelstrom
Snow will be ambushed by a few PSICOM Rangers. Just use “Auto-battle” to bring them down as Snow doesn’t have anything else in his arsenal to help defeat them any quicker at this stage of the game. Use a ![]() Potion if his health gets too low.
Potion if his health gets too low.
The controller buttons being displayed on this page are for the ![]()
![]() PlayStation version of the game, but you can switch over to the
PlayStation version of the game, but you can switch over to the ![]()
![]() Xbox version using the “Game Version” selector in the side menu.
Xbox version using the “Game Version” selector in the side menu.
The controller buttons being displayed on this page are for the ![]()
![]() Xbox version of the game, but you can switch over to the
Xbox version of the game, but you can switch over to the ![]()
![]() PlayStation version using the “Game Version” selector in the side menu.
PlayStation version using the “Game Version” selector in the side menu.
Eidolon Battle
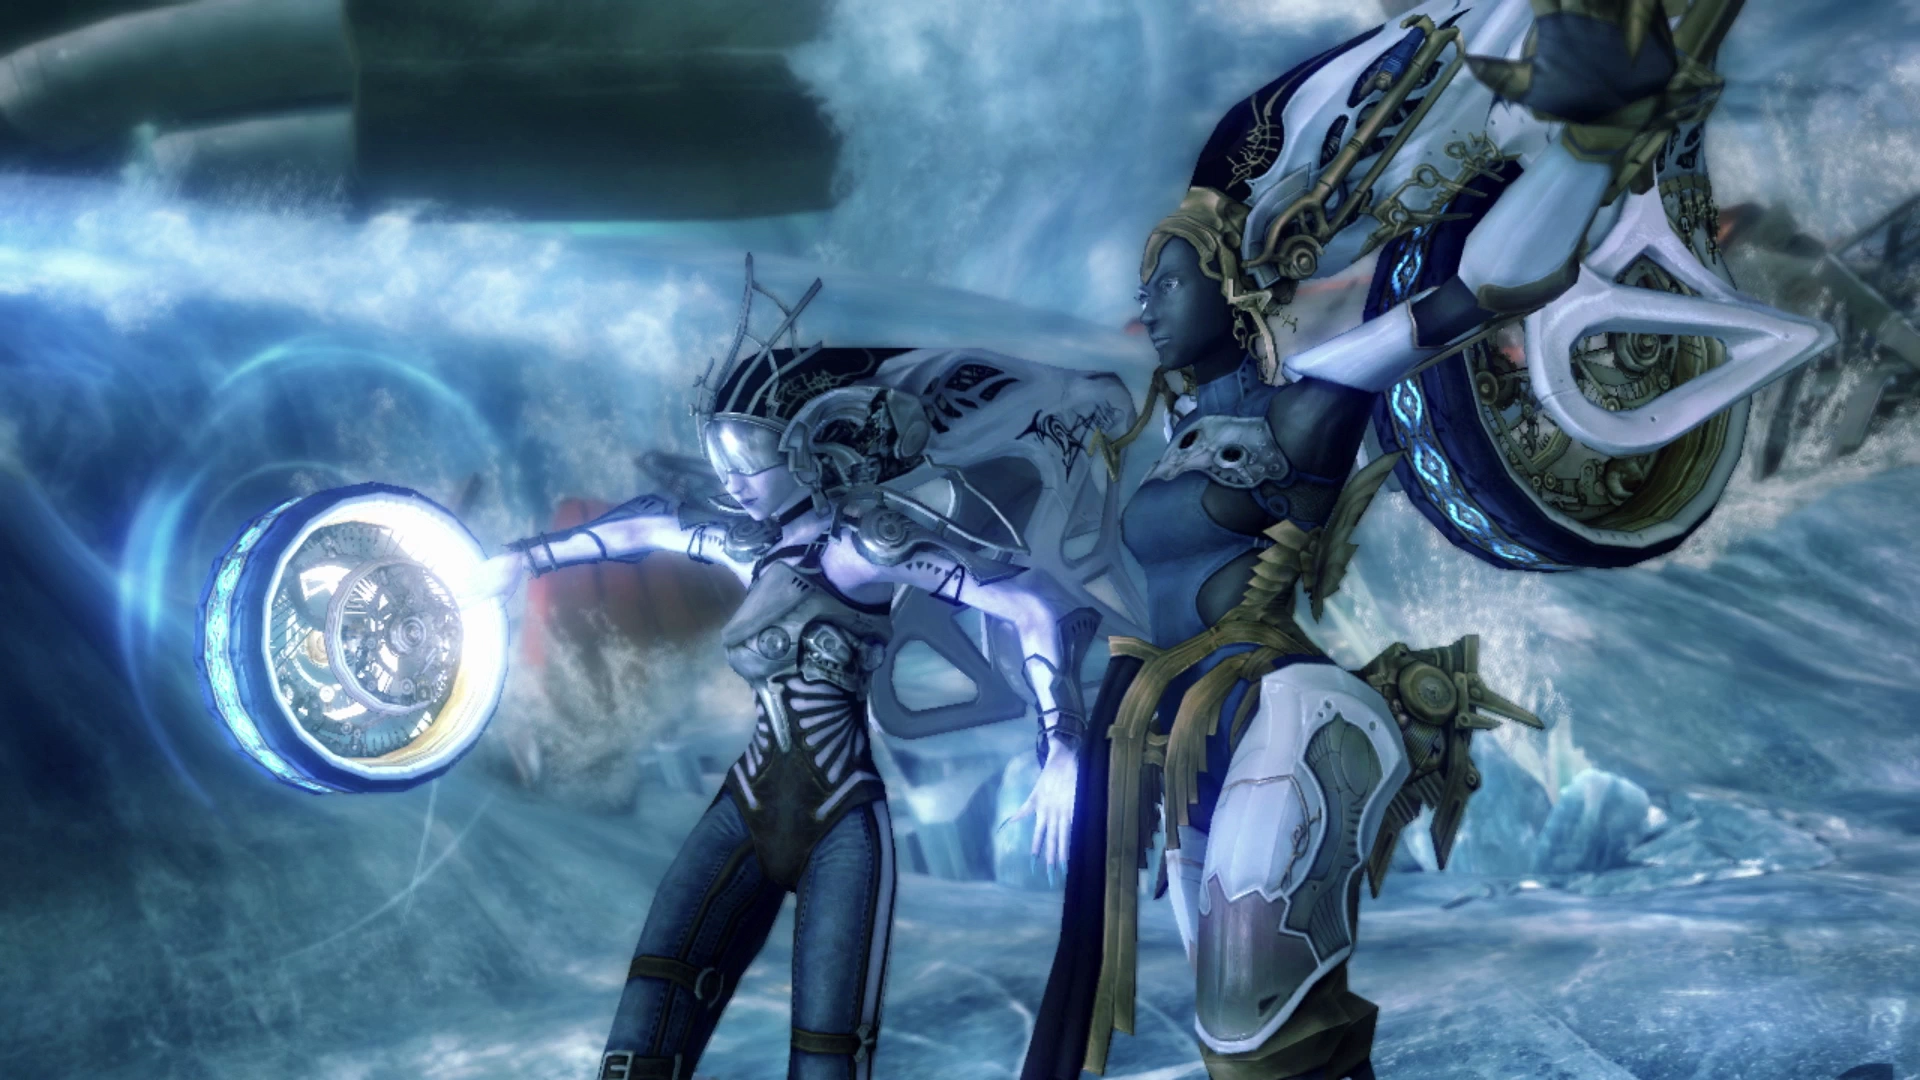
This next fight is an Eidolon Battle which is somewhat different from the typical fights you’ve been engaging in up to this point. The game will give you a short tutorial at the beginning of the battle to explain the objective, but to explain it very simply, the goal is not to ‘defeat’ Nix or Stiria during this fight, but rather to get the ‘Gestalt Gauge’ up to maximum and then press the ![]()
![]()
![]() button to claim victory after it’s full.
button to claim victory after it’s full.
You can see the Gestalt Gauge on the screen to show how close you are to the end, but the other challenge is that you need to fill this gauge before the ![]() Doom timer runs out. The Doom timer is a red number that counts down from 2,000 above Snow’s head.
Doom timer runs out. The Doom timer is a red number that counts down from 2,000 above Snow’s head.
Your clue to completing this fight is noted in the tutorial: “Defensive roles are effective against the Shiva sisters.” In other words, you can use defensive roles like Snow’s ![]() Sentinel role to fill the Gestalt Gauge and complete this fight. Snow doesn’t even have to heal himself because he is only fighting Nix, whilst Stiria will be occasionally casting healing magic on Snow.
Sentinel role to fill the Gestalt Gauge and complete this fight. Snow doesn’t even have to heal himself because he is only fighting Nix, whilst Stiria will be occasionally casting healing magic on Snow.
Snow has only two moves to use while he is a ![]() Sentinel. The first move is called
Sentinel. The first move is called ![]() Provoke and if you use the “Auto-battle” command while Snow is a
Provoke and if you use the “Auto-battle” command while Snow is a ![]() Sentinel he will start by using this attack.
Sentinel he will start by using this attack. ![]() Provoke is used to force an enemy to focus their attacks on a specific character (e.g. Snow in this case), but because he is the only party member you have this attack effectively does nothing.
Provoke is used to force an enemy to focus their attacks on a specific character (e.g. Snow in this case), but because he is the only party member you have this attack effectively does nothing.
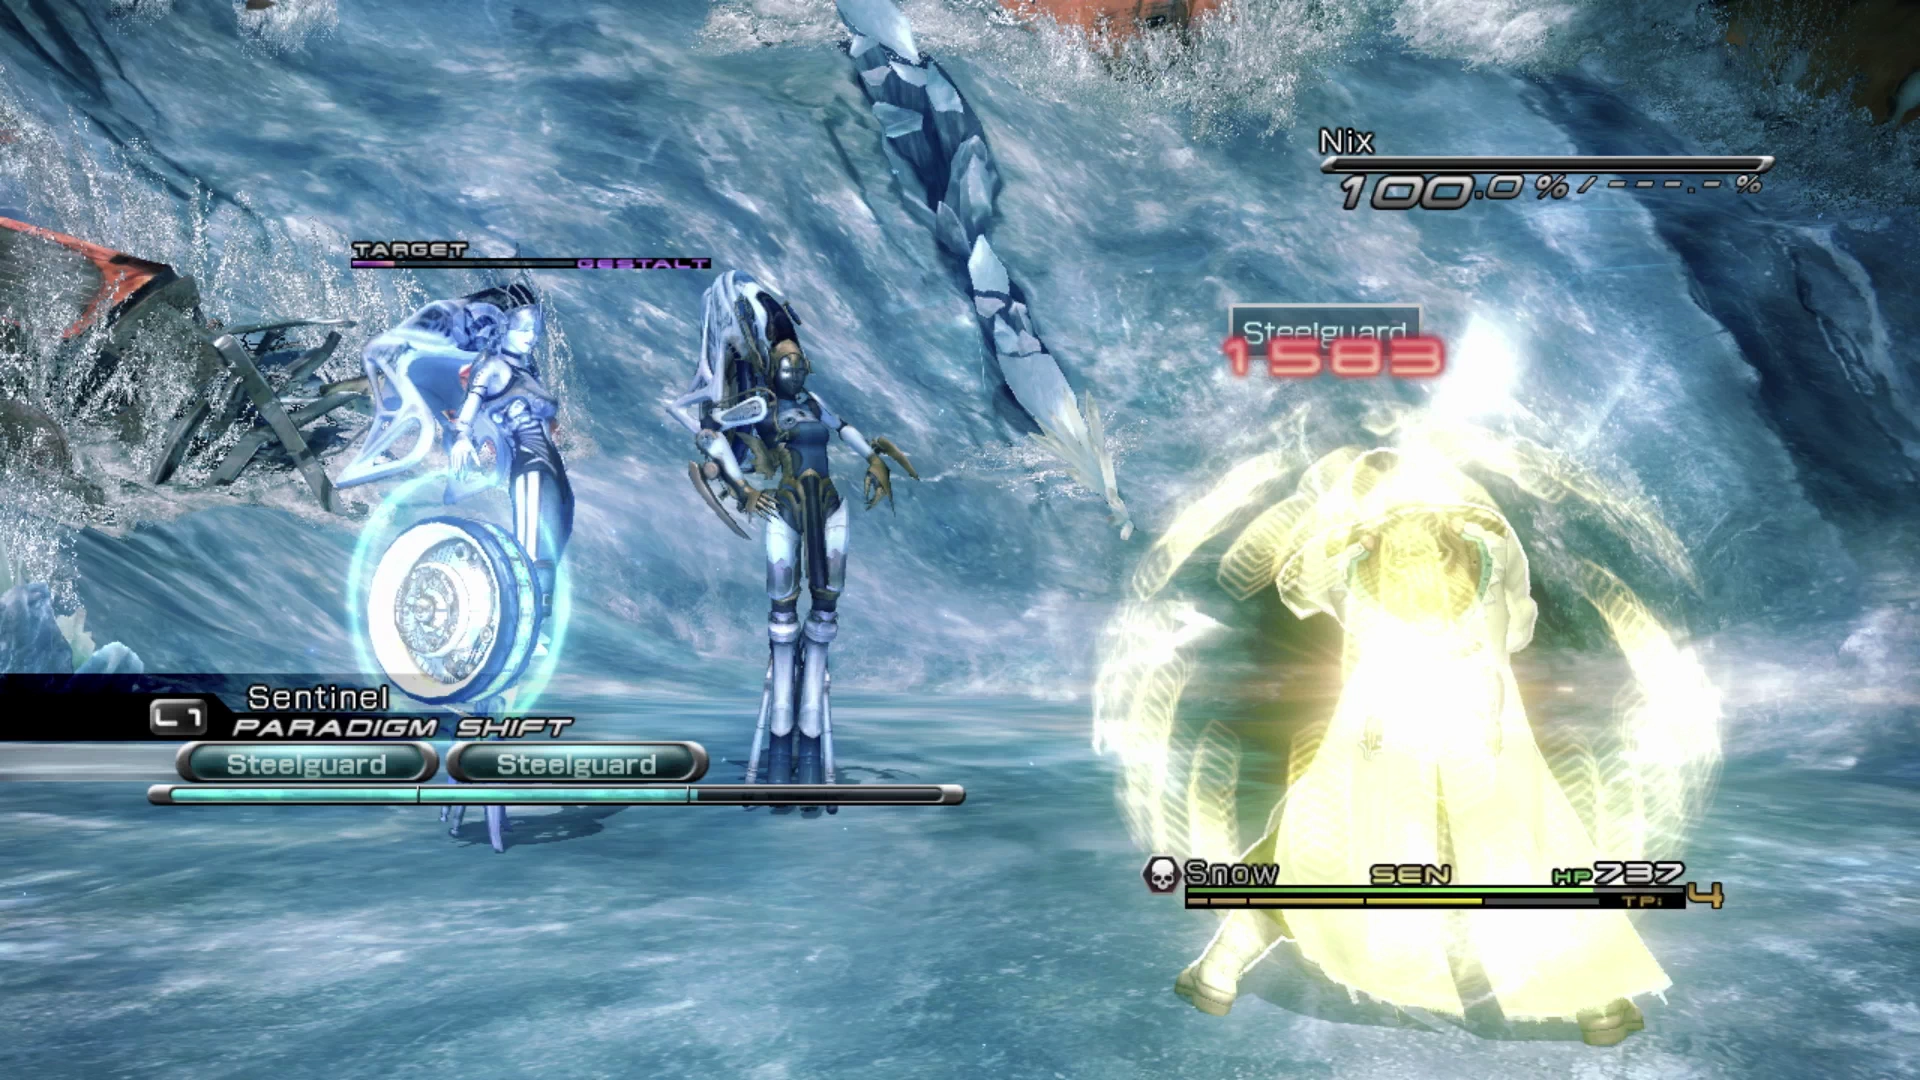
Instead of using “Auto-battle,” choose the abilities for Snow and have him use an ability called ![]() Steelguard. Using this ability to protect Snow against Nix’s attacks will greatly increase the Gestalt Gauge, especially if you have
Steelguard. Using this ability to protect Snow against Nix’s attacks will greatly increase the Gestalt Gauge, especially if you have ![]() Steelguard active when she uses “Pirouette.”
Steelguard active when she uses “Pirouette.”
You can switch to Snow’s ![]() Commando role when Nix is using ATB Charge and/or not attacking to have Snow get a quick few attacks in, which also charges the Gestalt Gauge a little bit, but this is a bit of a cheeky over-the-top strategy and isn’t necessary to complete the challenge.
Commando role when Nix is using ATB Charge and/or not attacking to have Snow get a quick few attacks in, which also charges the Gestalt Gauge a little bit, but this is a bit of a cheeky over-the-top strategy and isn’t necessary to complete the challenge.
Remember, press ![]()
![]()
![]() once the gauge is full! Check out the video below to see how it’s done:
once the gauge is full! Check out the video below to see how it’s done:
A few scenes take place after the battle has concluded before we move on to Chapter 4.
Achievement/Trophy
You will automatically receive the  Instrument of Tragedy Achievement/Trophy at the end of Chapter 3.