
Chapter 3: Lake Bresha (Part 1)


Cocoon Lowlands
Note that the Lake Bresha section of the walkthrough is broken up into two separate parts. Part 1 covers the boss battle against Manasvin Warmech and through to the Mirrored Morass area whereas Part 2 covers everything after you reach the Gates of Antiquity. You will know once you’ve reached the Gates of Antiquity as the title text will flash in the middle of the screen once you’ve arrived.
Use the navigation arrows to move forward to Part 2 if you are already past this section of the game.
There are a few scenes that take place between Serah and Snow in the town of Bodhum during the “Day Eleven: Proposal” sequence of the days leading up to the Purge before the game returns to Snow and the other team members in Lake Bresha.
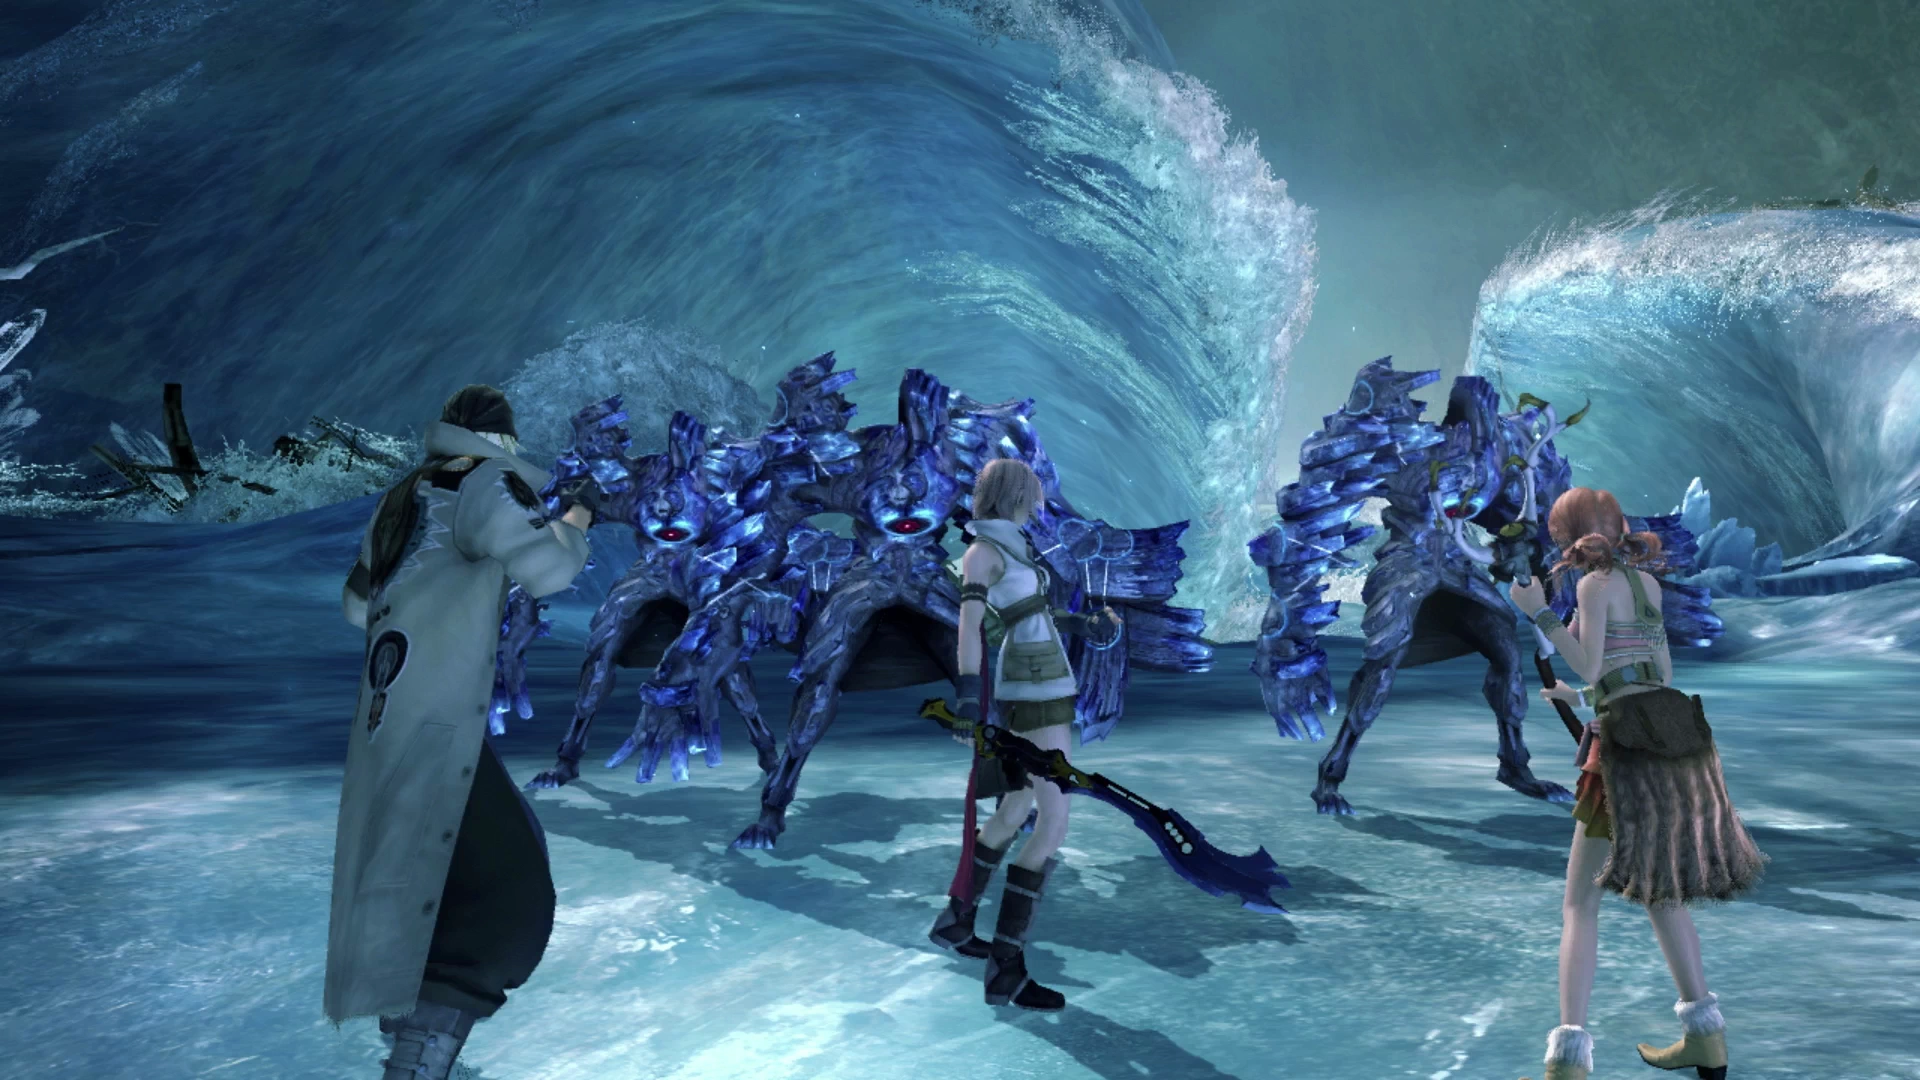
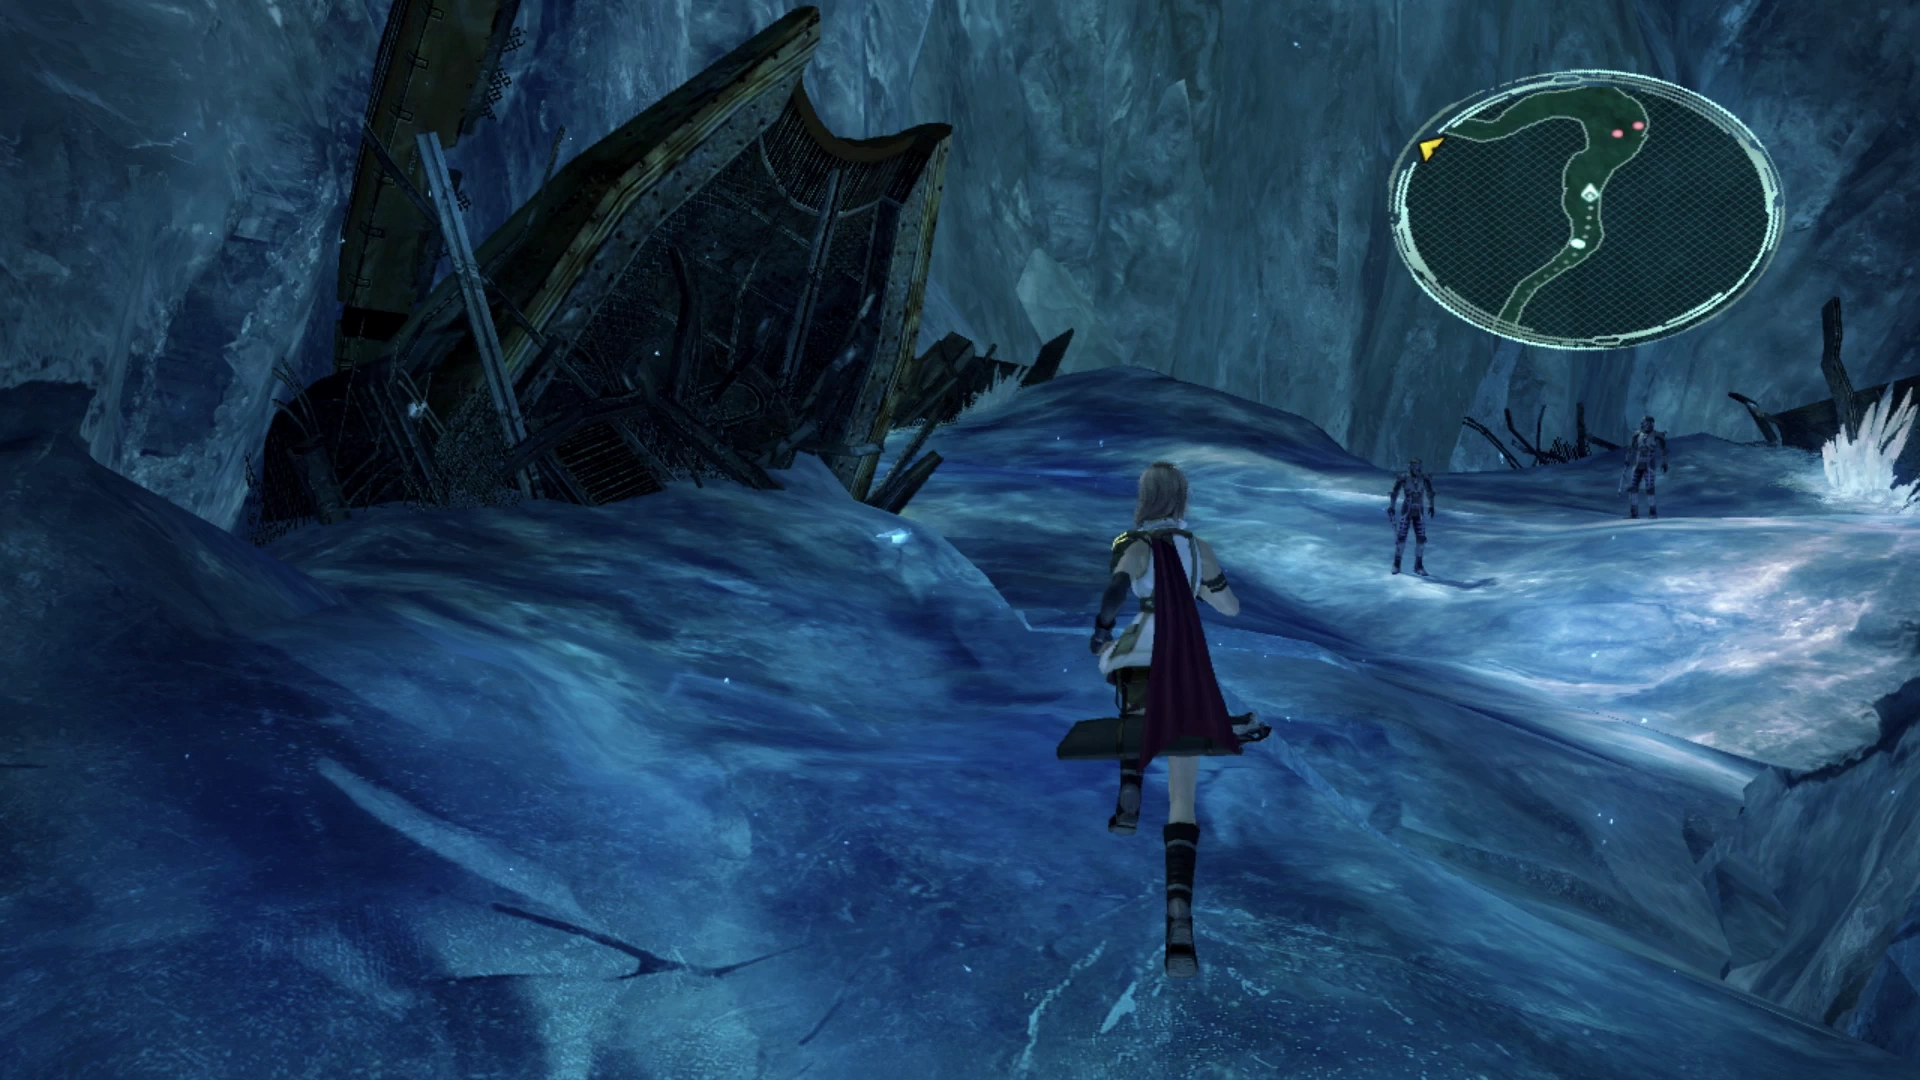
The Waters Stilled

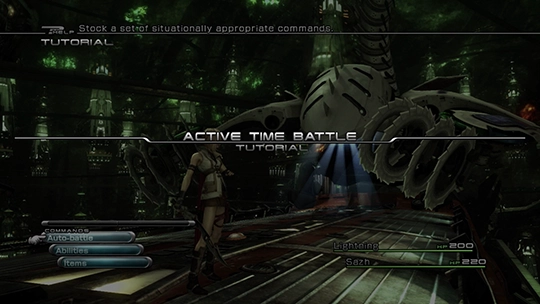
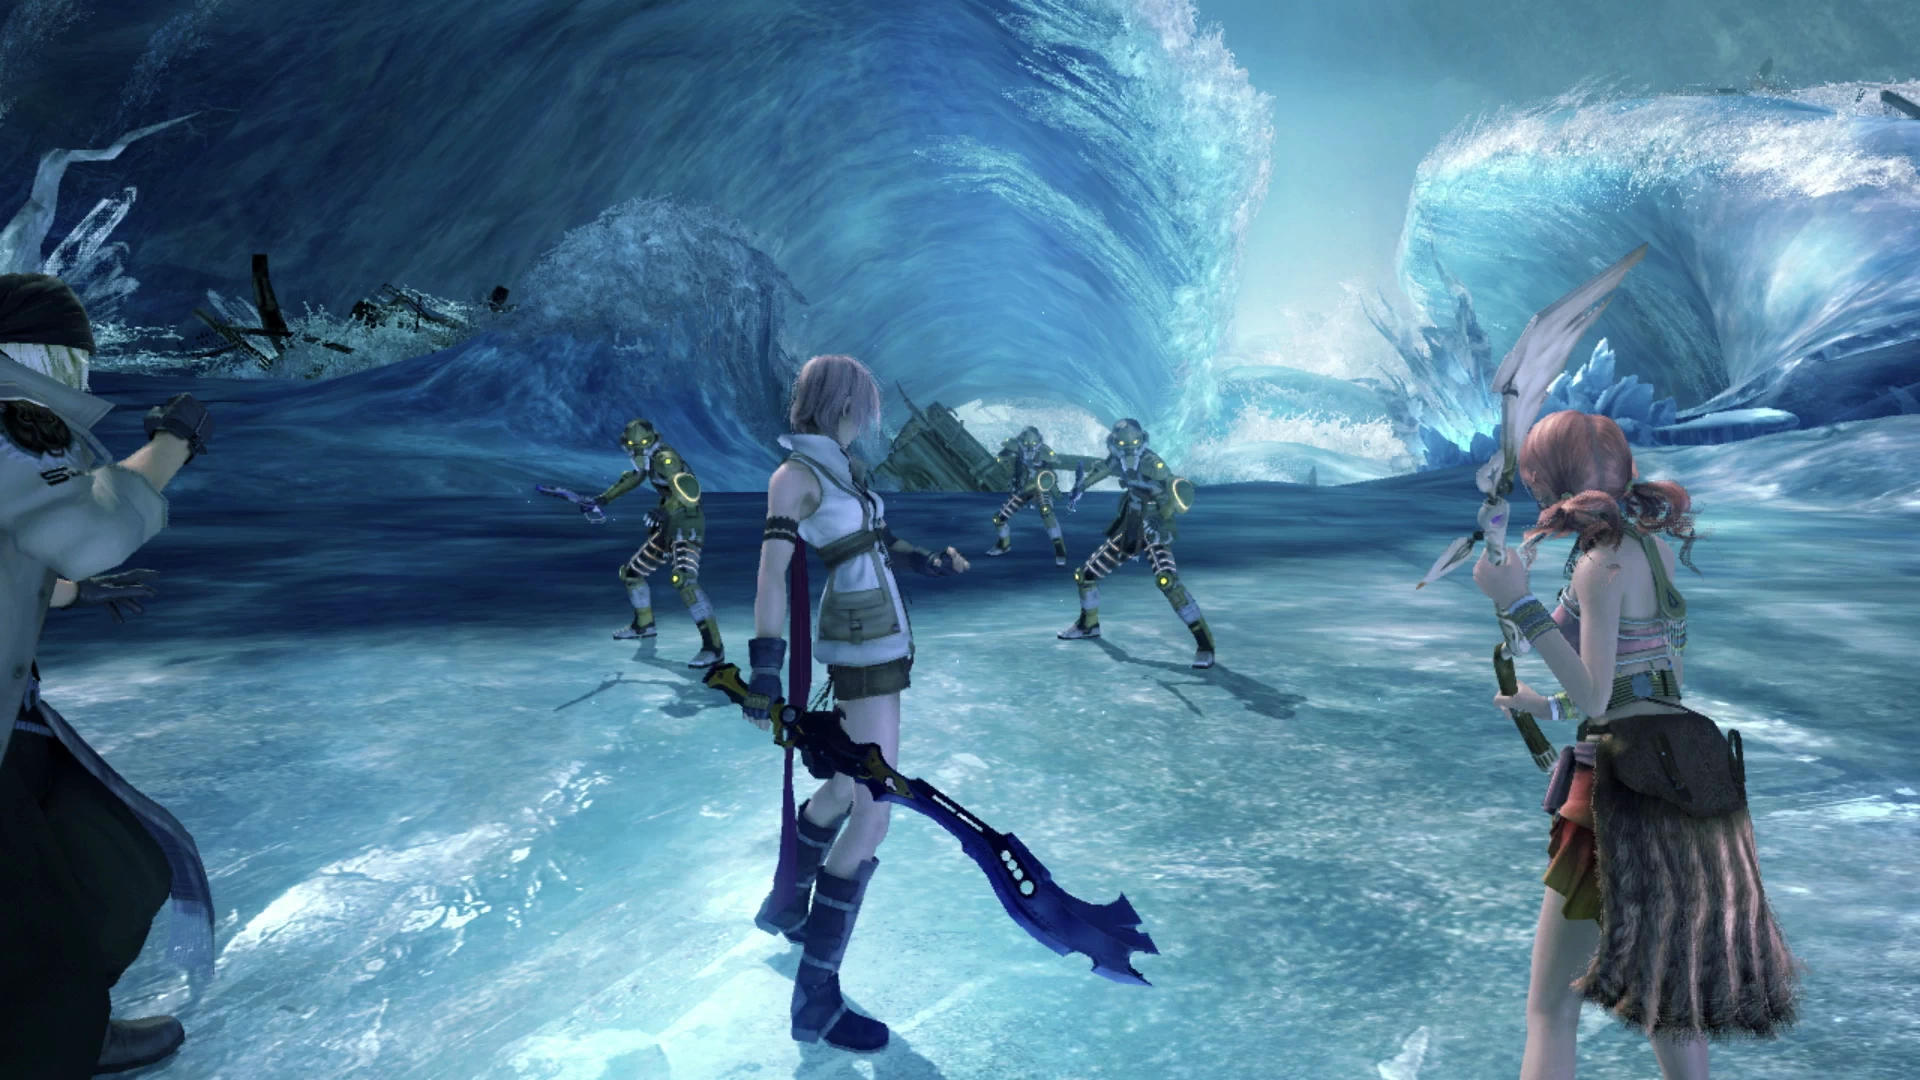
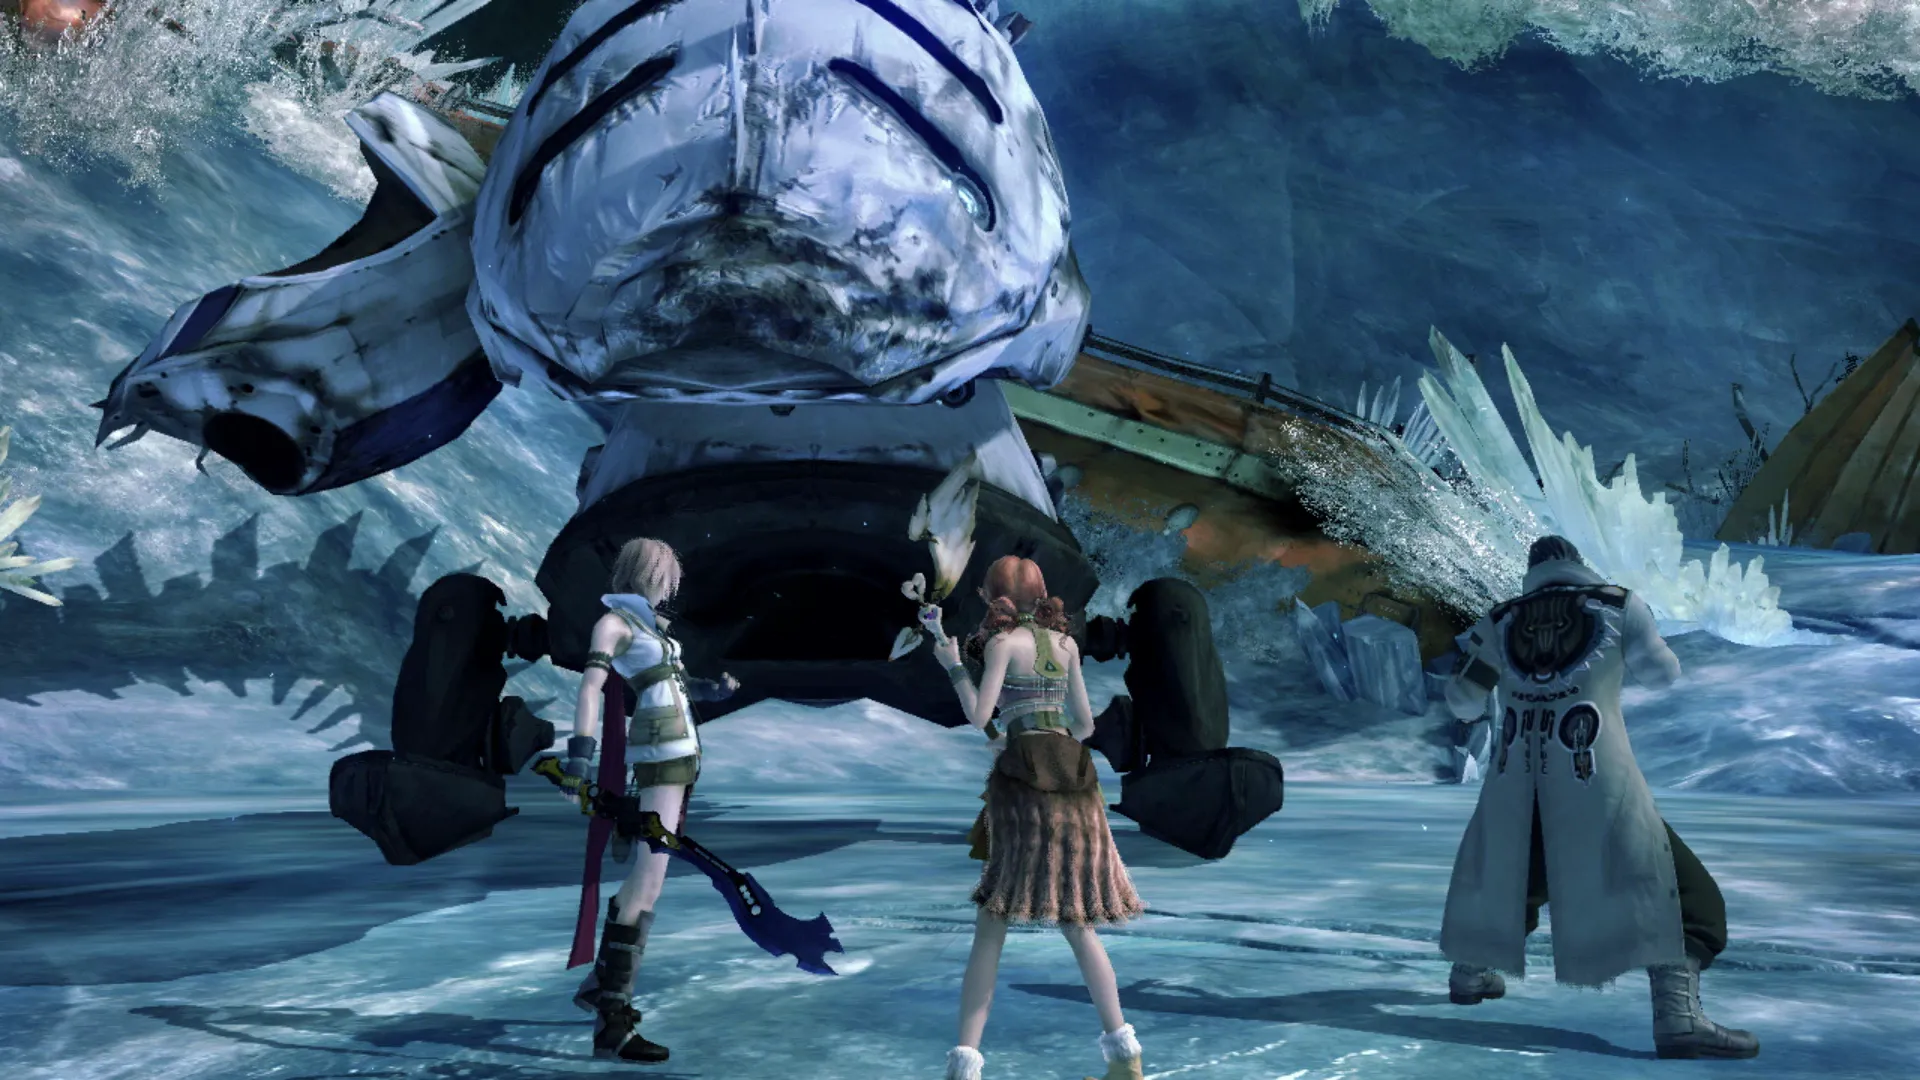
The story picks up again by throwing you right into another battle with Lightning, Snow and Vanille as your party members. It’s at this point in the game that you can begin to utilize Paradigms, Paradigm Shifts and Deck Building during regular battles, allowing (or in some cases requiring) you to use strategies and tactics to defeat your enemies using different role combinations.
This is where the game finally starts to provide more of a challenge as you progress through each of the chapters (no more “Auto-battle” until you win).
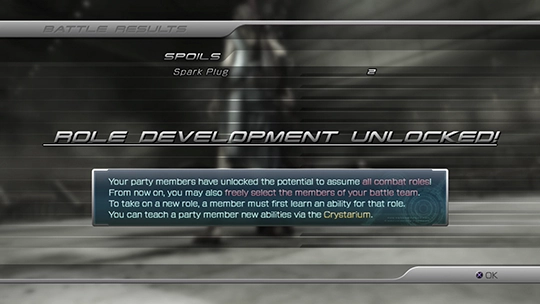
Lore
Following the story’s lore, it’s at this point in the game that your characters have now been marked as l’Cie, allowing them to become more powerful, use roles and Paradigms, and make use of “forbidden” magic spells.
You should immediately notice your characters becoming more powerful, especially as you work your way through the Crystarium, which is explained in greater detail just up ahead.
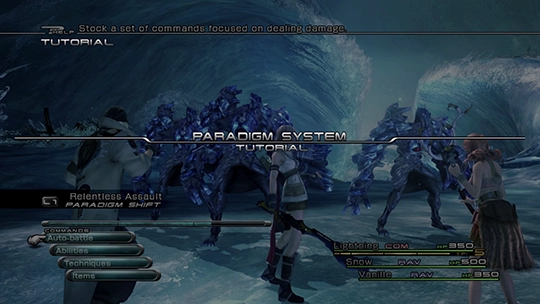
The game provides a good explanation of how the Paradigm system works so make sure to watch the tutorial if this is your first time playing Final Fantasy XIII. In addition to the in-game explanation, consider reading the subsections below:
A list of the roles (similar to jobs) available in Final Fantasy XIII. You don’t need to know about all of them yet but it can’t hurt to start familiarizing yourself with the different roles that will become available.
An overview and explanation of Paradigms, some common Paradigms and Paradigm tactics.
Lastly, while it won’t necessarily be important now, and this strategy guide will provide another reminder later when it becomes more relevant, you should consider reading up on how the ATB Refresh tactic works.
This tactic becomes more important as your characters gain more ATB segments but it’s good to be knowledgeable on how the ATB Refresh system works so that you can get yourself into some good habits early on:
Tips and Tricks
An overview of how to time your Paradigm shifts to maximize your character’s ATB Gauge to maximize their output.
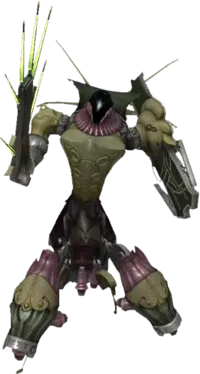
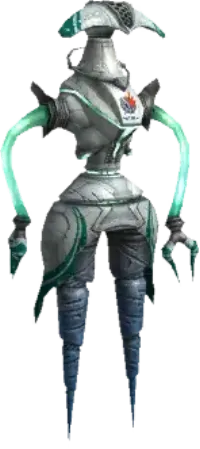
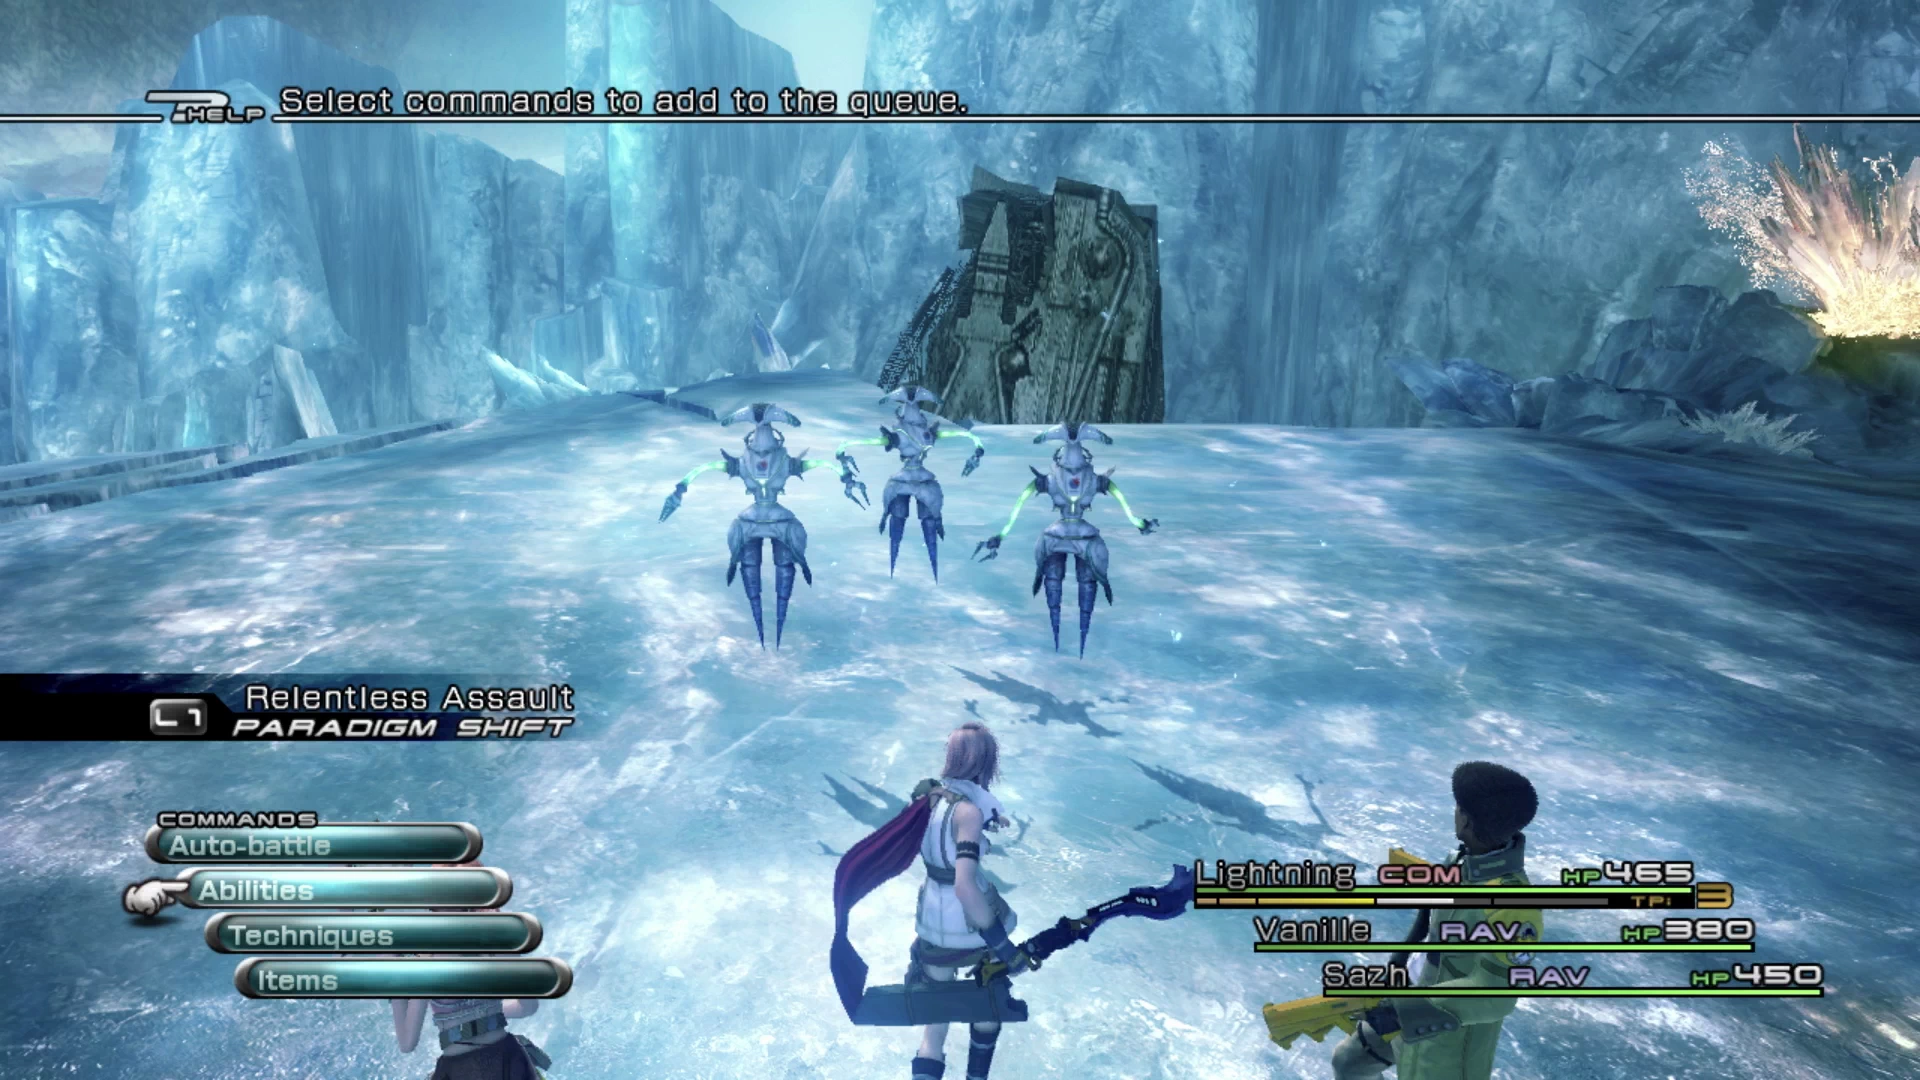
Now let’s get back to this first battle that you are thrown into against the two Ghast enemies. The Relentless Assault Paradigm is considered one of the more offensively focused and most solidly structured Paradigms you have available.
You will be using it quite regularly and the tutorial has you switch over to Relentless Assault (using the ![]()
![]()
![]() button) as one of the steps in its demonstration. Leave this Paradigm active and focus each of the Ghasts down one by one.
button) as one of the steps in its demonstration. Leave this Paradigm active and focus each of the Ghasts down one by one.
Helpful Hint
The tutorial touches on the uses of Snow’s ![]() Sentinel role and the defensive capabilities that it provides, but you will rarely need to make use of an entirely defensive role, and this guide will point out the limited applications that it has.
Sentinel role and the defensive capabilities that it provides, but you will rarely need to make use of an entirely defensive role, and this guide will point out the limited applications that it has.
In other words, Snow should not spend too much time in this role as you progress through the story chapters, and instead should be spending his time as either a ![]() Commando or a
Commando or a ![]() Ravager, depending on the makeup of the party at the time.
Ravager, depending on the makeup of the party at the time.
Move a few steps forward and you will be offered another tutorial on how to operate the Crystarium. The Crystarium, roles and Paradigms form the core components of the battle system of Final Fantasy XIII and are what help to make the game unique.
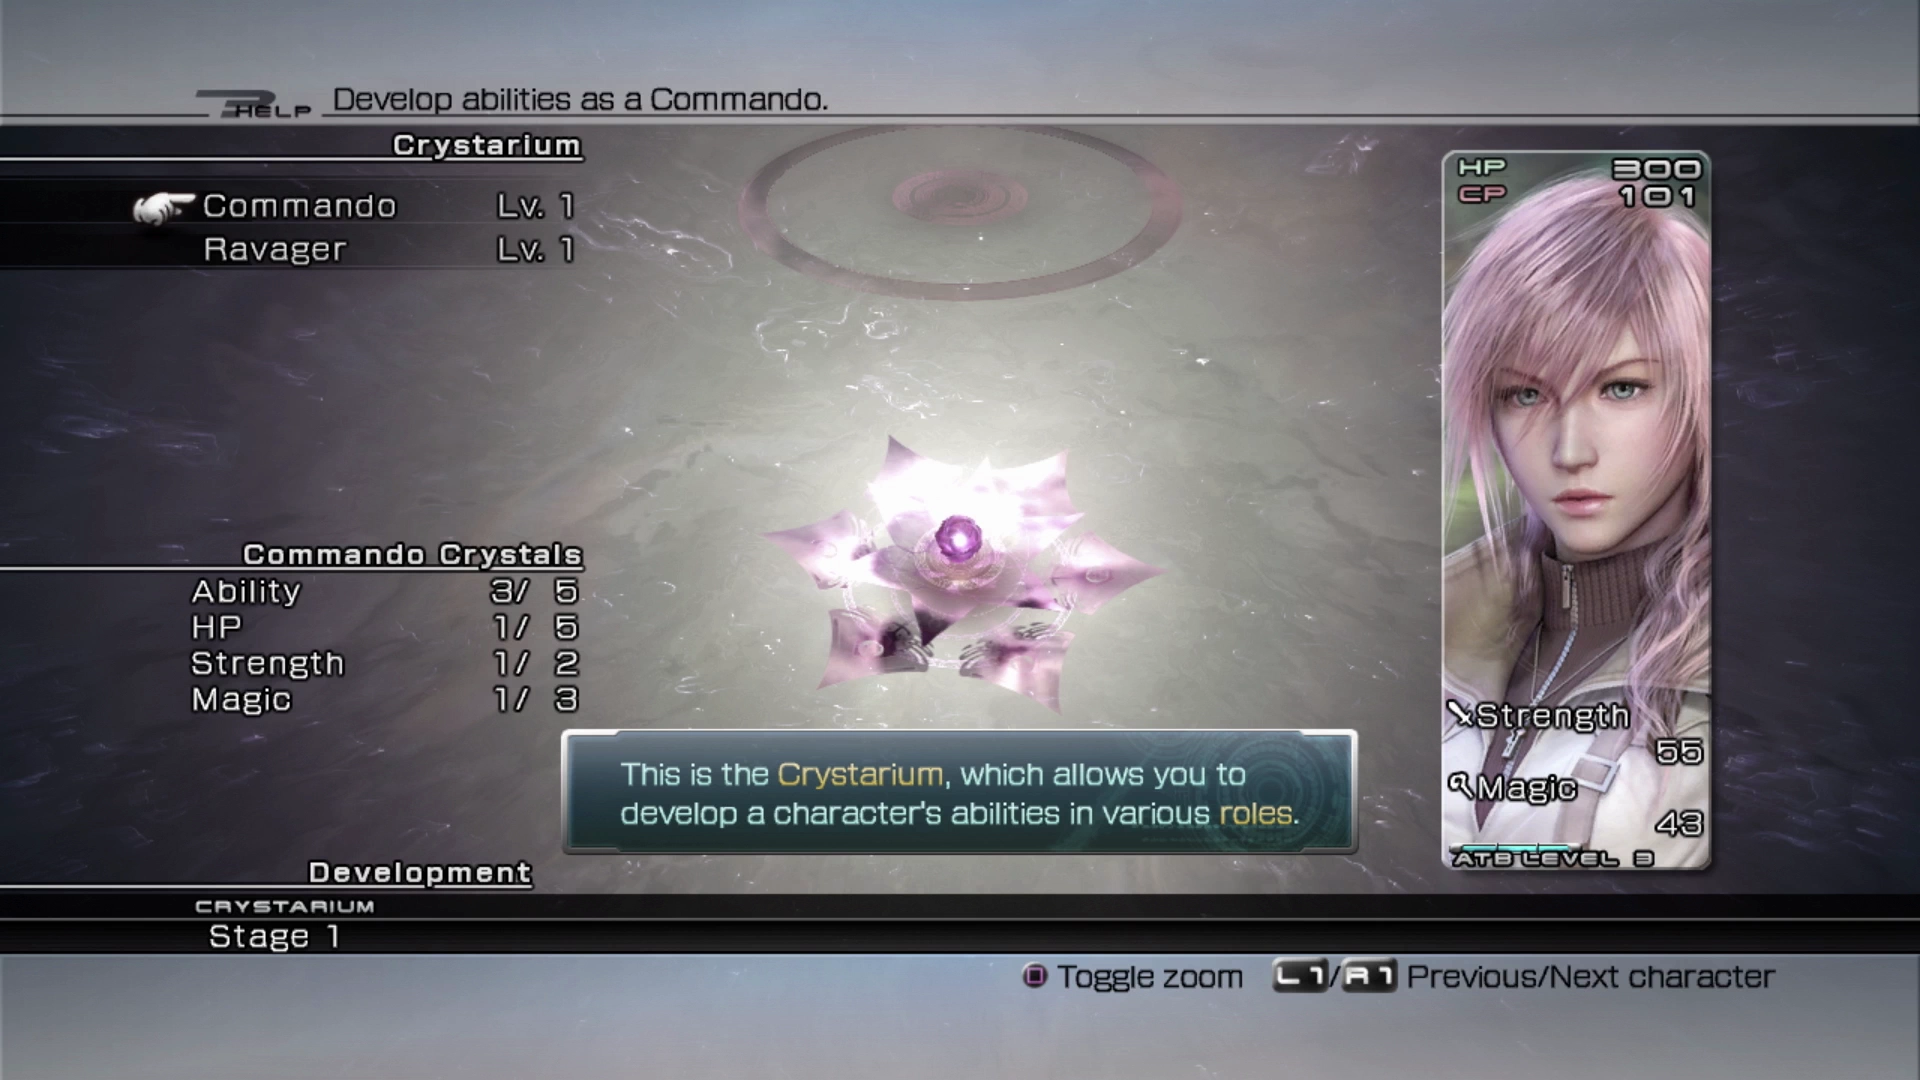
This game pulls heavily from the mid-battle switches from role to role functionality that was included in Final Fantasy X-2 and the automation for your non-controlled party members which is like the Gambits in Final Fantasy XII.
The game provides a good explanation of how the Crystarium works, but you can also use the explanation in this strategy guide if you would like an even more in-depth run down:

An explanation of how the Crystarium works and how to develop and choose abilities.
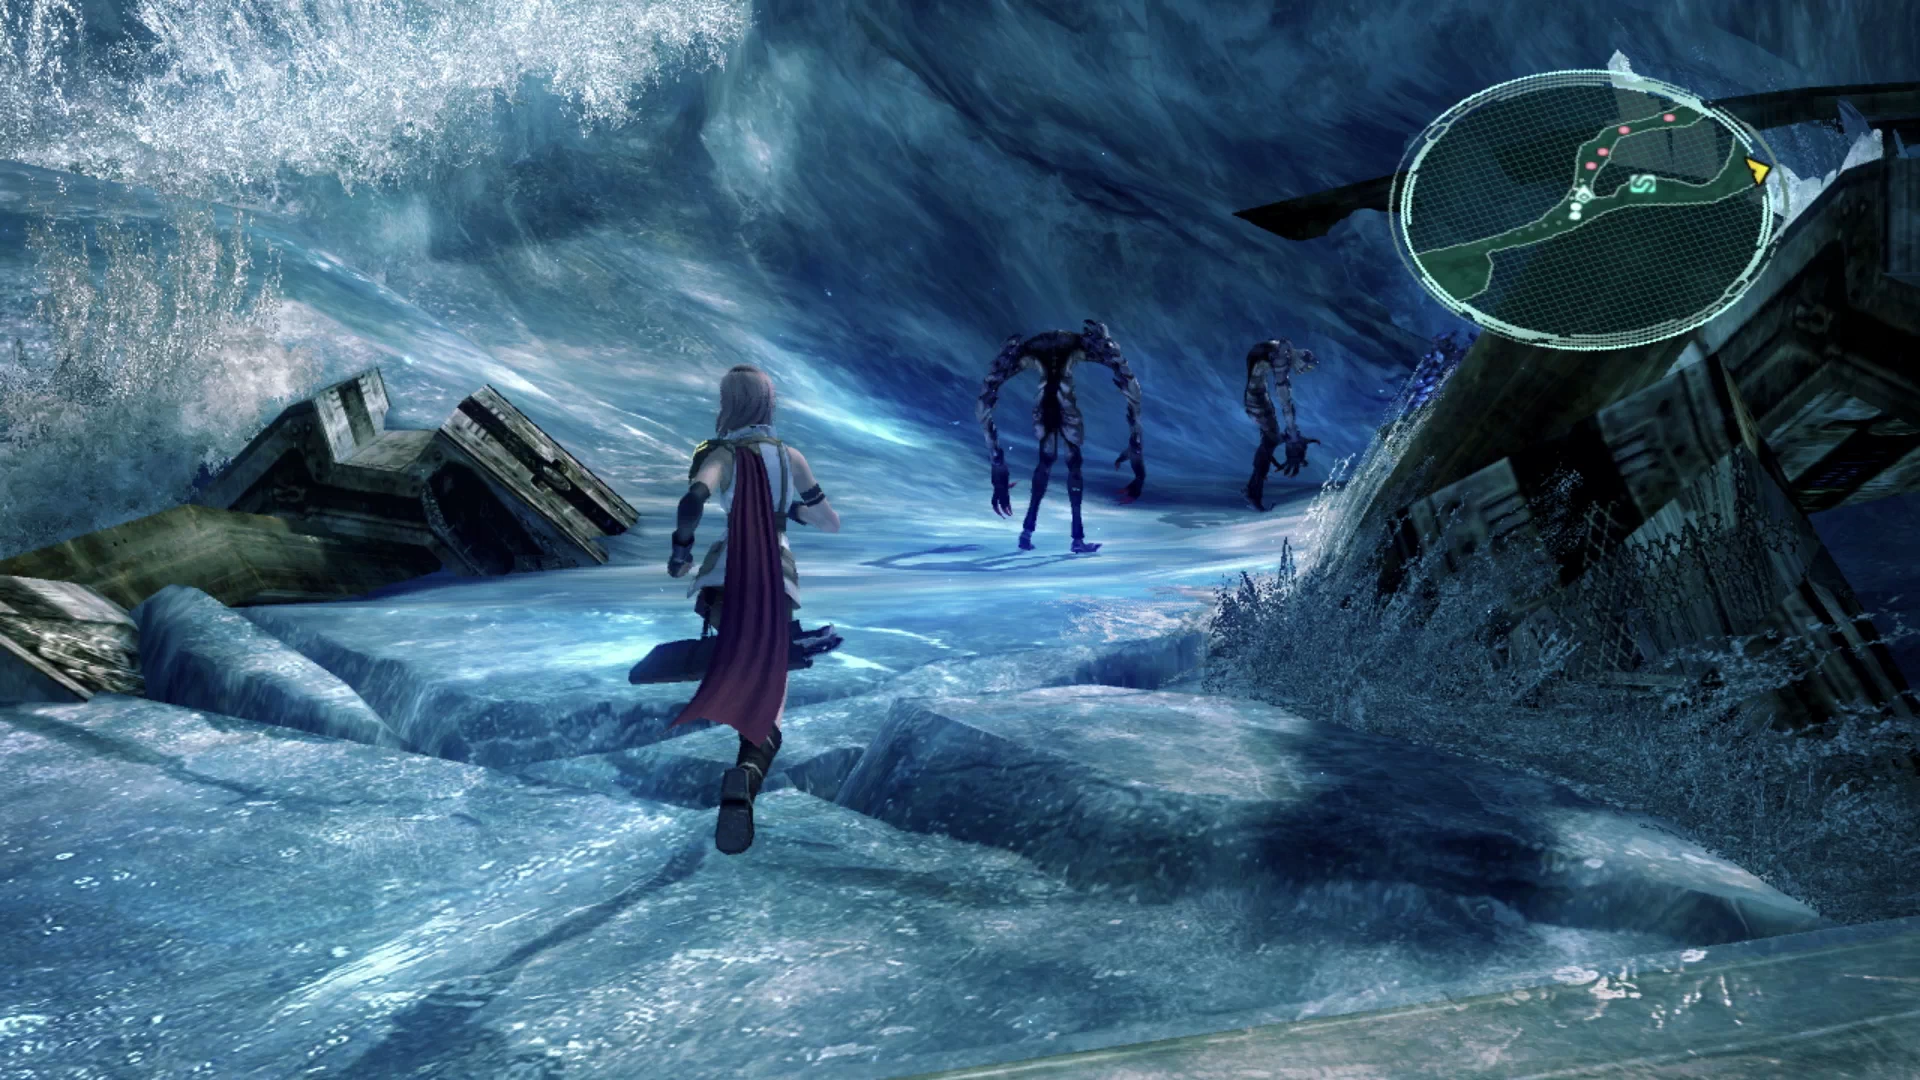
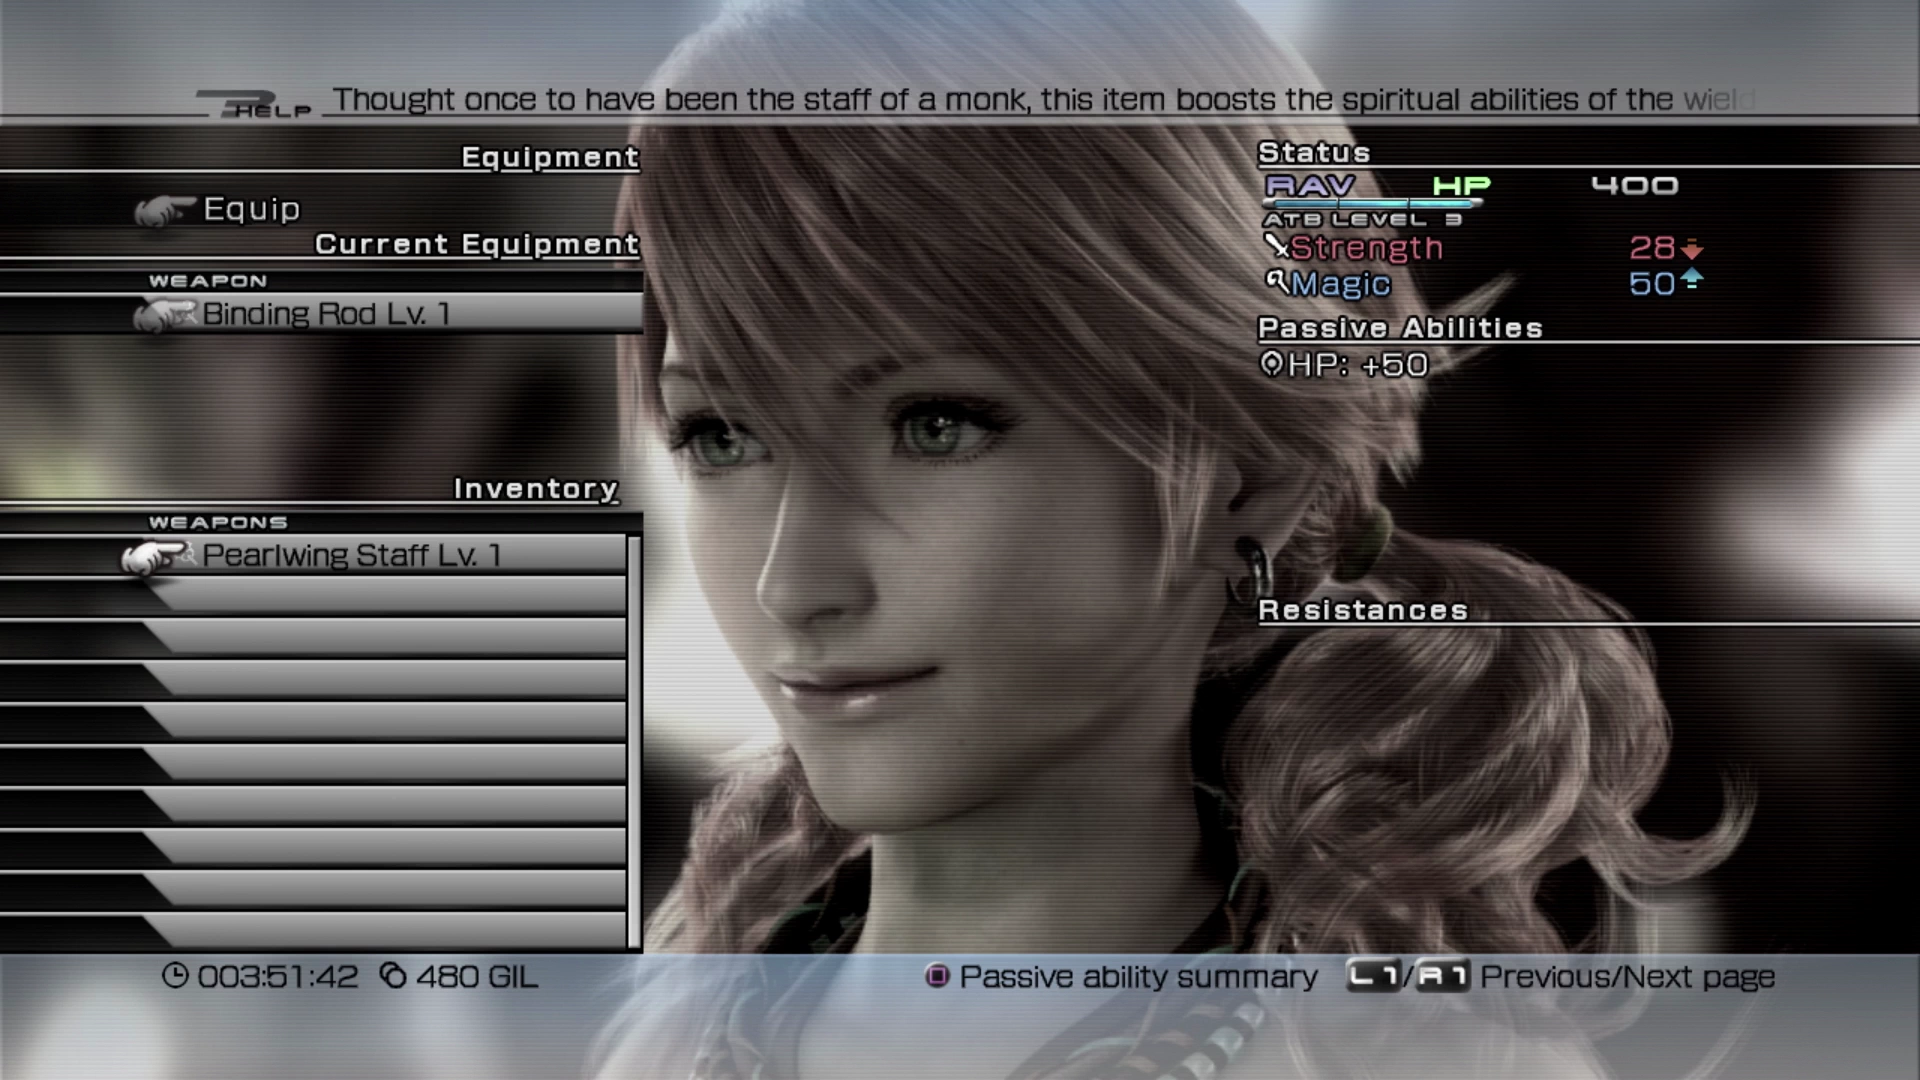
Move forward through this starting area (“The Waters Stilled”). There is a fork in the road just up ahead with some Ghouls and Ghasts on the left side. Defeat them and grab the Treasure Sphere behind them to obtain a new weapon for Vanille, the ![]() Pearlwing Staff.
Pearlwing Staff.
This is a fairly strong weapon for Vanille that you should equip right away; it increases her magic stats while reducing her physical stats, which suits her perfectly because, for the most part, she will only be casting spells as either a ![]() Ravager or a
Ravager or a ![]() Medic.
Medic.
Work your way backwards to the fork in the road and take the pathway leading off to the right this time. Save your game at the ![]() Save Station and continue down the pathway. There is another group of Ghouls and Ghasts just up ahead. Defeat them and grab the Treasure Sphere on the right side of the pathway which contains seven
Save Station and continue down the pathway. There is another group of Ghouls and Ghasts just up ahead. Defeat them and grab the Treasure Sphere on the right side of the pathway which contains seven ![]() Chipped Fangs.
Chipped Fangs.

Helpful Hint
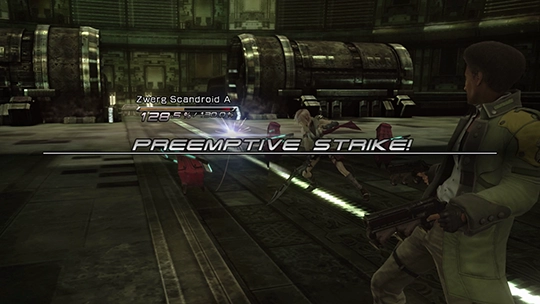
This area is a lot more open than some of the areas that you’ve traveled through in the Pulse Vestige, which offers you a lot more advantages to sneak up and surprise enemies from behind. Most enemies randomly look in various directions as they stand there waiting for you to attack, so just wait until their back is turned and then run up to engage them while they aren’t looking. Get into the habit early of trying to initiate as many preemptive strikes as you can.
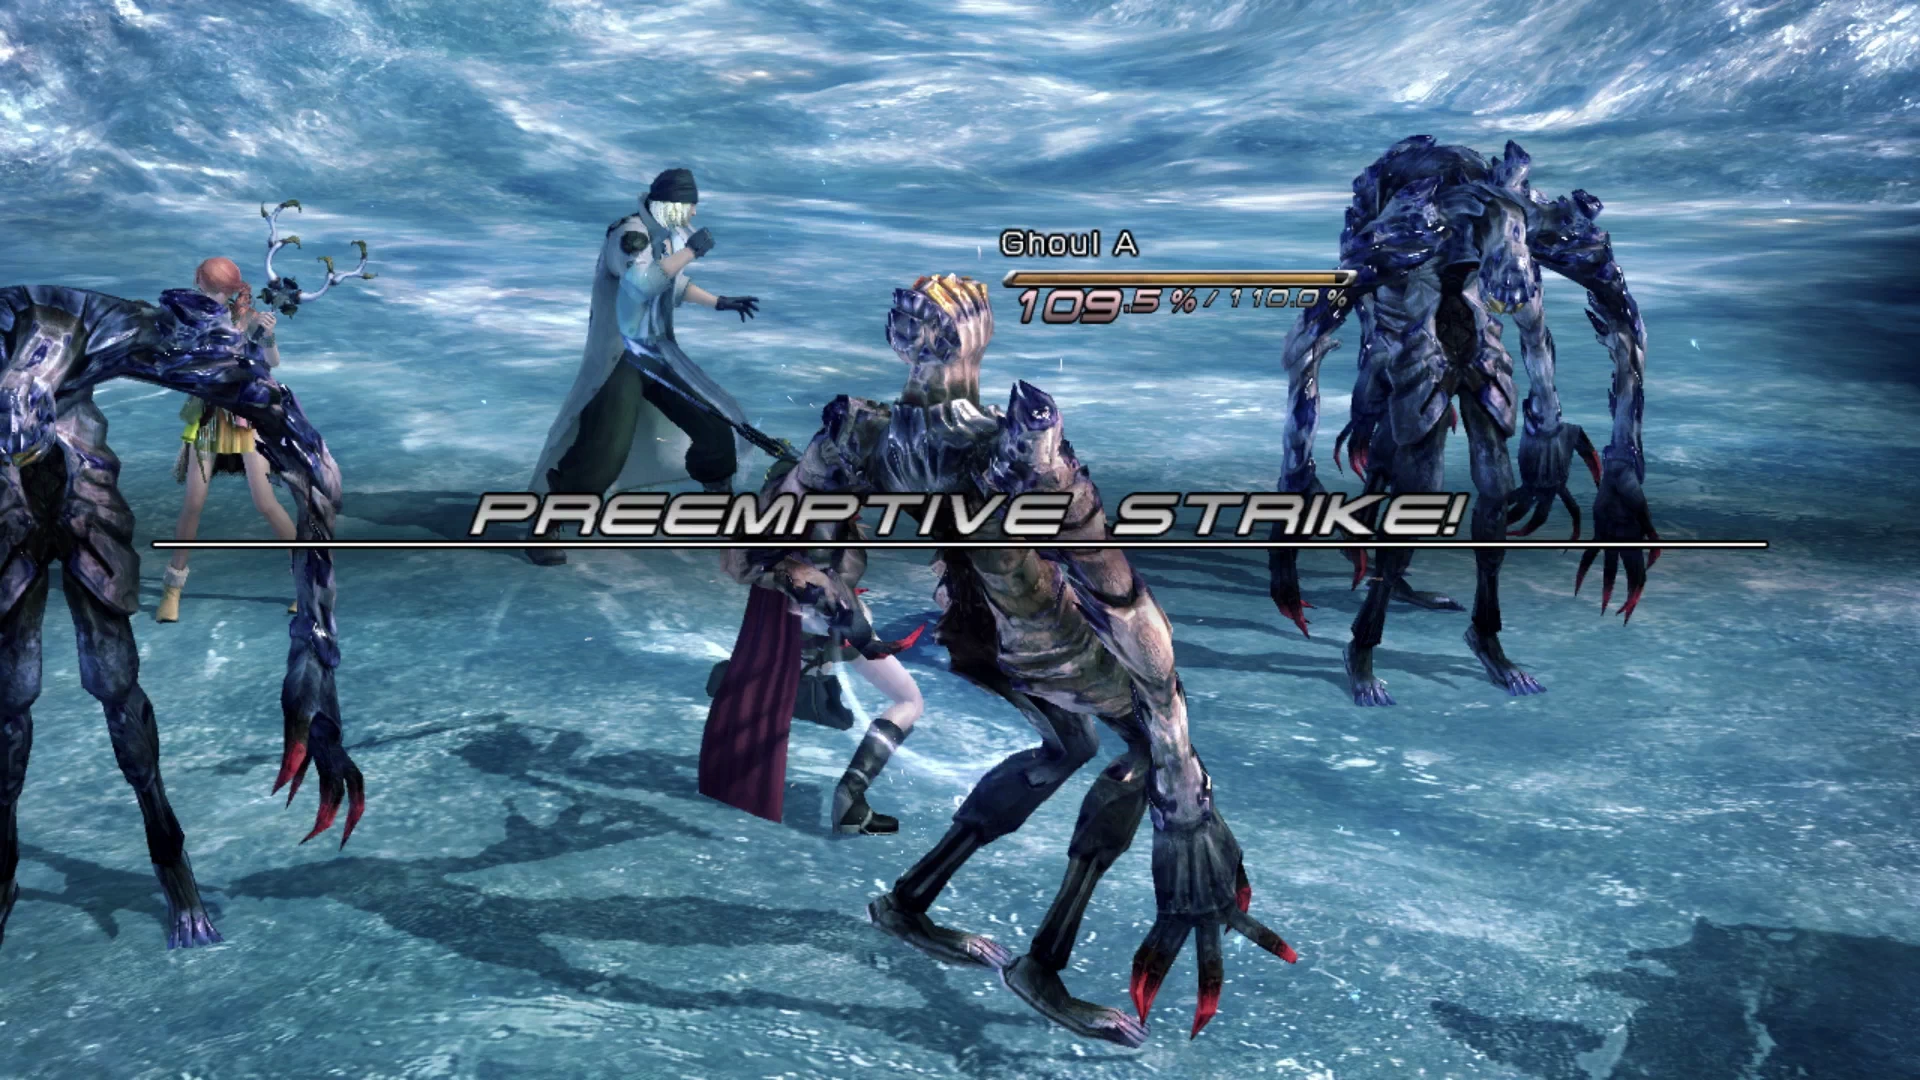
Not only will this help you to dispatch groups of enemies much quicker, but completing battles more quickly will increase your Battle Results Rating which will improve your odds of getting rare spoils at the end of the fight. It’s a win/win!
Continue down the pathway, jumping up the wrecked structure using the blue circles, and along the pathway. Grab the Treasure Sphere in the alcove to the right of Snow before you approach him (don’t worry, you can grab it after the scene) for a free ![]() 200 Gil.
200 Gil.
The next battle against four PSICOM Wardens provides another tutorial for “command execution” and how to manually input commands. It also reiterates one of the “Helpful Hints” mentioned above which is how to execute early attacks using the ![]()
![]()
![]() button. Check out the Combat Controls page in the Tips and Tricks section for more information on how this works if the in-game tutorial is unclear (linked below):
button. Check out the Combat Controls page in the Tips and Tricks section for more information on how this works if the in-game tutorial is unclear (linked below):
Tips and Tricks
An overview of the controls you will use during your playthrough of the game.
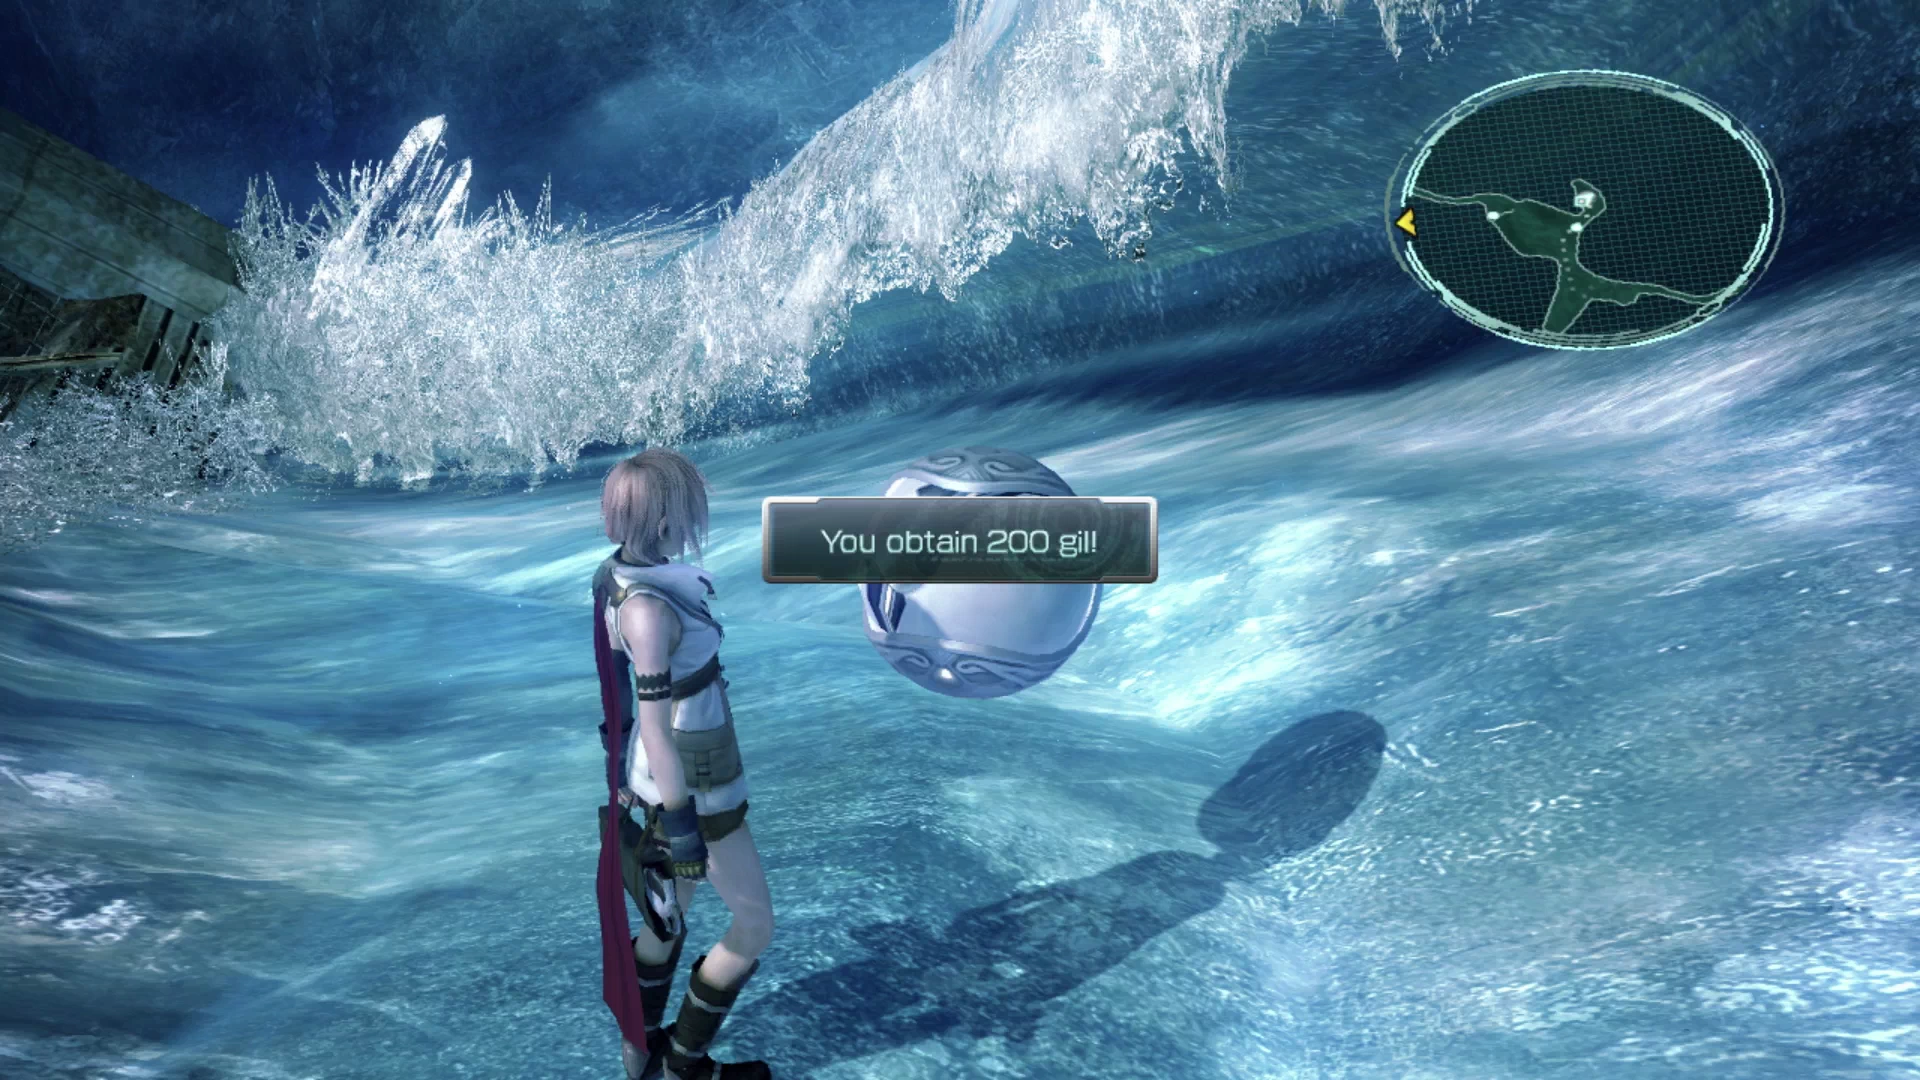
Go back and grab the Treasure Sphere (with ![]() 200 Gil in it) if you didn’t grab it before approaching Snow, and then continue along the pathway into the next area.
200 Gil in it) if you didn’t grab it before approaching Snow, and then continue along the pathway into the next area.
Amid Timebound Waves
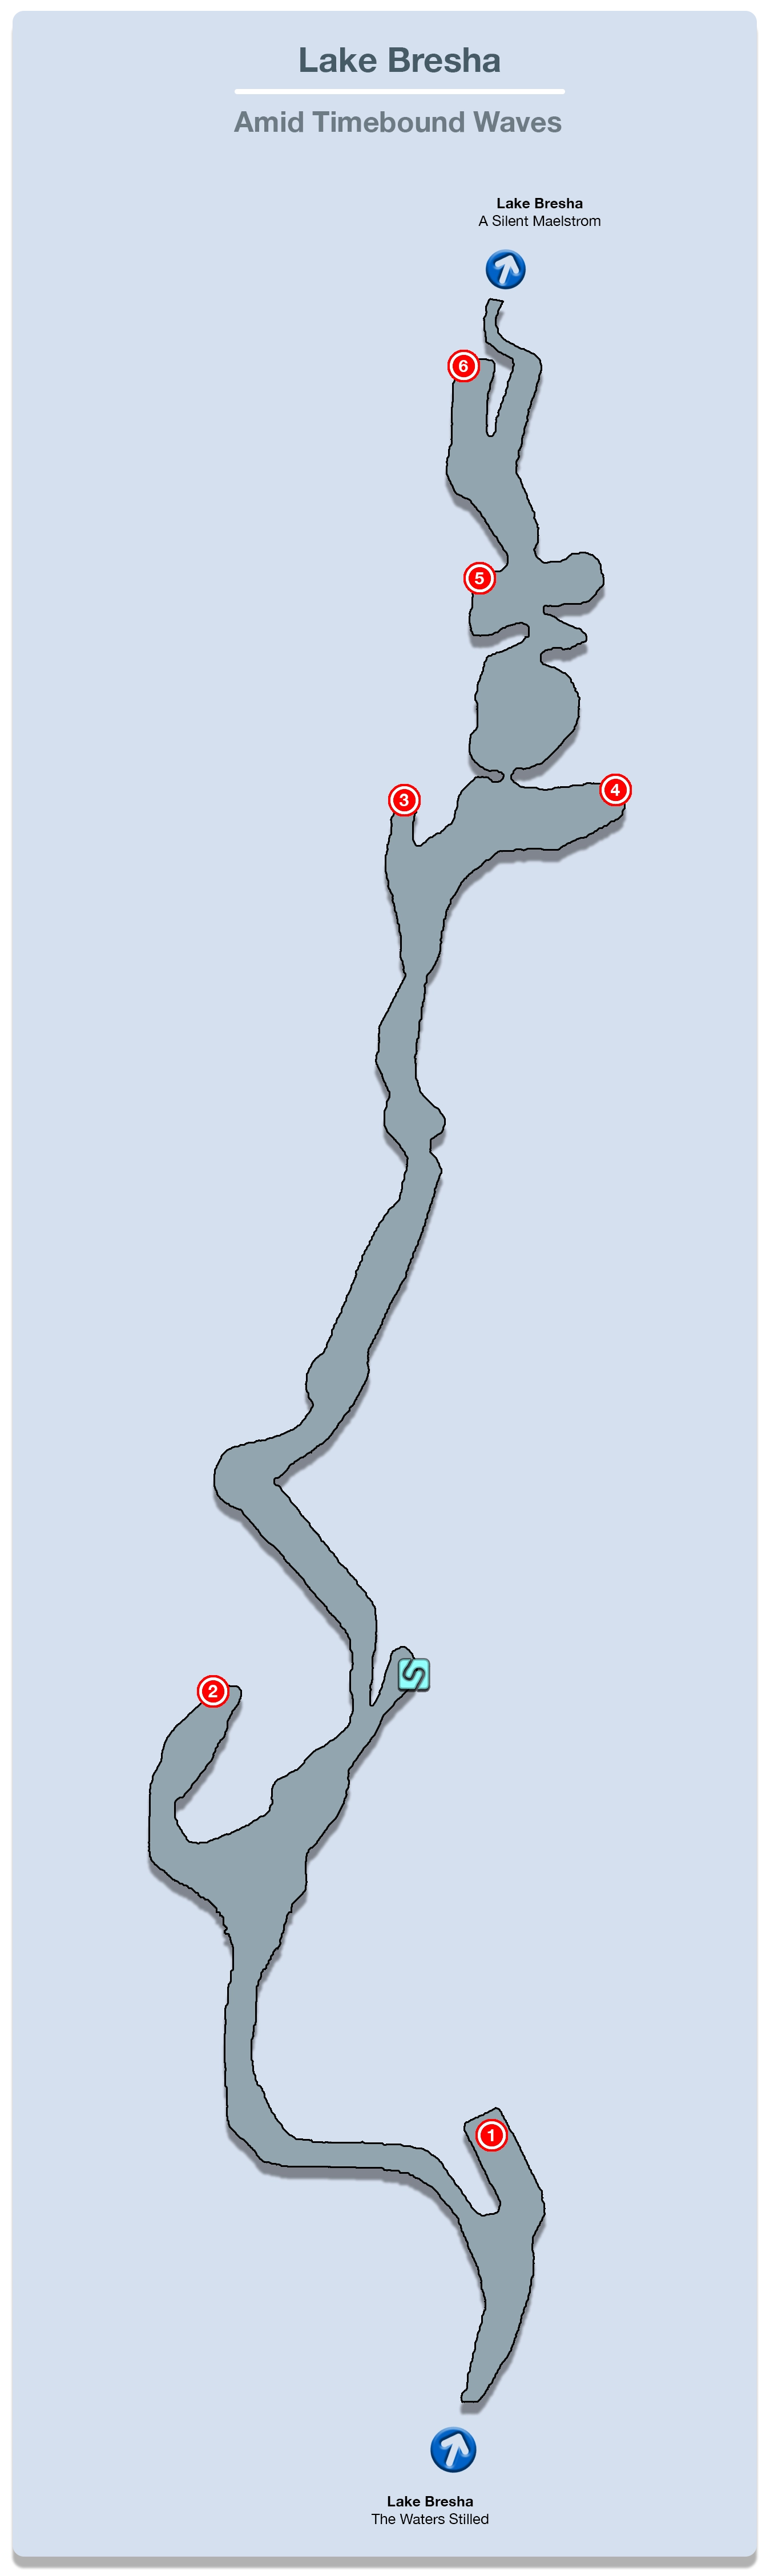
There is nothing within the game to denote that you have moved from the previous area (“The Waters Stilled”) to this new area (“Amid Timebound Waves”), so use the maps for reference. You’ll know you’ve reached it when you face off against three Wights and two Ghasts. The platform that they were standing on has a Treasure Sphere with five ![]() Cie’th Tears in it.
Cie’th Tears in it.
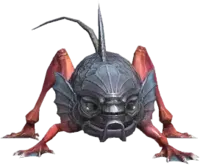
Keep going down the pathway until you reach yet another fork in the road with a new type of enemy to face called a Breshan Bass. While they don’t hit particularly hard on their own, they can become very problematic if they focus all their attacks on one character, and this issue is exacerbated if that party member happens to be Lightning, your party leader. If she is KO’d it’s game over so keep an eye on the HP of each of your party members when you face off against groups of these enemies.
There is another group of Breshan Bass down the pathway to the left. Defeat them so that you can grab the Treasure Sphere behind them which contains a ![]() Silver Bangle. This accessory is a clear upgrade over the
Silver Bangle. This accessory is a clear upgrade over the ![]() Iron Bangle that many of your party members are still wearing. Head back to the fork after you’ve picked it up, continue down the pathway, and make use of the
Iron Bangle that many of your party members are still wearing. Head back to the fork after you’ve picked it up, continue down the pathway, and make use of the ![]() Save Station on the right side of the trail.
Save Station on the right side of the trail.
Your party members will start introducing themselves to one another as they stand in a circle along the trail up ahead. However, this is not part of any formal cutscene that stops you from controlling your characters. While there will never be a requirement to listen in on any of the banter that your party members do in between battles, they often provide optional context and subtext to the story as you progress through the game.
Don’t be afraid to stop from time-to-time to listen in on what they have to say as it helps expand on the story. There is some mandatory dialog that you will have to listen to though just up ahead.
The next group of enemies that you will face off against is a pack of four Pantherons. At this point in the game, these enemies are becoming extremely easy to defeat, in some cases requiring only one or two hits to destroy them. Dispatch both and then open the Treasure Sphere behind them on the left side of the trail for a free tuft of ![]() Phoenix Down.
Phoenix Down.
There’s another Treasure Sphere on the right side of the road that contains ![]() 50 Gil. Proceed down the pathway to face off against a couple more Pantherons.
50 Gil. Proceed down the pathway to face off against a couple more Pantherons.
The left side of the area behind the Pantherons has another Treasure Sphere with eight ![]() Strange Fluid inside it. Continue following the trail behind them to face off against two more PSICOM Enforcers and one more PSICOM Warden.
Strange Fluid inside it. Continue following the trail behind them to face off against two more PSICOM Enforcers and one more PSICOM Warden.
The Treasure Sphere on the left, behind where they were standing, contains a ![]() Magician’s Mark. This accessory is quite powerful for your magic users, i.e. your characters that will spend the most time as either a
Magician’s Mark. This accessory is quite powerful for your magic users, i.e. your characters that will spend the most time as either a ![]() Ravager or a
Ravager or a ![]() Medic. It’s recommended that you equip Vanille with it for now.
Medic. It’s recommended that you equip Vanille with it for now.
Helpful Hint
By this point in the game, you have begun to amass a fairly large number of components, such as the ![]() Strange Fluid that you just picked up inside the Treasure Sphere. These components are used to upgrade your character’s weapons and accessories. You can’t do it now, but it is worth mentioning that you may want to hold off on upgrading your equipment entirely, until the end of the game, for two reasons:
Strange Fluid that you just picked up inside the Treasure Sphere. These components are used to upgrade your character’s weapons and accessories. You can’t do it now, but it is worth mentioning that you may want to hold off on upgrading your equipment entirely, until the end of the game, for two reasons:
- The early items that you obtain provide very little in the way of upgrade value to your party members’ equipment. They will quickly be outclassed by items that drop in later chapters, meaning it may be better to just sell them, and…
- The content in these early stages of the game is easy and doesn’t require you to spend time upgrading your weapons.
But even with those two points aside, some players may want to begin the process of upgrading their equipment and getting the most out of their characters even in these early chapters and early battles. If that’s you, consider reading up on how upgrading equipment works using the link to review the Tips and Tricks section on weapon upgrades. This will allow you to be prepared for when you reach Chapter 4 and the option to upgrade your weapons becomes available.
Follow the trail up the ledge and into the next area.
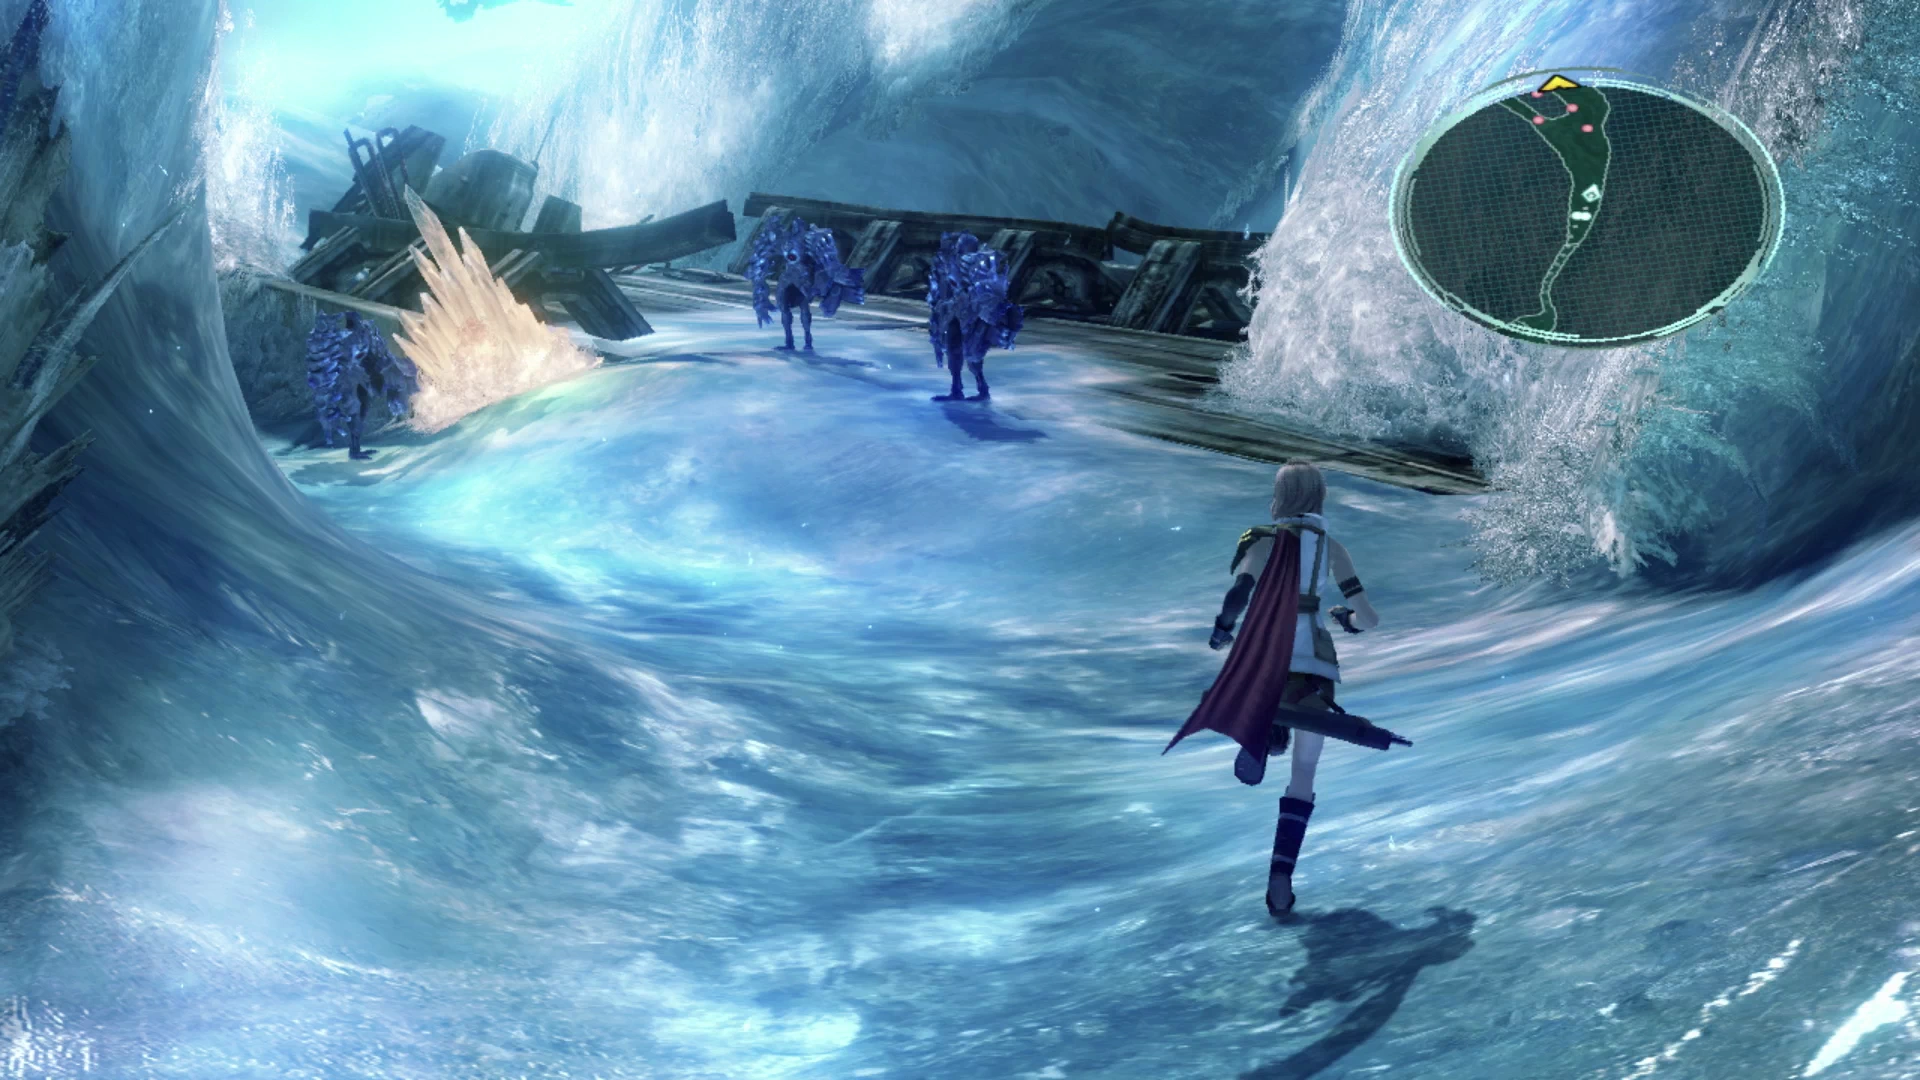
A Silent Maelstrom
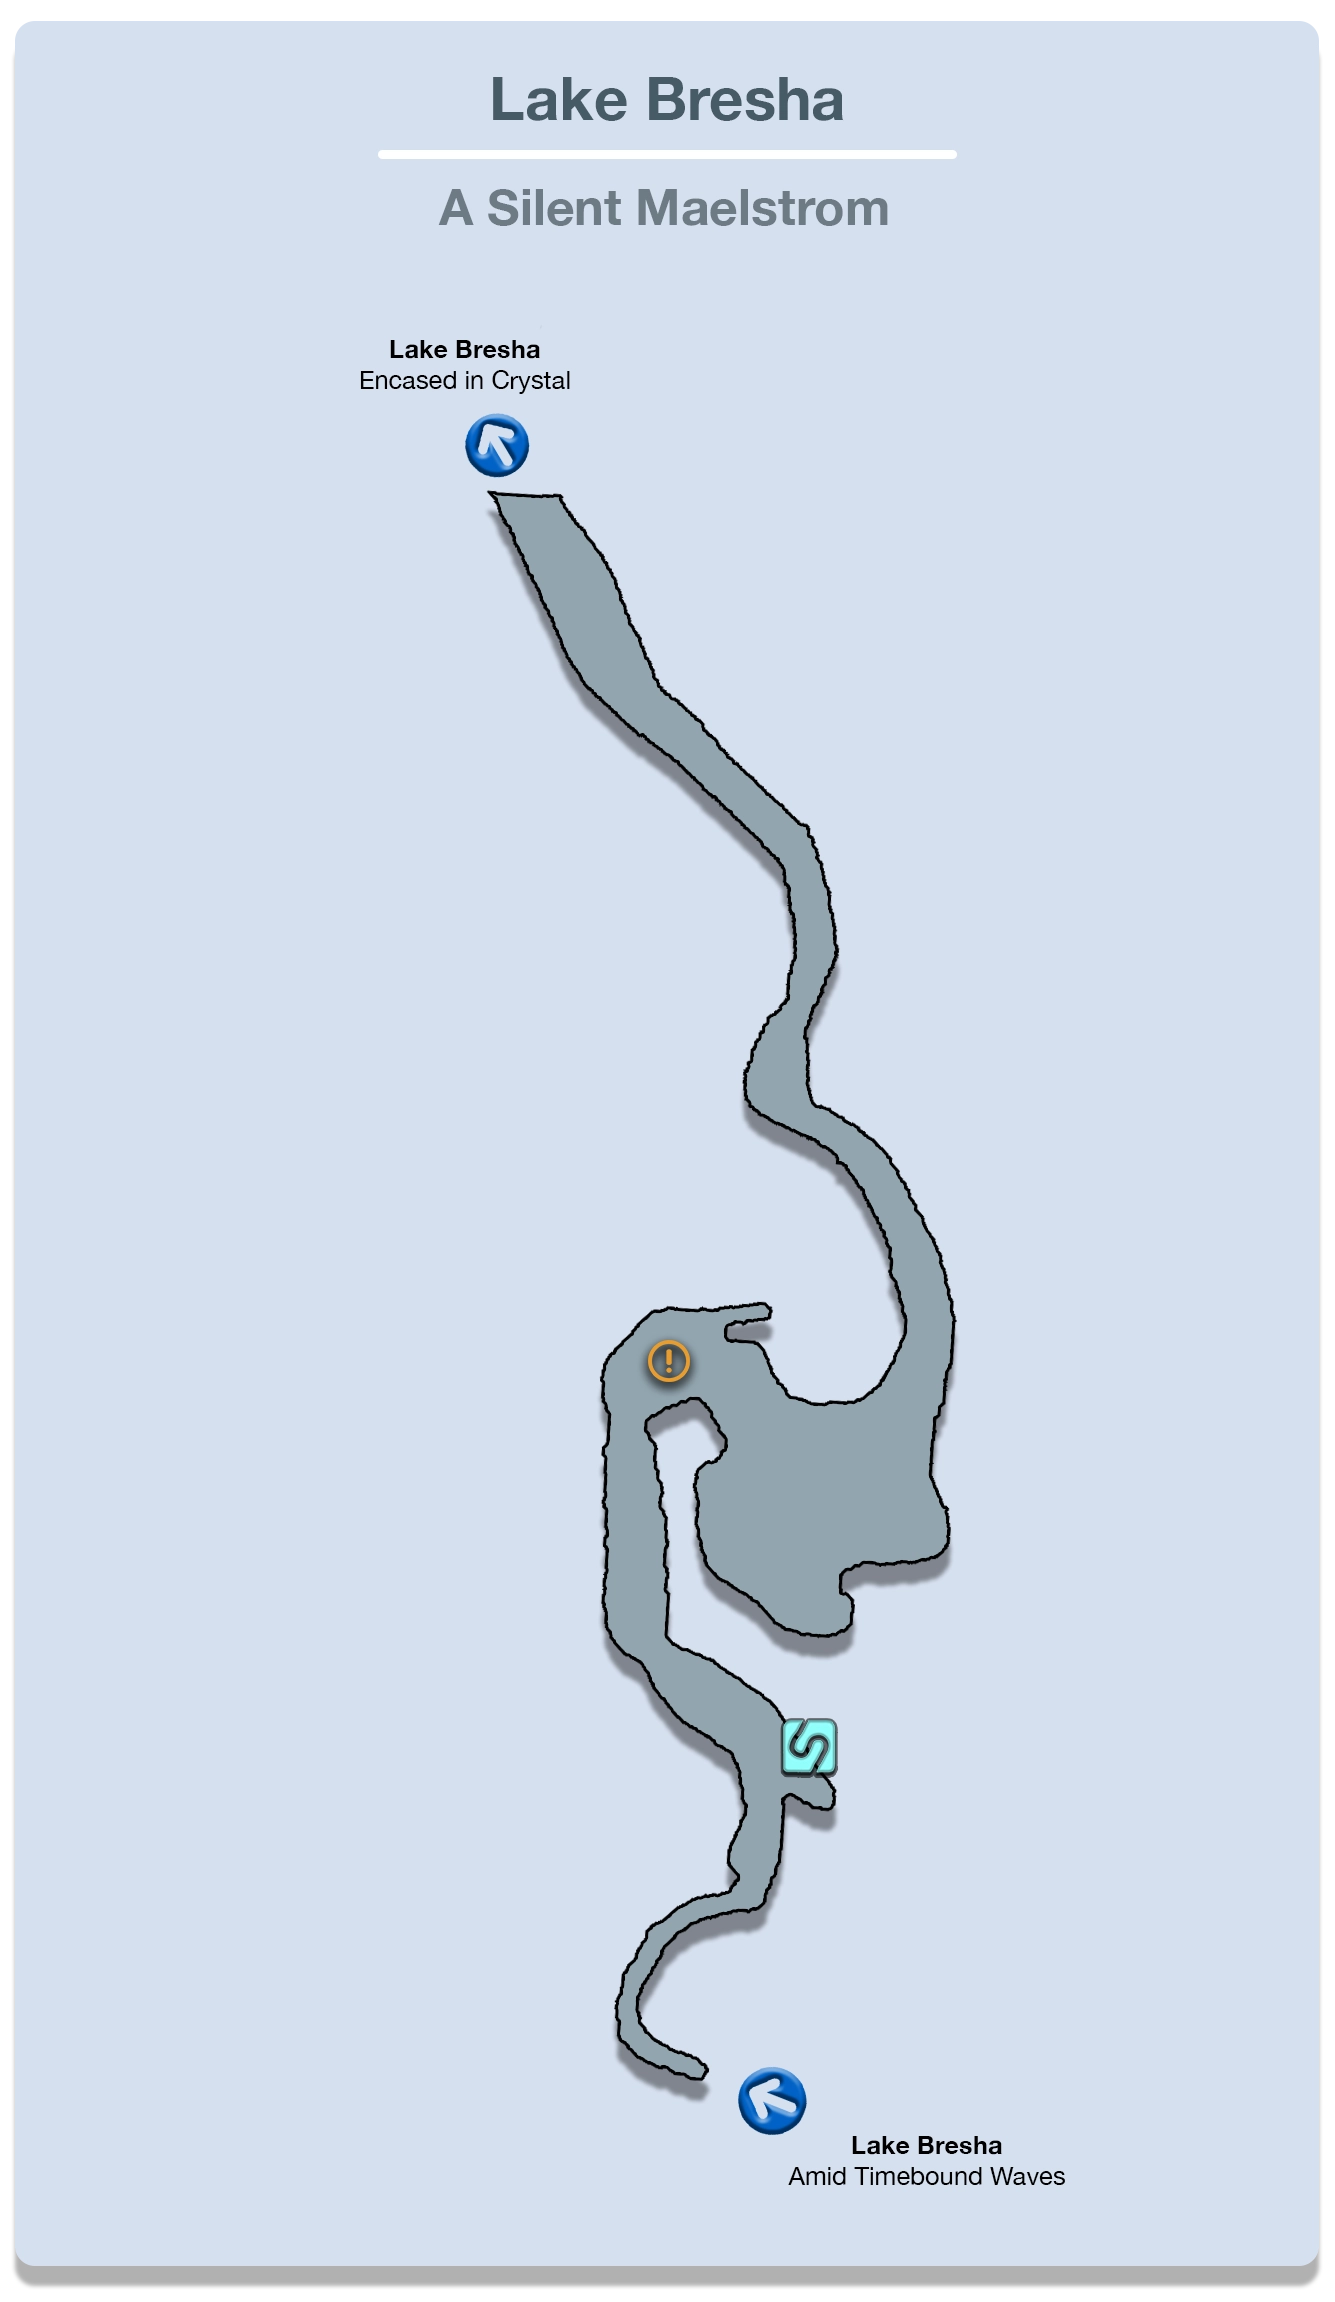
Use the ![]() Save Station on the right side of the screen to save your game as you progress up the pathway. As soon as you move forward past this Save Station you will be thrust into the next boss battle against a foe you will recognize.
Save Station on the right side of the screen to save your game as you progress up the pathway. As soon as you move forward past this Save Station you will be thrust into the next boss battle against a foe you will recognize.
Boss Battle
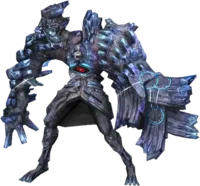
You won’t have the opportunity to escape from the Manasvin Warmech this time, but with your character’s newfound powers as l’Cie, they are more than capable of defeating the worn-down remnants of this boss. The game will provide you with one more short tutorial which explains that for some fights you will need to make use of more defensive Paradigms like Solidarity to survive powerful attacks. While this is rarely a requirement, this boss does have some powerful attacks that will be tough to survive without it.
Start by completing a Paradigm shift into Solidarity to make sure that Snow is set up as a ![]() Sentinel and Vanille is ready to heal as a
Sentinel and Vanille is ready to heal as a ![]() Medic. Manasvin Warmech will typically open with some powerful attacks, including one called Crystal Rain, after which you can switch back into Relentless Assault to start racking up some damage. Crystal Rain is probably the biggest danger in this fight as it will hit each of your party members for an extensive amount of damage and will require healing or the use of a
Medic. Manasvin Warmech will typically open with some powerful attacks, including one called Crystal Rain, after which you can switch back into Relentless Assault to start racking up some damage. Crystal Rain is probably the biggest danger in this fight as it will hit each of your party members for an extensive amount of damage and will require healing or the use of a ![]() Potion to recover from.
Potion to recover from.
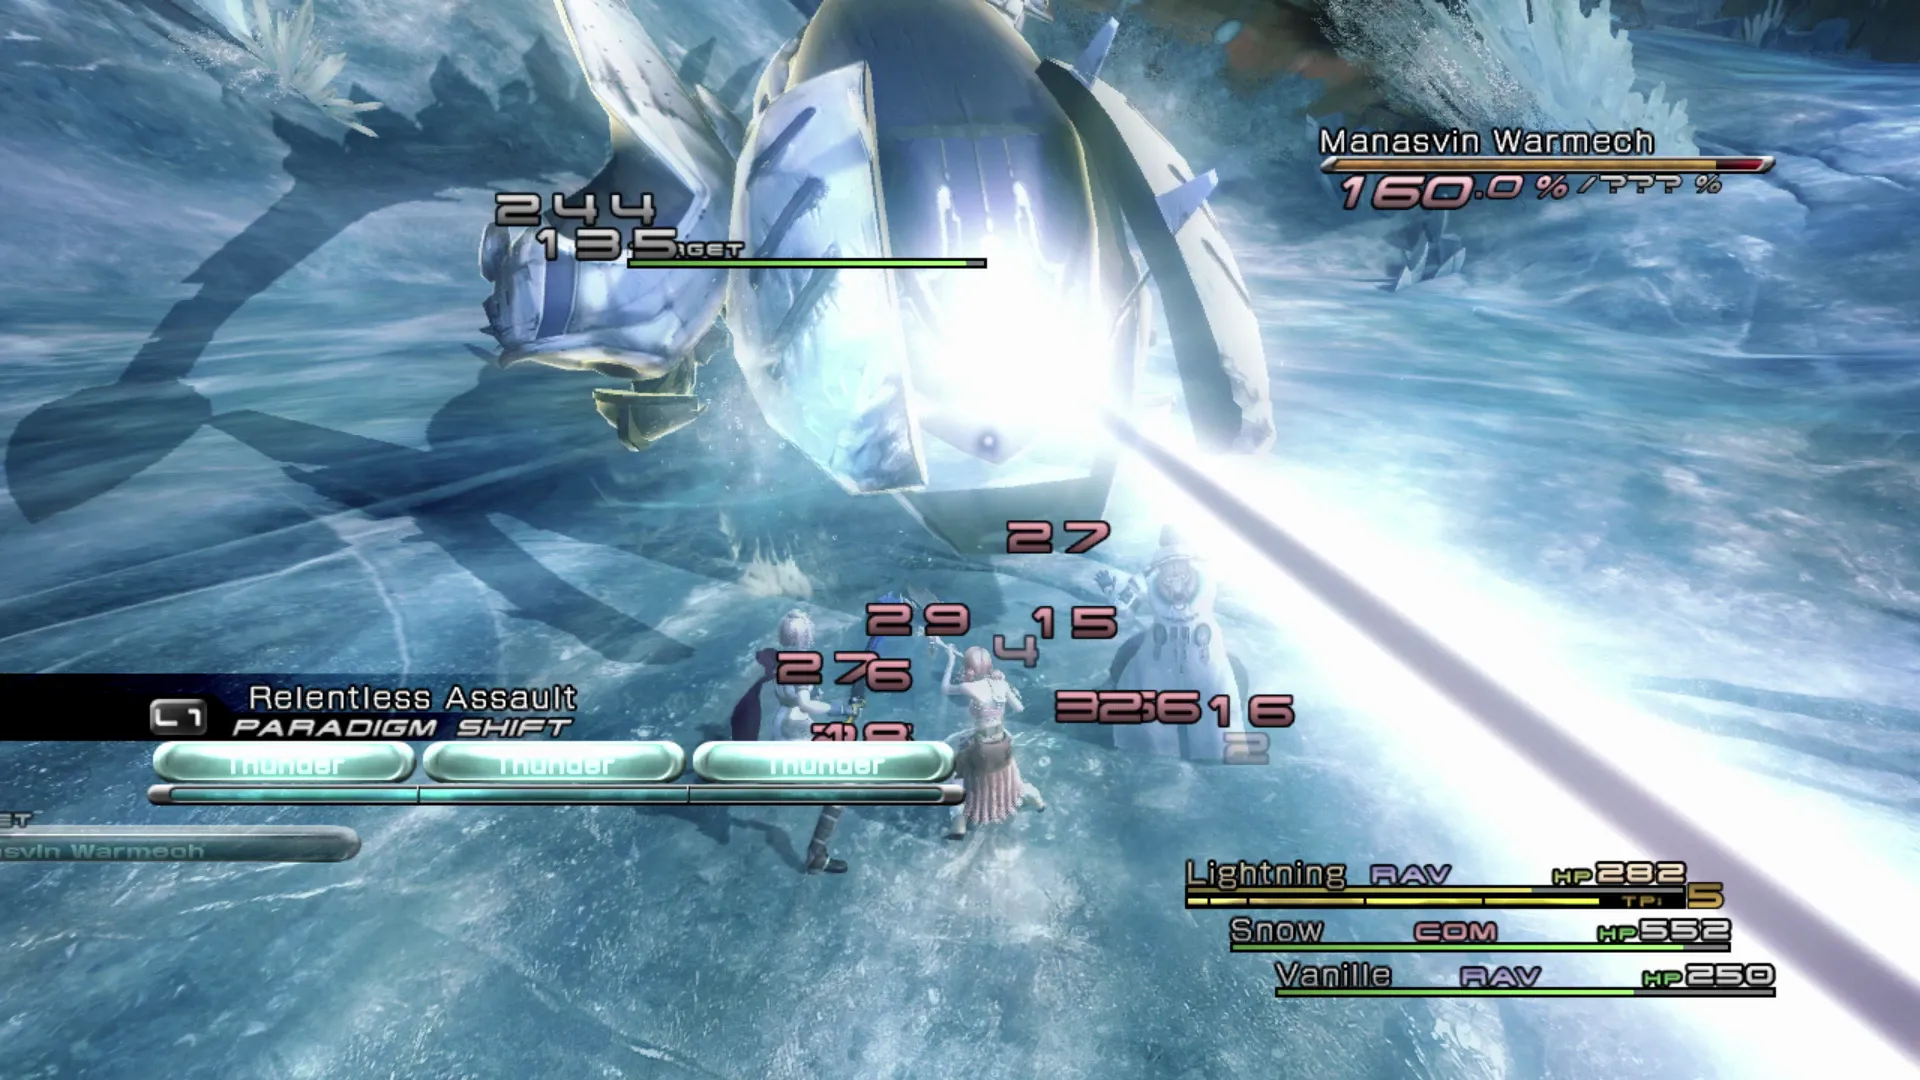
You will likely need to push the Warmech into a Stagger twice to do enough damage to defeat it as it has 32,400 HP. Just make sure to find a way to heal if your party members drop below 50% HP and you will be fine.
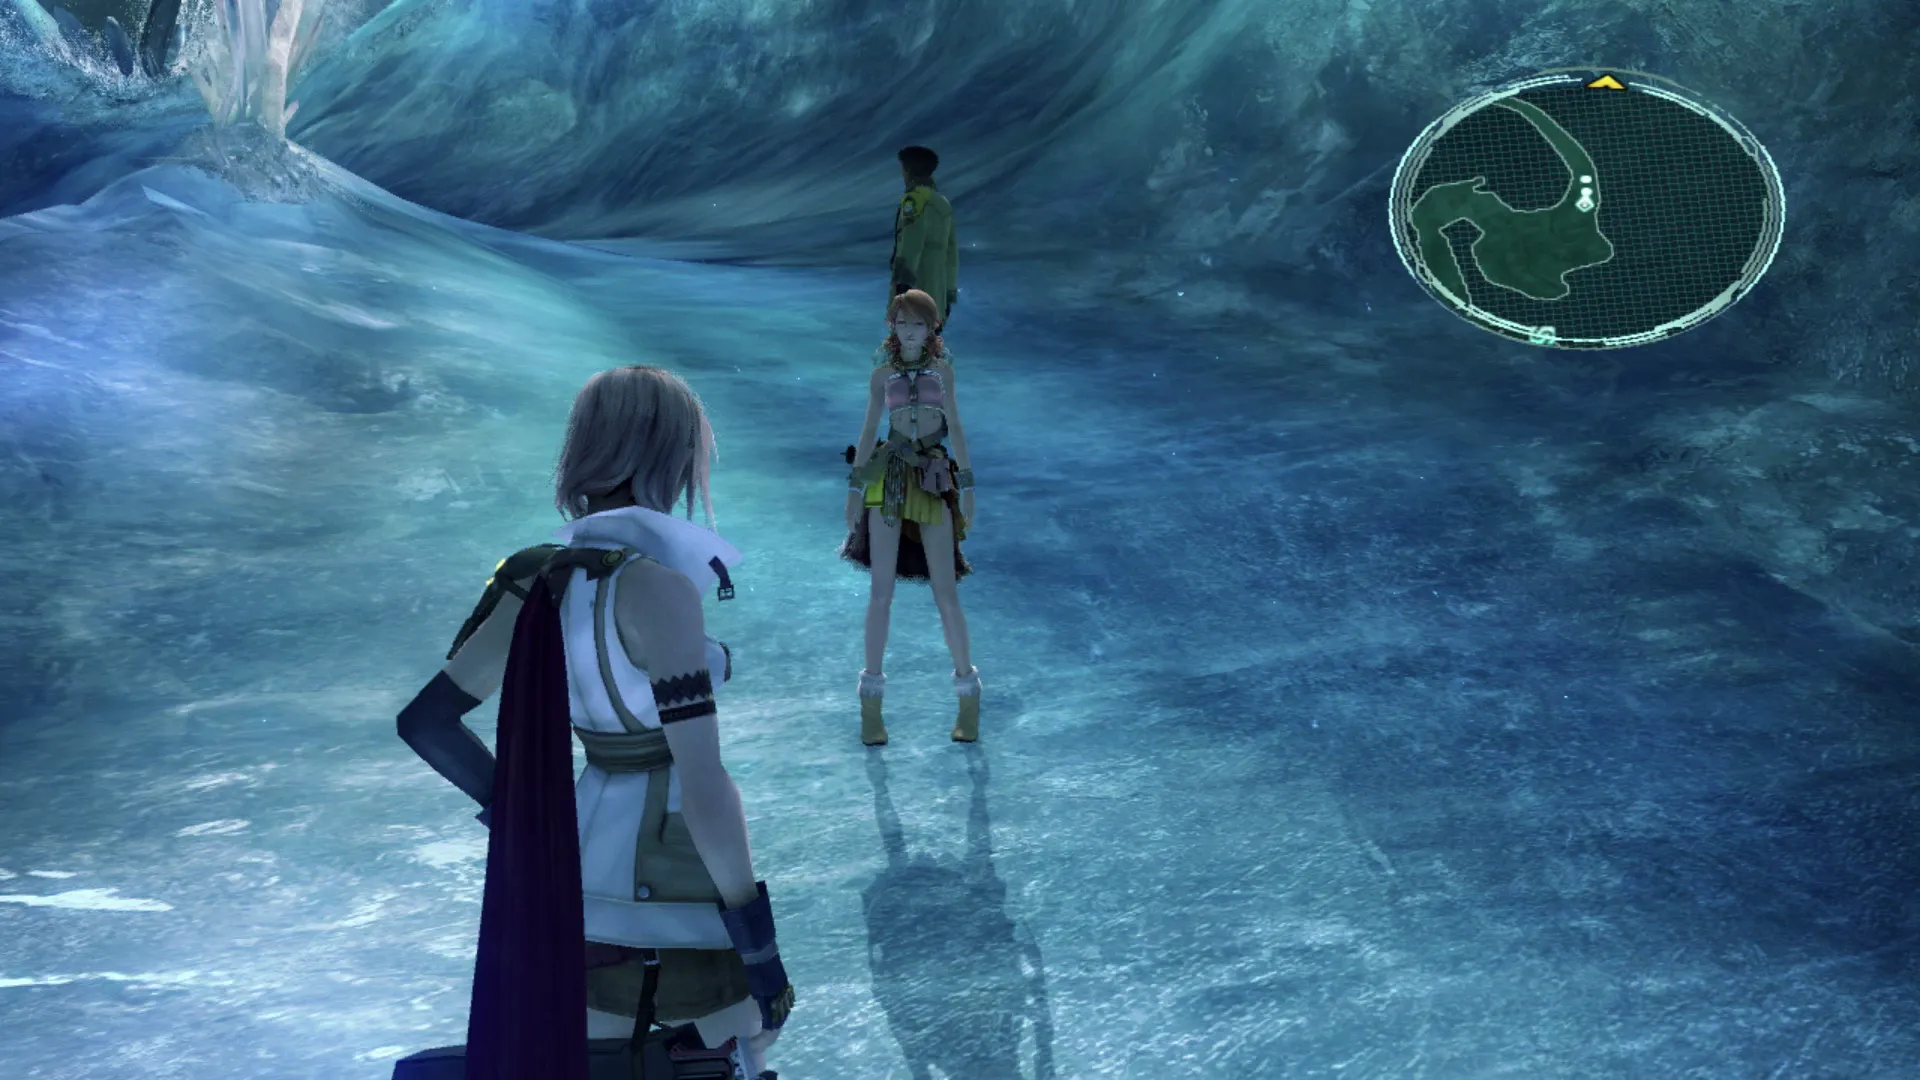
This is the point where Snow will split up from the party and your team will now include Lightning, Vanille and Sazh. Sazh only has his one role as a ![]() Ravager at this point in the game; meaning that your Relentless Assault Paradigm will need to have Lightning as its
Ravager at this point in the game; meaning that your Relentless Assault Paradigm will need to have Lightning as its ![]() Commando (with Vanille being your second Ravager), but keep in mind that Lightning is quite capable in both of her roles, and she makes for a better
Commando (with Vanille being your second Ravager), but keep in mind that Lightning is quite capable in both of her roles, and she makes for a better ![]() Ravager in most cases. Make sure you have her focus on completing both Crystarium sections, even when she gains access to other roles (i.e.
Ravager in most cases. Make sure you have her focus on completing both Crystarium sections, even when she gains access to other roles (i.e. ![]() Medic).
Medic).
Just up ahead, from the area where you fought the boss on the metal platform, are three more Breshan Bass enemies to defeat.
Helpful Hint
It can be helpful to understand how a computer-controlled ![]() Medic behaves in battle, and maybe how the other computer-controlled characters behave in their roles as well. Check out the Roles section for more information.
Medic behaves in battle, and maybe how the other computer-controlled characters behave in their roles as well. Check out the Roles section for more information.
Encased in Crystal
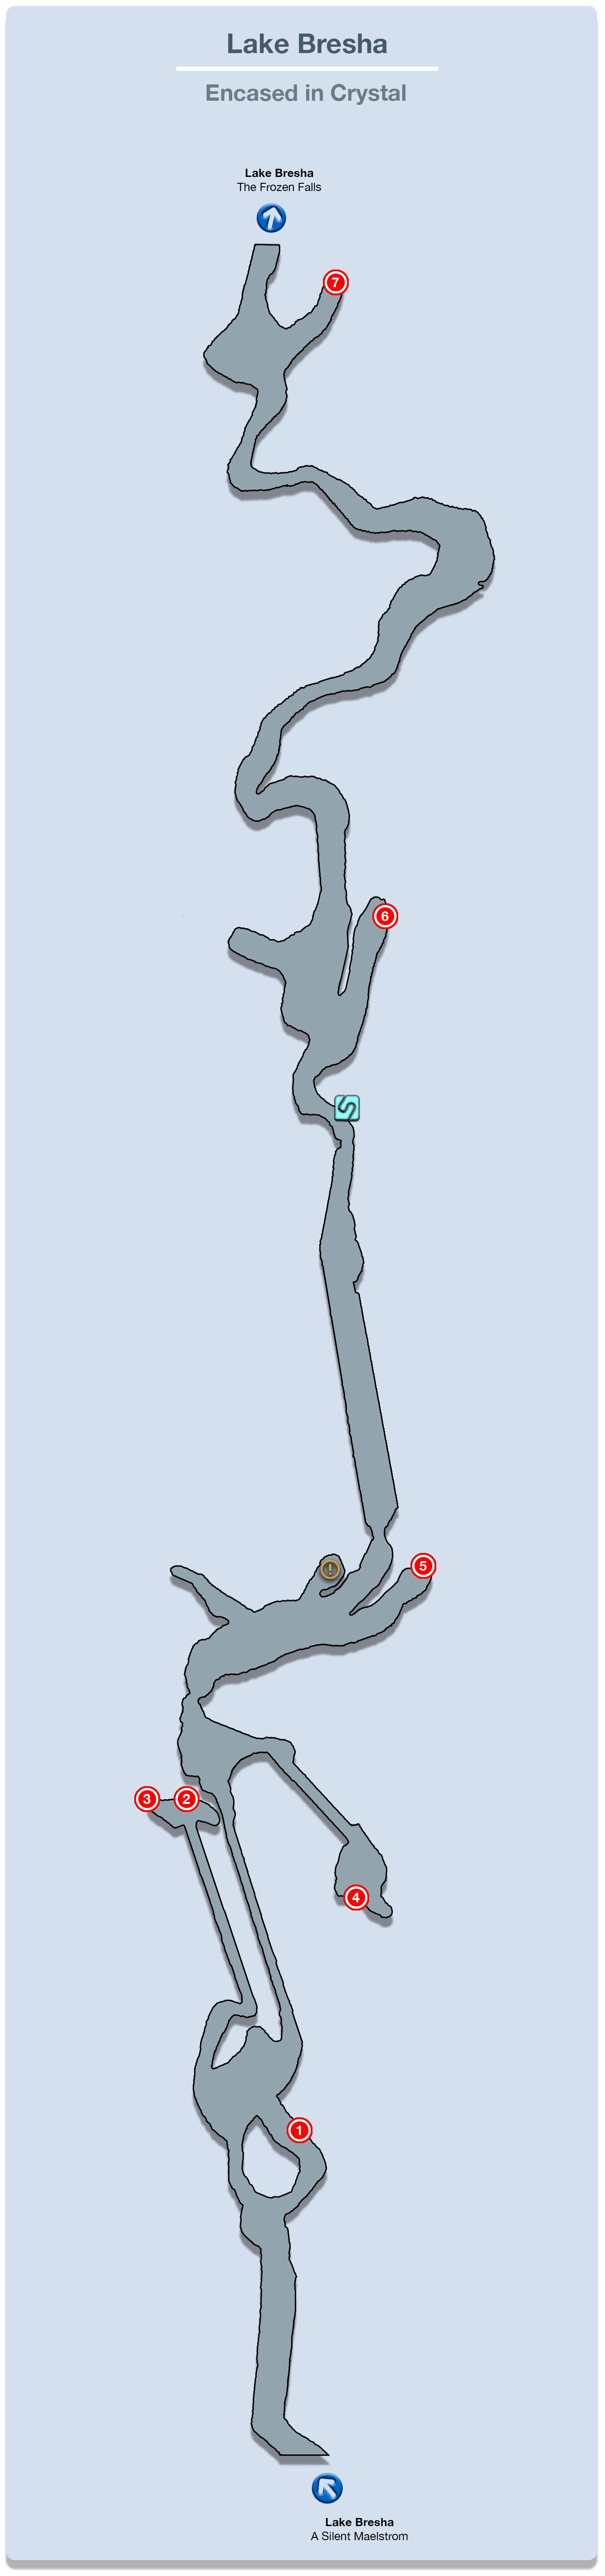
Take a right at the fork in the road just up ahead and you will come across three Breshan Bass enemies. Remember that these enemies are easy to sneak up on from behind for a preemptive strike. There’s a Treasure Sphere on the left side of the platform behind where they were jumping around that contains 6 more vials of ![]() Strange Fluid. Drop off the platform to fight four Pantherons.
Strange Fluid. Drop off the platform to fight four Pantherons.
There are two skinny trails that can be seen on the mini-map that go in the same direction. Take the pathway on the left side, following the icy slope down the side of the cliff and out on the tube running across the gorge. This lower platform is a dead end but there are two Treasure Spheres that you can snag.
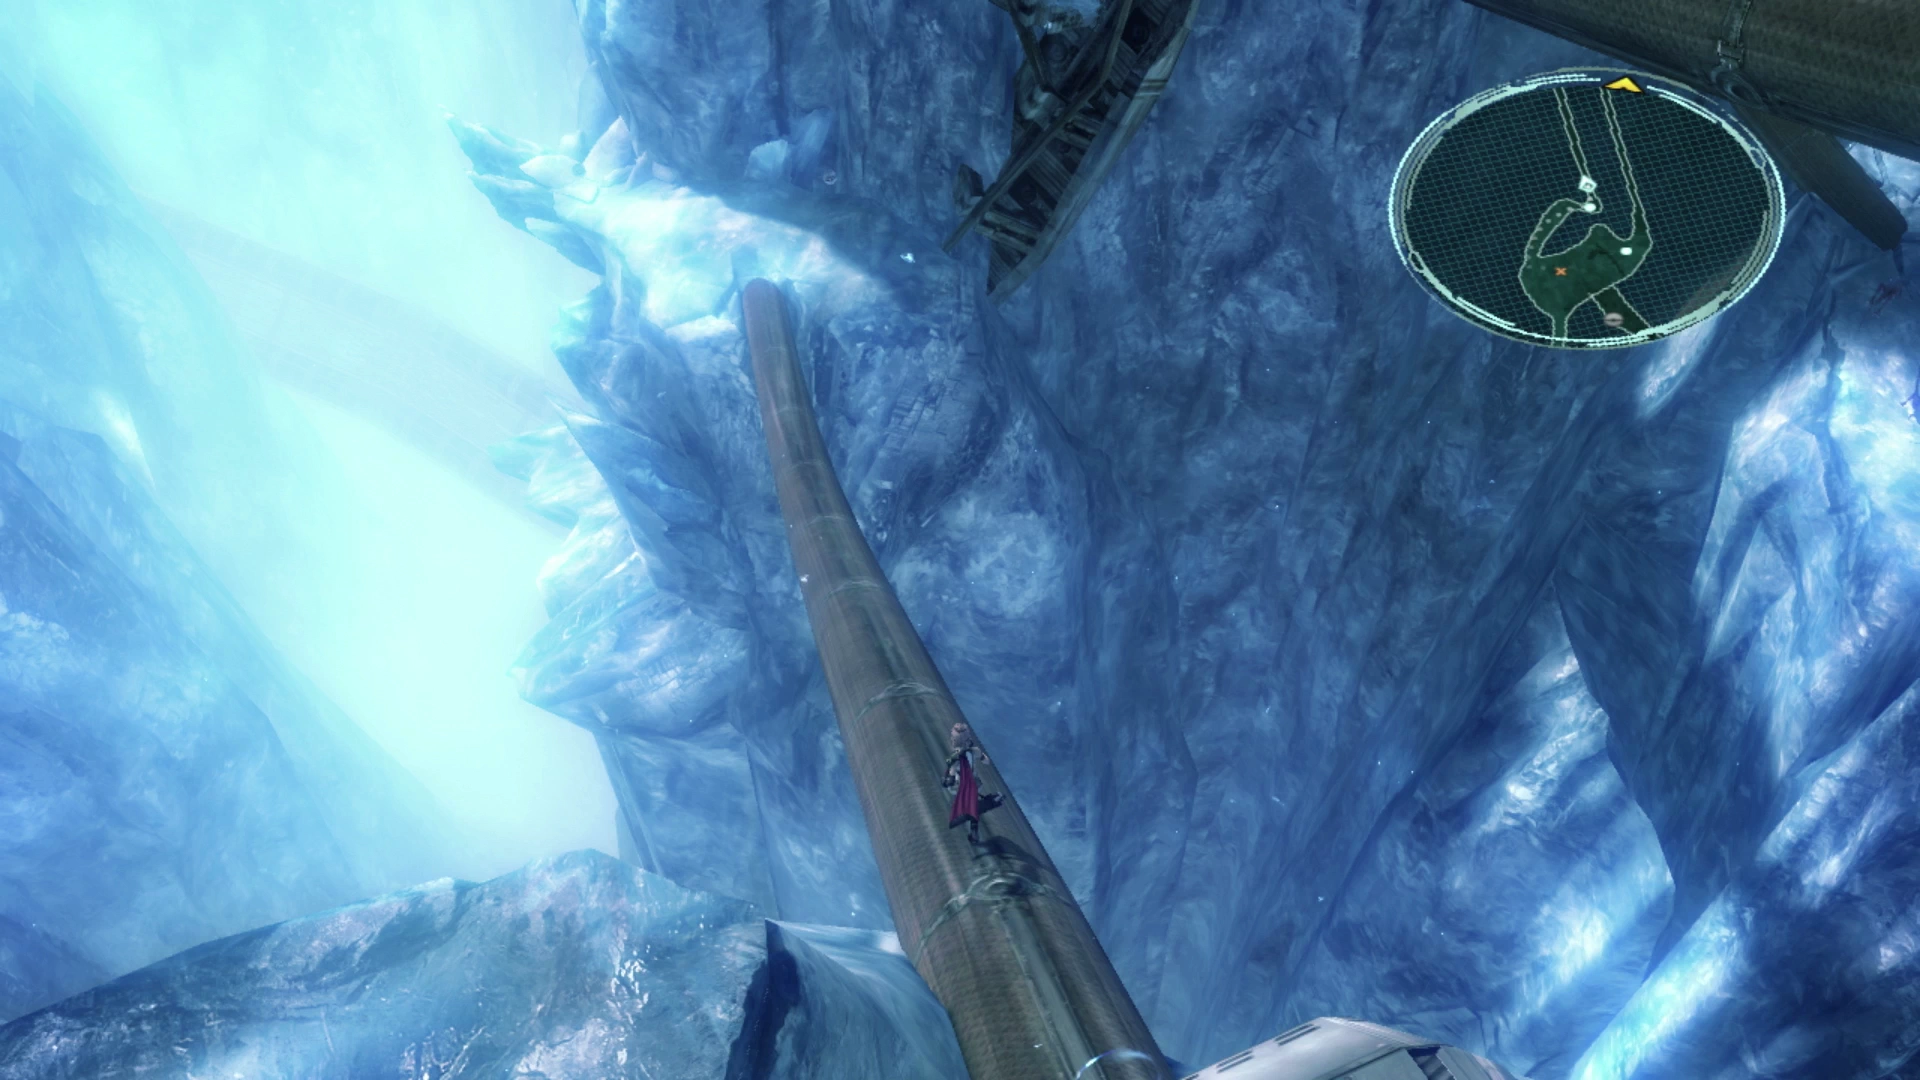
One of them contains ![]() 240 Gil and the second one contains a pair of
240 Gil and the second one contains a pair of ![]() Deneb Duellers, a new weapon for Sazh that replaces his
Deneb Duellers, a new weapon for Sazh that replaces his ![]() Vega 42s. These weapons reduce his strength and increase his magic, which is perfect given that he is currently stuck in his
Vega 42s. These weapons reduce his strength and increase his magic, which is perfect given that he is currently stuck in his ![]() Ravager role.
Ravager role.
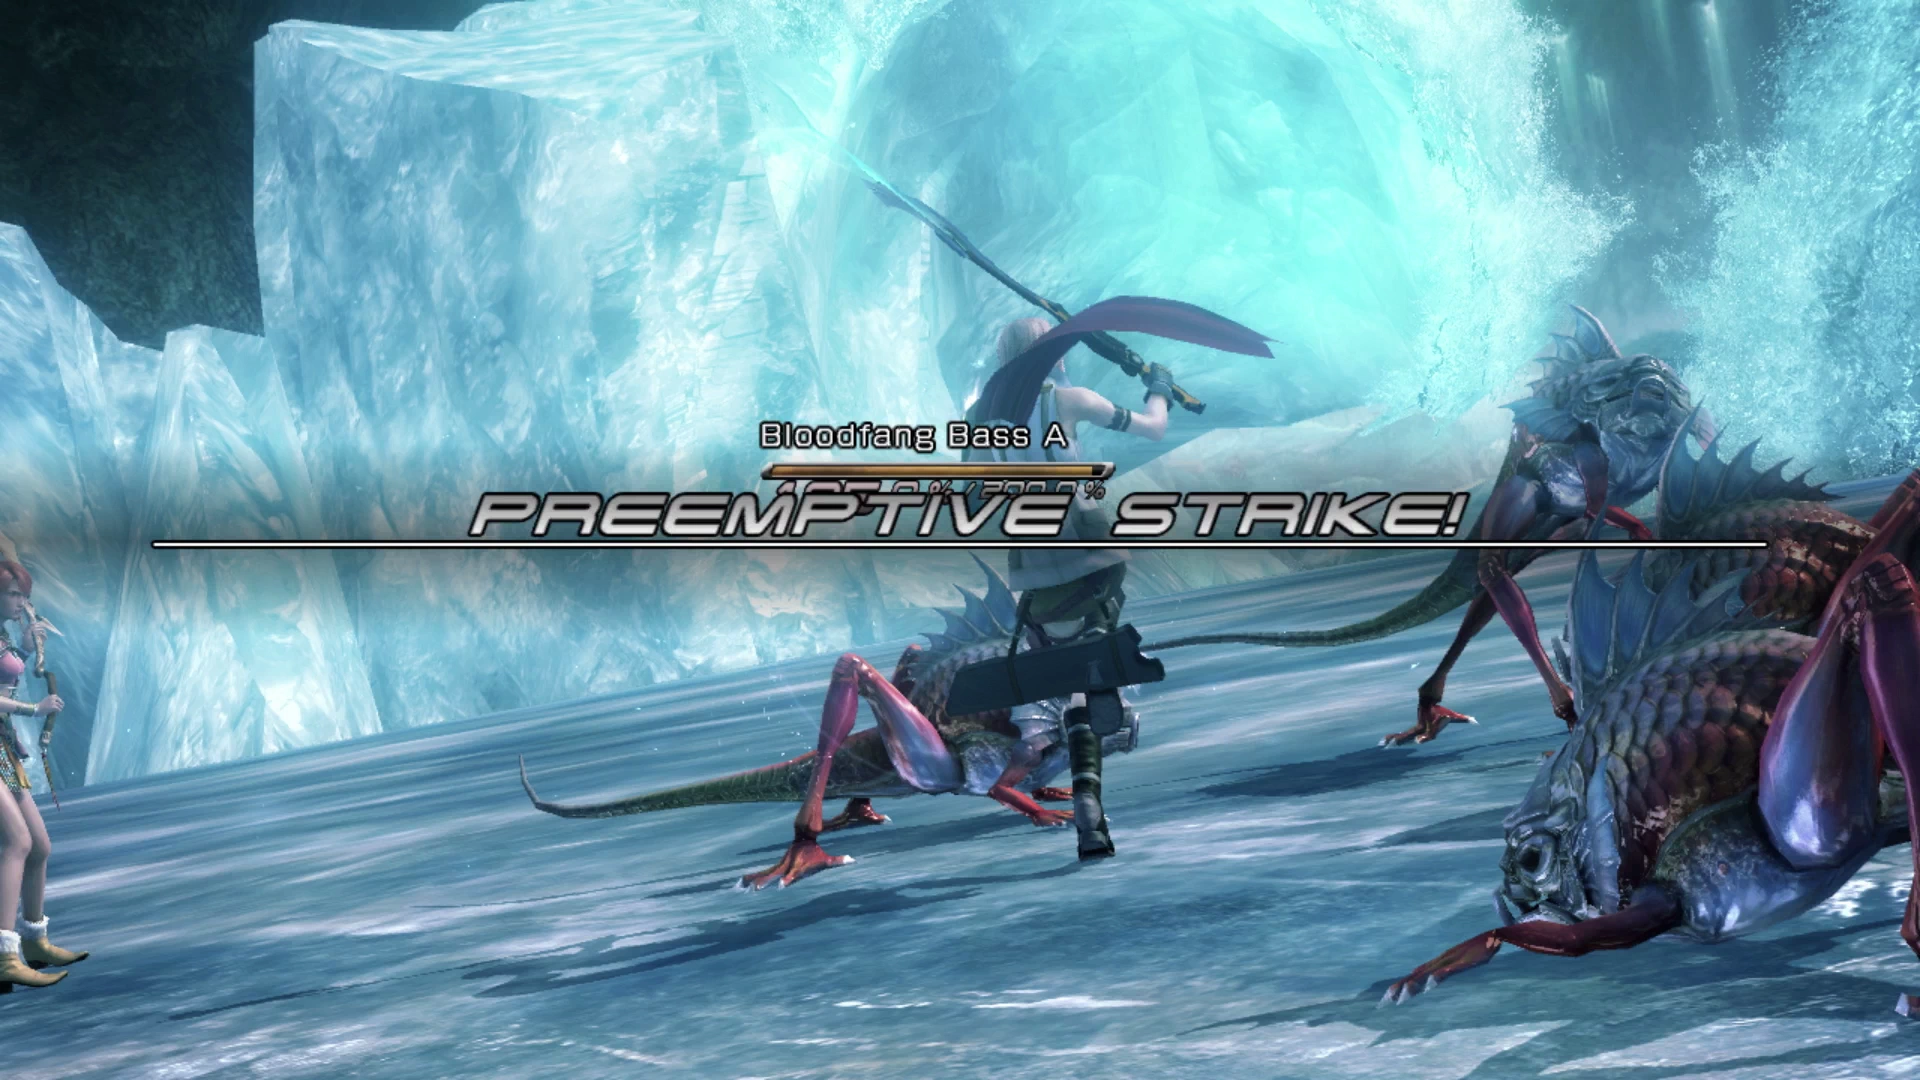
Climb the long skinny tube back up to the cliff, circle the ledge and take the other tube across the cliff on the right side. You will be ambushed by a Breshan Bass enemy accompanied by five extremely weak Bloodfang Bass enemies. These smaller Bloodfang Bass enemies can typically be dealt with very quickly if you’re able to get in a well-placed Area of Effect attack (e.g., ![]() Blitz).
Blitz).
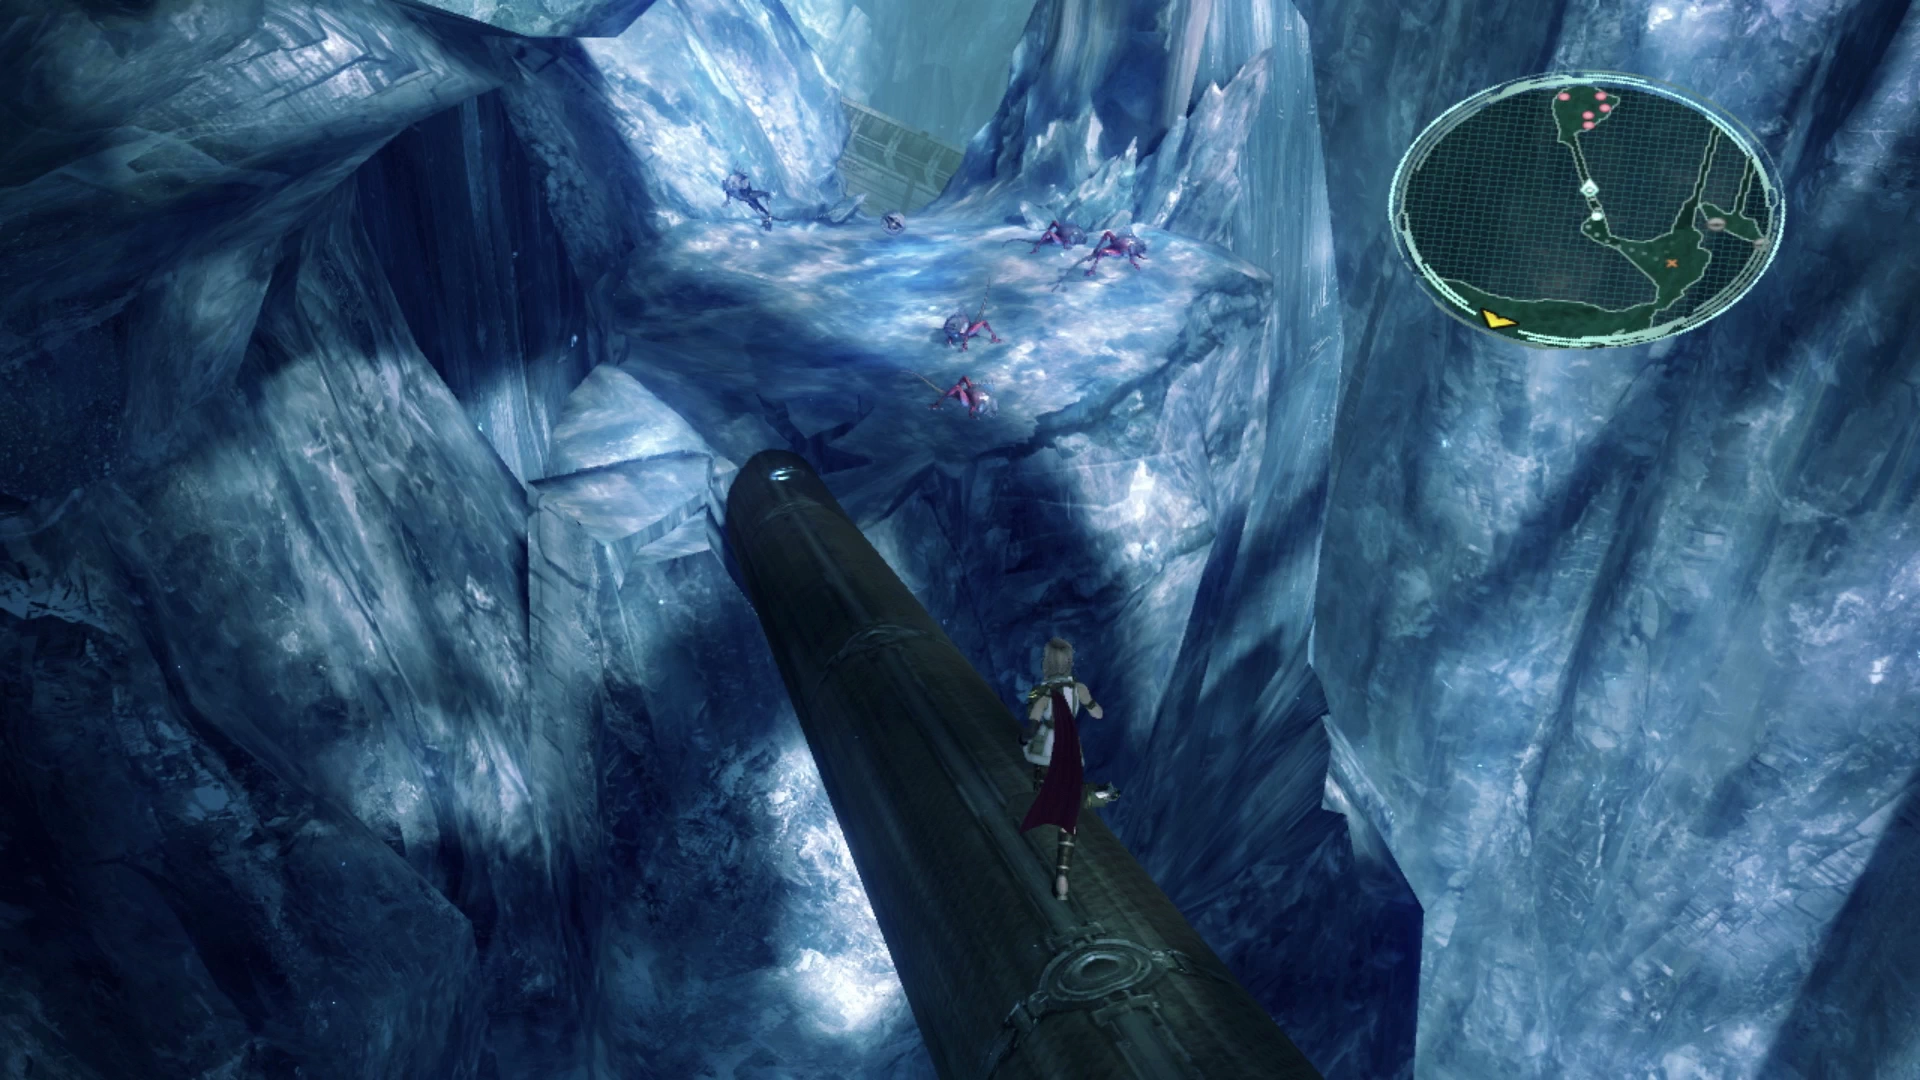
Once you have taken care of the group of Bass, turn to the right and look for a blue circle on the ground which will drop Lightning down onto another pipe. Follow the pipe across the gorge, defeat the group of Breshan Bass and Bloodfang Bass enemies, and open the Treasure Sphere to pick up six vials of ![]() Enigmatic Fluid. Travel back up the pipe and continue down the path.
Enigmatic Fluid. Travel back up the pipe and continue down the path.
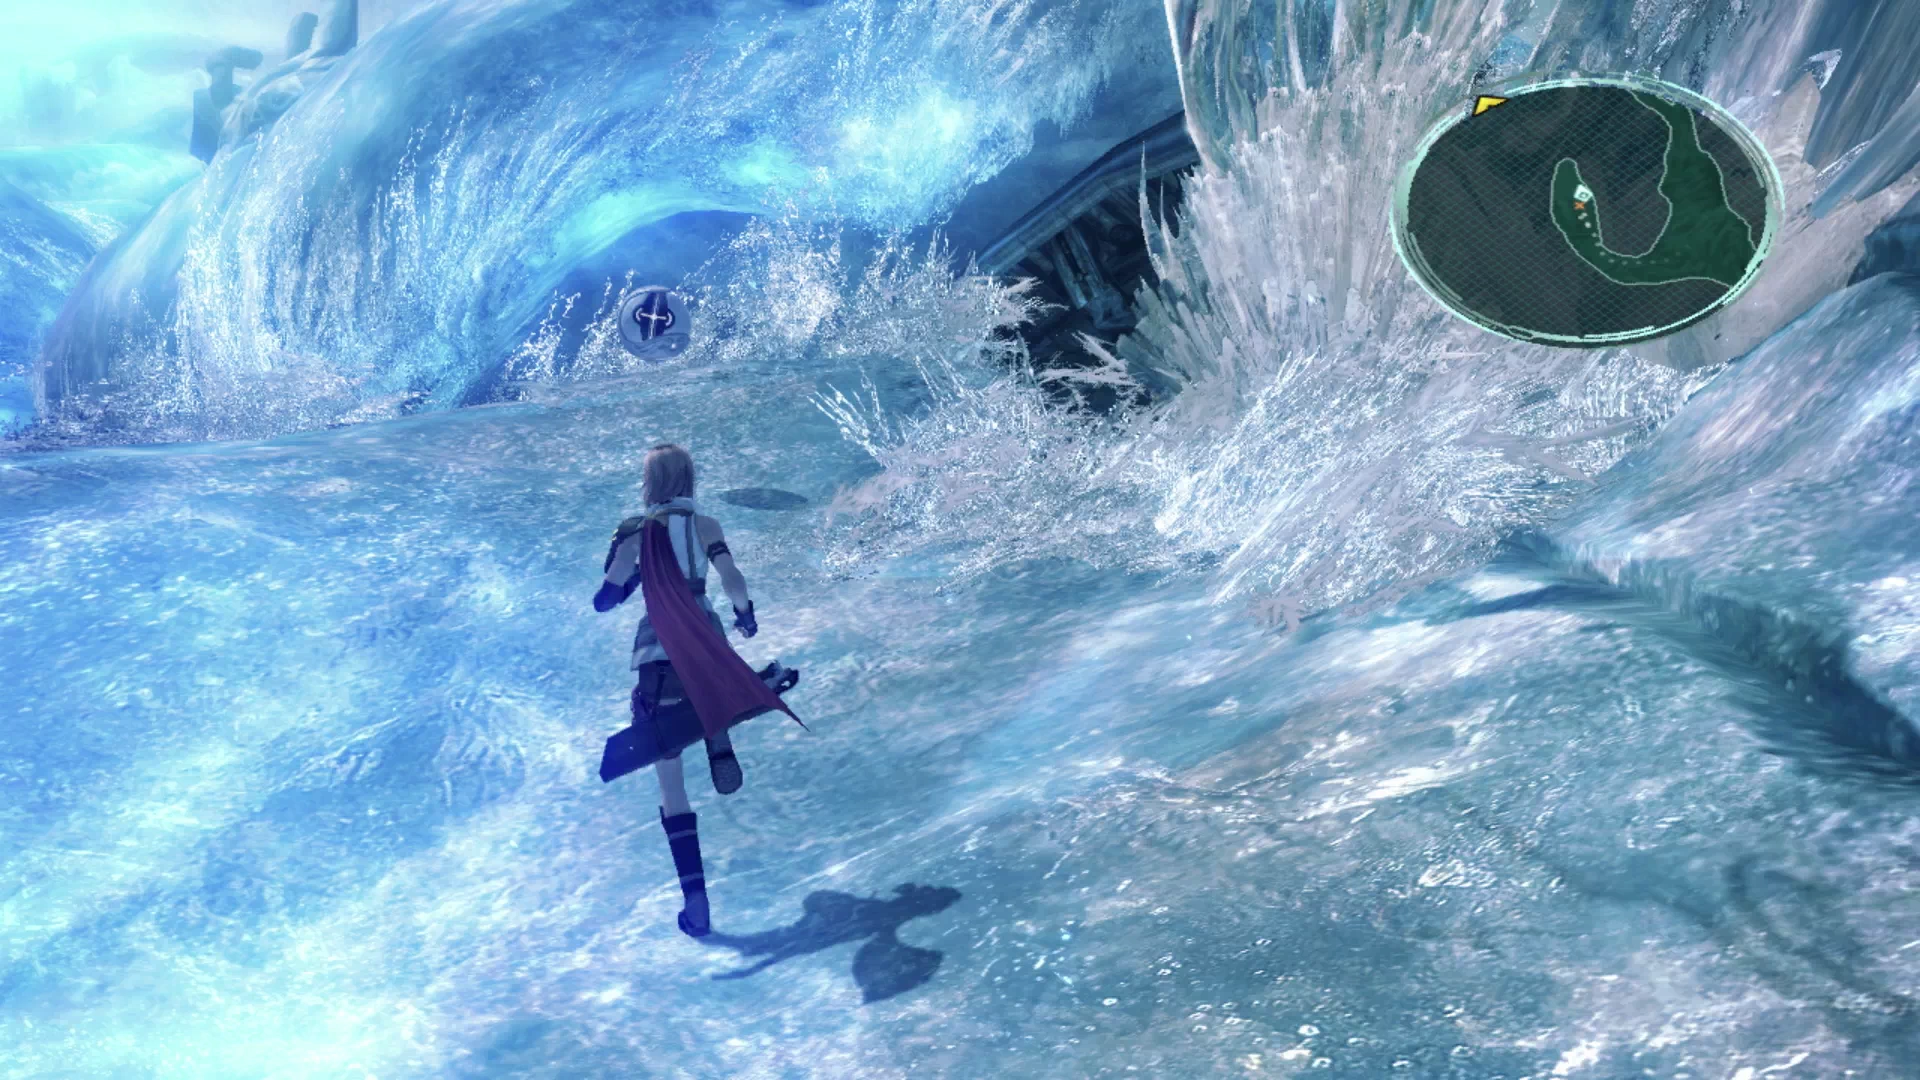
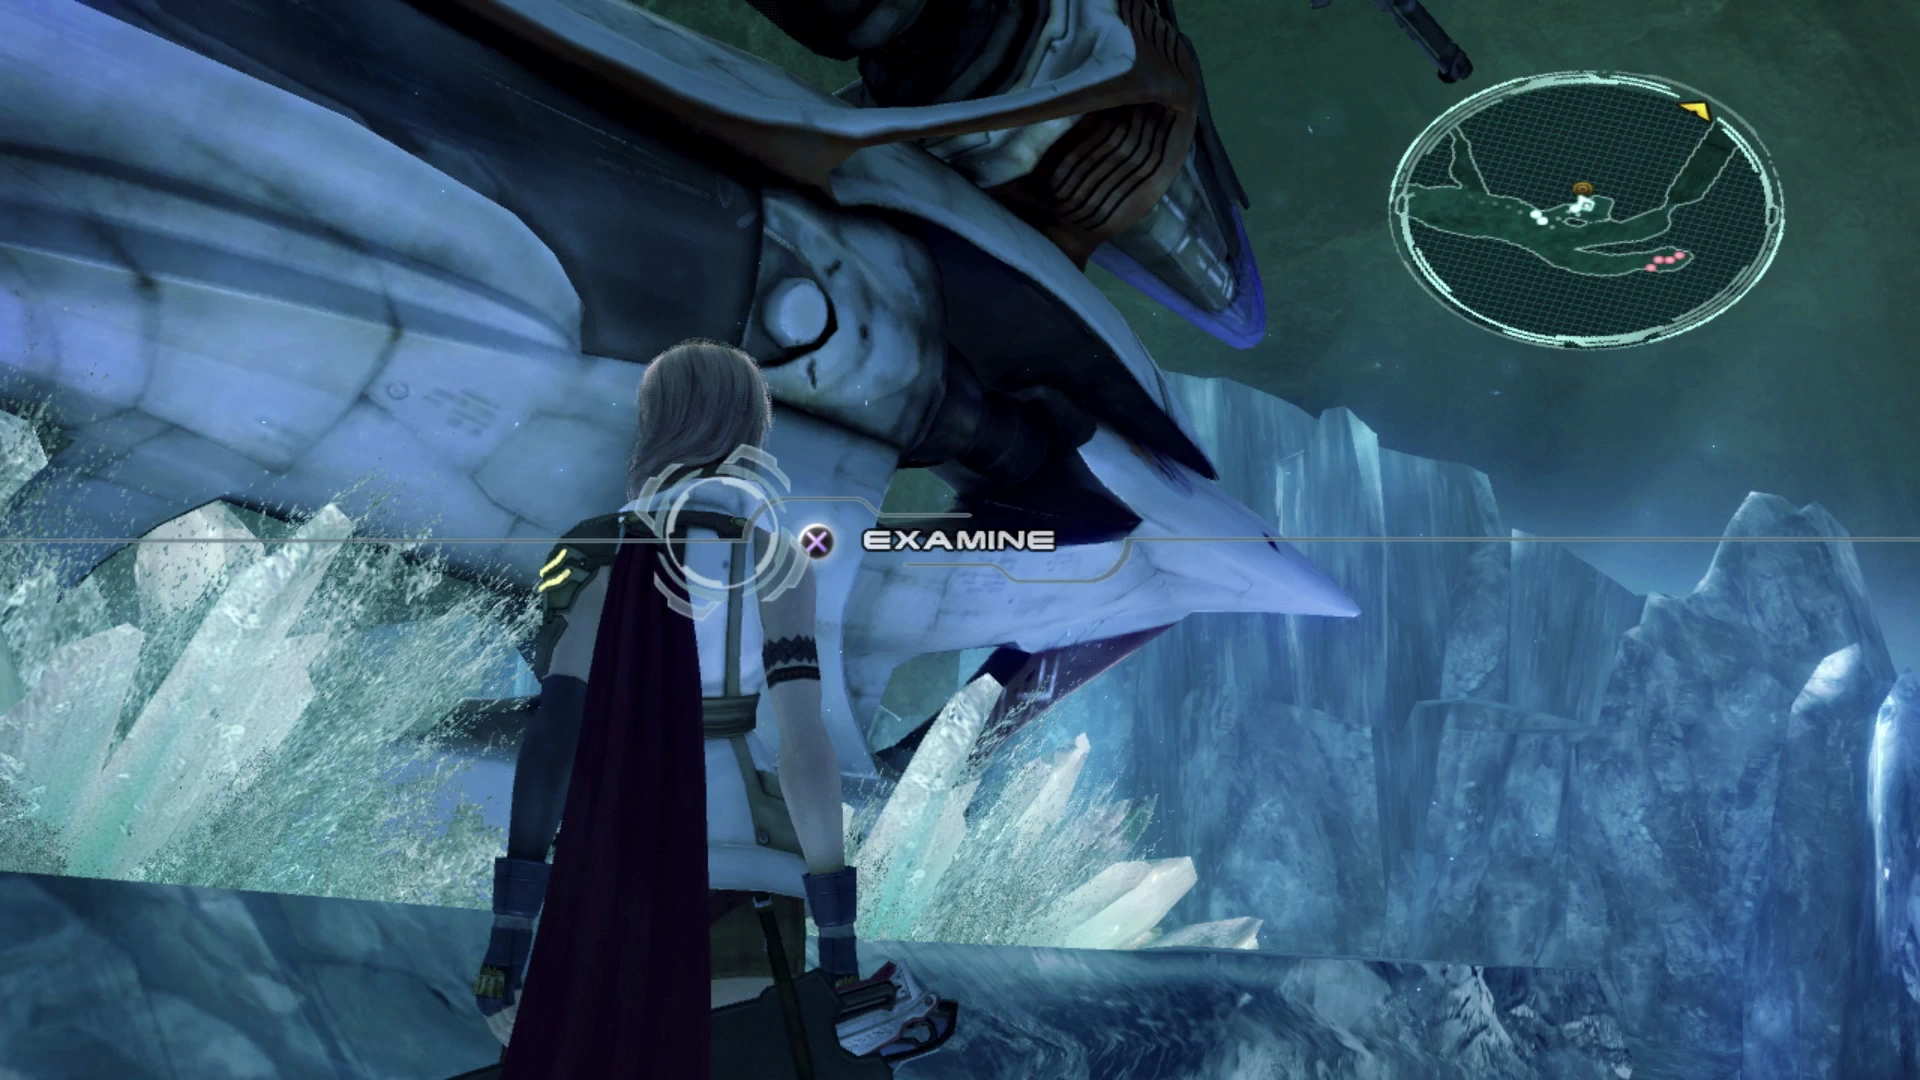
This next area has a large machine encased in ice that you can examine using ![]()
![]()
![]() button. Examining the object will cause Lightning to activate the machine by jumping up and whacking it with her sword which will open a large ice wall on the opposite side of the metal walkway just up ahead.
button. Examining the object will cause Lightning to activate the machine by jumping up and whacking it with her sword which will open a large ice wall on the opposite side of the metal walkway just up ahead.
Before you leave this area, make sure you venture up the right side of the pathway to defeat the four Pantherons guarding a Treasure Sphere. The Treasure Sphere contains seven ![]() Wicked Fangs.
Wicked Fangs.
Cross the bridge and defeat the group of Breshan Bass and Bloodfang Bass that emerged after the ice wall broke. As another reminder, these groups of enemies are easy to sneak up on to get a preemptive strike. Just make sure that the closest enemy turns away before you run in with your team, and you’ll kick off the battle by Staggering many of them. Use an area-of-effect attack like ![]() Blitz to quickly dispatch the weaker Bloodfang Bass enemies. Check out the Preemptive Strikes page in the Tips and Tricks section for more information (linked below):
Blitz to quickly dispatch the weaker Bloodfang Bass enemies. Check out the Preemptive Strikes page in the Tips and Tricks section for more information (linked below):
Tips and Tricks
How preemptive strikes work and how you can maximize their utility during a playthrough of the game.
Move up to the next area and use the ![]() Save Station to save your game. You will encounter your next boss battle just a few steps up ahead.
Save Station to save your game. You will encounter your next boss battle just a few steps up ahead.
Boss Battle
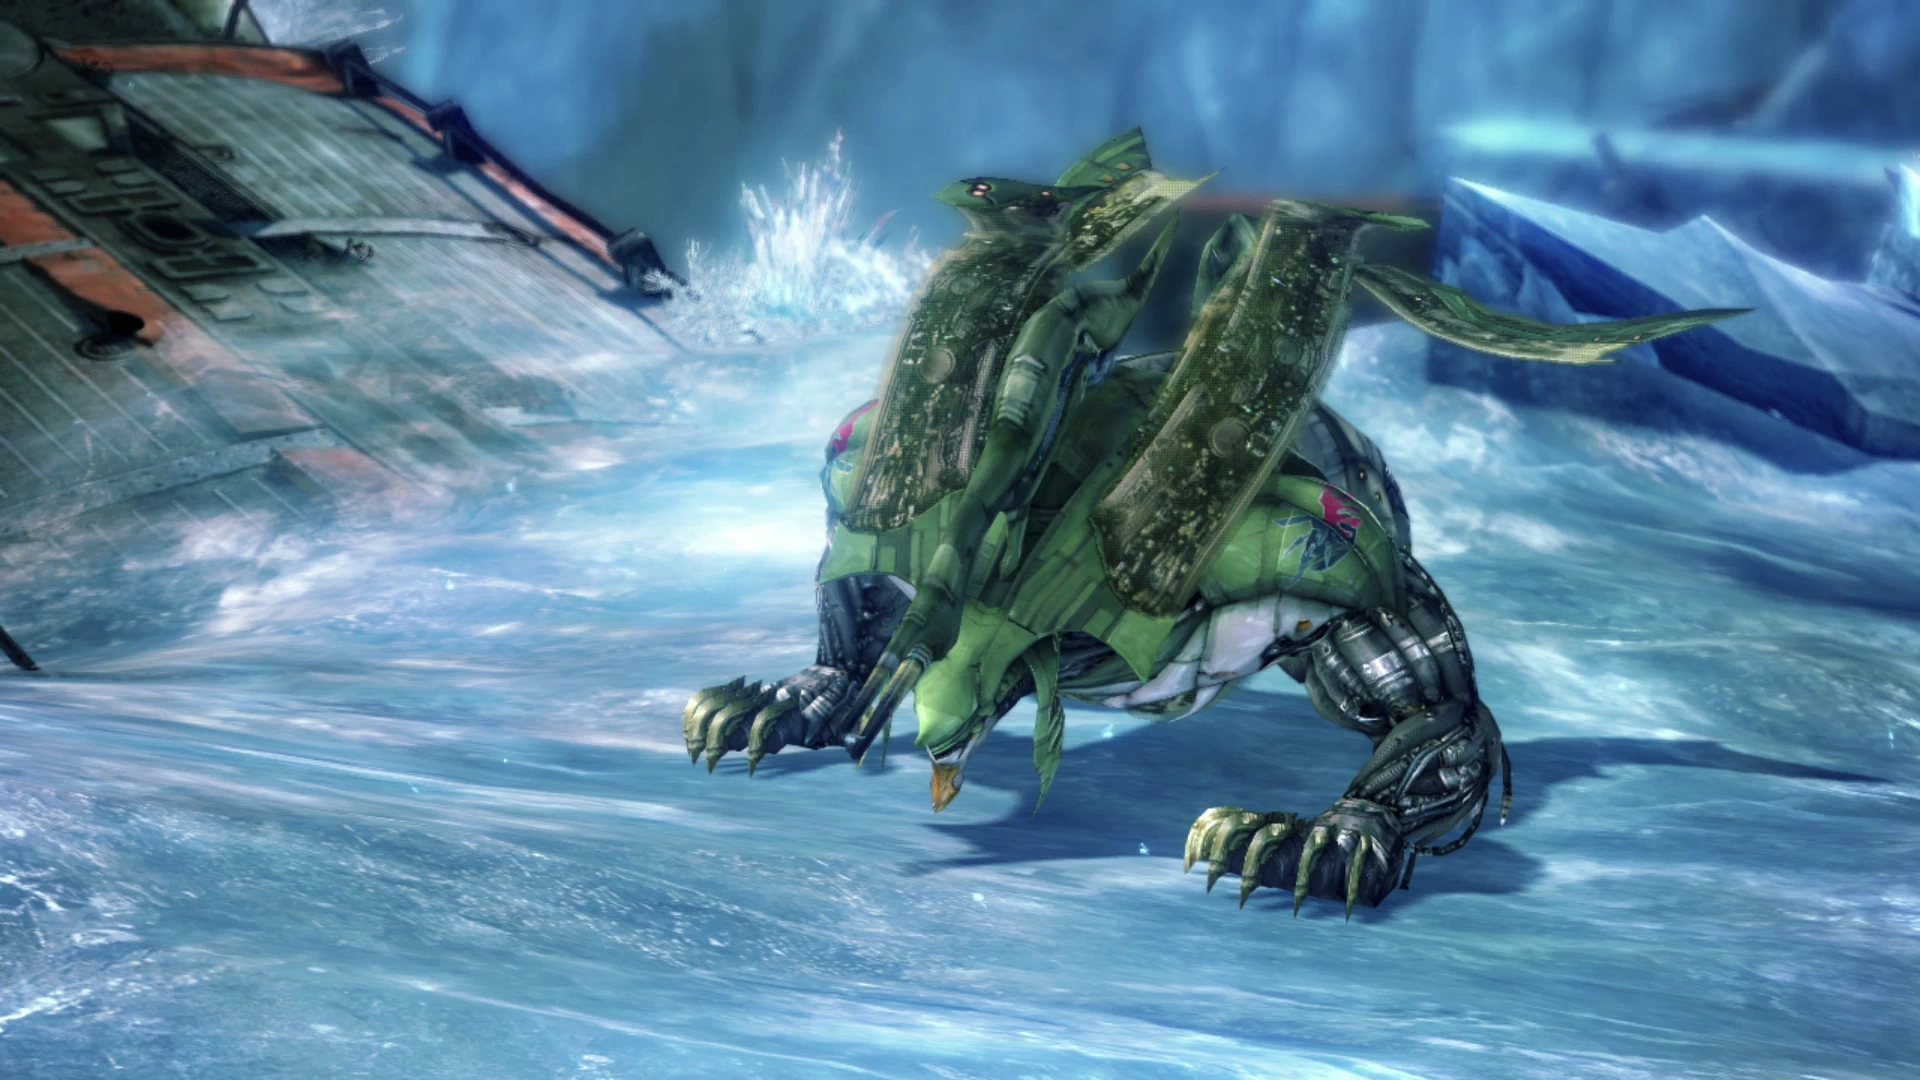
This boss battle serves as another tutorial for you and your team, and it intends to give you a brief overview of Techniques. You may have already noticed that your party leader, in this case Lightning, has a bar underneath her HP bar which is her TP Gauge. Her TP Gauge level will be at 5 currently and this means that she has 5 Technique Points that she can use in battle.
For more information about how Techniques work check out the Techniques section of the guide. For this boss fight, the tutorial, if you choose to watch it, will have the game explain how to use the ![]() Libra Technique to reveal the abilities and weaknesses of your opponent and you can view this information about an enemy during a battle by pressing the
Libra Technique to reveal the abilities and weaknesses of your opponent and you can view this information about an enemy during a battle by pressing the ![]()
![]()
![]() button.
button.
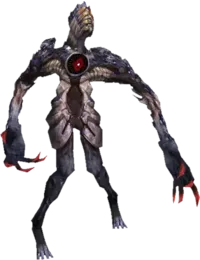
As explained in the tutorial, Alpha Behemoth is vulnerable to fire and water damage and, knowing this, the two party members that you are not controlling will automatically begin exploiting this weakness and casting fire and water-based damage.
Keep an eye out for your party members’ HP and either use a ![]() Potion or switch to a Paradigm that moves Vanille into her
Potion or switch to a Paradigm that moves Vanille into her ![]() Medic role, but otherwise, this is a straightforward fight and, exploiting the weaknesses learned by using
Medic role, but otherwise, this is a straightforward fight and, exploiting the weaknesses learned by using ![]() Libra, your two party members will be able to pump quite a bit of damage into Alpha Behemoth once it is Staggered.
Libra, your two party members will be able to pump quite a bit of damage into Alpha Behemoth once it is Staggered.
Make sure to turn around before you leave the area where the Alpha Behemoth ambushed your party. The ledge on the right side of the screen has a Treasure Sphere that contains a ![]() Librascope item.
Librascope item.
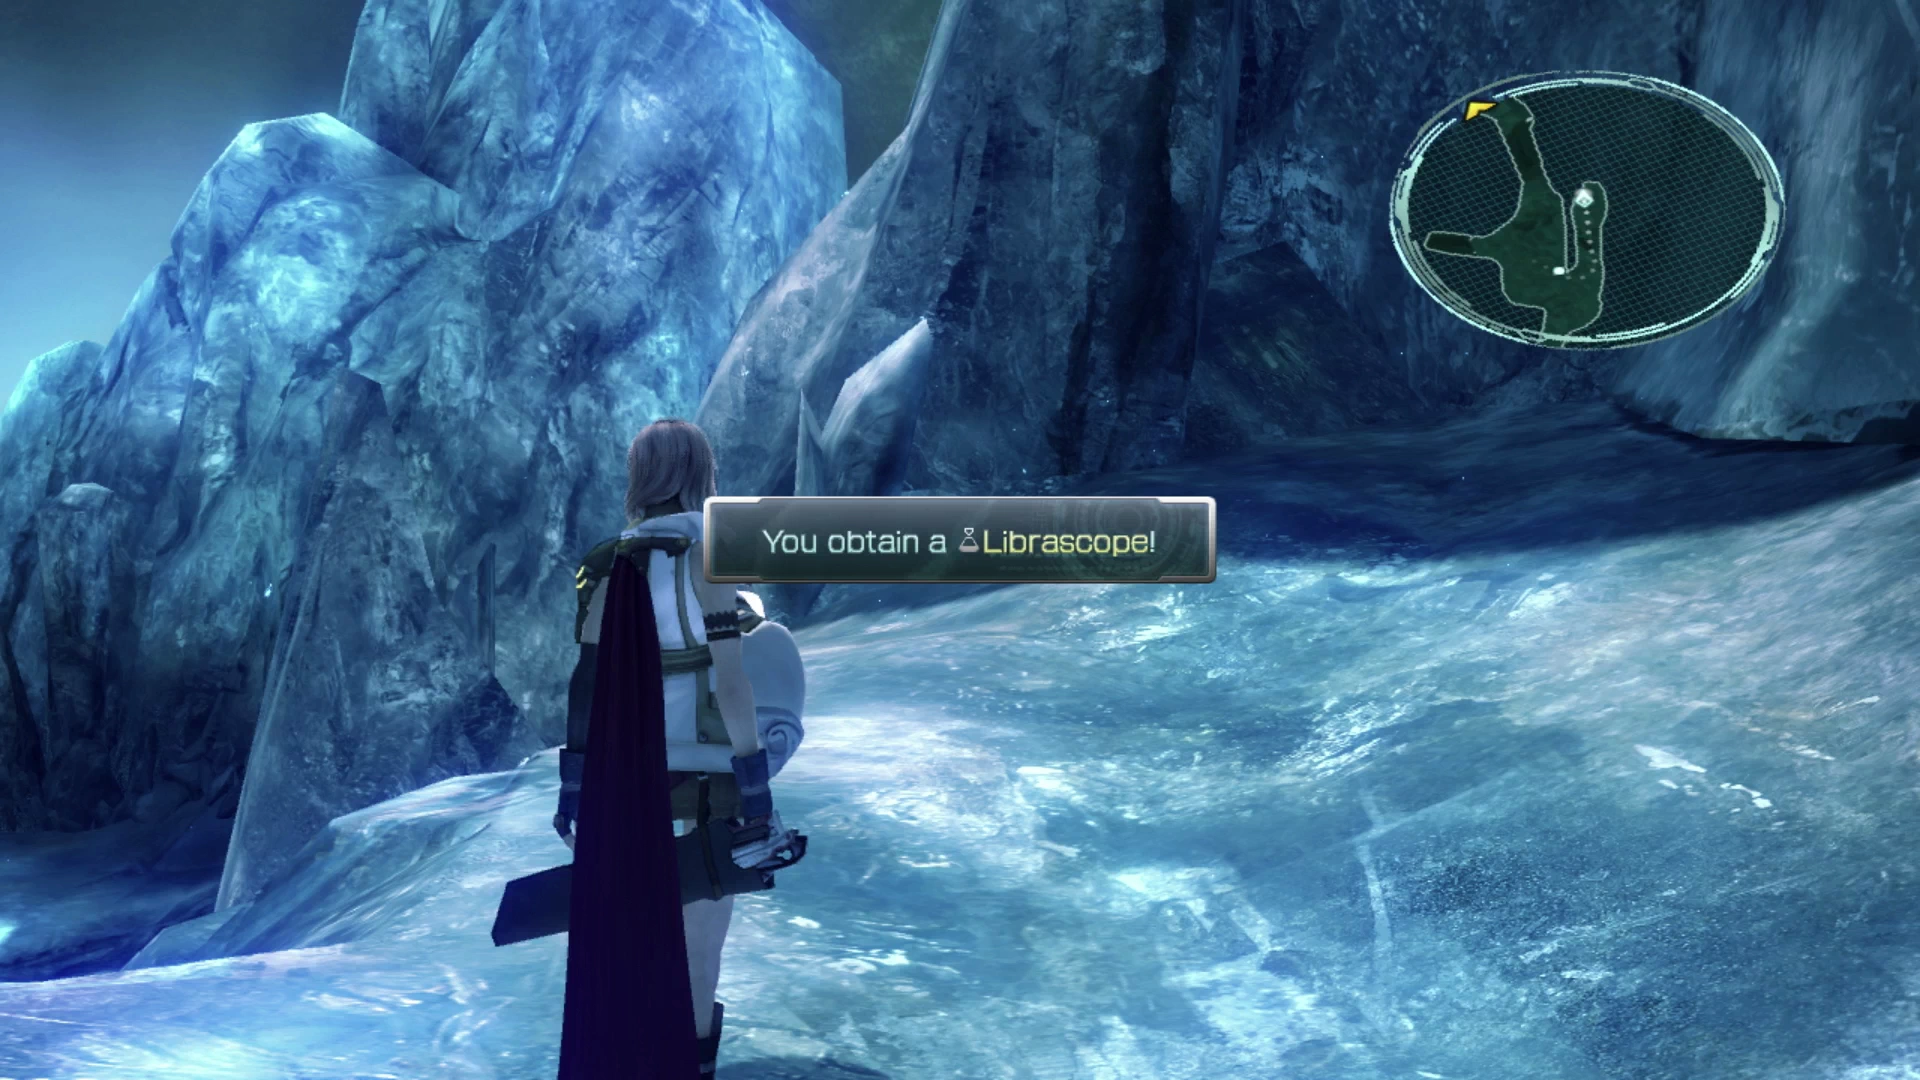


Your team can use the ![]() Librascope, which has the same effect as the
Librascope, which has the same effect as the ![]() Libra Technique, if you don’t have a party member available who has learned
Libra Technique, if you don’t have a party member available who has learned ![]() Libra (later in the game) or if you don’t have enough Technique Points in your TP Gauge.
Libra (later in the game) or if you don’t have enough Technique Points in your TP Gauge.
Helpful Hint
At first, it may seem like overusing Libra will slow you down as you progress through the game, but the benefit of knowing your enemy’s weaknesses early in the fight cannot be overstated. Get into the habit of using ![]() Libra as early in the fight as you can and against every new enemy that you come across.
Libra as early in the fight as you can and against every new enemy that you come across.
Follow the trail forward and up towards the corner where another cutscene will take place. Lightning, Sazh, Vanille and Hope will look on as government forces mobilize to track down the l’Cie. Continue following the trail until you reach two PSICOM Tracker enemies. These are new enemies that you have not faced before so consider using ![]() Libra on them at the start of the battle.
Libra on them at the start of the battle.
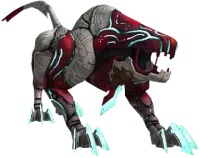
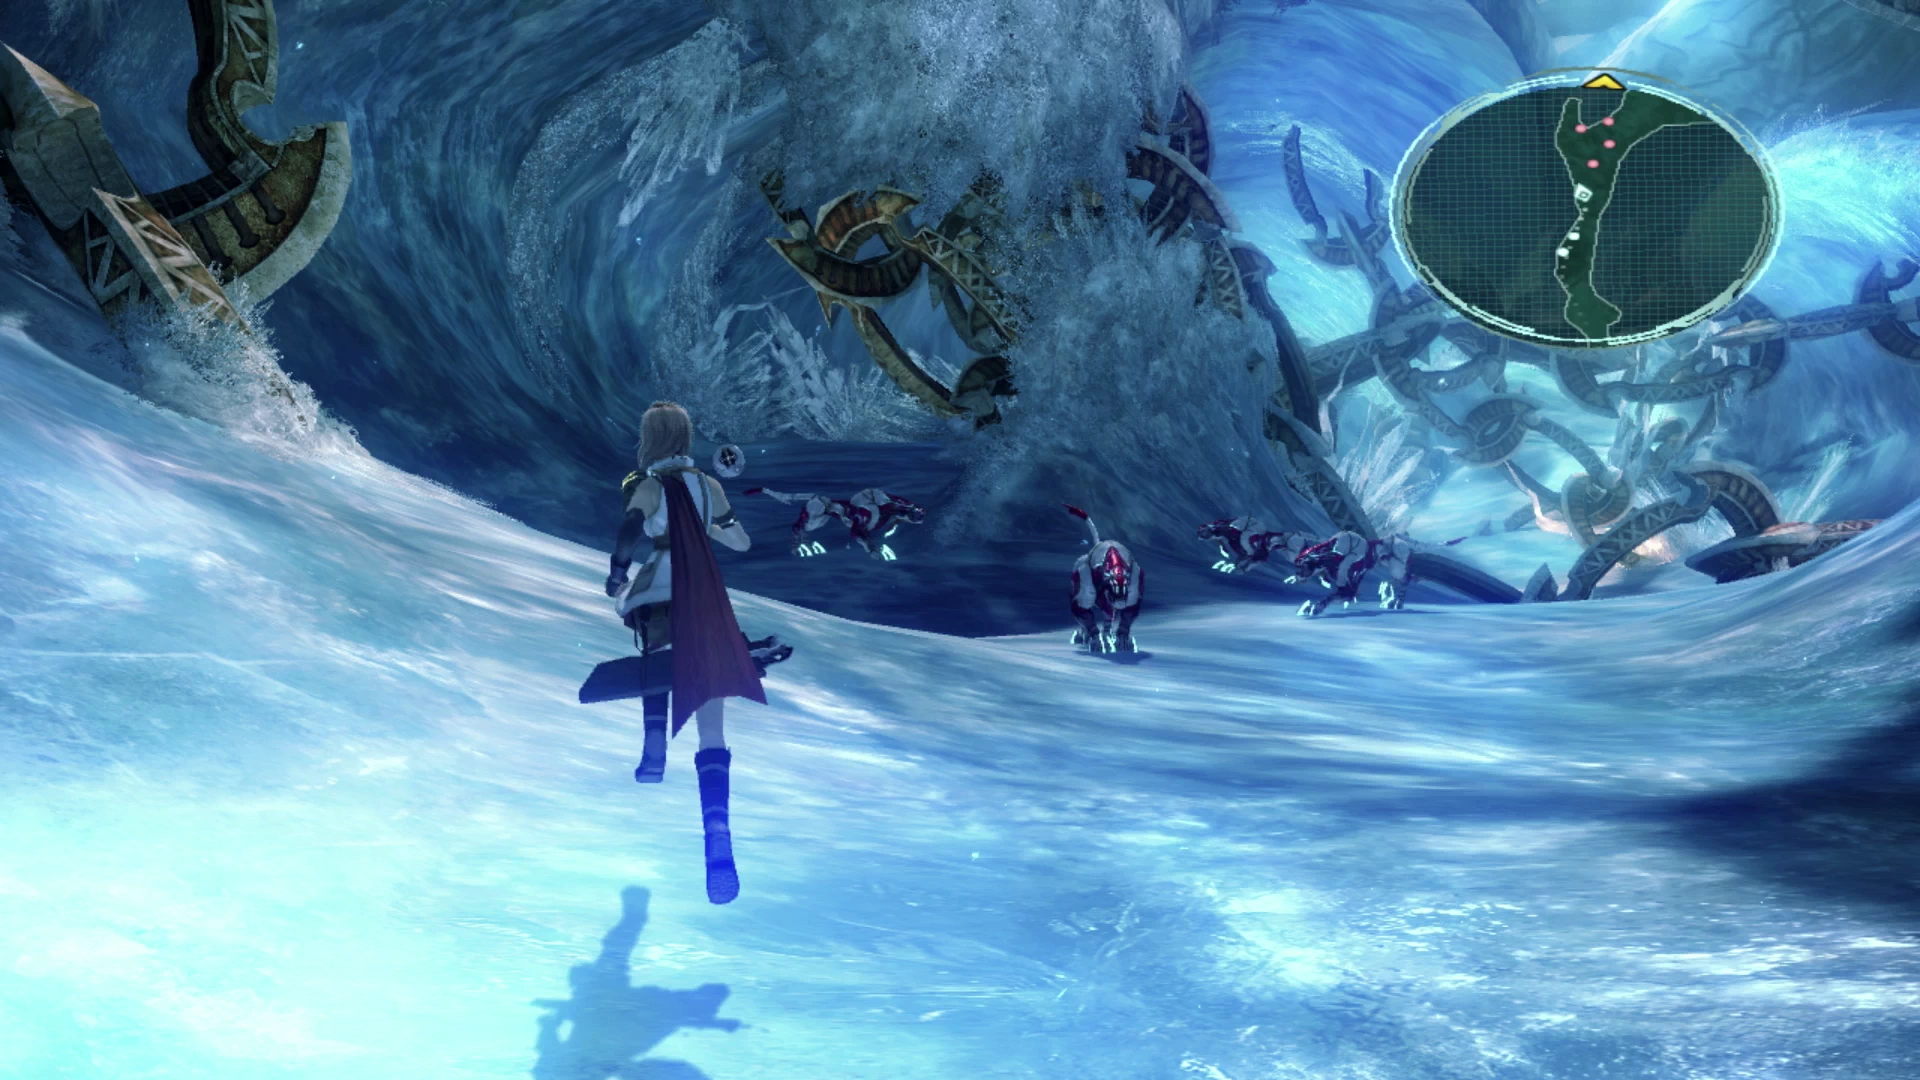
The next group of enemies further up the trail also includes new enemies that you haven’t faced before called Watchdrones. Consider using ![]() Libra on them as well which will reveal that they are weak to both thunder and water-based magic. Once your party members are aware of this weakness, as noted above, they will automatically use this type of magic as they attack Watchdrones if they have access to thunder or water-based magic spells through their Crystarium.
Libra on them as well which will reveal that they are weak to both thunder and water-based magic. Once your party members are aware of this weakness, as noted above, they will automatically use this type of magic as they attack Watchdrones if they have access to thunder or water-based magic spells through their Crystarium.
Grab the Treasure Sphere on the right side of the fork just up ahead to pick up 2 ![]() Digital Circuits. Backtrack to the fork and continue forward into the next area (note that there is nothing on the screen that shows you will be moving out of the “Encased in Crystal” area, but you can confirm where you are by pulling up the map in the menu screen).
Digital Circuits. Backtrack to the fork and continue forward into the next area (note that there is nothing on the screen that shows you will be moving out of the “Encased in Crystal” area, but you can confirm where you are by pulling up the map in the menu screen).
The Frozen Falls
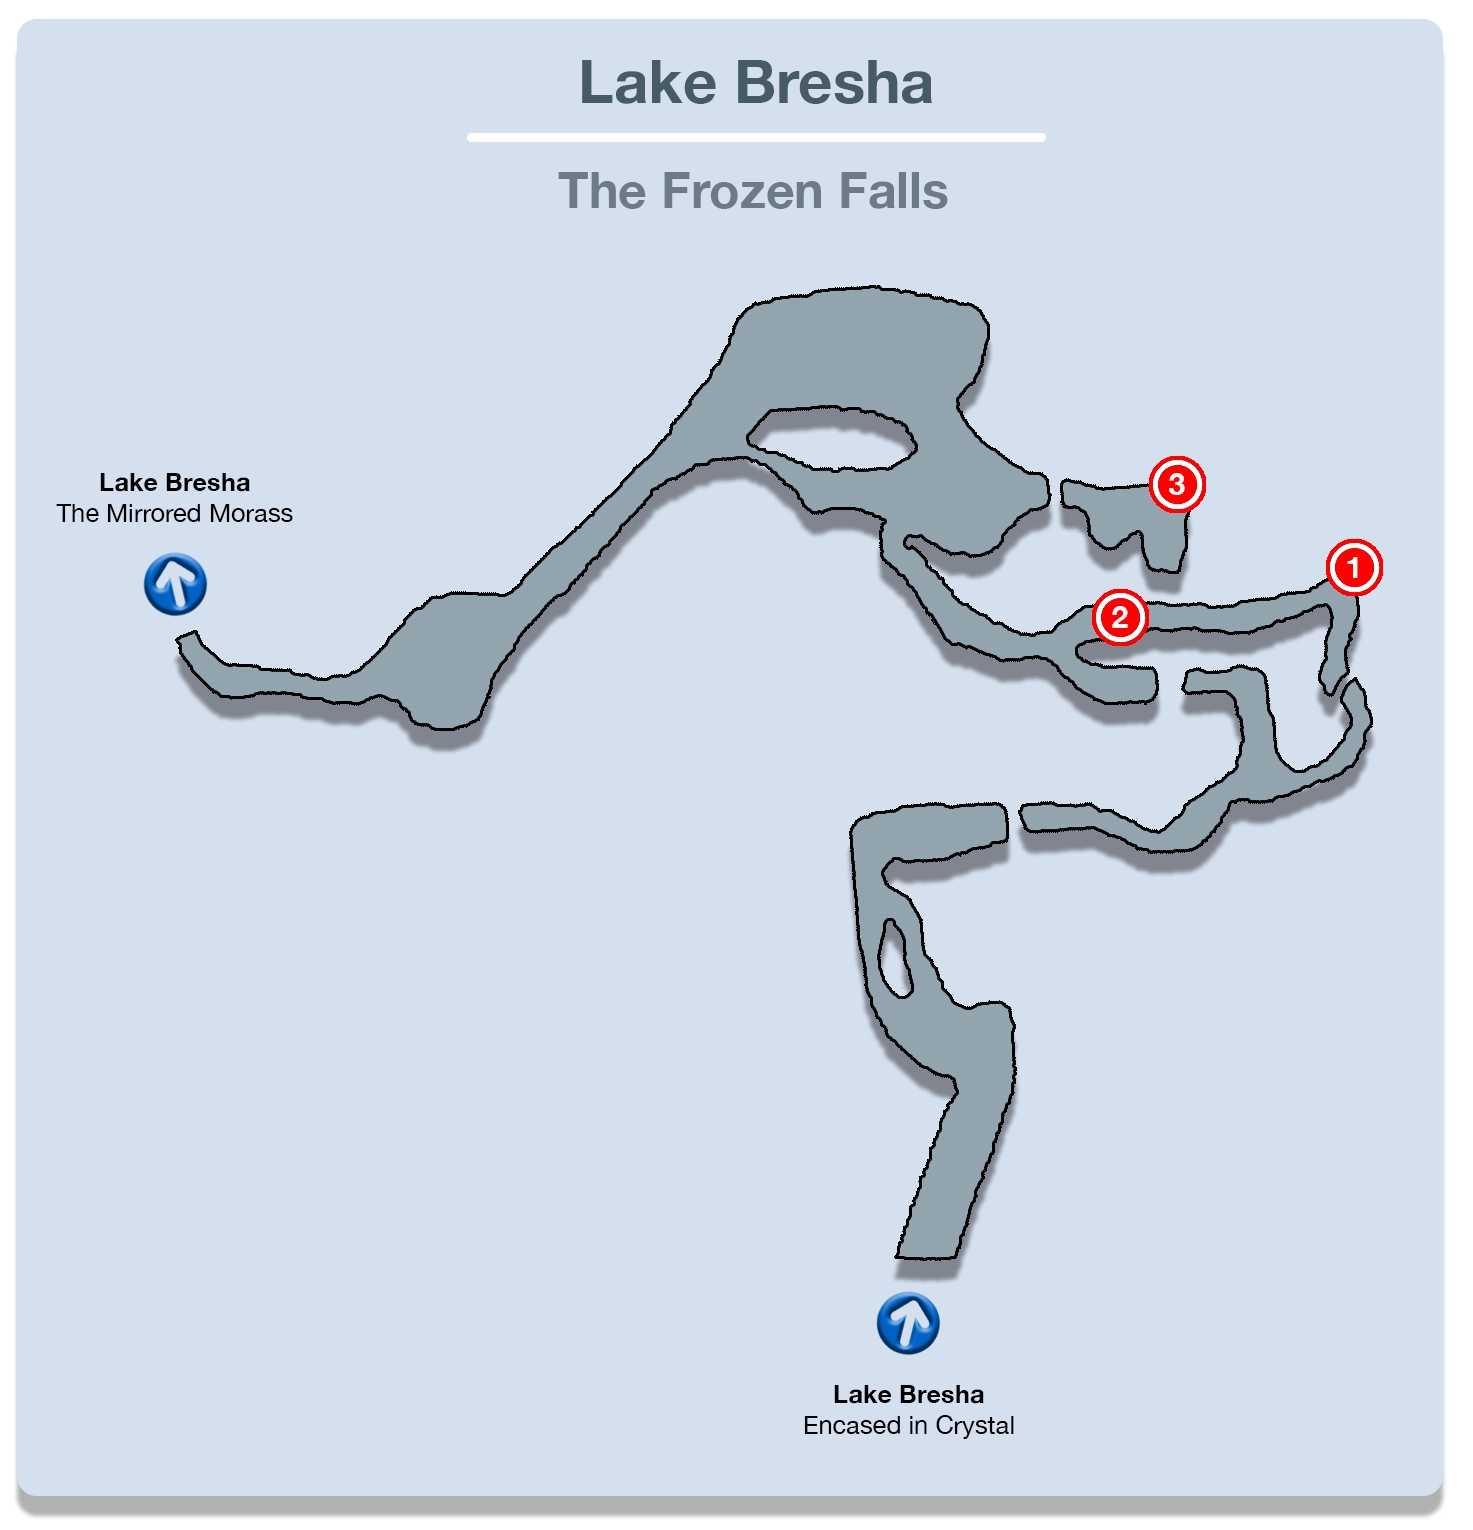
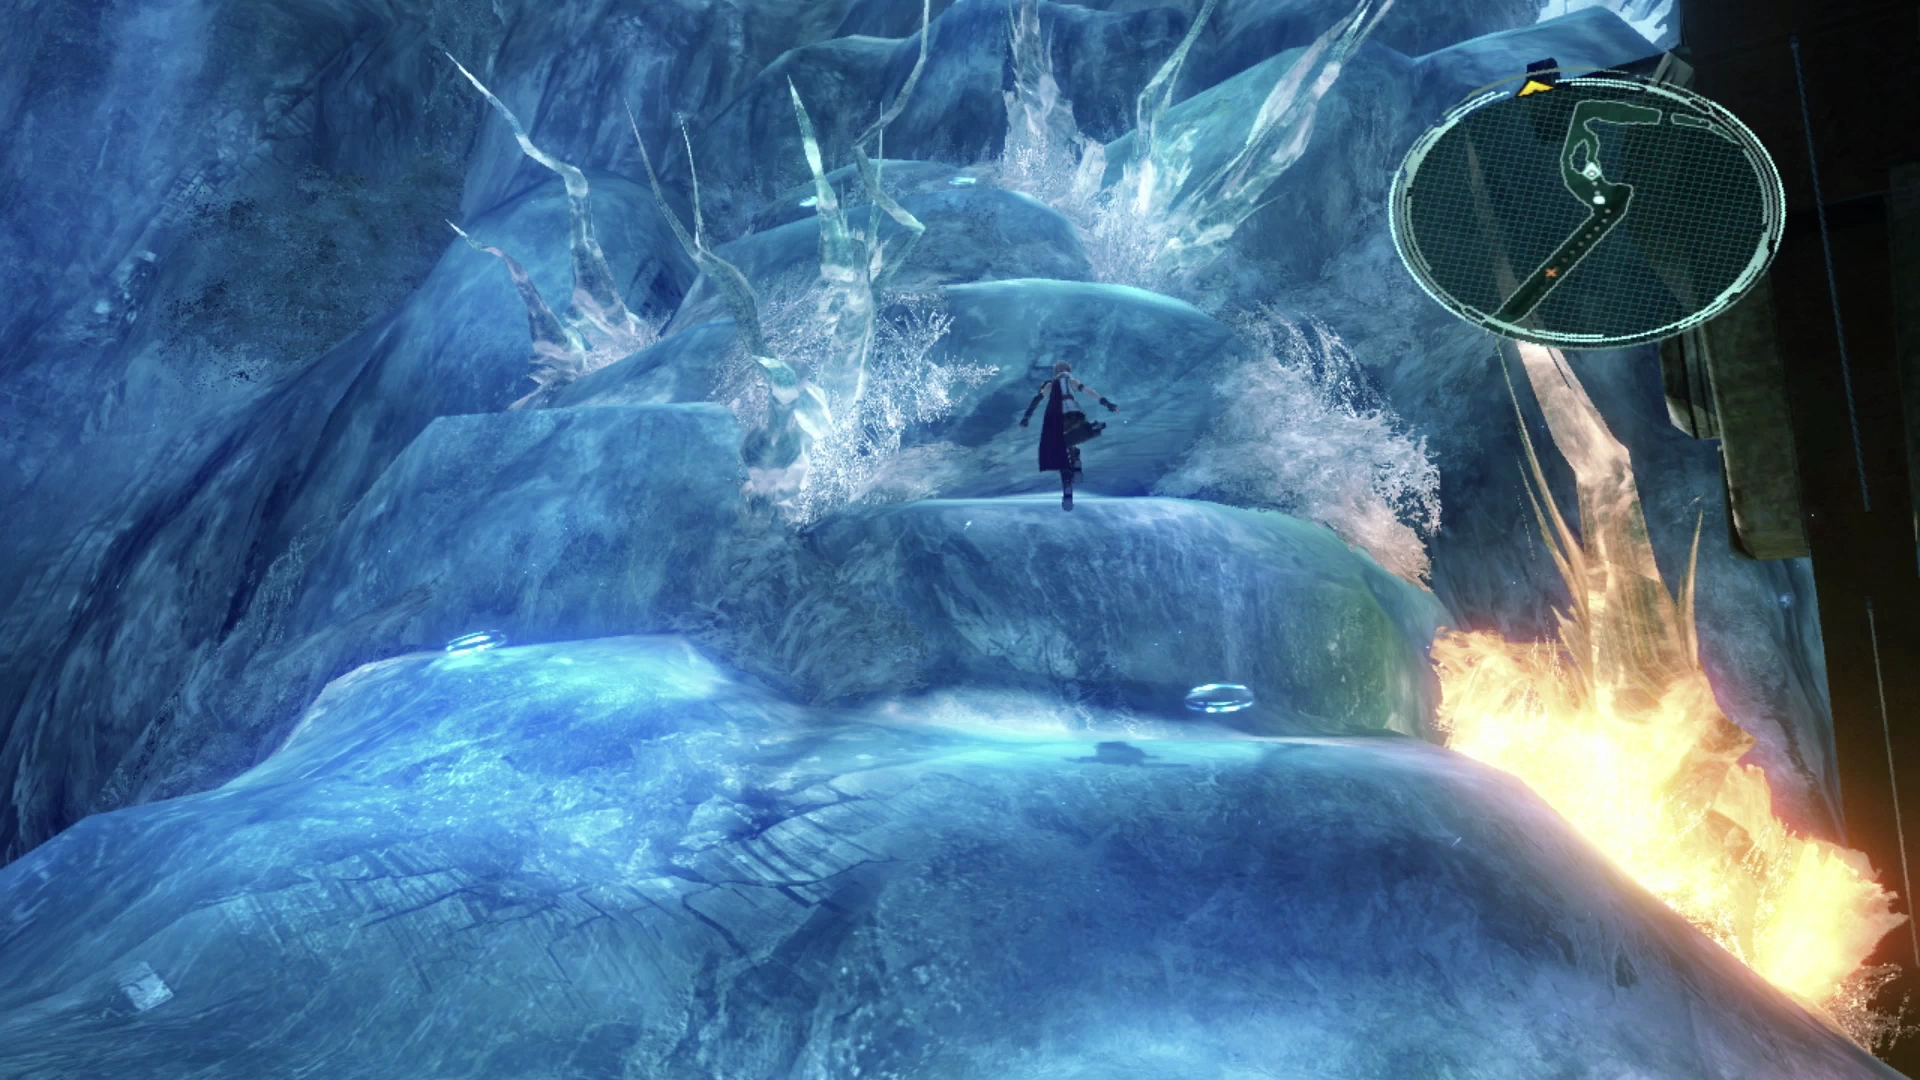
Cross the bridge and defeat the group of two PSICOM Trackers and a PSICOM Ranger on the far side. The pathway will lead up to a wall that Lightning and her party members can climb by stepping on or near the illuminated blue circles on the ground. This first cliff has two different routes you can use to climb it but they both lead to the same area.
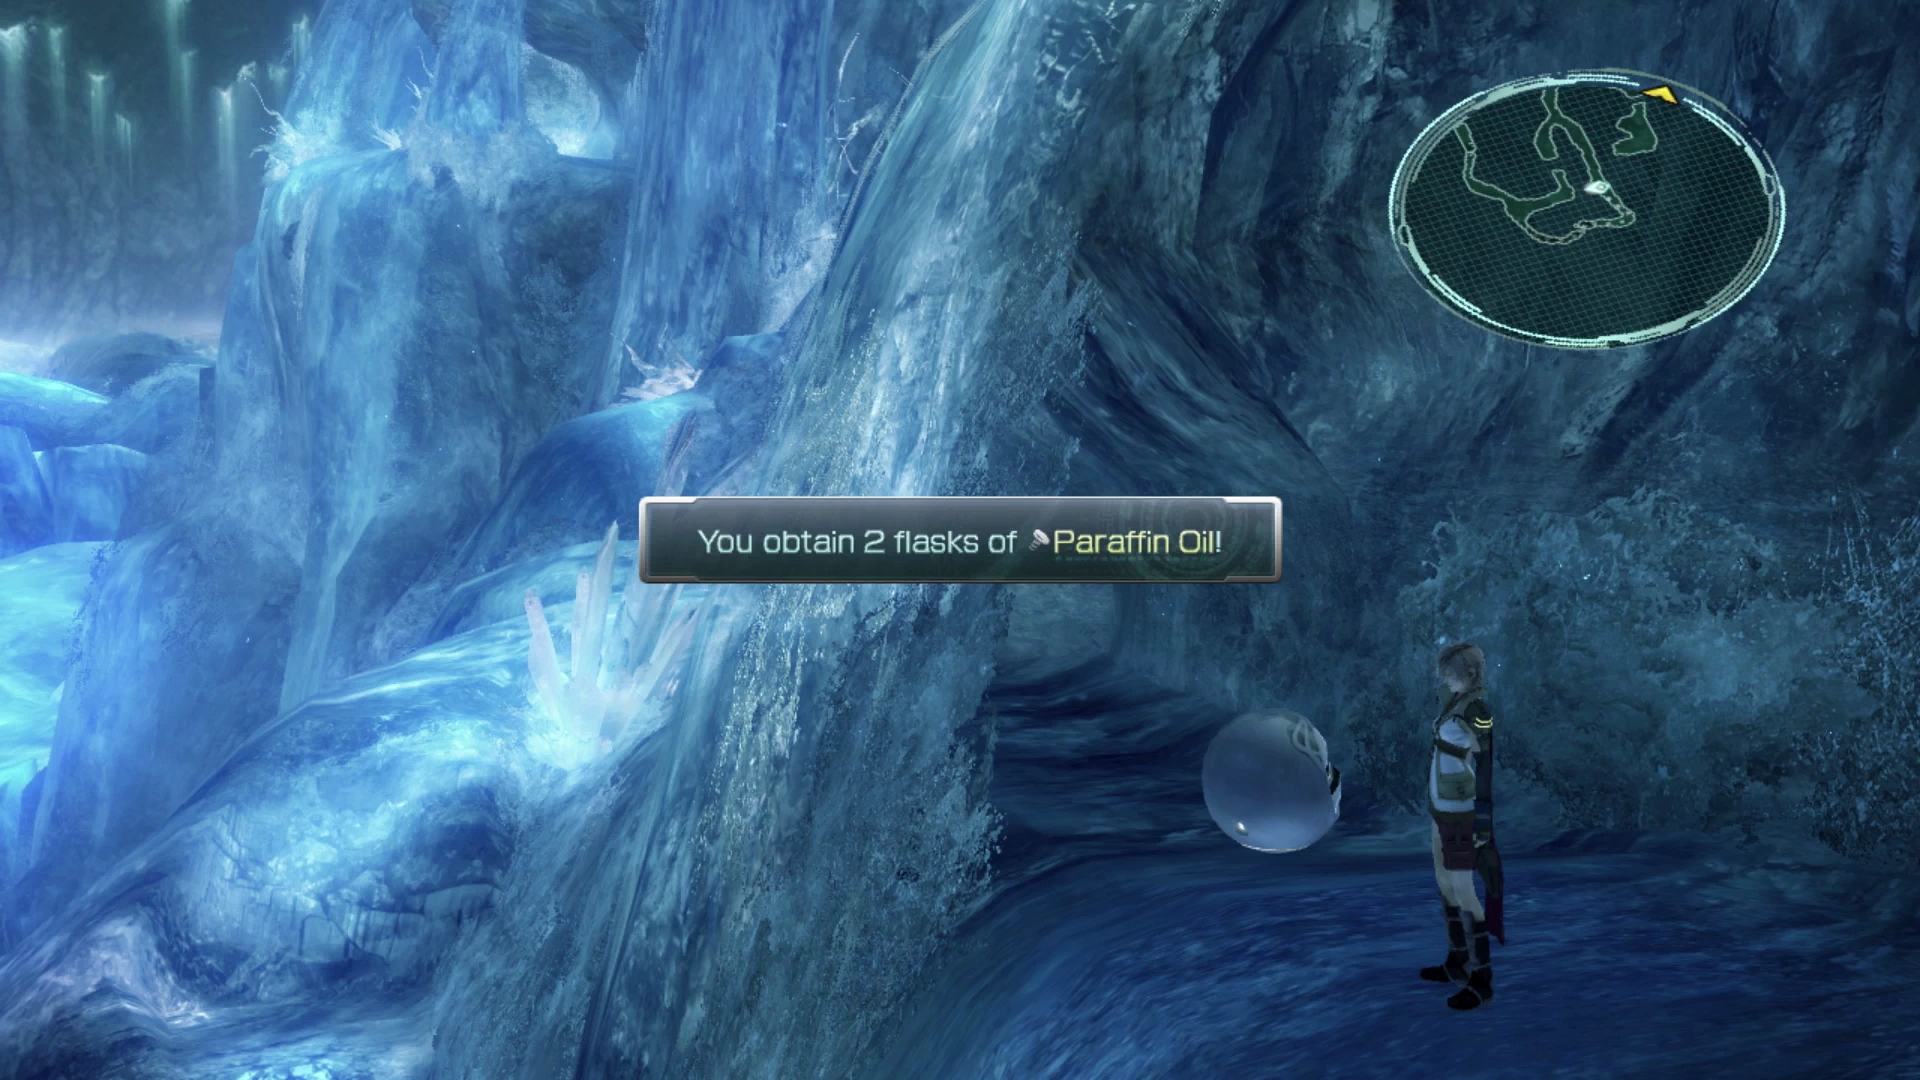
You will eventually reach a fork in the road where you can take the pathway leading up the cliffs on the left or along the machinery on the right. Take the right and grab the Treasure Sphere along the cliff walkway to pick up two flasks of ![]() Paraffin Oil.
Paraffin Oil.
There’s another Treasure Sphere just up ahead, near where the two trails converge, that contains ![]() 50 Gil. Follow the pathway up the cliff once you have both.
50 Gil. Follow the pathway up the cliff once you have both.
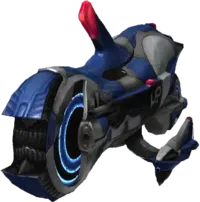
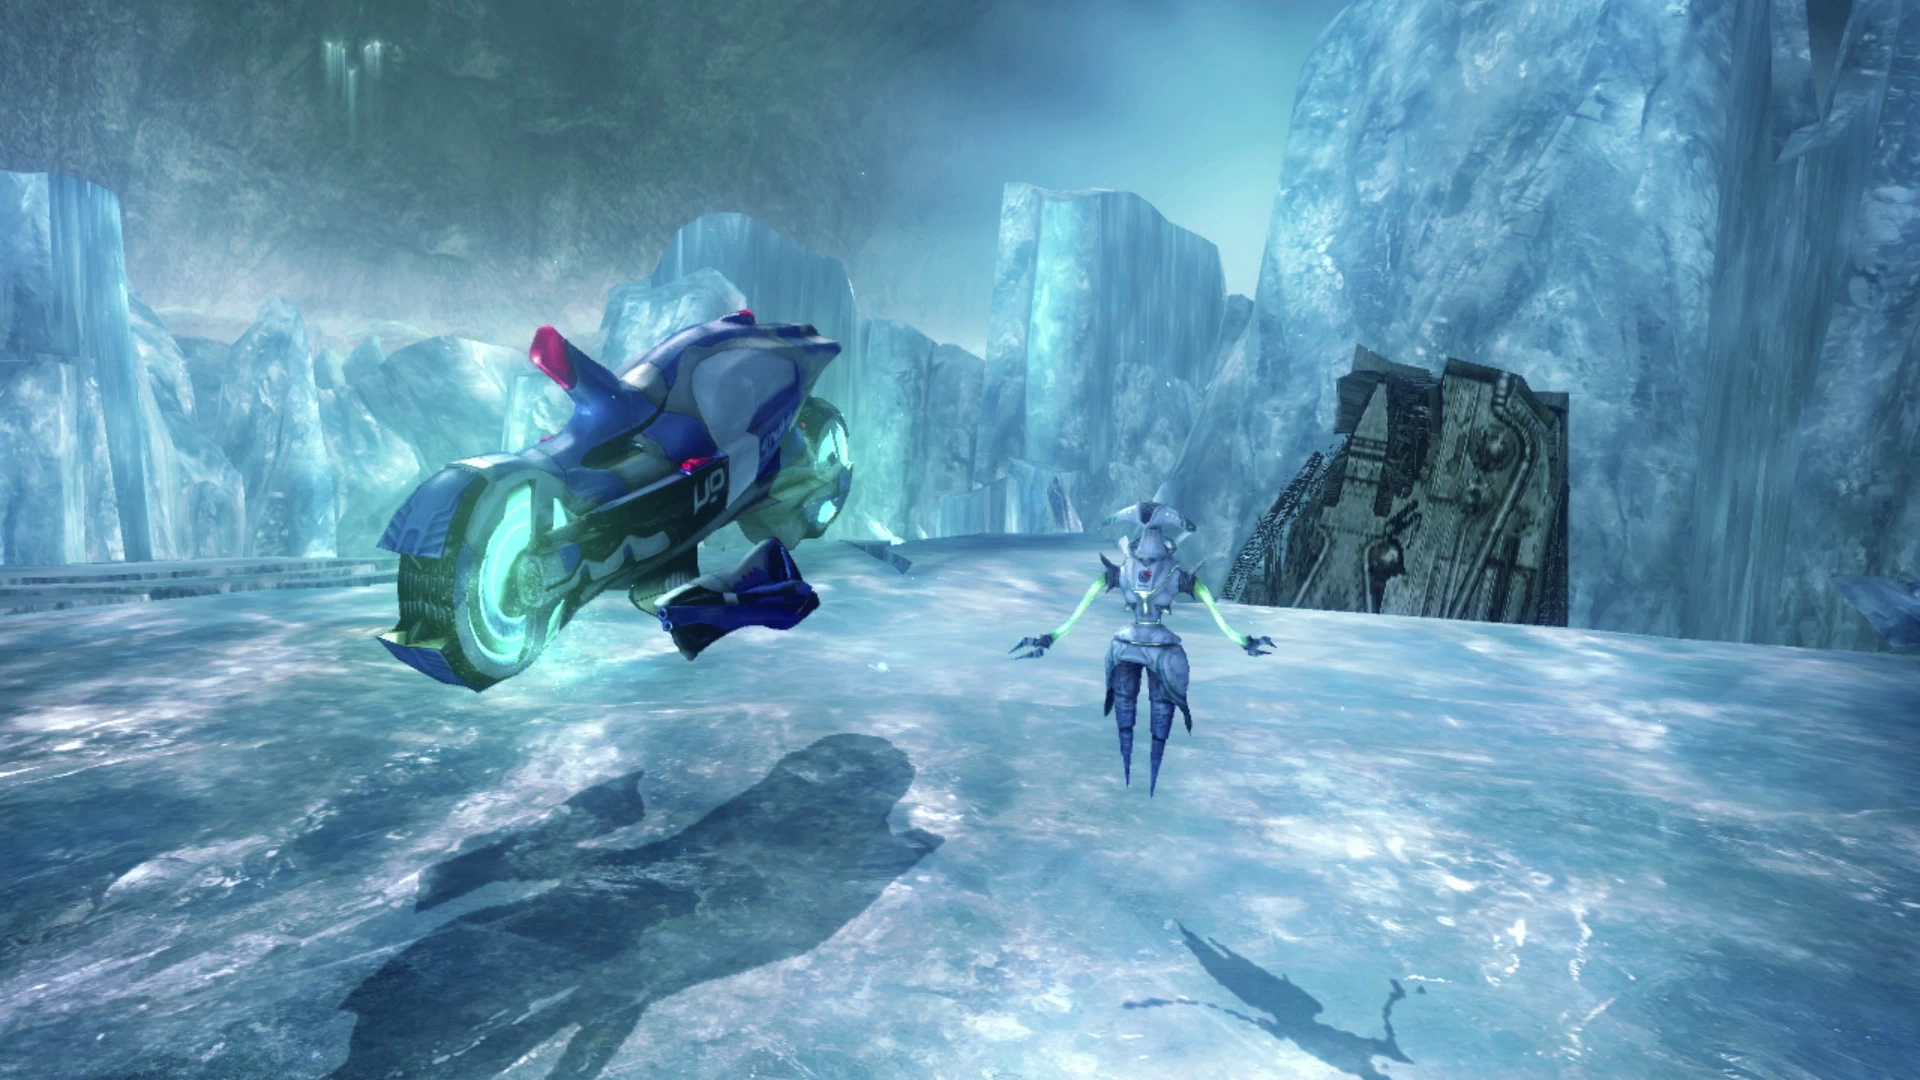
Once you reach the top of the cliffs, turn right to find another cliff off to the side (before you engage the Watchdrone and the Ciconia Velocycle) with a platform that contains another Treasure Sphere . Open it up to obtain 3 lengths of ![]() Insulated Cabling.
Insulated Cabling.
Then circle back around and challenge the Watchdrone/Velocycle. The Velocycle is one of the more challenging enemies that you’ll face up to this point; just be sure to heal up your party members if their HP gets too low.
Move up to the ![]() Save Station and save your game before moving into the next area. There is a short cinematic that will play as you reach the end of “The Frozen Falls” where the team will talk about how to complete their Focus. Follow the path into the next zone.
Save Station and save your game before moving into the next area. There is a short cinematic that will play as you reach the end of “The Frozen Falls” where the team will talk about how to complete their Focus. Follow the path into the next zone.
The Mirrored Morass

Just up ahead you will encounter a group of three Watchdrones. Grab the Treasure Sphere behind them which contains ![]() 30 Gil and then continue down the pathway. There’s yet another Treasure Sphere further up the trail that contains six
30 Gil and then continue down the pathway. There’s yet another Treasure Sphere further up the trail that contains six ![]() Begrimed Claws.
Begrimed Claws.
Walk just a bit further ahead to enter the next area. A title and subtitle will appear on the screen to confirm that you are in the right area (which looks like a large set of ruins).
Continue to Part 2 of the Lake Bresha guide to continue.