
Chapter 2: The Pulse Vestige


Sacrarium
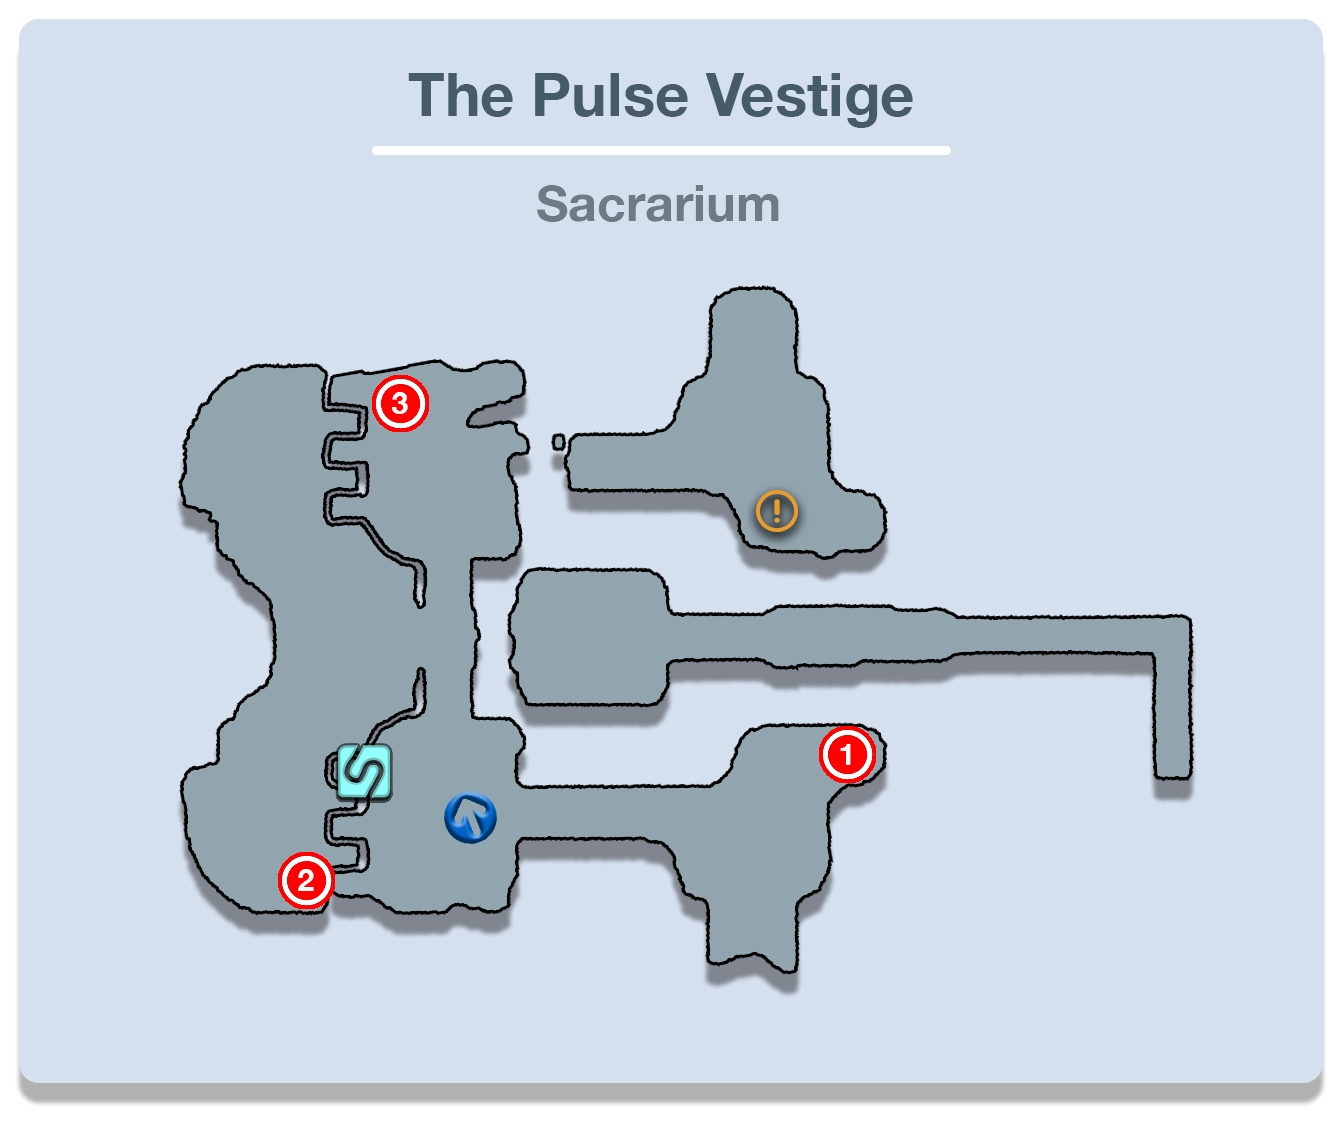
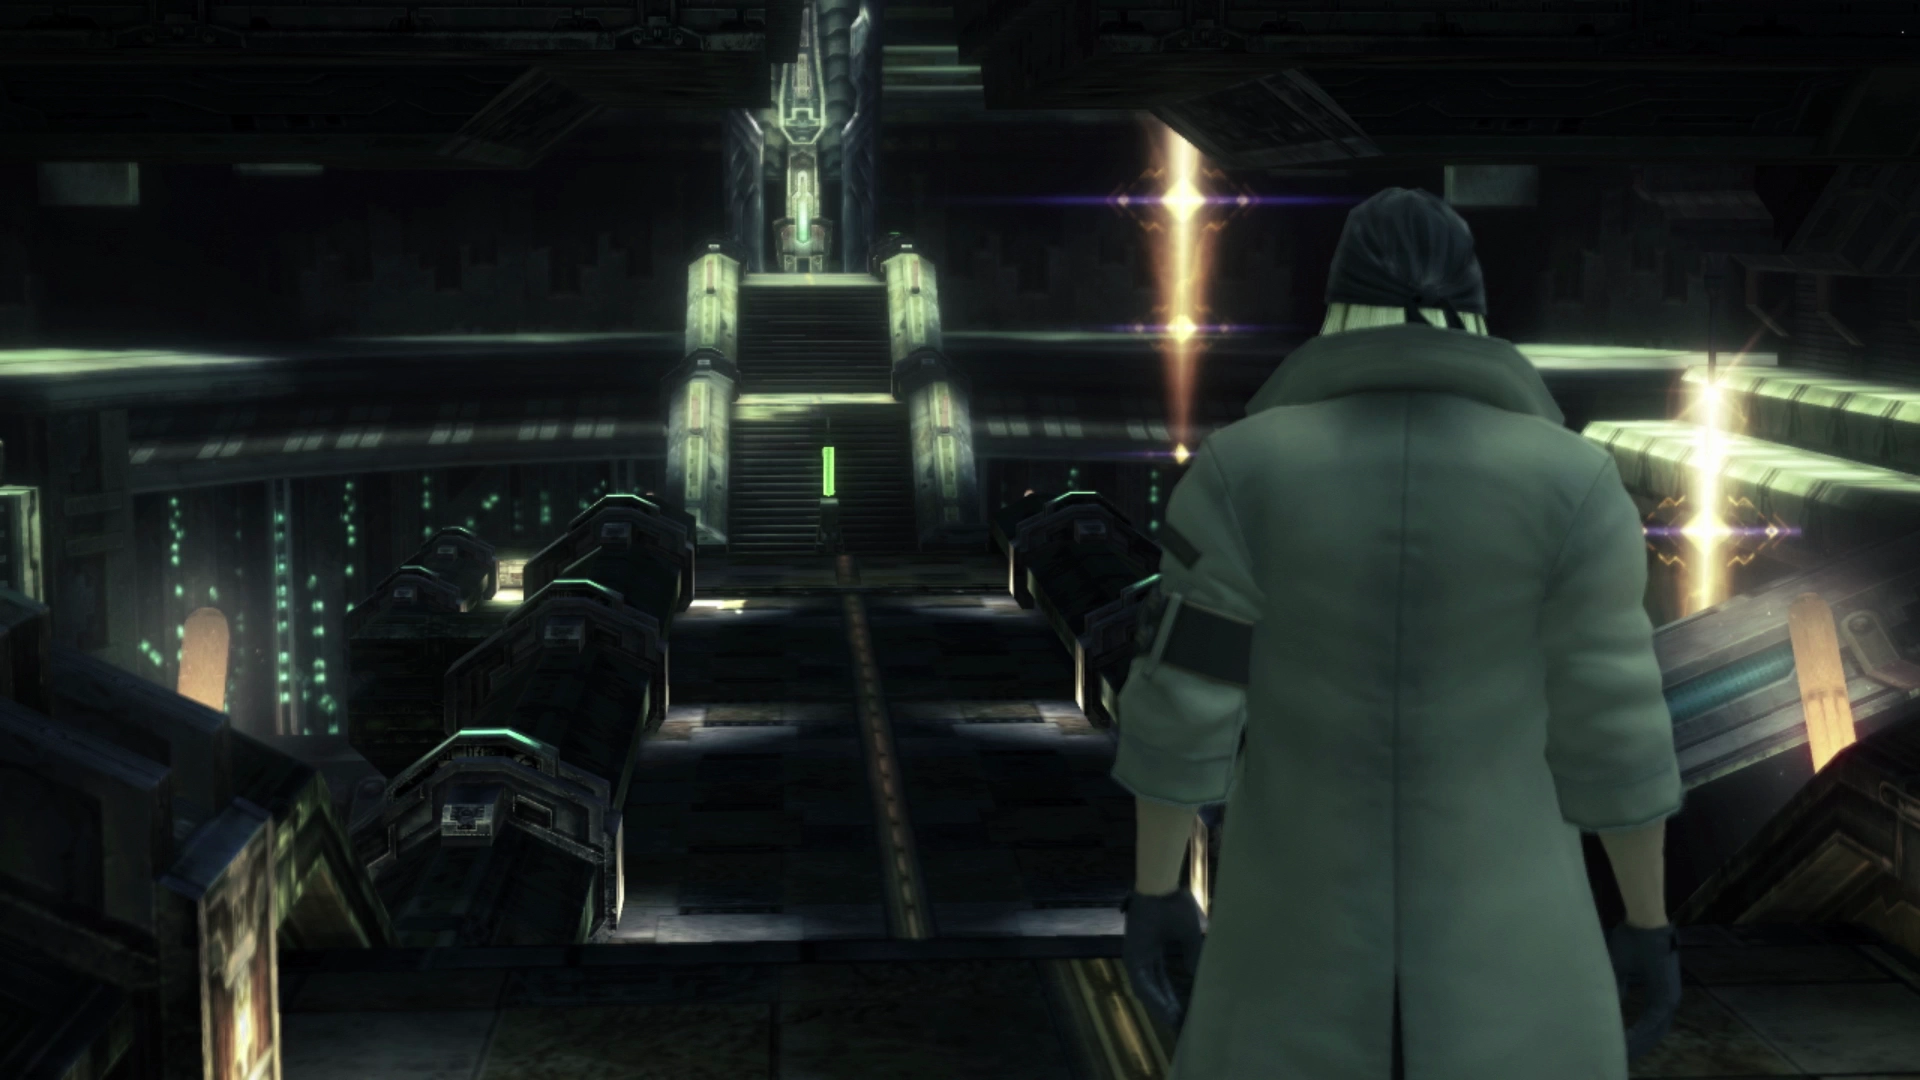
Despite the title sequence that displays when Hope and Vanille first arrive in the Pulse Vestige, which refers to this area as “The Pulse fal’Cie” and “Lowerworld Vestige,” this entire area is referred to as “The Pulse Vestige” and this first area they arrive in is called the Sacrarium. Remember that you can verify the area of the world and map that you are in by pulling up the menu screen and selecting the “Map” option.

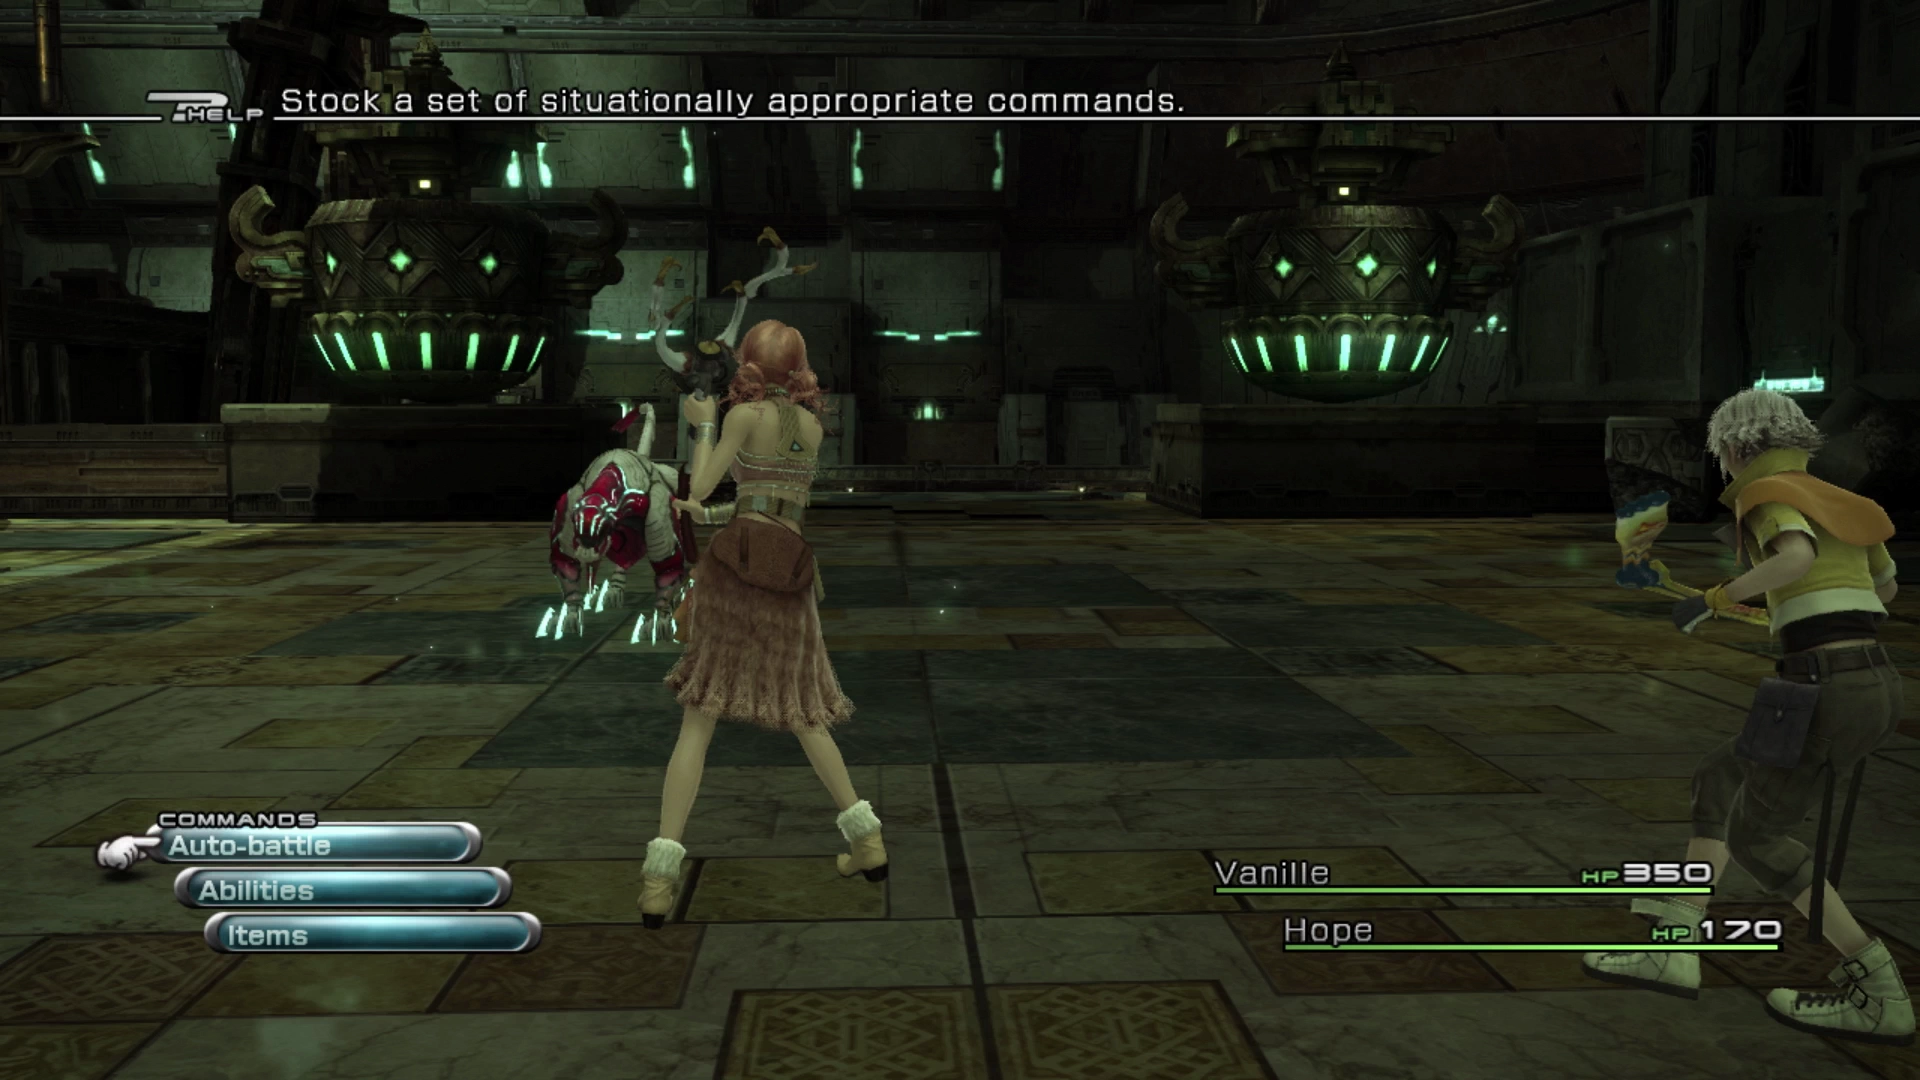
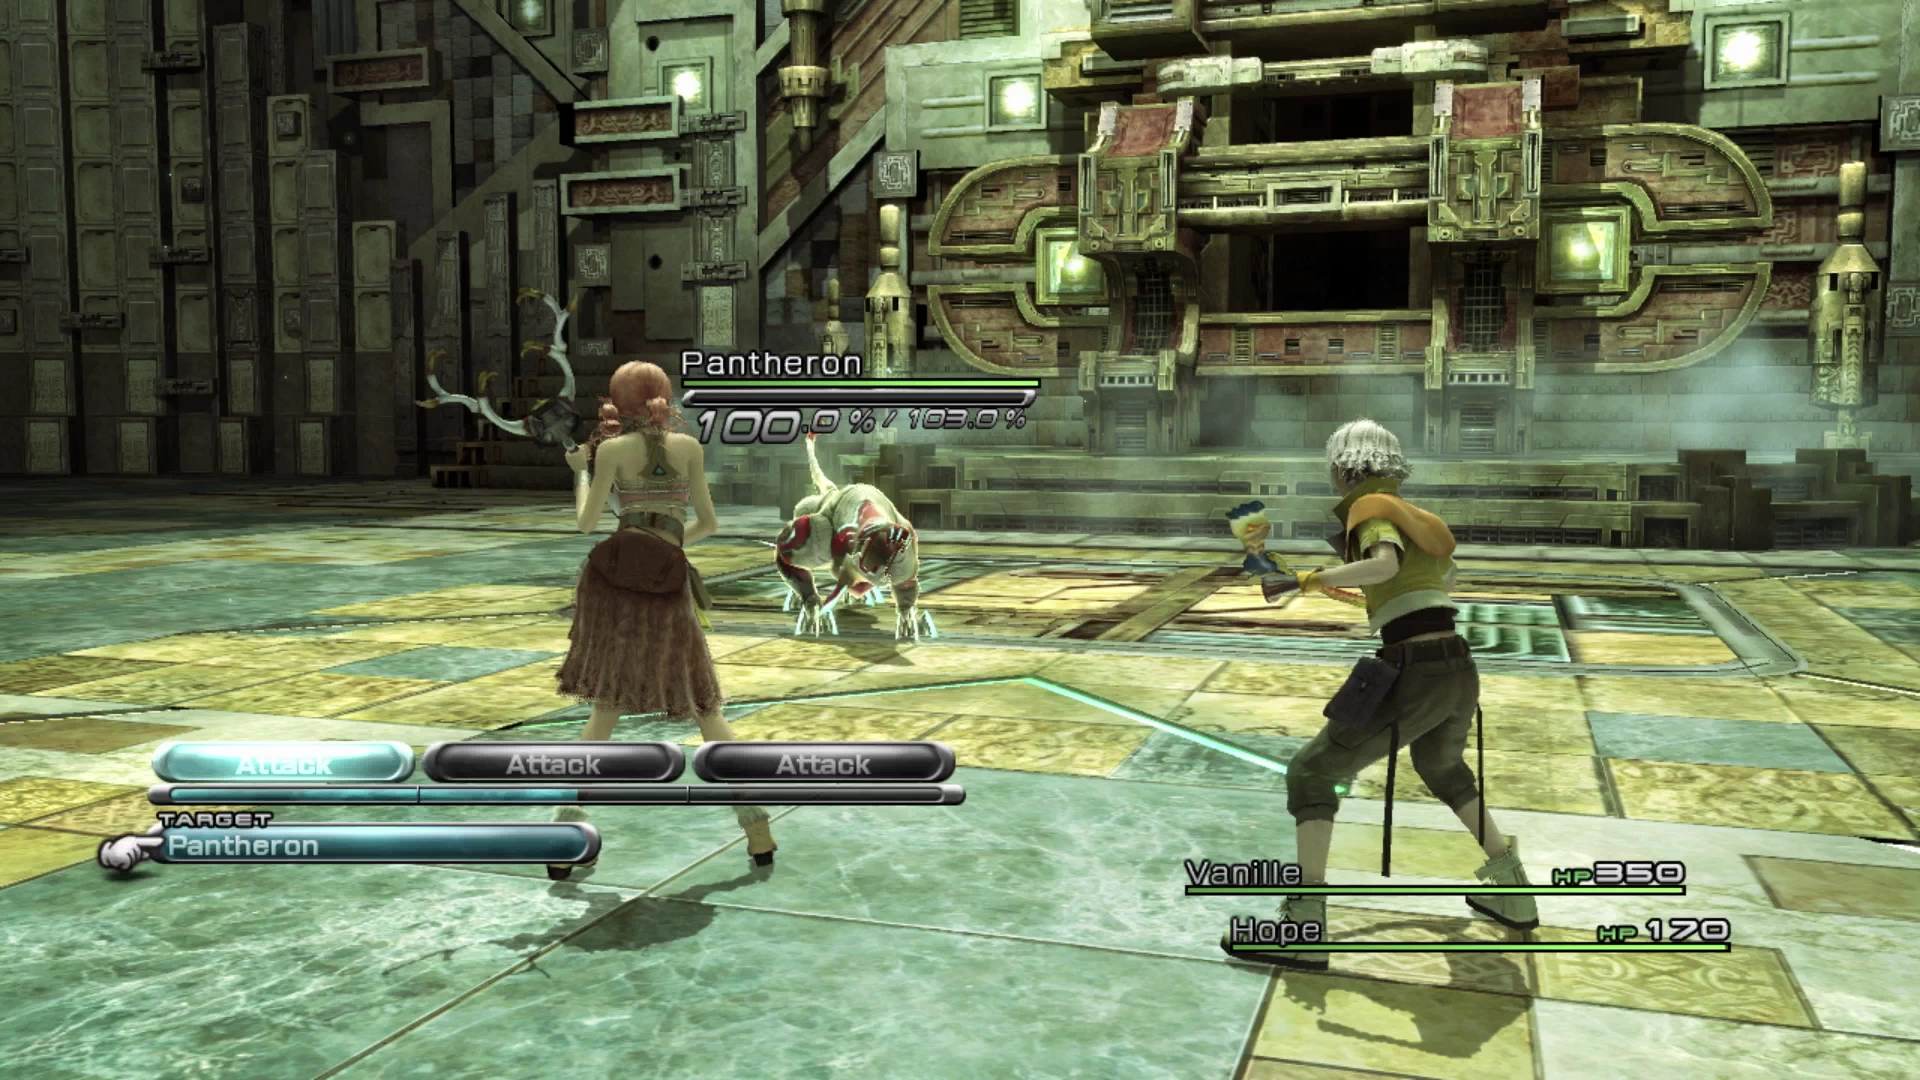
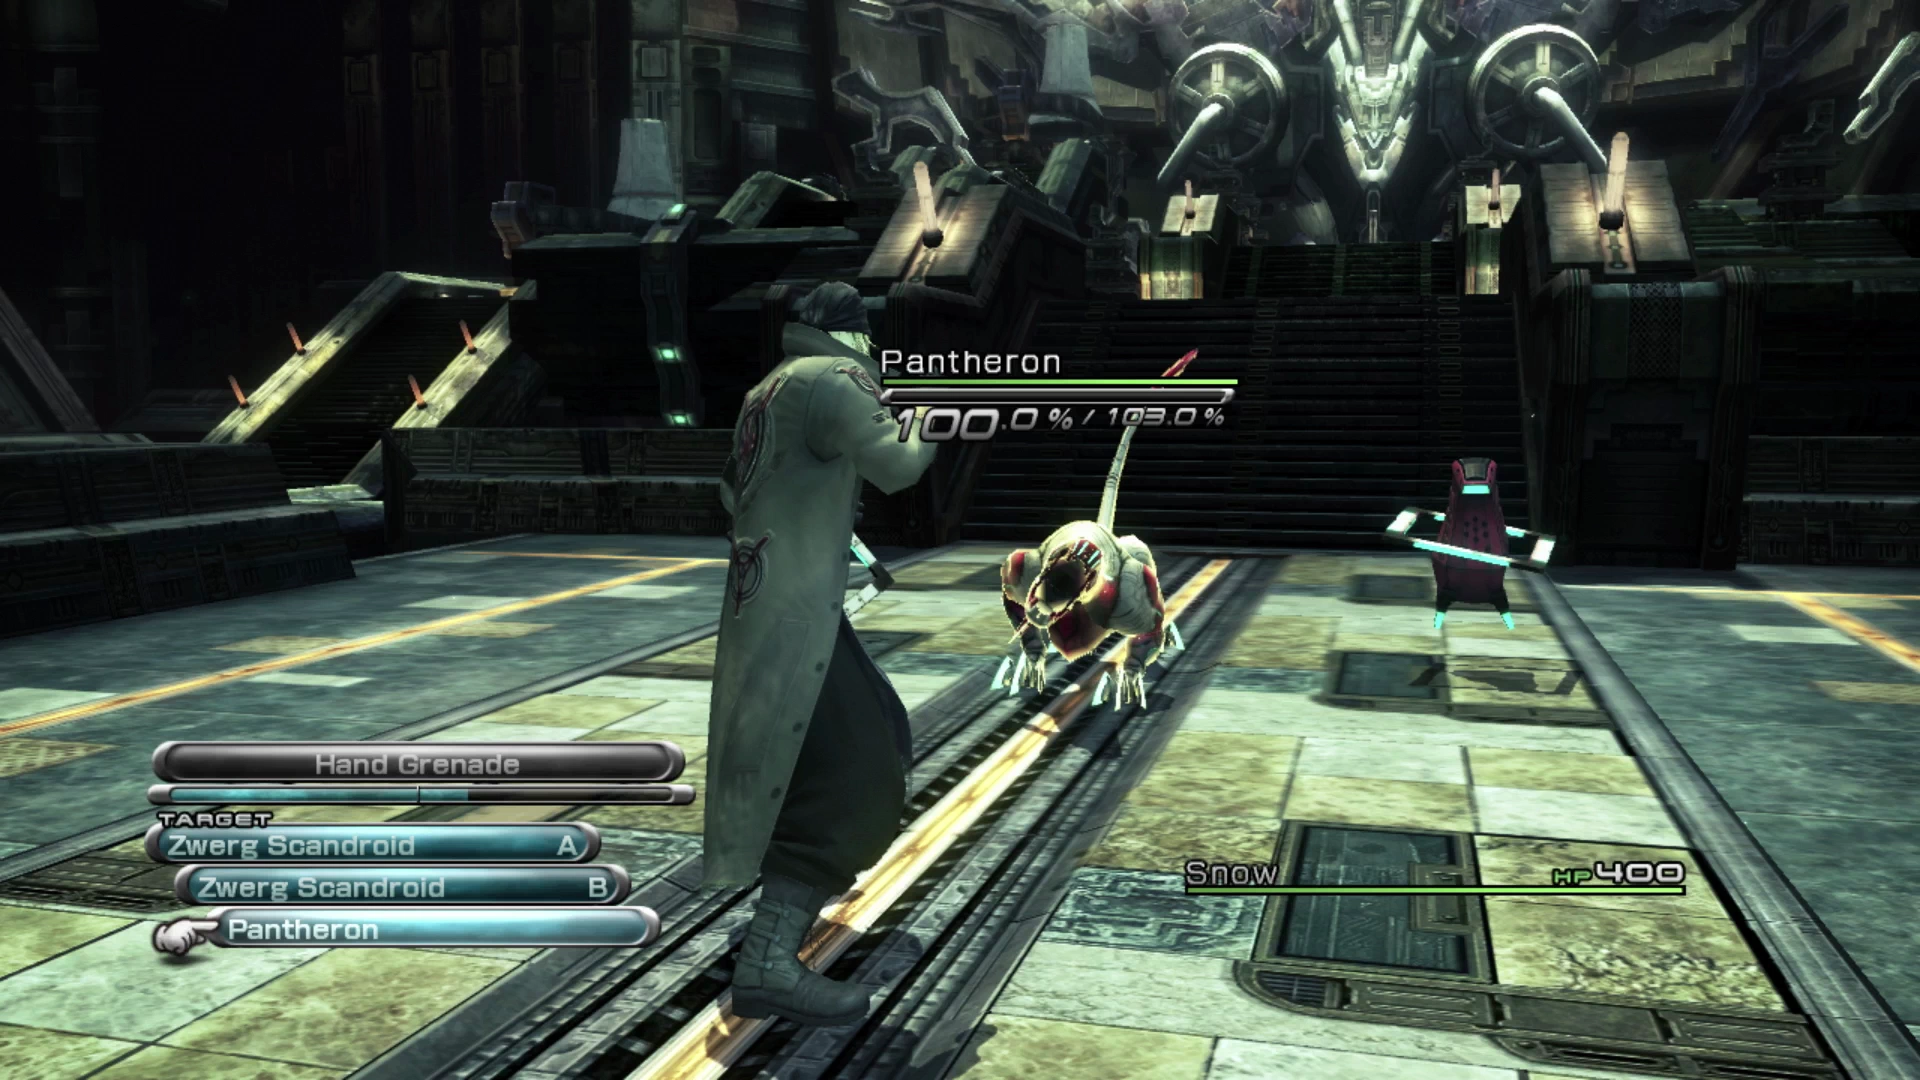
Vanille will find her very first weapon (![]() Binding Rod) stashed up amongst the Pulse Vestige ruins just before both Vanille and Hope are thrown into battle against another Pantheron. This fight against a single, lone Pantheron is very easy and doesn’t require any unique strategy. The unique aspect of this fight is that you will receive a
Binding Rod) stashed up amongst the Pulse Vestige ruins just before both Vanille and Hope are thrown into battle against another Pantheron. This fight against a single, lone Pantheron is very easy and doesn’t require any unique strategy. The unique aspect of this fight is that you will receive a ![]() B&W Outfitters once the battle is over.
B&W Outfitters once the battle is over.
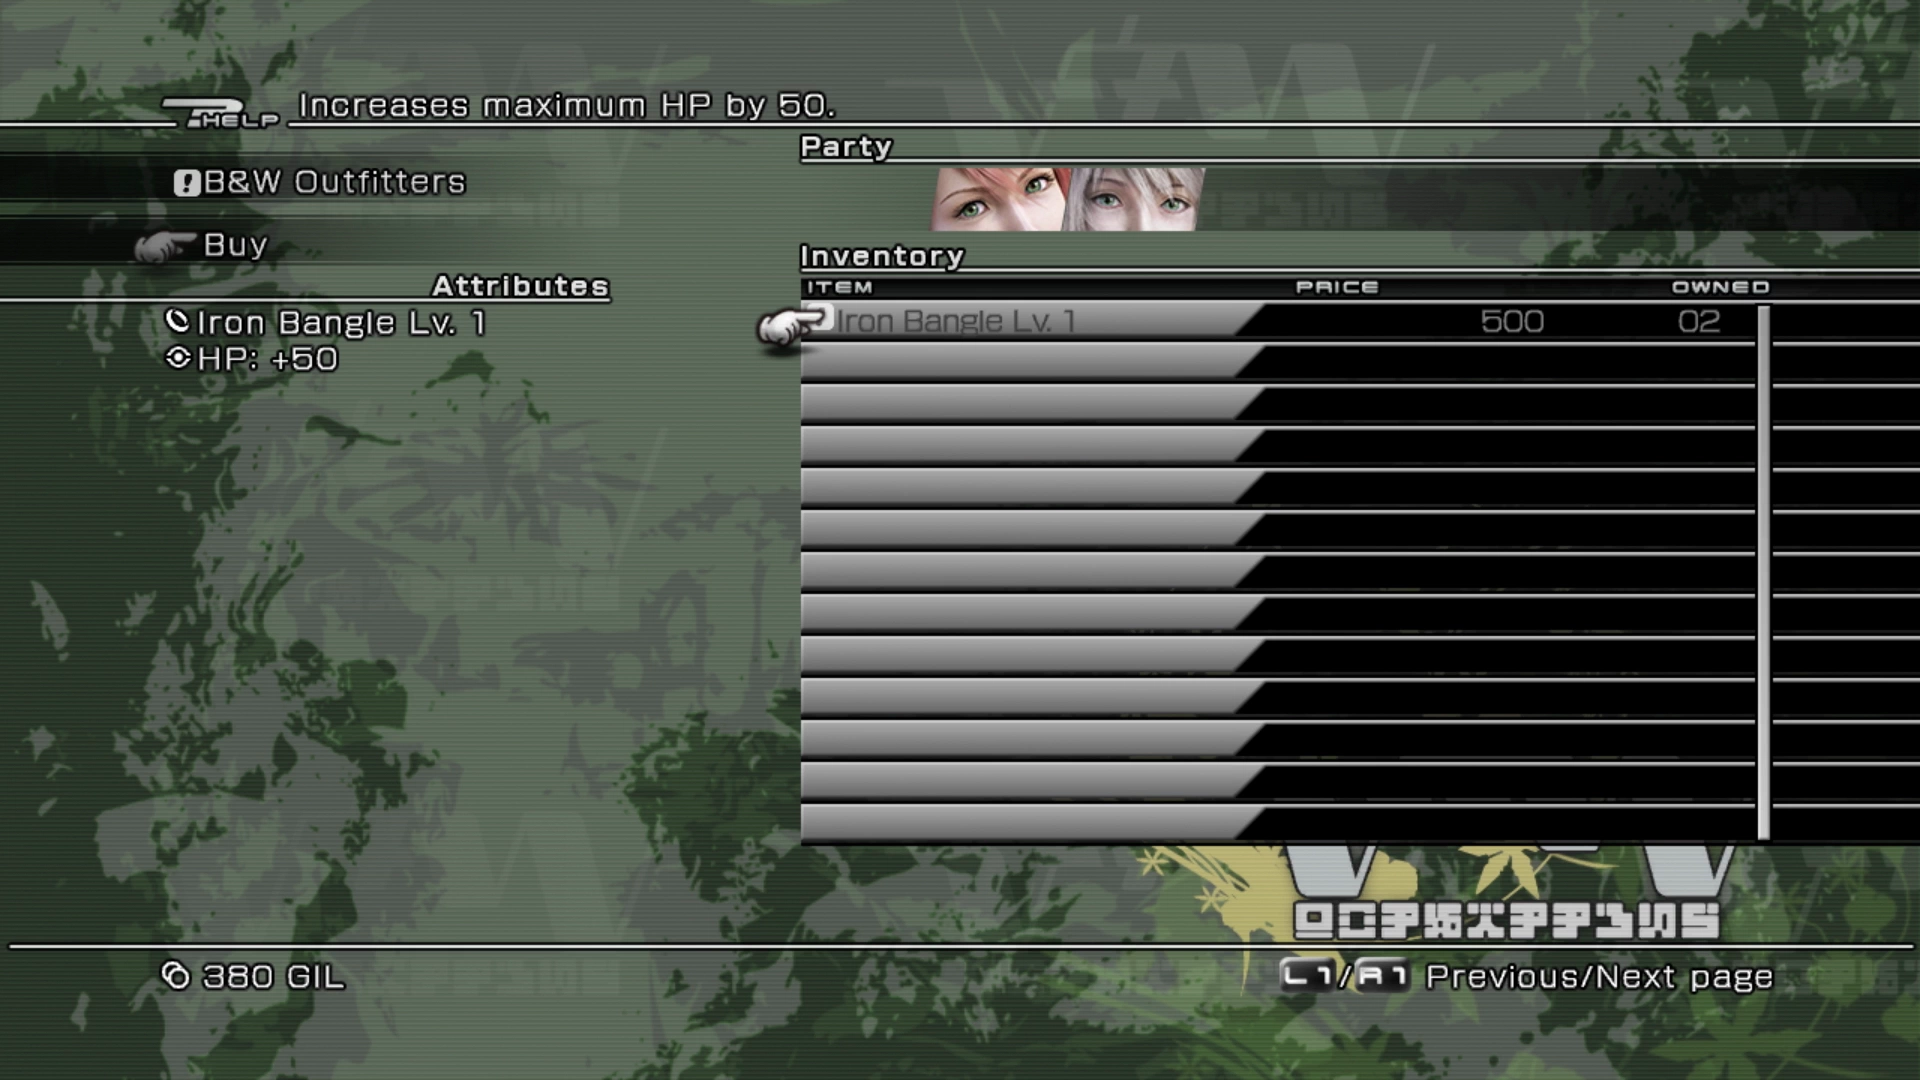
![]() B&W Outfitters is a Key Item that adds another shop to the menu screen that you can visit when you access a
B&W Outfitters is a Key Item that adds another shop to the menu screen that you can visit when you access a ![]() Save Station. The only item available for purchase at the shop right now is an
Save Station. The only item available for purchase at the shop right now is an ![]() Iron Bangle, but it is recommended that you not purchase any for your characters right now, for two reasons: first, you already have enough in your inventory to equip one to each of your three active party members and, second, you should be saving as much of your Gil as you can. No frivolous purchases!
Iron Bangle, but it is recommended that you not purchase any for your characters right now, for two reasons: first, you already have enough in your inventory to equip one to each of your three active party members and, second, you should be saving as much of your Gil as you can. No frivolous purchases!
You will now find yourself in control of Vanille as the new leader of your party. Using your two new party members is not difficult, but if you’re interested, you can read up about Hope and Vanille by checking out their ‘Character’ page using the links below:


Take Vanille back over to where the hover copter crash-landed and, just off to the left of it, is a Treasure Sphere that contains ![]() 30 Gil. Go back up to near where she started to find a
30 Gil. Go back up to near where she started to find a ![]() Save Station close by. Have a look in Unicorn Mart and B&W Outfitters if you want to see which items are available.
Save Station close by. Have a look in Unicorn Mart and B&W Outfitters if you want to see which items are available.
 Potion (50 Gil)
 Phoenix Down (1,000 Gil)
Head up the stairs and turn left for your second battle against a lone Pantheron (don’t go down the stairs on the opposite side of the platform just yet). This is another easy battle but note that during these battles you may receive your first “Shroud” items as spoils from these battles (such as ![]() Deceptisol or
Deceptisol or ![]() Fortisol). Make sure not to use these, the “Stockpiling Shrouds” hint below explains why they are worth saving.
Fortisol). Make sure not to use these, the “Stockpiling Shrouds” hint below explains why they are worth saving.
Helpful Hint
There are four different types of “Shrouds” that you can obtain in Final Fantasy XIII: ![]() Fortisol,
Fortisol, ![]() Aegisol,
Aegisol, ![]() Deceptisol and
Deceptisol and ![]() Ethersol. Use the links if you would like to learn more about what effect each of these shrouds has on your party members.
Ethersol. Use the links if you would like to learn more about what effect each of these shrouds has on your party members.
These are incredibly powerful items (specifically the ![]() Fortisols and
Fortisols and ![]() Aegisols) that can give your party members a huge strategic advantage in battle. These early fights in the first chapters of the game are quite easy though and should not require the use of any shrouds to either successfully defeat the enemies you face or earn a high five-star ranking, so you should make sure to save these powerful items for some of the more challenging optional enemies that you will face later in the game.
Aegisols) that can give your party members a huge strategic advantage in battle. These early fights in the first chapters of the game are quite easy though and should not require the use of any shrouds to either successfully defeat the enemies you face or earn a high five-star ranking, so you should make sure to save these powerful items for some of the more challenging optional enemies that you will face later in the game.
The best times to use these items will be highlighted later in this guide. The important thing to note though at this point in the game is to hold off on applying any of them to your party. Check out the Shrouds page in the Tips and Tricks section for more information.
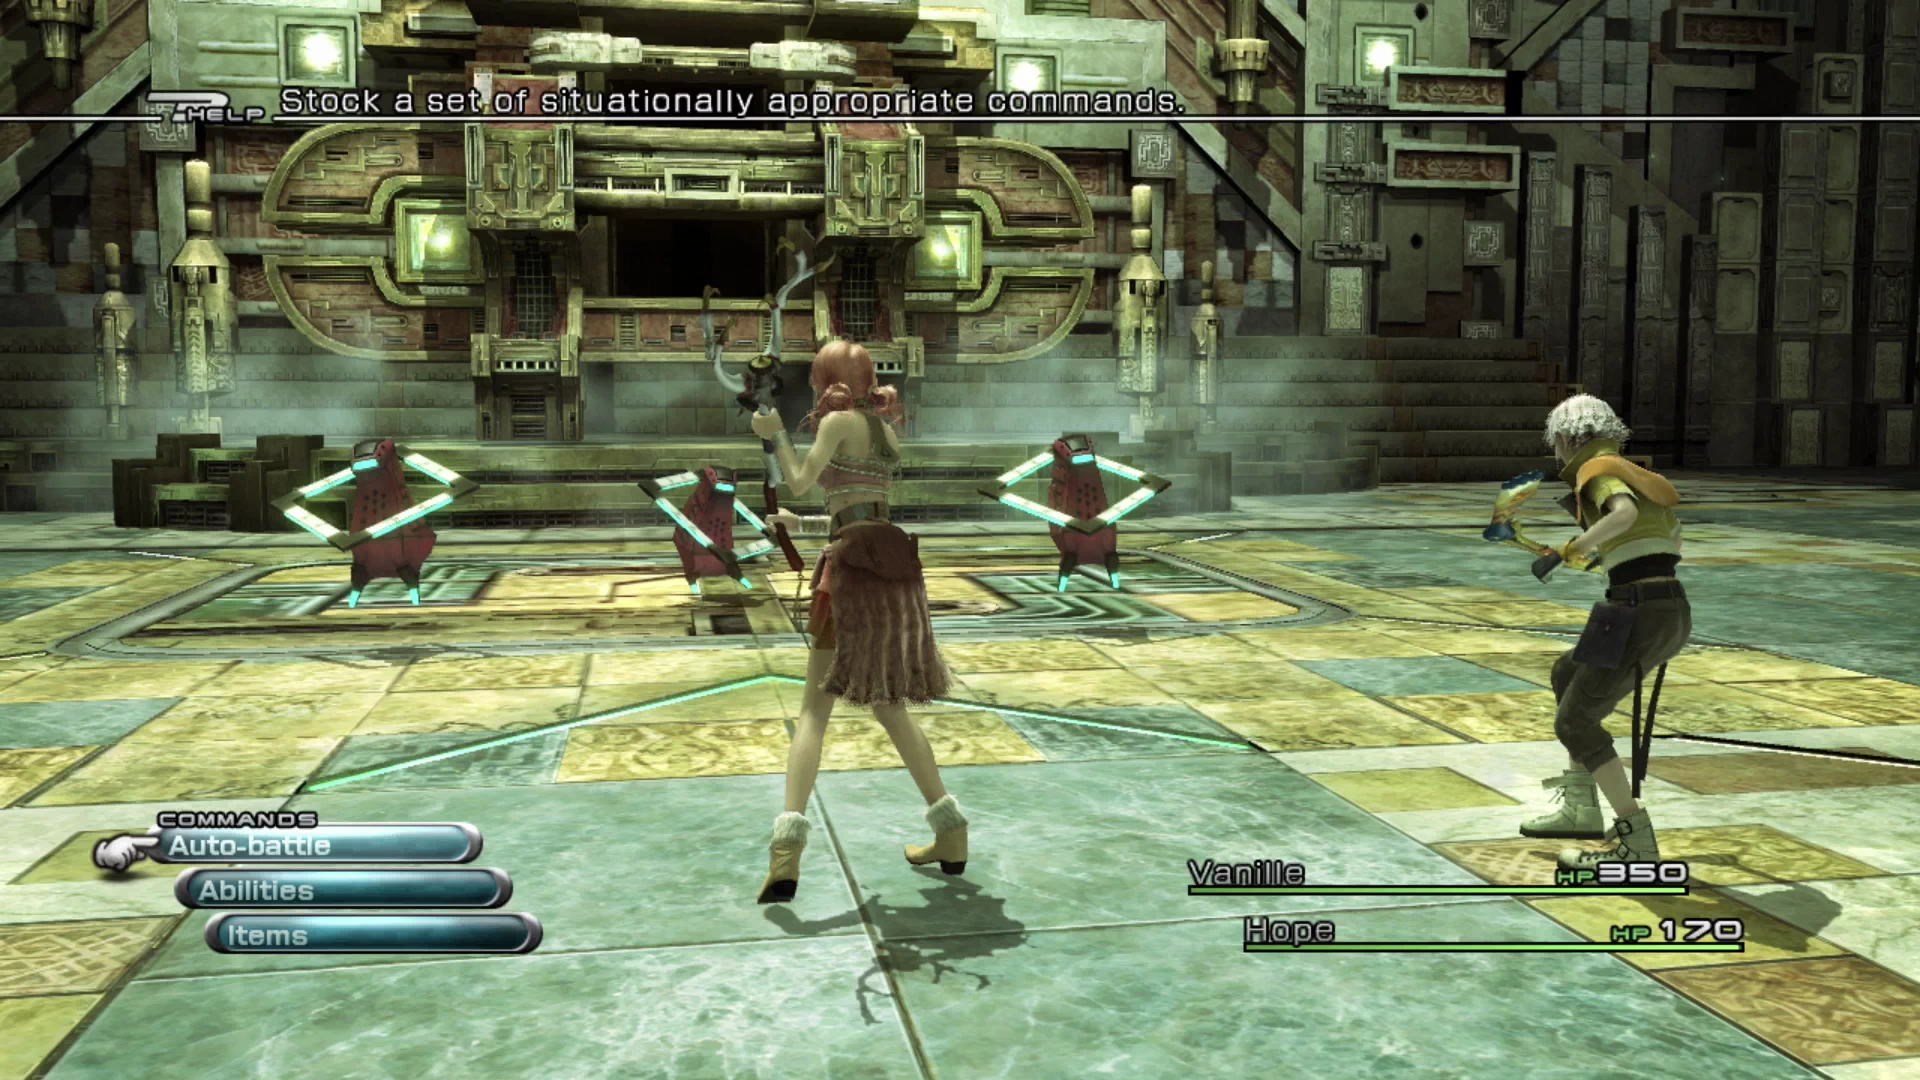
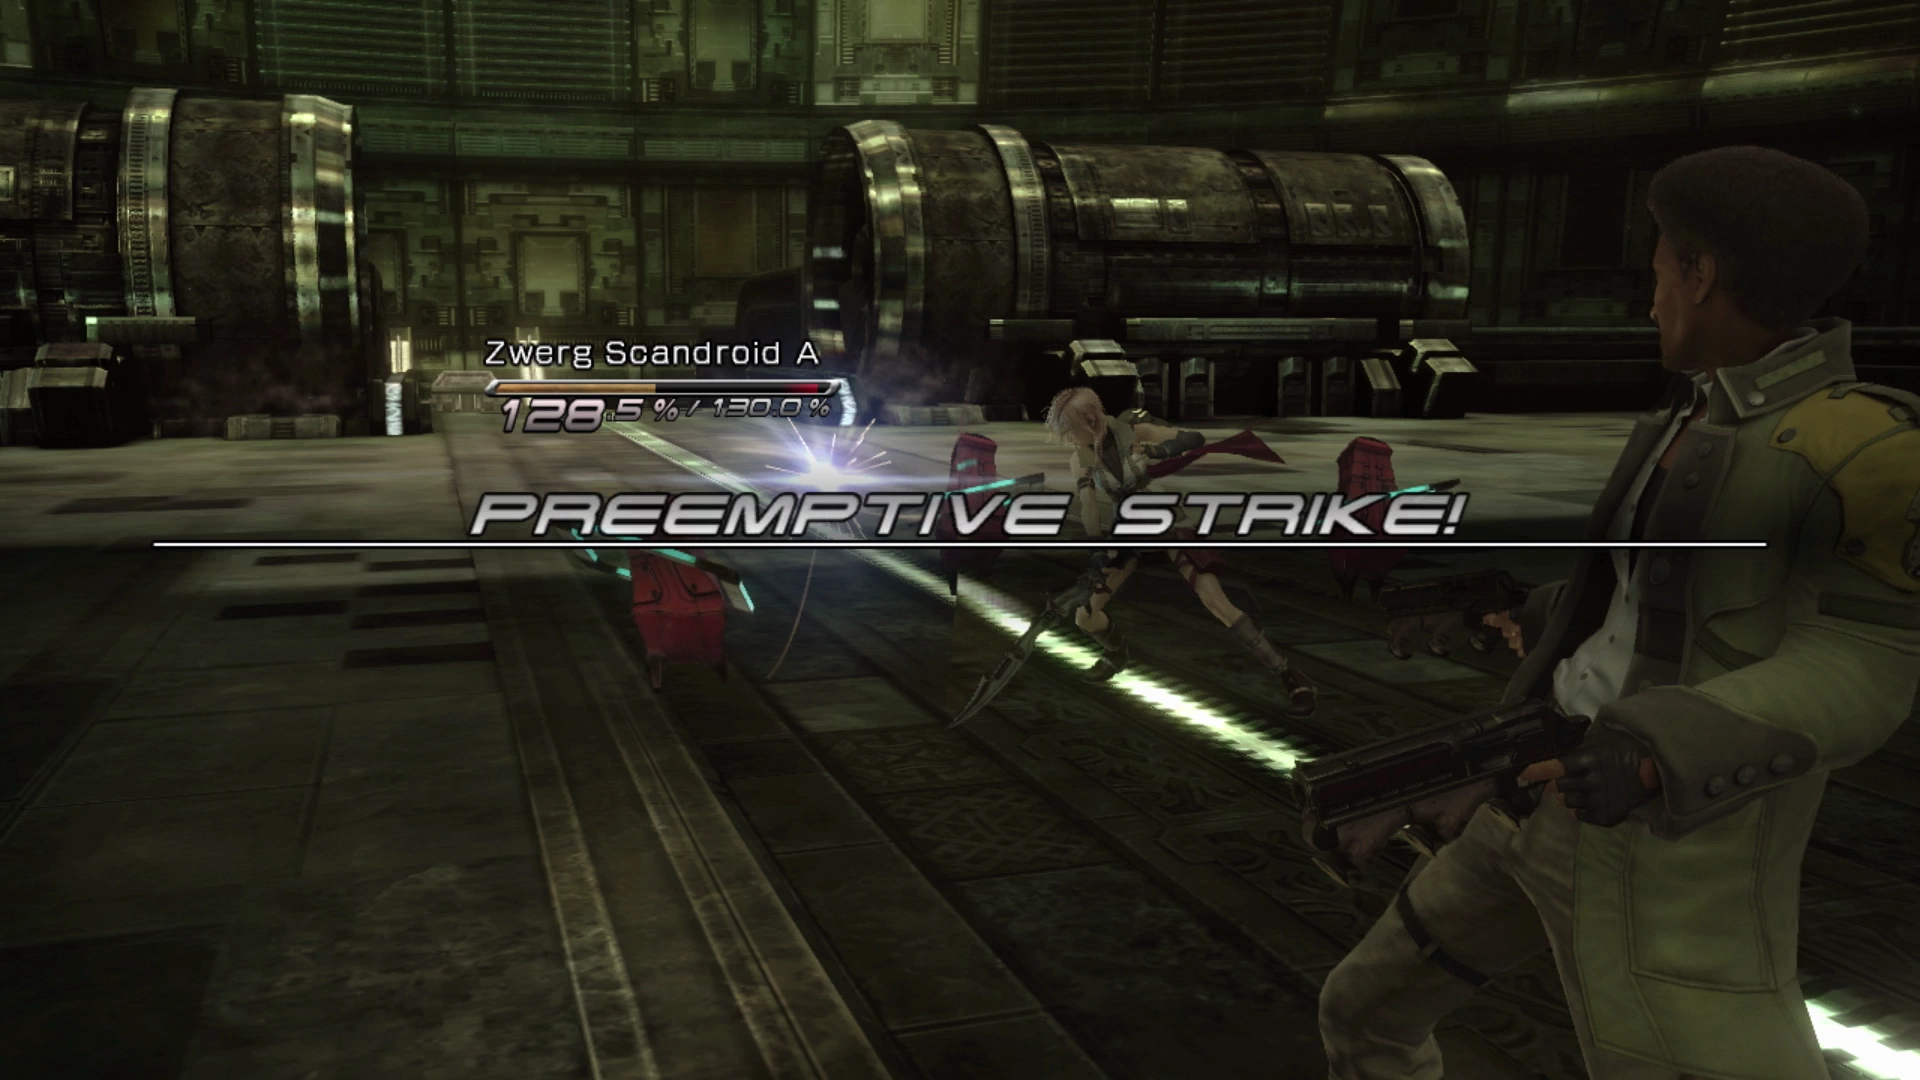
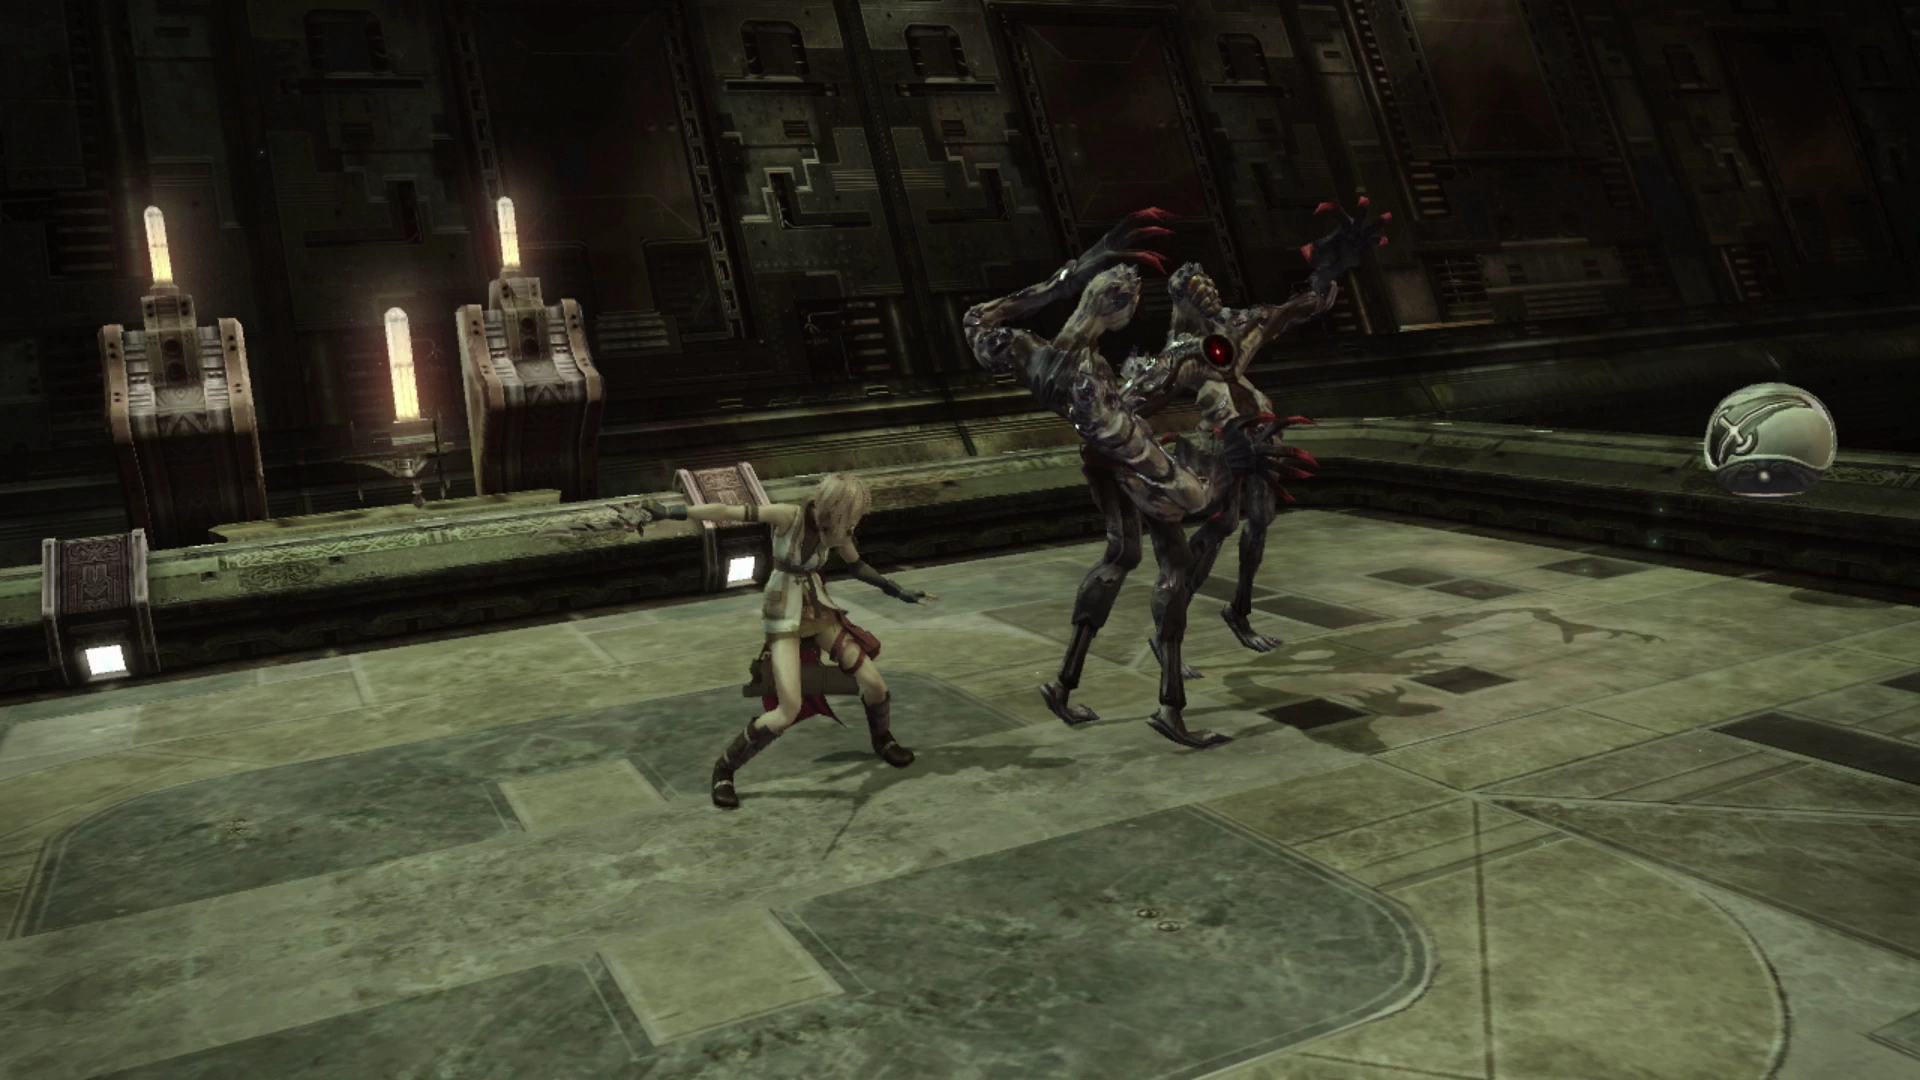
There are two other groups of enemies in this area. The right side has two more Pantherons and the left side has a new type of enemy called a Zwerg Scandroid (three of them).
The game will be providing you with an explanation of how preemptive strikes work but it’s also noted below in the next helpful hint section as this group of Zwerg Scandroids can easily be engaged using a preemptive strike.
Helpful Hint
You should now get yourself into the habit of trying to engage enemies in combat using a preemptive strike. You can do this easily in Final Fantasy XIII as there is no randomness to this type of battle like there was in other Final Fantasy games. All you must do is touch an enemy before they notice that you are there.
This is easy to do because the game makes it obvious when an enemy has noticed you. A red exclamation mark (![]() ) will appear above an enemy’s head if you have been spotted. If enemies are just wandering around though and they have not noticed you yet, you can touch them to kick off a battle with a preemptive strike.
) will appear above an enemy’s head if you have been spotted. If enemies are just wandering around though and they have not noticed you yet, you can touch them to kick off a battle with a preemptive strike.
This is easier to do against enemies that have poor vision or that are slow-moving and face away from you. It’s harder to do against some enemies though if they move around quickly or if they have a wild field of view. Get into the habit of triggering preemptive strikes early as it will result in a quicker battle and therefore a higher star ranking which in turn will result in you obtaining better loot after the battle!
Approach one of the Zwerg Scandroids on the outside and, while it has its back towards you, run in and touch it. This should kick off a preemptive strike which will:
- Put each of the enemies near their Stagger point at the beginning of the fight.
- Start each of your party members with a full ATB Gauge.
Zwerg Scandroids are weak enemies that go down easily even if you don’t successfully get a preemptive strike, but they go down even quicker if you do. Grab the Treasure Sphere behind them that contains four ![]() Potions. Go down the stairs into the next area once you have cleared out all the enemies in this area. This is where the game will give you a primer on “Aggression and Preemptive Strikes.”
Potions. Go down the stairs into the next area once you have cleared out all the enemies in this area. This is where the game will give you a primer on “Aggression and Preemptive Strikes.”
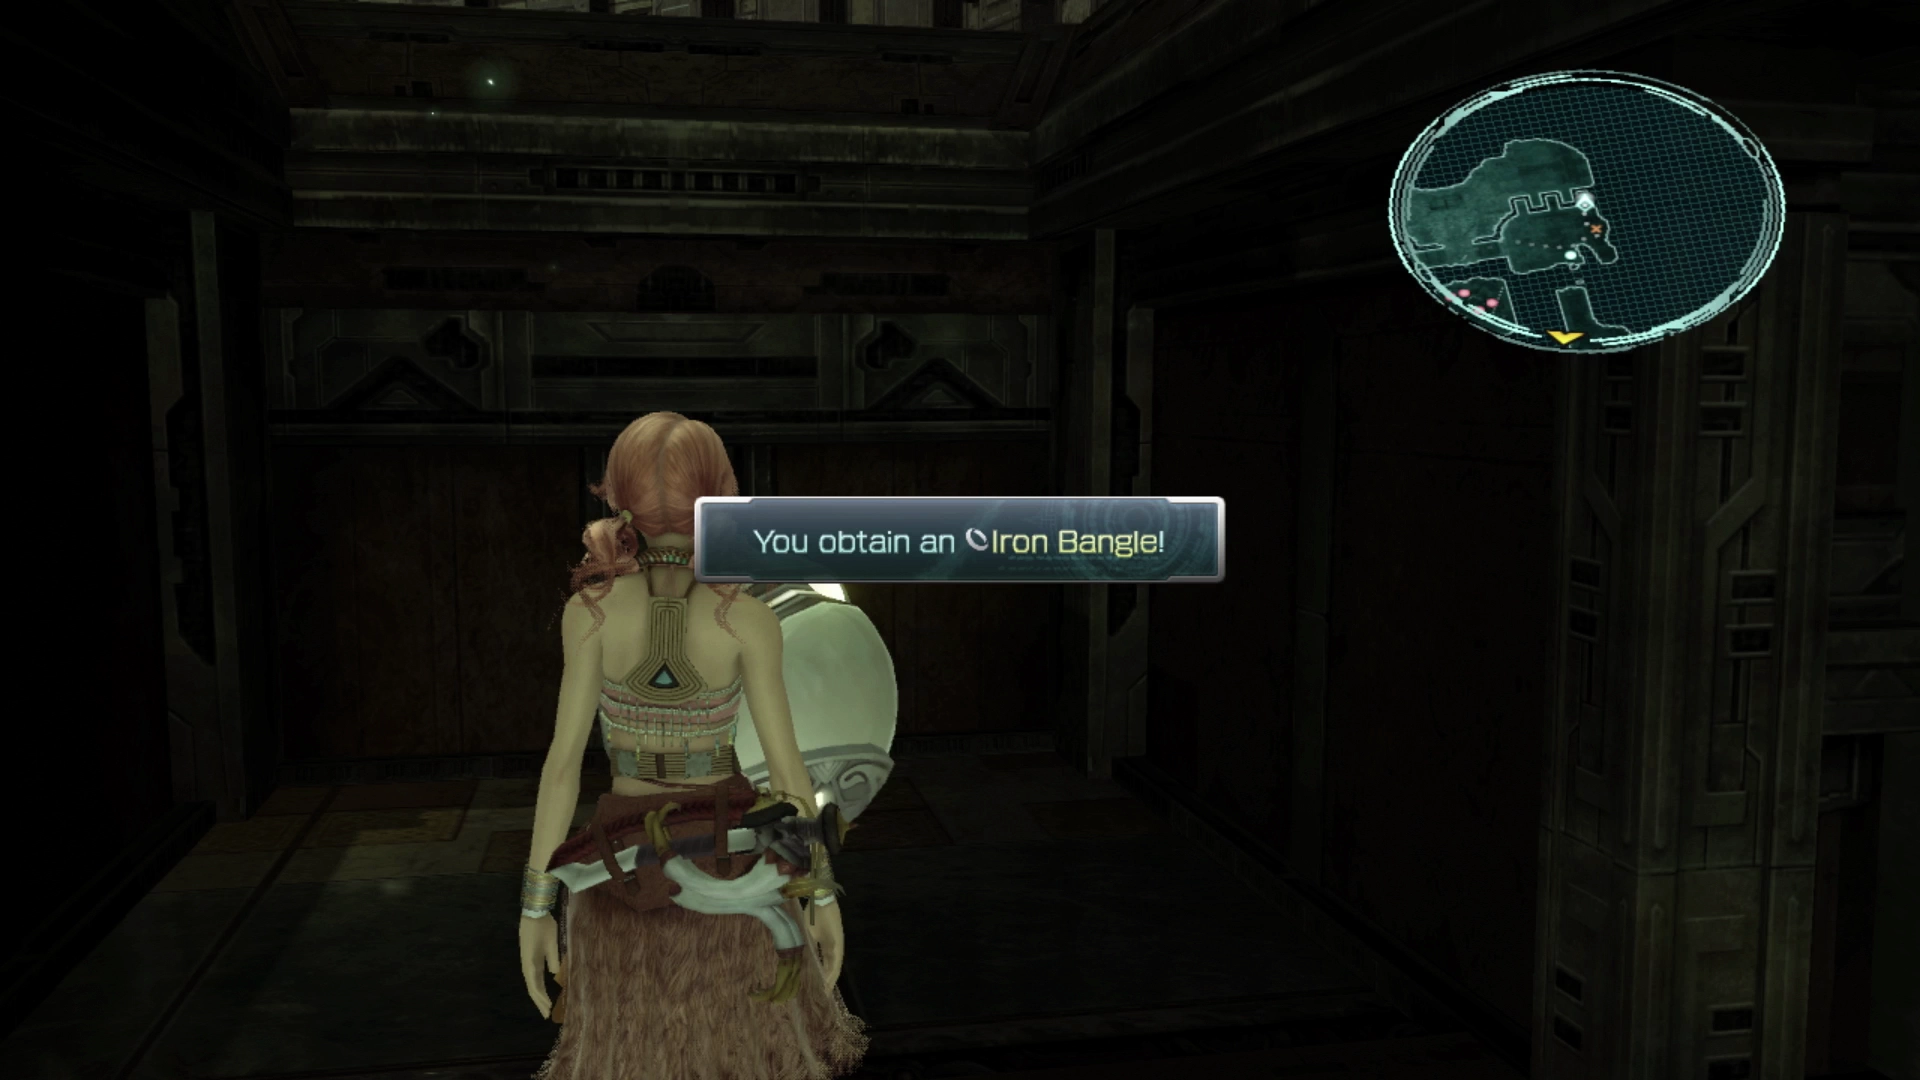
There is another group of three Zwerg Scandroids to defeat on this level next to the second crashed hoverbike in the corner. Grab the Treasure Sphere after you defeat them to obtain another free ![]() Iron Bangle. You can equip this to either of your characters as both will benefit from the extra HP; Vanille is your party leader and it’s game over if she is KO’d, but there is some value to equipping it to Hope as well given that his HP is so low right now (170 vs 350).
Iron Bangle. You can equip this to either of your characters as both will benefit from the extra HP; Vanille is your party leader and it’s game over if she is KO’d, but there is some value to equipping it to Hope as well given that his HP is so low right now (170 vs 350).
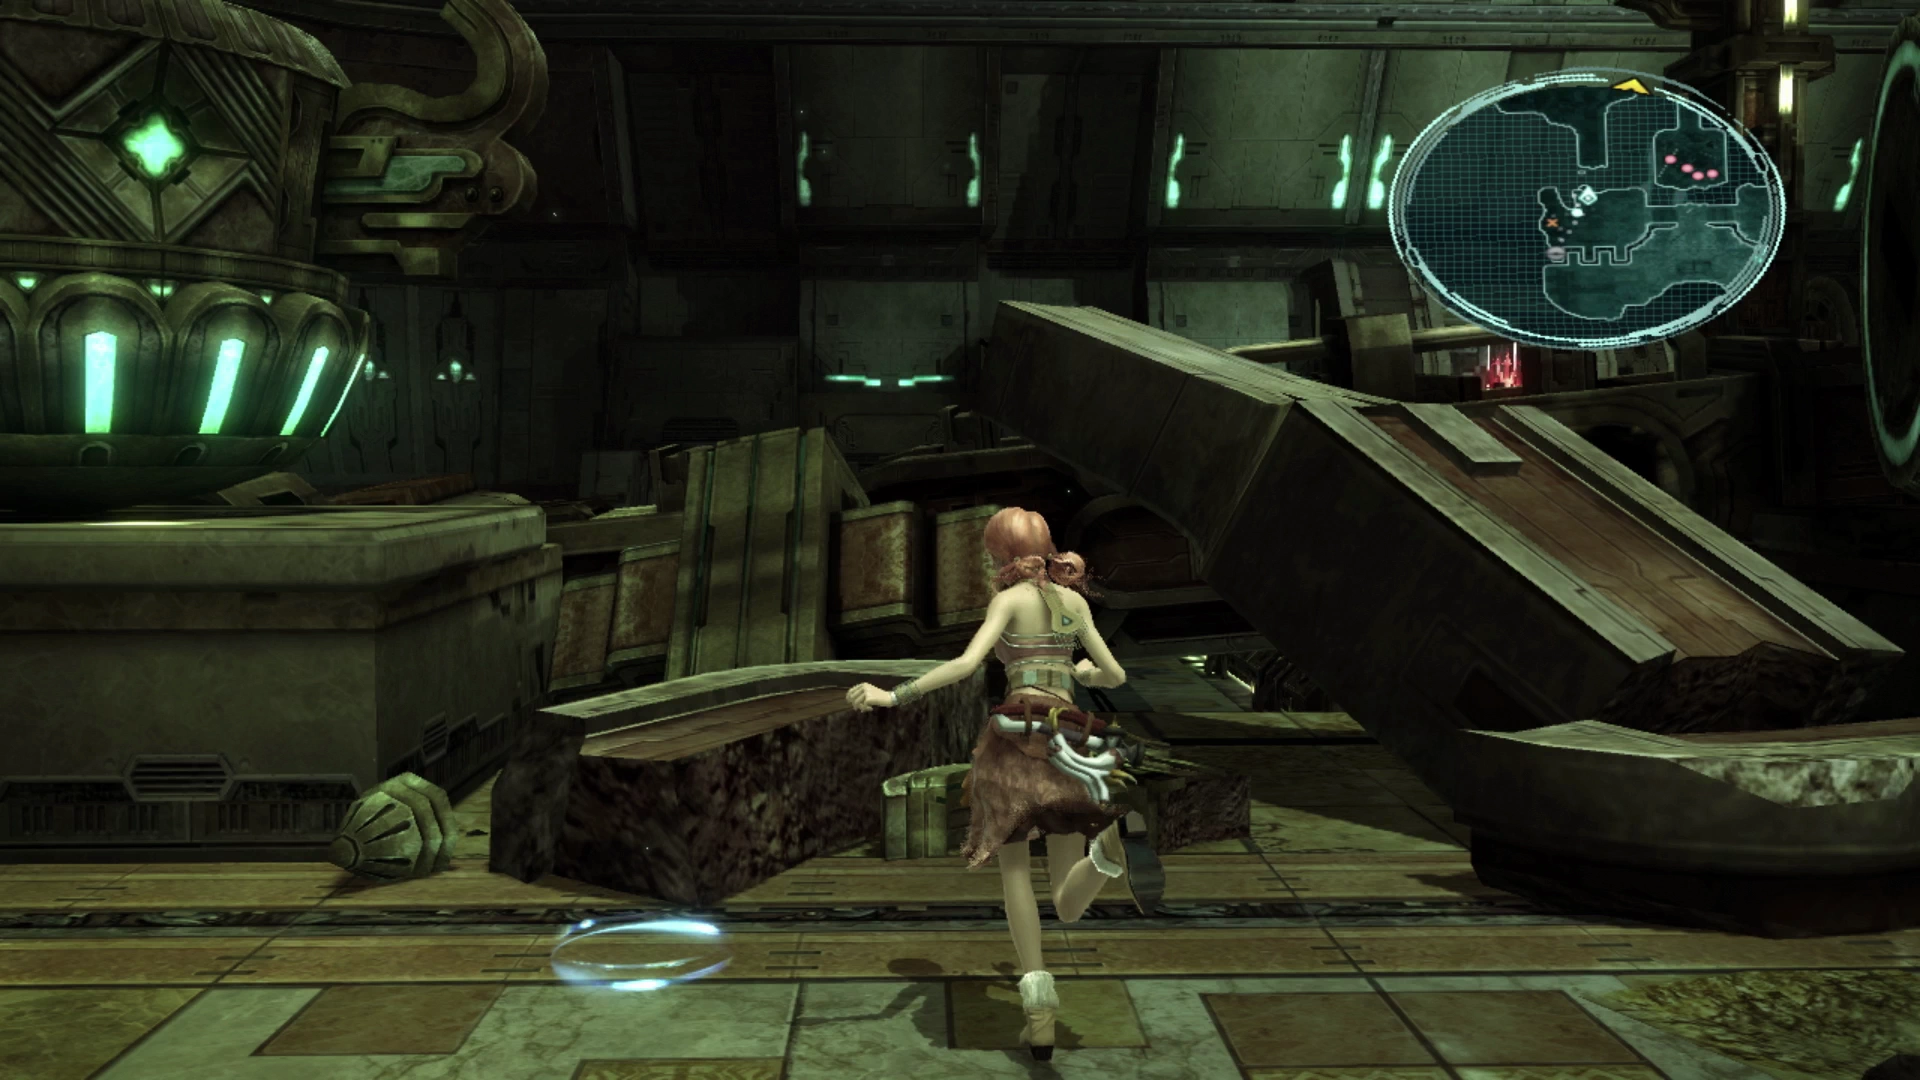
Walk over to the illuminated blue circle on the ground near the hoverbike to jump over the pile of rubble. There’s one more fight against two Pantherons once you reach the other side. Move forward once they have been defeated to kick off another cutscene before you find yourself back in control of Snow.
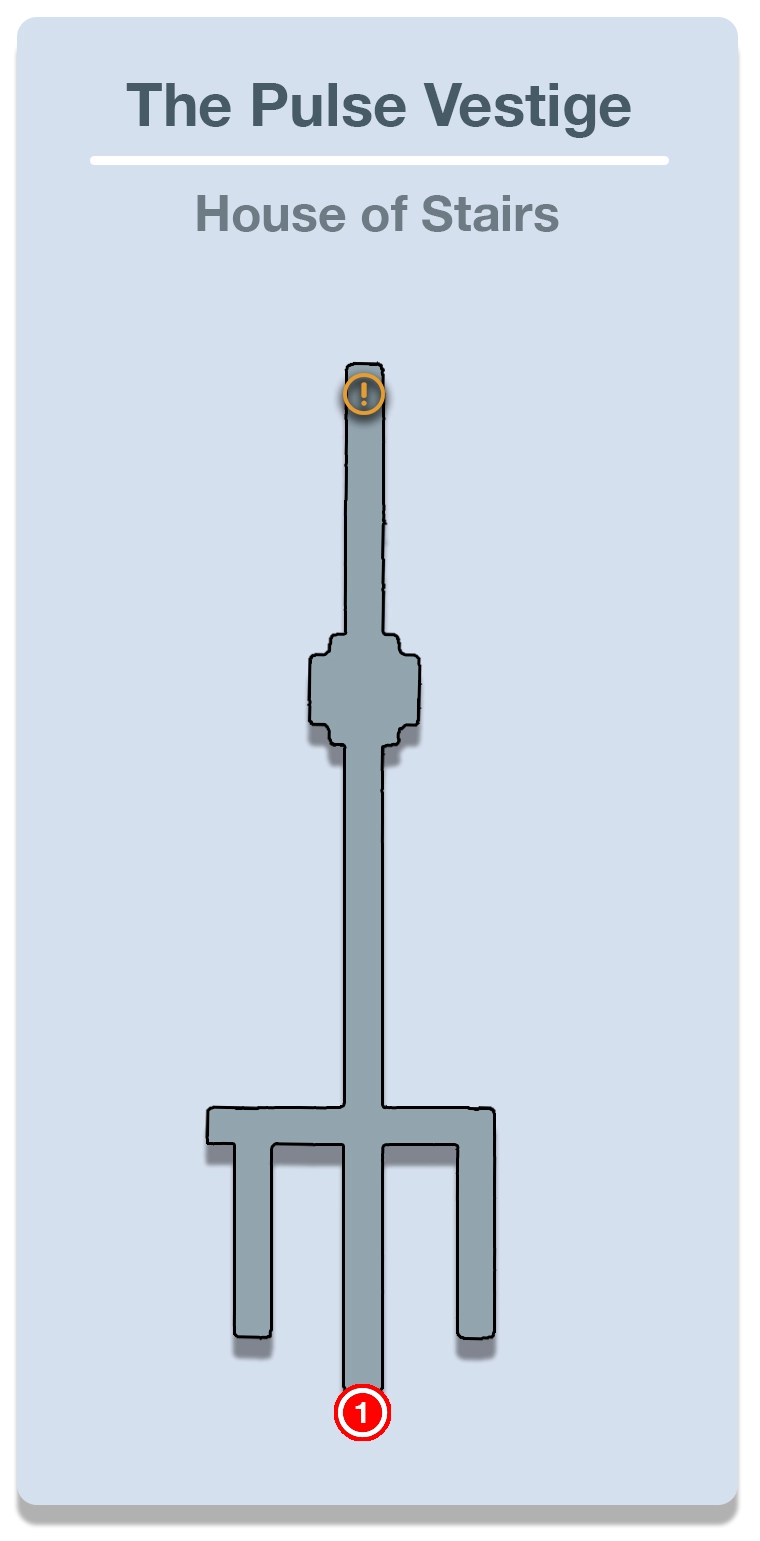
House of Stairs
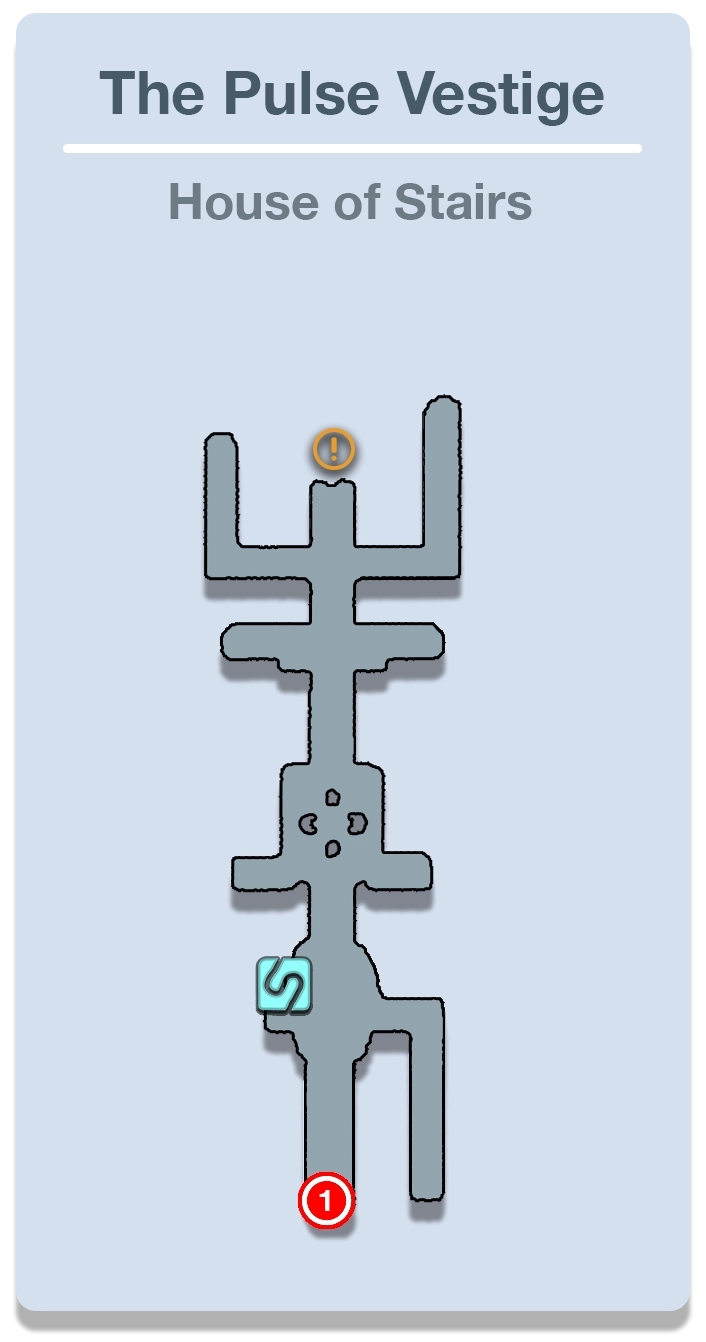
Snow is all by himself this time. Use the ![]() Save Station to save your game and then turn around and go back up the stairs. There’s a Treasure Sphere at the top of the platform that contains two
Save Station to save your game and then turn around and go back up the stairs. There’s a Treasure Sphere at the top of the platform that contains two ![]() Potions.
Potions.
Walk down the stairs and defeat the two Pantherons. This will be a bit of a slow fight with no help and it’s unlikely that you will be able to trigger a preemptive strike against Pantheron enemies, but just use regular attacks until you bring them down.
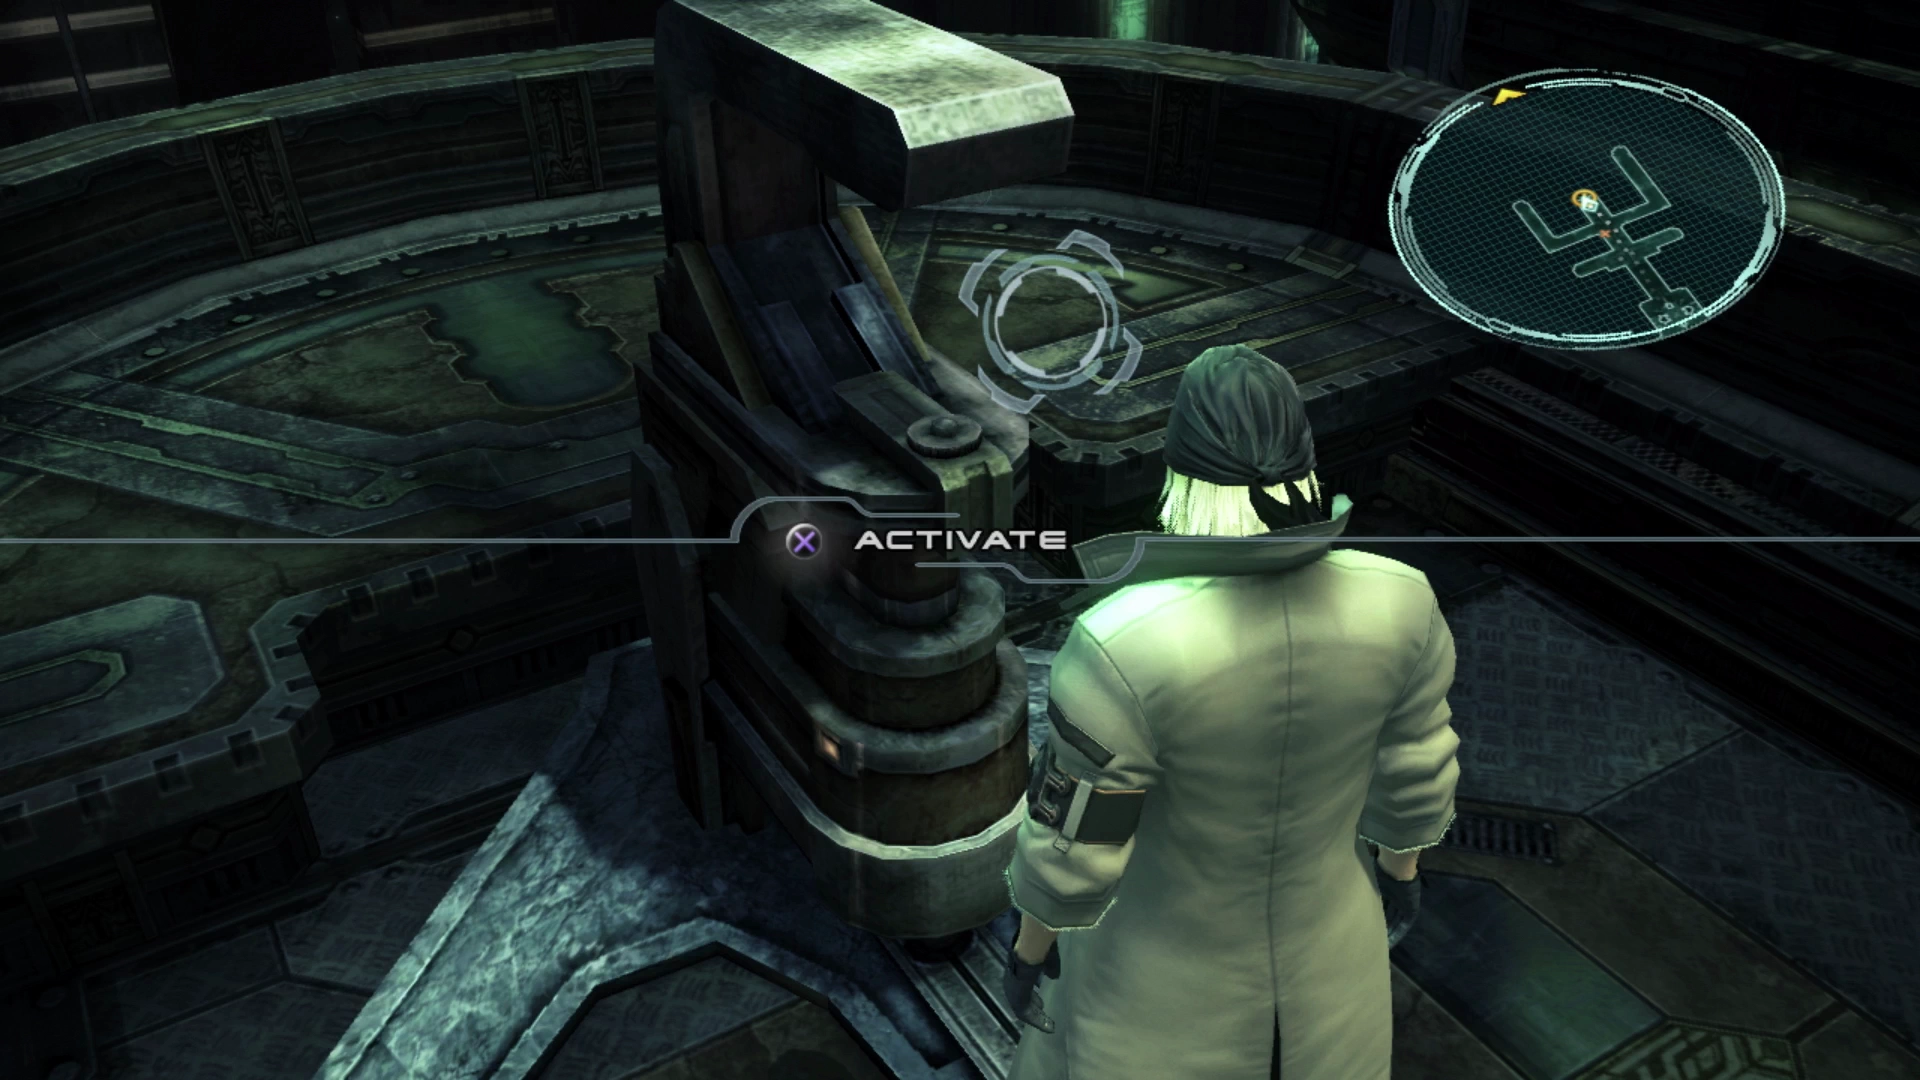
At the end of the platform is a mechanical device with a large green light protruding out the top. Press the ![]()
![]()
![]() button to activate the device which will rearrange the map. The story will take you back to Lightning and Sazh before you get a chance to explore the newly rearranged map.
button to activate the device which will rearrange the map. The story will take you back to Lightning and Sazh before you get a chance to explore the newly rearranged map.
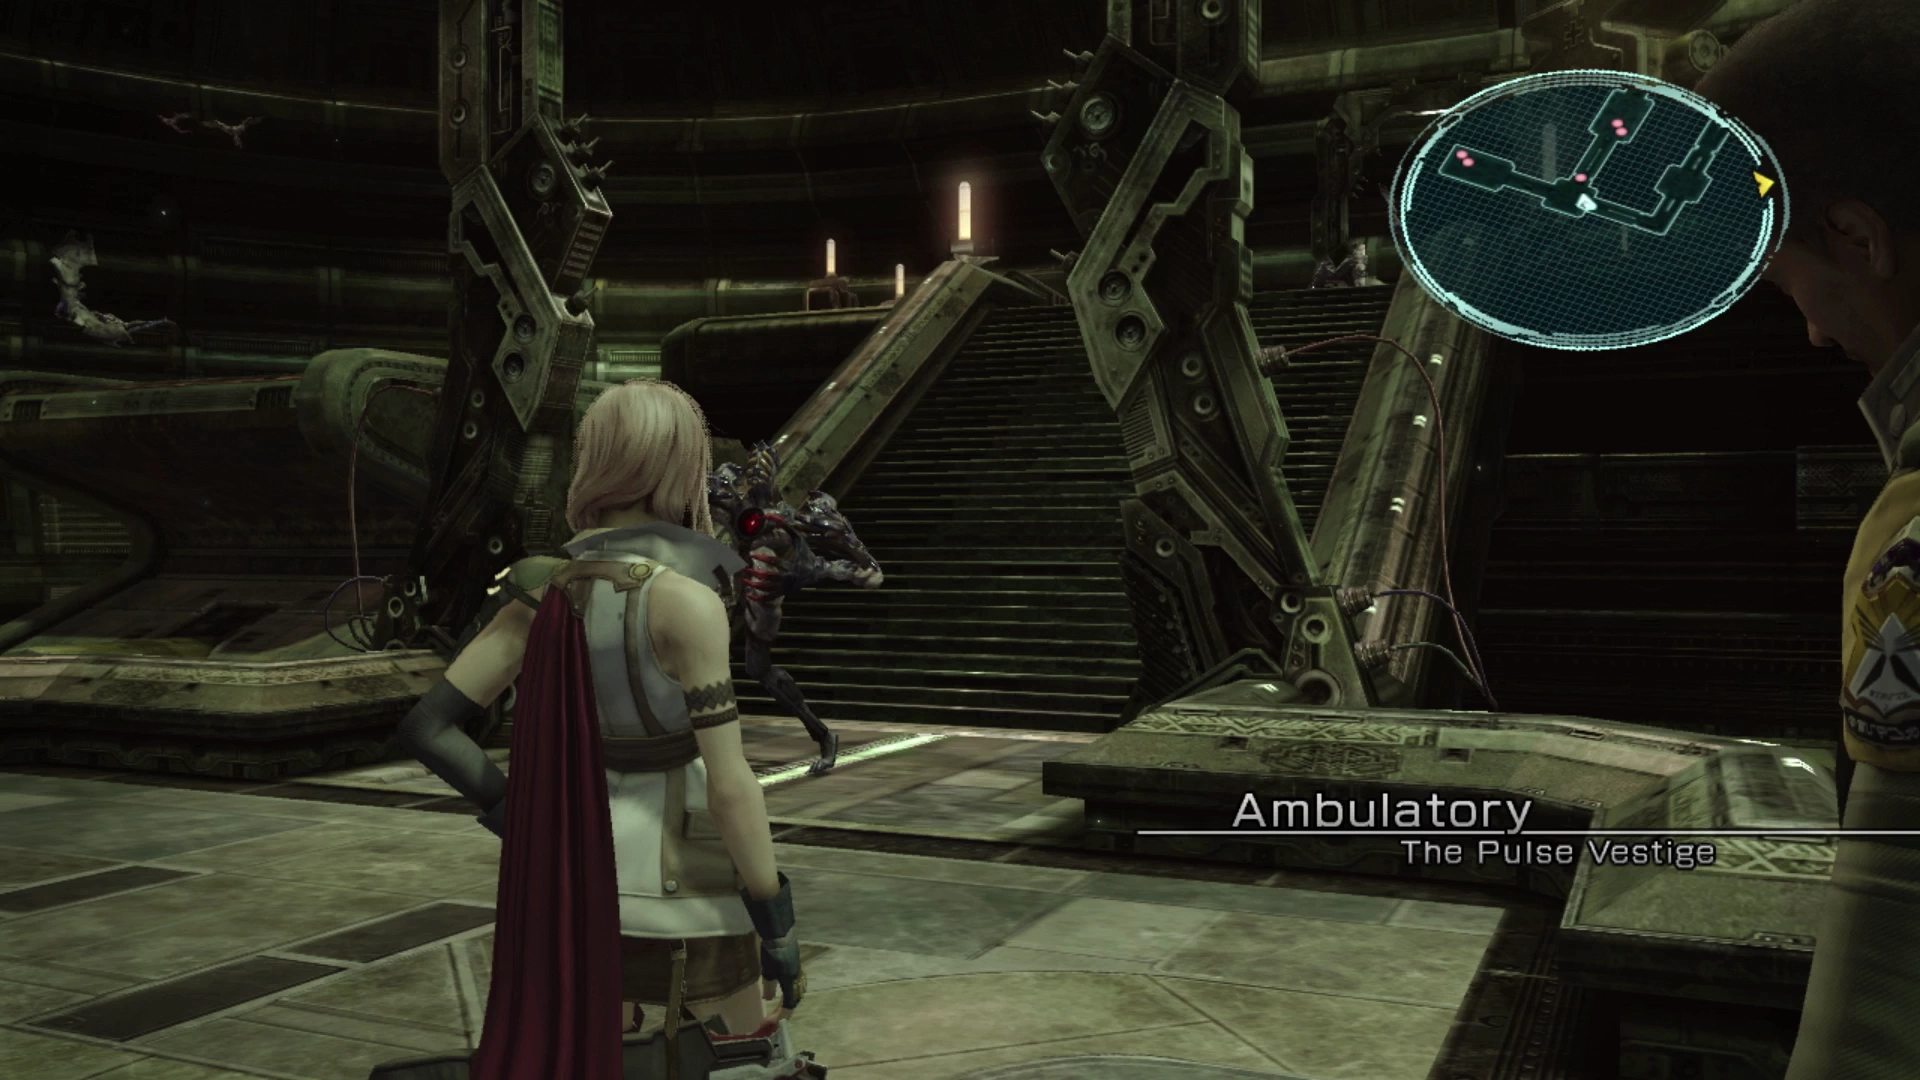
Ambulatory

Lightning and Sazh will break their way into the Ambulatory after a short cinematic. The game will also explain how shrouds work. Check out the Shrouds section for more information and press the ![]()
![]()
![]() button to use one of your shrouds.
button to use one of your shrouds.
This area is a straight pathway that is easy to navigate. Head up to the ![]() Save Station and save your game then walk forward to engage the three Pantheron enemies that charge down the stairs. There’s no real strategy required for these fights but be wary of allowing Lightning to use her
Save Station and save your game then walk forward to engage the three Pantheron enemies that charge down the stairs. There’s no real strategy required for these fights but be wary of allowing Lightning to use her ![]() Blitz attack too many times. The Pantherons like to jump around the battlefield which will cause ‘area of effect’ attacks like
Blitz attack too many times. The Pantherons like to jump around the battlefield which will cause ‘area of effect’ attacks like ![]() Blitz to miss their target quite often.
Blitz to miss their target quite often.

Up the stairs, you will find one more group of Pantherons and two groups of Zwerg Scandroids on the left and right sides of the map. The group on the left side is protecting a Treasure Sphere which contains a tuft of ![]() Phoenix Down.
Phoenix Down.
The second group is not protecting any treasure, so technically you can leave this area without defeating them, but these enemies are incredibly easy to defeat (especially if you engage them with a ![]() preemptive strike) and there is a chance that they could drop some valuable loot for you, e.g. a
preemptive strike) and there is a chance that they could drop some valuable loot for you, e.g. a ![]() Fortisol.
Fortisol.
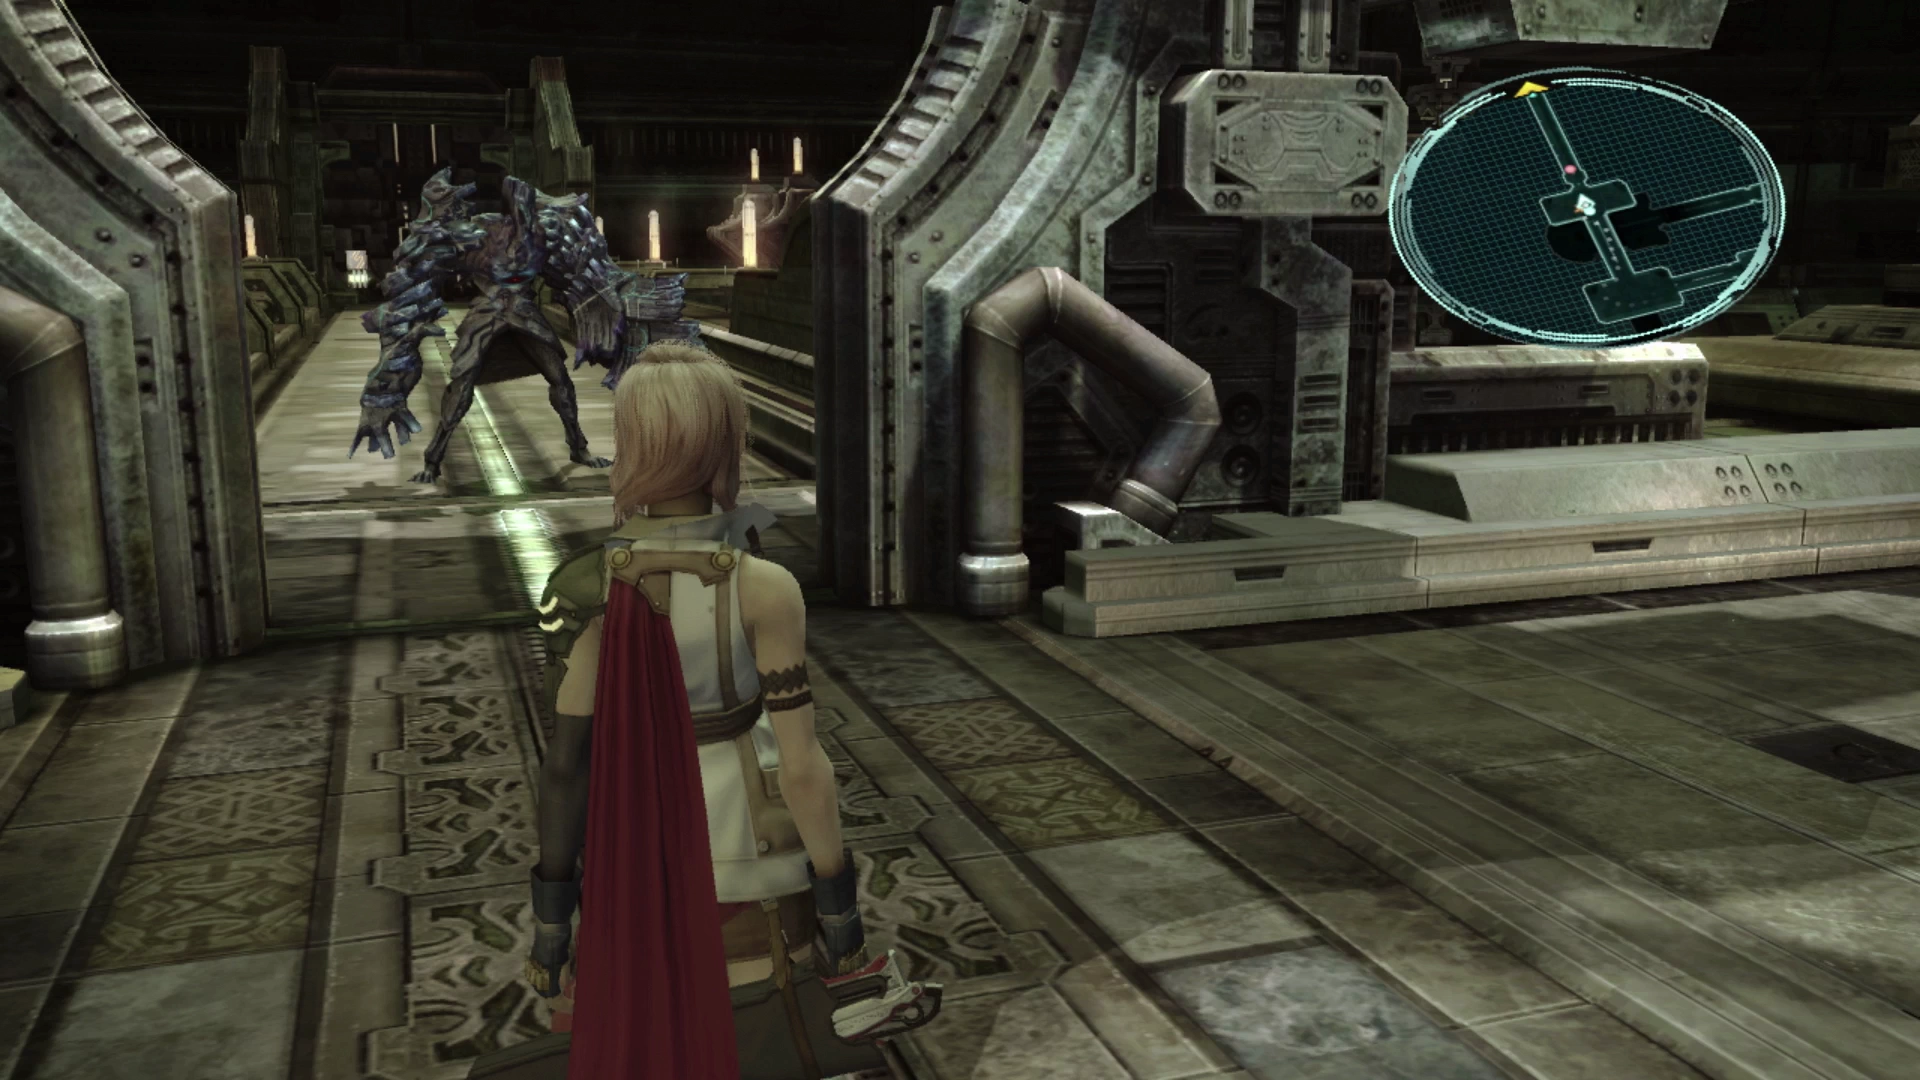
There is a tougher enemy for you to face guarding the stairs. The last Myrmidon that you faced was, in theory, considered a boss battle, but you will face a few more of them along your route.
They are a little bit more difficult than the other enemies you have faced and may require the use of a ![]() Potion to keep your party members alive, but otherwise, just use regular attacks to slowly bring them down. You should be able to Stagger them with enough attacks.
Potion to keep your party members alive, but otherwise, just use regular attacks to slowly bring them down. You should be able to Stagger them with enough attacks.
Helpful Hint
This is as good of a time as any to begin utilizing the ![]()
![]()
![]() button to immediately trigger the attacks that have been filled in your ATB Gauge. This prevents you from having to wait for the Gauge to completely fill to have your character execute all their attacks at the same time. This is less critical right now because Lightning only has two ATB Gauge bars. Eventually, she will have more and the time you spend waiting for the ATB Gauge to fill will be much longer.
button to immediately trigger the attacks that have been filled in your ATB Gauge. This prevents you from having to wait for the Gauge to completely fill to have your character execute all their attacks at the same time. This is less critical right now because Lightning only has two ATB Gauge bars. Eventually, she will have more and the time you spend waiting for the ATB Gauge to fill will be much longer.
Where this becomes a problem is if your enemy is sitting at a very small amount of HP and you just need one more attack to finish them off, you don’t want to wait for the entire ATB Gauge to fill up. Get used to pressing the ![]()
![]()
![]() button to have your party leader execute just one quick attack.
button to have your party leader execute just one quick attack.
This can be useful for either finishing off an enemy, as mentioned above, or for triggering a Stagger if the enemy just needs one more hit which will make your other party member’s attacks hit for much more.
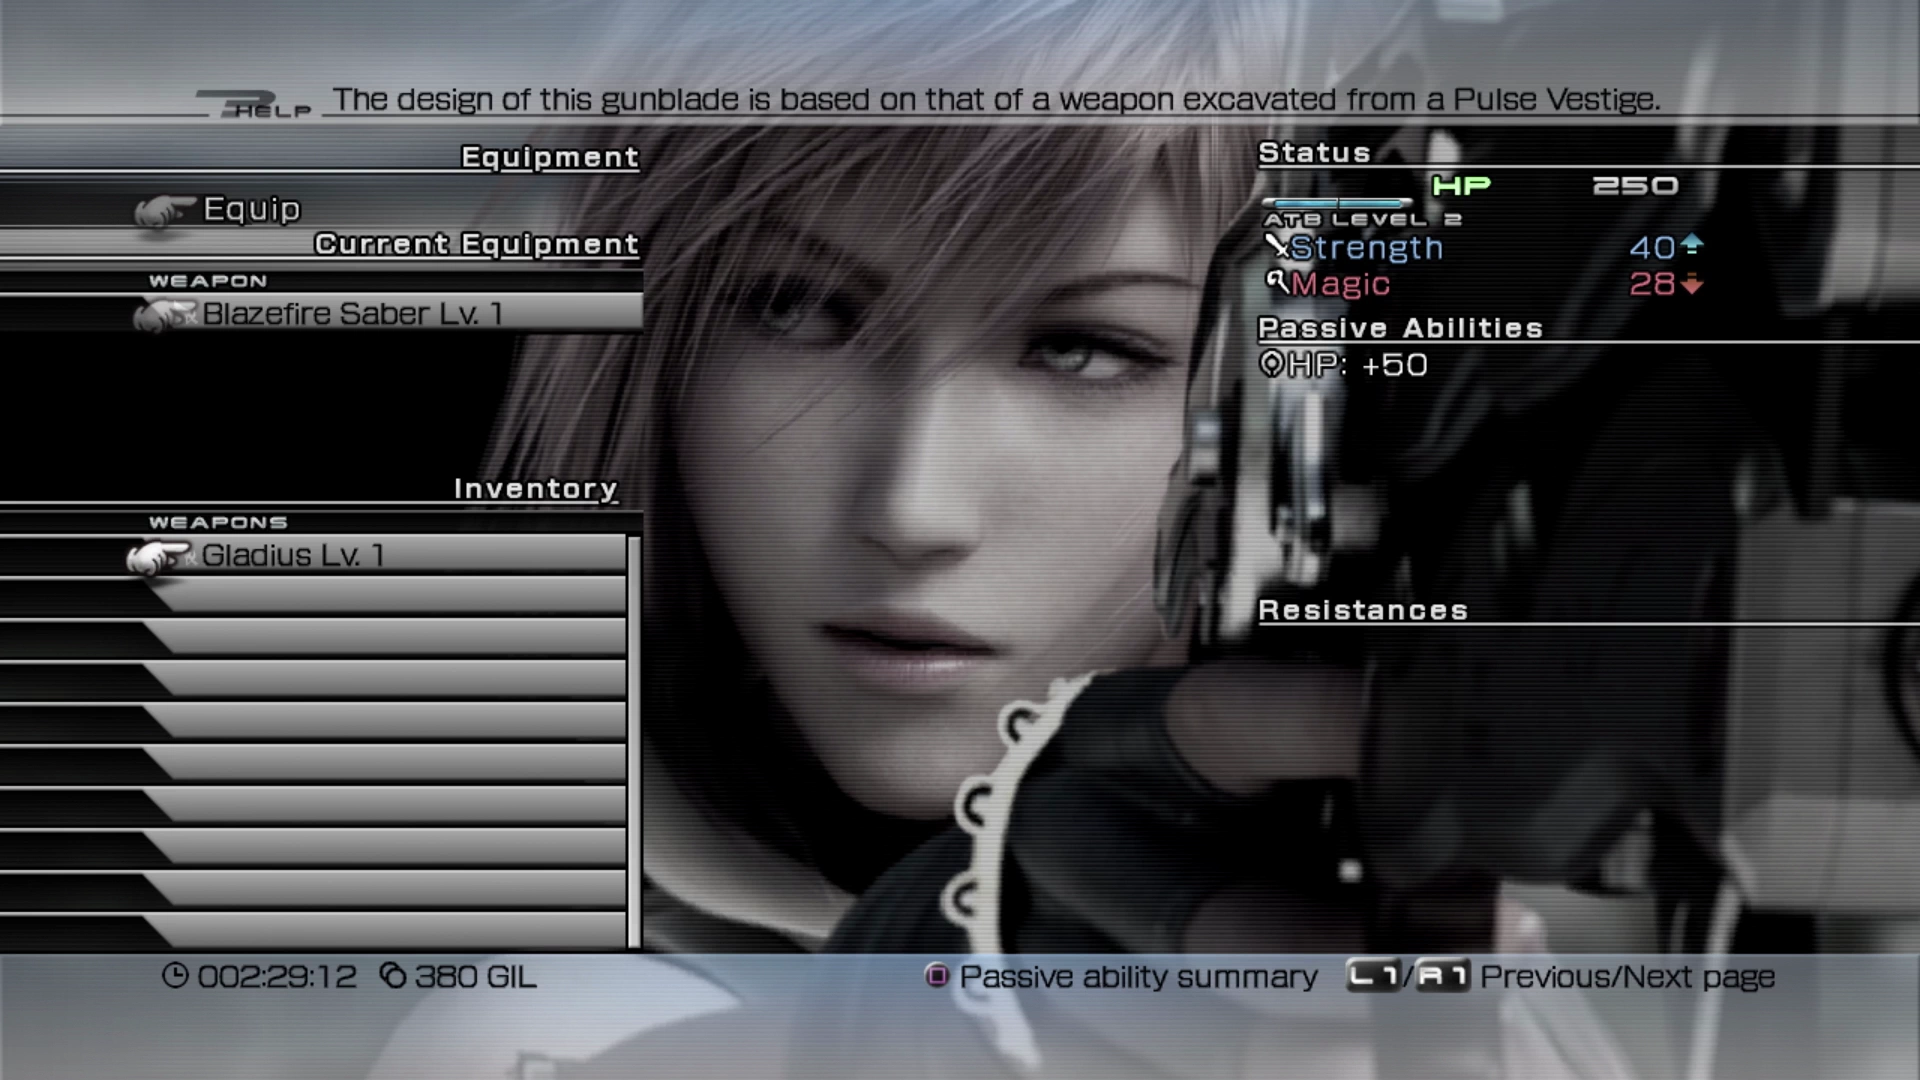
Continue up the stairs to find a mixed group of enemies that contains one Pantheron and two Zwerg Scandroids. The Treasure Sphere in the corner contains a ![]() Gladius, which is a new weapon for Lightning. This is a fairly strong weapon for Lightning throughout the game so definitely equip it to her immediately.
Gladius, which is a new weapon for Lightning. This is a fairly strong weapon for Lightning throughout the game so definitely equip it to her immediately.
Continue up the stairs one more time to initiate a fight against a Myrmidon paired with a Pantheron. Take out the Pantheron first and then switch your efforts over to the Myrmidon. Don’t be afraid to use a ![]() Potion during this fight.
Potion during this fight.
Keep walking towards the stairs to initiate another cutscene where Sazh will explain more about Pulse l’Cie, and then it’s back over to Snow.
Warning
Are you planning to obtain all the achievements or trophies that are available during your playthrough of Final Fantasy XIII? If so, there is one particularly challenging Achievement/Trophy to obtain called Treasure Hunter. It requires that you obtain every weapon and every accessory in the game.
This will require you to upgrade many of the weapons and accessories that you obtain during your travels through each chapter of the game, and many of these items are not replaceable if you sell or dismantle them.
Do not sell or dismantle weapons or accessories for Gil until later in the game when you can be 100% sure that they are not unique and/or required for this Achievement/Trophy.
House of Stairs
This area has been somewhat transformed since the last time Snow was here. There is a fork in the road directly behind where Snow starts and there is a Treasure Sphere that contains two ![]() Potions along the central pathway.
Potions along the central pathway.
Make your way down to the middle area, defeat the Pantheron with the two Zwerg Scandroids, and then activate the device. An elevator will drop down from the floor above. Continue to the end of the pathway and have Snow jump onto the elevator.
Sacrarium (Continued)
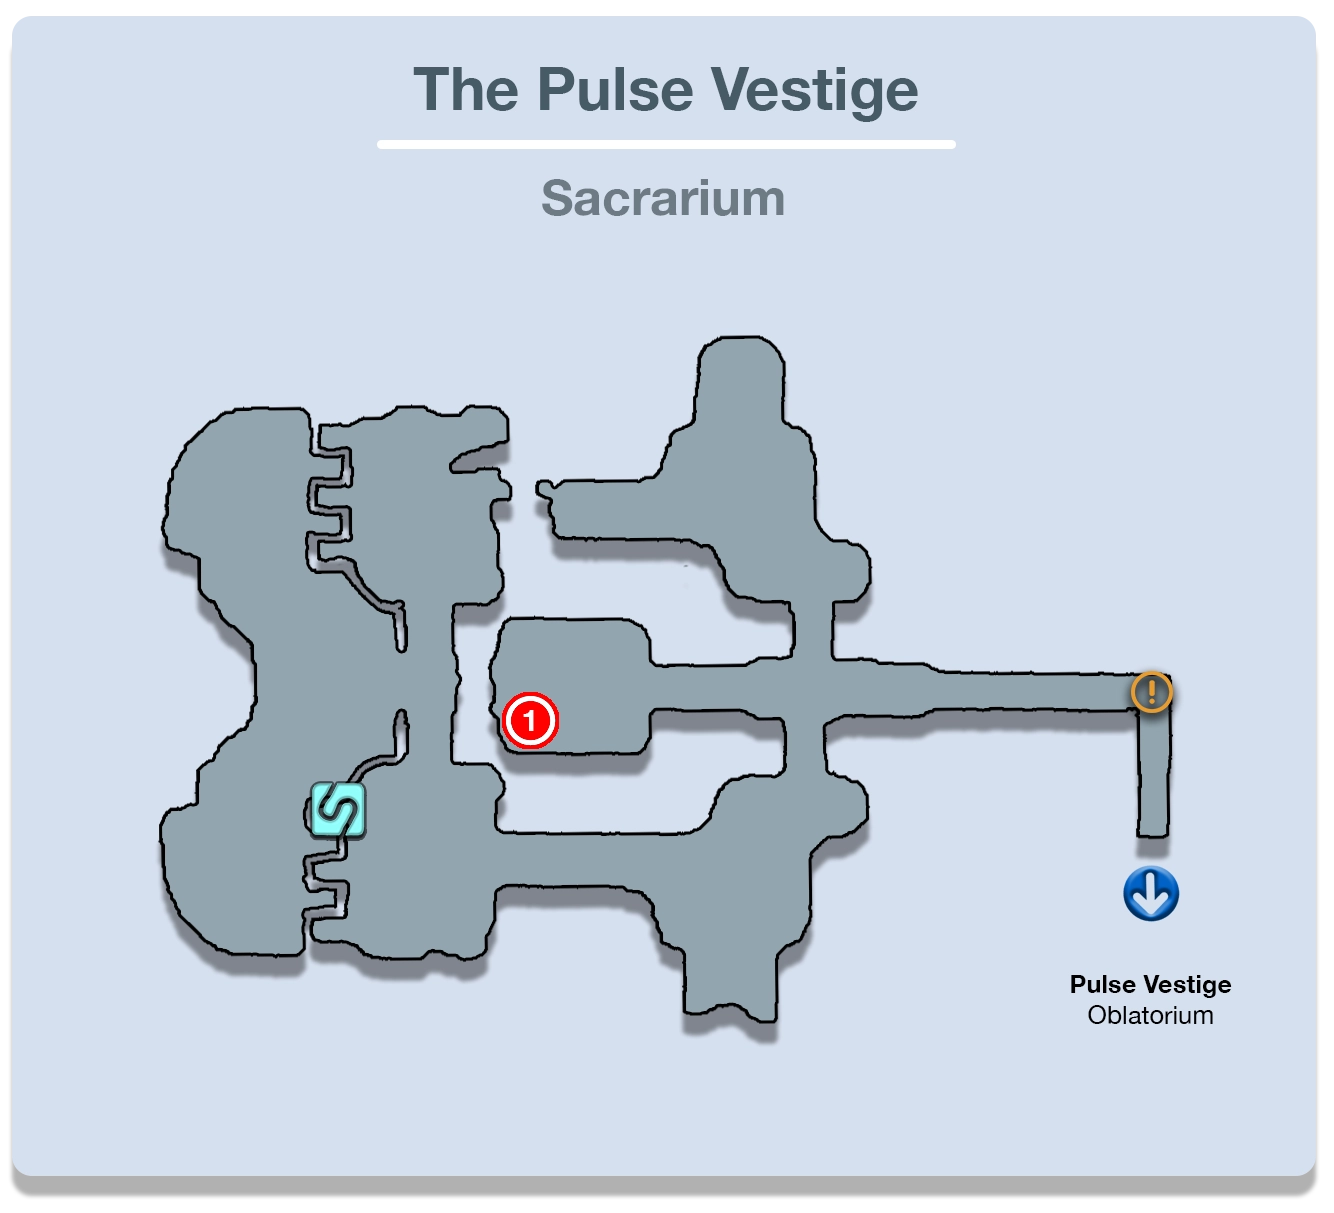
The game returns to Vanille and Hope who are back in the Sacrarium area. Note that you can jump back over the pile of debris to the area that Vanille and Hope previously explored, but there’s no need to do that if you’ve already picked up all the items in that area.
Walk forward and defeat the first group of two Zwerg Scandroids and then head up the stairs. There are two Pantheron enemies that you can defeat at the top of the stairs, but before you continue down this hallway, turn around and walk into the platform in the center to find another group of four Zwerg Scandroids. Defeat them and then grab the Treasure Sphere for a free vial of ![]() Fortisol.
Fortisol.
It’s up to you whether you want to go through and clear out the enemies in this area. On the one hand, it’s completely optional and of limited value because you’re not earning Crystogen Points (CP, the character-progression points that unlock in the next chapter) yet, but on the other hand, there is always a chance that these enemies could drop more shrouds as part of their spoils. It’s up to you.
Walk down the pathway out of the Sacrarium towards the orange map marker to continue the story when you’re ready.
Oblatorium
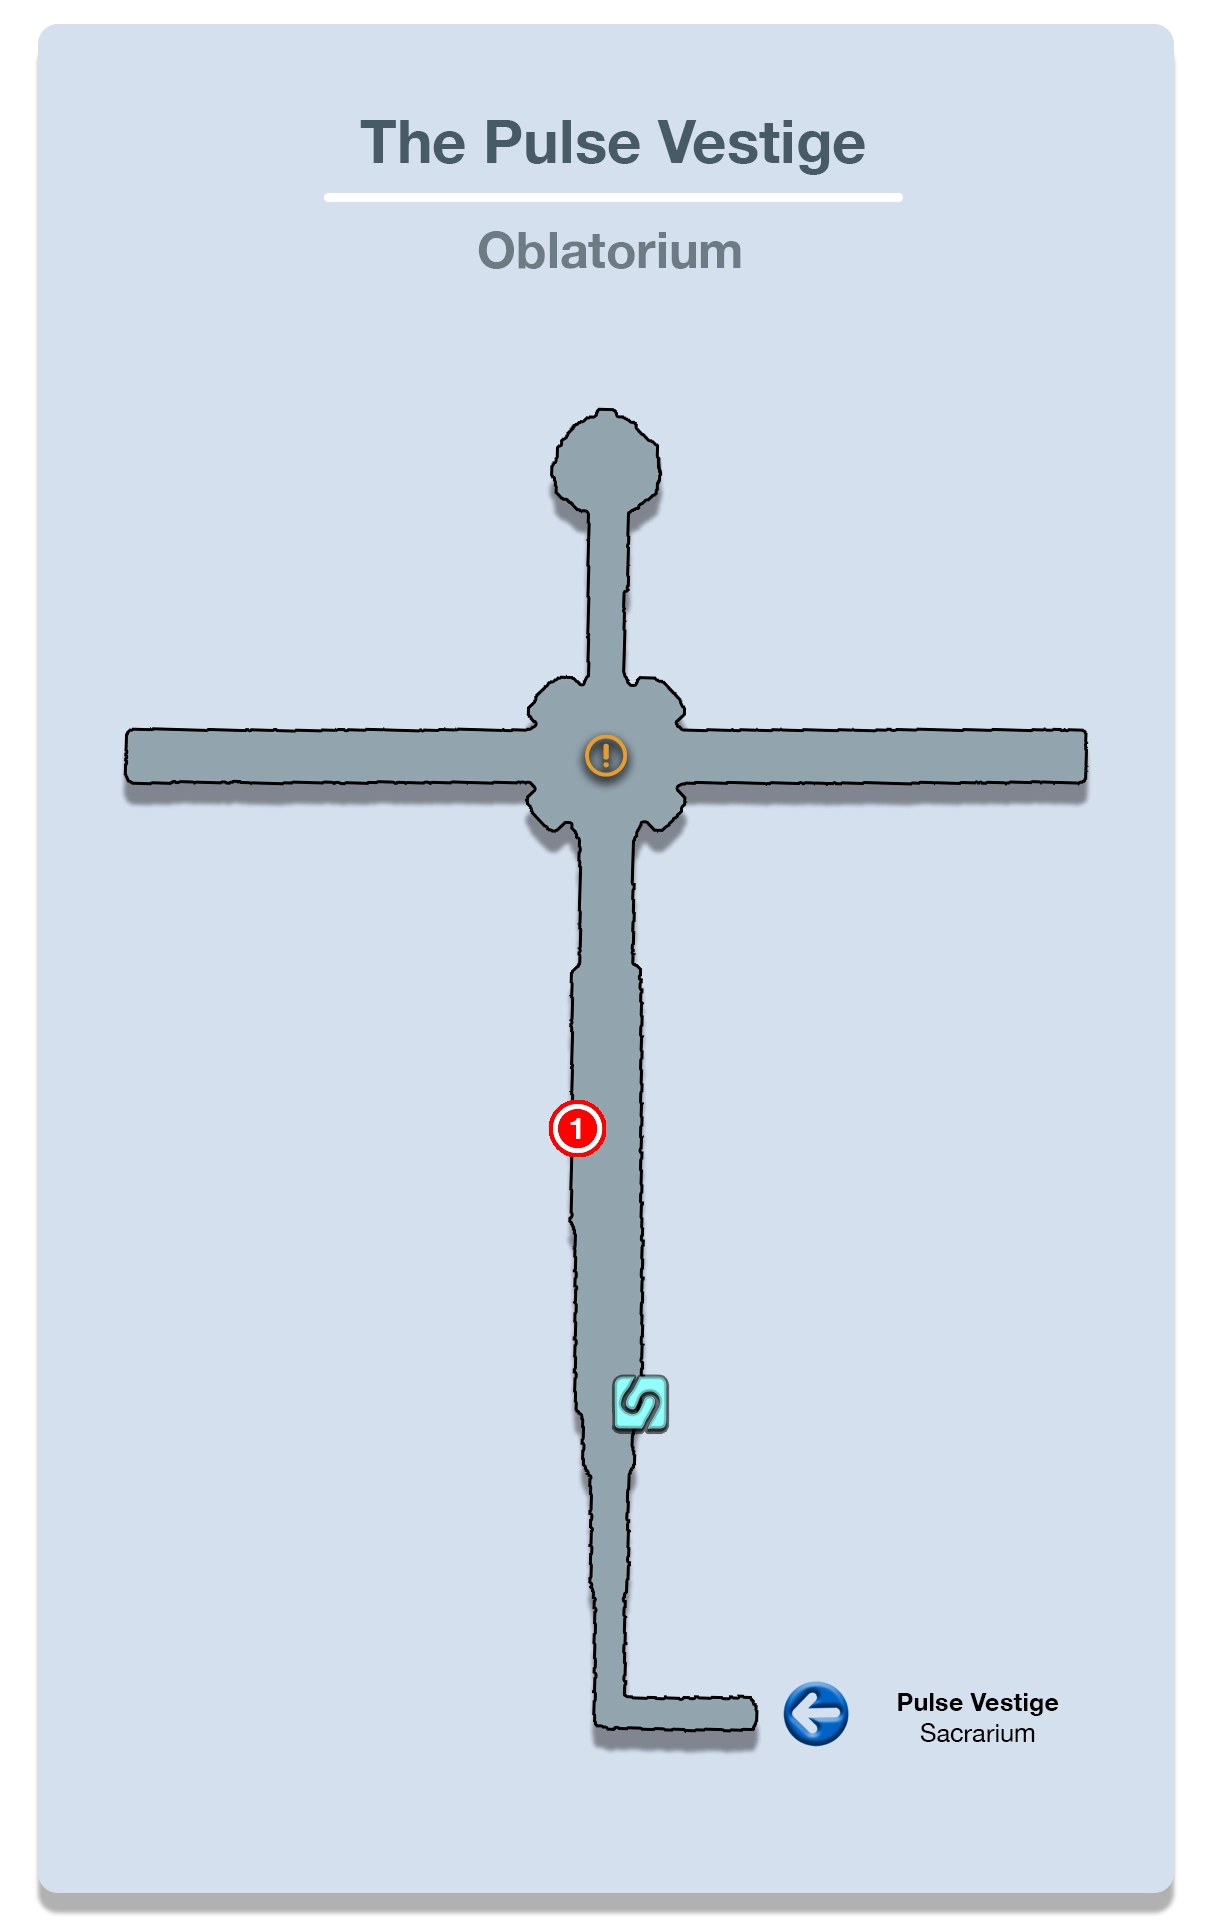
There’s a ![]() Save Station on the right side of the pathway that you can use to save your game. Continue down the path to find a Treasure Sphere that contains
Save Station on the right side of the pathway that you can use to save your game. Continue down the path to find a Treasure Sphere that contains ![]() 100 Gil and two Pantherons guarding nearby. Defeat them and keep moving down the walkway.
100 Gil and two Pantherons guarding nearby. Defeat them and keep moving down the walkway.
Another scene takes place once Hope and Vanille reach the center platform. Snow will jump in to join your party as they fend off an attack from the Cie’th creatures (l’Cie who fail to complete their Focus).
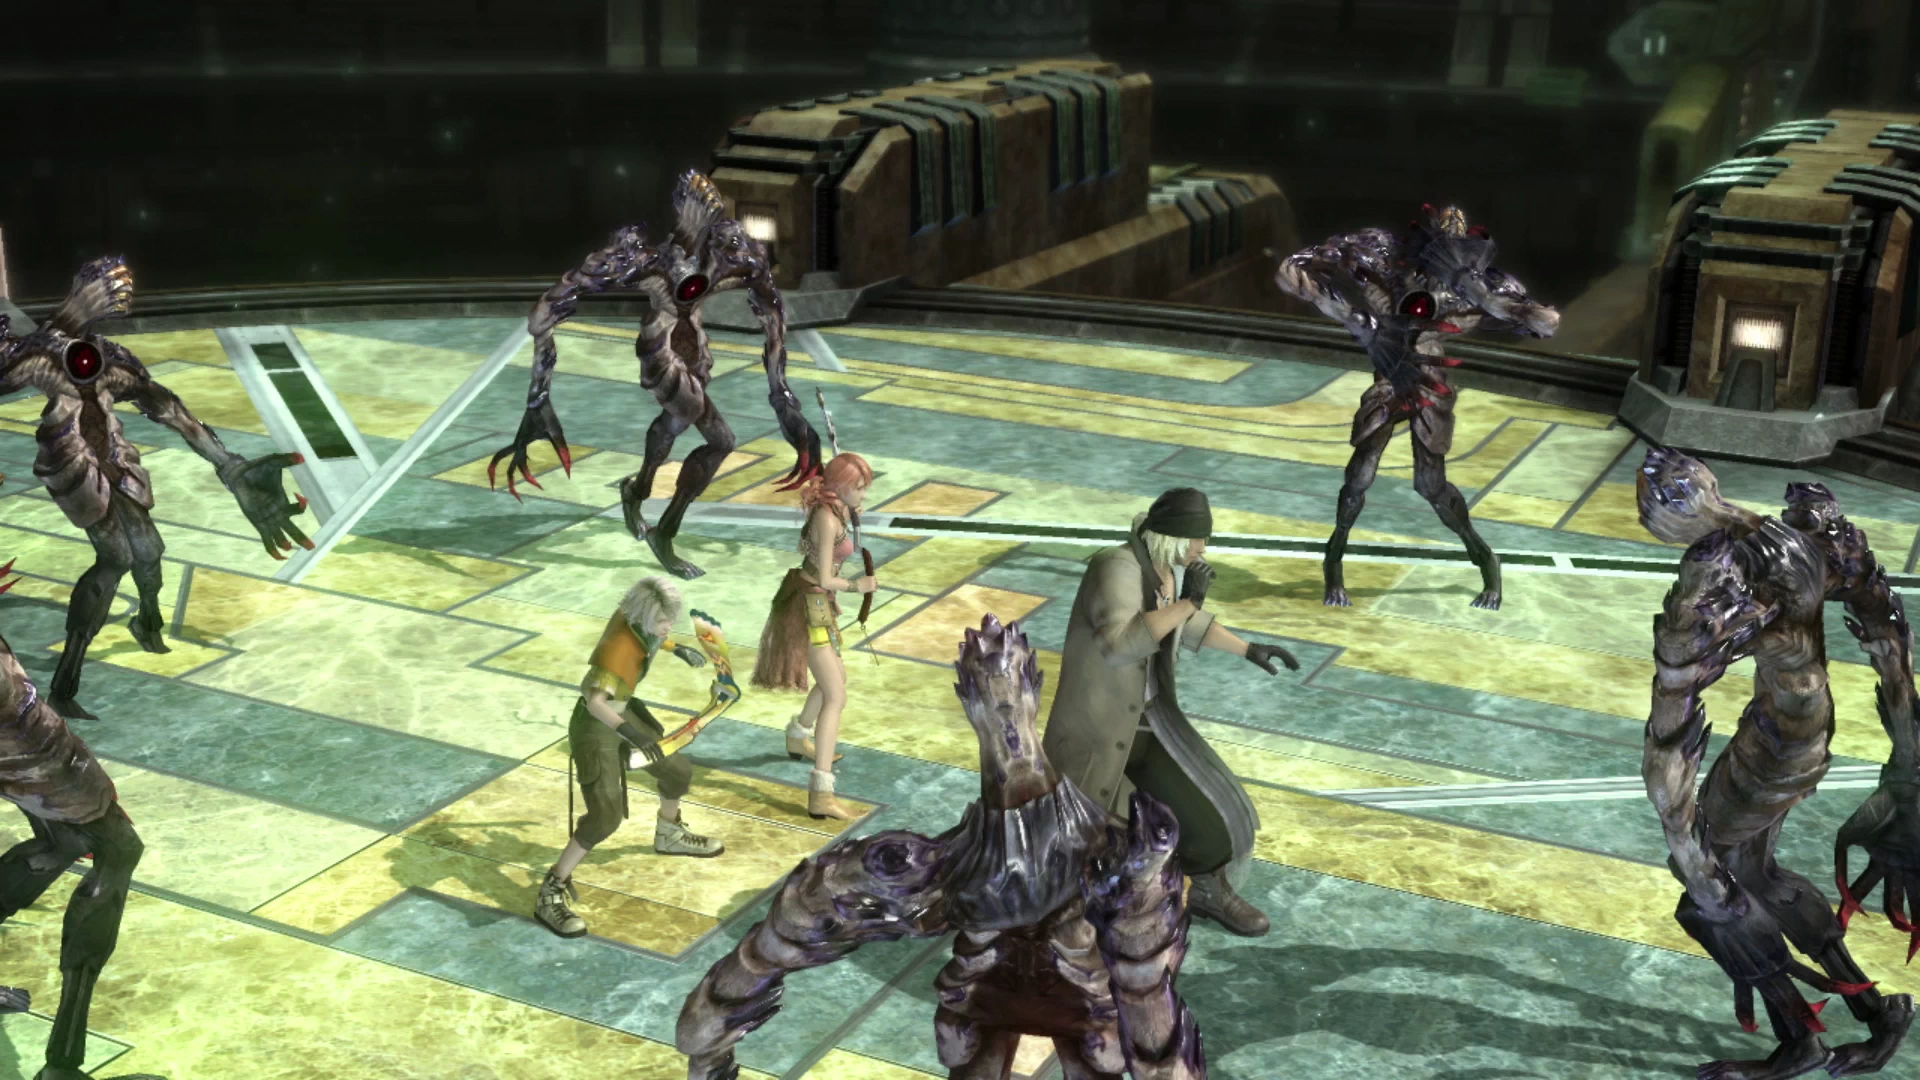
There are a few different types of Cie’th but the ones you fight during this battle are called Ghouls. There’s quite a bit of dialog before the story turns back to Lightning and Sazh.
Ambulatory (Continued)
Lightning and Sazh continue right where they left off. You can backtrack and go into the previous areas of the Ambulatory just like you could with Hope and Vanille in the last area, but there isn’t a reason to do this, so just keep moving forward.
The area just ahead of where you start with Lightning on the left side has two Ghouls (the same type that Snow, Vanille and Hope fought in the Sacrarium). Remember that you can initiate a preemptive attack against Ghouls just like you could against Zwerg Scandroids but it’s a bit harder with how much they move around.
Defeat them and open the Treasure Sphere to receive a ![]() Power Wristband. Equip this to Lightning or Sazh (either is fine) to increase their physical damage.
Power Wristband. Equip this to Lightning or Sazh (either is fine) to increase their physical damage.
Continue along the pathway and defeat the remaining Ghouls that you come across. Even though some of them are standing stationary you can sometimes still trigger a preemptive strike against them; they are not very observant making them relatively easy to sneak up on.
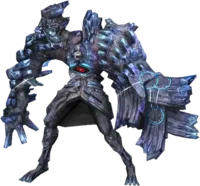
It’s just Ghouls the whole way up until you encounter a larger enemy which is called a Ghast. It’s a bit more powerful, and you won’t be able to sneak up on it, but it’s still just as easy as the previous enemies you’ve faced up until this point.
Walk forward along the pathway until you reach a ![]() Save Station. Save your game and then proceed to the next area.
Save Station. Save your game and then proceed to the next area.
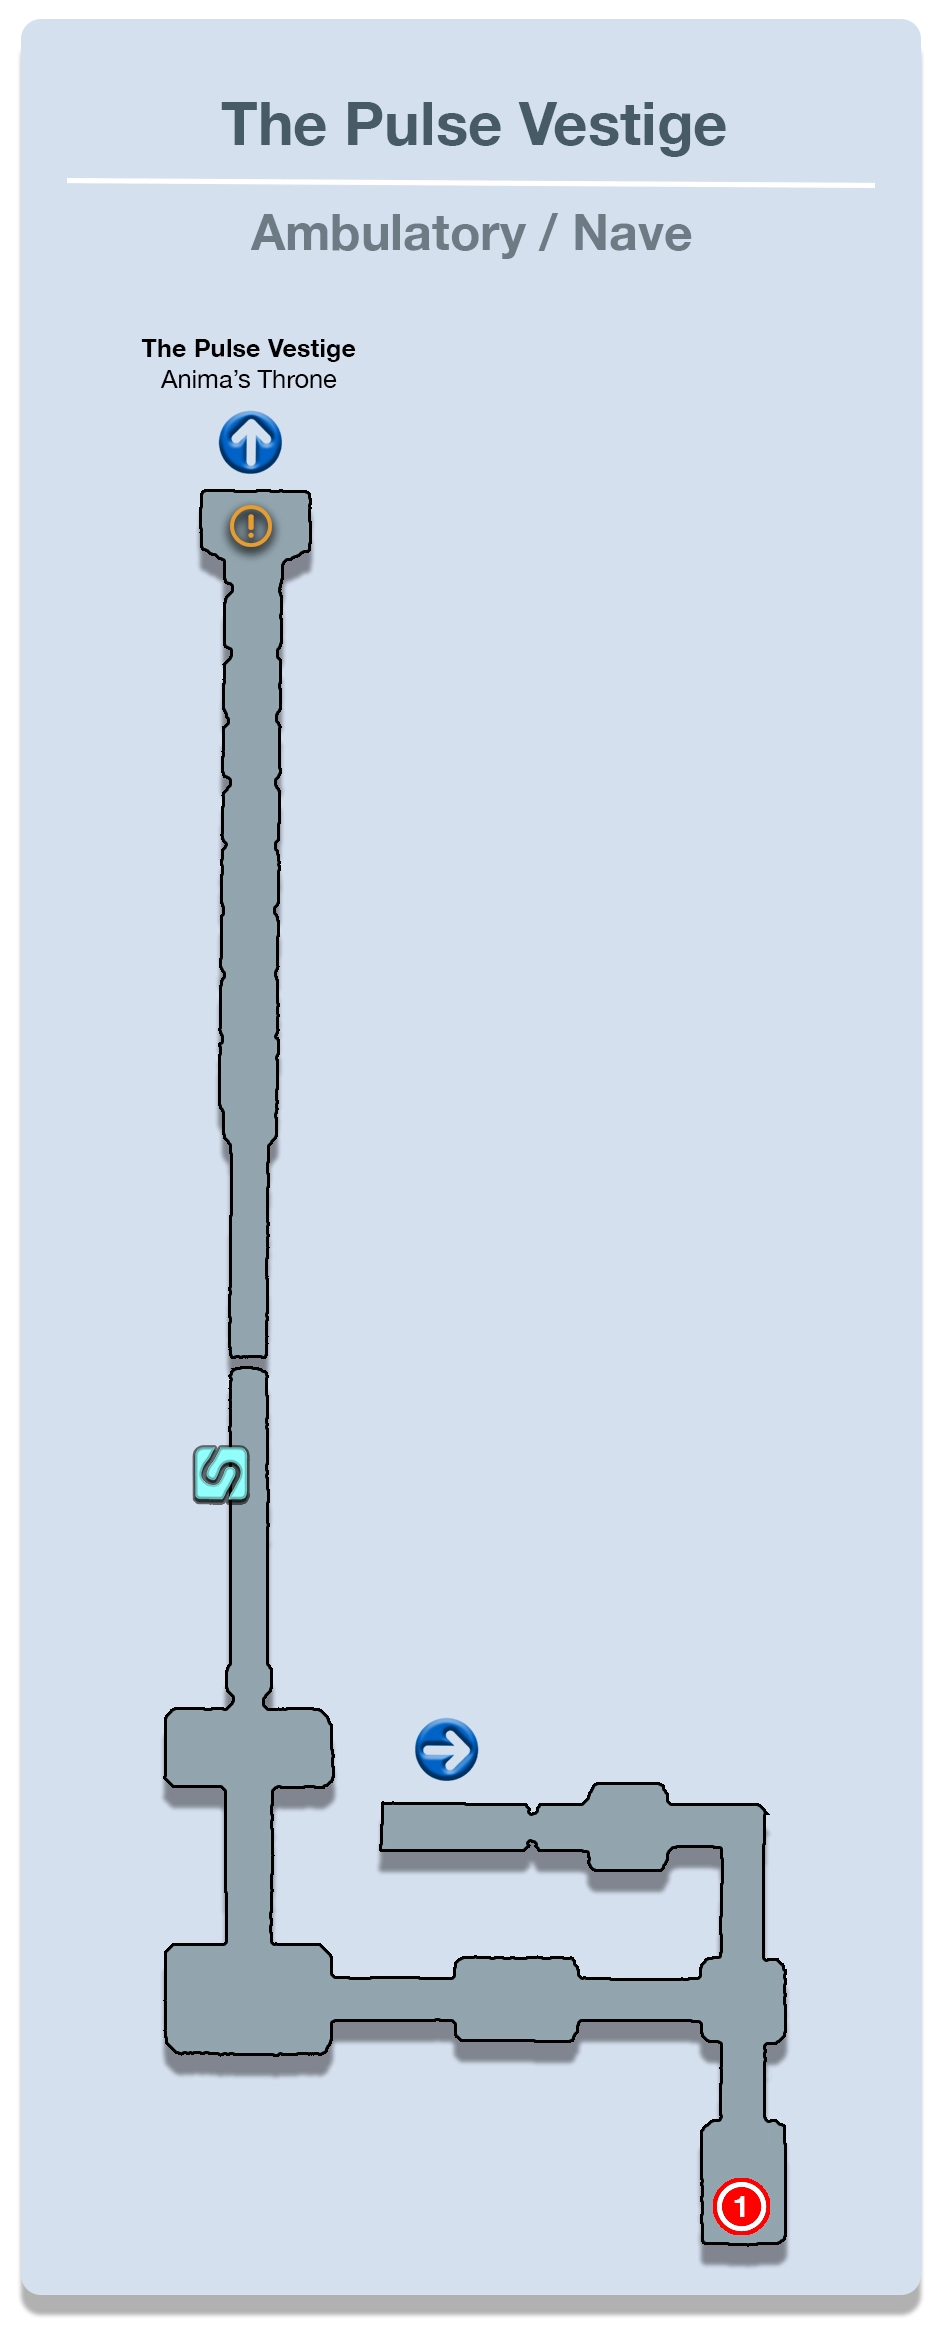
Nave
The next area that Lightning and Sazh reach is called the Nave. This area is a straight pathway with Ghouls and Ghasts along the way. Most of these enemies are facing you directly as you approach them, making it difficult to engage them without them noticing you for a preemptive strike, but it’s not impossible. Just sneak in from the side as you get close to each of the enemies.
The only somewhat challenging fight is the one against the two Ghasts at the end of the pathway where you may need to use a ![]() Potion to heal up Lightning or Sazh if their HP gets too low. Lightning will automatically activate the elevator at the end of the pathway once she steps on it, leading to the next area.
Potion to heal up Lightning or Sazh if their HP gets too low. Lightning will automatically activate the elevator at the end of the pathway once she steps on it, leading to the next area.
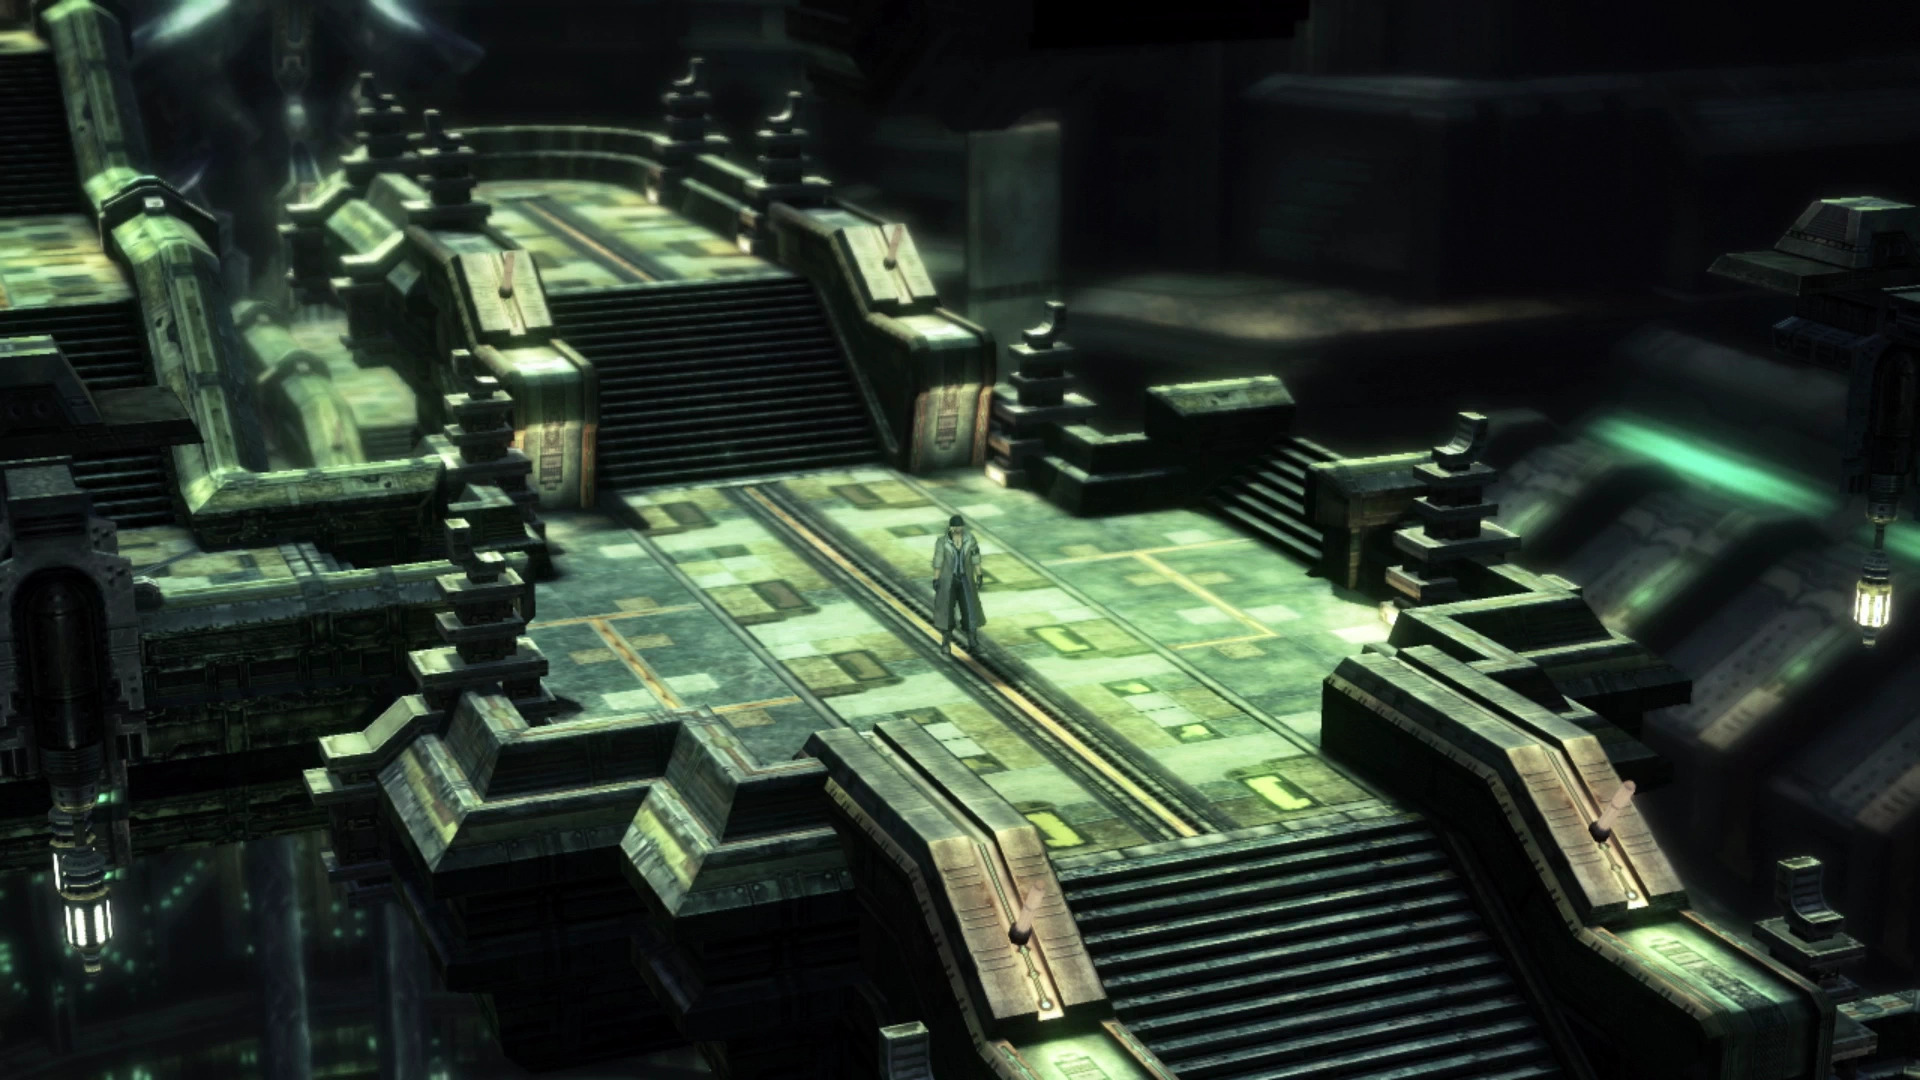
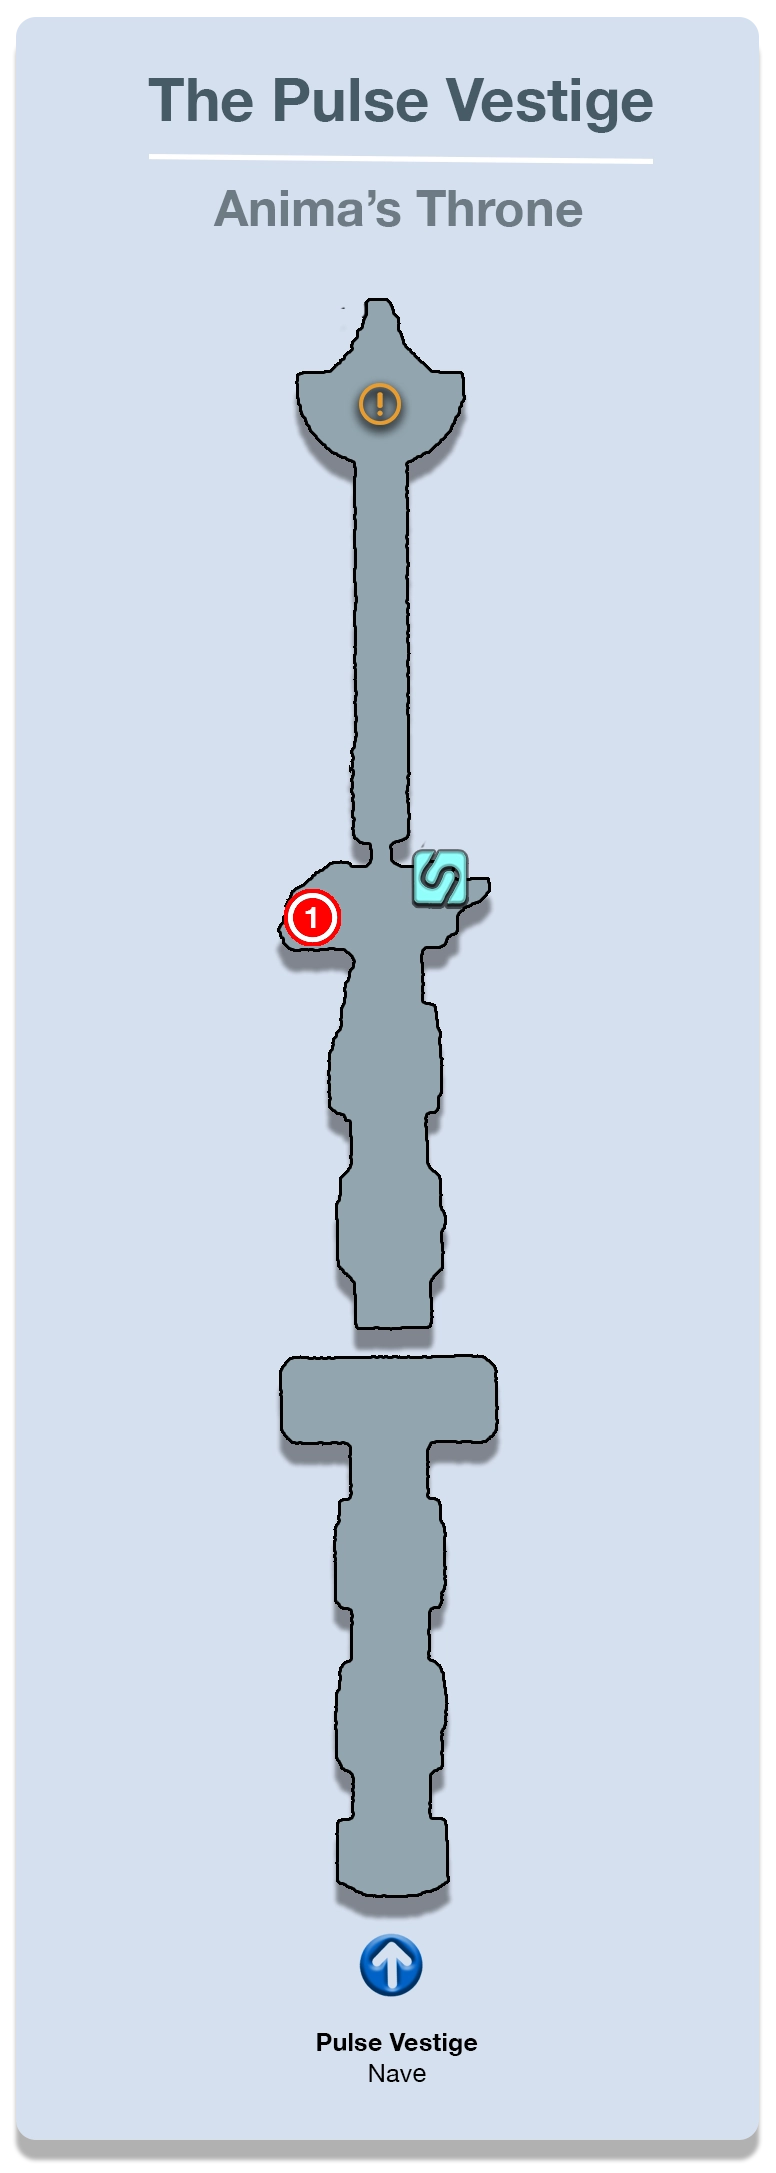
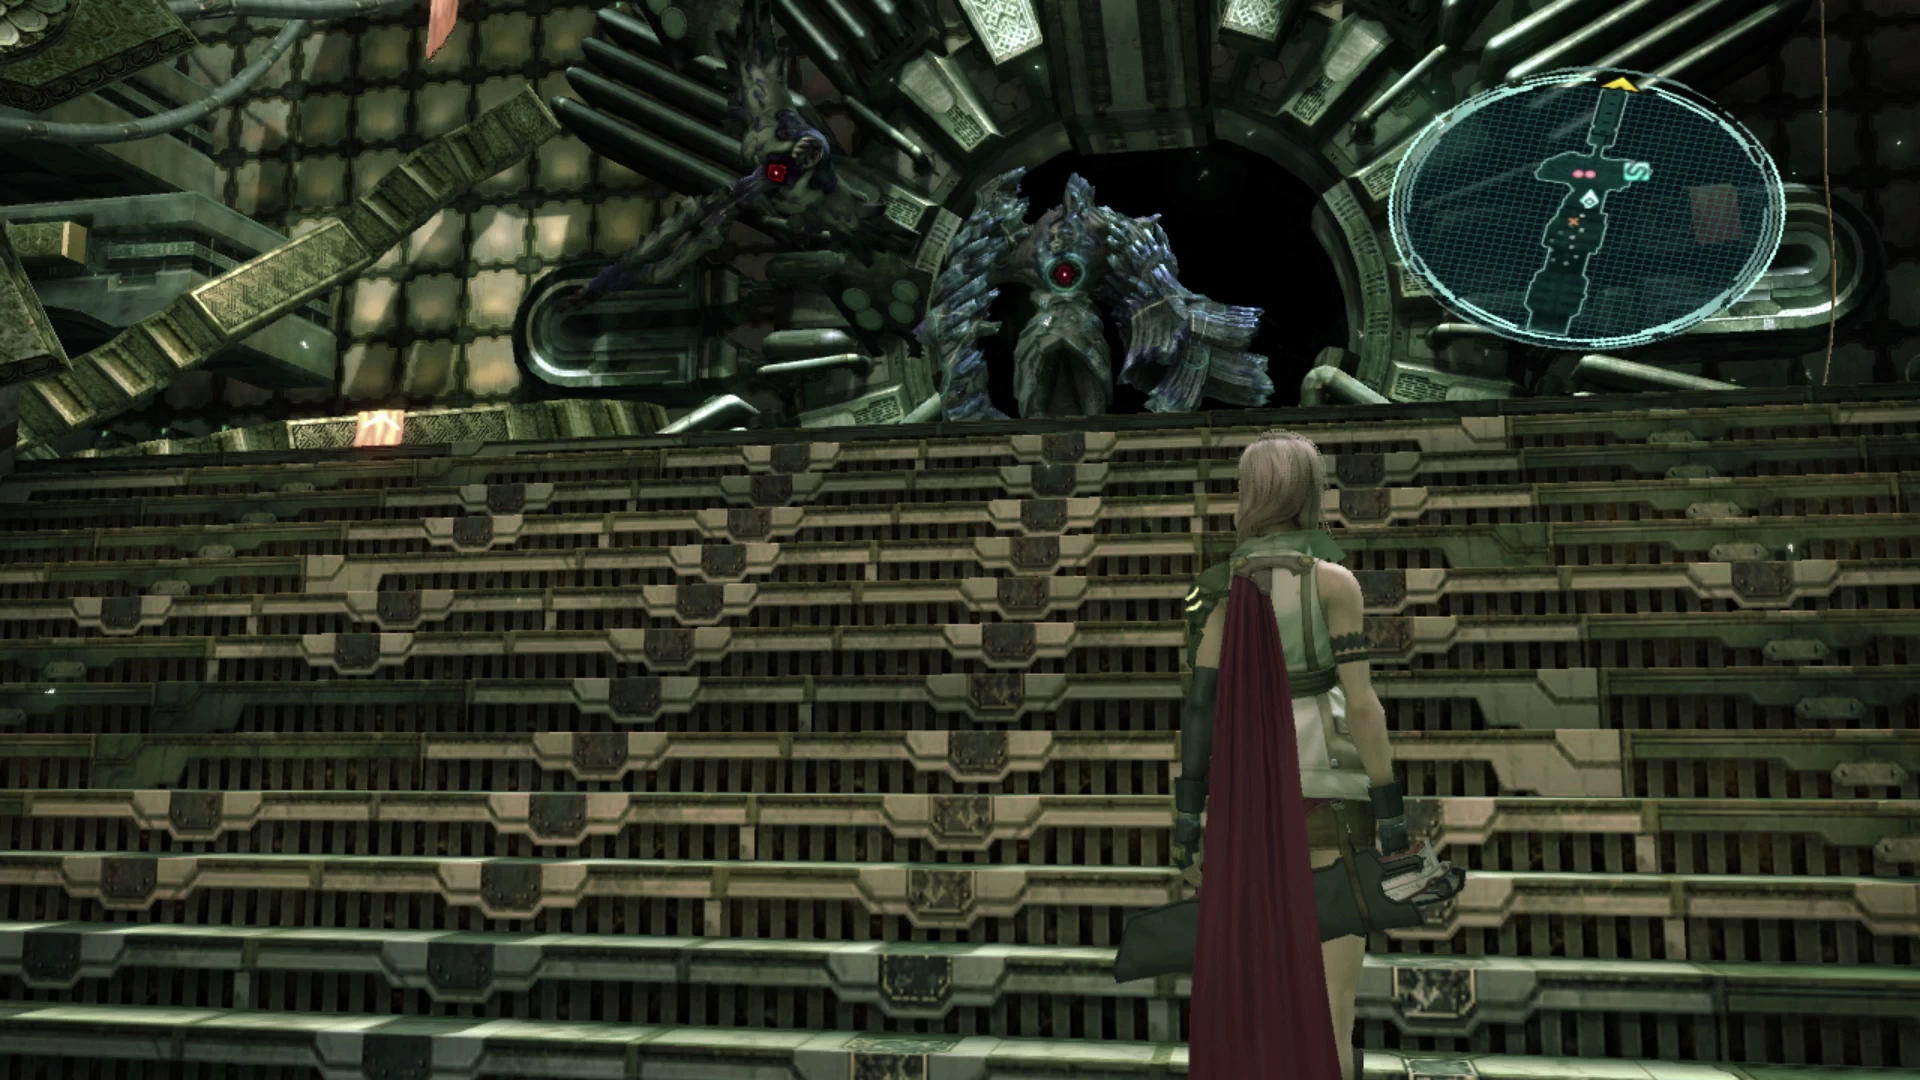
Anima’s Throne
This is the final area to explore within the Pulse Vestige. Move forward off the elevator to kick off another series of cutscenes involving the entire group of six characters and Serah, Lightning’s sister, and Snow’s fiancée.
The party will now consist of Lightning, Sazh and Snow, the first time that you will have three actual party members as part of your group (Snow’s two little helpers earlier don’t really count). Do a quick review of their equipment before you engage in any battles and make sure that they each have either an ![]() Iron Bangle or a
Iron Bangle or a ![]() Power Wristband equipped in their accessory slot.
Power Wristband equipped in their accessory slot.
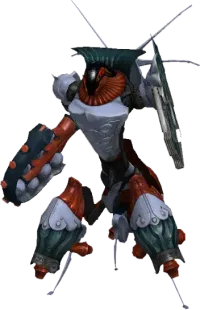
There’s one new type of enemy in this area called a Wight which is basically just a flying Ghoul. The only difference is that they are quite a bit more difficult to attack because your party member’s attacks will quite often miss. There isn’t much that you can do to mitigate this though so just keep attacking until you eventually kill them. Just remember that it’s still possible to trigger preemptive attacks against these groups of enemies if you’re diligent.
The top level has a ![]() Save Station and a Treasure Sphere that has five
Save Station and a Treasure Sphere that has five ![]() Potions inside it. Save your game and then continue into the next area to trigger your first real boss encounter.
Potions inside it. Save your game and then continue into the next area to trigger your first real boss encounter.
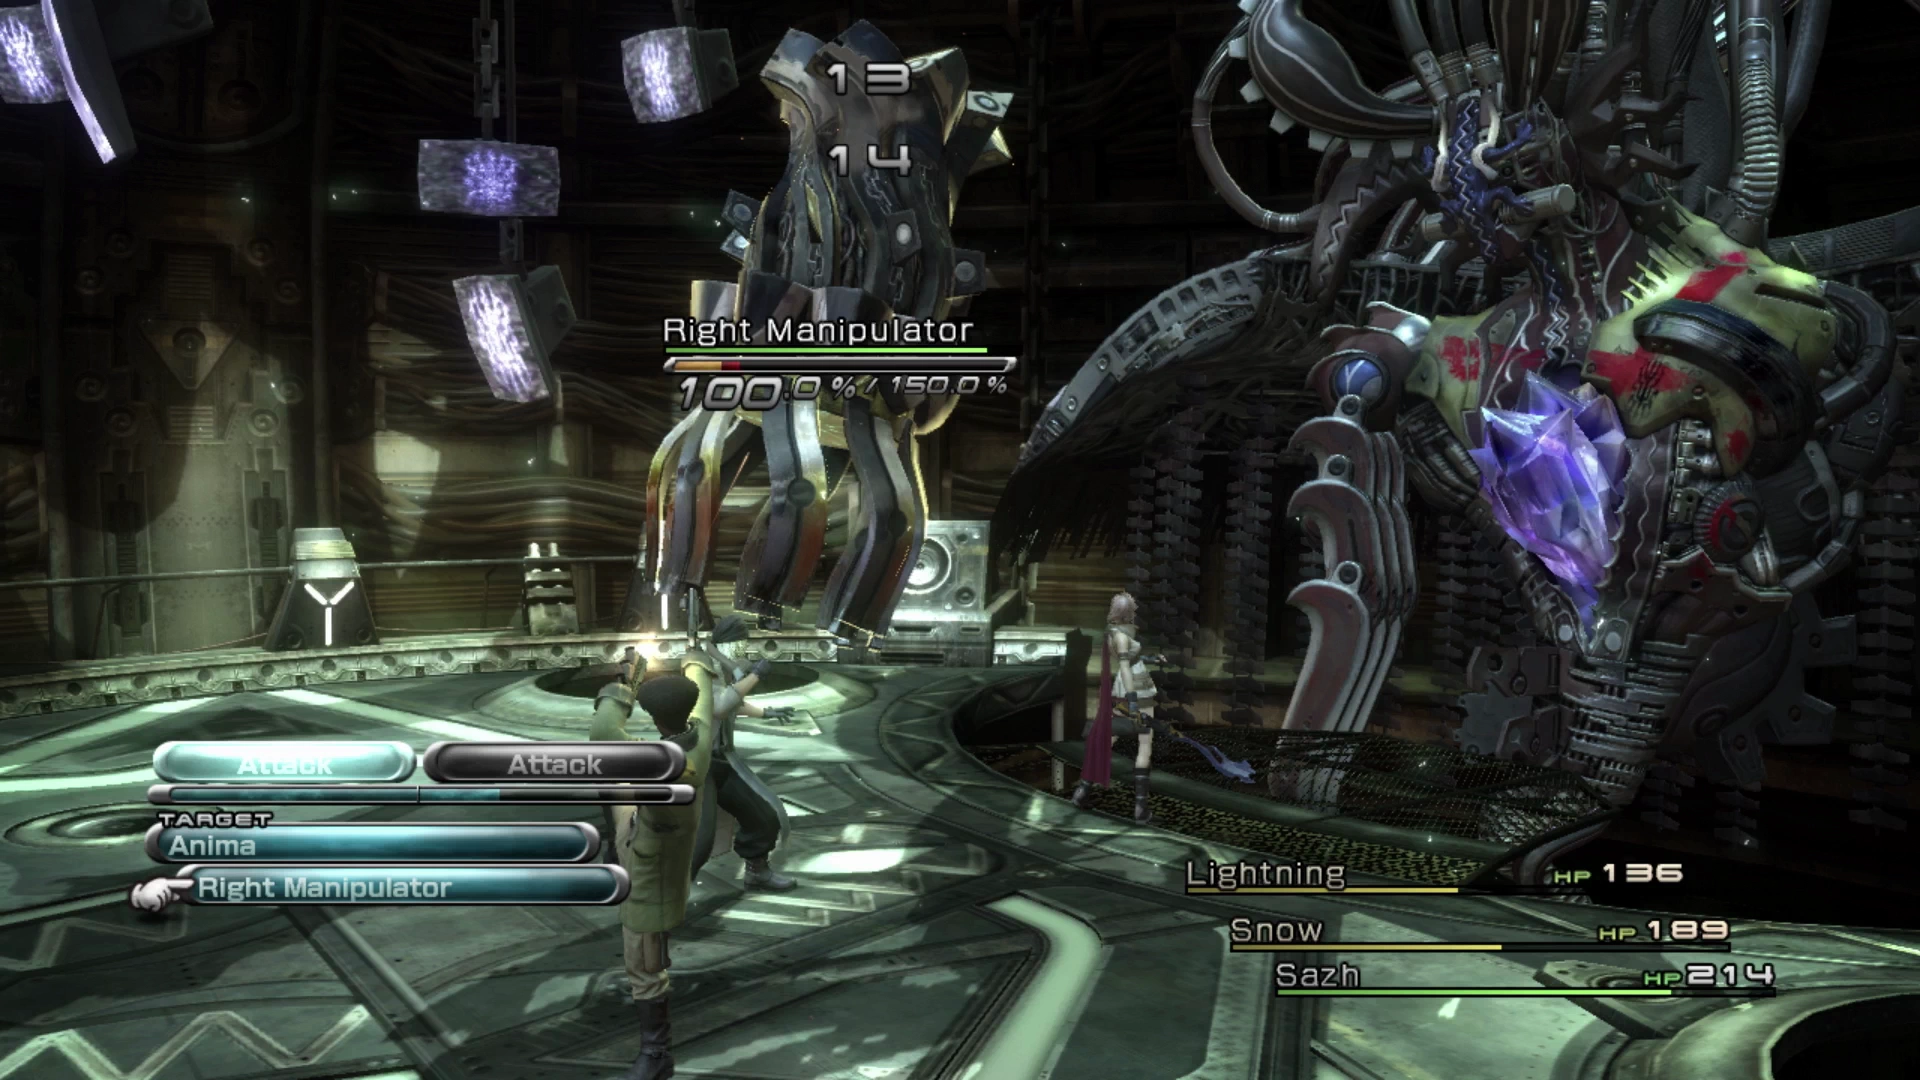
Boss Battle
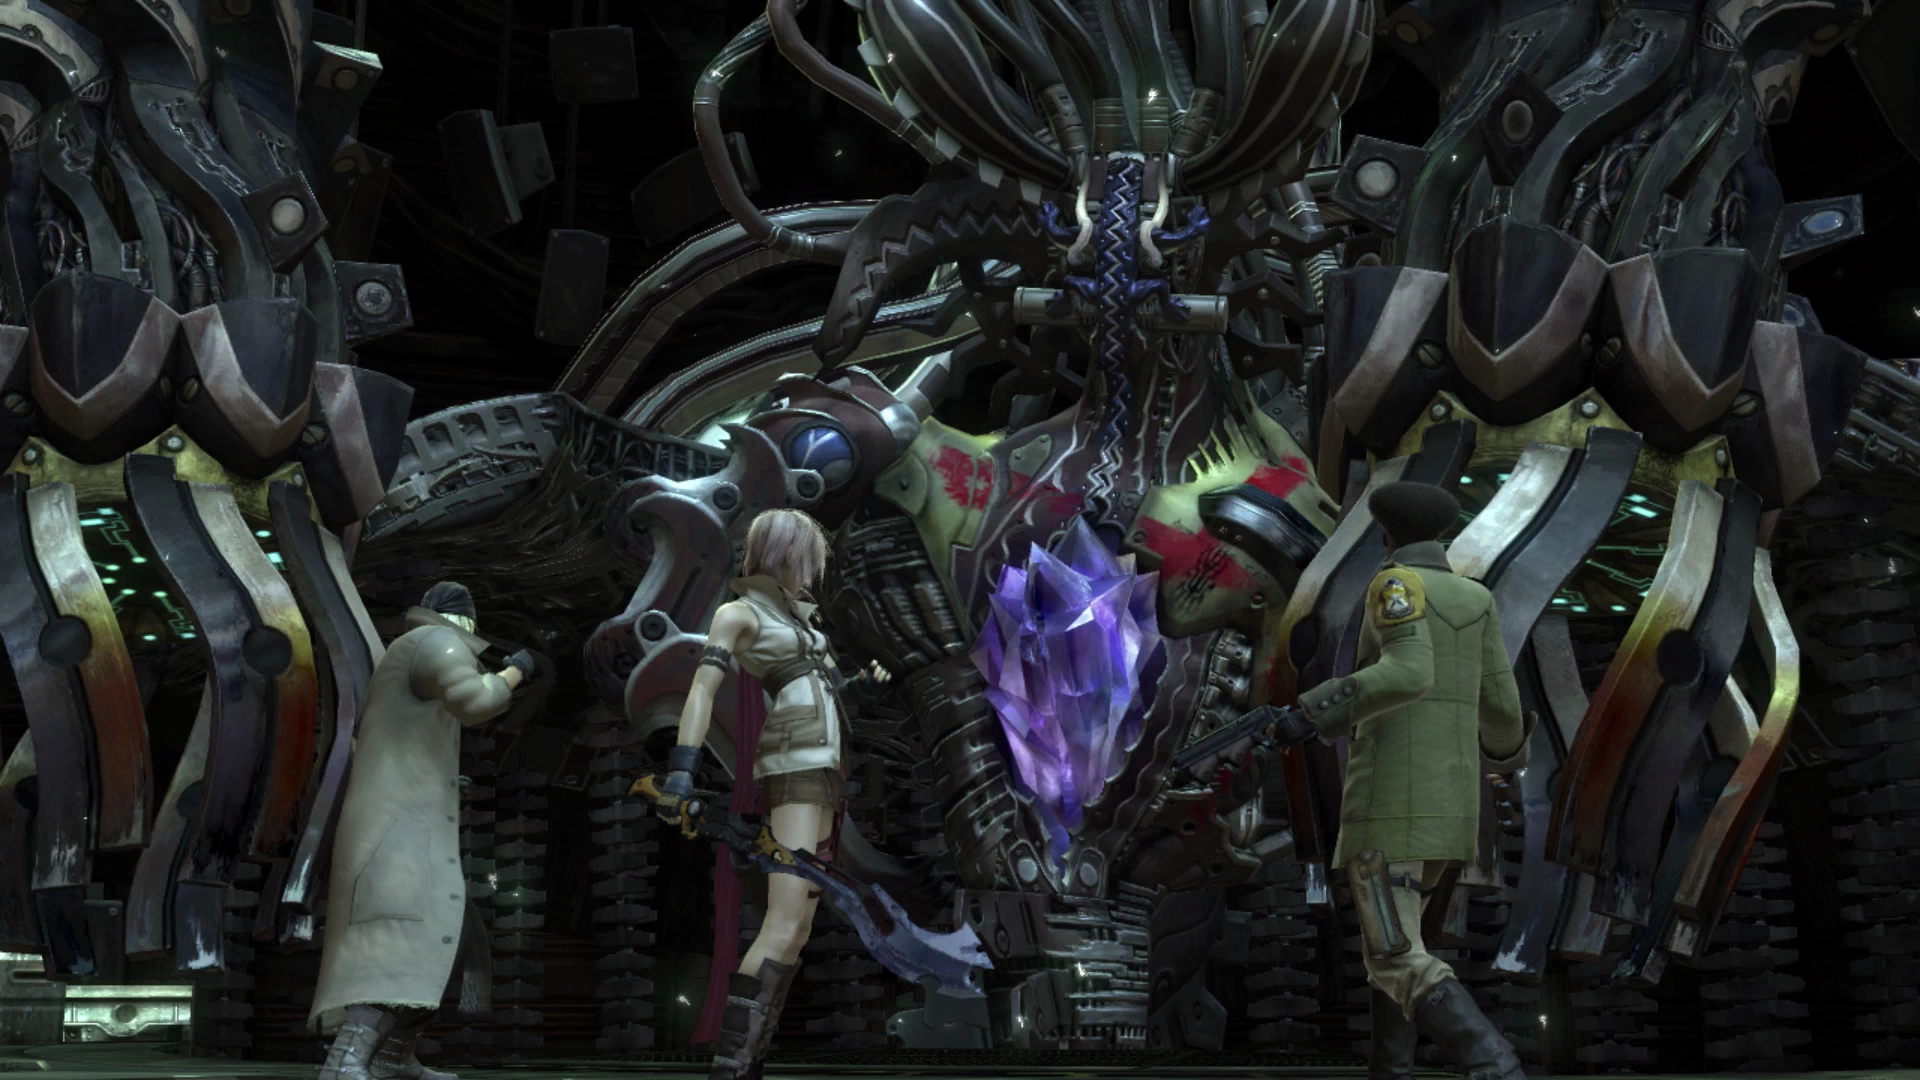
Again, while this is a boss battle, both Chapter 1 and Chapter 2 offer very little in the way of customizing your characters or attacking in any other way besides selecting “Auto-battle” and slowly hacking away at your opponents, so there isn’t much in the way of strategy that you can employ for this fight. There are just two notes worth keeping in mind:
- The two Manipulators do most of Anima’s attacking and their hits will slowly chip away at your party’s HP. Keep your party members healed up using a Potion if their HP gets low.
- Start by attacking the Left Manipulator and the Right Manipulator. This will greatly reduce the amount of incoming damage from Anima as it stops attacking while it attempts to re-summon the two manipulators. Once Anima’s HP drops below half, the re-summoned Manipulators begin casting stronger magic, which is one more reason to take them down quickly each time they reappear.
That’s all there is to it. Try to be quick when executing commands in the menus and you will likely walk away with an easy 5-star rating.
Check out the video below for a demonstration:
There are a few more cutscenes that take place after the battle against Anima has concluded. This concludes the second chapter of the game.
Helpful Hint
The reward for defeating Anima is an item called the ![]() Doctor’s Code. This is an item which, when worn by your party leader, will greatly increase the effectiveness of items, such as
Doctor’s Code. This is an item which, when worn by your party leader, will greatly increase the effectiveness of items, such as ![]() Potions, used on your party (through the
Potions, used on your party (through the ![]() Improved-Potions passive ability).
Improved-Potions passive ability).
Until you can adjust roles and set up Paradigms later on in the game, Potions and other restorative items will serve as your primary methods of healing your party members. You will be using items regularly which, in turn, makes the ![]() Doctor’s Code item effective and useful. You should consider equipping it for the next chapter of the game.
Doctor’s Code item effective and useful. You should consider equipping it for the next chapter of the game.
Achievement/Trophy
You will automatically receive the  Instrument of Dissent Achievement/Trophy at the end of Chapter 2.