
Chapter 1: The Hanging Edge
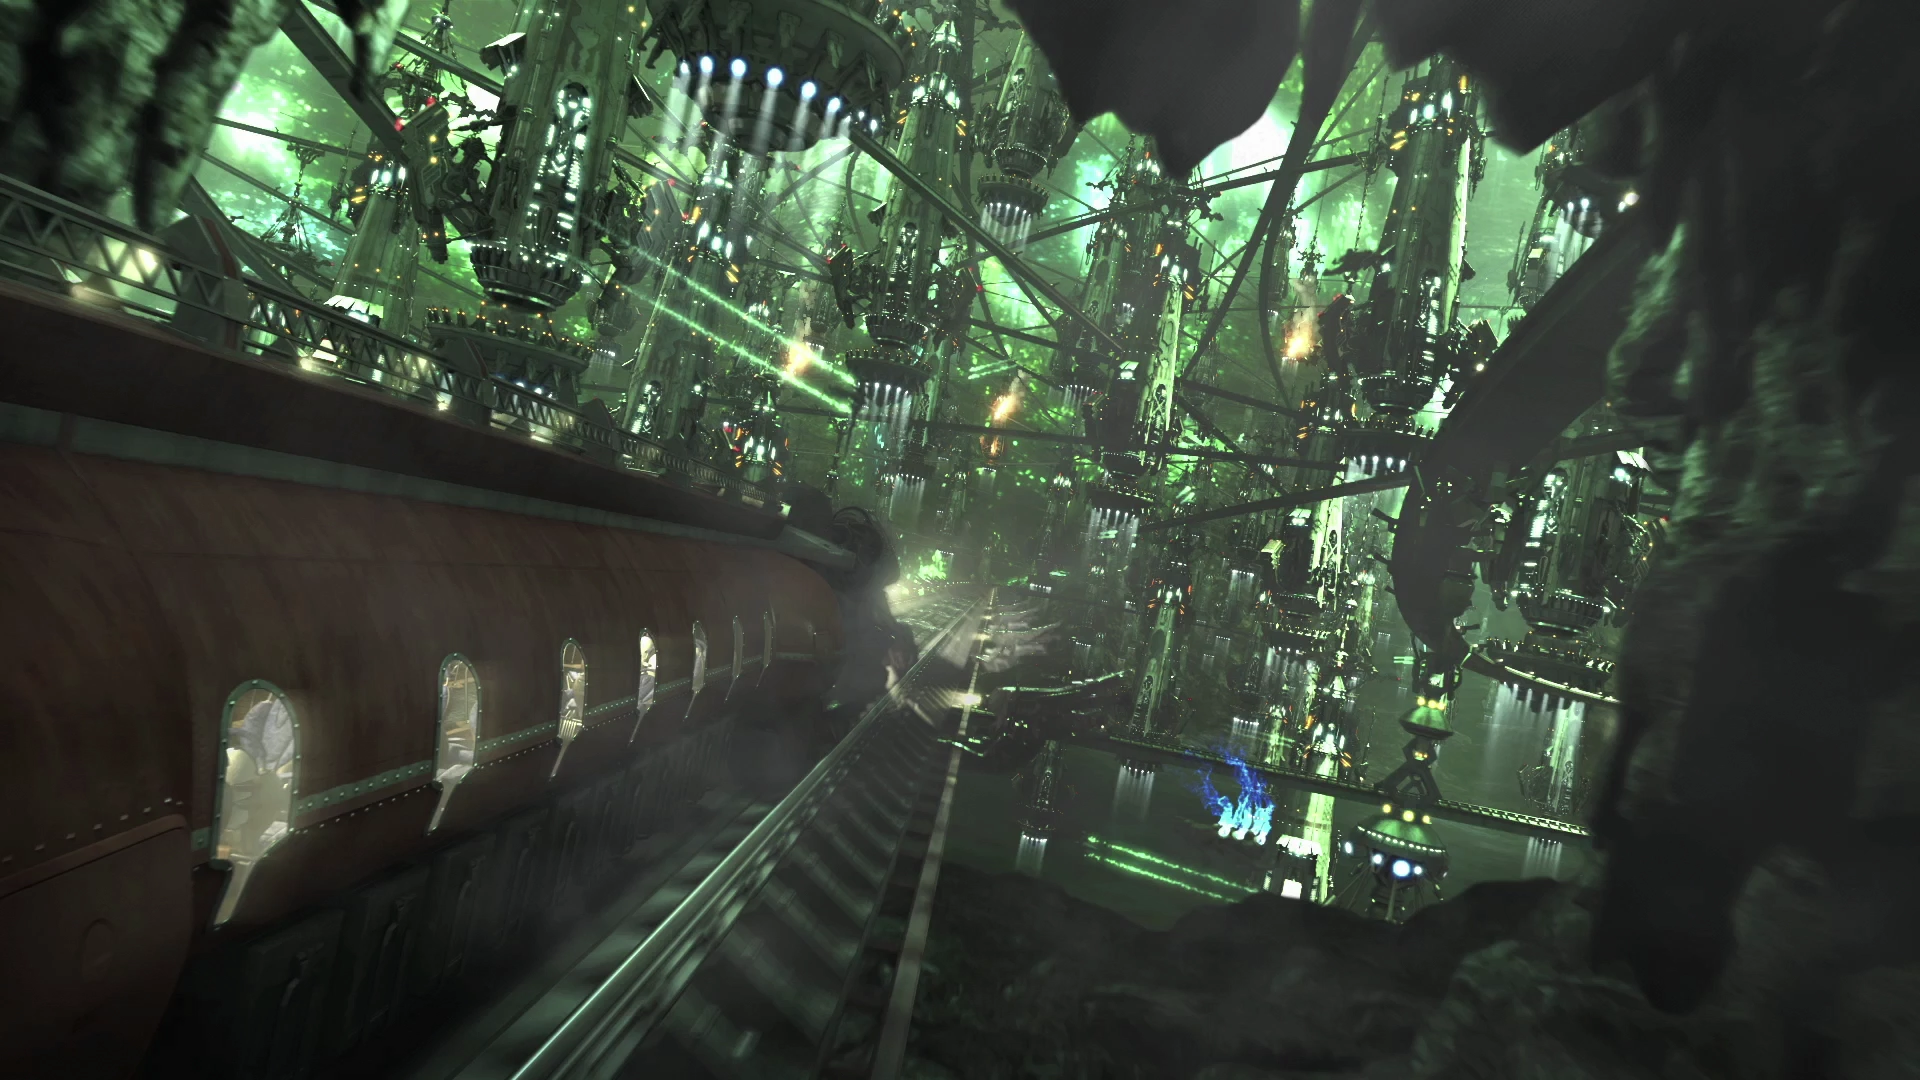
Aerorail Trussway 13
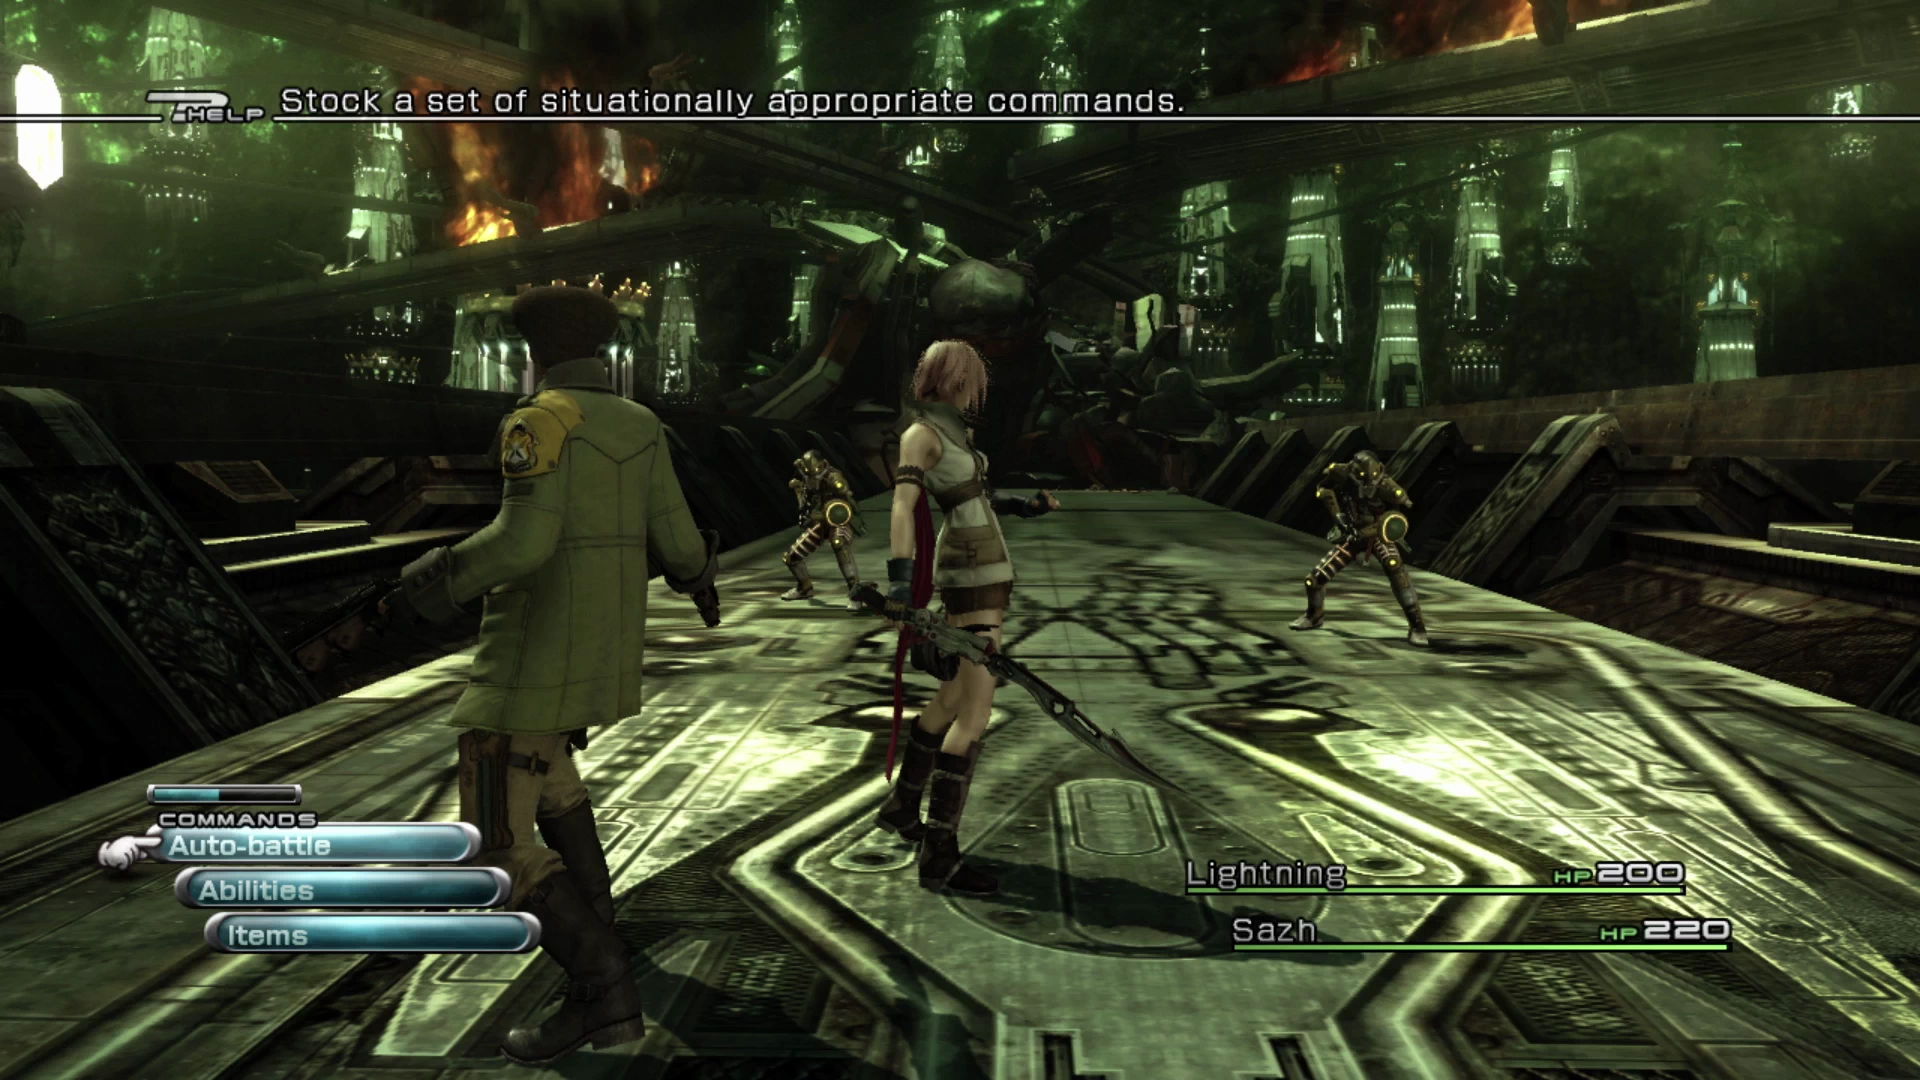
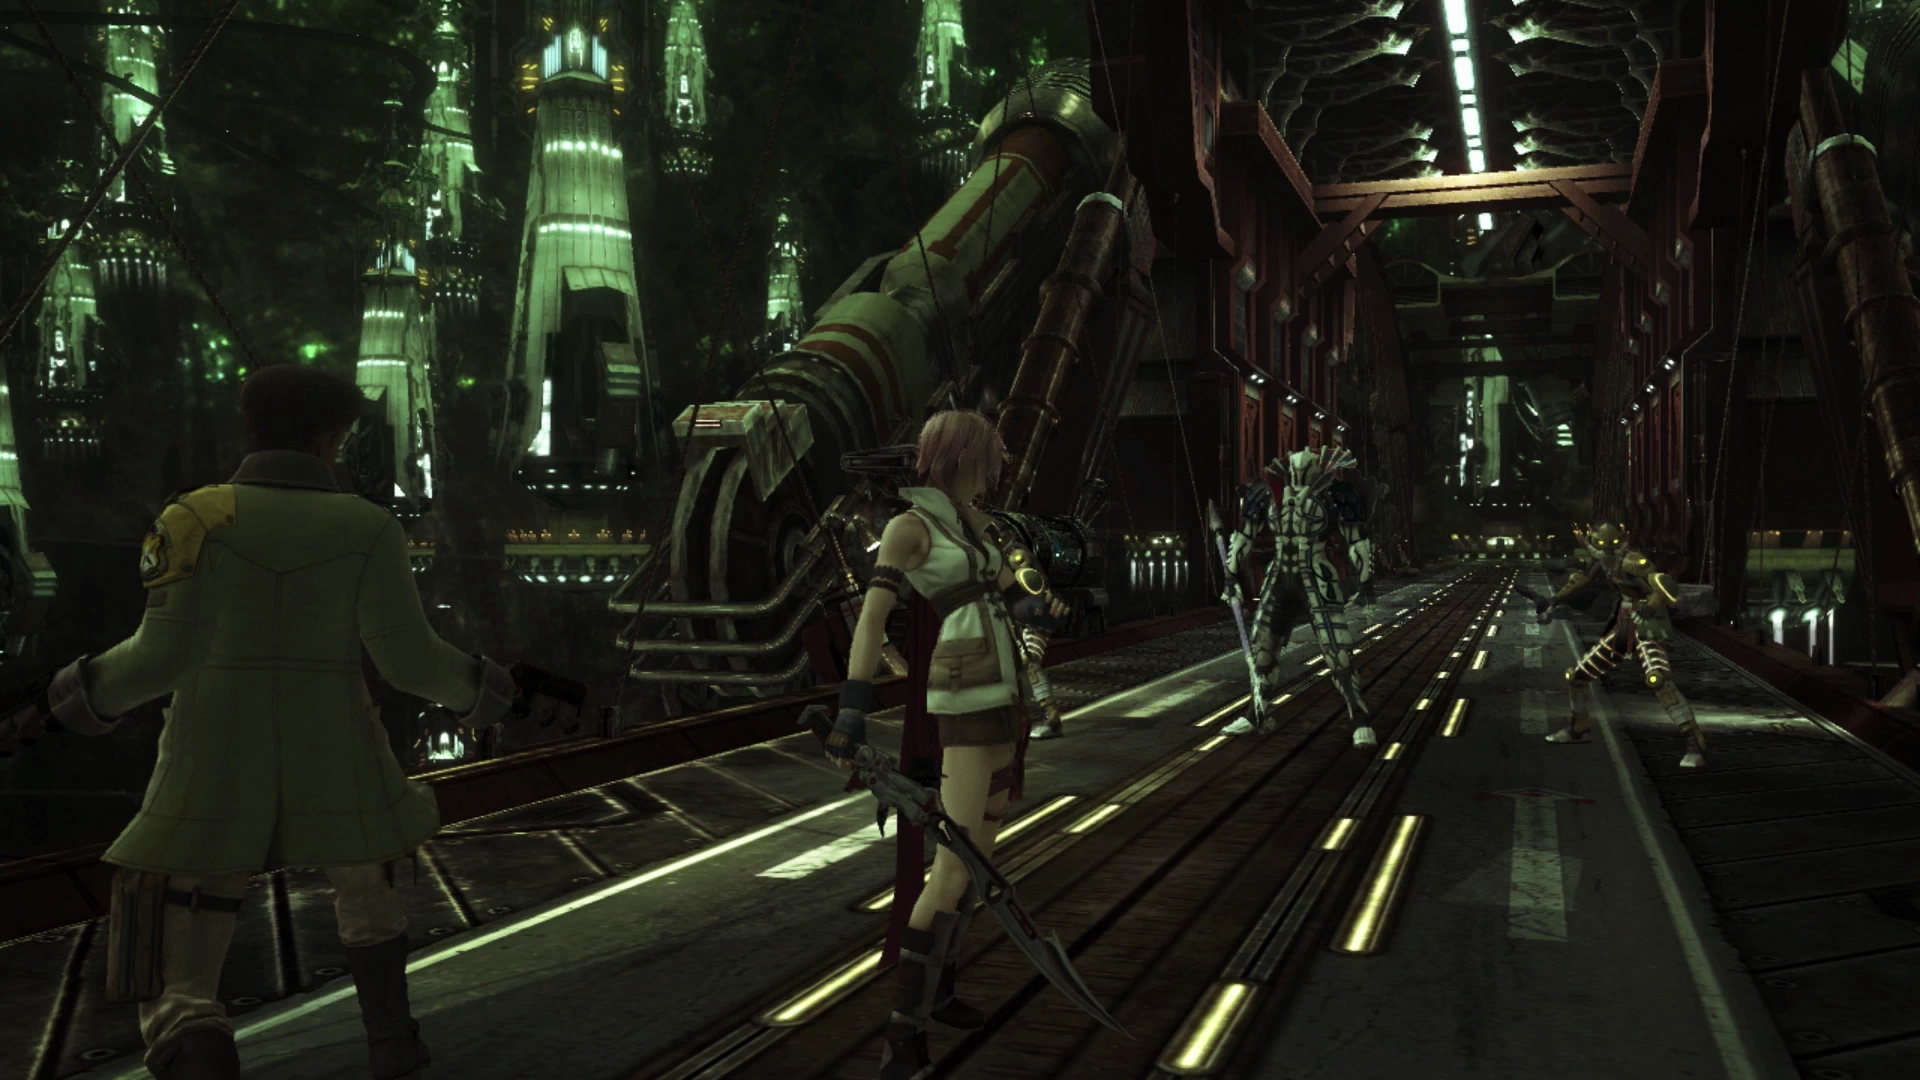
The game begins after the opening cinematic has concluded and you will be thrust straight into battle against your first boss. This “boss” serves more as an introduction and beginners’ tutorial for how the battle system of Final Fantasy XIII works.
Boss Battle
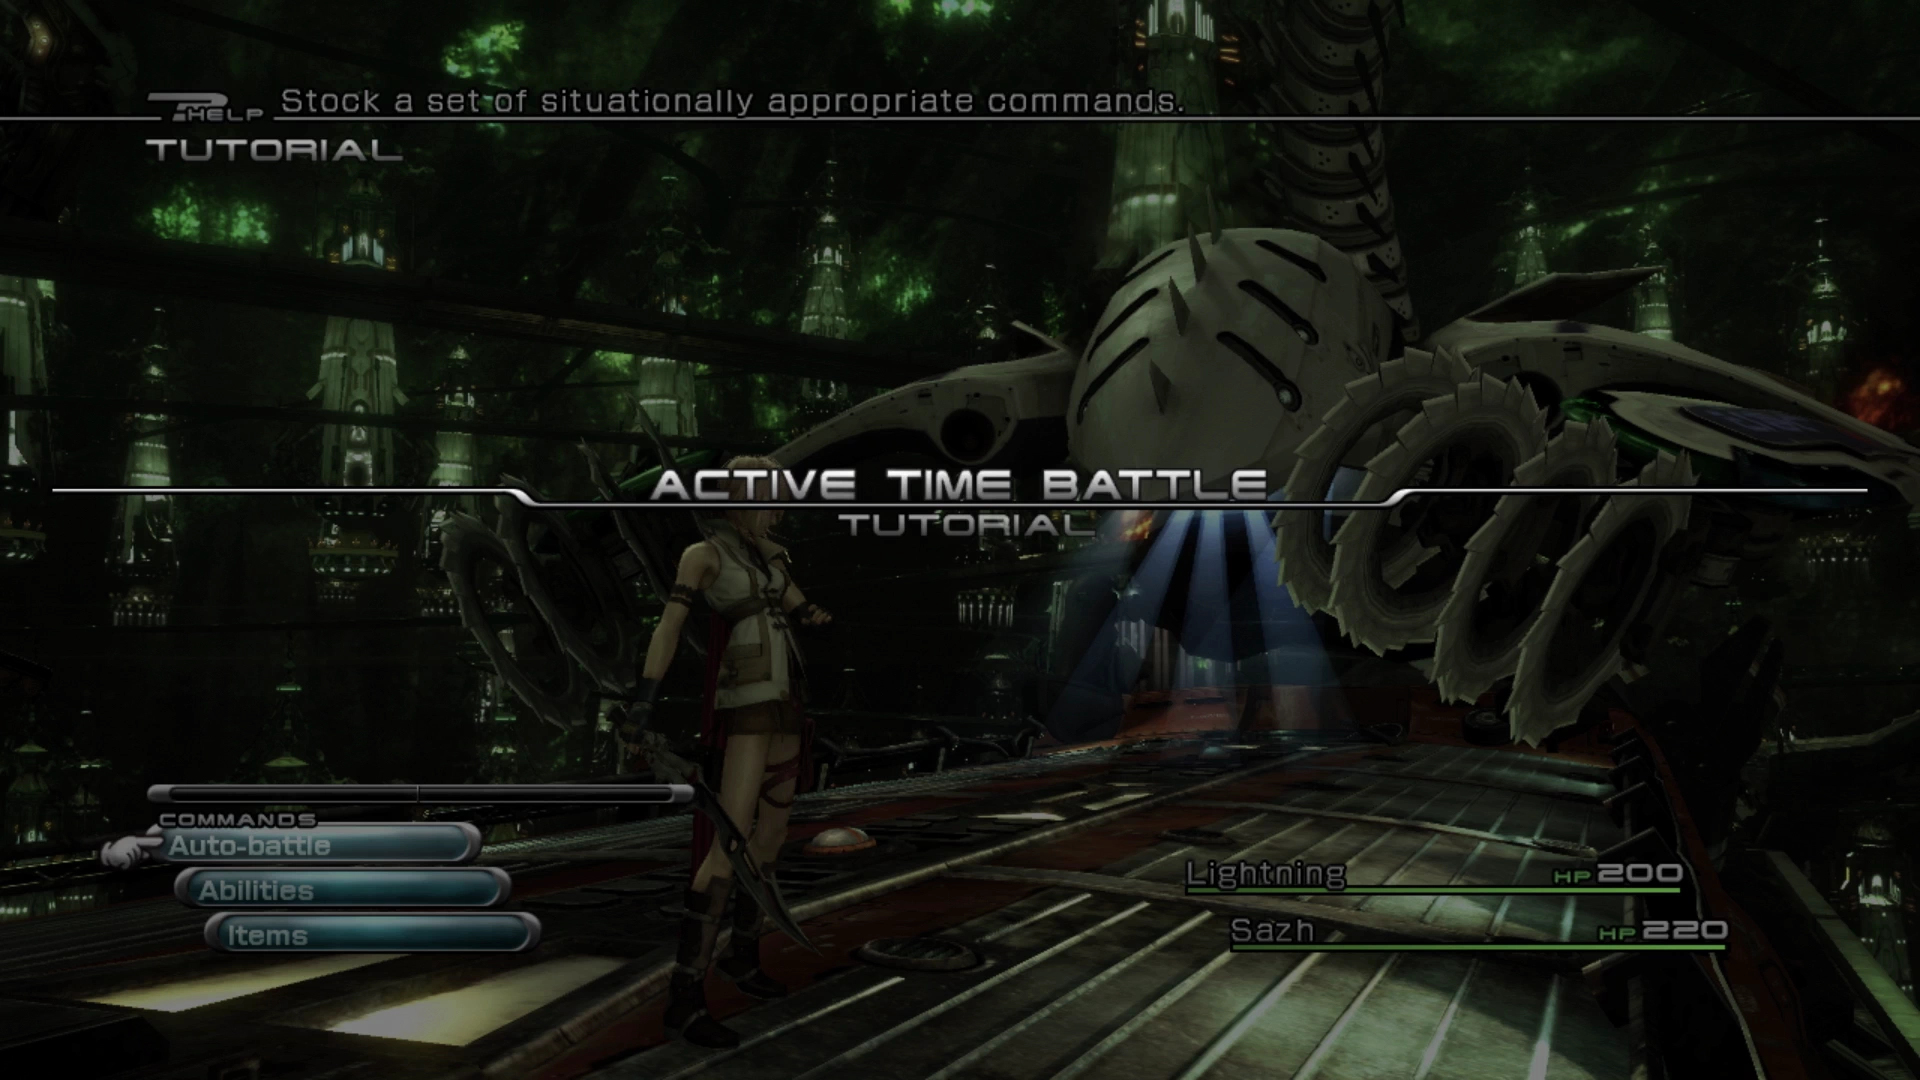
Don’t be worried about there being any challenges associated with this first “boss battle” that you face. This first battle serves to provide you with an overview of Final Fantasy XIII’s ATB combat system.
The system is easy to pick up. You can either follow along with the in-game tutorial or check out the ATB Refresh page in the Tips and Tricks section for an overview of the system as well as some advanced strategies that you can employ throughout your journey.
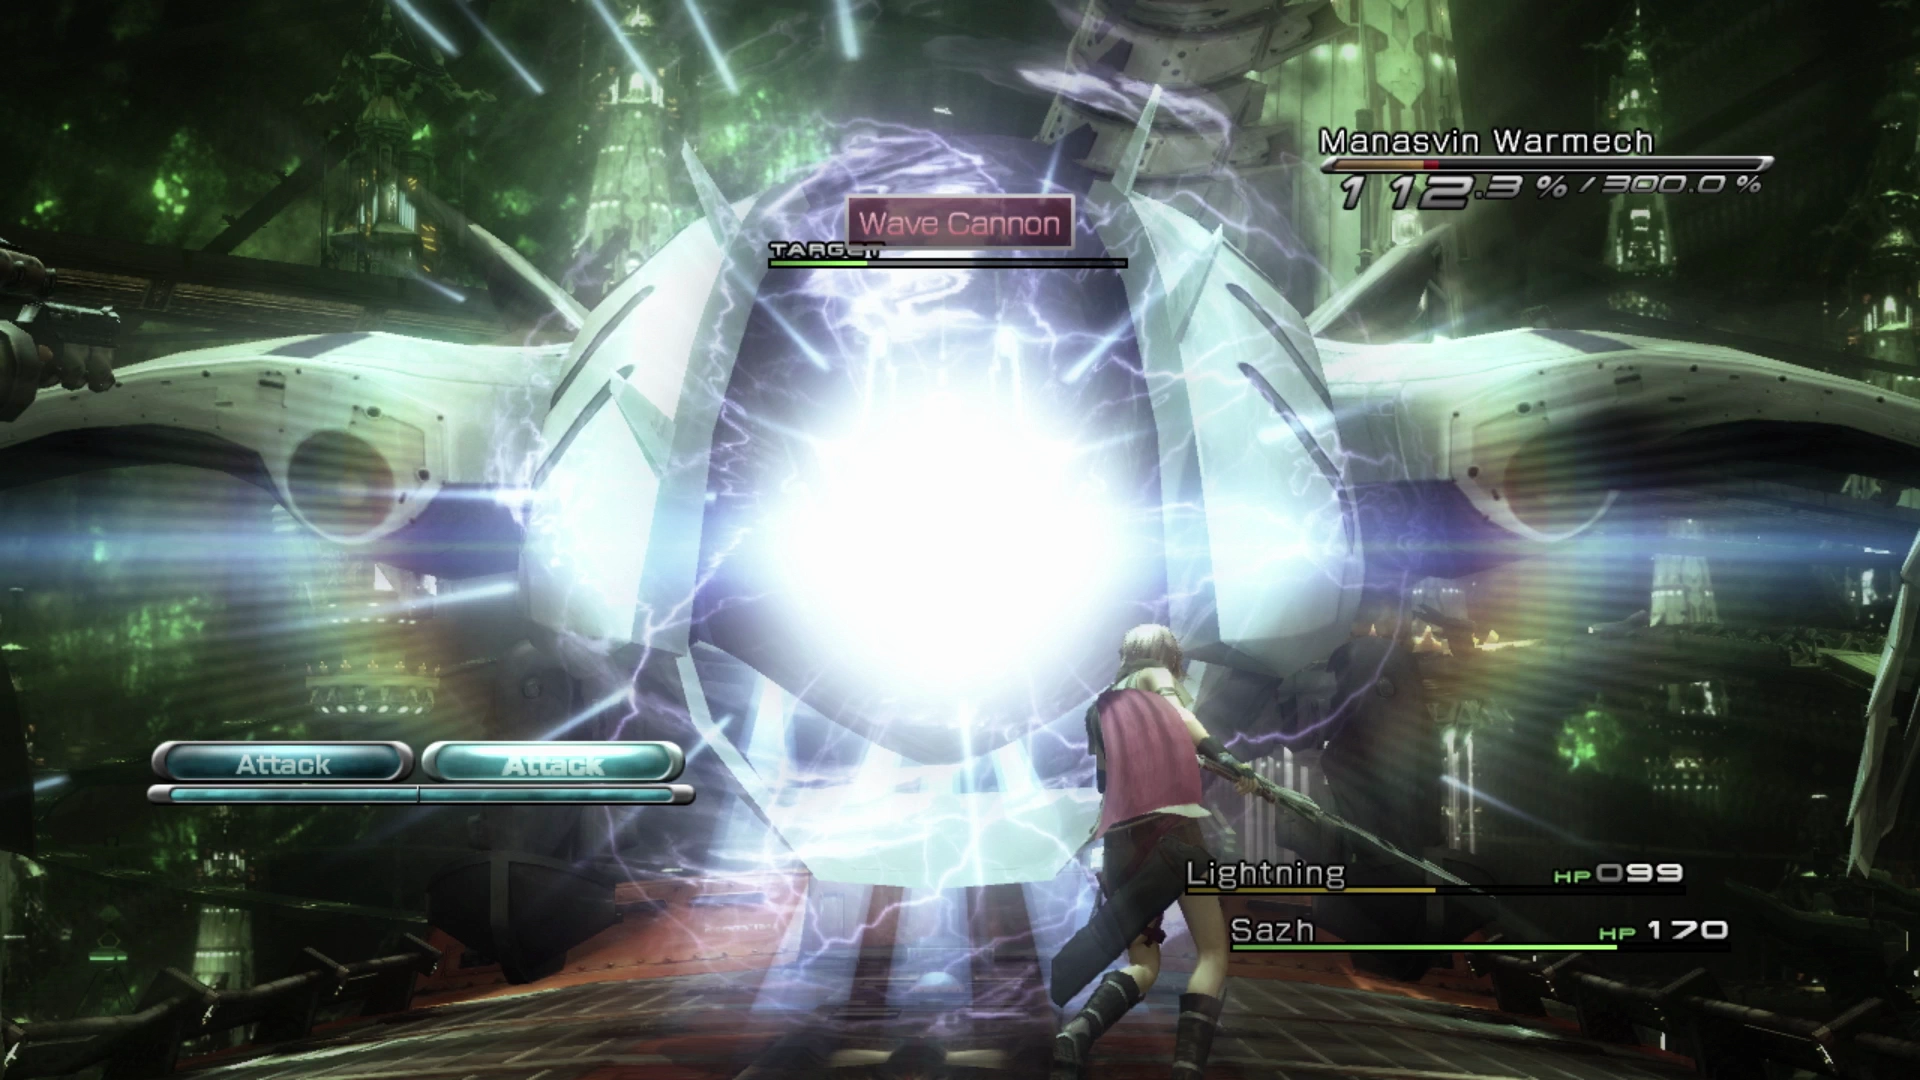
While the battle against Manasvin Warmech is not difficult, and while the boss doesn’t hit very hard, its “Wave Cannon” attack may slowly wear down the HP of either Lightning or Sazh as the fight progresses. Use the “item” command and use a ![]() Potion if you need to restore your party members’ HP.
Potion if you need to restore your party members’ HP.
There is another cutscene that takes place after this before you find yourself in control of Lightning, the main protagonist of the game. You will have the option to update the camera control scheme to whatever you prefer, and then you will be given a short explanation of how the ![]() Datalog works.
Datalog works.
“Datalog updated!” is a warning message that you can expect to see a lot as you progress through the story of the game. You will need to access each area of the menu to remove the warnings, but beyond just clearing the warning messages, you can review the different areas of the ![]() Datalog to provide you with more history and lore to expand on the story of the game.
Datalog to provide you with more history and lore to expand on the story of the game.
Helpful Hint
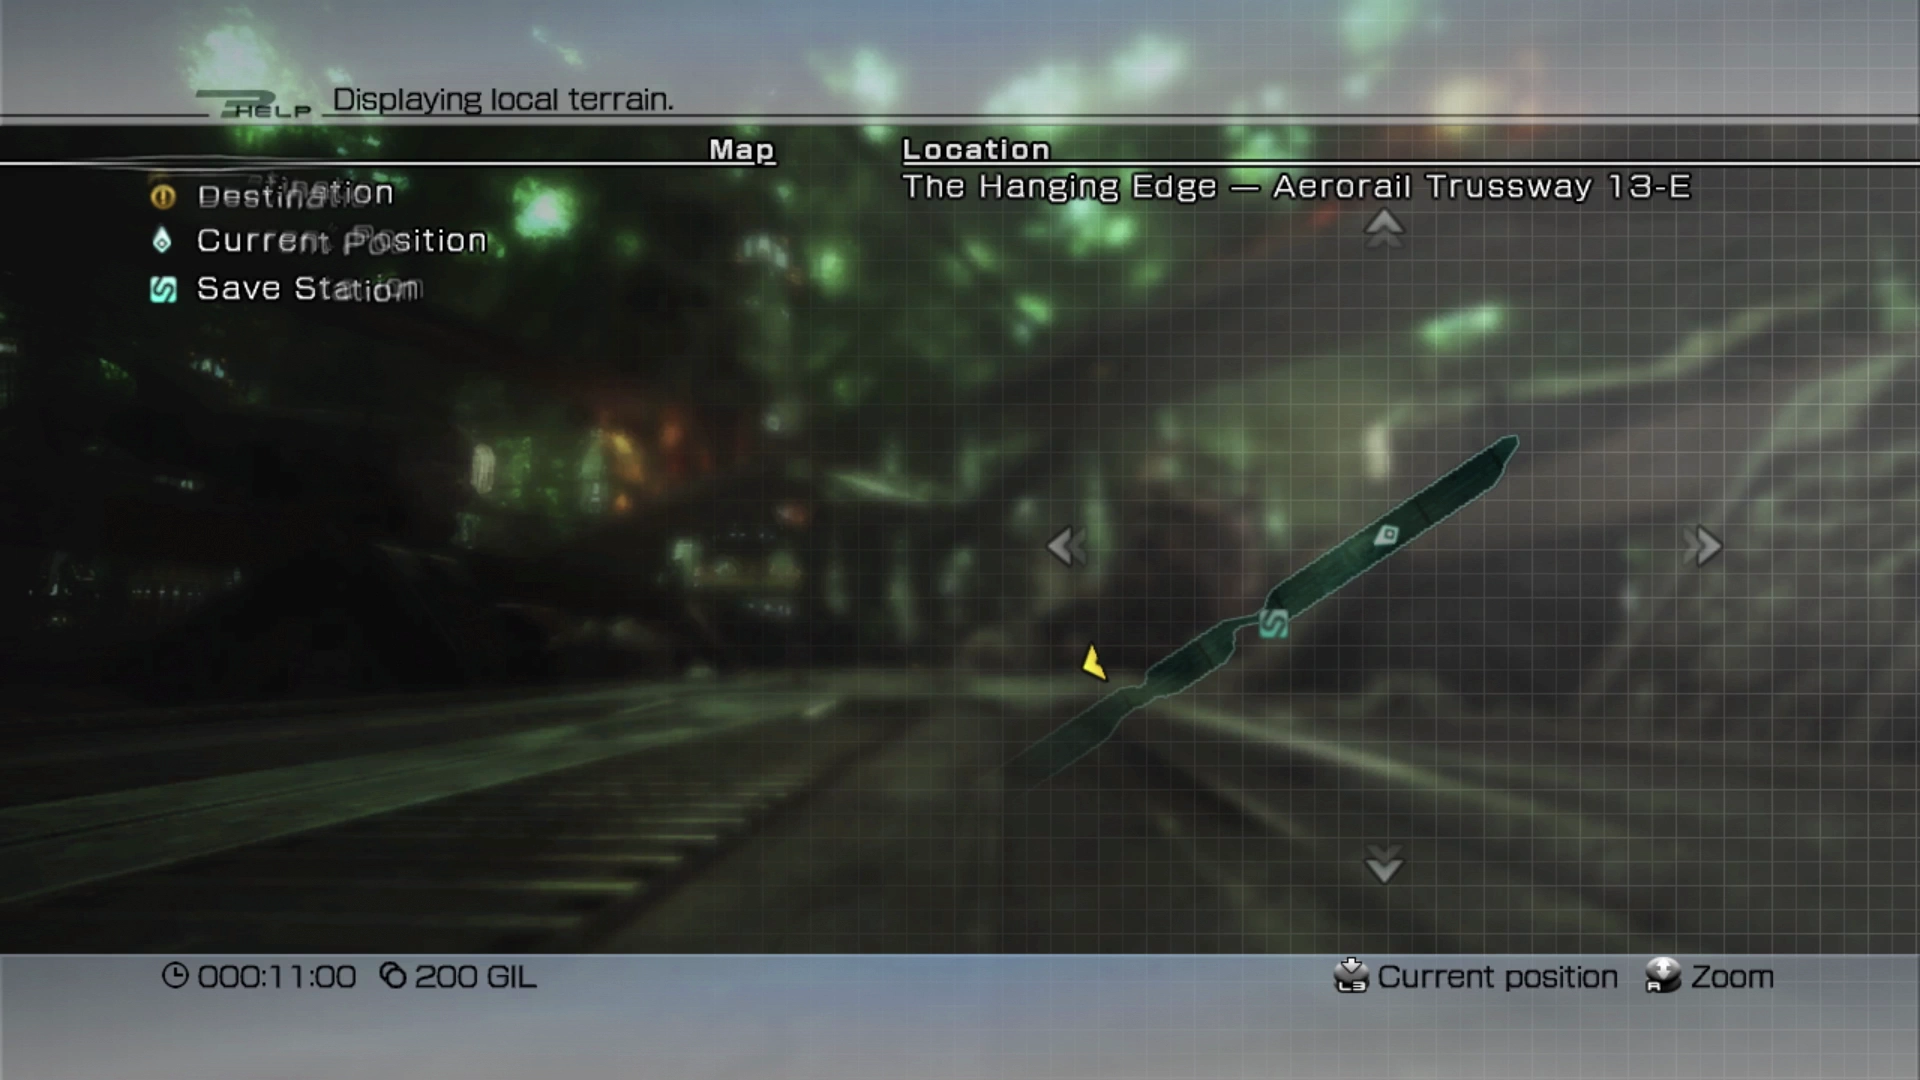
This guide will contain images of maps to help you navigate through each area, but each area/section will be labeled within the Jegged.com strategy guide as well. The label used above, and the name of this starting location, is the “Aerorail Trussway 13-E.” How can you tell what area you are in?
Each map included in this guide contains multiple locations, including the maps for the entire “Hanging Edge” area. This specific section contains “Aerorail Trussway 13-E,” “Aerorail Trussway 12-E,” “Aerorail Trussway 11-E” and “Skybridge No. 369.” Knowing the names of these areas is unimportant, but these location labels can help you align where you are in the guide versus where you are in the game.
If you ever need to know which specific location you are in on the map just pull up the menu screen and select the “Map” option, and the “Location” note on the right side of the page will show you the full name of where you are (in this case, “The Hanging Edge - Aerorail Trussway 13-E”).
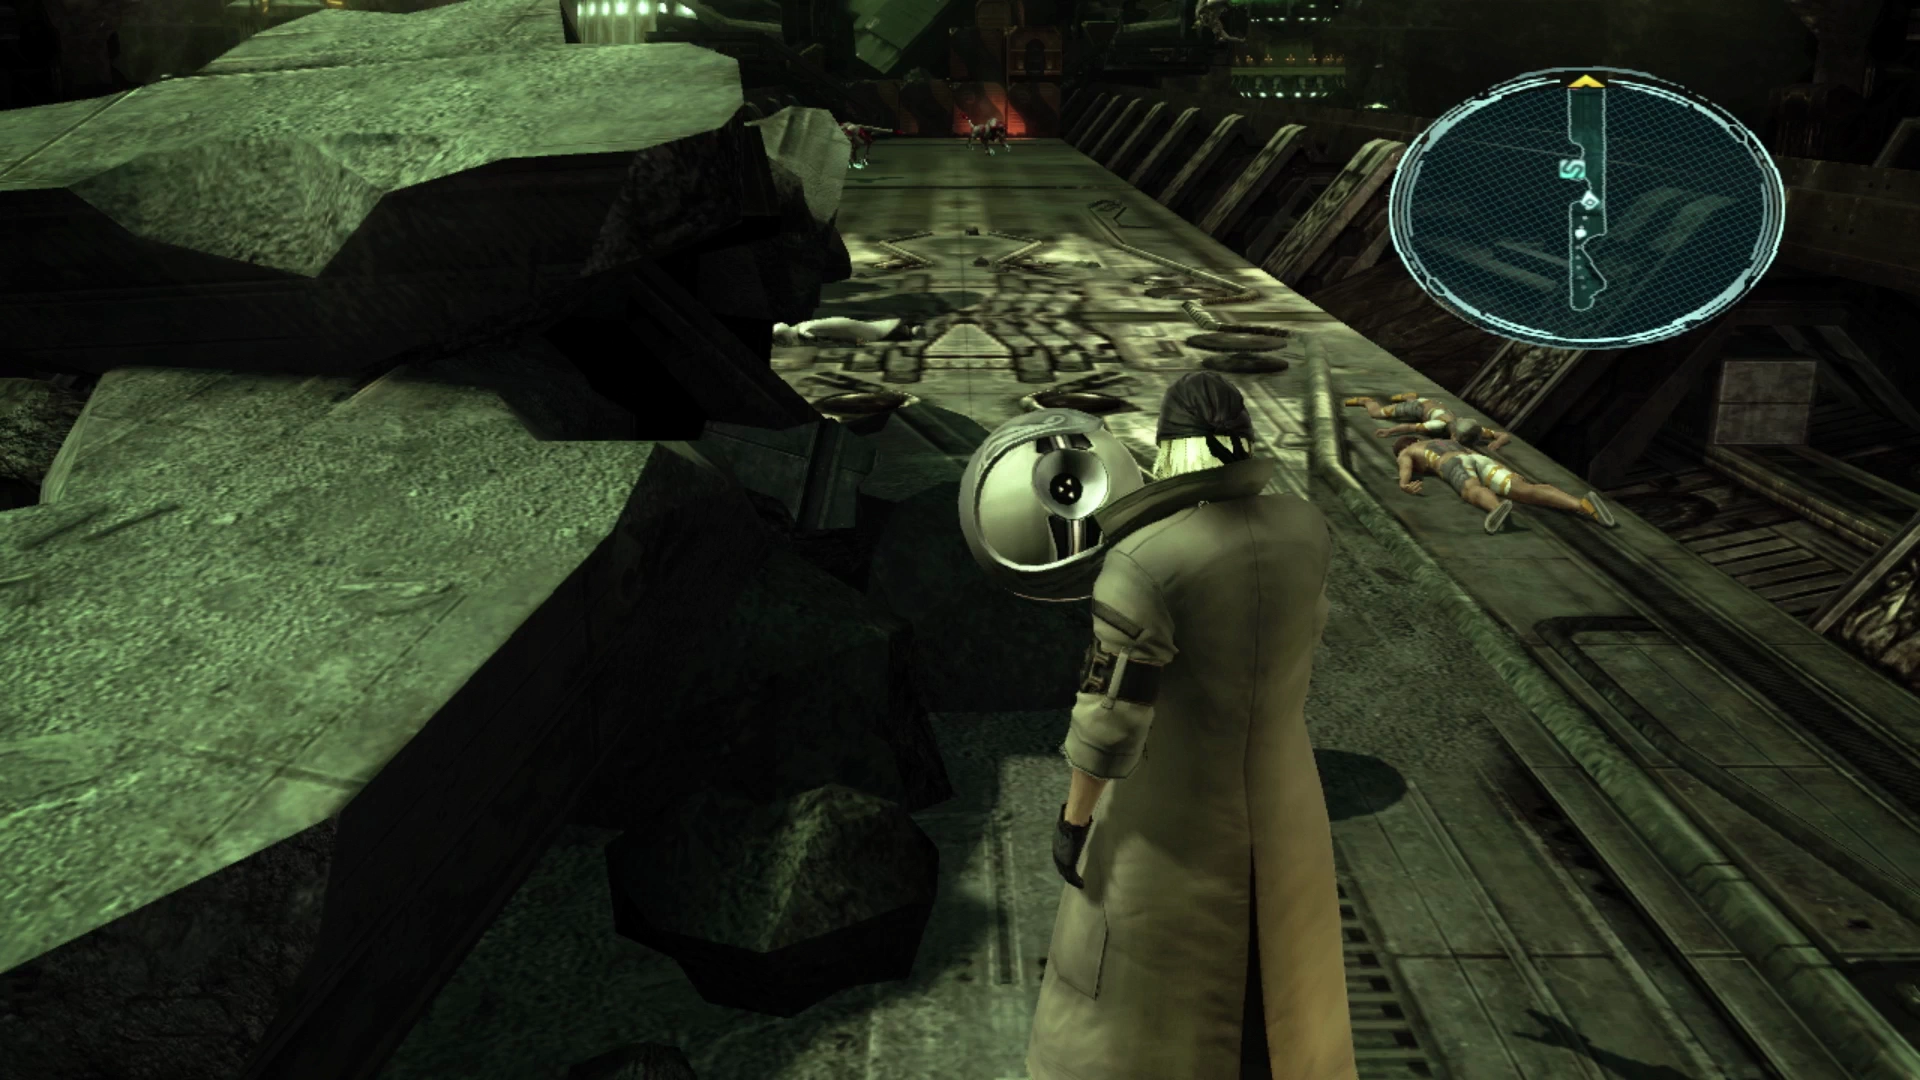
There is a ![]() Save Station just up ahead. You can use these Save Stations to save your progress or to access the shop for buying and selling items. At this early stage of the game, you only have 200 Gil, so there’s no need to access the shop just yet as you can’t afford to buy anything.
Save Station just up ahead. You can use these Save Stations to save your progress or to access the shop for buying and selling items. At this early stage of the game, you only have 200 Gil, so there’s no need to access the shop just yet as you can’t afford to buy anything.
Warning
Are you planning to obtain all the achievements or trophies that are available during your playthrough of Final Fantasy XIII? If so, there is one particularly challenging Achievement/Trophy to obtain called Treasure Hunter. It requires that you obtain every weapon and every accessory in the game.
This will require you to upgrade many of the weapons and accessories that you obtain during your travels through each chapter of the game, and many of these items are not replaceable if you sell or dismantle them.
Do not sell or dismantle weapons or accessories for Gil until later in the game when you can be 100% sure that they are not unique and/or required for this Achievement/Trophy.
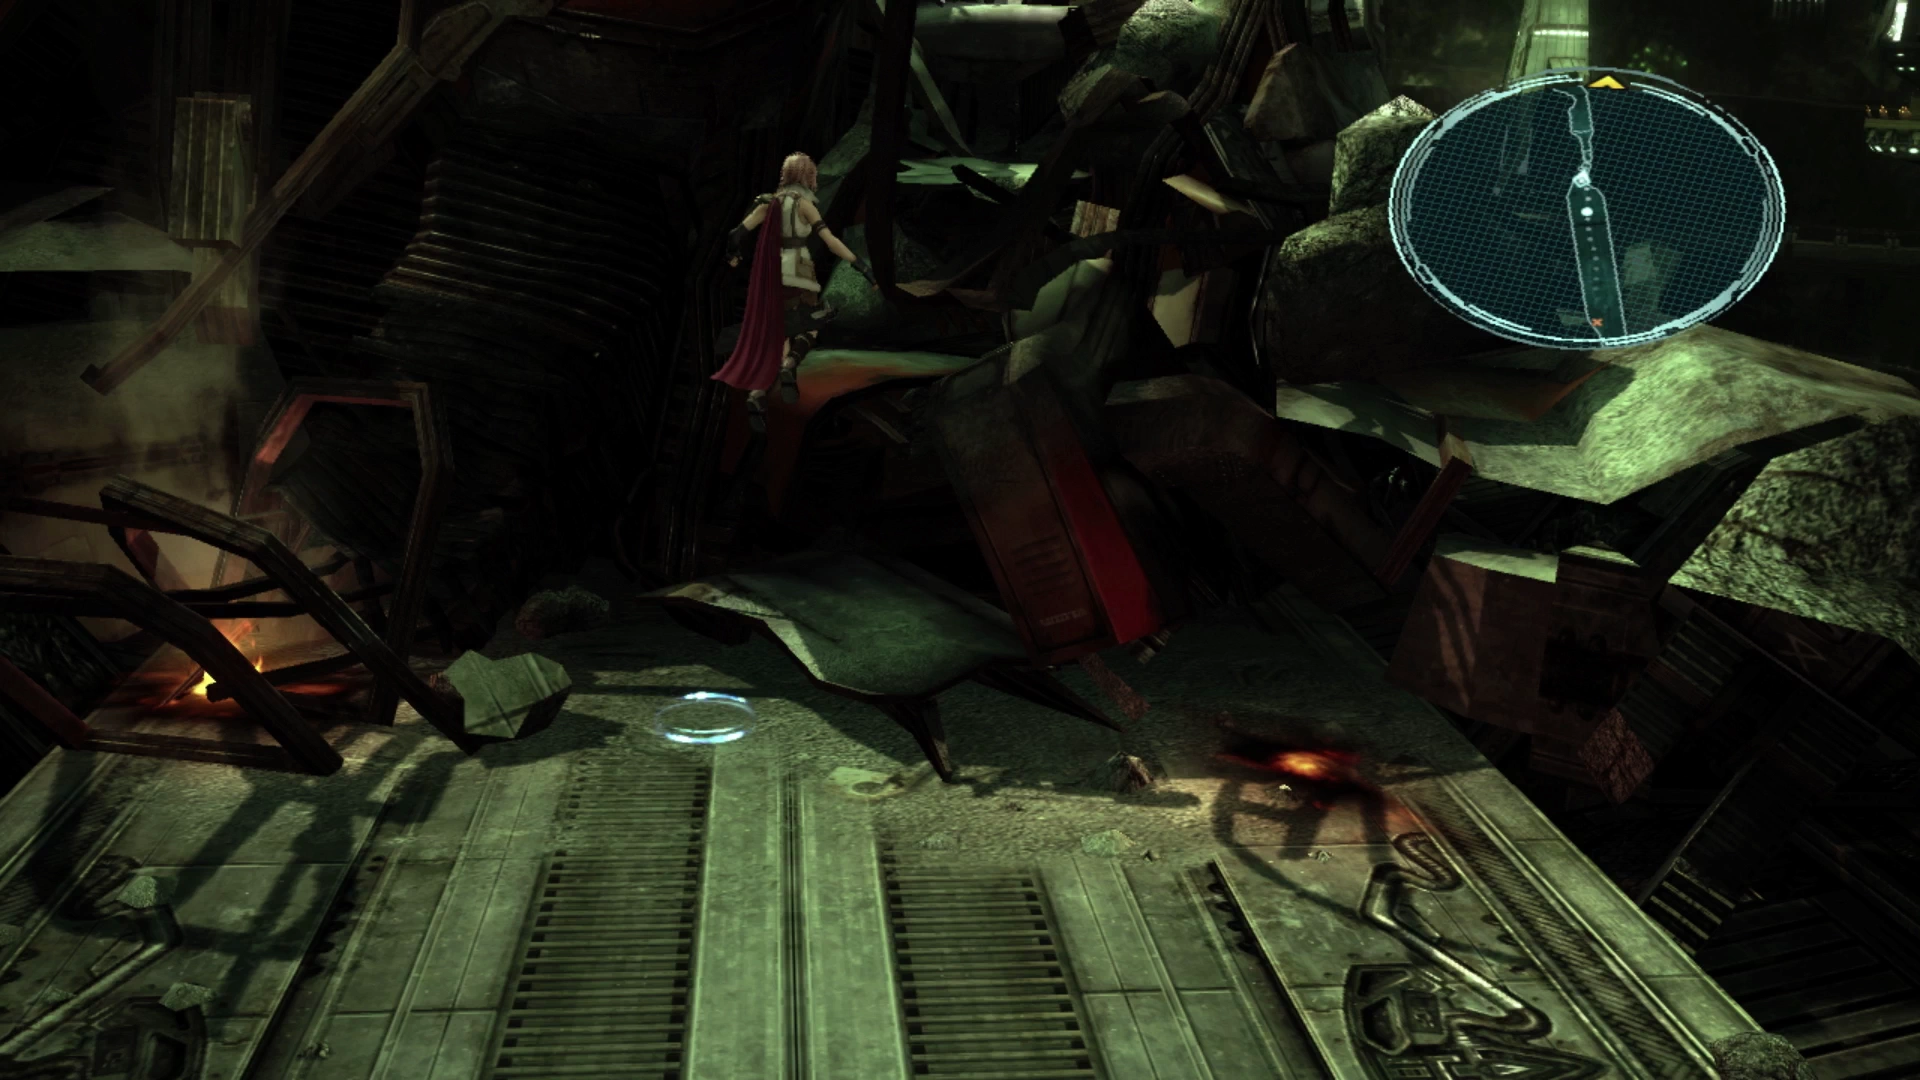
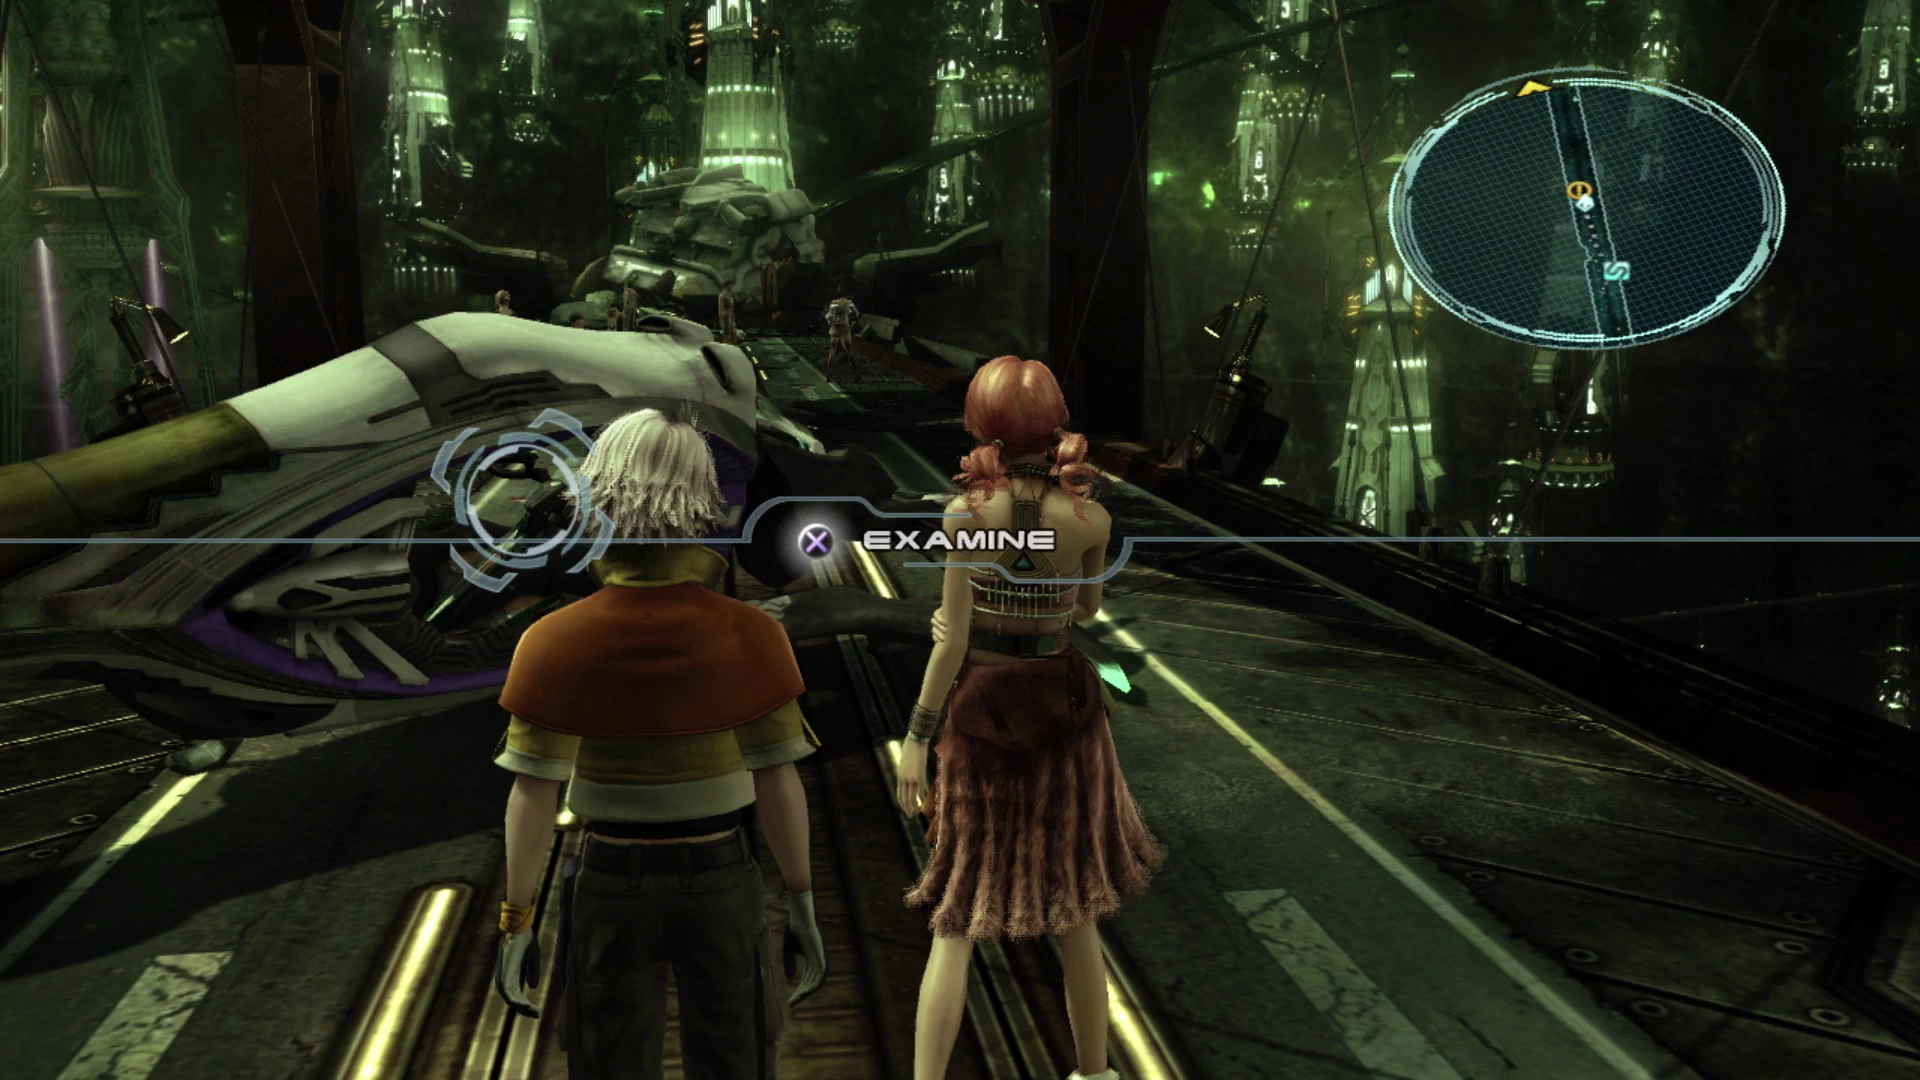
The pathway forward is completely linear, but if you ever get spun around and you’re not sure if you’re going the right way, just look at the mini-map in the top right side of the screen and go in the direction that the yellow arrow is pointing.
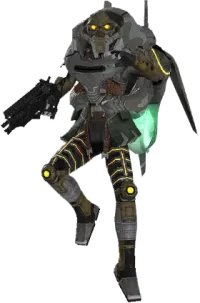

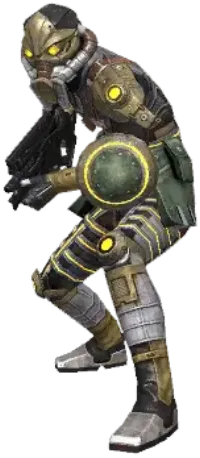
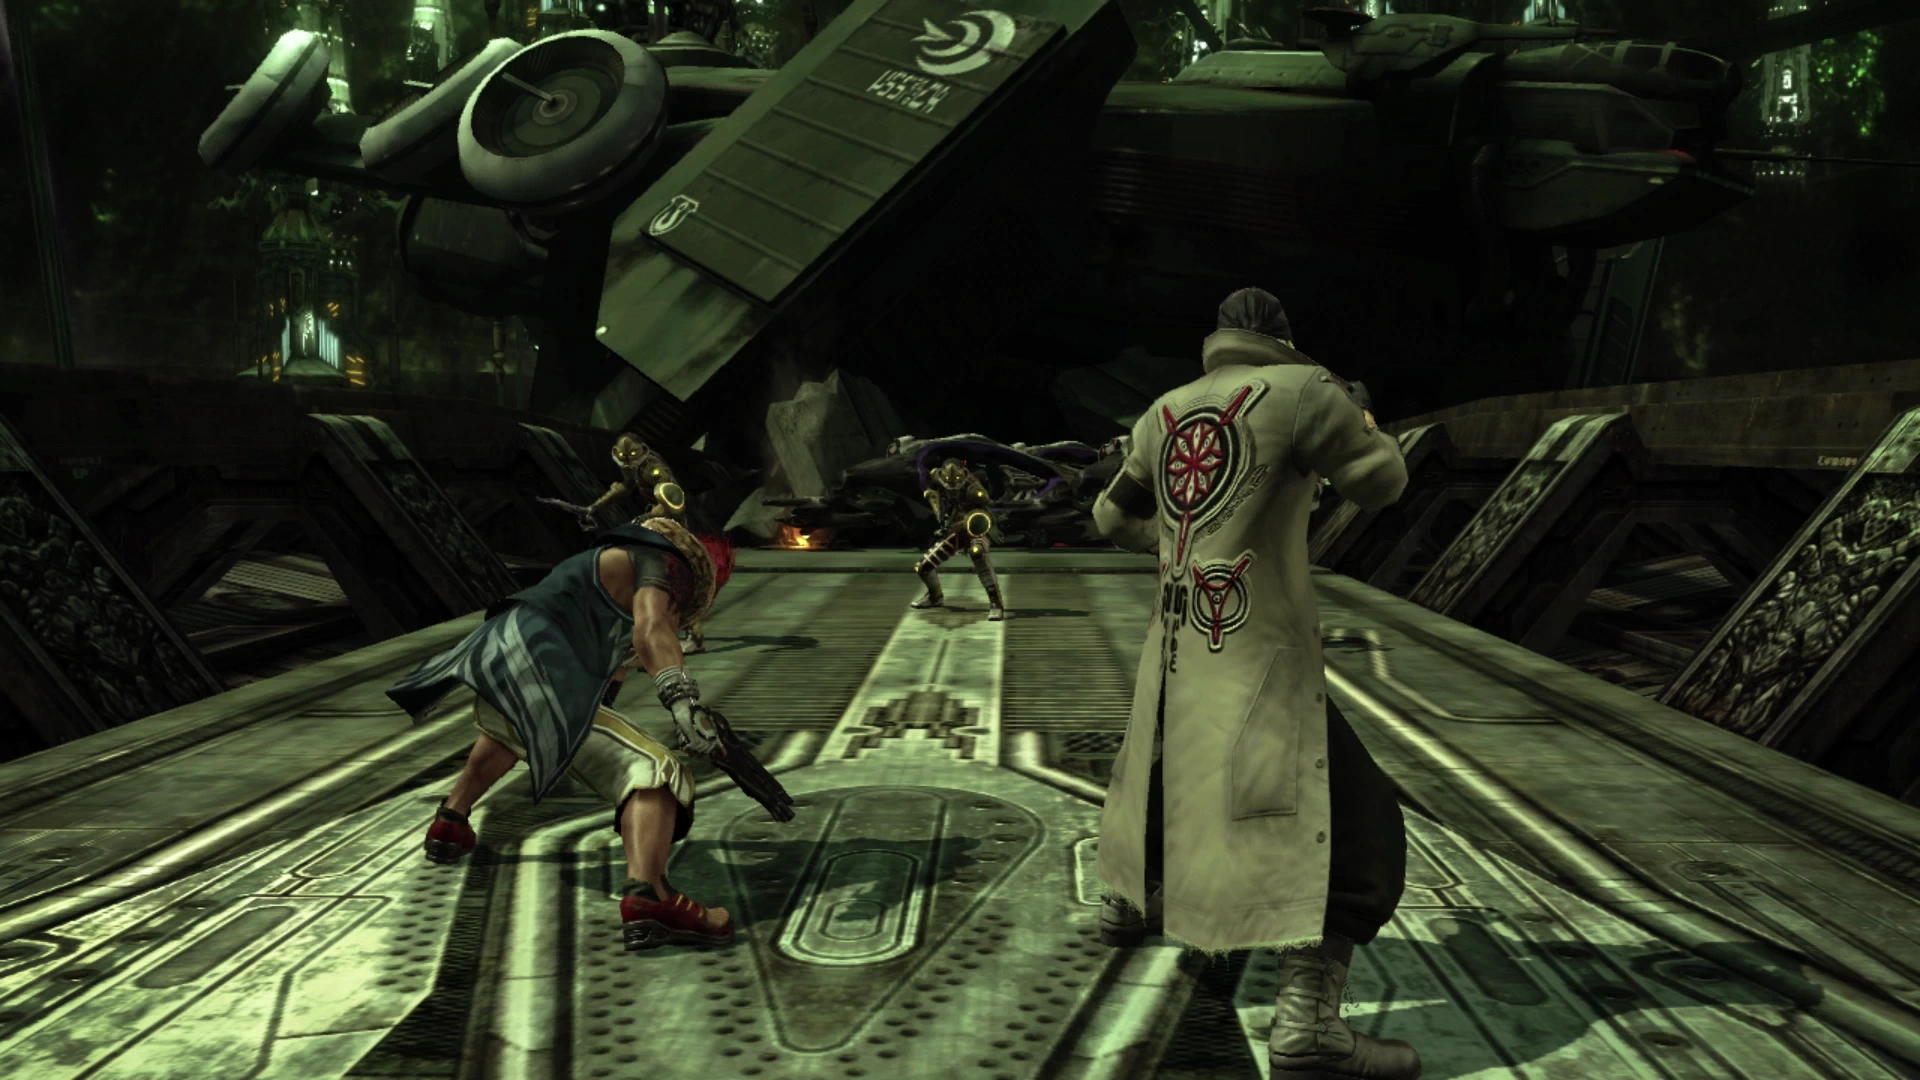
Your first battle is against two PSICOM Wardens. There aren’t any overly complicated strategies required for the battles you face here in Chapter 1. Just continue to select the “Auto-Attack” option and power your way through the enemies. Your character’s HP will automatically recover to full after the conclusion of each battle.
Walk forward towards the pile of debris lying in the middle of the Trussway. Move Lightning towards the illuminated blue circle on the ground and she will automatically hop over the debris to the other side (and Sazh will follow her automatically).
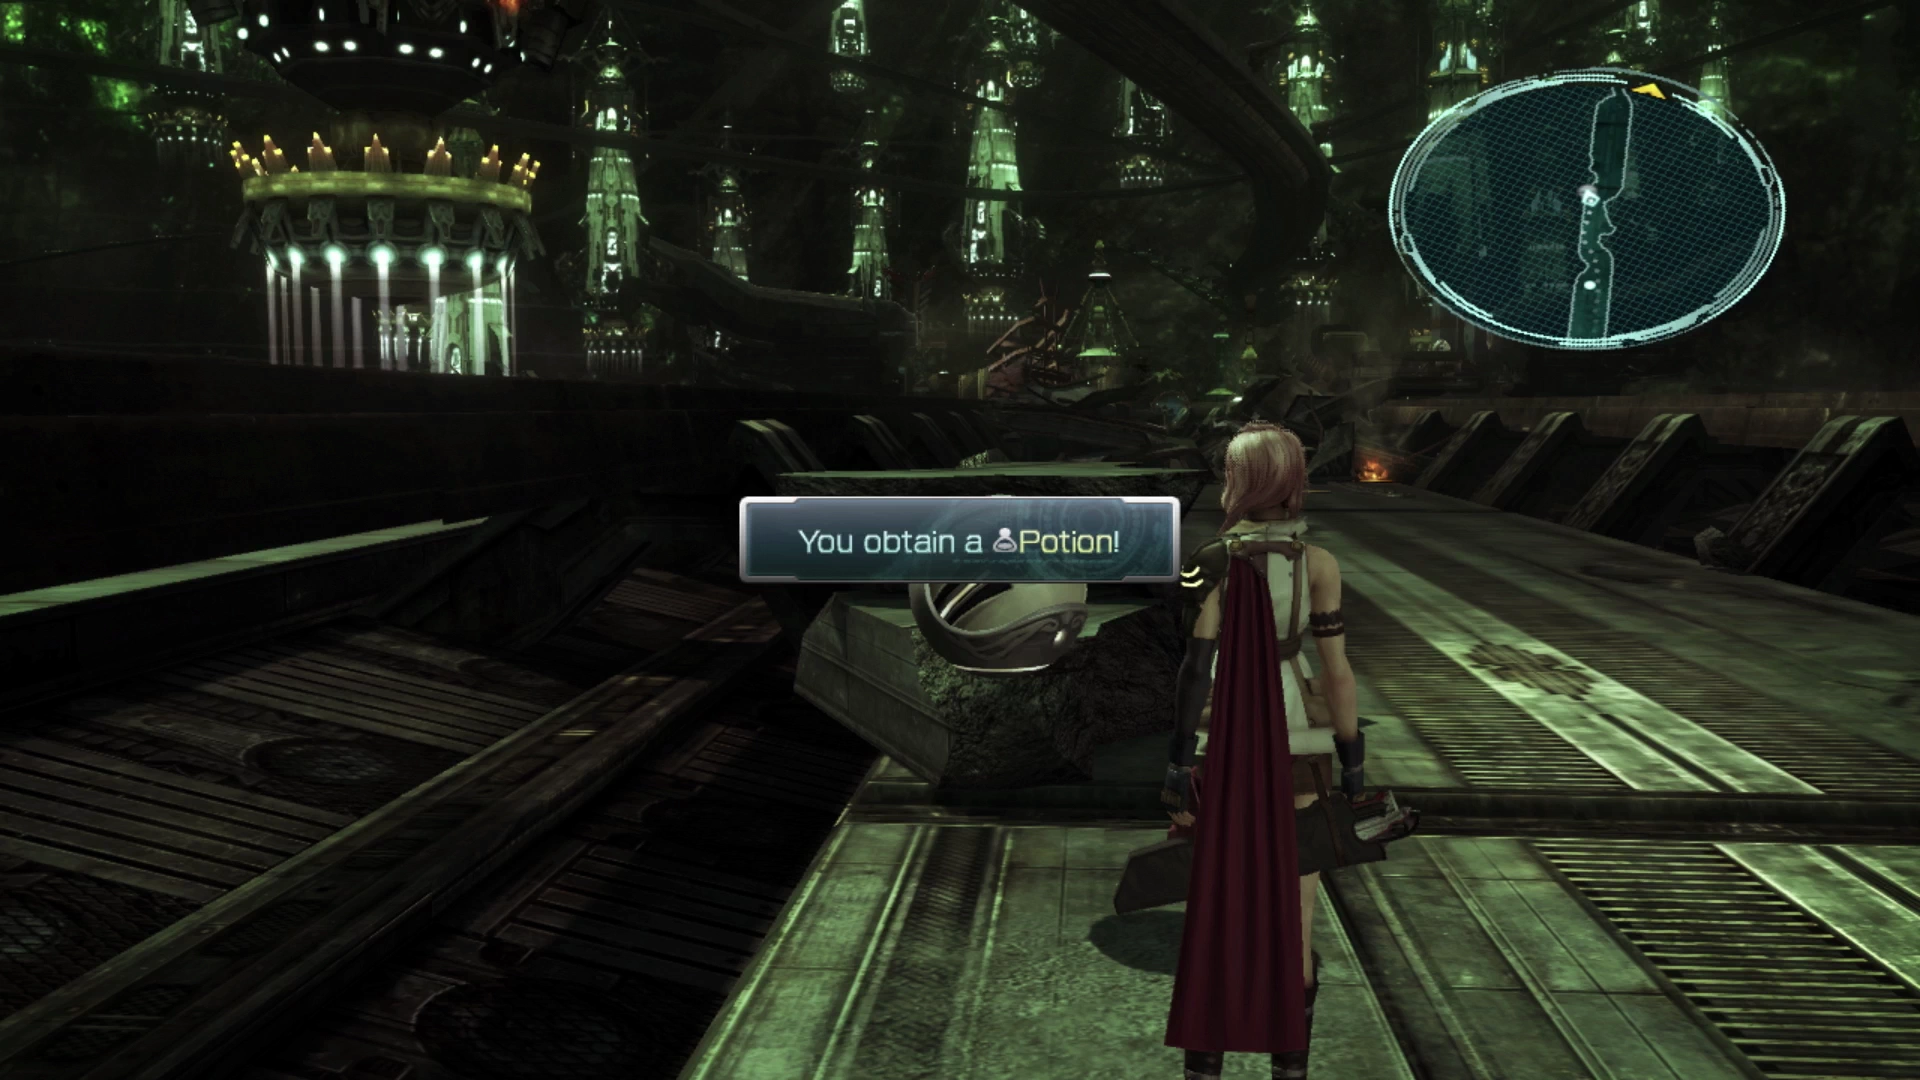
These next groups of enemies contain both PSICOM Wardens and PSICOM Enforcers. Technically the Enforcers are a bit tougher, but all these early enemies are pushovers. There is also a Treasure Sphere just up ahead which contains a free ![]() Potion. Keep moving forward until another cutscene starts where Lightning and Sazh talk about being sent to Pulse.
Potion. Keep moving forward until another cutscene starts where Lightning and Sazh talk about being sent to Pulse.
Aerorail Trussway 12-E

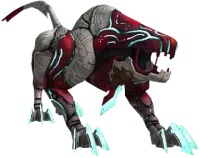
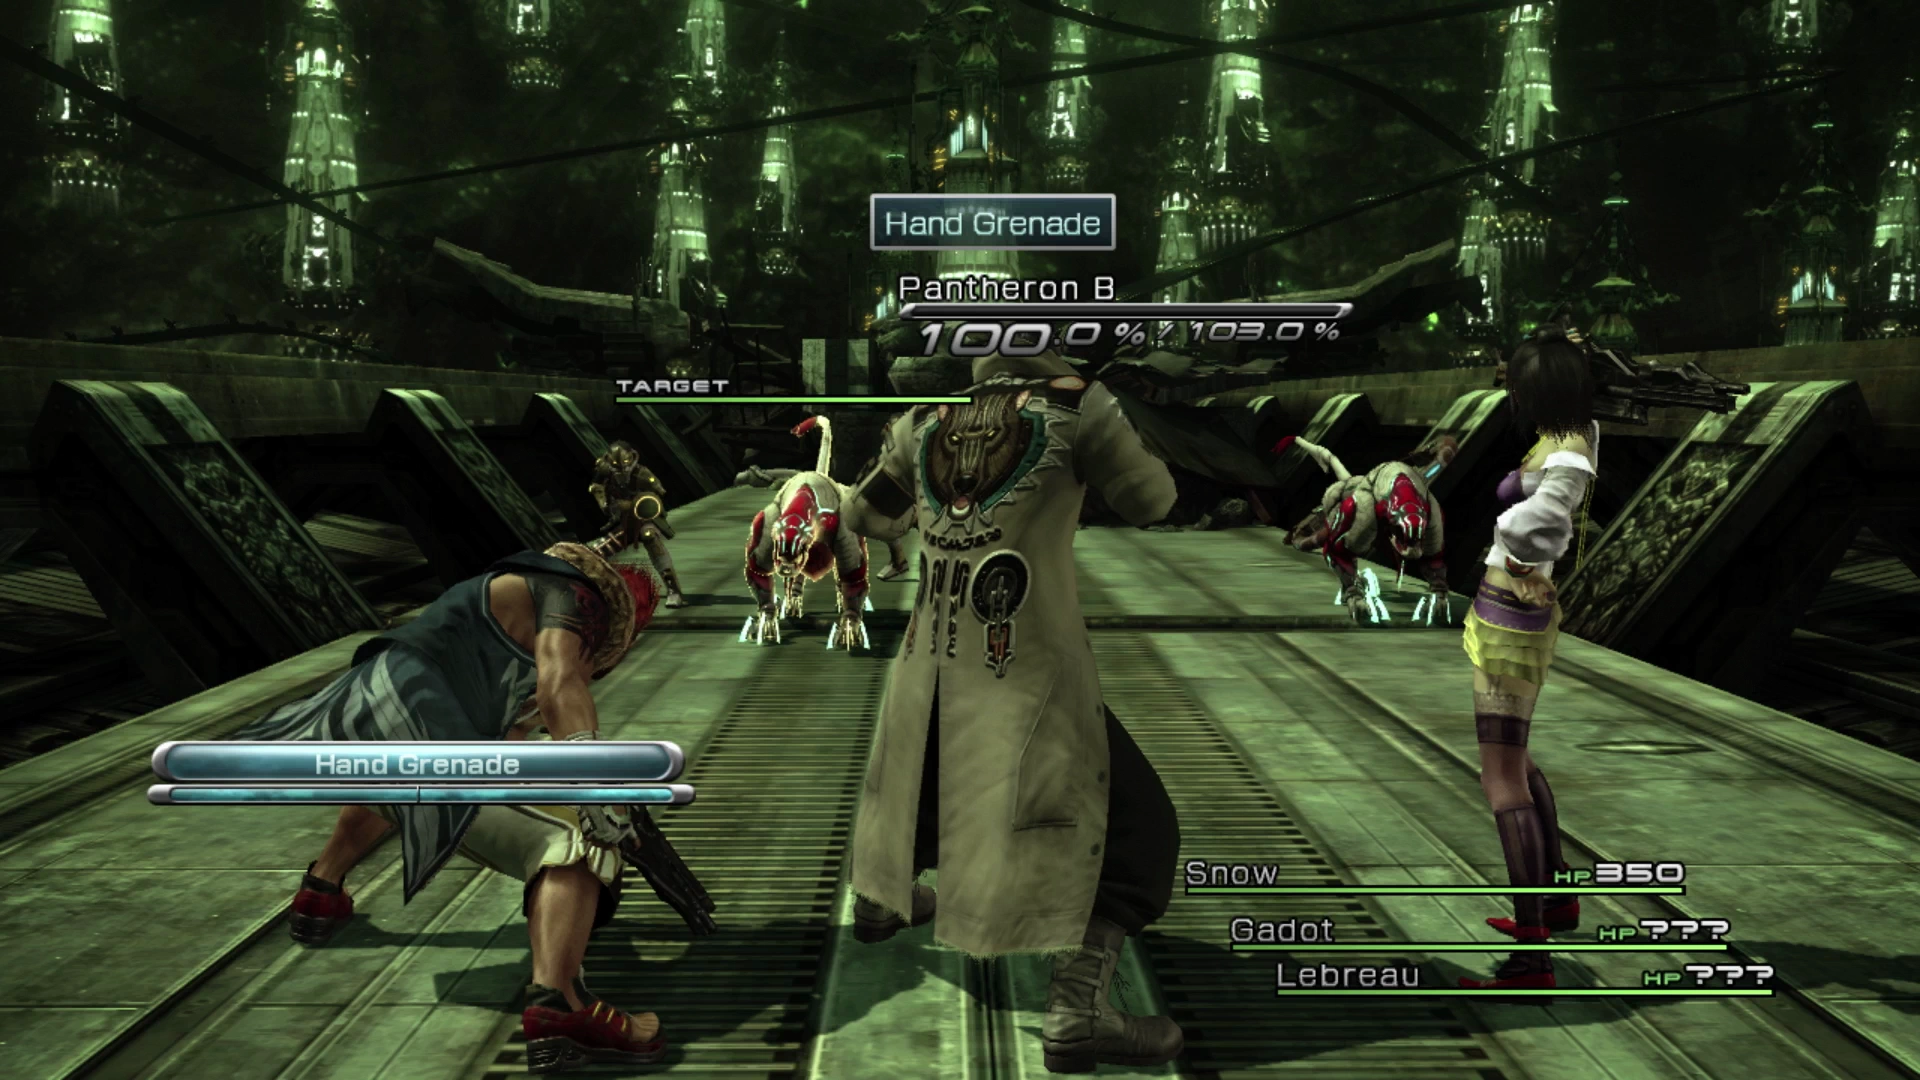
The next group of enemies contains a PSICOM Warden along with two Pantheron enemies. Again, these enemies are easy to defeat. You can do so using the Auto-Attack command or, if a group of enemies are standing close together and you have a high probability of hitting all or most of them, select your ability manually and choose Lightning’s ![]() Blitz ability which hits all enemies within a certain radius.
Blitz ability which hits all enemies within a certain radius.
Helpful Hint
You have the option between using two attacks with Lightning: Regular attack, which hits just one enemy, and ![]() Blitz which hits multiple enemies.
Blitz which hits multiple enemies. ![]() Blitz will consume more ATB bars to use but it can do an extensive amount of damage if it hits more than one target. The issue though is that the enemies need to be close to one another and they tend to move around the field as the battle progresses.
Blitz will consume more ATB bars to use but it can do an extensive amount of damage if it hits more than one target. The issue though is that the enemies need to be close to one another and they tend to move around the field as the battle progresses.
There is no way to force enemies to stand closer together, so you’ll just have to time your attacks to make sure that they’re all grouped up or use a single-target attack instead.
Note that an upcoming character has access to ![]() Attack and “Hand Grenade” and these two attacks function the same way as Lightning’s Attack/
Attack and “Hand Grenade” and these two attacks function the same way as Lightning’s Attack/![]() Blitz.
Blitz.
Climb up the stairs onto the ledge after the battle to find another Treasure Sphere that contains two ![]() Potions. Go back down to the Trussway again and continue following the path towards a large group of stacked boxes with a
Potions. Go back down to the Trussway again and continue following the path towards a large group of stacked boxes with a ![]() Save Station just in front of it. Use the Save Station to save your game, and then proceed up and over the boxes. You’ll automatically be thrown into your next battle against one PSICOM Enforcer and one PSICOM Aerial Recon.
Save Station just in front of it. Use the Save Station to save your game, and then proceed up and over the boxes. You’ll automatically be thrown into your next battle against one PSICOM Enforcer and one PSICOM Aerial Recon.
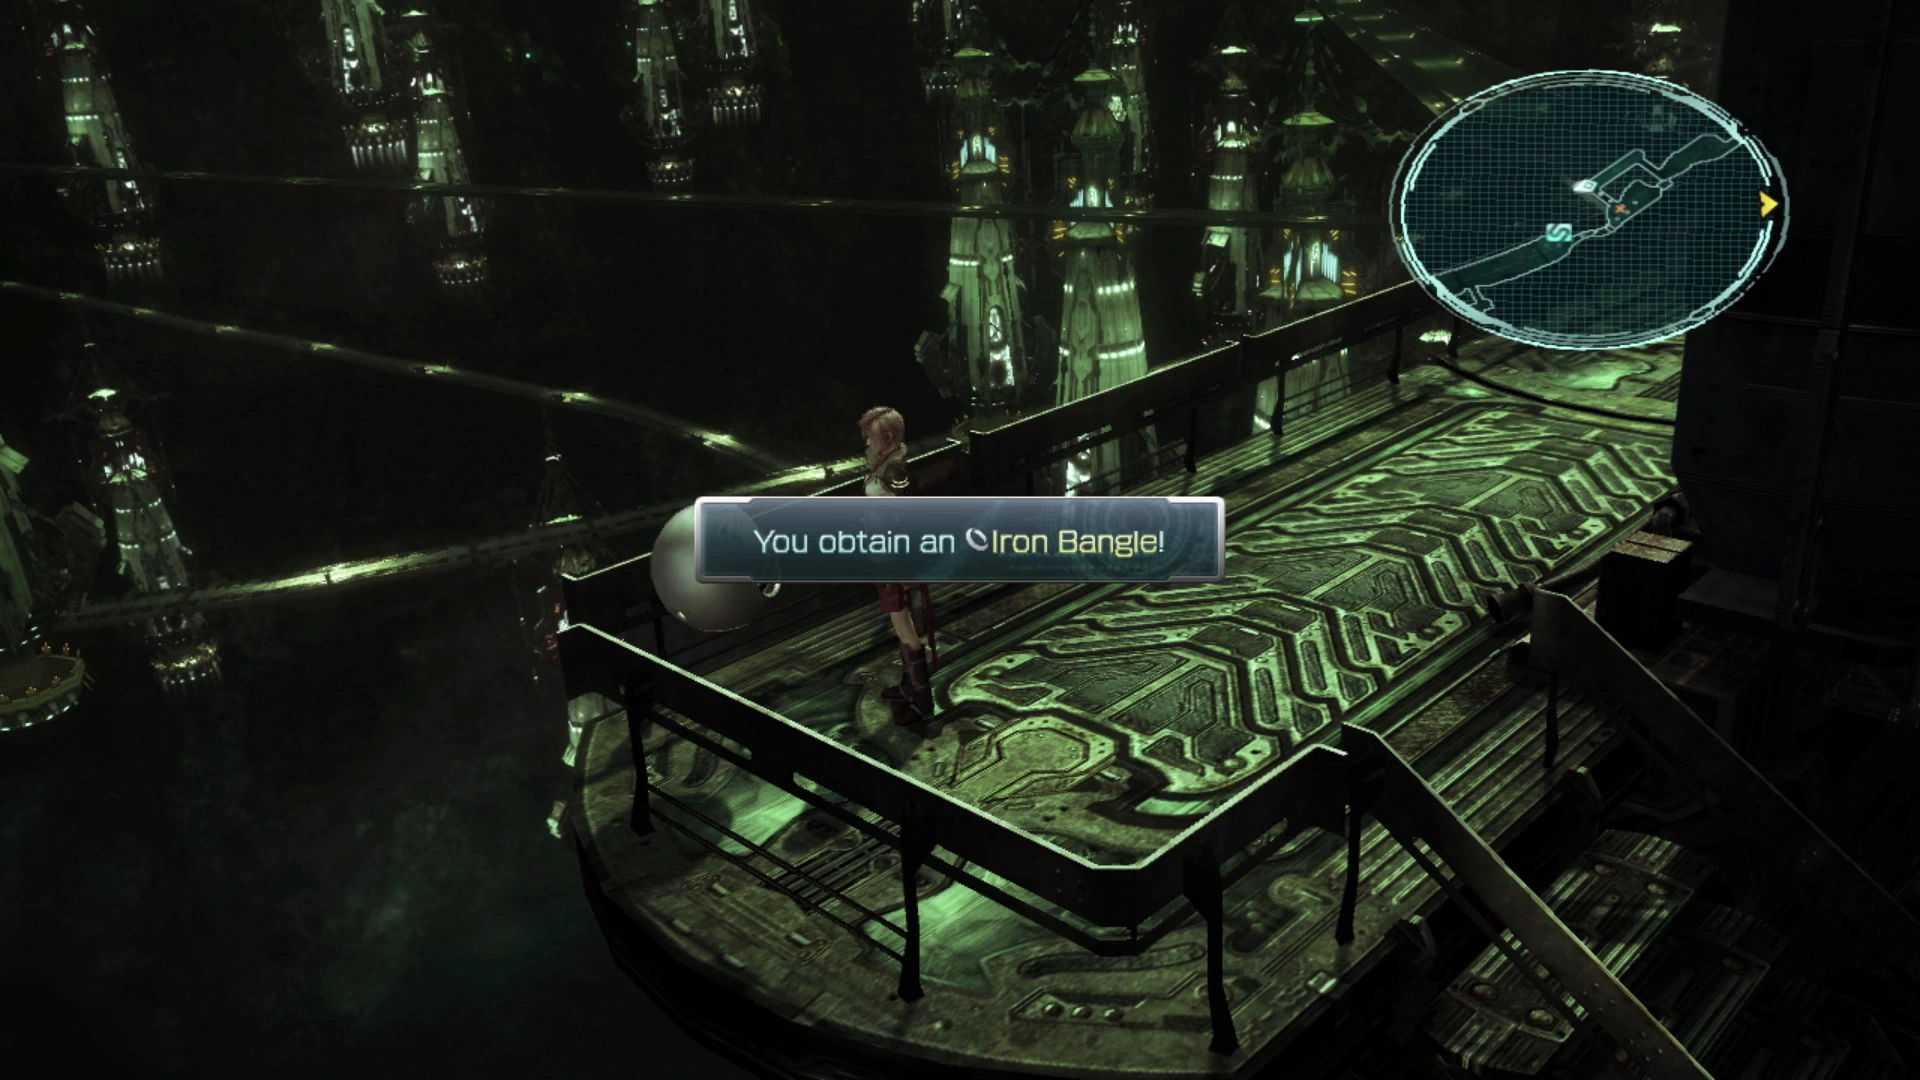
Go up the stairs to find the next Treasure Sphere . This one contains an ![]() Iron Bangle which increases a party member’s HP. Neither Lightning nor Sazh starts with an accessory equipped, so, in theory, you could equip either of them with it but given that Lightning has lower HP and it’s a Game Over screen if she gets KO’d, it’s better to equip it to Lightning. Follow the pathway back down the stairs to the Trussway.
Iron Bangle which increases a party member’s HP. Neither Lightning nor Sazh starts with an accessory equipped, so, in theory, you could equip either of them with it but given that Lightning has lower HP and it’s a Game Over screen if she gets KO’d, it’s better to equip it to Lightning. Follow the pathway back down the stairs to the Trussway.
Continue weaving your way through the boxes along the Trussway until you come across a scene taking place on the lower Trussway level below. Drop to the lower level after this scene and look around this area for a Treasure Sphere that contains ![]() 50 Gil. Follow the pathway along for another scene involving some of the PSICOM enemies and another battle.
50 Gil. Follow the pathway along for another scene involving some of the PSICOM enemies and another battle.
Aerorail Trussway 11-E
This next battle involves another tutorial that demonstrates how to use items during a battle. Using an item in Final Fantasy XIII is much more convenient compared to previous Final Fantasy games.
Items automatically impact all your team members, so you don’t have to go cycling through characters to make sure you’re using the right item on the right party member, and using an item does not impact the ATB (i.e. it won’t interrupt the flow or speed of the battle).
Helpful Hint
Each of these strategy guide pages has an accompanying map. The maps have been oriented with the starting area being at the bottom and the area where the zone ends being oriented toward the top. This is so that the maps in this guide will mimic the way they will appear in your mini-map.
It’s important to note though that there are no compass/cardinal directions (North, West, East, South) available within the game. This may require you to reorient the map when viewing it on your menu screen to align it with those shown in this strategy guide.
An explosion will occur just after the battle, destroying the pathway in front of Lightning and Sazh. Just before she can jump away using her ![]() Grav-con Unit, Sazh grabs onto Lightning to prevent her from leaving, and the two decide to backtrack to find another way down. Walk backwards a small way for another encounter to kick up.
Grav-con Unit, Sazh grabs onto Lightning to prevent her from leaving, and the two decide to backtrack to find another way down. Walk backwards a small way for another encounter to kick up.
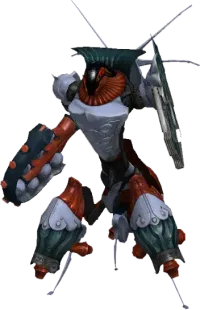
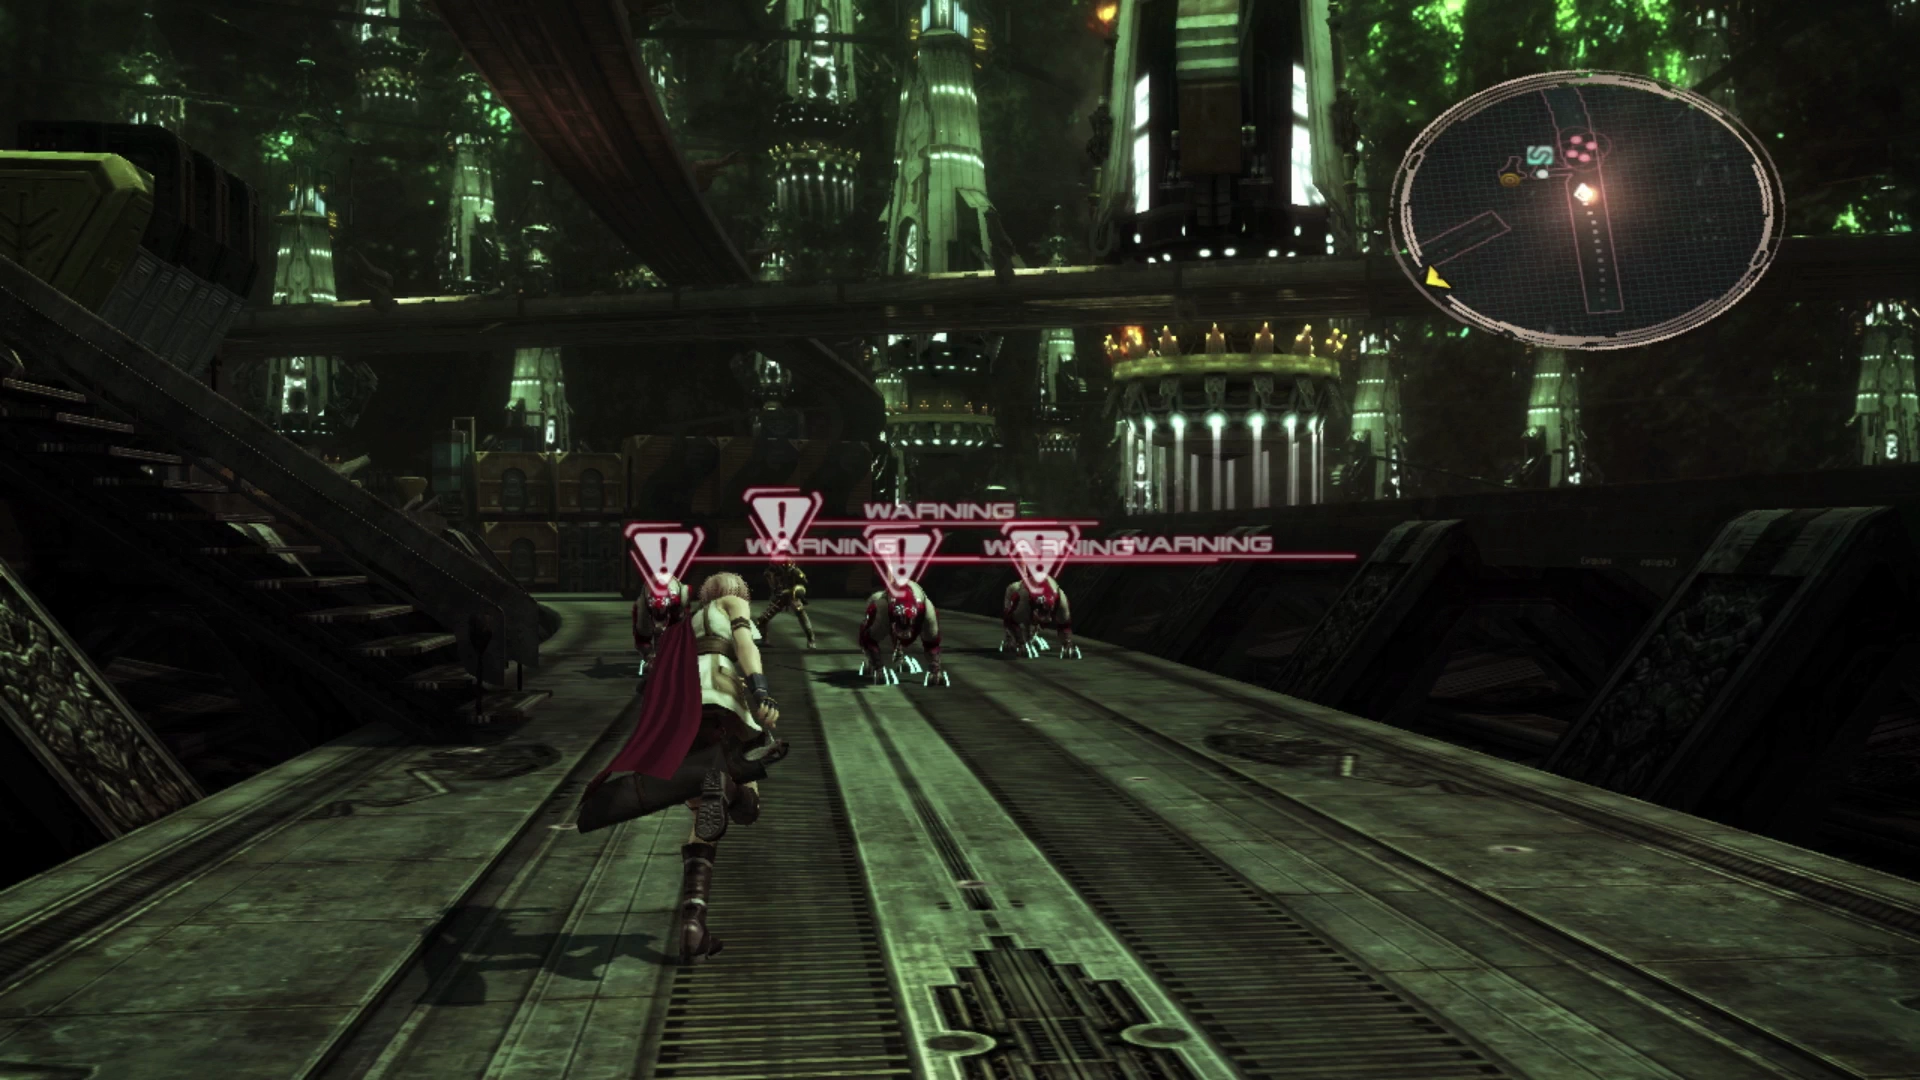
This next battle (against one PSICOM Warden and three Pantherons) is one of the more difficult ones that you will face in this first section of the game. Just be cognizant of your character’s health and don’t be afraid to make use of items in your inventory just like the last tutorial showed you. It is quite likely that your characters will be KO’d if you don’t use at least one ![]() Potion.
Potion.
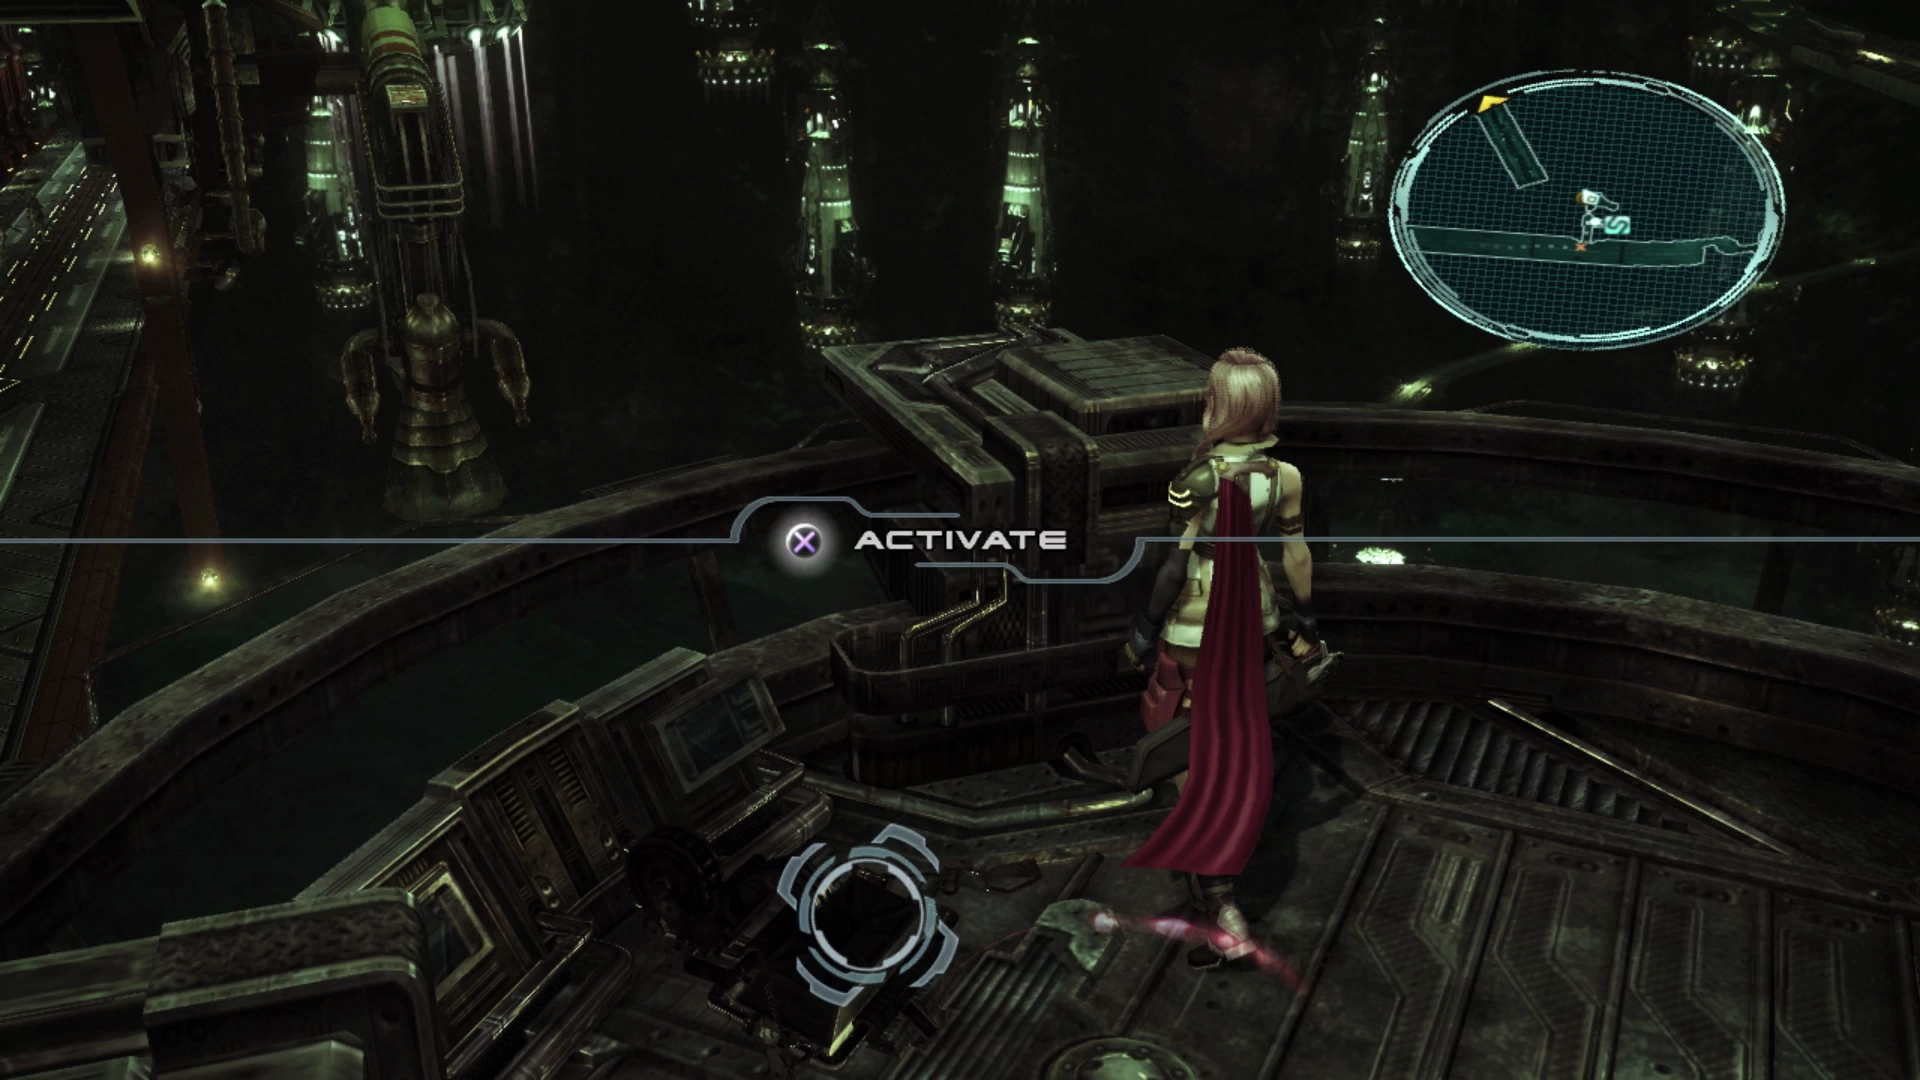
Follow Sazh up to the platform, use the ![]() Save Station to save your game, and then press the
Save Station to save your game, and then press the ![]()
![]()
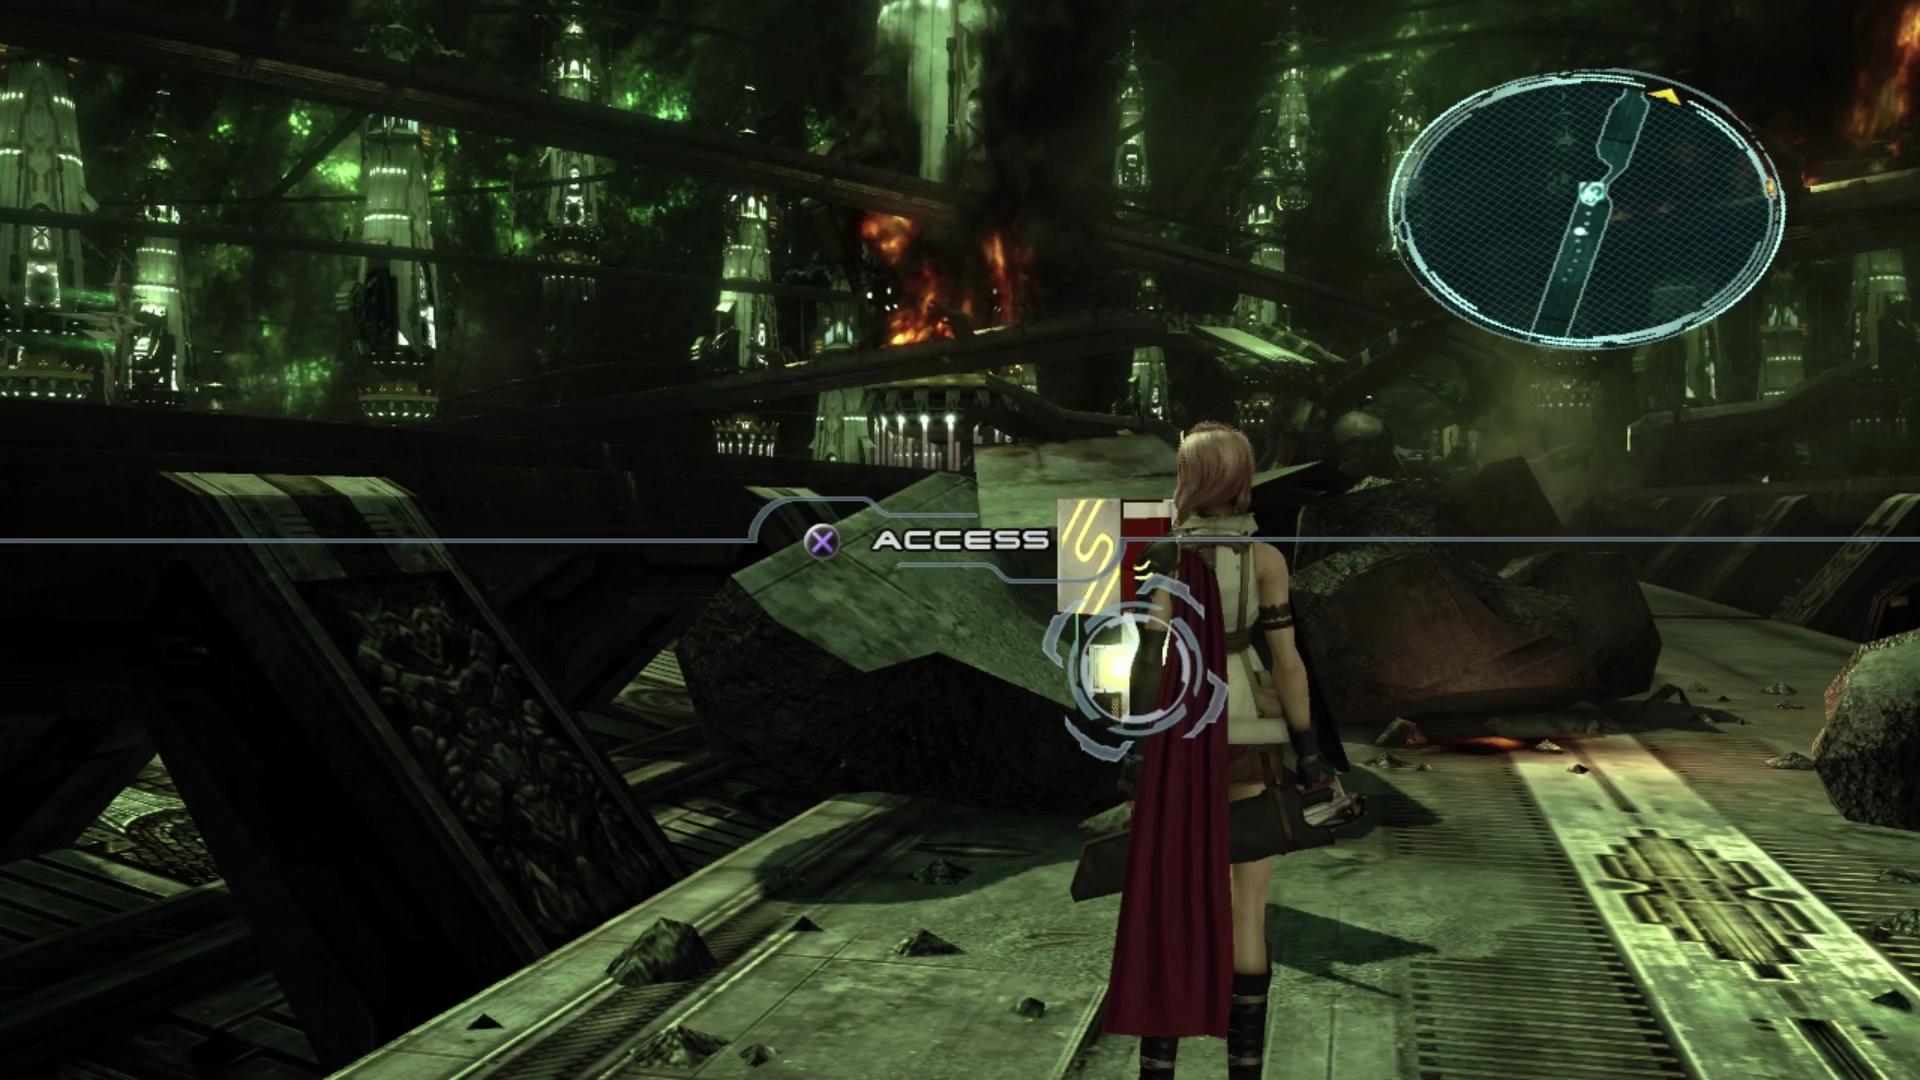
![]() button to activate the control panel on the floating platform to move to the next area.
button to activate the control panel on the floating platform to move to the next area.
Skybridge No. 369
Move forward to start the next boss battle.
Boss Battle
Much like the boss battle that preceded this one, this fight serves mainly to provide new players with a tutorial on how “attack chains” and Staggering enemies work in Final Fantasy XIII. This system is easy once you get the hang of it, and it doesn’t increase in complexity until you have access to new roles for your characters, but understanding this system is the key to higher-level strategy and learning how to take down enemies with ease.
It’s worth following the tutorial, even if you just need a bit of a refresher, or you can review the Chains and Staggering page under the Tips and Tricks section for more information.
The fight itself is quite easy. The PSICOM Enforcers go down just as easily as the ones that you’ve fought up to this point, and the PSICOM Marauder is susceptible to Chains and Staggers if you focus your attacks on it, just as the tutorial demonstrates.

Helpful Hint
Unlike most of the other Final Fantasy games, where you would typically earn Gil at the end of a battle, Final Fantasy XIII is different in that the only way to earn Gil is to either find it in Treasure Spheres or to sell spoils that you receive at the end of the battle. You should avoid selling items in general and save them up until the end of the game, but there are a few items included in the game that have only one purpose, which is to be sold for Gil.
These items, which are categorized as “Premium Components,” will have a description in the game that reads “can be sold for a premium,” which helps to identify what its primary purpose is. These items include ![]() Credit Chips,
Credit Chips, ![]() Incentive Chips,
Incentive Chips, ![]() Gold Nuggets and more.
Gold Nuggets and more.
You may have noticed that you just received a ![]() Credit Chip. This is your first Premium Component, and you can sell it the next time you’re at a shop (although there’s no rush to do this unless you need the Gil). This item will net you 250 Gil.
Credit Chip. This is your first Premium Component, and you can sell it the next time you’re at a shop (although there’s no rush to do this unless you need the Gil). This item will net you 250 Gil.
There is a short cinematic that plays after this battle before the game continues with our next set of characters.
Aerorail Trussway 5-W
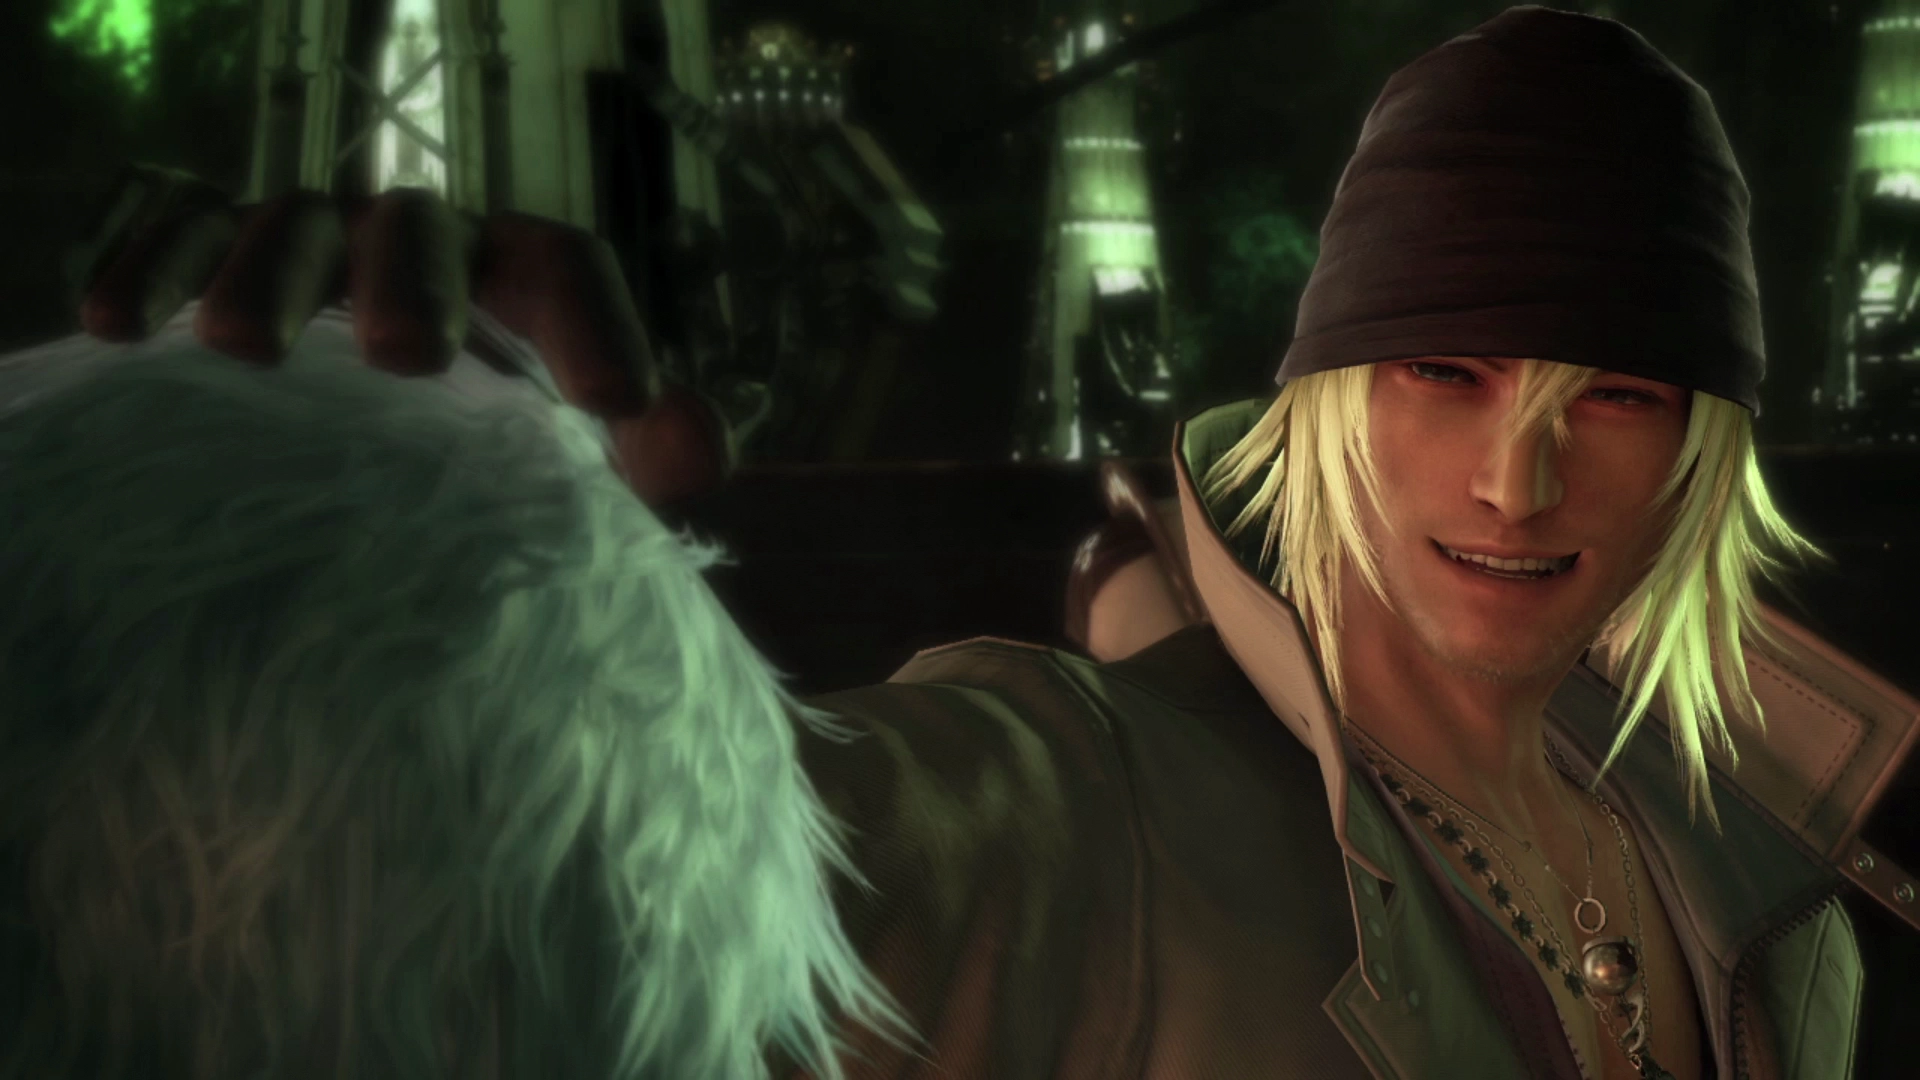
You will now find yourself in control of a new character known as Snow. Turn around and open the Treasure Sphere that’s floating just behind where you gain control of Snow and then continue down the Trussway. It contains ![]() 50 Gil.
50 Gil.
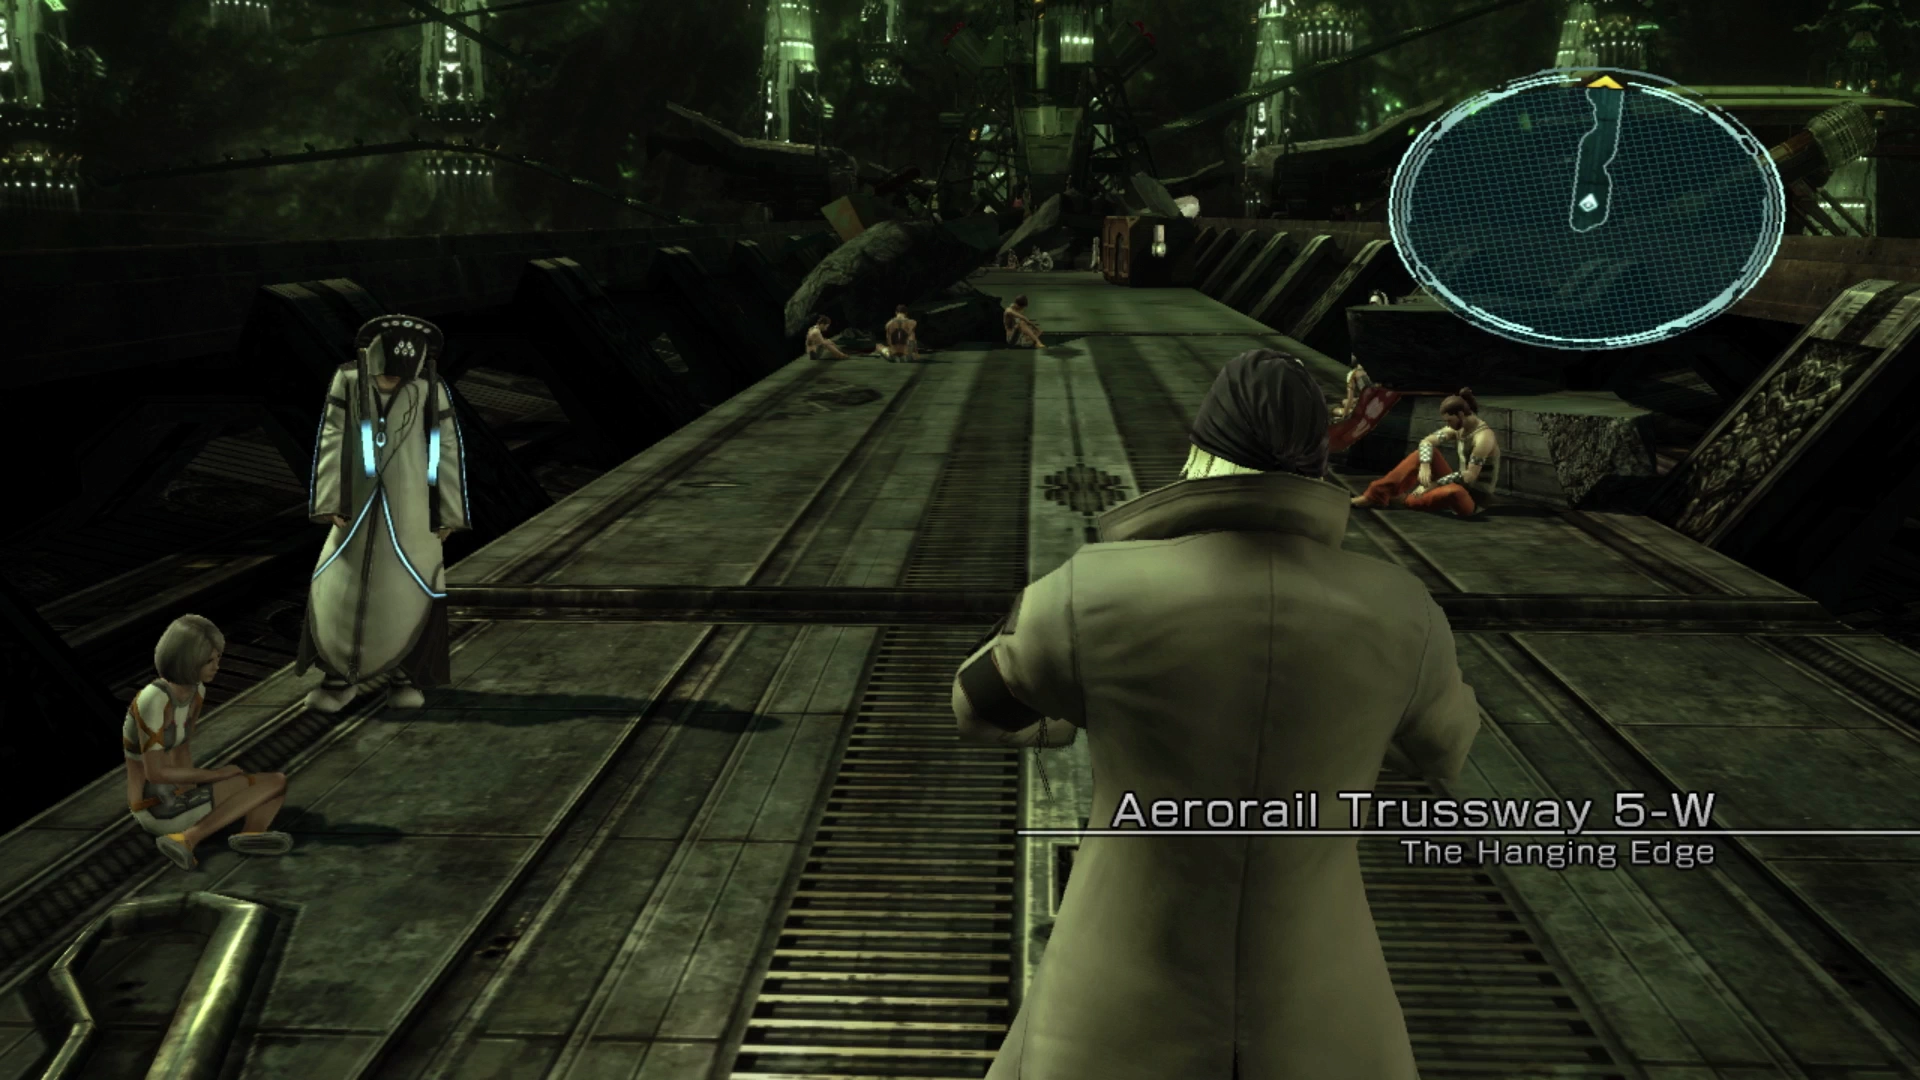
There’s a ![]() Save Station that you can use here to save your game. Continue into the next area when you are ready, or alternatively, take some time to learn more about Snow by checking out his ‘Character’ page:
Save Station that you can use here to save your game. Continue into the next area when you are ready, or alternatively, take some time to learn more about Snow by checking out his ‘Character’ page:
Characters
Read up more about the new character you find yourself in control of, Snow.
Aerorail Trussway 6-W
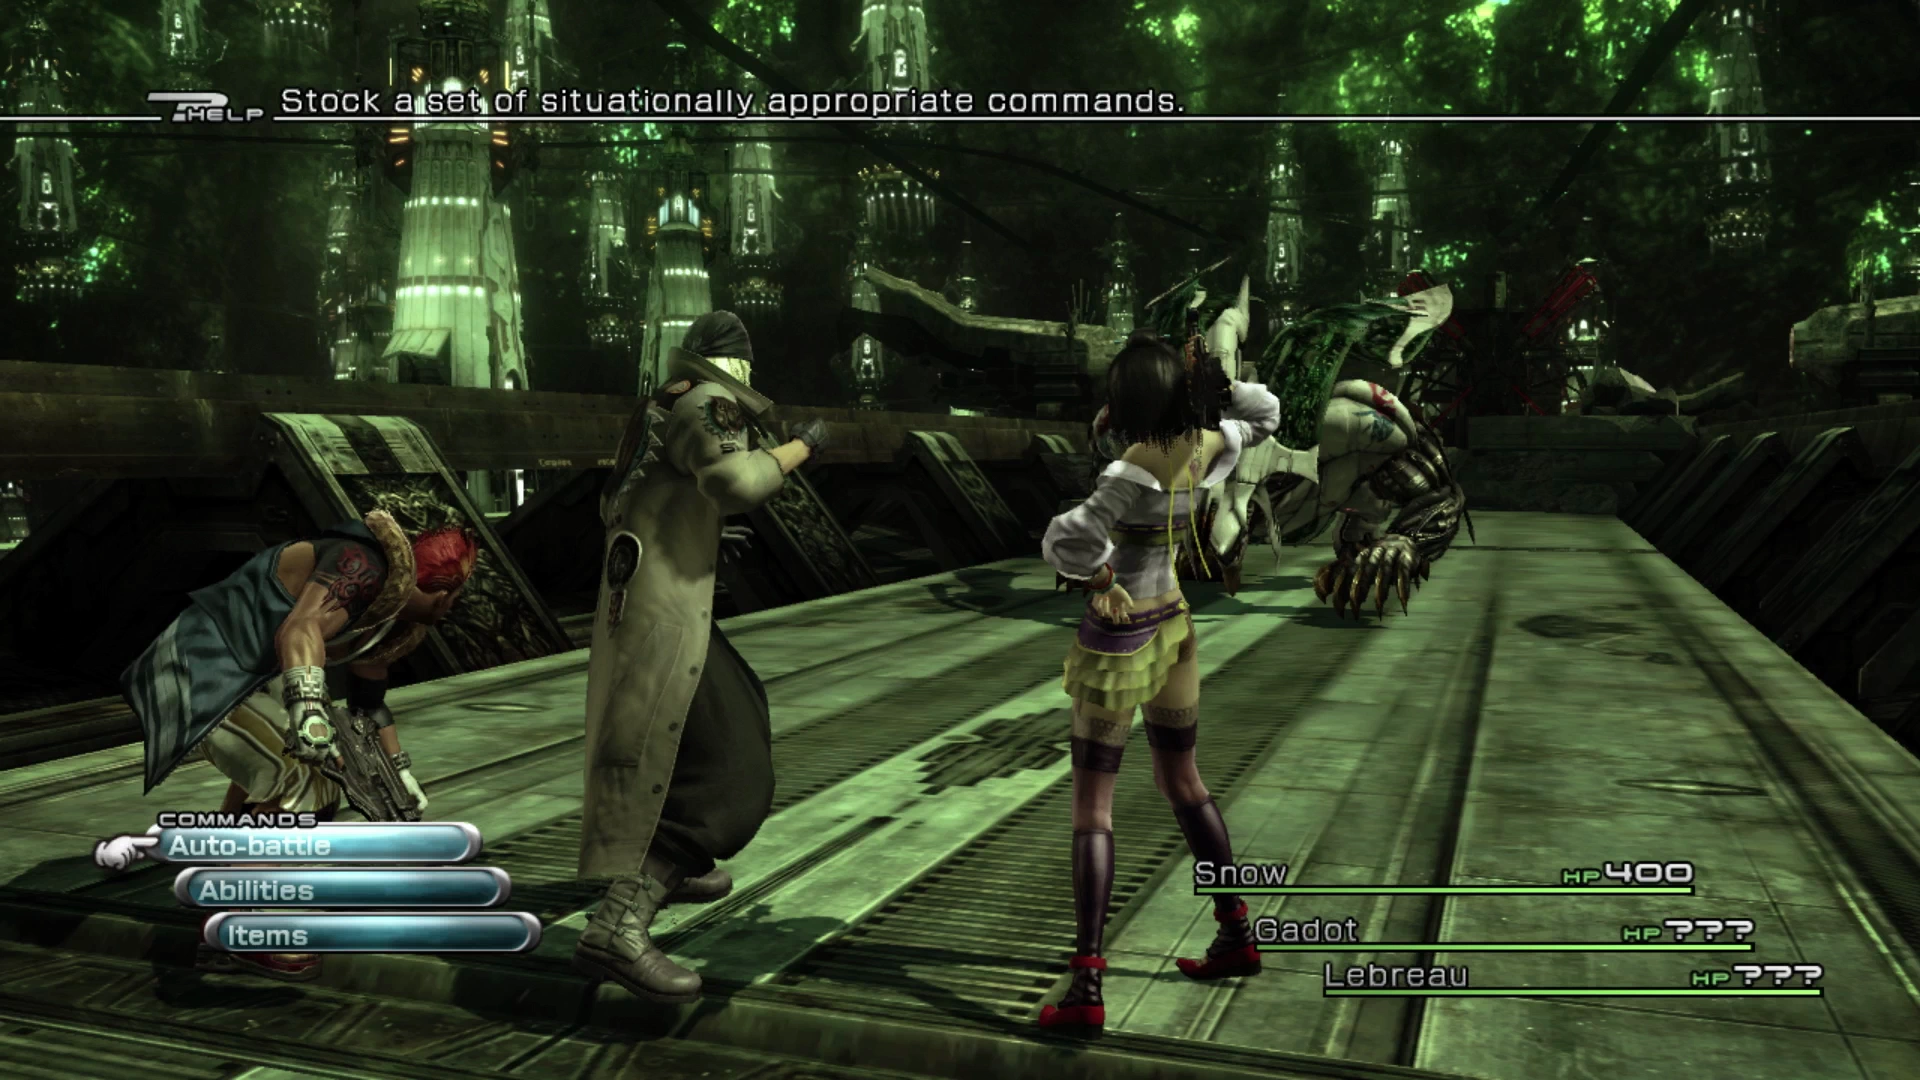
A short cinematic will take place with the members of team NORA in the next area and, following that cinematic, two NORA team members will accompany Snow through the remainder of the battles in this area. Unlike Lightning’s companion, Sazh, who essentially joins as a full-time party member that you can equip items to, you won’t be able to equip the two unnamed characters (Lebreau and Gadot) with any equipment and they will automatically use items at their discretion during battles. They are controlled by AI and are just there to provide support to Snow.
Walk forward to initiate a battle against two PSICOM Wardens and two Pantherons. Continue along the path to initiate the second battle against one PSICOM Enforcer, two PSICOM Wardens and a Pantheron. The third and final battle is against two PSICOM Enforcers and two PSICOM Wardens.
Approach the group of civilians after you have defeated the third group of enemies to initiate the next cinematic. This is your first introduction to some new team members who will eventually be joining your crew!
You’ll find yourself back in control of Snow after the cinematic (still on Aerorail Trussway 6-W). Open the Treasure Sphere on the left side of the screen to obtain your second ![]() Iron Bangle.
Iron Bangle.

Note: The maps for this section can be a little bit confusing because the team will be traveling back and forth along Aerorail Trussway 6-W, but just follow the arrow marker on the mini-map and keep moving forward.
There is a ![]() Save Station up on the right side of the Trussway that you can use to save your game. Continue past it to initiate the next battle against two PSICOM Enforcers and two PSICOM Wardens. Go through the narrow pathway to fight one more battle against two Pantherons and two more PSICOM Wardens. The next mini-boss battle will trigger as you move forward past where you fought this last group of enemies.
Save Station up on the right side of the Trussway that you can use to save your game. Continue past it to initiate the next battle against two PSICOM Enforcers and two PSICOM Wardens. Go through the narrow pathway to fight one more battle against two Pantherons and two more PSICOM Wardens. The next mini-boss battle will trigger as you move forward past where you fought this last group of enemies.
Boss Battle
While this boss does certainly hit harder than the previous enemies and takes longer to kill than the militarized units that you’ve been facing so far, this fight is very easy because of the training wheels that you still have on during these earlier parts of the game.
Snow can’t do much besides use regular attacks against the Beta Behemoth to slowly bring them down. You can also ignore your party member’s HP during this fight because your two tagalong team members will automatically pull out and use a ![]() Potion if any of your party member’s HP gets too low. In other words, the only thing to do during this battle is to select “Auto-battle” when Snow’s turn comes up.
Potion if any of your party member’s HP gets too low. In other words, the only thing to do during this battle is to select “Auto-battle” when Snow’s turn comes up.
There is a short cinematic that plays after the fight before the story jumps back over to Lightning and Sazh in another area of the Hanging Edge (but not before you have an opportunity to save your game).
Boss Battle
Again, this “boss battle” is easy enough that some may consider it to be just a regular fight. The Myrmidon has a low enough Stagger Point (the second percentage under the target’s name in the top right corner of the screen) that you should be easily able to Stagger it and chain some strong attacks together. Just don’t be afraid to utilize a ![]() Potion, which, in this case, you will need to do manually if your party member’s HP gets too low.
Potion, which, in this case, you will need to do manually if your party member’s HP gets too low.
Aerorail Trussway 3-N
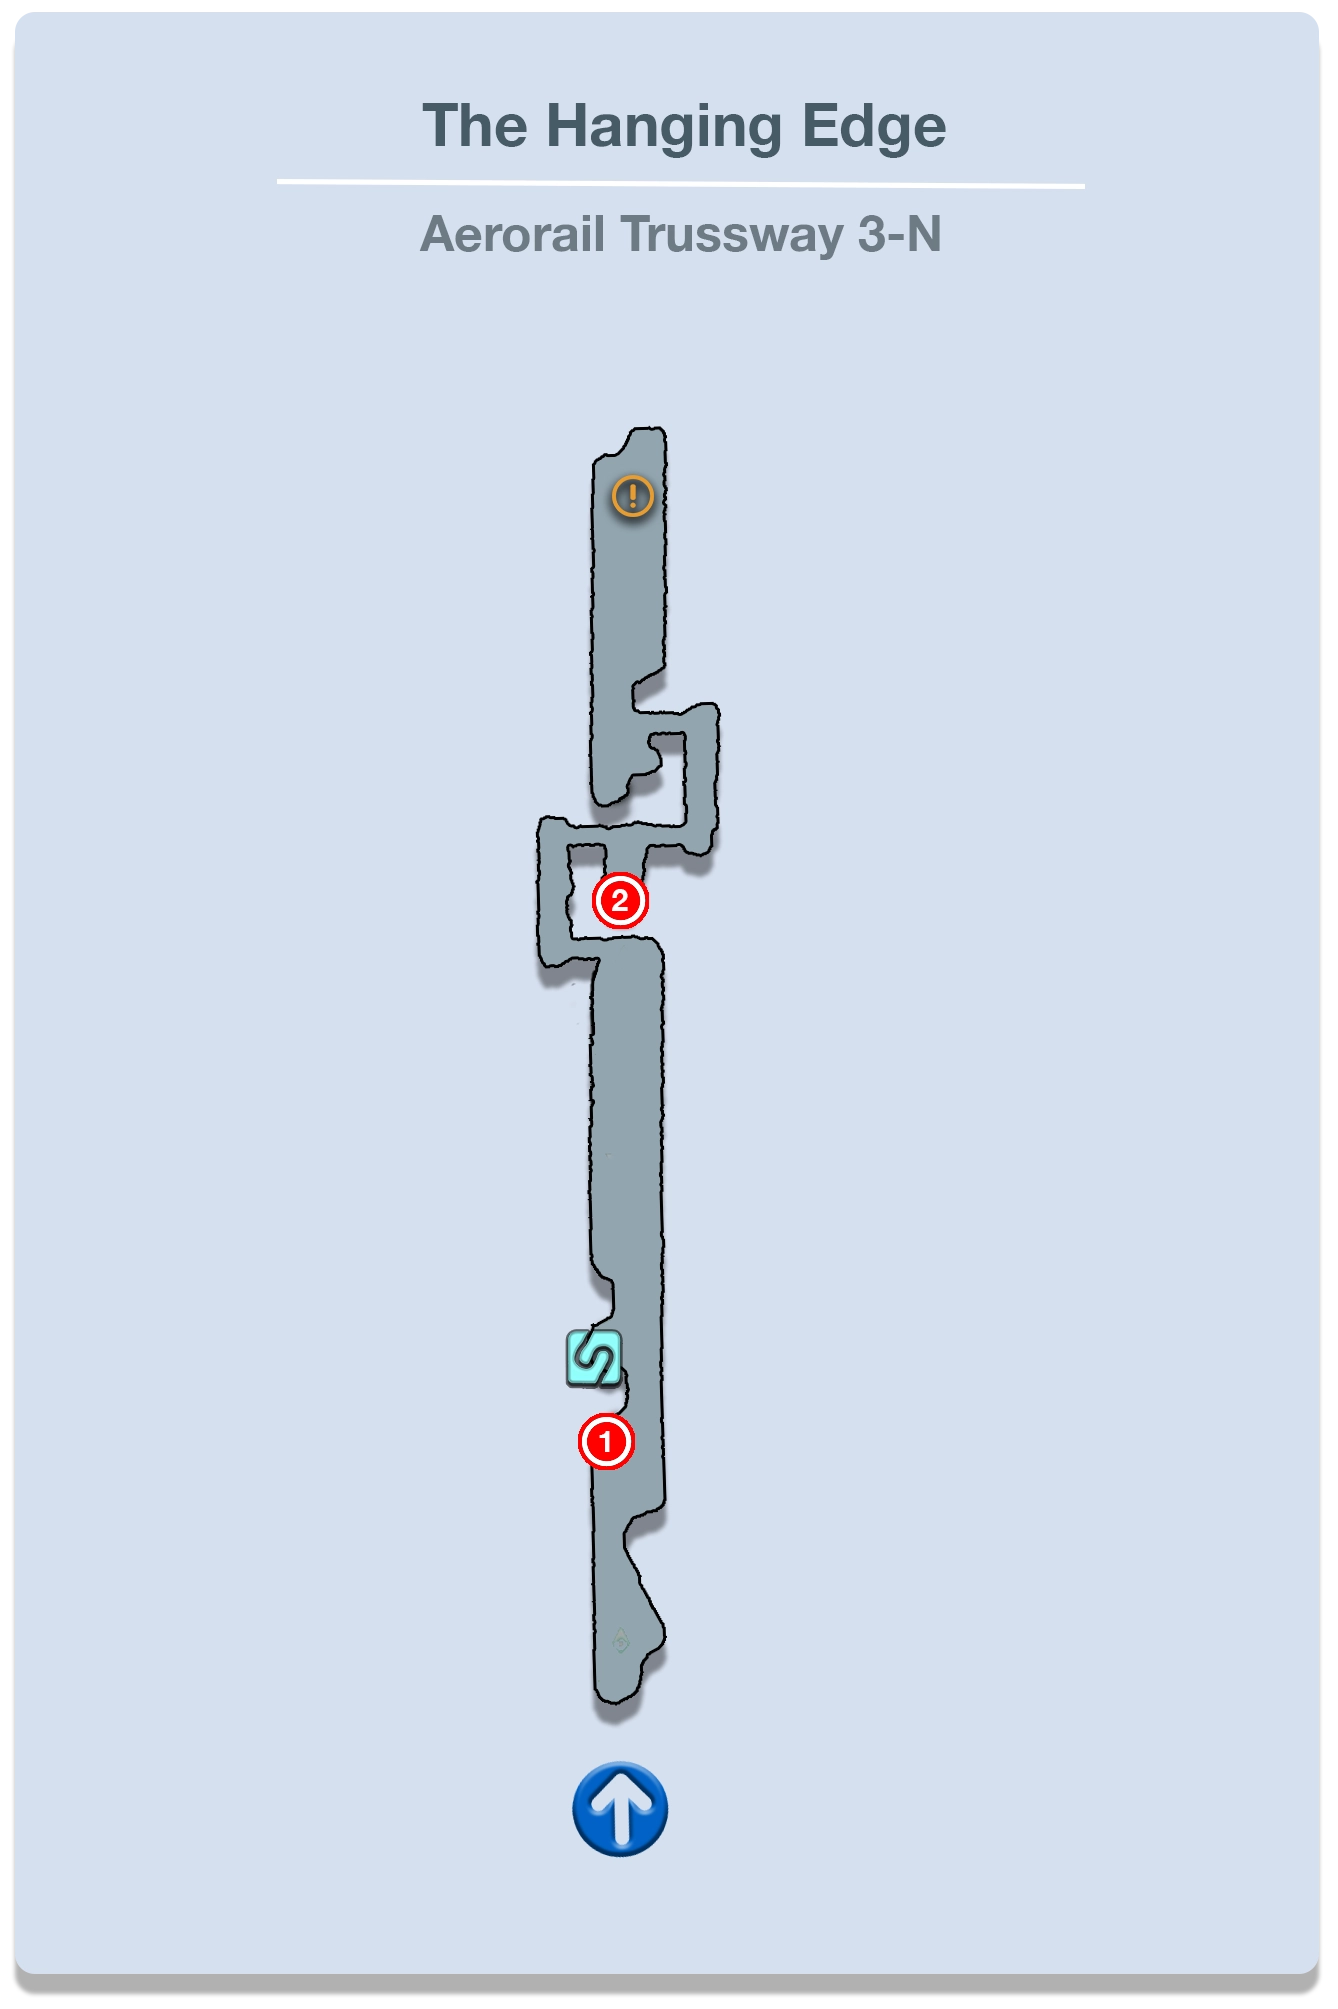
You are back in control of Snow again after the cinematic involving the Pulse Fal’Cie and the Pulse Vestige. Step forward and open the Treasure Sphere to obtain a new weapon for Snow, the ![]() Power Circle.
Power Circle.
Open your menu screen and equip Snow with this more powerful weapon. Technically it lowers his Magic stats, but it increases his Strength which is a much more important and relevant stat this early in the game (since we’re not casting spells yet).
Consider using the ![]() Save Station to save your game one more time if you didn’t.
Save Station to save your game one more time if you didn’t.
Helpful Hint
Being able to backtrack if you missed something is extremely handy and Final Fantasy XIII game save files do not take up too much space. Because of this, it is recommended that you get into the habit of creating new save files (even if only from time to time) rather than constantly saving over your game. This would allow you to go back in time if you missed something important or just want to replay a specific section.
Walk forward to initiate another battle against two Pantherons and two PSICOM Aerial Recons. This will be a bit more challenging of a battle because Snow will only have one of his former teammates accompanying him, so don’t be afraid to use a ![]() Potion if either of their health gets too low.
Potion if either of their health gets too low.
Take the stairs on the left side of the screen and then take a right into the small crevice as you come down the stairs on the other side. There is a Treasure Sphere here that you can open to pick up ![]() 100 Gil. Go down the stairs to initiate another cutscene before a battle kicks up against two PSICOM Enforcers and one PSICOM Warden.
100 Gil. Go down the stairs to initiate another cutscene before a battle kicks up against two PSICOM Enforcers and one PSICOM Warden.
Helpful Hint
You have probably noticed that you have been receiving 5-Star Battle Results Ratings or something high for most of these fights. This is relatively easy to do if you’re fast in these early stages of the game, and not much strategy is required to achieve these ratings, but later this will become more difficult to do. Increasing the rating at the end of the battle can increase the value of the spoils you receive once the battle concludes.
While it isn’t too important right now, it may be worth reading up on the Battle Results Rating section to learn more about how this rating system works and how to increase the rating you receive when it starts to truly matter.
Walk towards the end of the path to find the vehicles that Snow and his team will use to get to the Pulse Fal’Cie. Now it’s time to get back to Hope and Vanille (although technically we haven’t learned their names yet). They show up as “Leader” and “Member” when you pull up the menu screen. Walk forward and examine the hover vehicles to have them take off in one as well.
All paths converge at the Pulse Vestige.
Helpful Hint
Each Chapter section will include a ![]() Datalog Checklist at the bottom of the page that you can use to verify that you have obtained all the available Datalog entries for this area and that nothing has been overlooked.
Datalog Checklist at the bottom of the page that you can use to verify that you have obtained all the available Datalog entries for this area and that nothing has been overlooked.
Technically, there are no trophies or achievements for making sure that you got them all, but for the completionists out there, these lists can help you make sure that absolutely nothing has been missed.
Achievement/Trophy
You will automatically receive the  Instrument of Fate Achievement/Trophy at the end of Chapter 1.