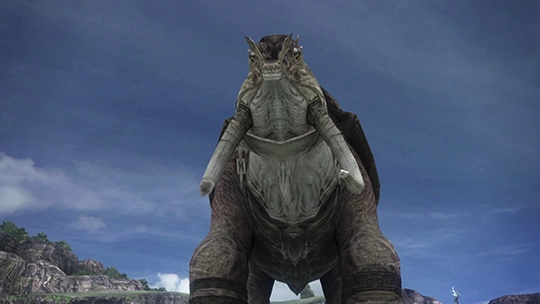
 Mission 54: The Bigger They Are…
Gigantuar (Class A)
As mentioned in the walkthrough, this Mission is very challenging, and it may be worth coming back to this one after you have completed some of the other Missions or done some farming (which will have the side effect of leveling up your party).
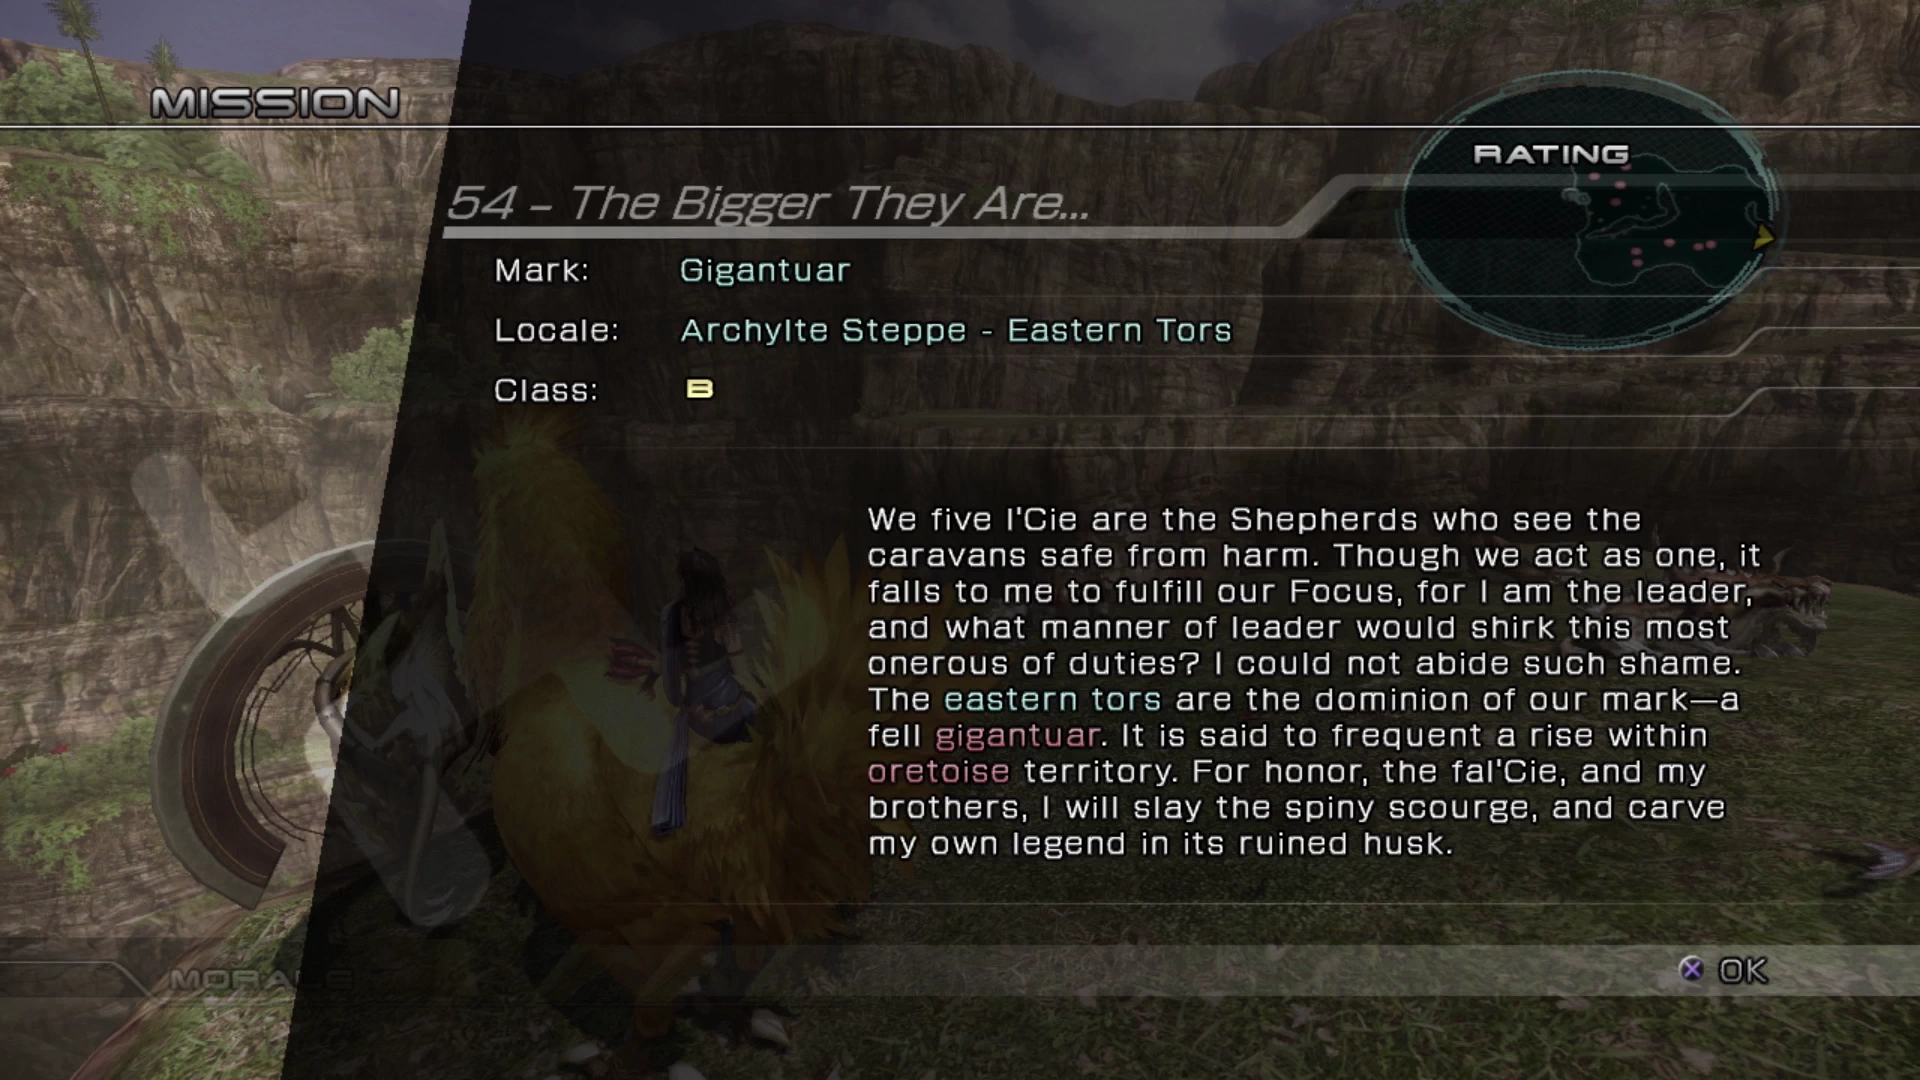
Prerequisites
- Find a Cactuar
 Cie’th Stone Location
The Cie’th Stone for this Mission is located in the Mah’habara Subterra optional zones (“An Asylum from Light”). Check out the side quest page for more information on how to get here:
Side Quests
Returning to the Mah’habara Subterra later on in the game to complete two additional Missions.
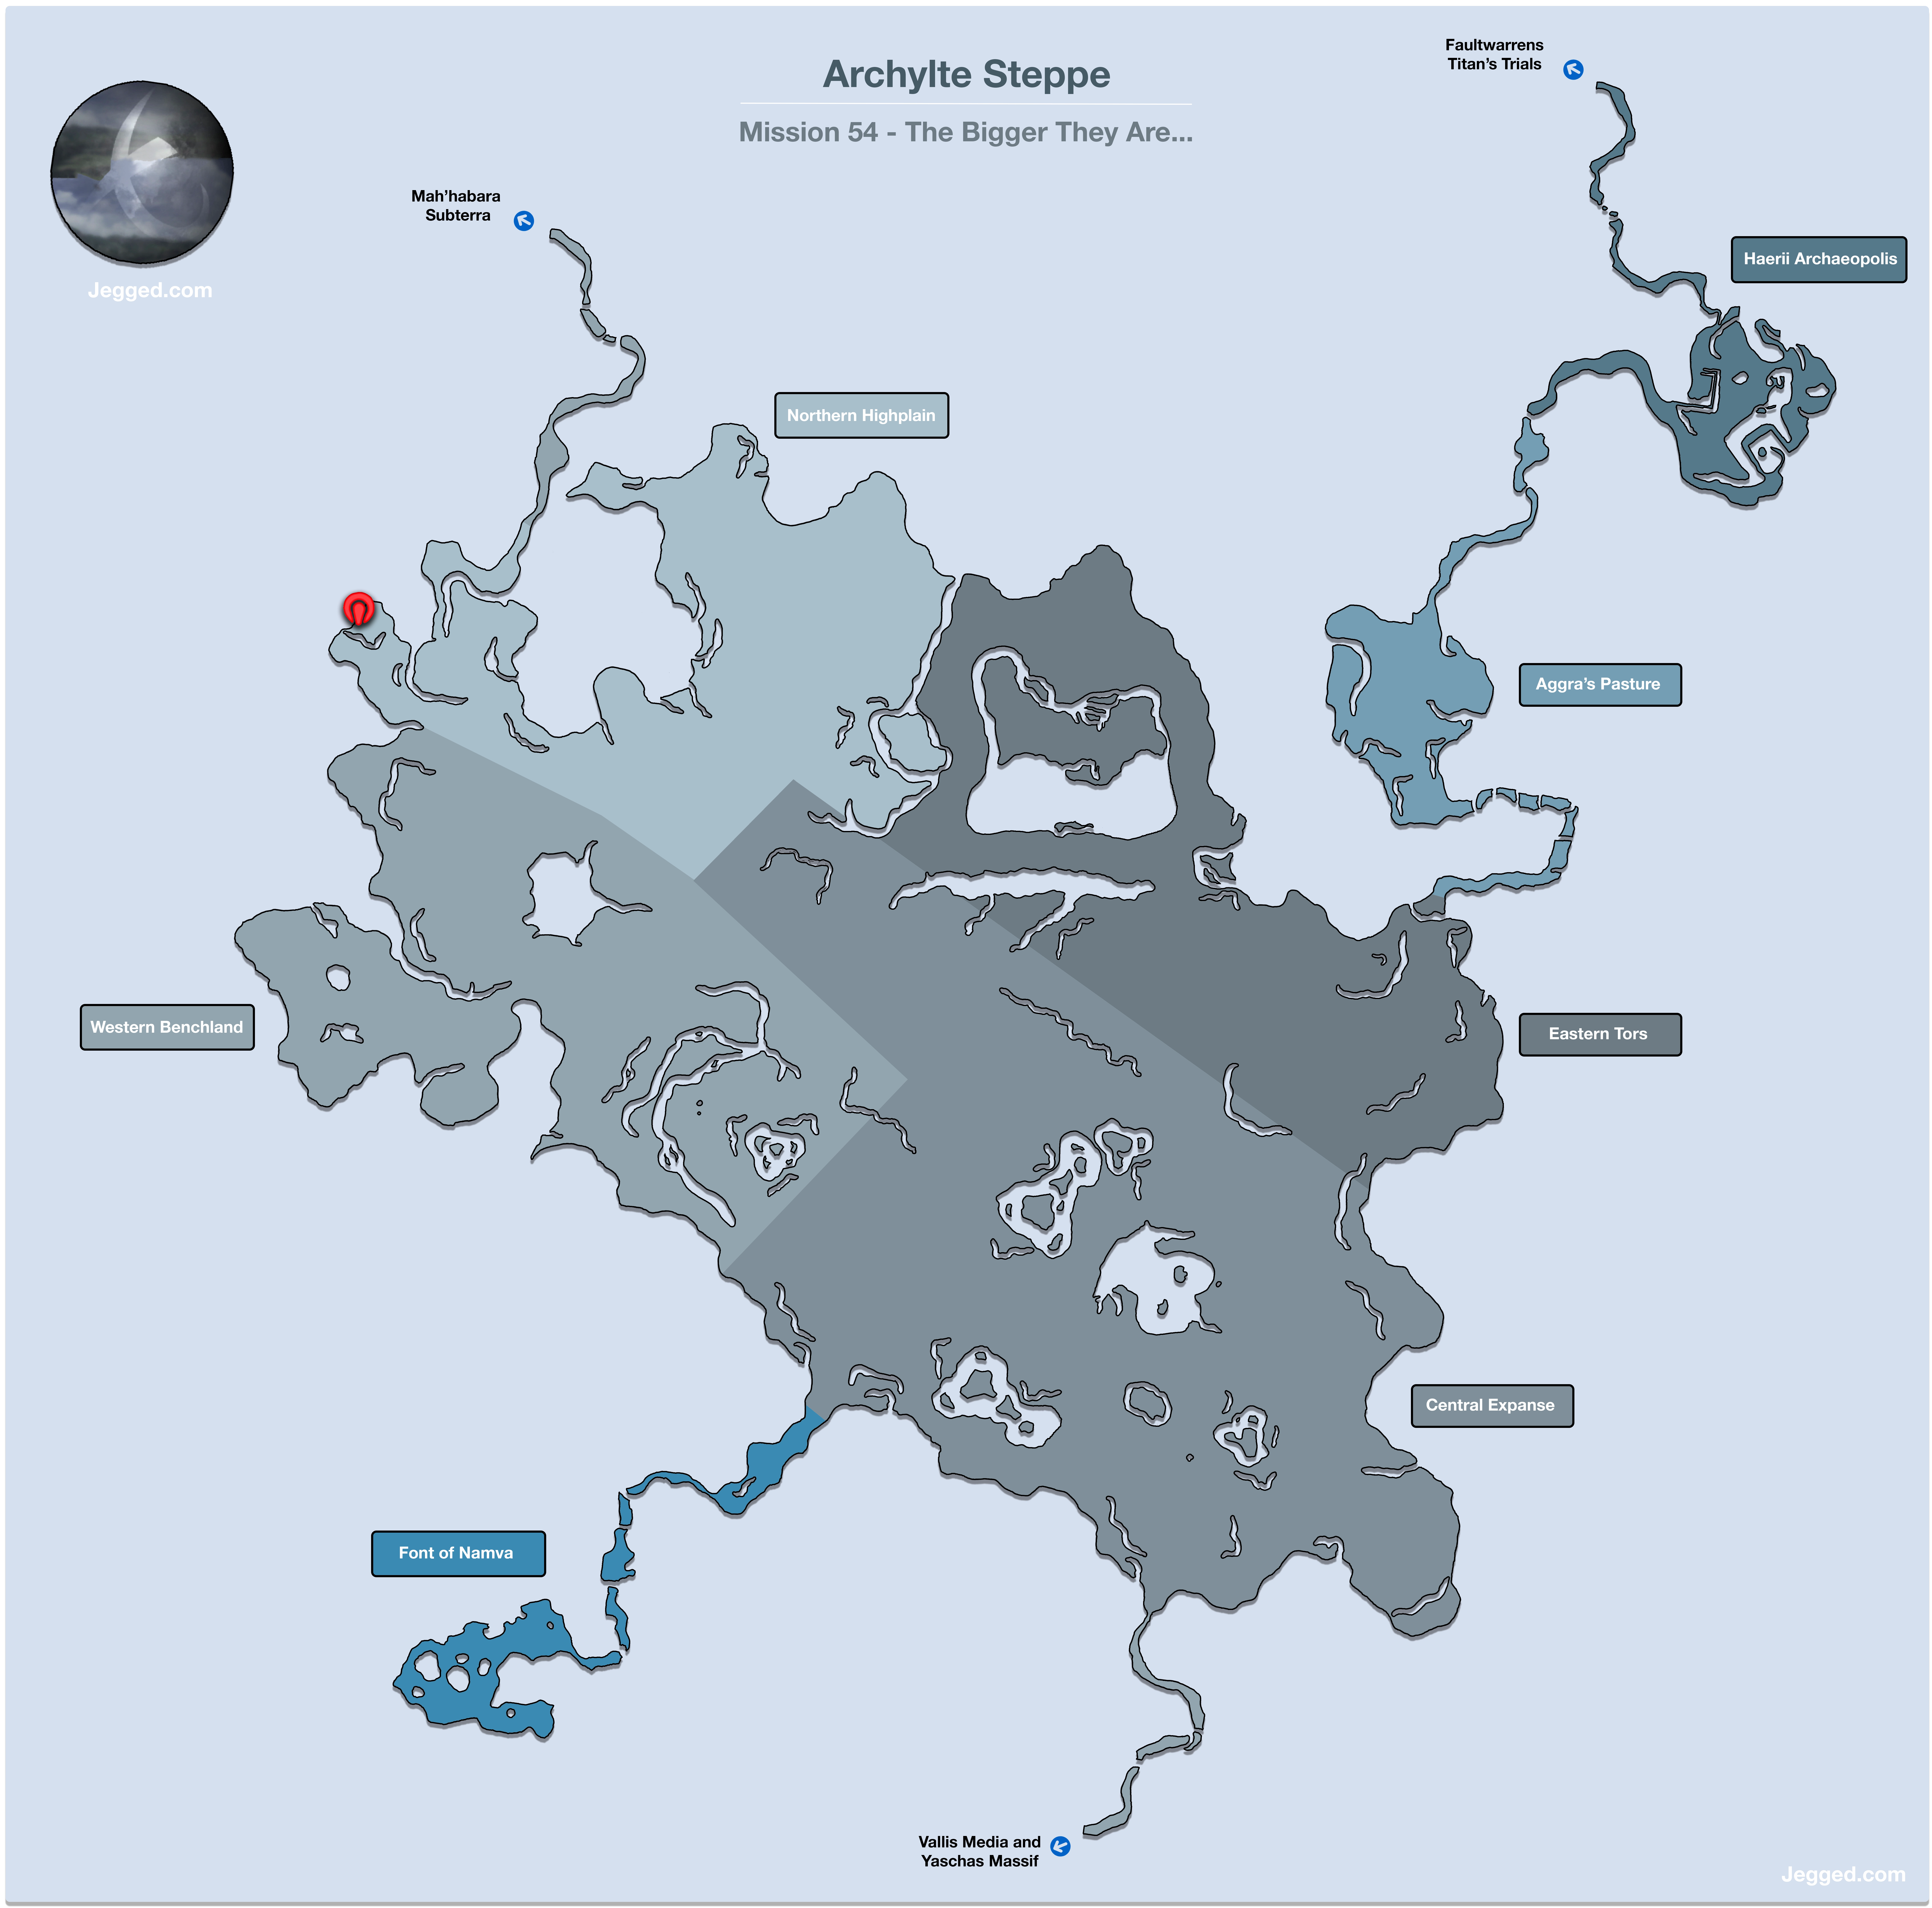
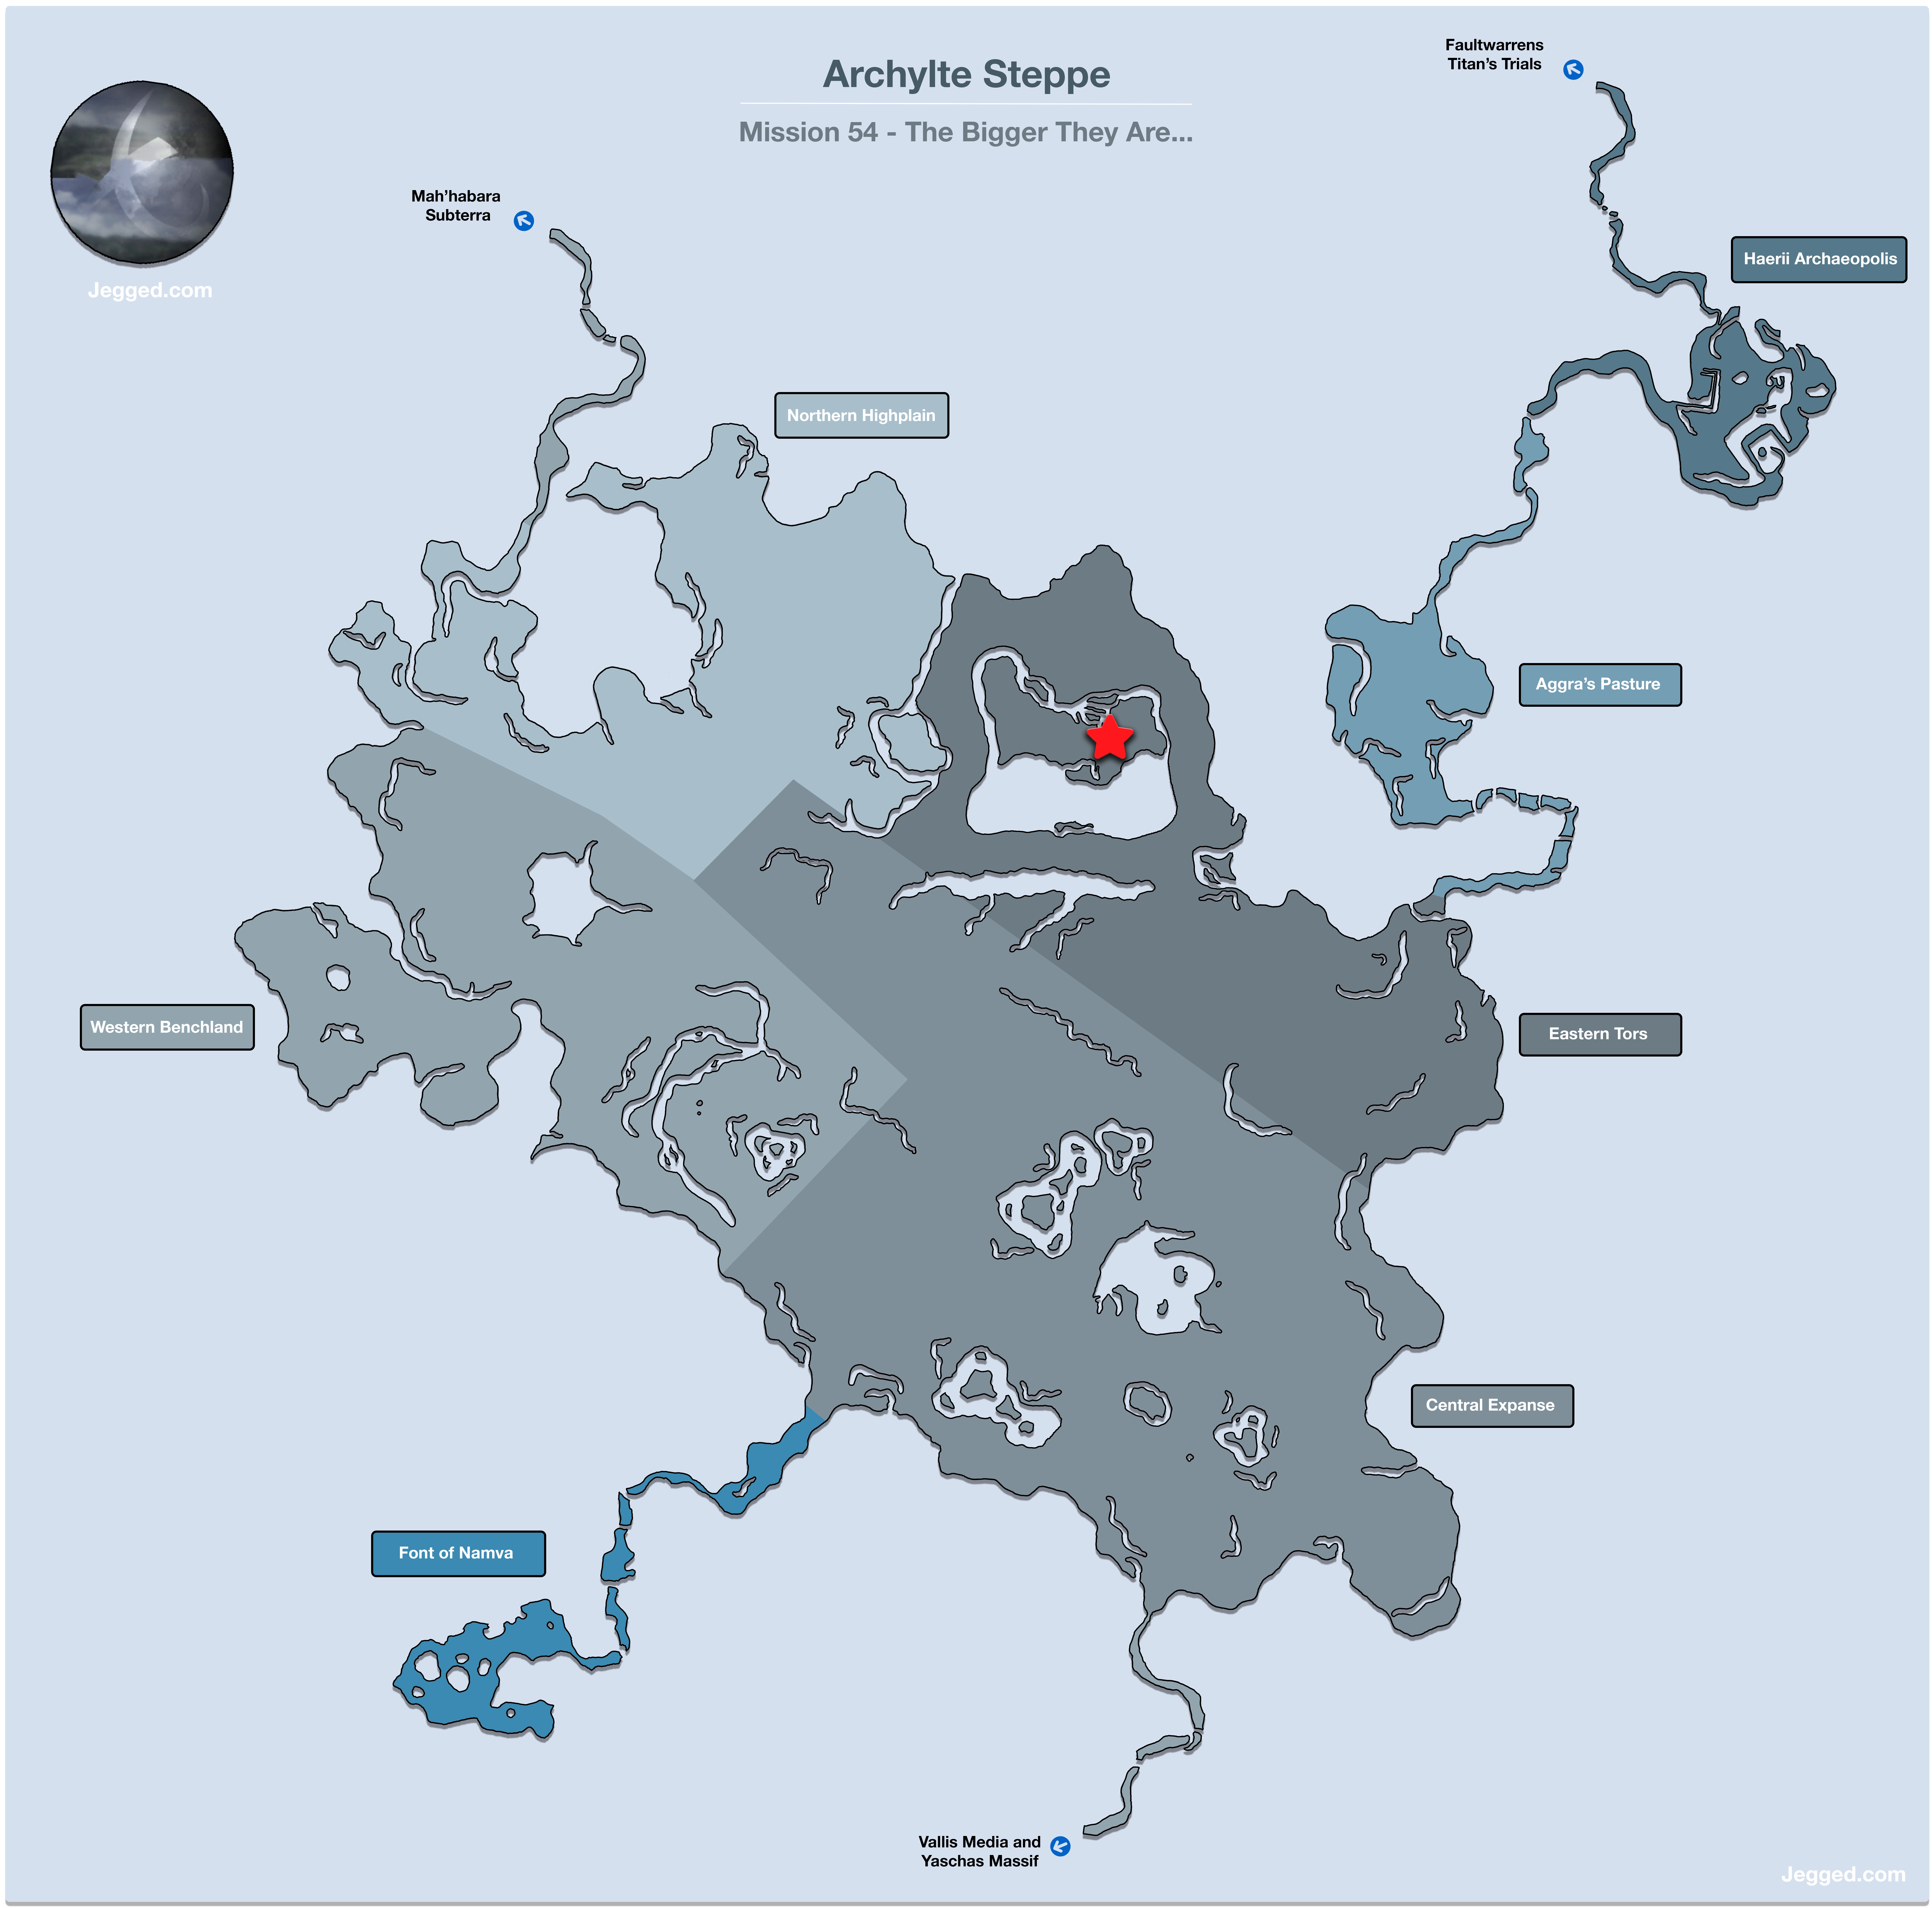
 Mark Location
The mark for this Mission is located in the Pass of Paddra area of the Yaschas Massif area. Travel out of the Mah’habara Subterra area and use a ![]() Waystone to warp to “Yaschas Massif - Paddraean Archaeopolis.”
Waystone to warp to “Yaschas Massif - Paddraean Archaeopolis.”
Battle Tactics
Mark Battle
Class: A
HP: 1,111,111

As mentioned above, Gigantuar is a very tough fight. It only has one attack called “10,000 Needles” but this attack is devastating. It deals 10,000 damage and has a chance of inflicting ![]() Pain and
Pain and ![]() Fog. It also has a chance of removing several of your party member’s status buffs.
Fog. It also has a chance of removing several of your party member’s status buffs.
Before we get to the tactics, it’s important to note that your party members are going to need to be able to survive this attack. If they are getting instantly KO’d by it then your party members are too low leveled for this encounter. You should also equip your party members with ![]() Pain Dampener (for physical damage dealers) and
Pain Dampener (for physical damage dealers) and ![]() White Cape (for magic users) to reduce the likelihood of your party members not being able to attack or cast spells.
White Cape (for magic users) to reduce the likelihood of your party members not being able to attack or cast spells.
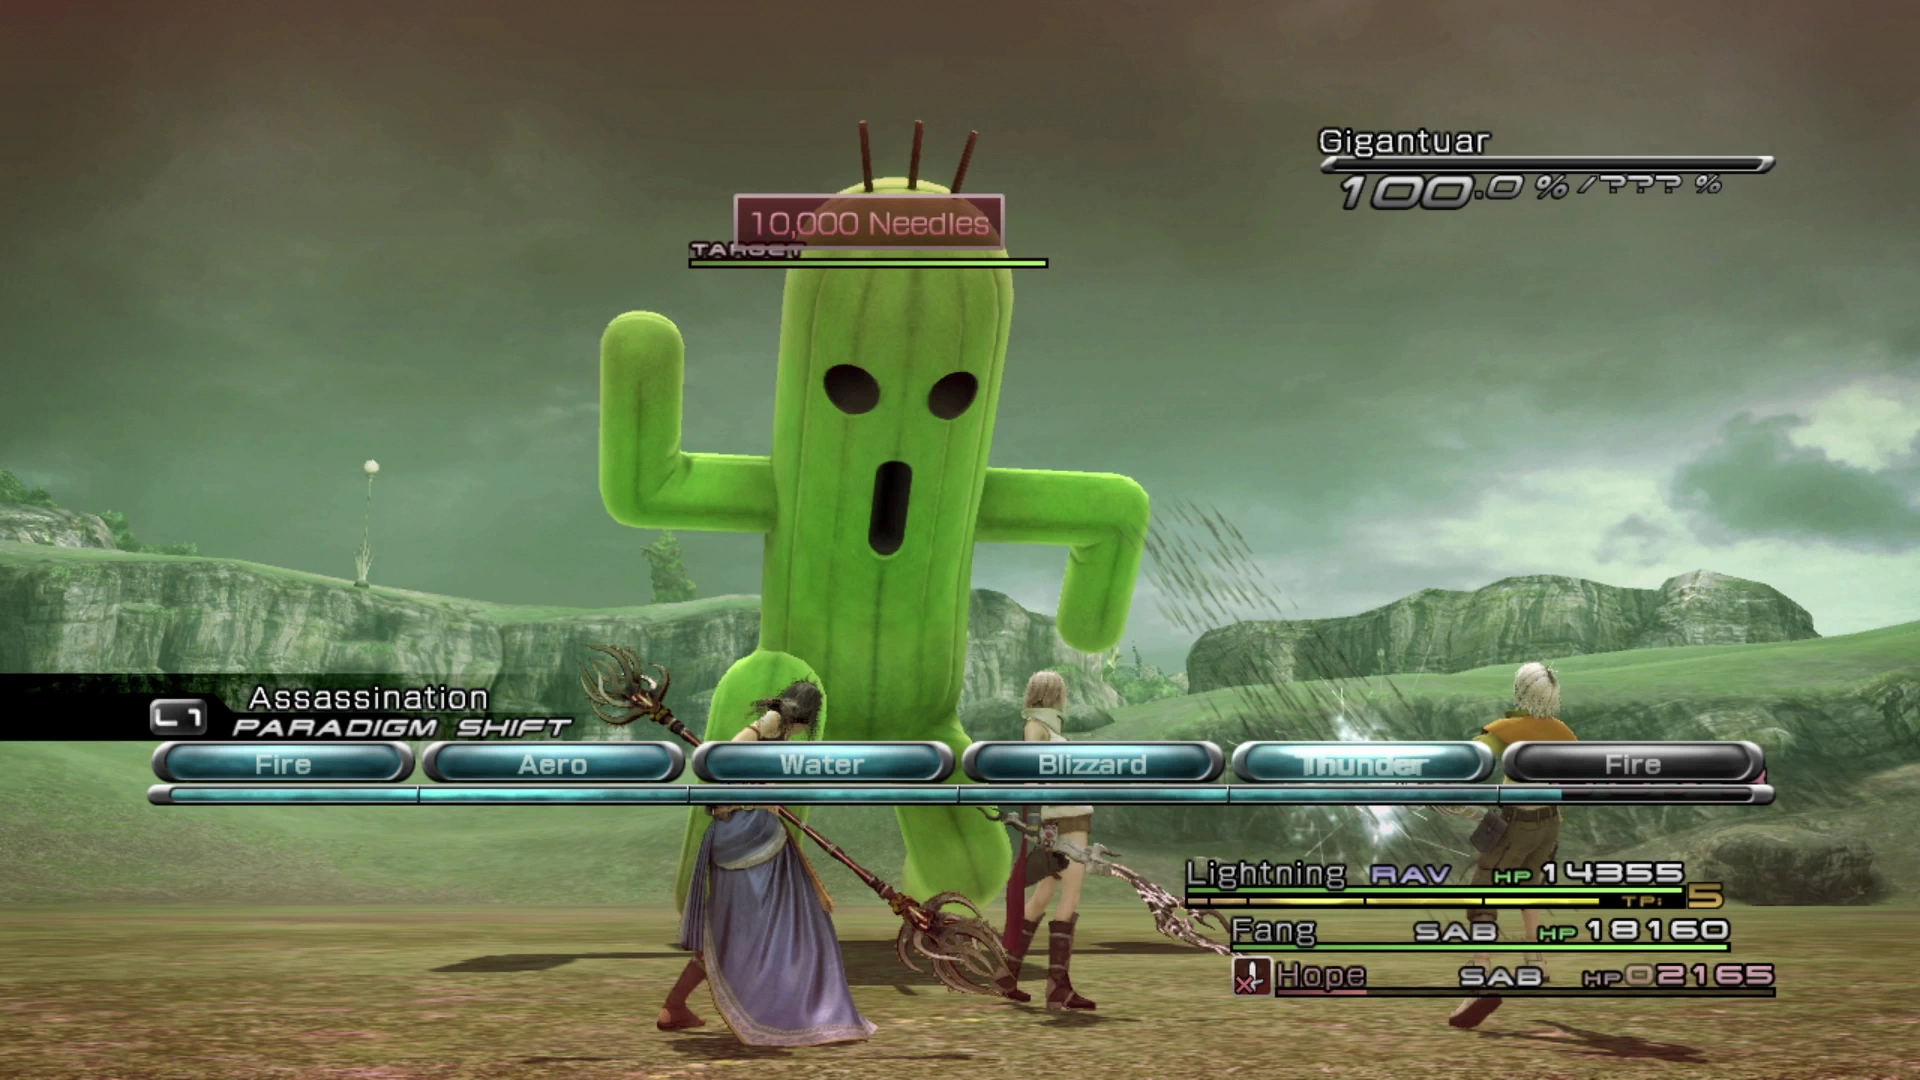
The best strategy to utilize is to take advantage of the fact that, while Gigantuar is immune to almost all negative status effects, it is not immune to ![]() Daze. This status effect will prevent Gigantuar from taking any actions until the effect is broken which will allow you to freeze it at the beginning of the fight while you buff up your party and prepare for an all-out offensive.
Daze. This status effect will prevent Gigantuar from taking any actions until the effect is broken which will allow you to freeze it at the beginning of the fight while you buff up your party and prepare for an all-out offensive.
Start off the fight in the Perseverance Paradigm which will have Fang in her ![]() Saboteur role with Lightning and Hope as
Saboteur role with Lightning and Hope as ![]() Medics. Don’t use Auto-hinder, and instead manually select the
Medics. Don’t use Auto-hinder, and instead manually select the ![]() Daze ability 5 times. As soon as you see the status up and active on Gigantuar press
Daze ability 5 times. As soon as you see the status up and active on Gigantuar press to cancel your remaining casts so you don’t accidentally knock off the debuff. While Gigantuar is Dazed, fully buff up your party members using the Rapid Growth Paradigm.
Your buff priority should include manually casting ![]() Protectra on all three team members. This will override
Protectra on all three team members. This will override ![]() Protect if it has been cast but this will prove beneficial. Protectra doesn’t last as long as Protect but it provides more damage reduction and this fight will be over very quickly. Also make sure that one of your party members gets
Protect if it has been cast but this will prove beneficial. Protectra doesn’t last as long as Protect but it provides more damage reduction and this fight will be over very quickly. Also make sure that one of your party members gets ![]() Enfire active as this will greatly increase the amount of damage dealt to Gigantuar. You should also try to get both
Enfire active as this will greatly increase the amount of damage dealt to Gigantuar. You should also try to get both ![]() Faithra and
Faithra and ![]() Bravera active as well.
Bravera active as well.
Once you have all of your buffs active switch, switch over to Tireless Charge Paradigm which will have both Fang and Lightning in their ![]() Commando role with Hope healing as much as he can. The goal now is to try to take out Gigantuar before the damage overwhelms your party. Consider using some shrouds if you’re struggling (
Commando role with Hope healing as much as he can. The goal now is to try to take out Gigantuar before the damage overwhelms your party. Consider using some shrouds if you’re struggling (![]() Aegisol or
Aegisol or ![]() Fortisol).
Fortisol).
- First Attempt:
 Cactuar Doll
 - Repeat Attempts:
 Chocobo Plume (x2)
Achievement/Trophy
You will automatically receive the  Floraphobe Achievement/Trophy after you have defeated the mark for this Mission.
Next Steps Following Completion
The Cie’th Stone for the next Mission is back in the Oerba unless you already completed it to get the early ![]() Growth Egg. If so, you can skip ahead to the next Mission using the links below:
Growth Egg. If so, you can skip ahead to the next Mission using the links below:


