 Mission 63: Crushed by Doubt
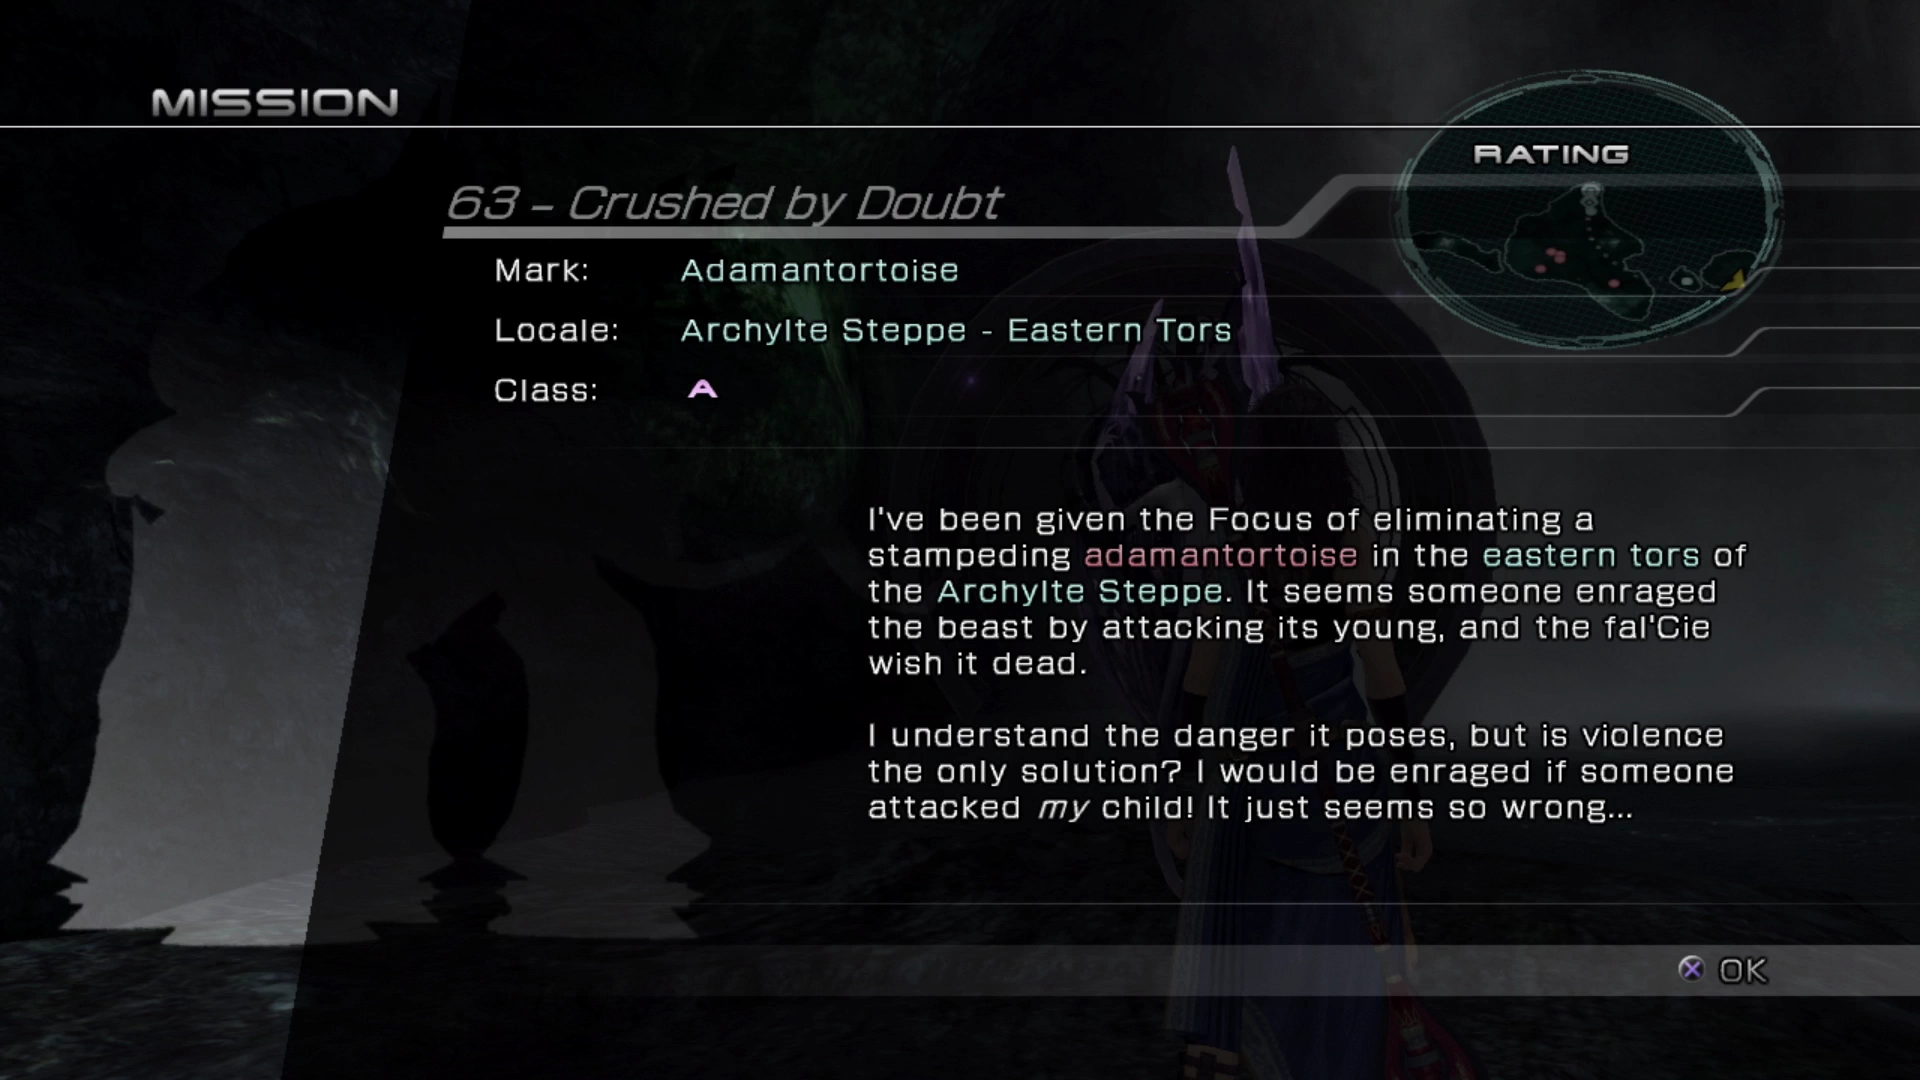
Adamantortoise (Class A)
Prerequisites
- Reach the Titan’s Trials / Faultwarrens
 Cie’th Stone Location
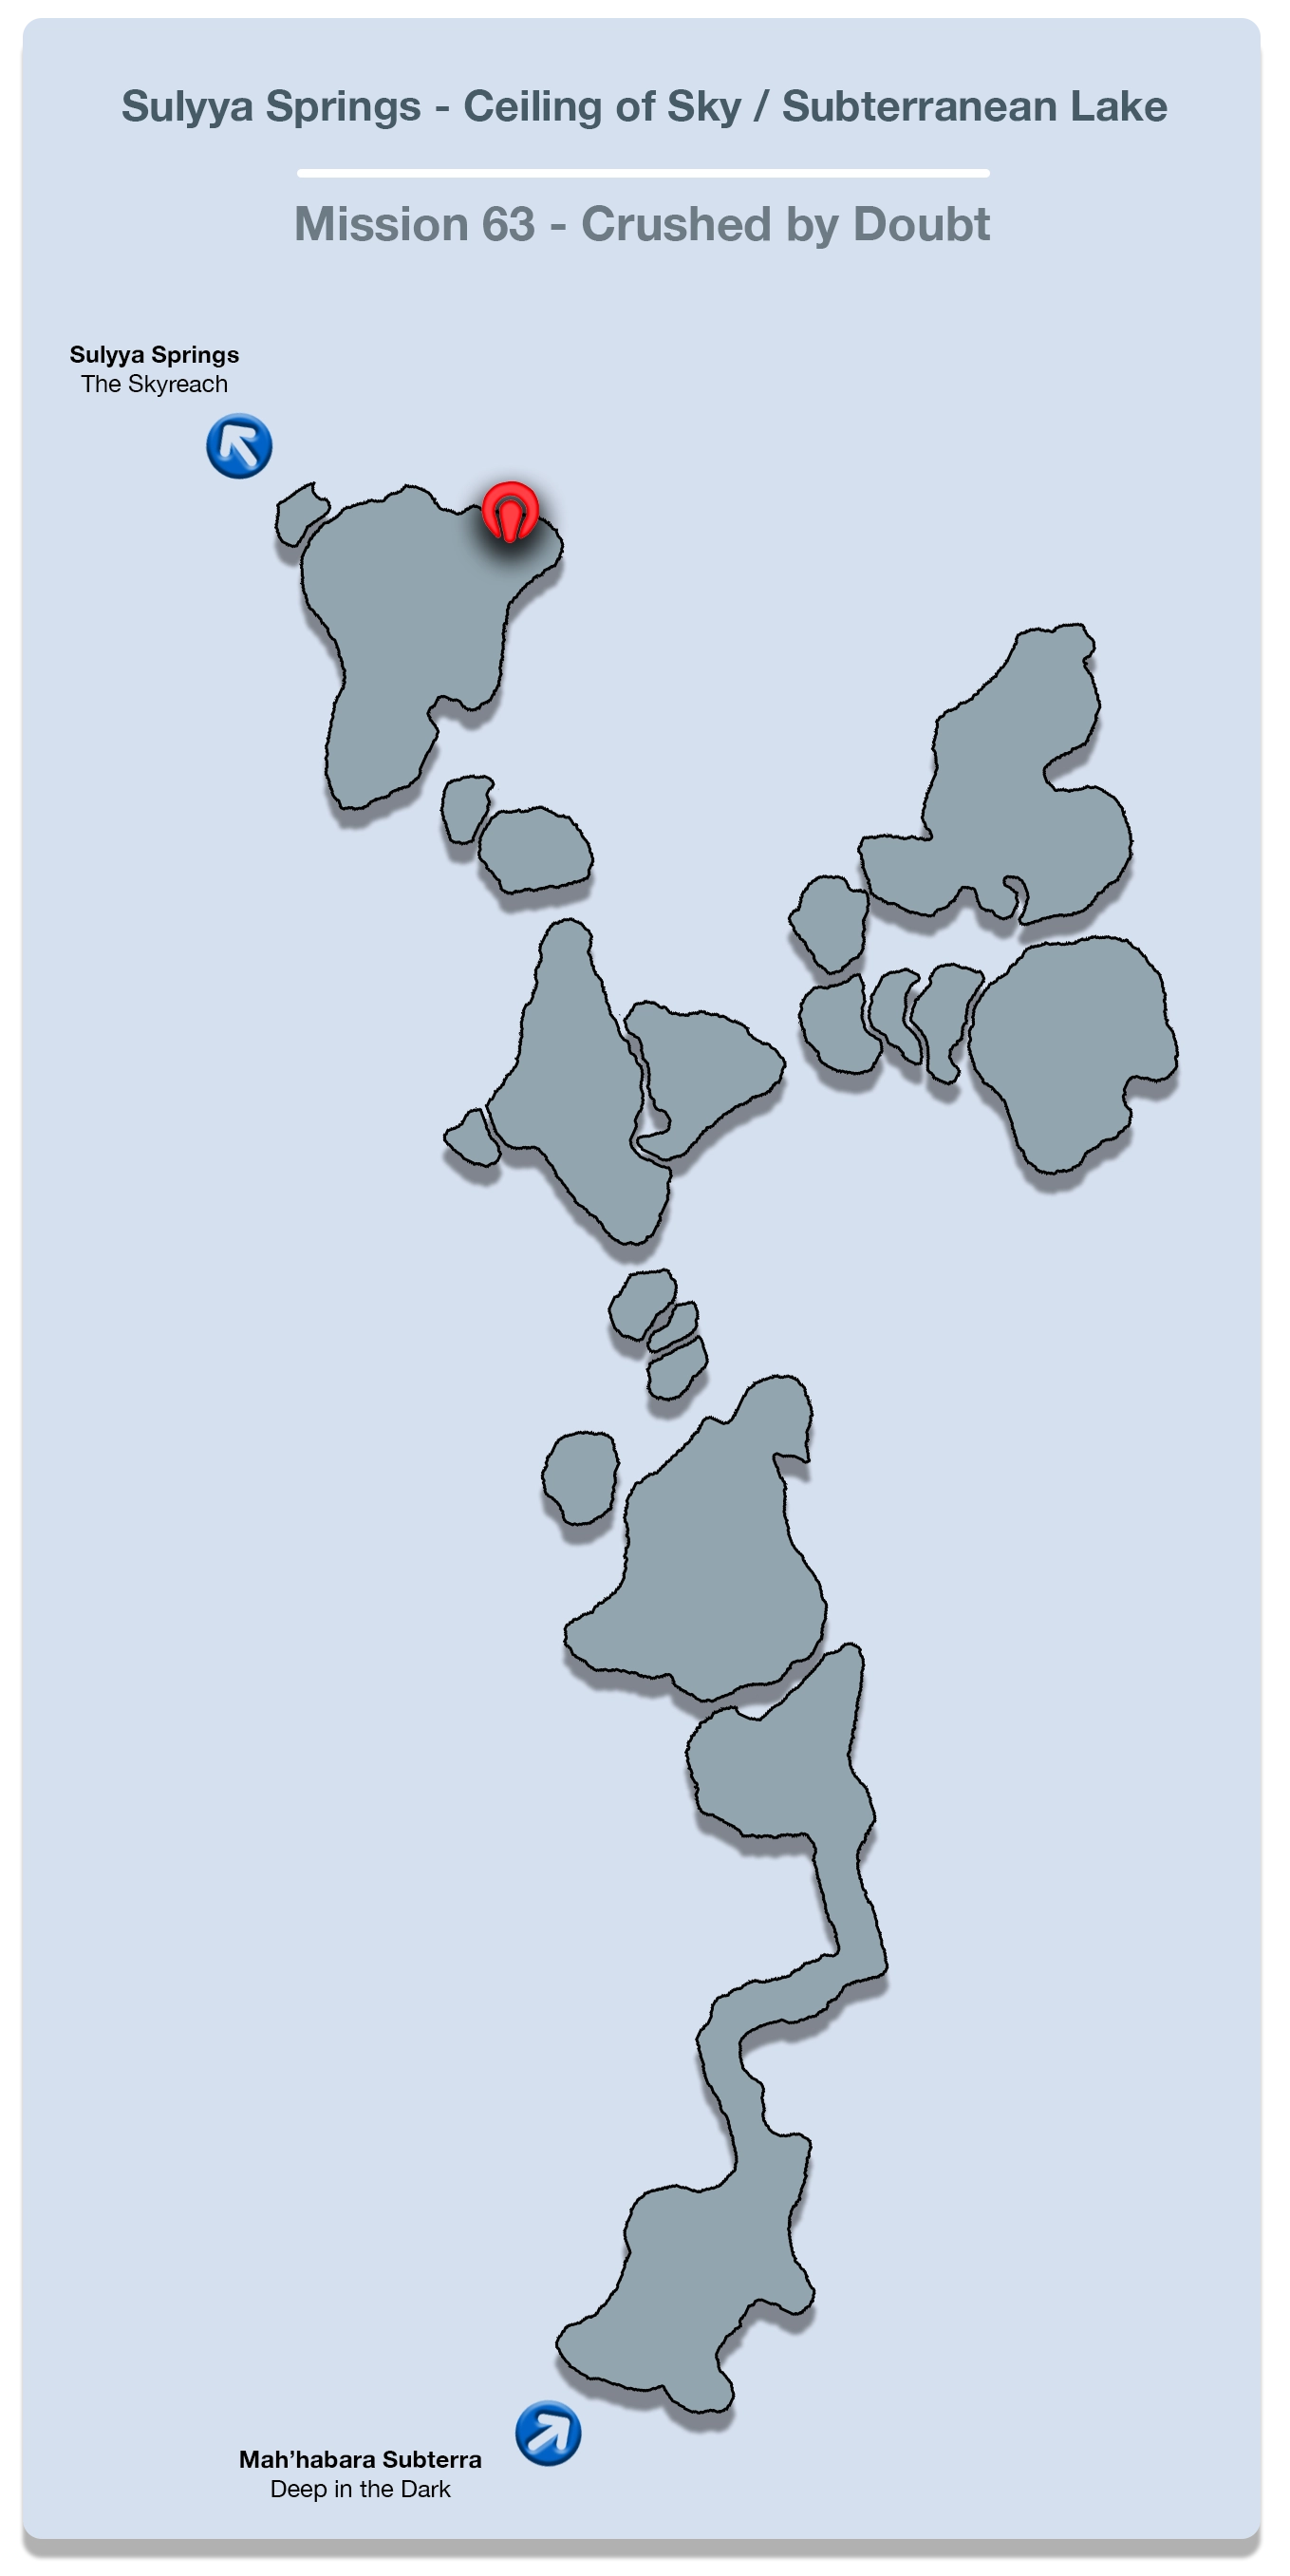
The Cie’th Stone for this Mission is located in the Subterranean Lake area of the Sulyya Springs.
Mark Location
The mark for this Mission can be found in the Eastern Tors area of the Archylte Steppe. It will look like the pathway is blocked by other giant Oretoises but you can sneak past them relatively easily.

Battle Tactics
Mark Battle
Class: A
HP: 3,699,000

The Adamantortoise is a tough enemy to face but its attack pattern is very straight forward and, assuming your party members are leveled well enough, and assuming you utilize the right strategy, it should be relatively easy to bring them down. So what are their attacks?
- Stomp: Just a regular foot stomp that deals damage to all party members and interrupts their actions.
- Quake: Deals earth-based magic damage to all party members.
- Roar: Deals heavy damage to all party members, dispels positive status buffs from party members and can inflict
 Daze which will prevent them from acting until they are hit again.
“Roar” is by far the most challenging attack that you will have to deal with when fighting against an Adamantortoise. Because it has a chance to ![]() Daze your party members, there is a chance that multiple party members or, worst case scenario, all of your party members, will be unable to act until they are hit again, which likely means you are headed for a “Game Over” screen.
Daze your party members, there is a chance that multiple party members or, worst case scenario, all of your party members, will be unable to act until they are hit again, which likely means you are headed for a “Game Over” screen.
Preparation
For this fight, consider switching your party members to Fang, Lightning and Vanille. Hope and Vanille are pretty close in terms of their stats and usefulness, but Vanille has a step up with her ability to apply status debuffs more efficiently, making her more useful for this fight. There are a number of approaches to going about this fight, including this one, so don’t hesitate to experiment with other setups. But here is one that should work well; set up the following Paradigms:
- Cerberus (All party members as
 Commandos)
 - Cerberus (All party members as Commandos again)
- Tri-disaster (All party members as
 Ravagers)
 - Assassination (Fang and Vanille as
 Saboteurs with Lightning as a Ravager)
 - Superiority (Fang and Lightning as
 Synergists with Vanille as a Saboteur)
 - Perseverance (Fang as a Saboteur with both Lightning and Vanille as
 Medics)
Some guides and walkthroughs suggest a more uniform Paradigm setup (all characters as ![]() Medics, all characters as
Medics, all characters as ![]() Saboteurs) to quickly jump between each stage of the battle setup, and this can work as well, though through experimentation, the above Paradigm approach works well for quickly getting through the setup and preparation phases.
Saboteurs) to quickly jump between each stage of the battle setup, and this can work as well, though through experimentation, the above Paradigm approach works well for quickly getting through the setup and preparation phases.
Lastly, make sure that your characters are equipped appropriately. This is the best time for you to upgrade your main party member’s weapons. Check out the Upgrading Weapons page for tips. You should also make sure that Vanille has her ![]() Belladonna Wand equipped (or its upgraded forms, the
Belladonna Wand equipped (or its upgraded forms, the ![]() Malboro Wand or
Malboro Wand or ![]() Nirvana) to ensure that she has the
Nirvana) to ensure that she has the ![]() Improved Debuffing passive ability.
Improved Debuffing passive ability.
Make sure that all of your characters have a ![]() Gaian Ring equipped and consider equipping them with a
Gaian Ring equipped and consider equipping them with a ![]() Royal Armlet or an
Royal Armlet or an ![]() Imperial Armlet if you managed to get one upgraded. You should also equip Fang and Lightning with a
Imperial Armlet if you managed to get one upgraded. You should also equip Fang and Lightning with a ![]() Genji Glove. Equip Vanille with one only if she has the extra spot. Lastly, these enemies have great potential drops, so make sure you have a
Genji Glove. Equip Vanille with one only if she has the extra spot. Lastly, these enemies have great potential drops, so make sure you have a ![]() Collector Catalog and
Collector Catalog and ![]() Connoisseur Catalog equipped.
Connoisseur Catalog equipped.
The Fight
The fight is fairly straightforward because Adamantortoise follows a standard and predictable attack pattern. It will continuously stomp throughout the fight, and it has a chance to use “Quake” or “Roar” after a certain amount of time has passed. Unfortunately, if it uses “Roar” and enough of your characters are ![]() Dazed (at which point they will likely be KO’d from the next stomp) you may just need to restart the battle and try again.
Dazed (at which point they will likely be KO’d from the next stomp) you may just need to restart the battle and try again.
The goal is to defeat both the Left Leg and Right Leg to knock Adamantortoise down, trigger a Stagger, and defeat it in a single Stagger before it stands back up. It takes increased damage while it’s laying down so preparing for the all out attack once it drops down is critical and timing is everything.
- Step 1:
Start off in the Superiority Paradigm and have Fang cast Bravera and
  Faithra on your party members. Lightning will take care of getting
  Haste applied to your team and then both Fang and Lightning can get
  Protect /
  Shell up afterwards. During this time, ideally, Vanille is getting some of the debuffs you will need placed on the two legs giving you a head start on the next step.
 - Step 2:
Switch to the Perseverance Paradigm which will allow Lightning and Vanille to get your party healed back up after taking all the stomp damage. Fang will be in herSaboteur role and it’s at this time that you need to make sure both  Imperil and
  Deshell are active on either the Right Leg or Left Leg (
 Deprotect is less critical). Once both debuffs are active, and if your party’s HP is looking good, it’s on to the next step…
 - Step 3:
Switch to Tri-disaster and inflict as much damage on either the Left Leg or Right Leg as you can. You will eventually Stagger the leg and, in addition to doing more damage, this has the effect of stunning the Adamantortoise briefly, preventing its next attack. You don’t need to switch to Cerberus when the Leg is Staggered as you should be able to deplete all the leg’s HP in Tri-disaster Paradigm. Then switch back to Perseverance to heal up your party. - Step 4:
We now need to bring down the other leg, but it’s important to get the timing of this step down correctly. Fang started the battle by castingBravera and Faithra on your party members, but these will be wearing off soon, and they absolutely need to be active when you Stagger the Adamantortoise after it drops. So in this step, reapply Bravera / Faithra / Haste to all three party members, quickly heal up, and then bring down the next leg quickly (make sure Imperil and Deshell are active on that leg). - Step 5:
Adamantortoise will drop after its second leg is defeated. Quickly switch to the Assassination Paradigm and manually select theImperil spell to have Fang get casting Imperil straight away. Vanille will start with casting Deprotect and Deshell and then will help out with casting Imperil, but it should take no longer than two full ATB bars to get all the debuffs up and they do all need to be up!
Then switch to Tri-disaster which will trigger a Stagger on Adamantortoise but stay in Tri-disaster until the Chain Gauge gets up to at least 900%. Lastly, switch to Cerberus Paradigm and rotate between the two Cerberus Paradigms to take advantage of the ATB Refresh trick. Note that you can use Relentless Assault if Vanille doesn’t have a strong ![]() Commandos Crystarium yet.
Commandos Crystarium yet.
The goal here is to get Adamantortoise’s HP all the way down before it stands up. Once it begins standing up, even if it is still Staggered, it will take far less damage and be much more difficult to defeat.
Good luck!
- First Attempt:
 Genji Glove, Datalog Entry: Analect XI
 - Repeat Attempts:
 Gold Nugget
Next Steps Following Completion
Use the links below to proceed to the next Mission or return to the walkthrough: