Midgar
Fly towards Midgar when you are ready to continue with the next portion of the game. A cutscene will begin as soon as you get close enough.
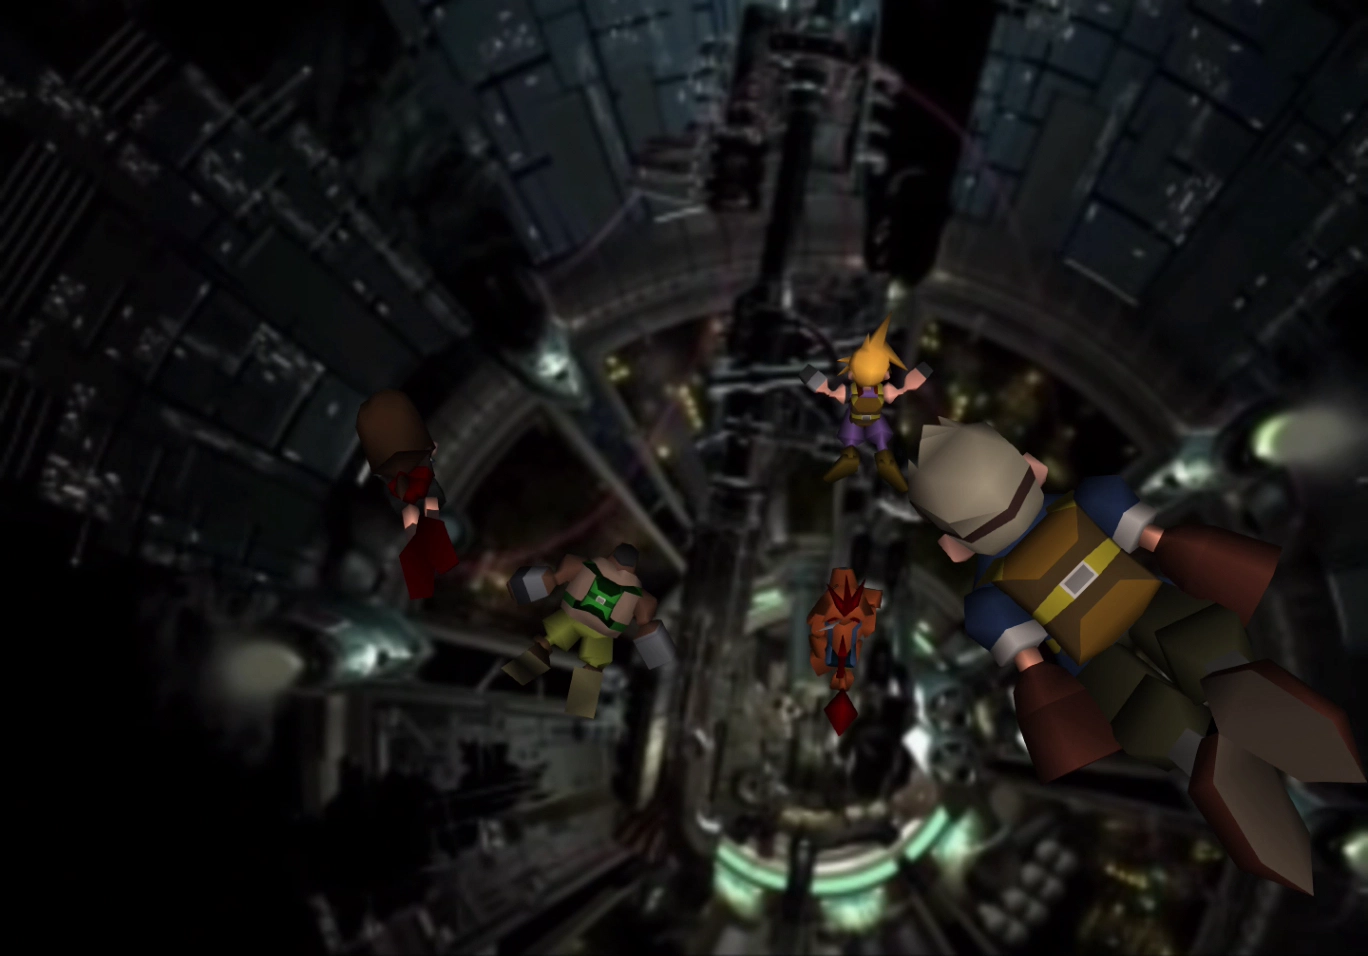
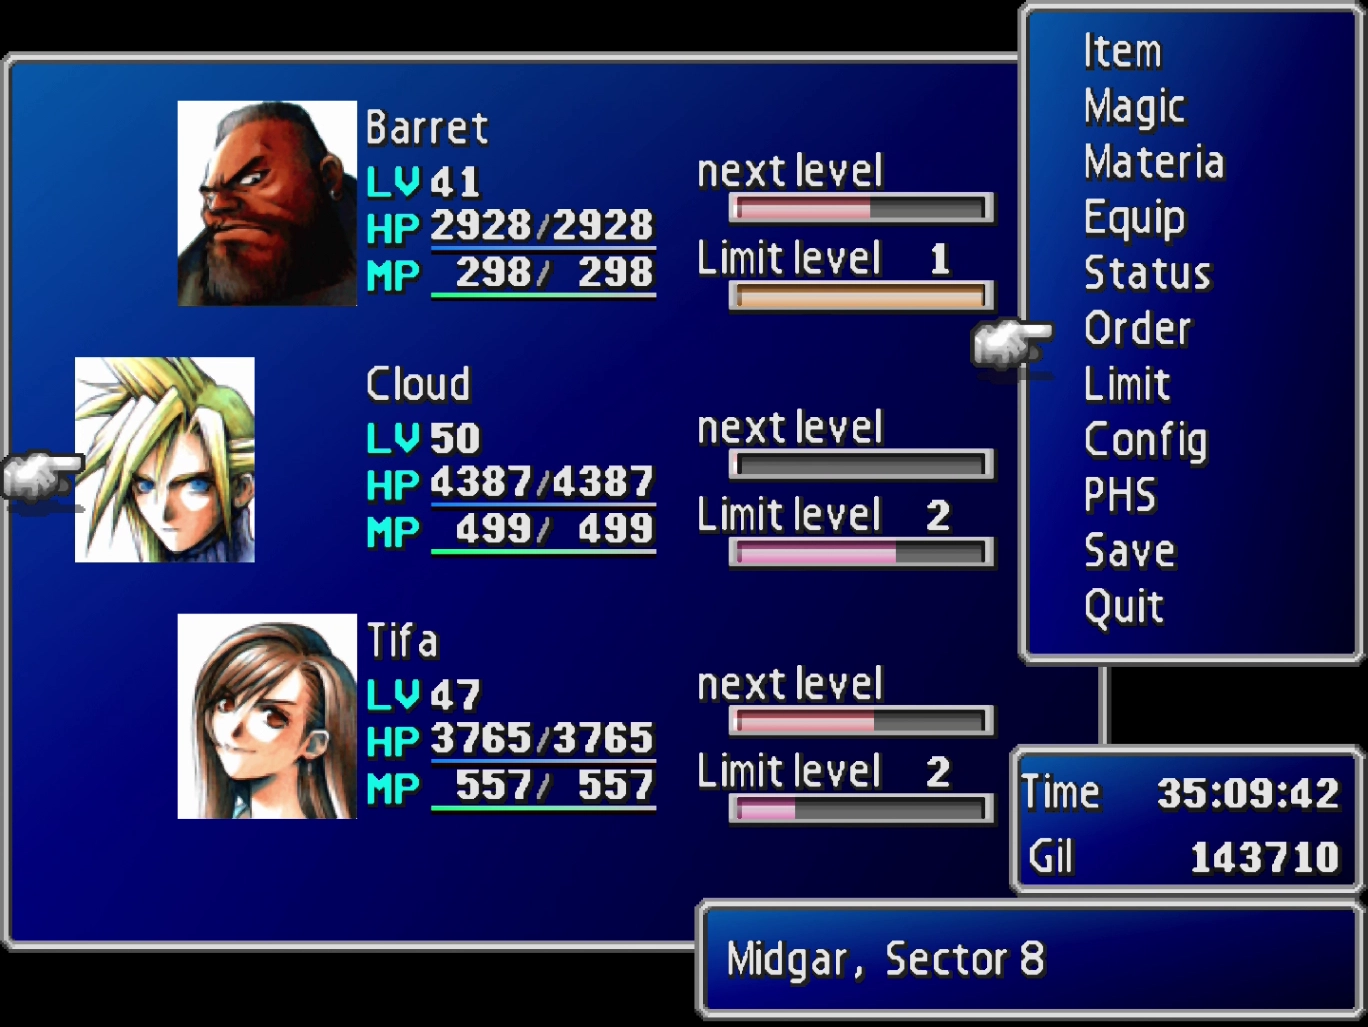
You will get to choose your party members one last time before parachuting into Midgar, but your team should still be ready to go following the fight against Diamond Weapon.
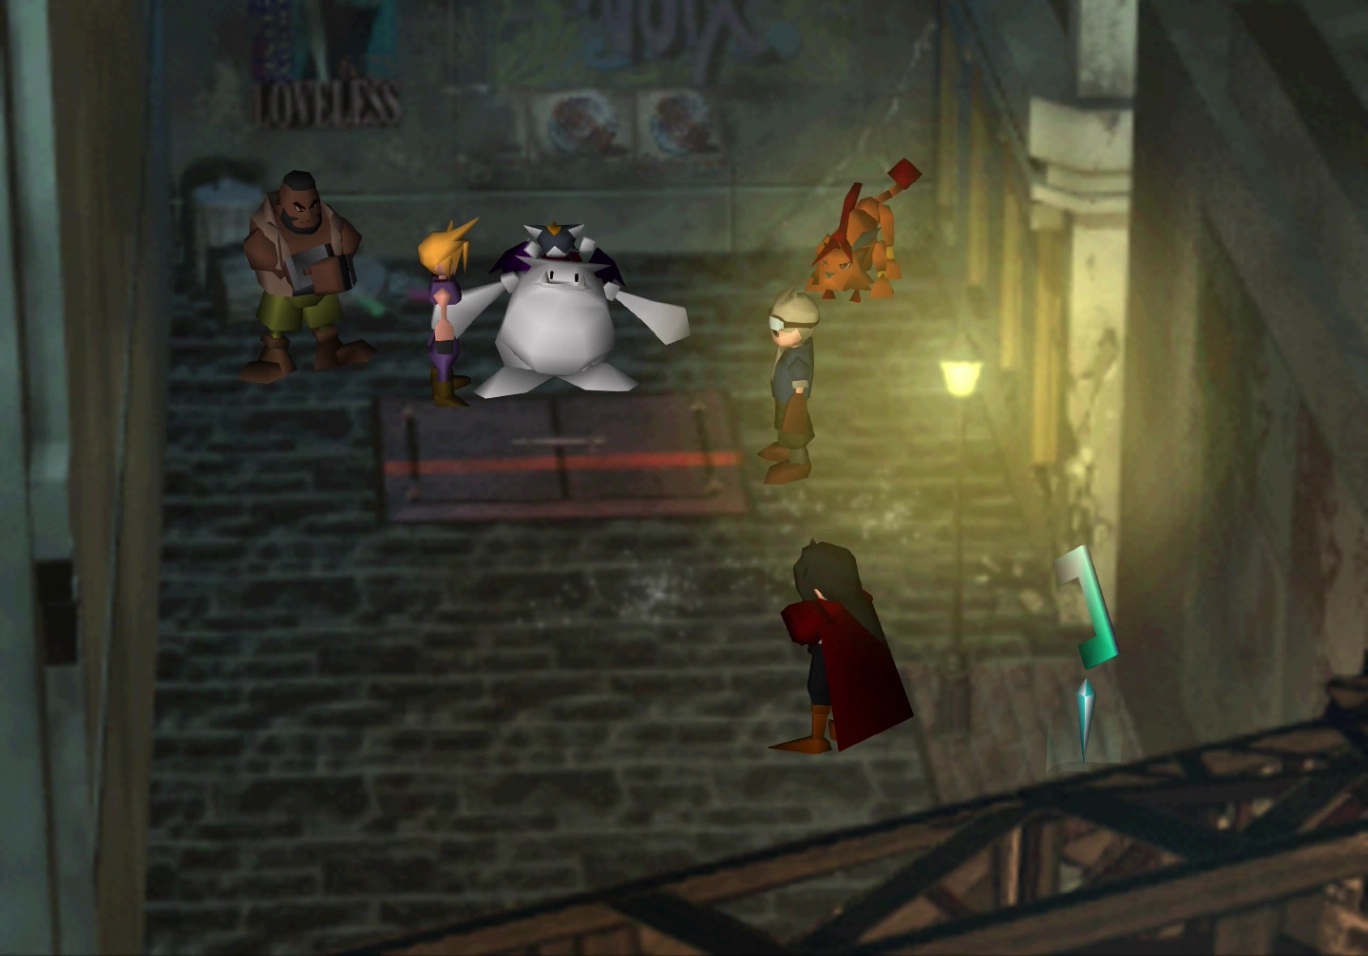
Sector 8 Underground
Follow Cait Sith down the pathway to find a ![]() Save Point where you can save your game and still swap party members if you would like to. Approach Cait Sith when you are ready to continue and follow him down the ladder.
Save Point where you can save your game and still swap party members if you would like to. Approach Cait Sith when you are ready to continue and follow him down the ladder.
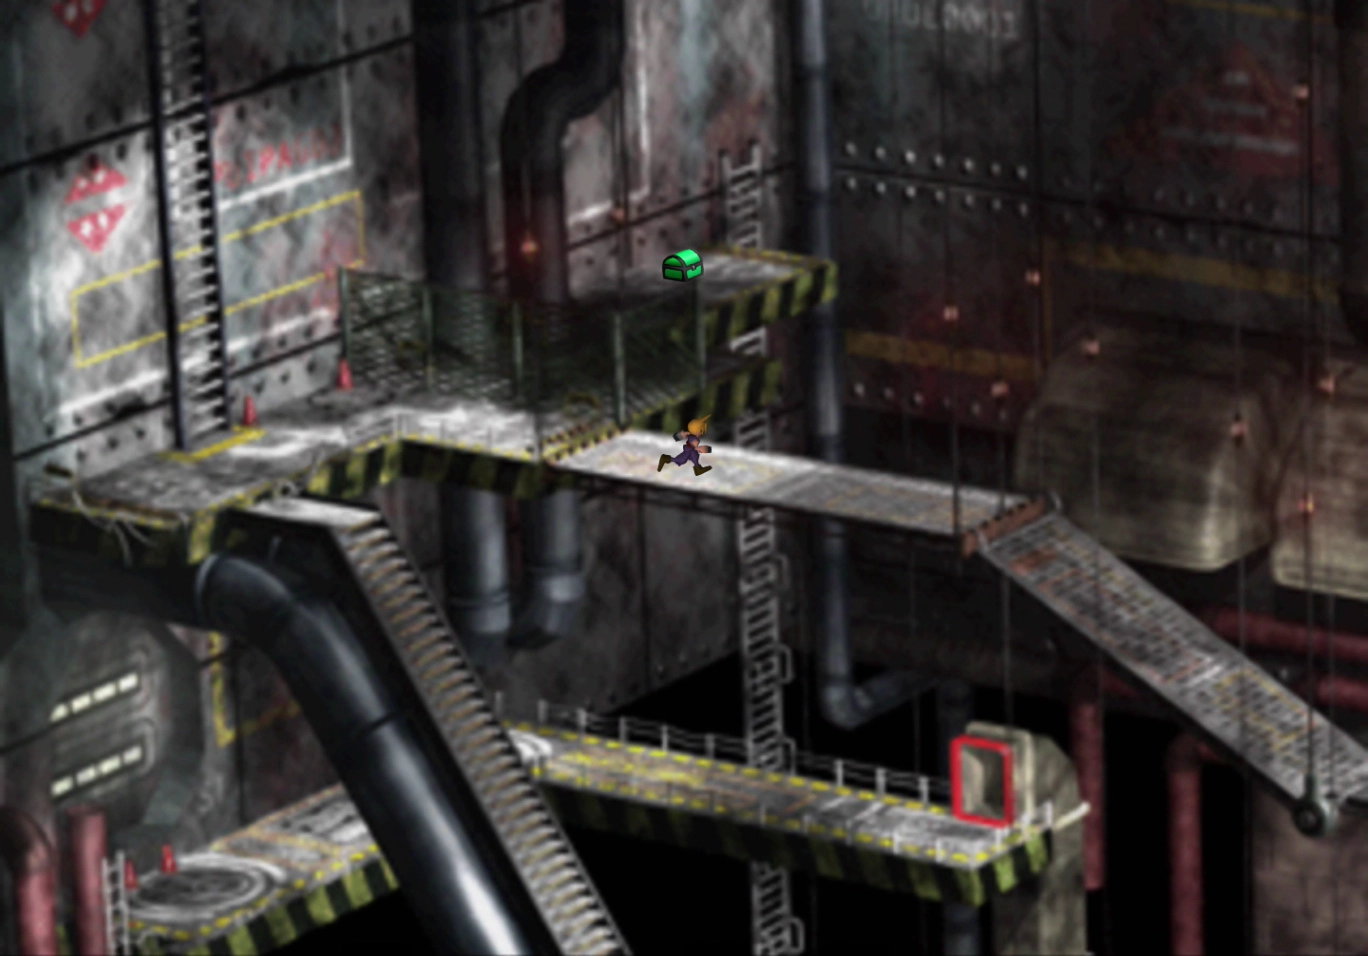
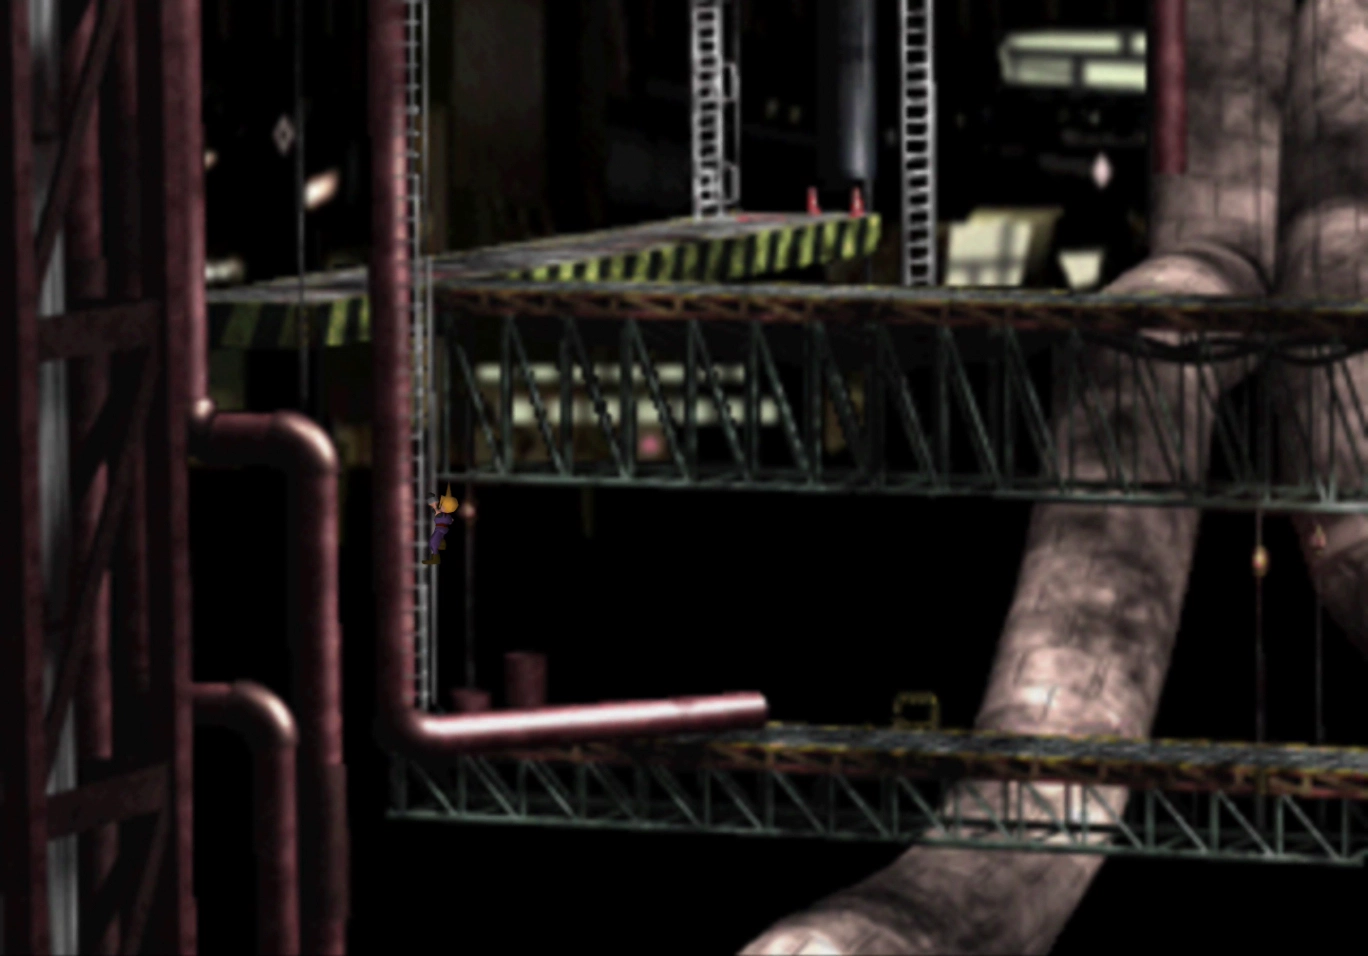
Take the upper pathway (shown in the screenshot below) and follow it around the catwalk and onto the pipes. You will come across a treasure chest that contains an ![]() Elixir.
Elixir.
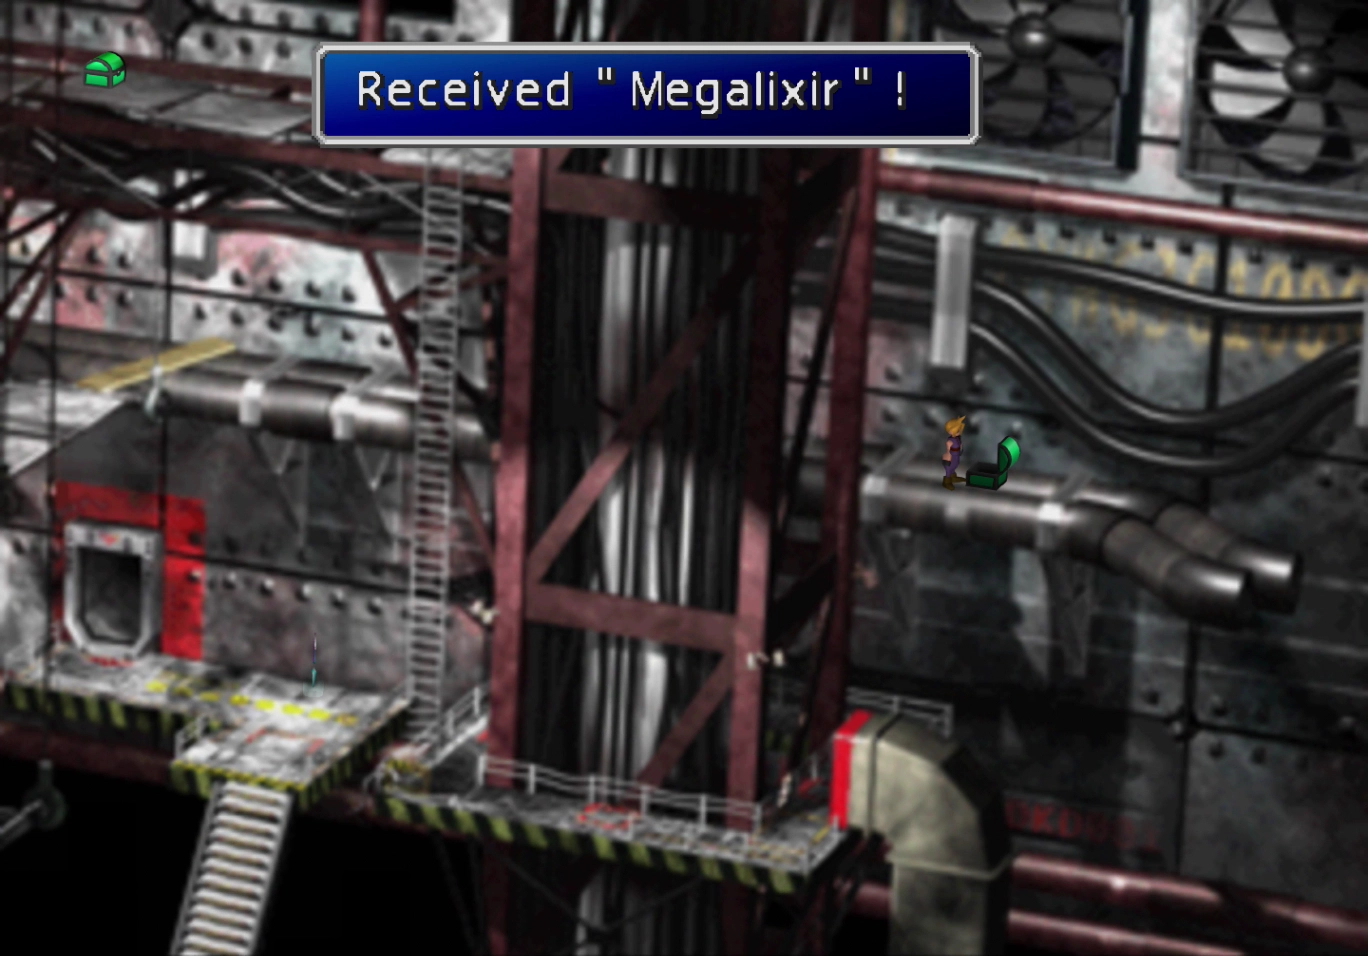
There is another treasure chest on the right side of the pipes that contains a ![]() Megalixir.
Megalixir.
Go back to the long ladder that you came down to get into this area and, this time, go down the long set of stairs that were closer to the screen. Take the ladder downwards, which will lead to the next screen.
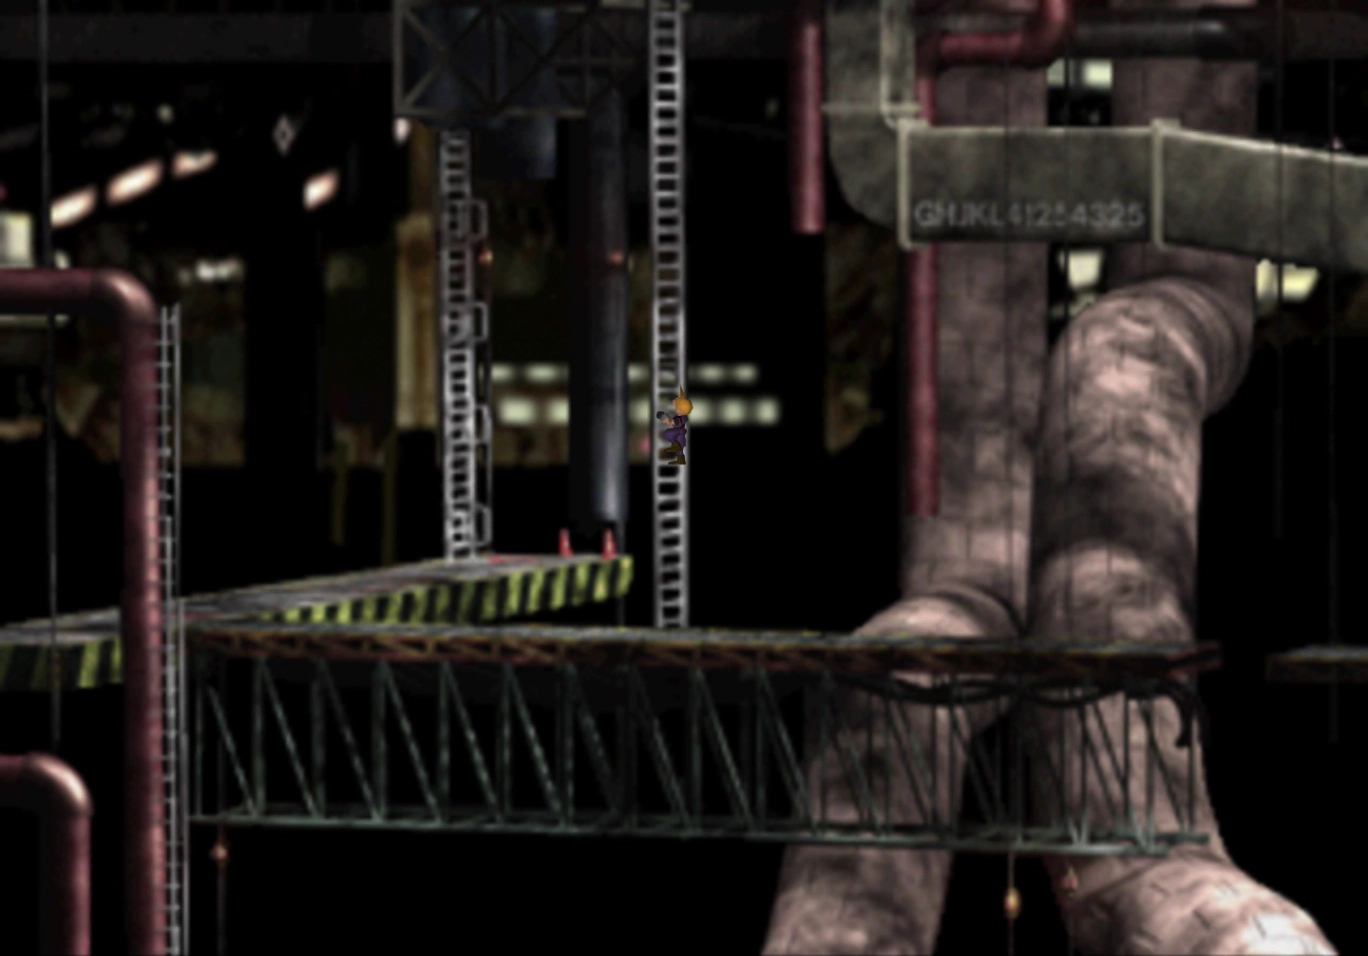
Head left once you reach the platform at the bottom of the ladder and take the other ladder at the back of the screen back up to the top level. At the top of this extremely long ladder is a treasure chest that contains an ![]() Aegis Armlet.
Aegis Armlet.

Return to the platform below and proceed to the right side of the screen. The ground will collapse beneath Cloud as he attempts to jump across the gap.
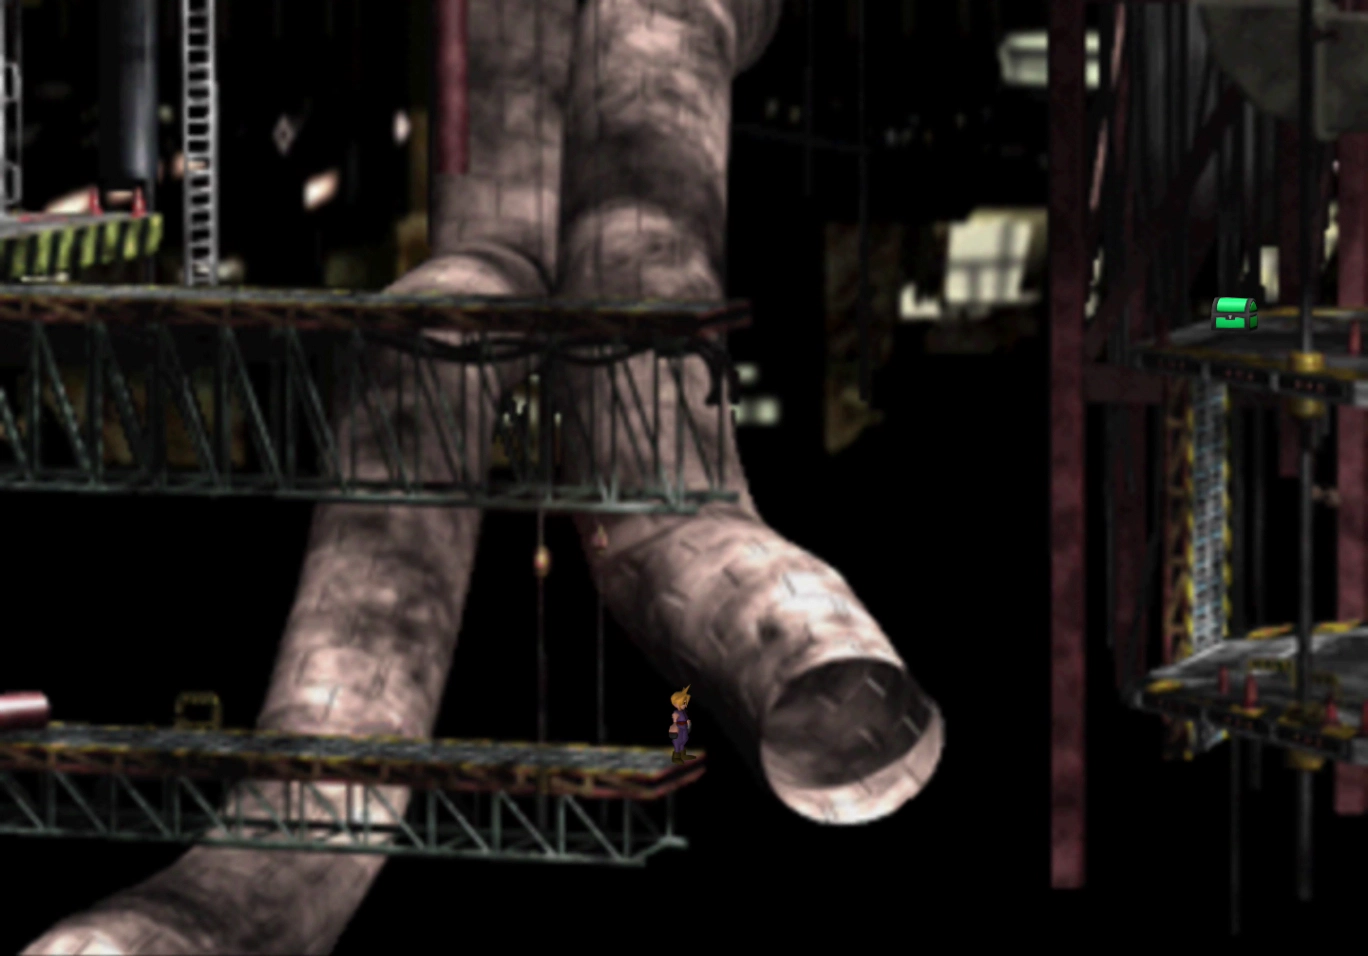
Continue to the left instead and climb the ladder on the red pipe.
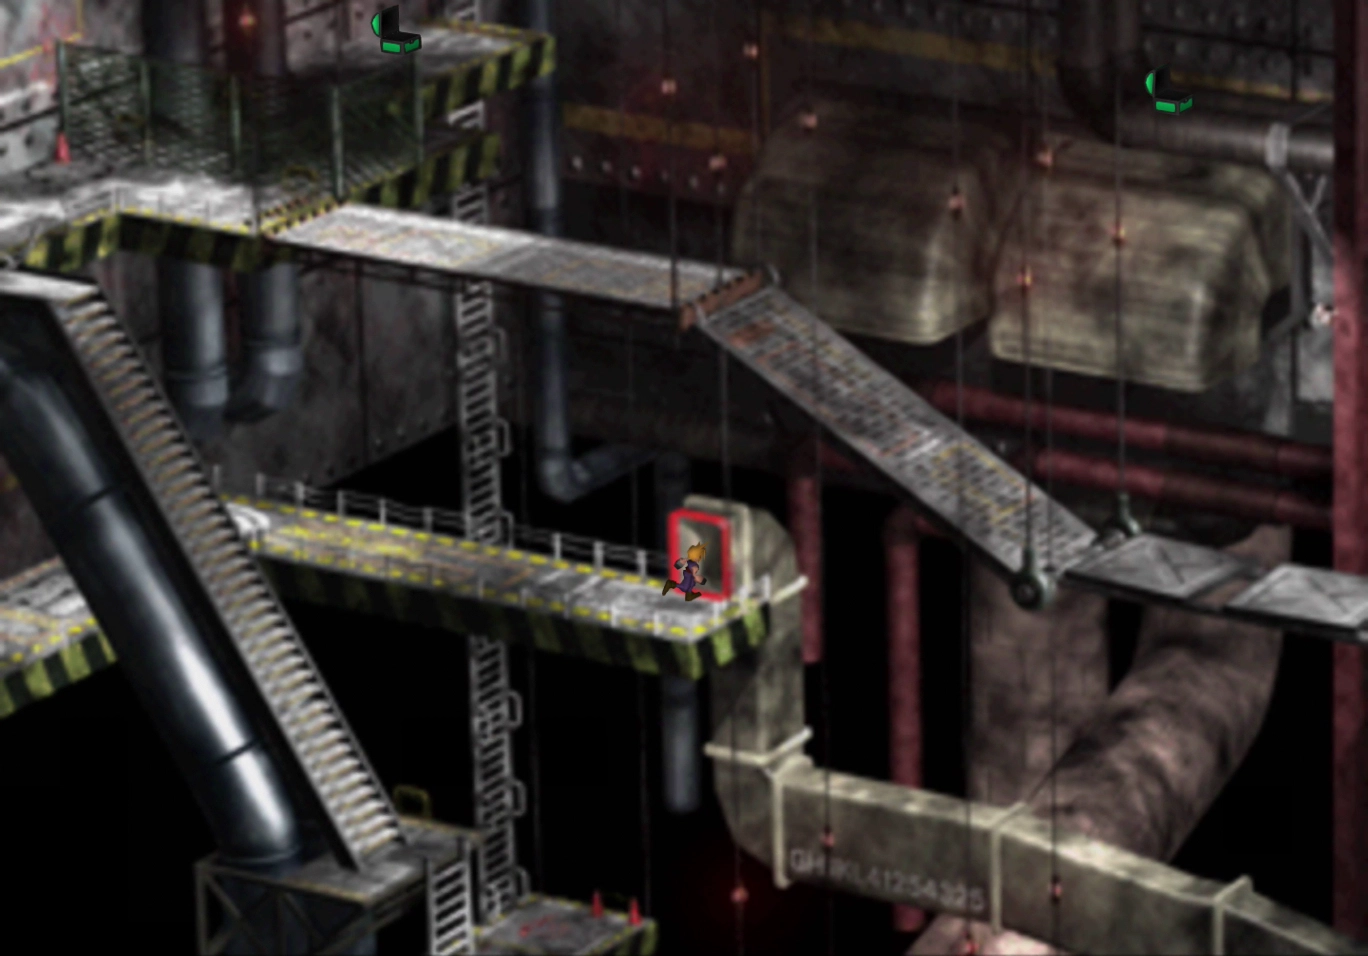
Follow the pathway around and enter the ventilation duct marked with a red rim around the opening. The treasure chest on the right side of this platform contains an ![]() Elixir, while the one on the left contains a
Elixir, while the one on the left contains a ![]() Starlight Phone weapon for Cait Sith.
Starlight Phone weapon for Cait Sith.
Climb down the ladder and jump down to the ventilation duct on the right side of the screen. At the end of the duct is a ladder that leads to a treasure chest that contains a ![]() Max Ray weapon for Barret.
Max Ray weapon for Barret.
Go back down to the platform with the two treasure chests and take the stairs leading up to the upper level. Save your game at the ![]() Save Point before you go through the next doorway.
Save Point before you go through the next doorway.
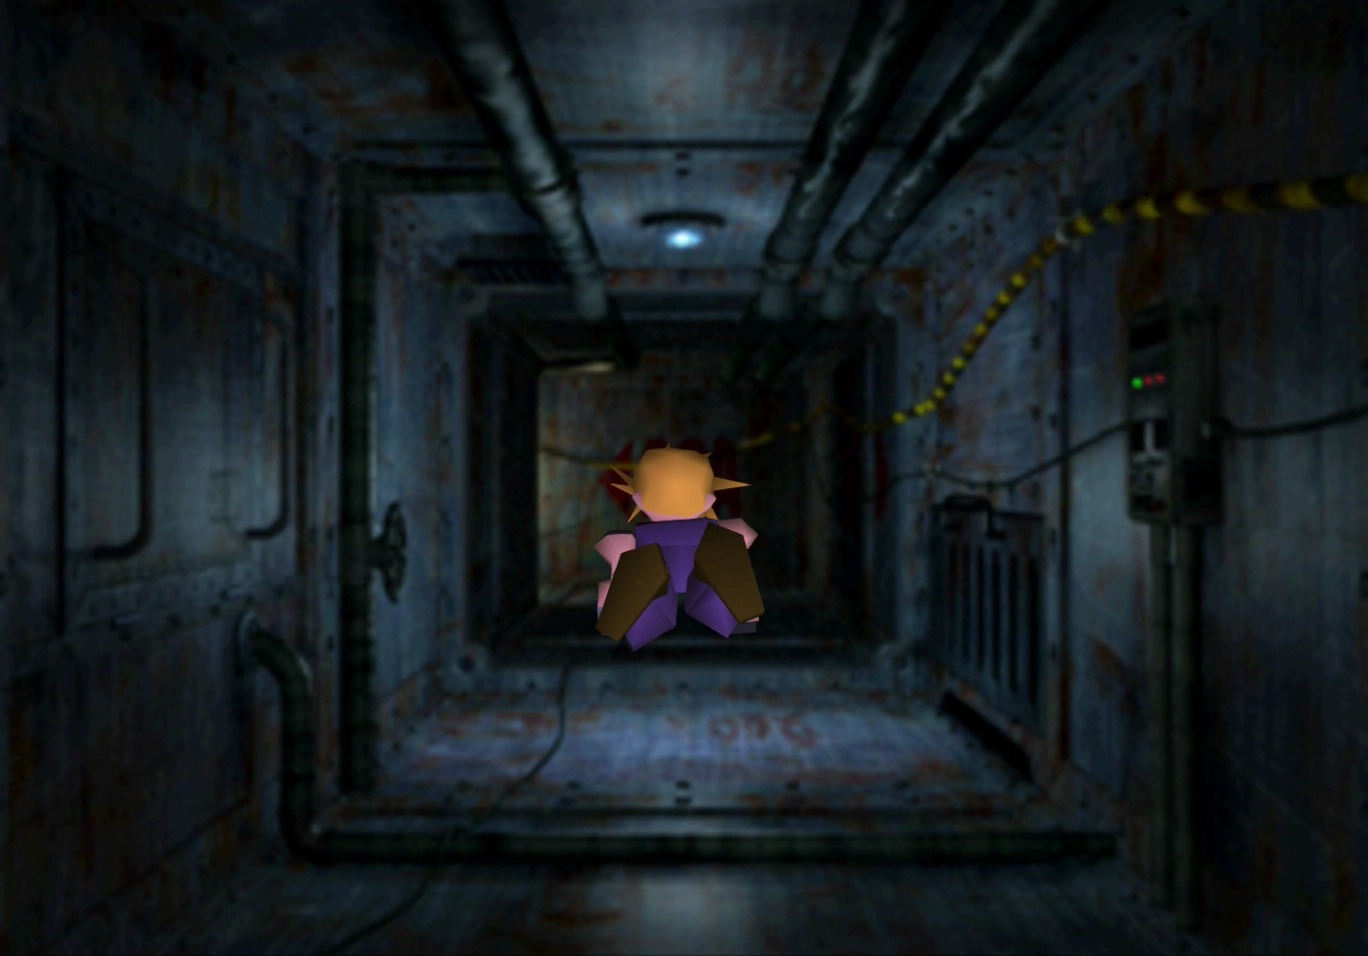
The next area Cloud will enter is a small ventilation shaft that leads into the Winding Tunnels.
Helpful Hint
The next fight coming up involves all three of the Turks you’ve met so far. In preparation for the fight, you should equip all the ![]() Ribbons that you have in your inventory to prevent Reno’s regular attacks and Elena’s “Bewildered” attack from causing the Confusion status effect.
Ribbons that you have in your inventory to prevent Reno’s regular attacks and Elena’s “Bewildered” attack from causing the Confusion status effect.
Also, make sure that you have a ![]() Steal Materia equipped.
Steal Materia equipped.
Winding Tunnel
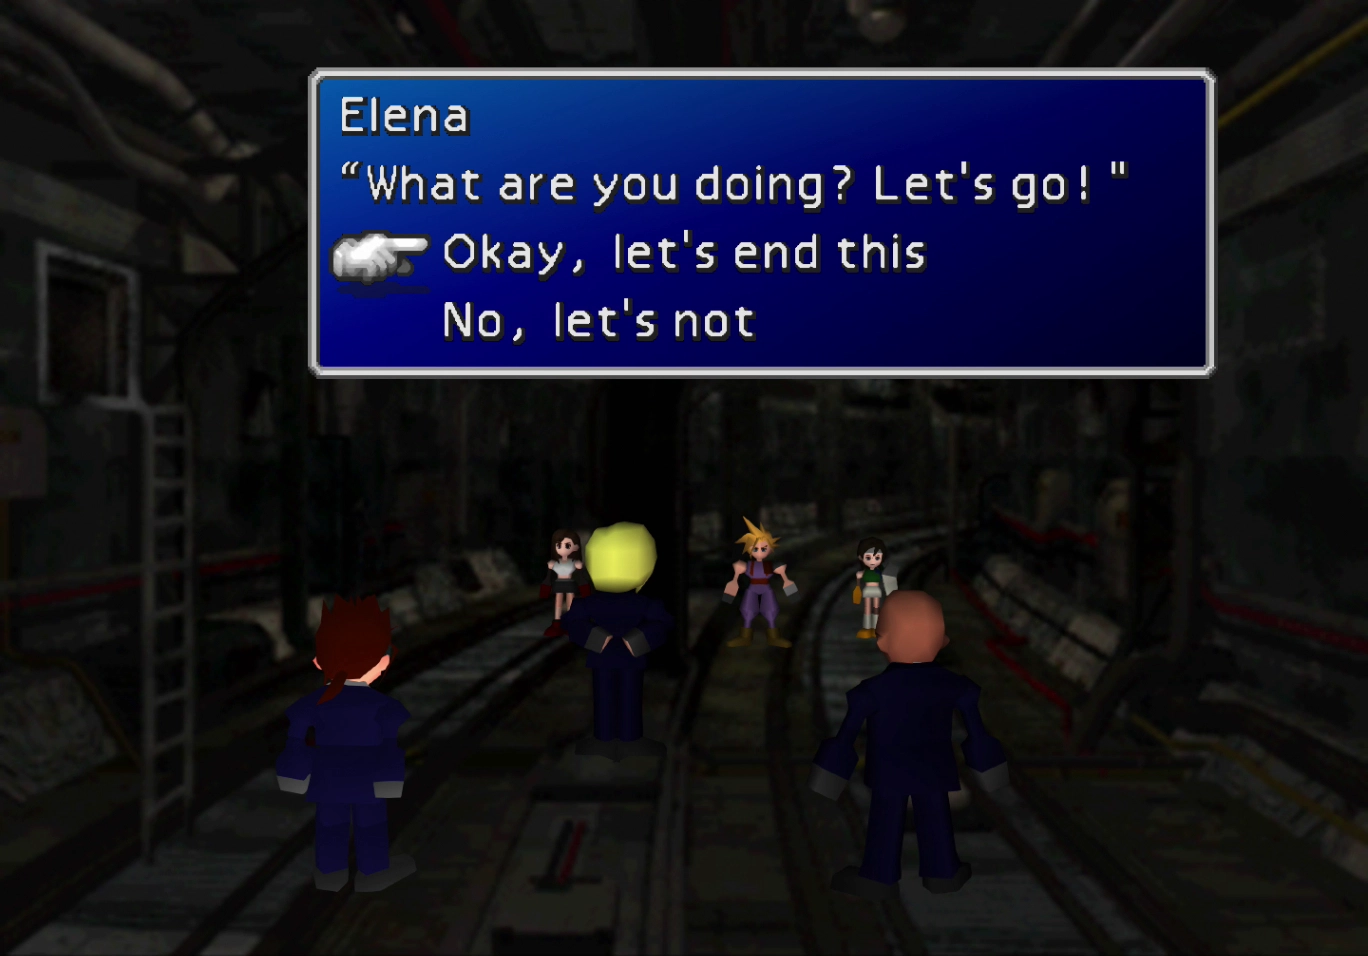
Travel through the vent and a little way down the corridor to trigger the next boss battle. If you have completed the Wutai side quest to recover your Materia from Yuffie, you will have the option to fight the Turks.

Elena will say, “What are you doing! Let’s go!” and two options will appear on the screen. You can either select “Okay, let’s end this” to engage the three Turks in battle or select “No, let’s not” to avoid the fight altogether. You should engage in this fight so that you can steal the items that each of the Turks possess.
Boss Battle
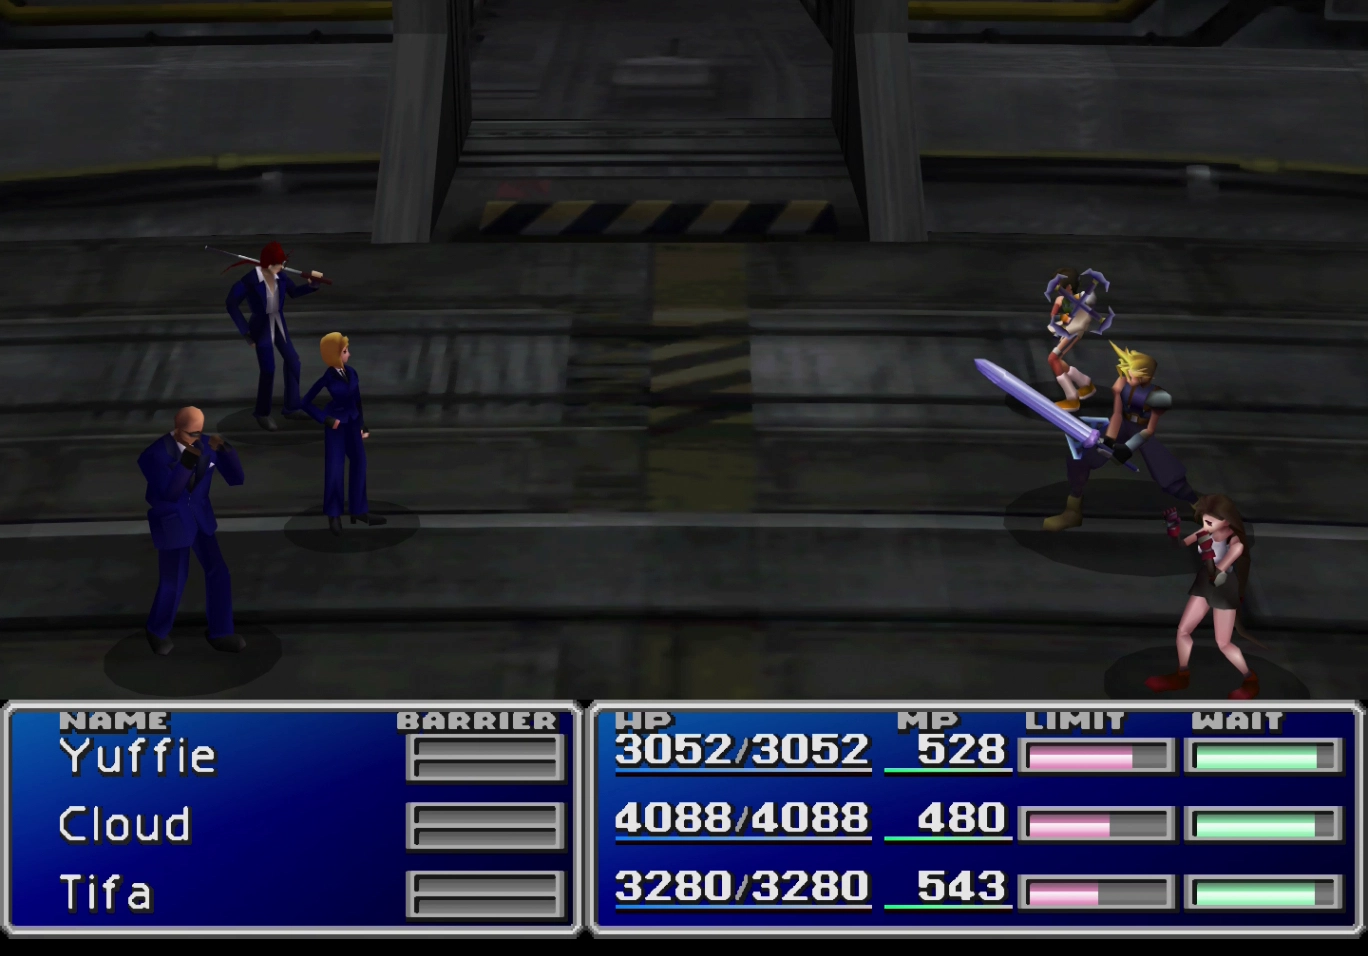
HP: 28,000 (Rude) + 25,000 (Reno) + 30,000 (Elena)
Reward: ![]() Elixir
Elixir
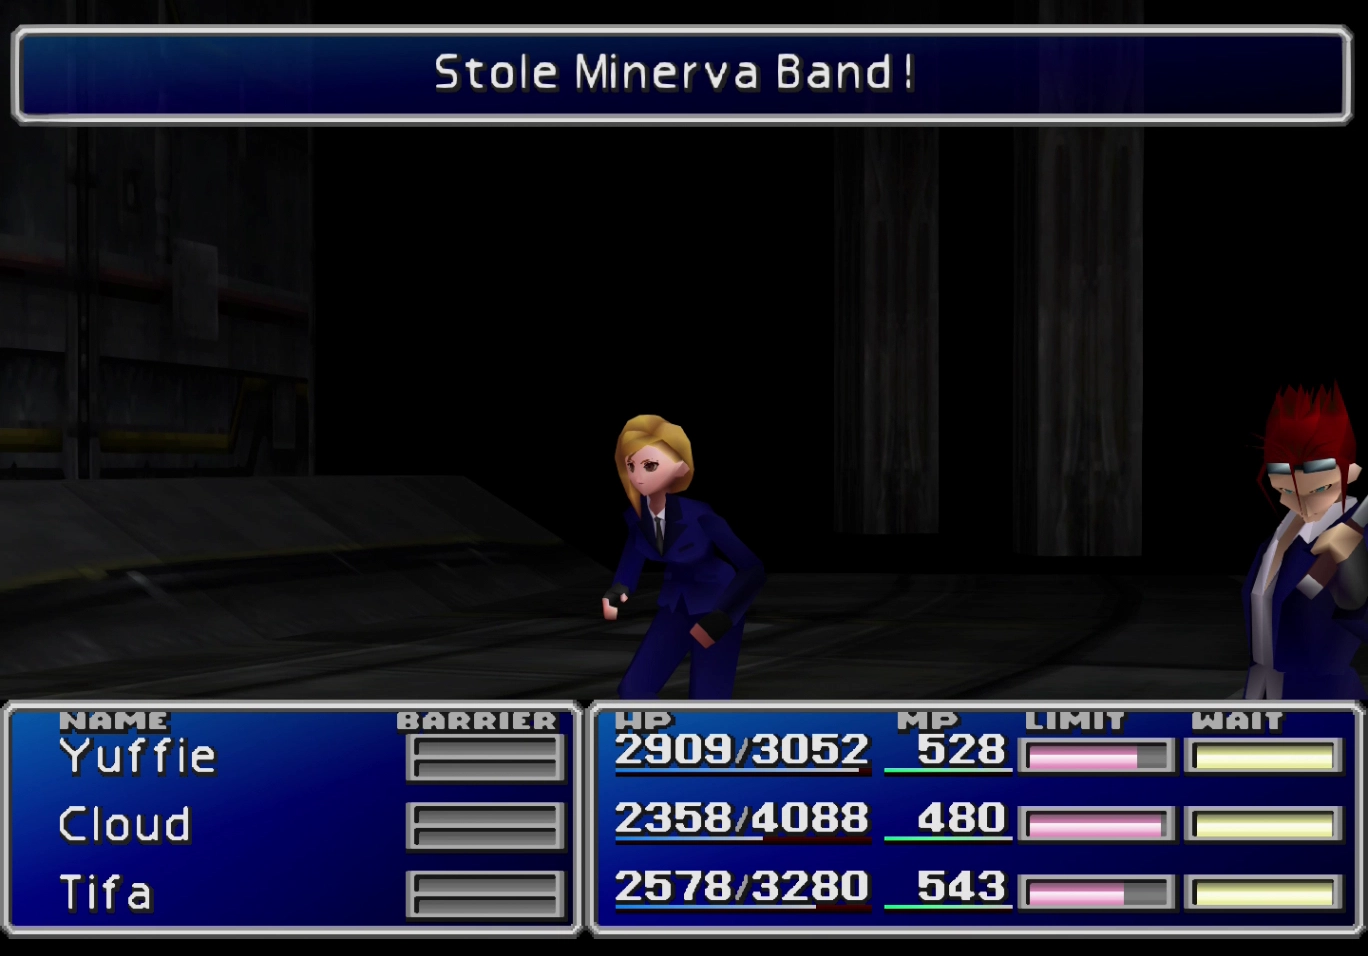
Make sure that you steal from all three Turks. You can steal a ![]() Touph Ring from Reno, a
Touph Ring from Reno, a ![]() Ziedrich from Rude, and a
Ziedrich from Rude, and a ![]() Minerva Band from Elena. All these are very helpful and powerful items.
Minerva Band from Elena. All these are very helpful and powerful items.
Even if you have stolen these same items from them in the past (during the Sunken Gelnika side quest, for instance), you can still steal another one from them now.
This battle can be fairly tough due to the amount of damage that Reno and Rude are capable of inflicting. Make sure to use the “Big Guard” spell from your ![]() Enemy Skill Materia. The battle will end as soon as you fully deplete the HP of either Elena, Reno, or Rude; you only have to drain one of them.
Enemy Skill Materia. The battle will end as soon as you fully deplete the HP of either Elena, Reno, or Rude; you only have to drain one of them.
A video demonstration of this battle is included below for reference.
A video demonstration of how to successfully complete the fight against the Turks (Reno, Rude, and Elena).
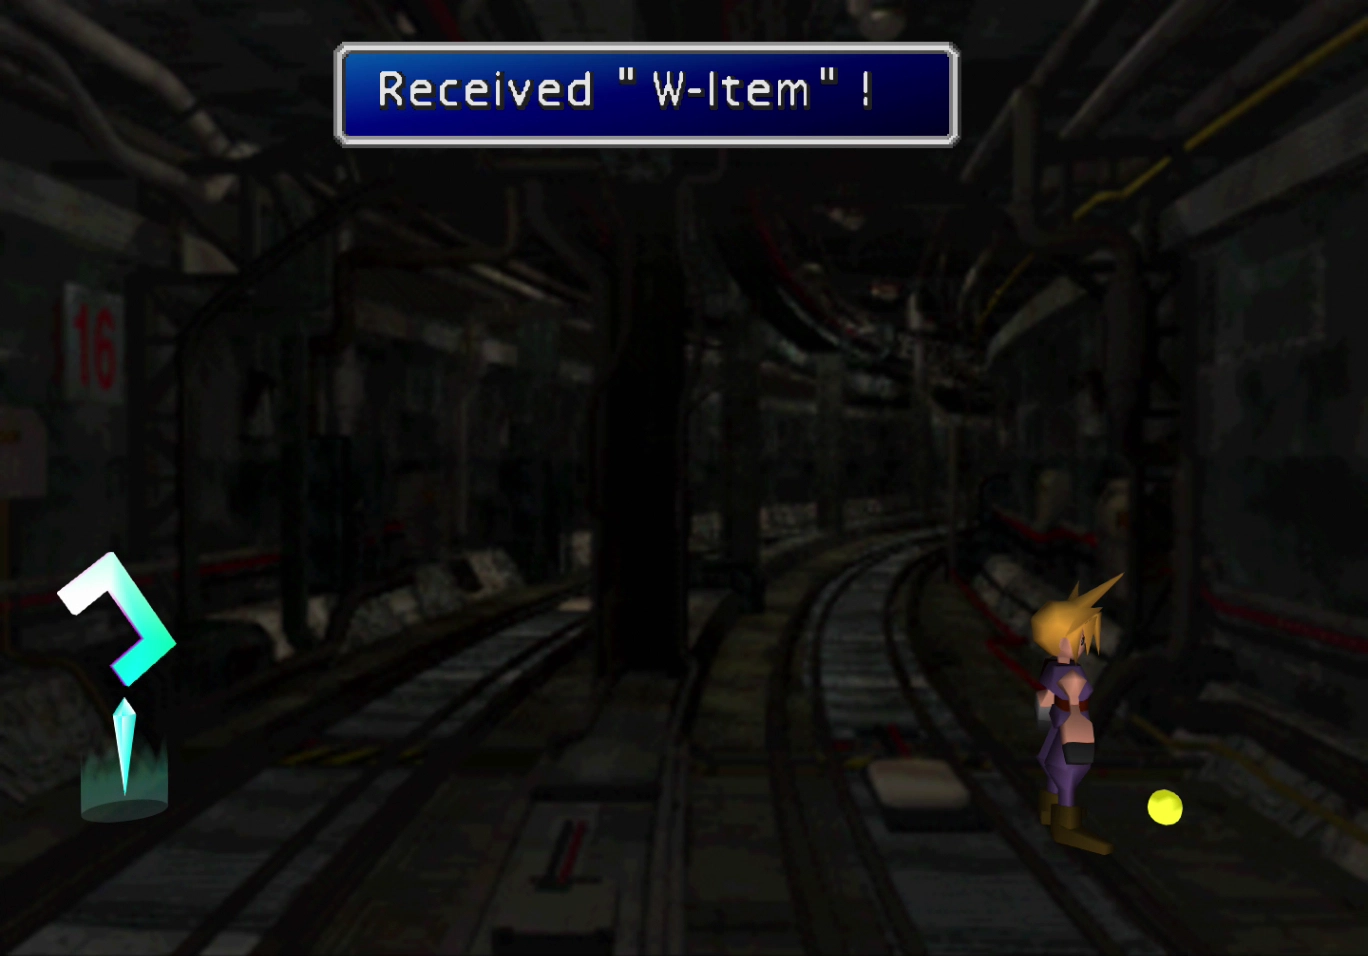
Travel towards the camera once the battle has concluded. Continue past Barret, and you will eventually find a ![]() Power Source six screens south, followed by a
Power Source six screens south, followed by a ![]() Guard Source two more screens south, a
Guard Source two more screens south, a ![]() Mind Source, and a
Mind Source, and a ![]() Magic Source two more screens south from there, and one more screen will help you reach the
Magic Source two more screens south from there, and one more screen will help you reach the ![]() W-Item Materia.
W-Item Materia.
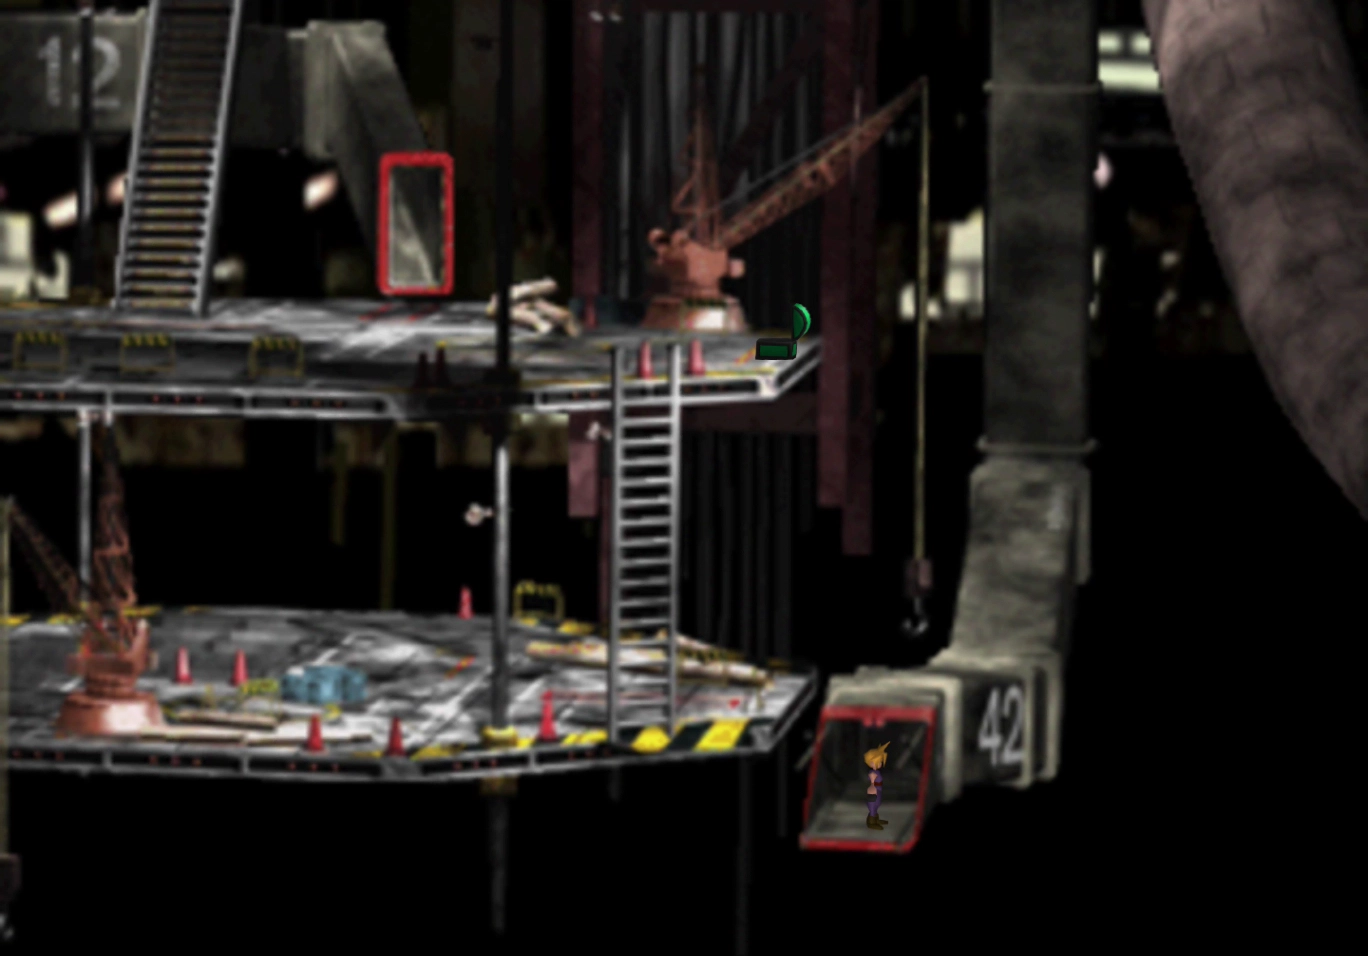
Travel back to where you fought the Turks by going north. You will need to take the pathway leading right at each of the splits, through areas 1, 2, 3, and so on, until you reach area 8 (the numbers identifying each area are written in red on the back wall).
In Area 8, you have the option of either going:
- To the left: This direction leads to the next section of Midgar and continues the game, or…
- To the right: This direction leads you to “Area 0.” Take a left in the next section and climb the ladder to find yourself back at the Shinra Building.
The Shinra Building has some optional items that you can pick up at this point in the game. There is no way to return to the Shinra Building later if you proceed past this point (specifically, once you engage Proud Clod in battle), so you should revisit it now while you’re here. Otherwise, if you prefer not to, you can skip down to the Winding Tunnel section.
Revisiting the Shinra Building
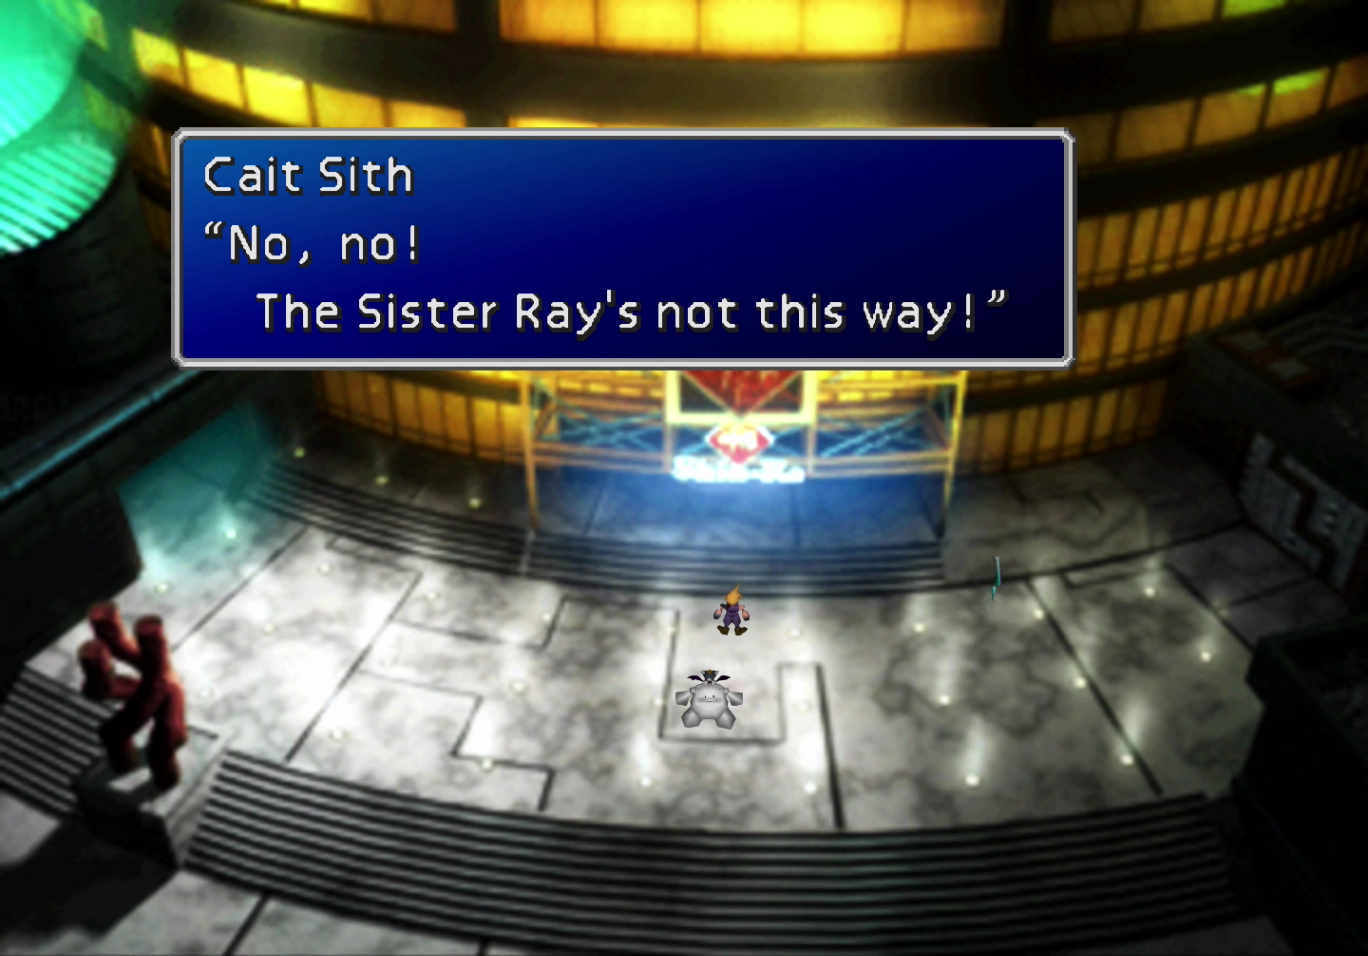
Cait Sith will come running out of the entrance to the Shinra Building and warn you that this is not the right direction to get to the Sister Ray. Ignore him and go into the building.
Go up to the second floor and enter the Item Store on the back wall. You can purchase the following items:
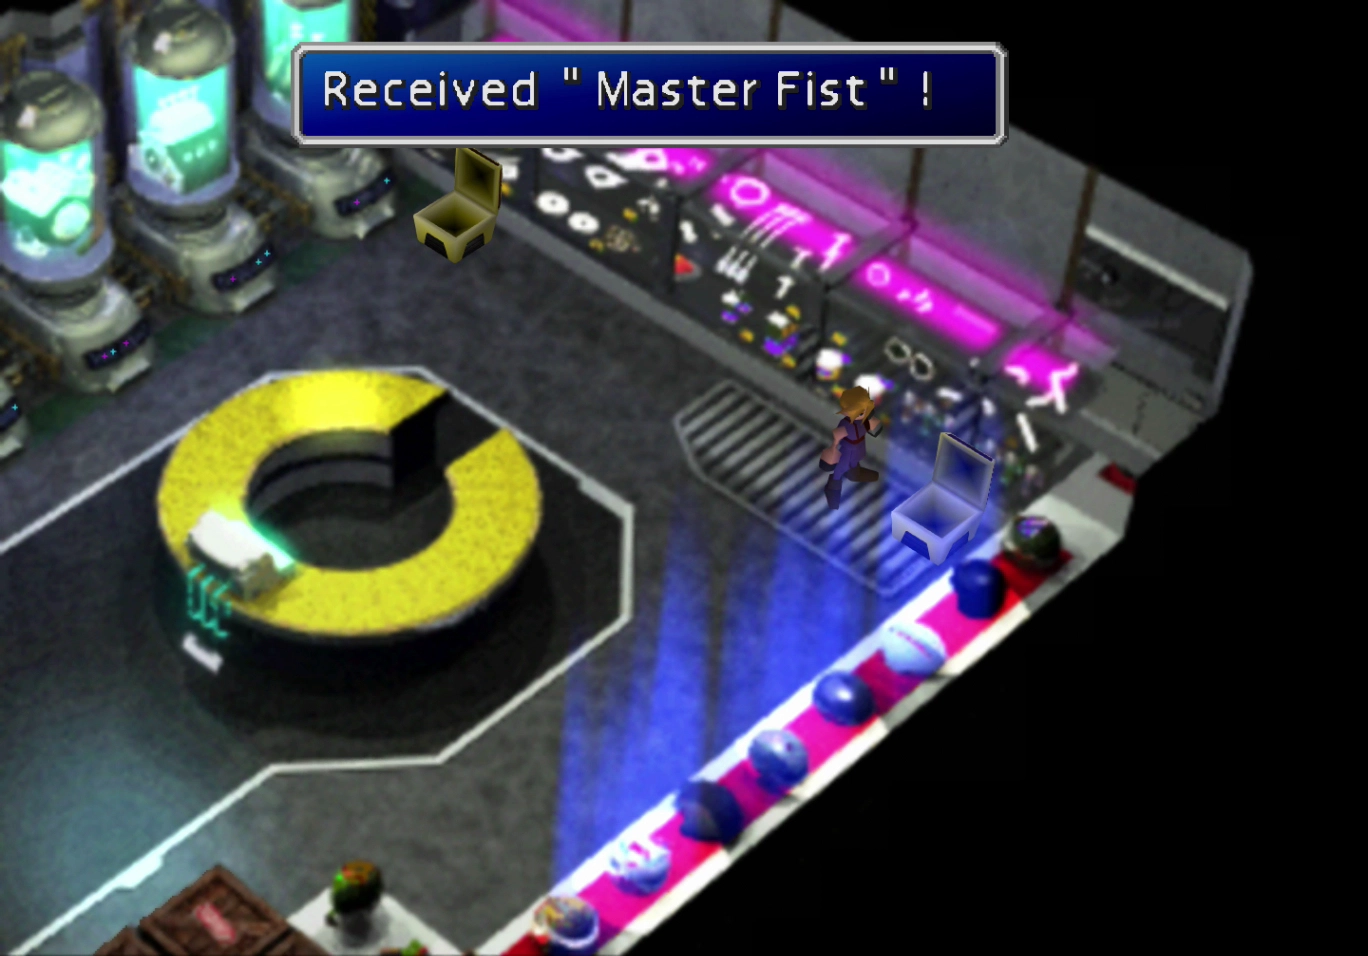
There are two treasure chests at the back of the shop, which were previously locked shut. One contains a ![]() Master Fist weapon for Tifa, and the other one contains a
Master Fist weapon for Tifa, and the other one contains a ![]() Pile Banger weapon for Barret.
Pile Banger weapon for Barret.
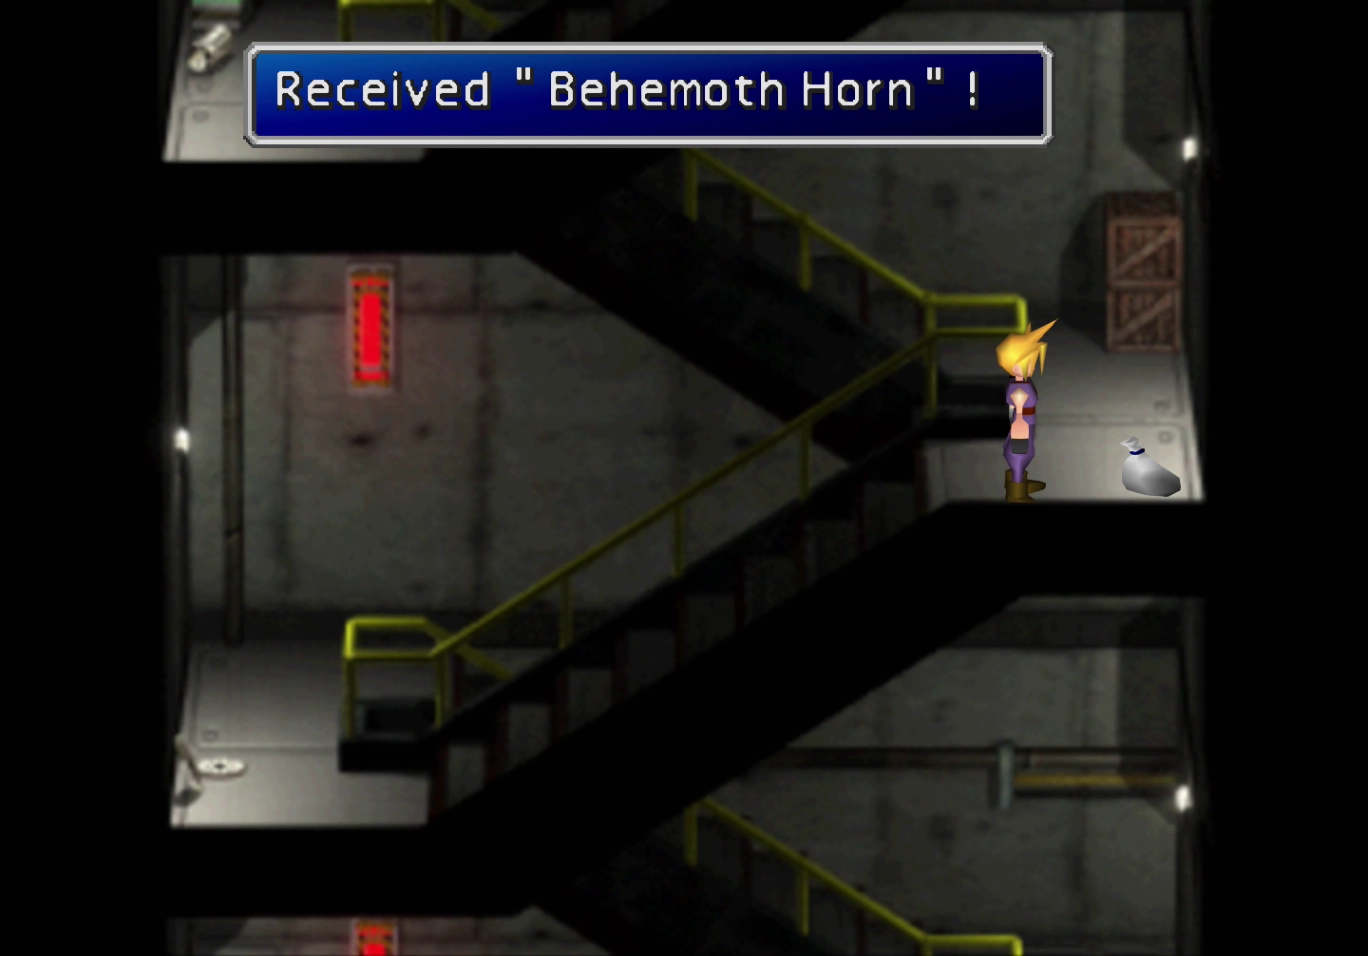
You can climb up the stairwell to the top floors again if you choose. There is a ![]() Behemoth Horn weapon available for Red XIII about halfway to the top. This weapon is fairly strong, but it’s hard to justify the climb. A more suitable alternative is to take the elevator up to the 59th floor and take the stairs back down.
Behemoth Horn weapon available for Red XIII about halfway to the top. This weapon is fairly strong, but it’s hard to justify the climb. A more suitable alternative is to take the elevator up to the 59th floor and take the stairs back down.
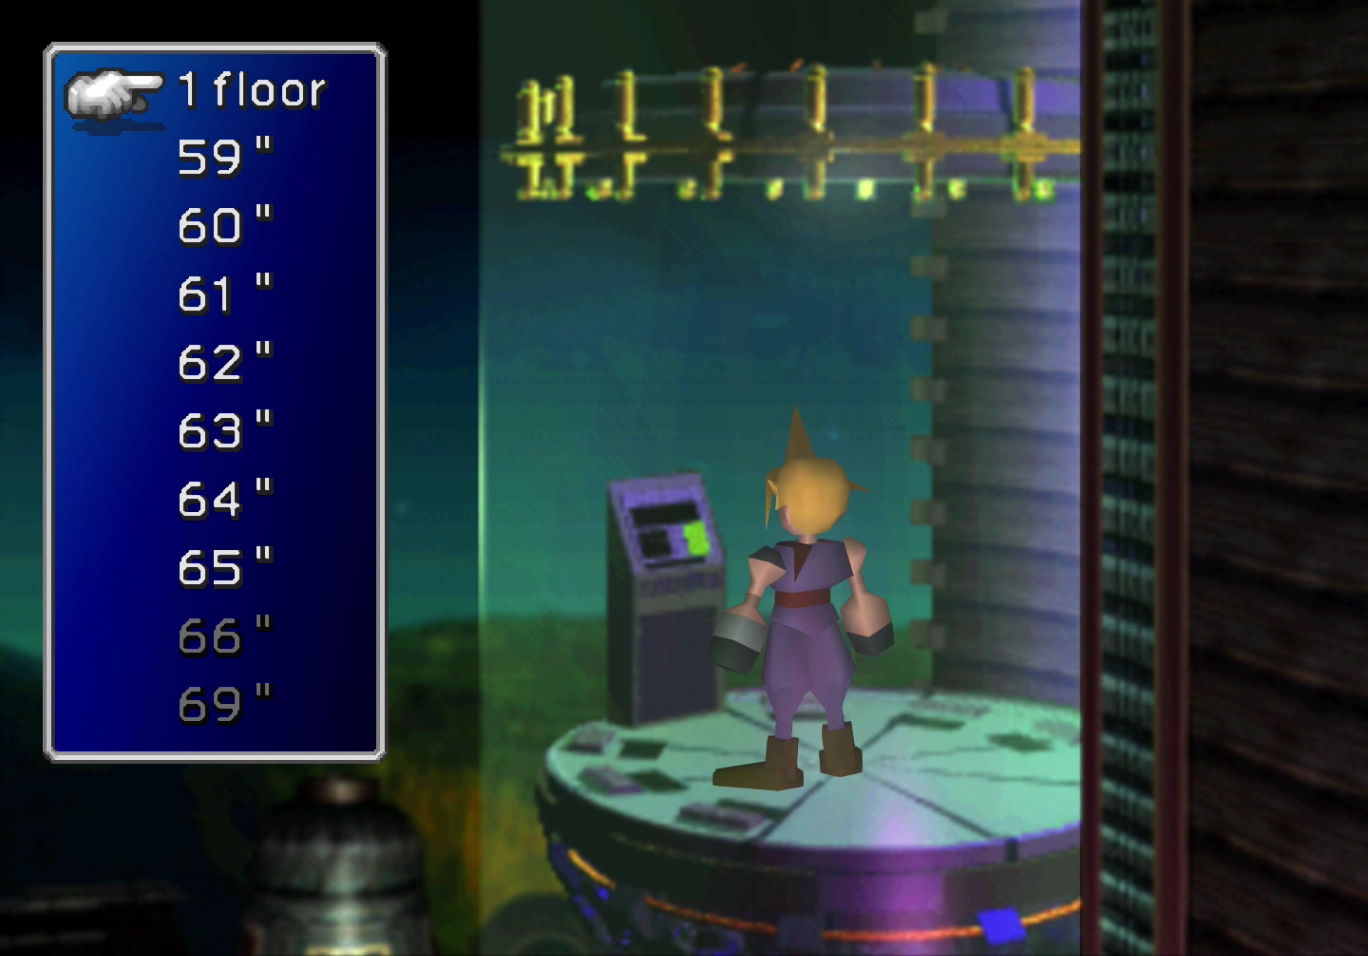
Enter the Shinra building and ride the elevator up to the 59th floor. After you have picked up the Behemoth Horn from the stairwell, take the elevators on the right side of the screen, which allow you to use your Keycards and access the various floors.
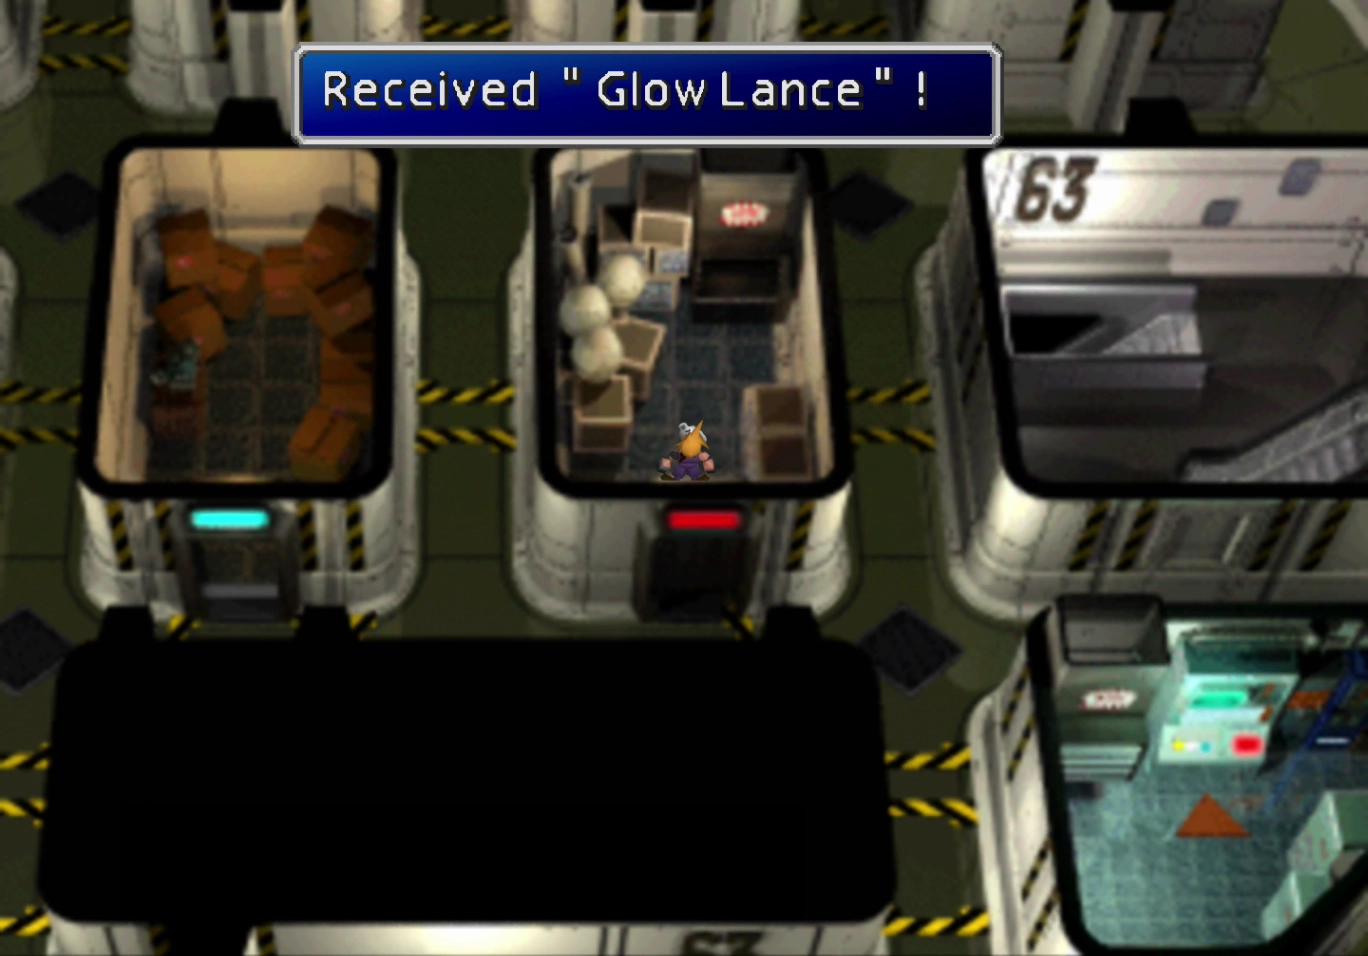
Travel to Floor 63, and you will find a ![]() Grow Lance weapon in one of the rooms. This item was misspelled as “Glow Lance” in the original version of the game but was corrected in newer versions of the game.
Grow Lance weapon in one of the rooms. This item was misspelled as “Glow Lance” in the original version of the game but was corrected in newer versions of the game.
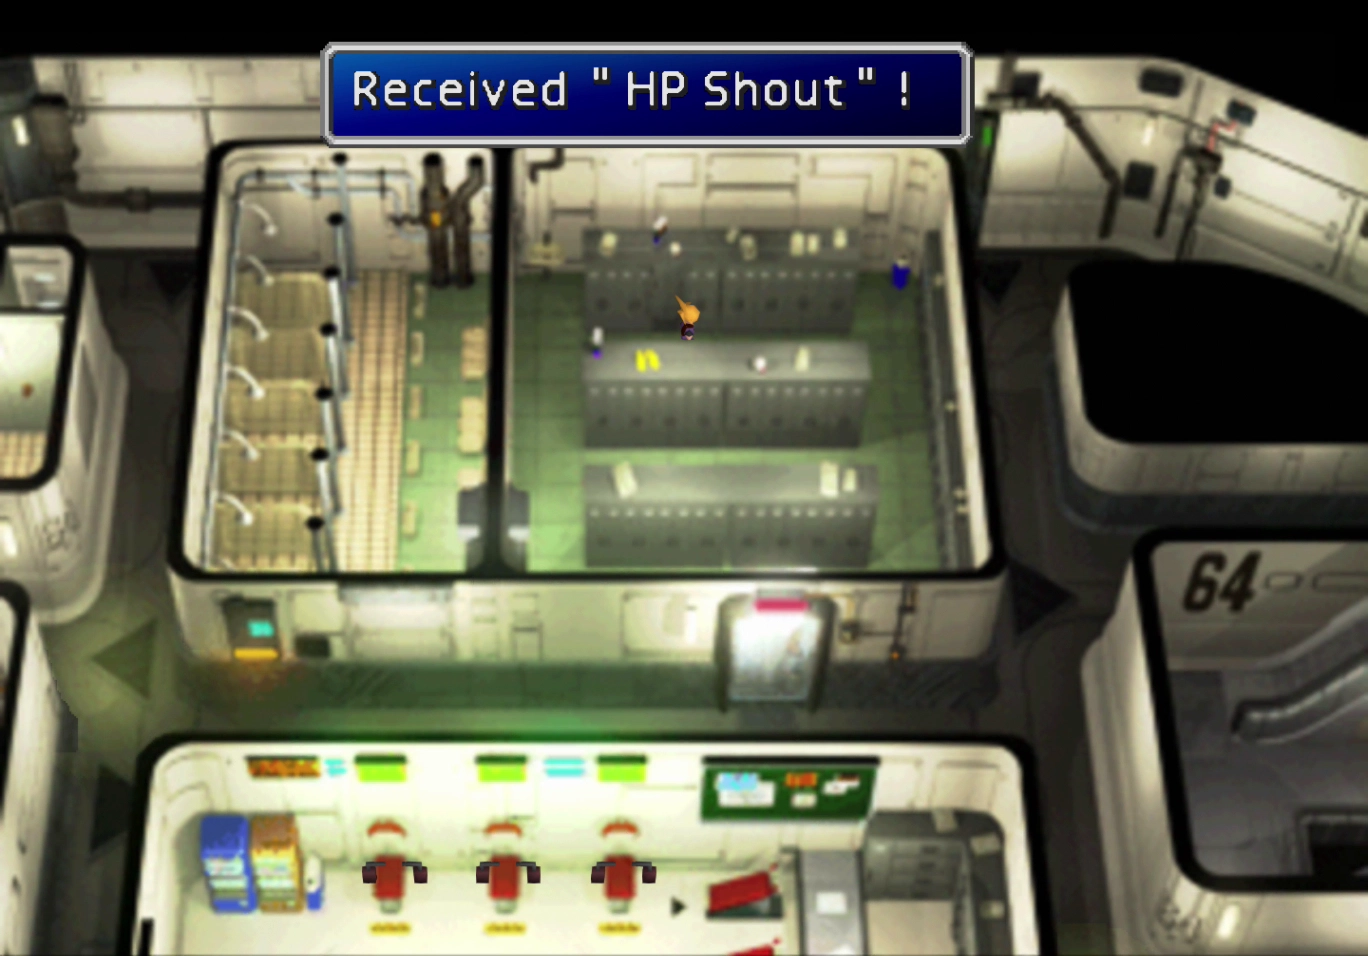
On Floor 64, you will find Cait Sith’s Ultimate Weapon, the ![]() HP Shout, in one of the lockers in the changing room.
HP Shout, in one of the lockers in the changing room.
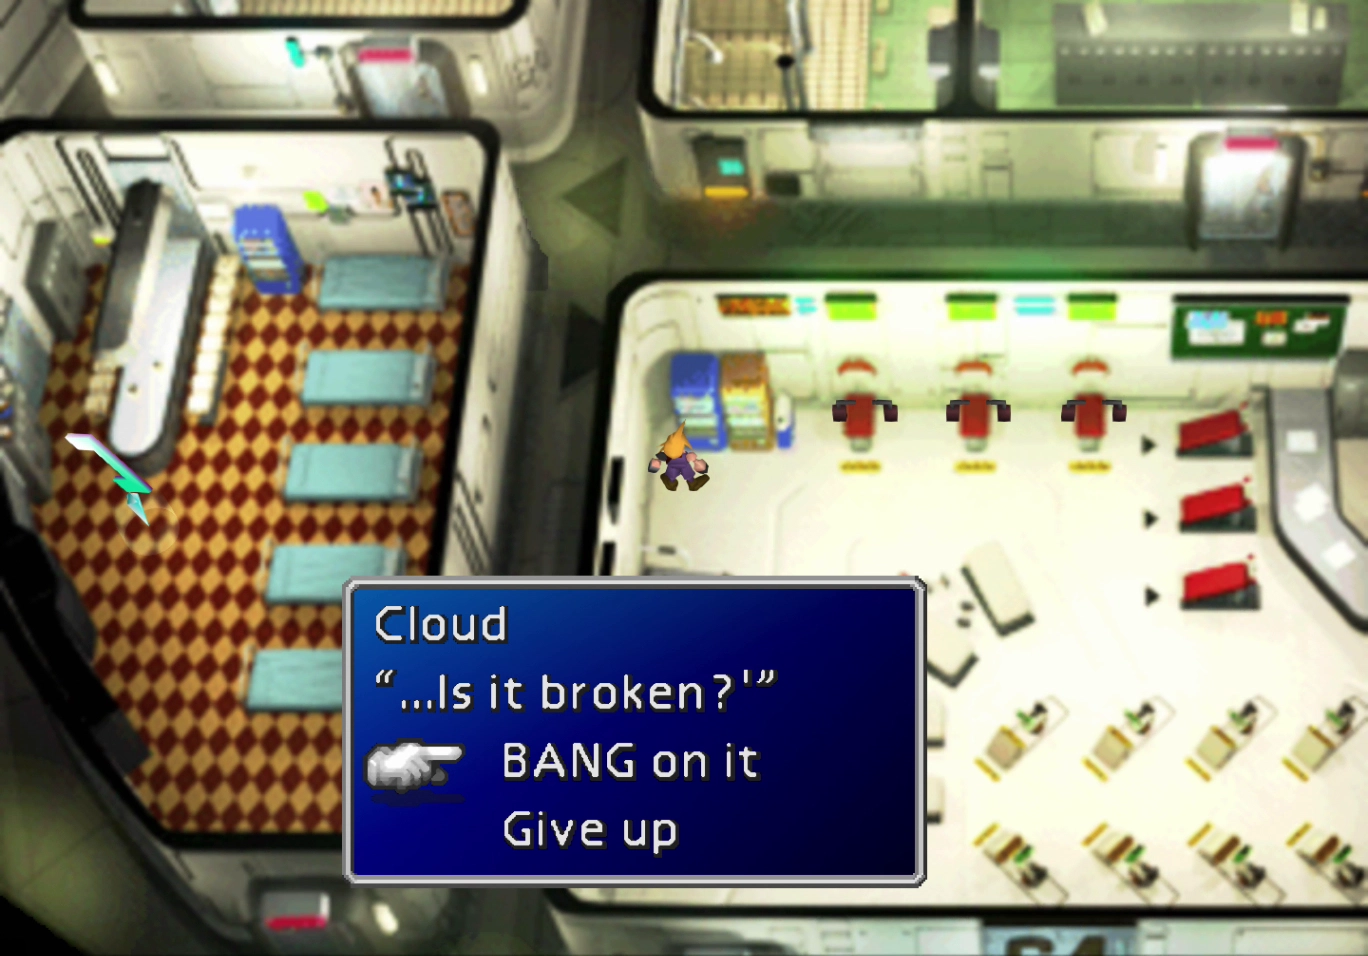
Check the vending machine in the room below. If you spent the 250 Gil attempting to buy the “Shinra Gym Special Drink” during your first visit, you can now choose to bang on the machine to receive a ![]() Mind Source and a
Mind Source and a ![]() Speed Source.
Speed Source.
You’ve now done everything that you can do in the Shinra Building. Backtrack to the Winding Tunnels, where you fought the Turks. You can use this second elevator to return to the first floor.
Winding Tunnel
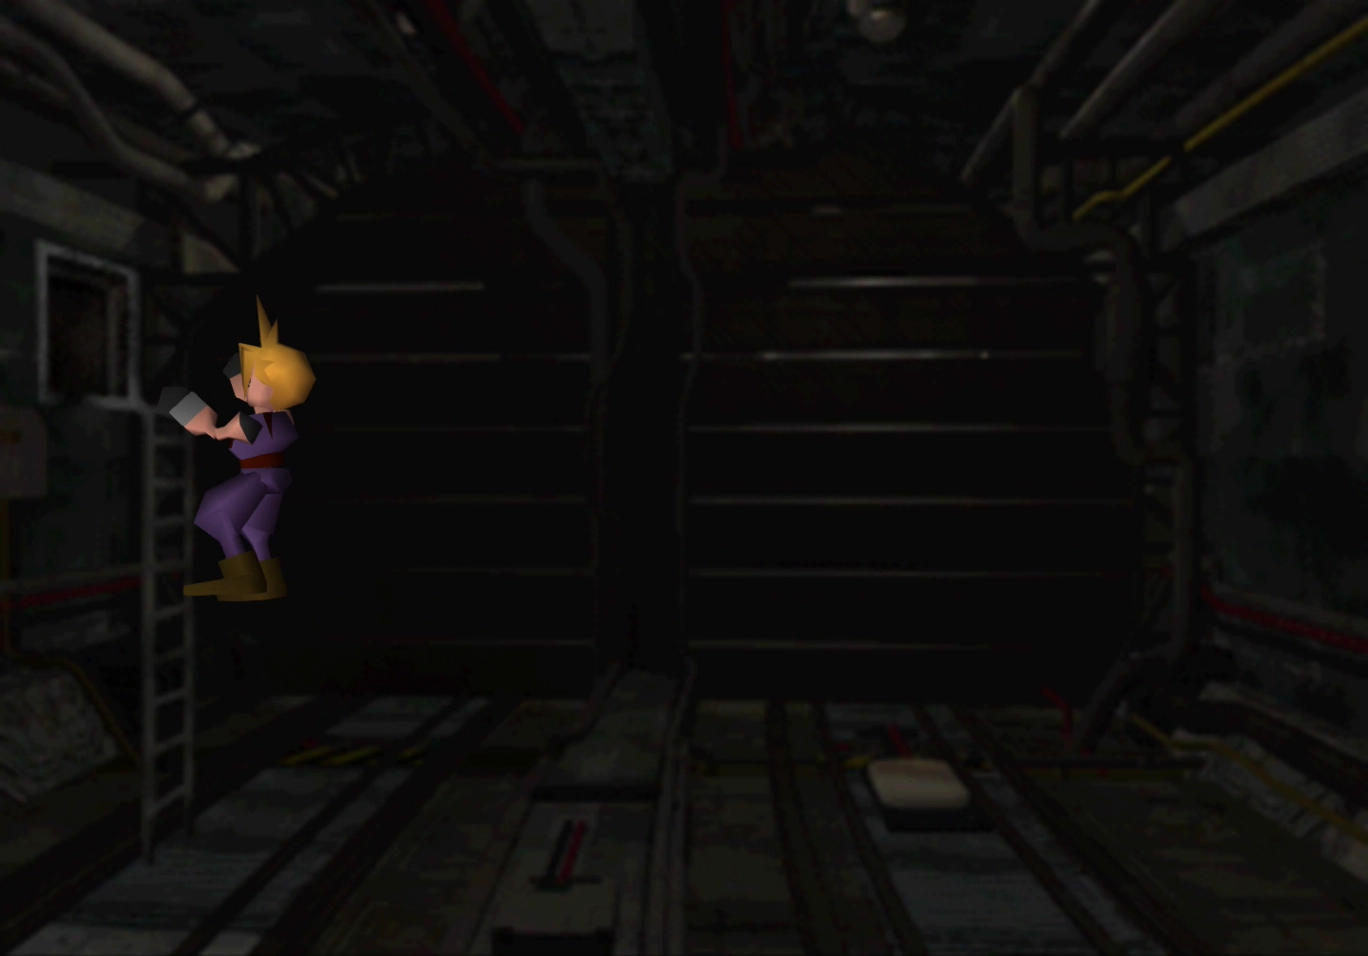
Travel to the intersection just north of where you fought the Turks (the one listed as intersection “8” and pictured in the screenshot below). This time, take the pathway to the left of the “8.” Cloud will automatically climb the rafters to the streets above.
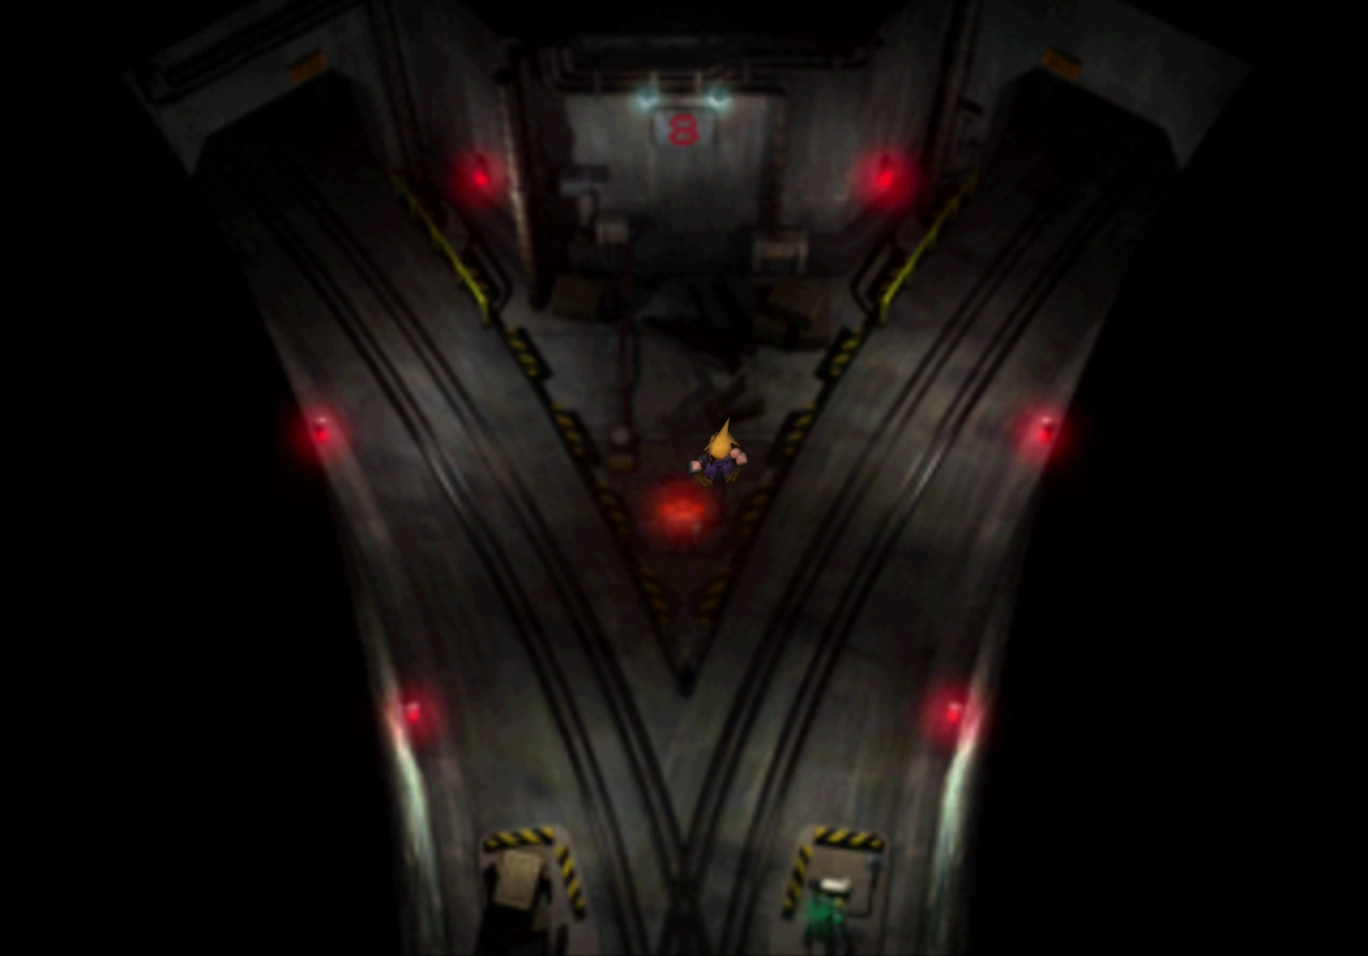
Continue forward to initiate the next boss battle.
Boss Battle
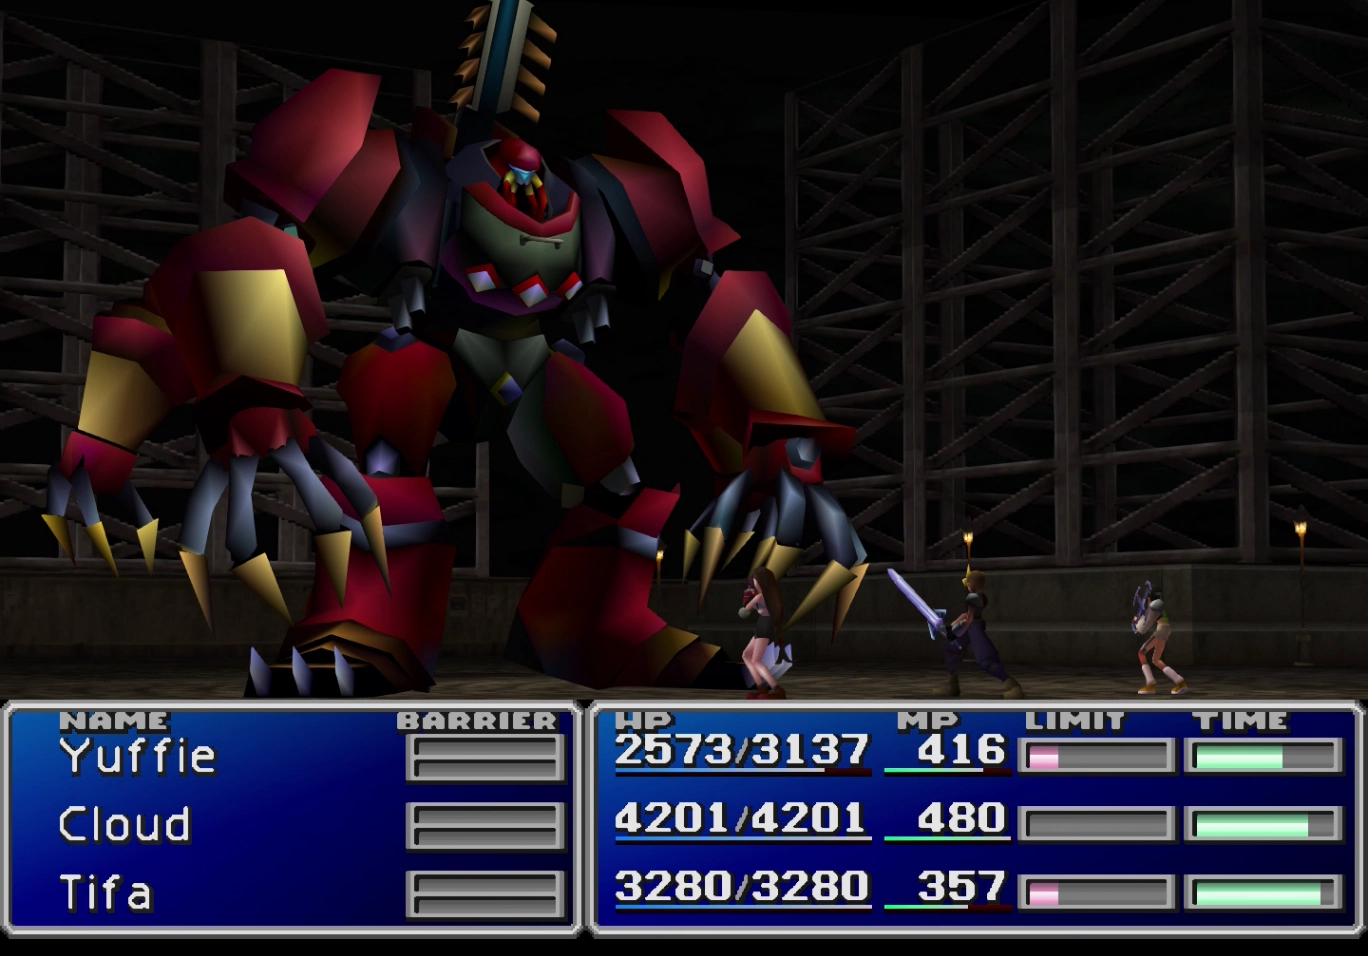
HP: 60,000 + 20,000 (Jamar Armor)
Reward: ![]() Ragnarok
Ragnarok
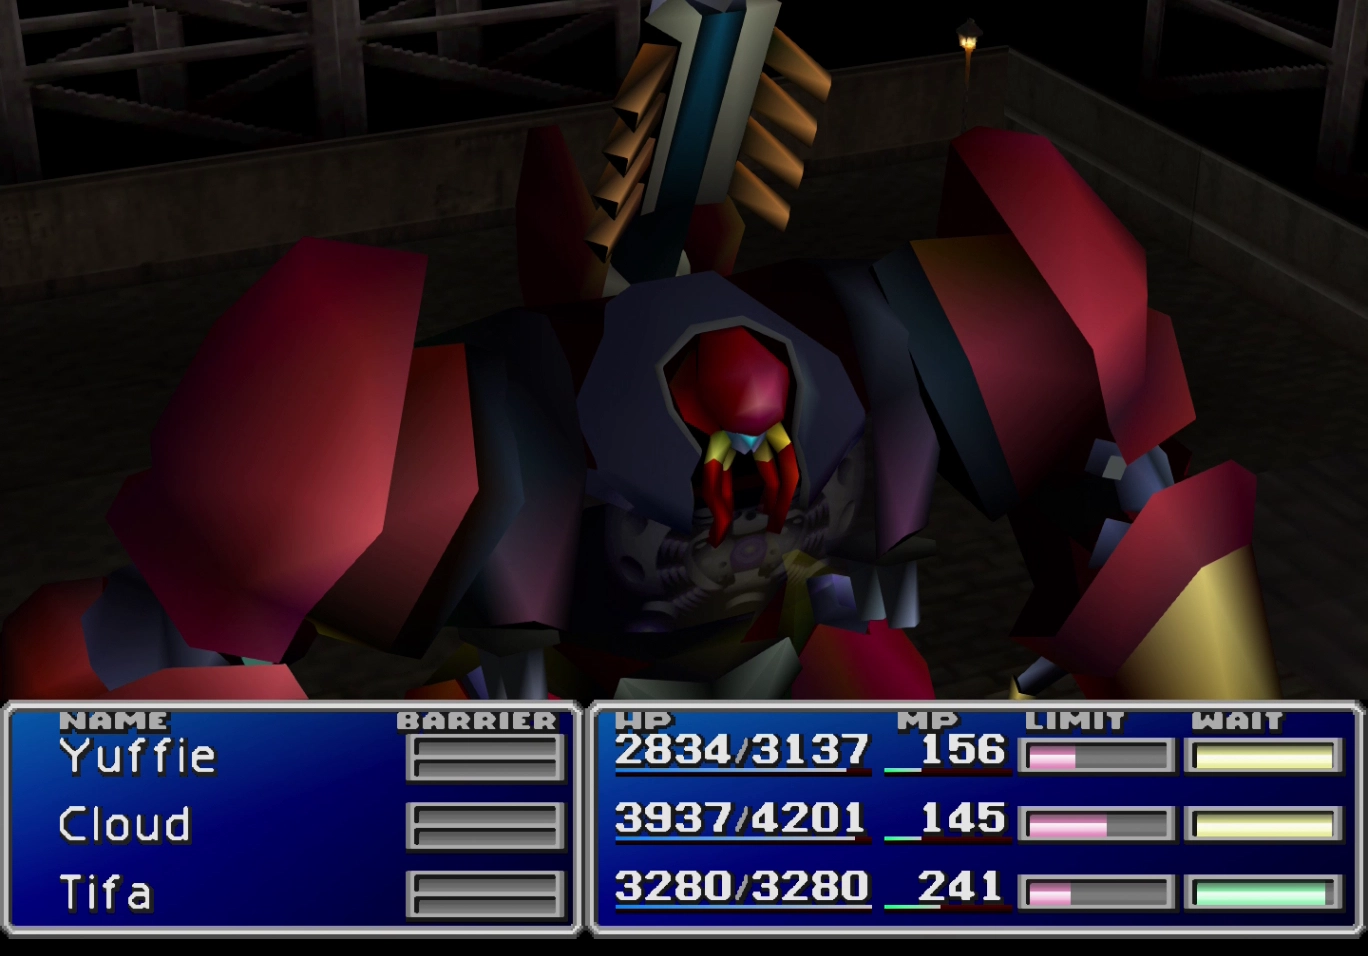
Proud Clod is a straightforward boss fight. It has a lot of HP, but it doesn’t deal a lot of damage. Just make sure to keep your party healed up and unleash all of your highest damage attacks against it.
Defeat the “Jamar Armor” target first, which is just below the main target, as you won’t get EXP or AP from it unless you defeat it first. Defeating it will also prevent Proud Clod from using “Materia Jammer,” which will cast Reflect on one of your party members.
“Beam Cannon” is the one exception to the low damage: it deals heavy magic damage to your entire party. Proud Clod will kneel down just before firing it, giving you plenty of time to top everyone’s HP back up (or put up “Big Guard”) before it hits.
A video demonstration of this battle is included below for reference.
A video demonstration of how to successfully complete the fight against Proud Clod.
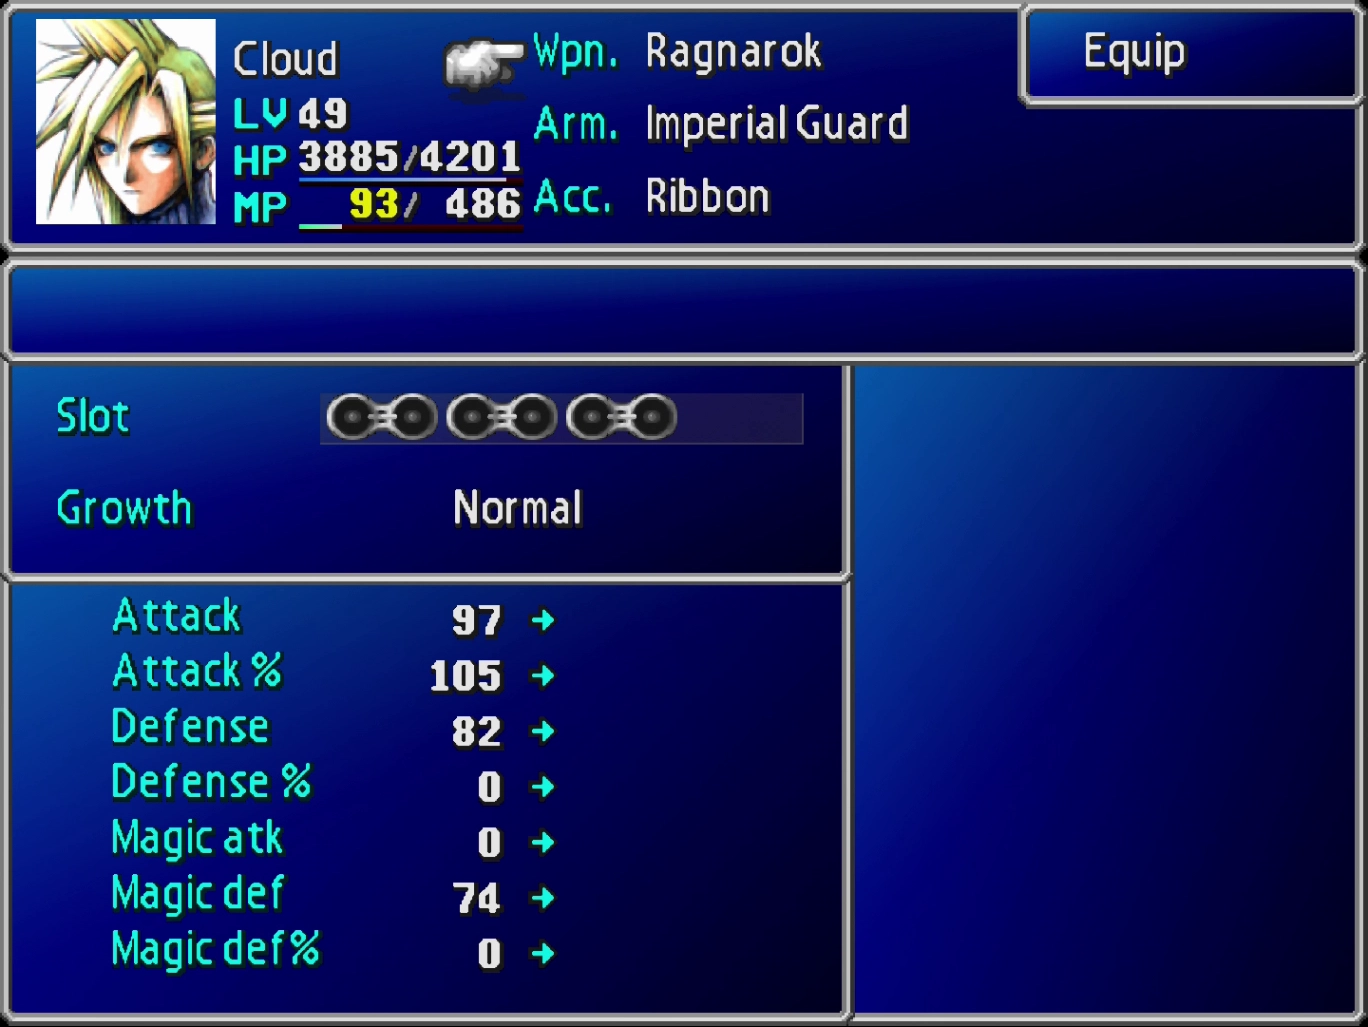
Remember to equip Cloud’s new ![]() Ragnarok sword after the boss battle.
Ragnarok sword after the boss battle.
Head north to the top of the screen after the battle has concluded. In the next area, you will find two treasure chests, one containing an ![]() Elixir and one containing a
Elixir and one containing a ![]() Mystile armor, as well as a
Mystile armor, as well as a ![]() Save Point.
Save Point.

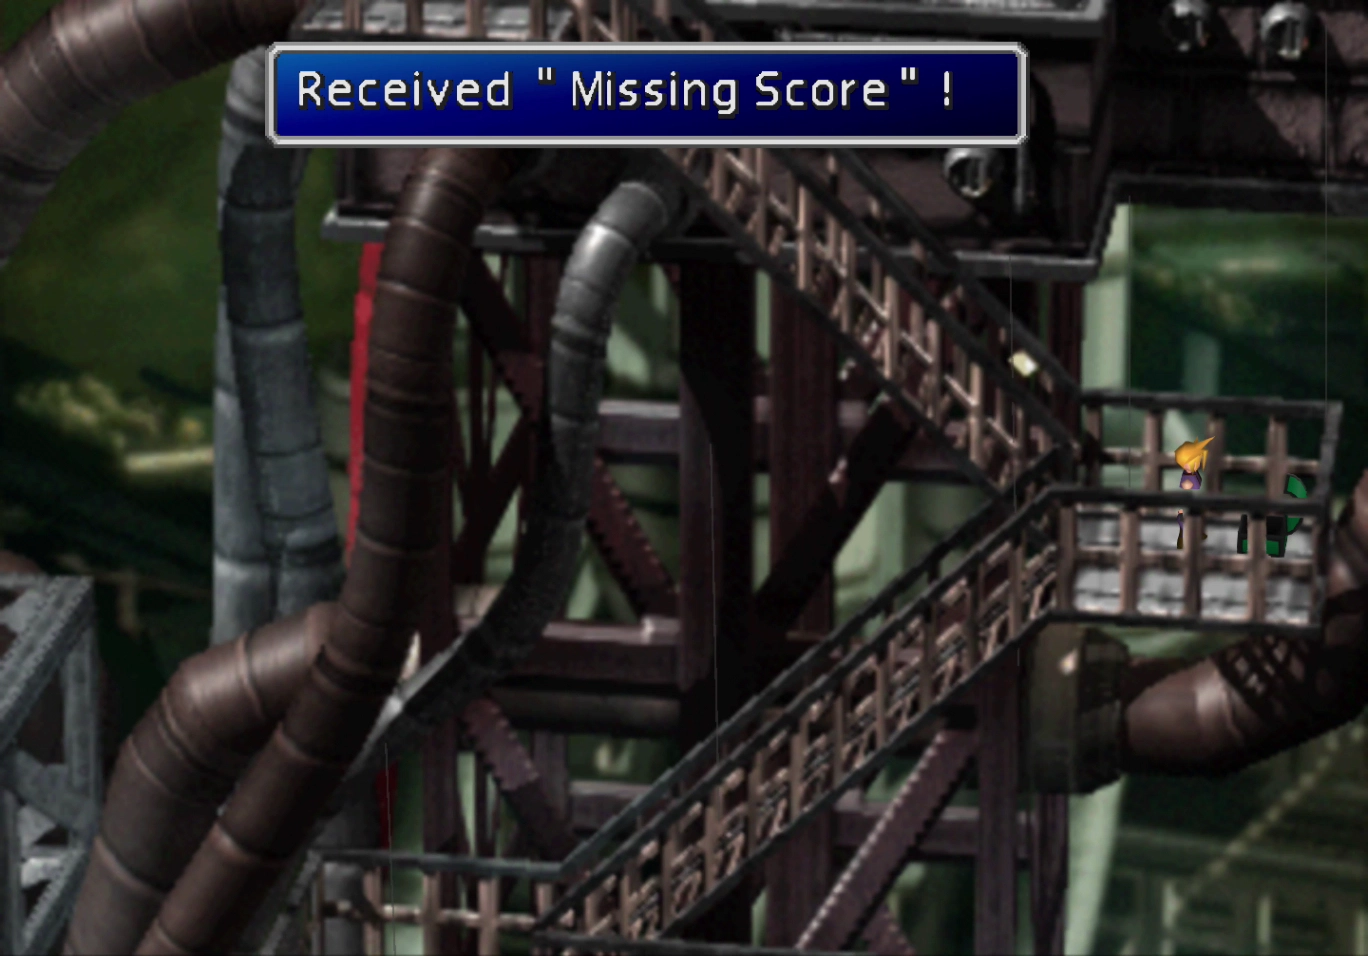
Switch your party around at the ![]() Save Point so that it includes Barret. There is a treasure chest coming up that contains Barret’s Ultimate Weapon called
Save Point so that it includes Barret. There is a treasure chest coming up that contains Barret’s Ultimate Weapon called ![]() Missing Score. You can only see the treasure chest if you have Barret in your party.
Missing Score. You can only see the treasure chest if you have Barret in your party.
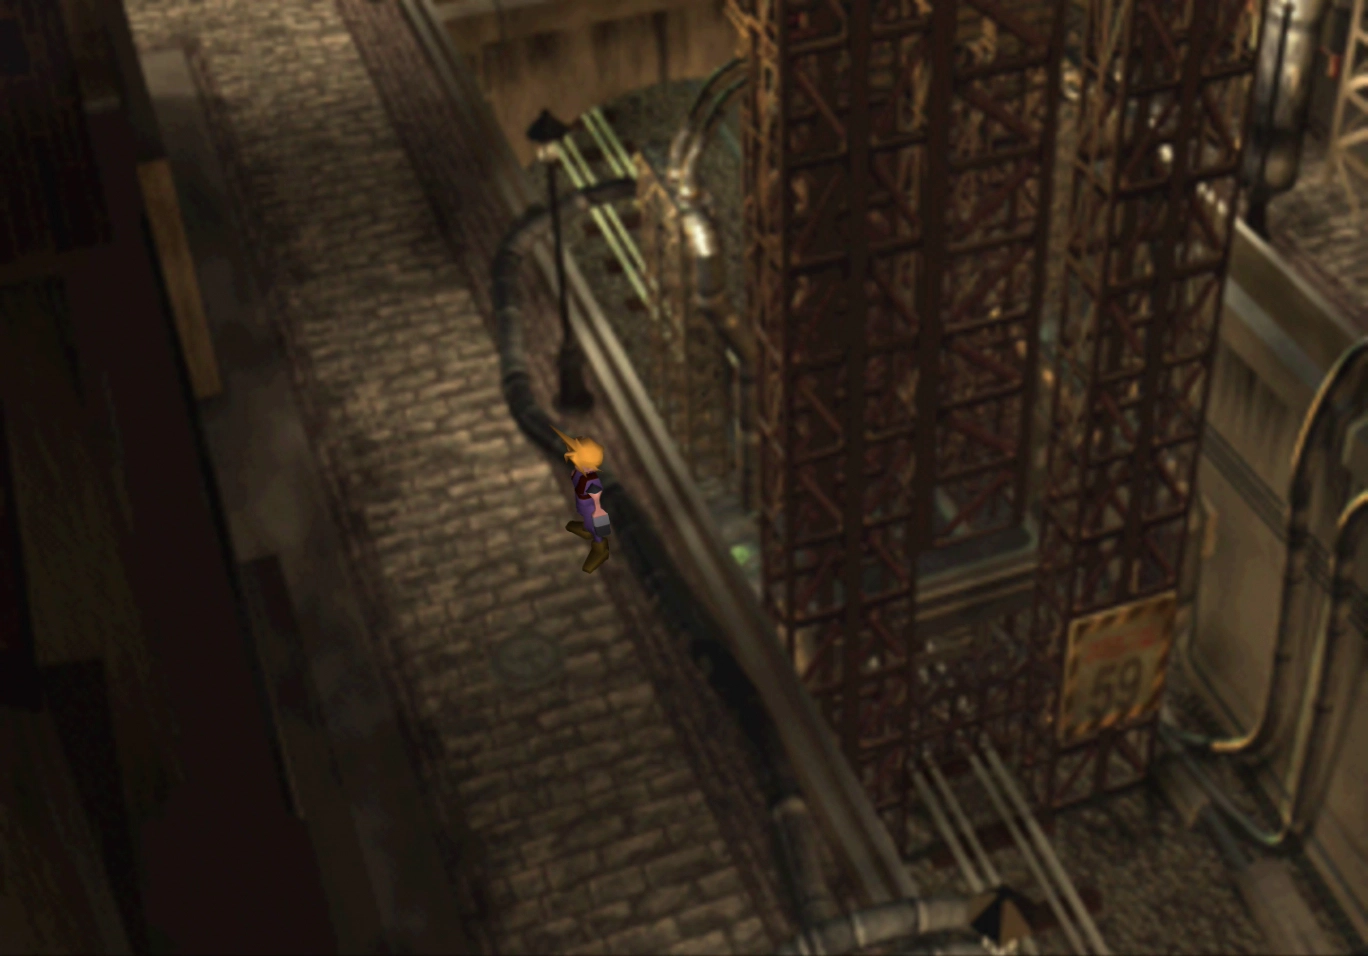
Proceed up the stairs toward Cait Sith and then past Vincent. The treasure chest is located halfway up the catwalk (use the screenshot below for reference). Return down to the ![]() Save Point if you prefer not to keep Barret in your party.
Save Point if you prefer not to keep Barret in your party.
Warning
There is no way to return to Midgar to retrieve Barret’s Ultimate Weapon (![]() Missing Score) if you go past this point without obtaining it.
Missing Score) if you go past this point without obtaining it.
There are three upcoming boss battles, which are all fought, one after the other, in succession. Ensure that you have all of your ![]() Ribbon accessories equipped.
Ribbon accessories equipped.
Boss Battle
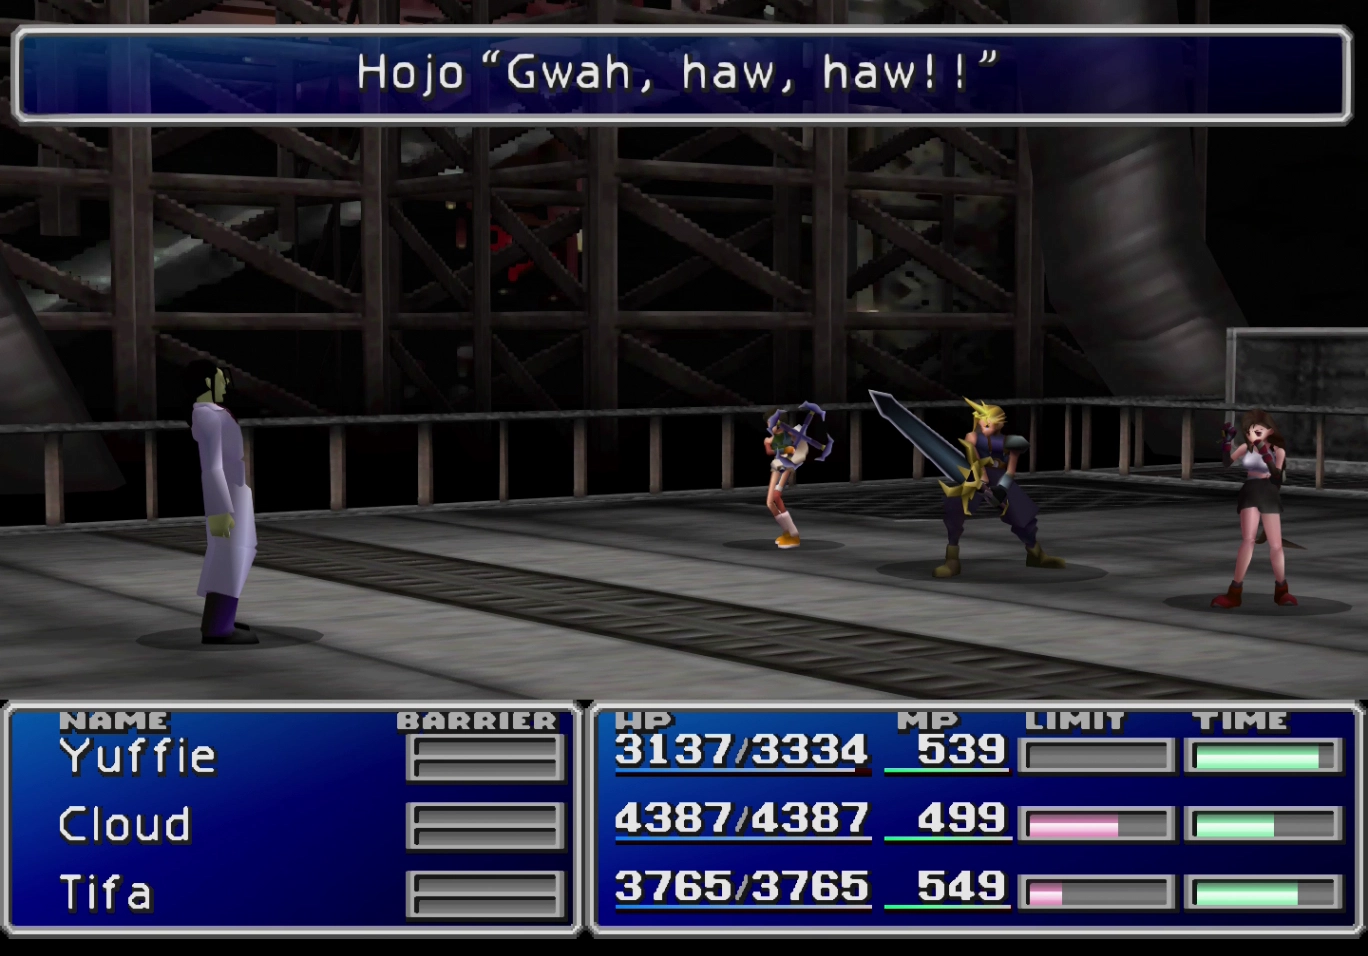
HP: 13,000
Reward: None
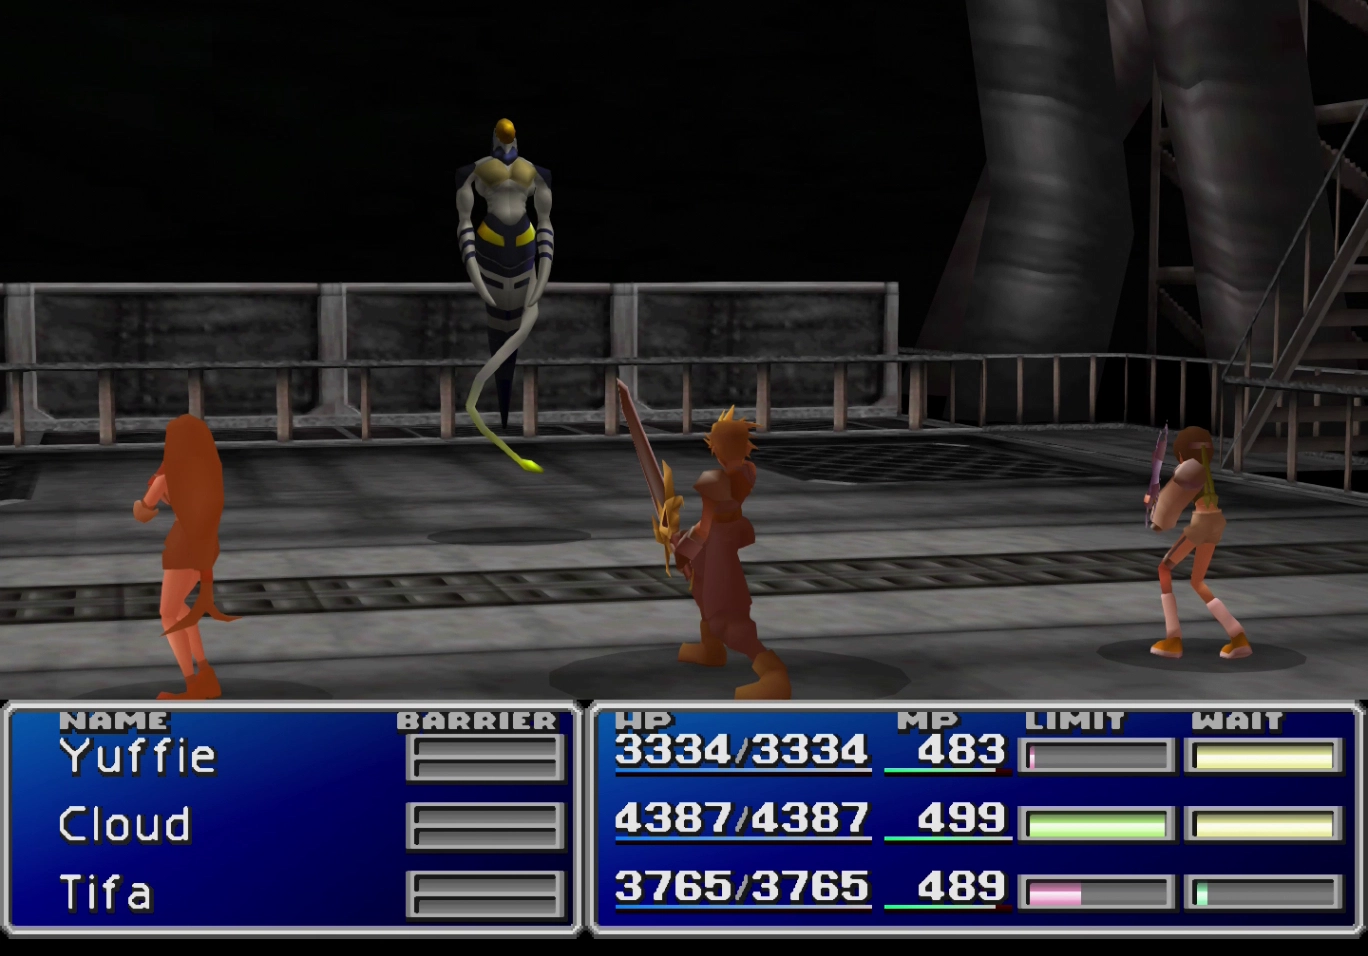
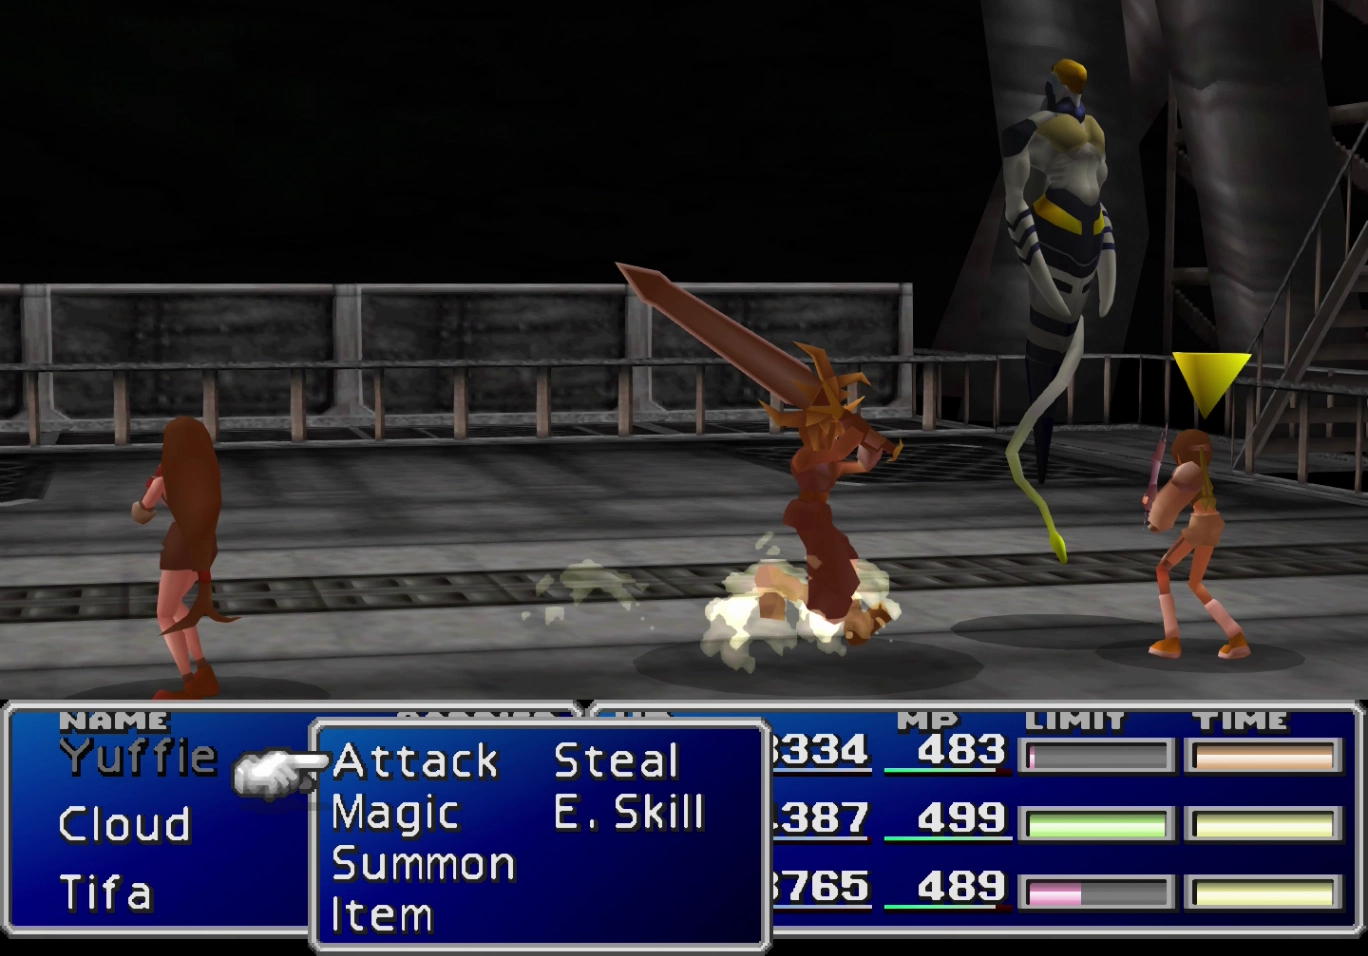
The first battle is against Hojo himself. Hojo will summon two Sample creature enemies that fight alongside him, but focus all of your attacks on Hojo directly, and the two enemies will disappear as soon as he runs out of HP.
You can find a video demonstration of this battle in the information section below (Lifeform Hojo).
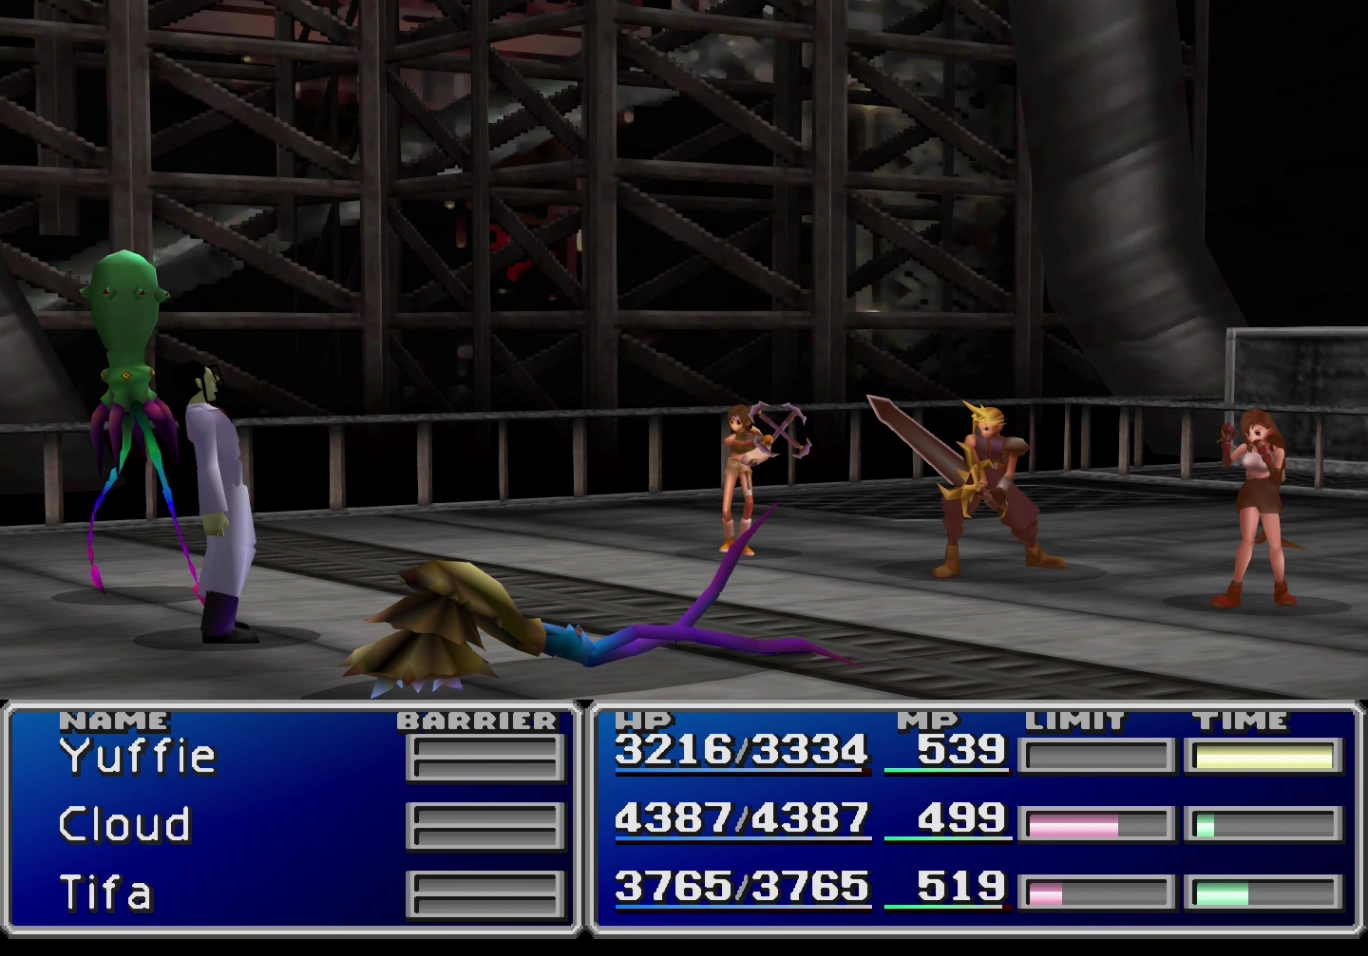
Boss Battle
HP: 26,000 + 24,000 (left arm) + 5,000 (right arm)
Reward: None
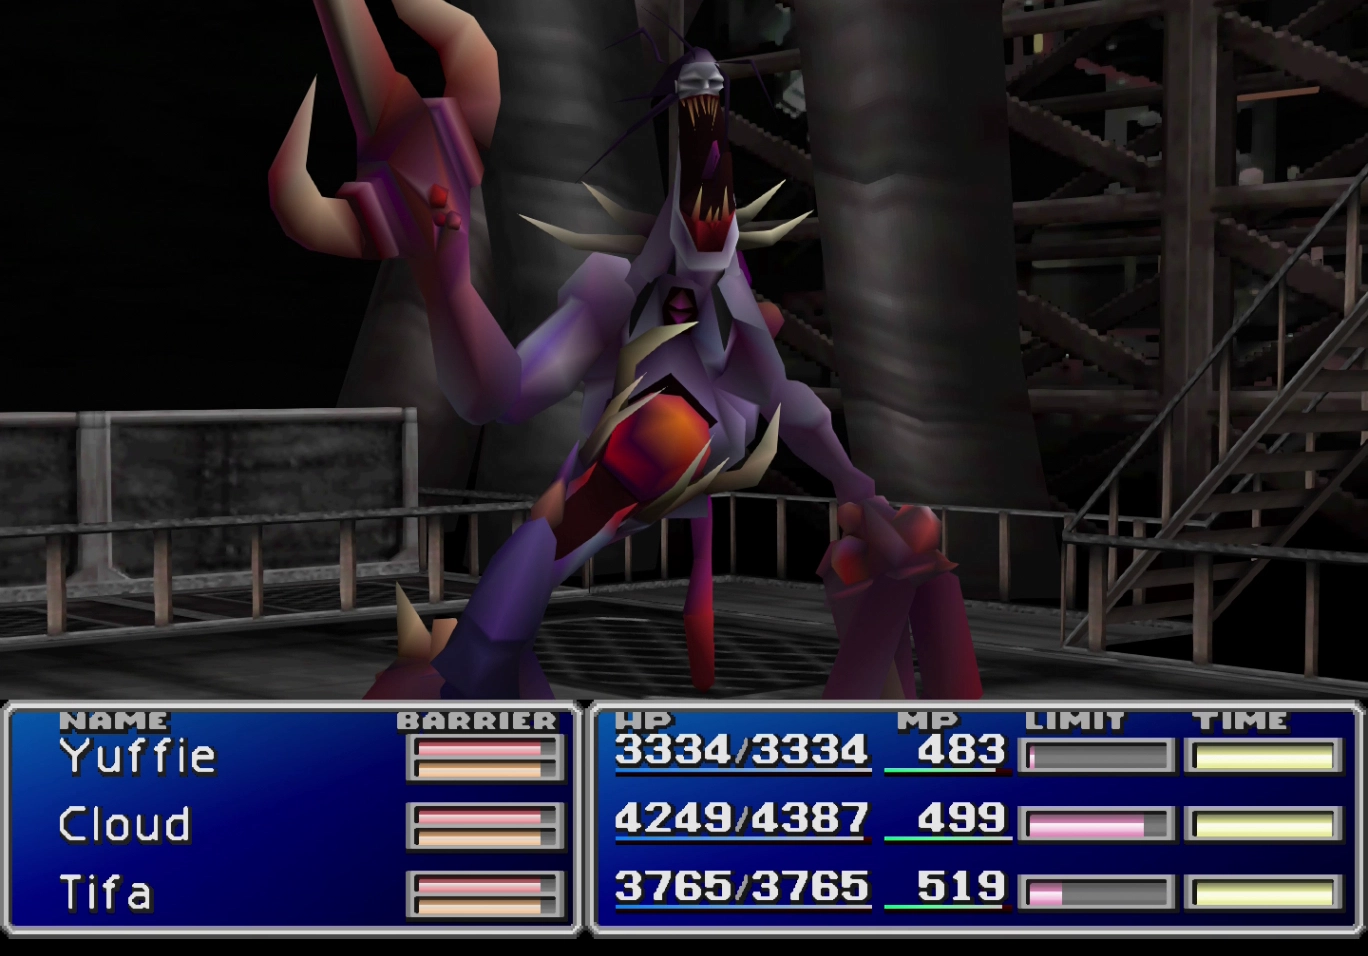
The second form of Hojo is called Hellectic Hojo. You can target its main body as well as the left and right arms. The Left Arm has 24,000 HP, and the Right Arm has 5,000 HP.
They both regenerate fairly quickly after you destroy them, so focus all of your attacks on the center body. This form is capable of causing a variety of status effects, so if you have any characters that are not equipped with a ![]() Ribbon, you will have to deal with Confuse, Sleep, and Silence statuses.
Ribbon, you will have to deal with Confuse, Sleep, and Silence statuses.
You can find a video demonstration of this battle in the information section below (Lifeform Hojo).
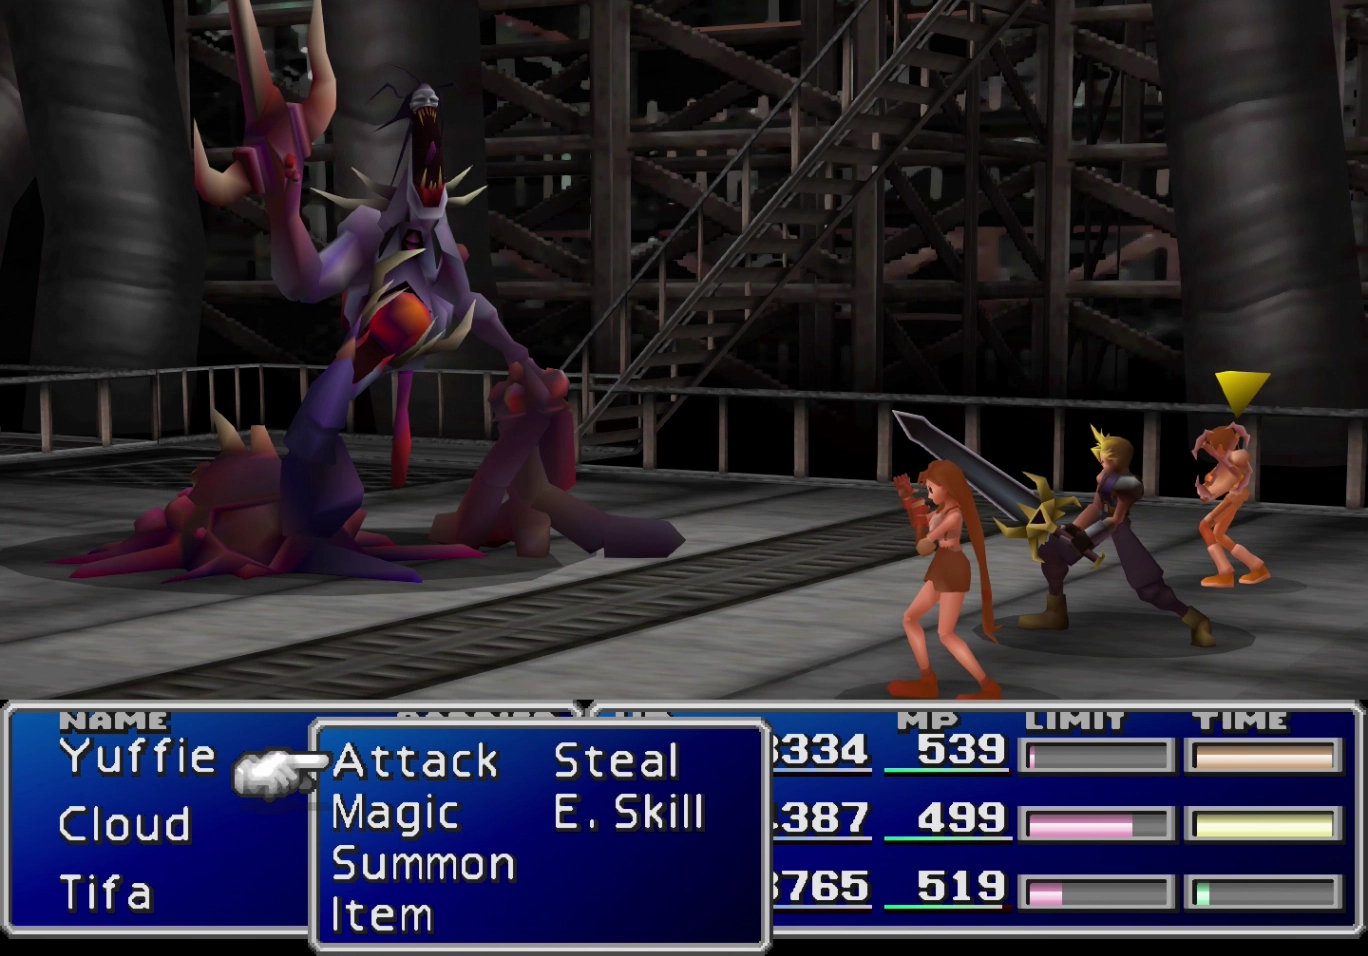
Boss Battle
HP: 30,000
Reward: ![]() Power Source
Power Source
This is the third and final form that Hojo takes. Lifeform-Hojo can also inflict a variety of status effects, including Silence (whenever you attack with magic), Poison, Darkness, and Sleep.
![]() Counter Attack Materia works well on this boss as you have an opportunity to counter its “Combo” attack all four times that it hits your character. This boss deals a significant amount of damage, so be sure to keep “Big Guard” from your
Counter Attack Materia works well on this boss as you have an opportunity to counter its “Combo” attack all four times that it hits your character. This boss deals a significant amount of damage, so be sure to keep “Big Guard” from your ![]() Enemy Skill Materia active throughout the fight.
Enemy Skill Materia active throughout the fight.
You can find a video demonstration of this battle below.
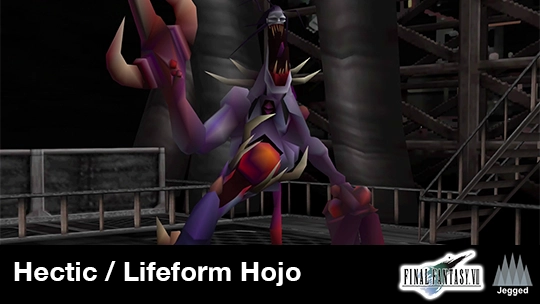
A video demonstration of how to successfully complete the fight against Hectic and Lifeform Hojo.
The story continues back on the Highwind. There is a ton of dialog to pour through before moving on to Disc 3.