You have now reached the final chapter of the game. The game continues on the deck of the Highwind with instructions to proceed into the Northern Cave Crater. However, at this point in the game, you can backtrack and turn around after visiting most sections of the Northern Cave Crater.
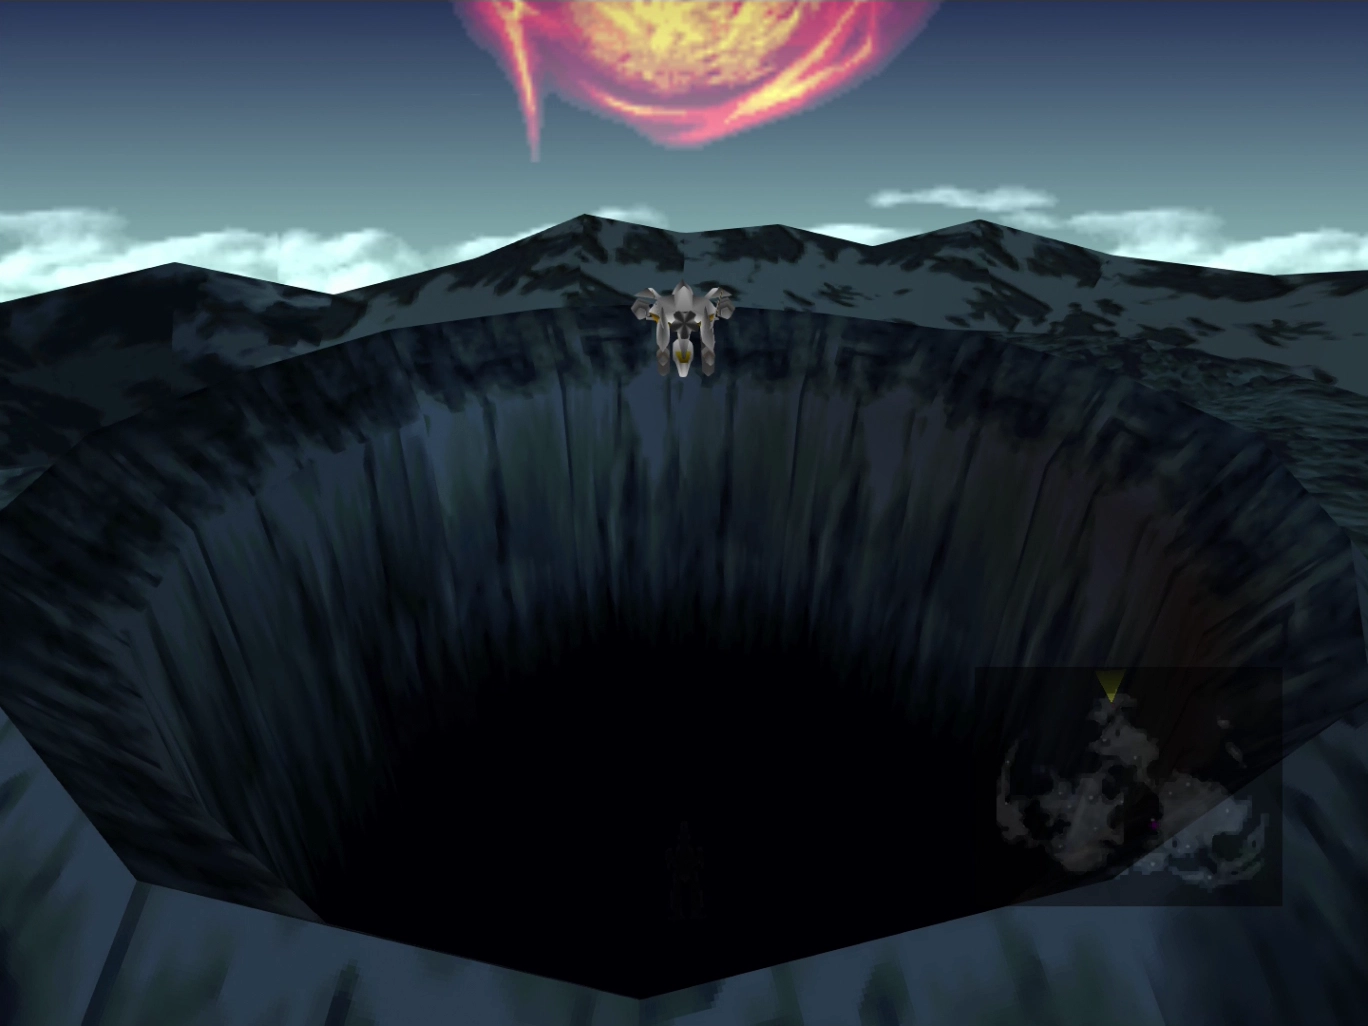
You should turn around and exit the Northern Cave Crater to complete any of the numerous side quests. However, before you leave, you should travel into the Northern Crater, at least for the sake of picking up all the valuable items, weapons, equipment, and Materia in the cave. There will be many warnings in this walkthrough when you approach the “point of no return.”
This walkthrough will assume that you are proceeding directly through to the end of the game without turning around to do any side quests. The end-game bosses will be much easier if you completed the side quests and continued to level up your characters.
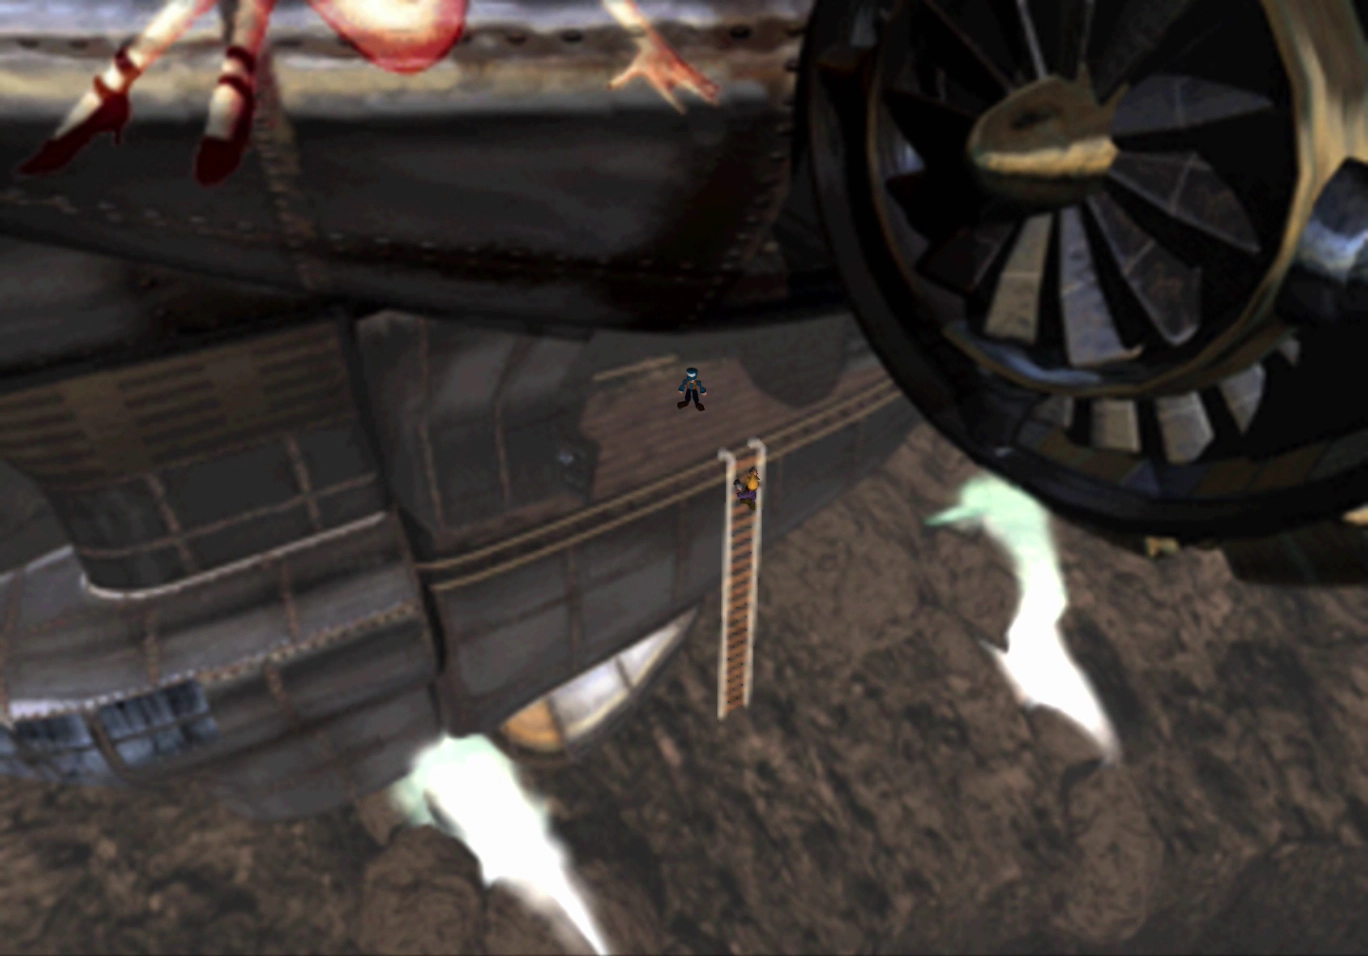
Walk towards the screen until you reach the side of the crater. Choose “Alright, let’s go!” once you and your team are ready to proceed. Cloud will automatically slide down the side of the crater.
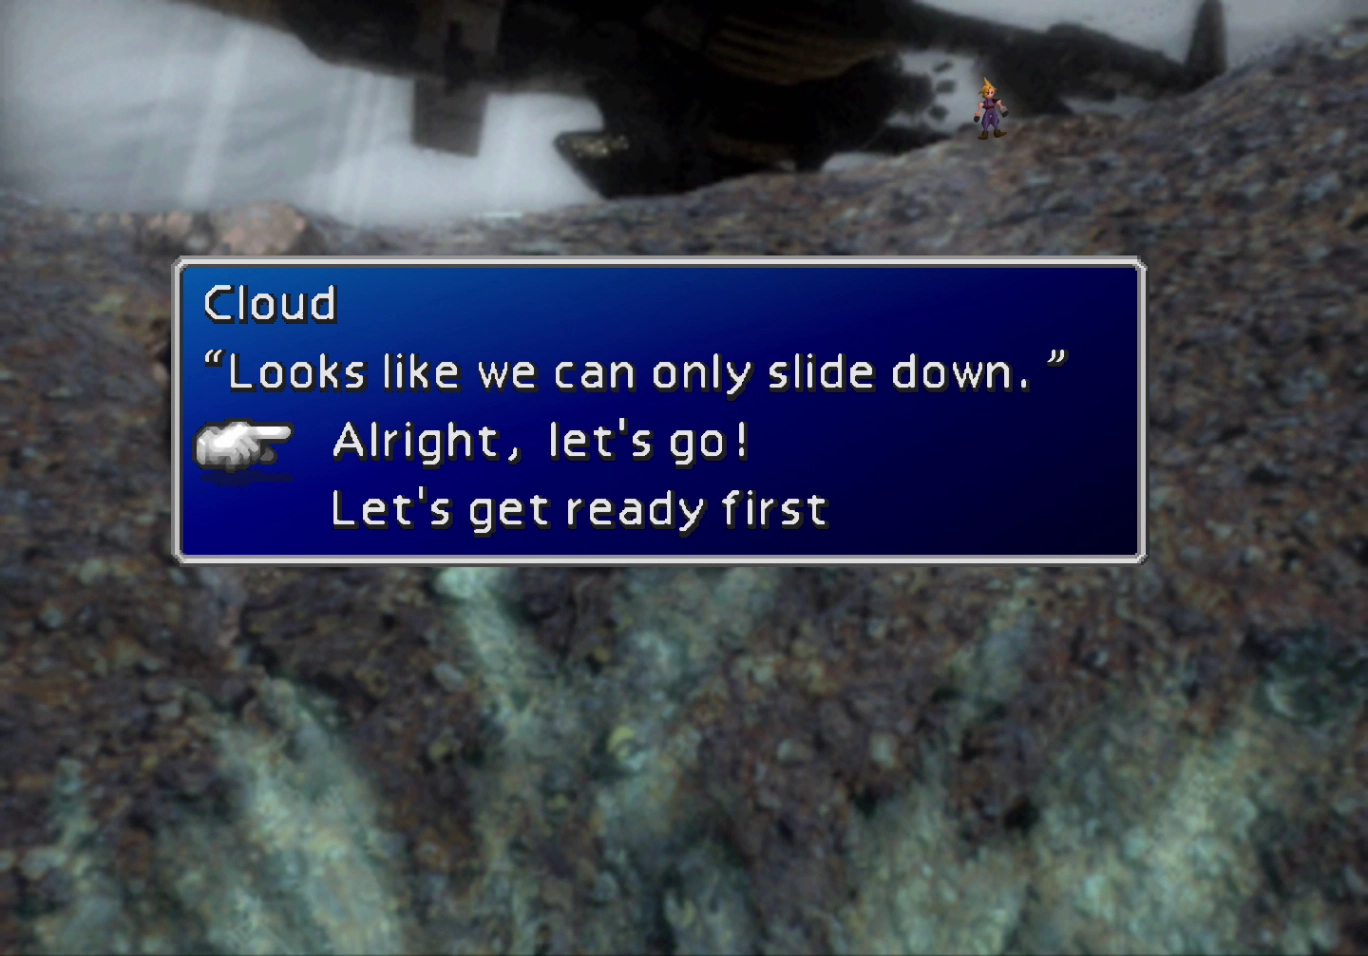
Inside the Northern Cave
The first cave on the north side of the screen is the direction you would take when trying to exit the Northern Crater. Open the treasure chest to find a ![]() Save Crystal. The Save Crystal item allows you to create a
Save Crystal. The Save Crystal item allows you to create a ![]() Save Point anywhere in the Northern Cave.
Save Point anywhere in the Northern Cave.
Warning
Be very careful using the Save Crystal, as it can cause a host of glitches and errors if used in the wrong location. These glitches can lock up your game save file, making it unplayable.
You can find more information on the Final Fantasy Wikia page entry on the Save Crystal Glitch. For this reason, you should avoid using the Save Crystal while in the Northern Crater.
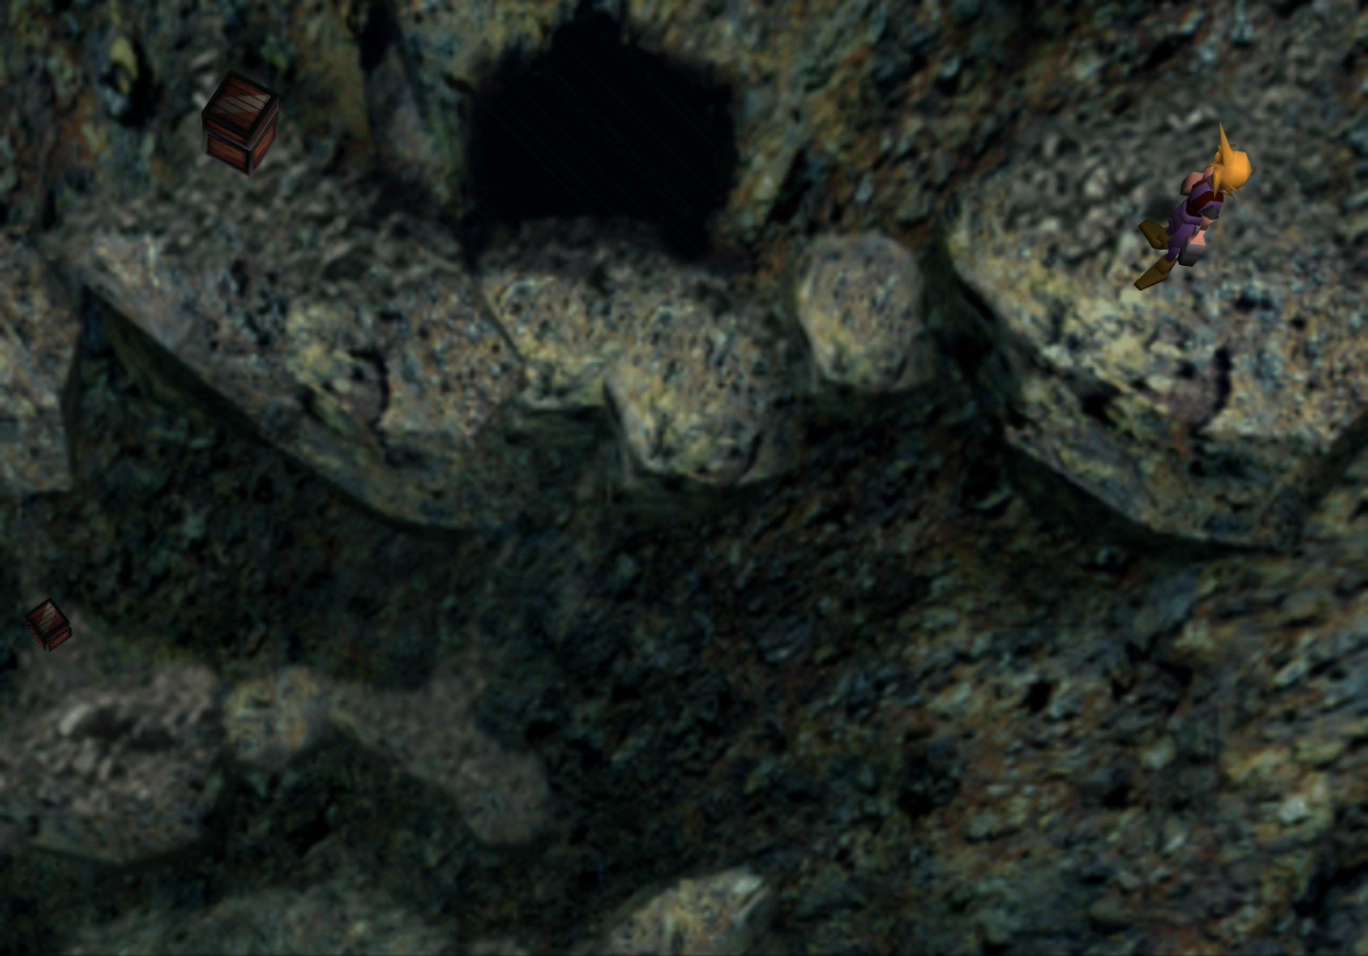
Several enemies in the Northern Crater use “Sudden Death” attacks, such as L4 Death, and your ![]() Ribbon accessories won’t prevent a KO. Equip one of your characters with the
Ribbon accessories won’t prevent a KO. Equip one of your characters with the ![]() Safety Bit accessory that you picked up in the Great Glacier.
Safety Bit accessory that you picked up in the Great Glacier.
Dark Dragon enemies (pictured below) can also teach you the “Dragon Force” enemy skill through your  Enemy Skill Materia. You will have to Manipulate the Dark Dragon using
  Manipulate Materia and have it use “Dragon Force” on your party members.
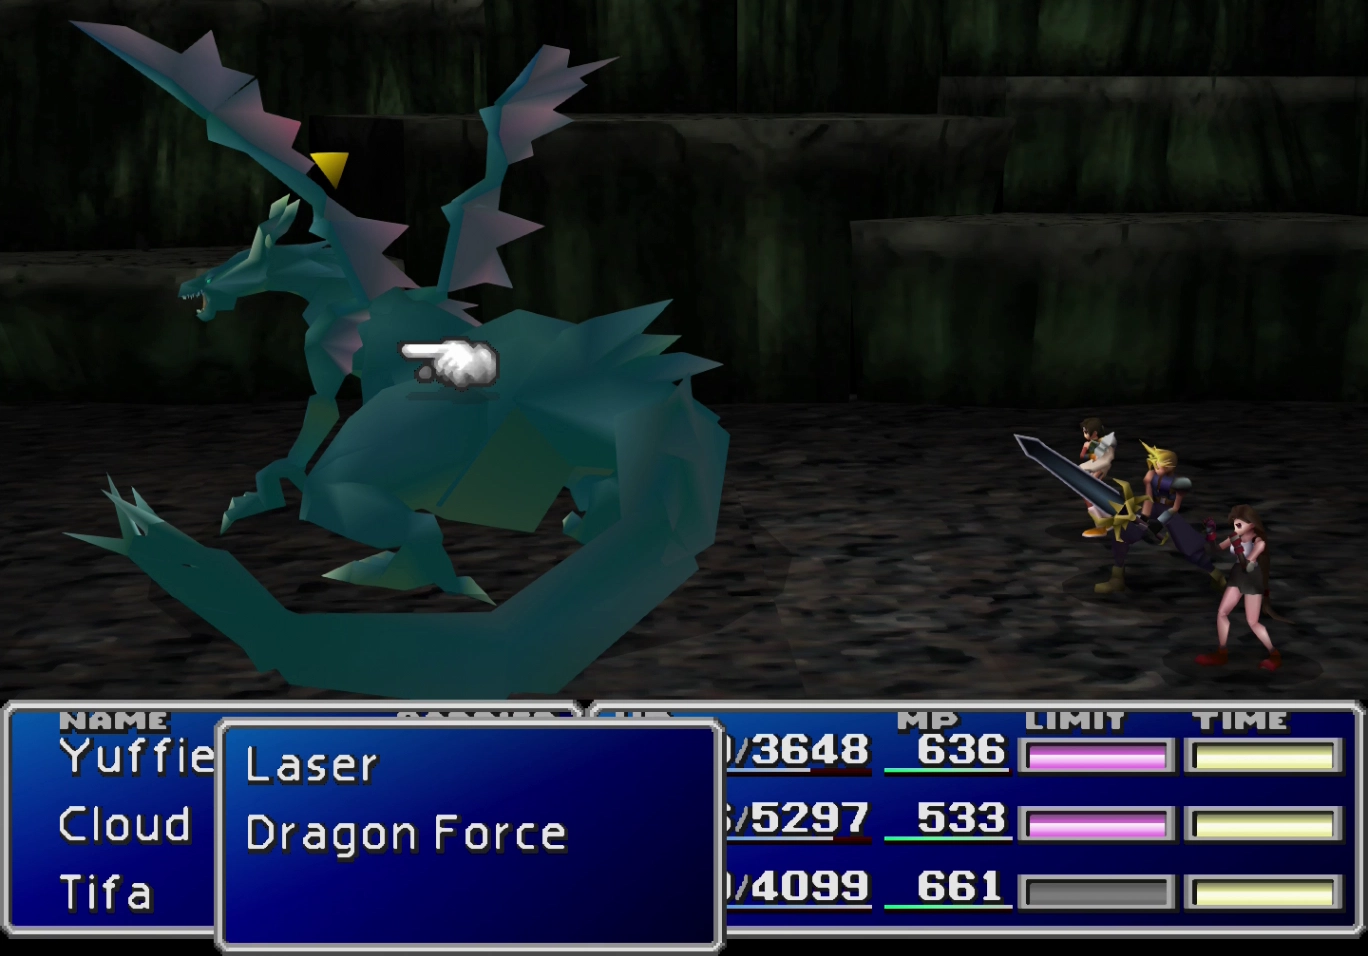
You can also use your  Morph Materia on Master Tonberry enemies to transform them into
 ![]() Ribbons if you need any extras.
Ribbons if you need any extras. ![]() Ribbons make the final battles against Sephiroth much easier.
Ribbons make the final battles against Sephiroth much easier.
Jump over the hole created by the chunk of rock that falls down the crater. Continue following the pathway around the opening until you reach the next treasure chest, which contains a ![]() Guard Source.
Guard Source.
The next section of the Northern Cave features a split pathway, with one path leading to the left and one to the right. Travel down the left side of the path and press to climb up onto the ledge at the top left side of the screen.
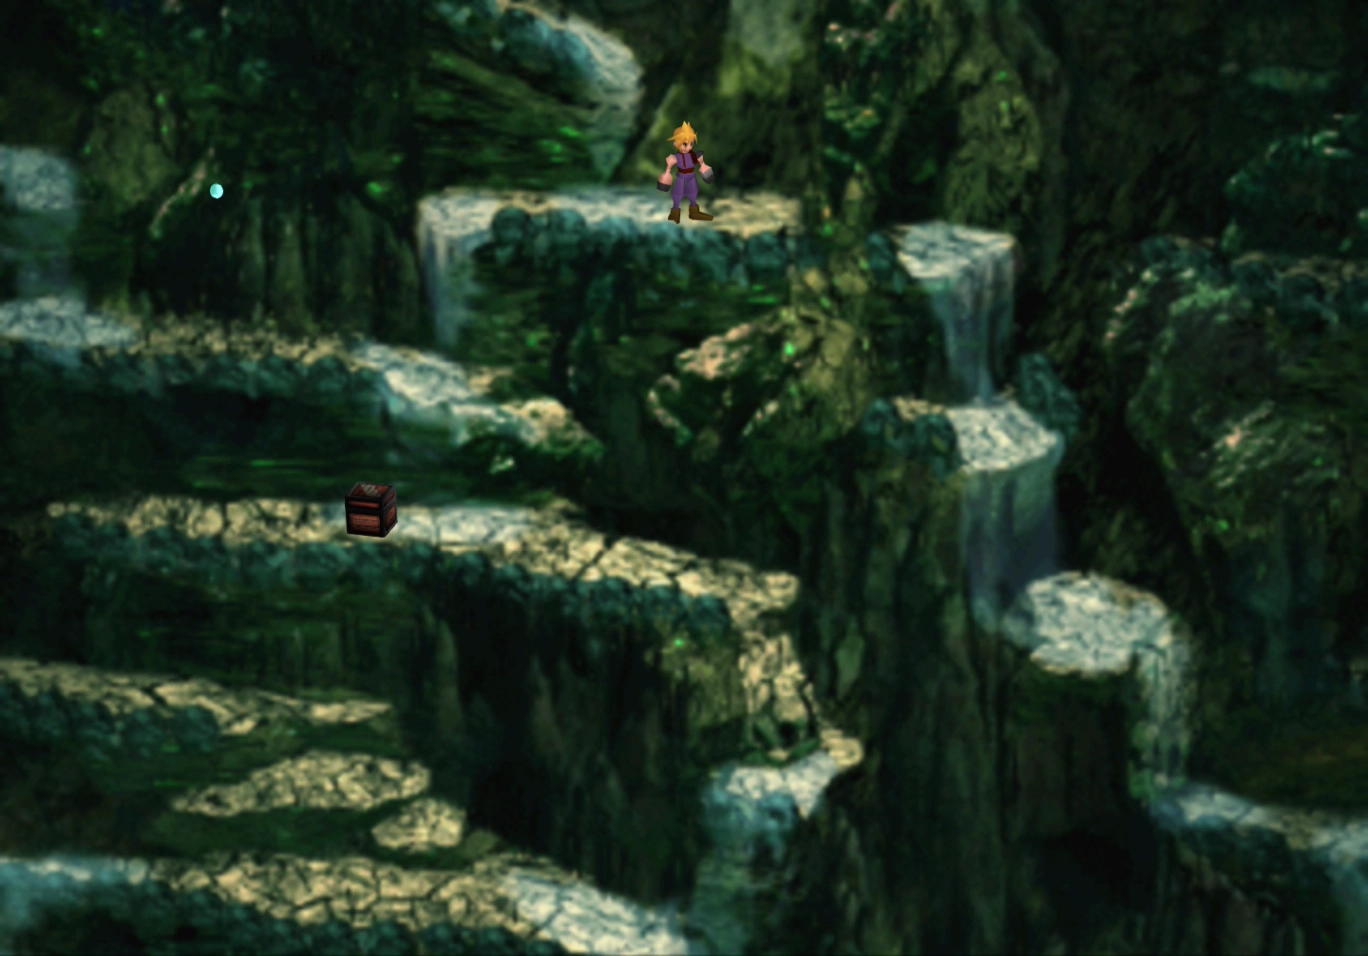
The treasure chest on the left contains a ![]() Power Source, and there is a hidden
Power Source, and there is a hidden  HP Absorb Materia on the right side of the ledge. Go down one more ledge to pick up another treasure chest that contains an
 ![]() Elixir. Continue downwards until you reach the last treasure chest that contains a
Elixir. Continue downwards until you reach the last treasure chest that contains a ![]() Magic Source.
Magic Source.
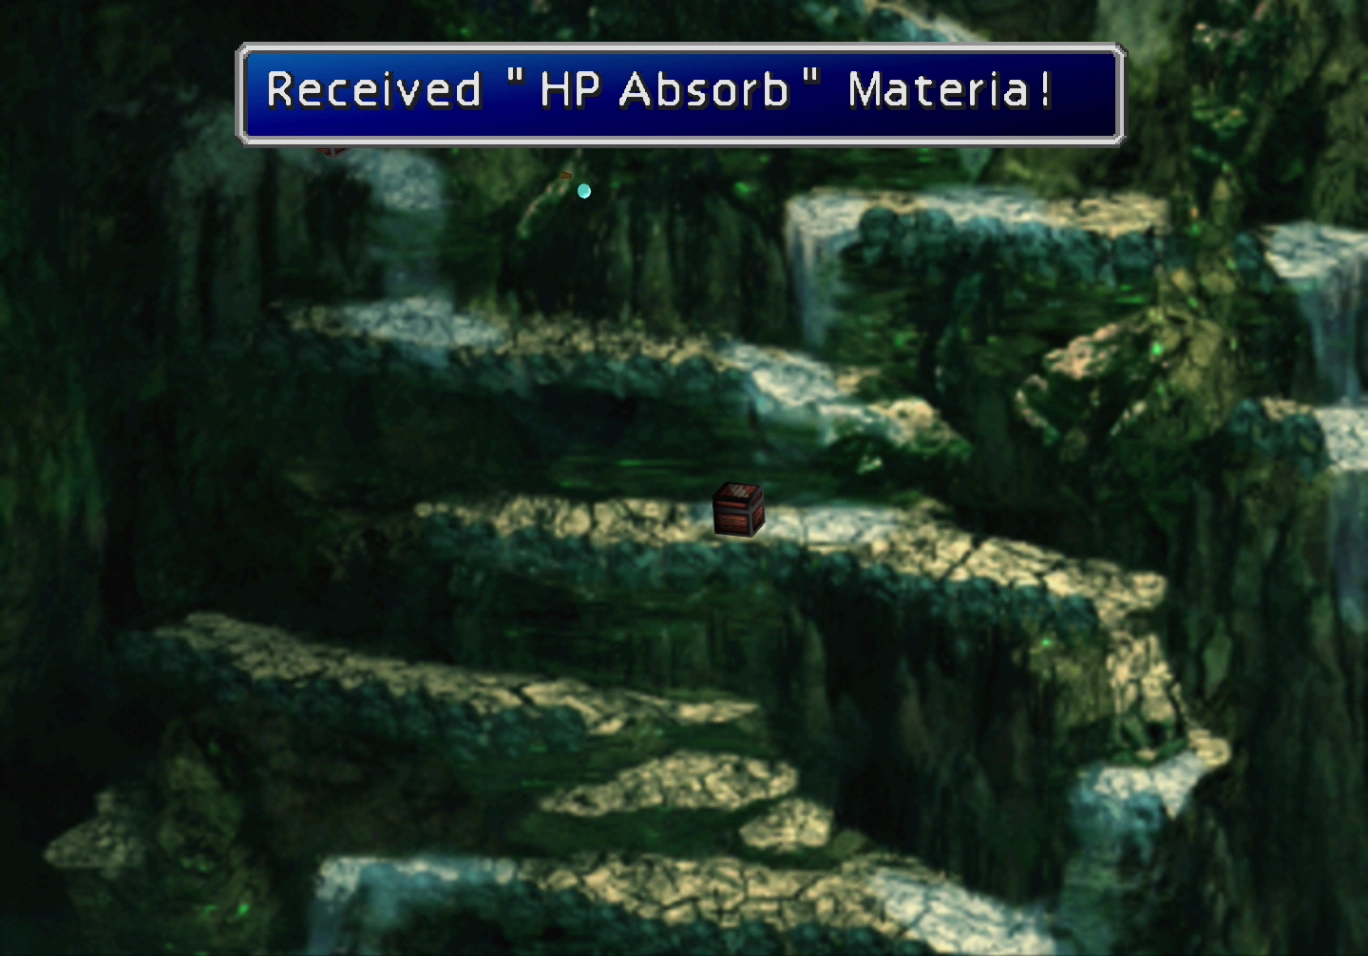
Travel back up to the top and take the pathway down the right side of the screen. There is a treasure chest that contains a ![]() Mind Source and one that contains a
Mind Source and one that contains a ![]() Guard Source. Continue down into the next area once you have obtained all the items.
Guard Source. Continue down into the next area once you have obtained all the items.
The next area is a blue-colored cave with several ledges on different levels (shown in the screenshot below). Jump down off the first ledge and then walk to the right. Cloud will automatically drop down to the ledge next to the treasure chest. Open it to receive another ![]() Mind Source.
Mind Source.
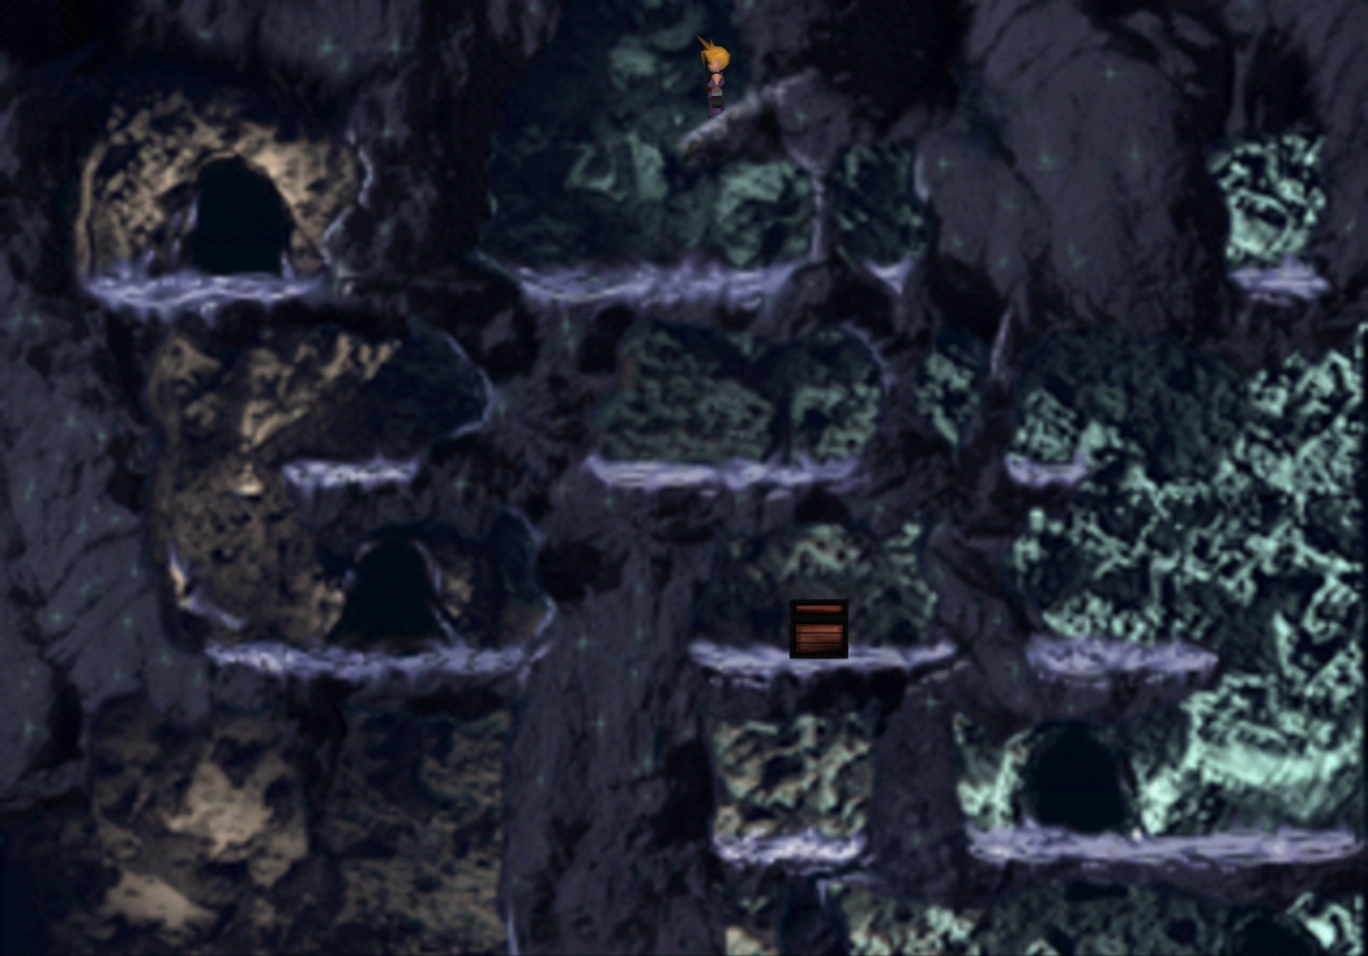
Walk to the right side of this ledge, turn around, and face left. A prompt will appear, reading, “Press (OK) button to jump” (or press the button to jump in the PlayStation 4 version). Pressing it will cause Cloud to jump up one level.
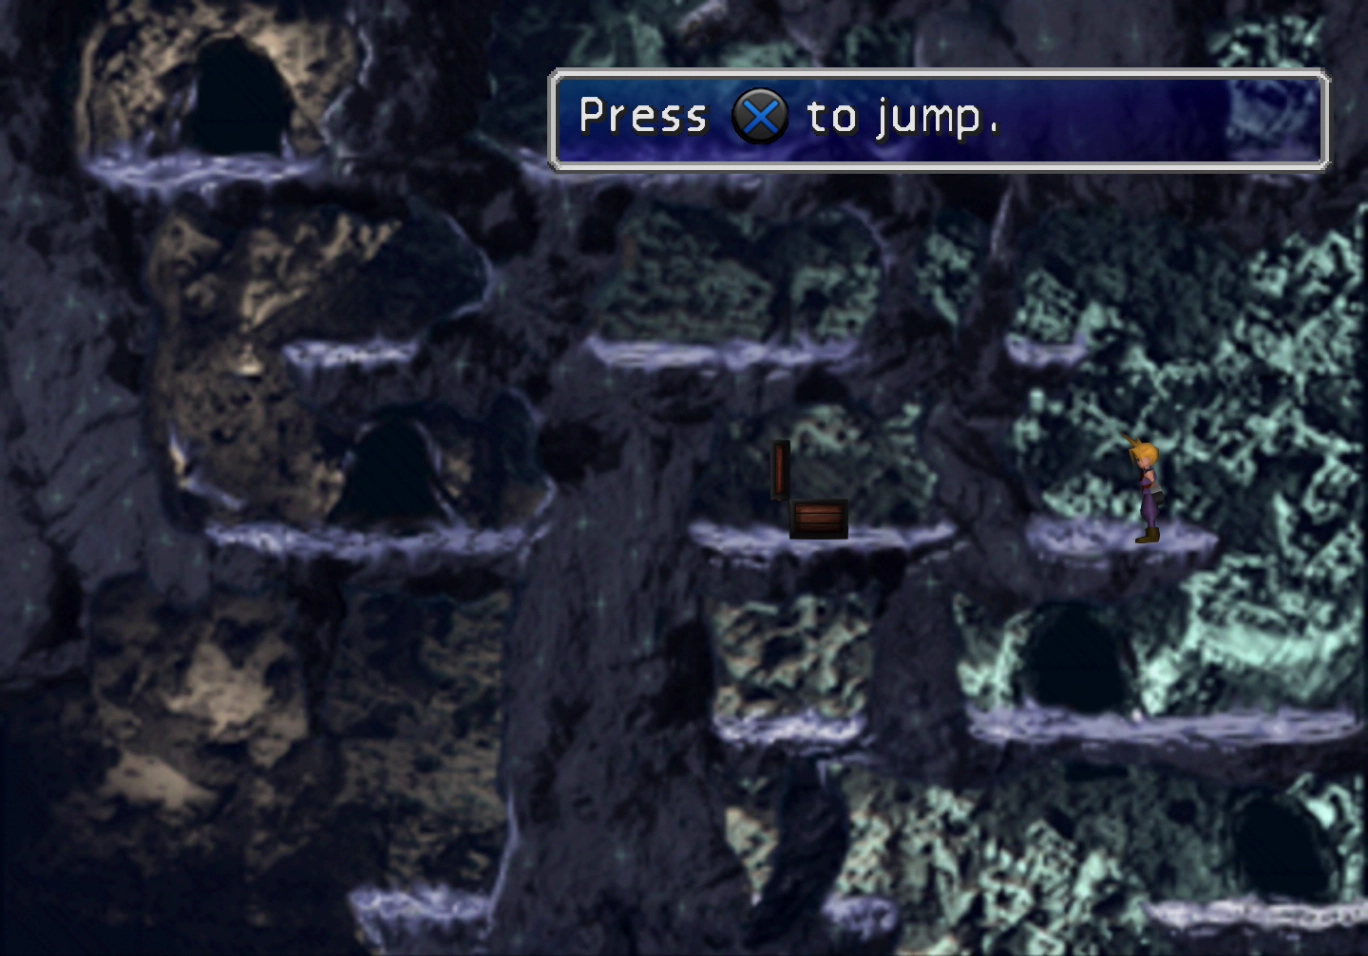
Walk to the other side of the platform and jump down. Enter the cave to find a treasure chest that contains a ![]() Megalixir. Exit the cave and walk to the left, and Cloud will automatically fall a few levels. There is a
Megalixir. Exit the cave and walk to the left, and Cloud will automatically fall a few levels. There is a ![]() Hero Drink in the treasure chest to the right on this platform.
Hero Drink in the treasure chest to the right on this platform.
Enter the cave and grab the treasure chest in the middle of the screen that contains another ![]() Guard Source.
Guard Source.
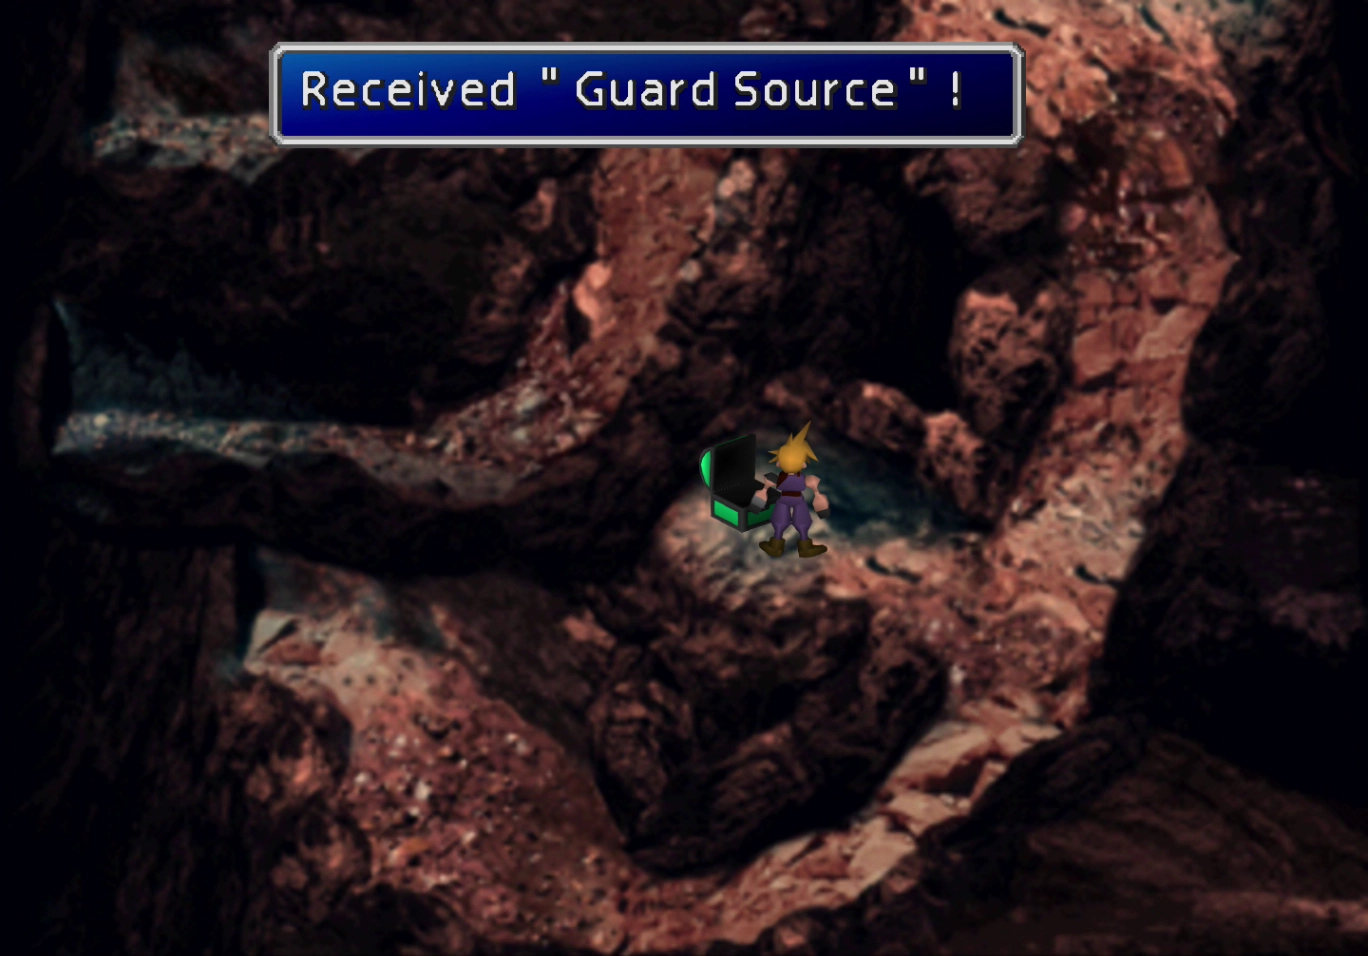
Proceed upwards from here to find another treasure chest at the top-right side of the screen. You will have to go through the cave located just under the treasure chest to reach it. Use the screenshot below for reference.
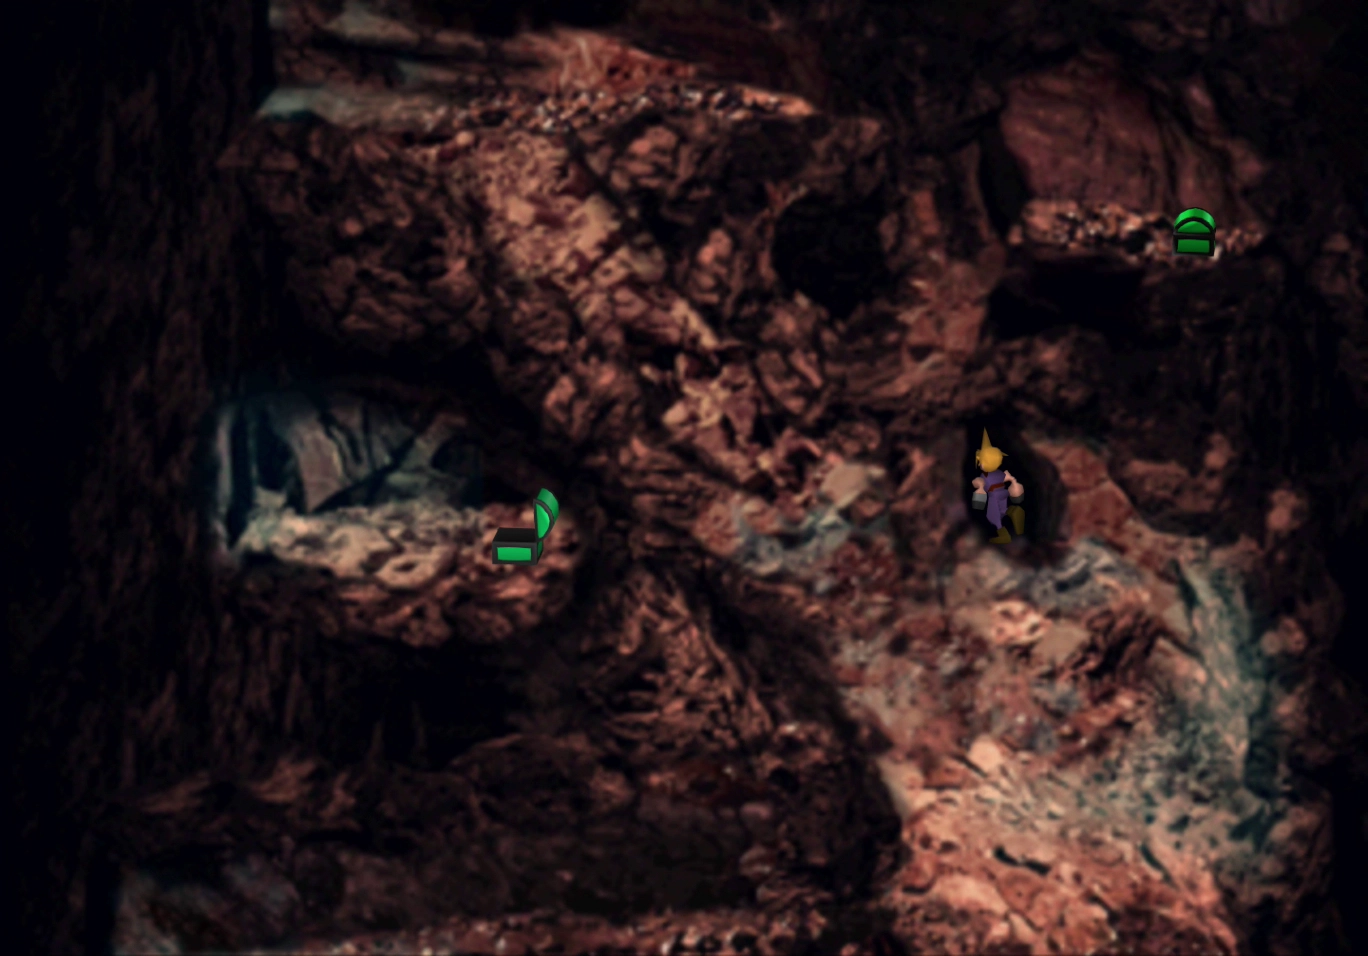
The treasure chest contains a ![]() Power Source. Take the exit to the left of this treasure chest area at the top of the screen.
Power Source. Take the exit to the left of this treasure chest area at the top of the screen.
Travel to the right this time and drop down again. Then, continue to the right again to drop down one more time. Enter the cave, and follow it around, and back out of the cave again. Drop off the left side of this ledge and then continue downward until you reach the bottom.
The remaining unused party members will be visible at the bottom of this next screen. Climb down the rock formation to meet up with them, and they will decide that it is time to split up into two groups.
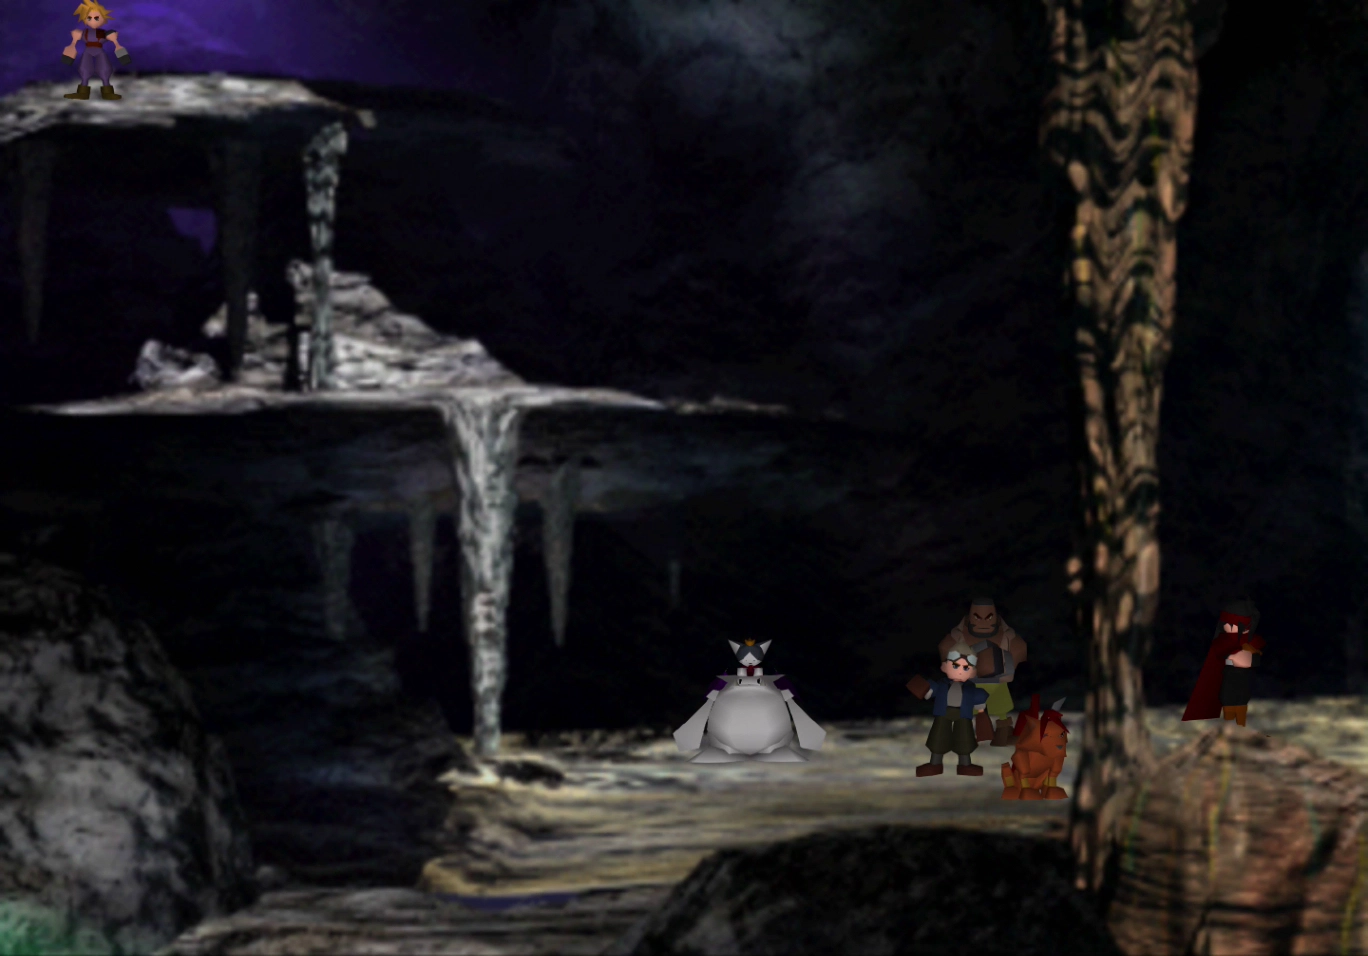
Split Pathways - Two Groups
There is now a set of split pathways, and you can choose which party members are sent in which direction. Any party members sent to the left will also have the option of either an upper or lower pathway. There are three different directions in total.
Any party members that do not come with Cloud will meet up with Cloud later on and provide him with the items they have found. The three pathways available lead are right, left/upper, and left/lower.
This means that you can obtain two copies of each item if you send the right party members to each area and if you retrieve the treasure chest with Cloud himself. So what items can you get?
| Right | Left/Upper | Left/Lower | |
|---|---|---|---|
| Barret | |||
| Cait Sith | |||
| Cid | |||
| Red XIII |  Shield Materia Shield Materia |
||
| Tifa | |||
| Vincent |  Mega All Materia Mega All Materia |
||
| Yuffie |  Counter Materia Counter Materia |
Helpful Hint
If you are not planning to come back out of the cave and you plan to head straight to the end of the story and the end of the game, you can choose whichever pathway you want your party to go down, and you don’t have to worry about planning it out.
If you take the right pathway with Cloud, you will not have the option to choose whether the other party members take the upper or lower pathway when they go left. As such, they have a 50/50 chance of giving you either item listed under the left/upper or left/lower pathway columns in the table above.
Barret and Cait Sith receive lackluster items regardless of the direction you send them. Tifa will give you a fairly nice piece of armor, the ![]() Mystile if she takes the pathway to the right. Cid, Red XIII, and Yuffie all give very nice items if you send them down the left/upper path. These items are the
Mystile if she takes the pathway to the right. Cid, Red XIII, and Yuffie all give very nice items if you send them down the left/upper path. These items are the ![]() Imperial Guard,
Imperial Guard,  Shield Materia, and
  Counter Materia.
Vincent would obtain a  Mega All Materia if he were to take the left/lower pathway; however, when compared to the other items you can retrieve, it is of limited value during the later stages of the game on Disc 3. Having one copy of it will suffice. It is not worth sacrificing the extra
 ![]() Imperial Guard,
Imperial Guard,  Shield Materia, and
  Counter Materia just to get another one.
Keeping in mind the items above and the justifications provided, split up your party as follows:
| Character | Direction | |
|---|---|---|
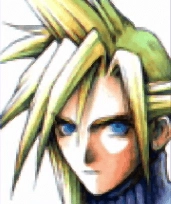 |
Cloud | Left |
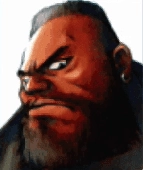 |
Barret | Left |
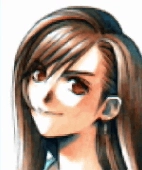 |
Tifa | Right |
 |
Red XIII | Left |
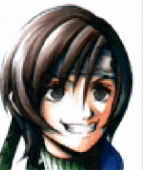 |
Yuffie | Left |
 |
Cait Sith | Left |
 |
Vincent | Left |
 |
Cid | Left |
Choose your new party members from the six who have gone left with Cloud and then travel down into to next screen.
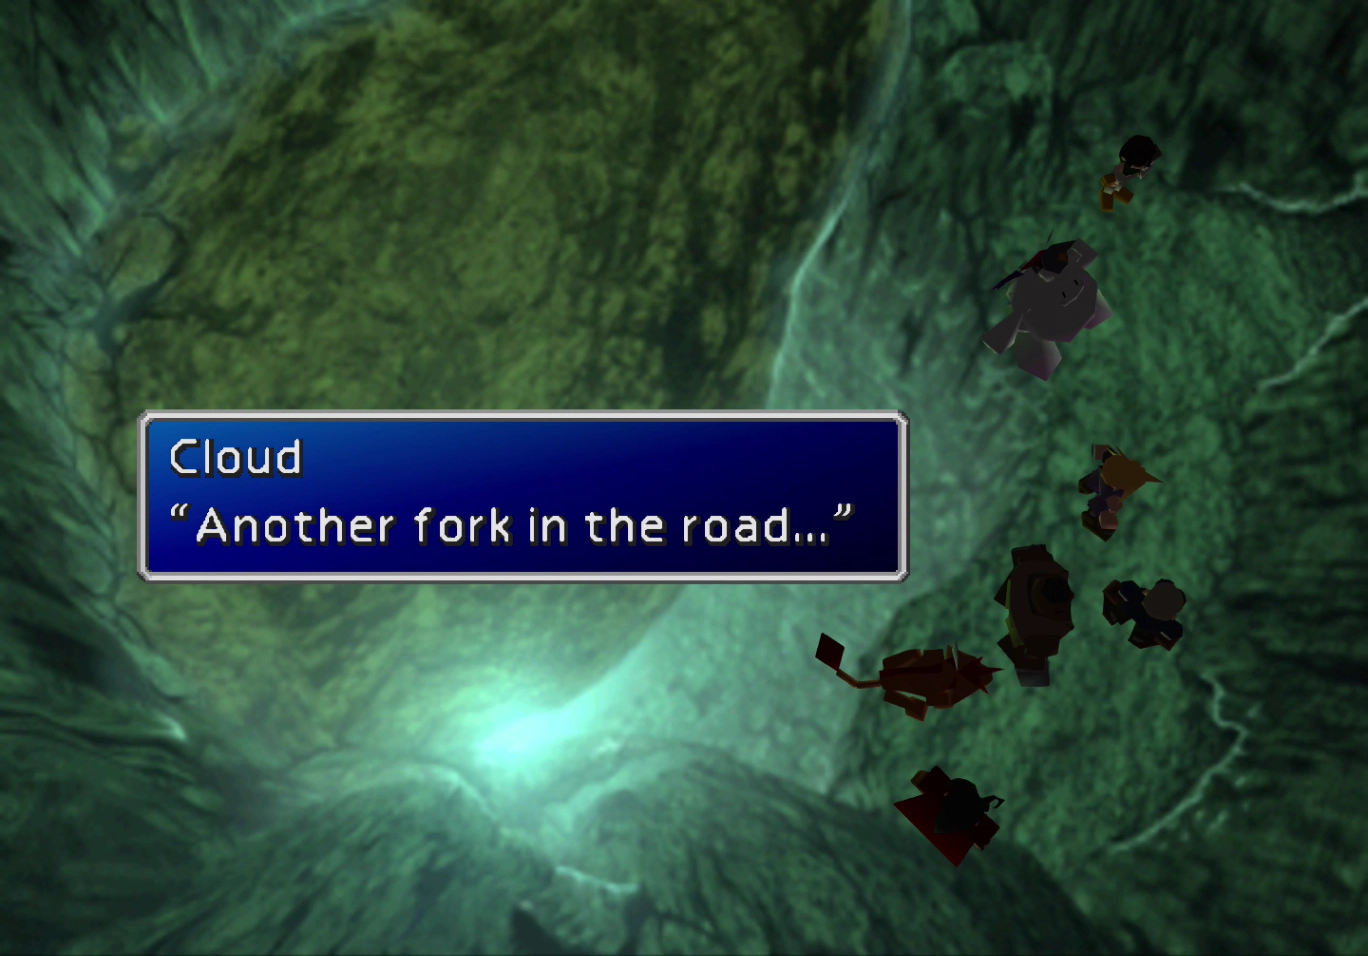
At the second fork in the road, split up your party as follows:
| Character | Direction | |
|---|---|---|
 |
Cloud | Down |
 |
Barret | Down* |
 |
Red XIII | Up |
 |
Yuffie | Up |
 |
Cait Sith | Down* |
 |
Vincent | Down* |
 |
Cid | Up |
* It does not matter which direction you send these characters, but sending them down will allow you to add them to your party with Cloud.
Choose your new party again one more time out of the remaining party members (Barret, Cait Sith, and Vincent).
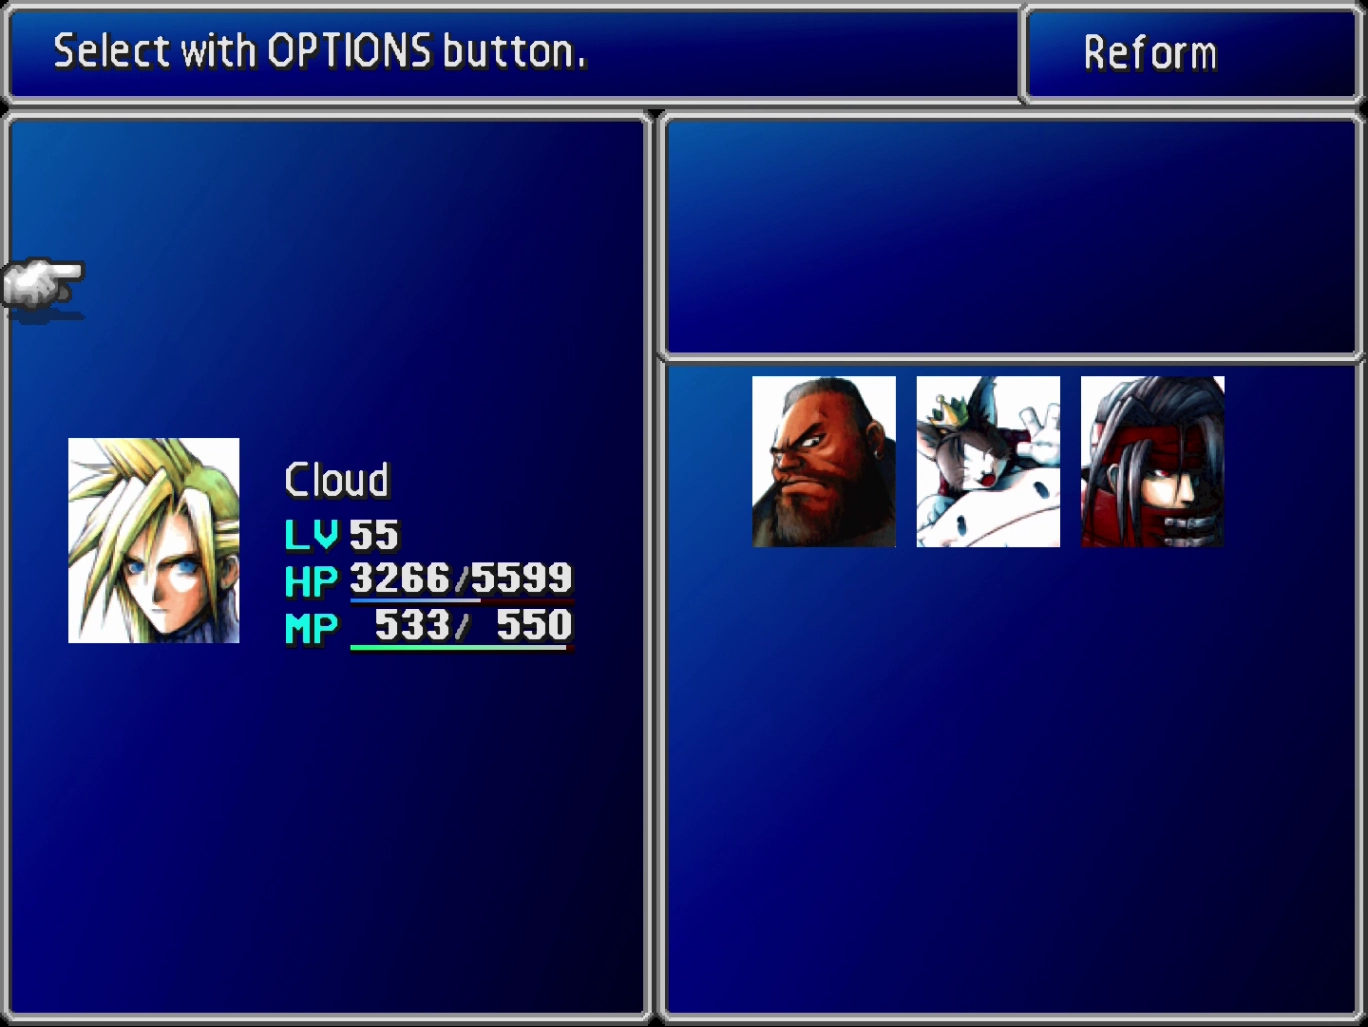
It is likely that you are now left using party members that who were not part of your core team. As such, you should take precautions to make this new party as strong as possible.
All the Materia that your other party members were carrying will be back in your inventory. Equip your new party members with Materia and some of your strongest armor (![]() Escort Guard,
Escort Guard, ![]() Ziedrich,
Ziedrich, ![]() Dragon Armlet, etc.).
Dragon Armlet, etc.). ![]() Touph Rings are also quite helpful.
Touph Rings are also quite helpful.
Lower-left Pathway
The first area to explore now is the lower pathway. Use the screenshot below to ensure that you have entered the appropriate cave.
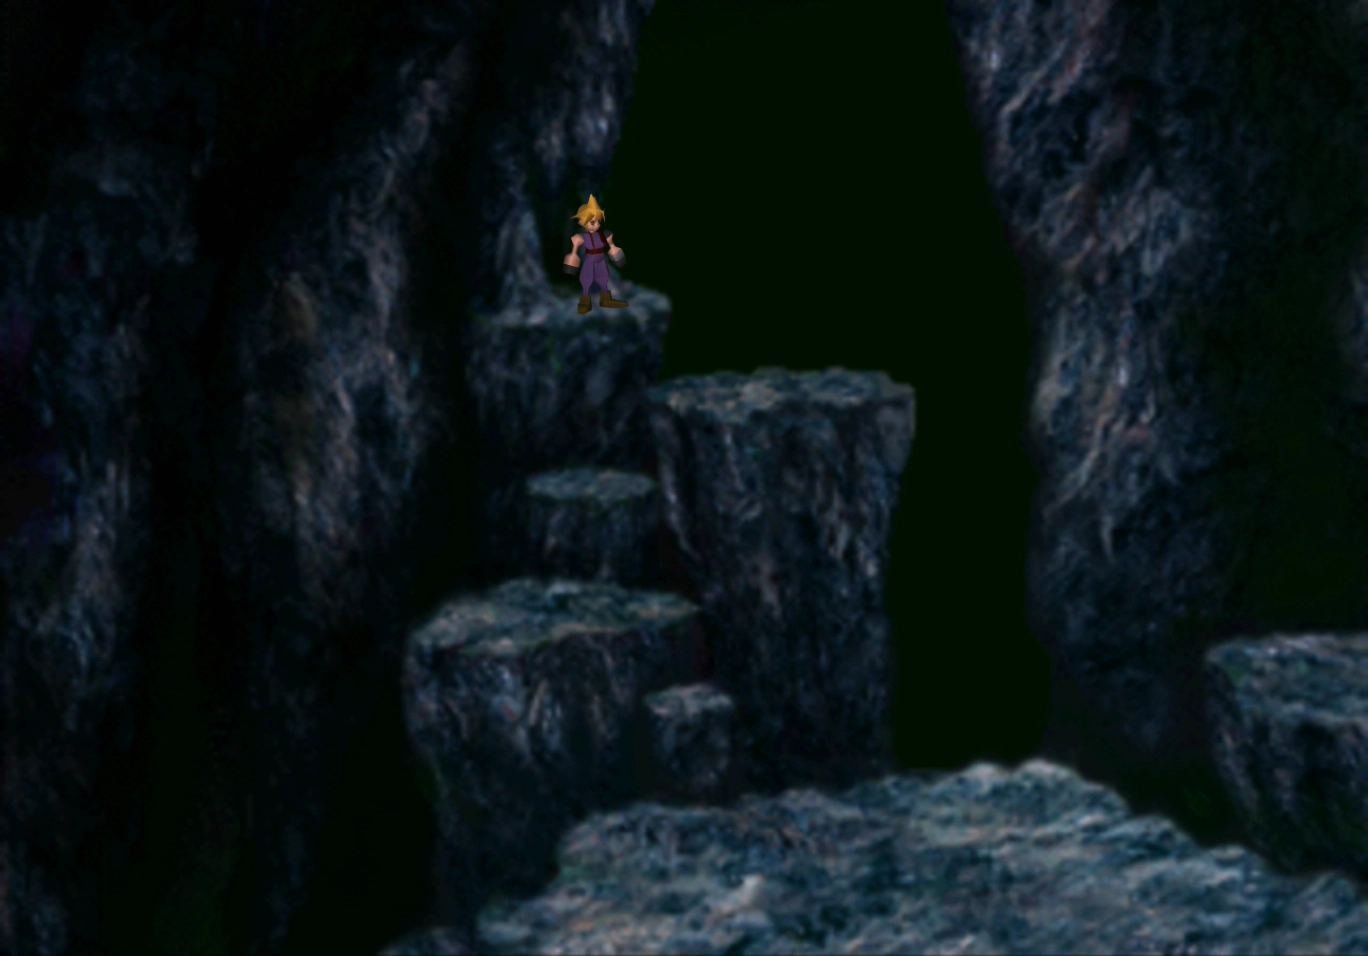
There is a treasure chest at the bottom of the steps on the left that contains a ![]() Remedy. On the right side of the screen is a treasure chest that contains an
Remedy. On the right side of the screen is a treasure chest that contains an ![]() Elixir.
Elixir.
The chest at the bottom of the screen contains an ![]() X-Potion. Proceed to the next screen by continuing towards the bottom-right.
X-Potion. Proceed to the next screen by continuing towards the bottom-right.
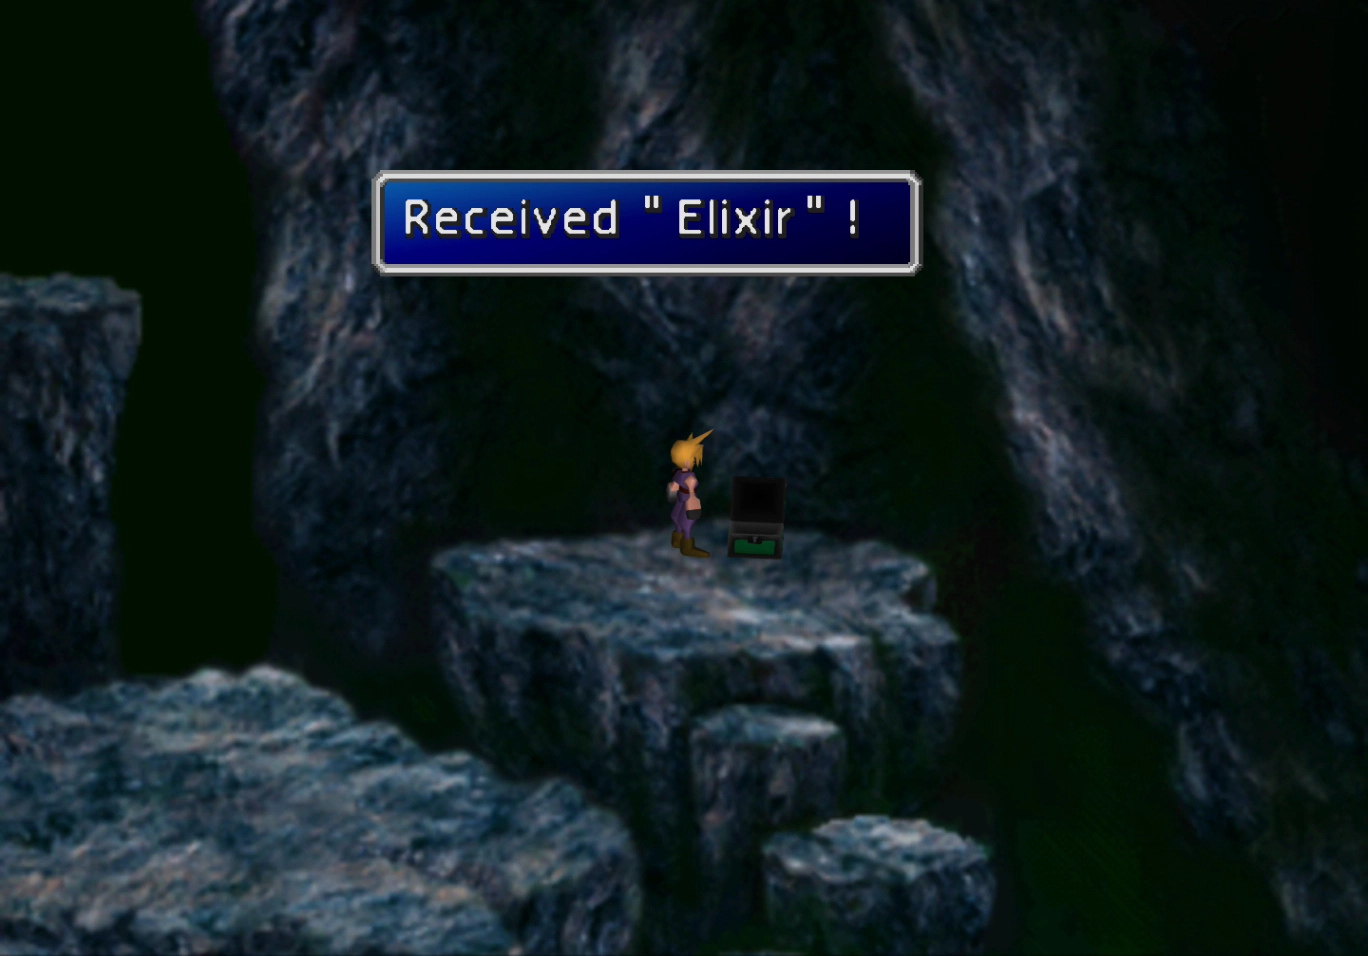
Jump off the top floor and grab the chest on the right side of the screen, which contains a ![]() Vaccine. There is a chest around the pathway that contains a
Vaccine. There is a chest around the pathway that contains a ![]() Turbo Ether.
Turbo Ether.
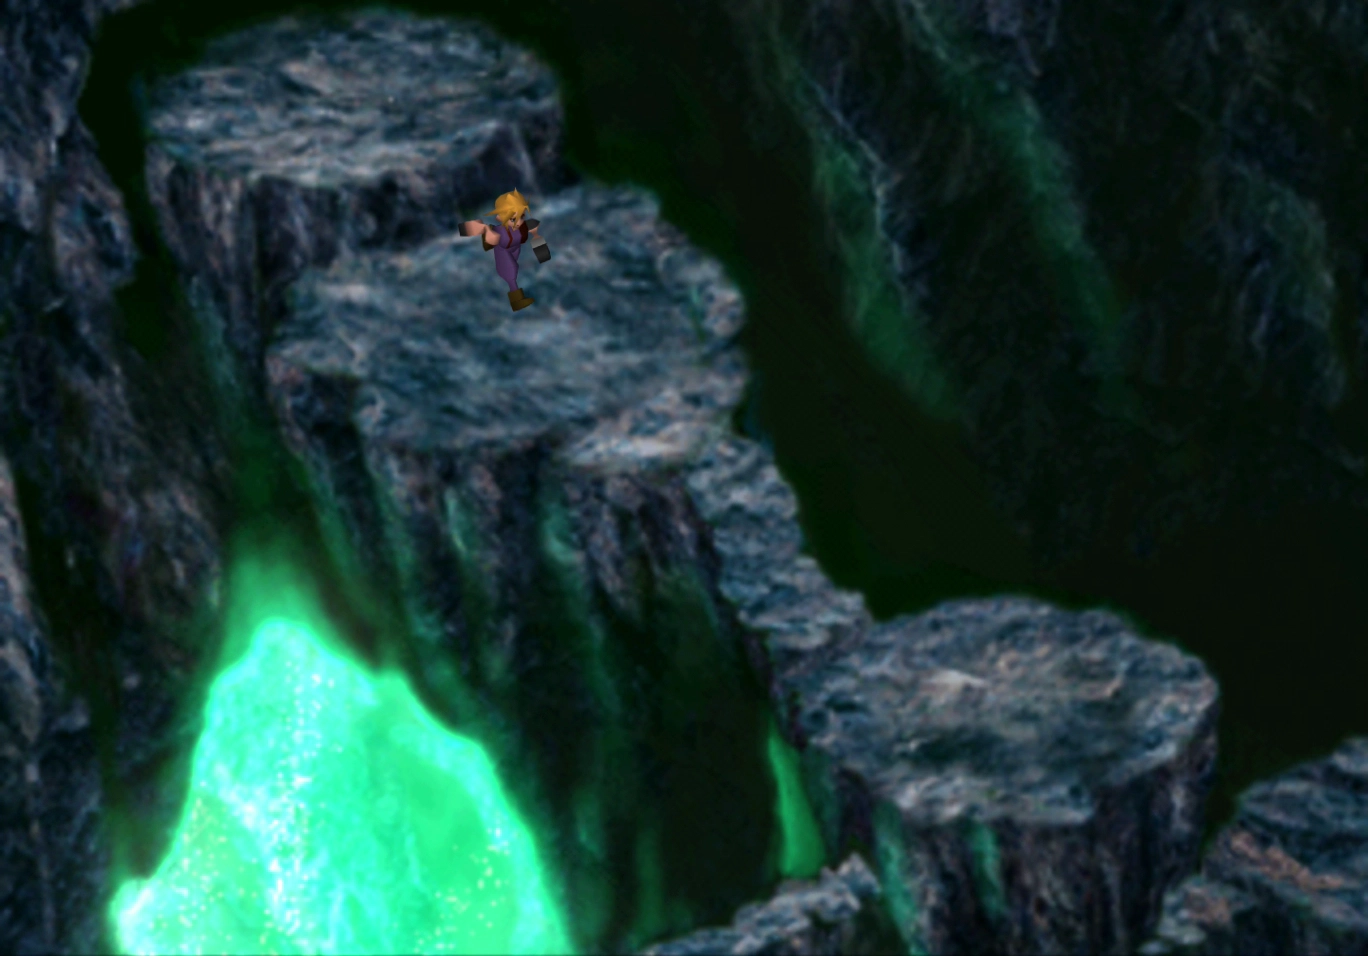
Touch the glowing wall on the left side of the screen to pick up a  Magic Counter Materia. In the PlayStation 4 version of the game, a black-colored piece of Materia was added to help identify its location. Exit on the bottom-right side of the screen to proceed to the next area.
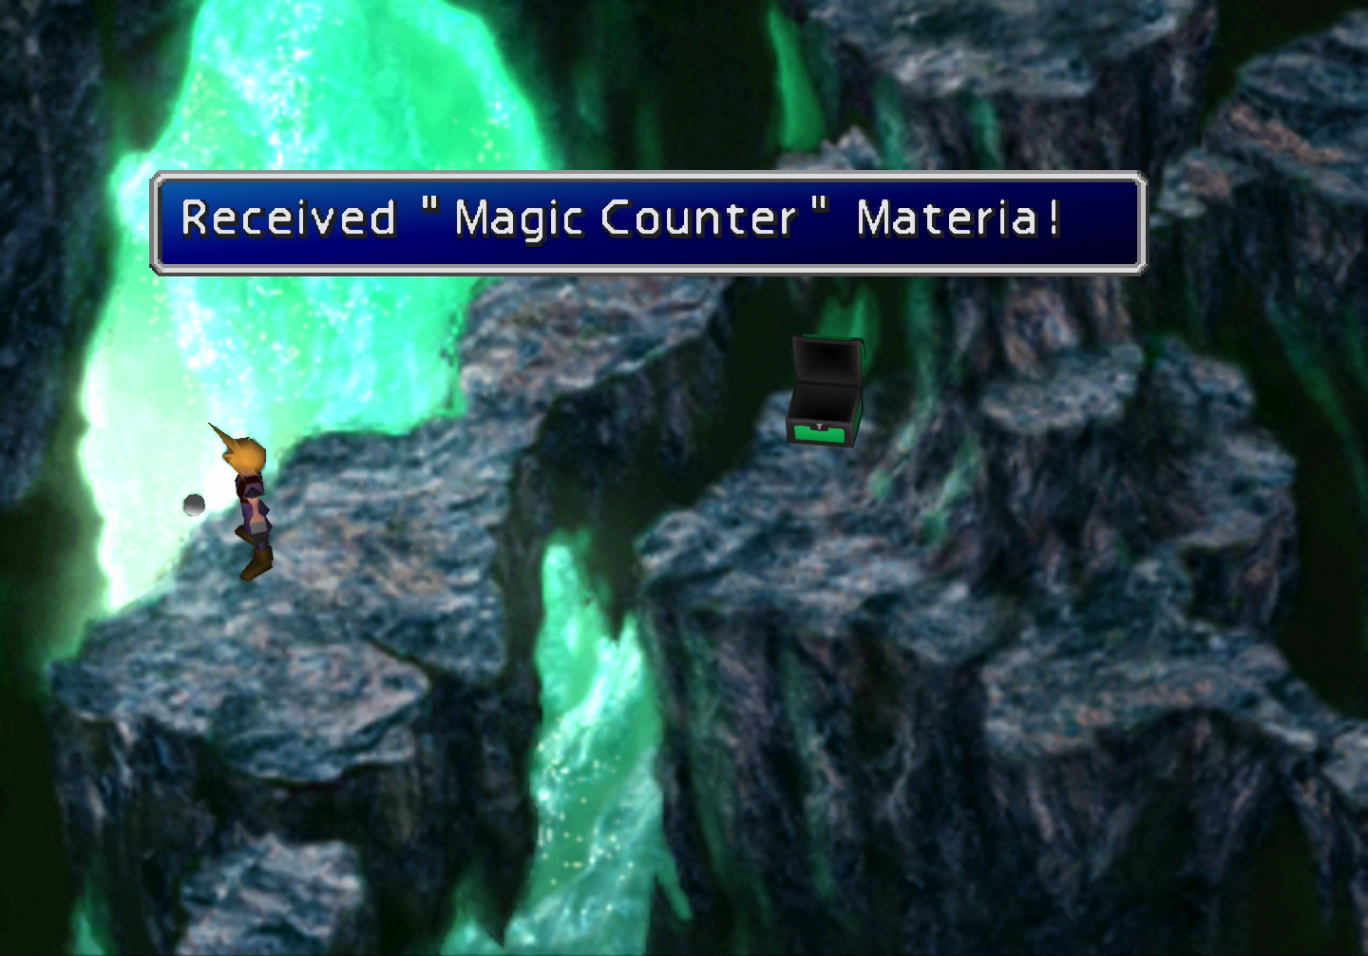
Jump down and open the treasure chest to receive an ![]() X-Potion. There is another treasure chest further down the pathway that contains a
X-Potion. There is another treasure chest further down the pathway that contains a ![]() Turbo Ether. There is a floating purple Materia on the next platform, but Cloud will automatically jump off the platform as soon as he lands on it.
Turbo Ether. There is a floating purple Materia on the next platform, but Cloud will automatically jump off the platform as soon as he lands on it.
Press as soon as Cloud lands to pick up the
 Mega All Materia. The treasure chest on the opposite platform contains a
 ![]() Speed Source.
Speed Source.
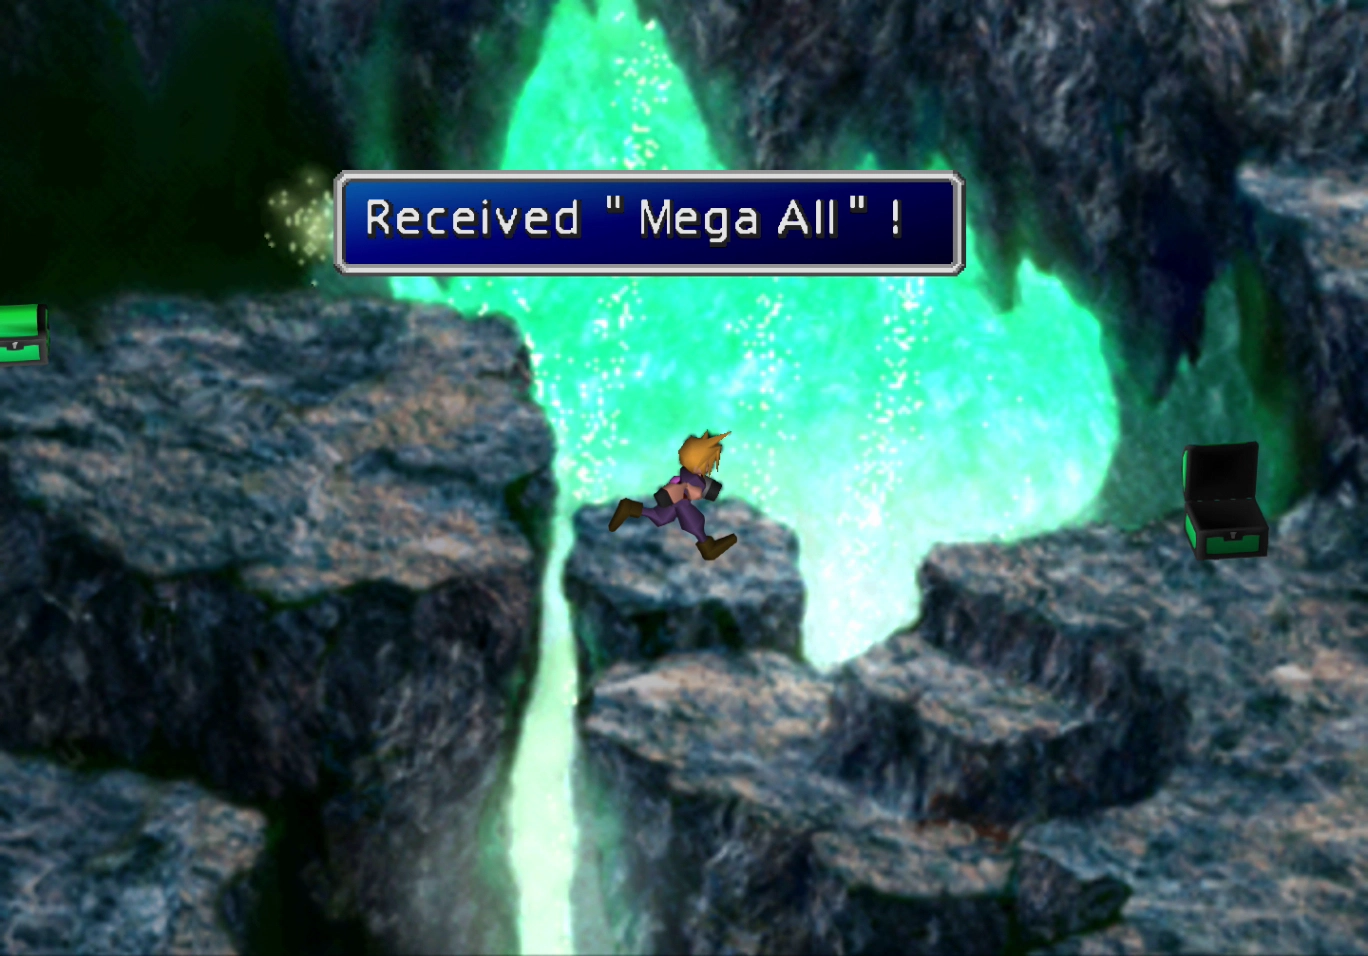
The next screen down is the last screen before the end of the game. Go down to this screen so that you can see your other party members, as you will need to activate this screen before you can backtrack to the different sections of the cave.
If you enter this room beyond the doorway at the entrance, you will not be able to get duplicates of the items listed above. Instead, travel back up to the split pathway now.
Upper-left Pathway
Backtrack until you reach the screen shown in the screenshot below, where you split the group up between the upper and lower pathways. Take the “upper” pathway, which is located in the middle of the screen (as shown with Cloud standing in front of it in the screenshot).
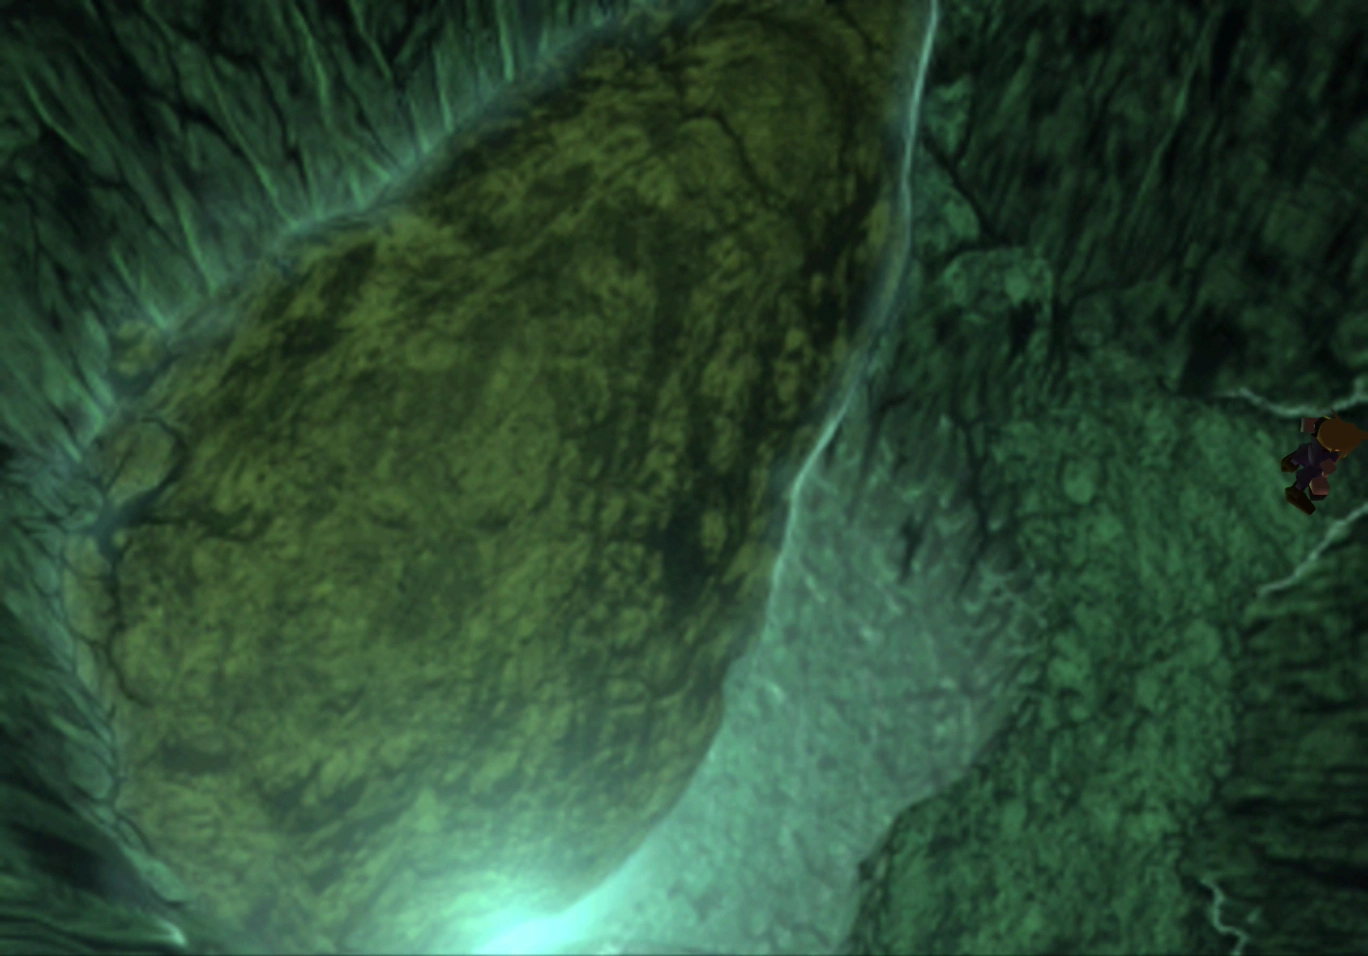
This area is one of the best areas to level up in the game, with enemies that give a lot of AP when defeated.
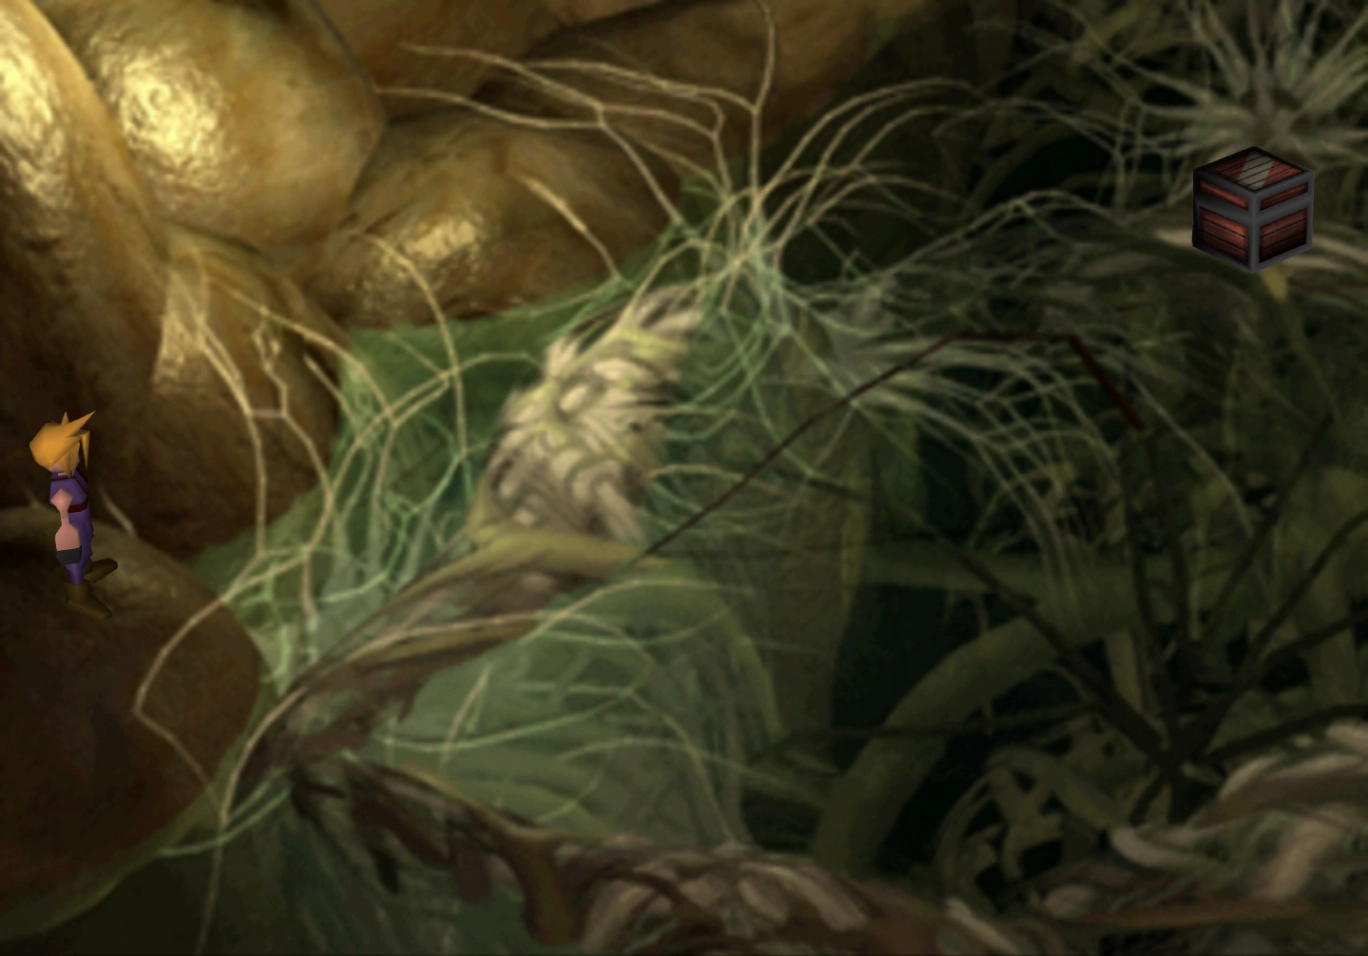
You may encounter an enemy known as a “Magic Pot” (shown in the screenshot below). They are immune to damage and do not do anything except say, “Gimmie Elixir!”.
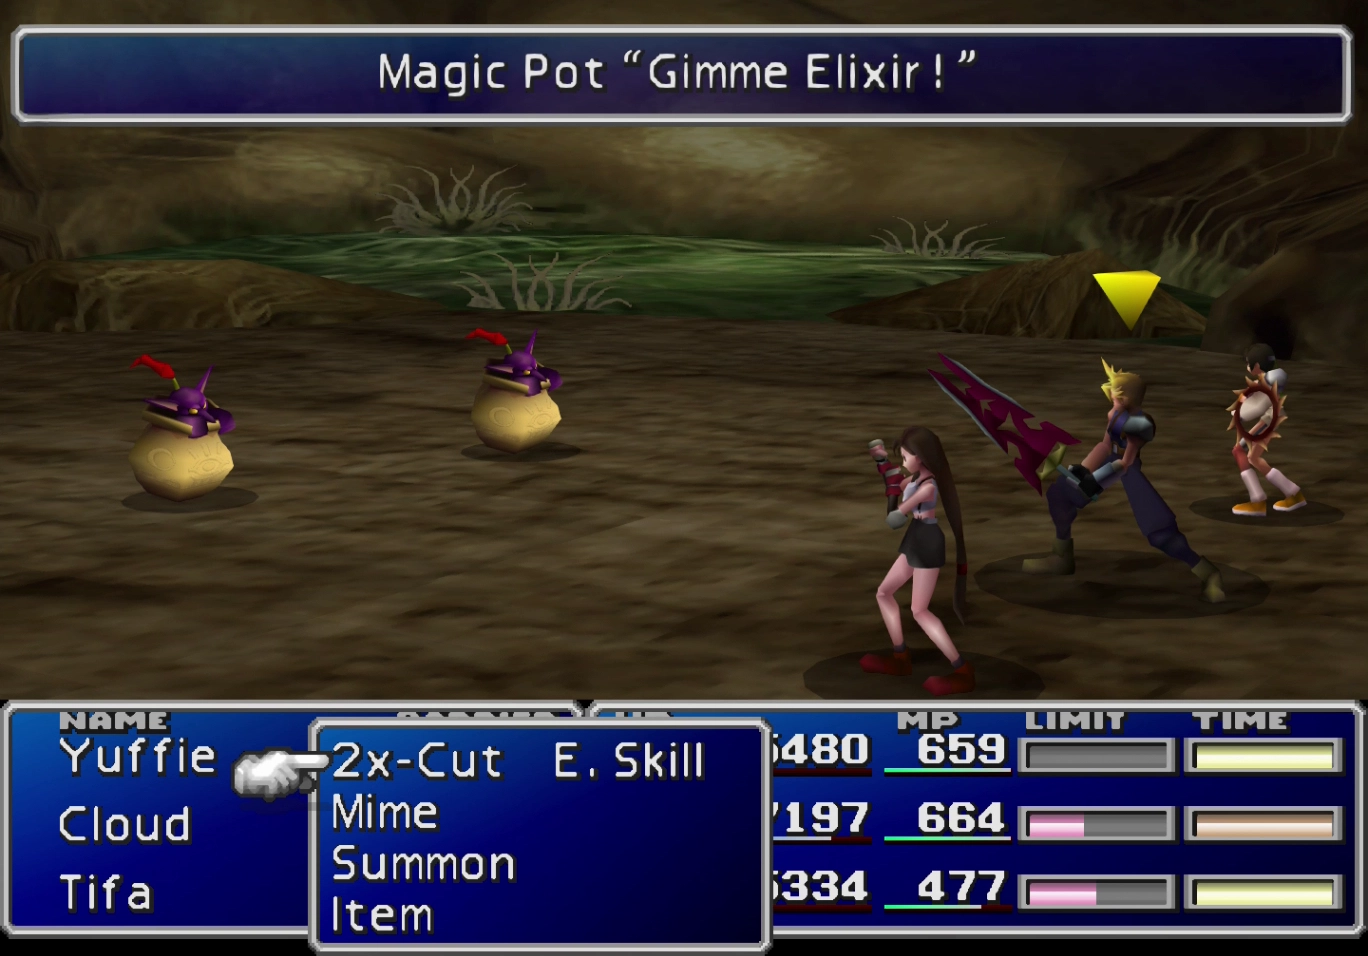
Provide them with an ![]() Elixir and then destroy them to receive a large amount of EXP, AP, and gil. You cannot attack them unless you use an Elixir on them, and they can steal your items if you attack them directly.
Elixir and then destroy them to receive a large amount of EXP, AP, and gil. You cannot attack them unless you use an Elixir on them, and they can steal your items if you attack them directly.

Follow the pathway that leads to the lower-right side of the screen and jump over to the treasure chest, which contains a ![]() Magic Source. Go back around and take the upper pathway, which automatically makes Cloud go underwater to reach the other side of the room.
Magic Source. Go back around and take the upper pathway, which automatically makes Cloud go underwater to reach the other side of the room.
Grab the treasure chest at the back of the room, which contains a ![]() Remedy, and then proceed into the next area through the doorway at the top-right of the screen.
Remedy, and then proceed into the next area through the doorway at the top-right of the screen.
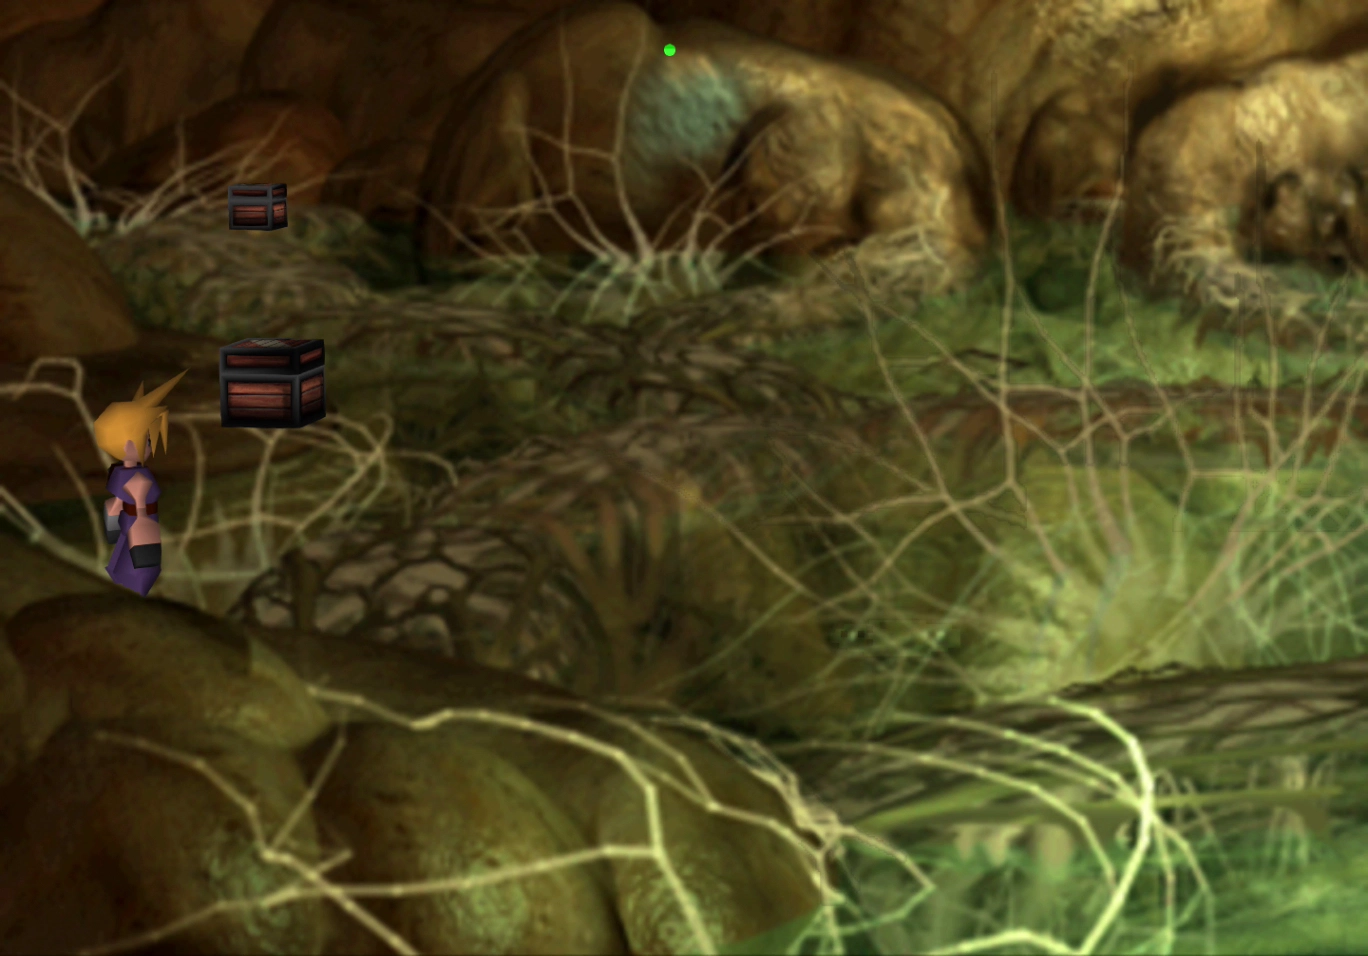
On this next screen, you cannot get the closest treasure chest just yet. Walk past it and grab the treasure chest at the back left side to receive a ![]() Vaccine. Take the pathway beside it to grab the green
Vaccine. Take the pathway beside it to grab the green  Shield Materia sitting at the top of the ledge.
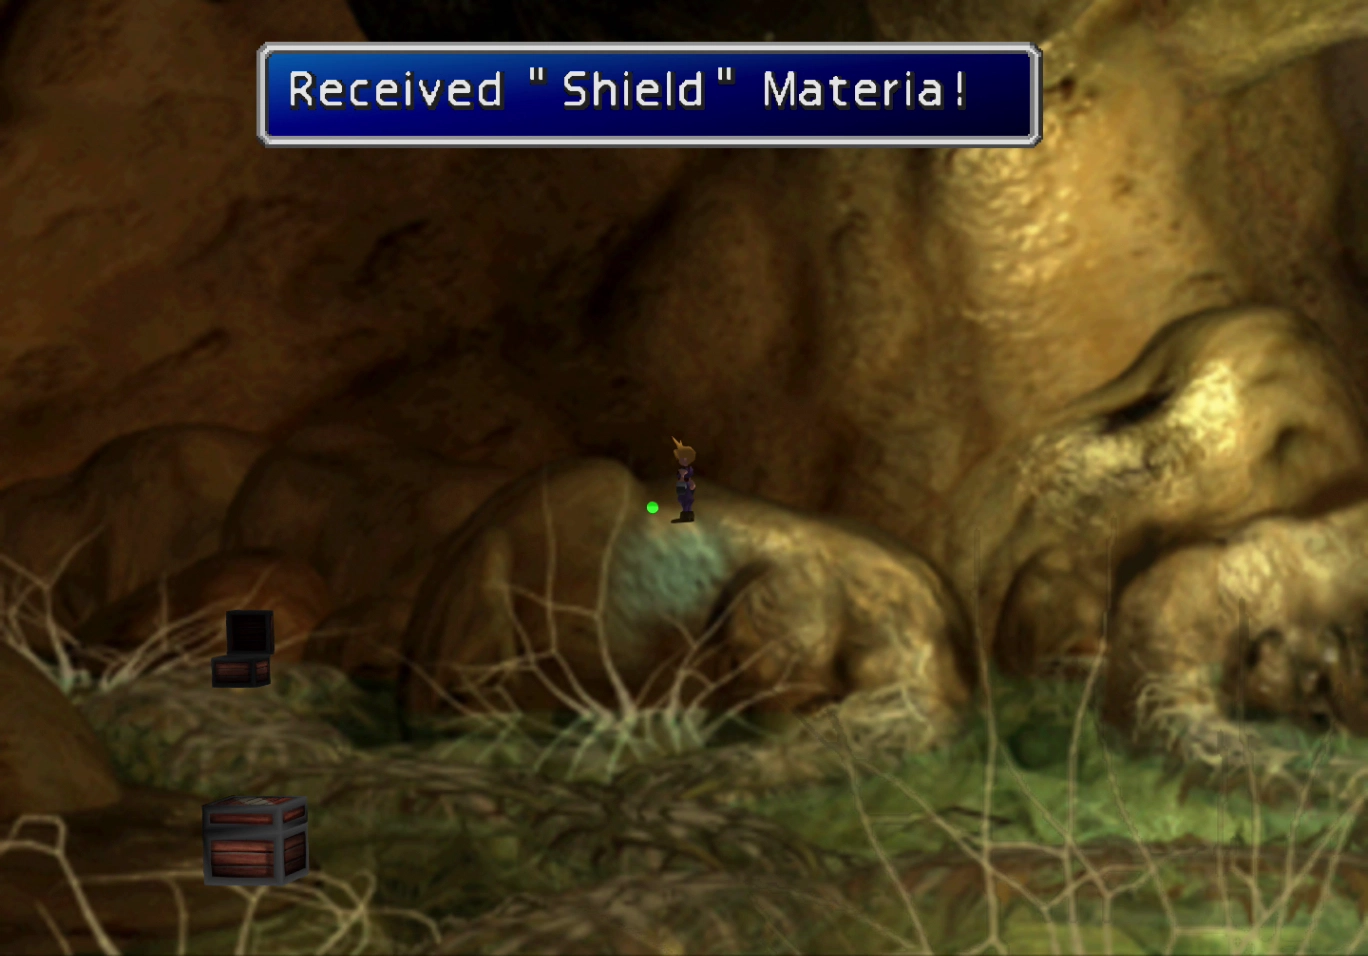
Walk downwards from this spot where the  Shield Materia is sitting, and Cloud will automatically enter the water and reappear beside the treasure chest closest to the screen. Open it to pick up an
 ![]() Imperial Guard armor.
Imperial Guard armor.
Travel back north, away from the screen, and through the water again. There is one more treasure chest on the right side of the screen that contains a ![]() Hero Drink. The pathway to the next area is located towards the back right.
Hero Drink. The pathway to the next area is located towards the back right.
At the very center of this bright glowing area is a tiny blue  Counter Materia. This Materia is similar to
  Counter Attack Materia and
  Magic Counter Materia except that it counters with a paired Command Materia whenever an enemy hits the character with it equipped. Command Materia are the yellow ones.
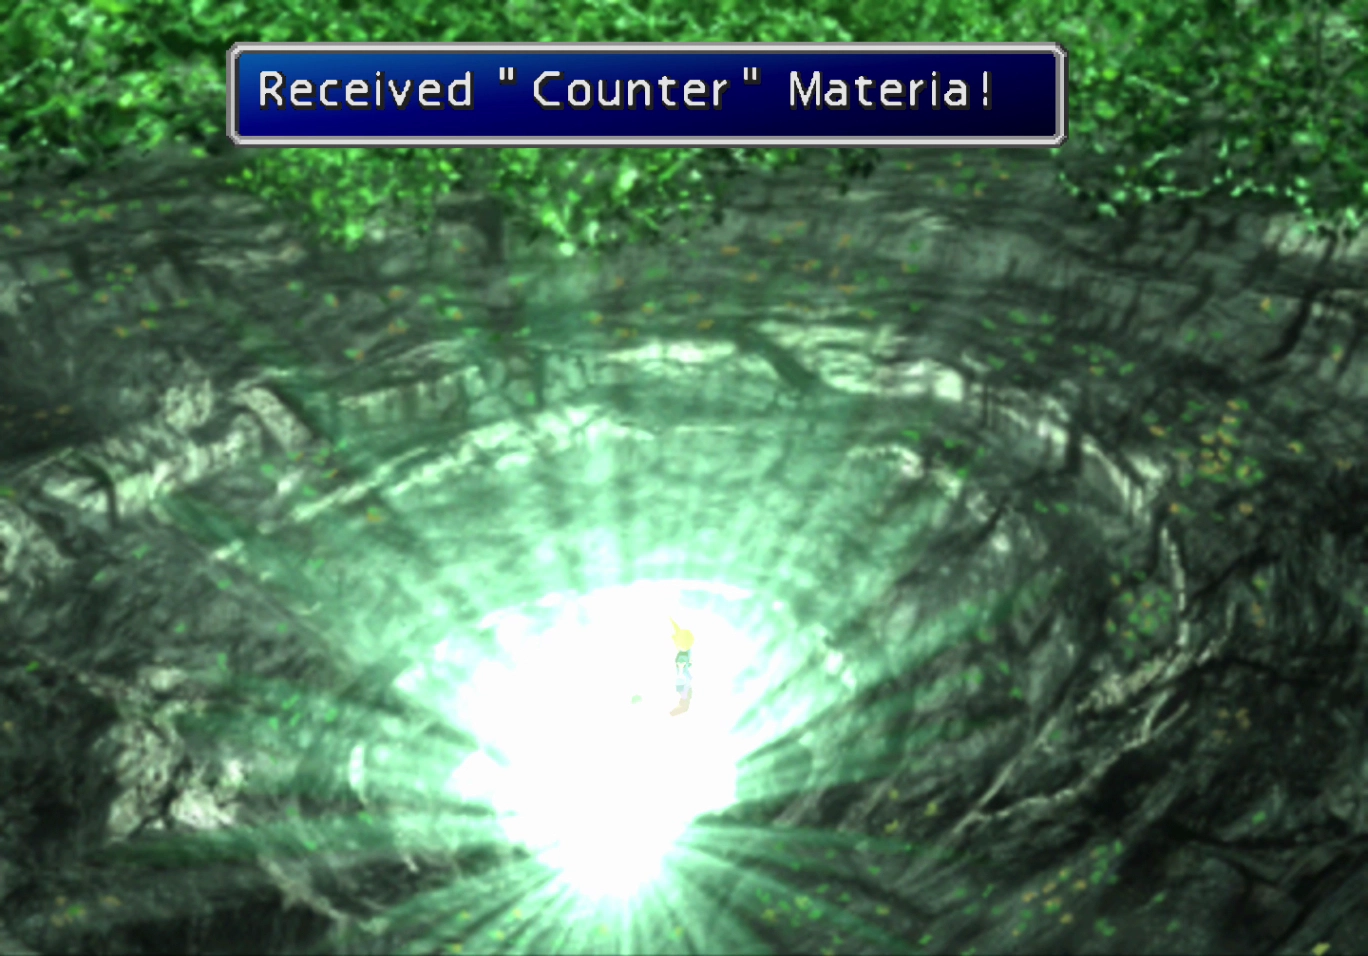
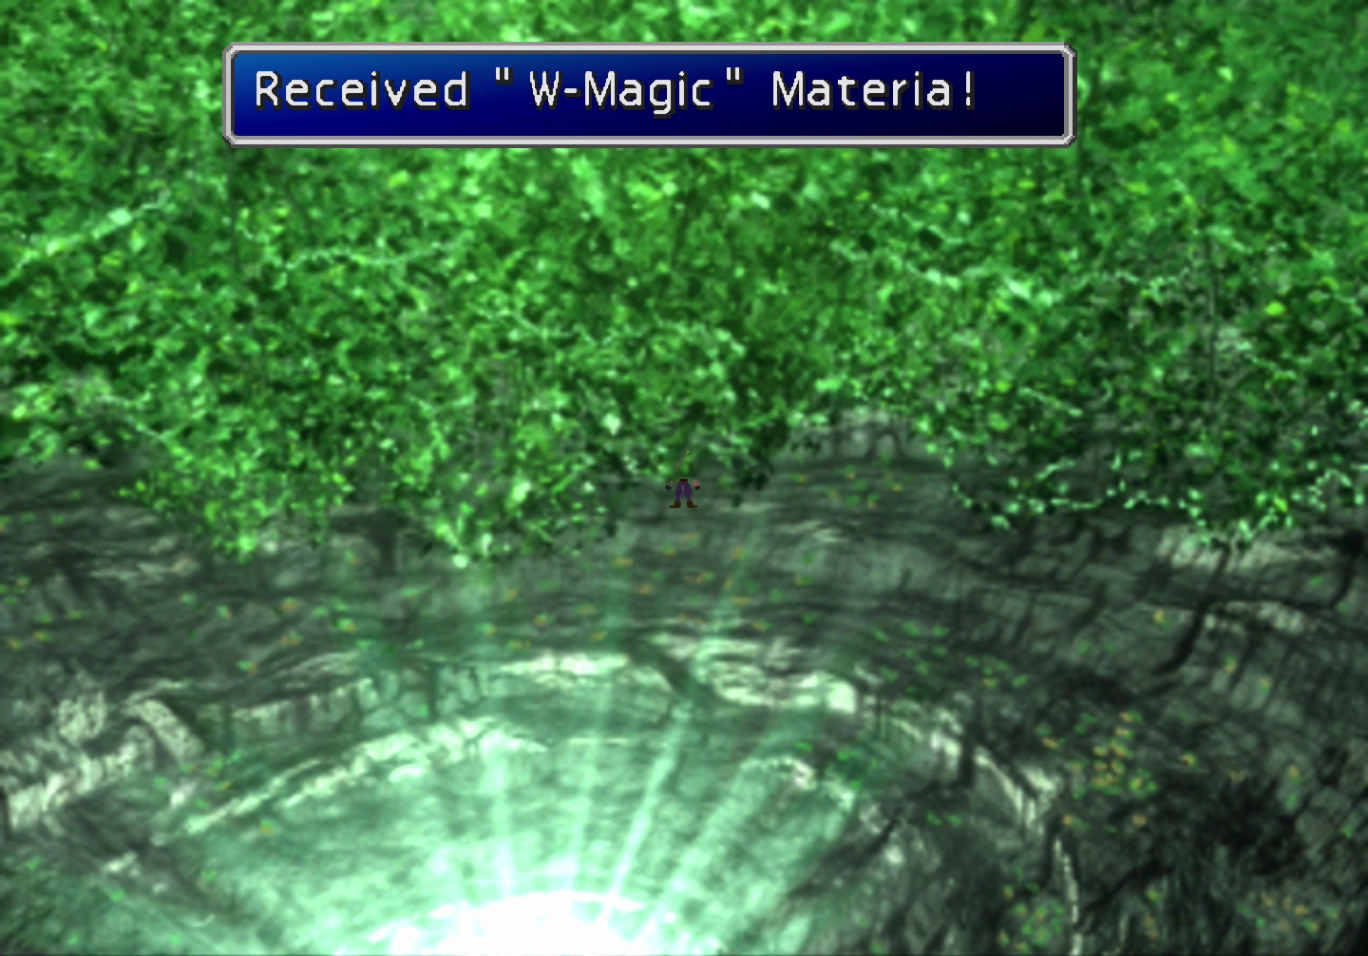
There is also a purple  W-Magic Materia located towards the top of the screen behind the leaves. Another mistake made by the developers is that this W-Magic Materia should be yellow.
You have gone as far as you can go, so backtrack back to where the team first split between the left and right pathways.
Warning
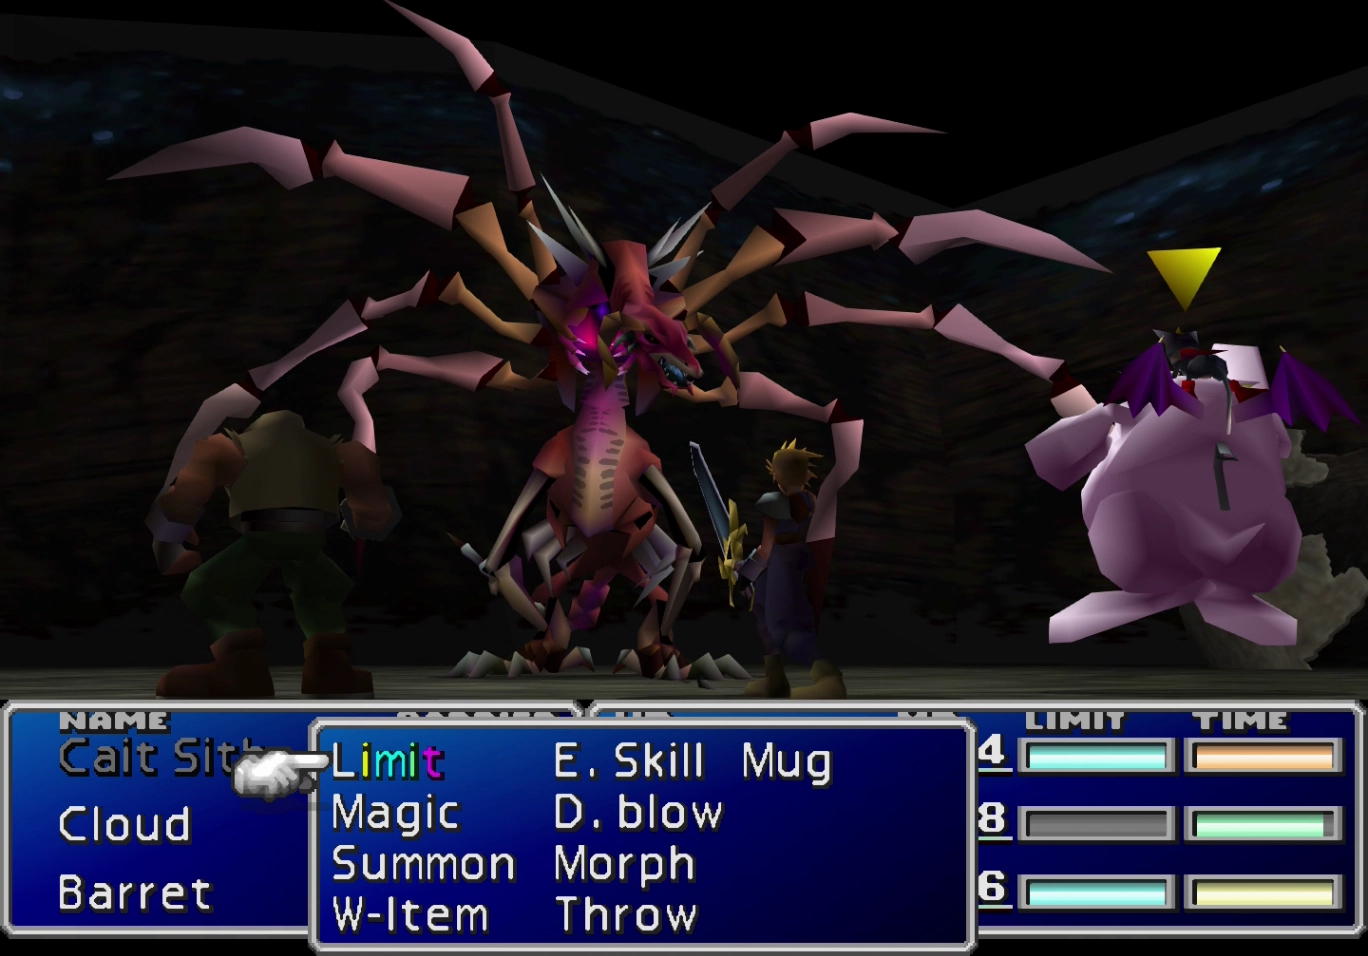
There is an enemy in the next section of the Northern Cave that uses an attack called “Pandora’s Box”, which is one of the more difficult enemy skills to acquire on your  Enemy Skill Materia. The enemy is called a Dragon Zombie, and you can see a screenshot of it below.
The problem is that only the first Dragon Zombie you encounter will ever use “Pandora’s Box,” and it will only use “Pandora’s Box” one time at the end of the fight. Dragon Zombies were programmed into the game this way for some reason (and it was likely an error).
To obtain “Pandora’s Box” on all four of your  Enemy Skill Materia, you need to make sure that you equip all four of them to your three characters in anticipation of this first battle against a Dragon Zombie.
Right Pathway
Continue down the spiraled pathway around the cave stalactite until you reach the bottom. Choose to “Go down” when given the option.
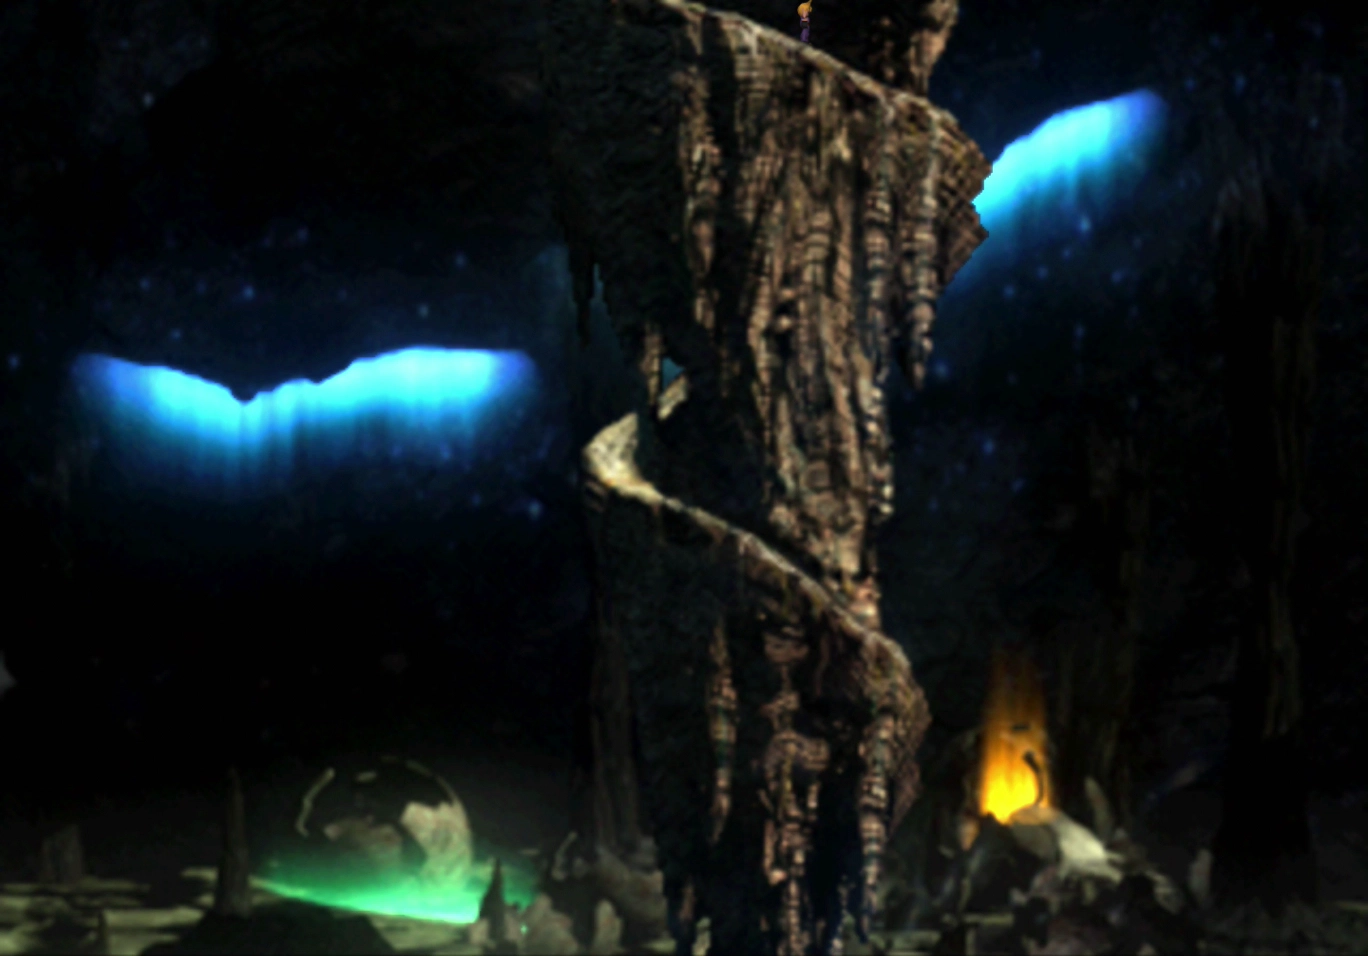
At the bottom of the cave, you will find a treasure chest that contains a ![]() Mystile armor. There is also an
Mystile armor. There is also an ![]() Elixir sitting on the pathway on the right side of the screen. Grab it and continue down the path until you reach another treasure chest that contains a
Elixir sitting on the pathway on the right side of the screen. Grab it and continue down the path until you reach another treasure chest that contains a ![]() Speed Source.
Speed Source.
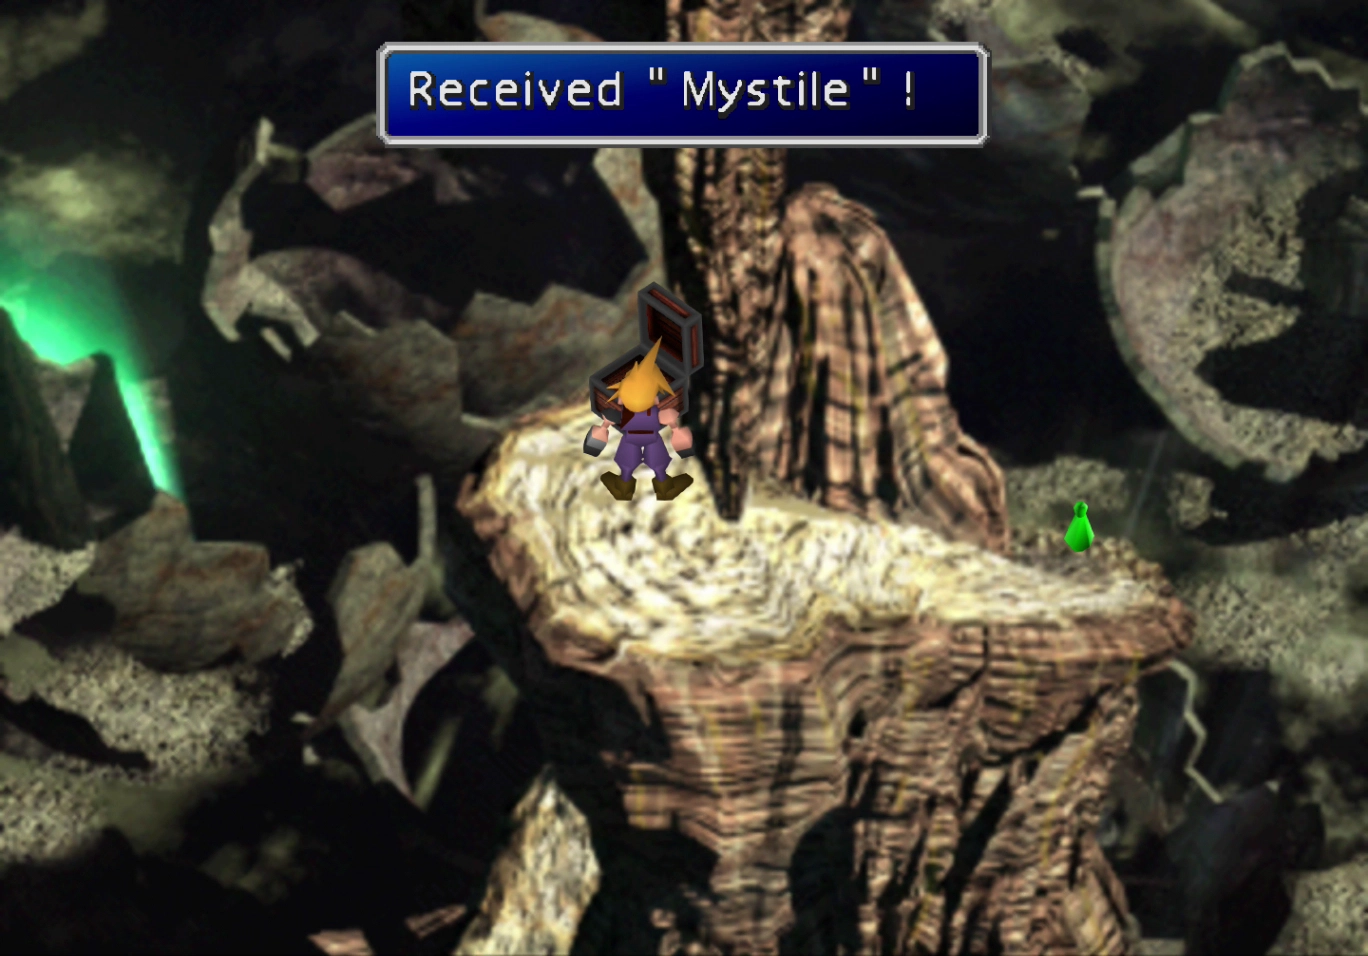
At the very bottom-right side of the screen is another treasure chest which contains a ![]() Tetra Elemental accessory. There is one last treasure chest to the northeast which contains a
Tetra Elemental accessory. There is one last treasure chest to the northeast which contains a ![]() Megalixir. Proceed towards the light to reach the next screen.
Megalixir. Proceed towards the light to reach the next screen.
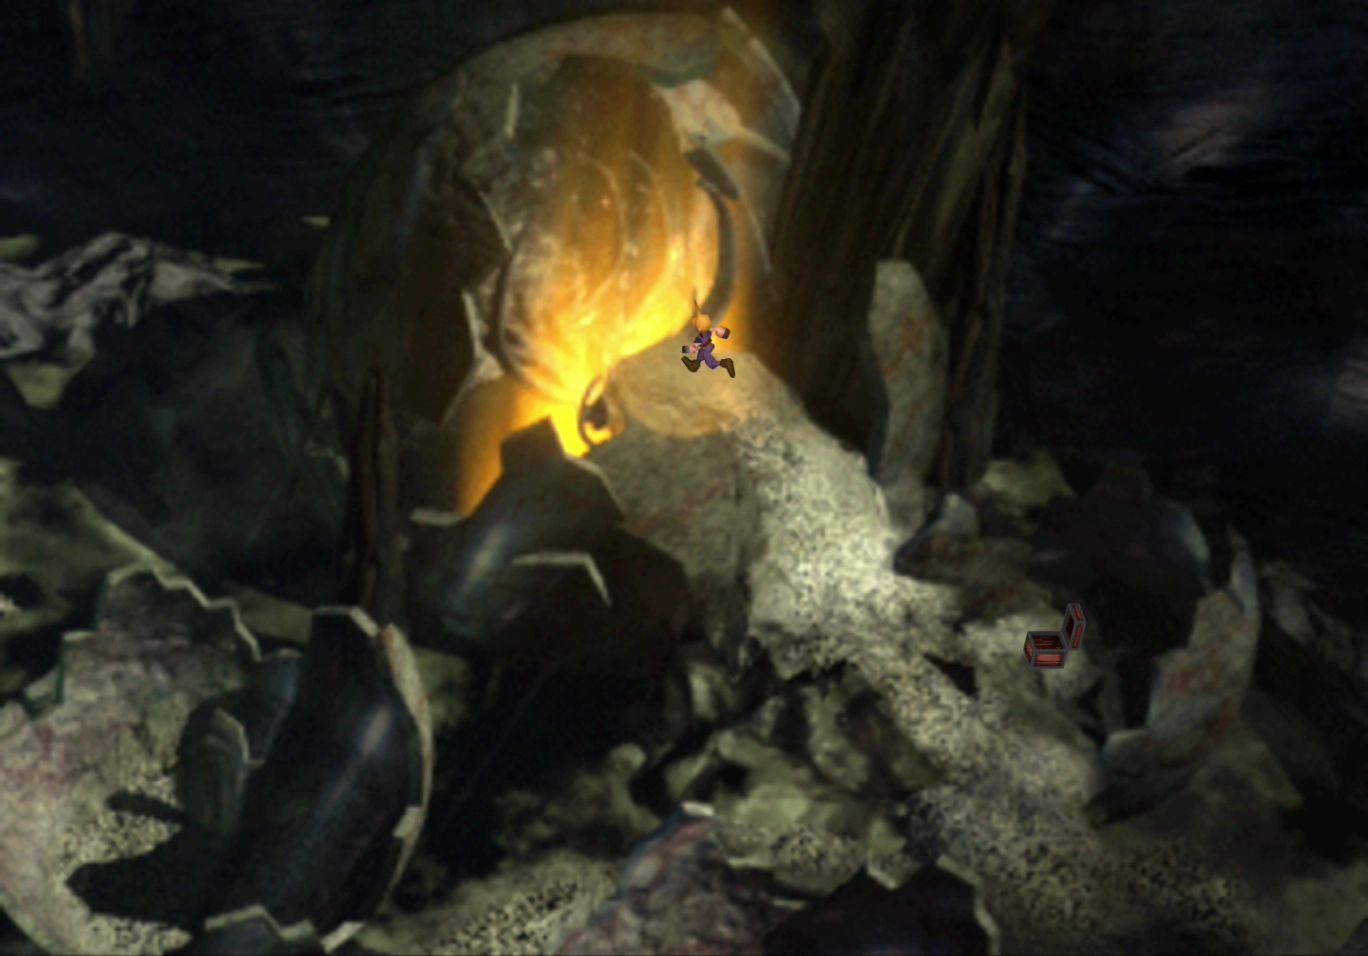
Follow the bones around and downward, and you will reach the bottom of the Northern Cave. Now that you have gone through each of the areas, you can proceed into this room and obtain the duplicated items.
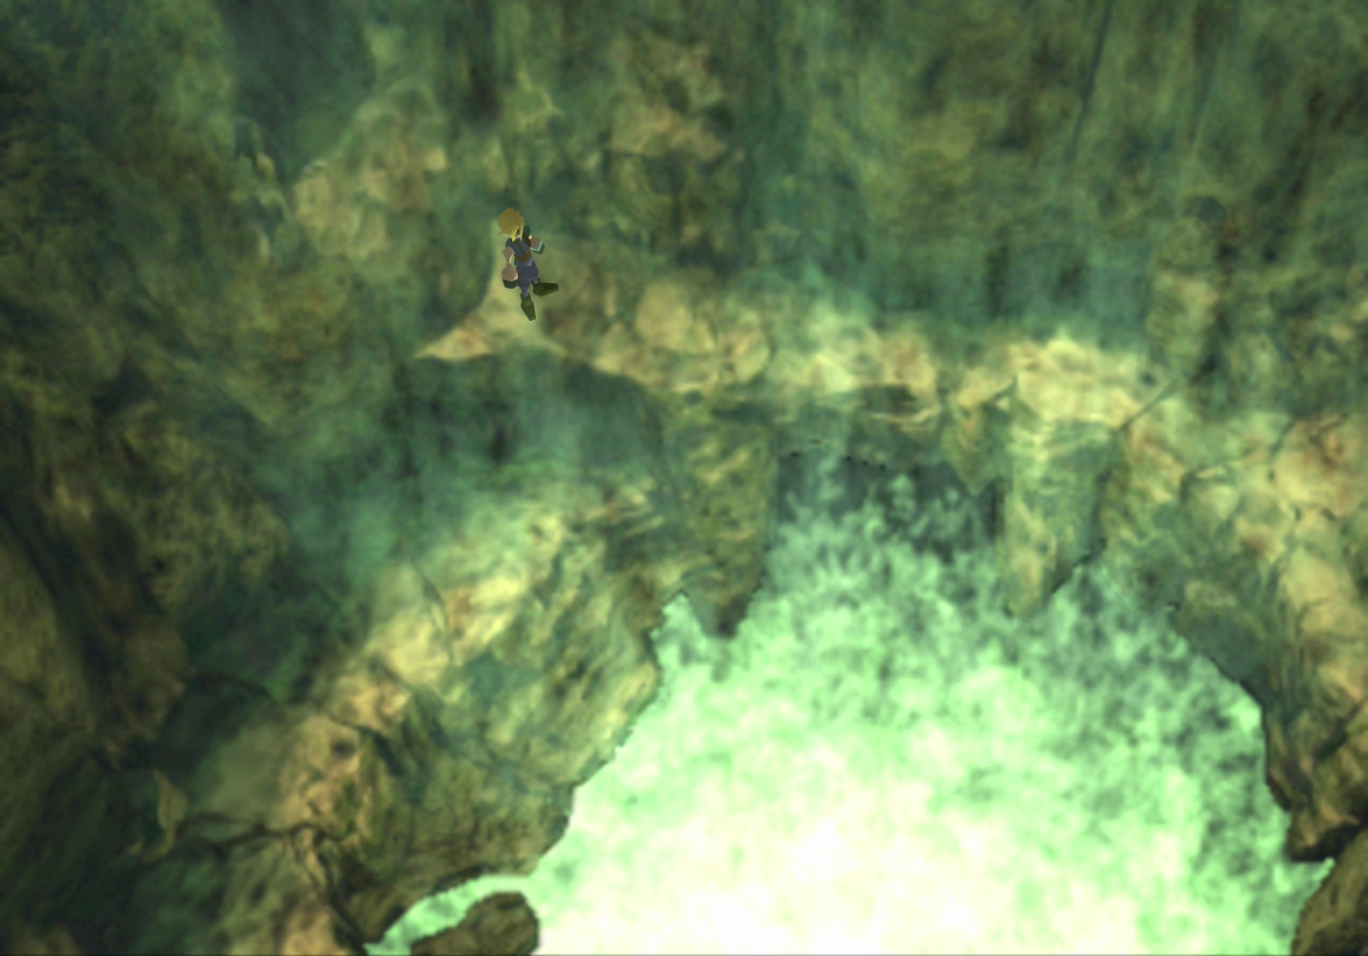
Bottom of the Northern Cave
There is a treasure chest on the right side of the room that contains a ![]() Luck Source. Walk around to the left side of the room to continue the story. Talk to each of your team members, and if you followed the steps listed above, you should receive the items in the table at the top of the page.
Luck Source. Walk around to the left side of the room to continue the story. Talk to each of your team members, and if you followed the steps listed above, you should receive the items in the table at the top of the page.
Specifically, you should receive:
- Cid:
 Imperial Guard
 - Tifa:
 Mystile (Misspelled as “Mythril” in the game)
 - Red XIII:
 Shield Materia
 - Yuffie:
 Counter Materia
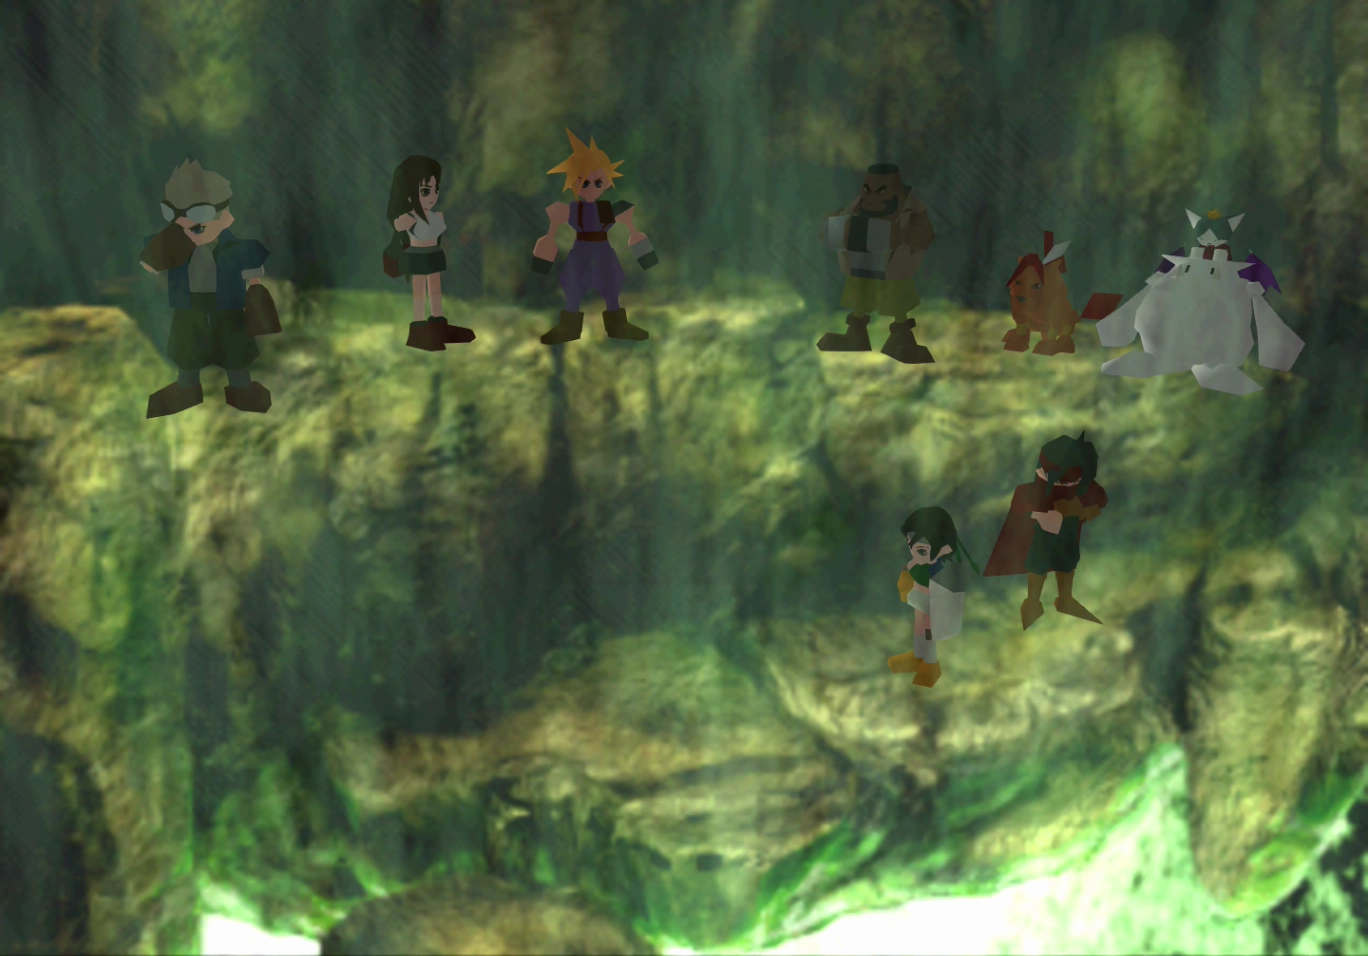
You have now reached the “point of no return” in the Northern Cave. This is the farthest you can proceed without completing the story’s conclusion, which will result in you reaching the “The End” screen, and you will only be able to continue your game from the last time you created a save file.
Use the link below if you would like more information on the side quests that you can still complete if you want to explore more of what Final Fantasy VII has to offer for end-game content.
Walkthrough Guide
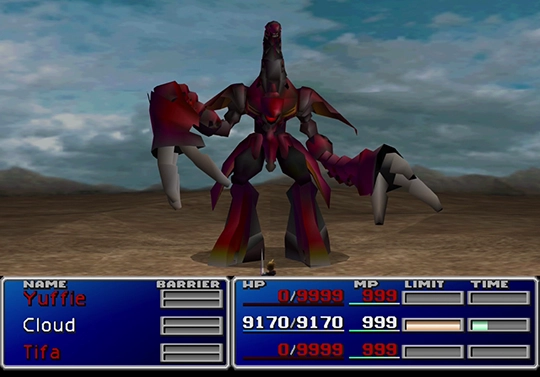
A complete list of the side quests and end-game content that you can complete before moving on to defeat Sephiroth.
Warning
This is the farthest that you can go in the Northern Cave. This is the point of no return. Continuing beyond this point leads directly to the end of the game, and there are no Save Points from here on out. You should travel back up to the Highwind and save your game so that you can continue with some of the remaining side quests that are available while holding onto all the loot that you picked up in the Northern Cave.
Check out the Disc 3 main page or the Side Quests section for more information on the available side quests. Sephiroth is by no means the most challenging boss to fight, so if you want more Final Fantasy VII action, there are a ton of additional quests to complete.
Continue to the next page for more information about the final battles against Sephiroth.

